
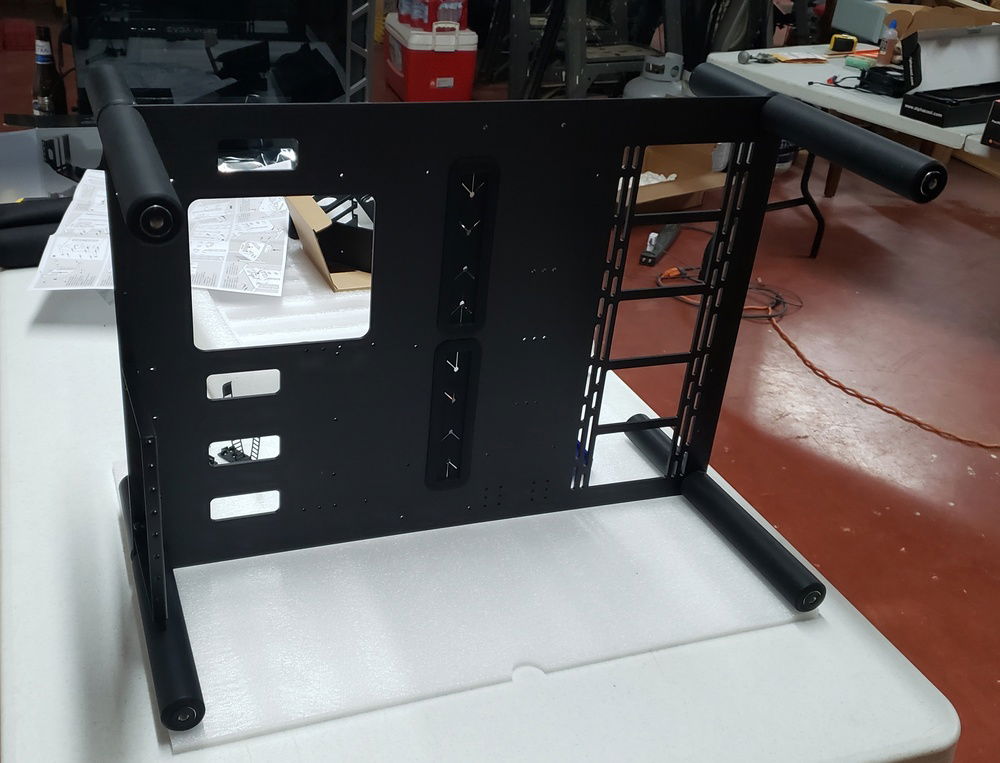
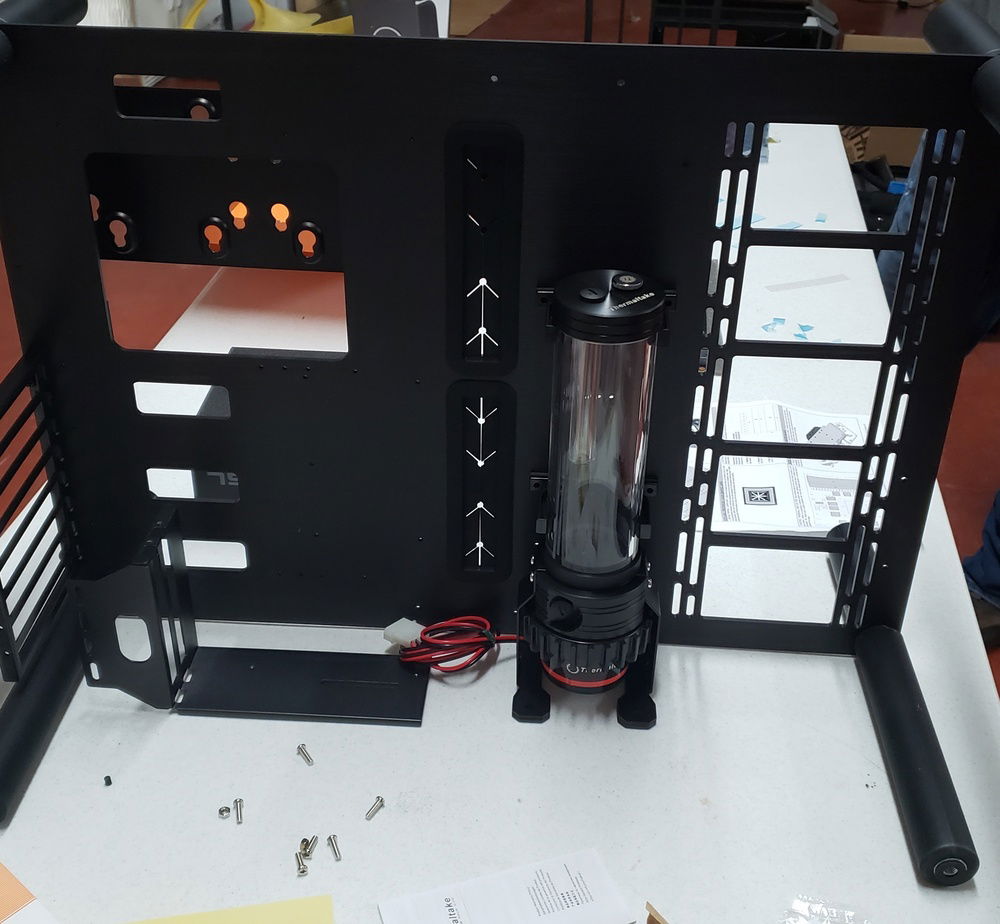
Blank canvas. Raijintek Paean case. Modding to come!
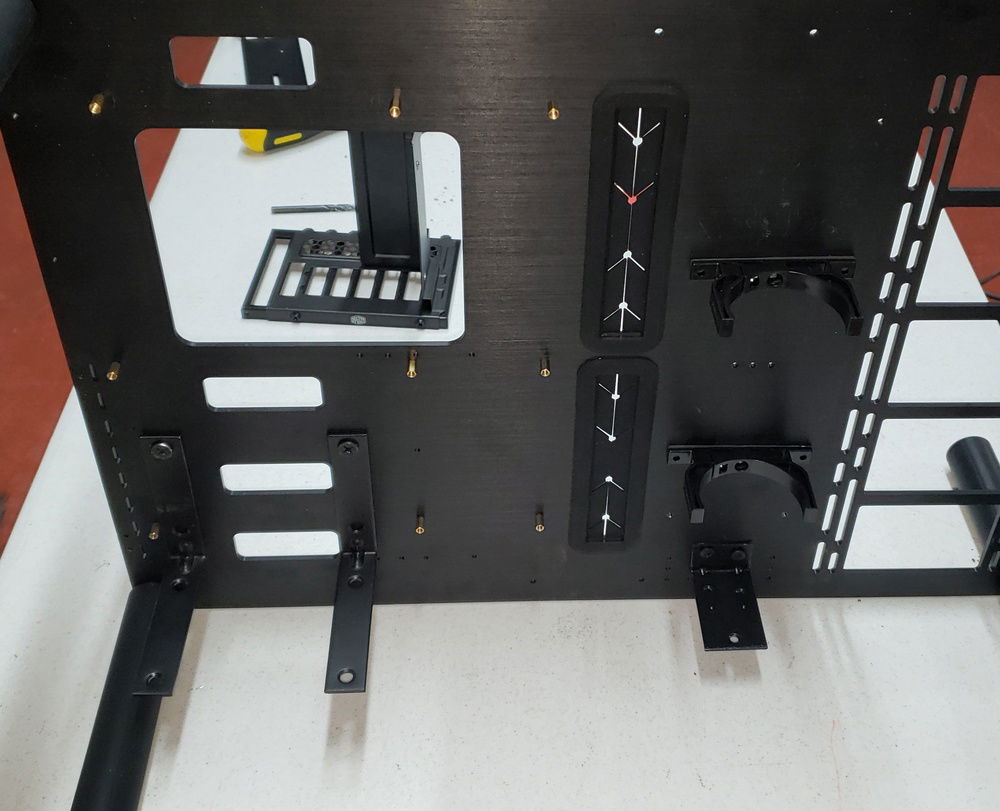
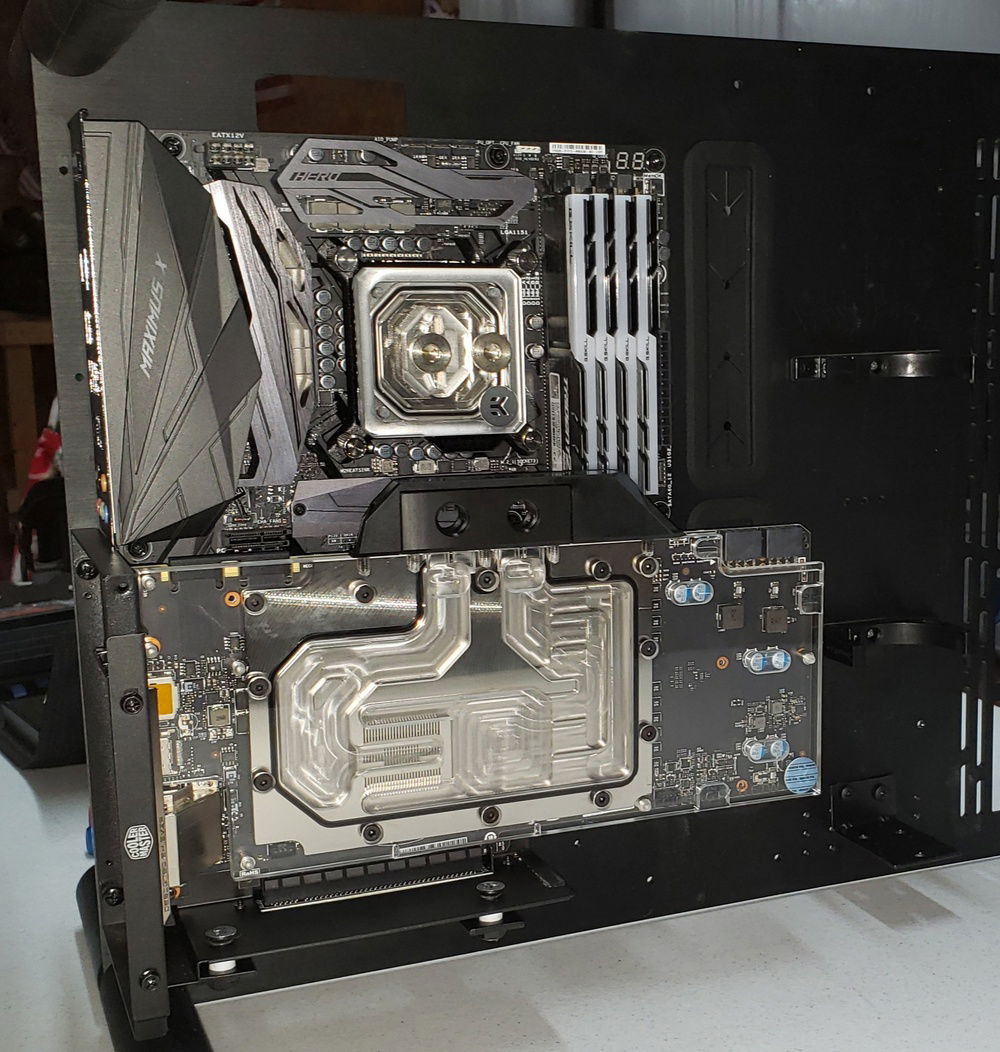
We realized quickly that the EVGA 1080Ti FTW3 w/ EK Waterblock was going to be heavier than the vertical GPU mount could handle safely (in our expert opinion). Drilling holes to fasten the newly fabricated vertical GPU support brackets to the case.
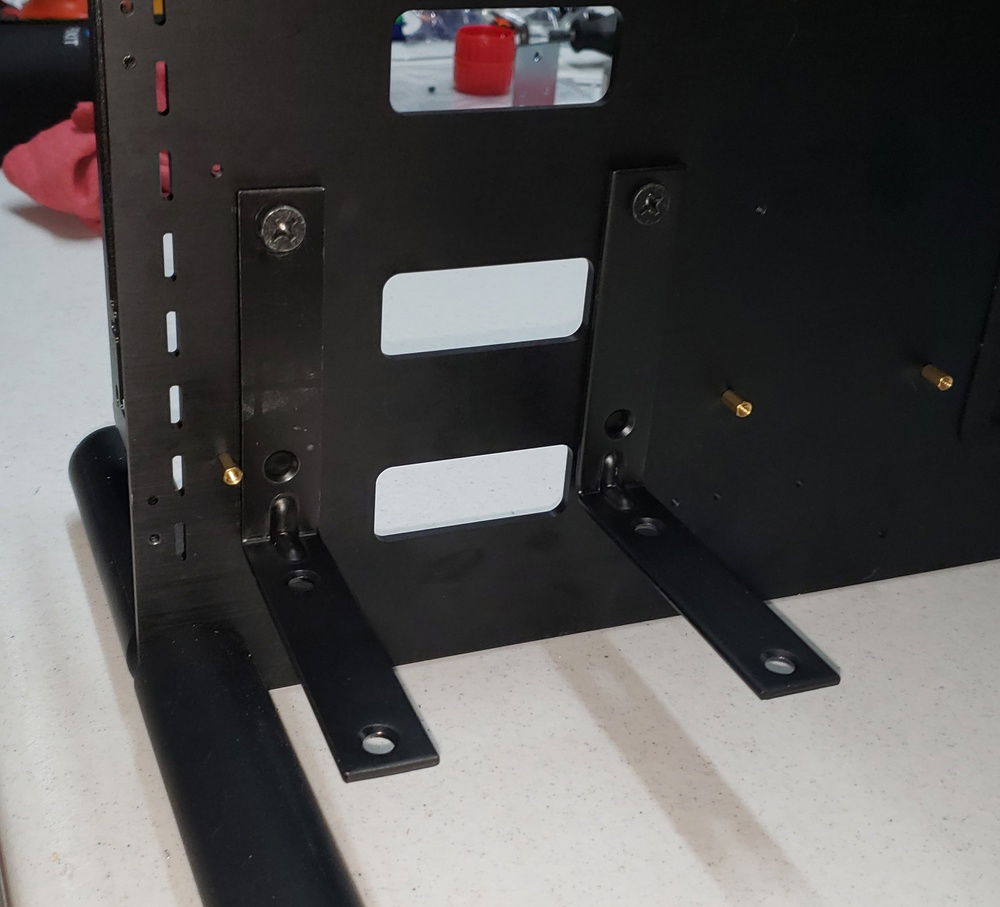
We grabbed a few basic brackets from Home Depot then cut them to fit.
We realized quickly that the EVGA 1080Ti FTW3 w/ EK Waterblock was going to be heavier than the vertical GPU mount could handle safely (in our expert opinion)
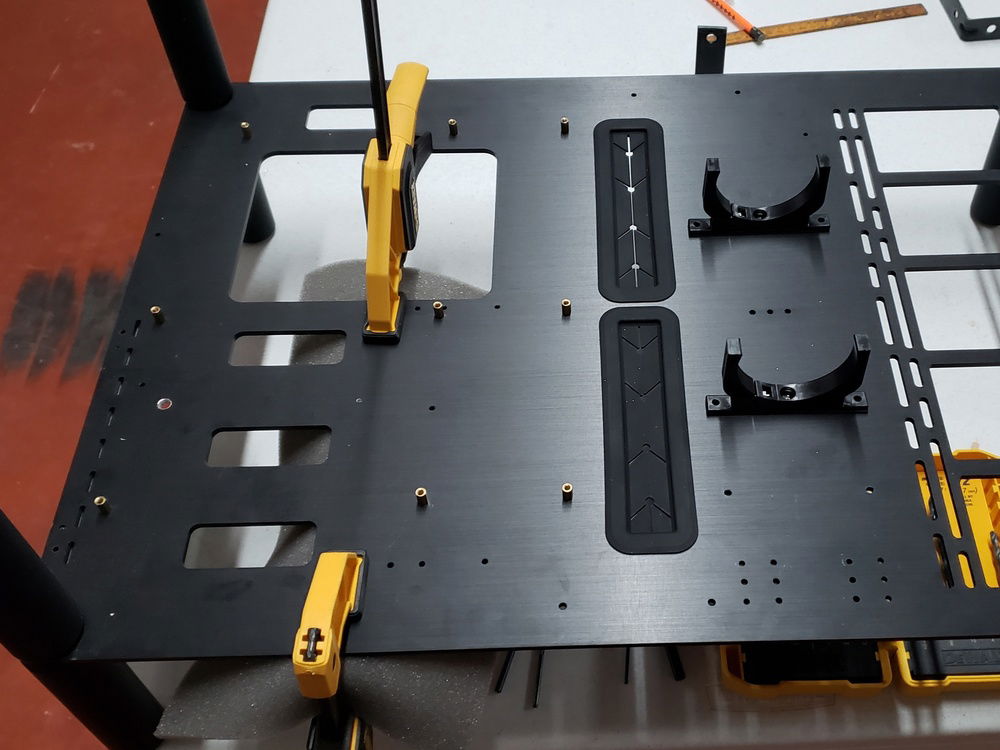
Testing ideas before the above fabricated mods were finalized. As you can see the GPU needed some additional support. Pictured is the Raijintek Vertical mount, ended up sending it back and going with the coolermaster mount, which had to be modded (of course)!
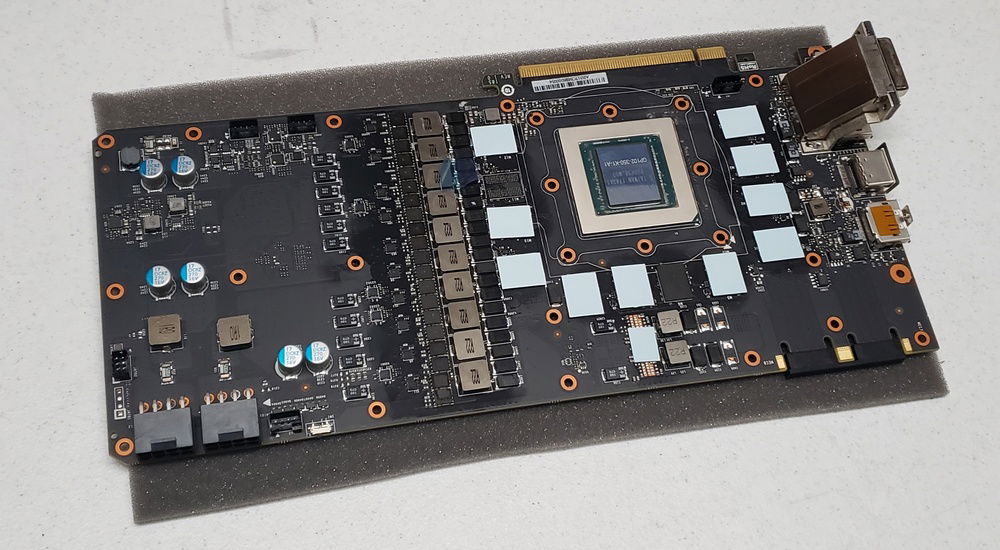
Pulling a 1080Ti apart is always fun... and nerve wracking!
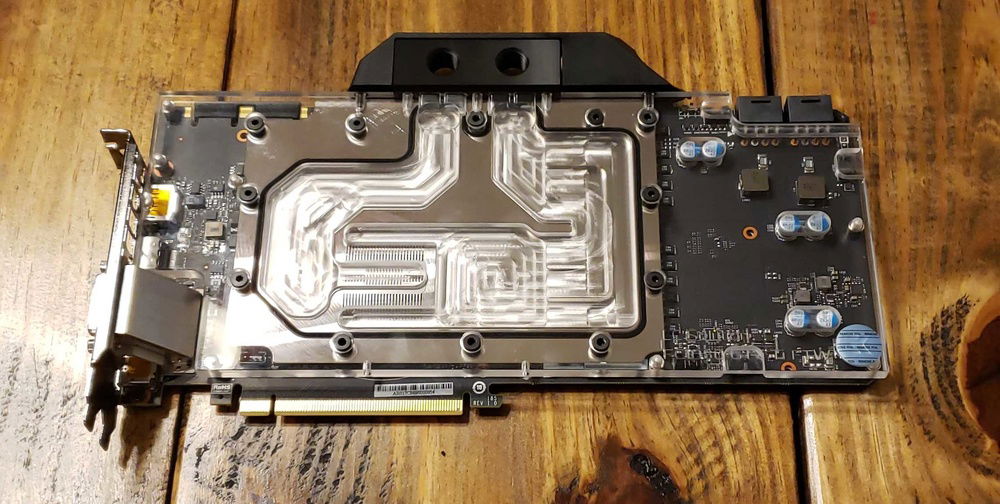
Smooth transition to the EK Waterblock!
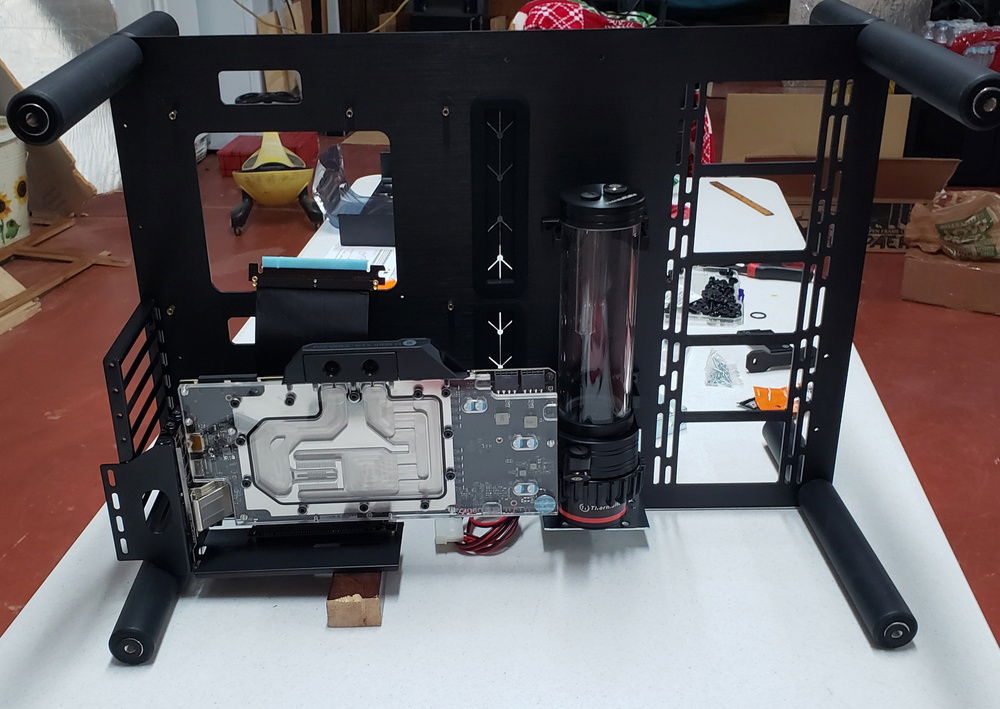
Finally we were able to start actually building the PC vs modding the case.
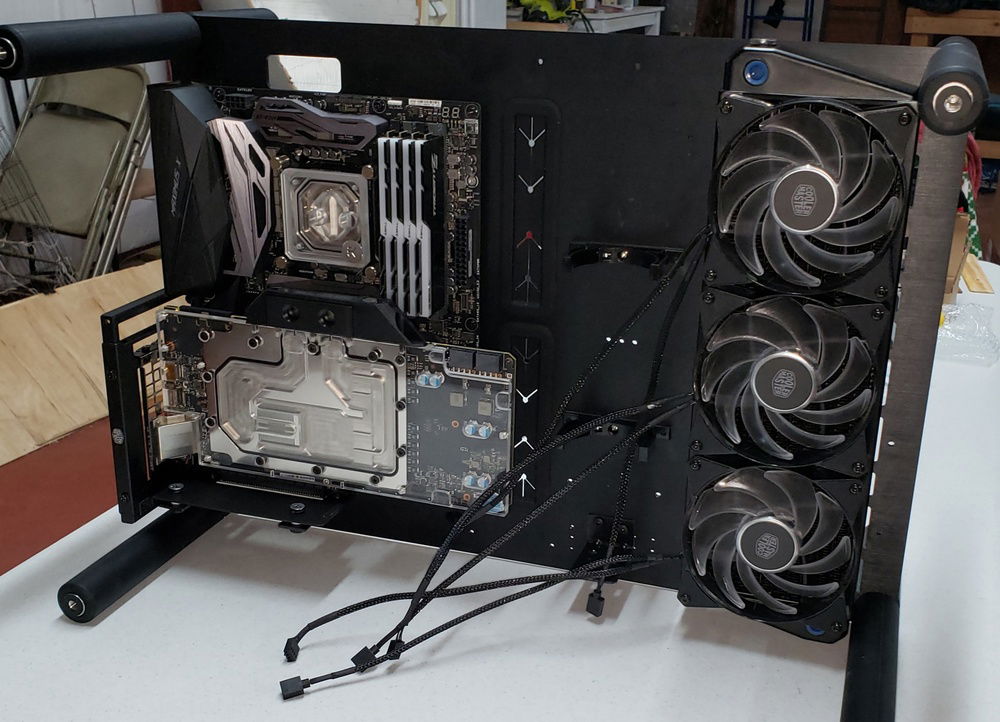
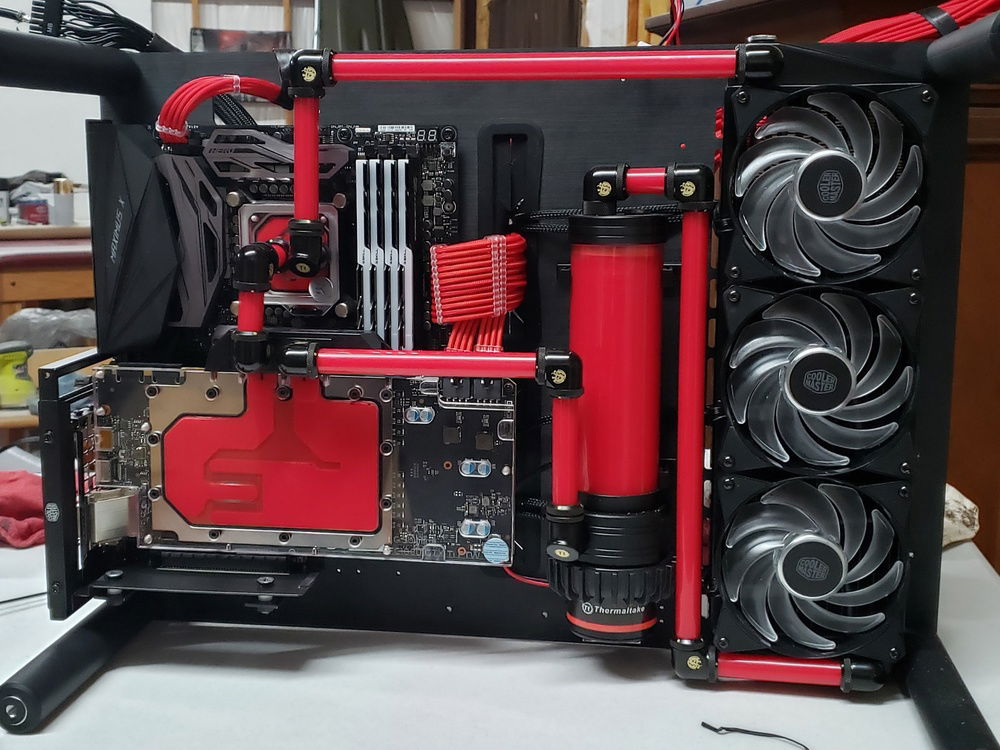
Starting to look like a computer not a piece of scrap metal! Decided to go with a AlphaCool X45 360mm. Wanted to spread the tubing out to have as little blank space as possible so we decided tubing coming from the top and bottom of the rad would look best.
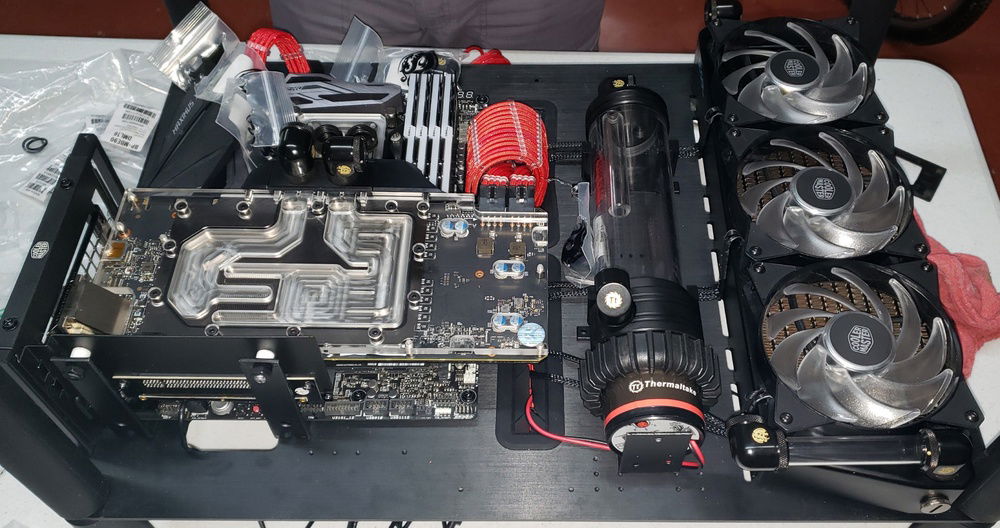
Time for Tubing!
All the tubing in place and ready to fill. Fingers crossed for no leaks!
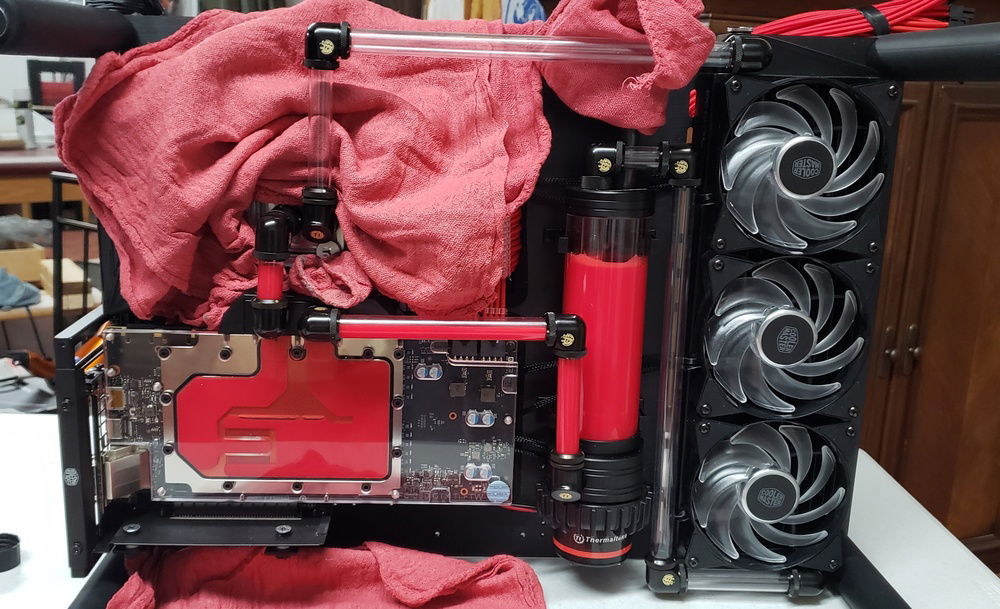
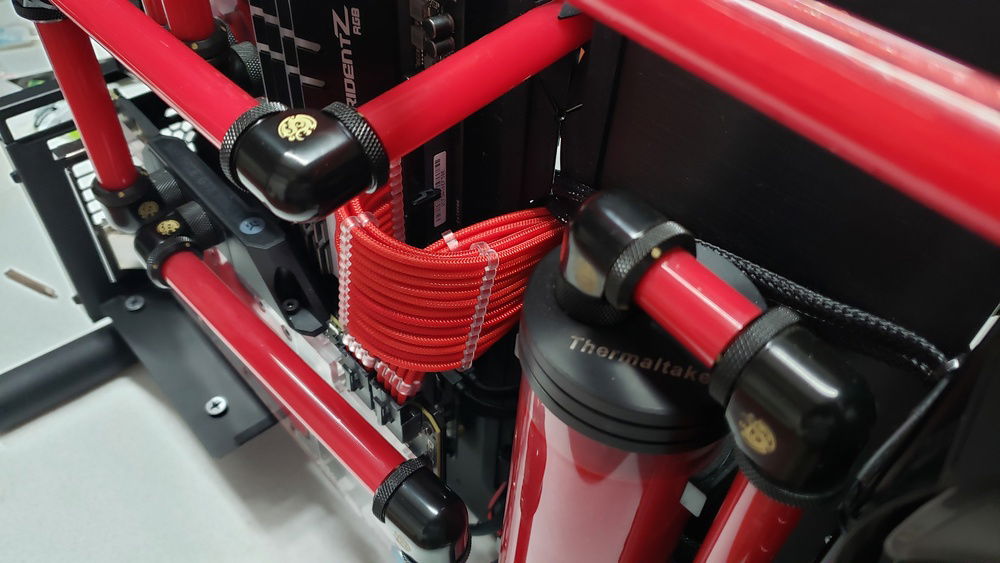
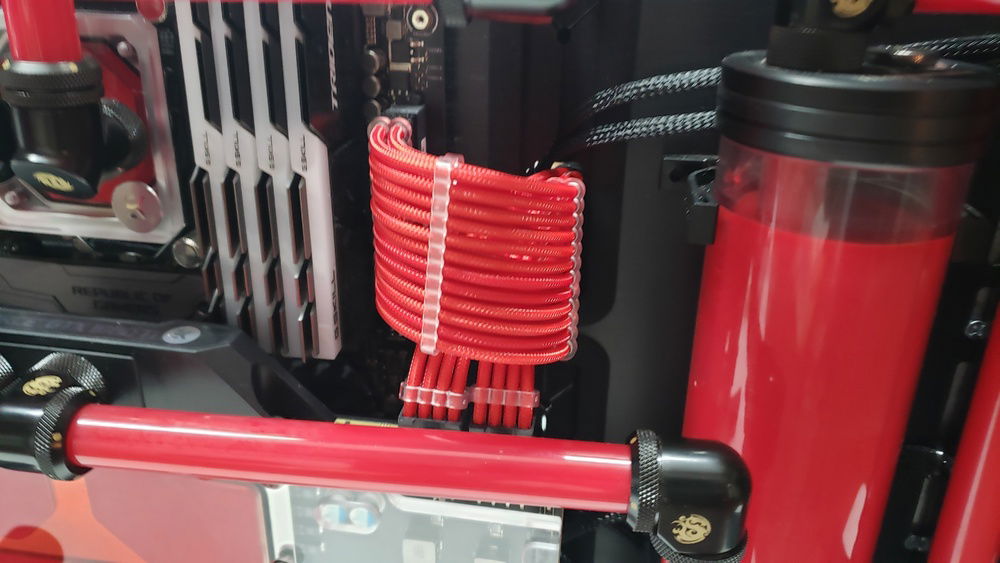
pretty cables thanks to cablemod!
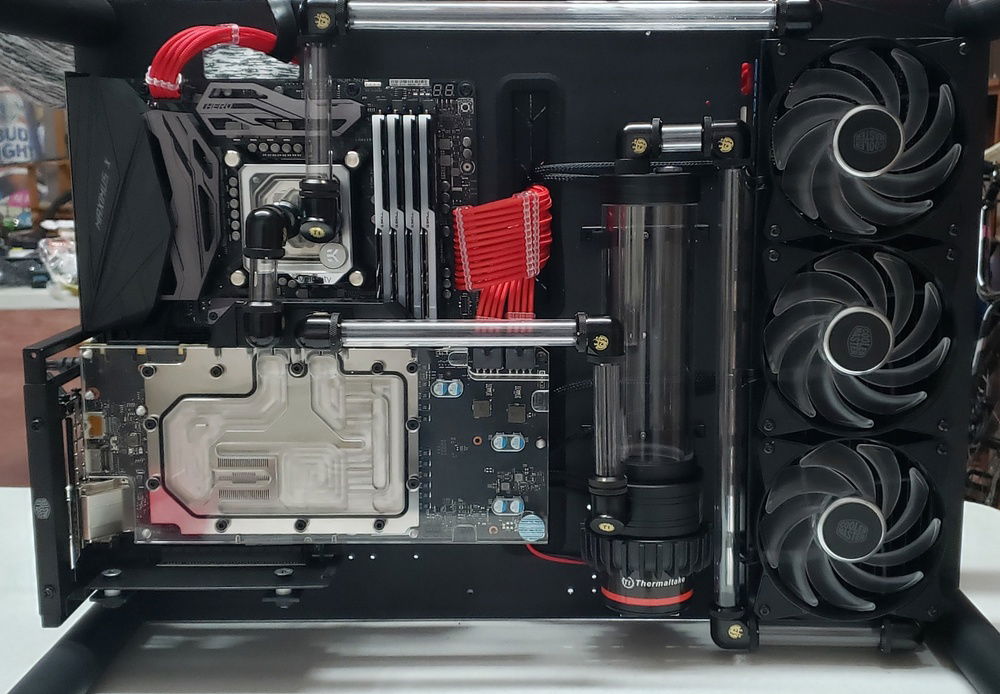
Project Complete! SO WE THOUGHT!
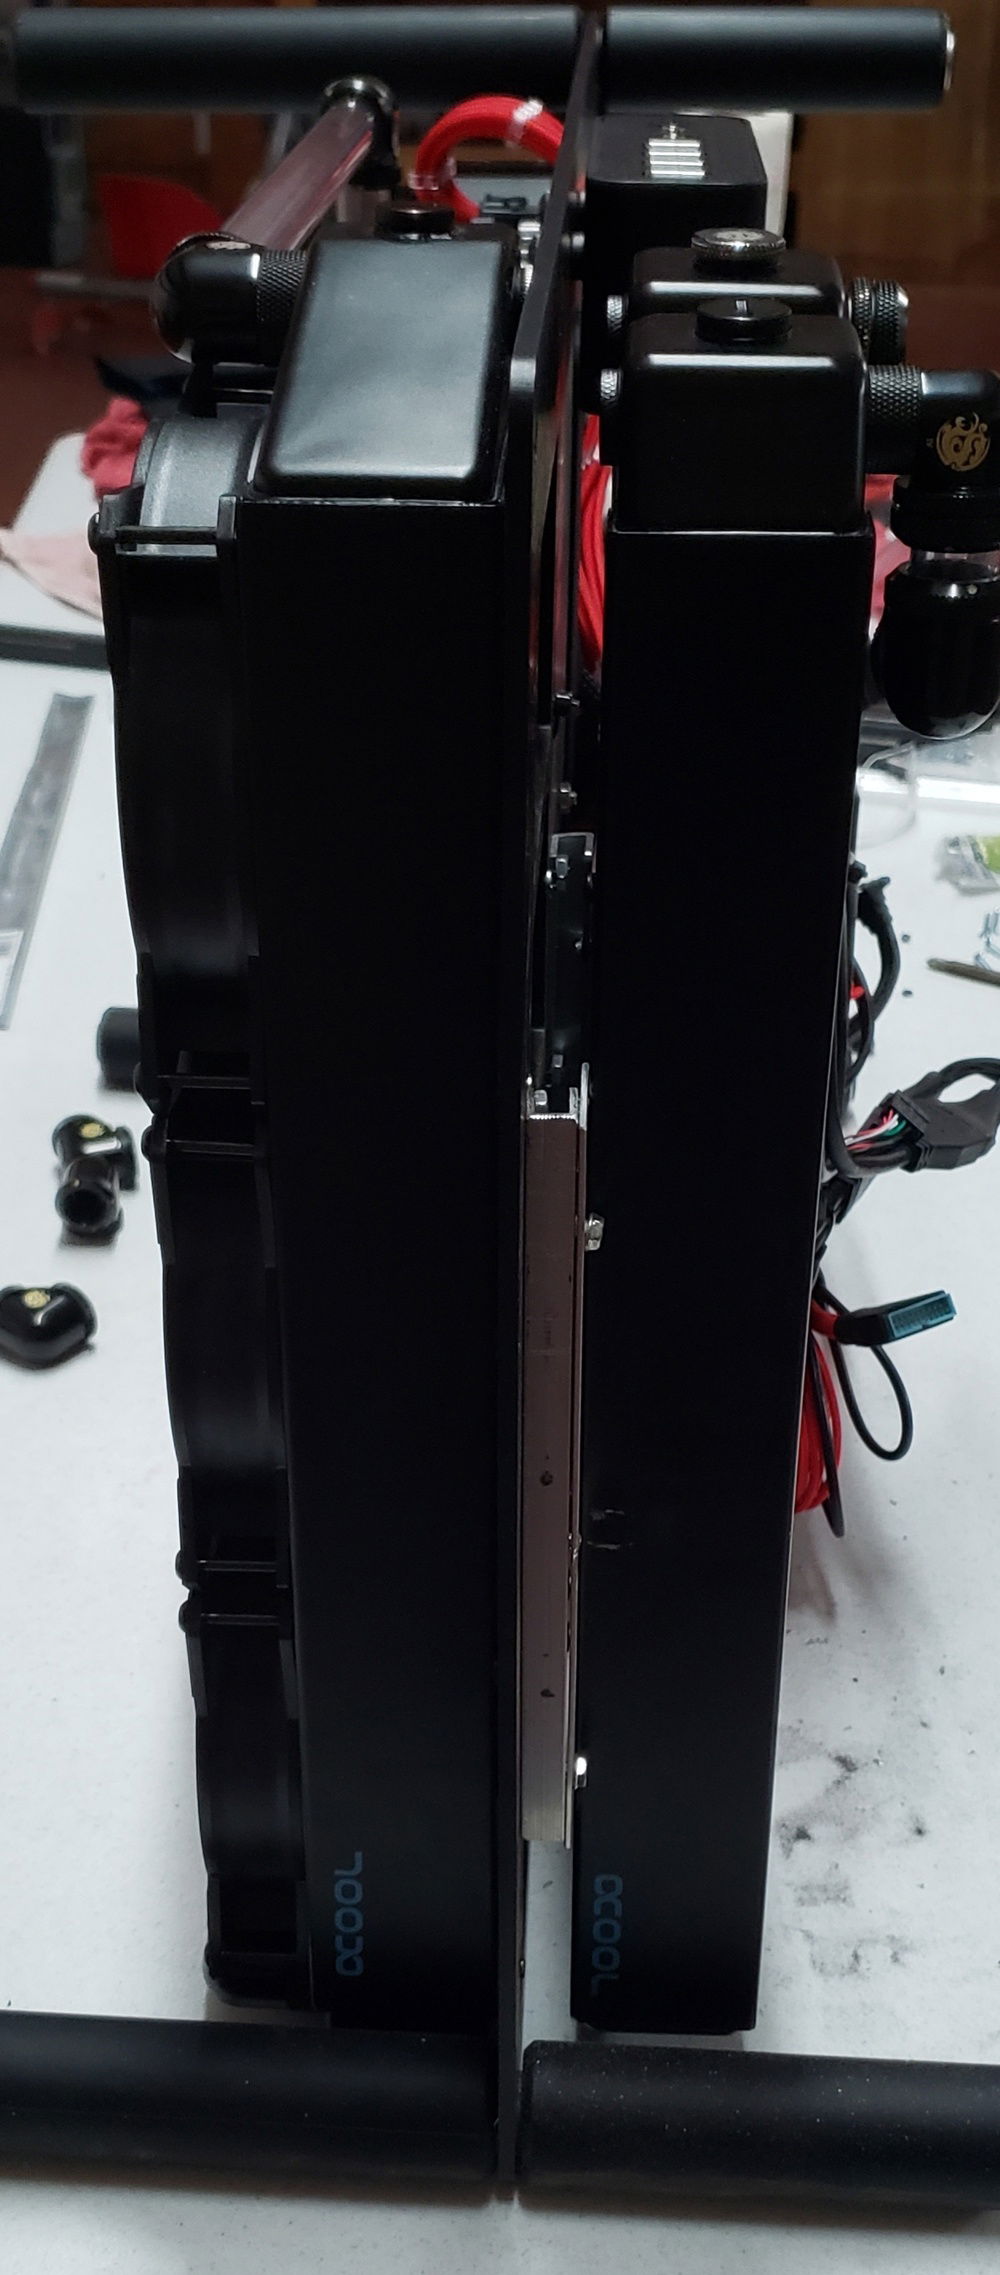
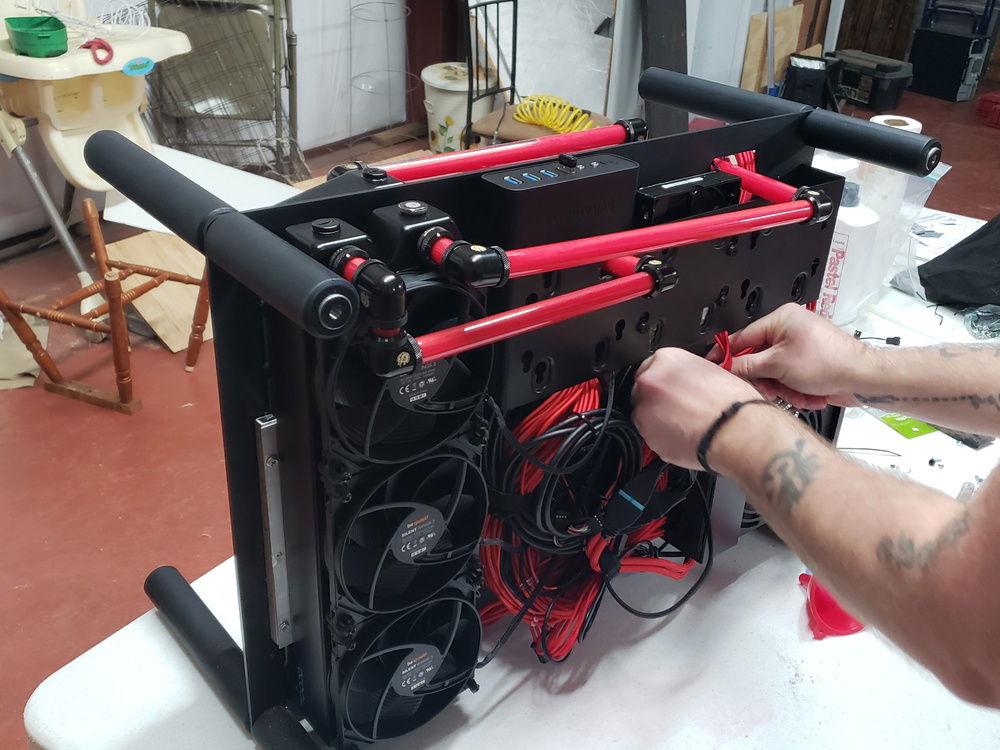
One radiator just didn't keep it as cool as we had thought. So a few weeks later we added another AlphaCool 45mm 360 to the back, not an Xflow this time. This required a substantial amount of modding and thinking outside of the box. This case is not designed to mount 2 radiators. We were able to fabricated a mount to the case and then the radiator to the mounting rails.
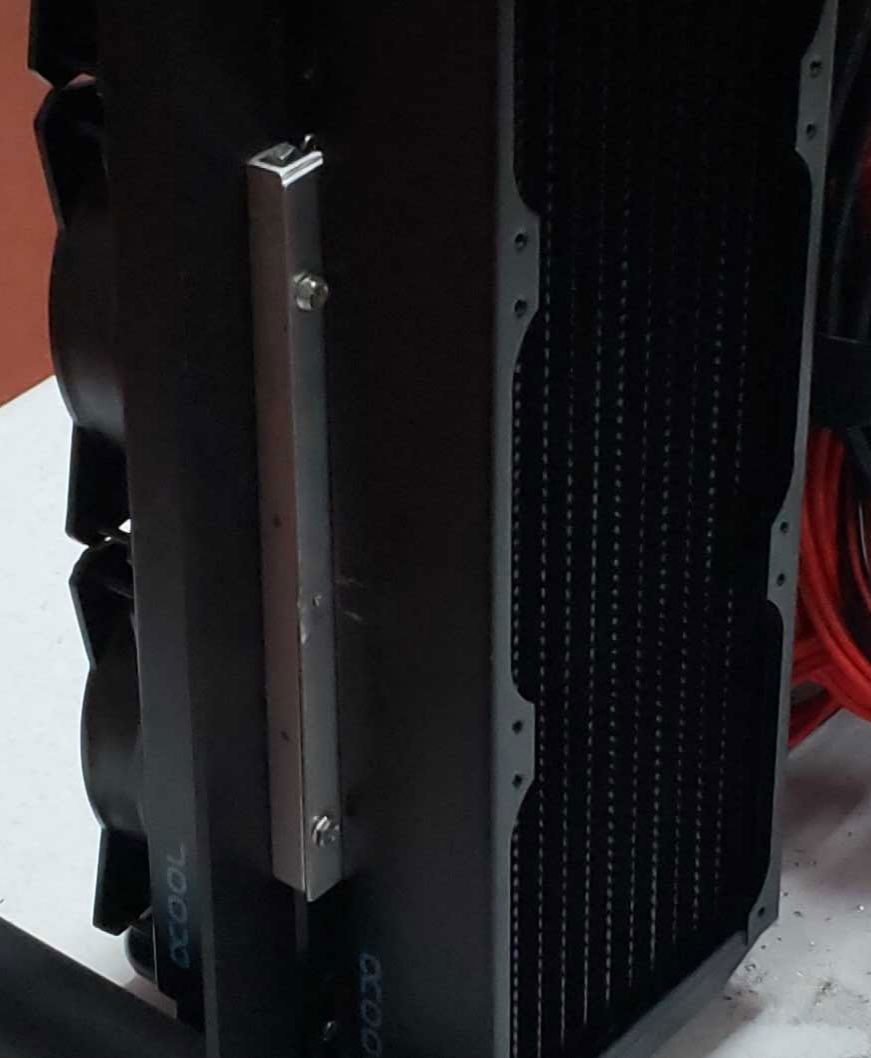
This is the rail we fabricated. Everything we used can be found at Home Depot.
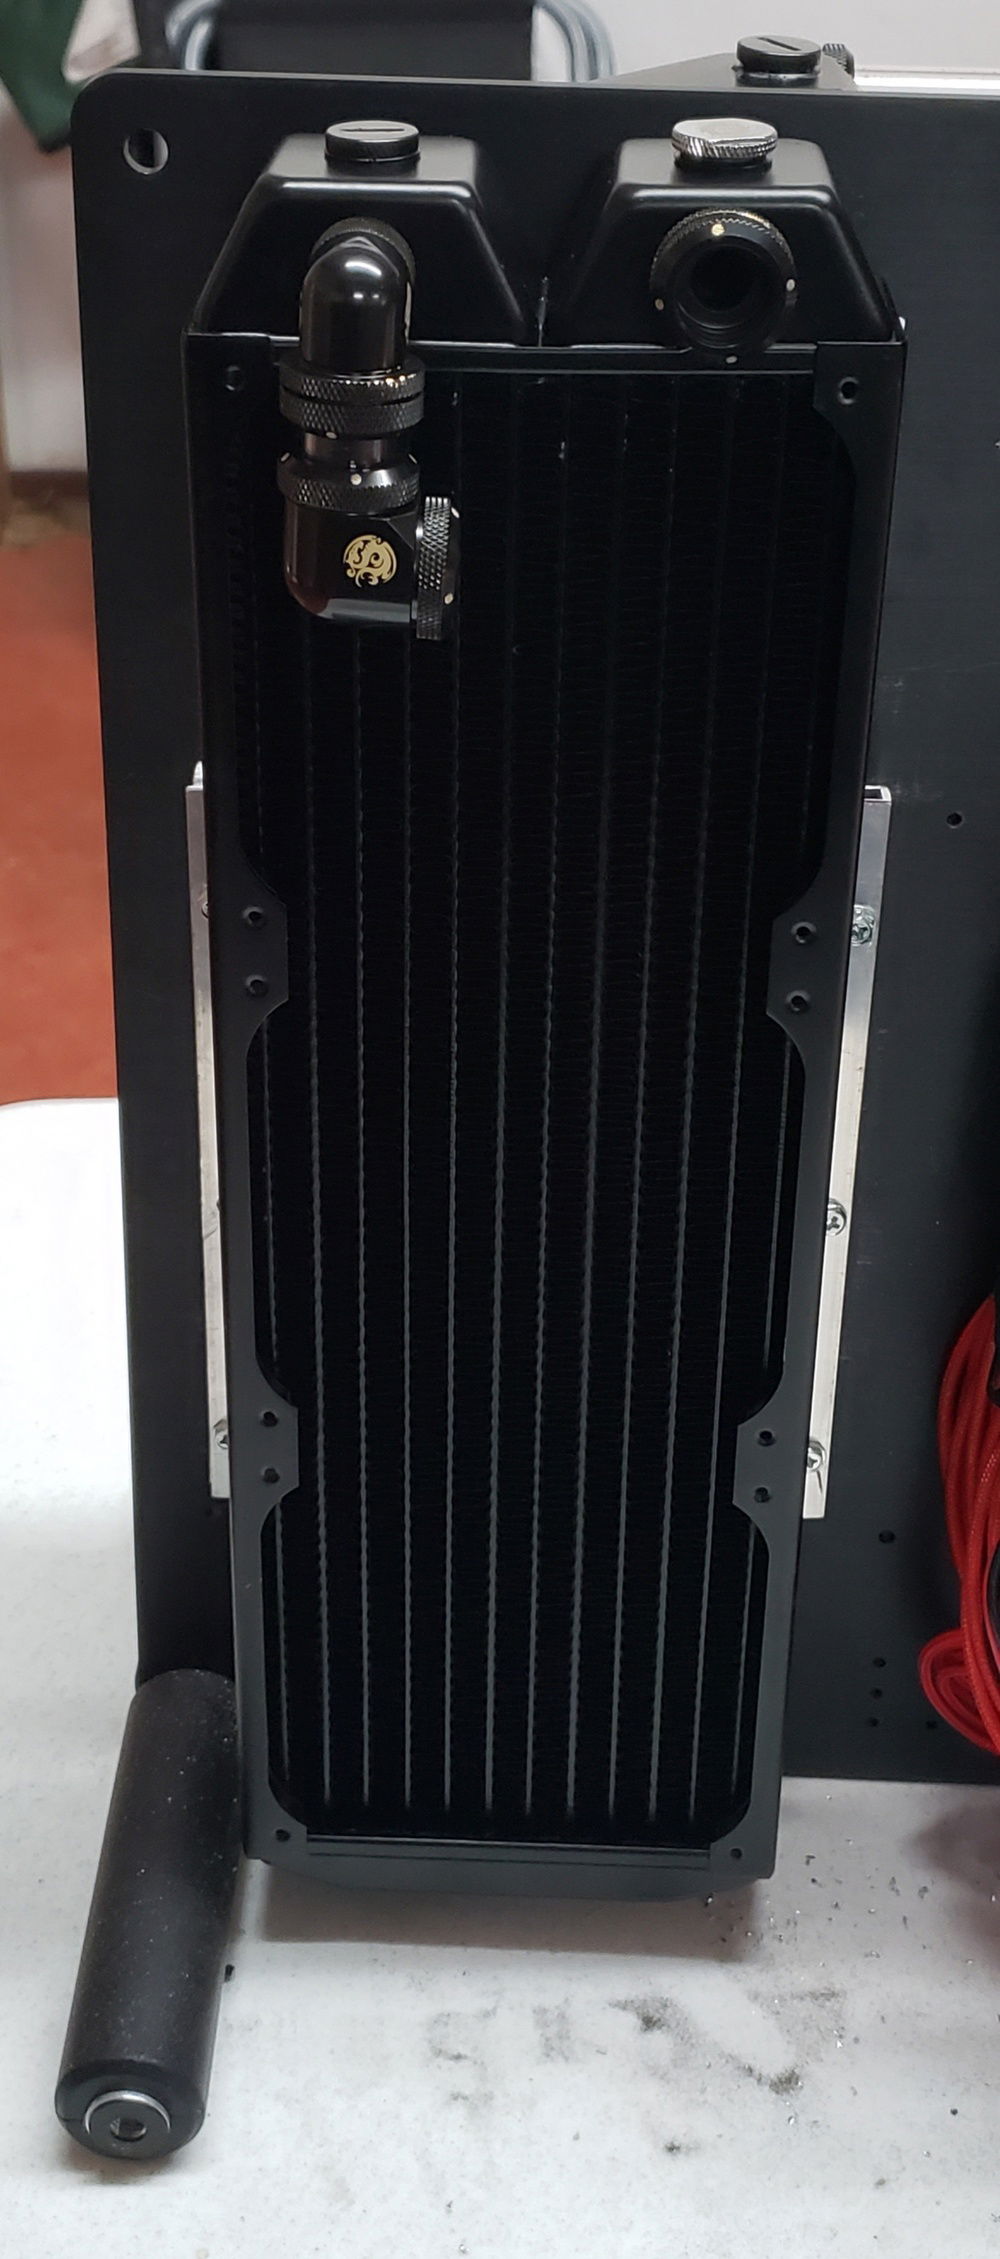
Radiator successfully installed. This took longer than expected. Close to 2 hours.
We had to rethink our tubing layout now that we added an additional radiator. Few changes but nothing major.
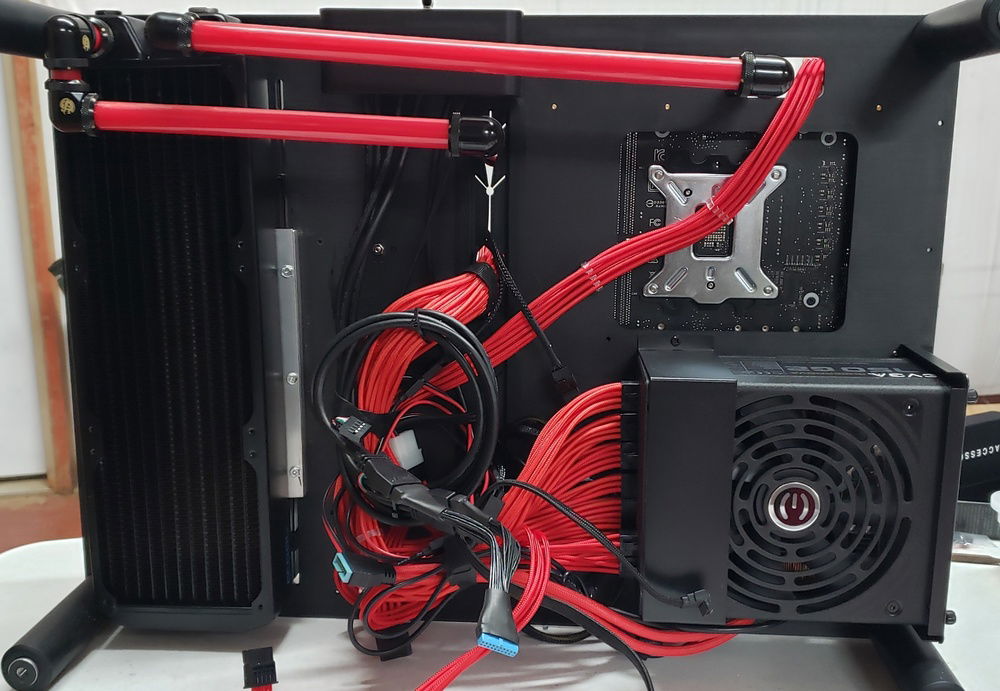
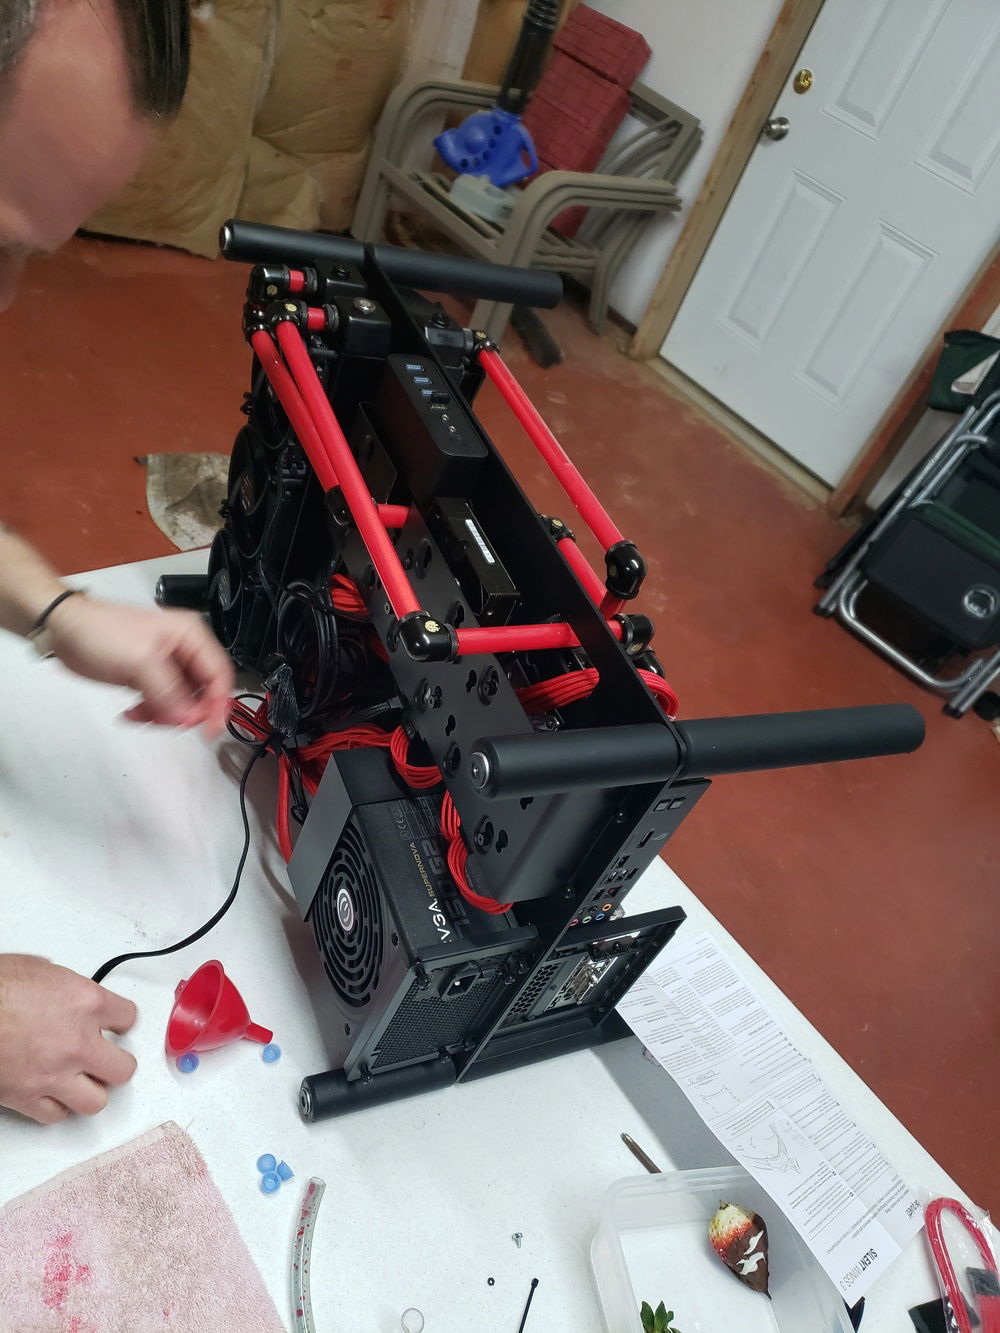
Not completely level on the tubing but didn't have much room to work with. Just had to make that part work. This is the back of the case.
Hard to tell be we had to notch the SSD/HD bracket with the dremel so that we could run the tubing where we wanted.

Added a set of BeQuiet Wing 3 fans to the back radiator.
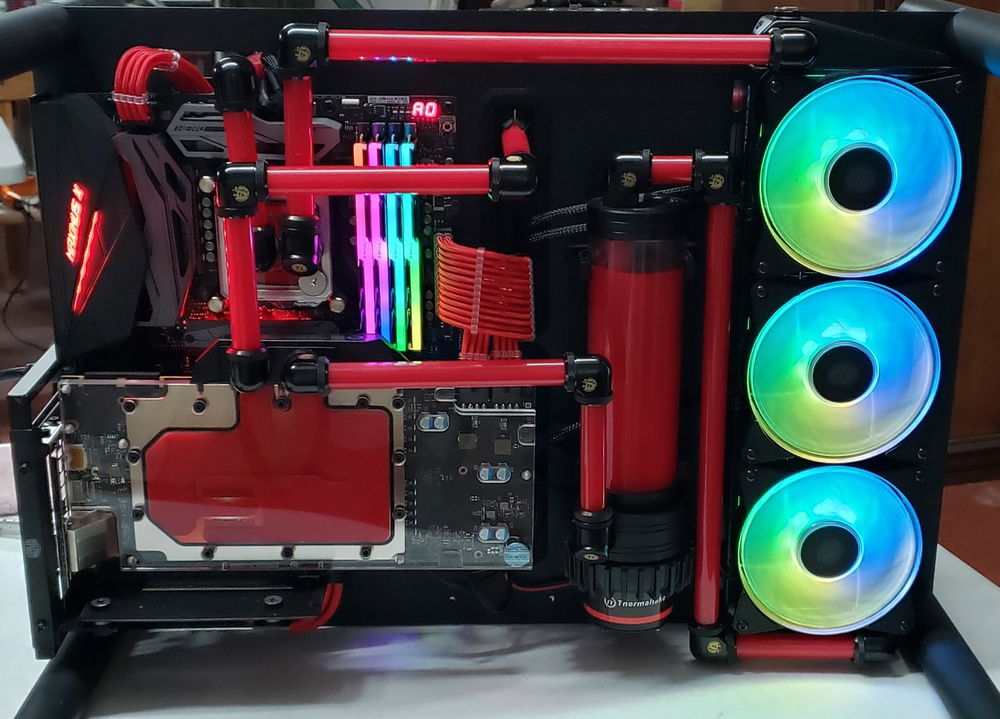
COMPLETE! For real this time! You can see instead of running the tubing from GPU to CPU we routed the tubing from the GPU exit to the second radiator in the back and then from that 2nd back rad to the CPU. We were able to drastically reduce the temps from the original layout we had created. Again, this case was NOT created to run double rads, so a lot of modding and fabricating took place.
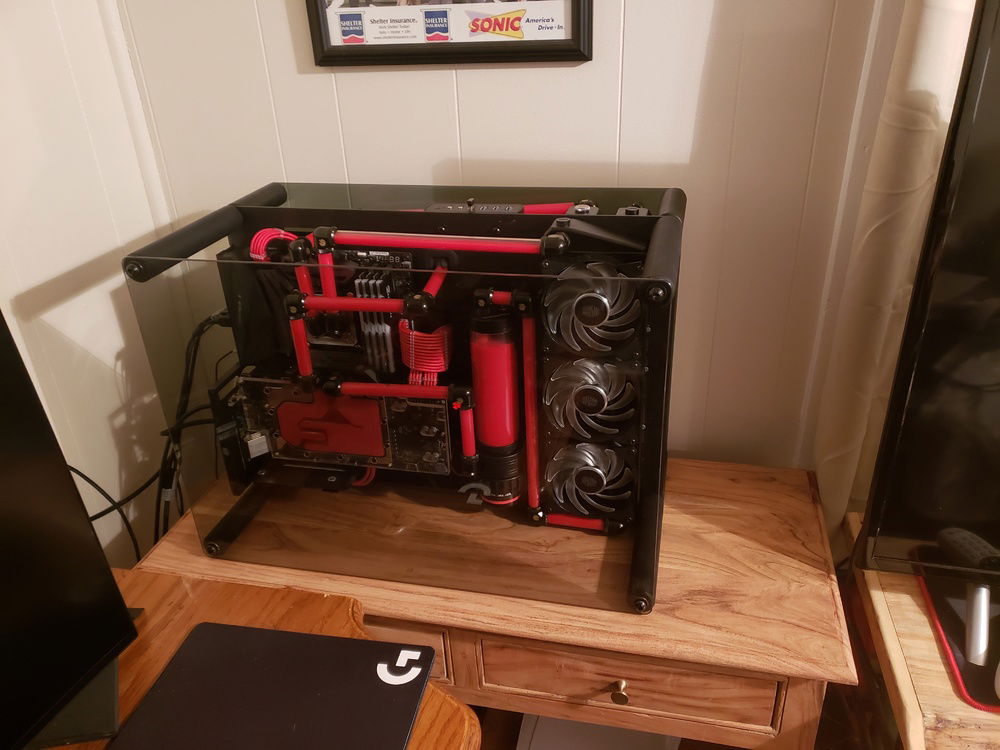
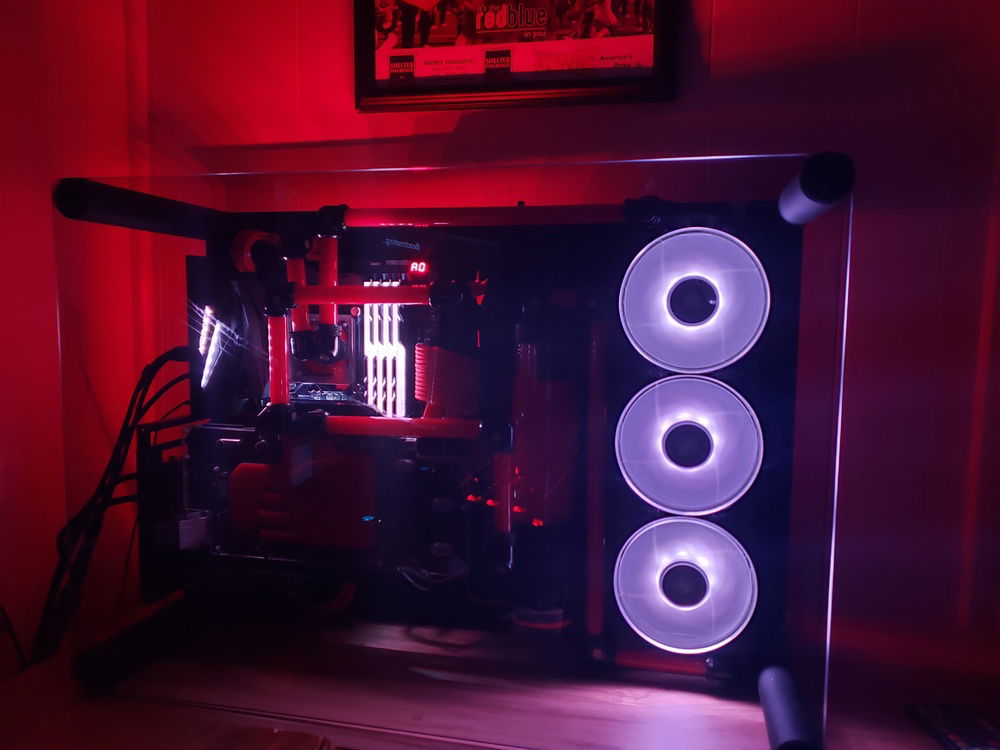
Big Red
AD:
I decided on the Raijintek Paean case and then enlisted the help of one of my friends who also happens to be the IT guy at the place I work as well as a really handy fabricator. All of those skills were needed to complete this build. This was the first custom loop either one of us have ever built, so it was a learning process along the way. While the Paean case is very good looking it is not very practical for a high end custom loop GPU + CPU cooled system. The 1080Ti FTW3 was too long using the Raijintek vertical GPU bracket (which was not included with the case). We ended up using a coolermaster vertical mount and fabricated it to fit flush against the I/O panel to allow the GPU to fit. The next issue we ran into was that the size of the pump/reservoir combo we chose was larger than Raijintek designed the case to use. I do not understand why a bench style open concept case would not be using a large pump/reservoir and cooling both GPU and CPU. After searching around online I was able to find very few photos of builds in this case where both CPU/GPU were being cooled via custom loop. So the modding began. We fabricated brackets to help support the GPU bracket and a bracket on the bottom of the pump/reservoir just to be safe. We thought that was the last modification that the case would need until we realized that a single 45mm x 360mm radiator was not going to provide us with enough cooling to cool both CPU/GPU. To run the tubing through the back of the case we had to put a notch in the SSD/HD bracket.
I hope the photos do an accurate job of detailing the build process and maybe even help someone else who is in the planning stages of their build. Feel free to ask me any questions you have about my build or builds in general. I will be happy to help you if I can.
I hope the photos do an accurate job of detailing the build process and maybe even help someone else who is in the planning stages of their build. Feel free to ask me any questions you have about my build or builds in general. I will be happy to help you if I can.
Color(s): Black Red
RGB Lighting? Yes
Theme: Color
Cooling: Custom Liquid Cooling
Size: ATX
Type: General Build
Contests
This build participated in 1 contest.
| Rank | Contest | Date |
|---|---|---|
| #706 | The builds.gg 10K Challenge | ended |
Hardware
CPU
$ 193.00
Motherboard
$ 199.99
Memory
$ 338.68
Graphics
$ 400.00
Storage
$ 167.00
Cooling
$ 227.25
Cooling
$ 139.00
CableMod
Keyboard
$ 139.97
Approved by: