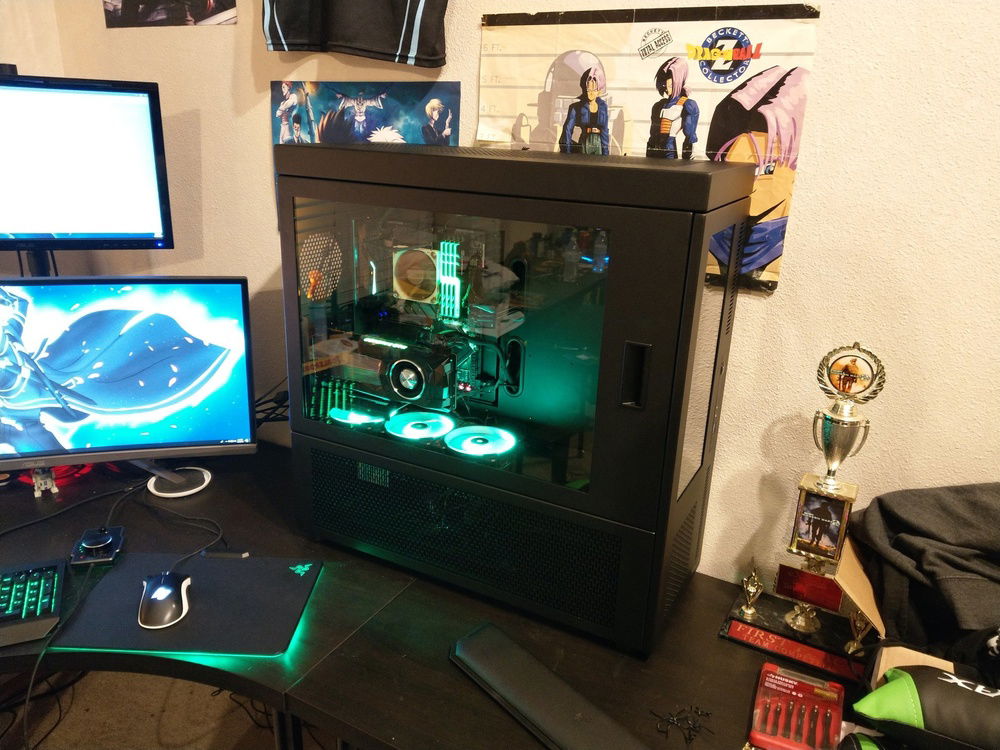
The journey begins! Air-cooled components in the CaseLabs case.
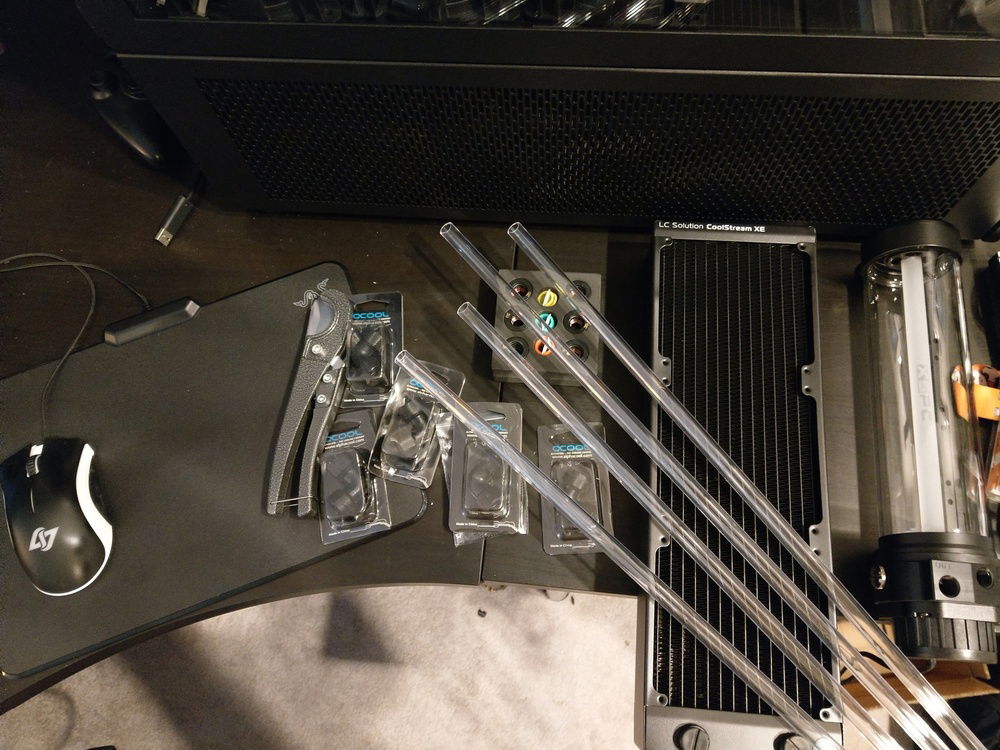
First of the watercooling parts arrive!

CPU block installed.
CPU loop v1 with no bends.
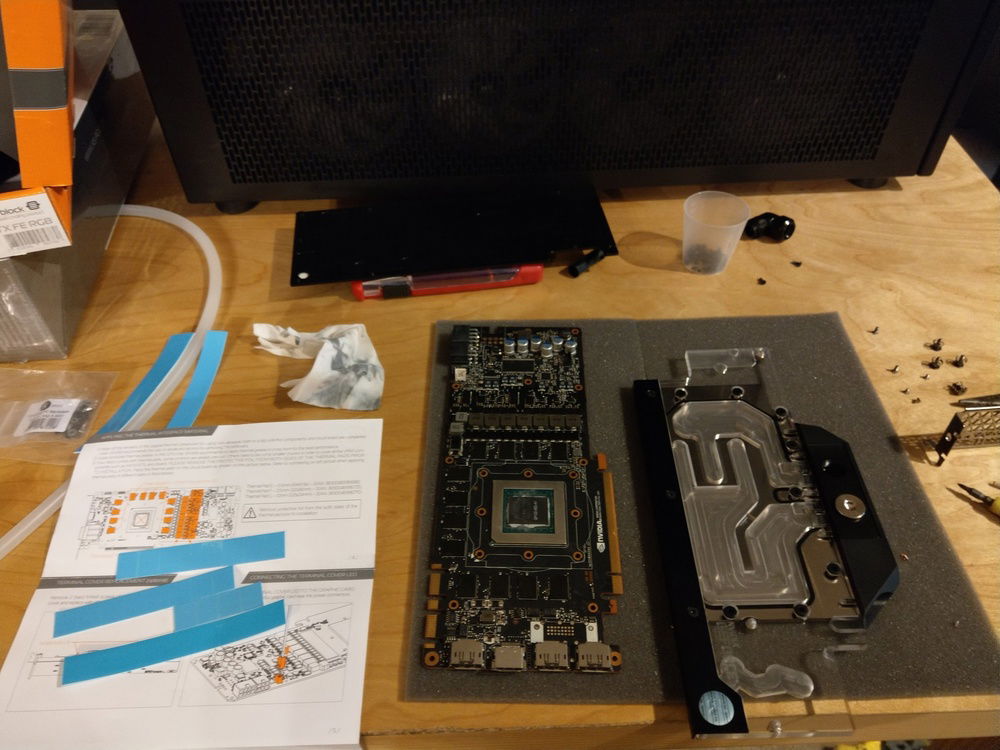
GPU block installation. A bit scary deconstructing such an expensive GPU for the first time!
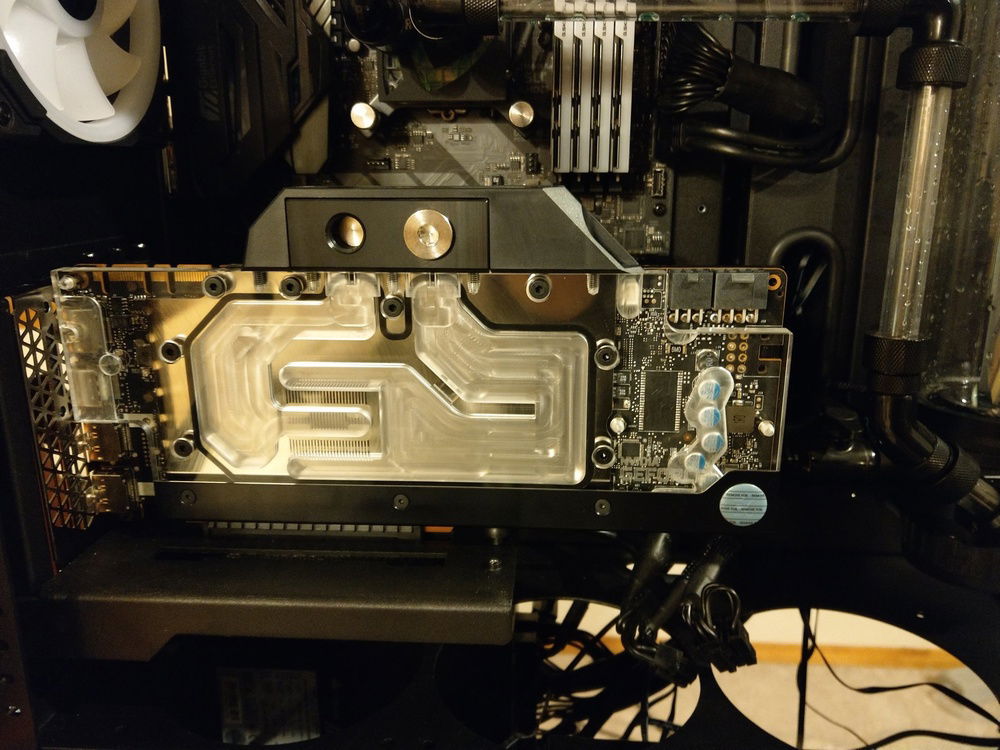
GPU block installation completed! But does it still work??
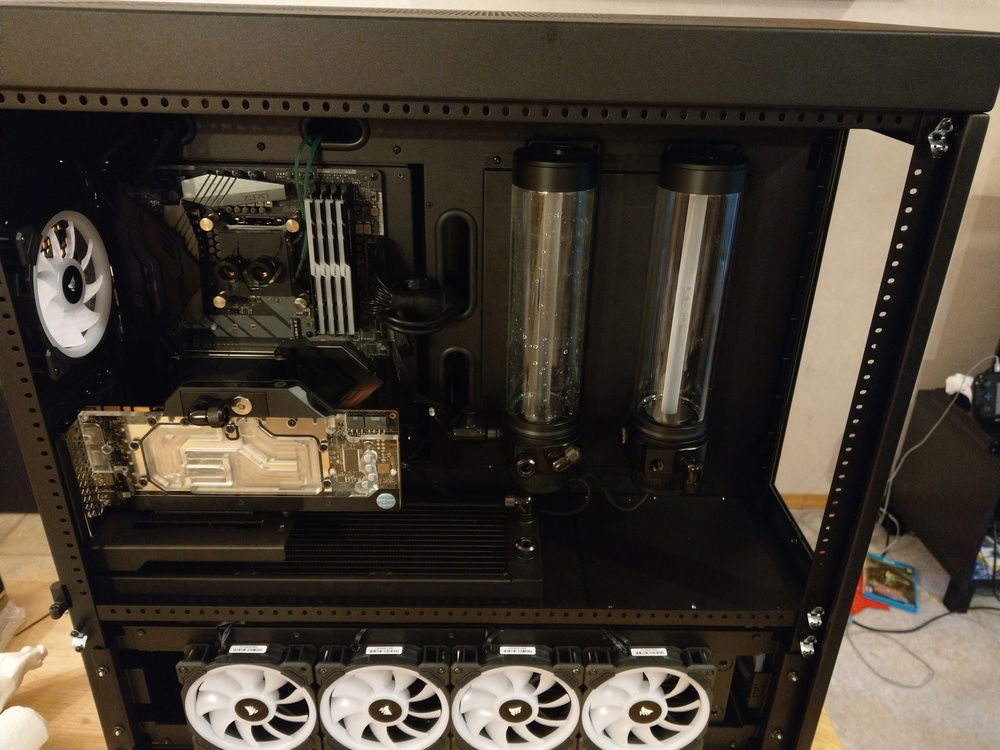
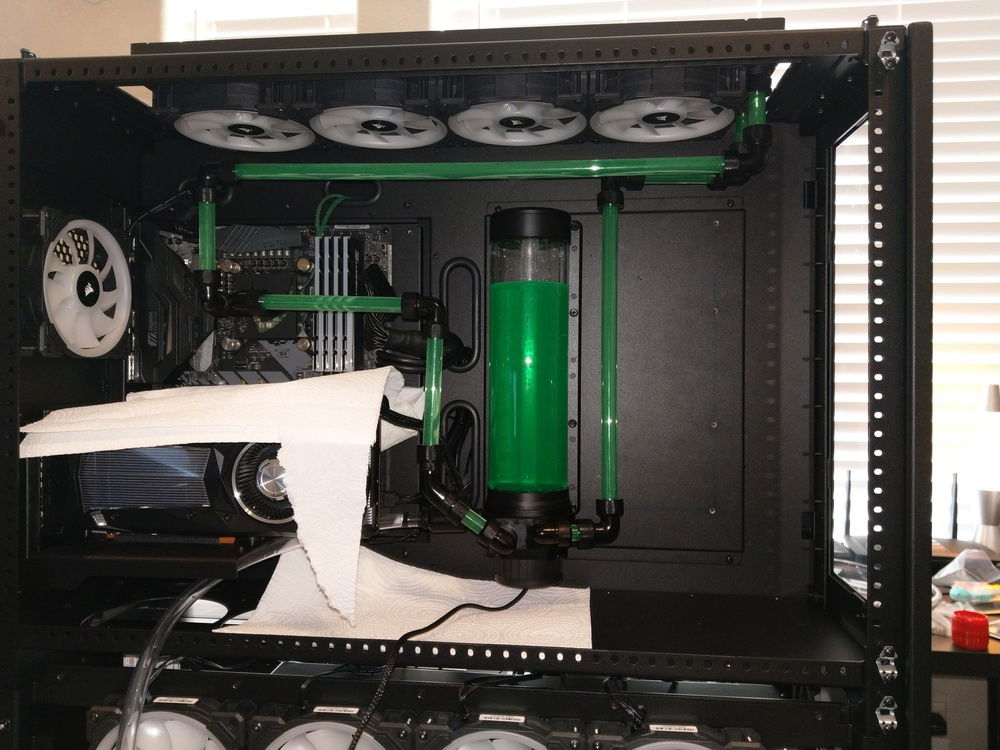
Added the second rad for the CPU loop (first rad is in the top section and not visable) as well as GPU res/pump, GPU waterblock and GPU rad (GPU rad is in the bottom behind the 4 fans). Time to brainstorm the dual loop path!
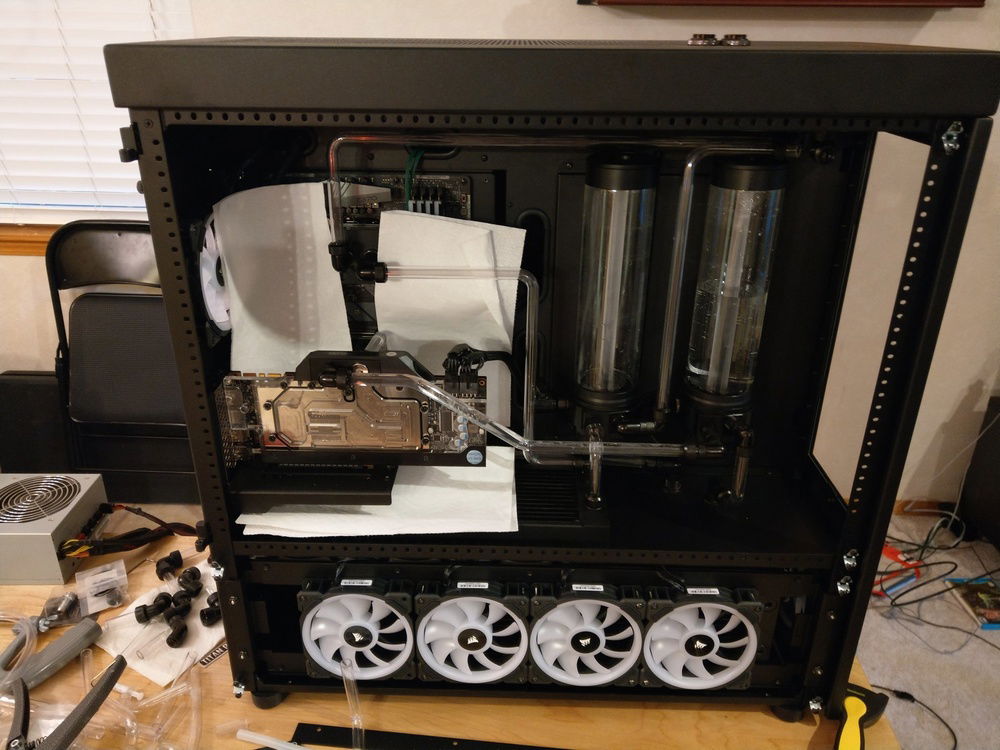
Both loops have been completed and leak tested! Only had 1 minor leak on the GPU loop but it was due to a faulty fitting. Easy fix!
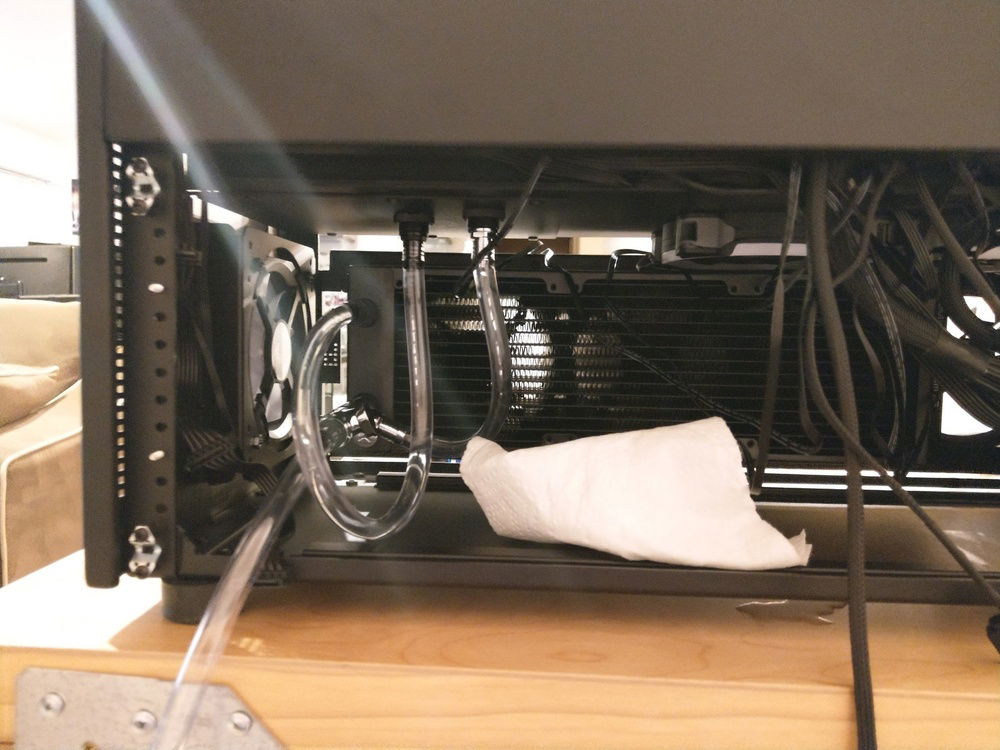
The depths of the loop. I went with soft tubing here since it is unseen and much easier to work with. Also remembered to add the drain port here on the GPU loop! Ignore the cable medusa on the side, this was before cable management was done :P
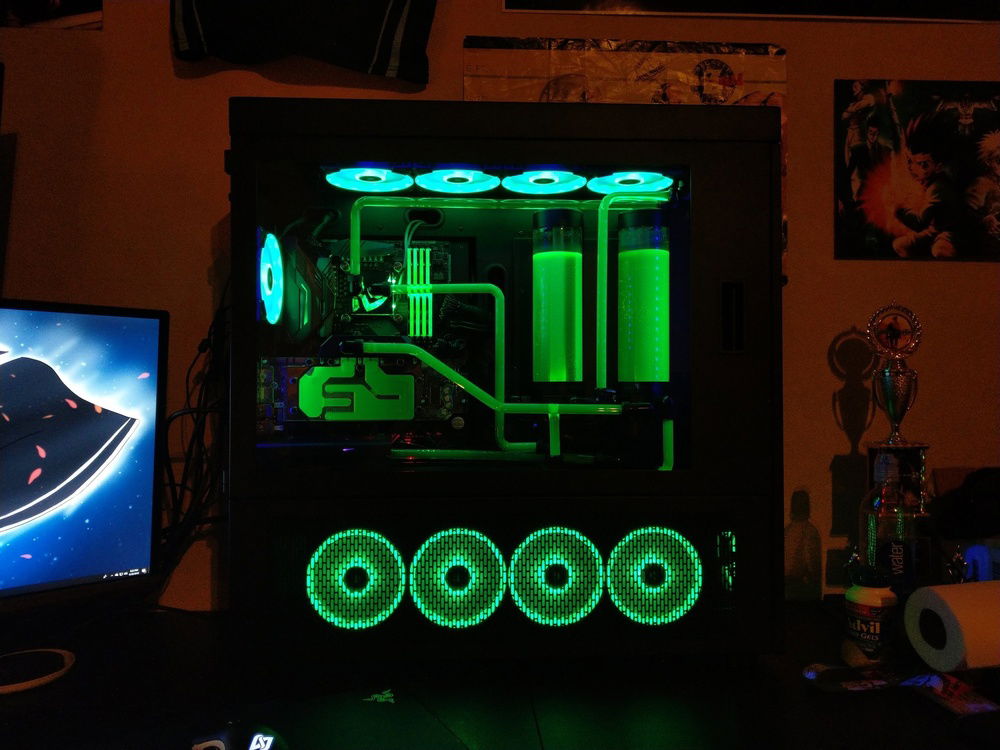
Alas, it is done and everything still works! This is with minimal lighting. The UV fluid really pops and looks awesome!
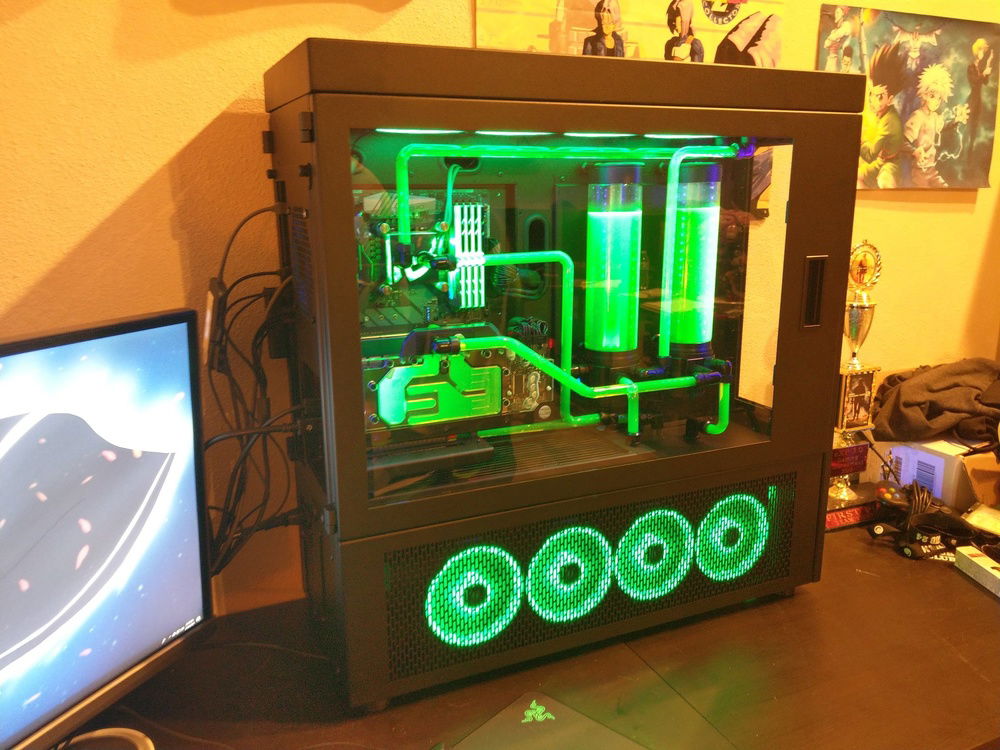
Normal lighting. UV fluid still looks great!
First Dual-Loop Hardline Build (Black and Green w/ UV)
AD:
This was my first attempt at a custom, hardline, dual loop, watercooling build! I have always been a fan of the green and black color scheme and parts in these colors are fairly easy to come by so this made the decision pretty easy.
It is worth noting that this build was inspired by JayzTwoCents and his Skunkworks build. Ever since I saw him use the CaseLabs SMA8 case I wanted to build something in it so bad so shout out to him and his awesome channel and all that I have learned from watching him!
I built this PC in 3 stages:
1 - Ordered the CaseLabs case and hardware components and aircooled them while saving up and brainstorming how I wanted the loops to look.
2 - Ordered CPU loop parts and set the loop up with no bends using black fittings as a test run. Though I really liked the look of the fittings at the corners, I could not keep the loop from sagging due to the extra weight, so for the final product, I opted to bend the tubing with minimal fittings. I also did the CPU loop first so I can overclock the 8700k which I got to 5.2GHz stable. CPU loop is on the EKWB SE 480x120mm rad. If I had a thicker rad I could likely get to 5.4 based on my testing but I ran into heat issues. I am still very happy with 5.2!!
3 - Ordered GPU loop parts and LOTS more tubing since I knew I was going to fail many bends. This was a lot of fun but also very frustrating as bending the tubes turned out to be harder than expected. Redid the CPU loop as well in this stage as mentioned above. I did have to drill 2 holes in the metal plate between the bottom section and main section of the case in order to pass the tubing through. This was fairly easy but a little scary since you don't know how perfect your measurements are until after the holes are drilled... Also, this build has 13 FANS! Wiring and cable managing 13 fans (10 of them being RGB so 2 cables) was NOT FUN but well worth it. I had to really think about where I was placing the commander pros and fan hubs in order to make cabling neater and easier. Also having 2 M.2 SSDs reduces cabling so that was a small win.
I went with Mayhems X1 UV Green Fluid with 2 UV LED strips and it looks amazing with both the lights on and off. The top lines get a bit washed out since they are so close to the RGB fan lights but all in all I am VERY happy with how this first attempt turned out, minus the price tag LOL.
CPU Loop path - Res/pump --> EKWB SE 360x120mm Rad --> CPU block --> EKWB SE 480x120mm Rad --> Res/pump
I initially only had the 480 rad in the CPU loop but I was not happy with the temps at 5.2GHz so I added the 360mm SE rad after. It was an easy add because it lined up perfectly below the the Res/pump output hole. 480 rad at the top and 360mm rad in the middle right below the left Res/pump.
GPU Loop path - Res/pump --> GPU block --> EKWB XE 360x120mm Rad --> Res/pump.
Surprisingly this 1 thick rad is enough to keep the Titan Xp plenty cool even while overclocked.
Color(s): Black Green
RGB Lighting? Yes
Theme: Color
Cooling: Custom Liquid Cooling
Size: ATX
Type: General Build
Contests
This build participated in 1 contest.
| Rank | Contest | Date |
|---|---|---|
| #1106 | The builds.gg 10K Challenge | ended |
Build Updates
Titan GPU Died and Ryzen 5000 Prep

Hardware
CPU
$ 193.00
Motherboard
$ 429.00
Memory
$ 338.68
Graphics
Storage
$ 85.00
Case Fan
Case Fan
$ 39.61
Cooling
$ 175.00
Cooling
$ 50.00
Cooling
$ 118.95
Accessories
$ 74.29
Accessories
$ 74.29
Approved by: