


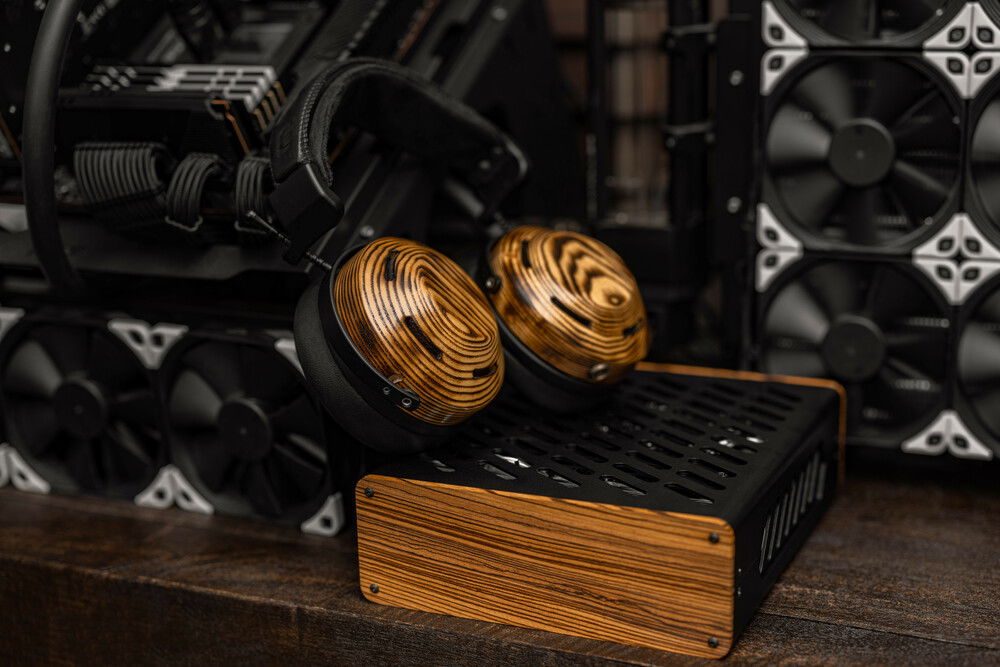
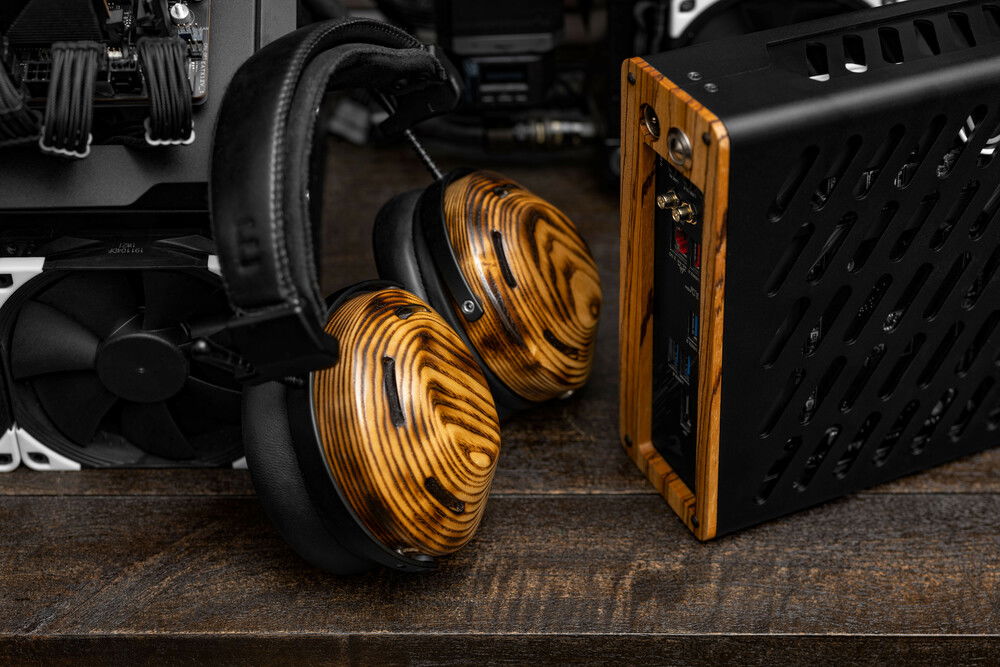
Zebra wood change up.
Owari - Skyreach 4 Tiny/5700G APU SFF Build
AD:
This is a very condensed write up as well as a few photo omissions that would not make sense without the context. Check out the full-length piece for much more backstory on the case maker and the SFF community.
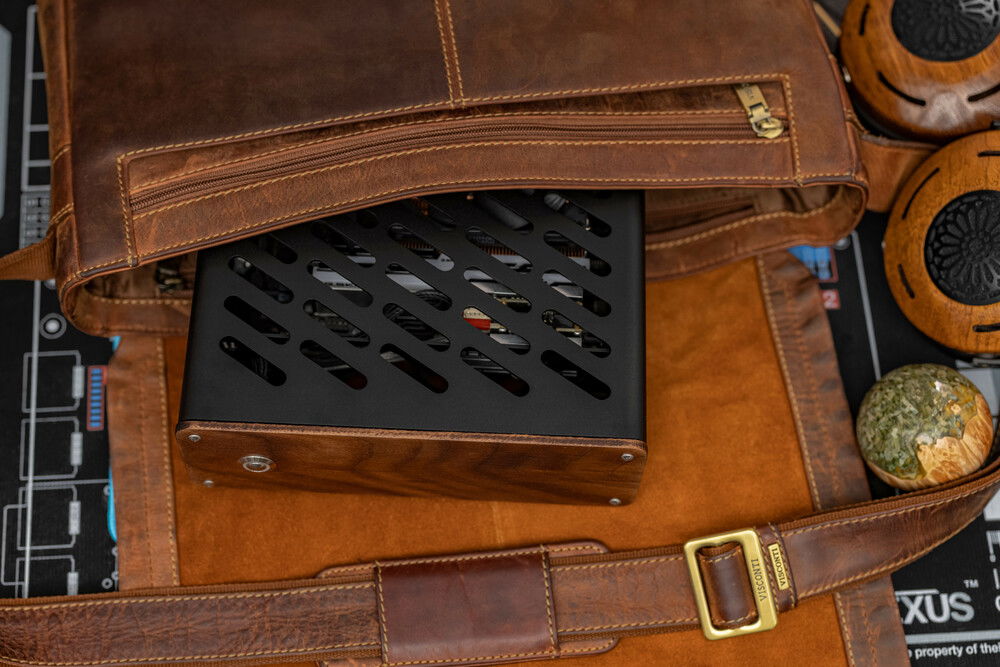
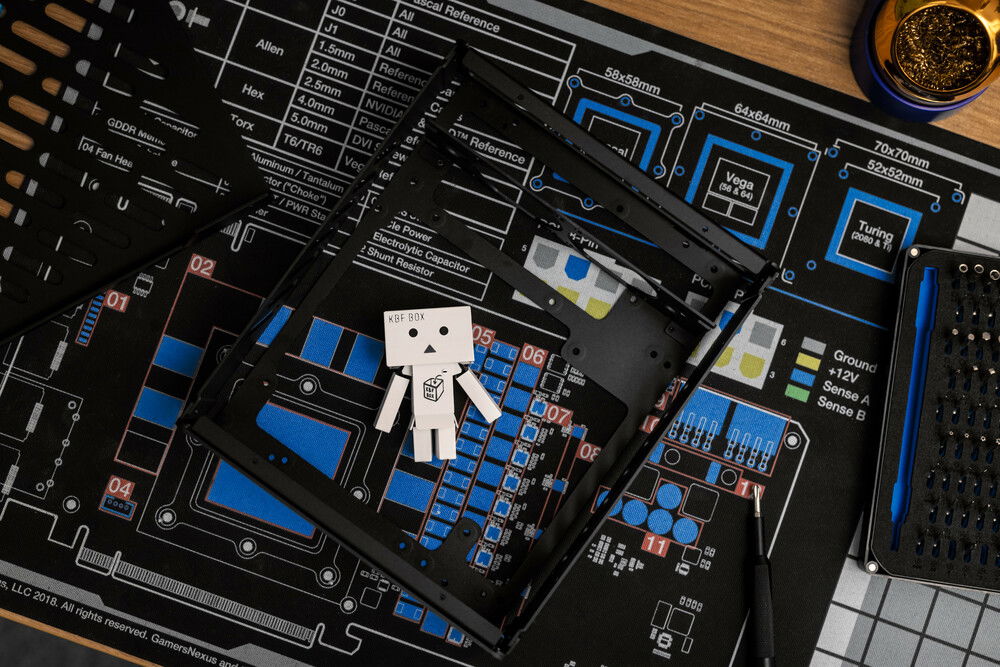
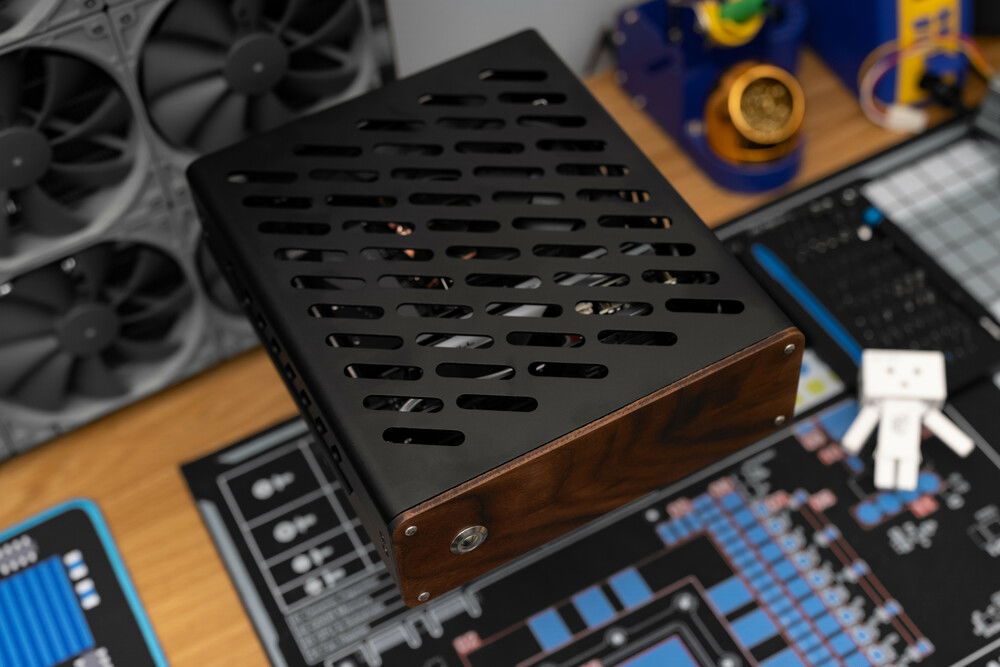
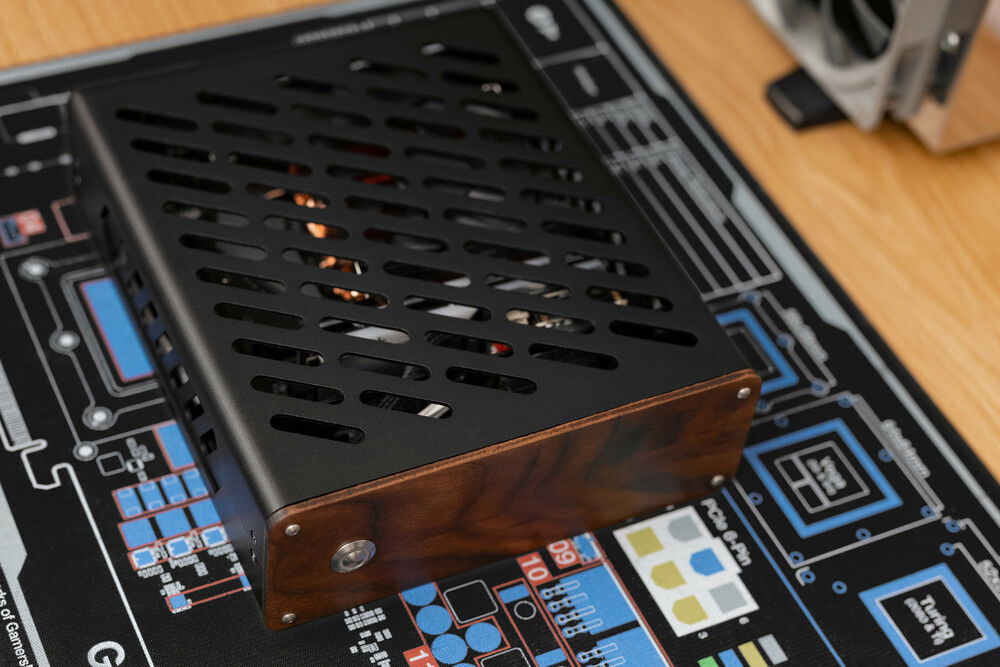
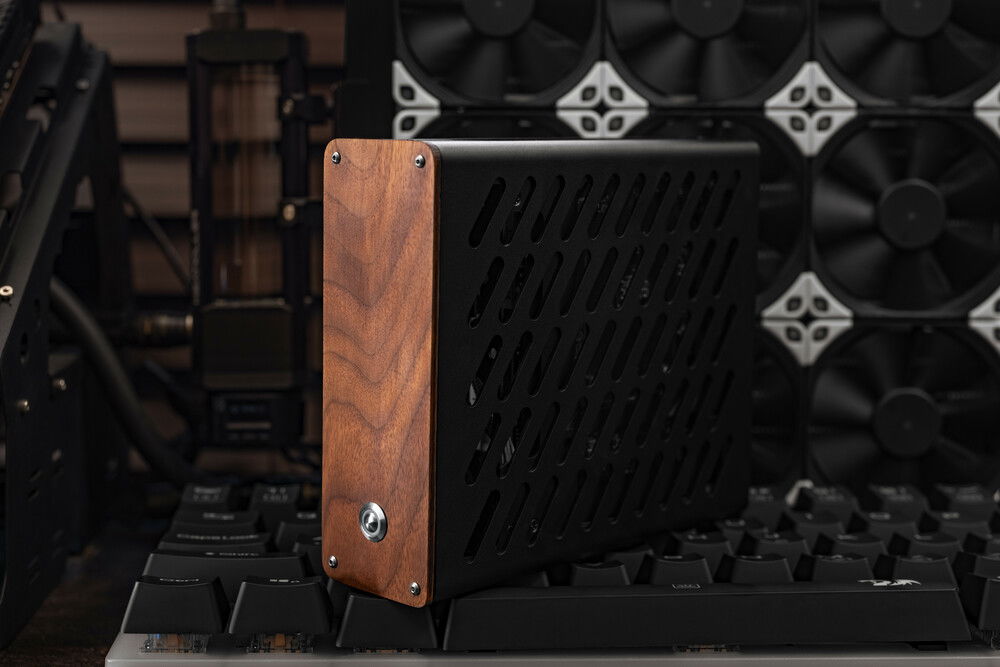
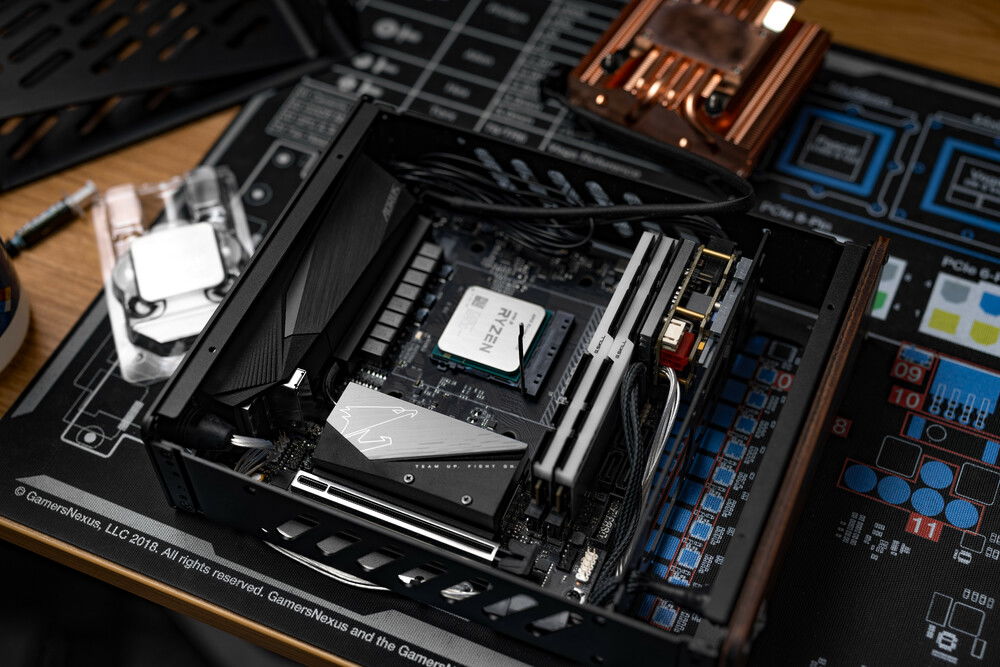
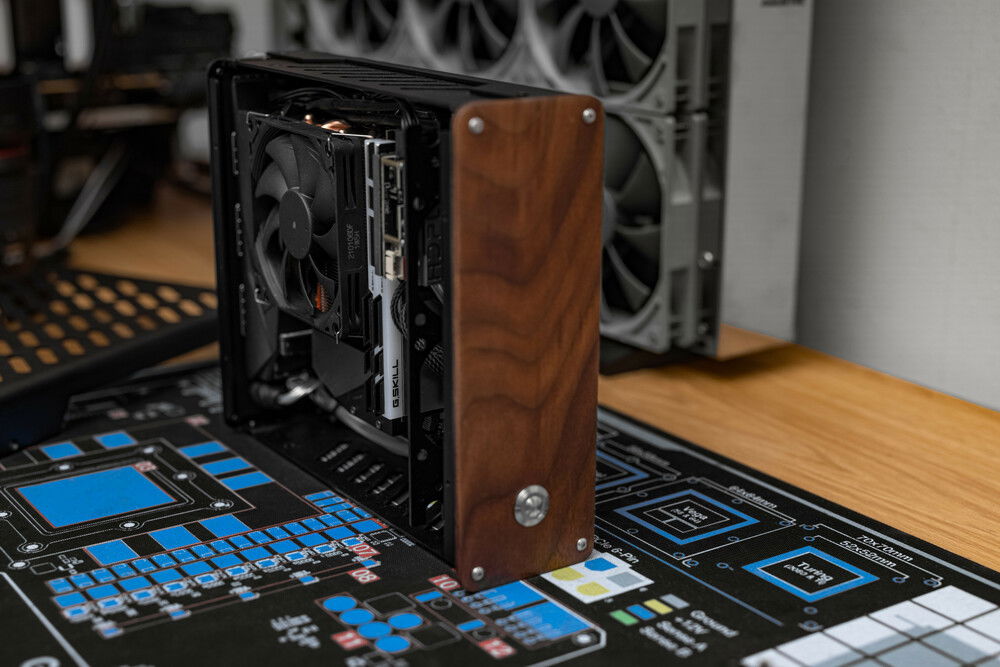
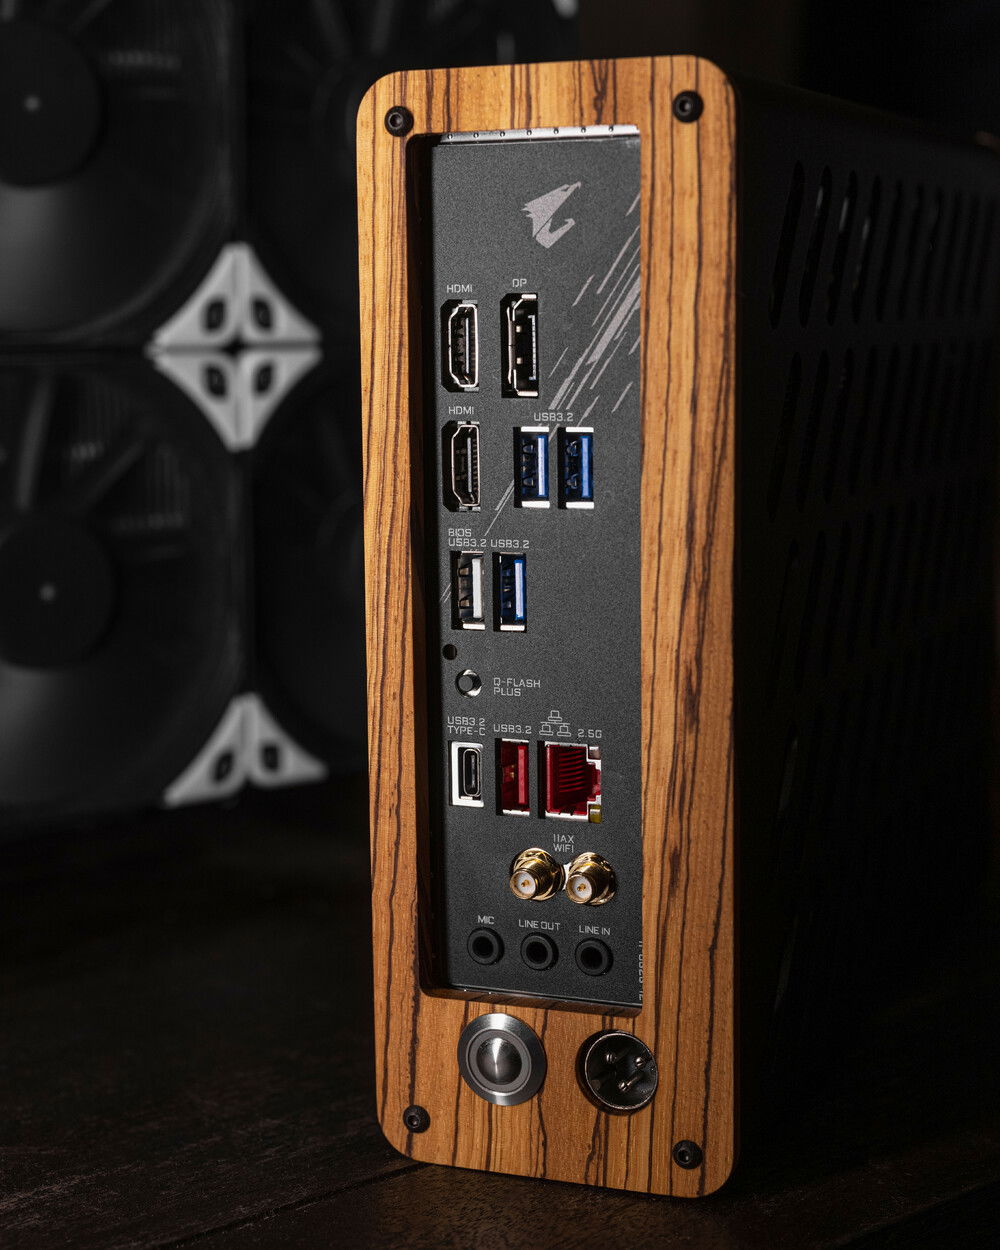
The Skyreach 4 Tiny is a 3.3L case from Not From Concentrate sports 2mm thick, hard anodized, sandblasted aluminum panels with a 1.6-2mm thick chassis. I was very excited to get a hold of one, and wanted to pack as much power into it as I could. For that I chose the AMD Ryzen 5700G APU. Full system specs are:
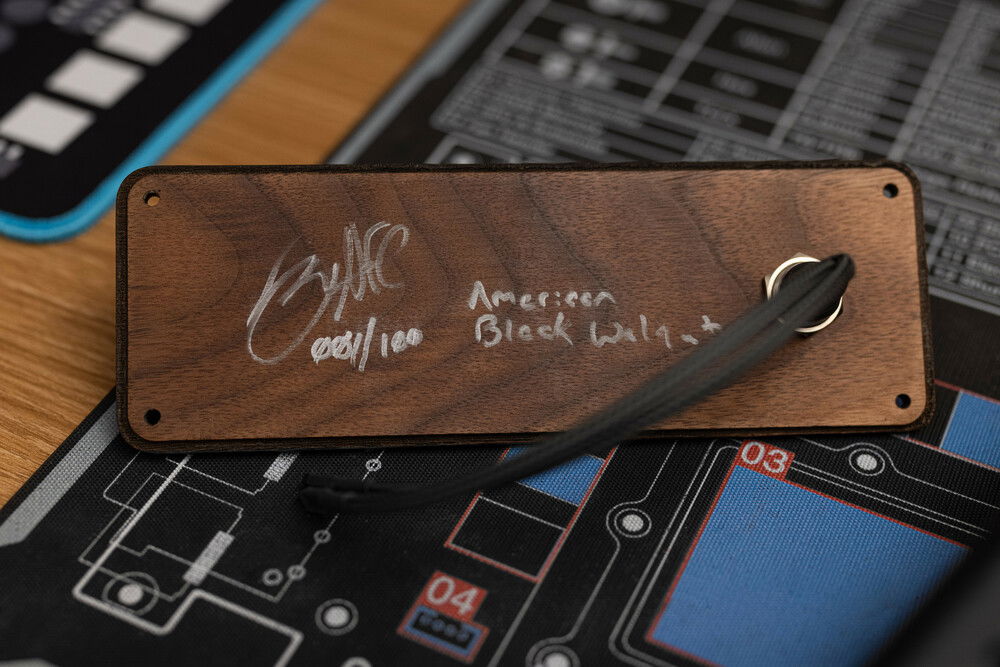
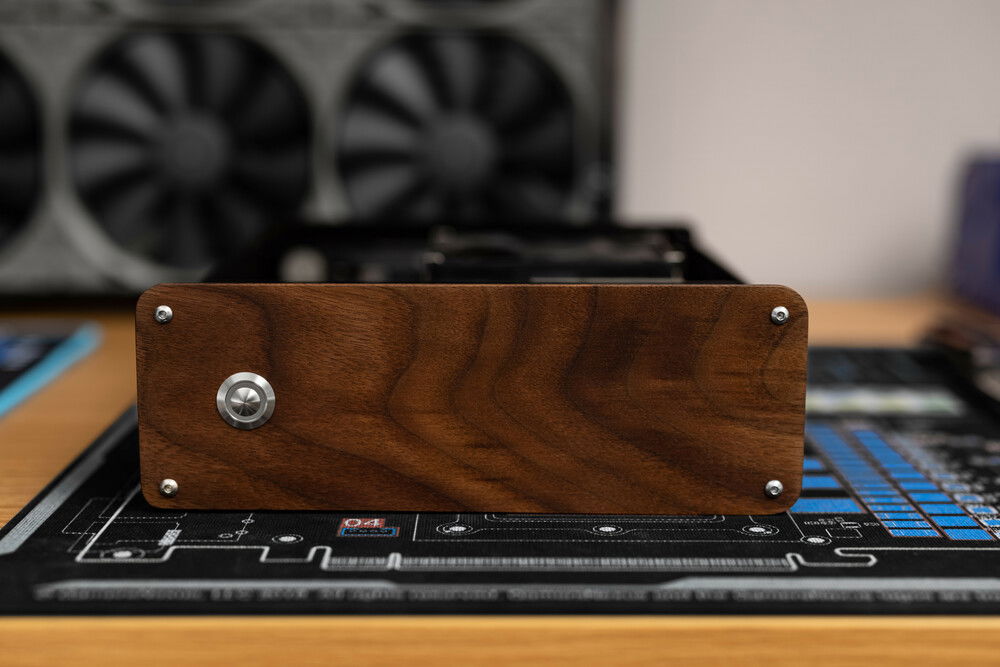
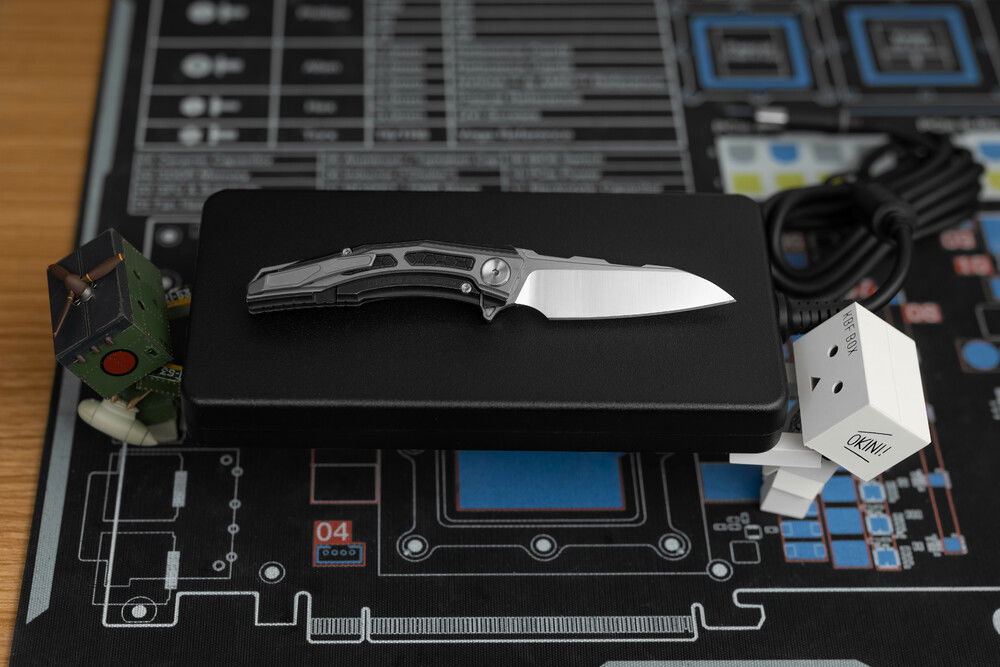
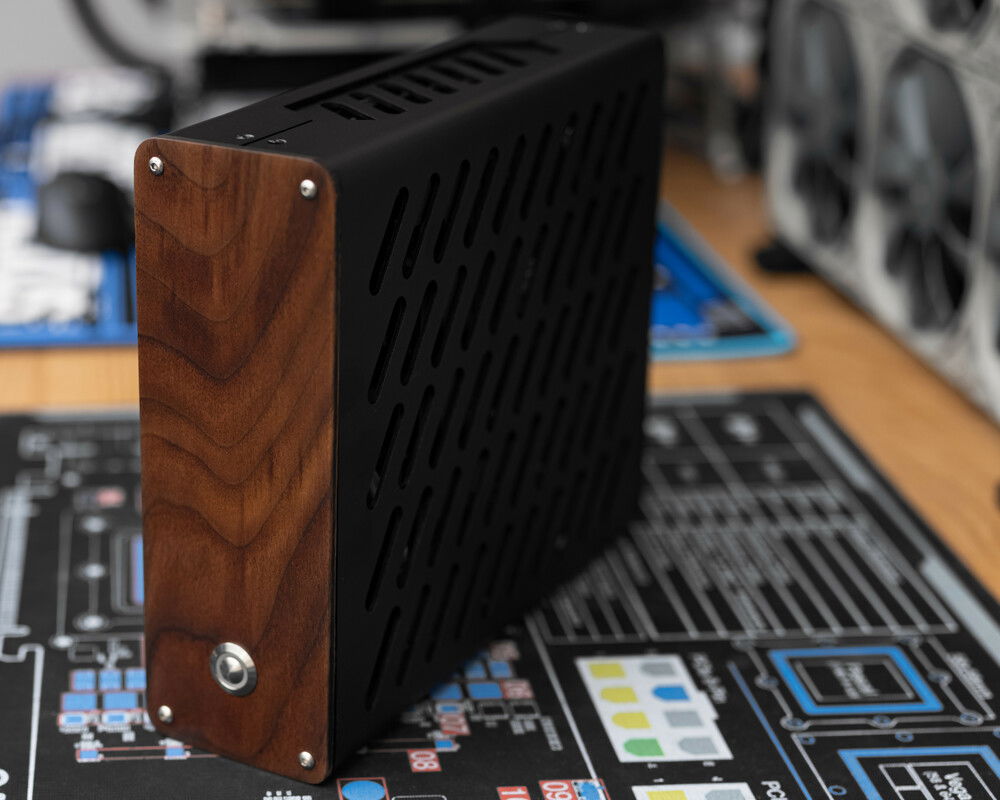
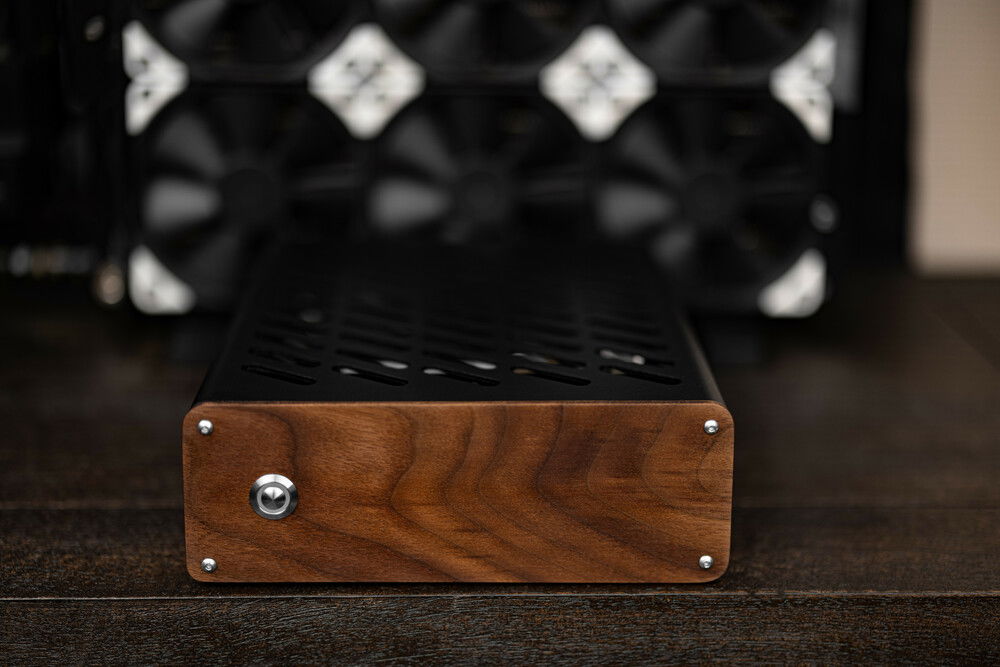
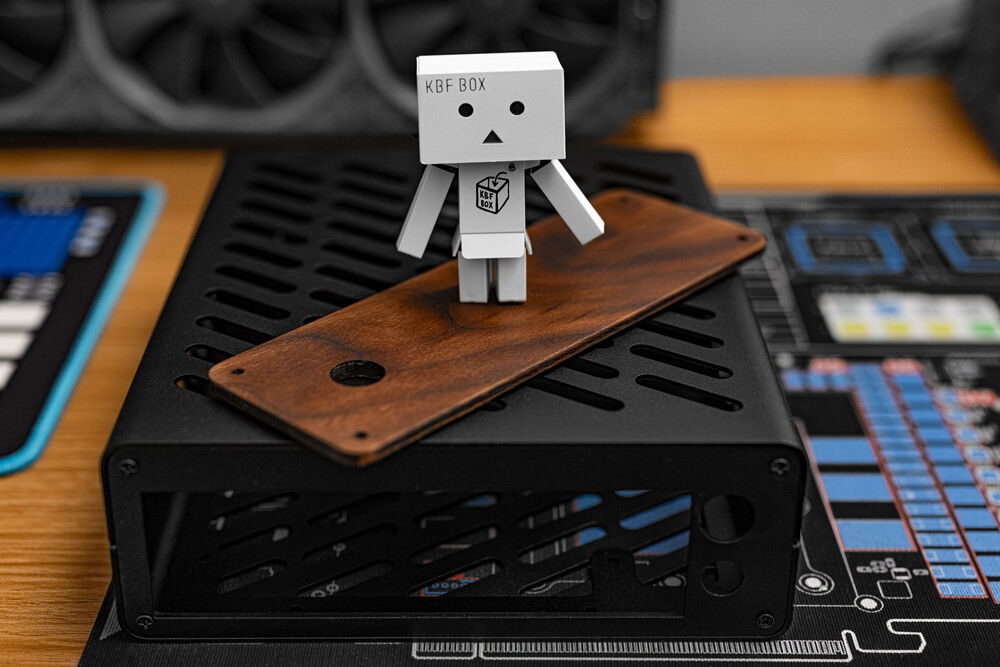
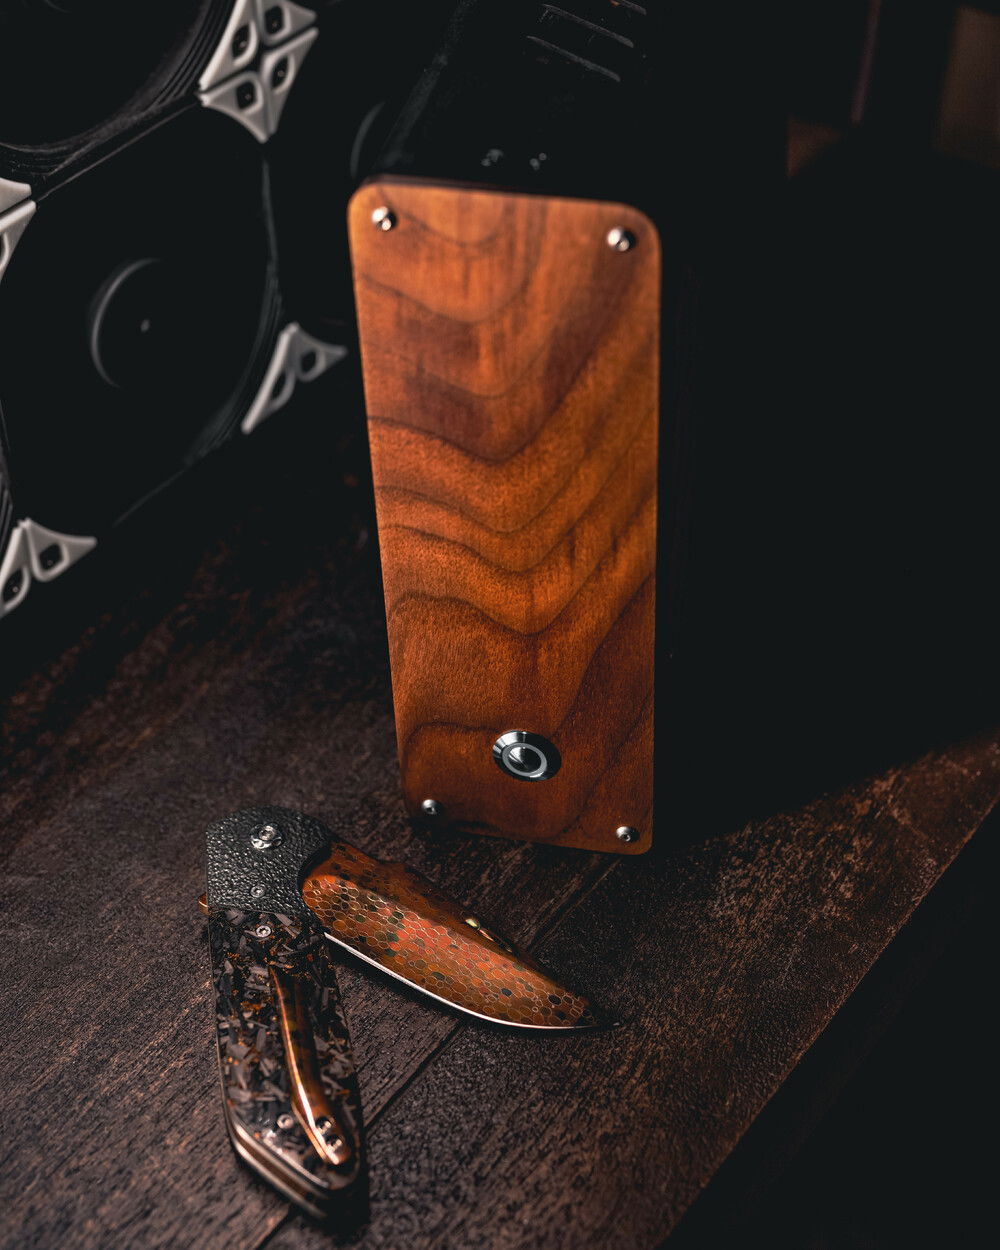
I also went with some custom options like the gorgeous walnut bezel, premium anti-vandal on/off switch (it is SUPER tactile and awesome), and a custom sleeved power cable.
Things I loved about the build:
Challenges with the build:
Planned and possible changes:
How does it perform?
One of the things that I cannot help but notice with simple systems is boot time. My laptops are very snappy when it comes to powering on and getting straight to the desktop. This system produces a similar result when comparing this to my main PC with its many PCIe devices.
For CPU related tasks, I benchmarked using Cinebench R23 and achieved 13698 multi, and 1507 single core. Clocks were consistently in the 4.2 to 4.3 all-core range throughout the test. Peak temperature was 89.6C for the last 60 seconds of the 10-minute all-core run. Peak clock speed for the single core run was 4.65GHz. The 5700G runs significantly warmer than the 4600G that I had previously. I ran PBO with it but will not be doing so with the 5700G. Performance is plenty good with frequent boosts to 4.65 vs the 4.3 of the 4600G. I ran Passmark 10 since it was in my Stream library, but I do not use it enough to have any appreciation for the numbers. For those curious, it scored a 6756 overall with 10921 in essentials, 10189 in productivity, and 7520 in digital content creation.
For gaming, I am only including numbers out of sheer curiosity. As far as temps are concerned, looping Heaving Benchmark for 30 mins on basic resulted in an average temperature of 58C while peaking at 69.3C. GTA V saw 61C with peaks of 72C during 30 mins of play on low settings. The average frame rate was a bit all over the place, but seldom dipped below 35FPS. That said, it was not fun. This would likely be good for eSports titles, but I certainly would not go out of my way to purchase it for that use case.
Final thoughts
I love functional art. This build can crush just about any task, and it looks amazing doing so. My builds tend to catch the attention of my more tech savvy friends, but those who have no idea what they are looking just shrug and move on. This build unites all in asking “what is that?!” and I love it.
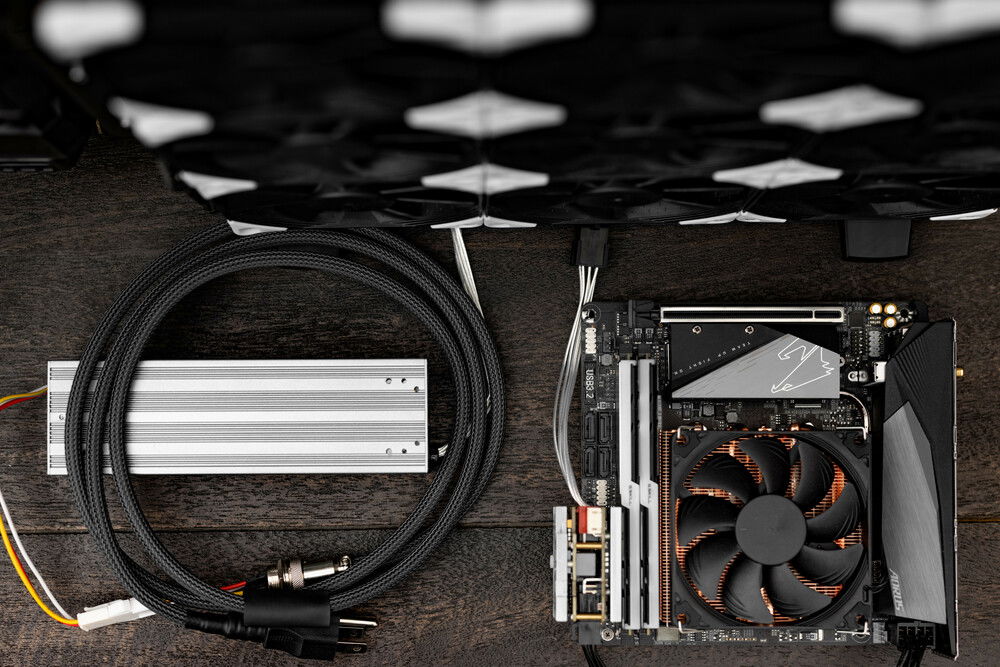
The Skyreach 4 Tiny is a 3.3L case from Not From Concentrate sports 2mm thick, hard anodized, sandblasted aluminum panels with a 1.6-2mm thick chassis. I was very excited to get a hold of one, and wanted to pack as much power into it as I could. For that I chose the AMD Ryzen 5700G APU. Full system specs are:
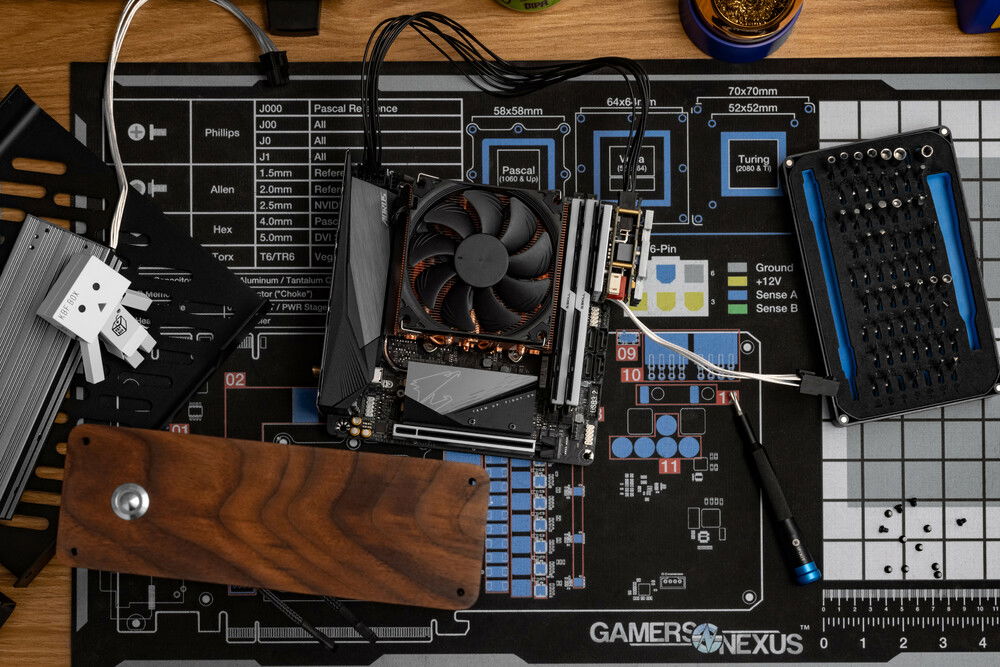
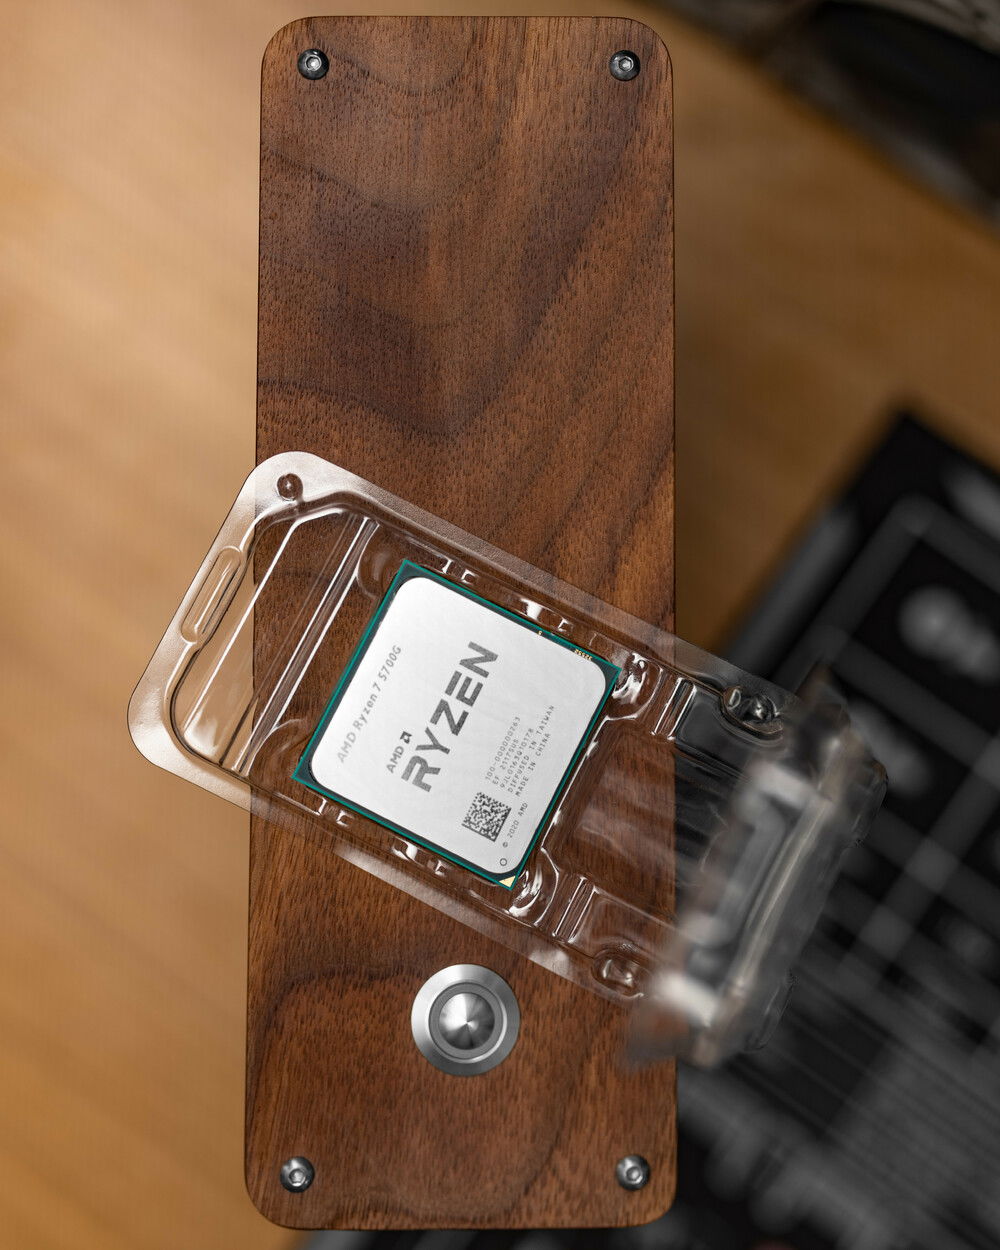
- AMD Ryzen 7 5700G 3.8 GHz 6-Core Processor
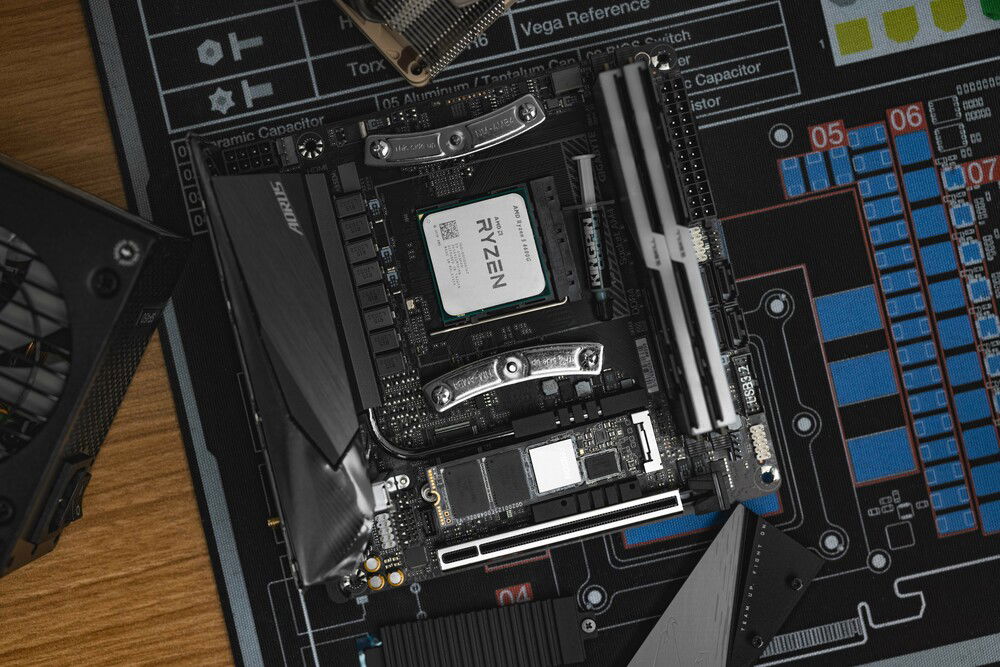
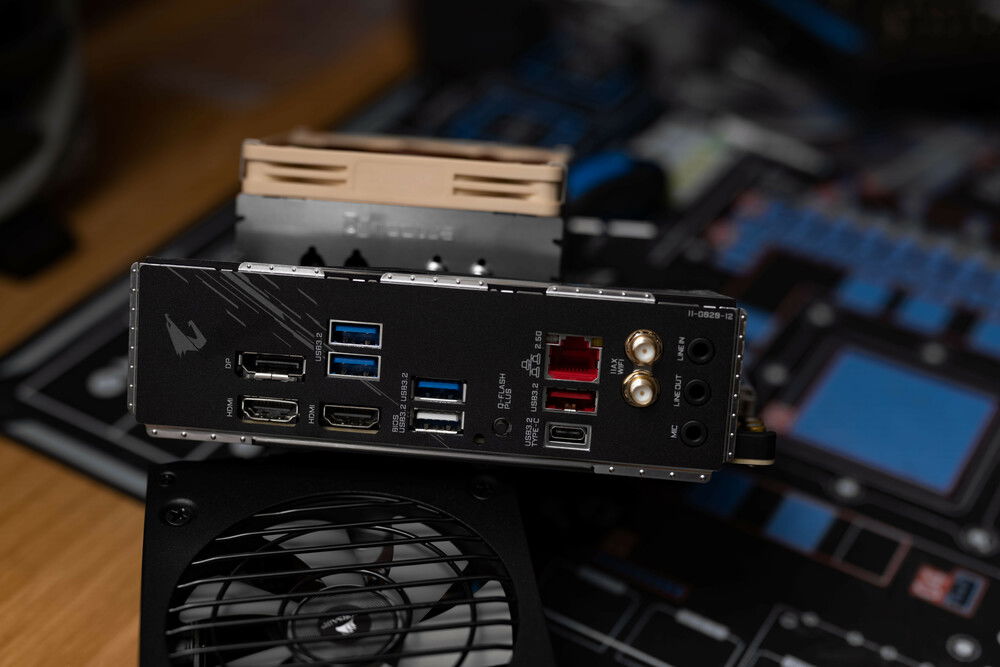
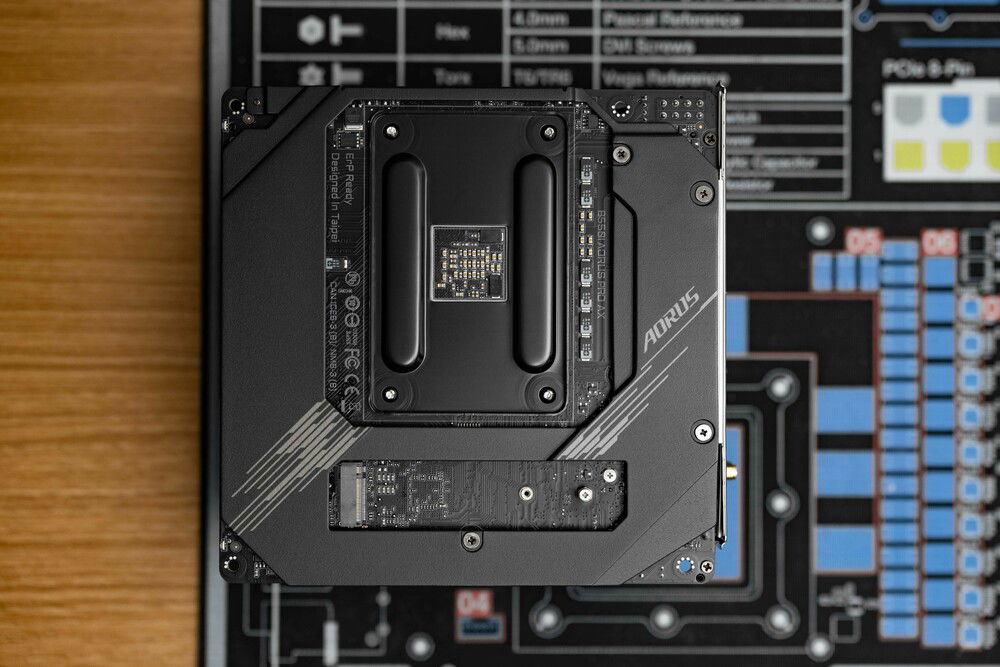
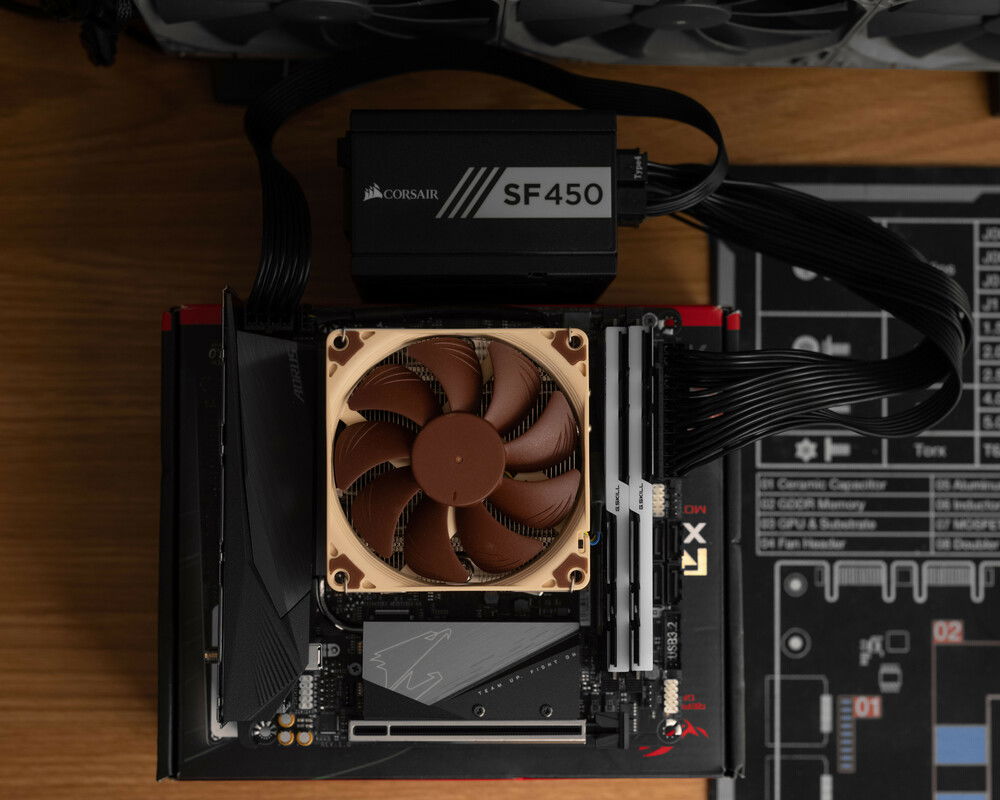
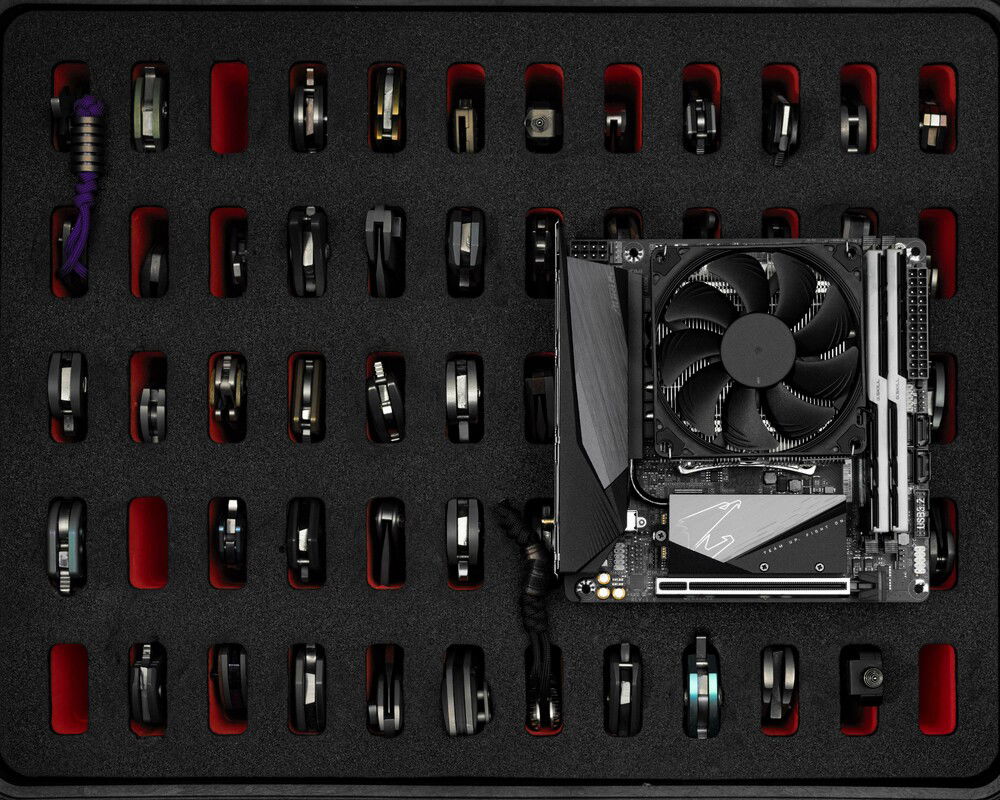
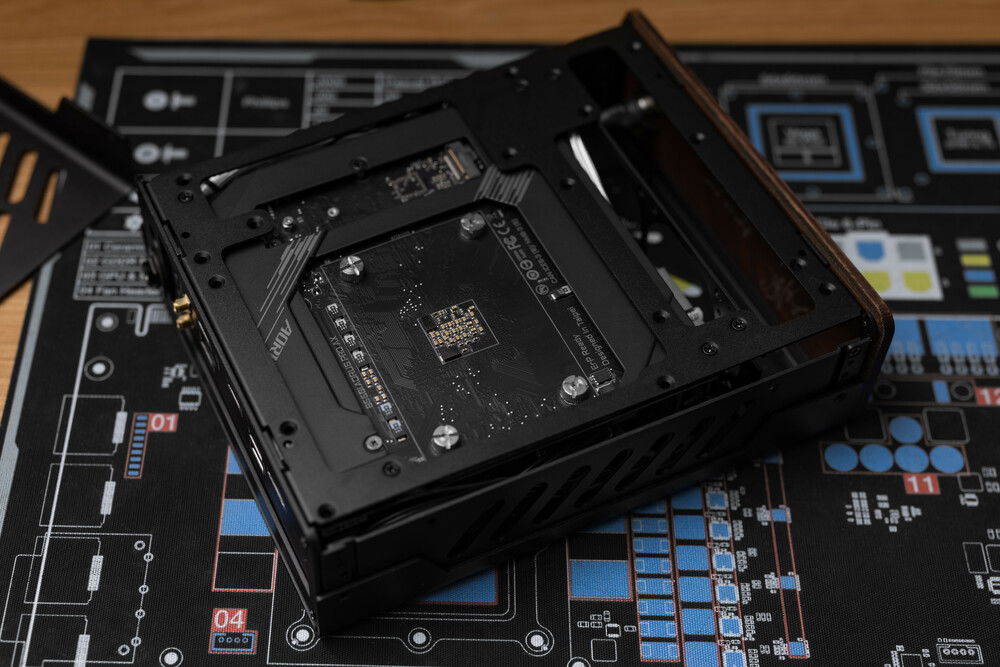
- Gigabyte B550I AORUS Pro AX AMD AM4 Mini-ITX Motherboard
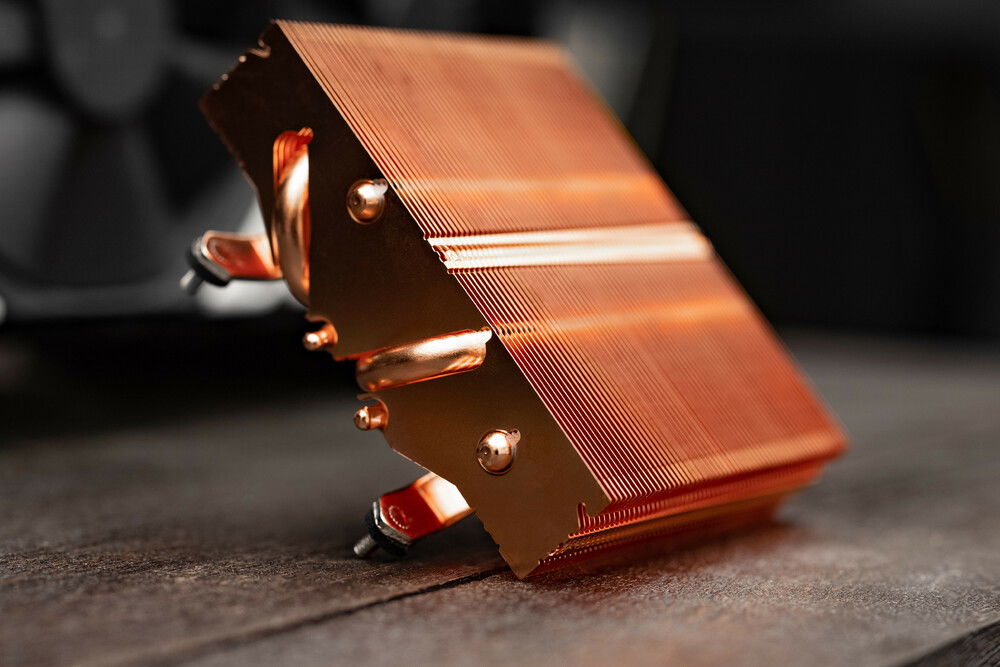
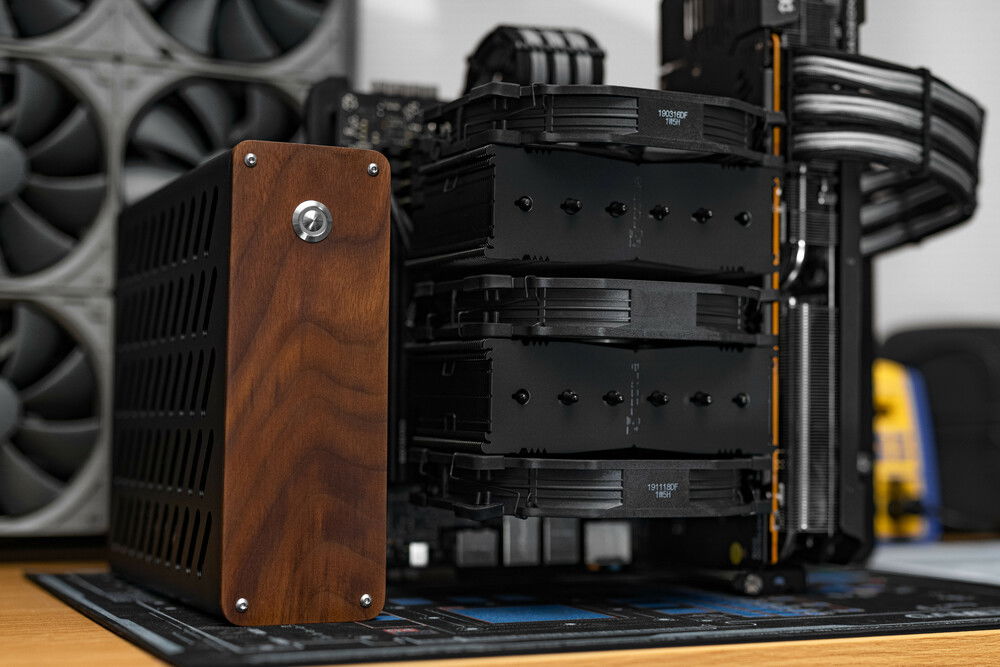
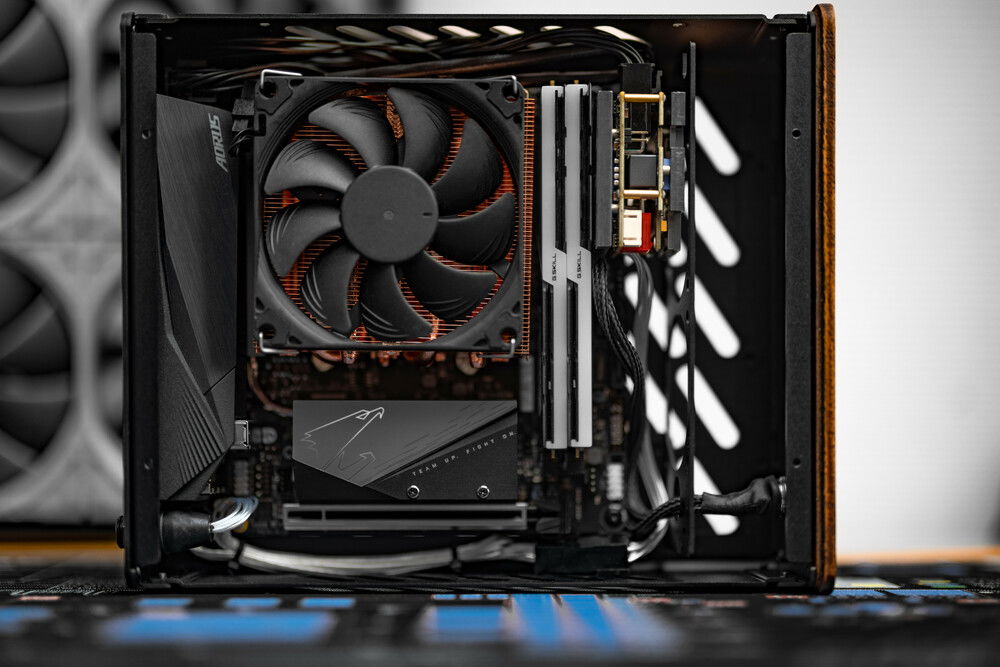
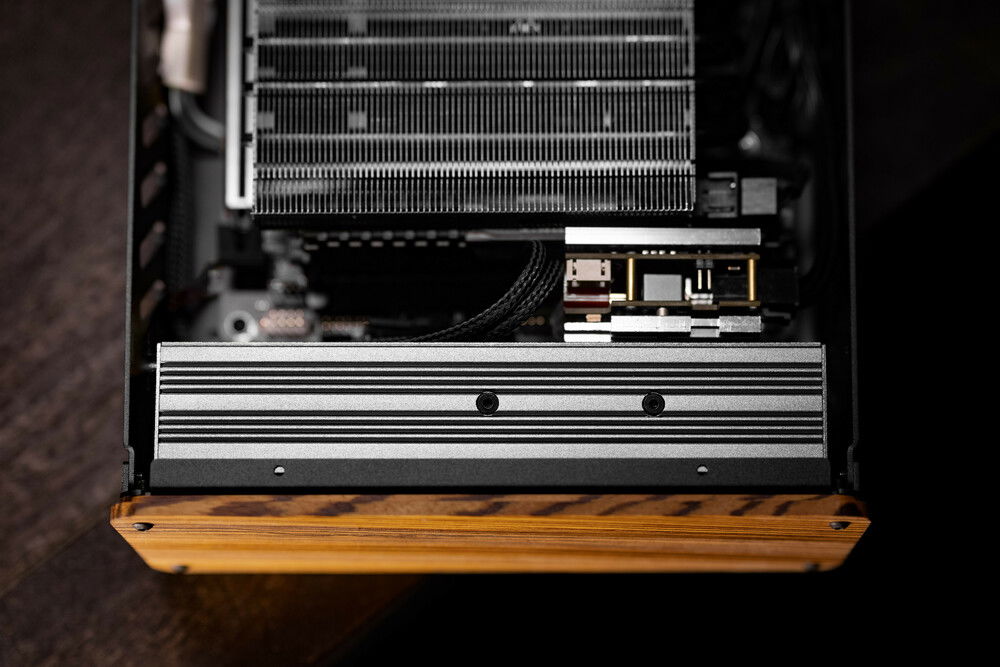
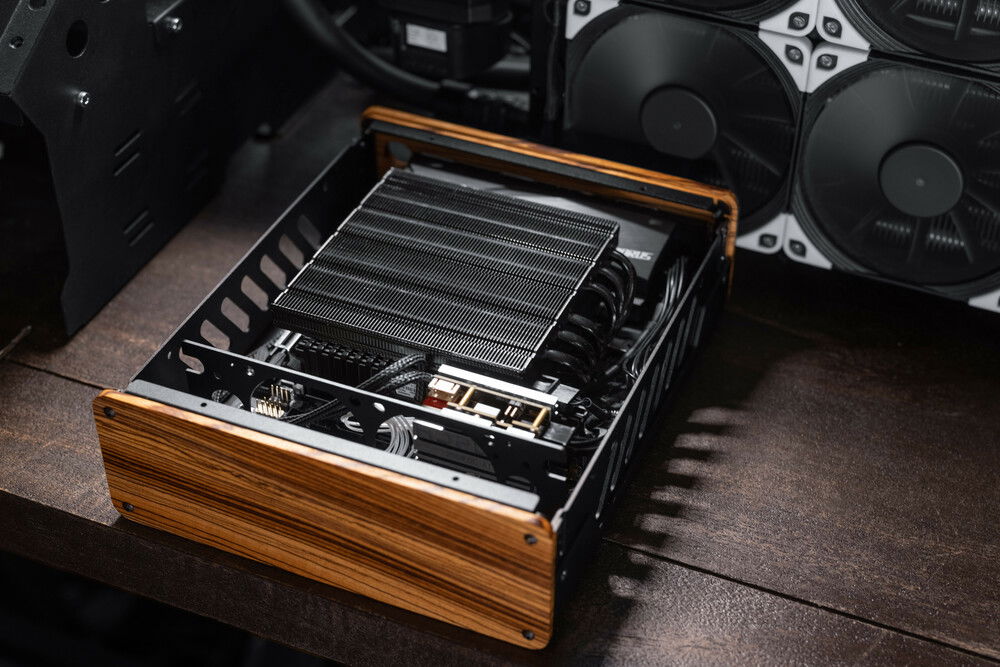
- Thermalright AXP-90R Full Copper Low Profile CPU Air Cooler
- Noctua NF-A9x14 HS-PWM chromax.Black Fan
- 1TB Gigabyte Aorus NVMe PCIe Gen4 SSD
- 32GB (2x16GB) G.Skill Trident Z Neo @ 3600MHz CL16
- Not From Concentrate Skyreach 4 Tiny SFF Case
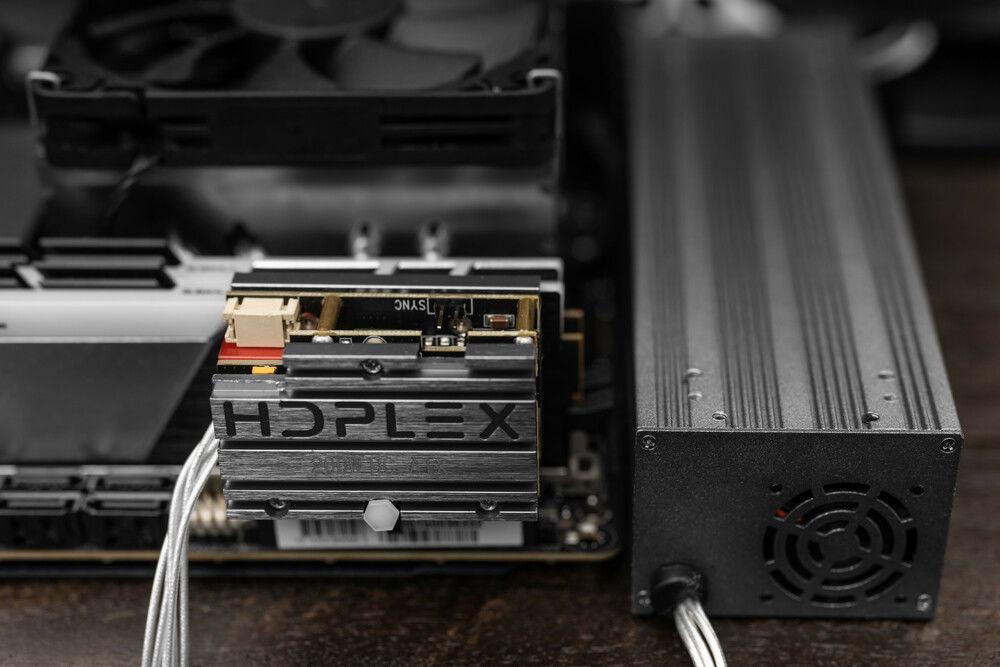
- HDPLEX 200W DC-ATX + 240W Dell Power Brick (Temporary til HDPlex Re-stock)
I also went with some custom options like the gorgeous walnut bezel, premium anti-vandal on/off switch (it is SUPER tactile and awesome), and a custom sleeved power cable.
Things I loved about the build:
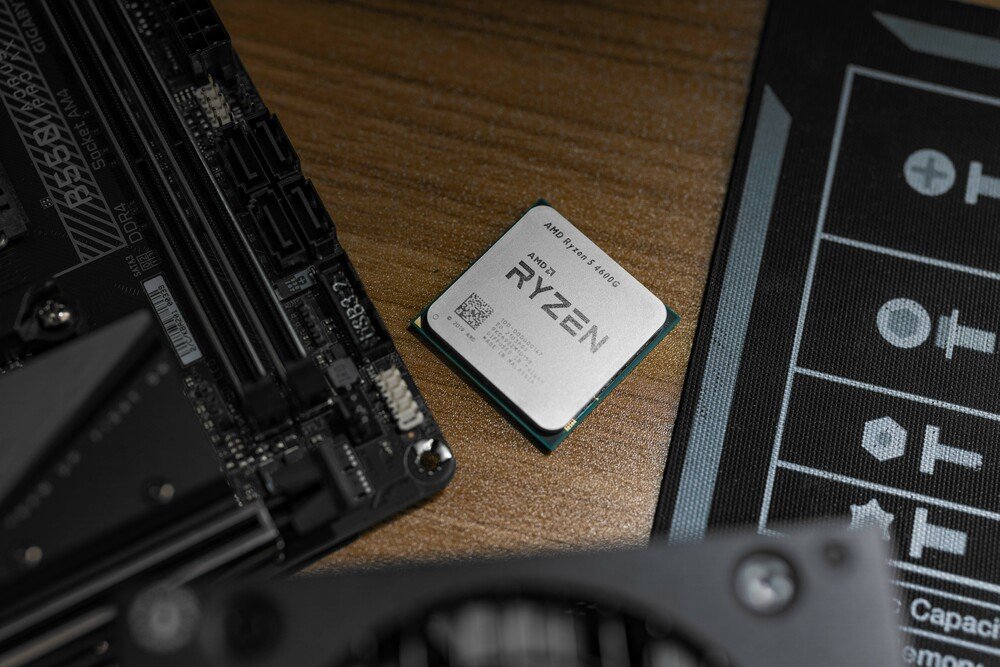
- Fast APUs! The 3200G and 3400G were capable little CPUs, but 3000 series, they were not. The 4600G is noticeably more capable and the 5700G I will be installing later today should kick that up even further. It will be nice to have something I can fall back on in an emergency should I need to use its full power.
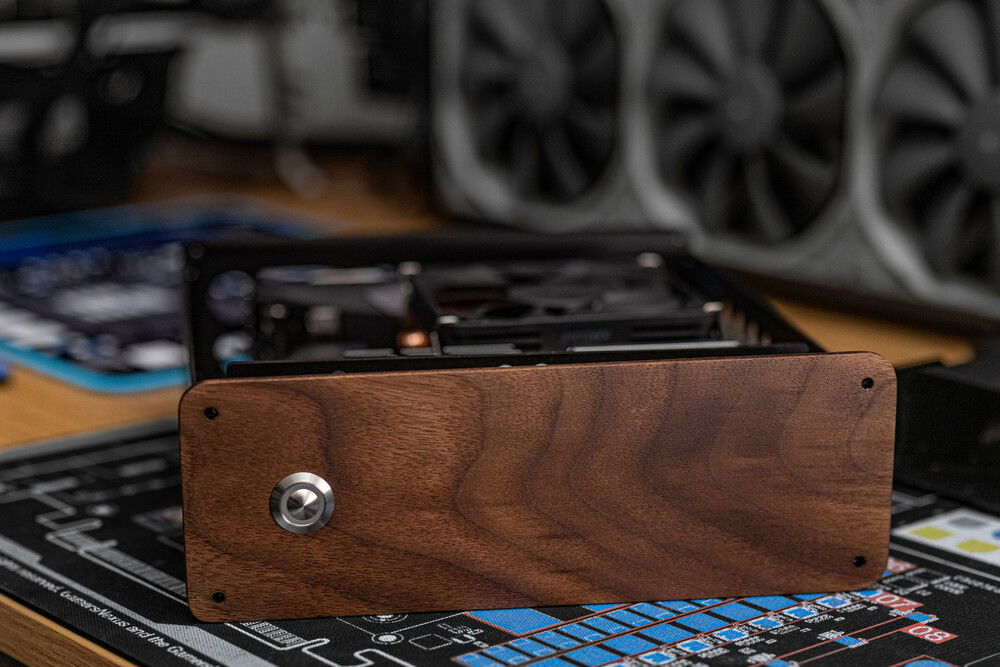
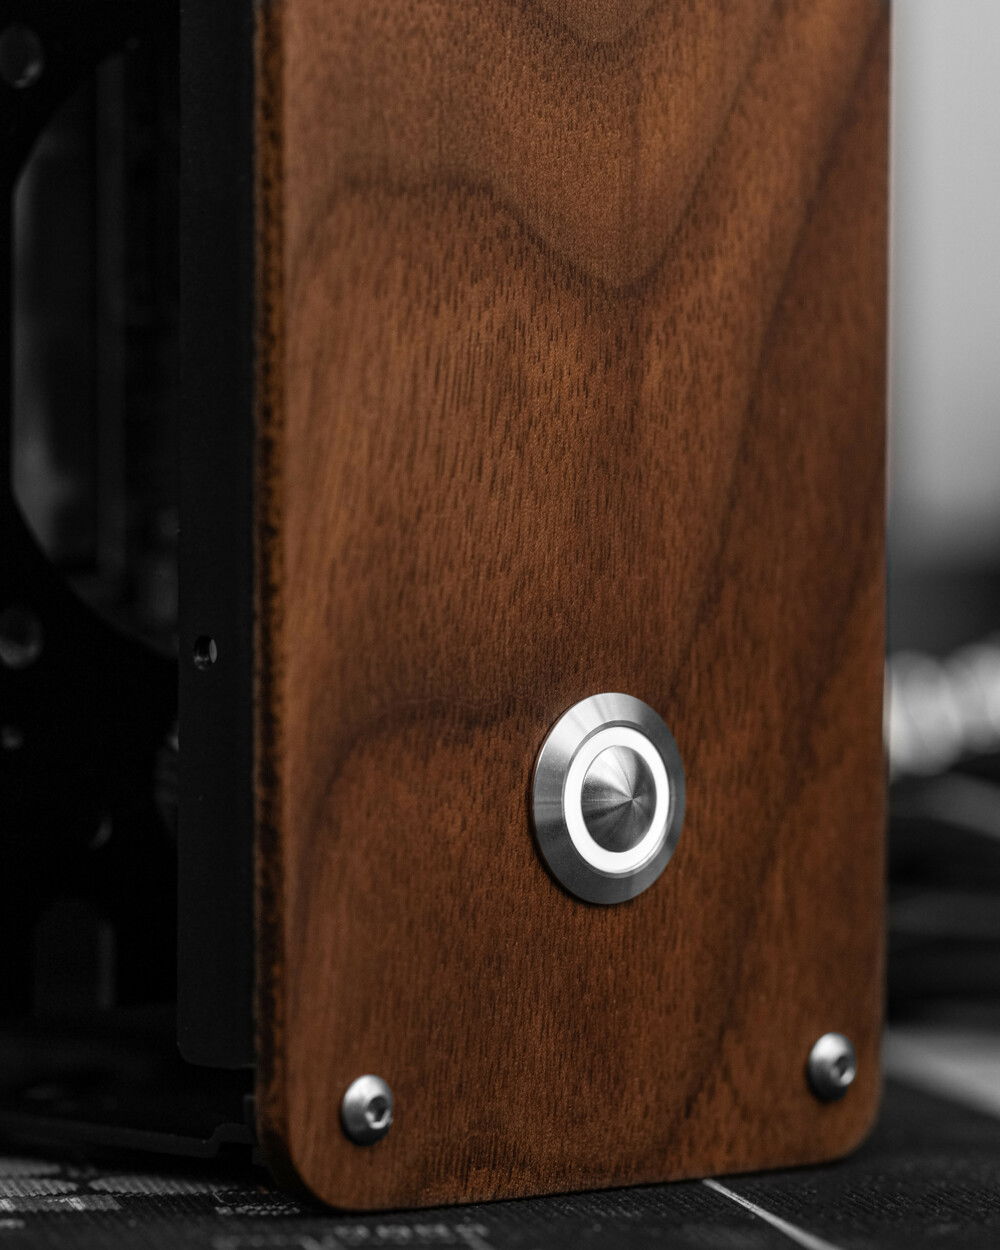
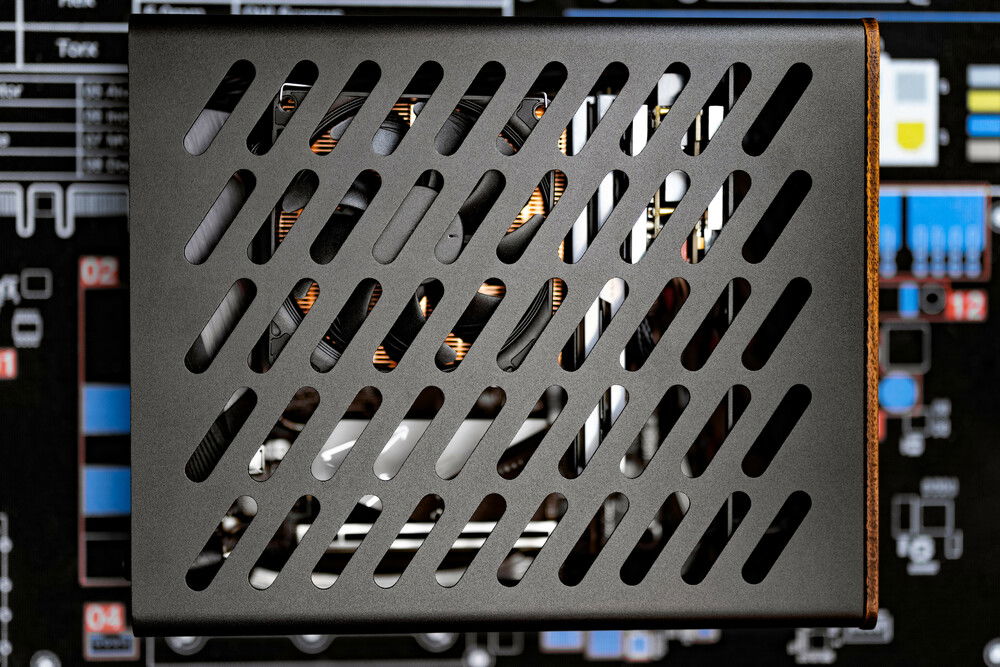
- The star of the show, the S4T. Inside and out this case is stunning. The finish is very durable, and resists fingerprints better than most other matte black surfaces I have handled. The screws that come with the walnut bezel pull a 180 from the understated, countersunk black screws by protruding and rounding off. I was confused by this when I saw them in the bag, but after installing them, they are the PERFECT compliment to the amazing anti-vandal power button. The silver contrasts amazingly with the walnut and would not have looked as good in black. I cannot repeat enough that Josh thought of just about [i]everything. [/i]
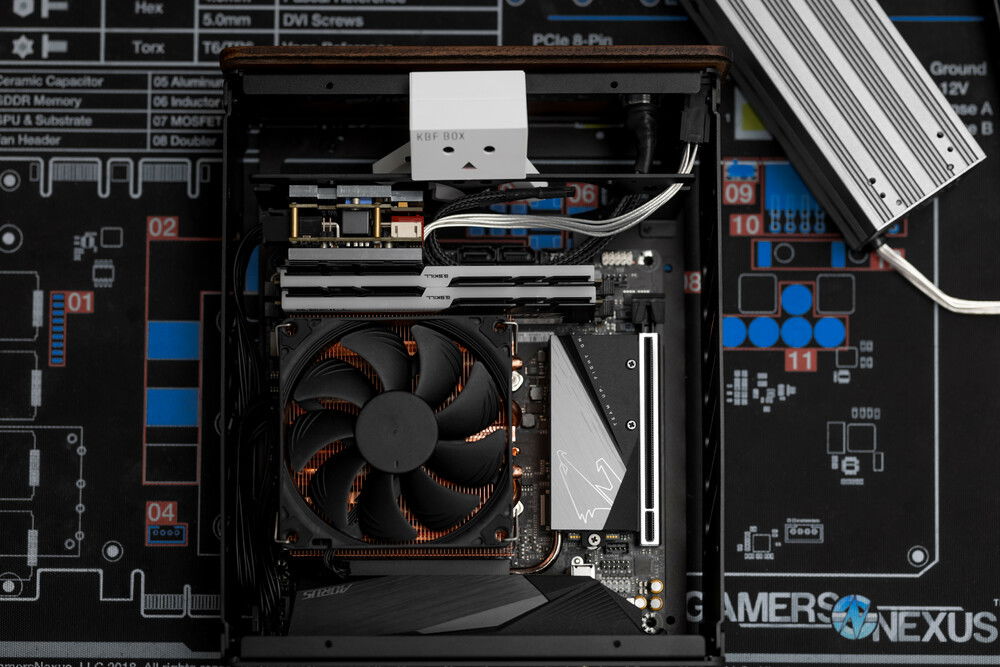
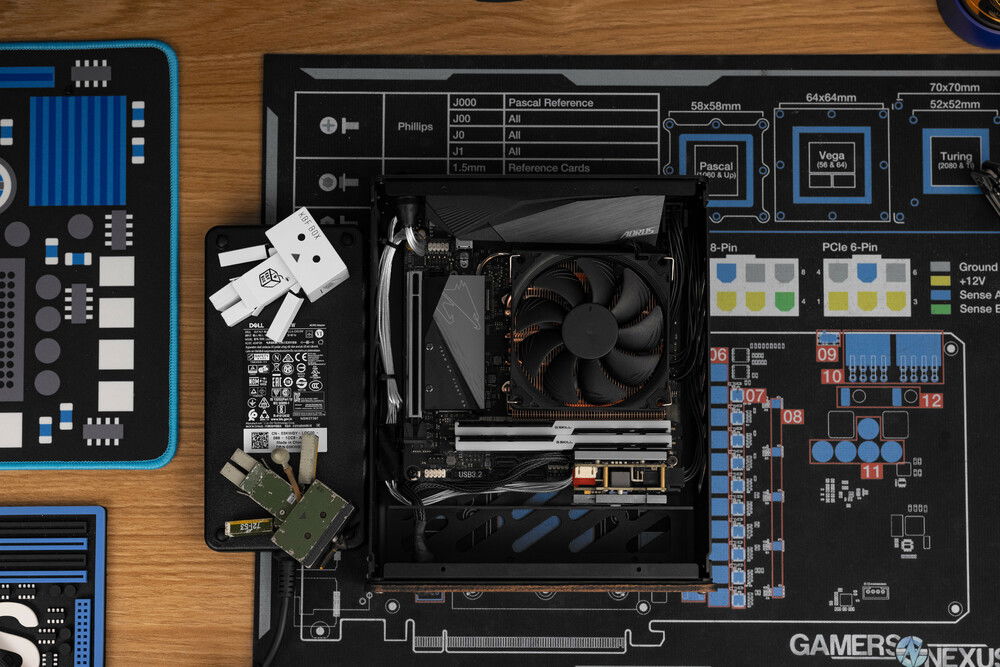
- The assembly process was a breeze. PC building has simplified a lot over the years. These days I use M.2 drives exclusively, as I have hundreds of TBs of networked storage. This means less cables. With no dedicated GPU to install, even less cables. The S4T I received was the first in the wild, so I did not have any instructions, nor did I need them. Josh used the same screws throughout, so there were few chances to mess anything up. It was one of the most common-sense layouts I had come across (at least in ITX form).
Challenges with the build:
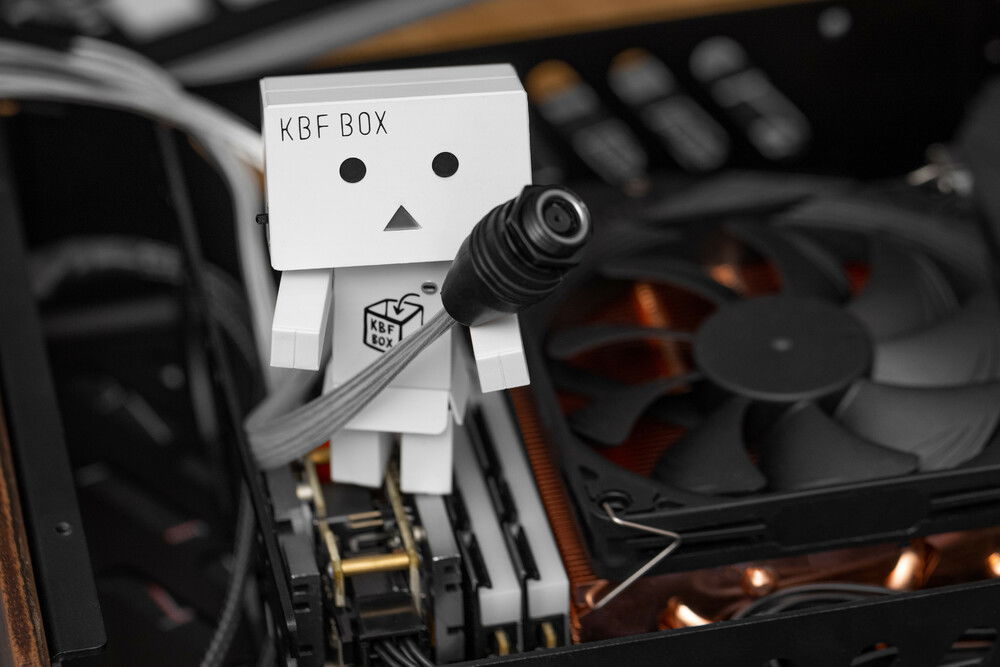
- I hate this power brick. It is a very temporary solution, but it has already given me a headache. It nearly pulled the whole build off the table when the double-sided tape unstuck from underneath and yanked the lightweight system to the very edge of the desk. That HDPlex cannot re-stock soon enough.
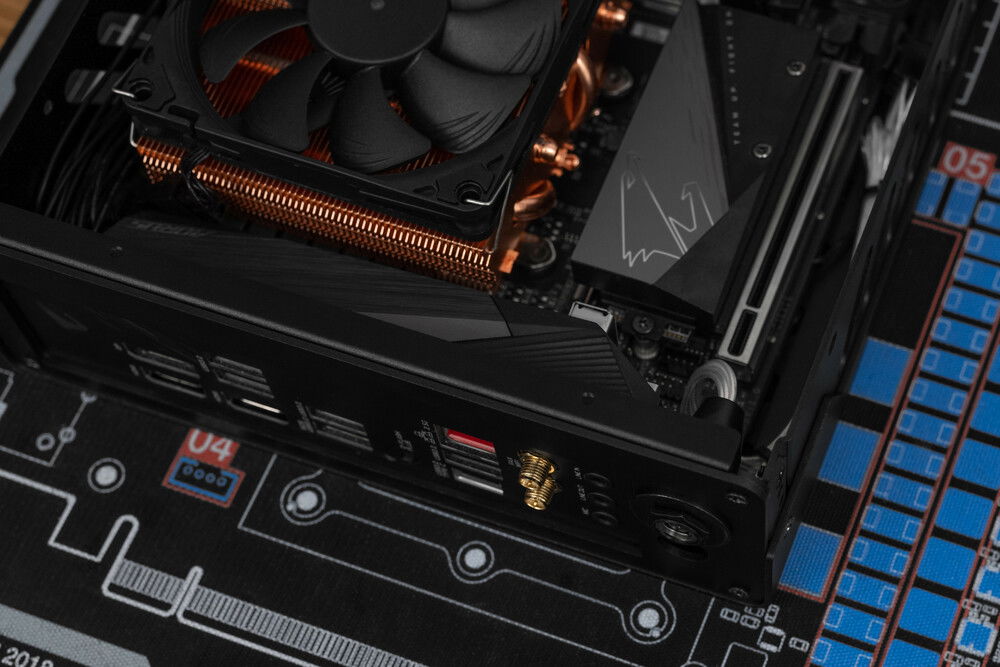
- Component placement on ITX boards can be a pain. Keep out zones are less respected since real estate is at a premium. This means when I went to mount the DC-in adapter, I bumped into a plastic shield meant to protect nearby caps. What I had to do here was use the larger adjacent AC-in cut-out, but with a black washer to make up the gap. It lives in the rear of the system, out of sight, so I am fine with this since it is temporary.
- Turbulence. If I were to shop for coolers again, I would get something a bit shorter than the AXP-90R. It clears the panel, but it is rather close, so you do get some turbulent noise past 80% fan speed. That said, the cooler does an excellent job and so far, has not needed to go that high unless purposely subjected to high stress.
Planned and possible changes:
Going brickless. The most immediate change to this build will be the HDPlex 200-watt brick. For anyone else planning to go with an S4T soon, Larry of HDPlex says they expect stock in later July of 2021.
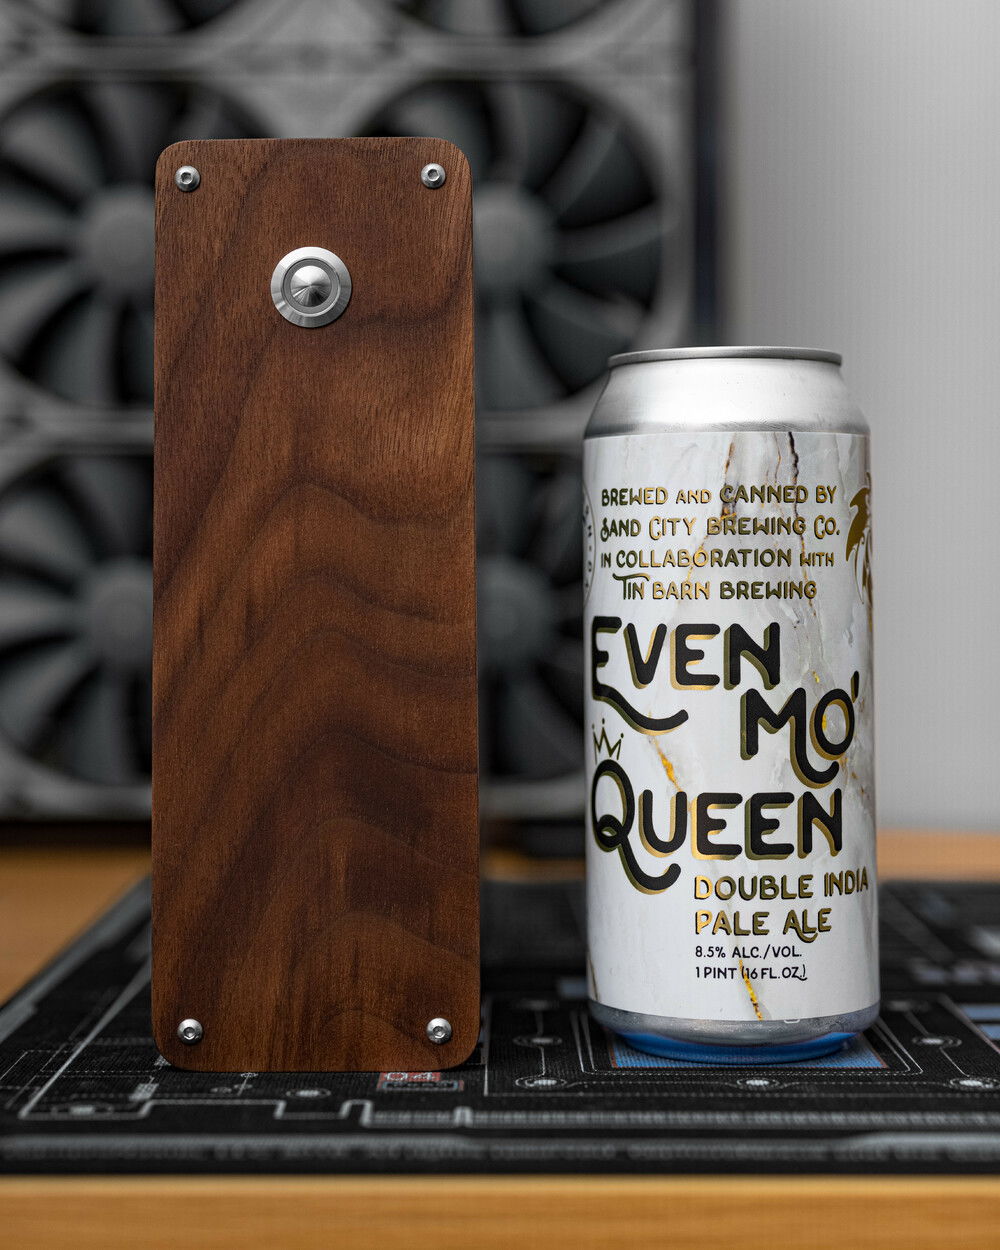
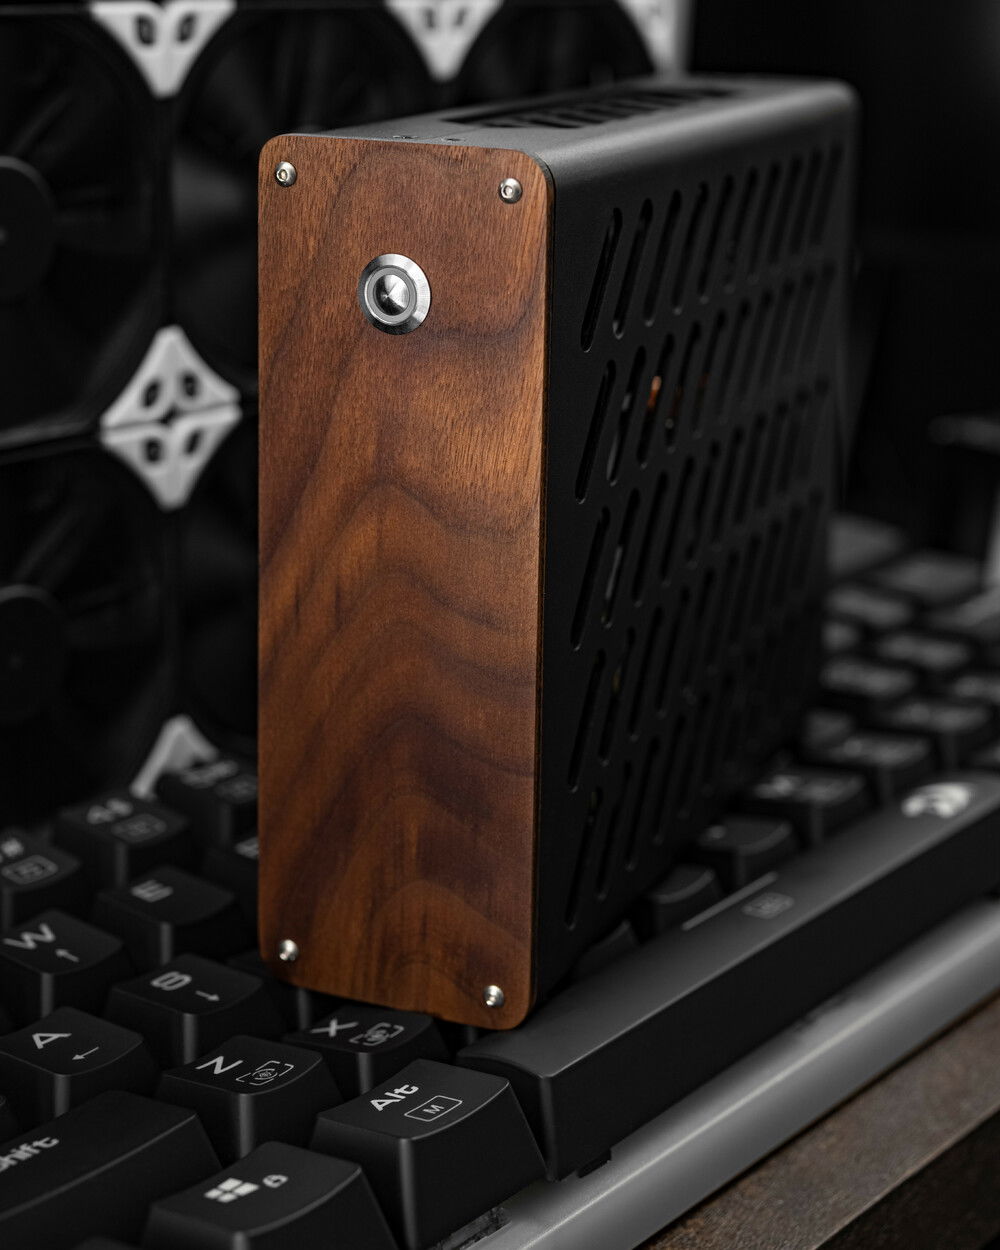
- A future facelift. I love the walnut panel I have installed currently. It has a matte finish with a level of chatoyance that allows it to demand attention, but also blend in my home décor. While I was chatting in the Not From Concentrate community discord, everyone was throwing around ideas for a front panel and the NFC team was all for any of the ideas pitched. So when I do feel the need to mix it up, I know that door is wide open.
- A possible complete transformation. The other definition of the T in S4T is transform. If I ever decide this PC needs a dedicated GPU, Josh has two options for a console style or stacked transformation of this case.
How does it perform?
One of the things that I cannot help but notice with simple systems is boot time. My laptops are very snappy when it comes to powering on and getting straight to the desktop. This system produces a similar result when comparing this to my main PC with its many PCIe devices.
For CPU related tasks, I benchmarked using Cinebench R23 and achieved 13698 multi, and 1507 single core. Clocks were consistently in the 4.2 to 4.3 all-core range throughout the test. Peak temperature was 89.6C for the last 60 seconds of the 10-minute all-core run. Peak clock speed for the single core run was 4.65GHz. The 5700G runs significantly warmer than the 4600G that I had previously. I ran PBO with it but will not be doing so with the 5700G. Performance is plenty good with frequent boosts to 4.65 vs the 4.3 of the 4600G. I ran Passmark 10 since it was in my Stream library, but I do not use it enough to have any appreciation for the numbers. For those curious, it scored a 6756 overall with 10921 in essentials, 10189 in productivity, and 7520 in digital content creation.
For gaming, I am only including numbers out of sheer curiosity. As far as temps are concerned, looping Heaving Benchmark for 30 mins on basic resulted in an average temperature of 58C while peaking at 69.3C. GTA V saw 61C with peaks of 72C during 30 mins of play on low settings. The average frame rate was a bit all over the place, but seldom dipped below 35FPS. That said, it was not fun. This would likely be good for eSports titles, but I certainly would not go out of my way to purchase it for that use case.
Final thoughts
I love functional art. This build can crush just about any task, and it looks amazing doing so. My builds tend to catch the attention of my more tech savvy friends, but those who have no idea what they are looking just shrug and move on. This build unites all in asking “what is that?!” and I love it.
Color(s): Black Brown
RGB Lighting? No
Theme: Industrial
Cooling: Air Cooling
Size: SFF
Type: General Build
Hardware
CPU
$ 359.99
Motherboard
$ 169.99
Memory
$ 729.98
Graphics
$ 49.98
Storage
$ 89.95
Case
$ 299.99
Case Fan
$ 23.95
Cooling
$ 40.29
Monitor
$ 667.13
Mouse
$ 107.99
Estimated total value of this build:
$ 1,864.12
Approved by: