
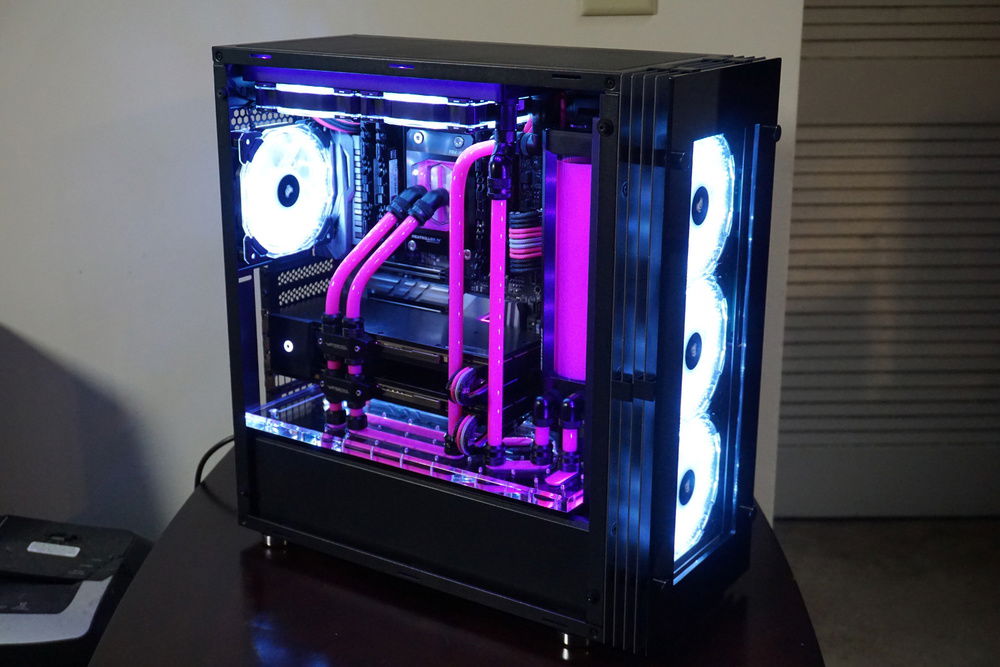
Just the standard not-quite-on photo of the build. Notice the elegance of the paper shredder in the background and how it contrasts with the computer-build-thing on the end table.
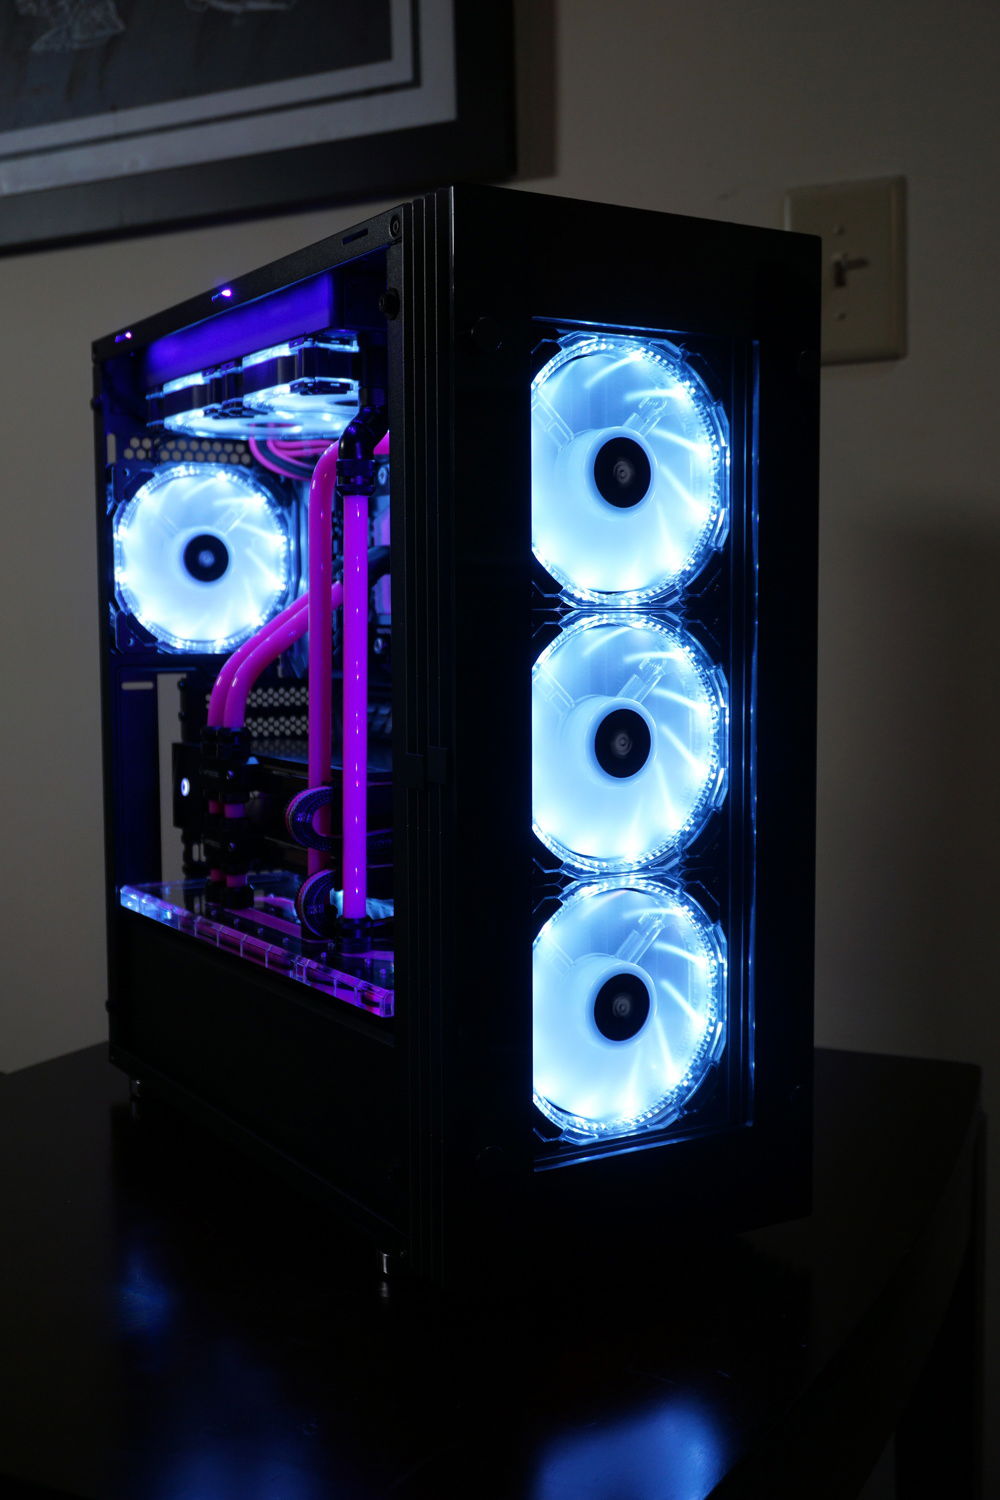
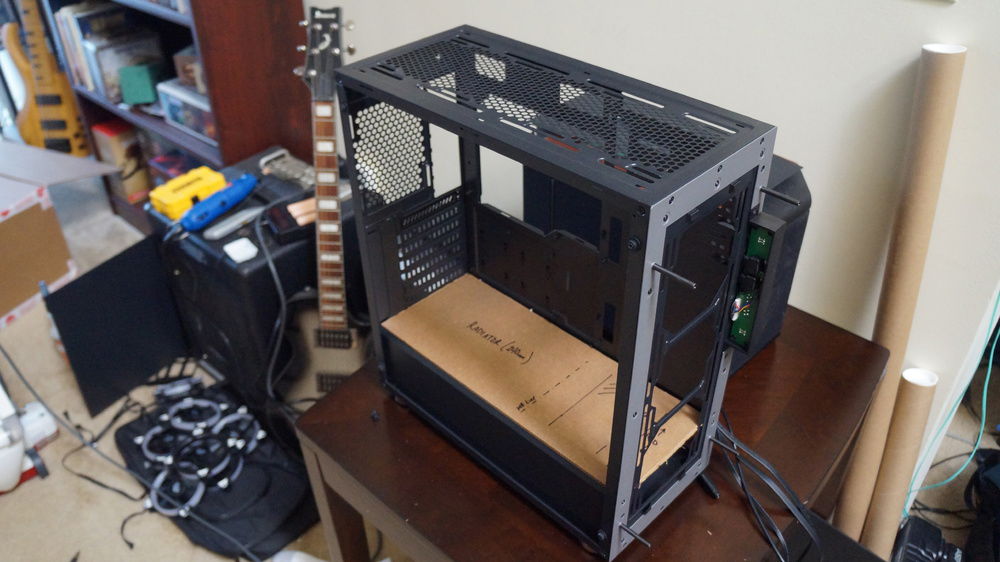
A better picture of the front. Originally, this case had a solid tempered glass panel on the front that basically prevented all airflow coming in from the front. This was replaced with a custom designed panel that was 100% open and ensured that all that awesome air could actually reach the radiators.
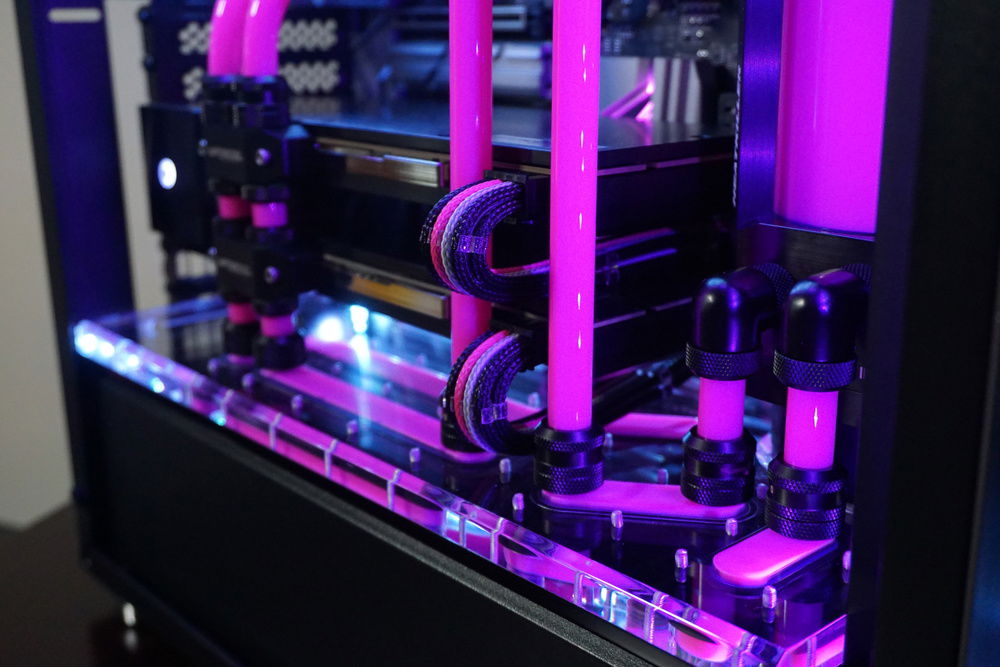
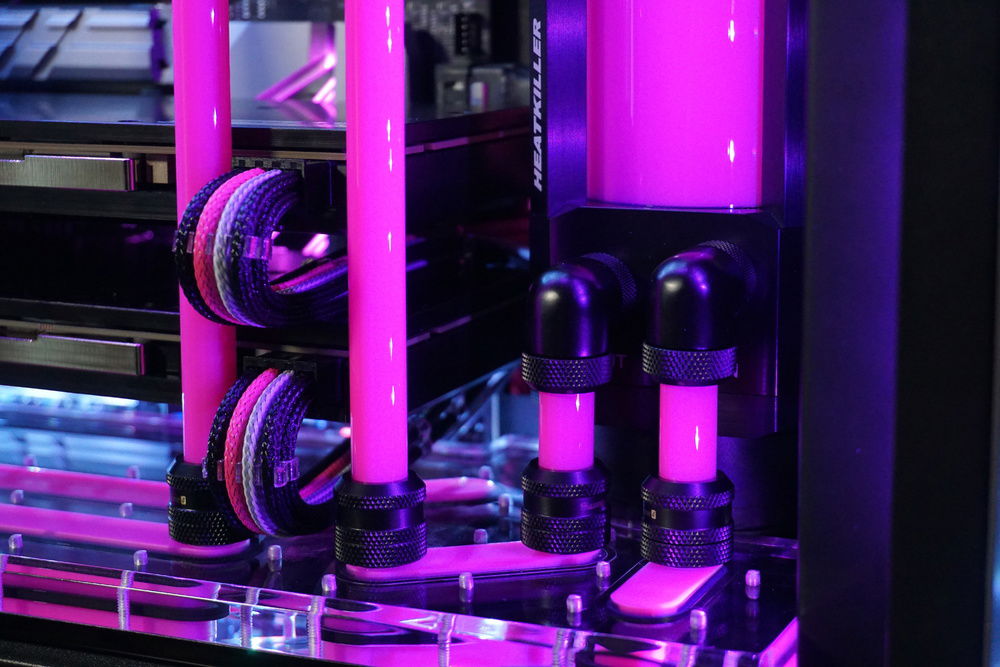
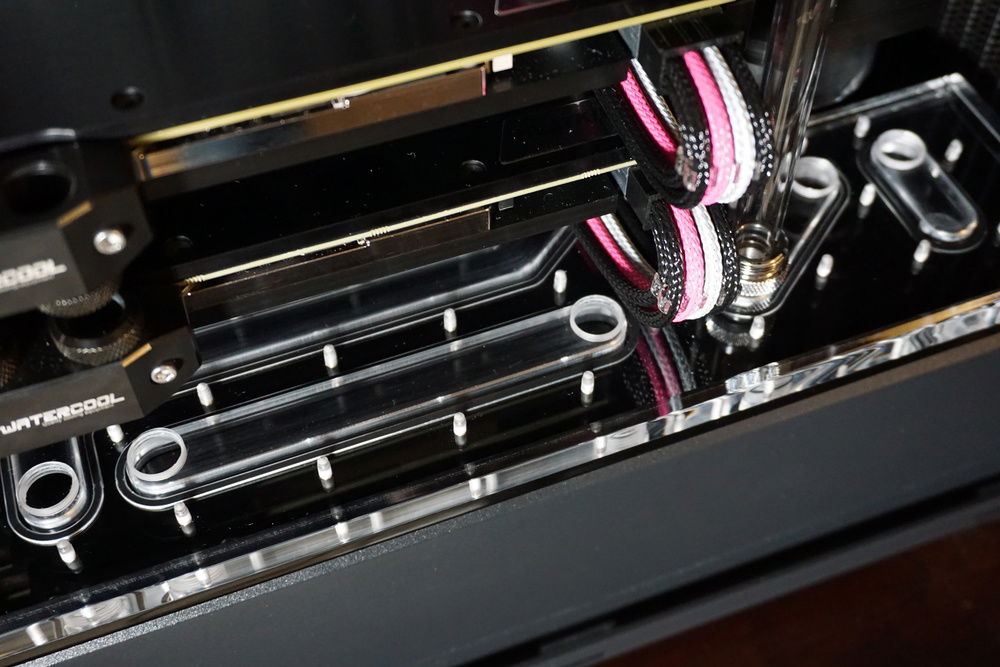
A better view of the distro plate and cabling. What you don't see are the various underneath drain ports and the shroud/distro plate cutout for the D5 pump.
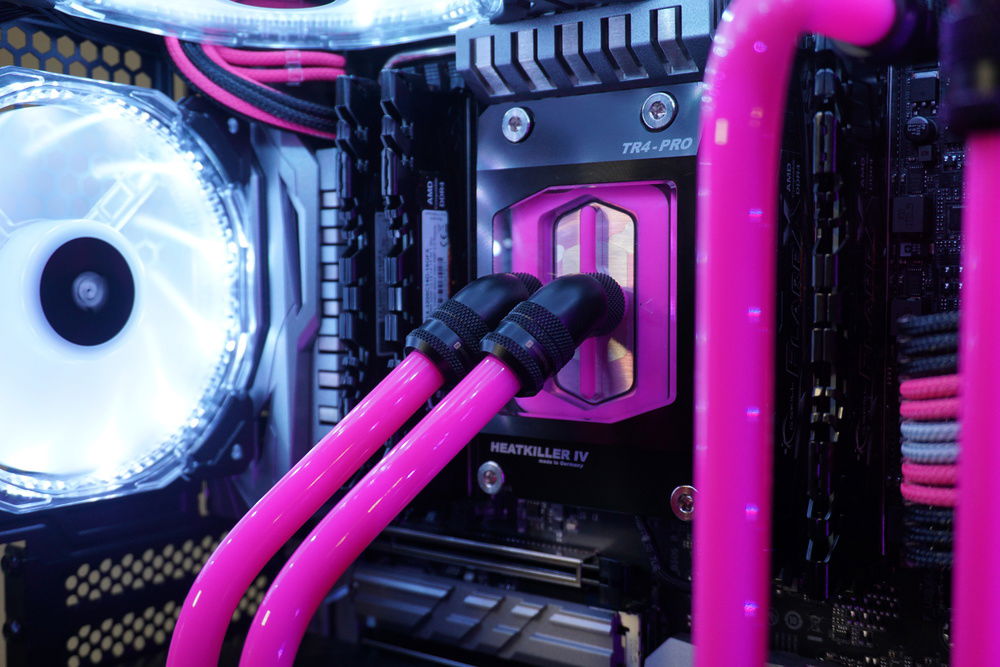
I don't think there's anything that looks better than a Pop Tart-sized CPU block run in parallel with everything below it.
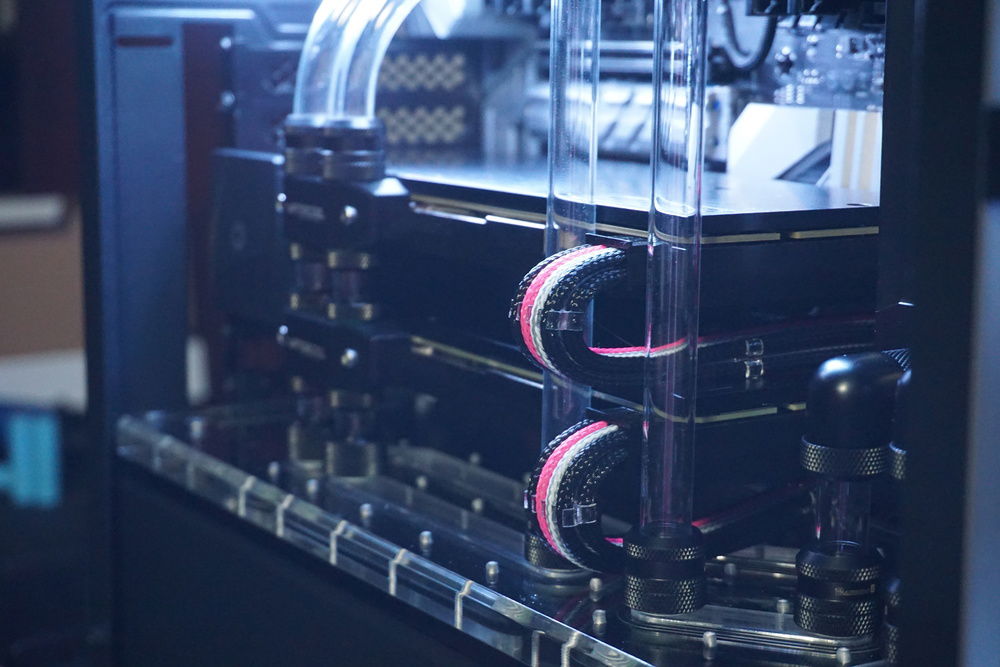
Another look of the right side of the case. I'm still amazed everything is actually parallel.
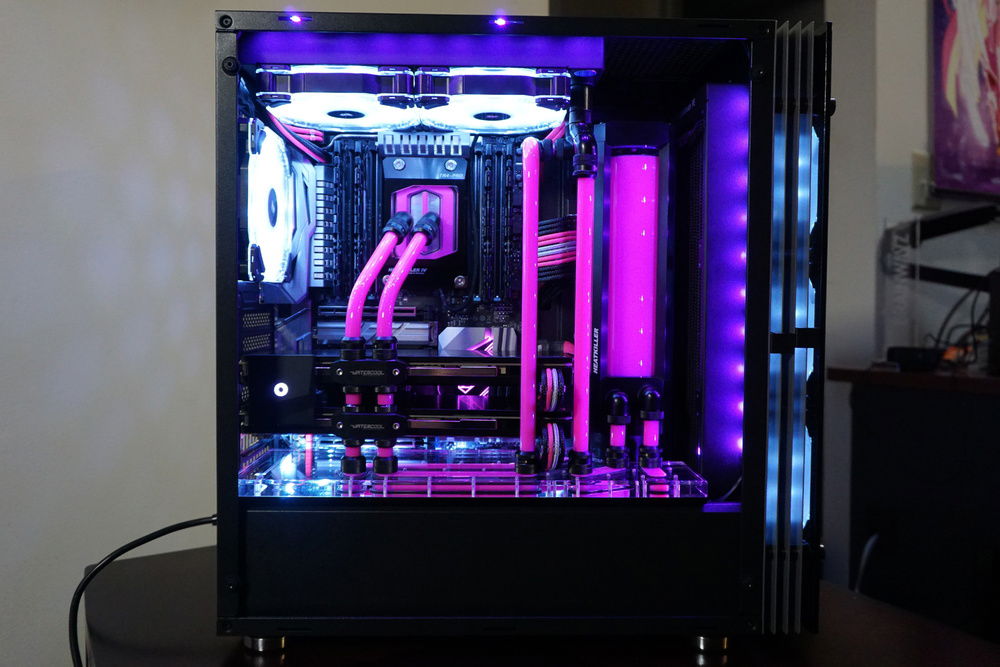
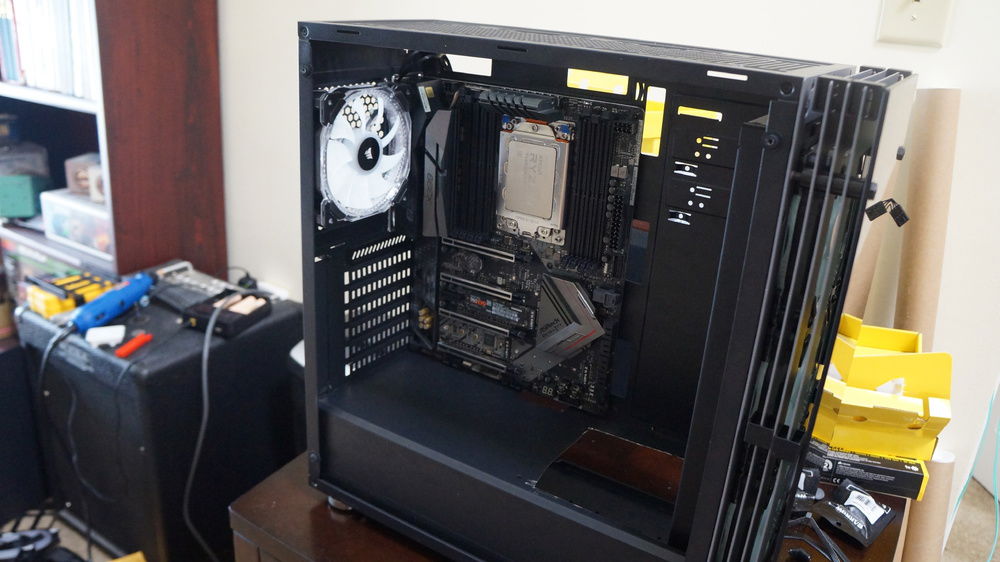
The side-on photo with the overall layout.
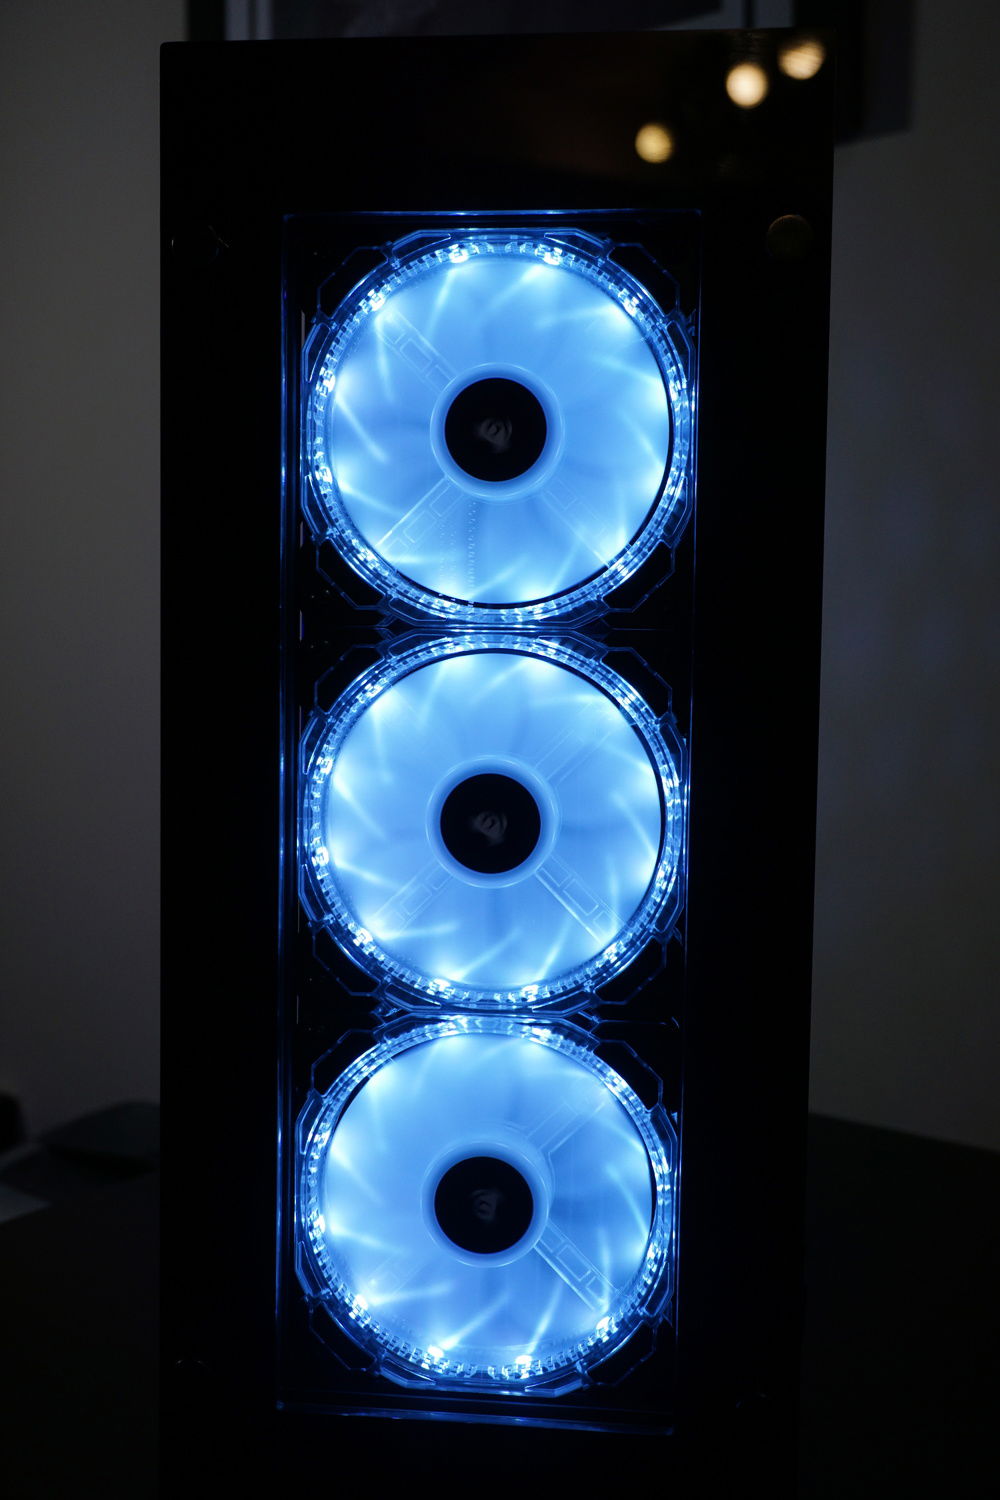
The new front of the case.
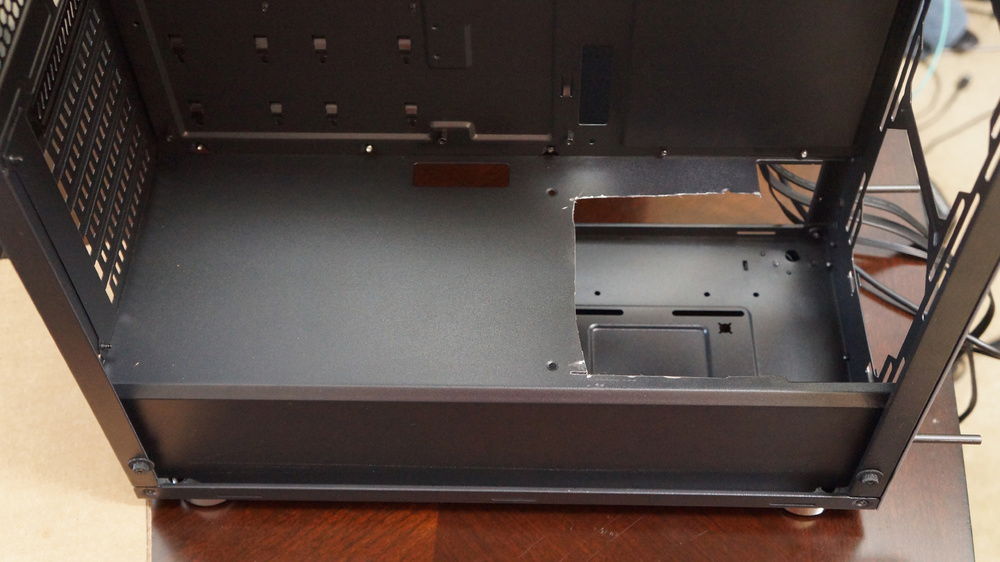
So, what we've got here is a combination of "I need to put a radiator there" and "the D5 pump in the bottom of the pump/res also needs to go there".
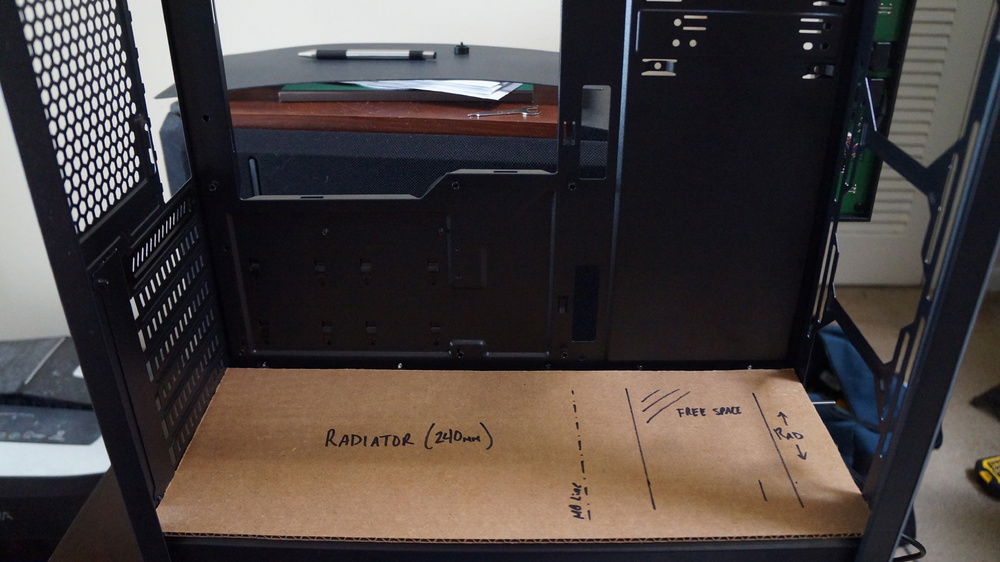
This is the most advanced watercooling tool available on the market: cardboard.
So, the case came with a bunch of things that look like fans. Unfortunately, they didn't survive the case remodel.
Before the Designare became the board of choice, there was this ASRock Gaming Professional. It met its untimely death due to gravity combined with an open, unprotected socket. RIP.
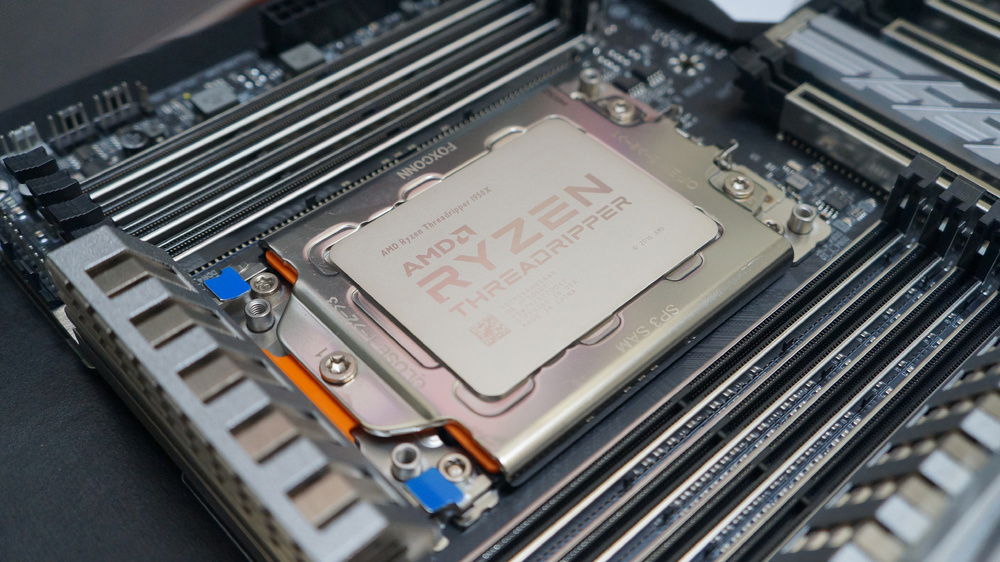
Sexy-time shot of the Designare.
A picture of the distro plate before things really started to get going in the build. The black acrylic really tied the plate together.
The obligatory accidental artsy photo.
Pretty in Pink
AD:
This is what happens when nice watercooling equipment encounters an absolutely garbage-tier case. After some major modifications and adjustments, it's just proof you can make a great looking build in a case that may not have had anything close to watercooling in mind.
Case
Starting with the case, it's the Computer Upgrade King USA (CUKUSA) Stratos, a thin stainless steel case based on dimensions better suited in 2005. After some Dremel work and a complete rework of the front of the case to fix major airflow issues, it seems like you can actually fit a few radiators in there.
Watercooling
So, with the additional airflow, managed to get a 360mm and a 240mm radiator inside the case. They're not the thickest radiators, but they handled the load of both GPUs and the CPU without any real complaints.
Lack of Space
While you can fit everything into the case, routing coolant was going to be a major issue. The distro plate took a bit to figure out, and was absolutely critical in connecting everything together. Without it, I don't think this build would've turned out as well. Also, learning a bit of Fusion 360 always helps with future projects.
Things of Note
With the dual 1080s, the Threadripper CPU, and all of the Heatkiller blocks, there was a lot of black in the build. I figured that some white lighting and pink coolant would look absolutely great and would contrast the motherboard perfectly. The final touch was ensuring that some appropriately themed custom cables and then getting everything assembled.
The tubing is acrylic which tends to resist things like the collars of fittings biting into the tubing and leaving gouges. The overall loop layout is CPU/GPU/GPU all in parallel. It was a bit of a gamble, but the temperatures all worked out without issue.
Color(s): Black Pink Silver
RGB Lighting? Yes
Theme: none
Cooling: Custom Liquid Cooling
Size: ATX
Type: General Build
Hardware
CPU
$ 850.00
Motherboard
$ 468.00
Memory
$ 160.00
Graphics
$ 299.00
Graphics
$ 299.00
PSU
$ 279.99
Case
Case Fan
$ 39.61
Cooling
$ 209.06
Cooling
$ 33.12
Cooling
$ 159.99
Cooling
$ 159.99
Cooling
$ 196.00
Cooling
$ 145.29
Monitor
$ 592.95
Approved by: