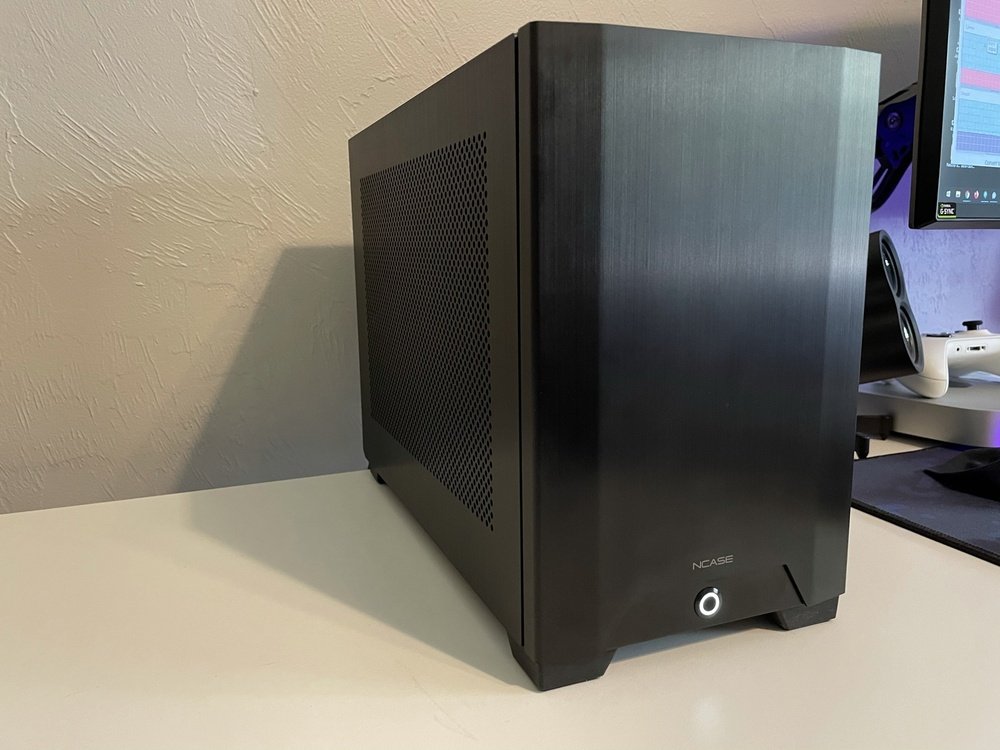
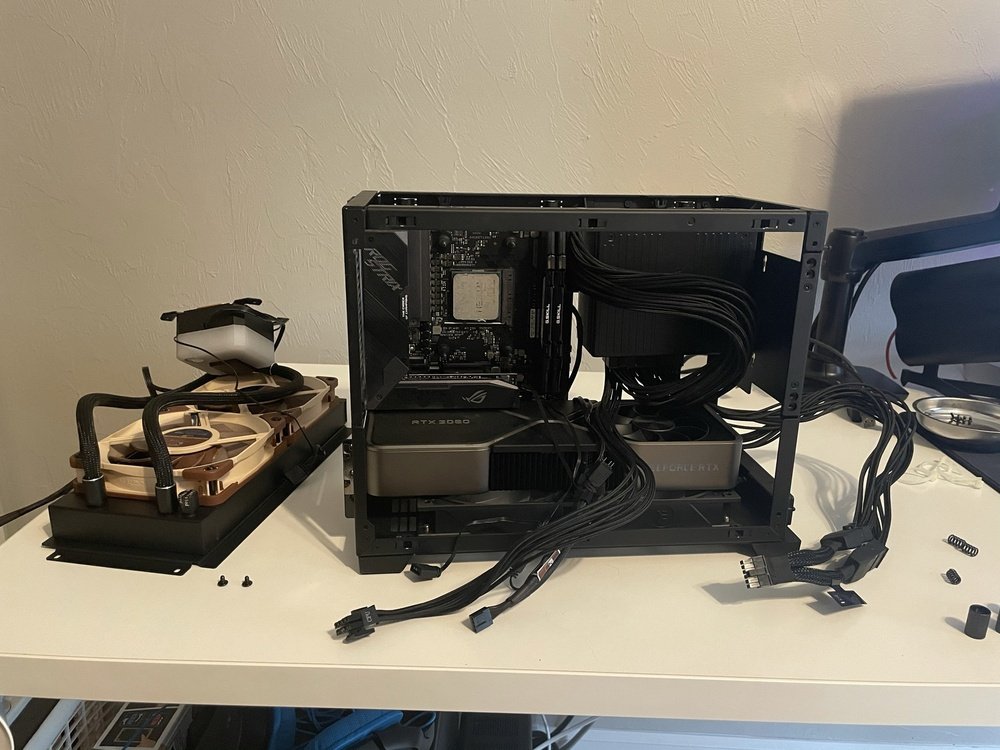
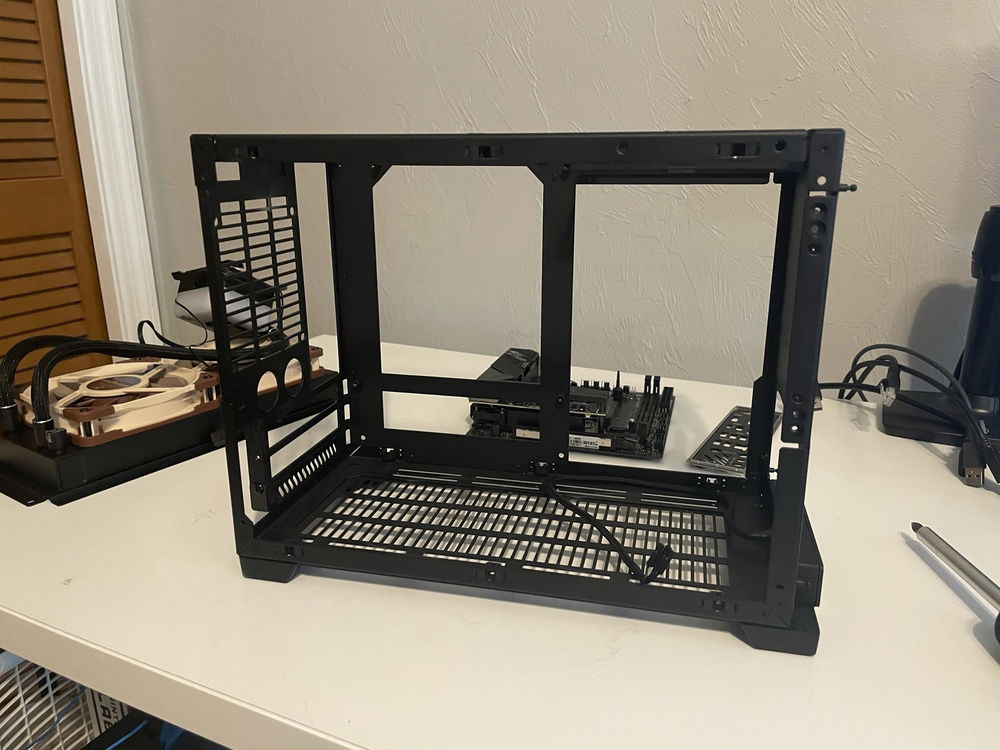
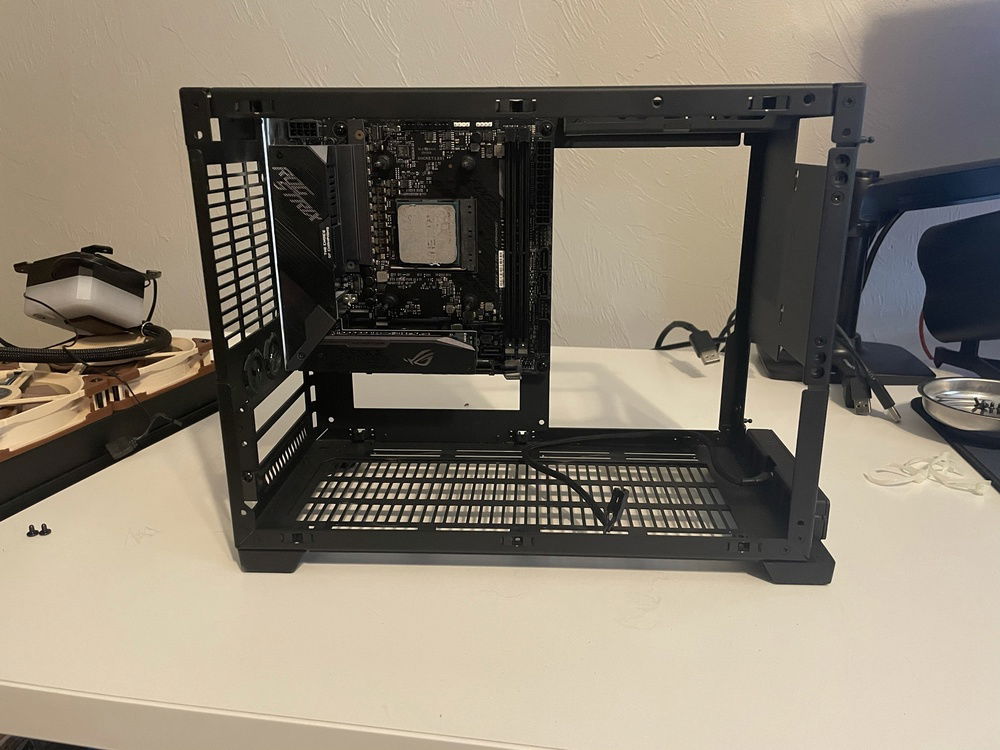
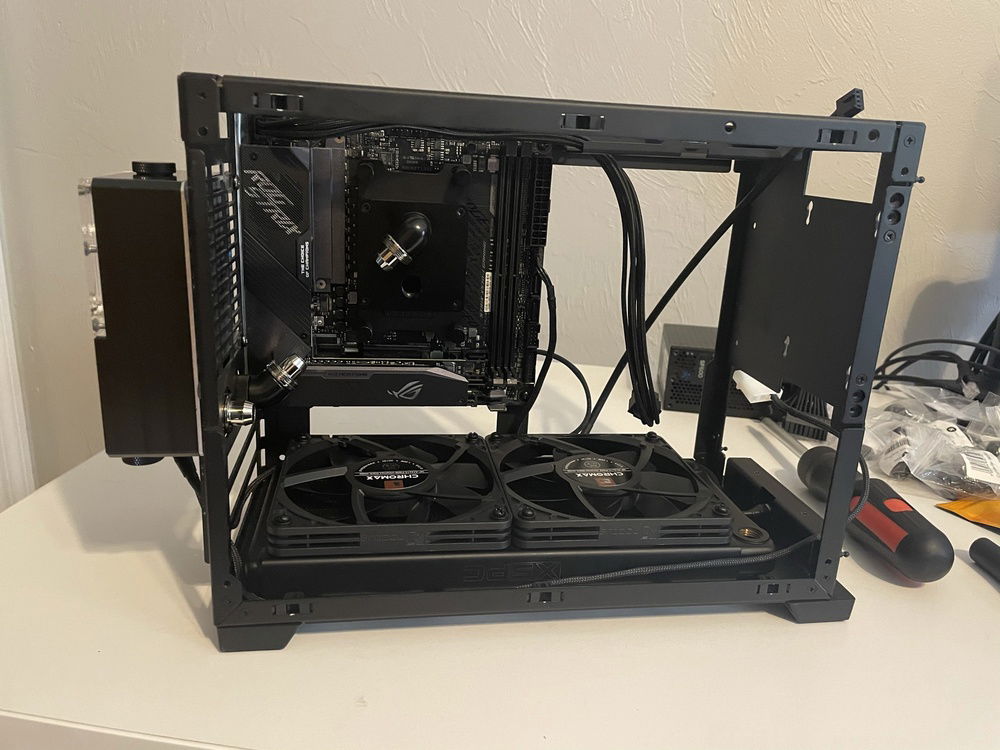
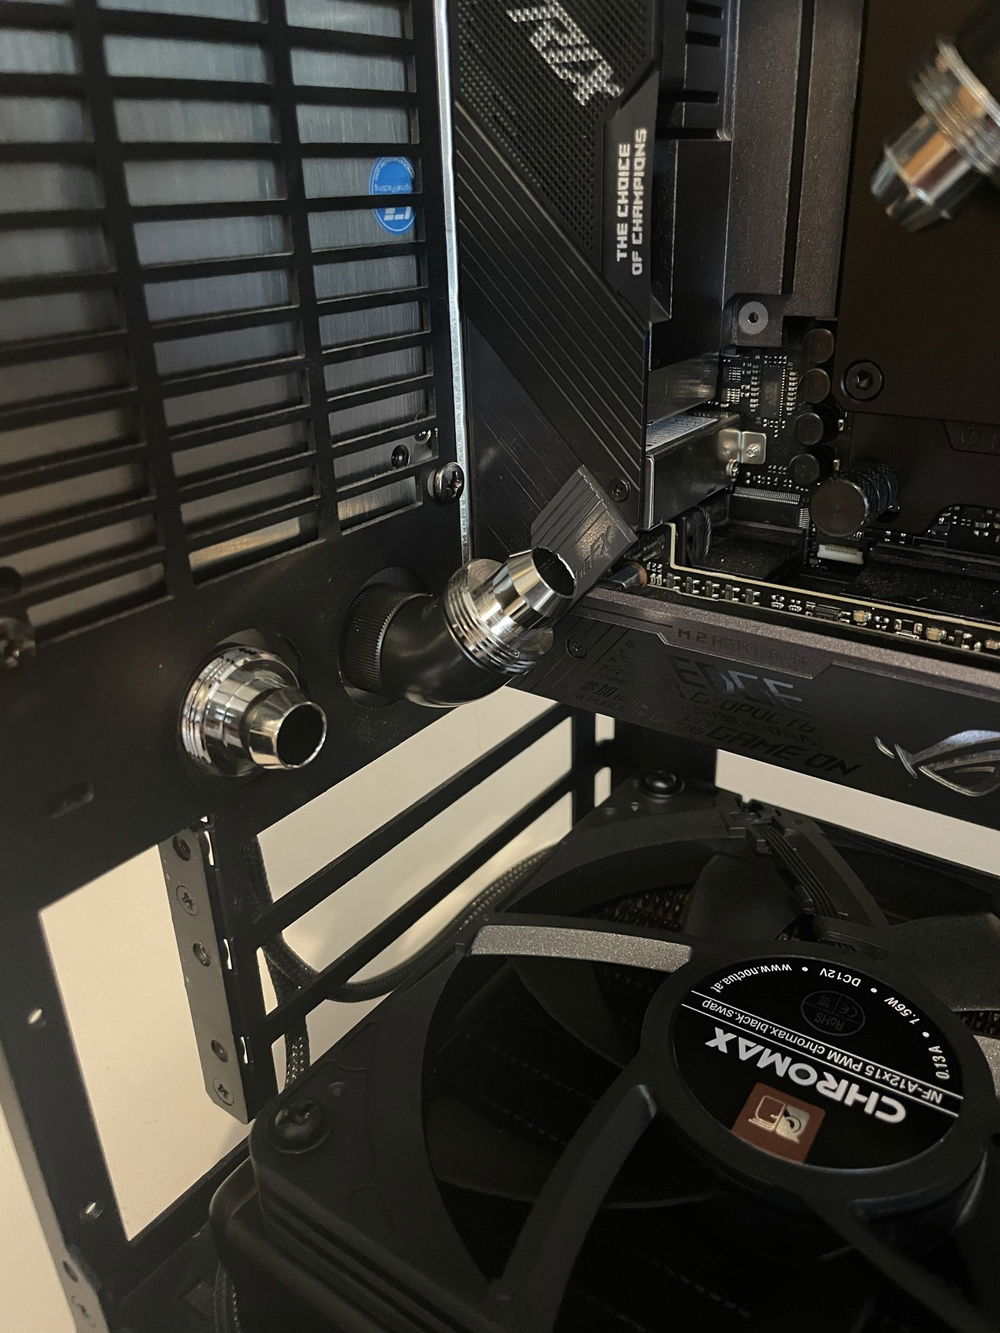
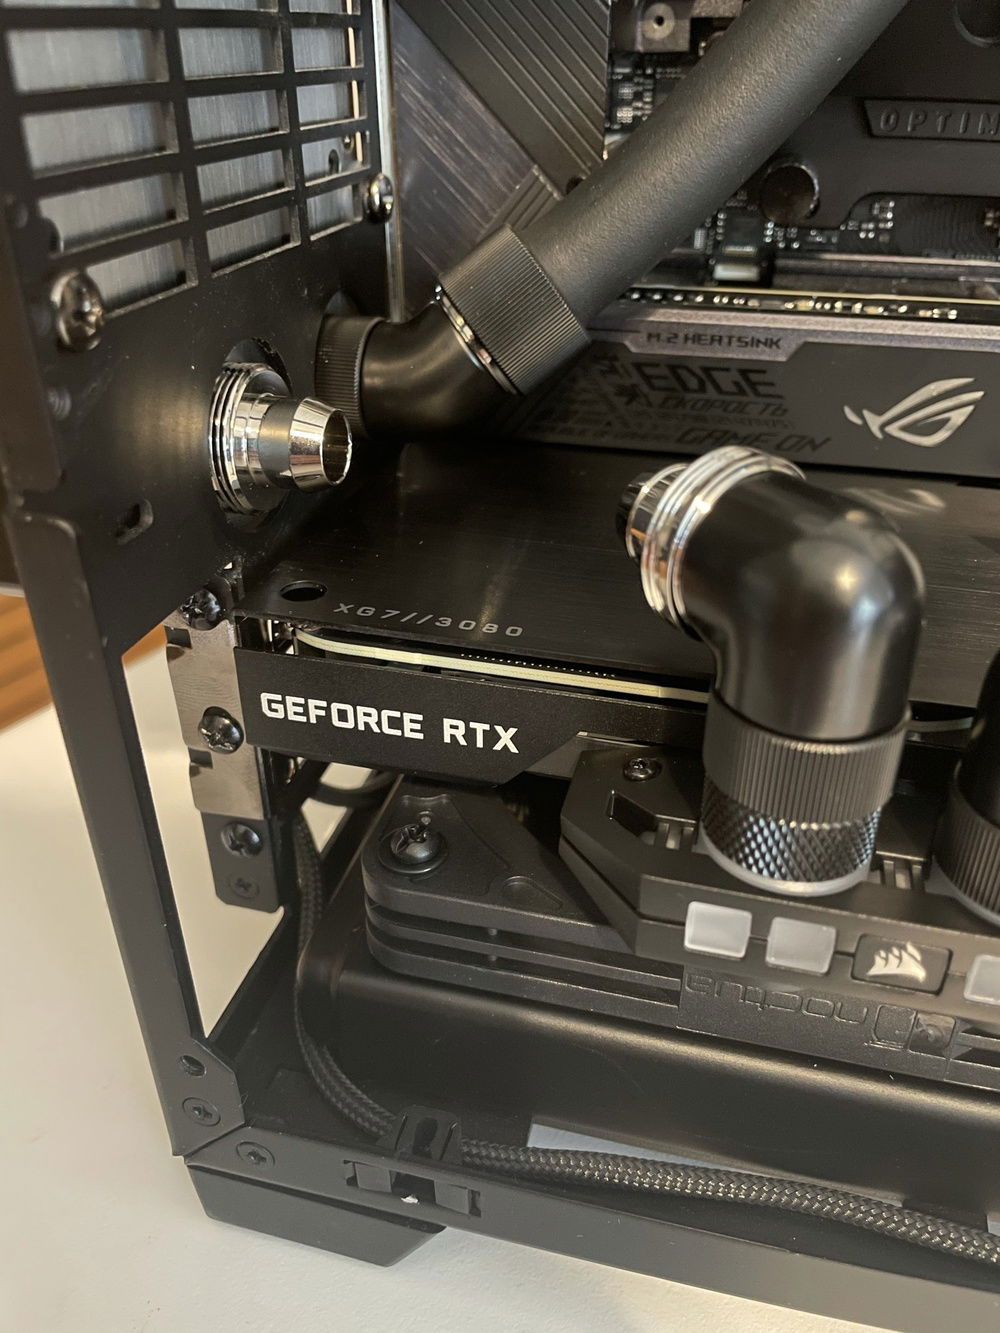
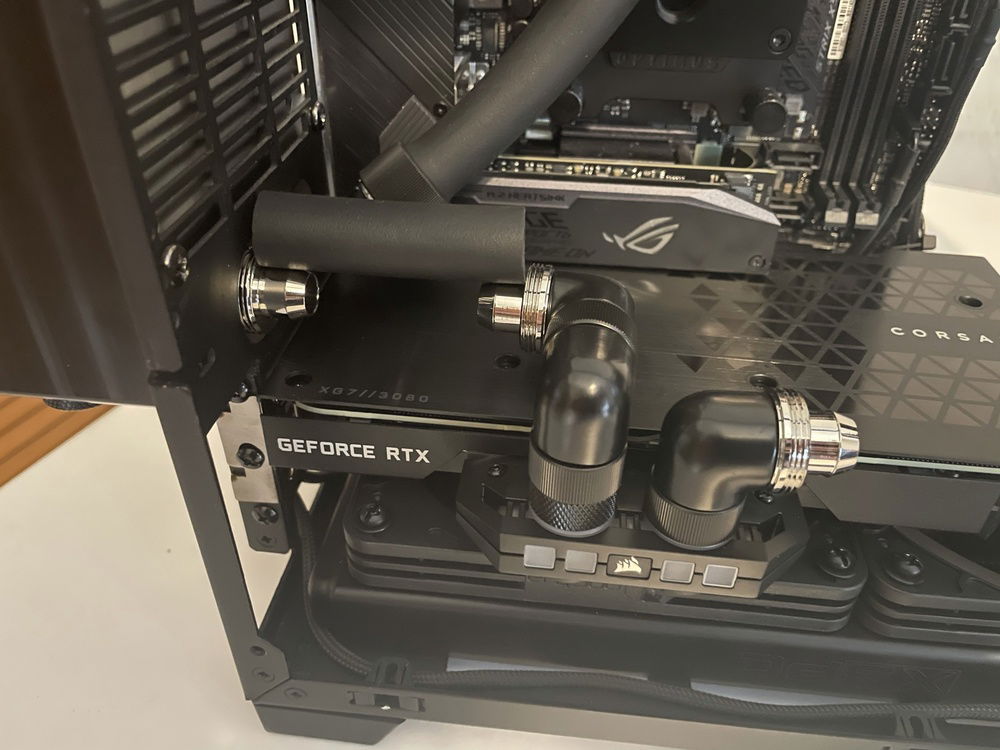
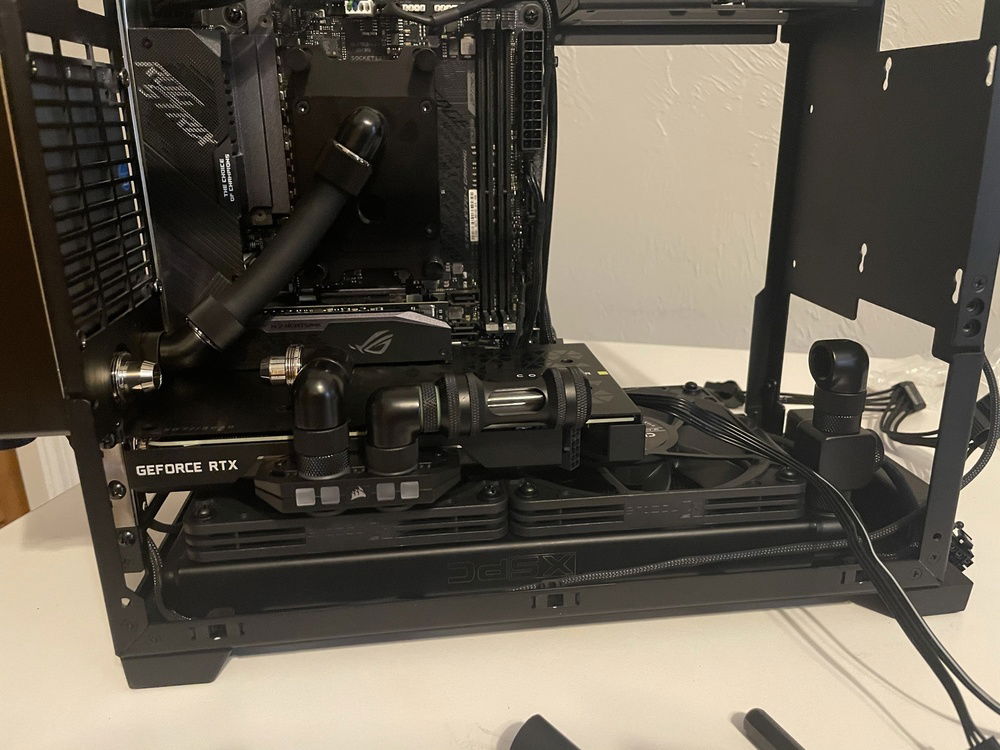
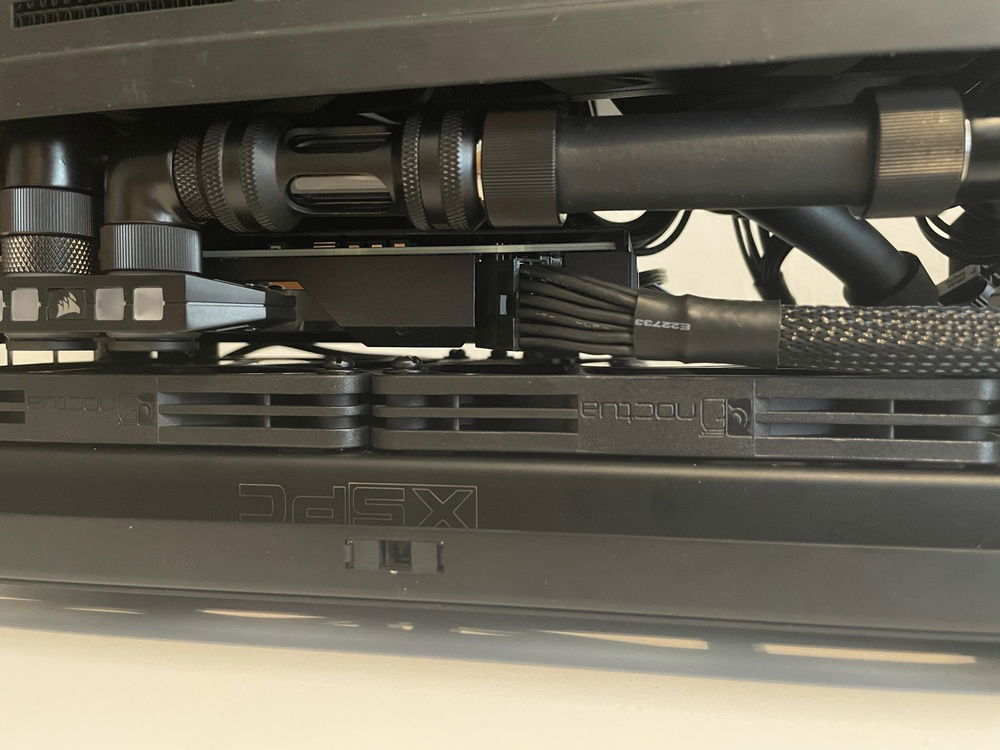
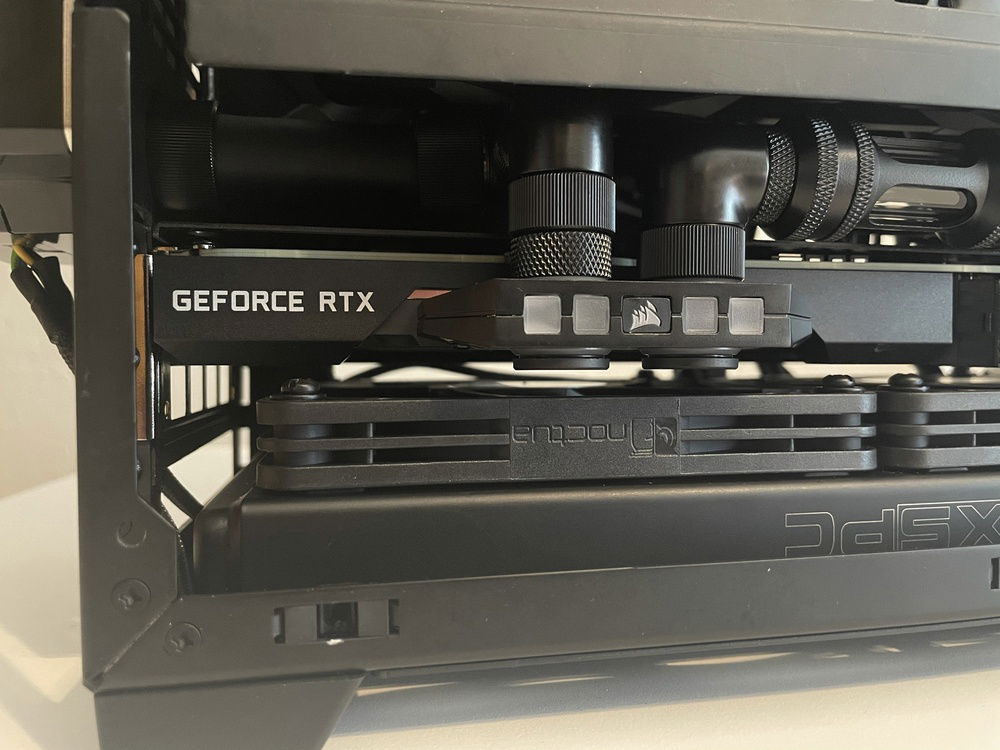
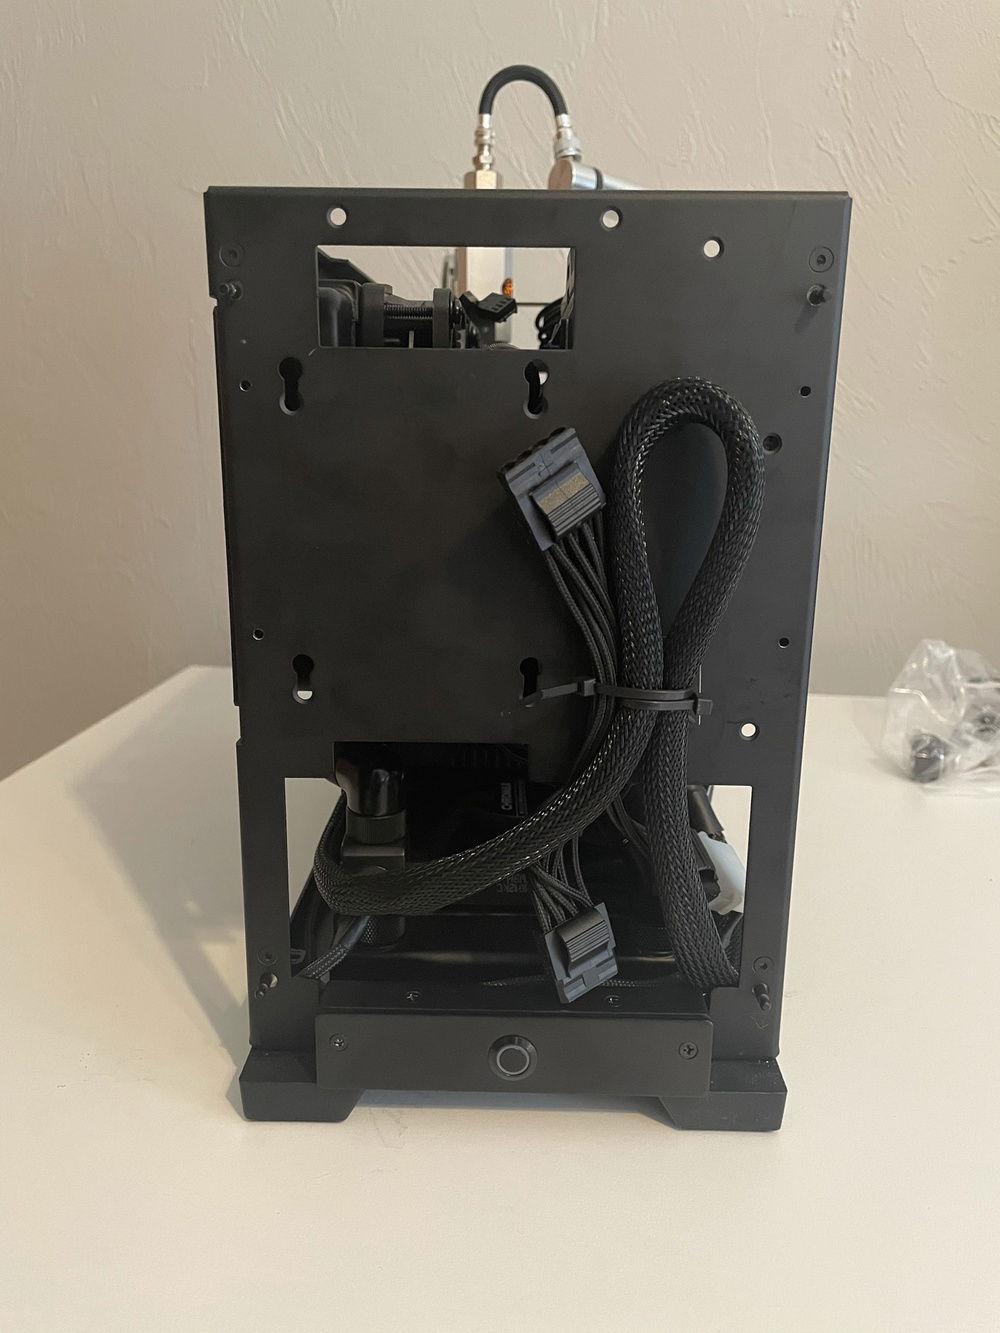
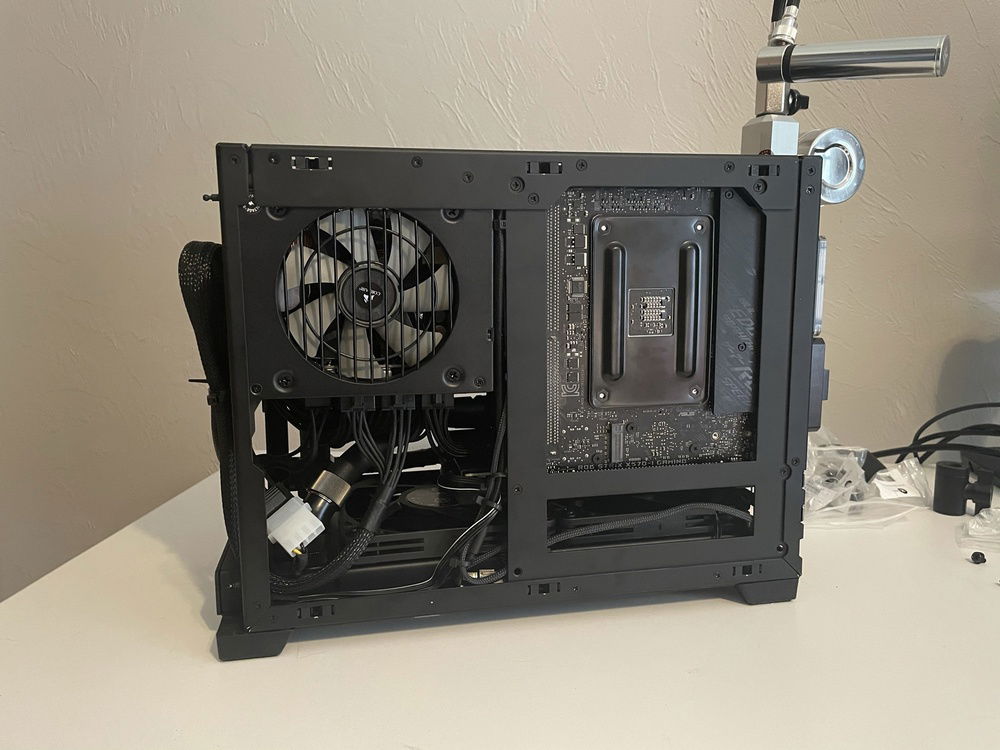
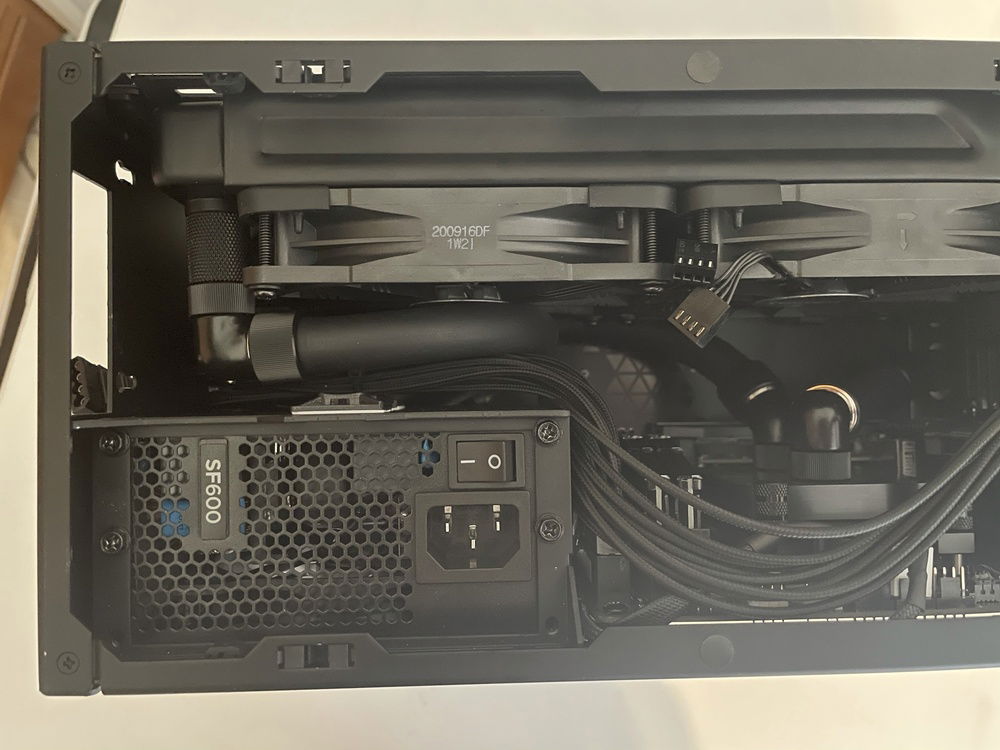
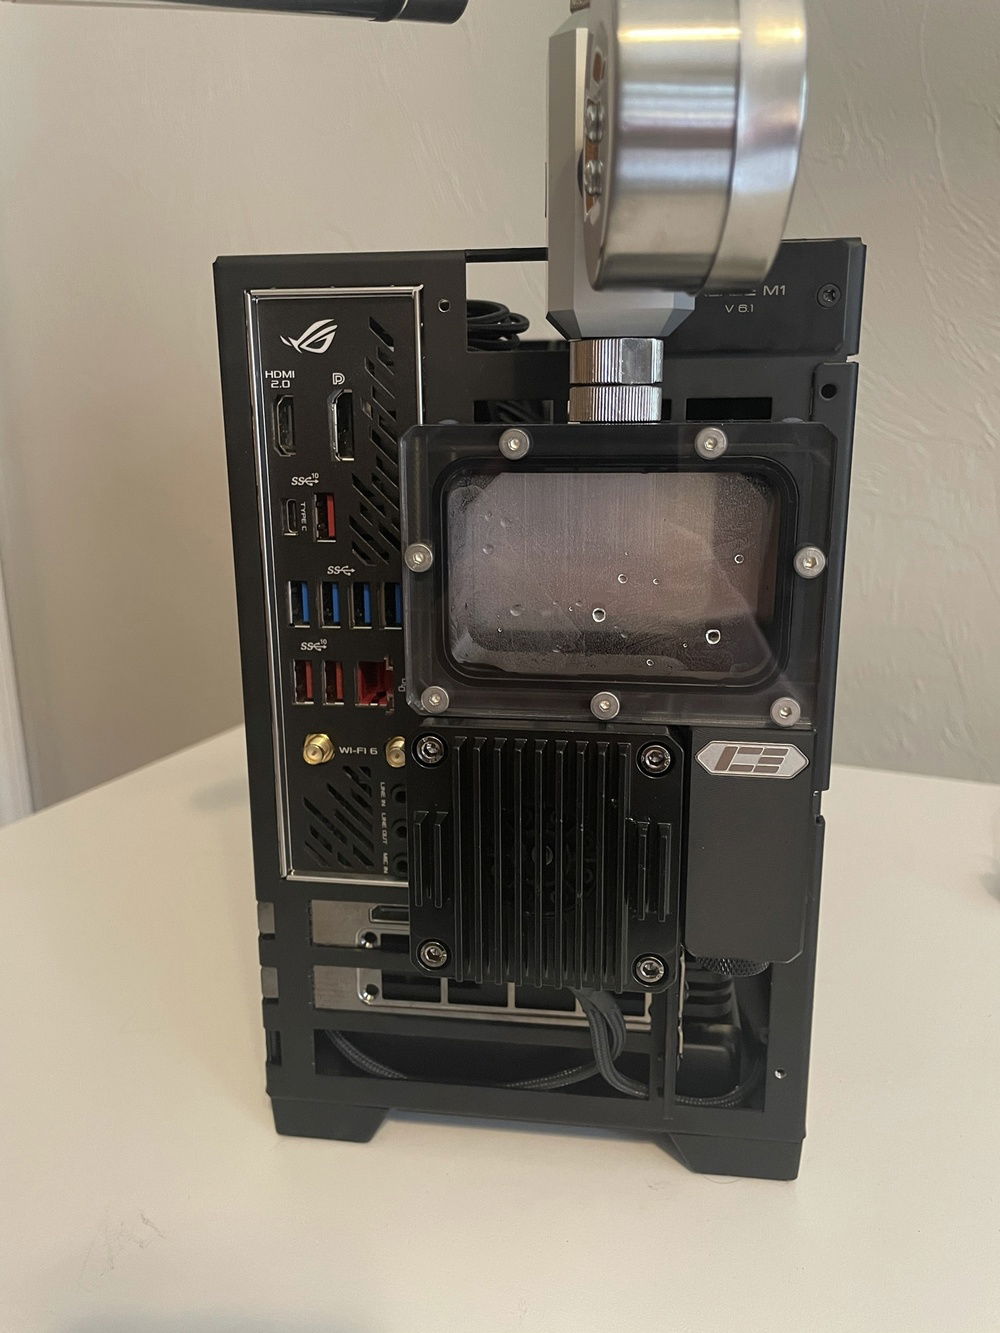
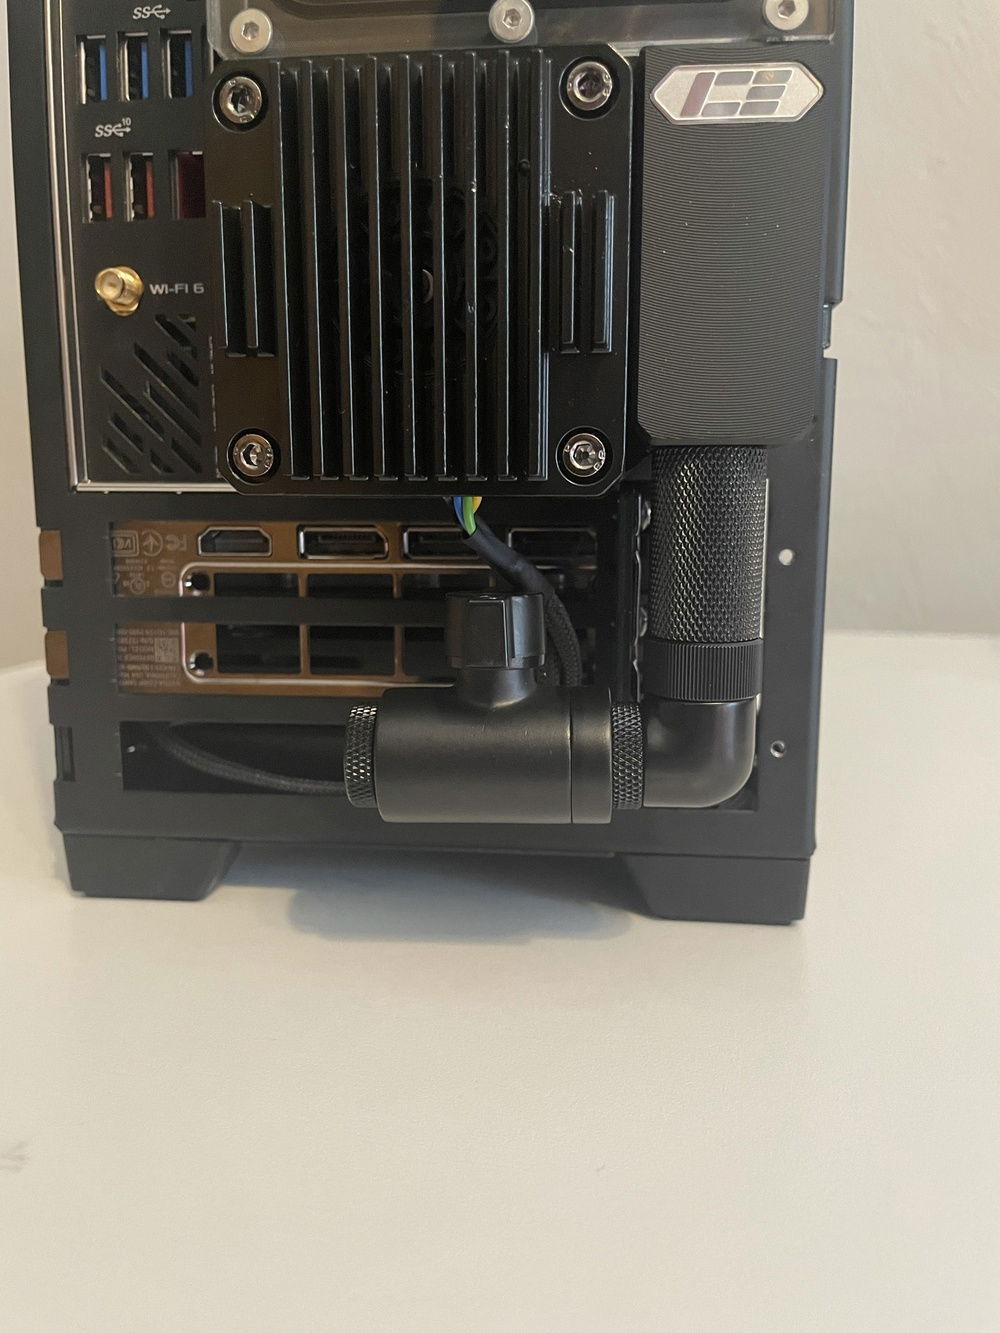
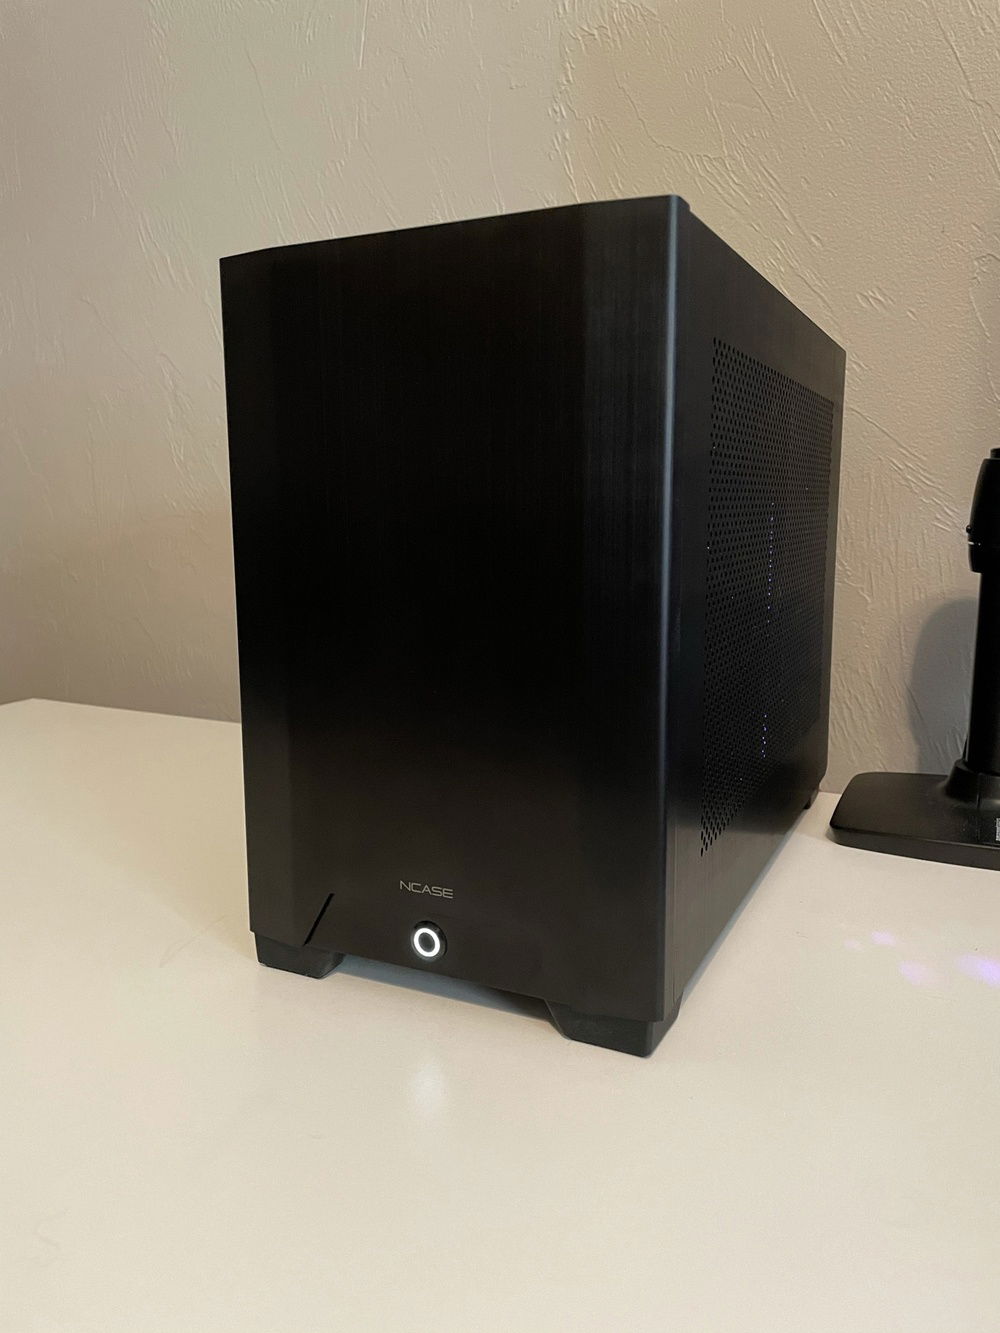
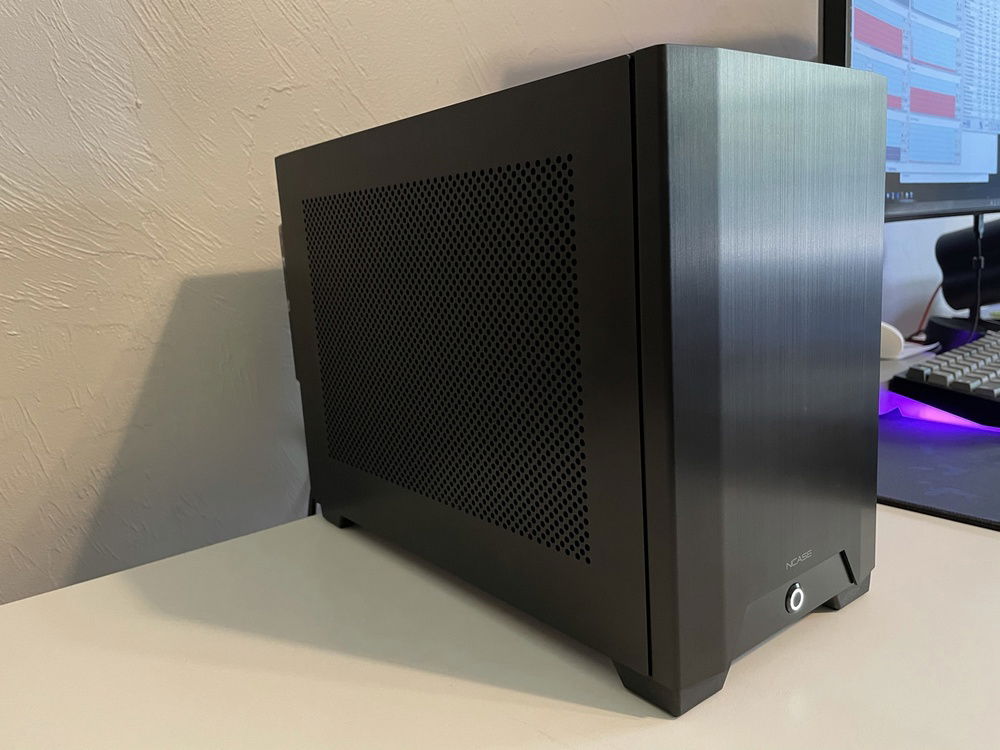
Blackhole - A stealth NCASE M1 custom watercooled build
Specs
Ryzen 7 3700X (5900X in the future)
Asus X570-I Strix
32 GB G.Skill Ripjaws V 3600Mhz CL16
NVIDIA RTX 3080 Founders Edition
Samsung 970 Evo Plus - 1 TB
NCASE M1 v6.1
Corsair SF600 Platinum
Noctua NF-F12 Chromax (2x)
Noctua NF-A12x15 Chromax (2x)
Pslate Customs Anti-Vandal Switch Power Button
Watercooling Parts
Optimus Foundation AM4 CPU block - Black Aluminum + Black Acetal + Nickel
Corsair XG7 3080 FE GPU block
EK-CoolStream Classic SE 240 Radiator
XSPC TX240 Radiator
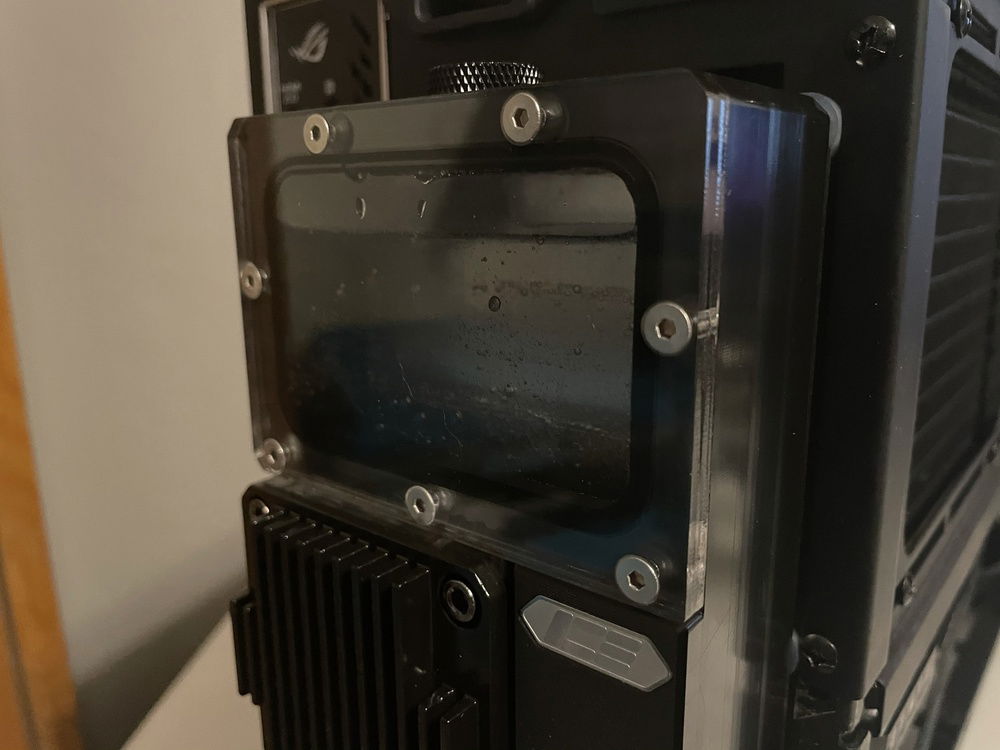
Iceman Reservoir
EK-DDC PWM Pump
EK-DDC Pump Heatsink - Black
EK ZMT Tubing
EK-STC Classic 10/16 Fittings
Barrow Extensions - Various sizes
Barrow Temperature Sensor
EK-AF Classic 90 degree and 45 degree fittings
EK-AF 3-way T-Splitter
EK-AF Ball Valve
XSPC Inline Filter
EK-CryoFuel Coolant - Clear
Color(s): Black
RGB Lighting? No
Theme: Color
Cooling: Custom Liquid Cooling
Size: SFF
Type: General Build
Contests
This build participated in 3 contests.
| Rank | Contest | Date |
|---|---|---|
| #74 | Build of the Month - September 2021 | ended |
| #739 | EK 10K Challenge | ended |
| #121 | SFFPC meets builds.gg Contest | ended |
Hardware
CPU
$ 278.99
Motherboard
$ 415.29
Memory
$ 249.99
Graphics
Storage
$ 189.81
Case Fan
$ 59.90
Case Fan
$ 53.90
Cooling
$ 4.63
Cooling
$ 158.10
Cooling
$ 33.12
Cooling
$ 37.09
Cooling
$ 33.29
Cooling
$ 29.95
Cooling
$ 32.99
Cooling
Cooling
Approved by:
