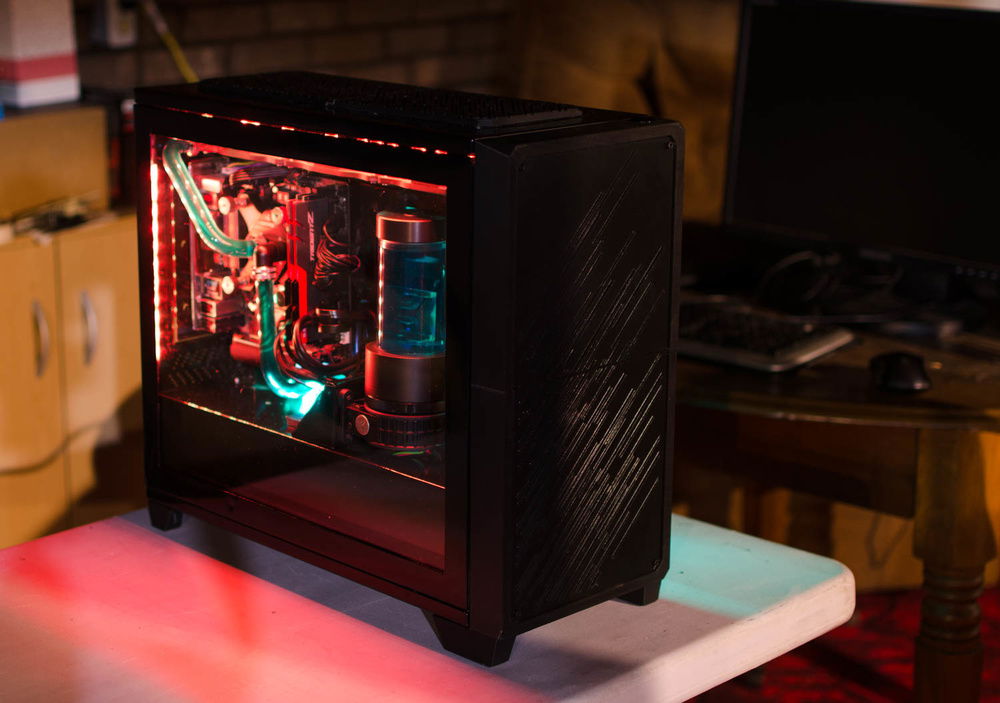
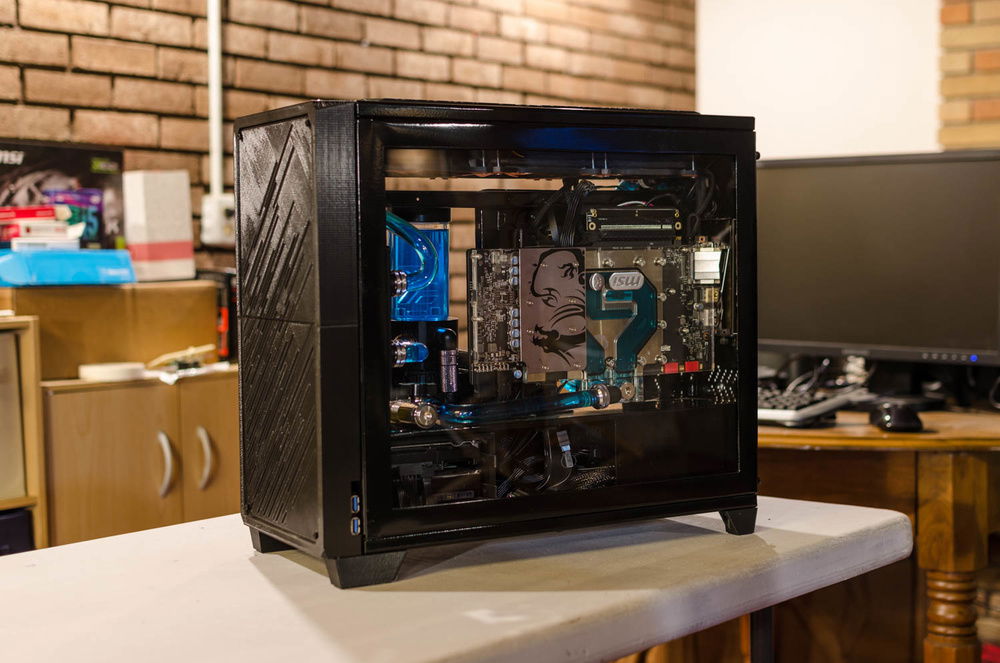
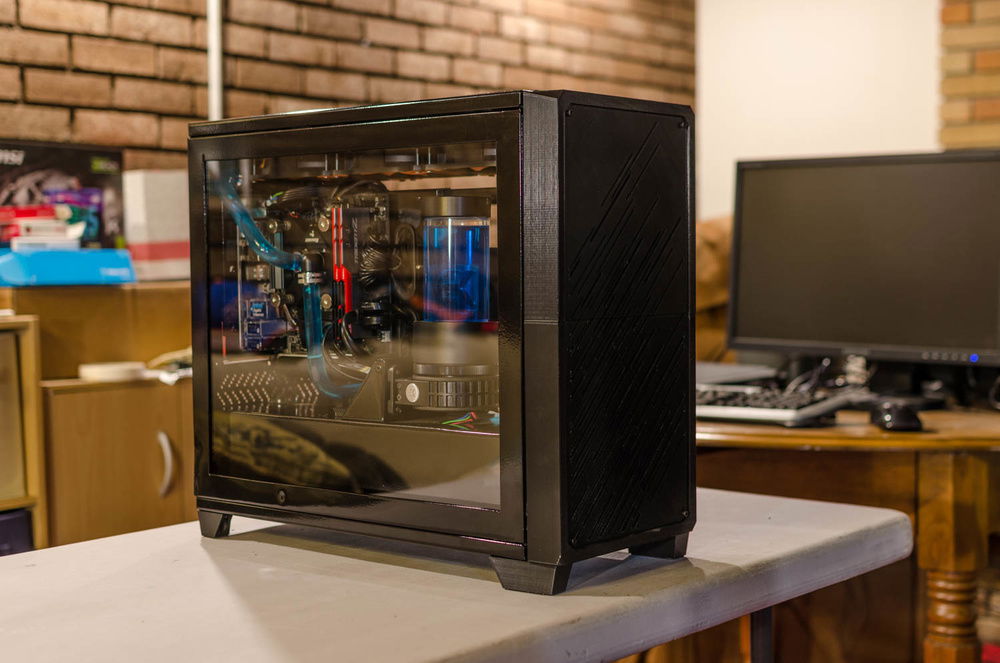
Meet the T-MK1, My custom computer case design
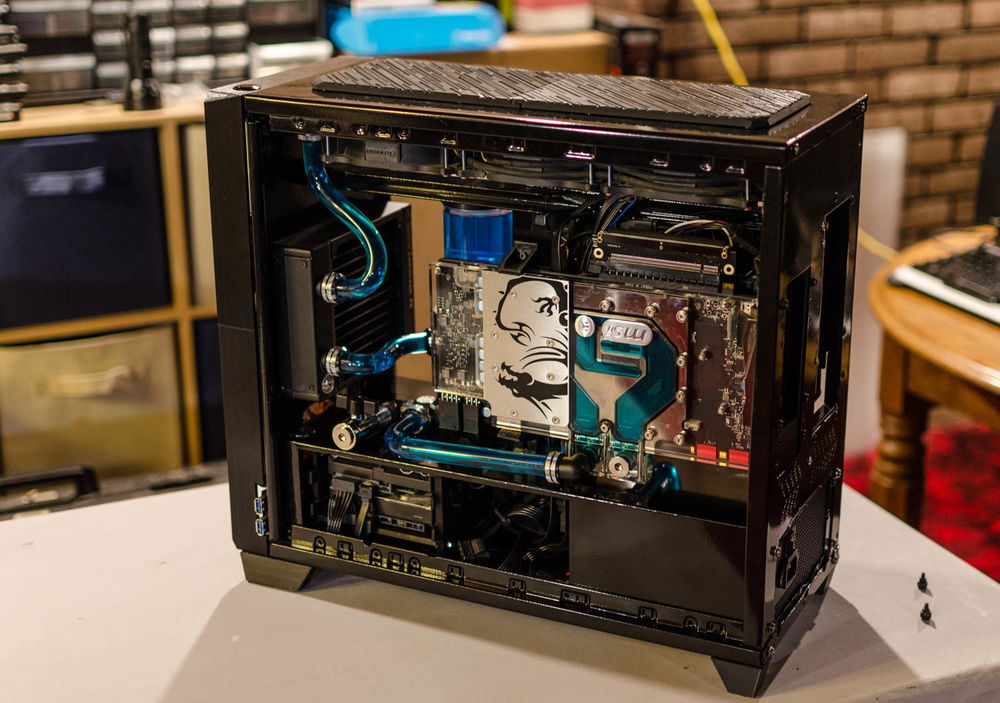
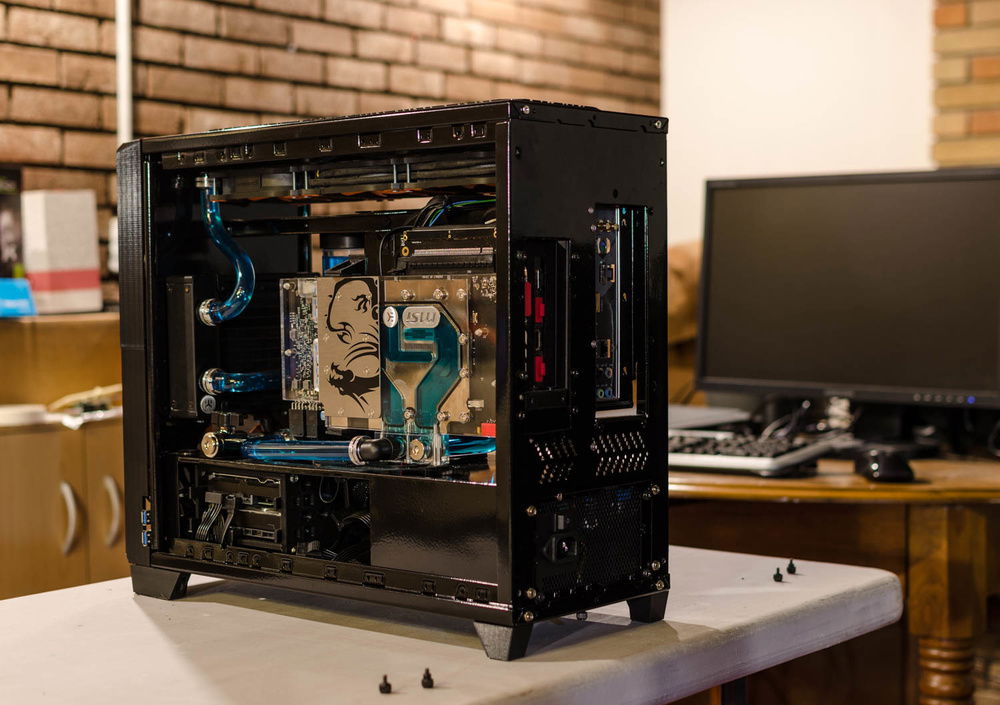
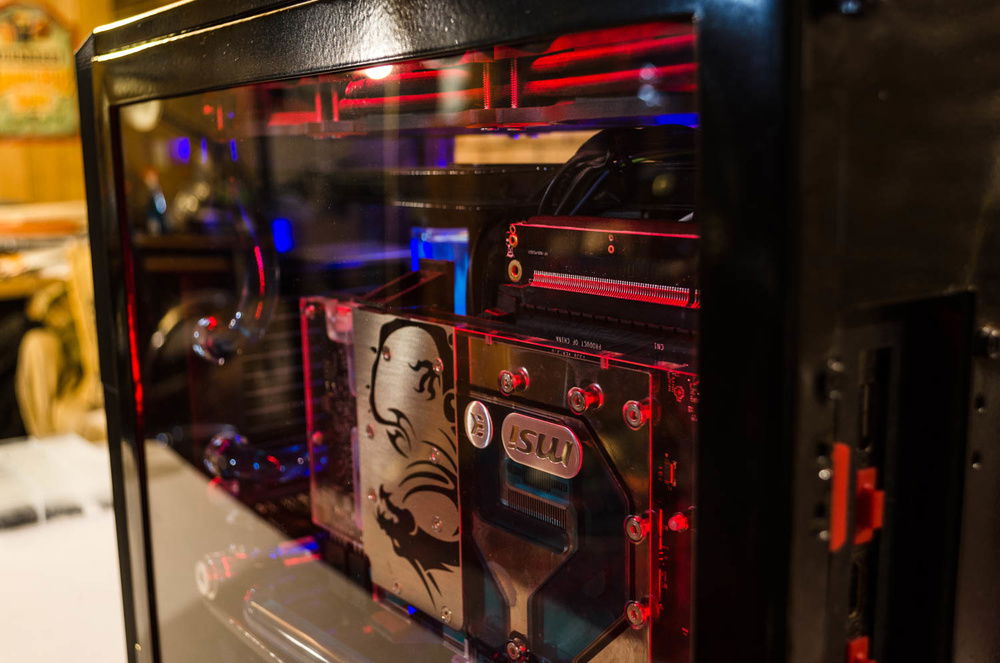
Notice anything strange so far about this case? The Graphics card is on the flip side from the motherboard. This layout allowed me to fit an extremely large graphics card in place while maintaining a compact midsize design.
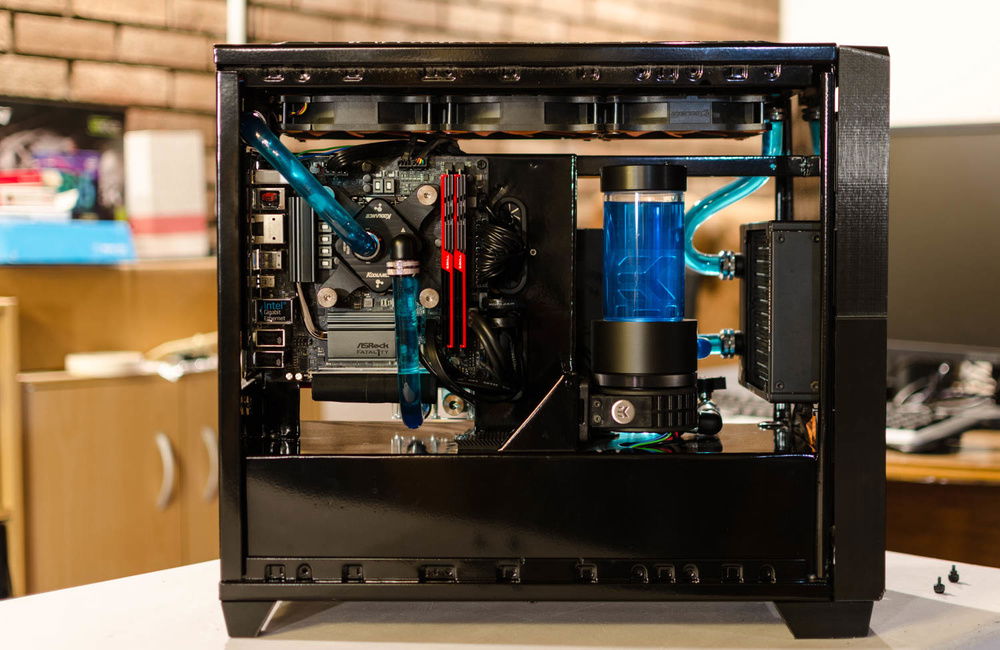
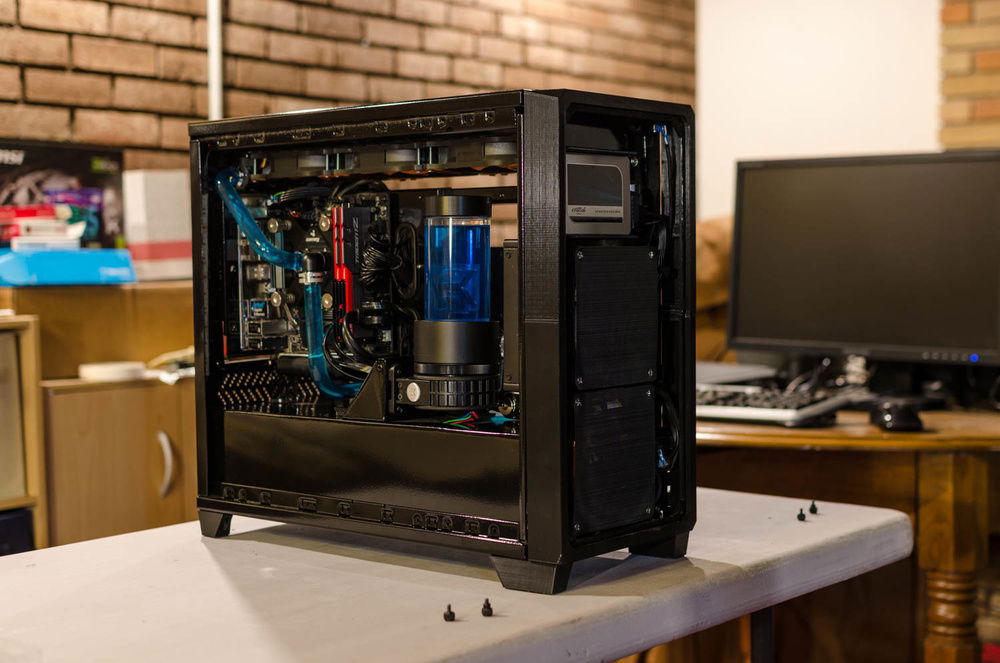
In the remaining space I was able to add an entire liquid cooling loop including 360mm and 120mm radiators.
The rigid tubing was actually a lot of fun to route in this case. The same loop passes through each side making it a little unique compared to most cases I've liquid cooled.
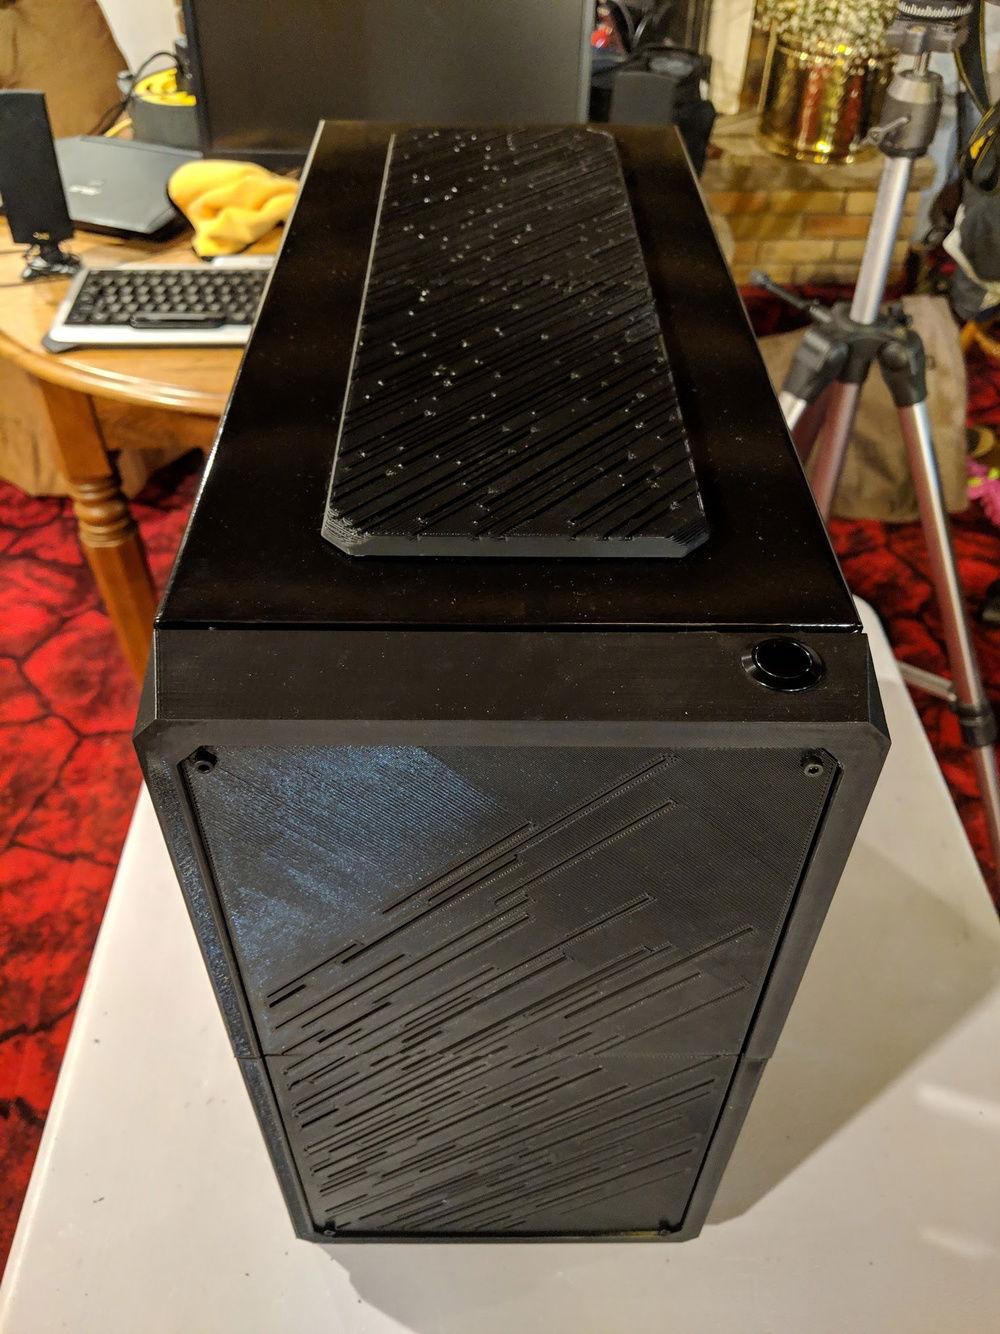
I went through about 5 design ideas until I created a ventilation style I like for the front and top of the case.
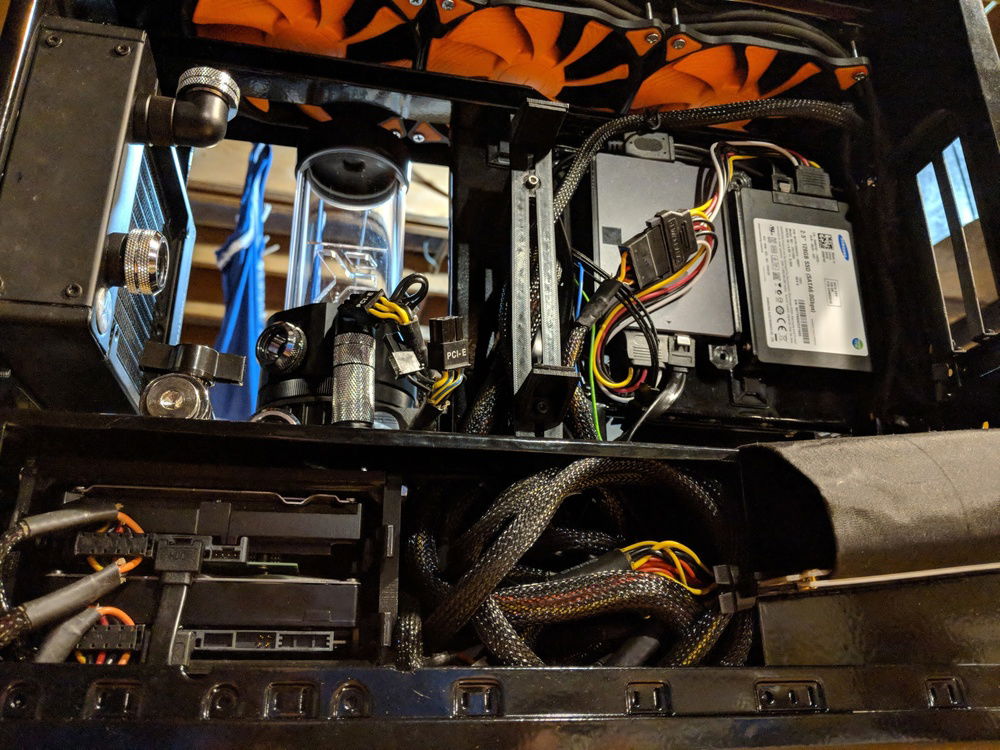
Here you can see the two 120mm fans behind the front grill as well as a removable bay for two 2.5" SSD's
My favorite part about this case design is that it allows the internals to be viewed from each side, rather than completely blocked by the motherboard tray like most.
In the year and a half it took me to finish this case I was successful at completing my original goal, but at a huge expense of time. It would have been significantly easier to just purchase a case. But along the way I was able to learn some awesome skills and it was a fun project to tackle with friends.
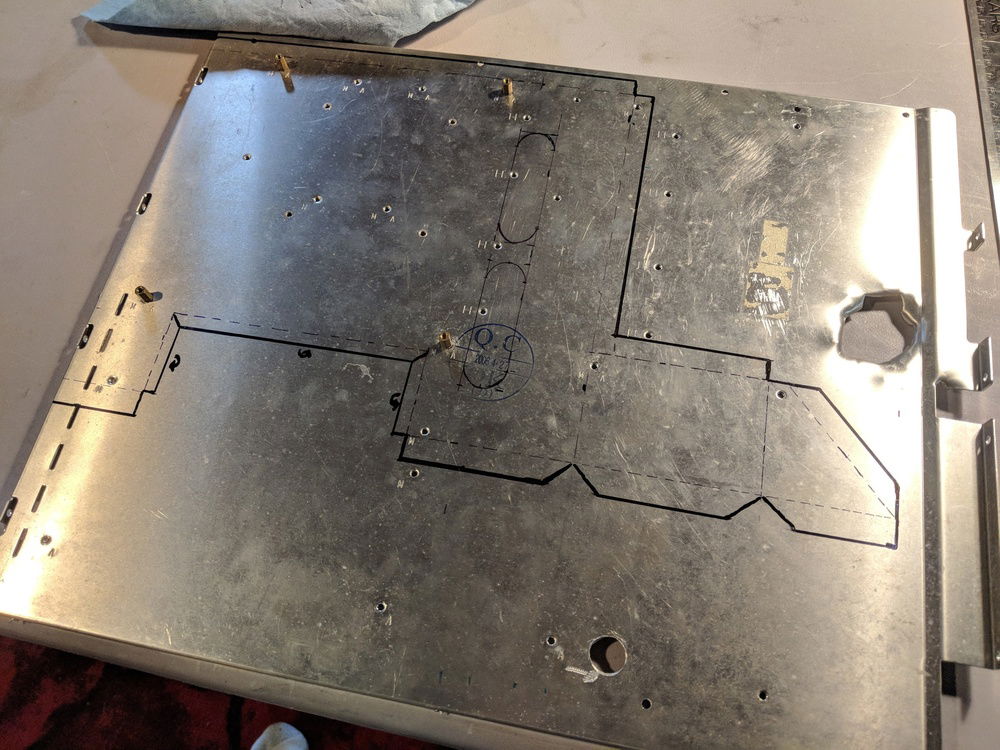
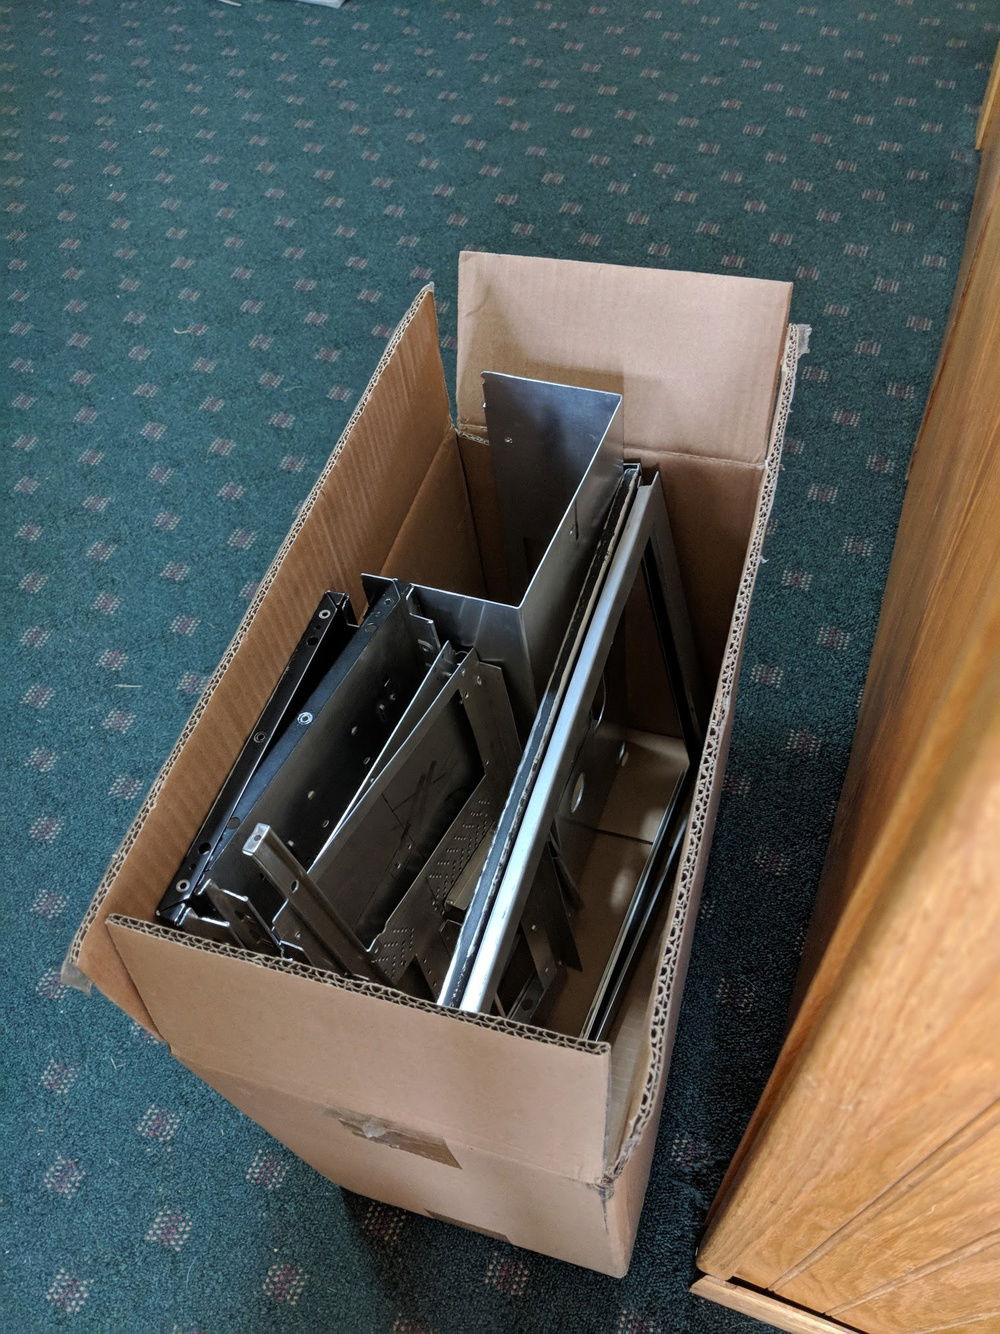
This one ended up being a 15 year old case's motherboard tray. I only needed it to fit a Mini-ITX motherboard... so I had to get creative.
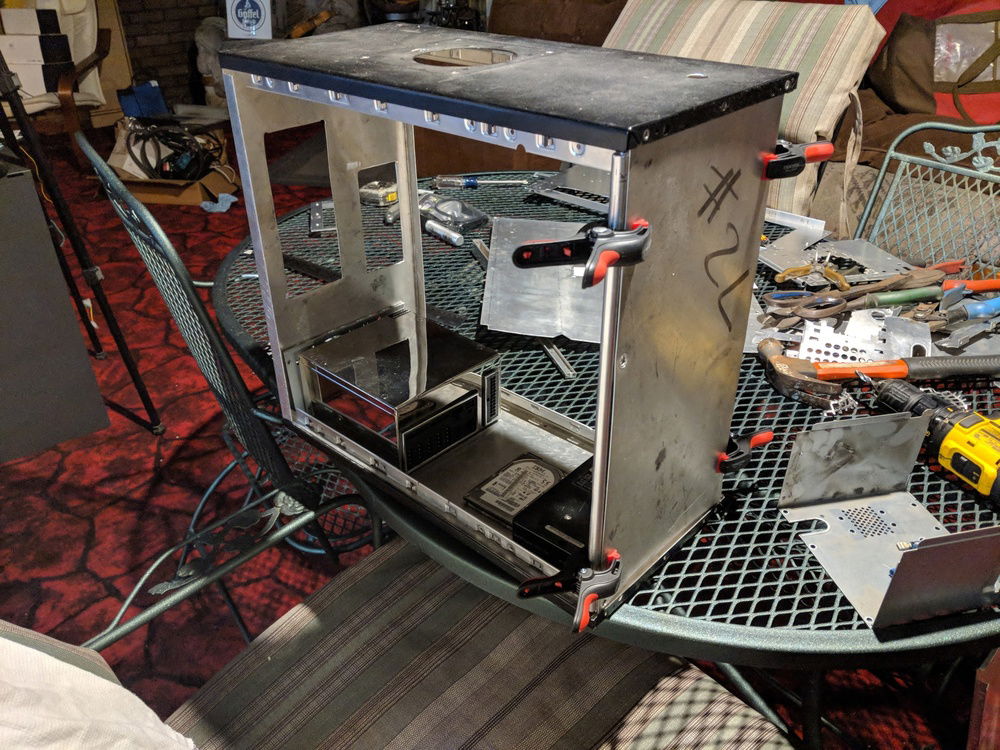
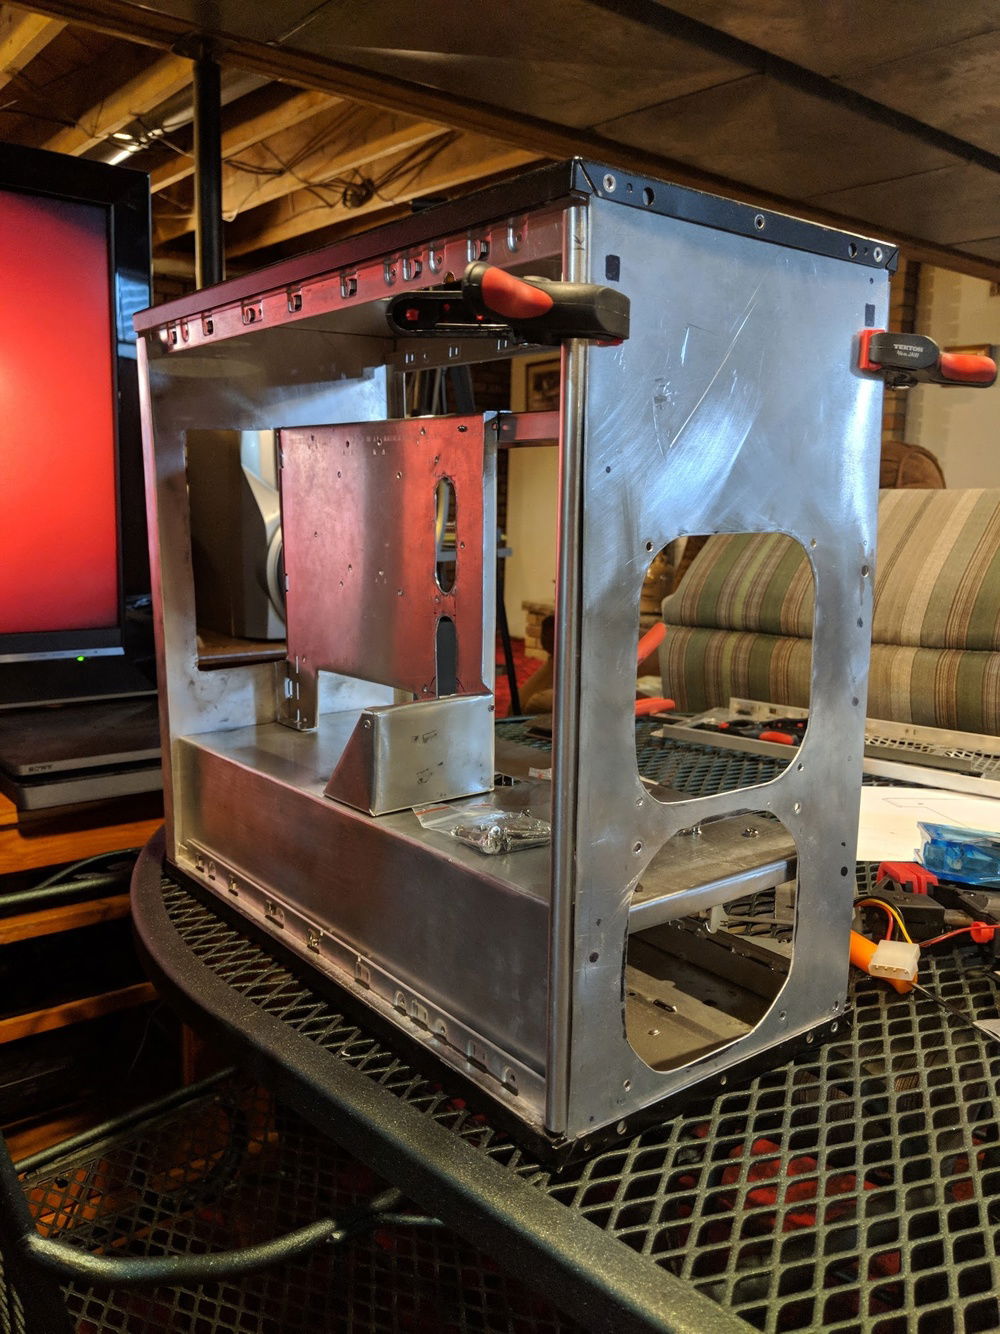
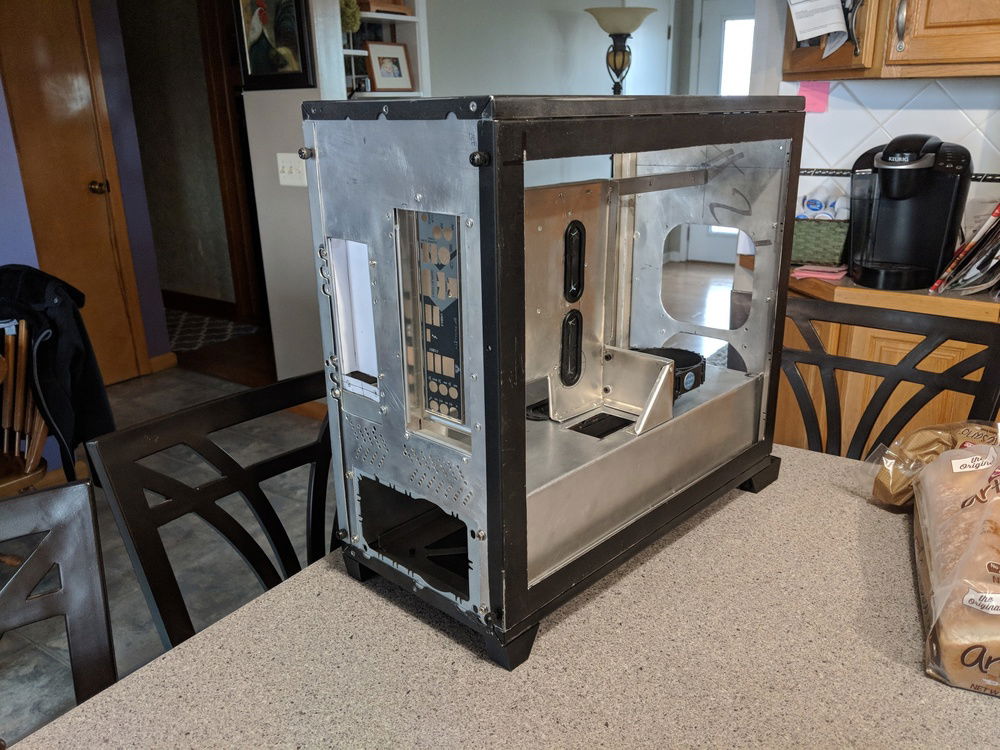
I used a lot of clamps to hold panels together so that I could verify placement of the computer components.
After a few days of dissecting, modifying, cutting, and riveting the T-MK1 started to show it's skeletal frame
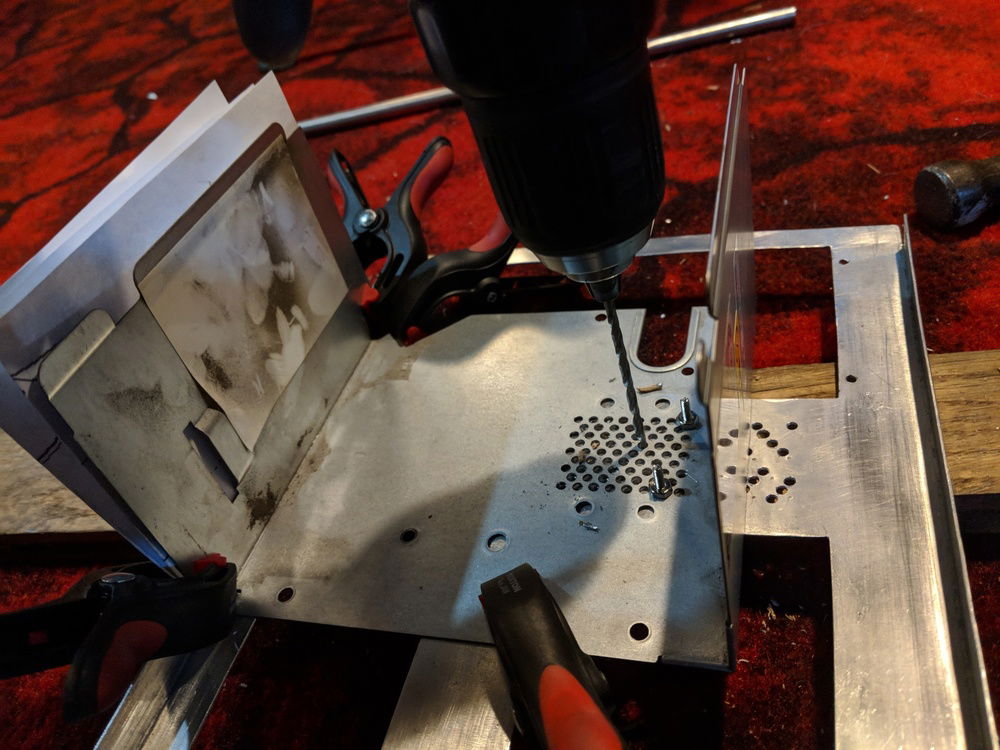
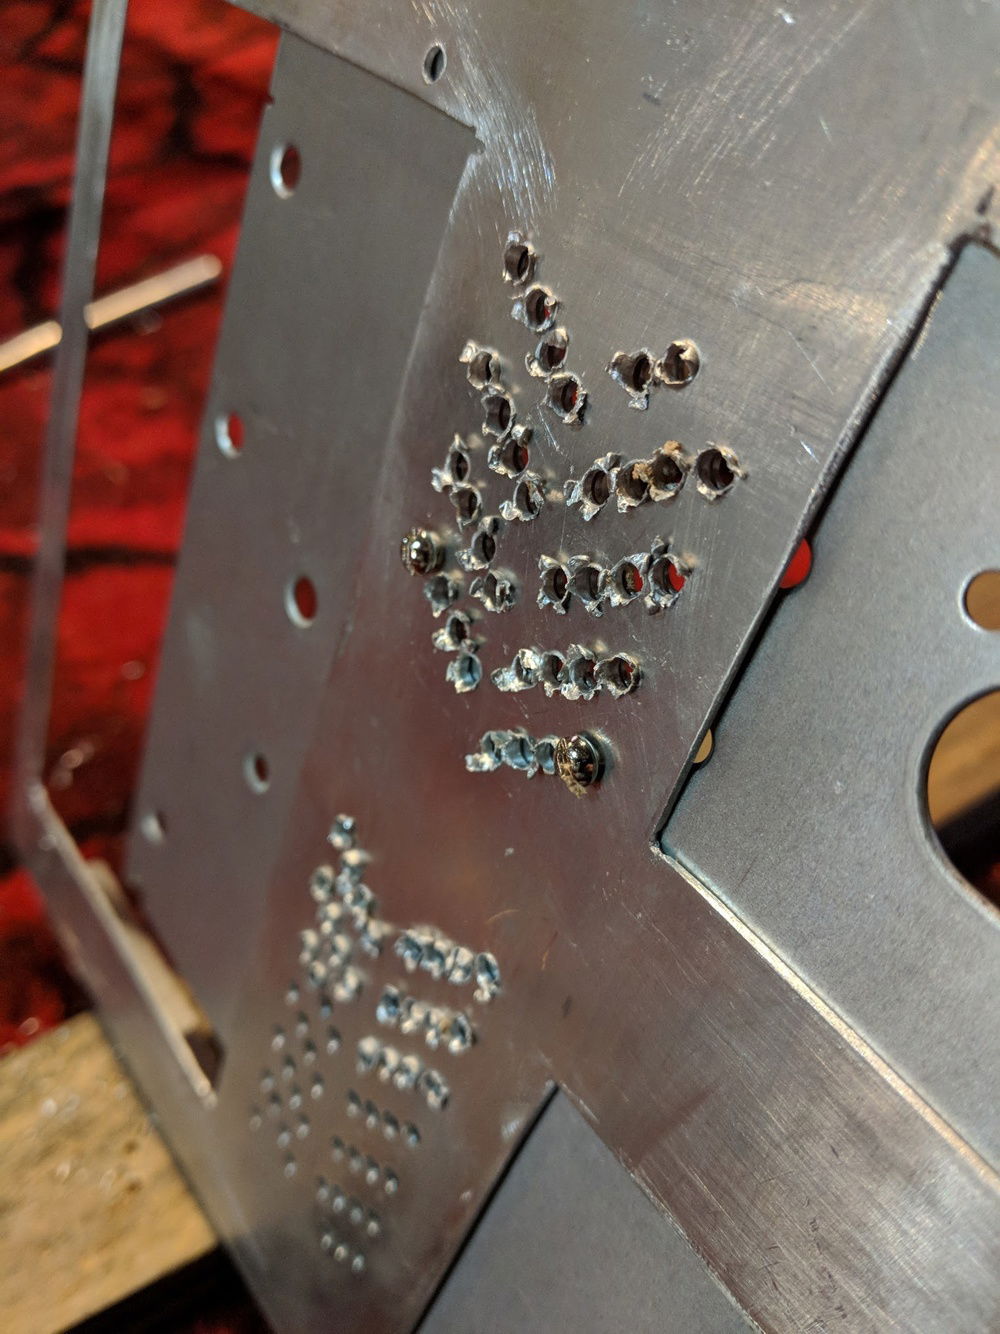
One of the most rewarding parts of this projects was learning new techniques for working with metal. I used and old power supply case as a stencil for drilling aligned ventilation holes on the backside of the case.
Some pieces, such as this back panel, took a few days to complete due to all the filing and sanding they required. Did I mention I made this thing mostly by hand?
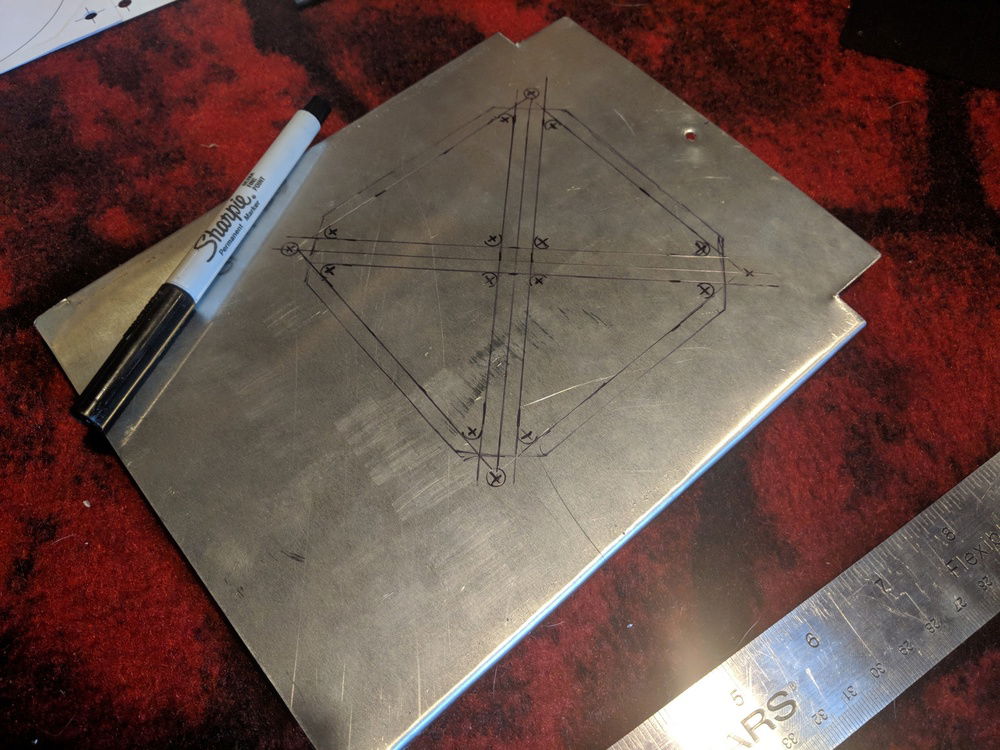
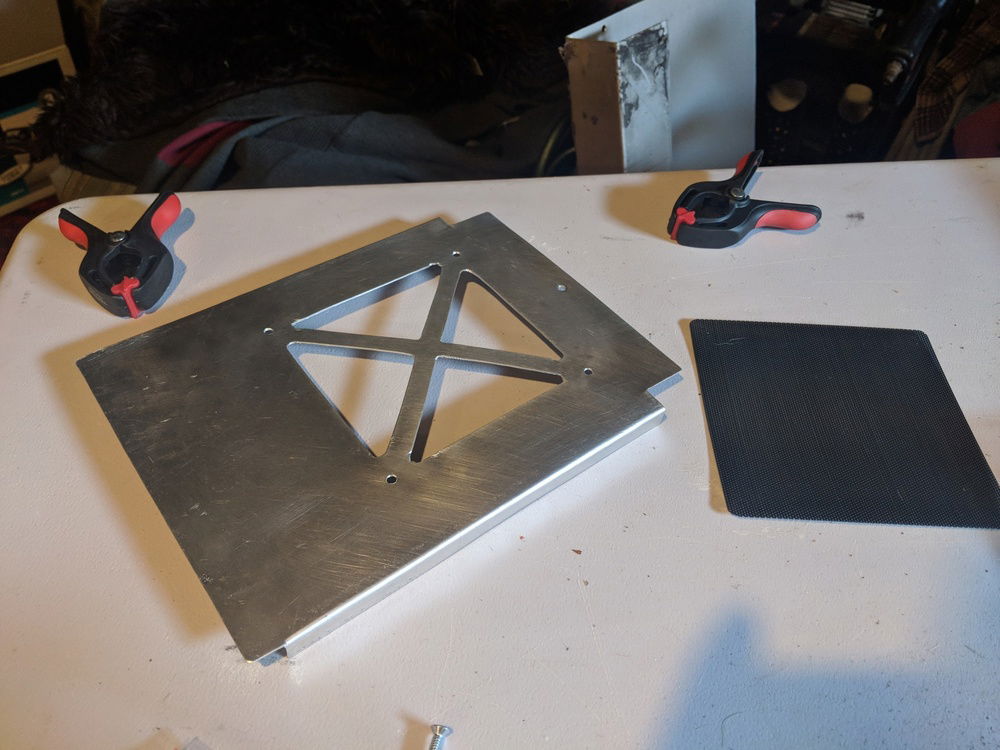
Some of the designs happened as I went along. Here I was drawing out the bottom ventilation for the PSU door. It had to be open yet retain structural support, which can be somewhat challenging when you're making something new.
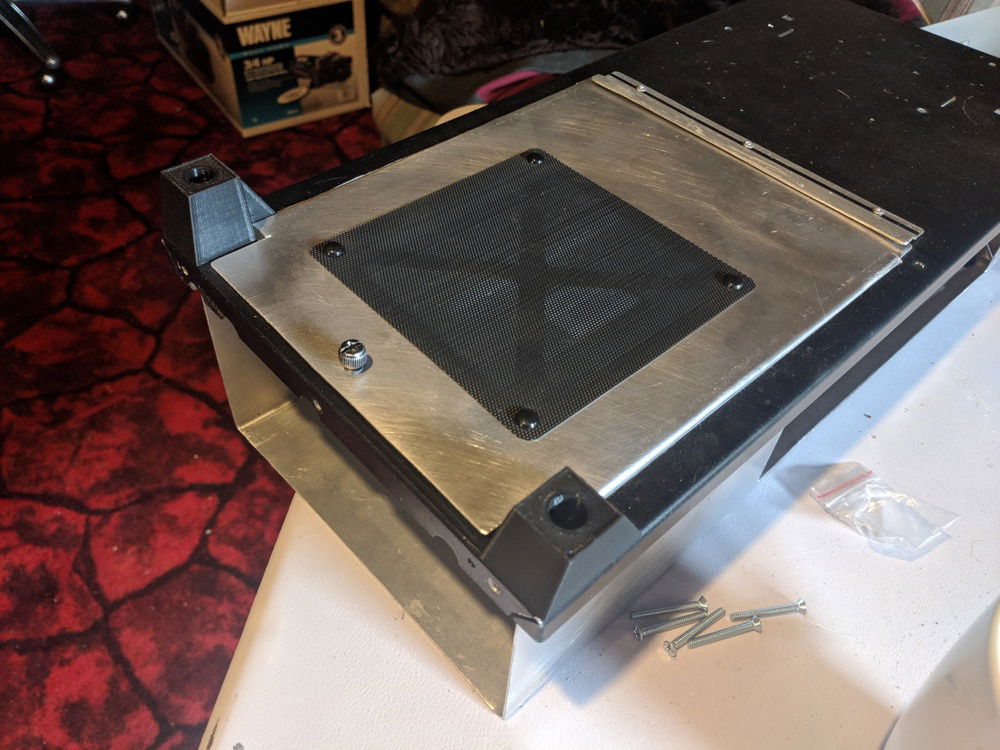
To keep the dust underneath the case out and fresh air in I decided to use a 120mm fan dust filter.
Here you can see the bottom door installed as well as 3D printed feet.
Checking how well everything fits together.
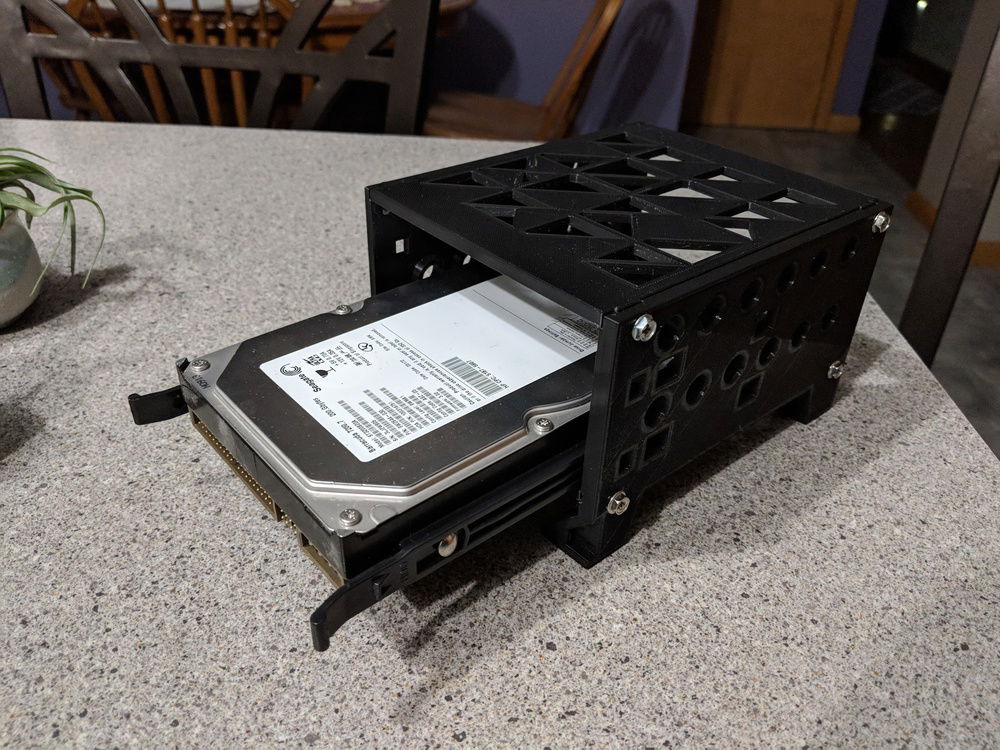
At this time I modeled and 3D printed most of the internal complex parts. As you can see I was able to fit up to two 3.5" Hard drives in the T-MK1
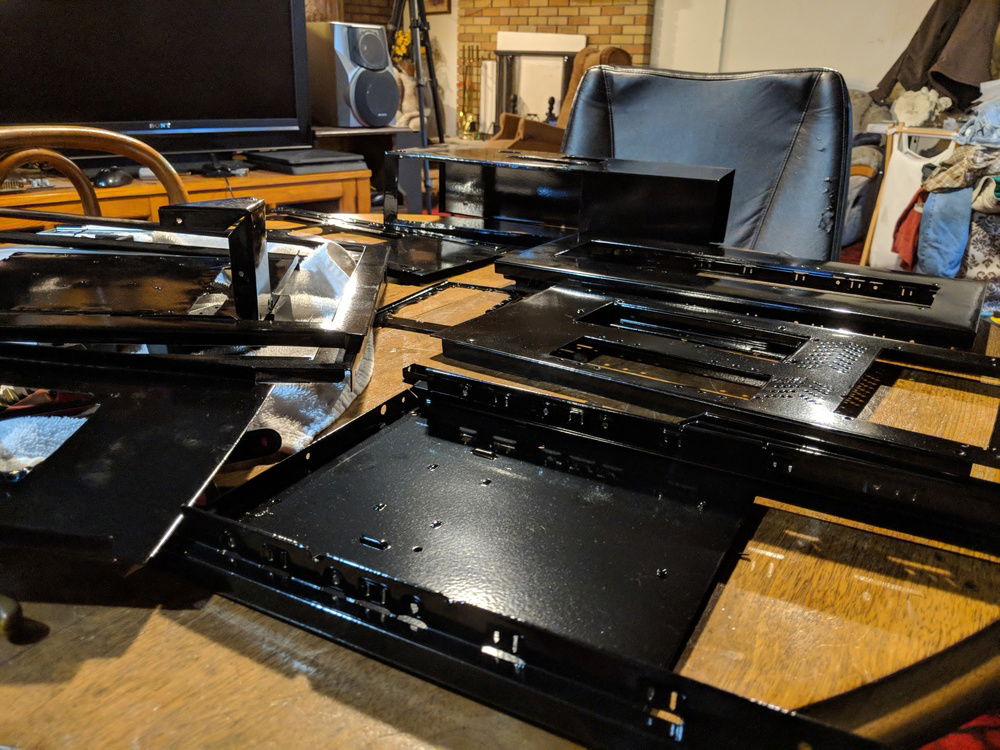
Prepping for the powder coater
...and a few days later, operation powder coat was a success
Initial cable management was a nightmare. I only needed the PSU cables to travel a few inches. Ultimately I decided to purchase a modular PSU to eliminate the clutter of cables.
Shout out to my friend Kyle for helping with most of the 3D printing. It's always rewarding seeing your 3d art turn into actual solid objects.
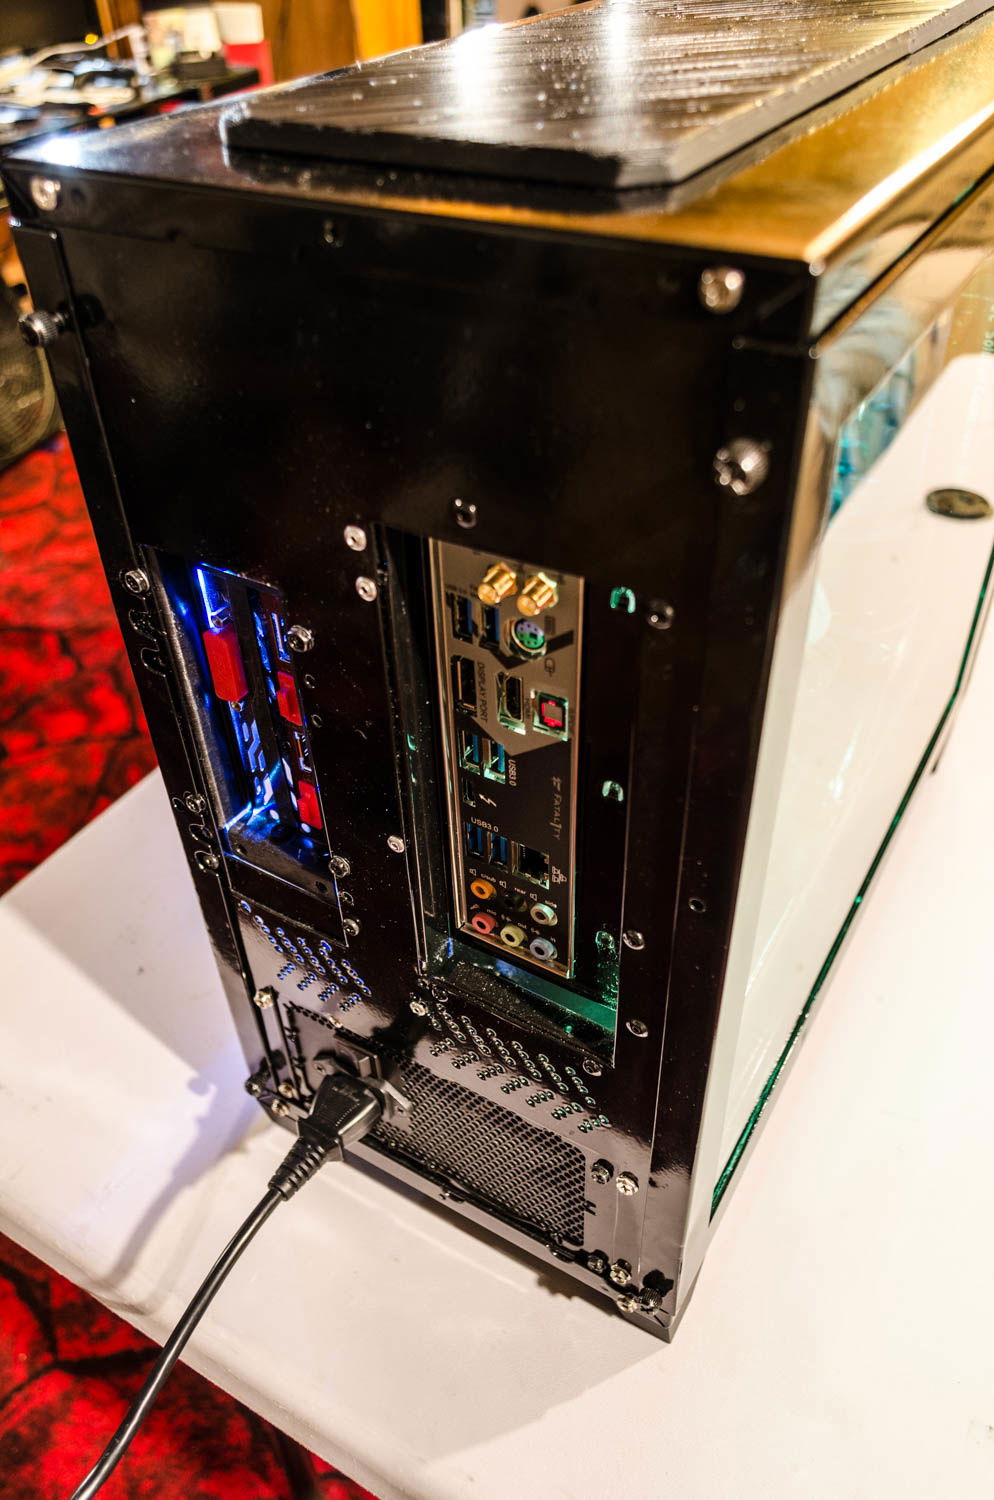
Here's an interesting view from the back
