Liquid Green Core
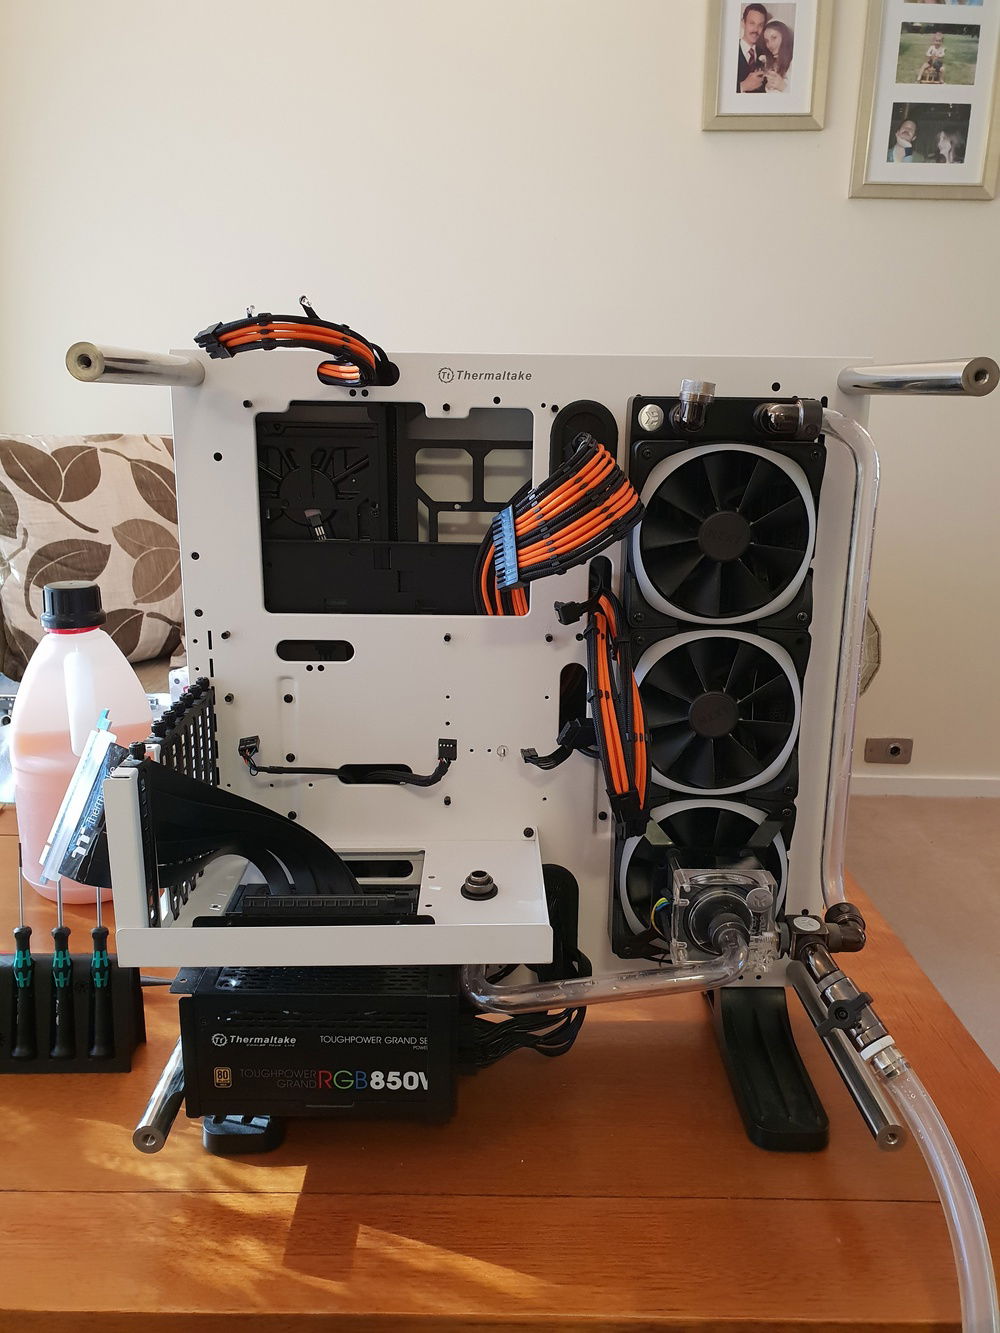
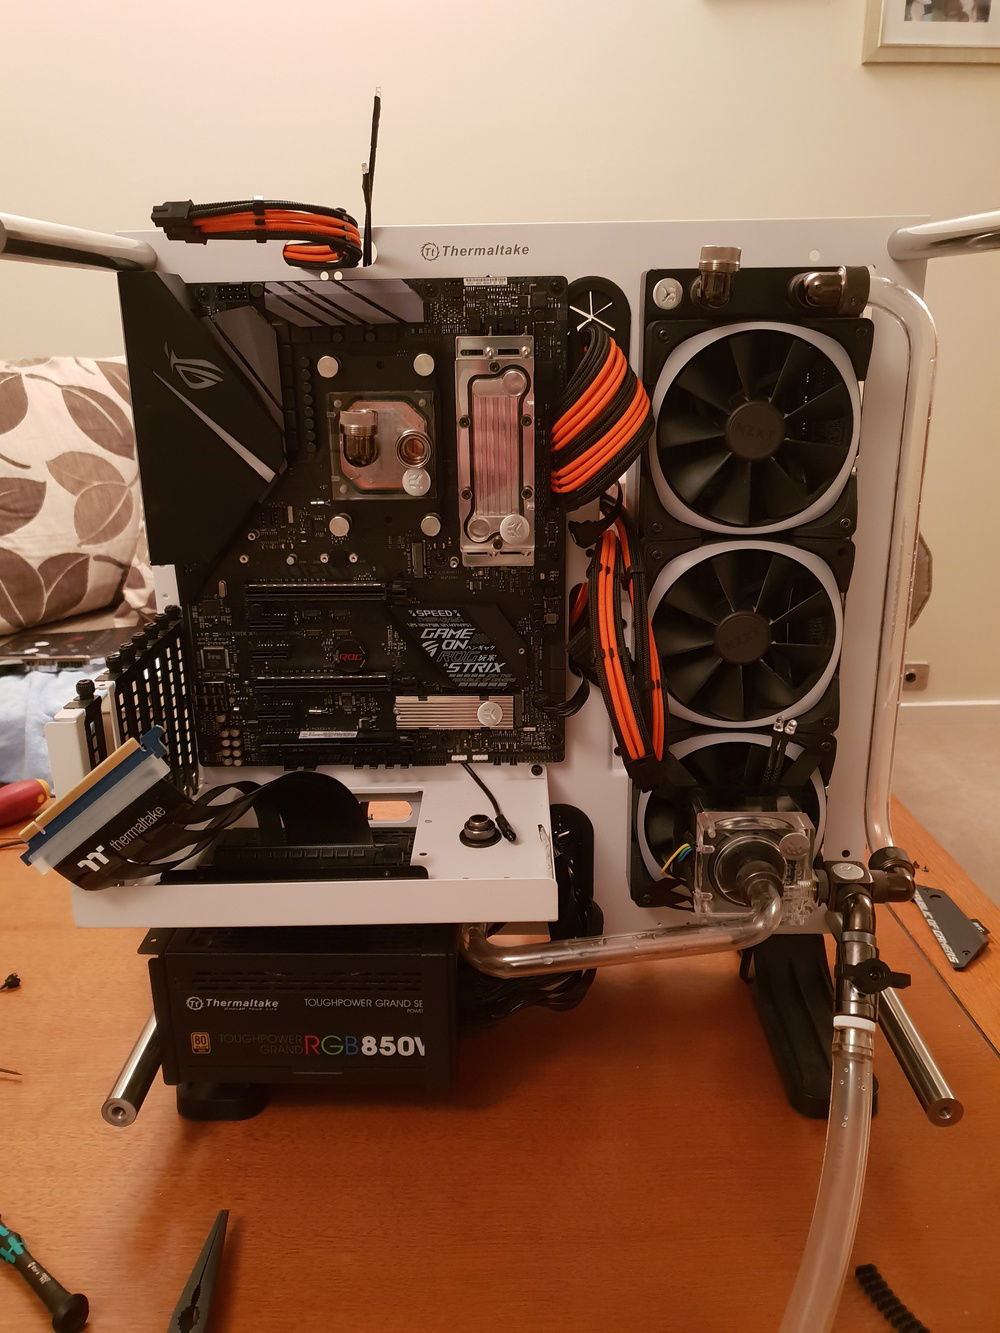
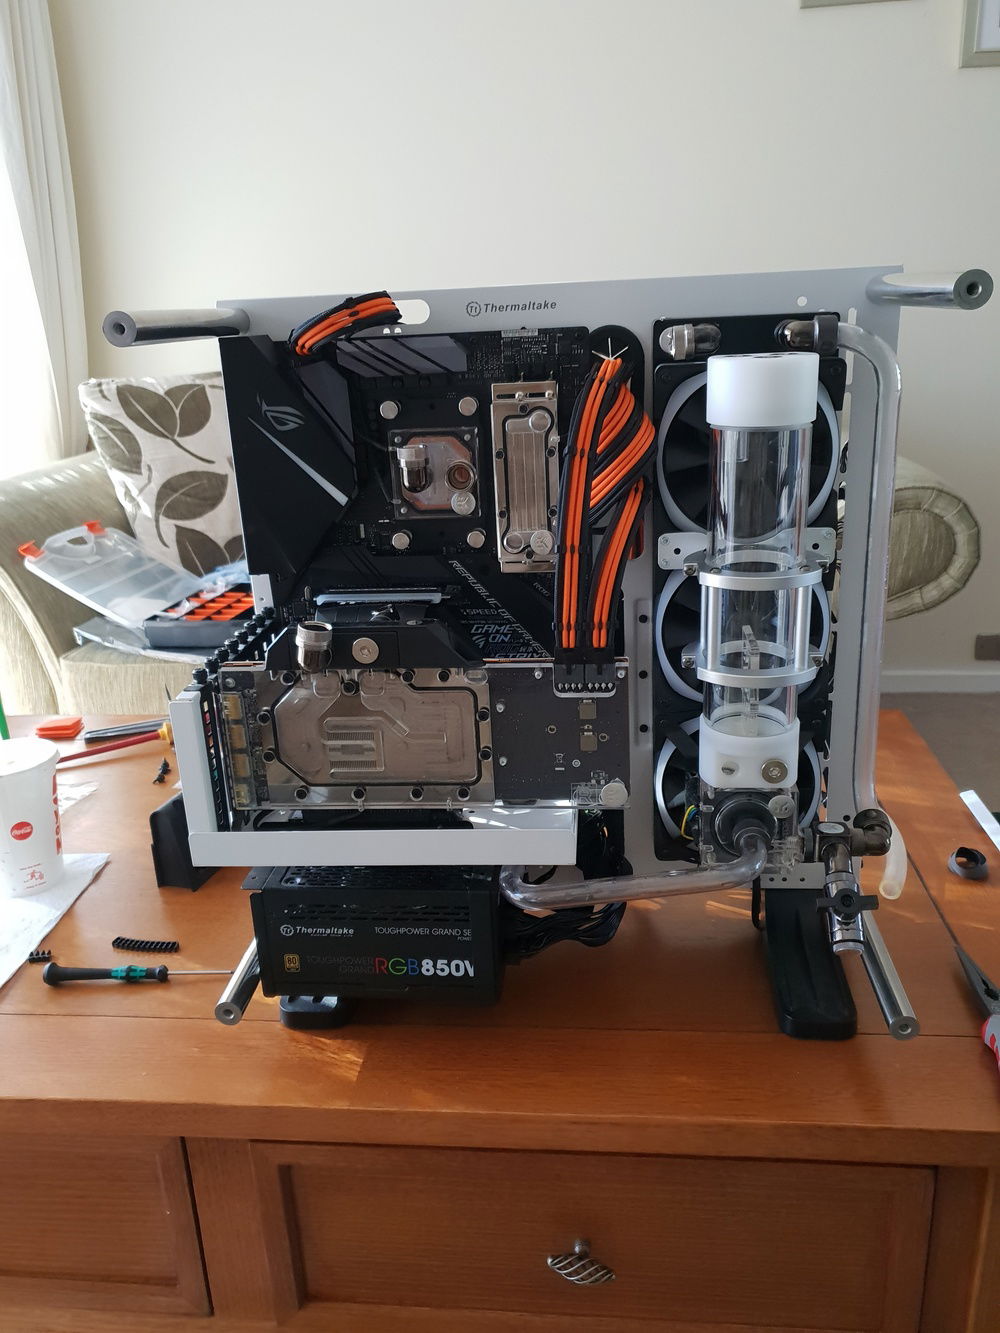
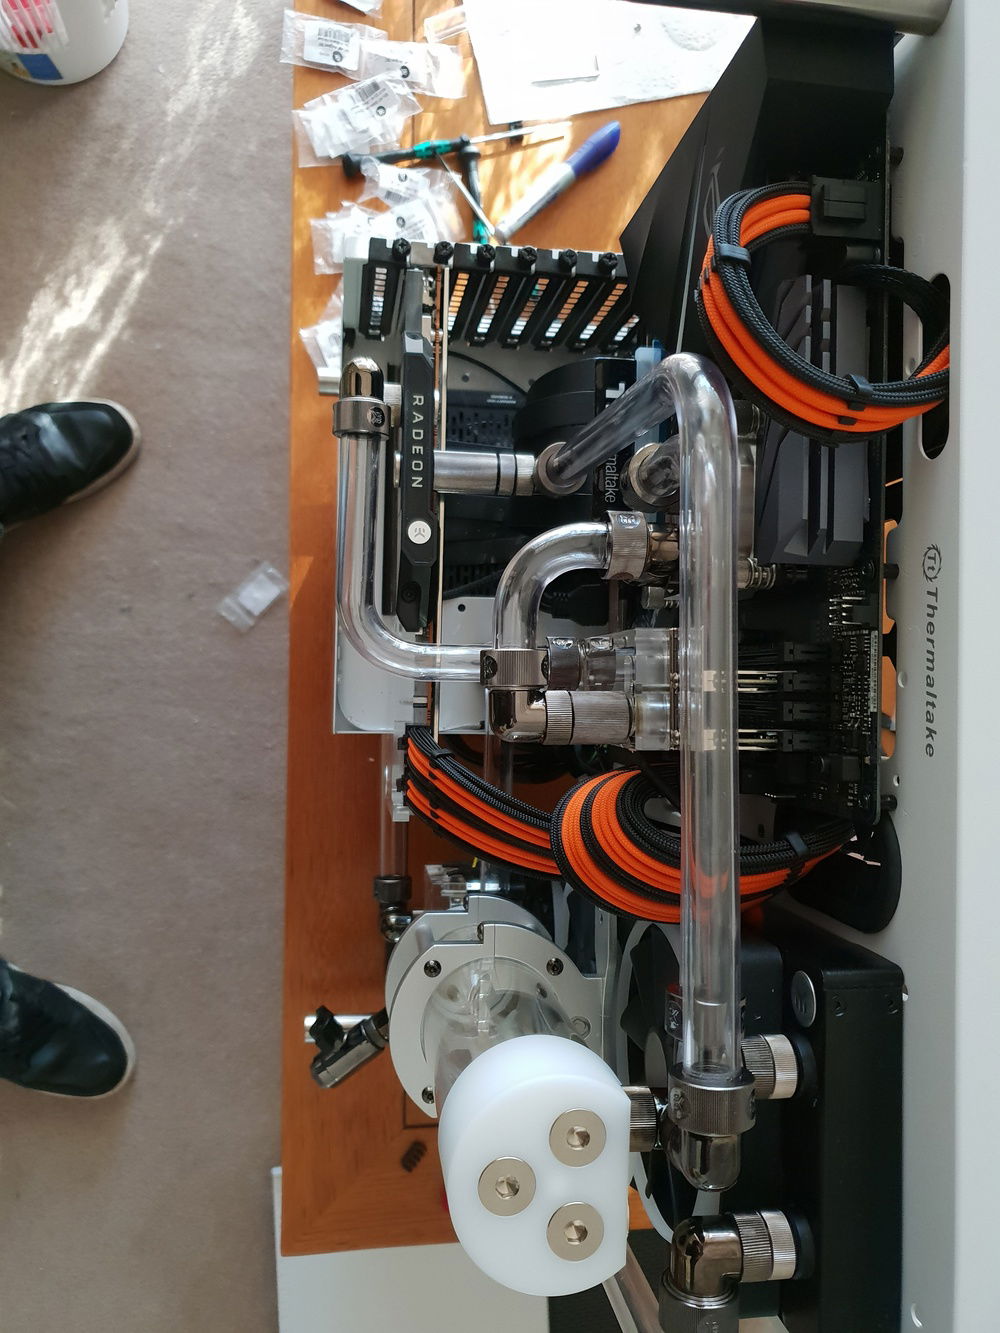
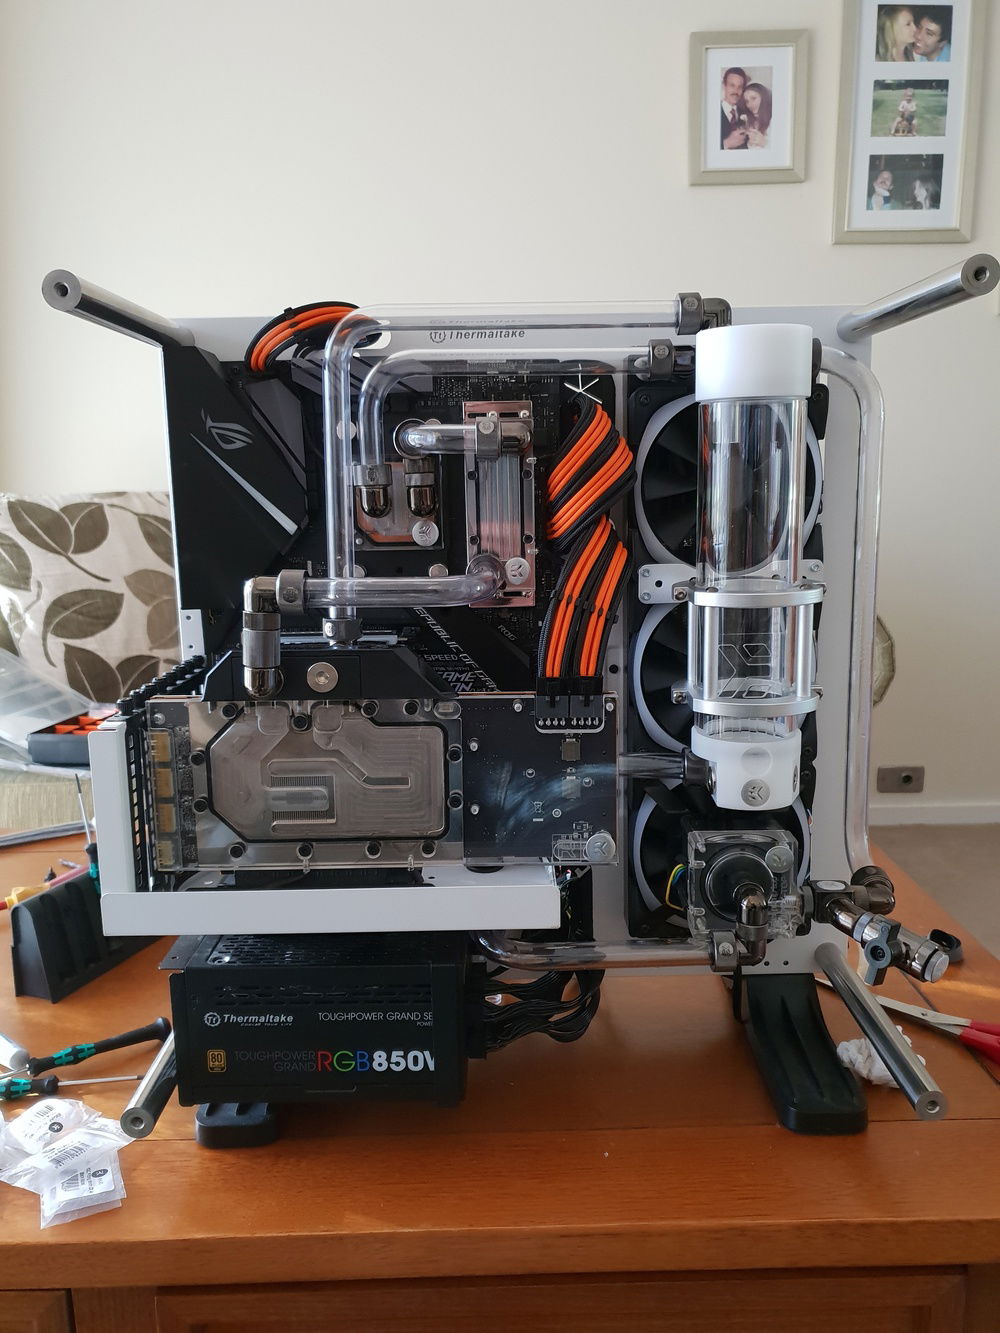
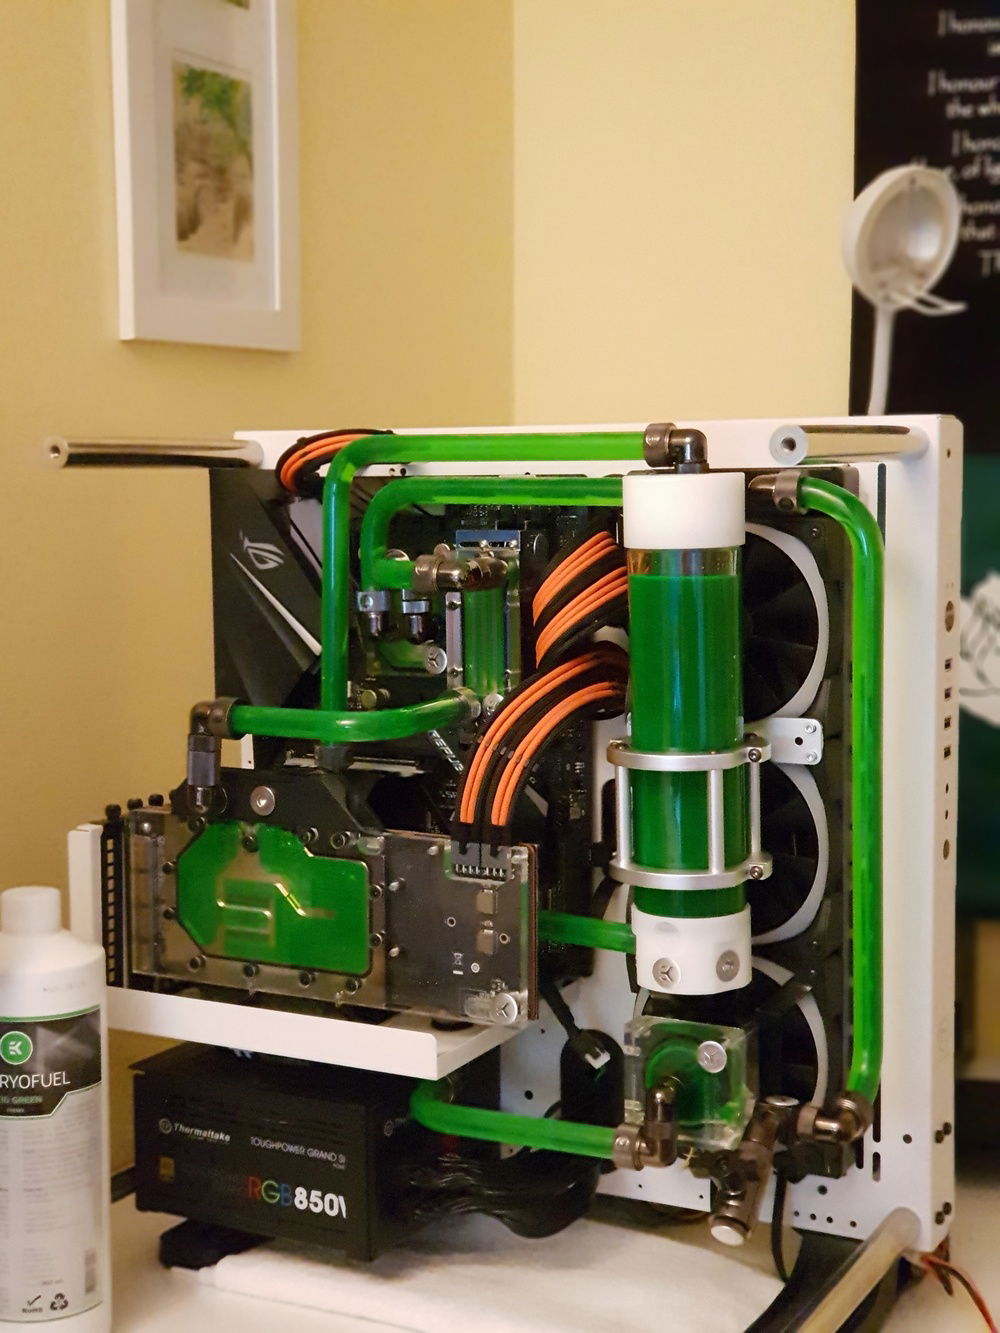
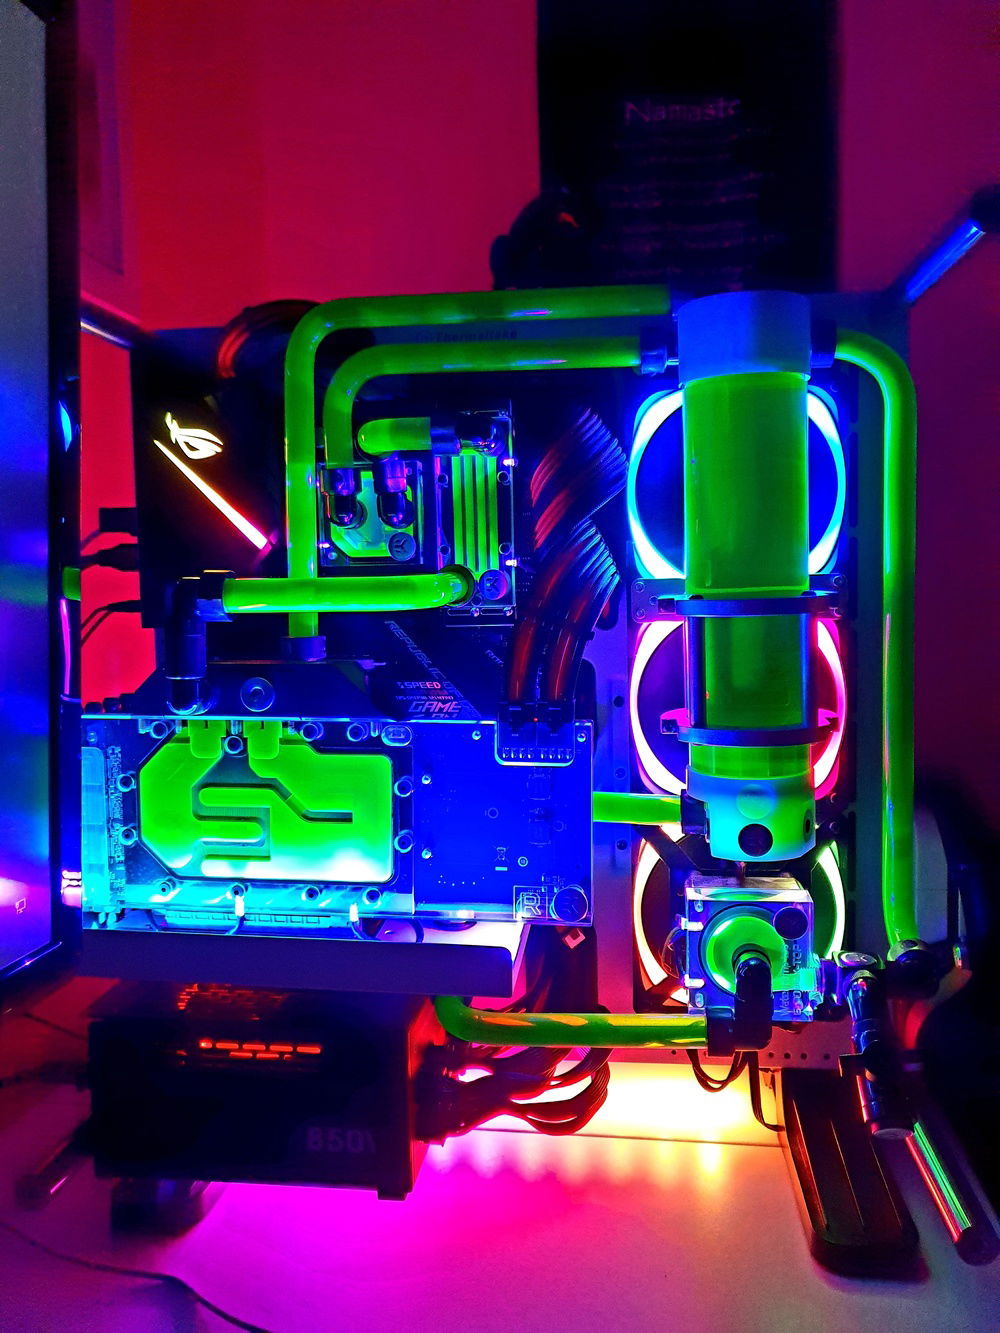
This is version 2 of my core p3 build. Basically had to do maintenance so i decided to upgrade my motherboard, watercool my RAM, increase reservoir size and re-pipe the loop.
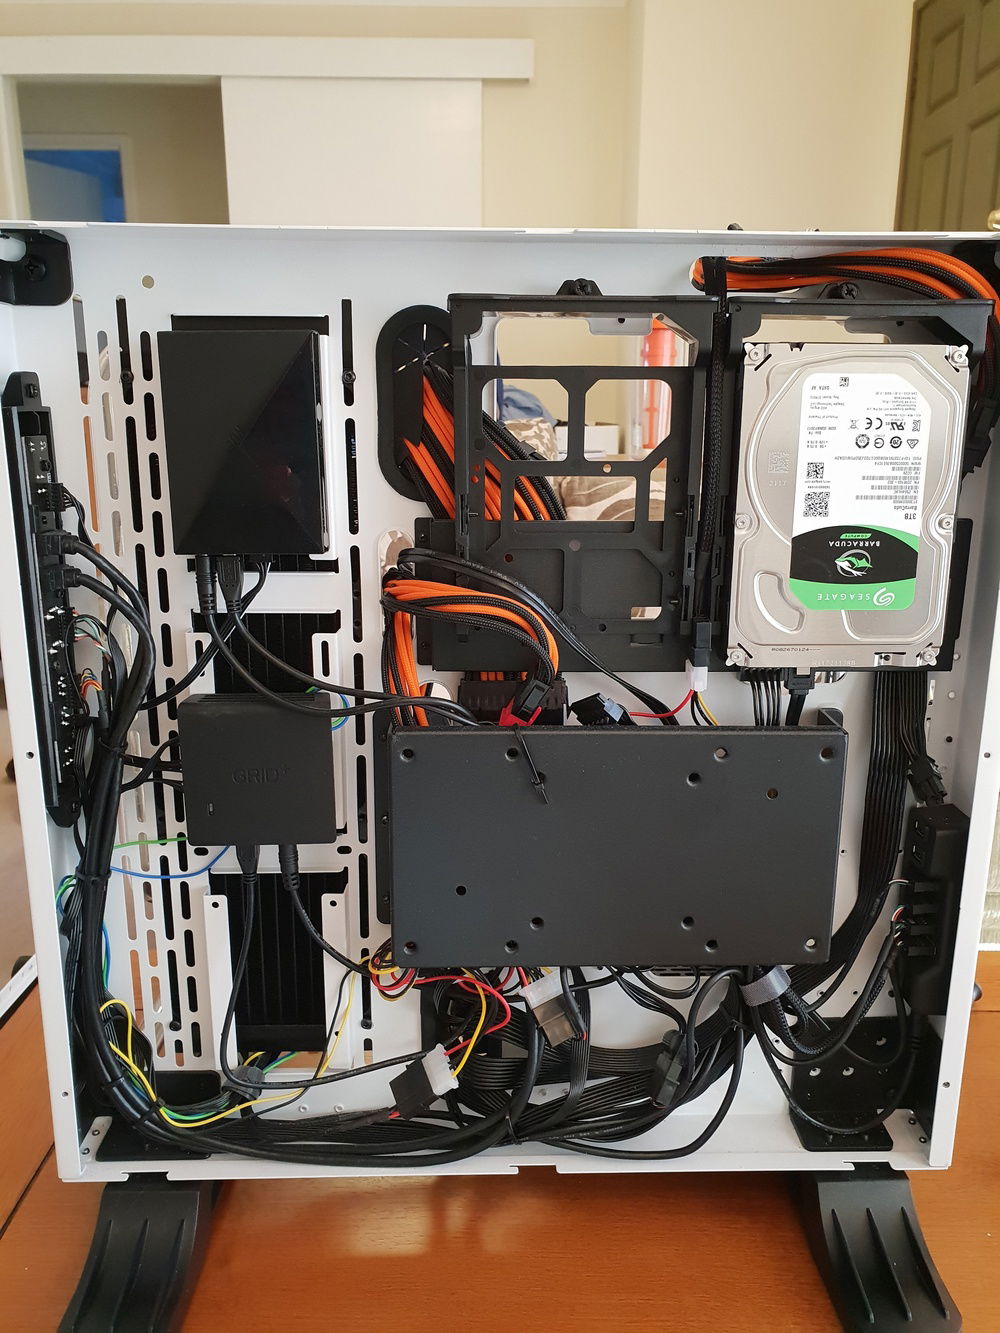
I aslo decided to maximise my Hue Plus by adding in more RGB lighting. I wanted these extra RGB strips to be hidden so i ran one strip around the gpu bracket and the other i placed on the underside of the core p3 which required some drilling to achieve.
All watercooling fittings are EKWB Black Nickel. There is a total of 40 fitting used. All water blocks used are EKWB.
This is my second custom loop and I hope you like the end result.
Color(s): Green Orange
RGB Lighting? Yes
Theme: Color
Cooling: Custom Liquid Cooling
Size: ATX
Type: General Build
Hardware
CPU
$ 97.99
Motherboard
$ 301.00
Memory
$ 36.99
Graphics
PSU
$ 179.97
Case
$ 159.99
Cooling
Cooling
Cooling
$ 73.99
Accessories
$ 29.99
Keyboard
$ 90.44
Mouse
$ 24.99
Approved by:
