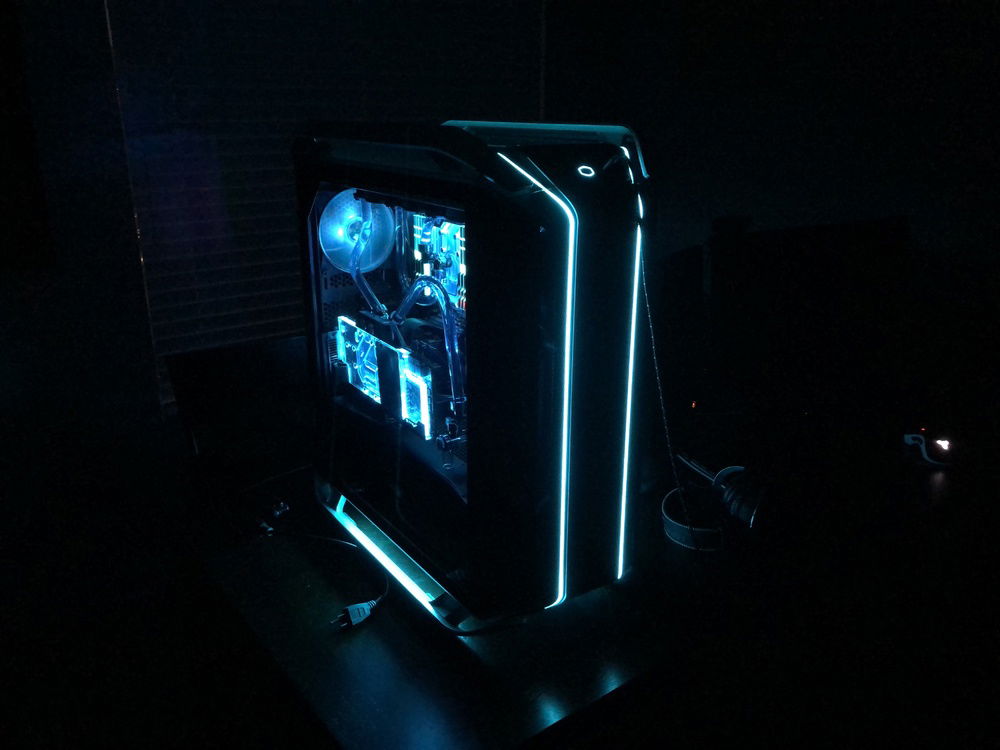
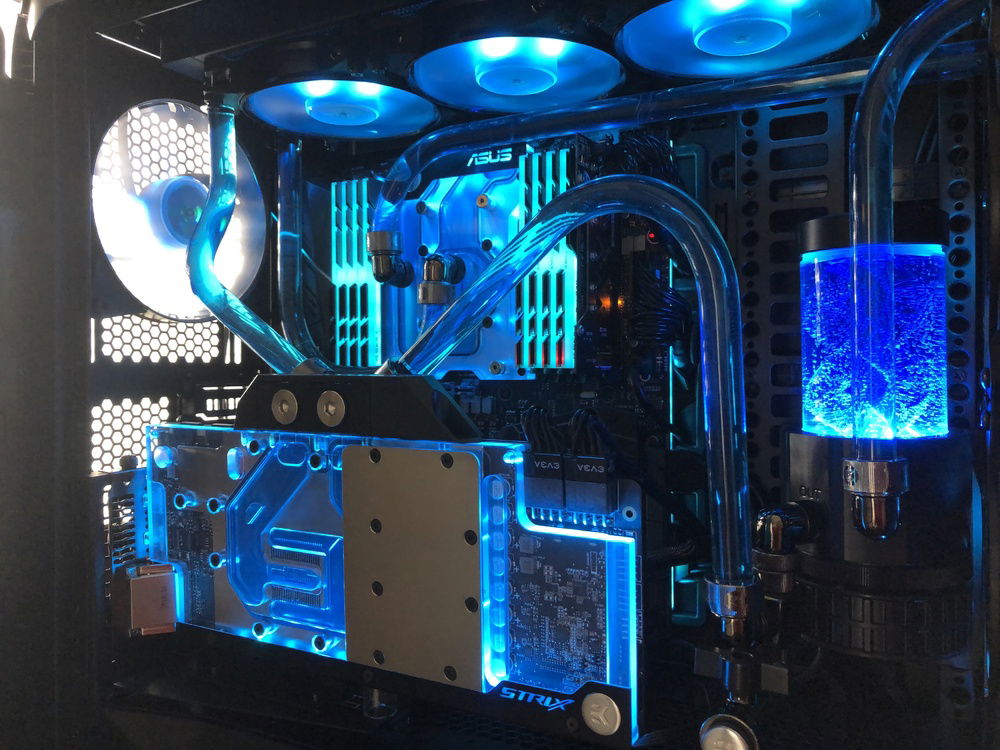
Finished build
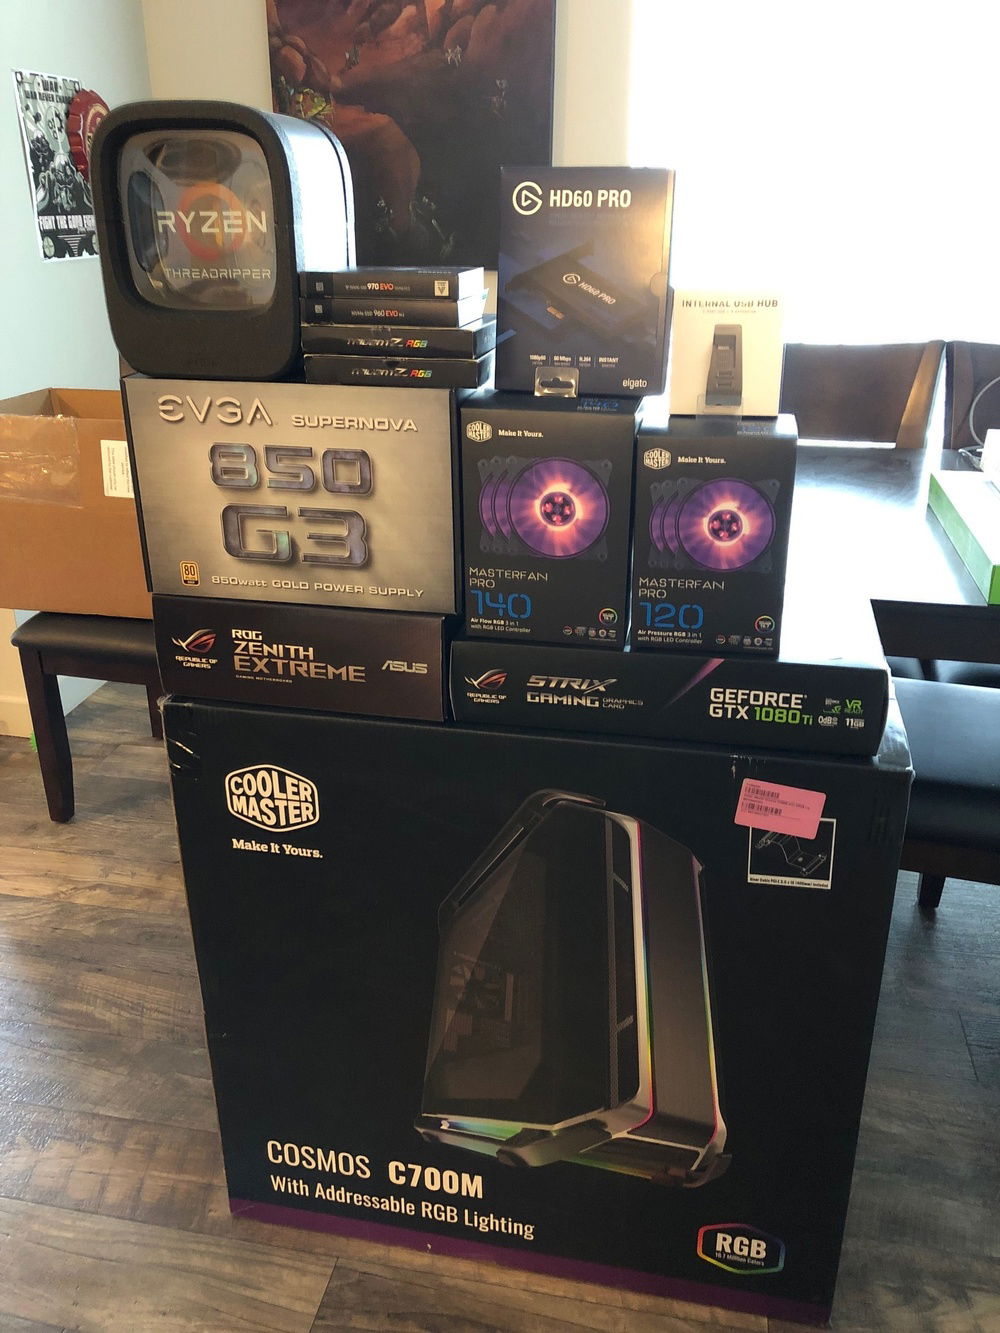
Main PC parts
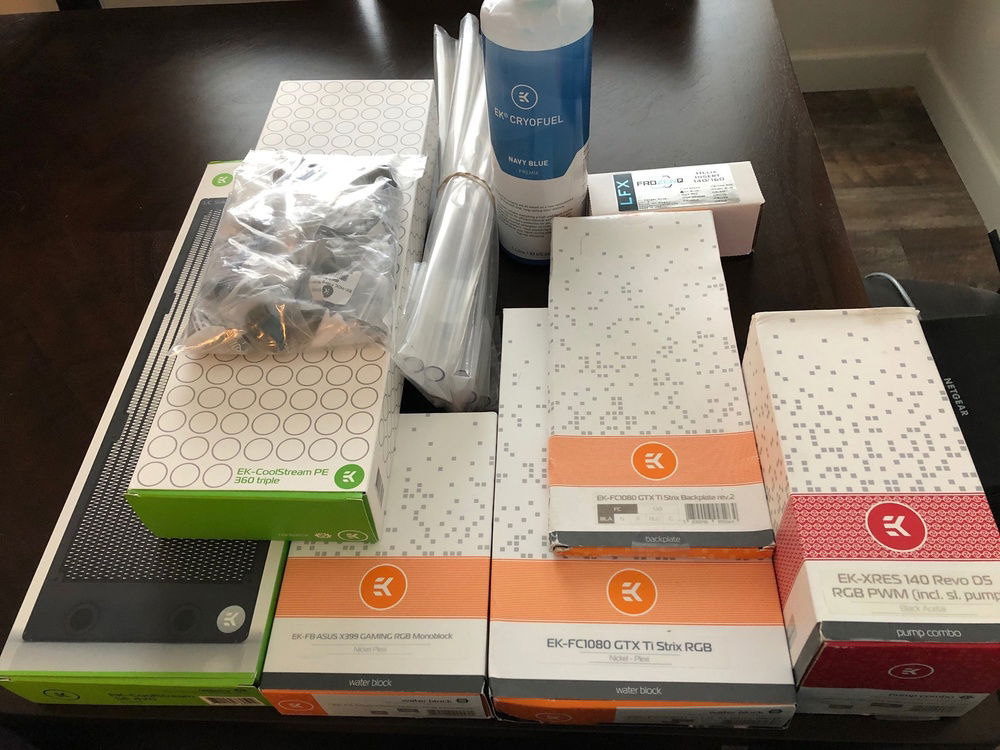
EKWB cooling parts
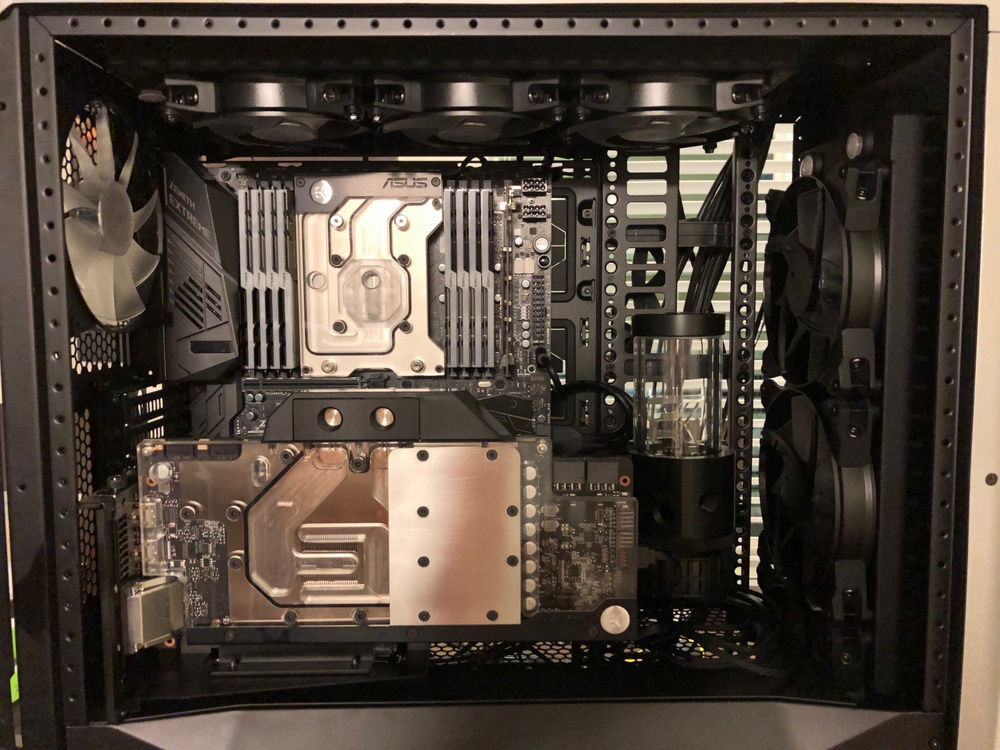
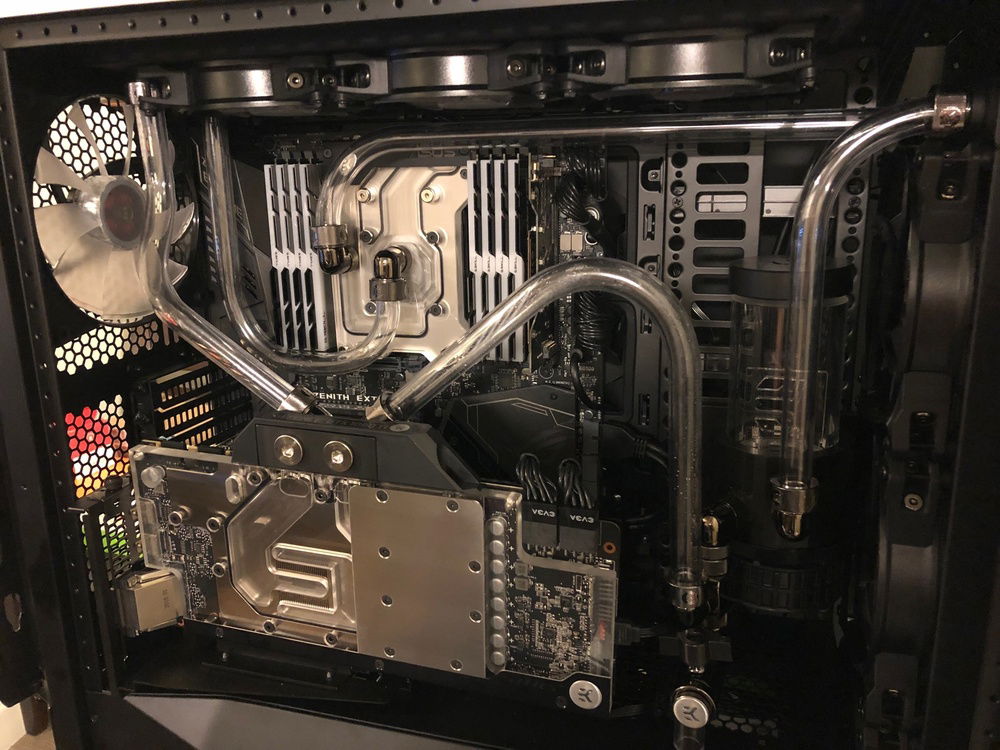
Pre-plumbing
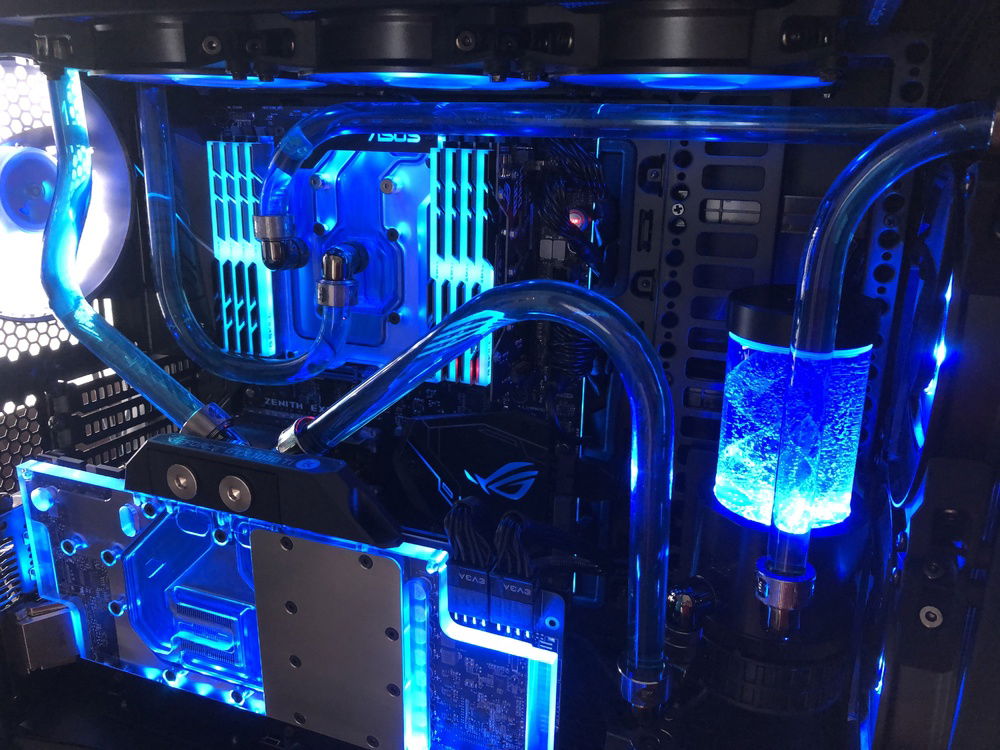
Post-plumbing
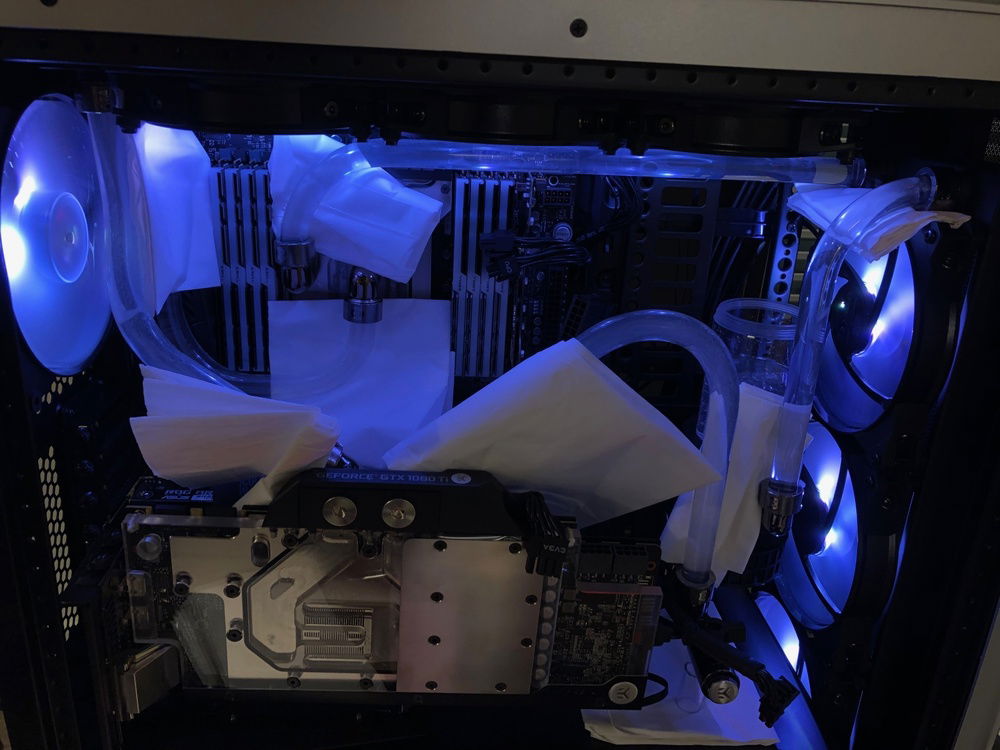
Leak testing
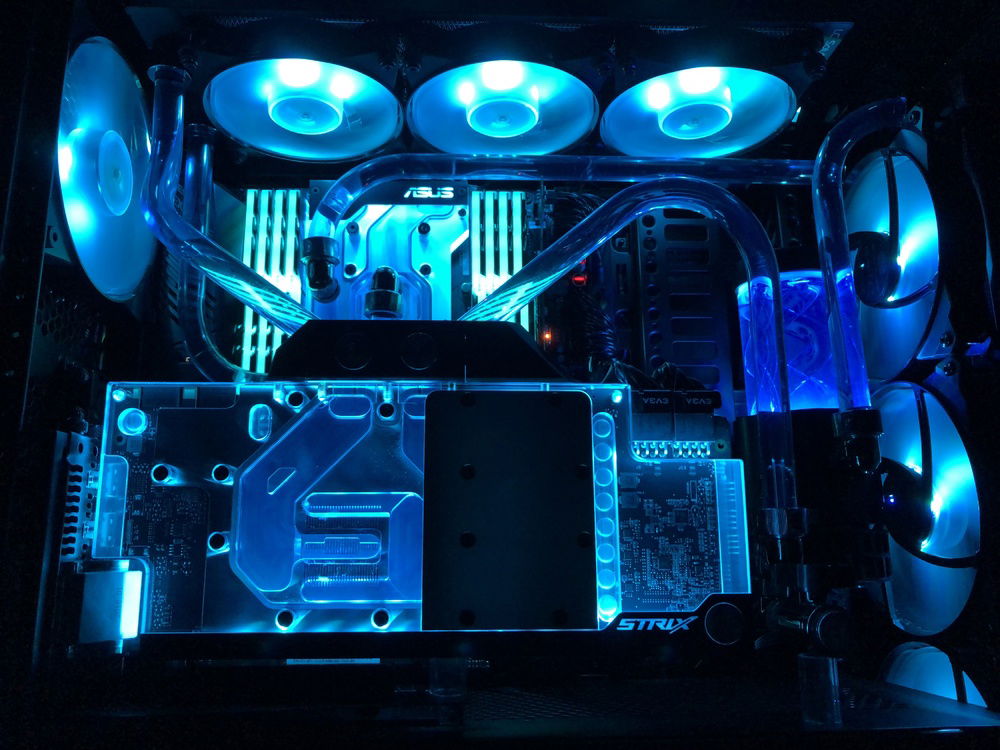
Finished build
Finished build
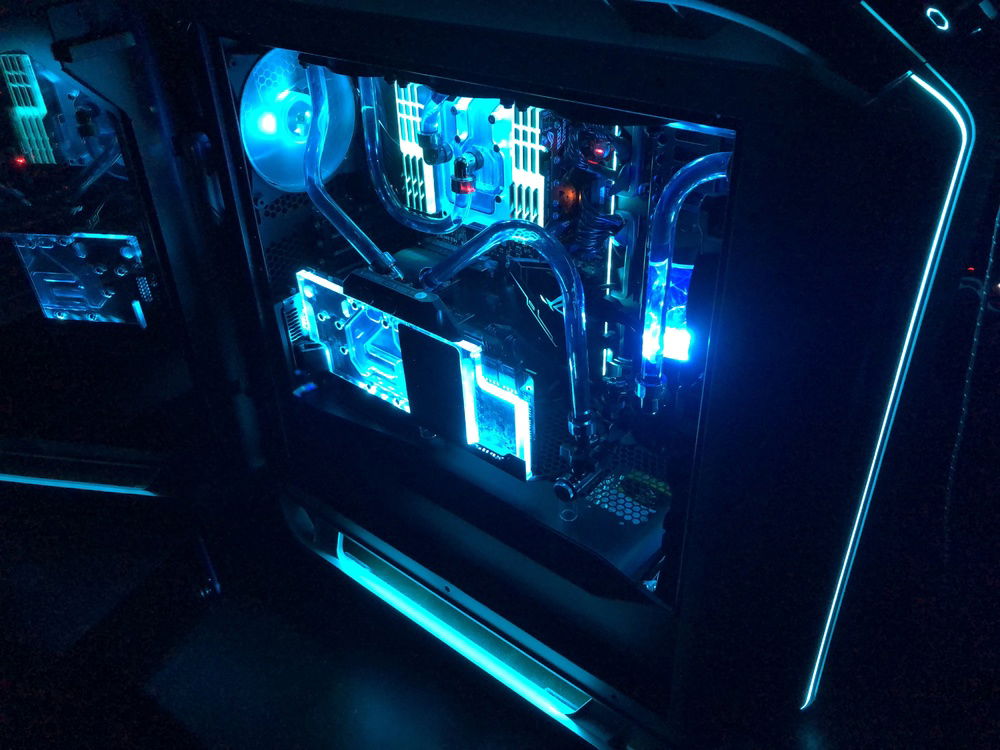
Finished build
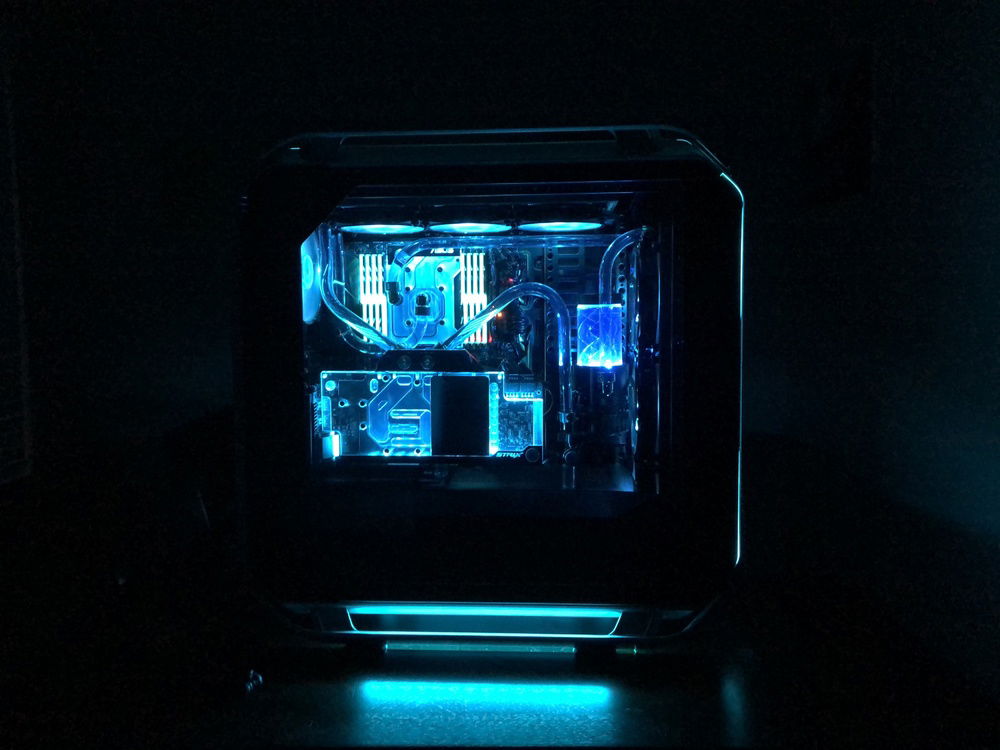
Finished build
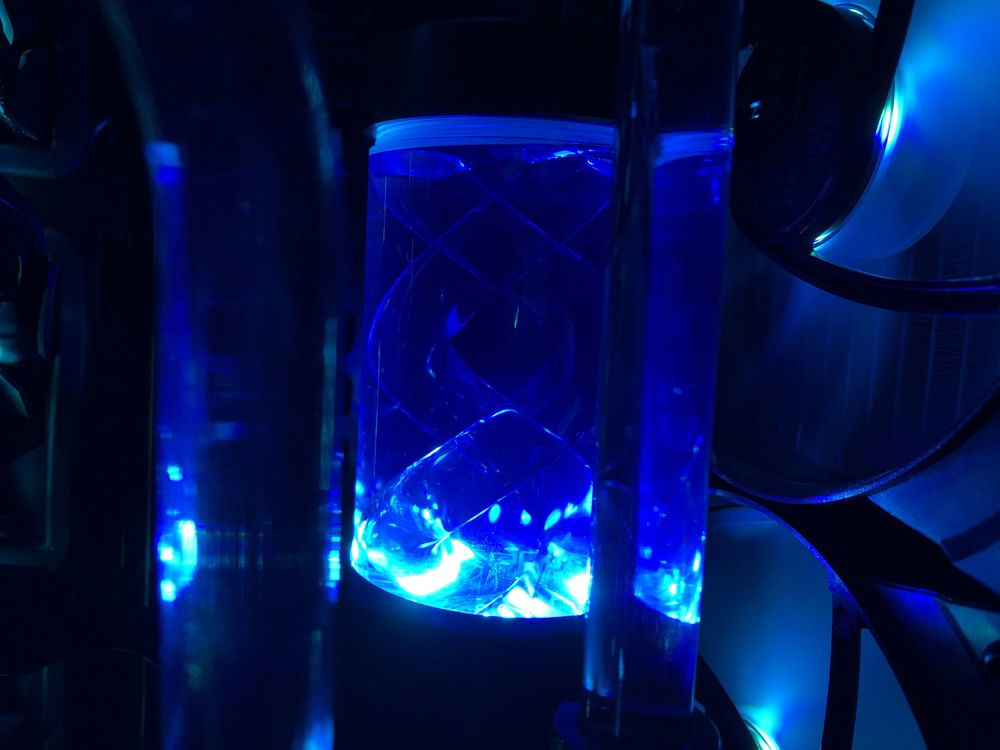
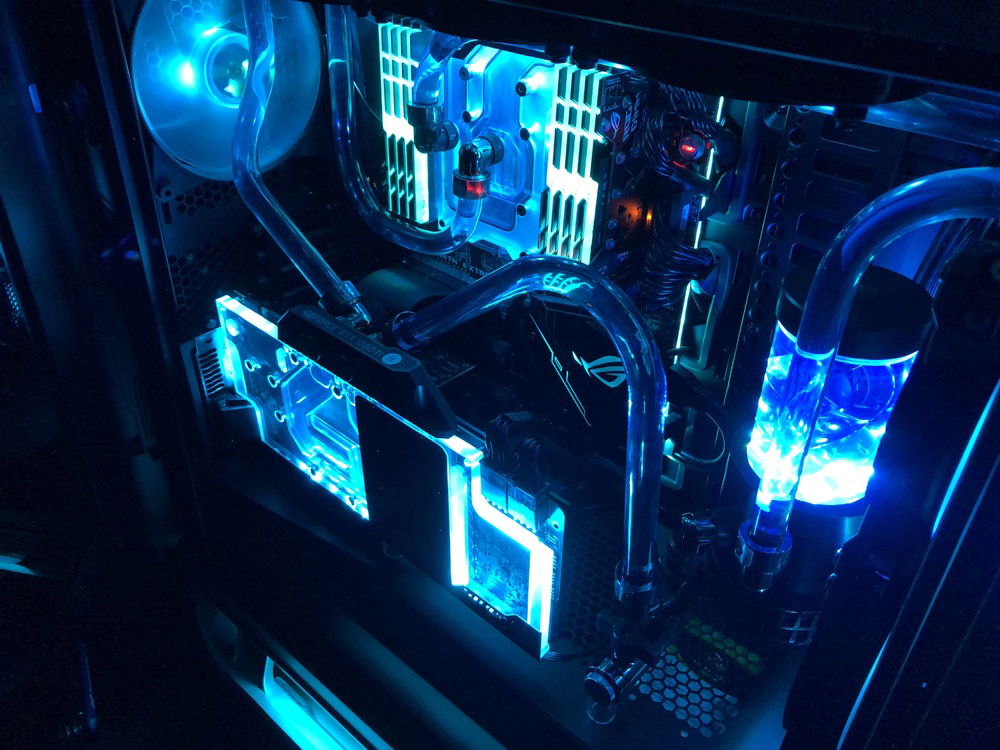
FrozenQ Double Helix reservoir insert
Finished build
Finished build
Laminar Flow
AD:
Obligatory "My first time making a custom loop". ;P
Also before I begin I want to give a HUGE thank you to EK Jake on the watercooling subreddit. He helped me and so many others with their custom loops.
So when I was planning on getting the parts I knew I wanted to do a custom loop, have tons of RGB, and have some sick parts. I also LOVE laminar flow! It looks SUPER cool! I took a picture of the C700M case since I was dead set on that being my case and started drawing lines for how I wanted runs to look.
I am so happy with how everything turned out! I am so happy with the theme of it all and how it looks. I learned a lot from this build on how to plan and make adjustments, got more confident in my abilities, and now I have something that I can say without any doubt - I made this.
Thanks for taking a look! Feel free to ask any questions!
Also before I begin I want to give a HUGE thank you to EK Jake on the watercooling subreddit. He helped me and so many others with their custom loops.
So when I was planning on getting the parts I knew I wanted to do a custom loop, have tons of RGB, and have some sick parts. I also LOVE laminar flow! It looks SUPER cool! I took a picture of the C700M case since I was dead set on that being my case and started drawing lines for how I wanted runs to look.
- The first tube from the pump to the GPU is inspired by laminar flow fountains that Destin showed in this video of the Detroit airport on Smarter Every Day: YouTube. I loved this bend because of how it not only turned out great but also unintentionally filled some empty space with some beautiful color so there is a little less empty space to look at.
- The bend from the GPU to the top rad was completely on accident because something I didn't plan on with a 2D picture is depth and the rad was about 1in/2.5cm deeper than the GPU so I had to bend the tube in 2 planes of space - height and depth. Ultimately this accident turned out to be SUPER cool and reminds me of this laminar flow video: YouTube.
- Then the CPU tubes also came about because originally was going to have the tubes go across the RAM but, again, I failed to take depth into account as the RAM comes out a lot further than I anticipated. So I decided to go around the ram on both the enter and exit tubes and it turned out amazing as it resembles a vortex: YouTube.
- And finally the FrozenQ insert I felt brought the water theme together. When I saw an image of it online I wasn't sure if it would fit the reservoir but it was only like $15 so I figured I would give it a shot. And to my (and EK Jake's) surprise - it fit! I love this insert as it gave the reservoir a double vortex effect: YouTube.
I am so happy with how everything turned out! I am so happy with the theme of it all and how it looks. I learned a lot from this build on how to plan and make adjustments, got more confident in my abilities, and now I have something that I can say without any doubt - I made this.
Thanks for taking a look! Feel free to ask any questions!
Color(s): Black Blue Light Blue Silver
RGB Lighting? Yes
Theme: Nature
Cooling: Custom Liquid Cooling
Size: E-ATX
Type: General Build
Hardware
CPU
$ 850.00
Motherboard
Memory
$ 227.99
Graphics
$ 435.00
Storage
$ 89.99
Storage
$ 84.90
PSU
$ 119.95
Case
$ 570.99
Case Fan
$ 34.99
Case Fan
$ 29.89
Cooling
$ 209.06
Cooling
$ 154.99
Cooling
Cooling
$ 179.28
Cooling
$ 168.14
Cooling
$ 219.00
Keyboard
$ 1,649.78
ASUS - ROG Strix Flare CoD: Black Ops 4
Interface: Wired
Key Switch Type: Cherry MX Red
Type: Full Size
Mouse
$ 62.99
Approved by: