
unlike water cooling builds, mondays suck
now also with top mesh and acryl panel. everything completely assembled, but you never know how long it takes until some slight change 'needs' to be made.
Because i still have to get more optimal screws for the top rad/fans, the upper meshfilter bulges slightly. not sure if i will use it in the long run, seems like the mesh is a bigger problem for airflow than the hole-design. but in terms of temps, i don't notice a difference.
this was another idea on how to install the pump/top/res combo, but it would not fit because of the bracket is designed to also fit on 140mm fans, which is clearly too big here.

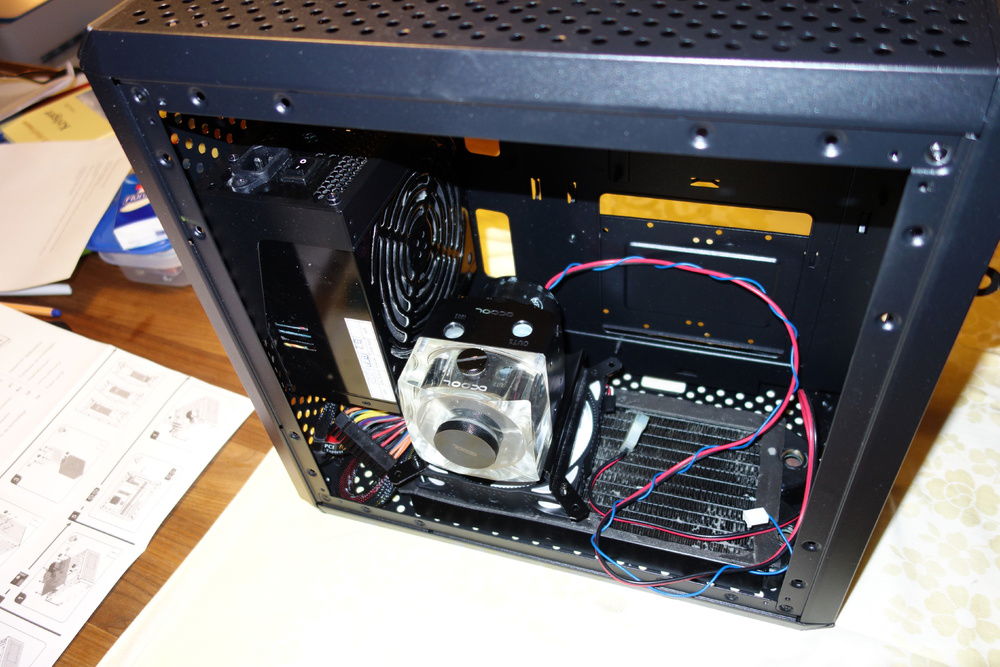
early testing with old parts and random fans if it's at all possible to fit all the planned part in the case
^same
^same
that's how it looks with all the old parts. what's nice here is that if an standard ATX mobo is used, the bottom rad with fans fit right under it. as i would later find out, that's not the case with microATX, so that the max ram height of 35mm that is specified by Coolermaster actually applies.
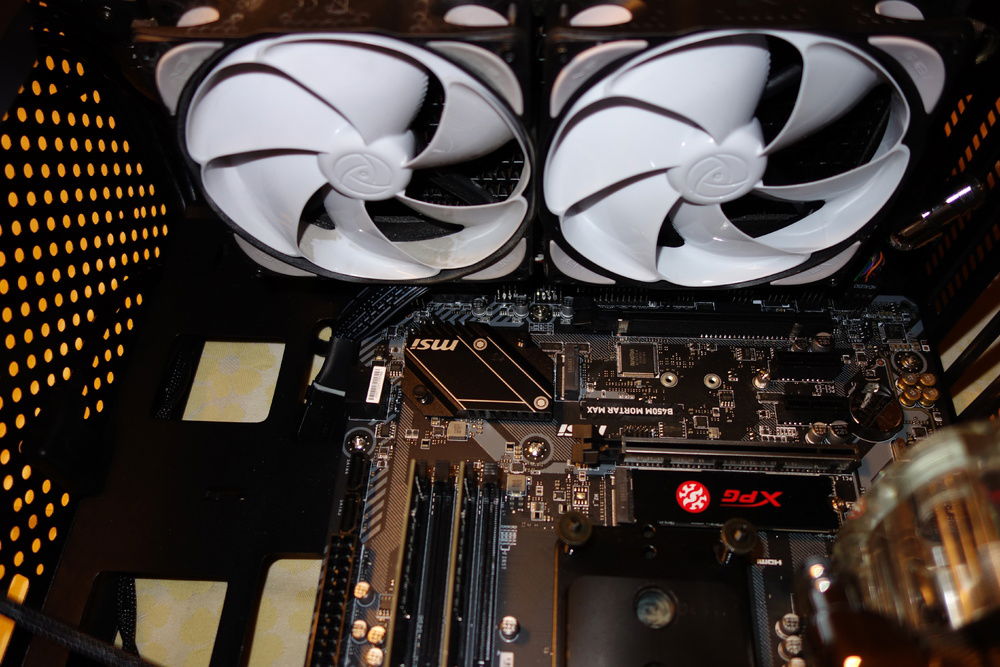
the is an important picture, because it shows the small USB3.0 extension cable which is crucial because without it, the front USB would be worthless. i was 5 bucks on ebay. I believe the only reason why Coolermaster doesnt have the 240 rad compatibility on the bottom(when the case is not used on its head), is because normally the front-USB cable would interfere with it.
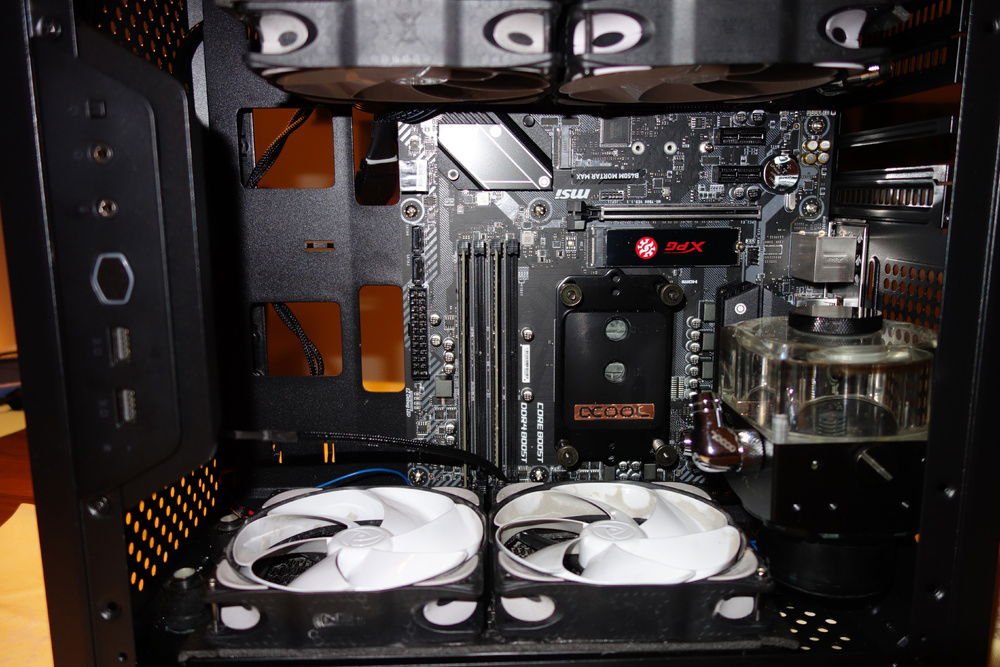
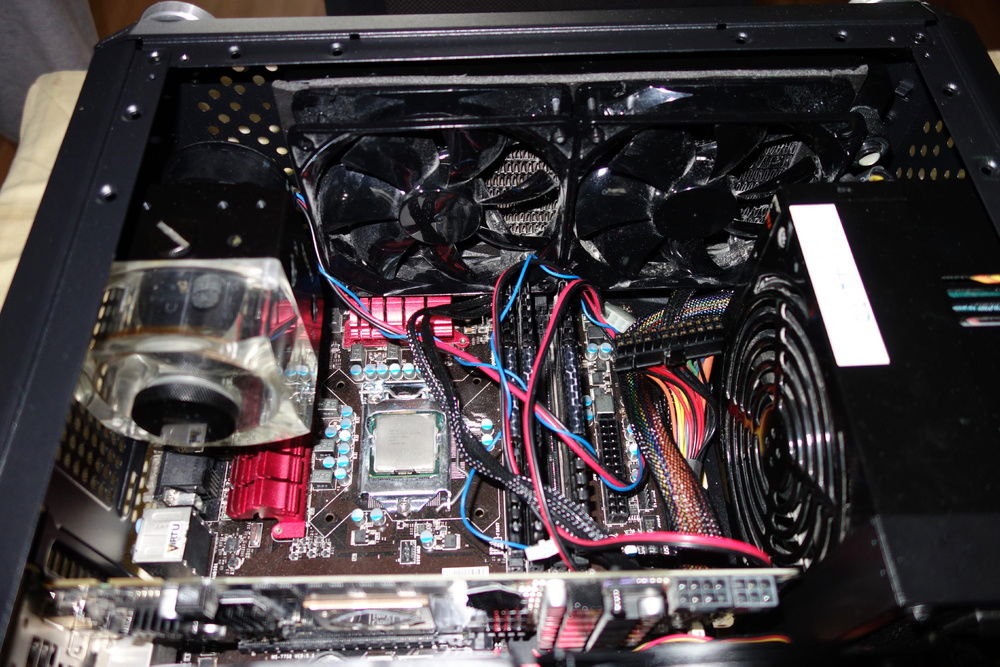
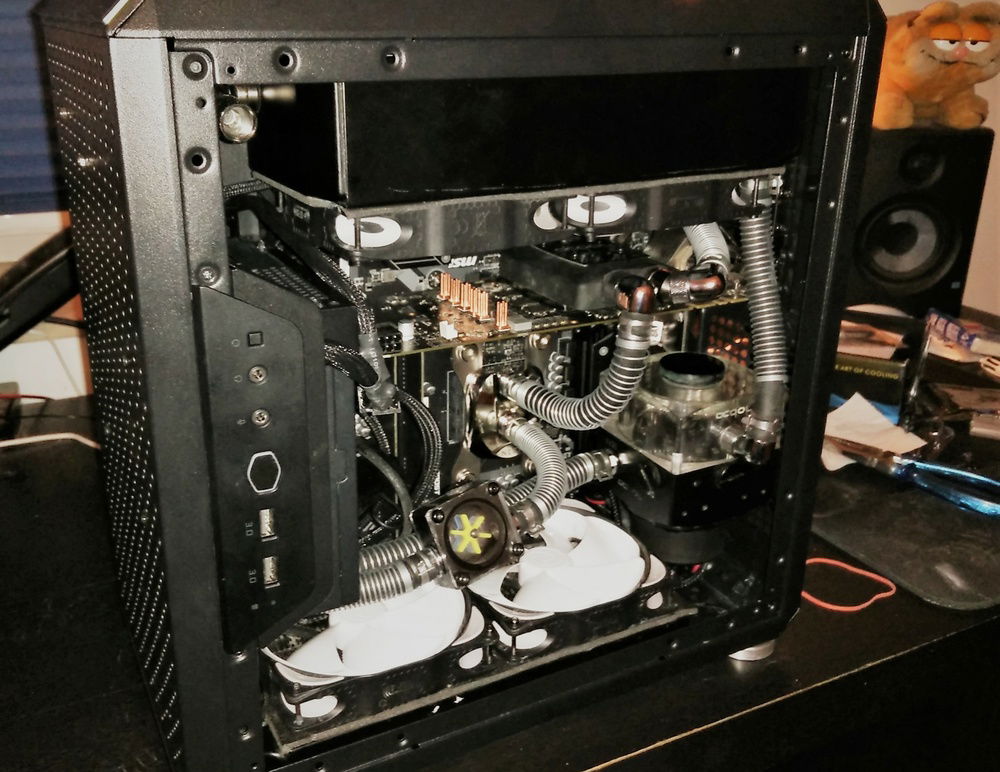
the process of testfitting (now with the actual parts) took quite a while since the case's hole design allows for so many possibilities, but at the same time many of them would not work with all parts assembled. so it is a lot of trial and error in the beginning.

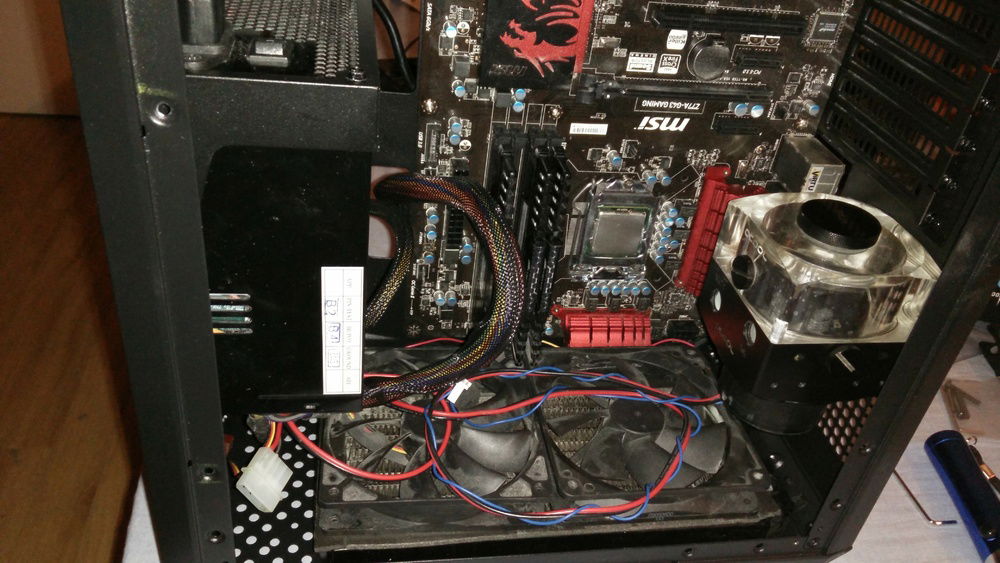
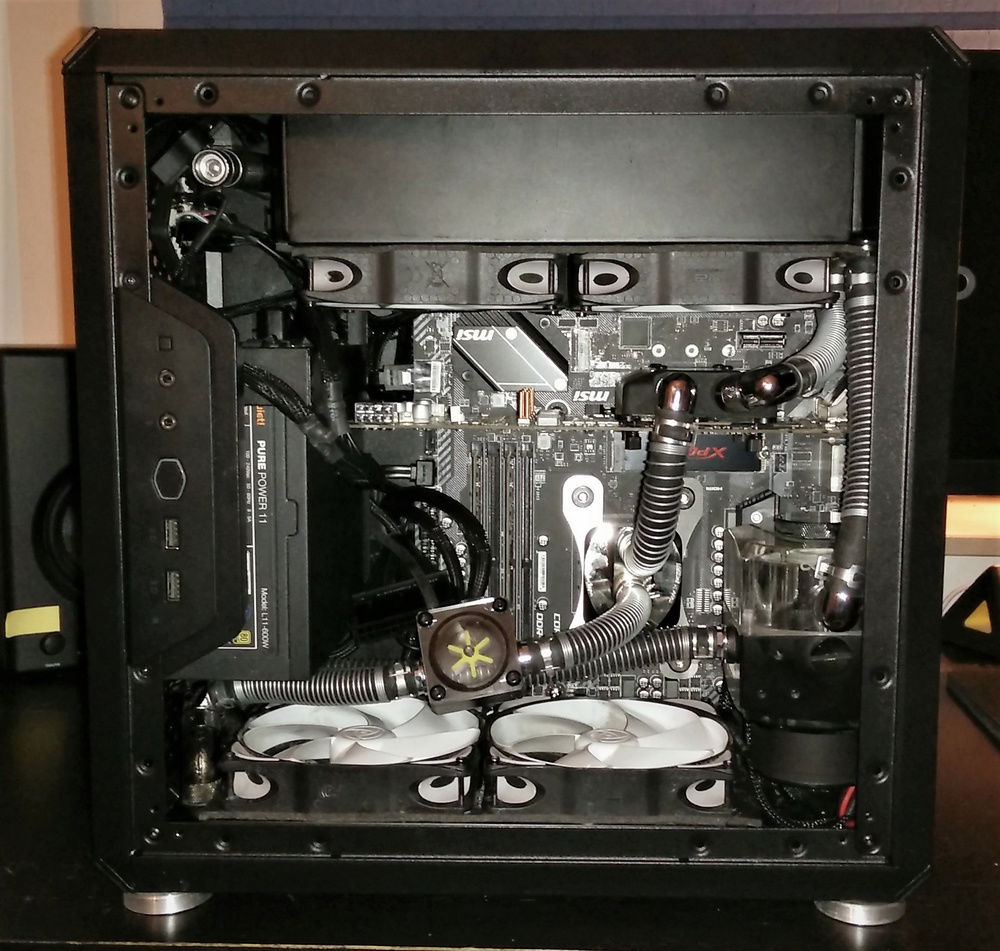
what i settled with for the first iteration. the pic looks a bit nicer bc it's made with an actual camera and with daylight.
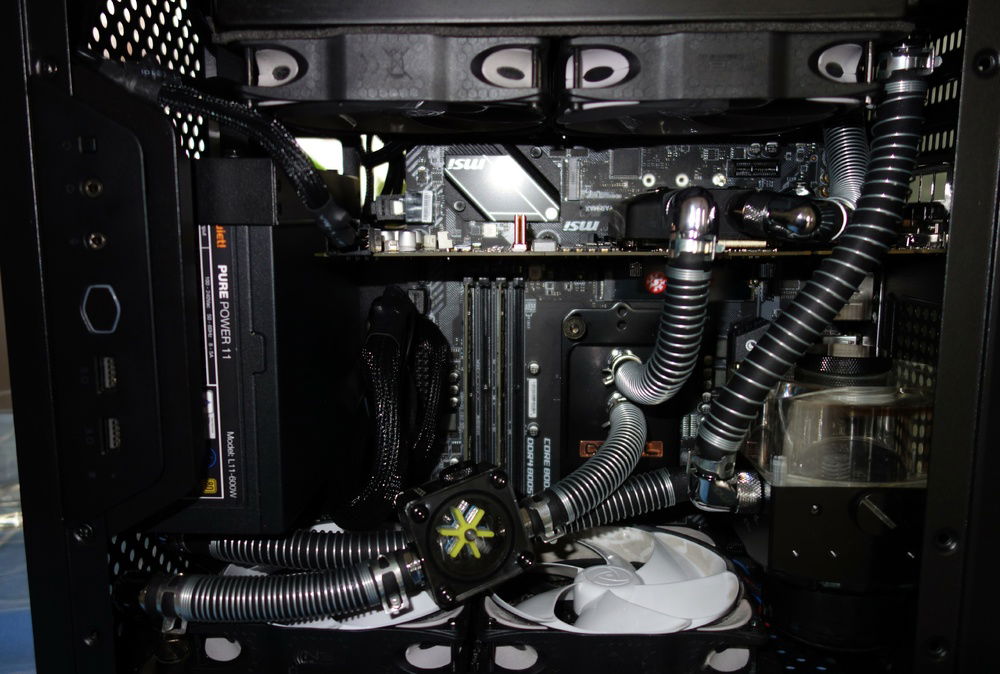
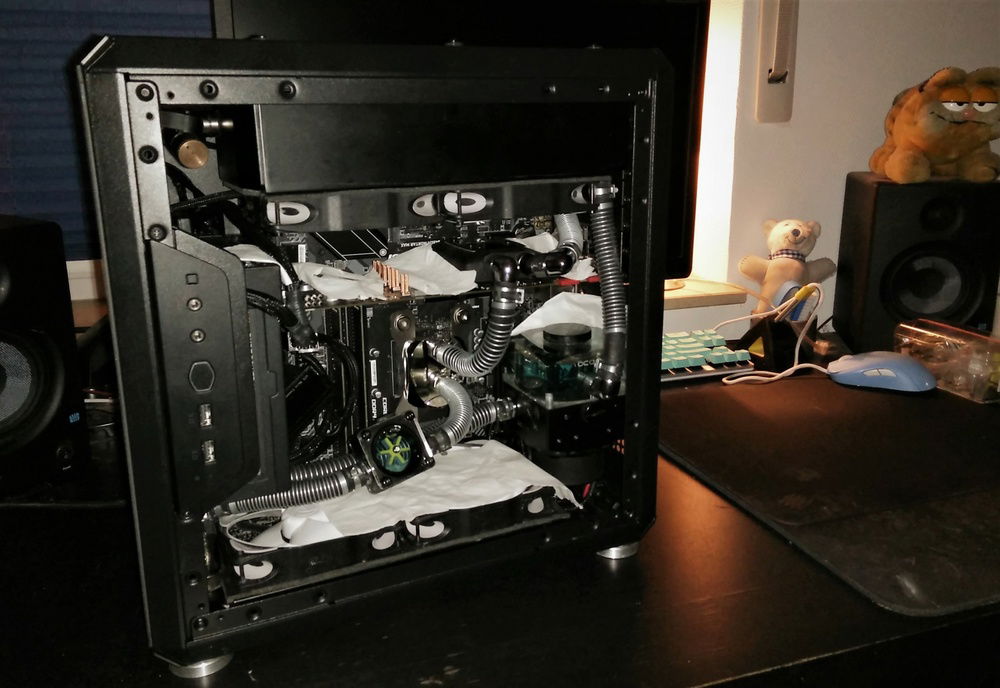
before the filling of the very first iteration of the build. noteworthy is how some parts are much cleaner than they will become in the following pics. also im using a different intake for the pump there, which also works, but doesnt make use of the filter in the reservoir.
on the left/ frontcover you can see how i apparently used the wrong screws to put the IO-panel in place. this is fixed now and at least at the front, the magnetic mesh sits relativly flush.
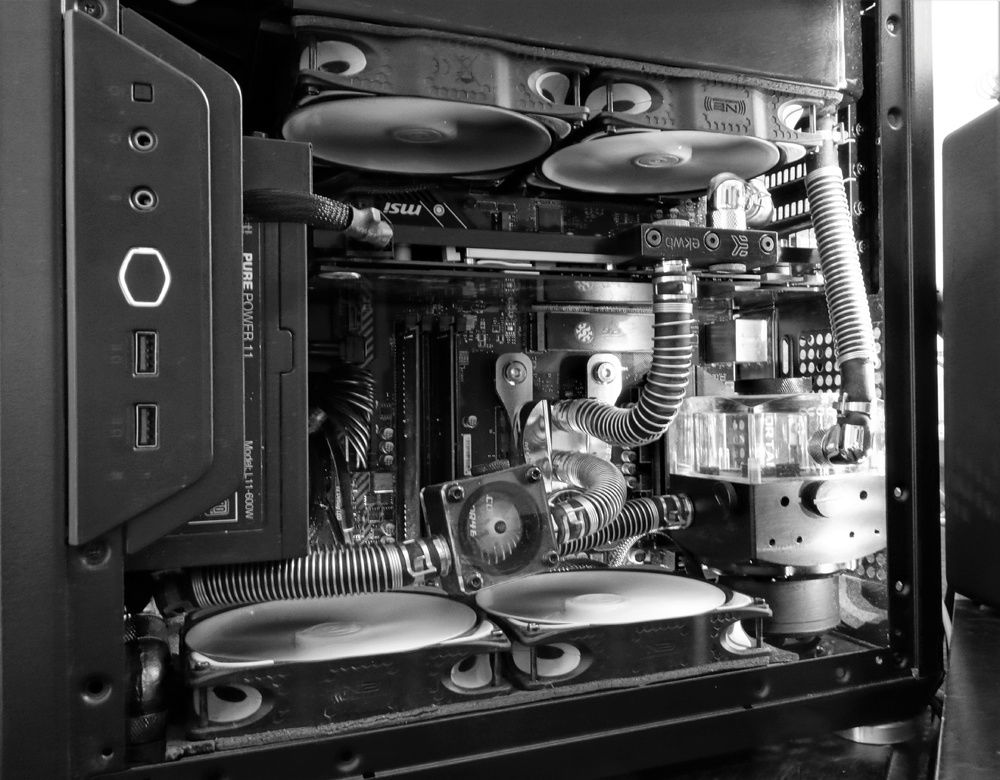
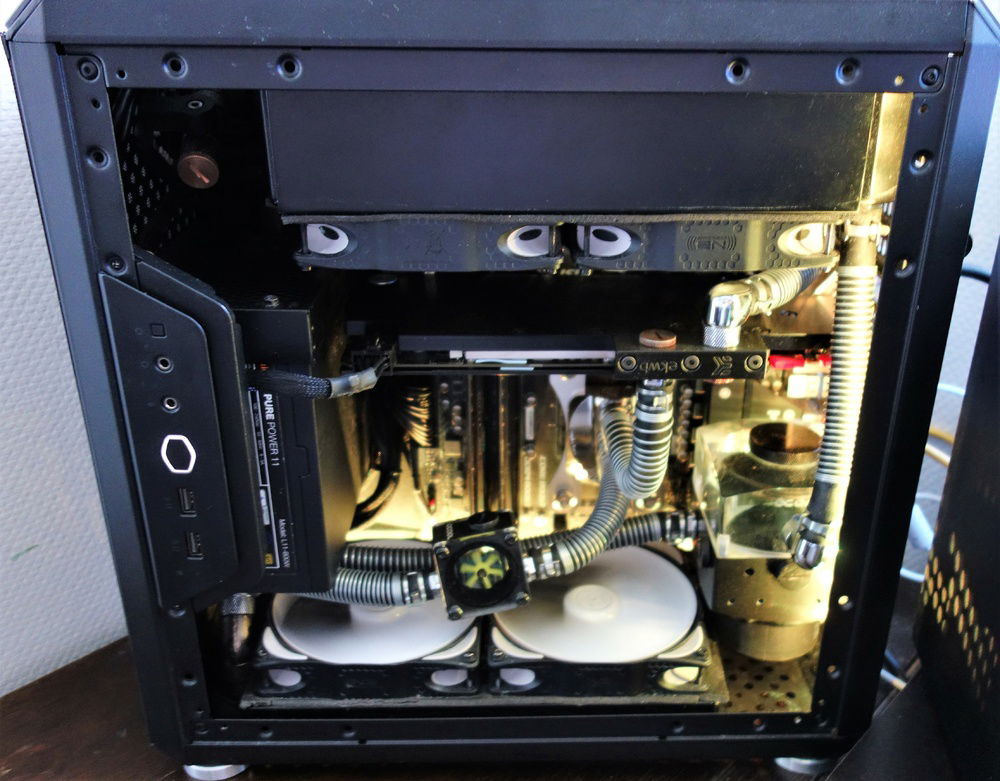
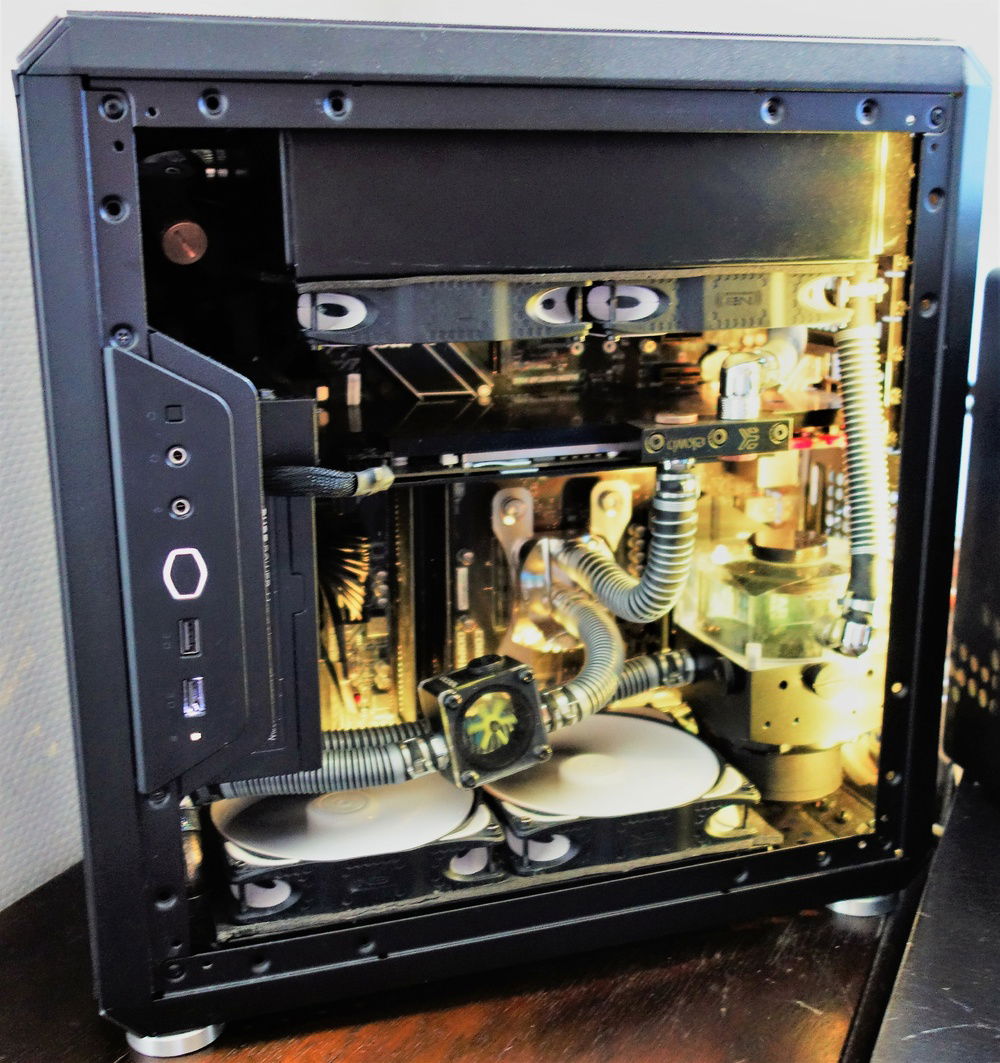
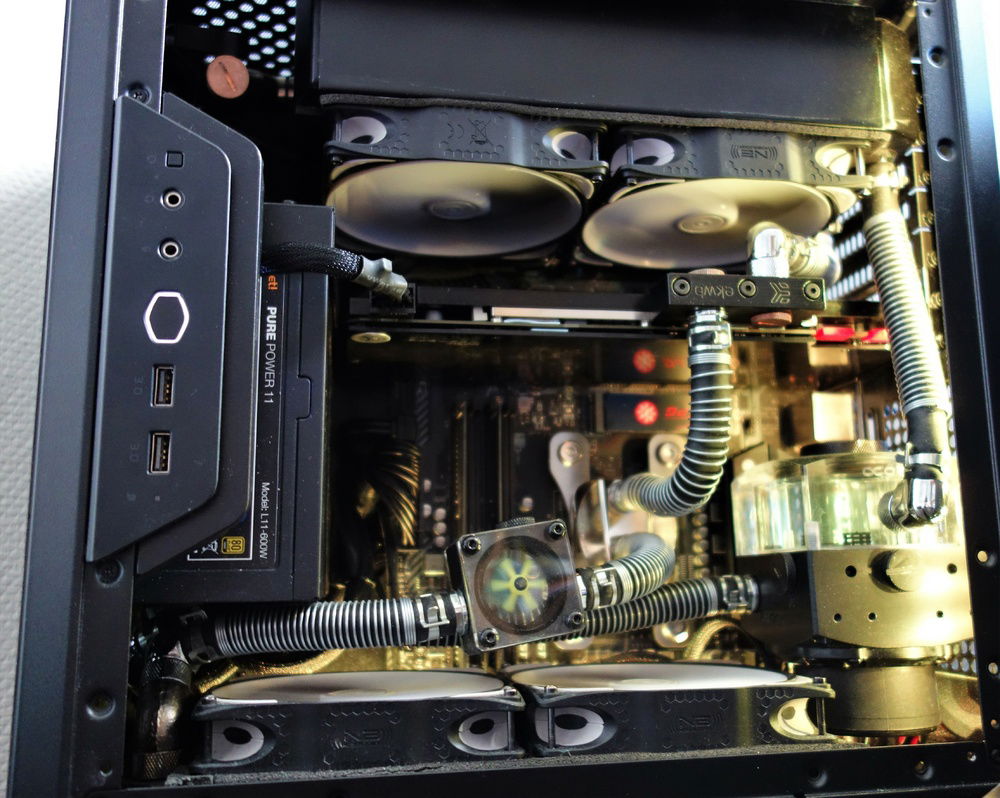
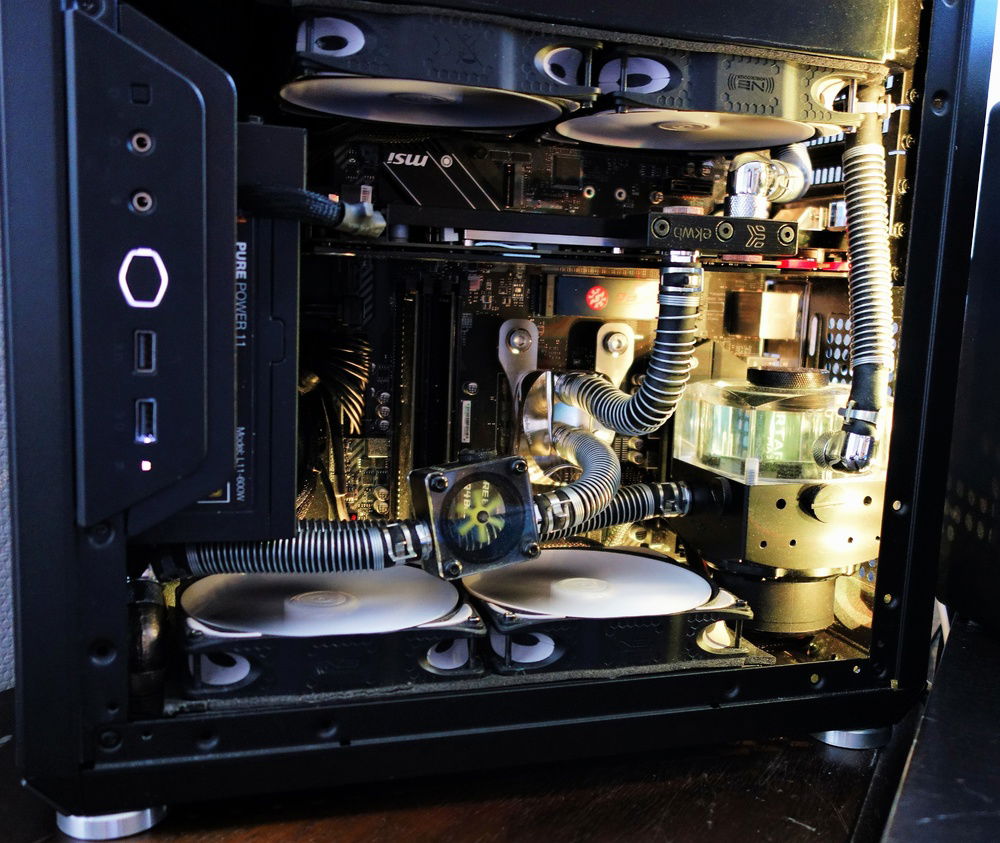
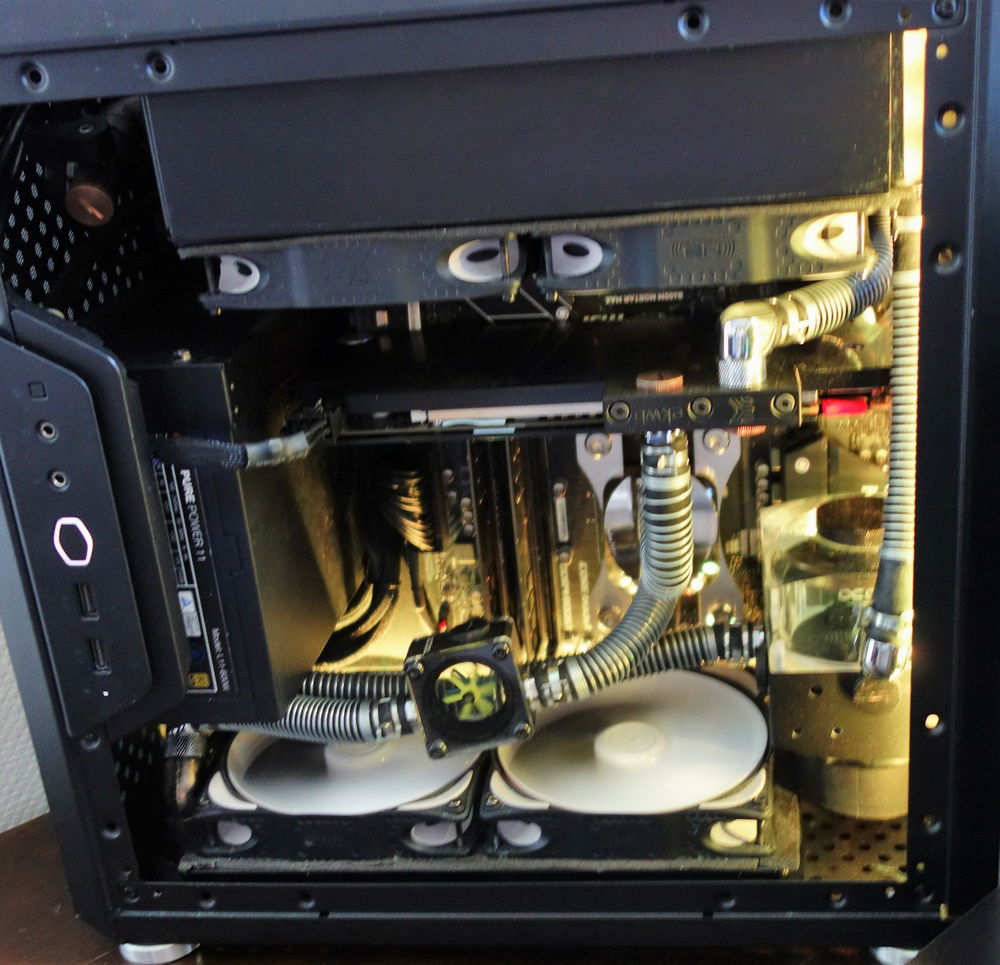
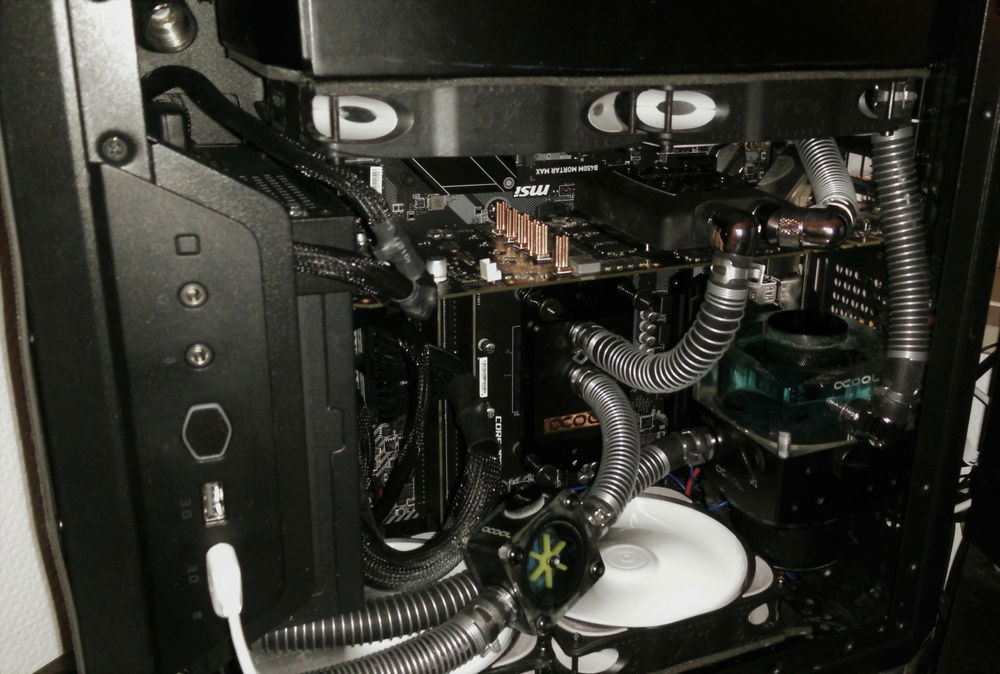
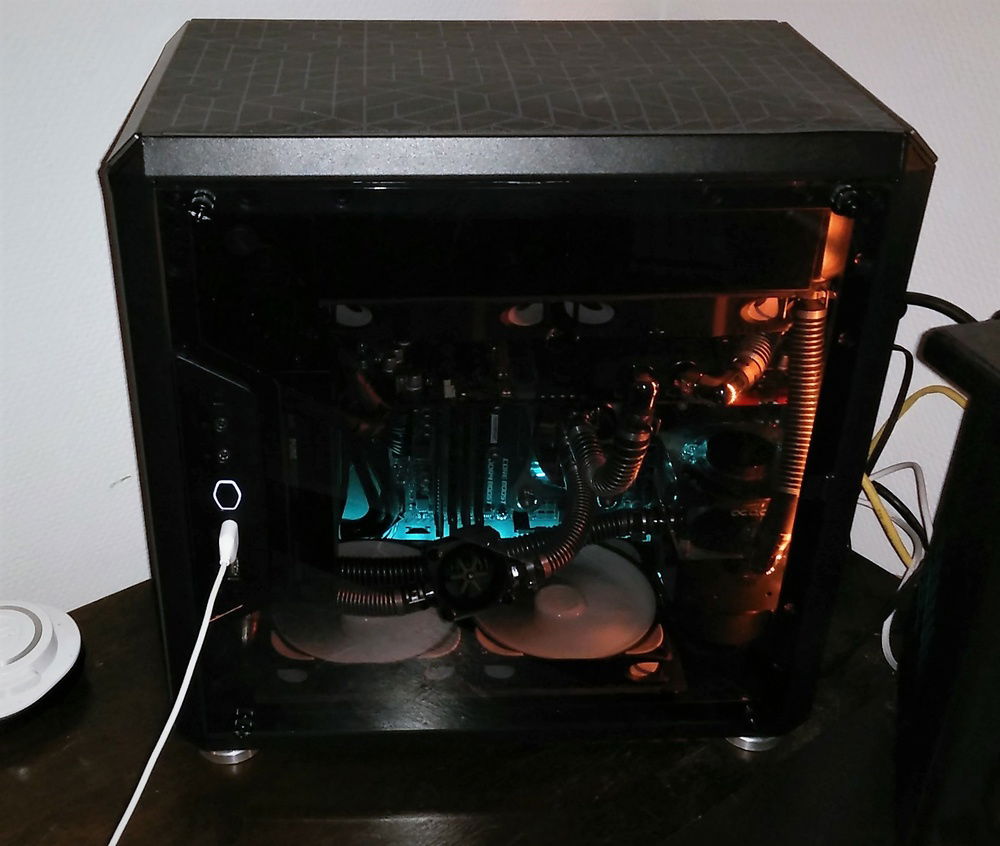
following are many somewhat redundant pics, which hopefully cover the interior from all interesting angles.


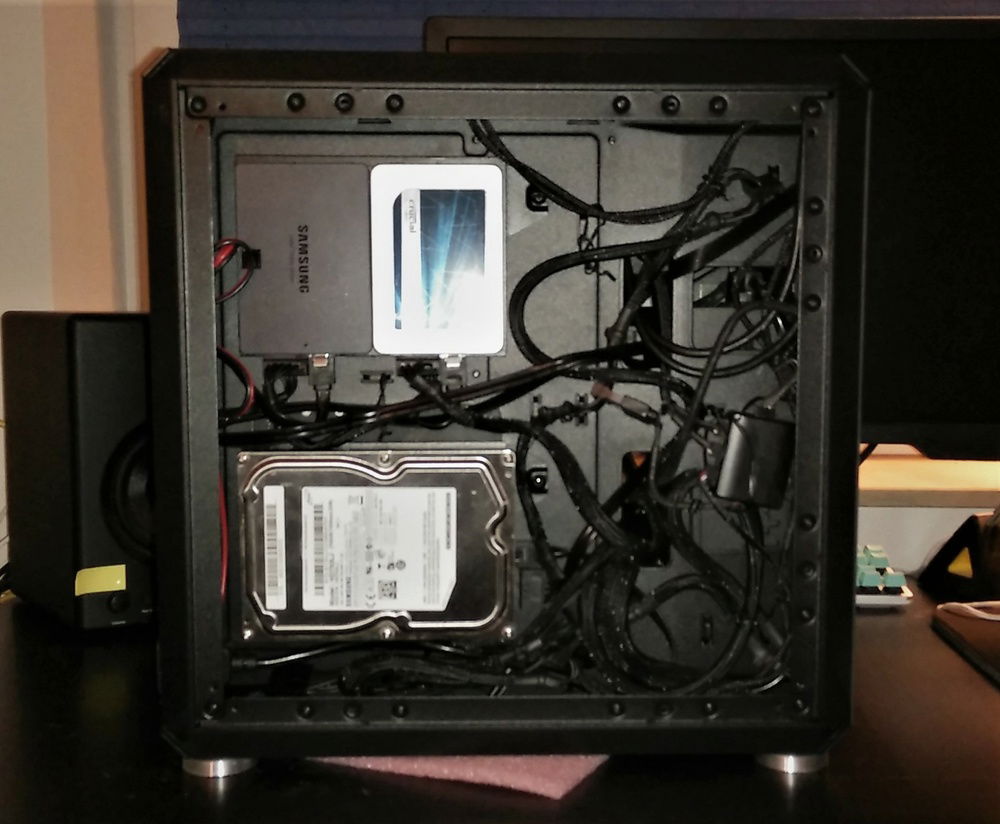
the given space for cablemanagement is surprisingly generous in the q500l. what makes it messy however is that i am not using a modular PSU, so that i have more space in the lower front of the main chamber, where some modular PSU's might interfere with the bottom rad fittings

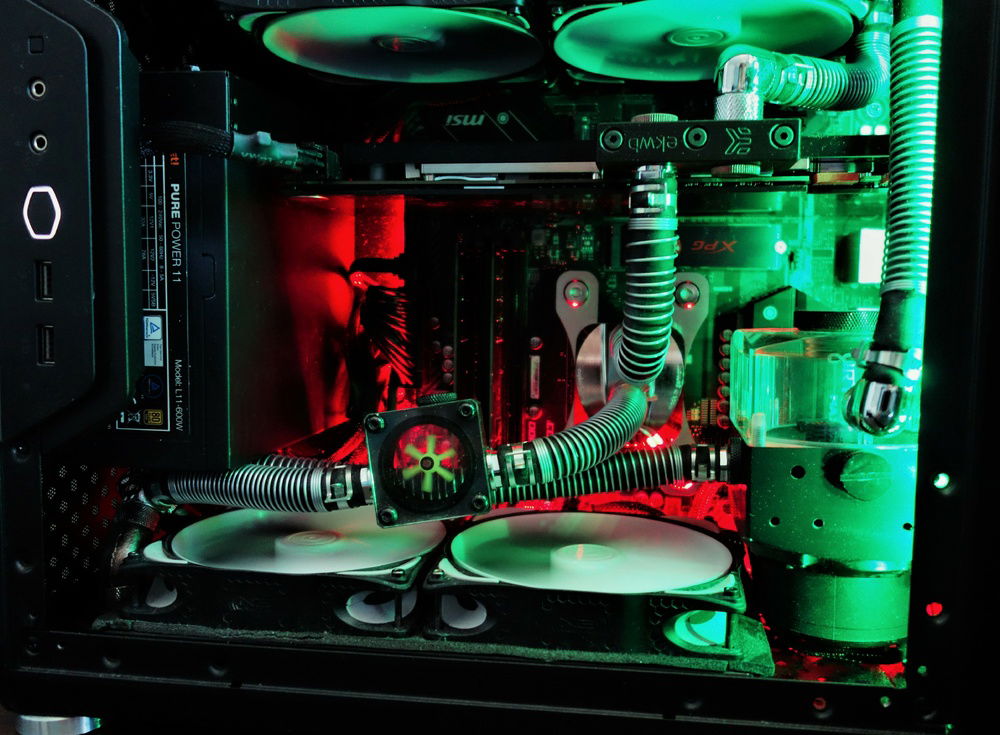
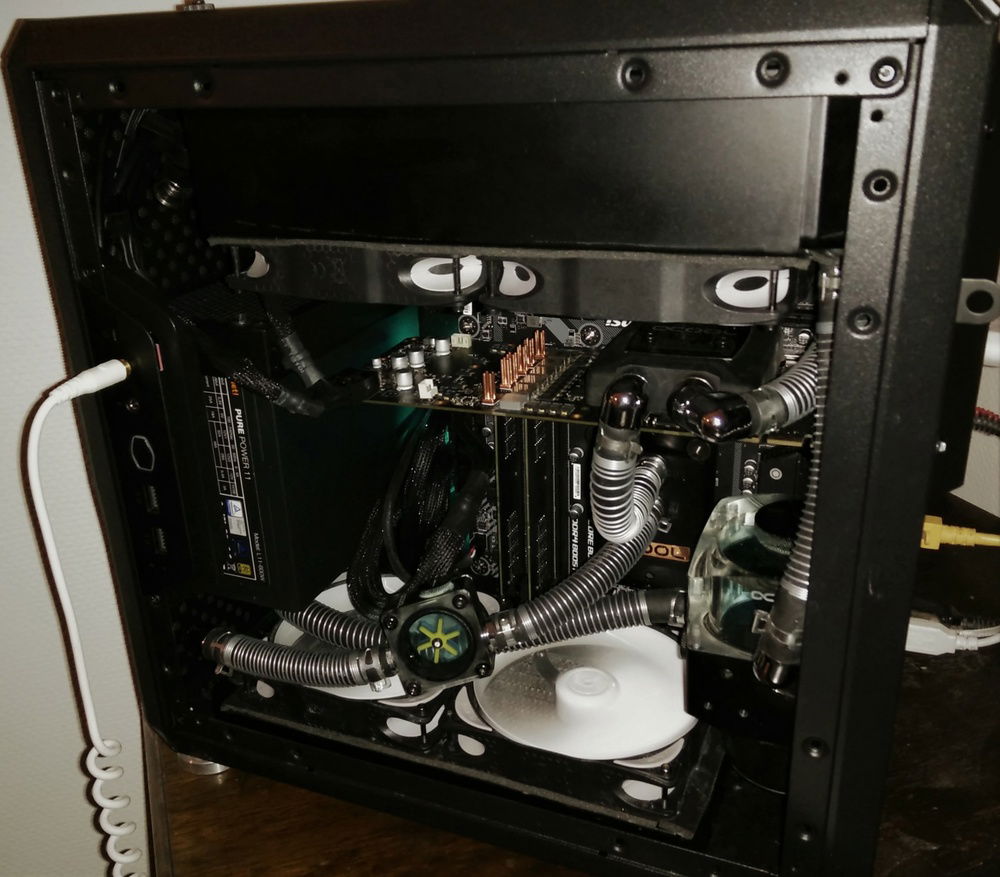
basically i added 3 new items from aquacomputer: - replaced vpp655 pump with a D5 PWM
-replaced CPU block with cuplex kryo Nickel/Nickel
-added farbwerk 360 RGB controller (which also allows me to plug in the Alphacool Eiszapfen water temp sensor)
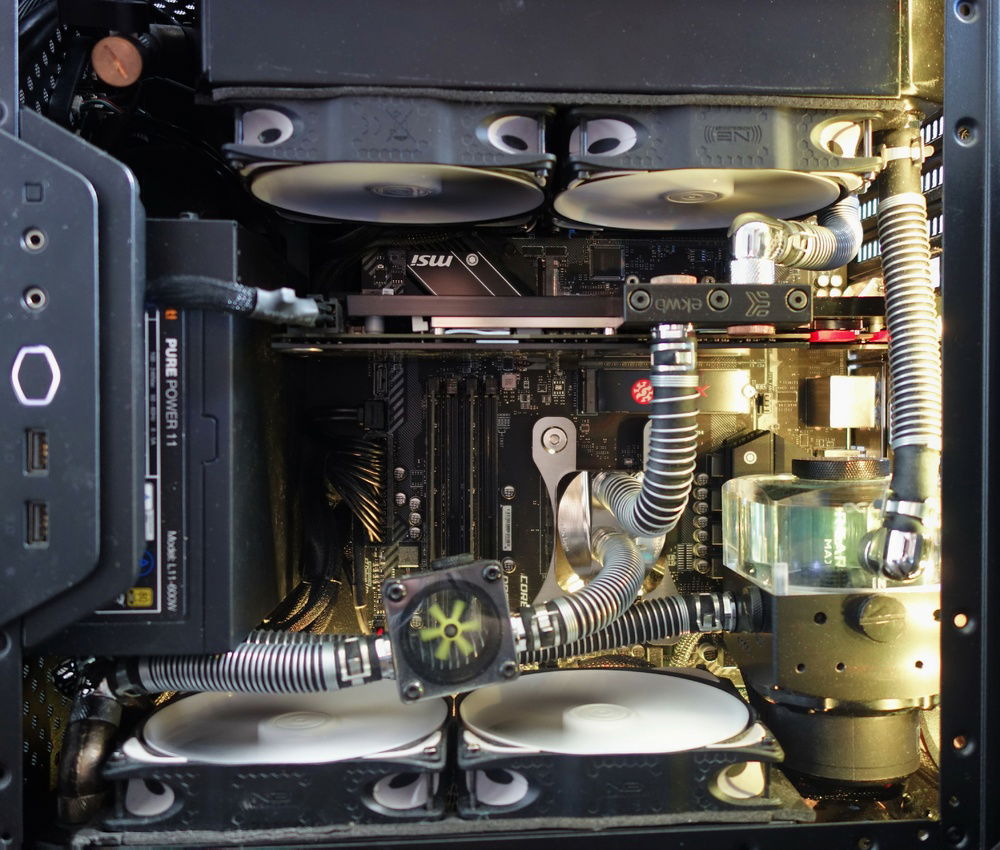
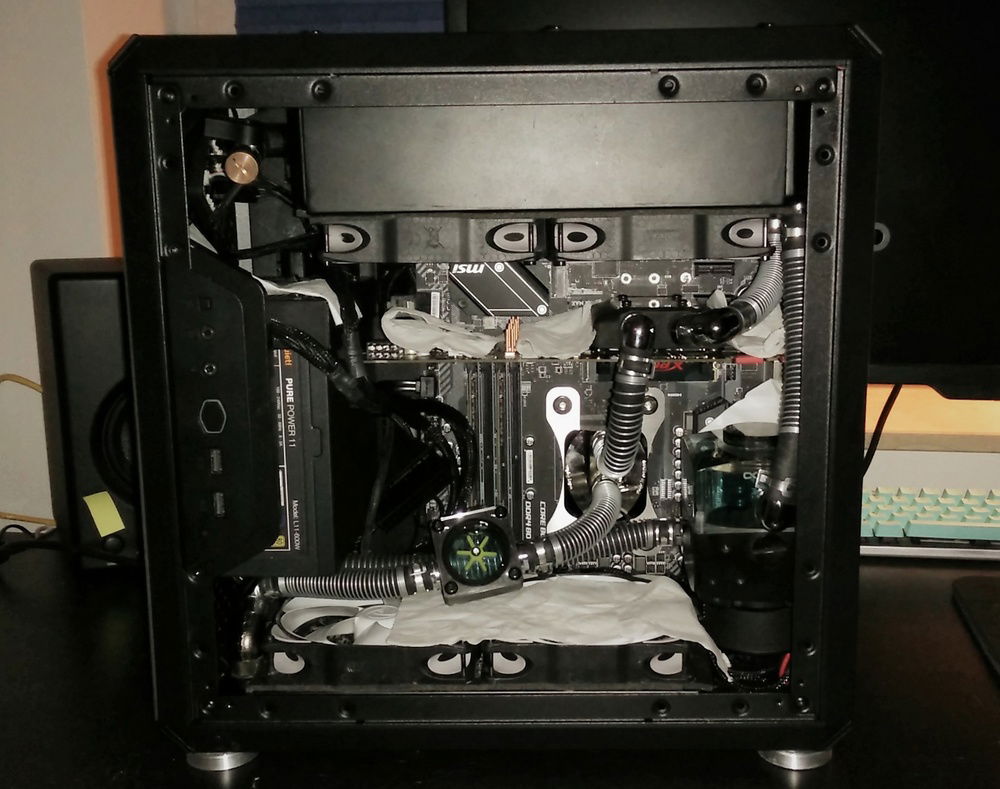
besides these additions i also did some minor fixes like for example: - top rad is sitting slightly deeper and more to the right what allows more space in the valve area
- fixed power LED not working ( one pin disconnected), which can only be fixed when the rad is disassembled
- fixed that one of the upper top/pull fans would only work when setting at 100%. just had to replace its cable.
-slightly changed orientation of the bottomRad->CPU tube, so that the flow impeller is better visible from different angles
-cable management slightly improved, but far from perfect
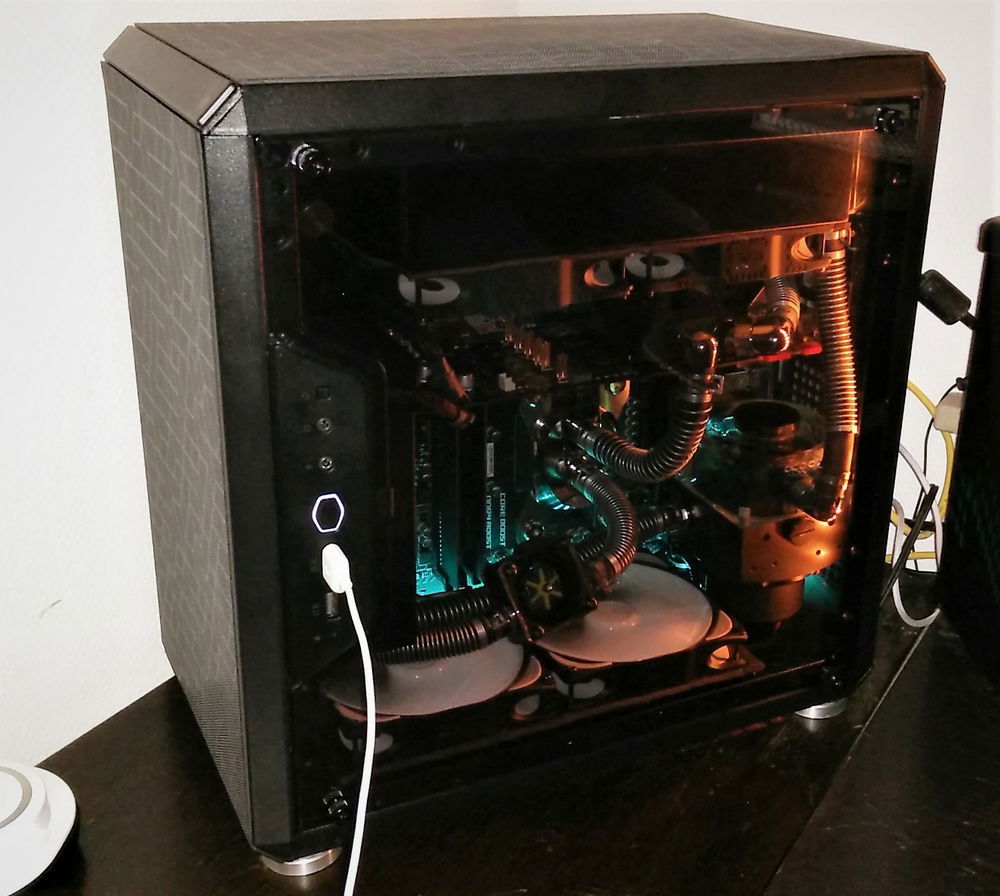
i think this was right after finishing the most recent upgrade, before i started filling it up again
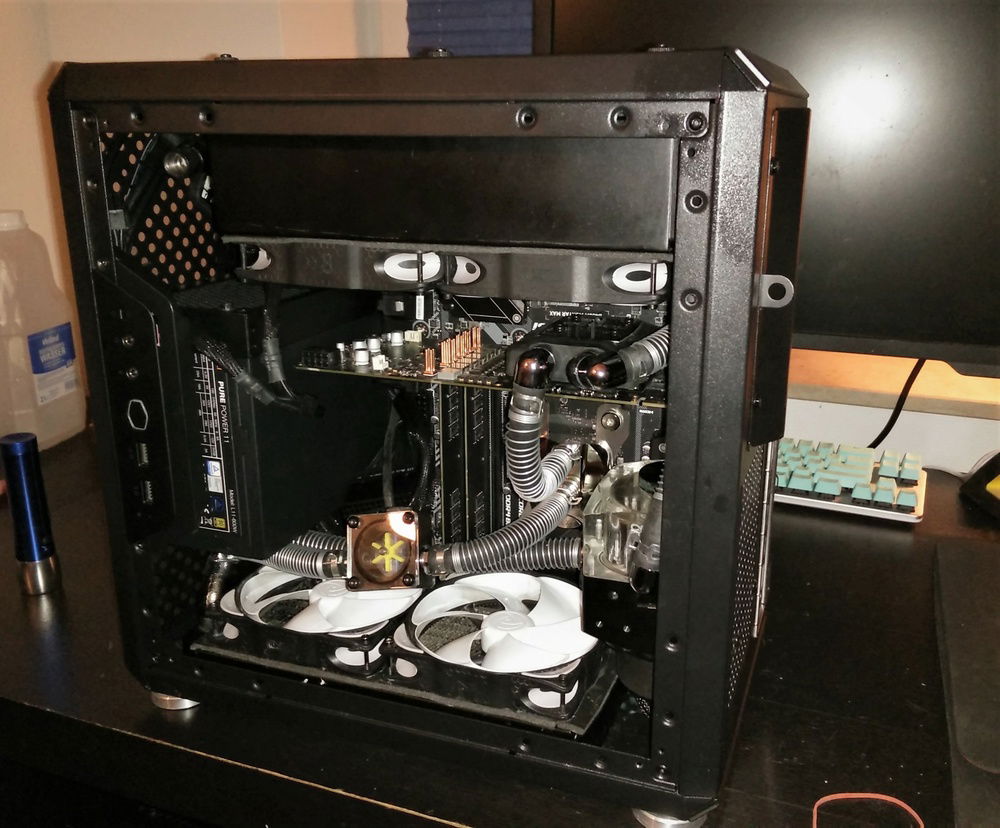
sideview right...
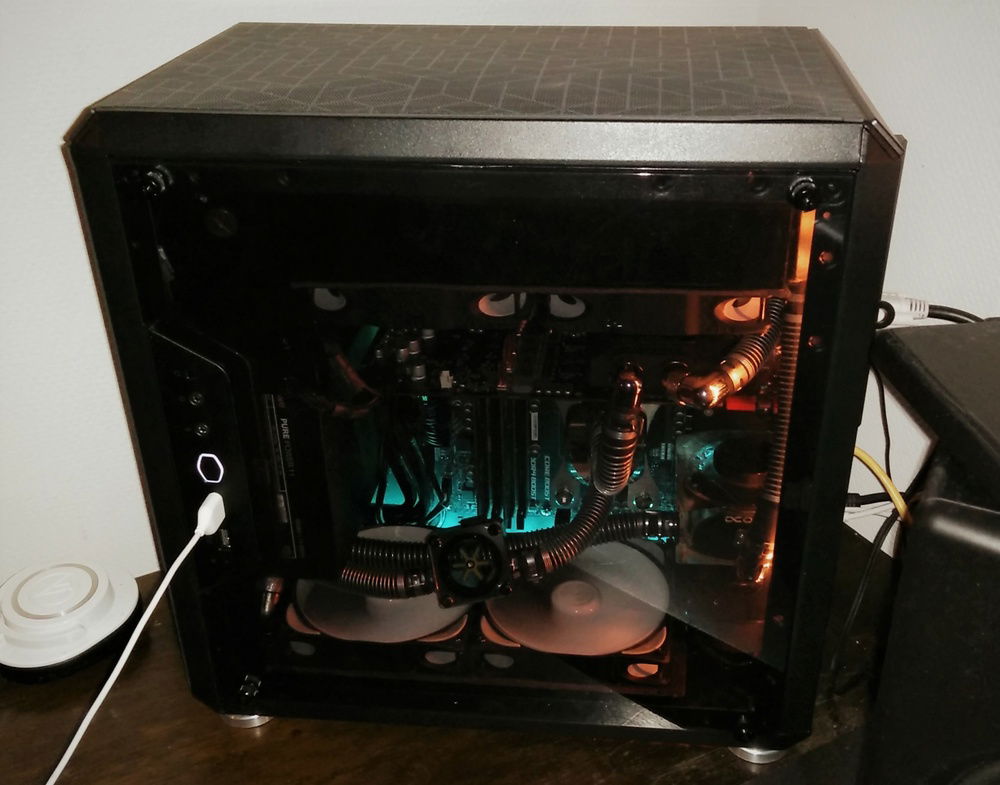
...sideview left. with the slightly changed tube orientation, the flow impeller is now better visible from this angle.
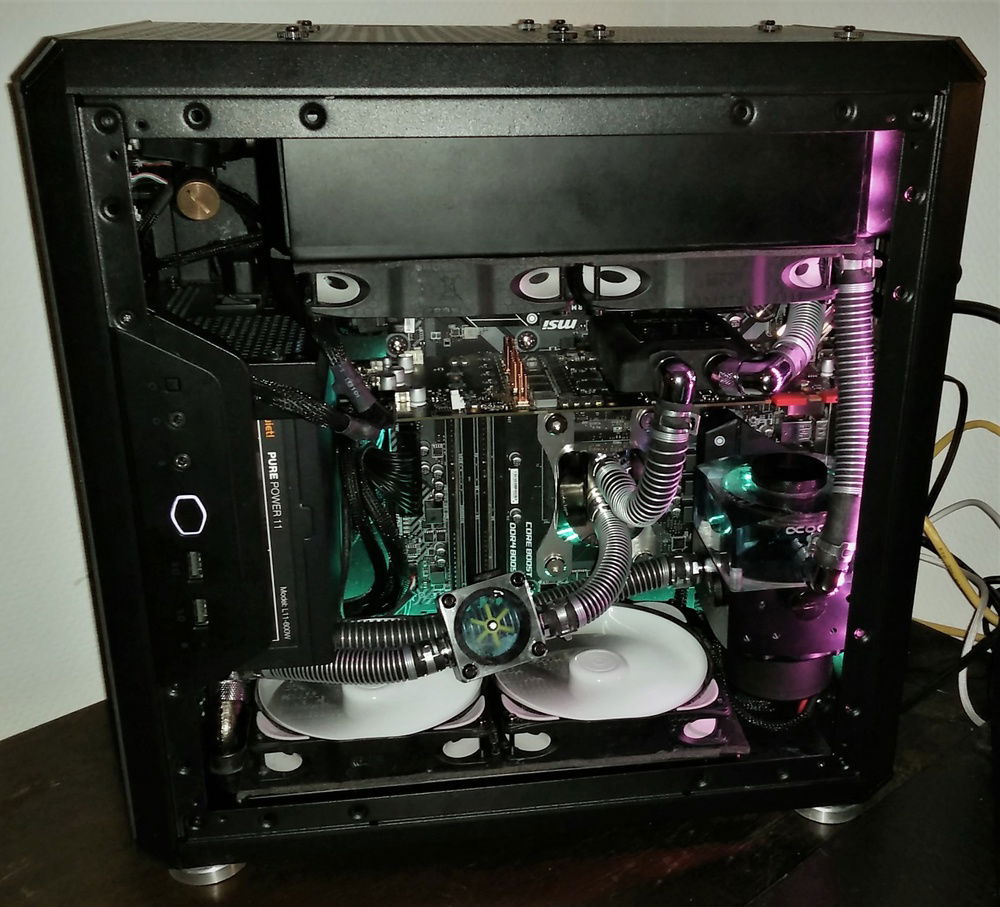
after refilling. the added (aqua computer) farbwerk360 is visible here in the top left corner, behind the valve.
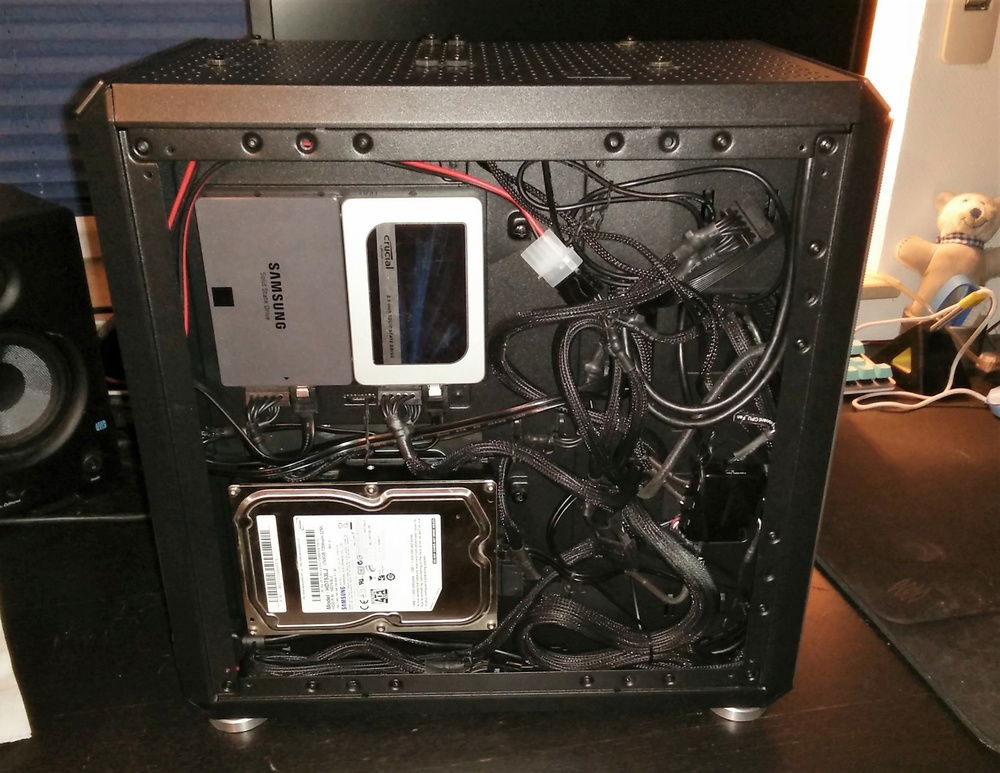
another look at the back with it's cable mess. i wonder if some extension cables, especially for vga and main mobo power connector would make it either more organized or impossible to close the backpanel. remember im working with a non modular PSU here, so i cannot remove any of the cables or use shorter ones
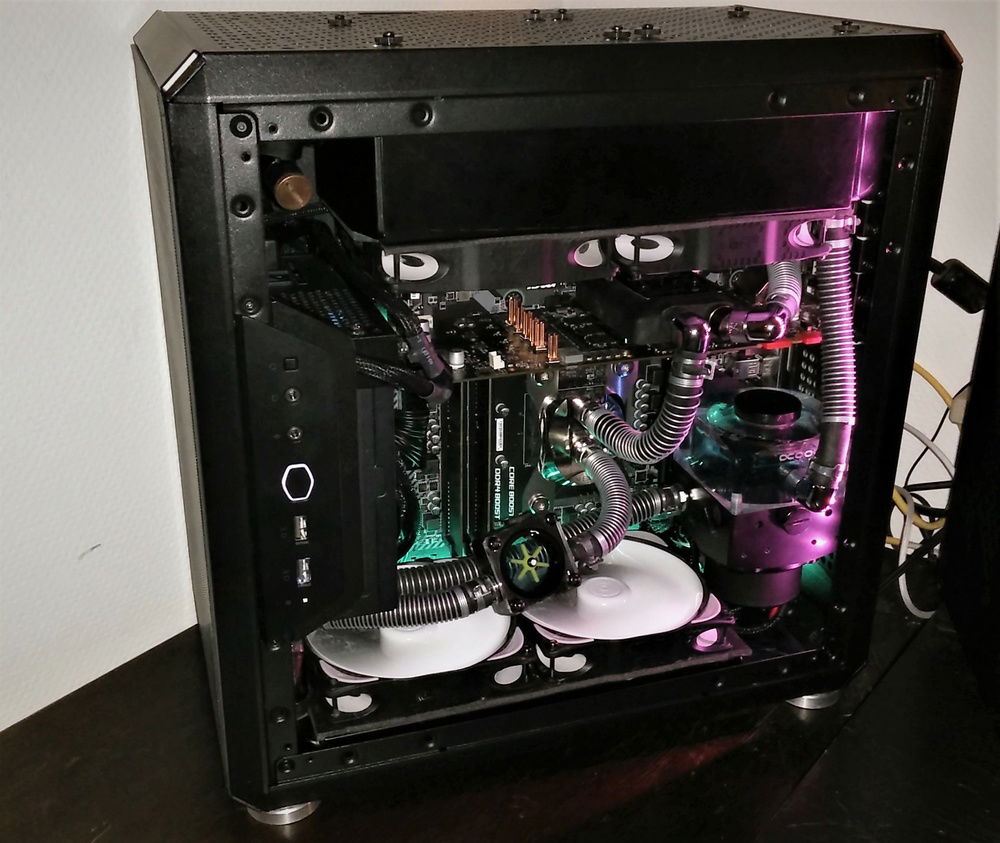
in the aquasuite software this is now set up as the vaporwave profile
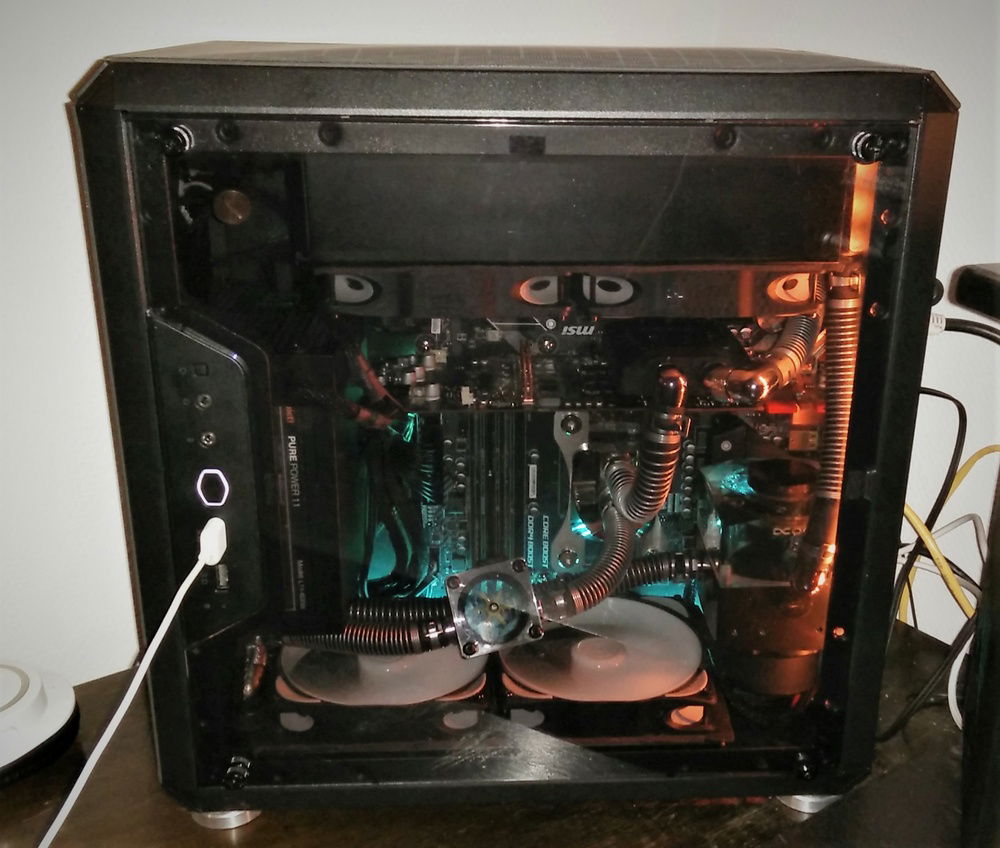
i think the best way to utilize RGB in the build is with 2 colors, where the mainboard is outline by its build in rgb and by the rgb strip that is directly behind the bottom rad. like it's obvious from the angle, the other rgb strip for the contrast color is in the right corner.
i guess an upper angle generally looks more flattering on this build, because it kind of hides the thinness of the vga pcb. perhapt i'll add a backplate some time later. the specific 1080 is one of the few that didnt come with one, even FE cards had a cheap plastic one iirc.
Q500L dual rad loop
AD:
The case that people love to hate. Not sure why that is, perhaps they bought it themselves with wrong expectations, or they simply belief that the judgement of gamer's jesus is to be seen as gospel, even when it's only based on one criteria. For me, the q500l is ideal, because i was specifically searching for the smallest case that could accommodate this cooling setup, of which most parts i already had laying around, not being used in the previous built but a few years ago.
I know there are much smaller alternatives which can also work with 2x240 rads, but they always come with annoying compromises like having to use slim fans, having the PSU in a weird place over the cpu and/or not being able to have one of the 240rads be 6cm thicc with push/pull fans.
What is often overlooked about this case is, that while it's still far from SFF case territory, with only 32 liters it is an ATX case that is smaller than most micro-atx cases and even some mini-itx with a standard layout. on top of that its versatility and moddability is kind of unmatched and hasnt been seen on the market ever since Caselabs went bankrupt.
yes, the whole design concept makes it not the easiest case to work in and ventilation is not comparable to high-airflow cases, but these issues can be dealt with. i wouldnt aircool a threadripper+titan combo in it, but if you're either watercooling(high pressure, slow fans) or using parts with smaller wattage (like most mainstream ryzen), the ventilation is good enough. The max temp i witnessed so far after some minutes of stresstest was 58degree C for both cpu and gpu using a ryzen 3700x and gtx 1080. But i have to add that it's not completely finished, i'm still waiting on some parts and need to fix minor issues. e.g. i expect the cooling performance to increase further when the vpp655 pump get replaced by an actual D5, currently the flowrate is abysmally slow.
Color(s): Black Silver
RGB Lighting? Yes
Theme: Industrial
Cooling: Custom Liquid Cooling
Size: Micro-ATX
Type: General Build
Hardware
CPU
$ 278.99
Motherboard
Memory
$ 141.95
Storage
$ 79.99
Storage
PSU
Case
$ 90.95
Case Fan
$ 179.70
Cooling
$ 141.50
Cooling
$ 59.99
Cooling
$ 99.99
Cooling
$ 153.87
Cooling
Accessories
Aquacomputer - D5 PWM pump (discontinued)
Accessories
$ 49.70
Accessories
$ 41.22
Approved by: