Frozen Steam
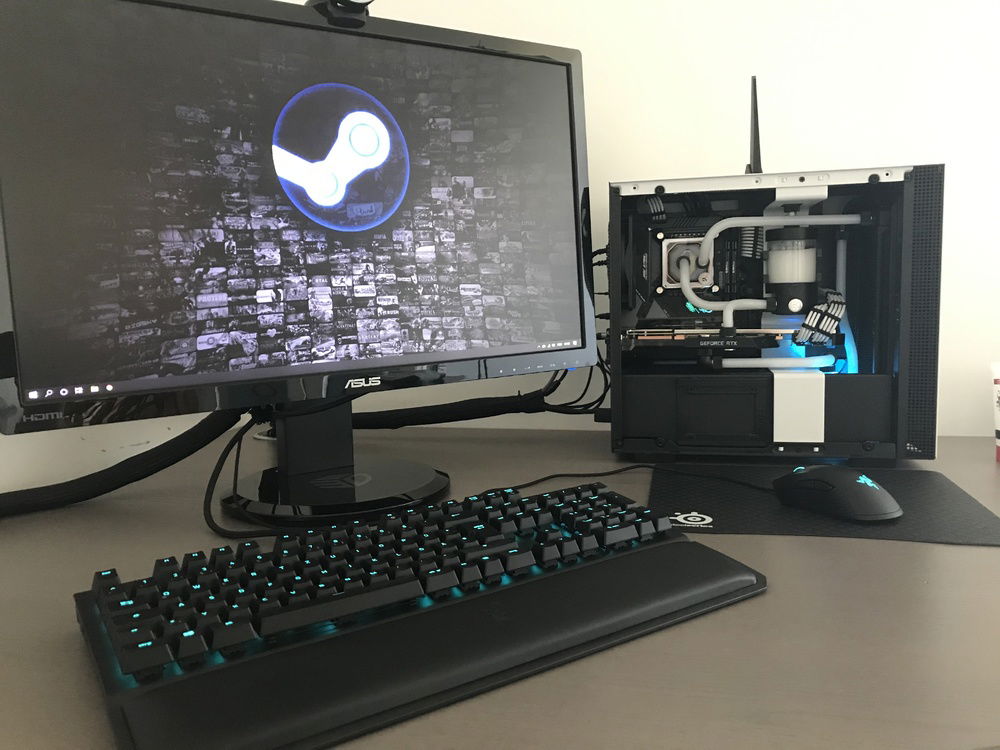
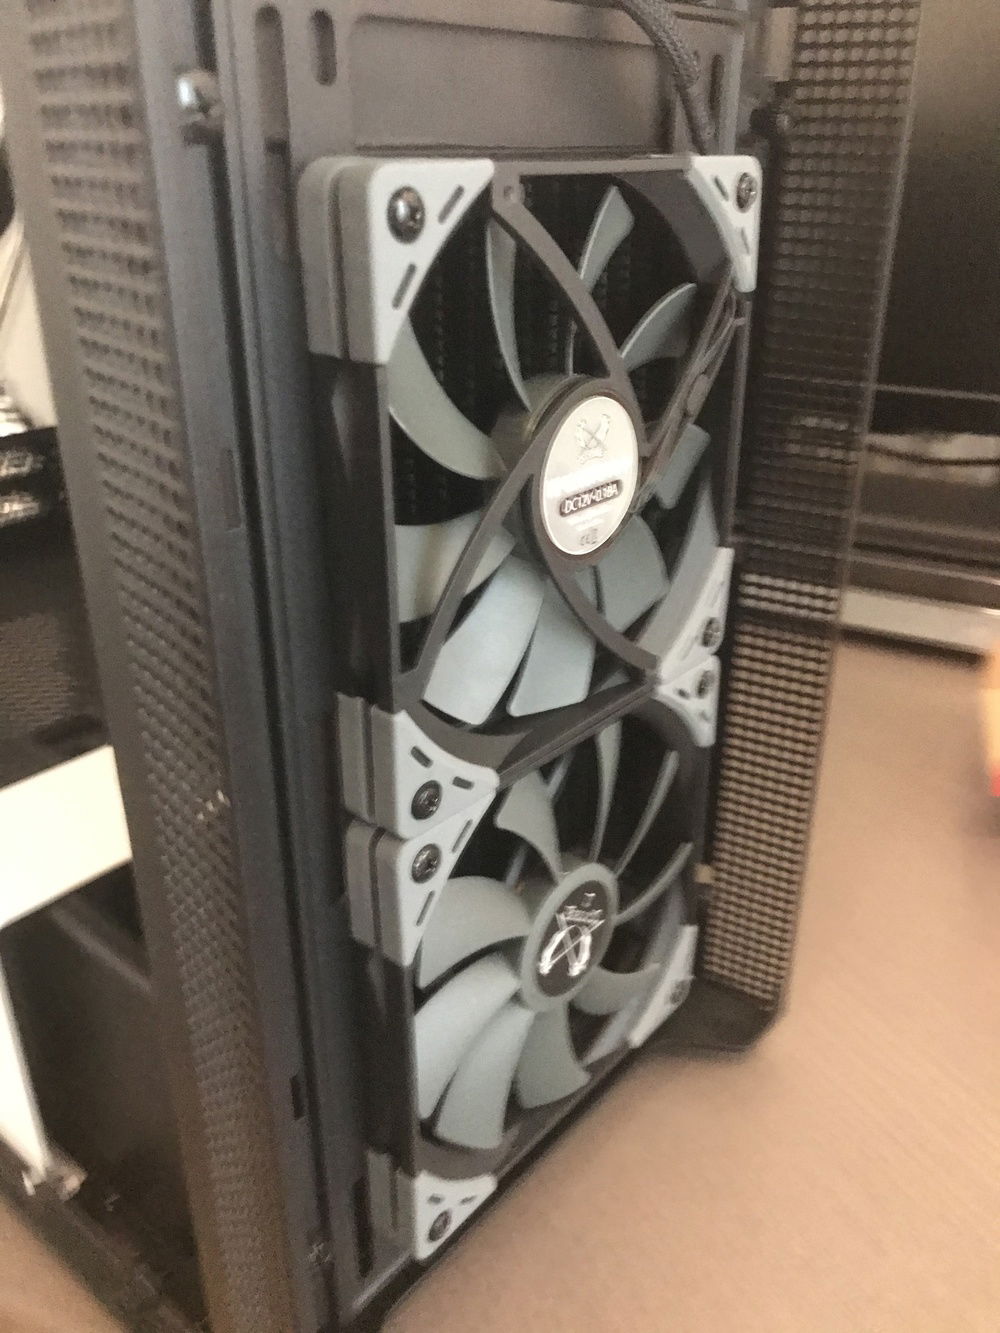
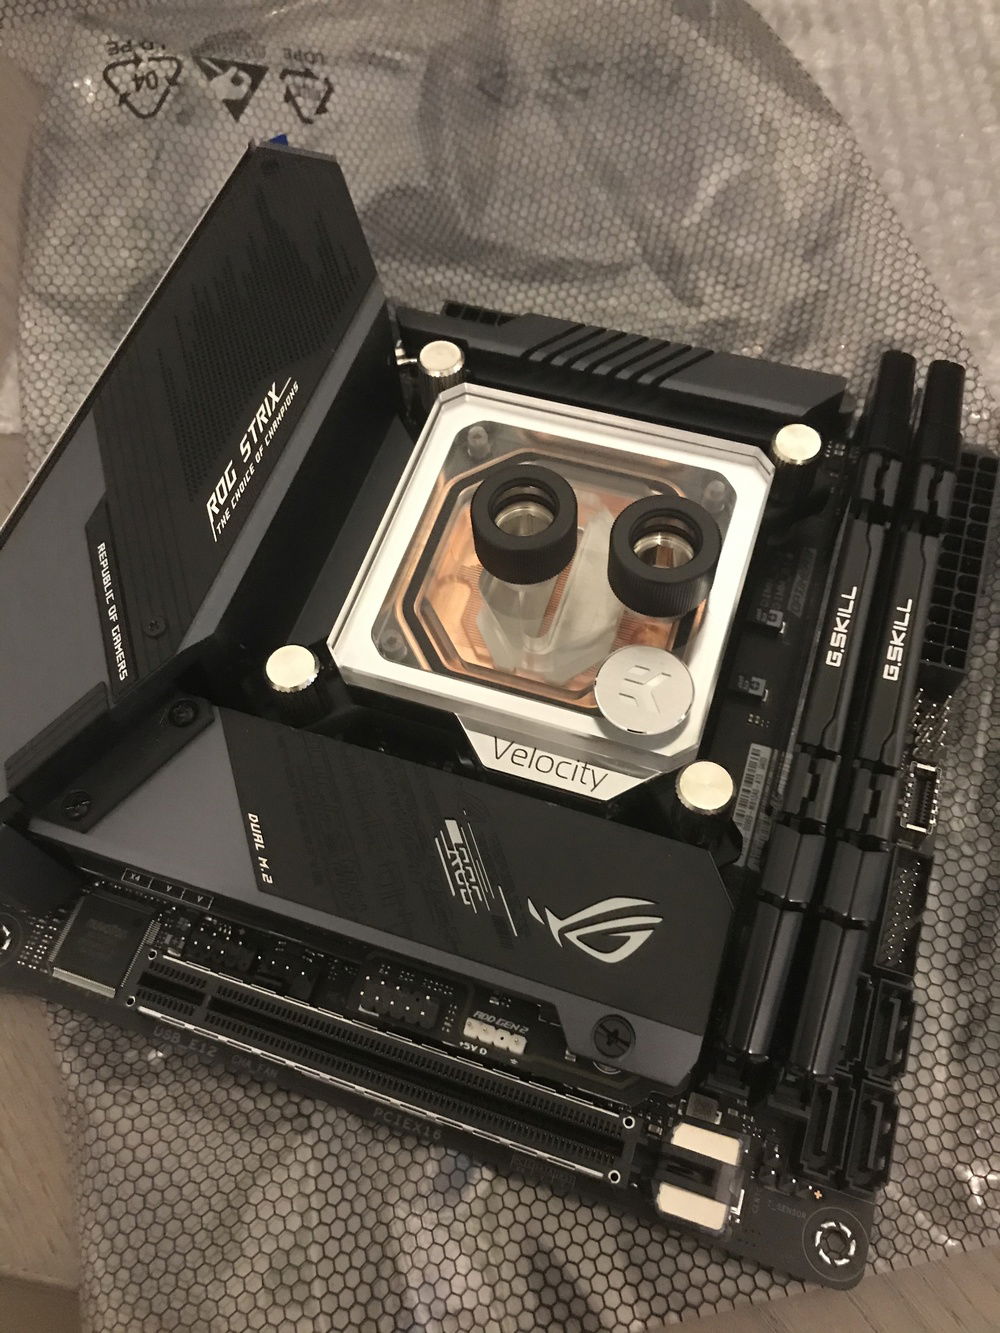
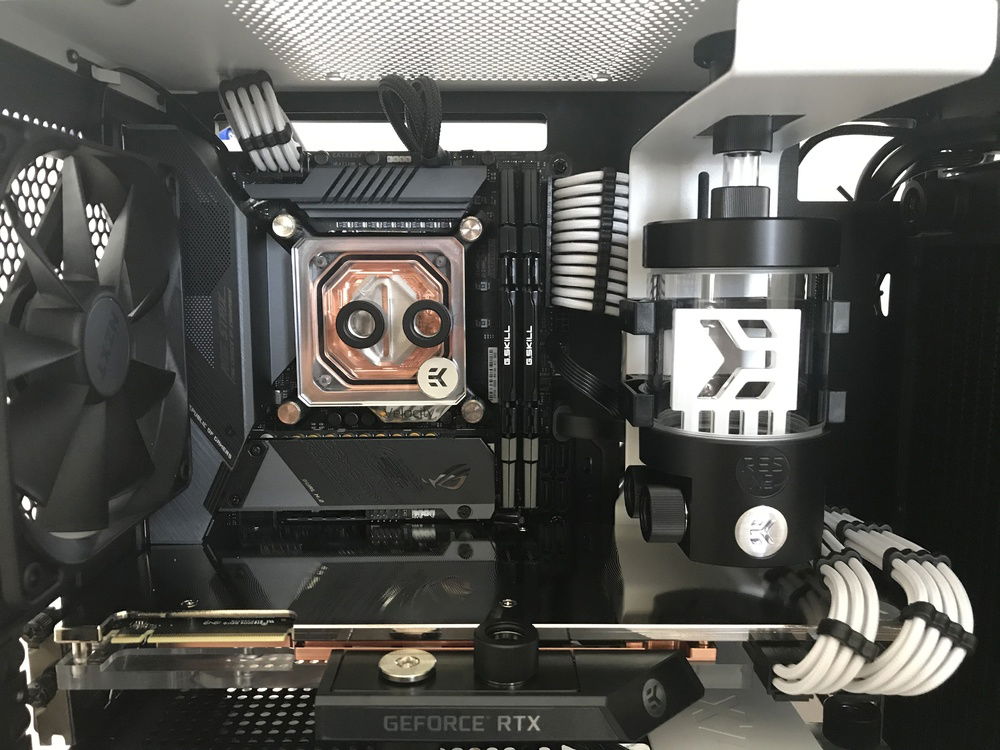
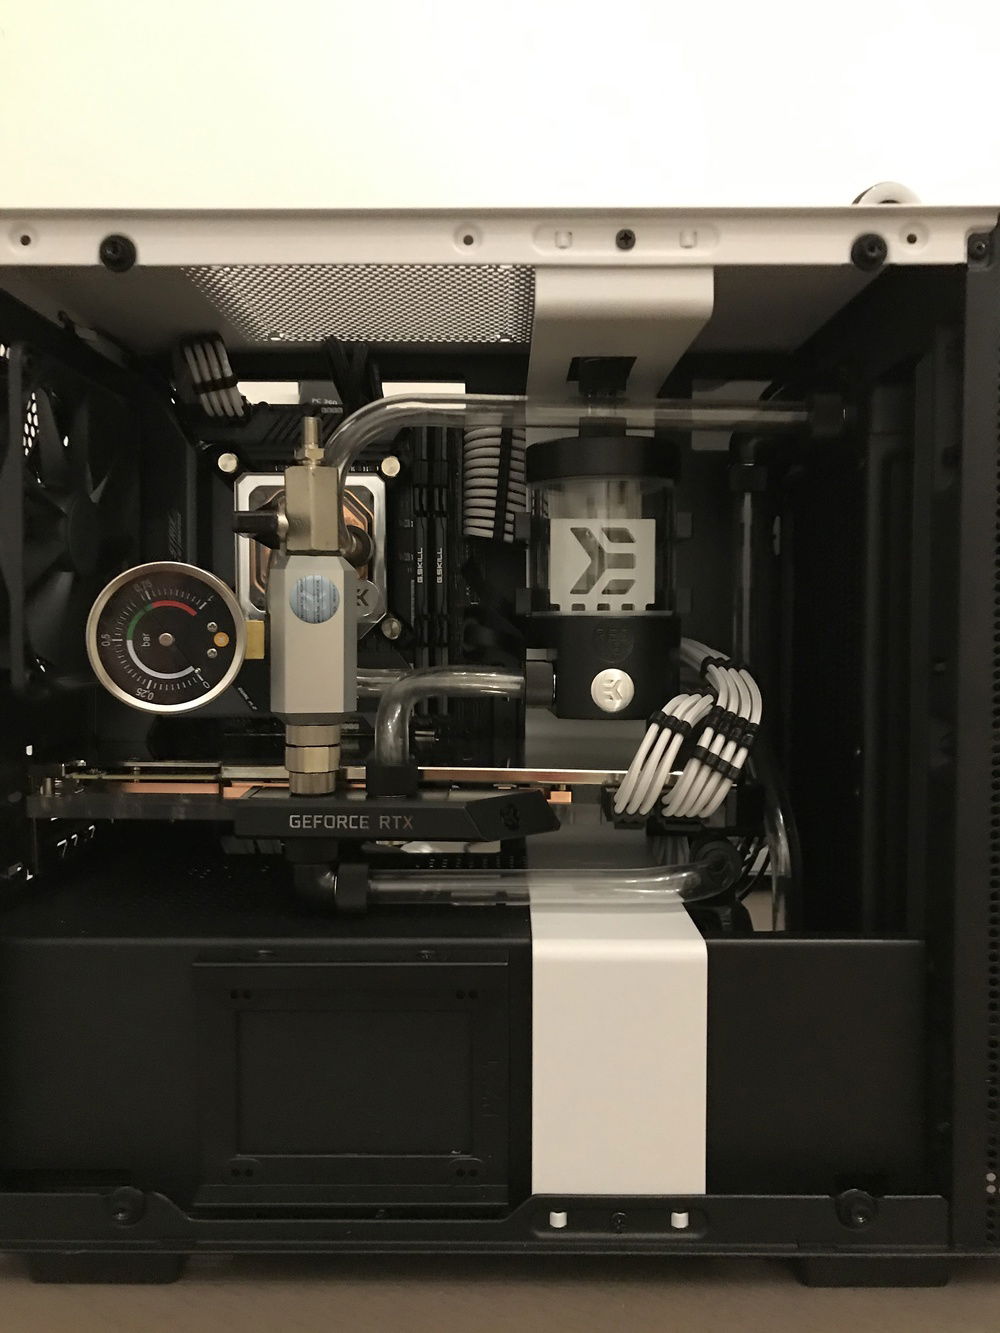
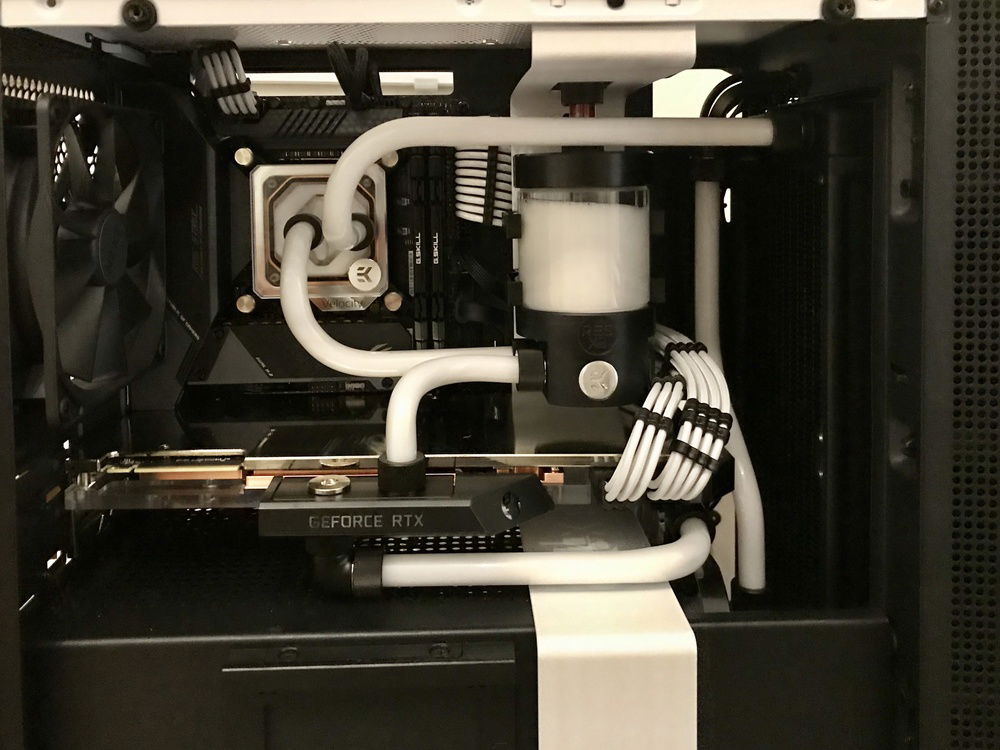
The design principal of this build was to combine high performance and maximum silence in the smallest space as possible.
Basic setting:
Dreamed of a water-cooled gaming system since I became 16 years old (now I am more then twice that old), now the pandemic was the perfect time to work on this.
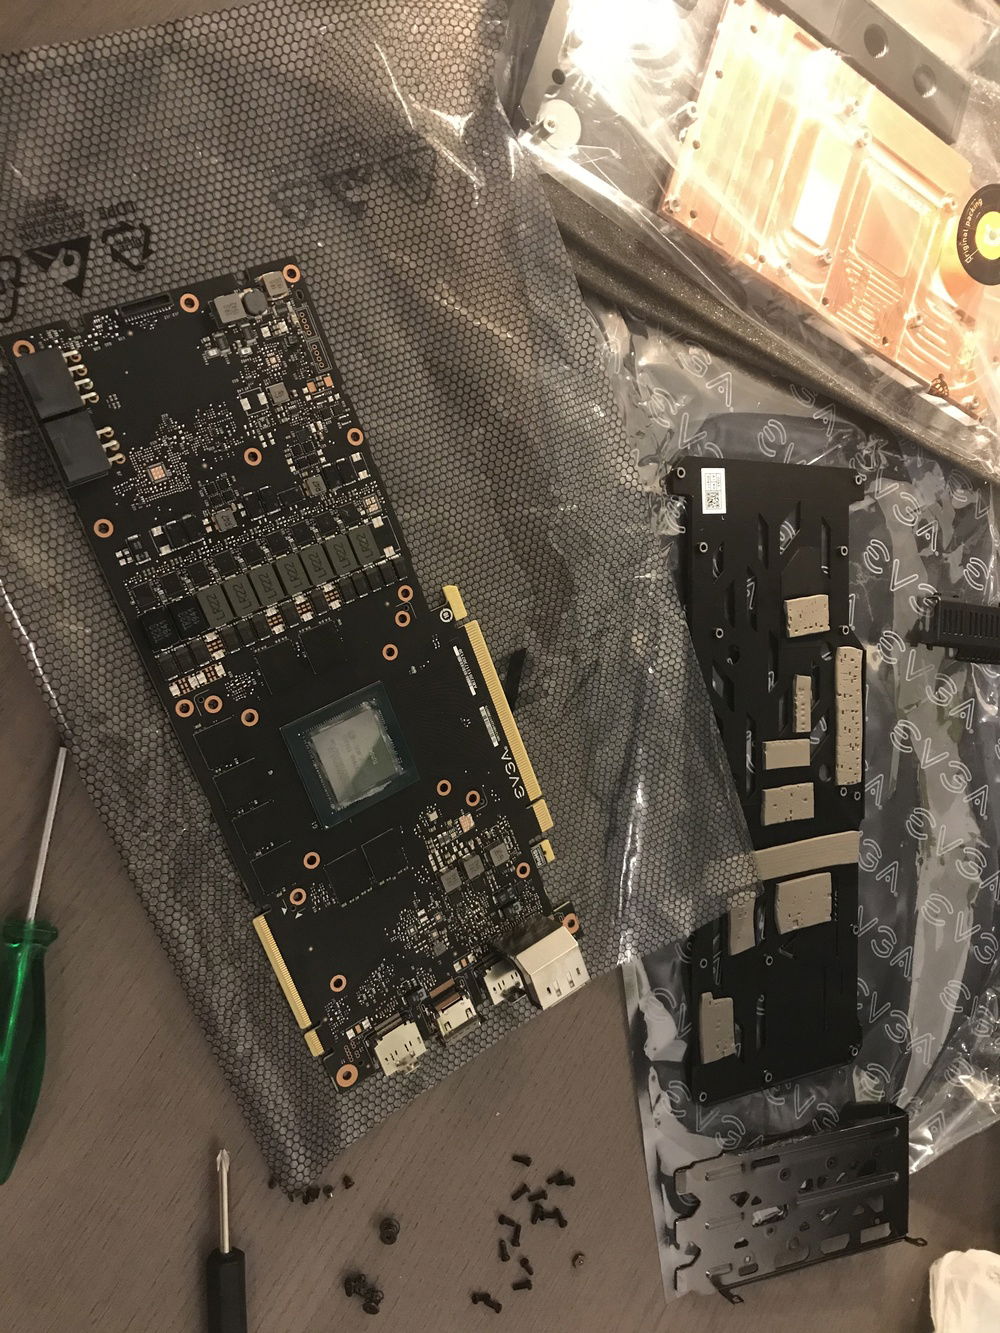
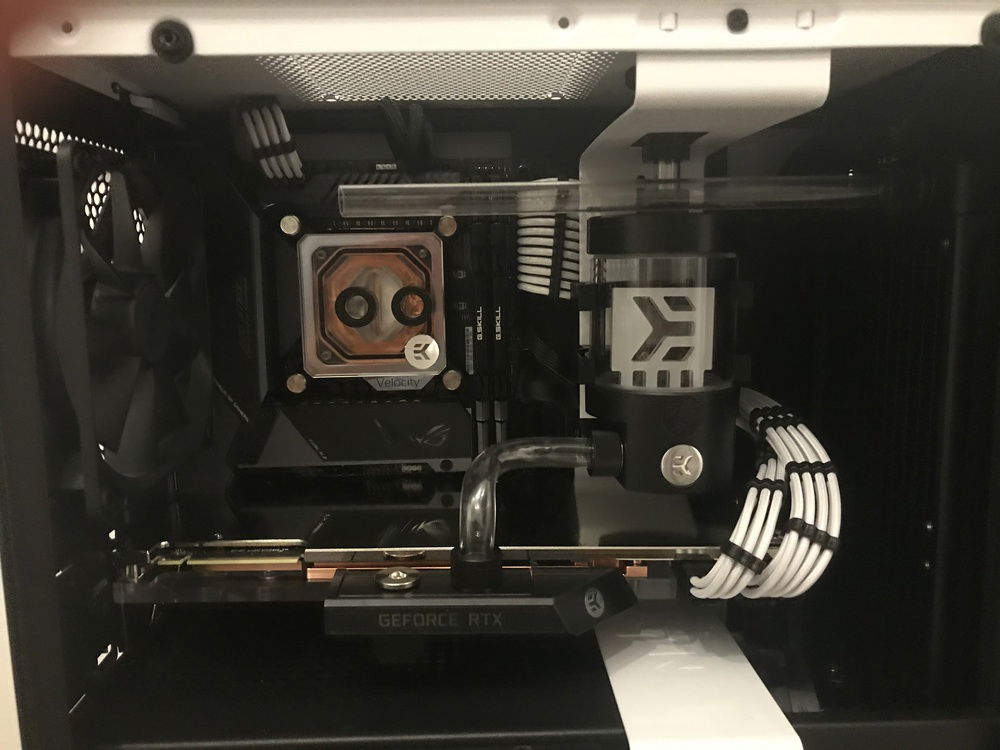
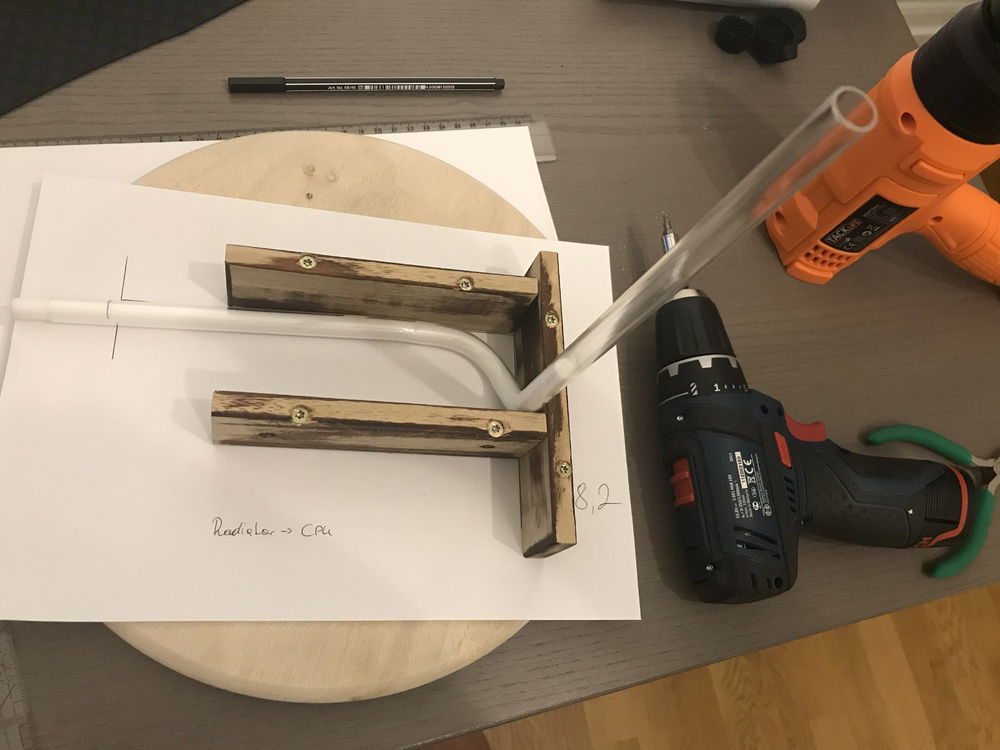
Although I build all my previous PCs myself, this was the first one with liquid cooling and I decided to go for hard tubing as I simply like it more than soft tubing.
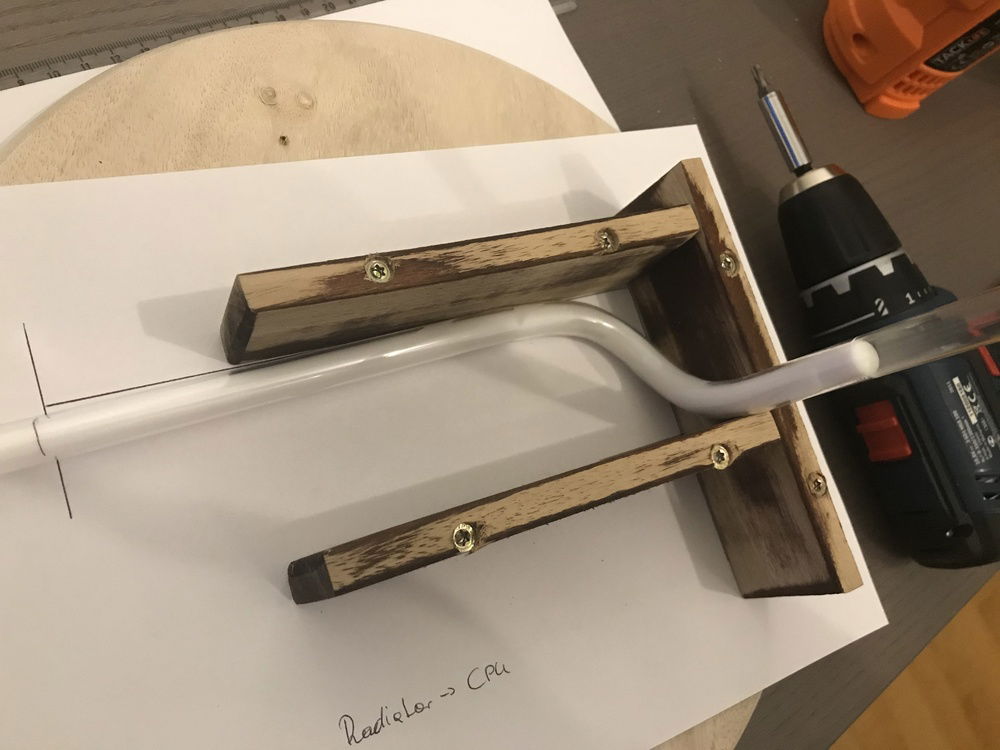
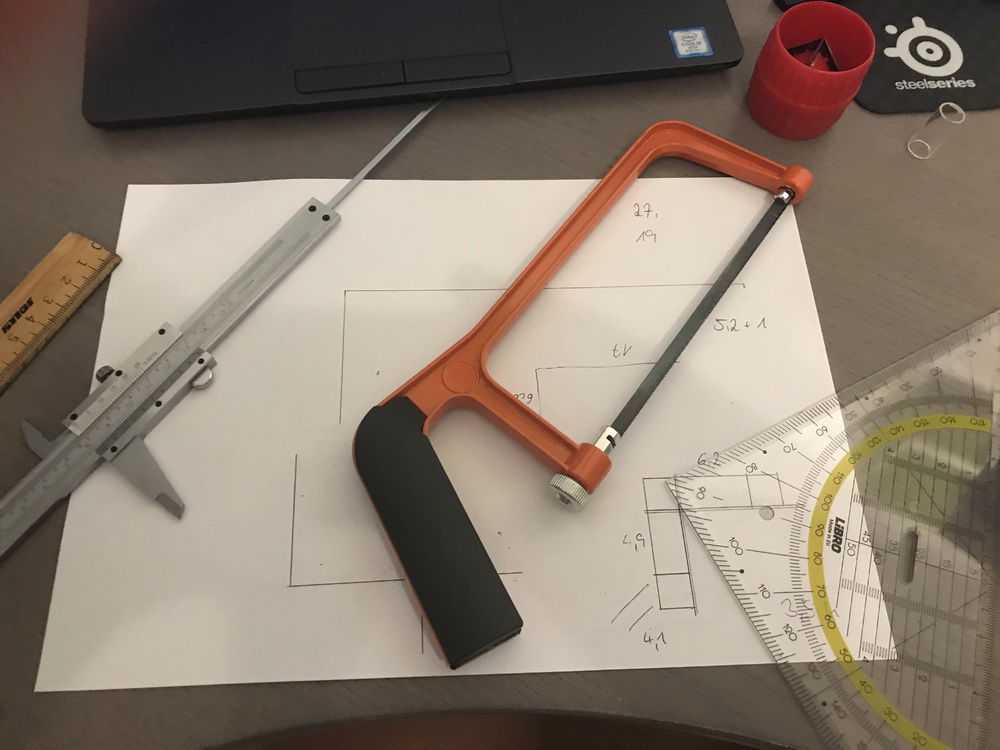
Anyway as bending hard tubes is not that easy at first time, I was during this journey sometimes not sure if this was maybe too ambitious.
Finally I spend around 25 hours on this build and guess will stay with liquid cooling in future as well.
Basic setting:
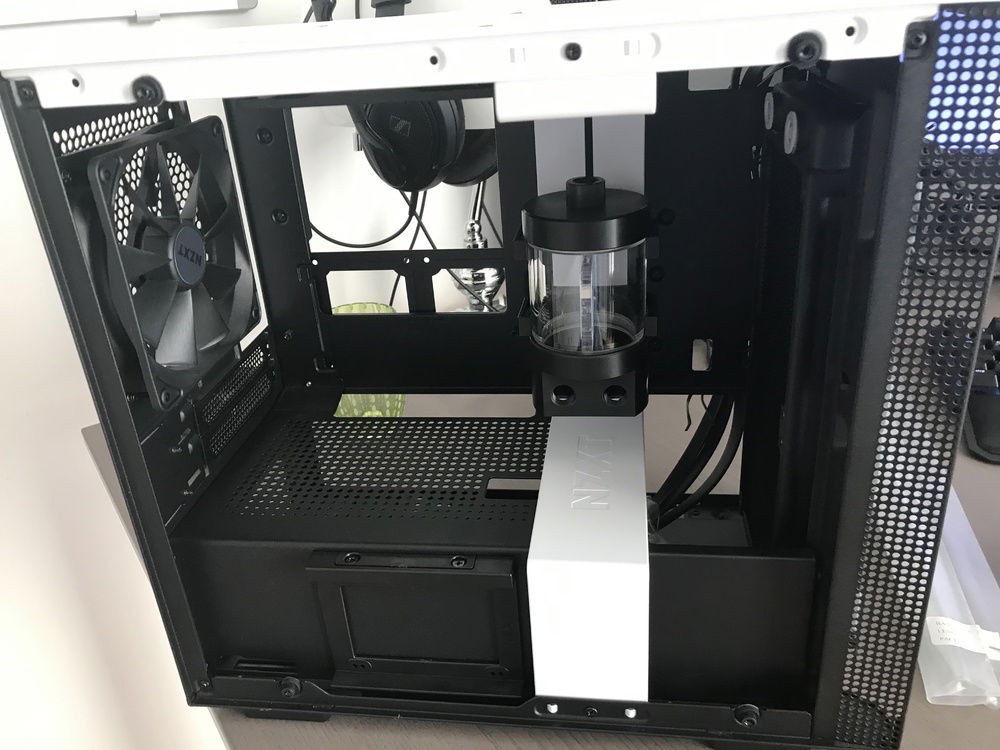
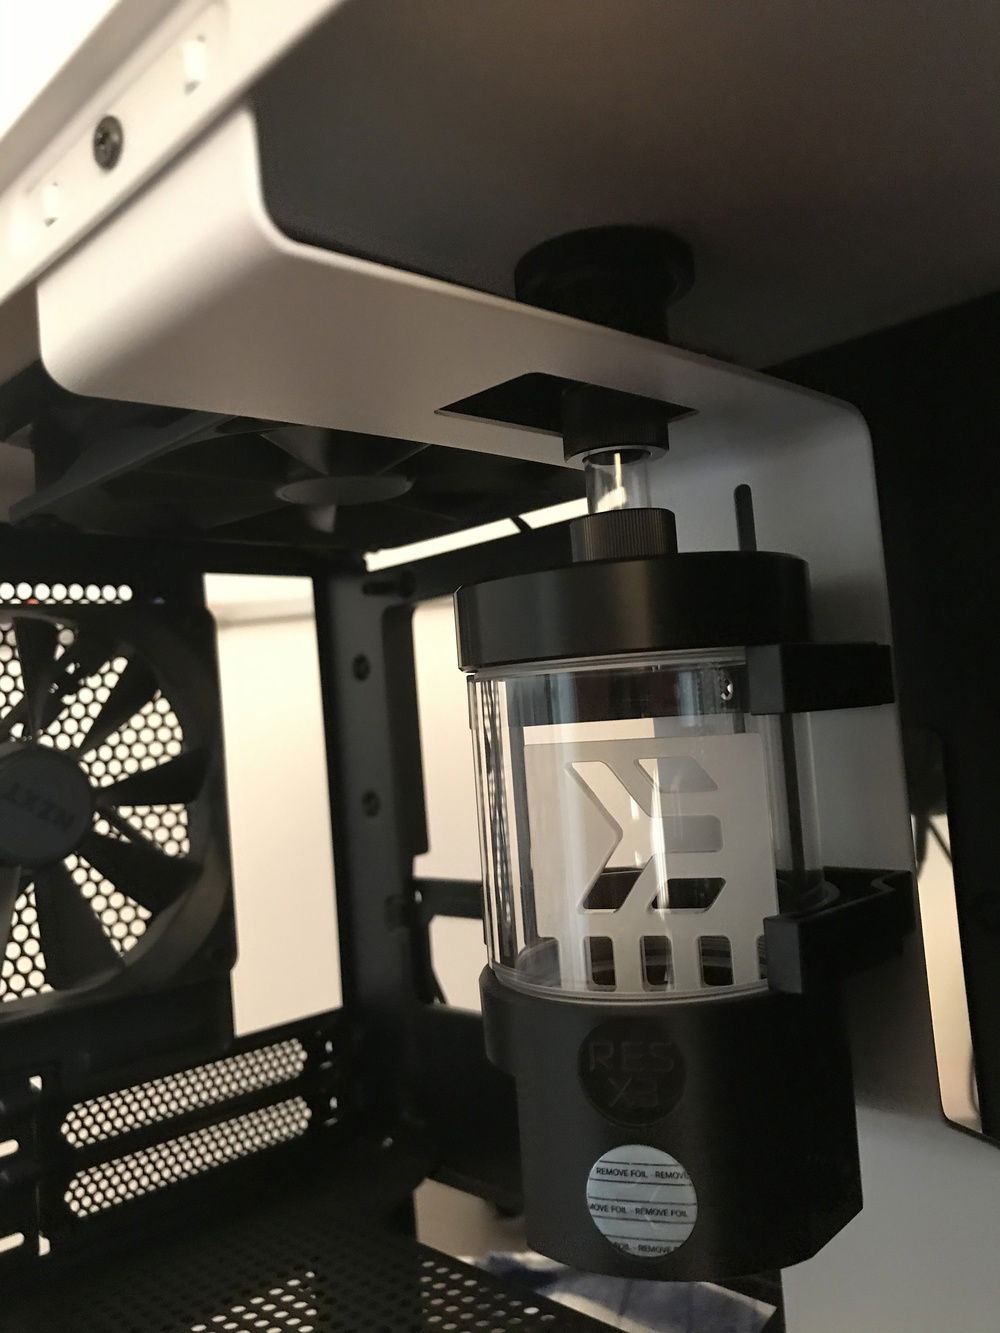
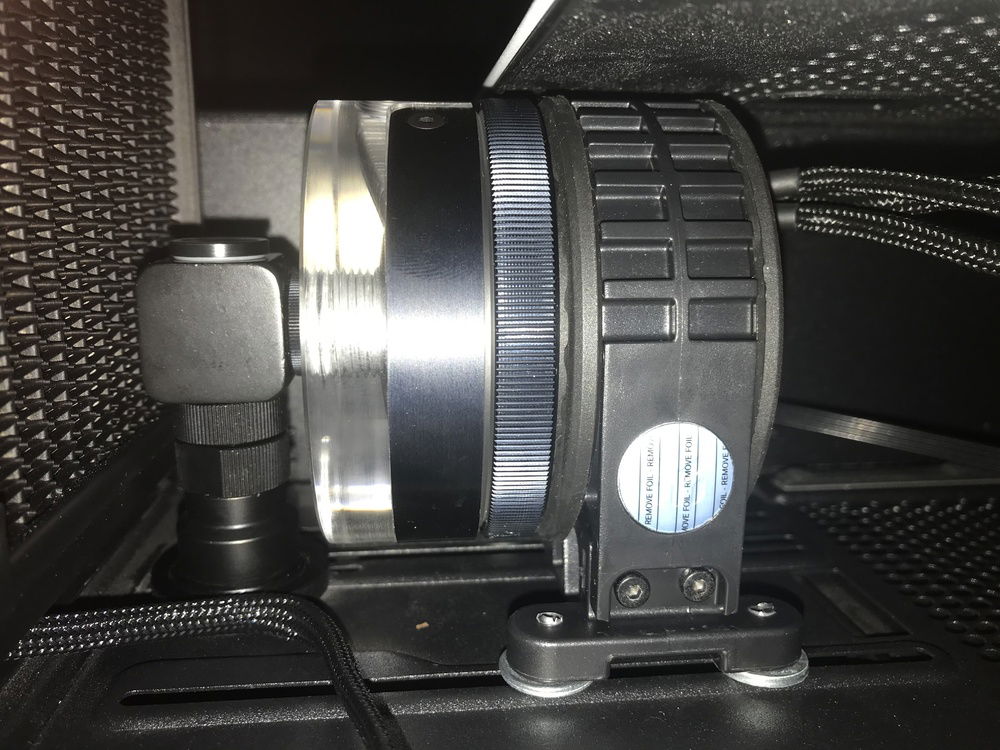
- Hide pump behind buttom panel
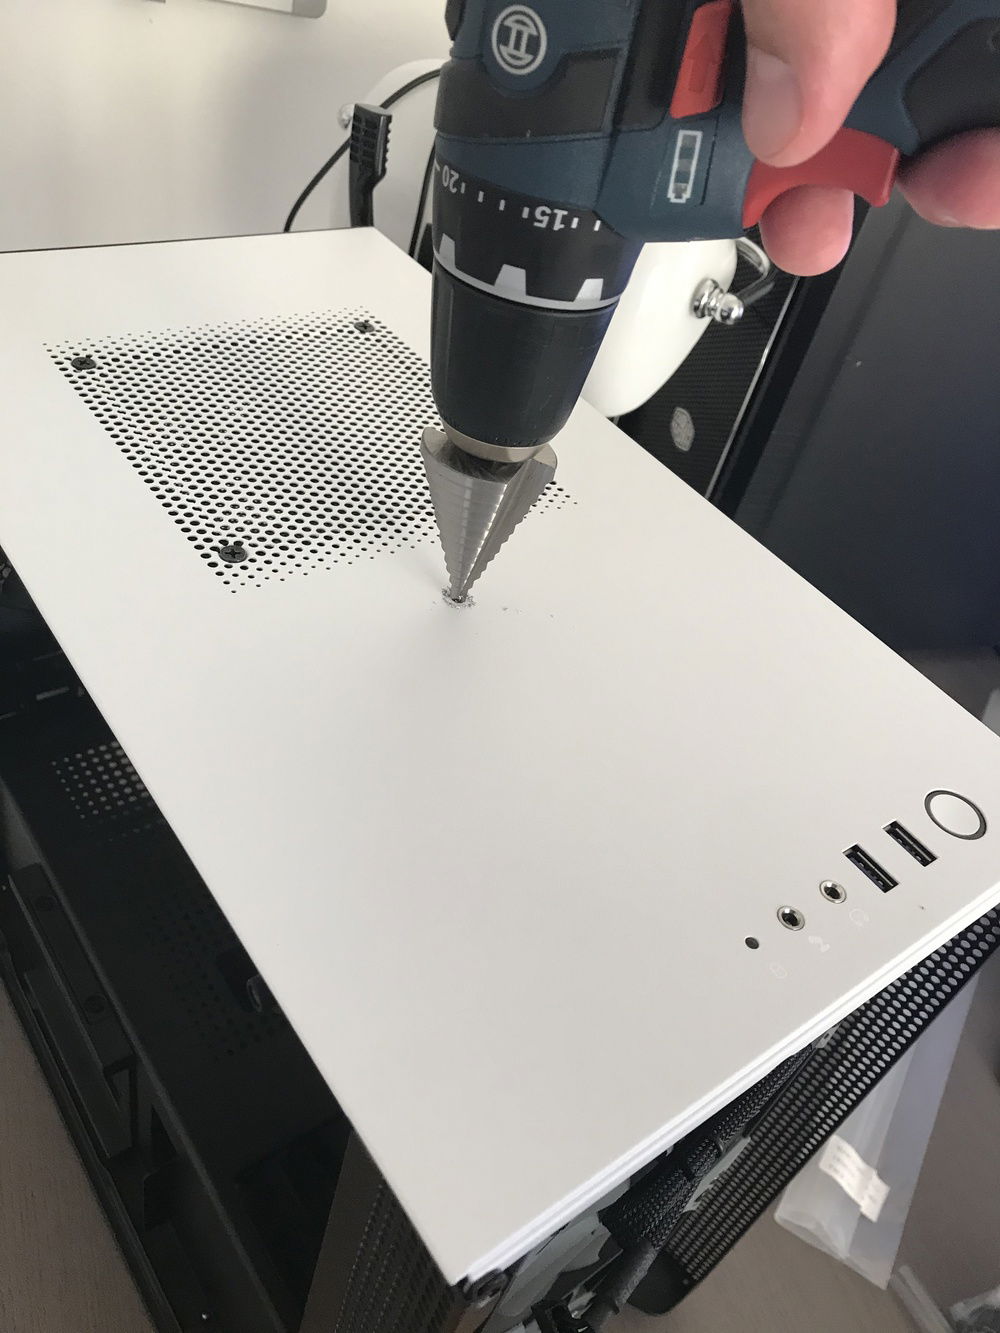
- Fill port on top of the case
- Drain port bottom of case
Dreamed of a water-cooled gaming system since I became 16 years old (now I am more then twice that old), now the pandemic was the perfect time to work on this.
Although I build all my previous PCs myself, this was the first one with liquid cooling and I decided to go for hard tubing as I simply like it more than soft tubing.
Anyway as bending hard tubes is not that easy at first time, I was during this journey sometimes not sure if this was maybe too ambitious.
Finally I spend around 25 hours on this build and guess will stay with liquid cooling in future as well.
Color(s): Black White
RGB Lighting? Yes
Theme: Steampunk
Cooling: Custom Liquid Cooling
Size: Mini-ITX
Type: General Build
Contests
This build participated in 2 contests.
| Rank | Contest | Date |
|---|---|---|
| #440 | EK 10K Challenge | ended |
| #165 | SFFPC meets builds.gg Contest | ended |
Hardware
CPU
$ 299.00
Motherboard
$ 499.00
Memory
$ 239.40
Graphics
$ 699.00
Storage
$ 171.23
Case
$ 69.99
Case Fan
$ 56.00
Cooling
$ 186.04
Cooling
$ 90.77
Cooling
$ 222.18
Cooling
$ 149.99
Keyboard
$ 143.37
Mouse
$ 40.97
Estimated total value of this build:
$ 2,860.62
Approved by:
