ENYO
G'day all!
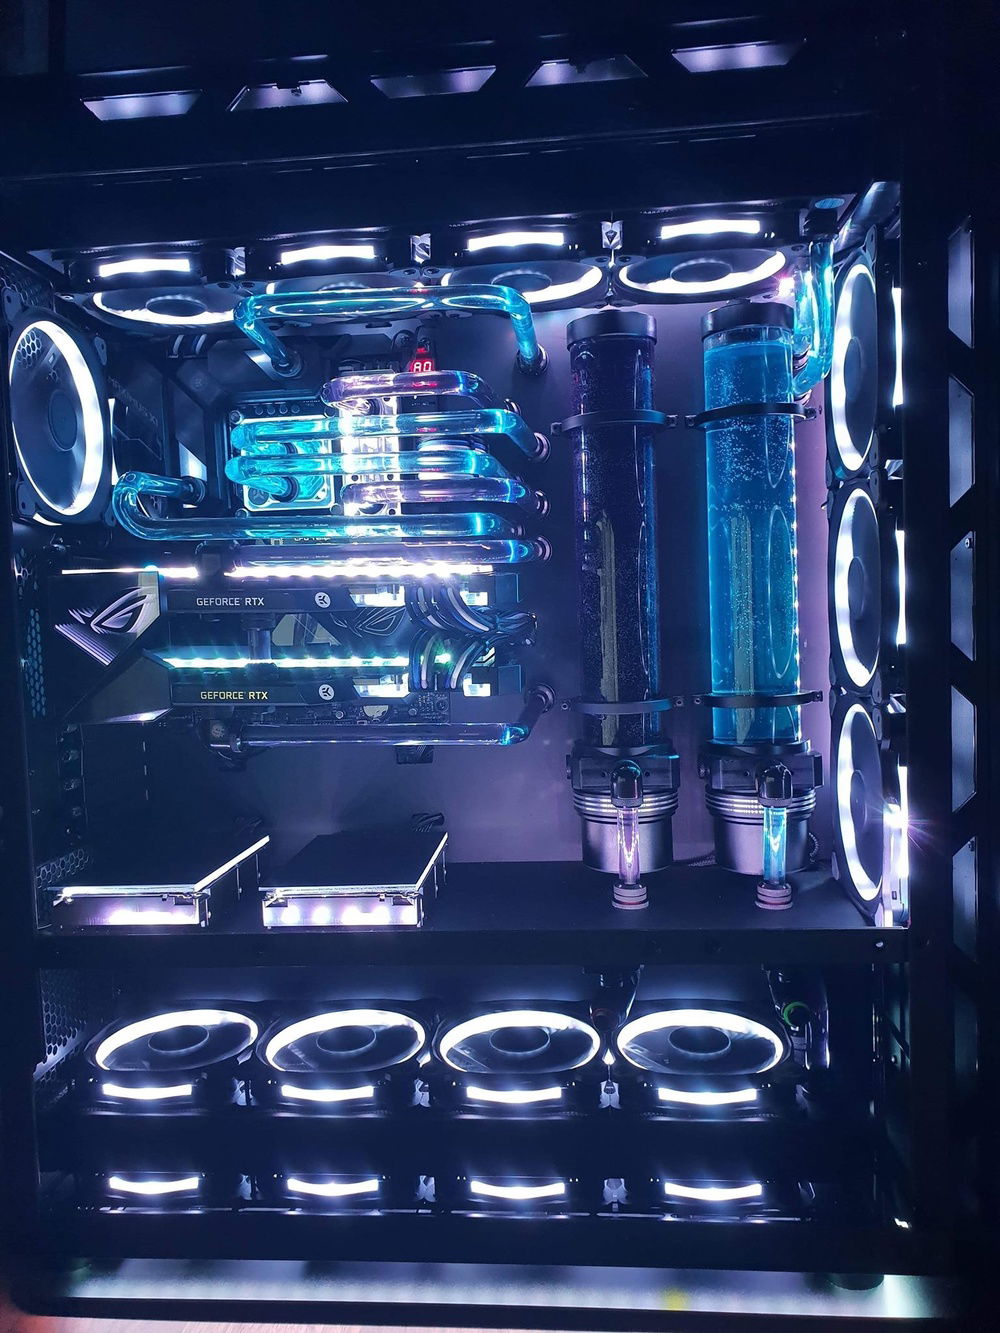
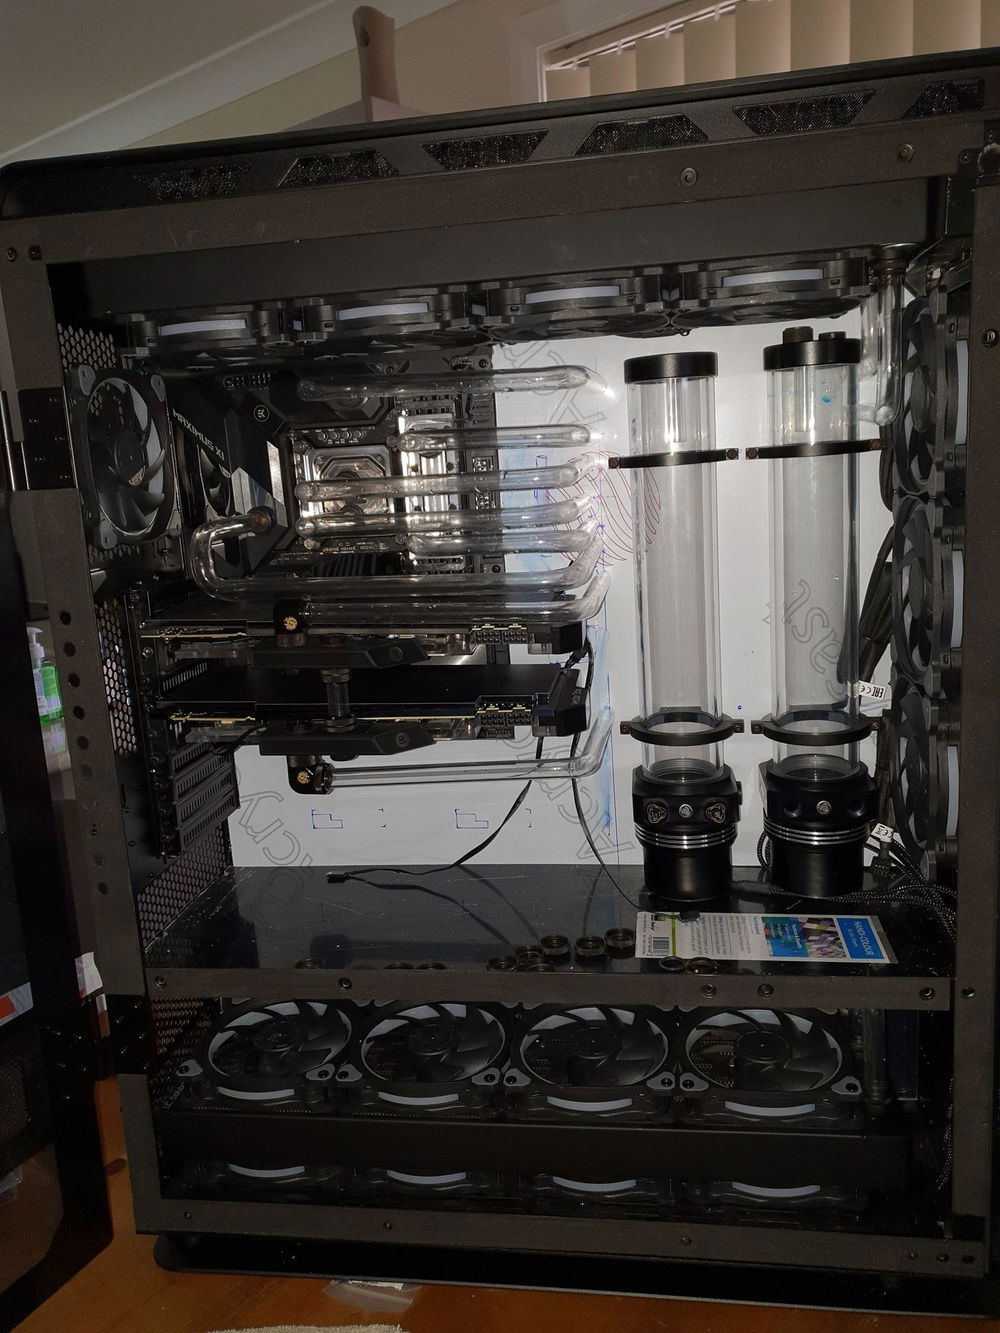
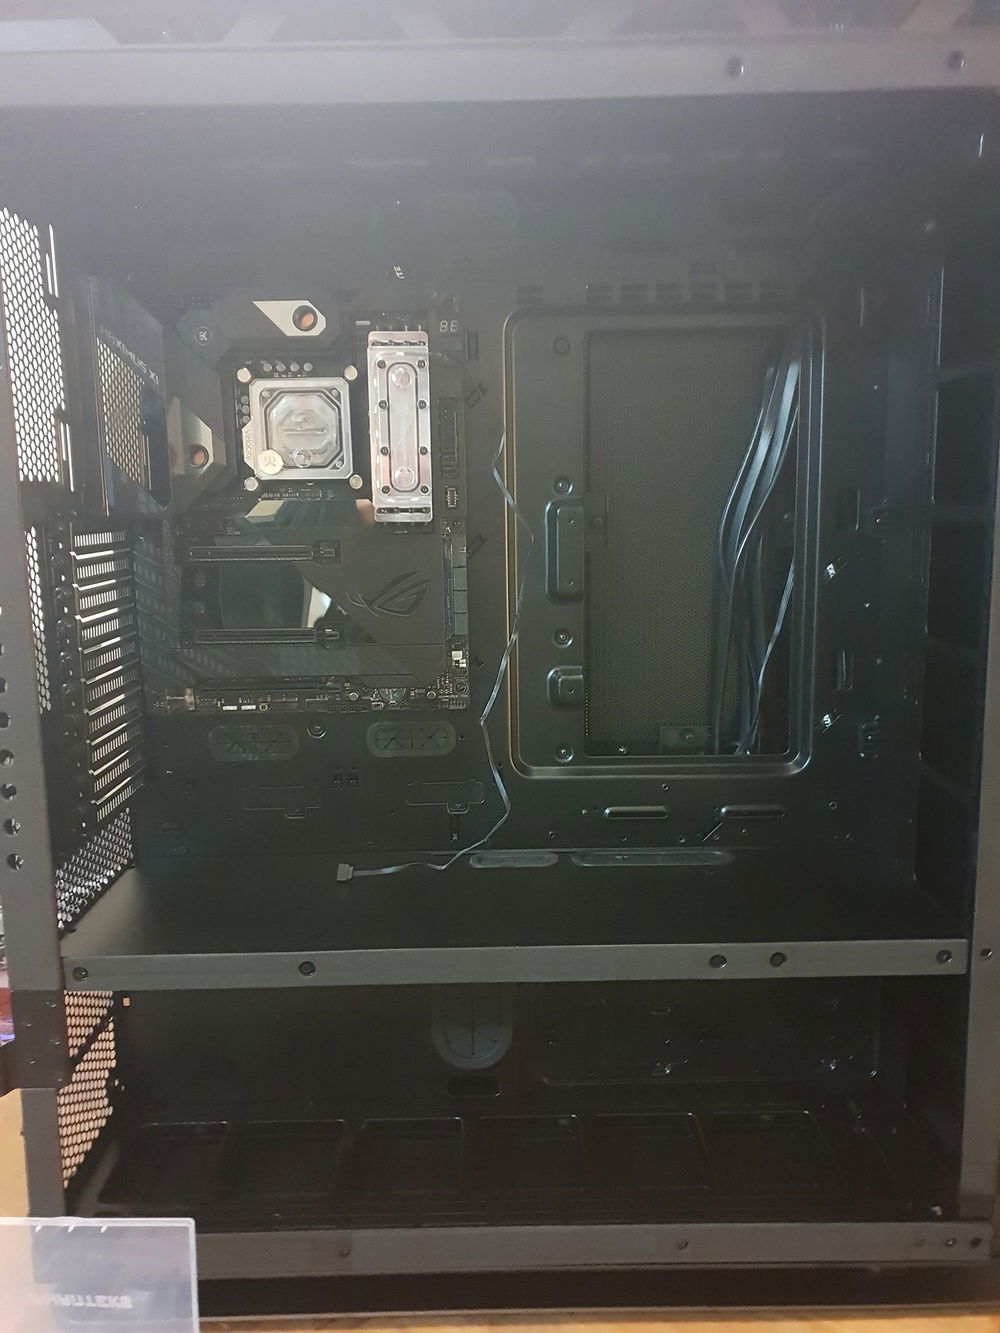
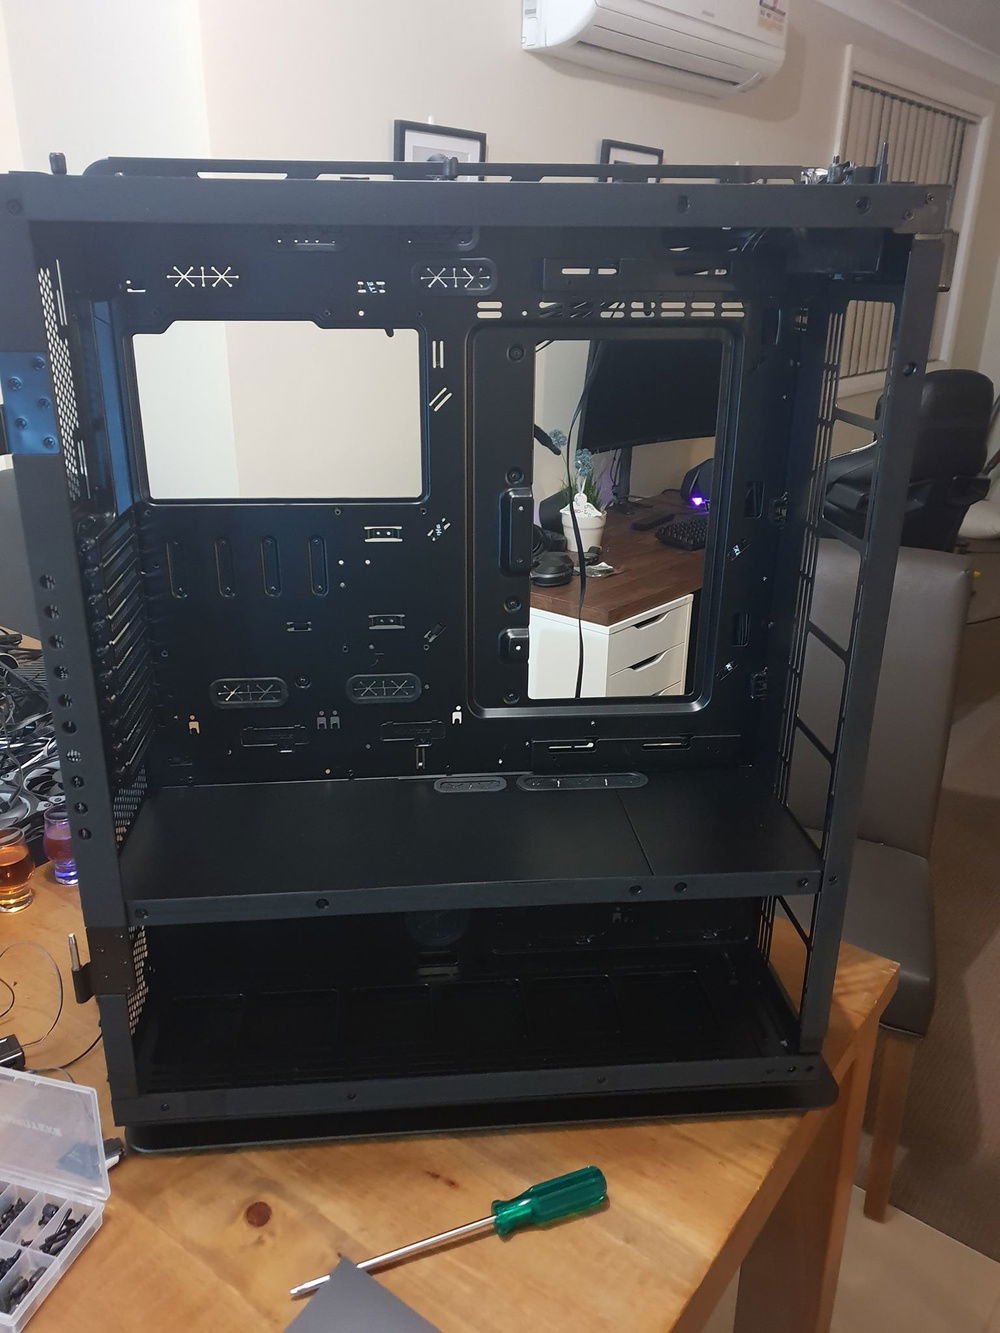
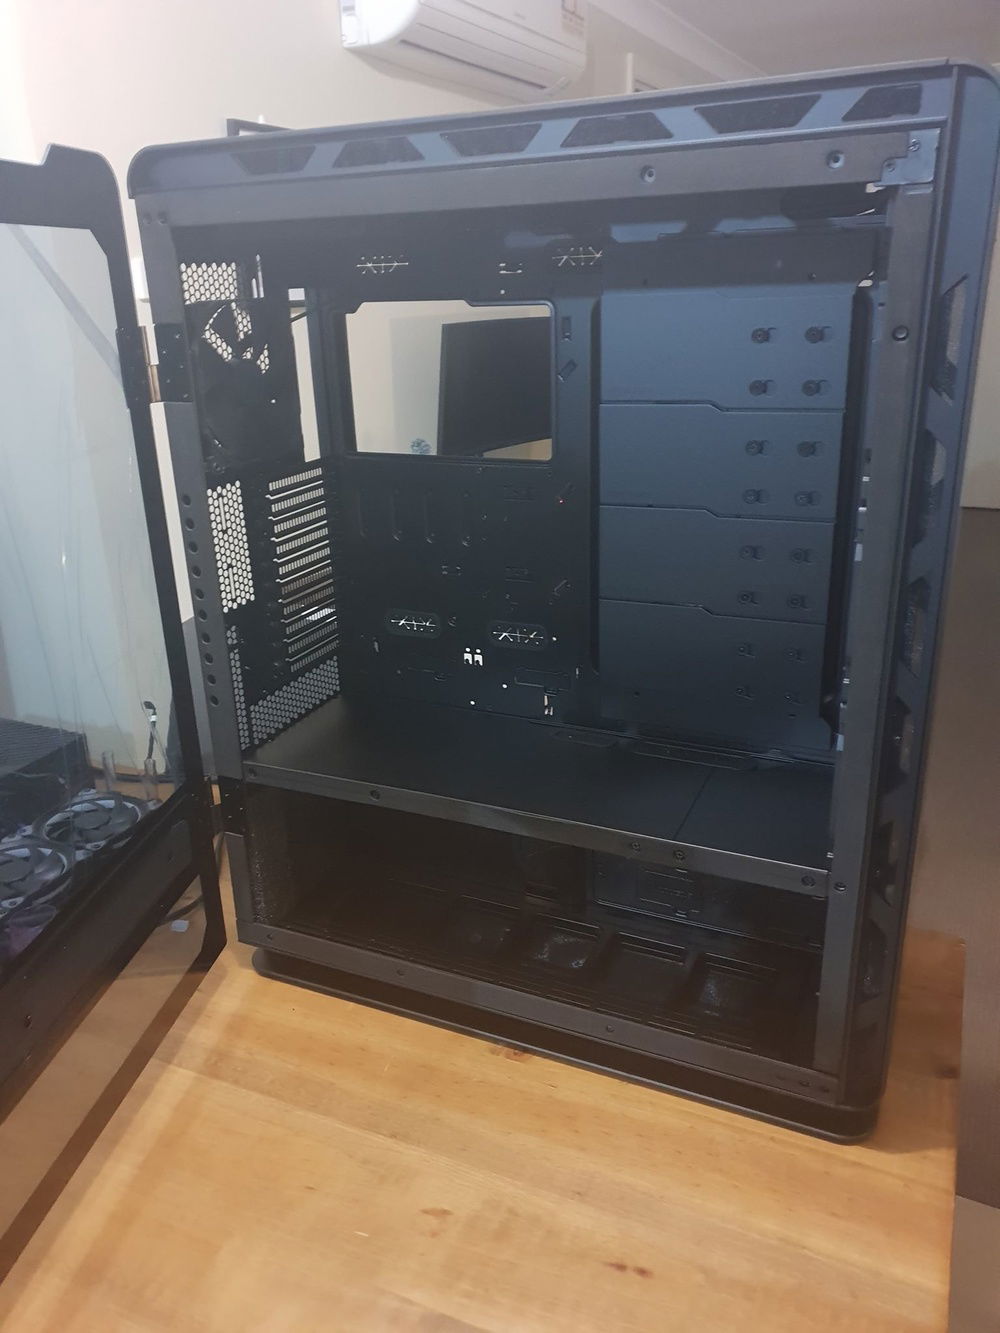
This is my second personal build and I decided to really push the boundaries on this. I dont own a 3D printer, I am not a professional builder, this was done with a drill and jigsaw.
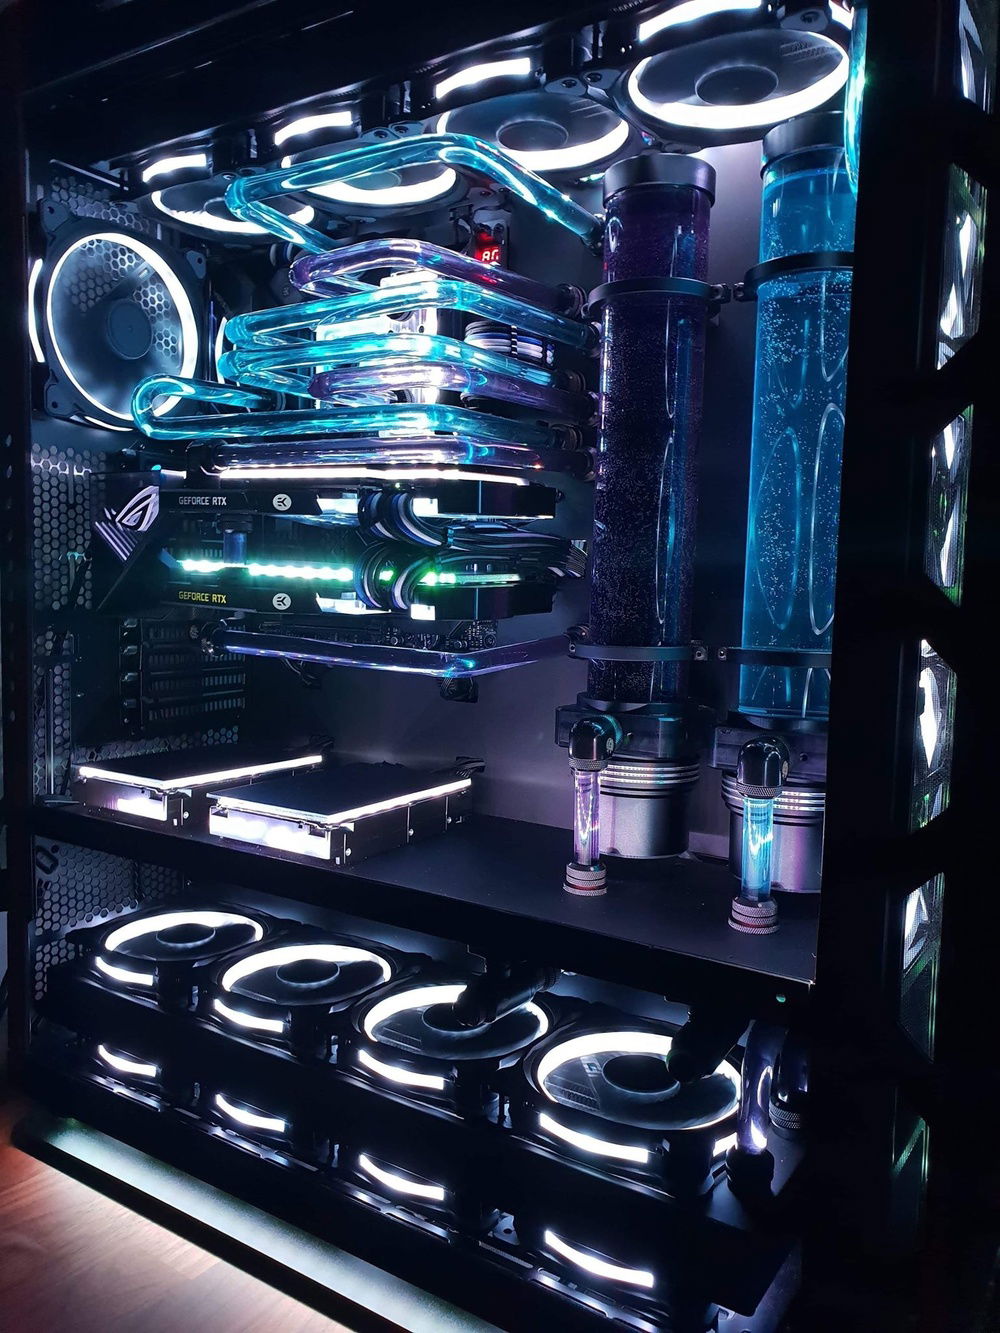
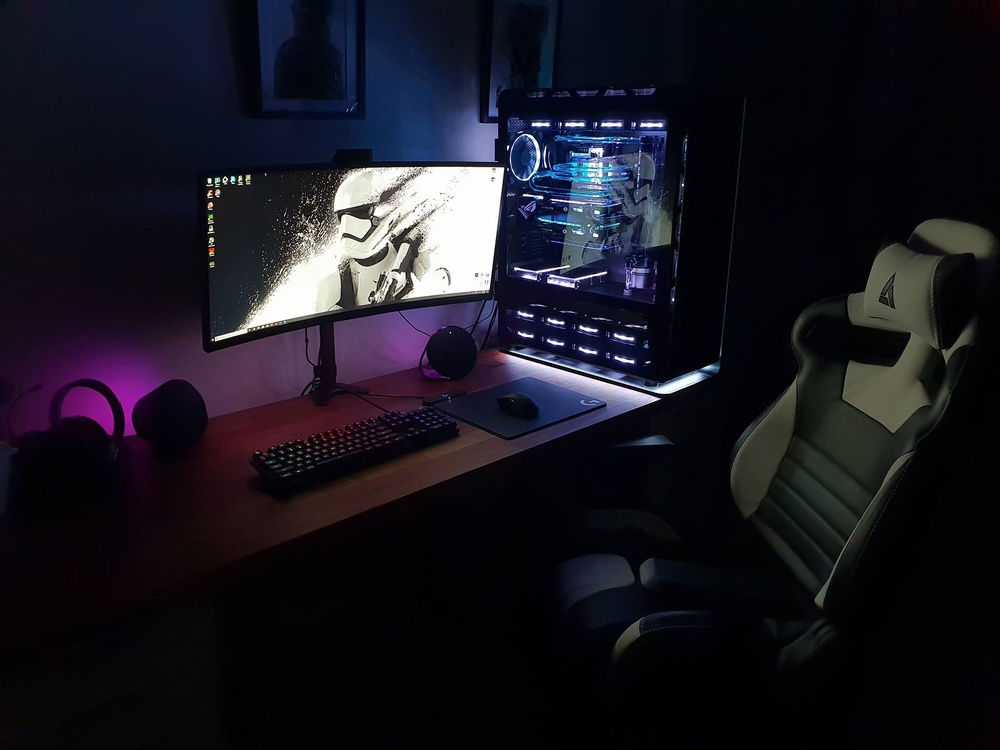
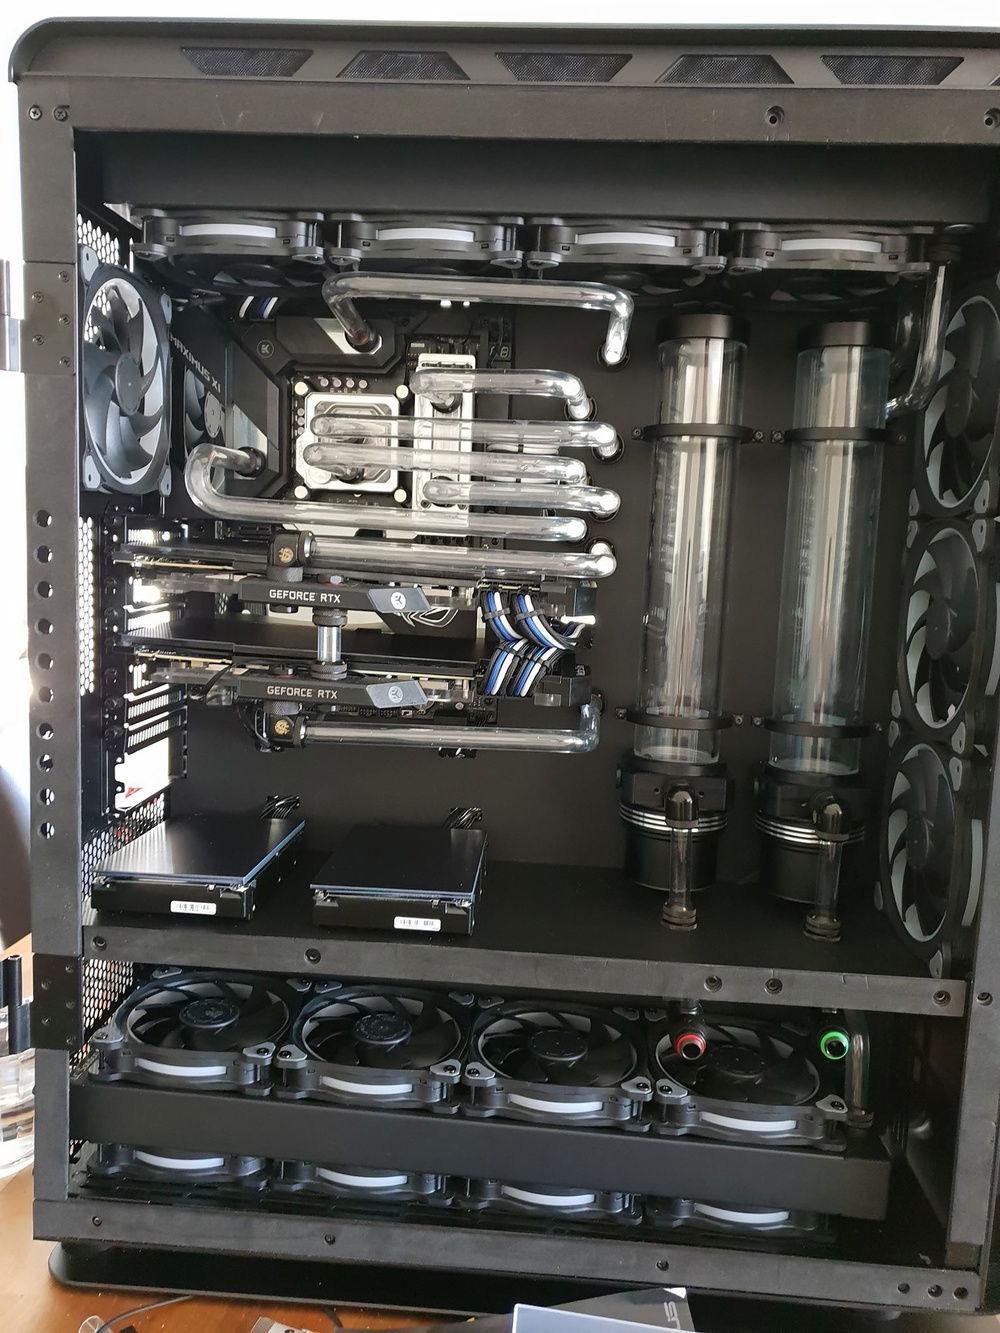
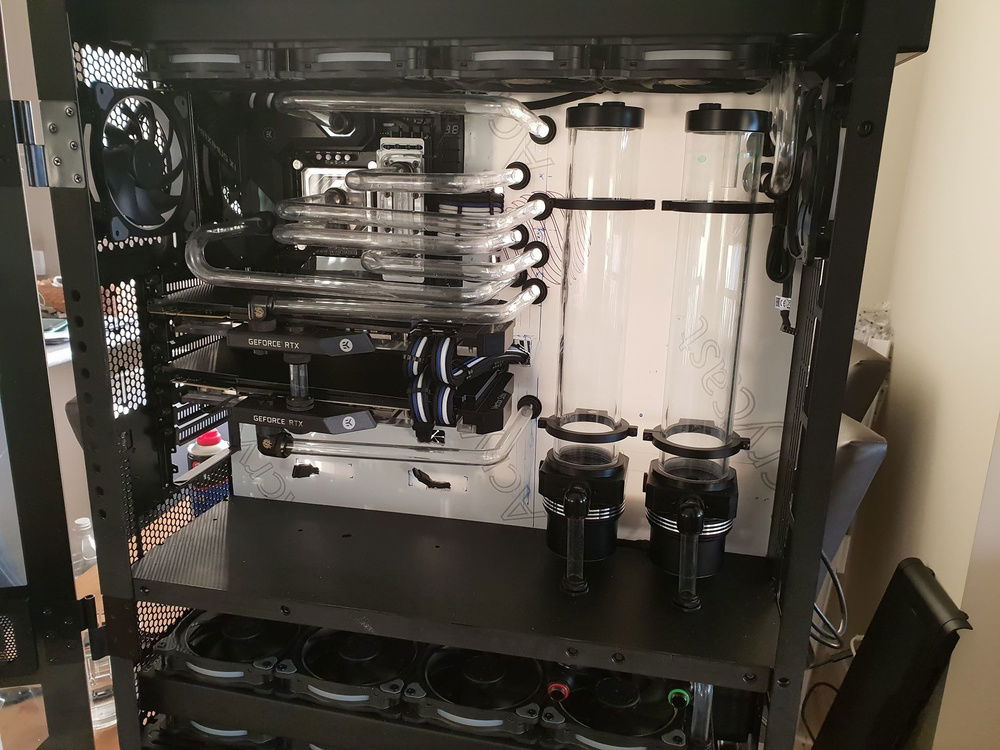
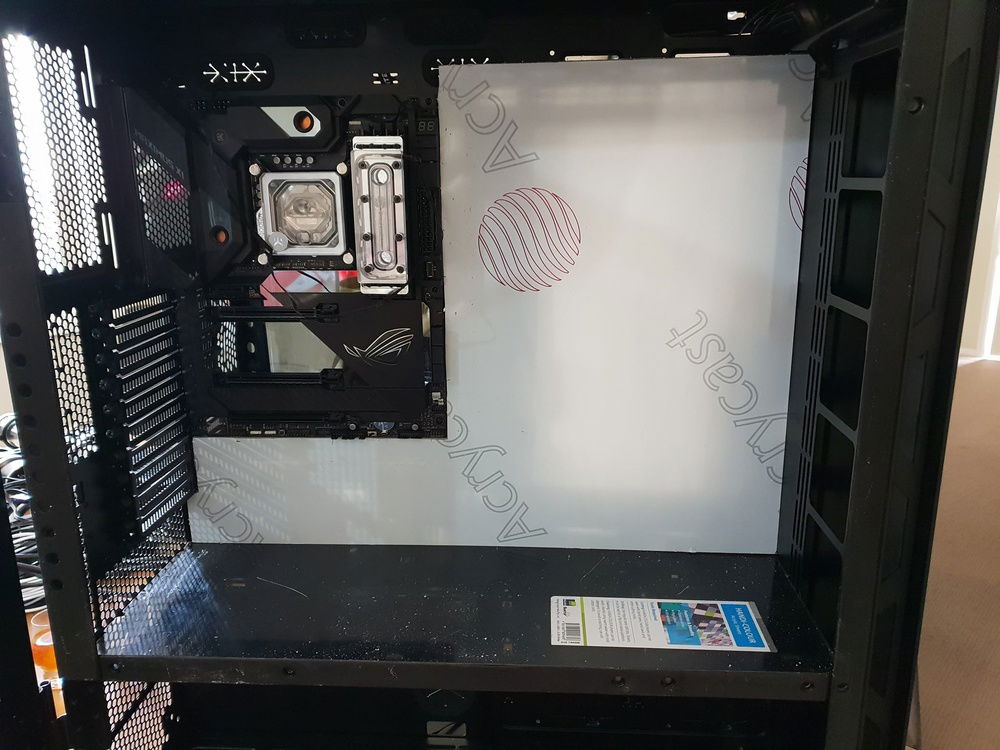
The concept of this build was to have a unique look that has not been done before without looking ridiculous. Smart at the front, party at the back. So basically assless pants, anyway I digress.
Challenges:
I had tonnes of problems I hadn’t anticipated, BUT I learnt a lot and wont hide these lessons for those who want to do this in the future.
1) Spacing on the through ports
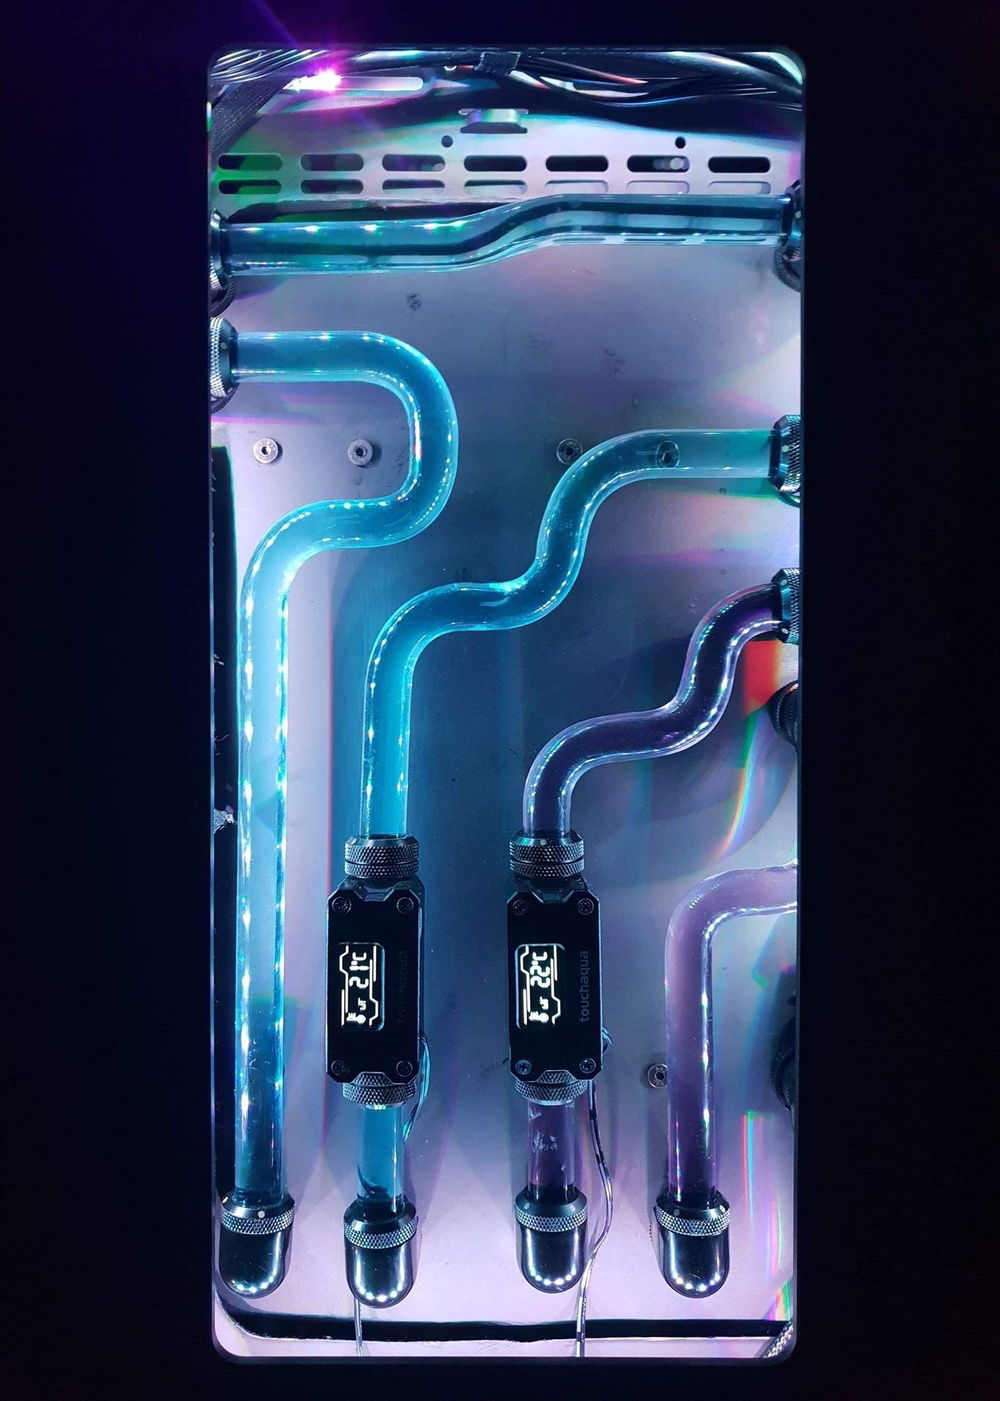
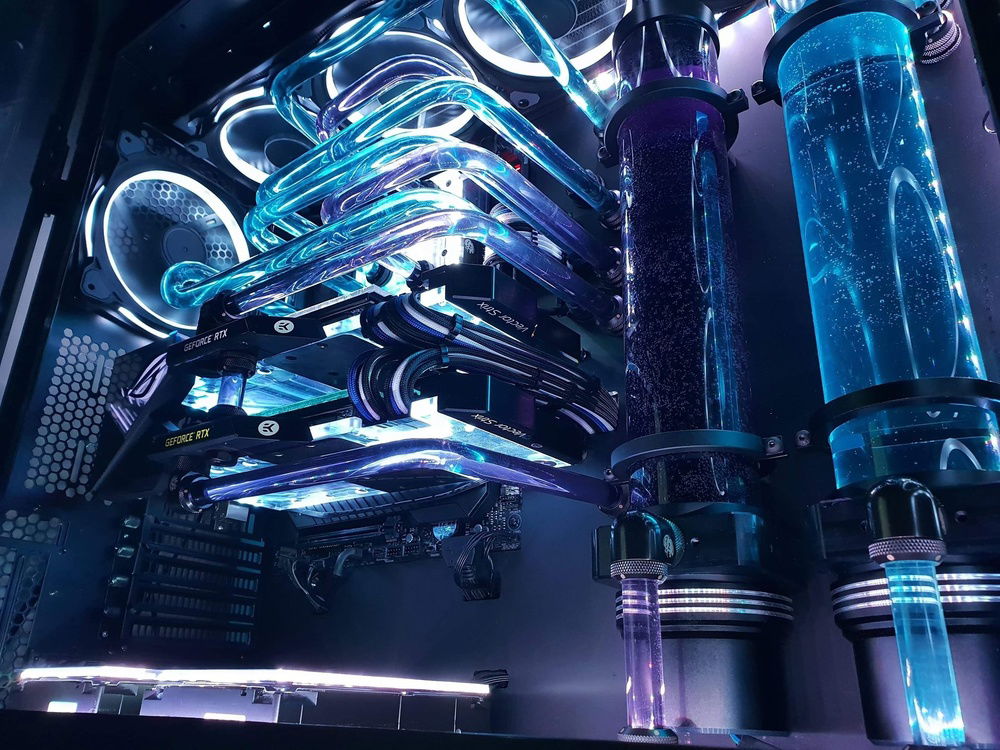
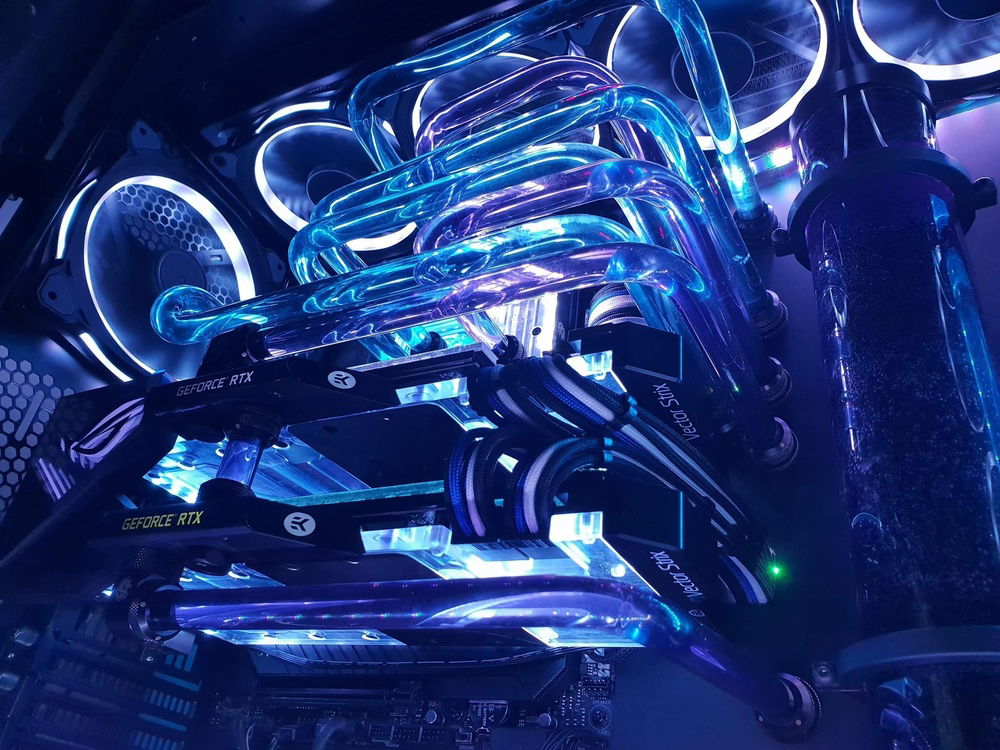
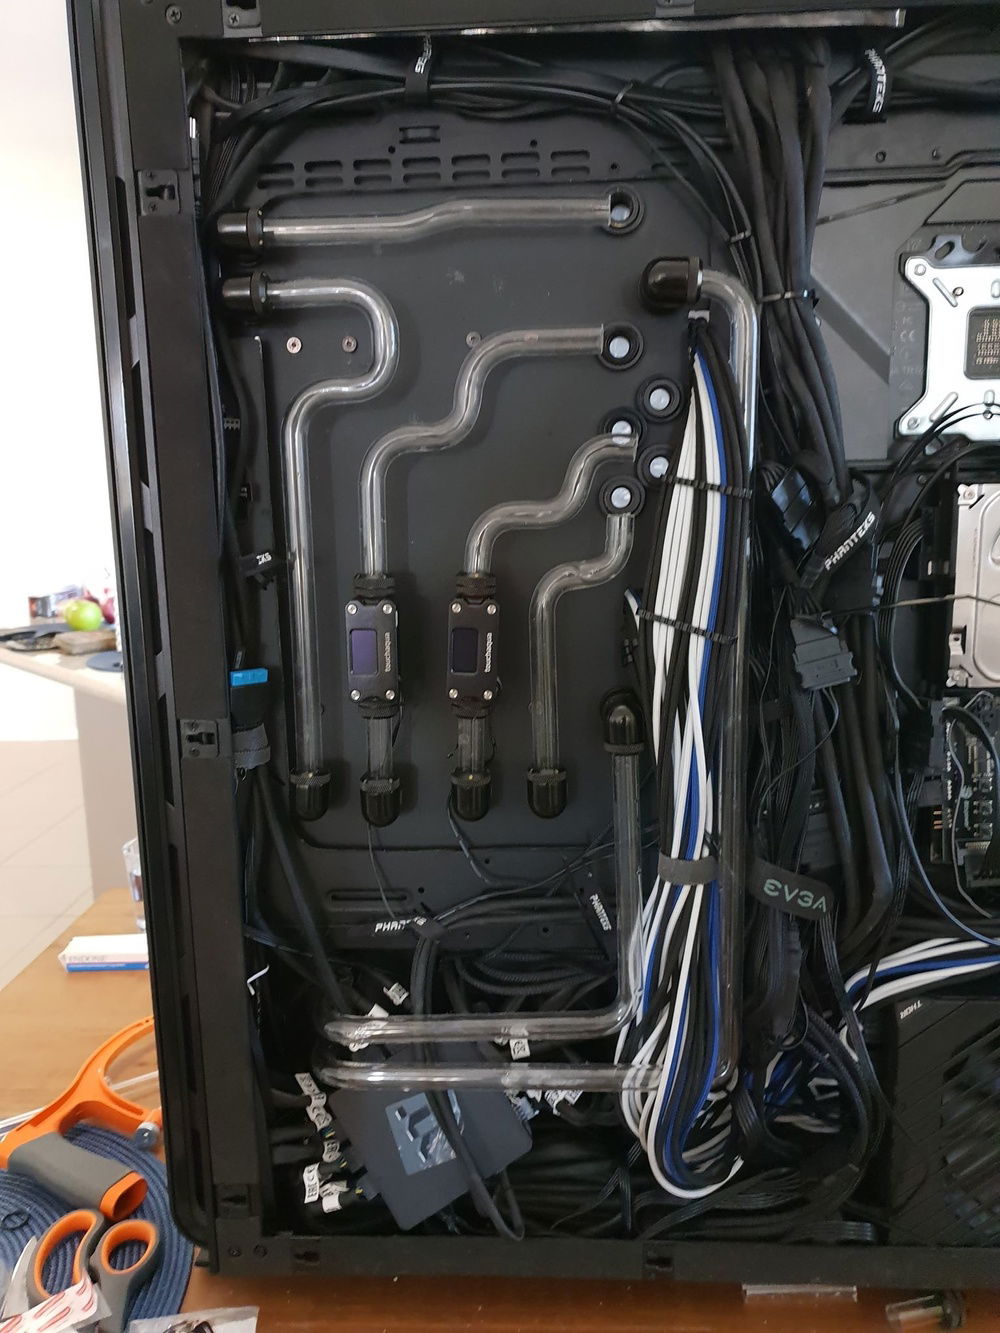
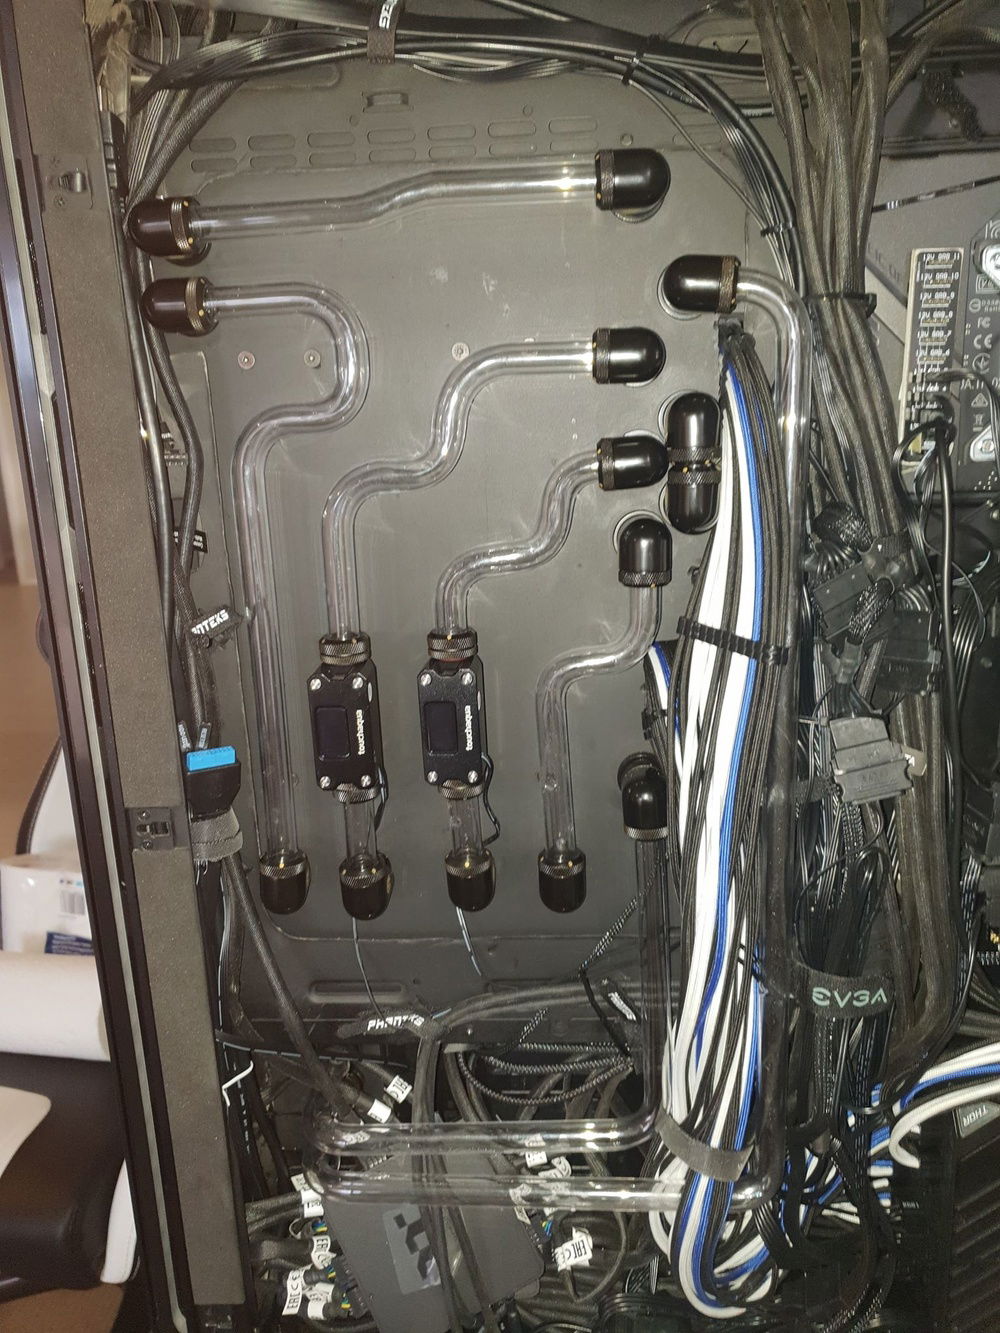
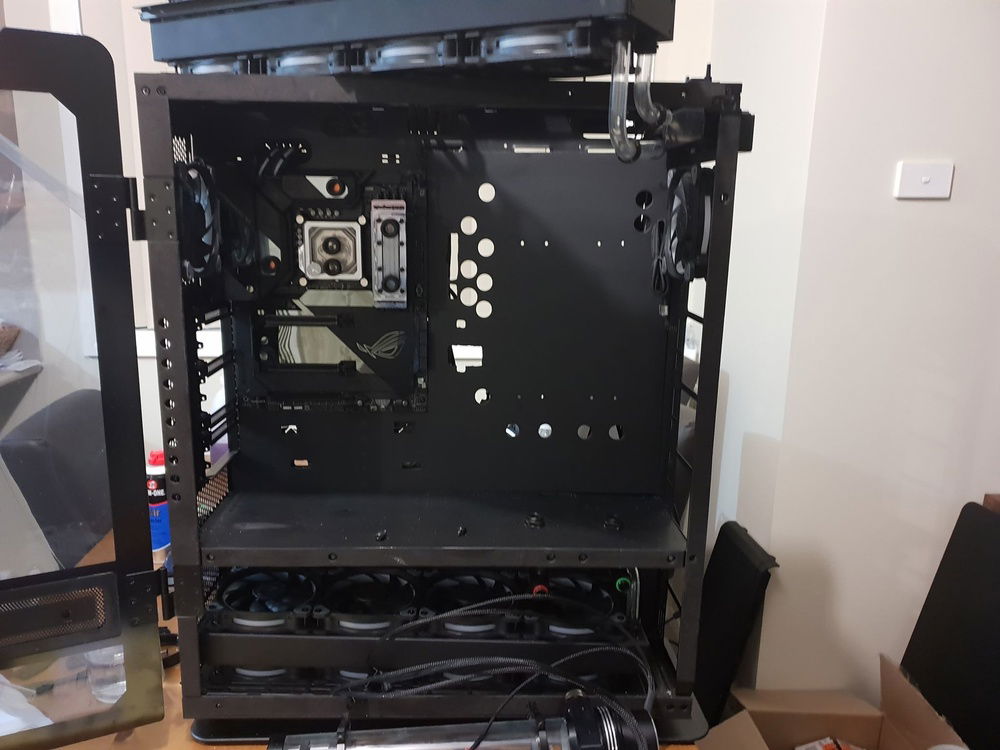
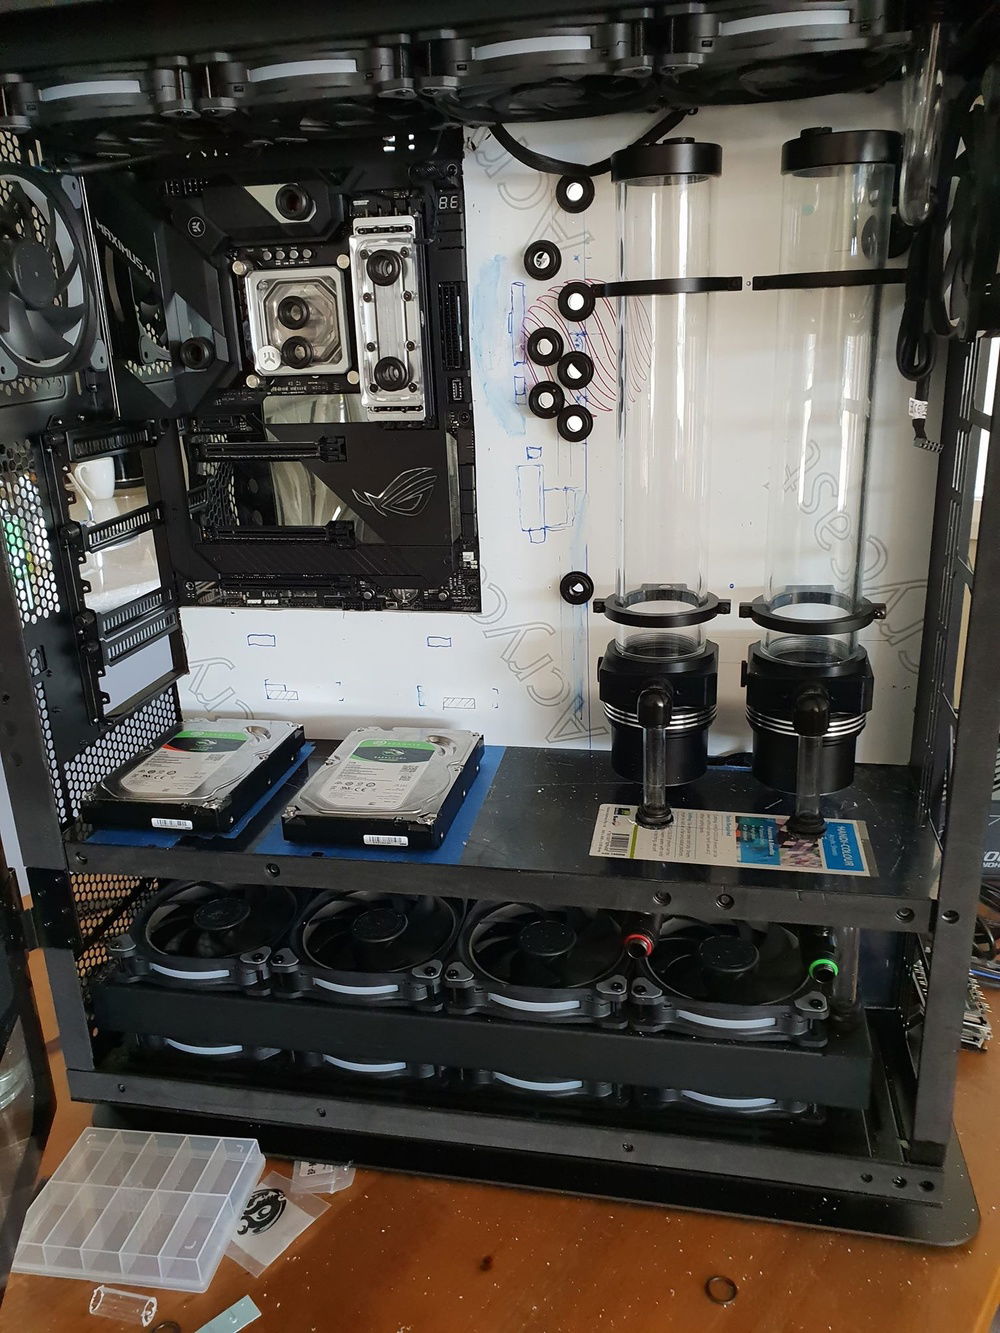
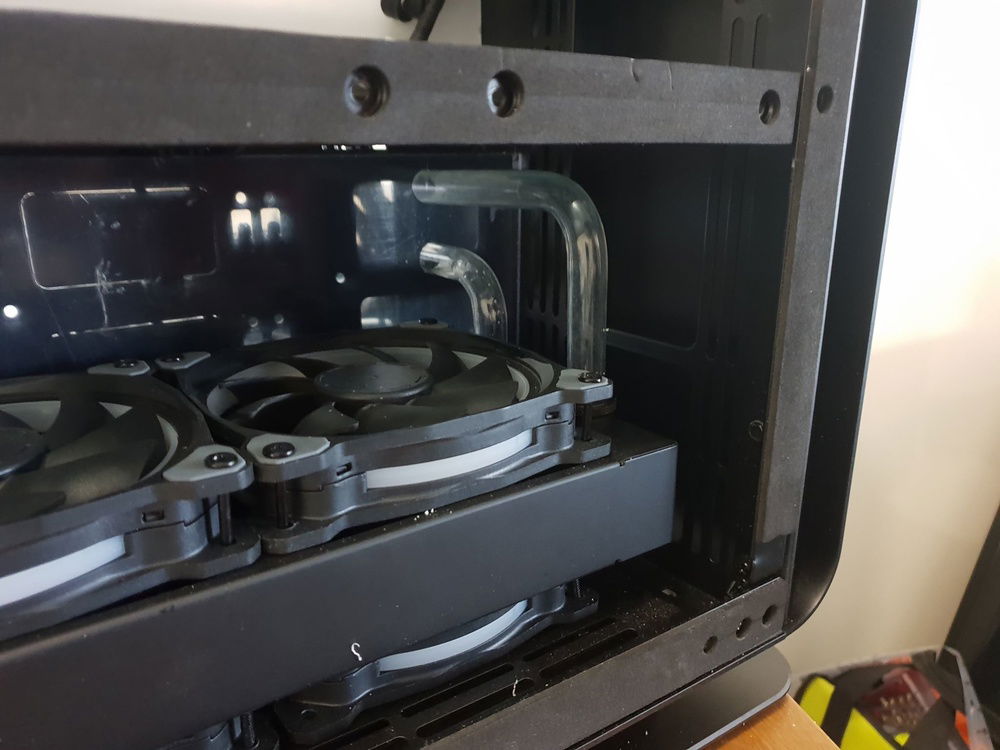
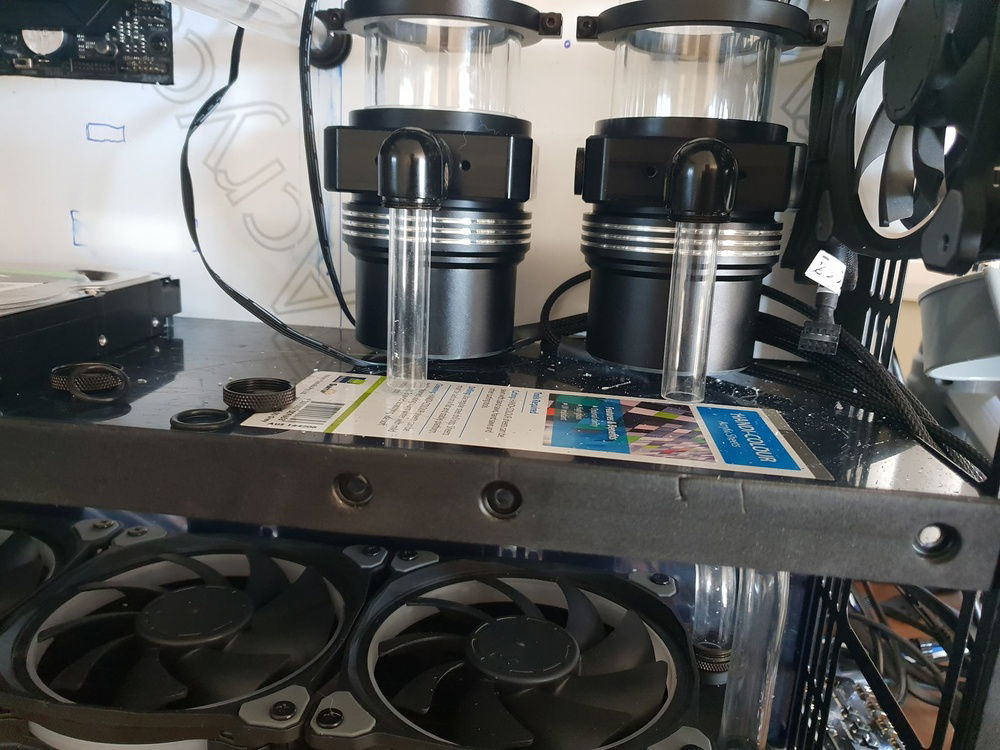
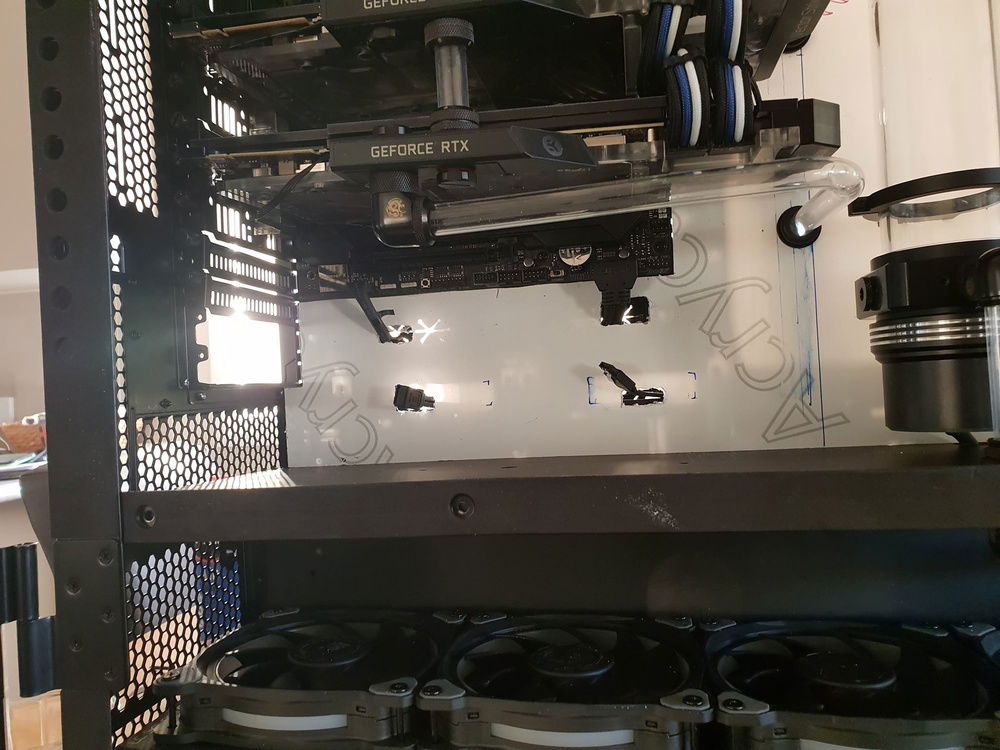
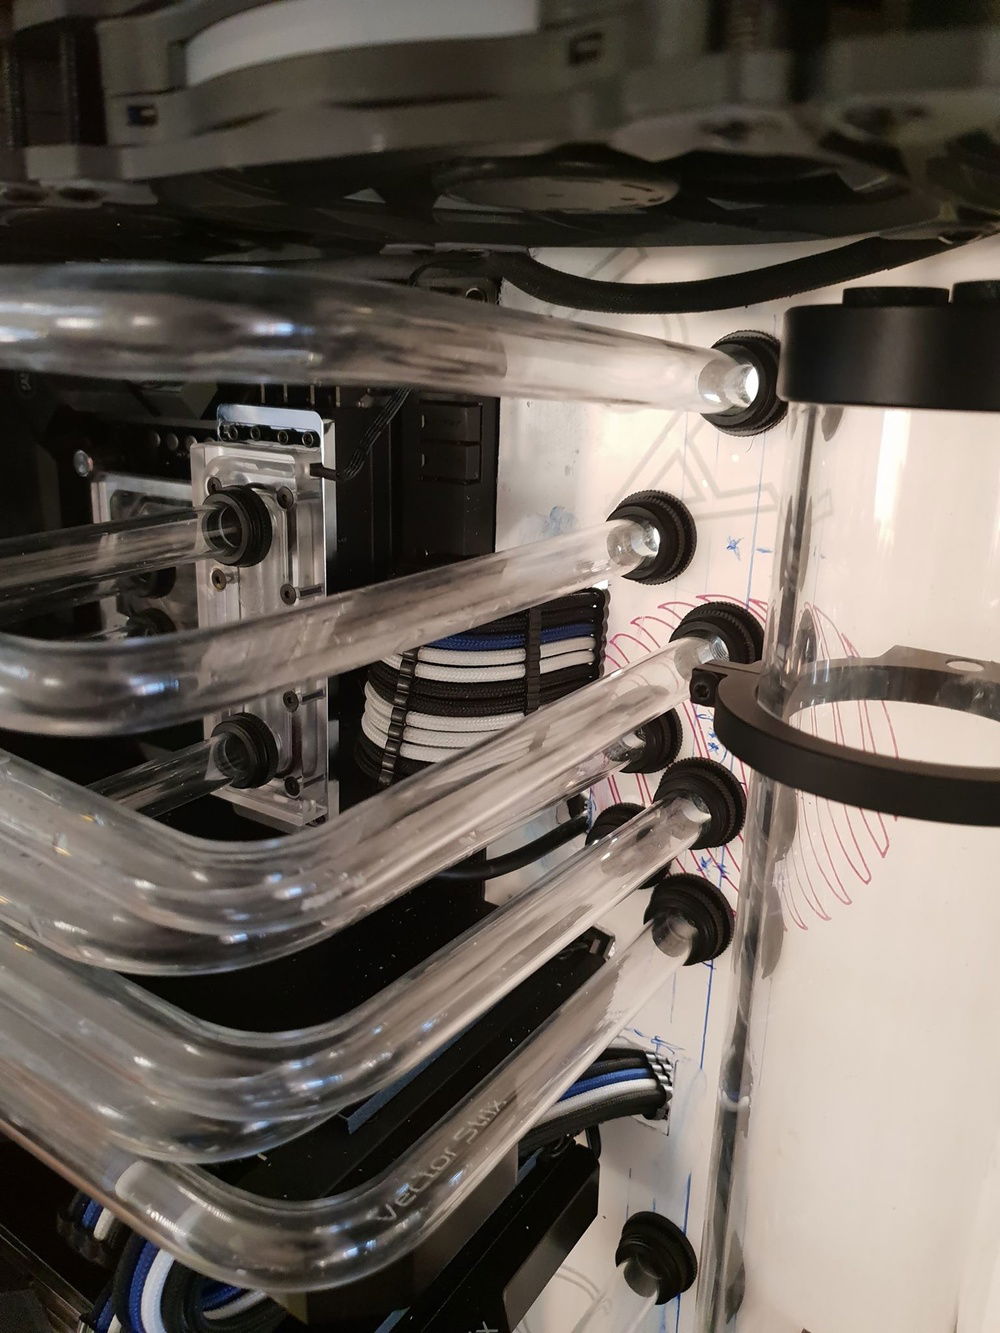
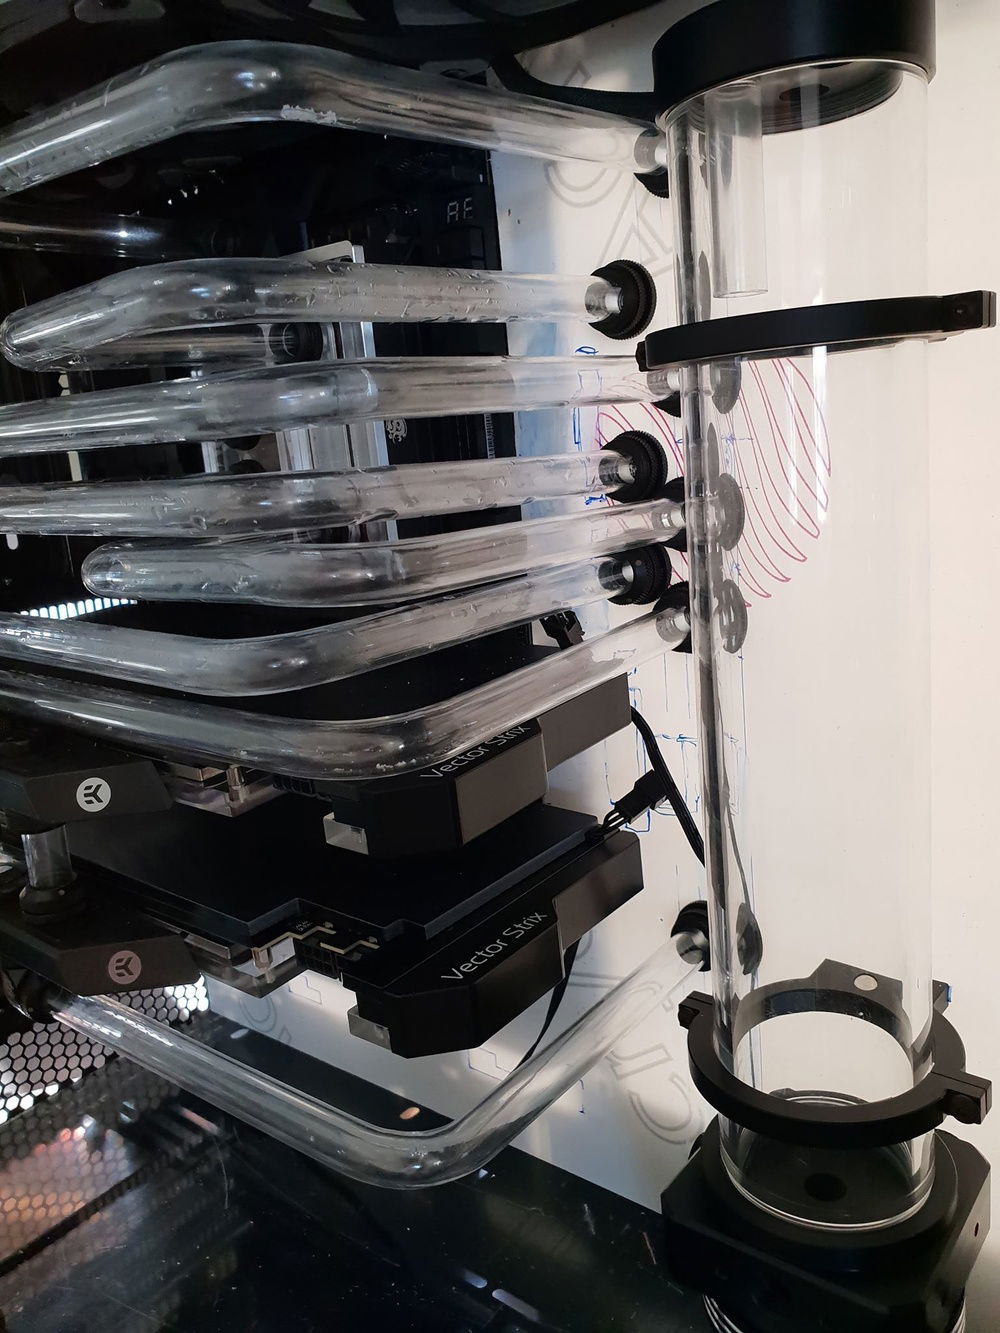
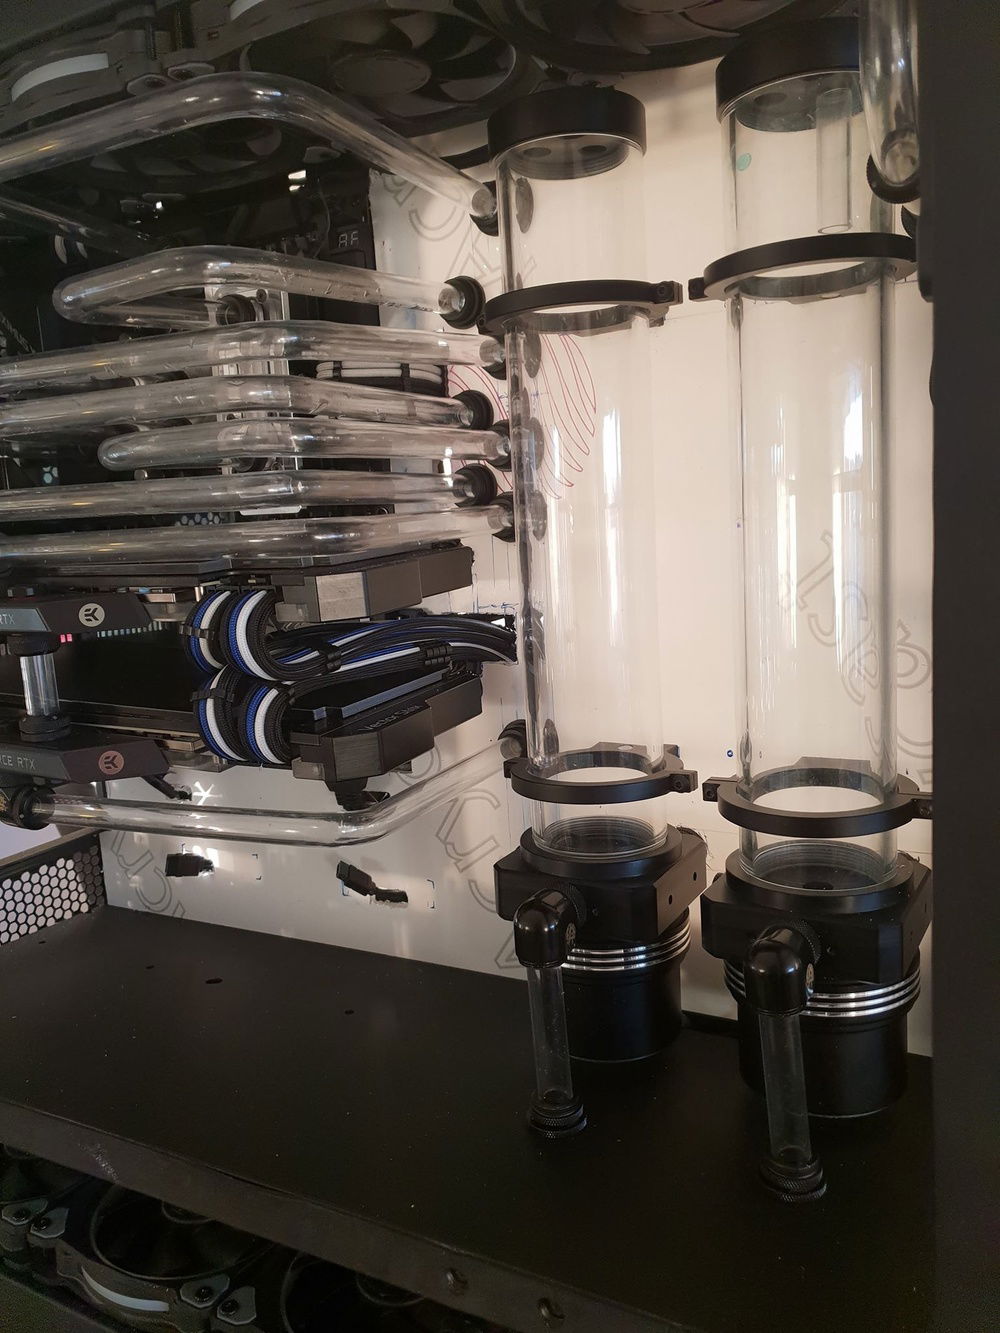
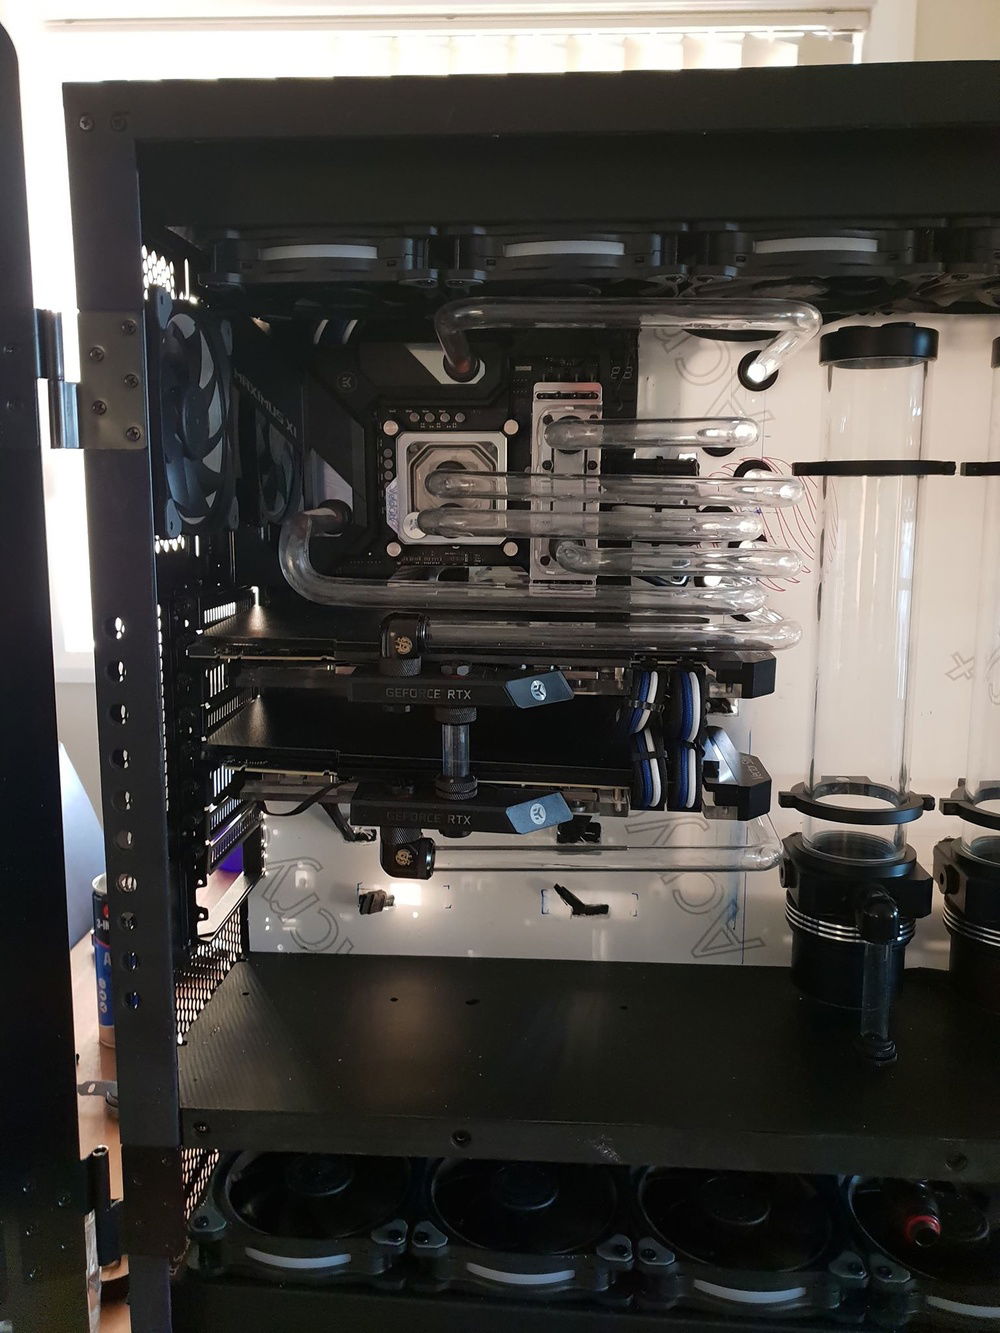
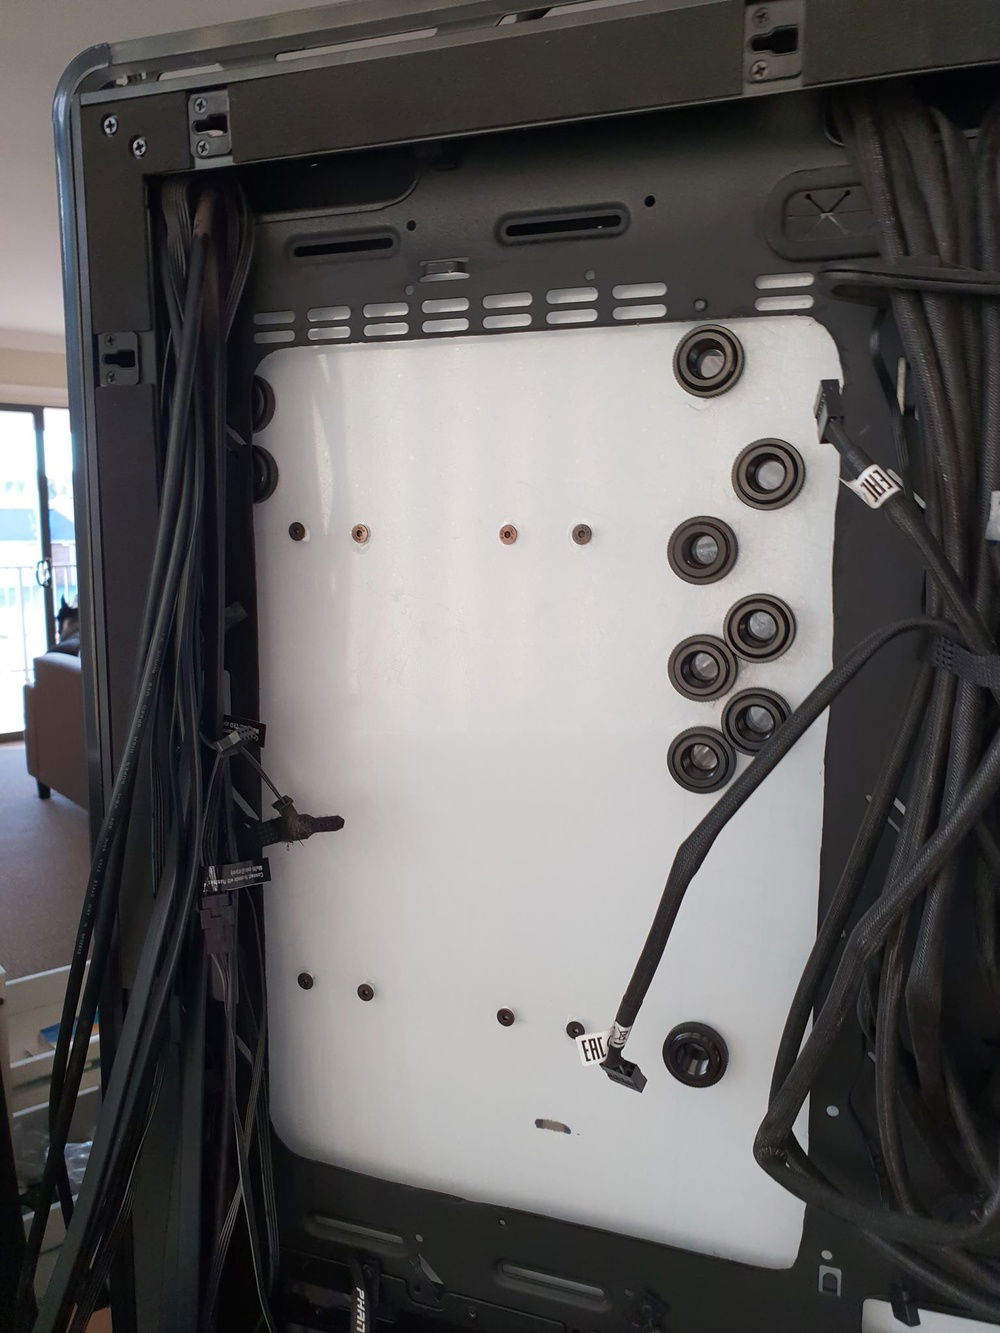
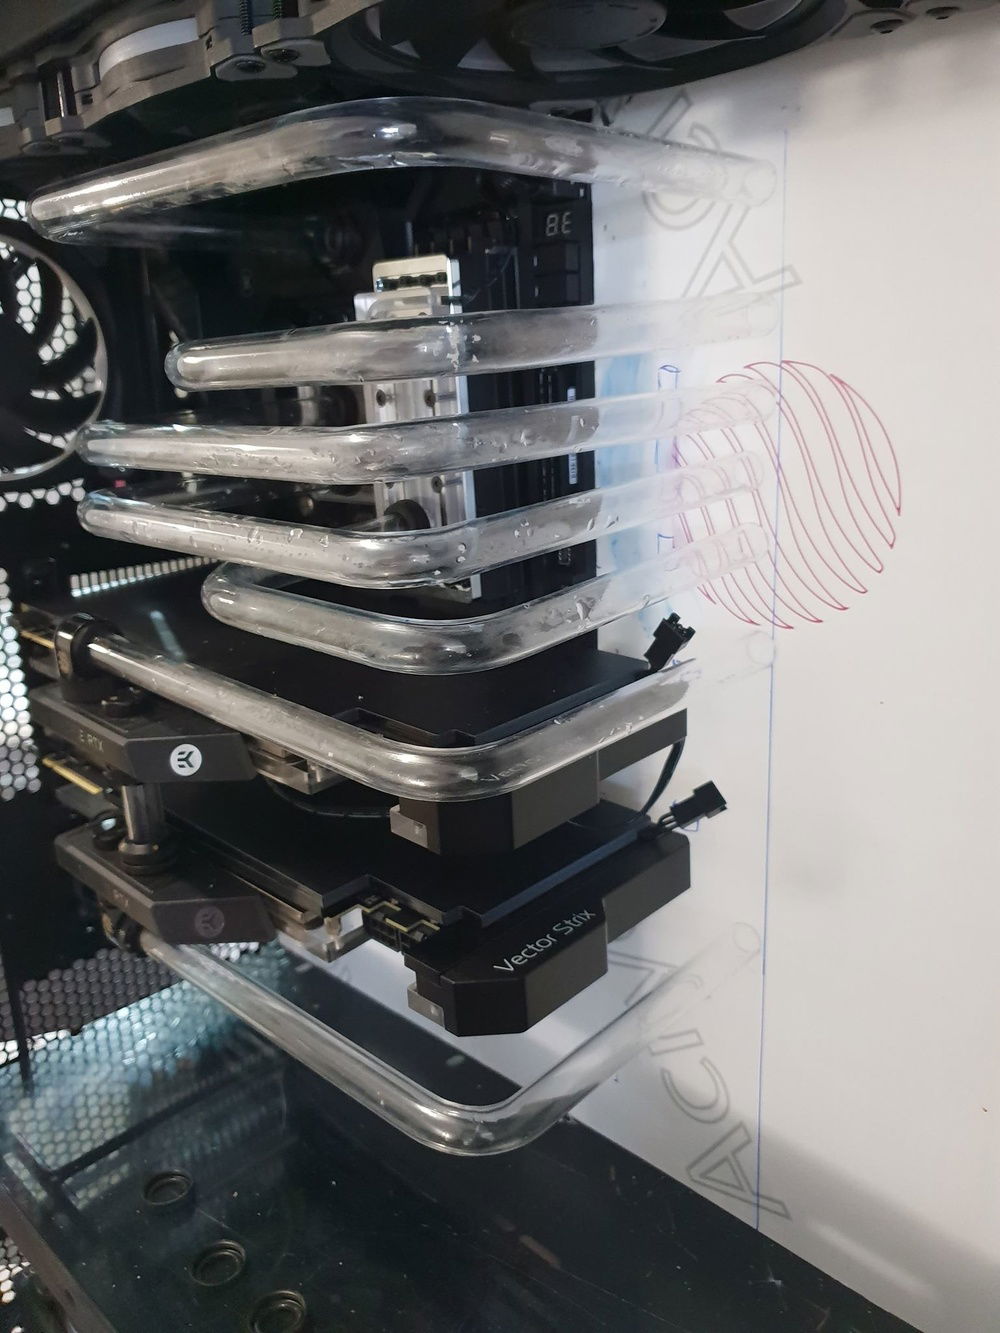
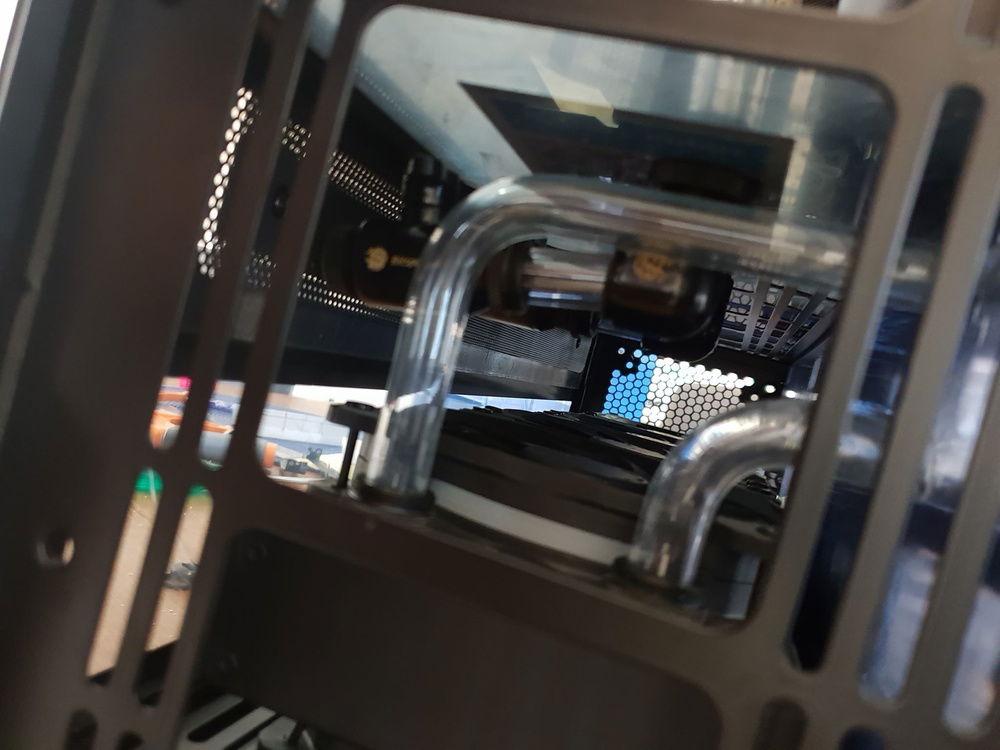
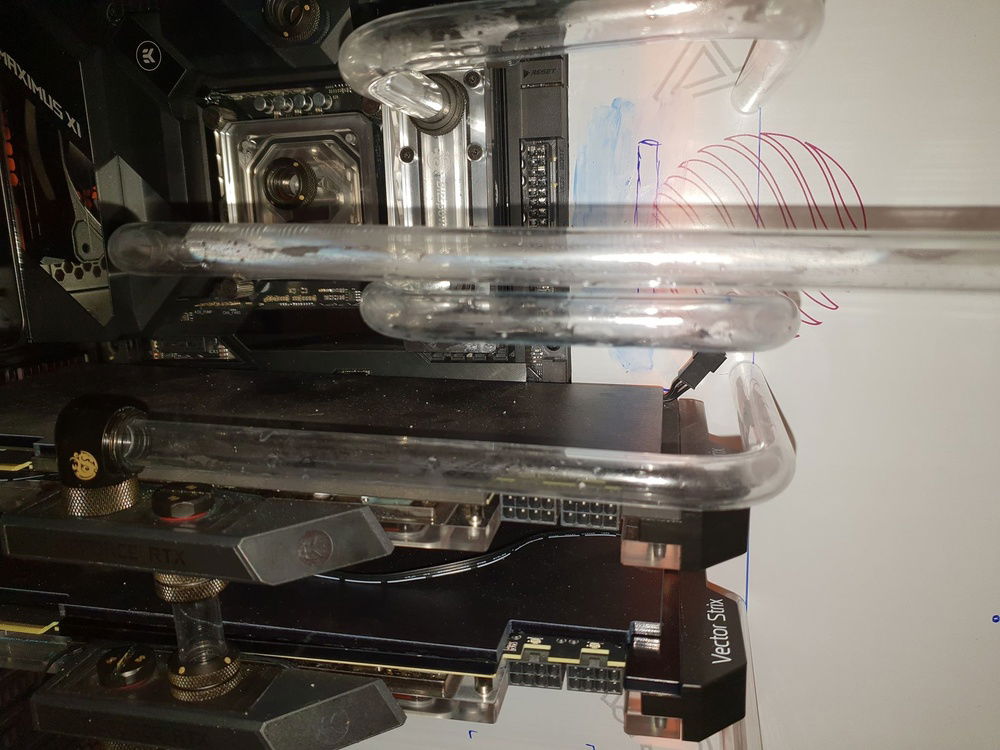
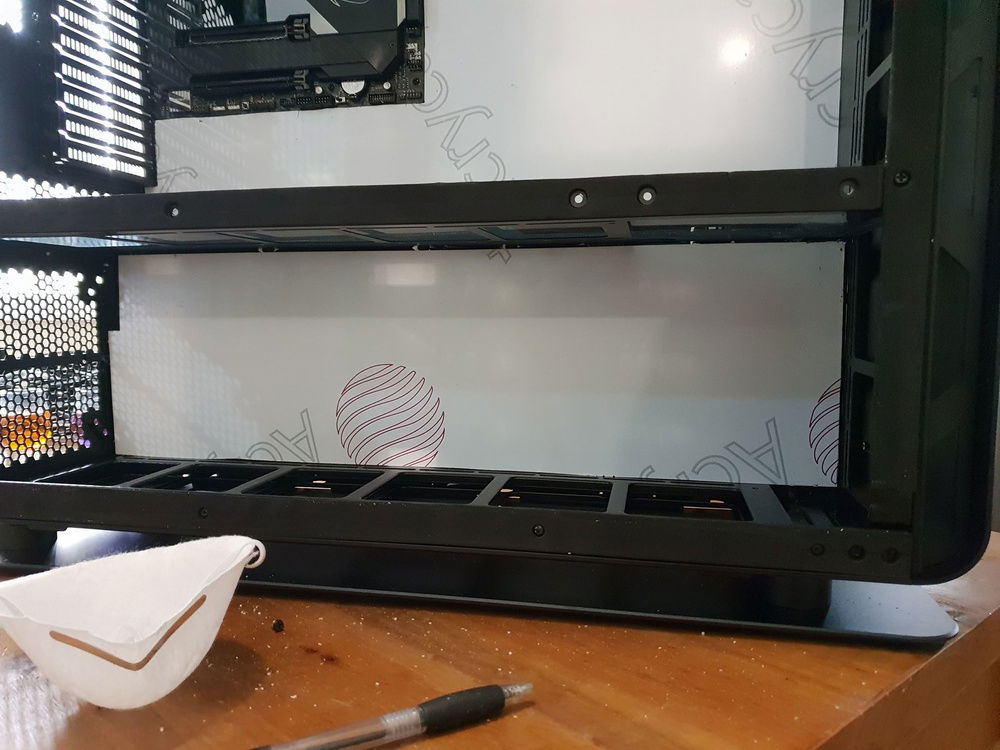
Originally the design had all the lateral pipes entering the back board in a straight line. I did these measurements using the Bitspower Multilink fittings. When the case pass throughs arrived I remeasured during a test drill and found the addition of the pass through drastically brew out the diameter of the fittings adding an additional 1cm. Problem. Back to the drawing board and decided to stagger the pass throughs which you can see in the final build.
Overall it actually turned out much nicer (I think but I'm bias). LESSON: I only discovered this because I did a test measure and drill on a separate piece of acrylic first before the actual board itself. IF UNSURE DO A TEST DRILL!!!
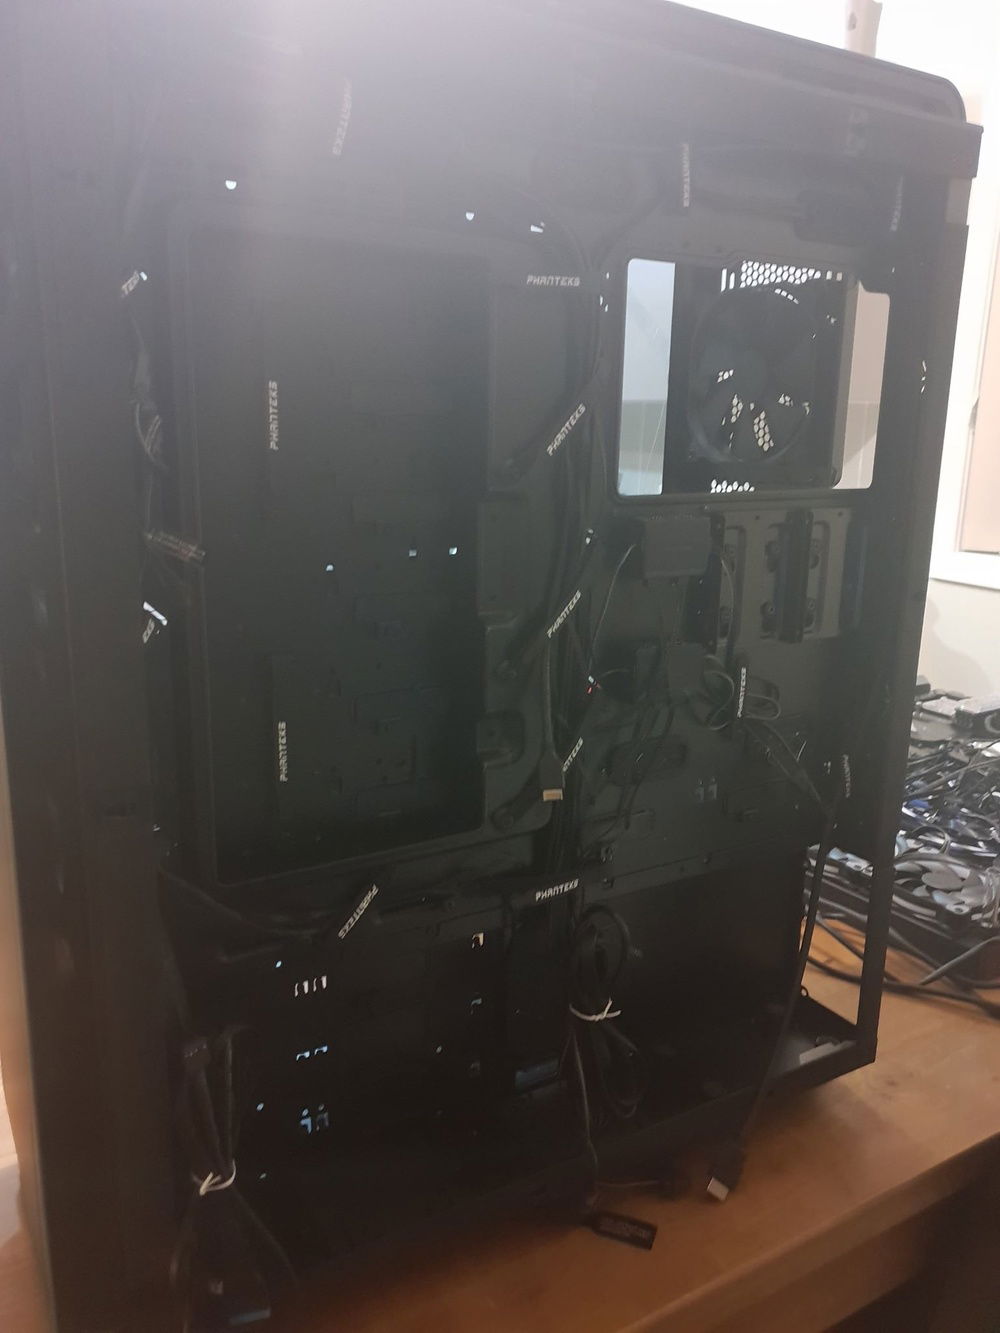
2) Cable management - HOLY DOES THIS THING HAVE A LOT OF CABLES!!!
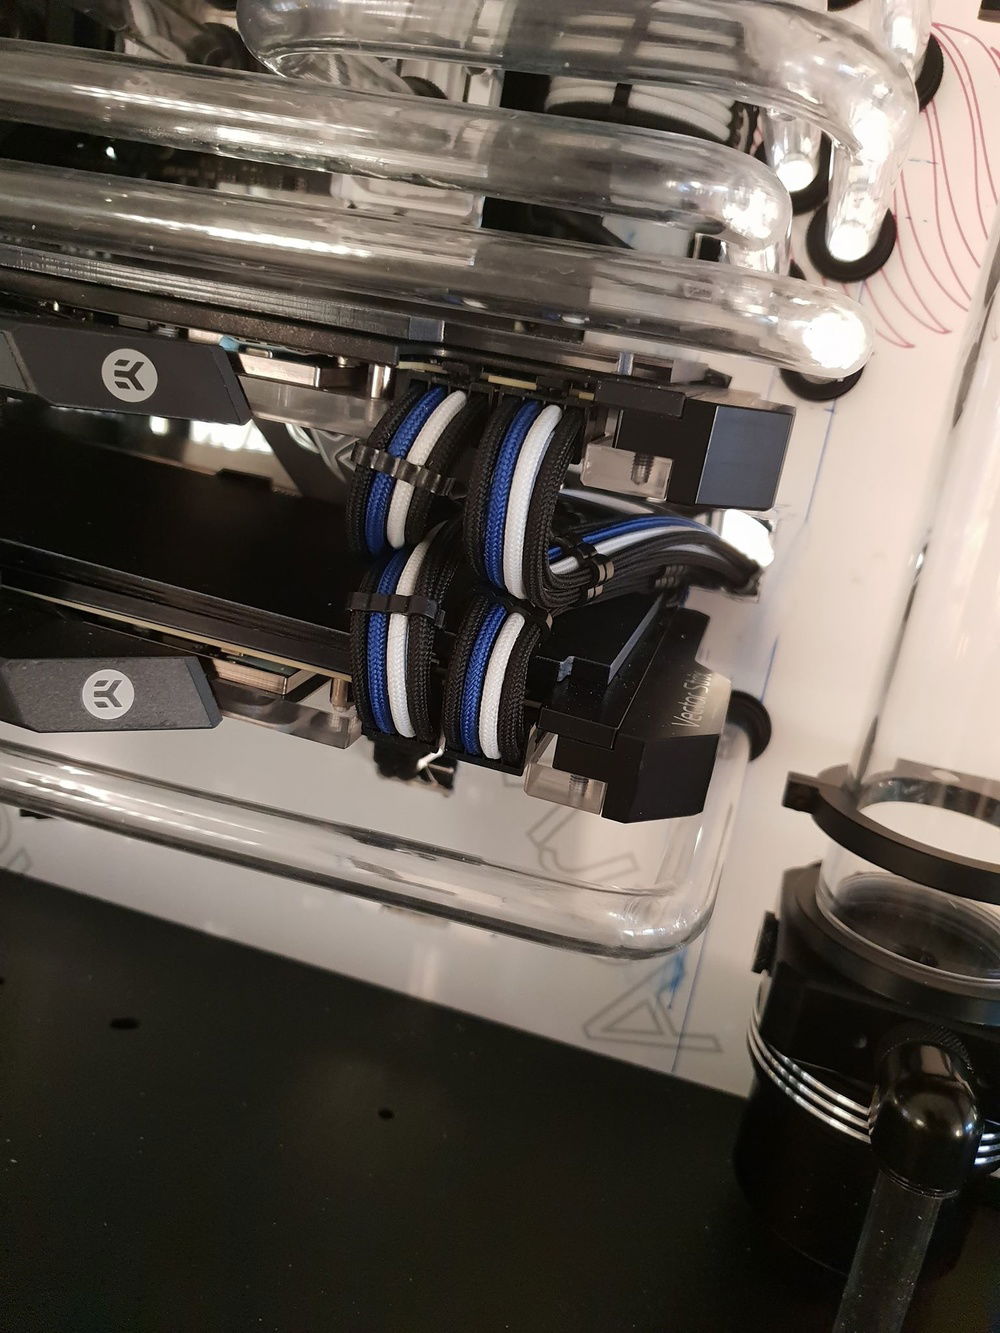
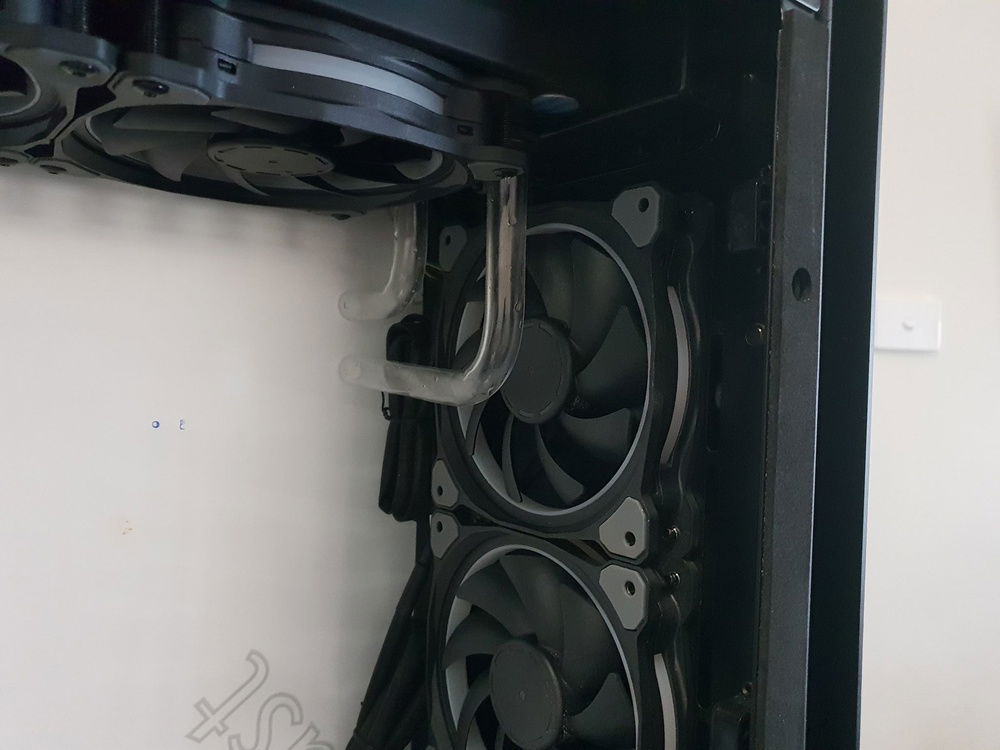
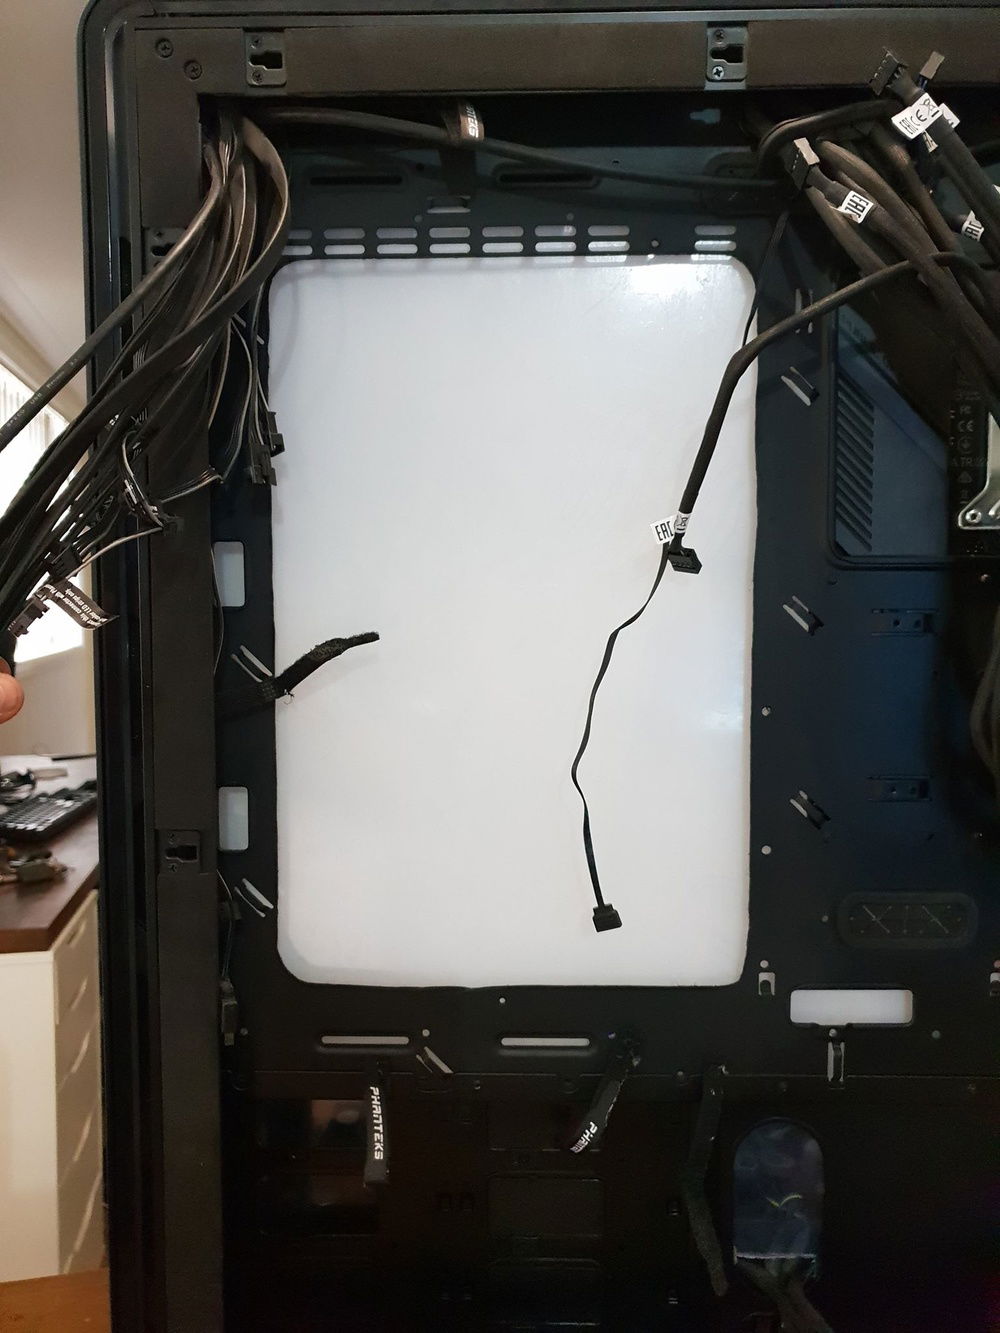
Cable management was a massive issue particularly when I decided to take that back plate off and expose the rear. I am not a cable management guru and tend to go with what works and looks half decent. This build took me a long time, days, to cable manage. Game changer for me was using three main channels down the center of the case. These were broken down into channel one being all things motherboard and GPU, channel two: peripherals and IO, channel three: BLOODY FANS. The amount of space between the back panel and the central manifold meant that the cable channels needed to be very flat (add the hard tubing at the back and we have a real problem) so I used mini zip ties with the cases existing straps, these worked very well and were very tidy. LESSON: mini zip ties save lives.
3) GPU Temperatures
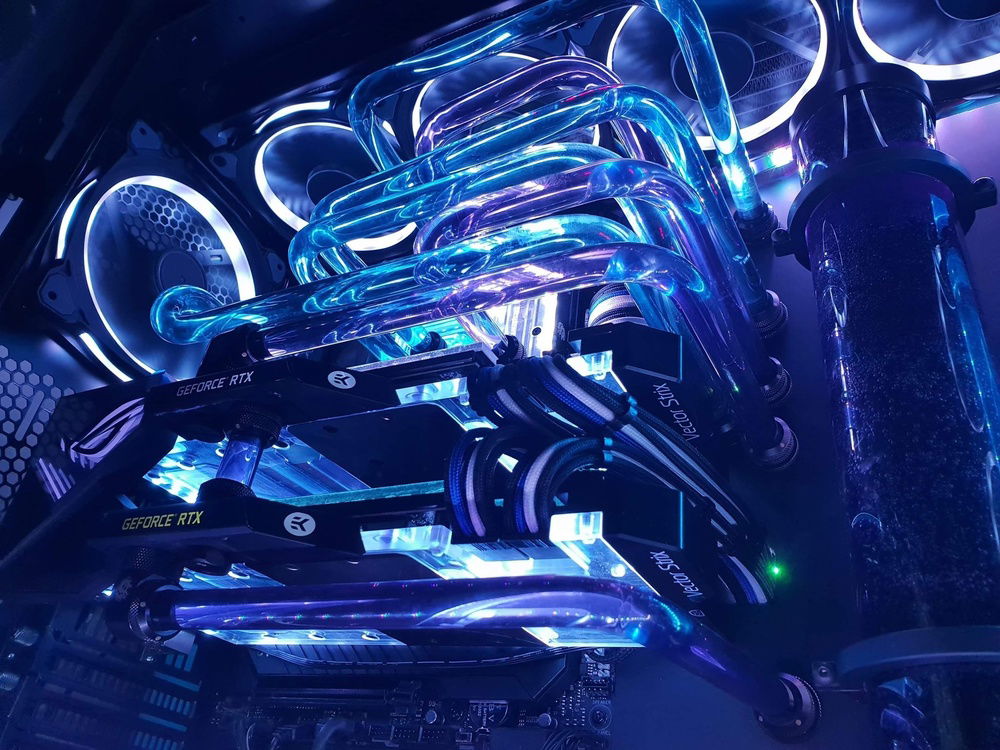
You heard it folks, I first powered enyo up and was reading a scorching 87 degrees on the GPUs with water, HOLY MOLY! I uninstalled the cards, took the blocks off, reinstalled the blocks again and it got worse.... how I hear you ask? A simple user error on my part that needs to be said for beginners. When looking at the instructions for the waterblock, ensure that you get the correct thickness of the thermal pad. I used a .5mm pad where a 1.5mm pad should have been an 1.5mm where a 1mm should have been. So this sounds small right? I was doing the cards when I was tired, made a minor mistake. What was happening was that this created and air pocket between the cards and the waterblock which was superheated when the cards were running. LESSON: Ensure you use the correct thickness pads, it may sound minimal but it has a serious impact especially cards that operate as hot as 2080 Ti's do.
Positives:
Enyo is all things you can want in a gaming PC. From Anthem to Bf5, Warhammer: Total War to Steel Division two, this will shred all happily at ultra settings over 100 FPS. It is wonderfully silent, pulls a glorious 700 watts of power (thank you Asus Thor PSU). Though this will destroy your wallet it is worth it for the uniqueness and tender love and care (and swearing, sweat, tears and blood).
Water cooling components:
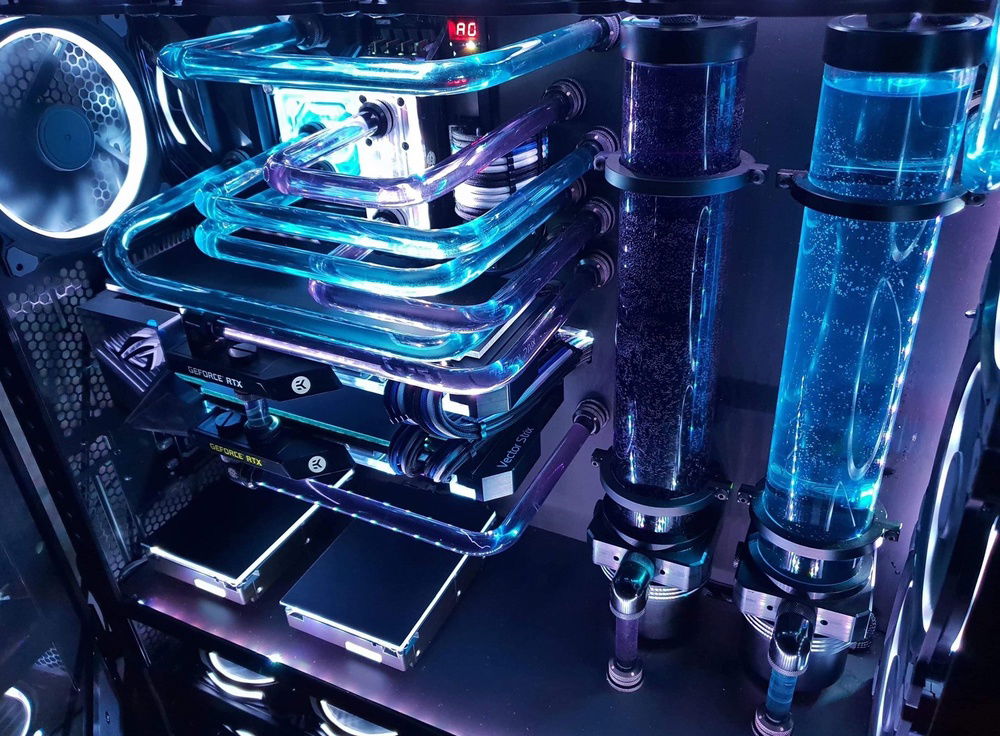
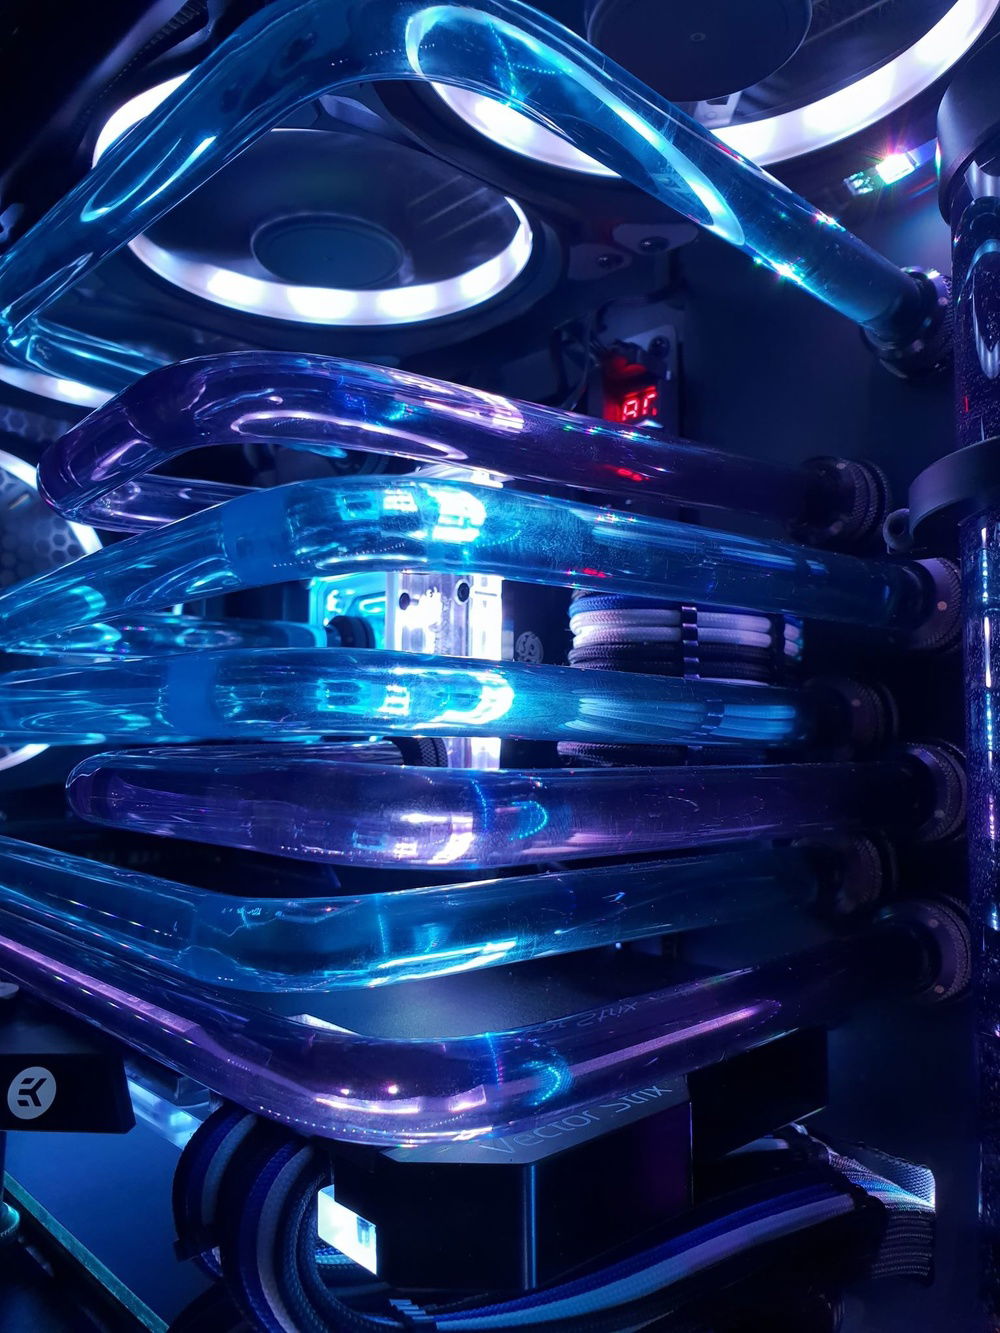
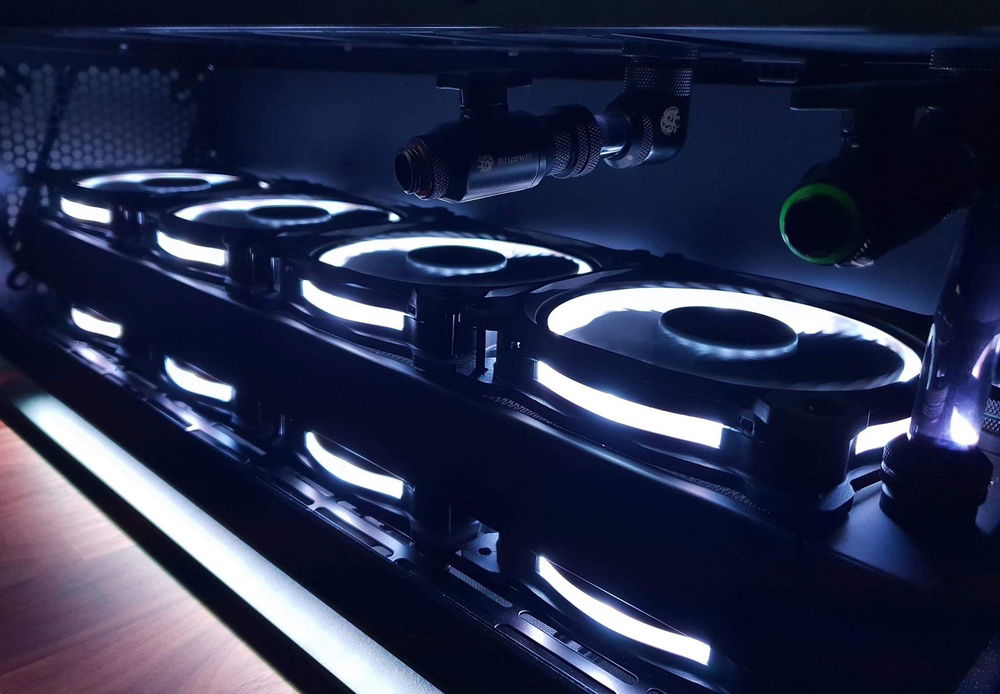
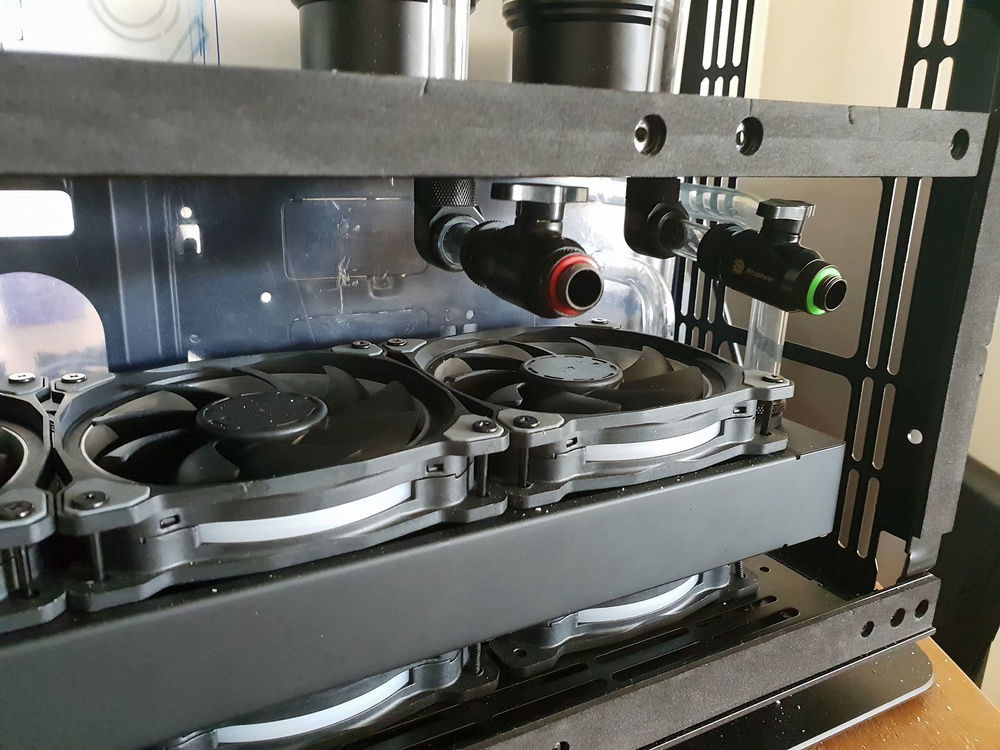
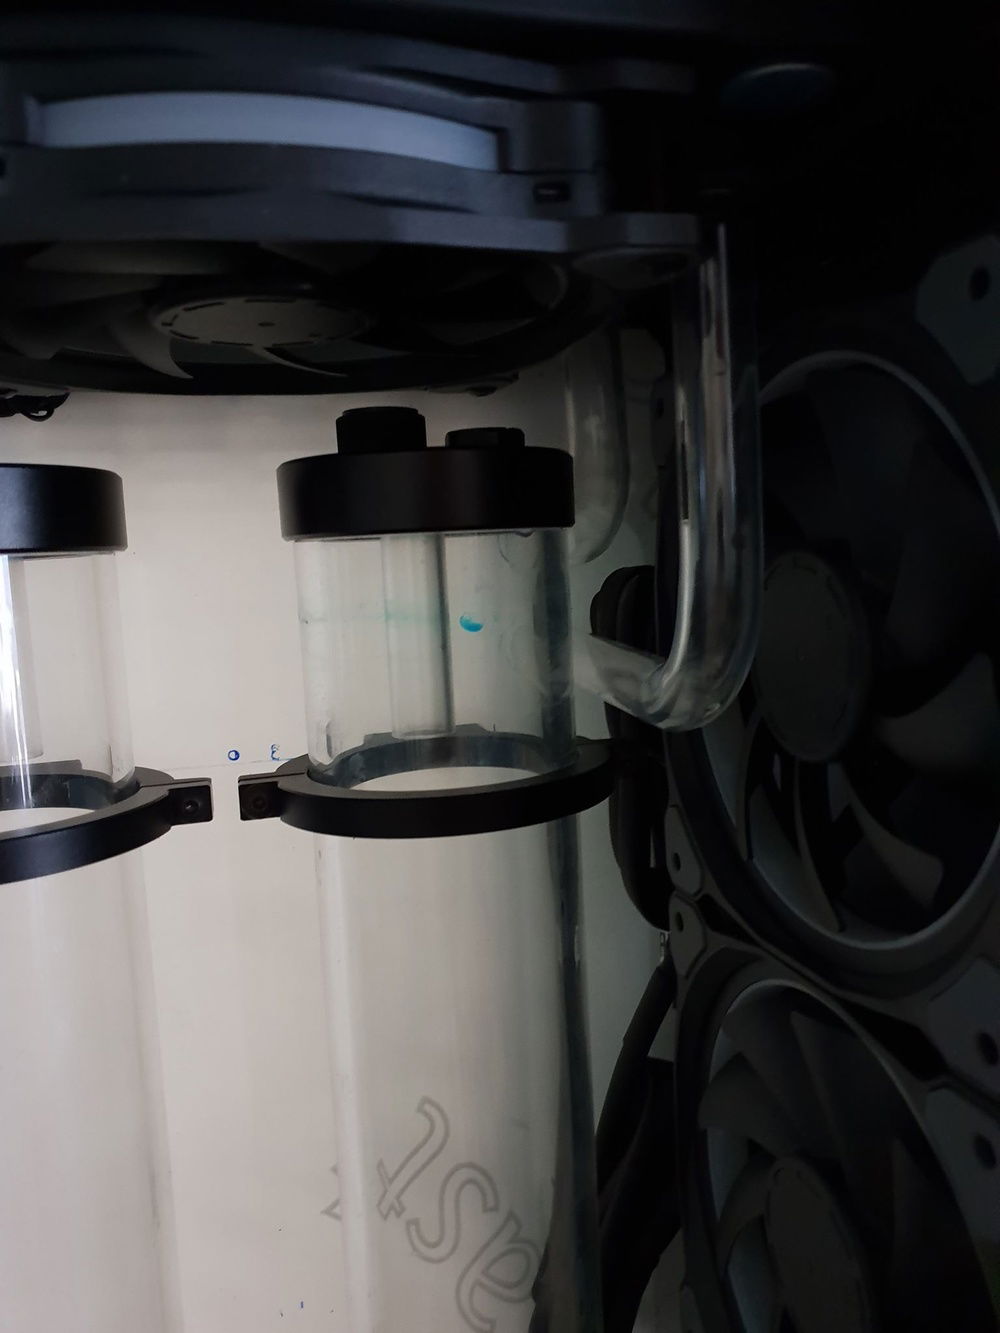
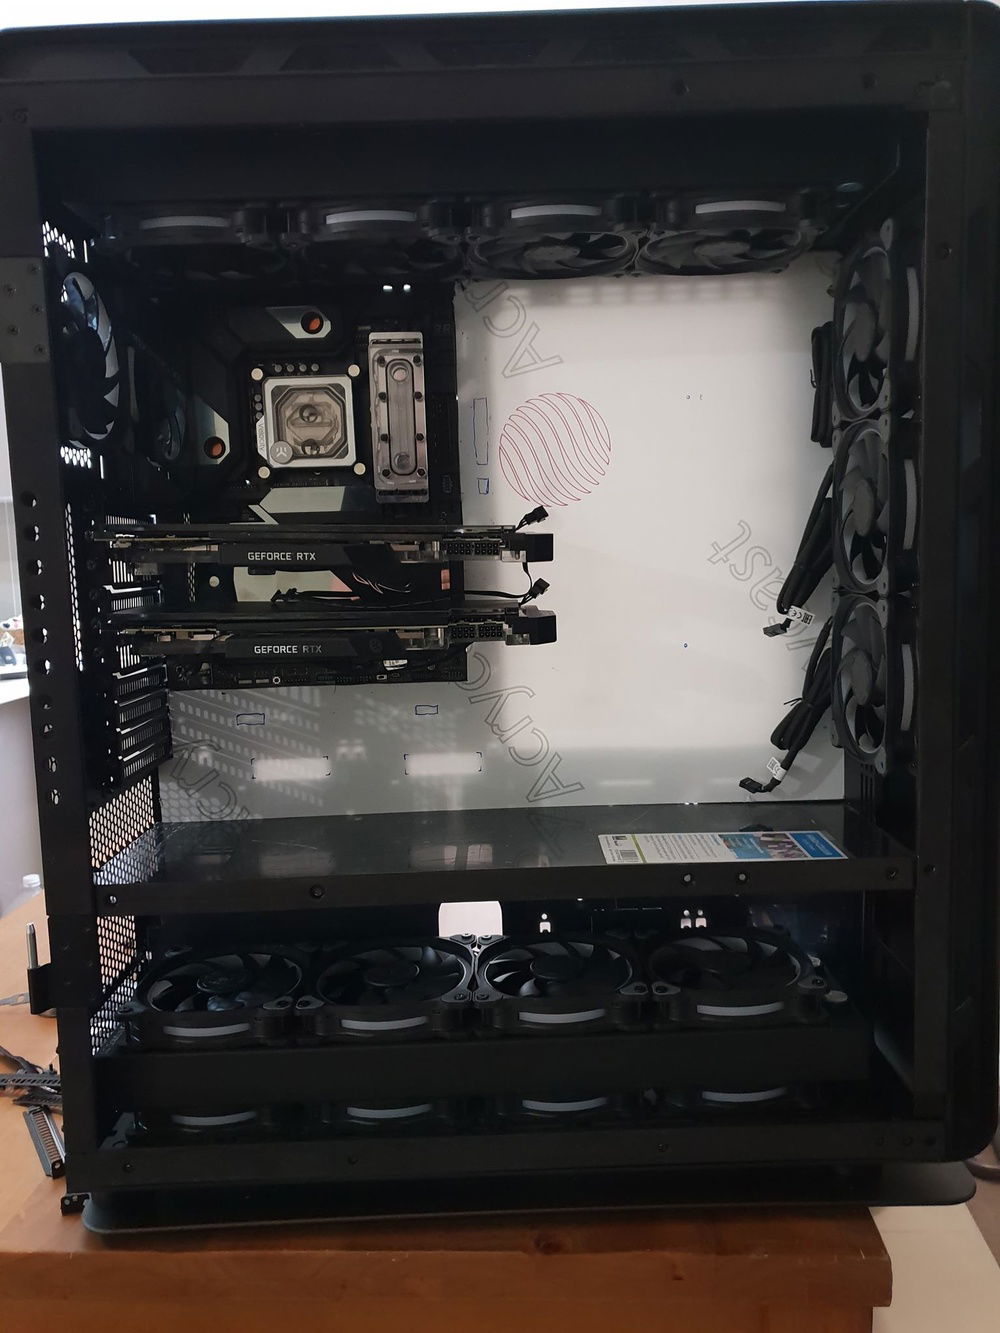
Each loops consists of an EK PE 480mm Radiator running a push-pull system. Additionally, there are 4x 140mm fans on exhaust to draw heat away from the motherboard. The coolant is thermaltakes C1000 with the blue for the blue loop... obviously, and a 1:1 ration of blue and red for the purple loop.
Temps: (20 degrees ambient)
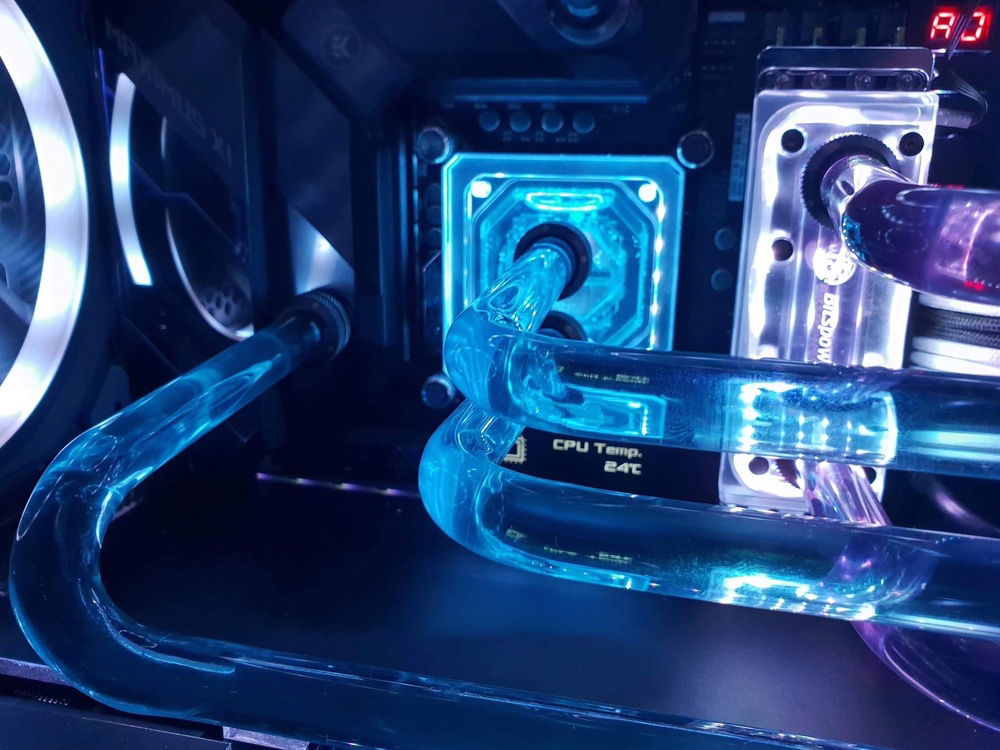
CPU: Component temp: idle 21- 24 degrees, max load: 35 - 40 Loop temp: 26 max
GPU: Component temp: idle 22-25 degrees, max load: 36 - 42 Loop temp: 28 max
Conclusion:
I dont know what else to say. This case was wonderful to work with, I loved doing this build even though it posed so many headaches and stressful nights. I would definitely do it again with a smile. Key take away is for all you looking at getting into this as a hobby, and watch all those blokes on youtube and on this site like I do, thinking that you cant do it, you definitely can. All you need is some imagination, a ruler and a metric tone of patience. I hope this has inspired a few of you to get out there and push your boundaries. If you have any questions please just ask.
Not mentioned in components below:
Singularity Computers: (Excellent company with a great product)
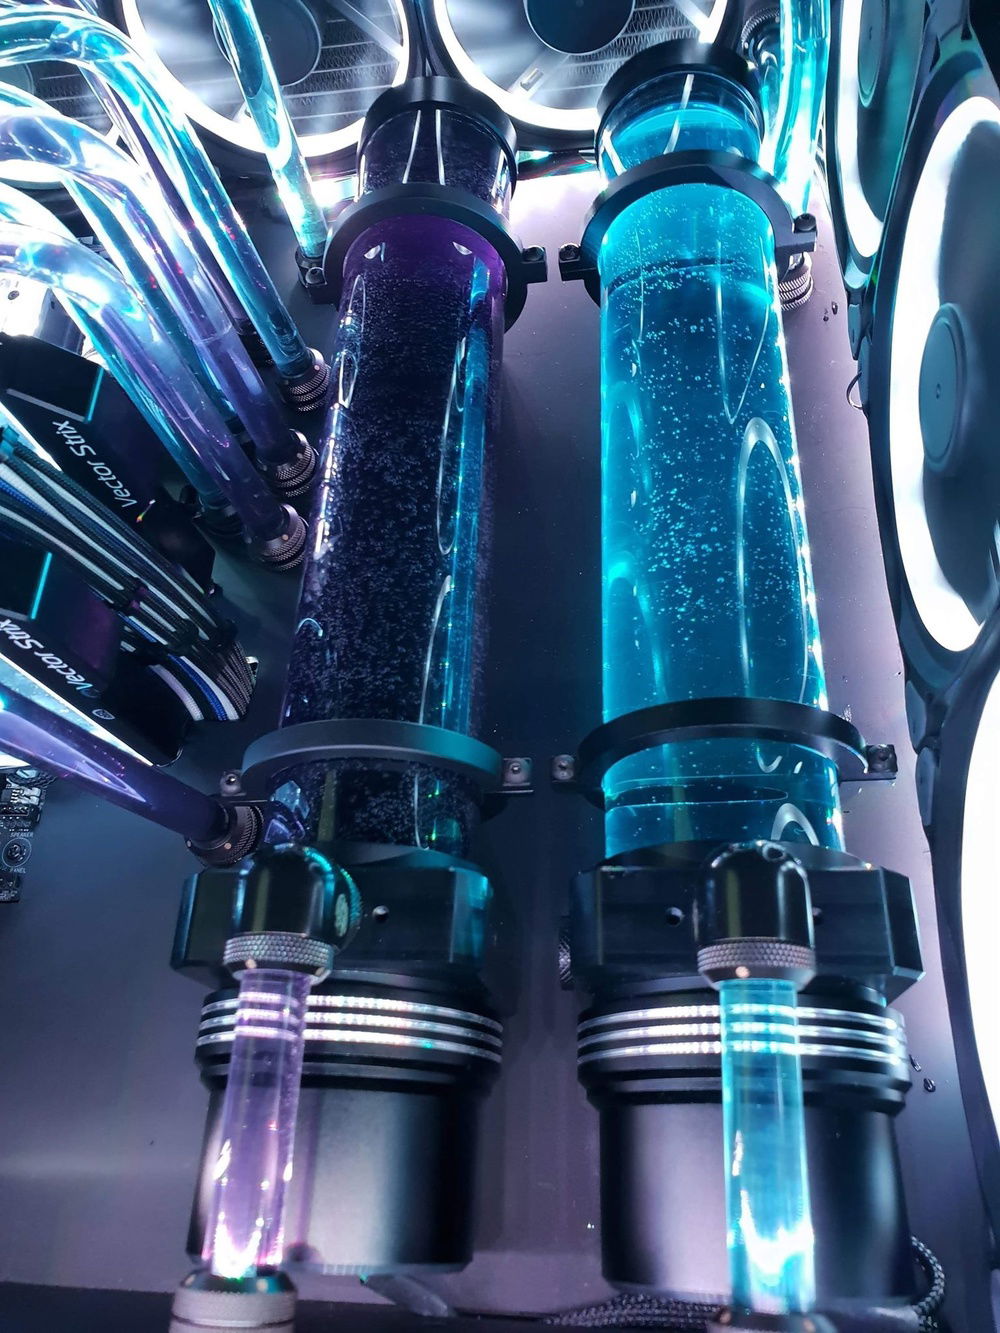
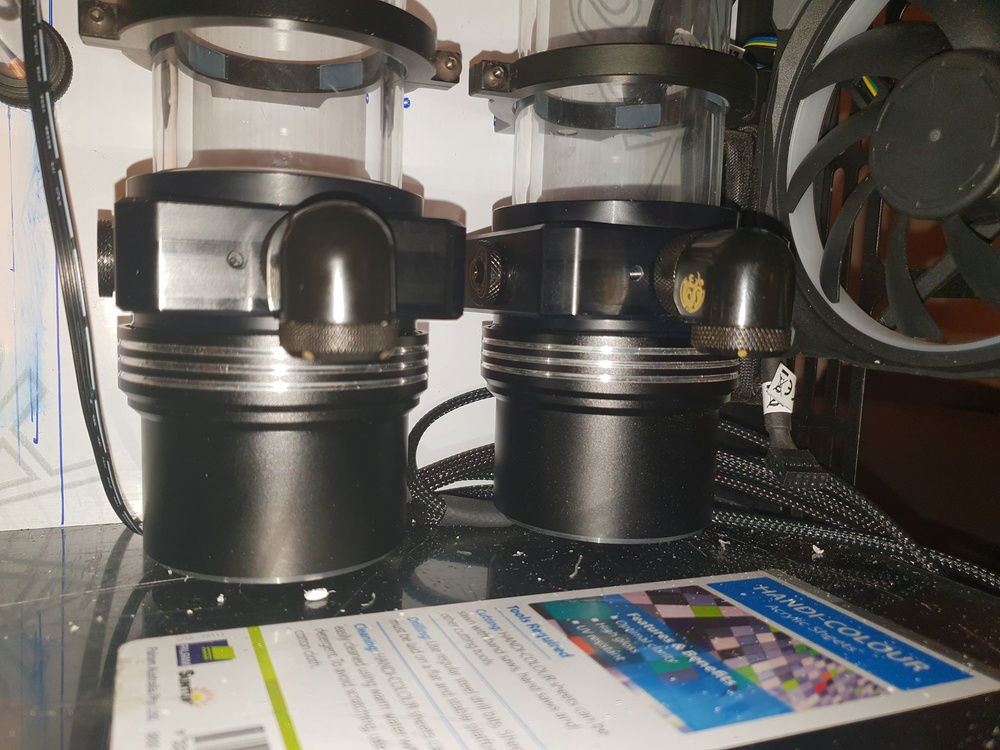
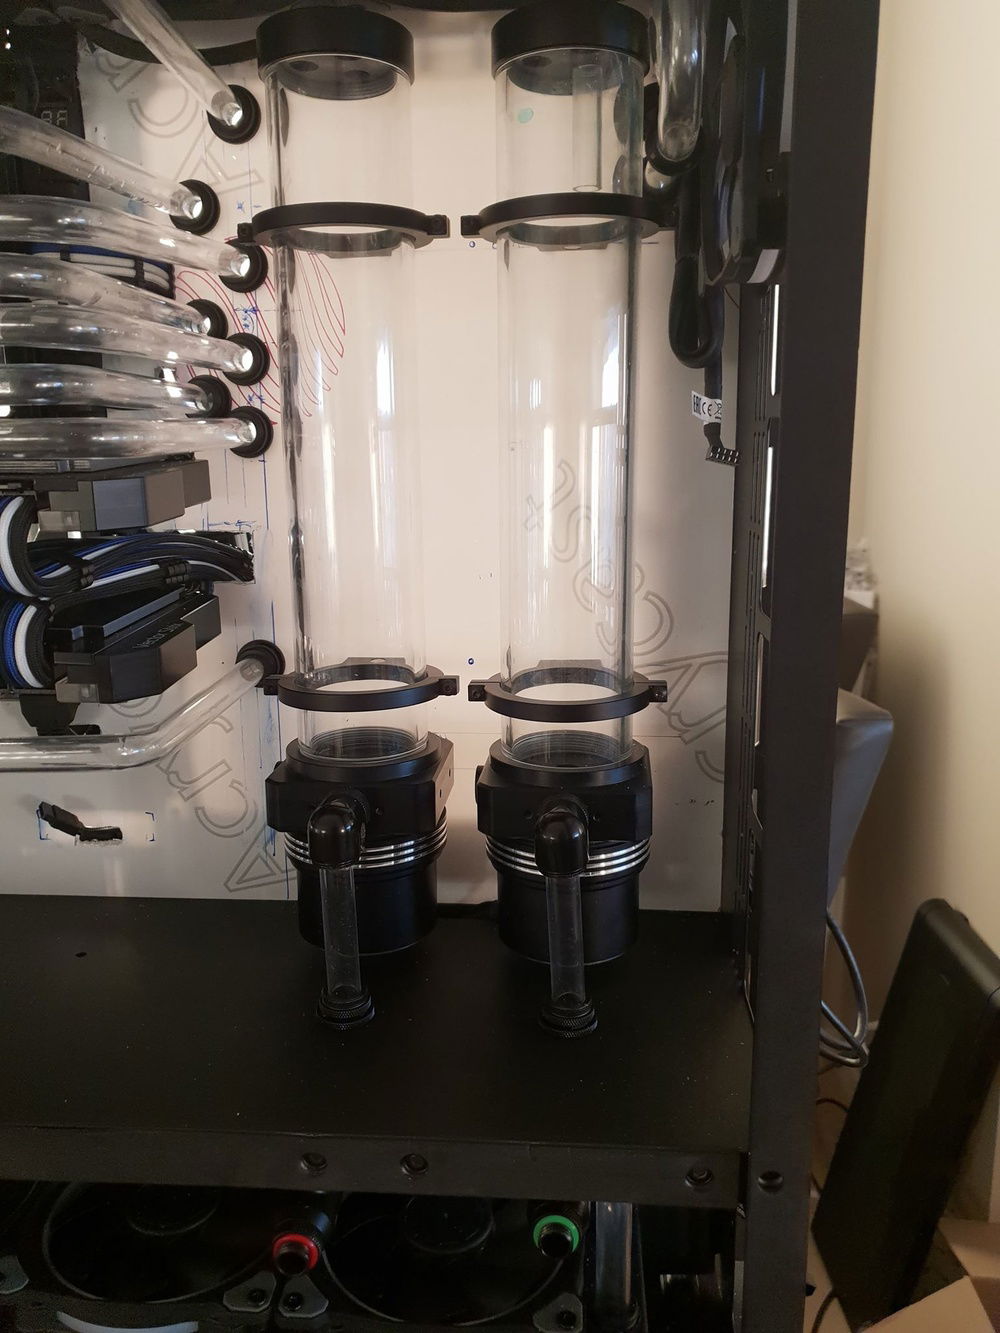
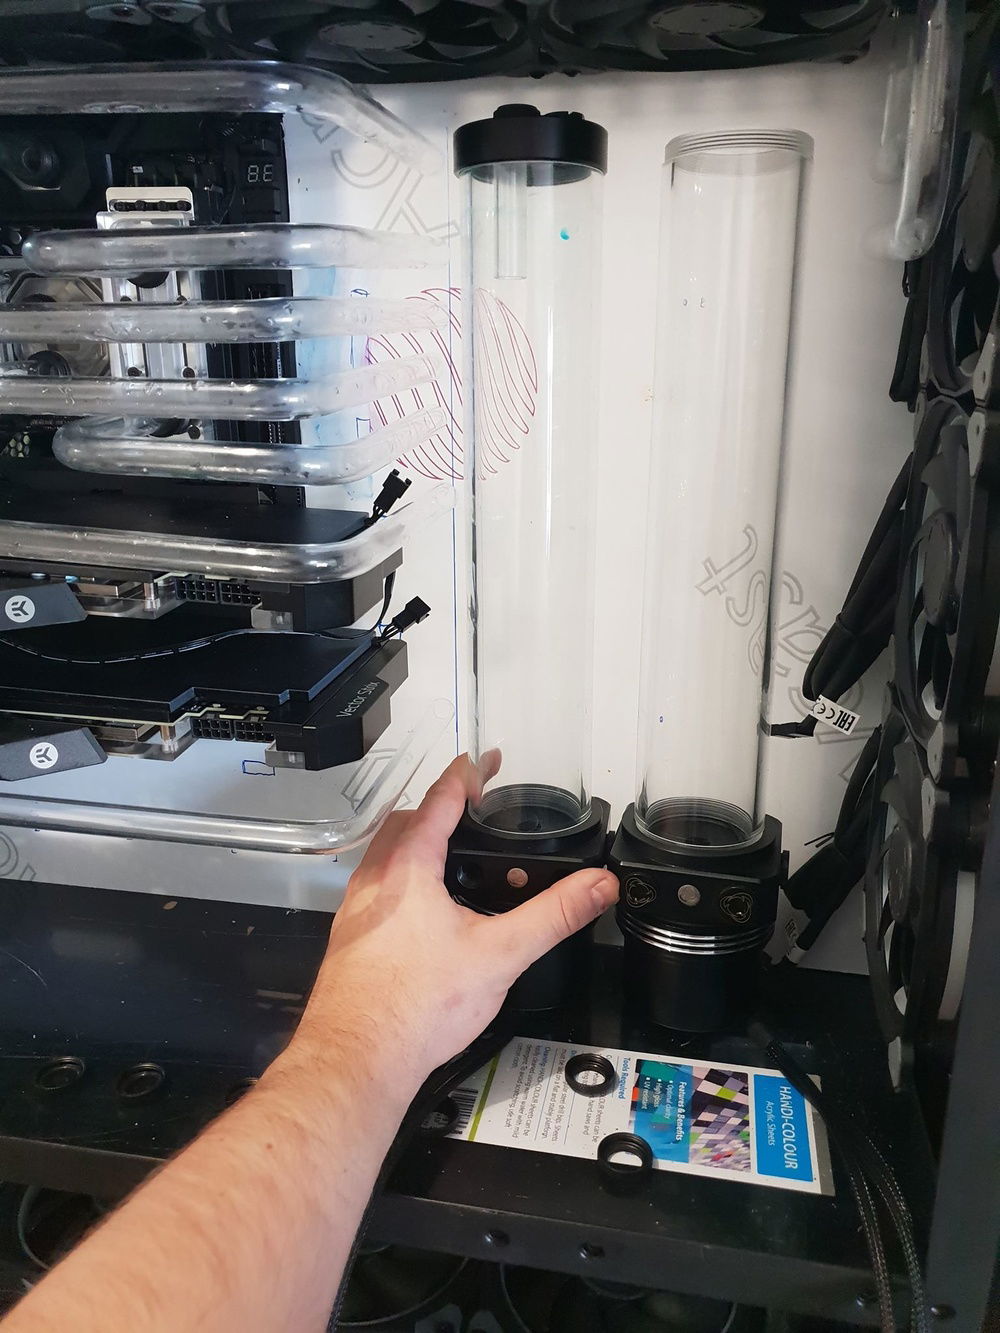
2x Protium 300 Reservoirs
2x D5 pumps w/ black pump top and covers
4x Res mounts
**UPDATE**
Since finishing this build I have installed 2x fan controllers and drastically reduced the noise so it is not like sitting next to an airplane engine. The preset is to 25% fan rate at 50 degrees. Its never had to go above that.
OC the CPU:
The i9 9900K is now overclocked, and stable, at 5.1GHz. Temps have raised to 50 - 60 degrees under load but still have plenty of room on my Fan curve to assist this.
**UPDATE #2**
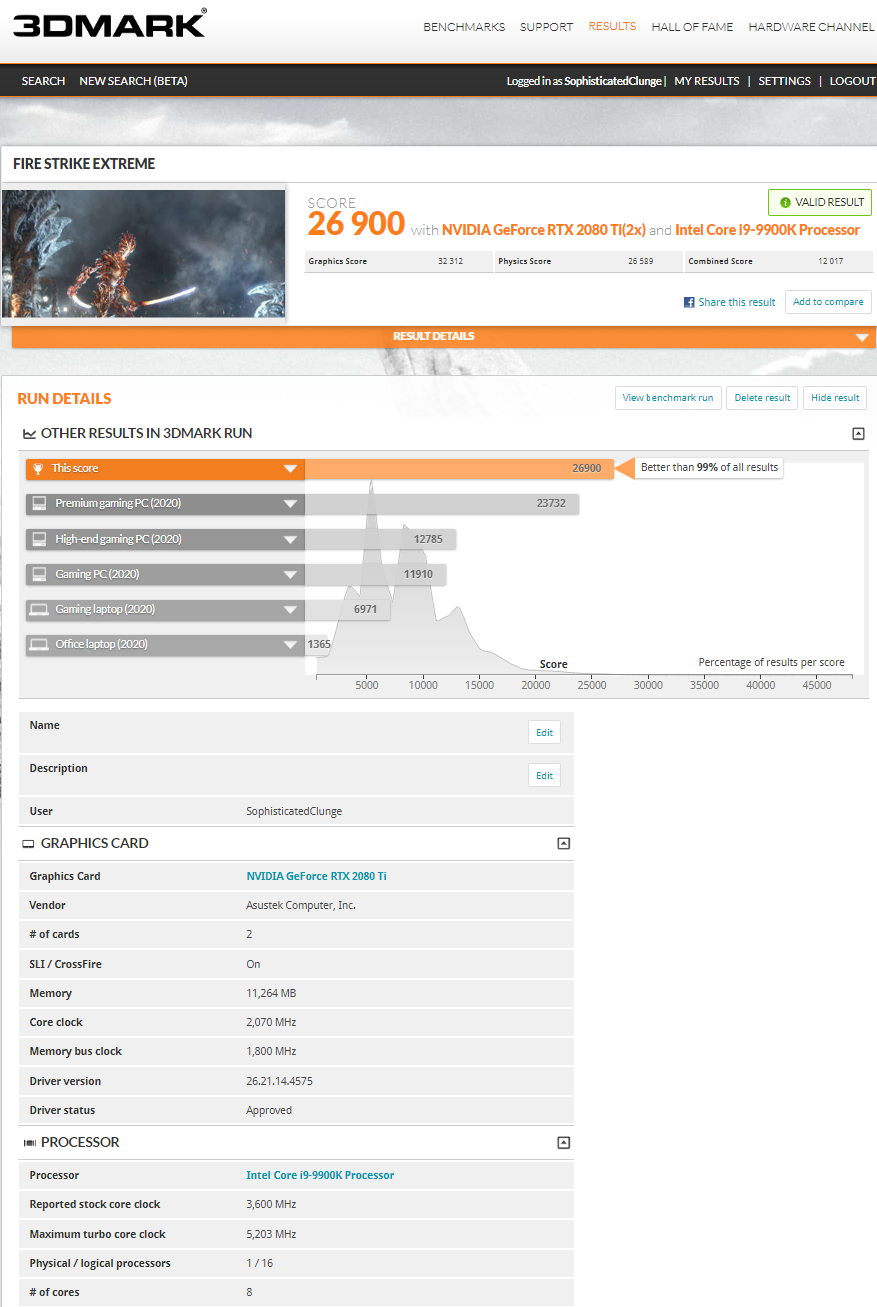
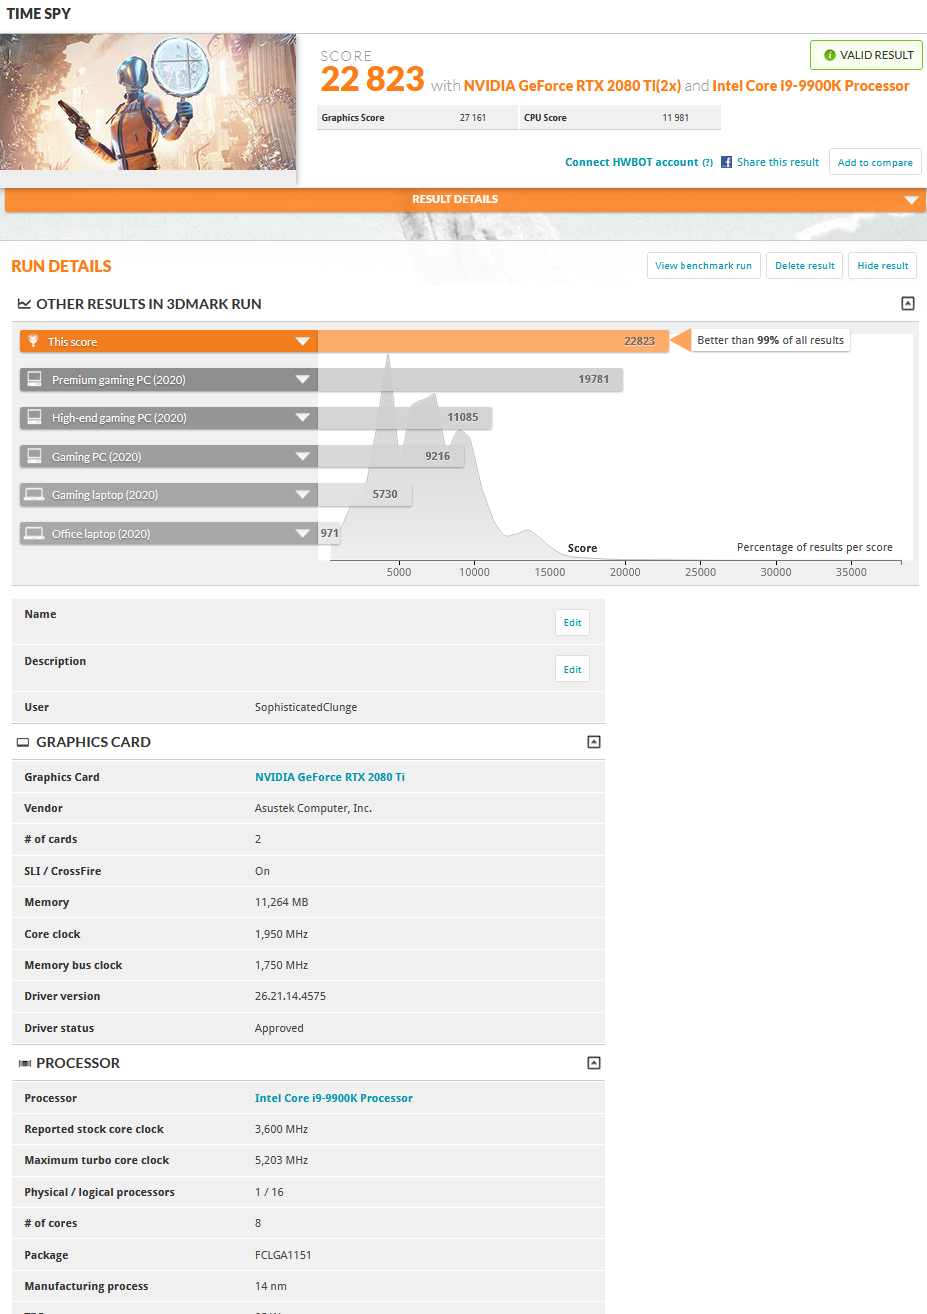
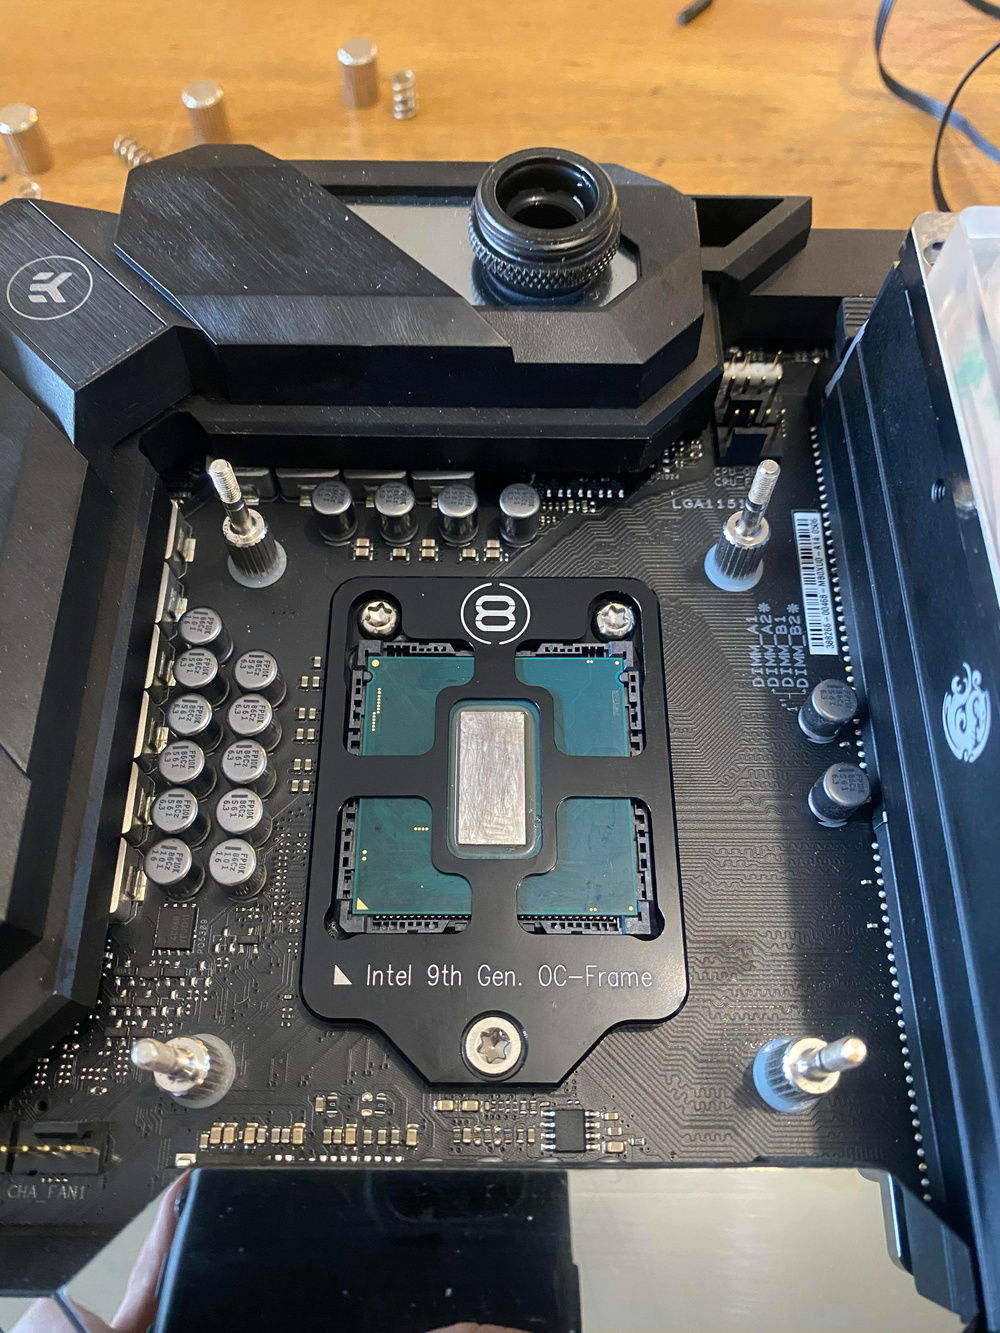
I have delidded the i9 9900k and now overclocked it too 5.2GHz. The temperatures have remained 50 - 60 degrees with this OC due to the delidding, fan curve has been reduced and now ENYO is running nearly silently. New 3DMark score updated too.
Color(s): Blue Purple White
RGB Lighting? Yes
Theme: none
Cooling: Custom Liquid Cooling
Size: ATX
Type: General Build
Contests
This build participated in 4 contests.
| Rank | Contest | Date |
|---|---|---|
| #21 | Build of the Month - September 2021 | ended |
| #26 | EK 10K Challenge | ended |
| #24 | Build of the Month - January 2021 | ended |
| #7 | Build of the Month - November 2020 | ended |
Hardware
CPU
$ 449.00
Motherboard
$ 589.00
Memory
$ 389.00
Graphics
$ 749.00
Graphics
$ 749.00
Storage
Storage
$ 189.81
Storage
$ 61.99
Storage
$ 61.99
Storage
$ 61.99
Case
$ 1,232.96
Case Fan
$ 45.23
Cooling
$ 199.00
Cooling
$ 193.41
Cooling
Accessories
Approved by:
