


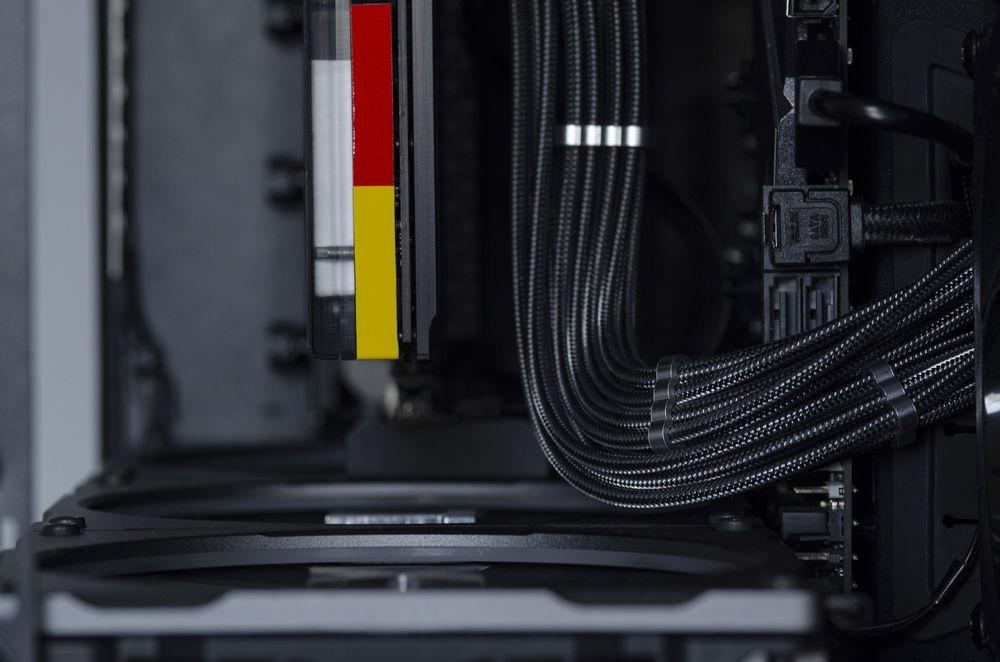
WAudio Hi-End Hifi Audio AC Power Cable Power Cord matching the Cablemod Carbon cables.
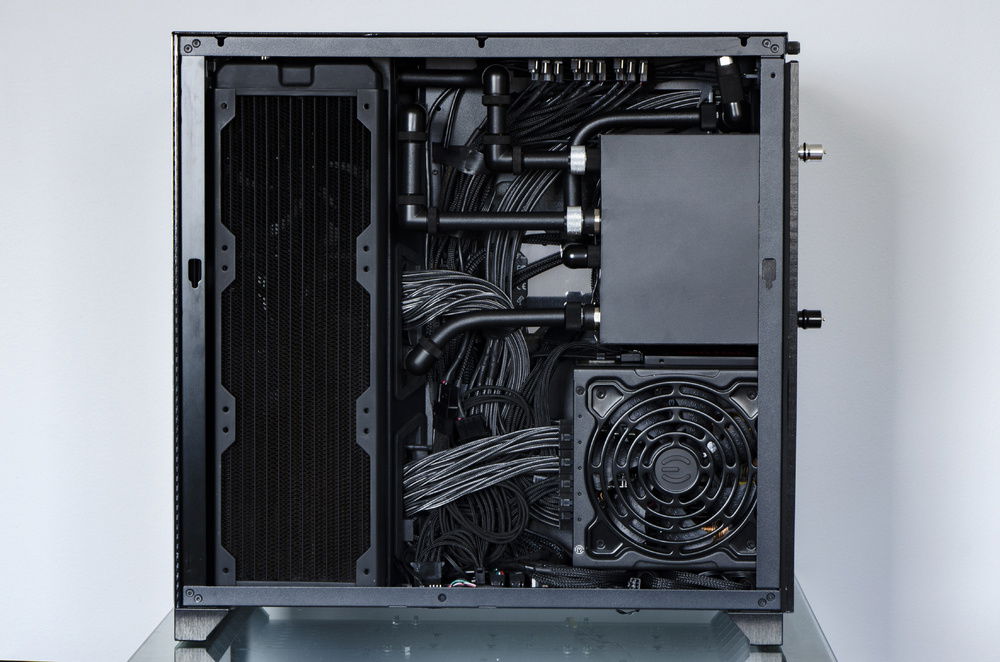
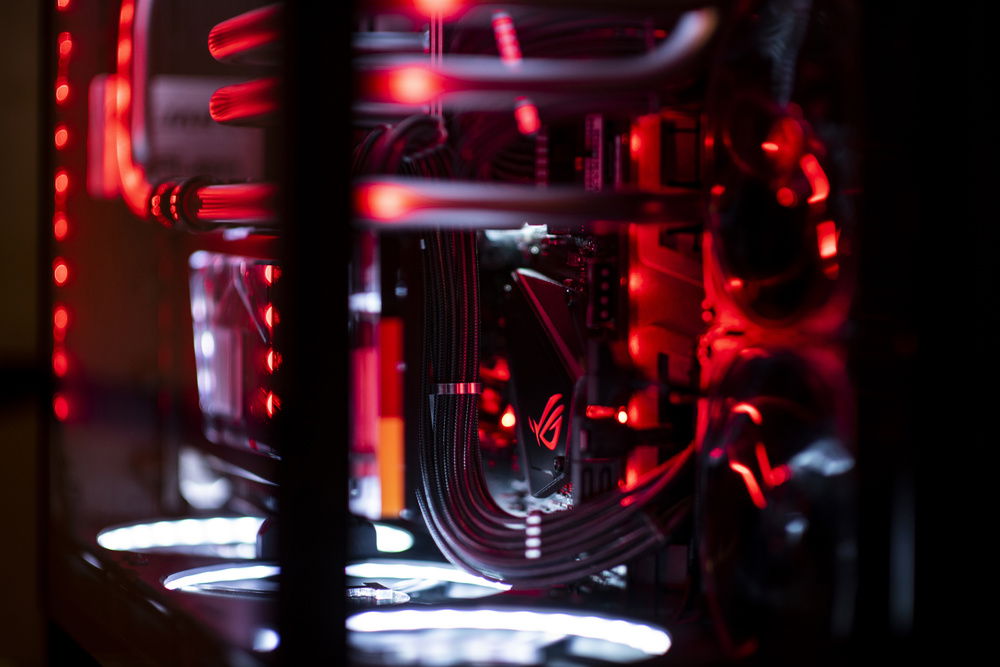
Best attempt at cable management. Only carbon cable are custom length, the rest is off the shelf. It's a neat mess.
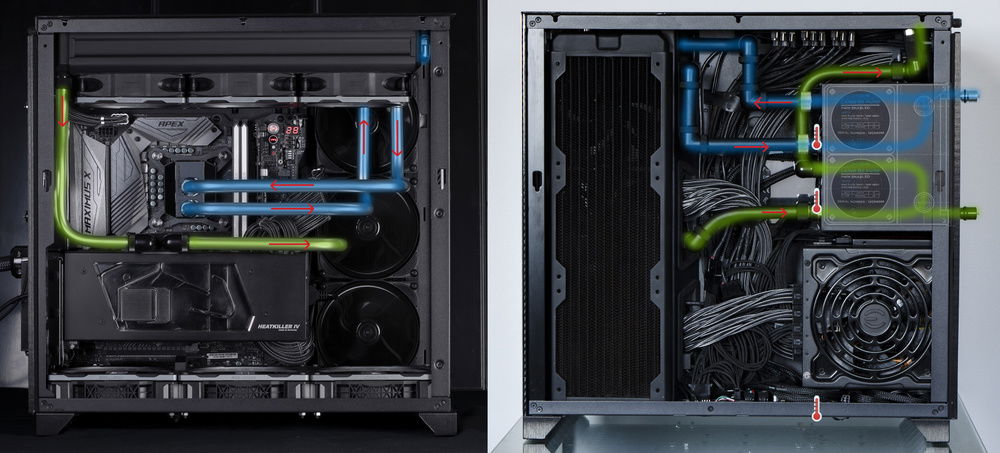
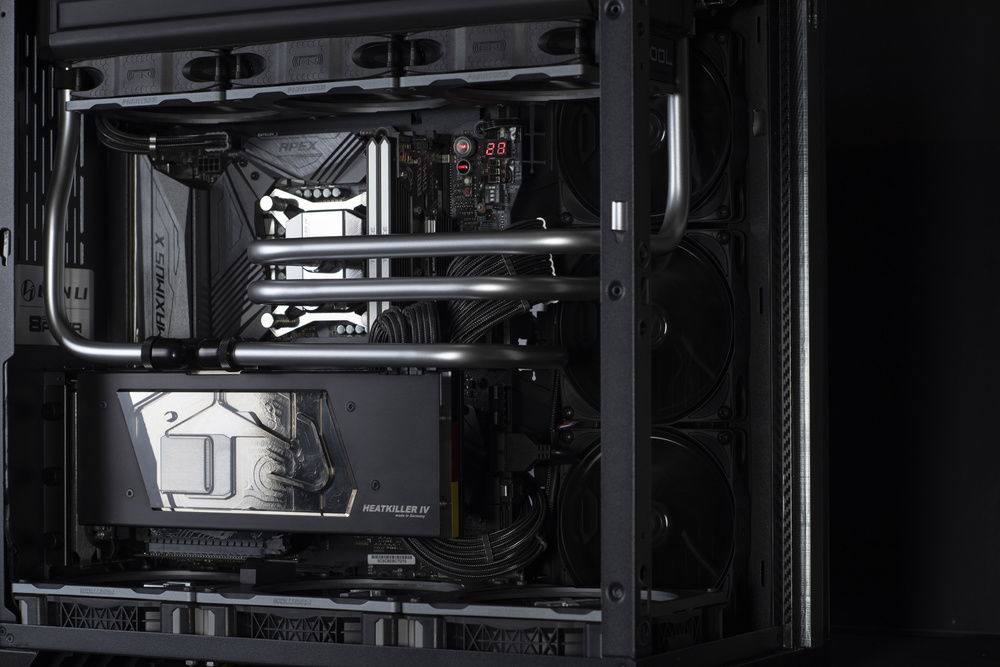
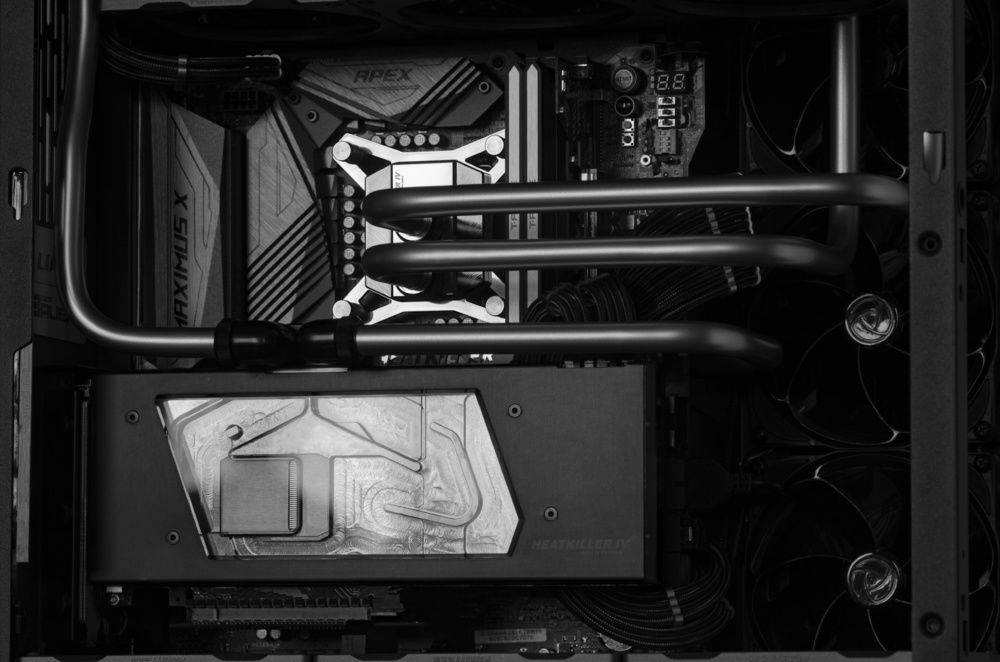
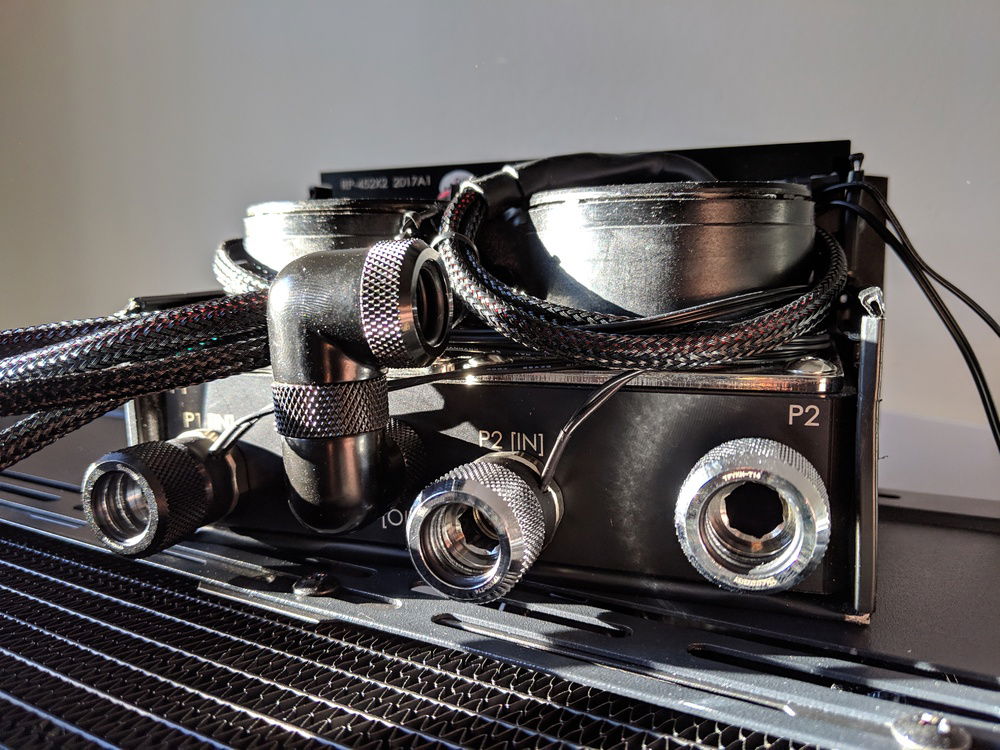
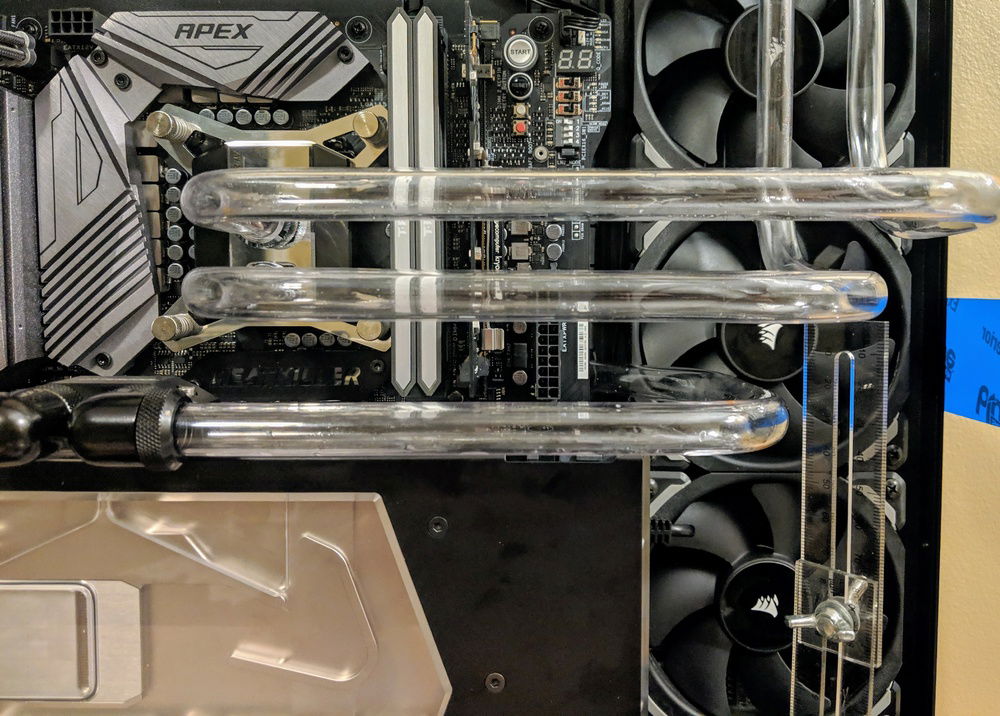
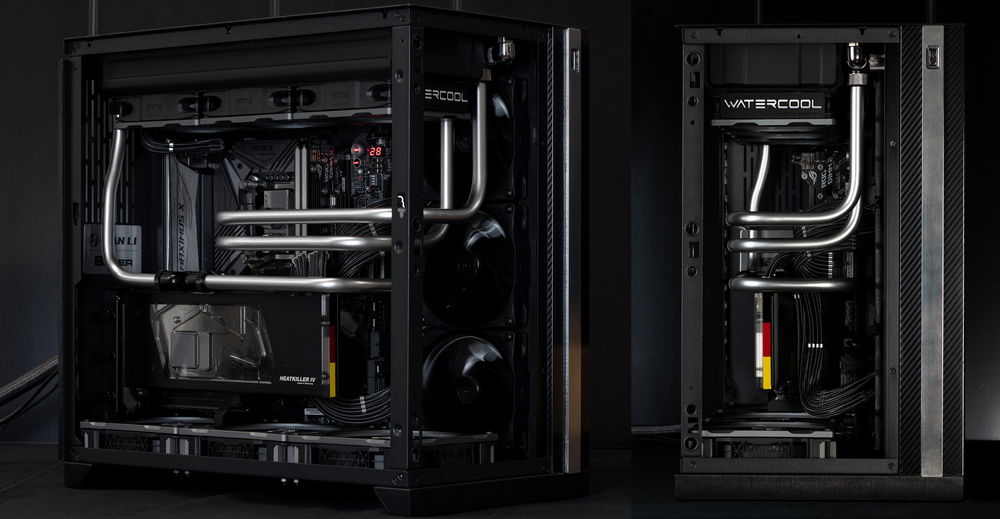
Water flow path and temp sensor location. While port orientation doesn't really matter... in this case, everything (blocks and rads) is optimally configured.
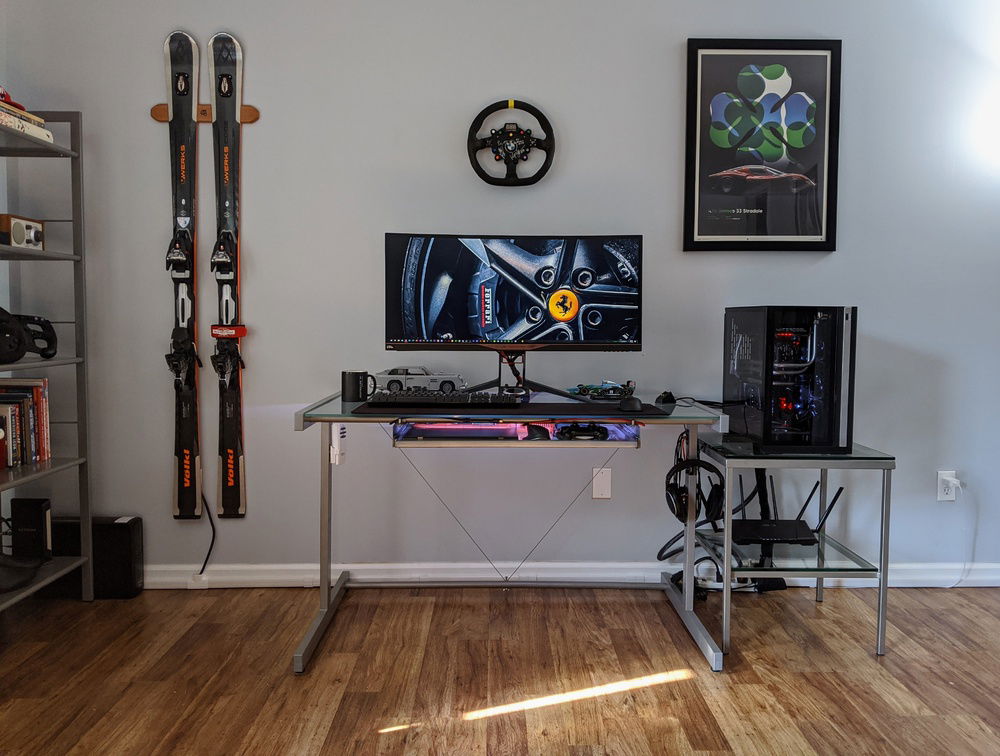
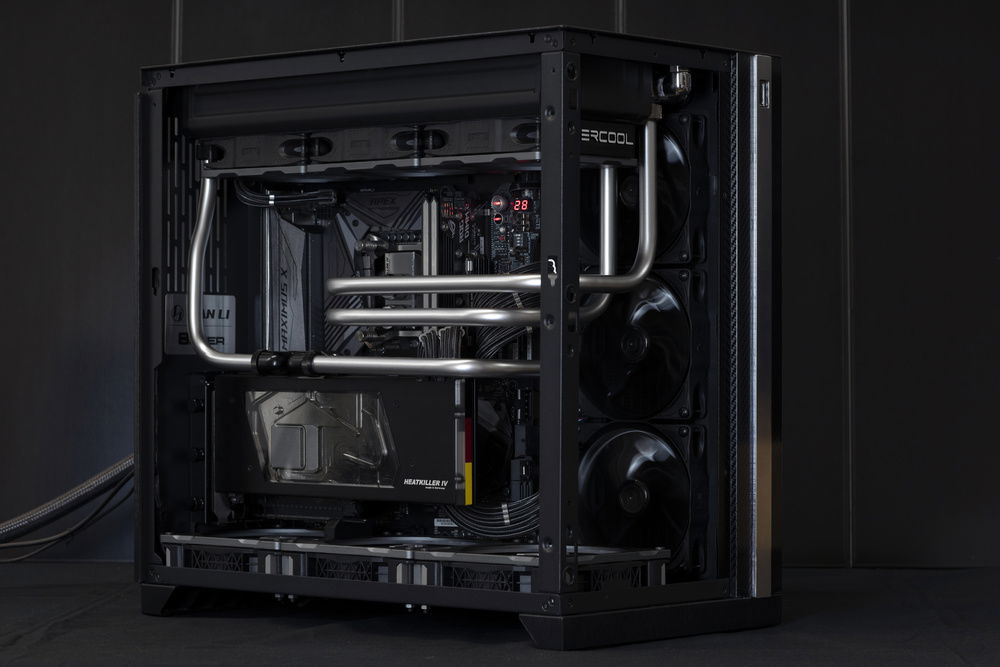
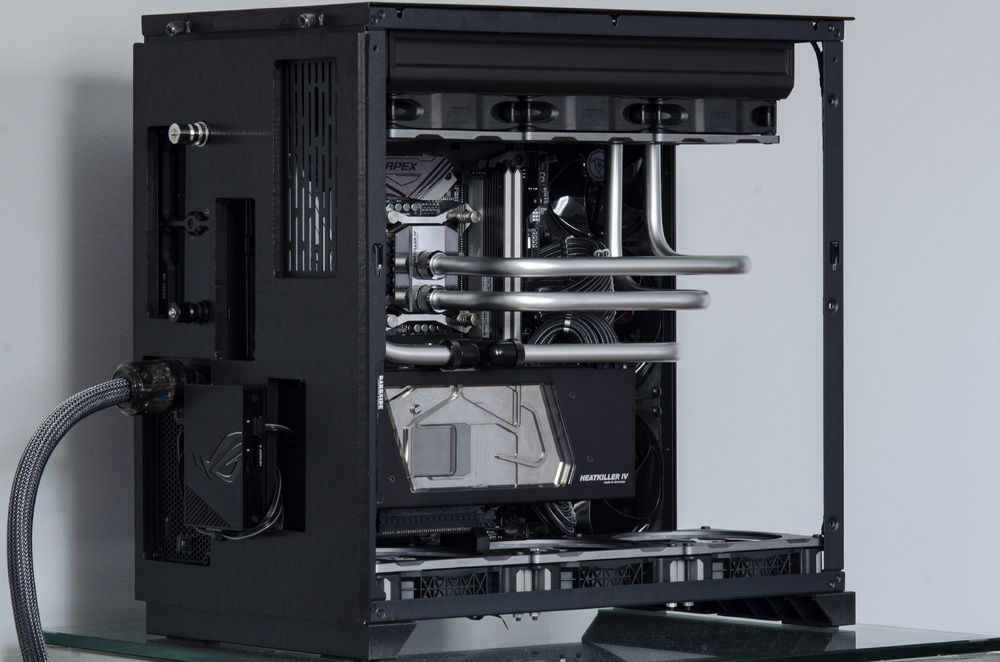
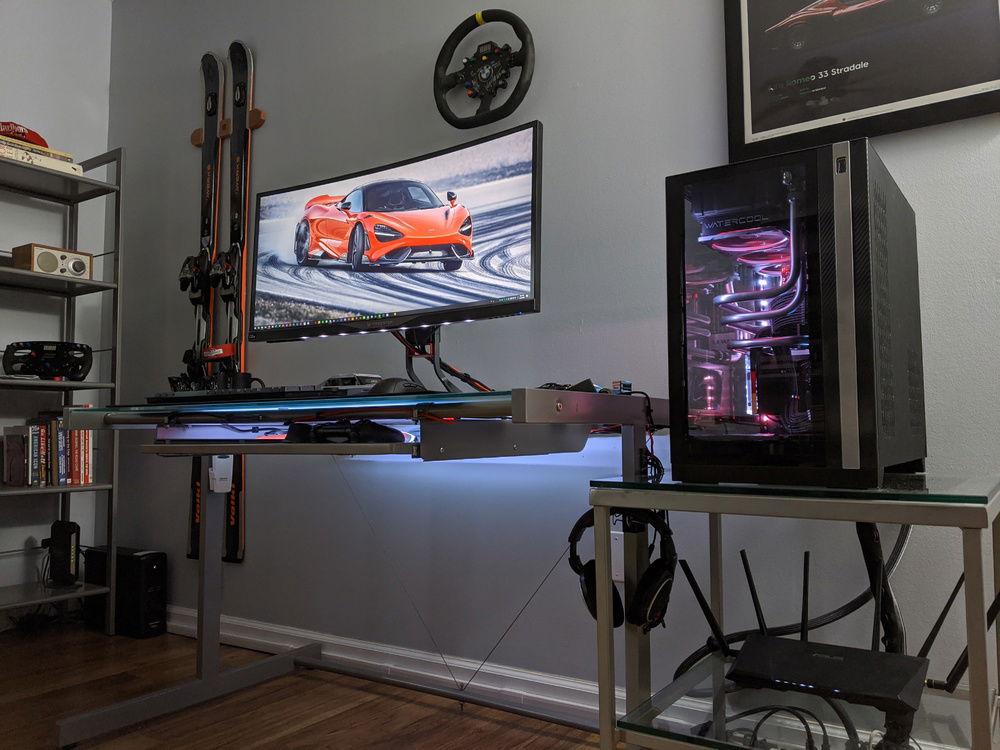
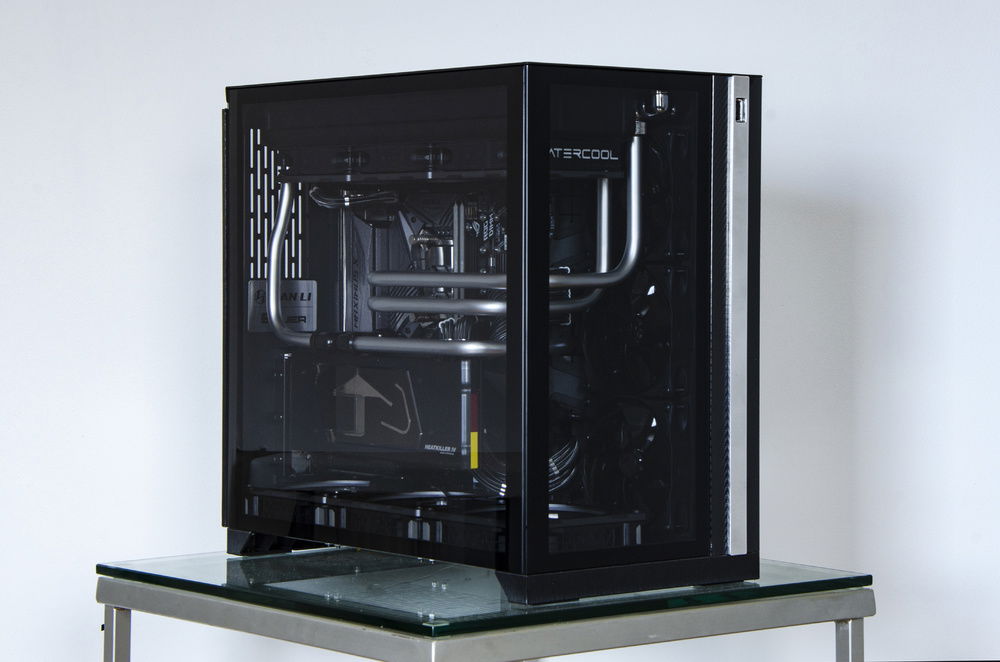
The setup
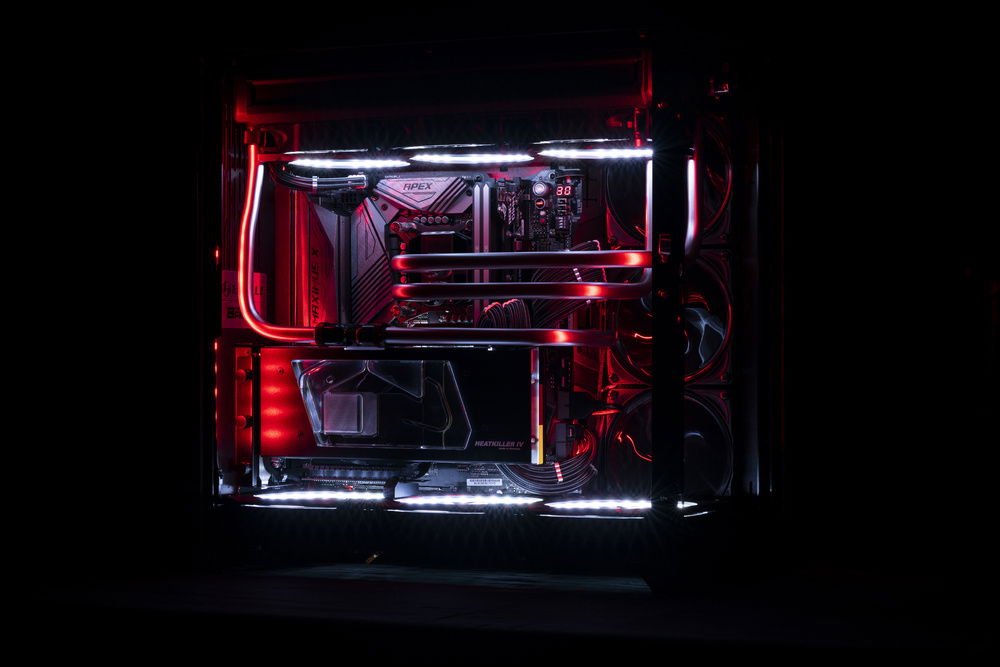
For a brief moment, Asus's RGB software wasn't totally broken. Build looks better without RGB IMO.
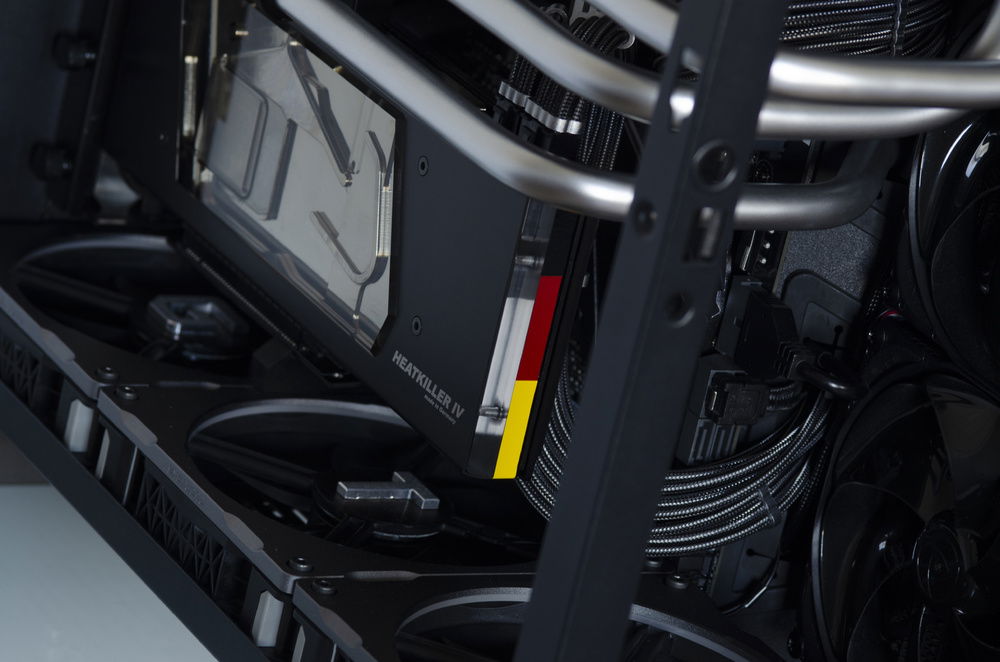
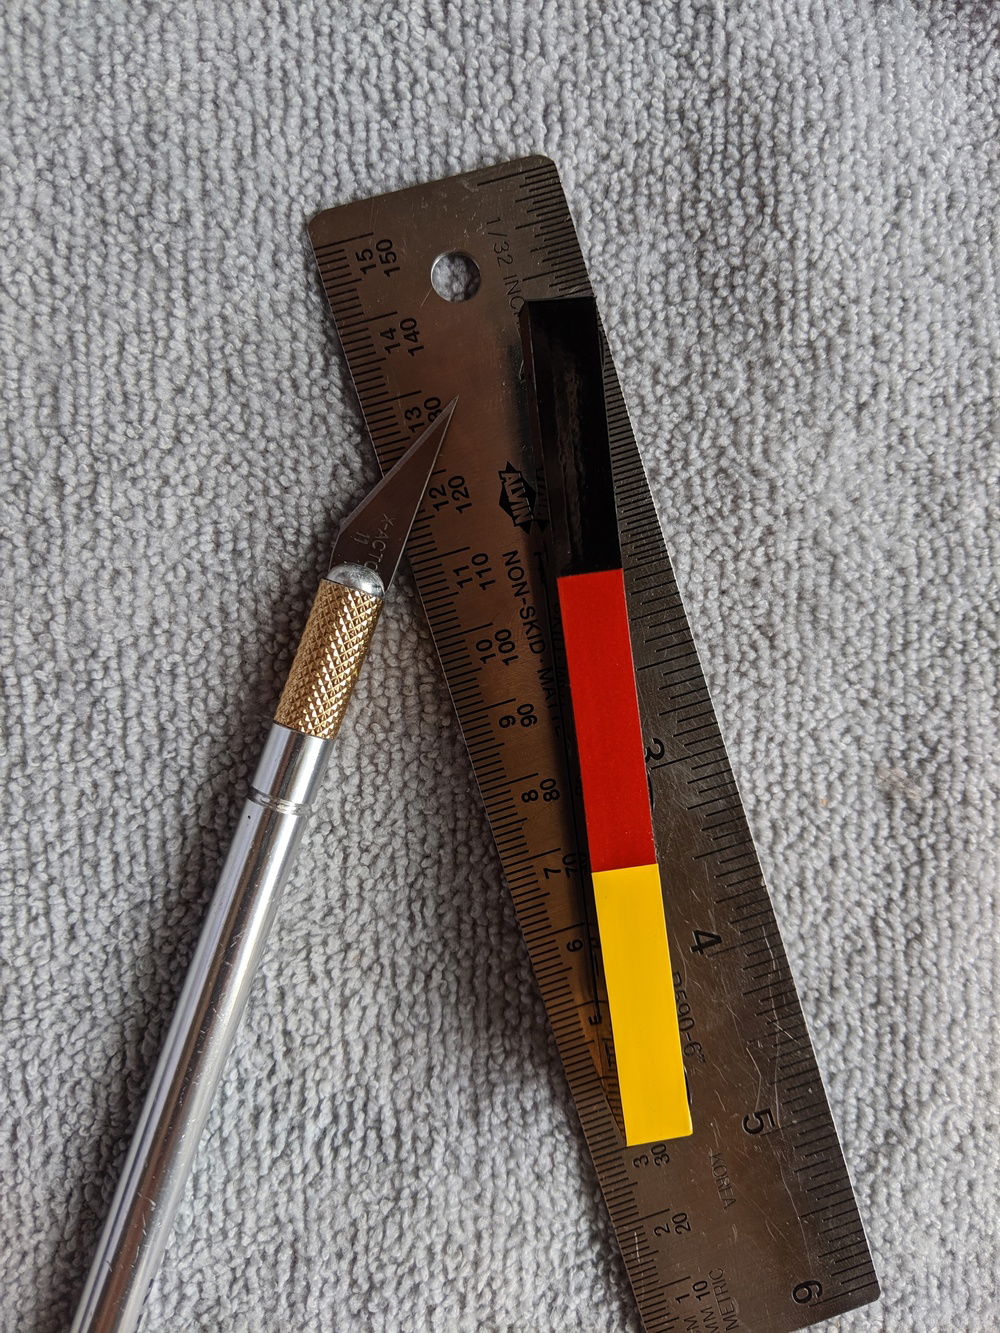
German flag adds a bit of color to an otherwise monochromatic build. Naturally, I have an R to replace the G when the RTX 3080 Ti comes out.
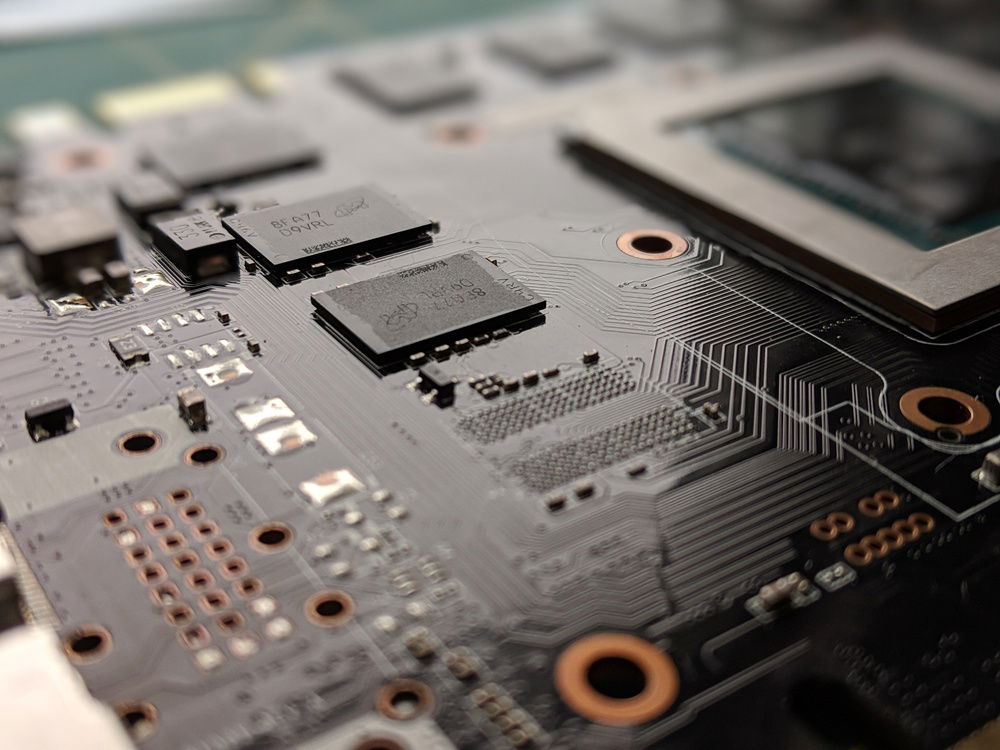
I used an acrylic pen to paint all of the PCB edges black.
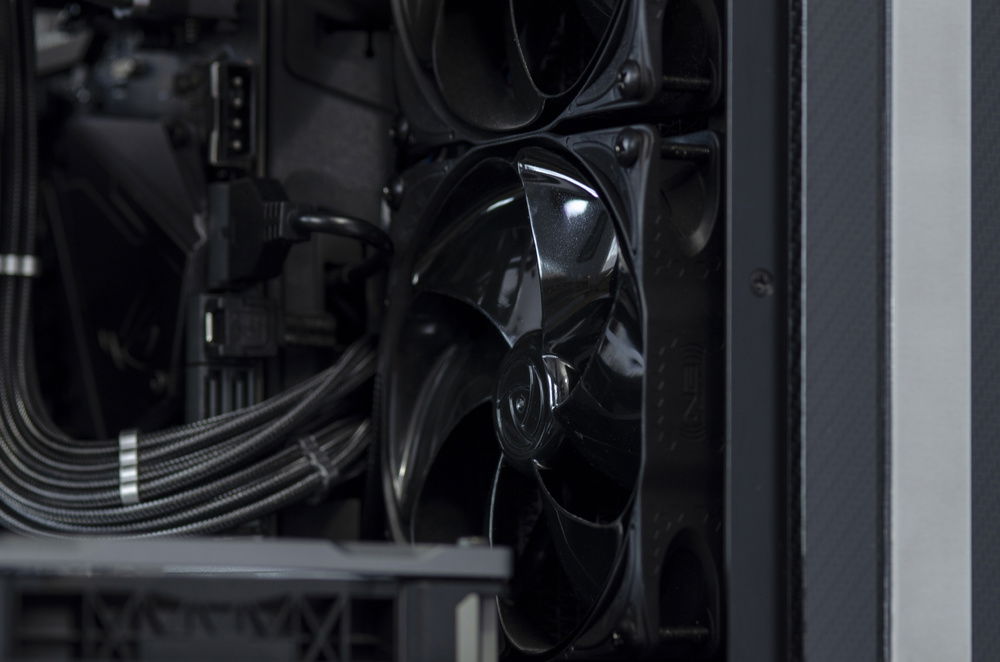
Noiseblocker NB-eLoops are terrific fans.
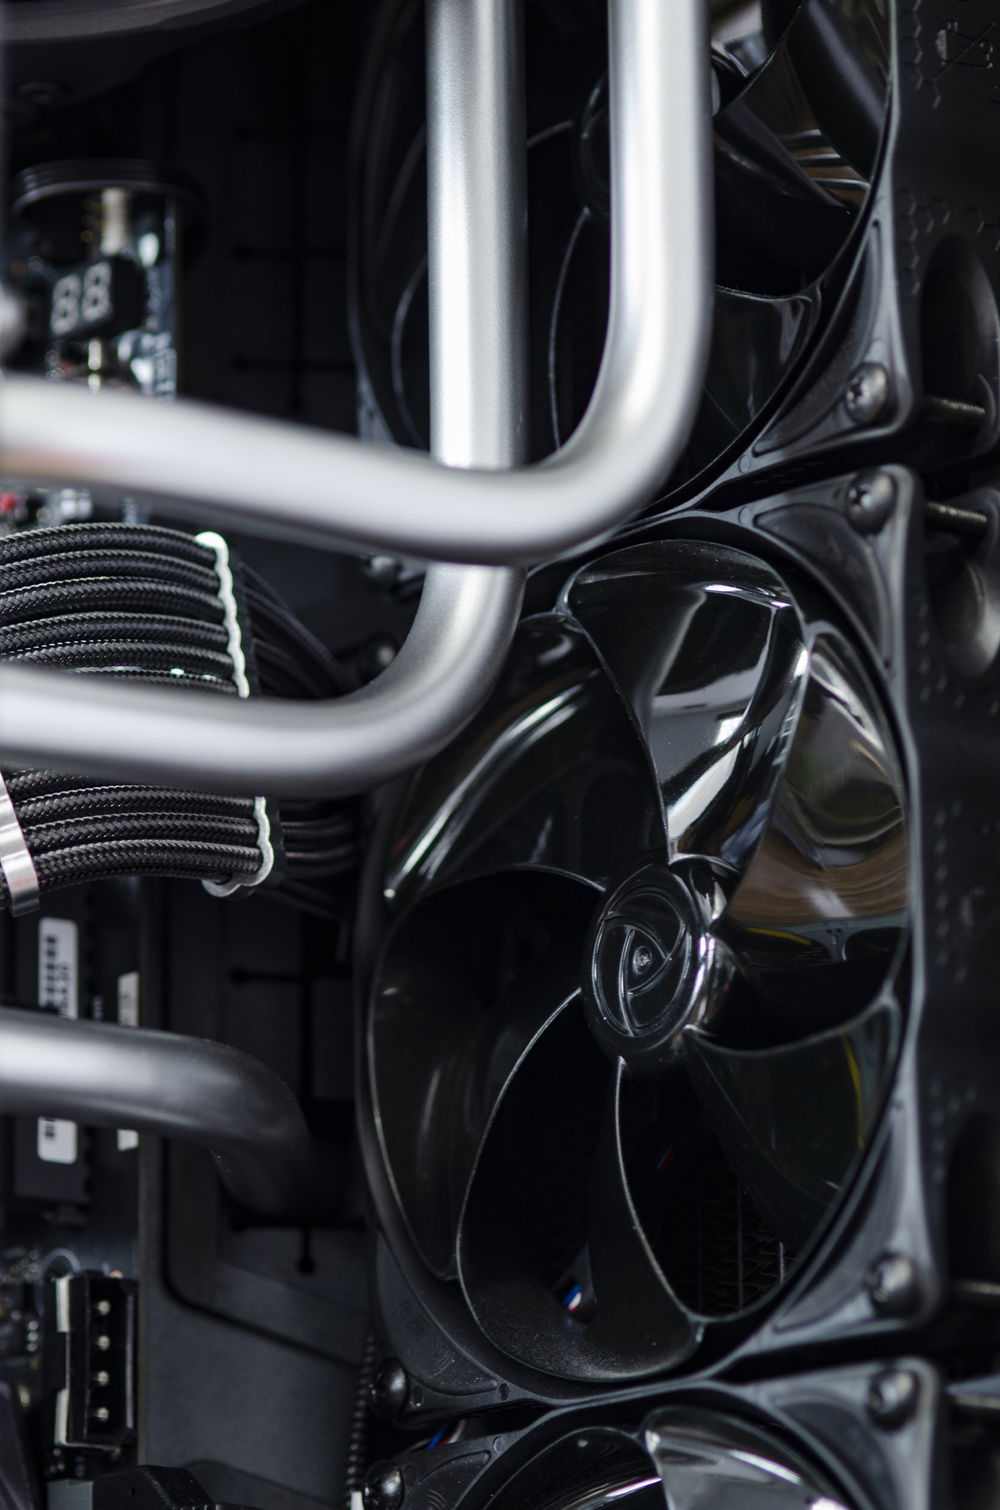
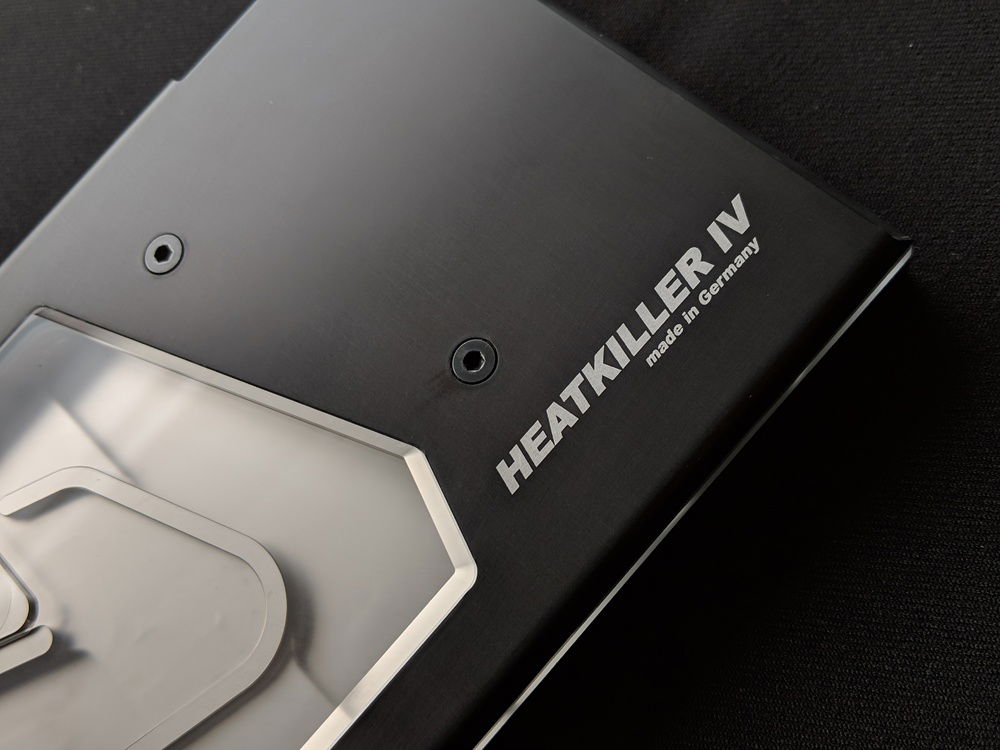
Love the gloss finish.
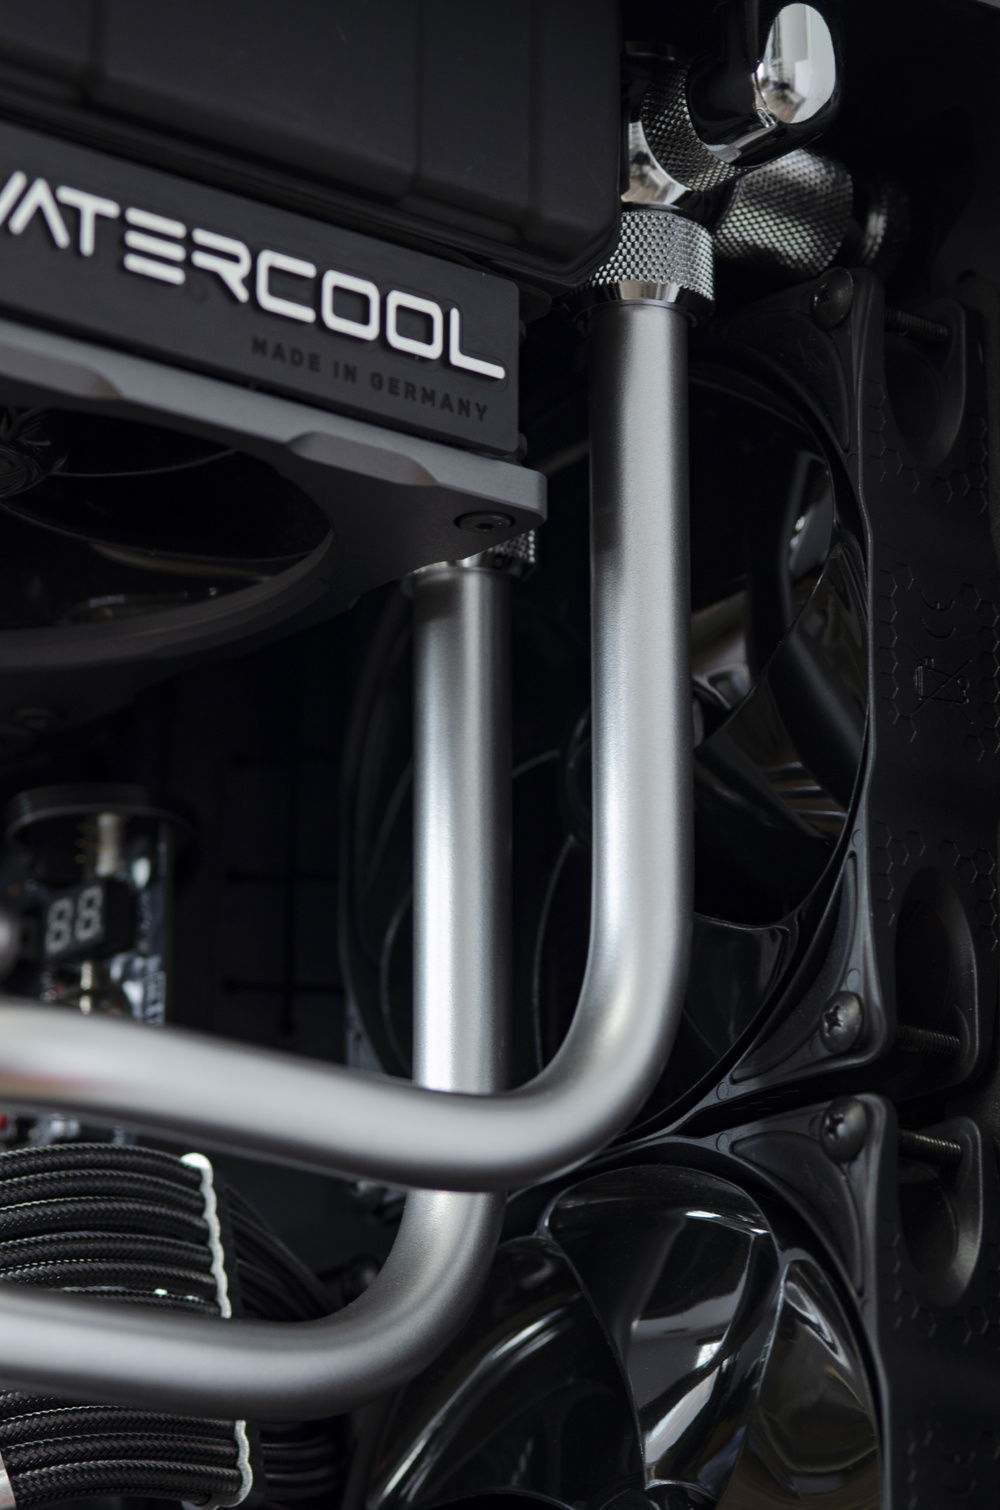
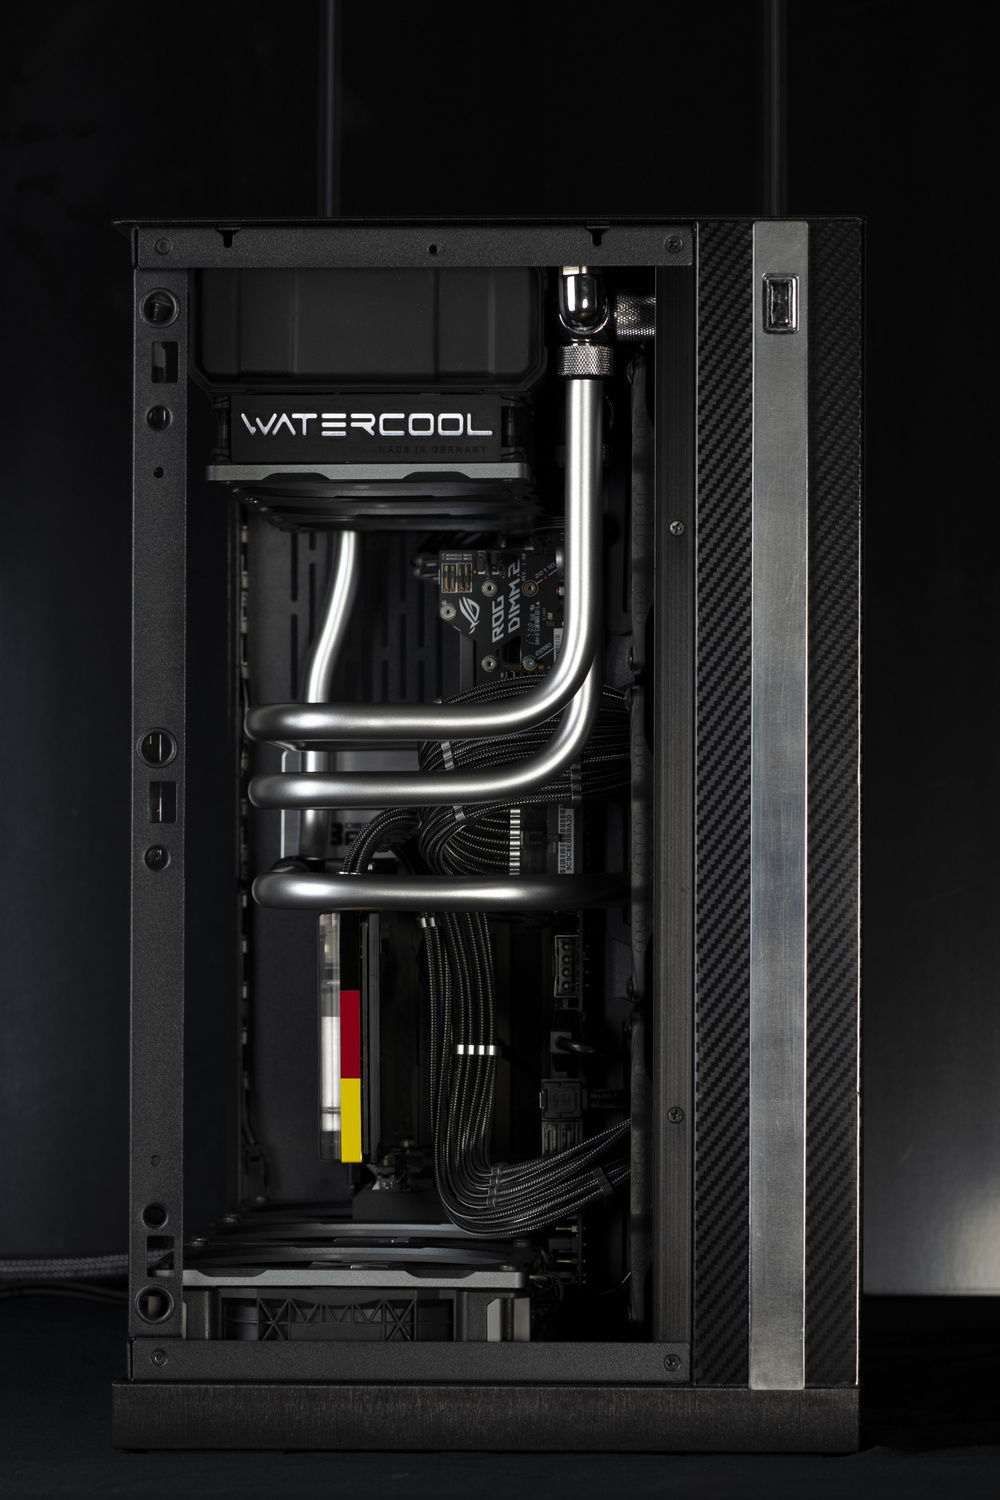
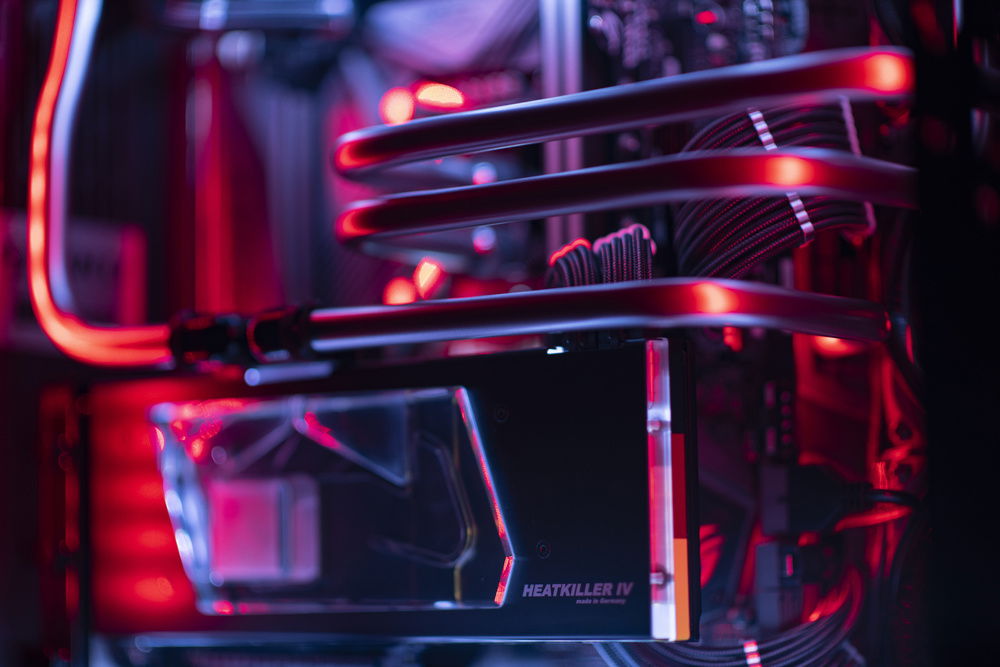
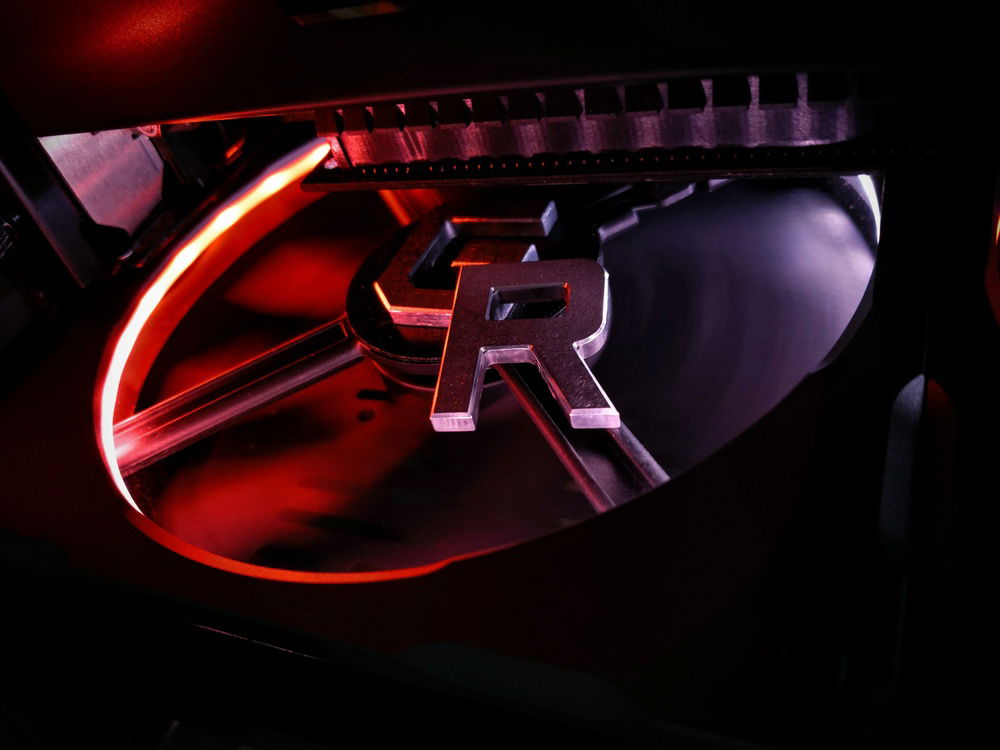
Watercool logo was milled, anodized and then milled again. The black anodized part perfectly blends in with radiator.
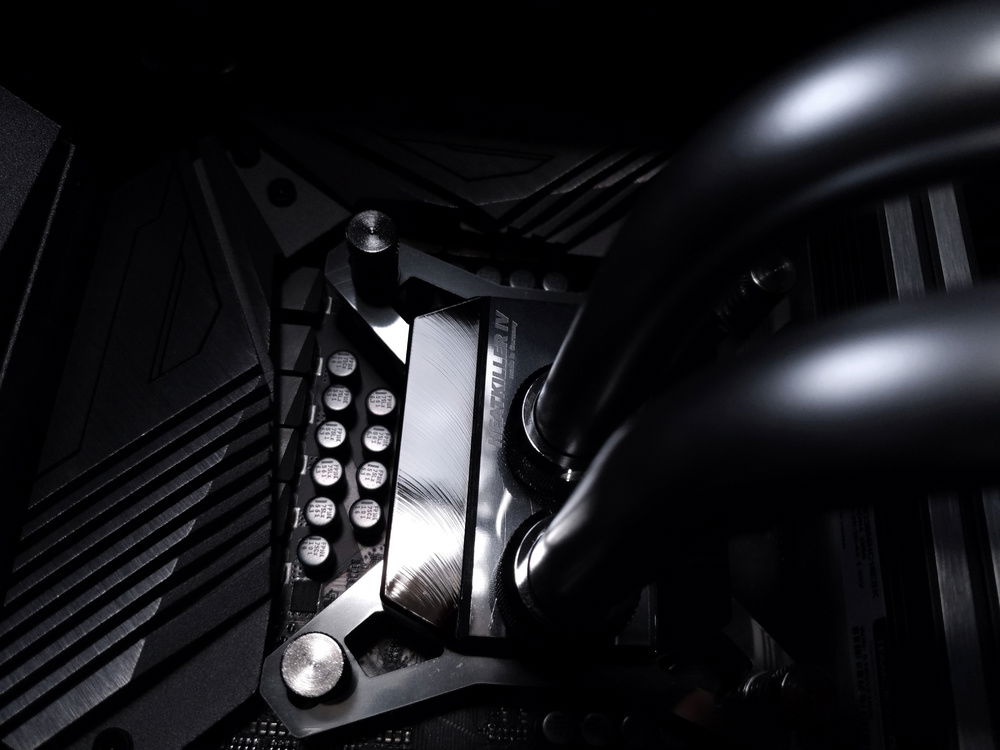
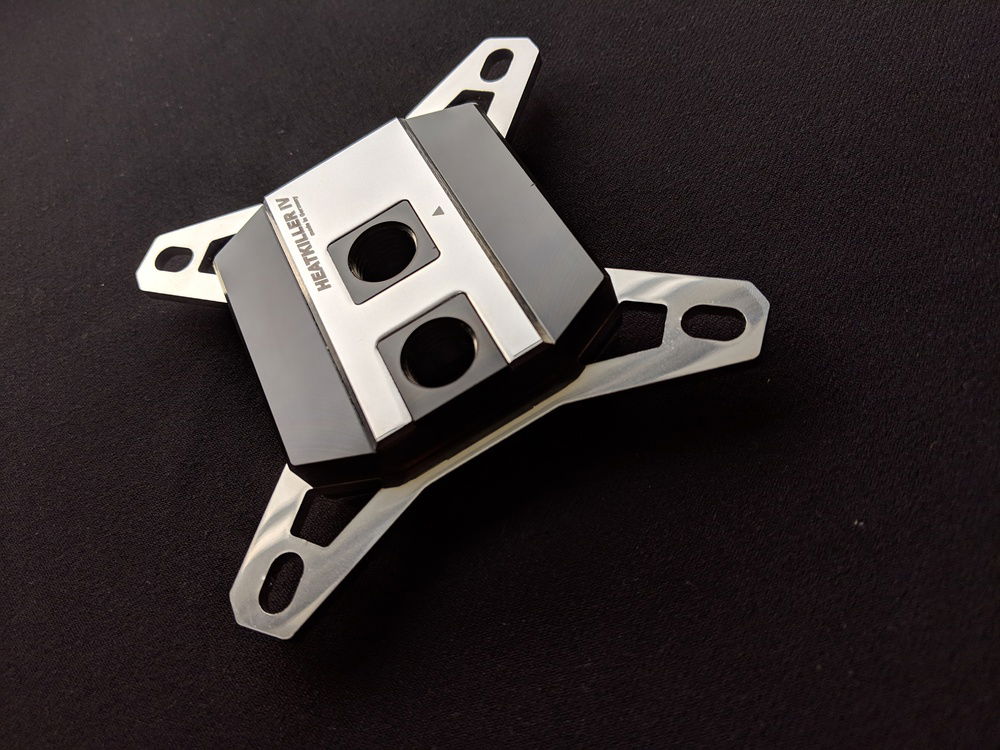
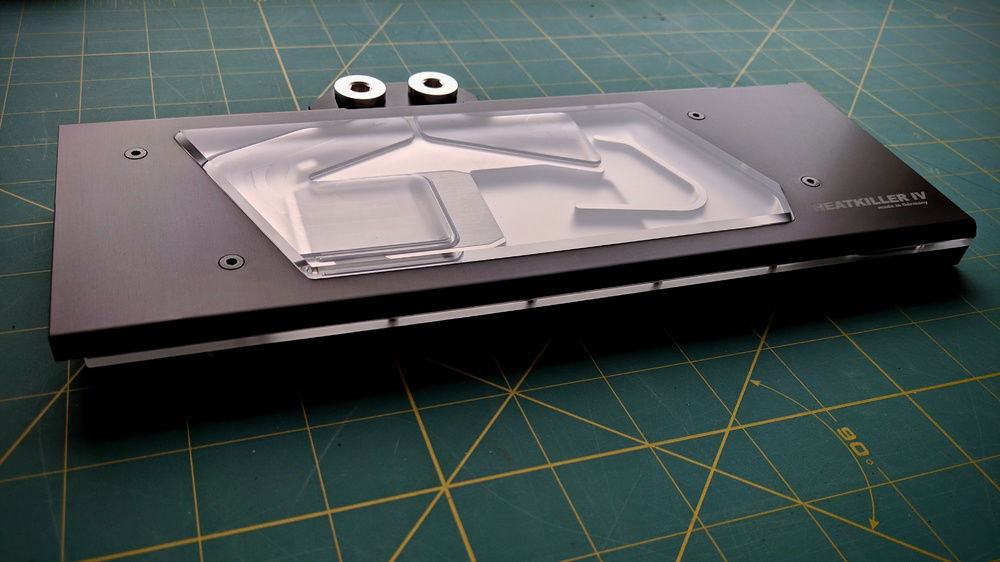
Gotta love Heatkiller blocks.
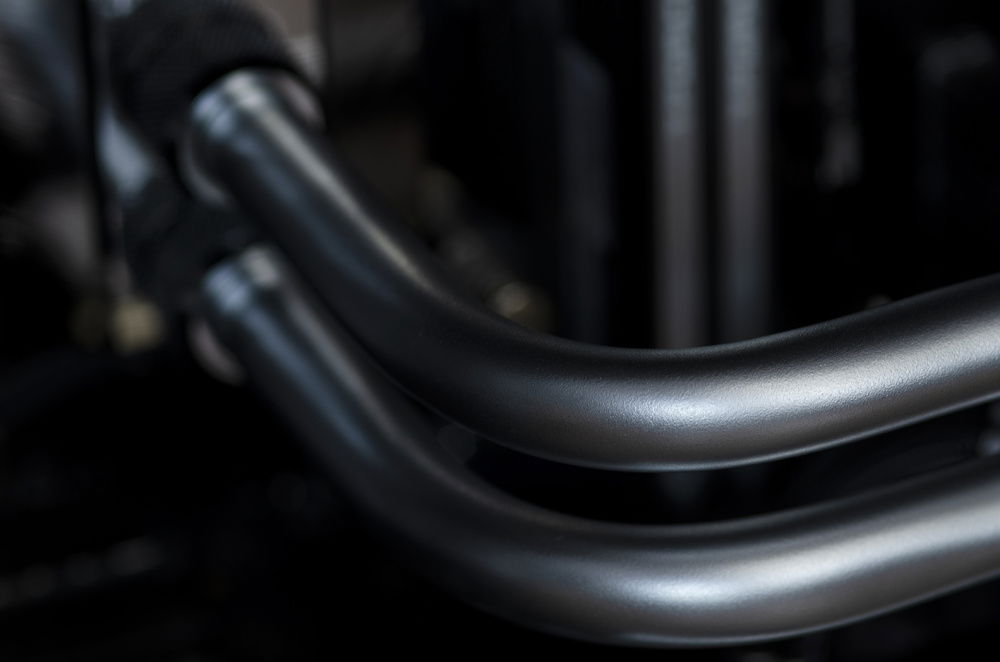
It took a lot of trial and error to get the paint finish this smooth/even.
Recently swapped out the fluid for the GPU loop from Mayhems X1 clear to UV black.
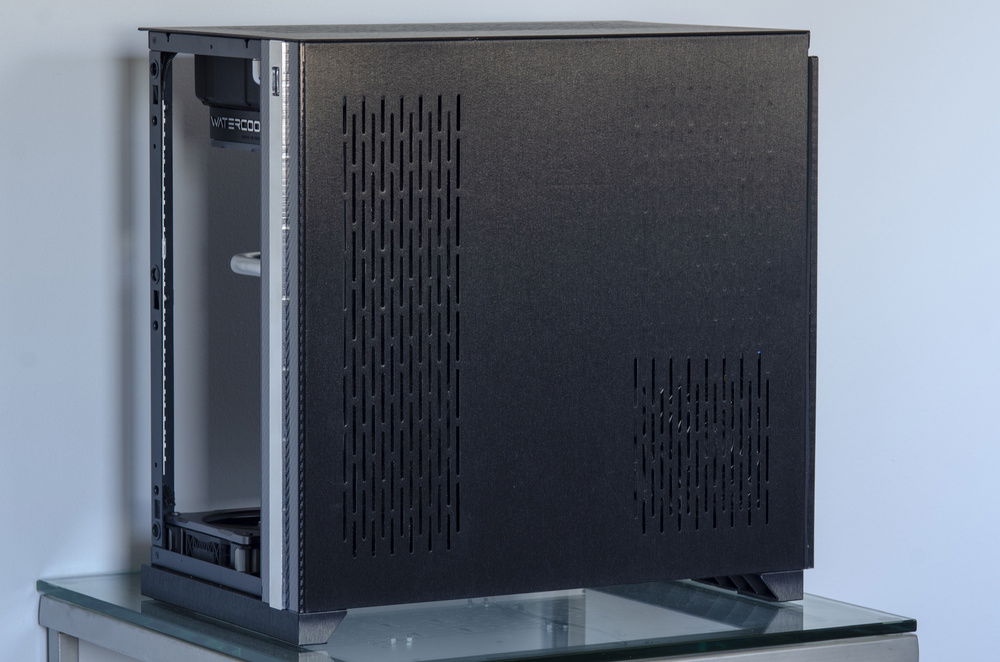
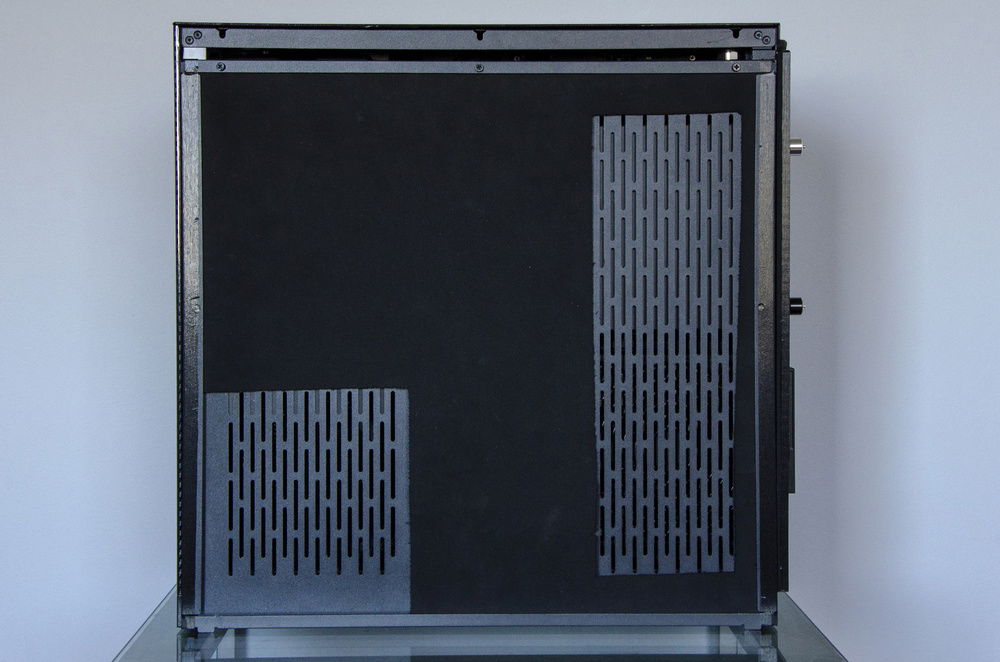
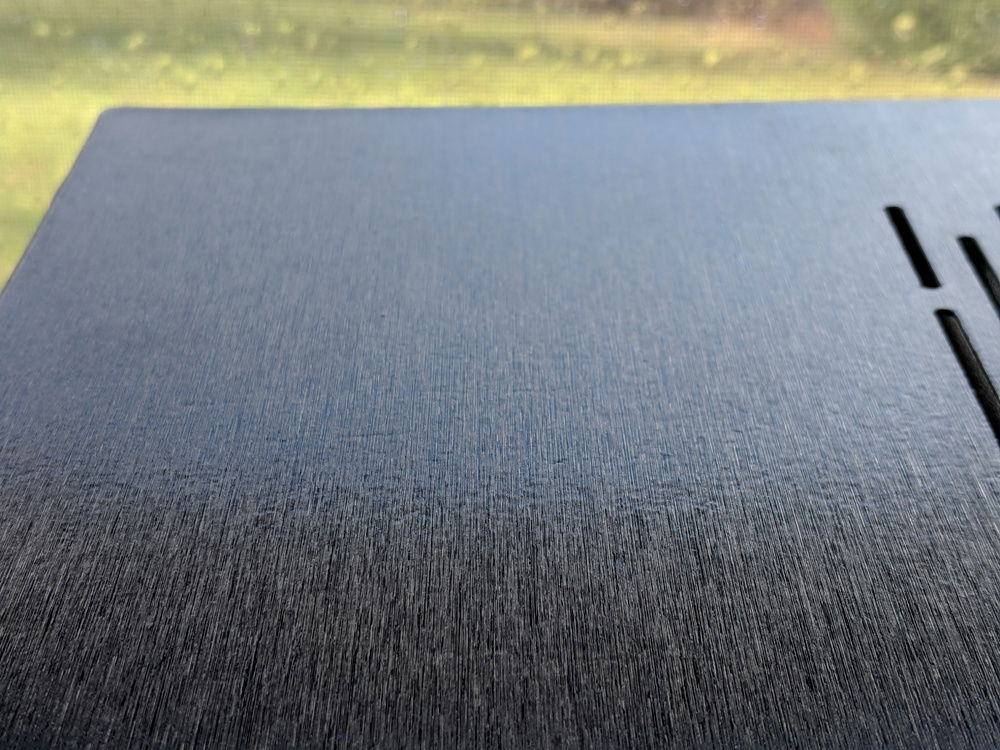
Every single vent you see had to be hand cut with an exact knife. It was not fun. This was before the O11D XL was available and I really wanted a brushed aluminum finish.
Neoprene sound dampening. Much to my surprise, this genuinely makes a difference. It really reduces the noise from the pump. I also used this material on the top and rear of my case.
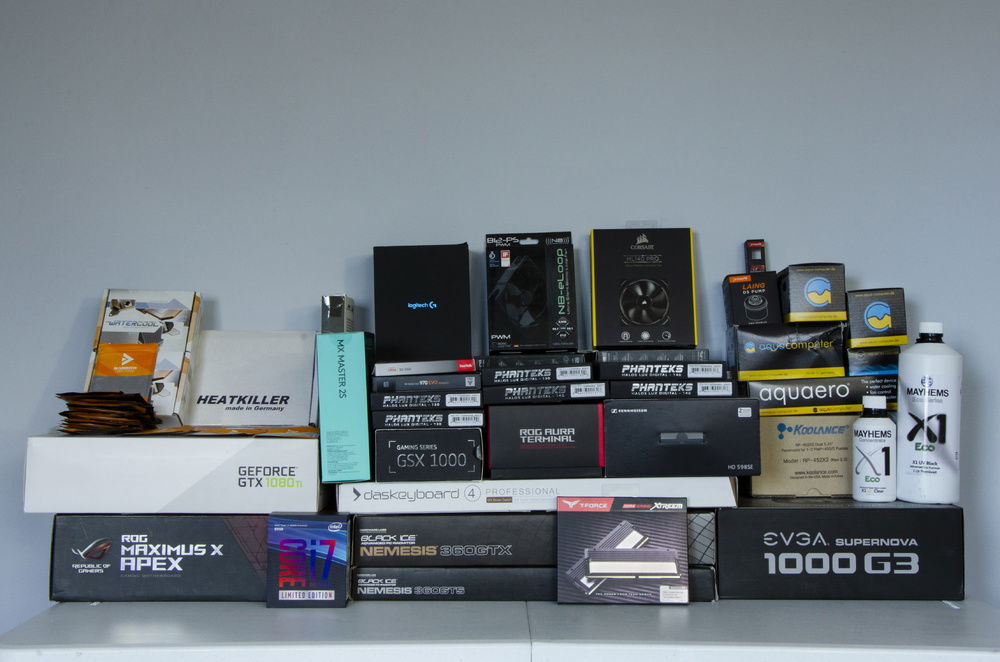
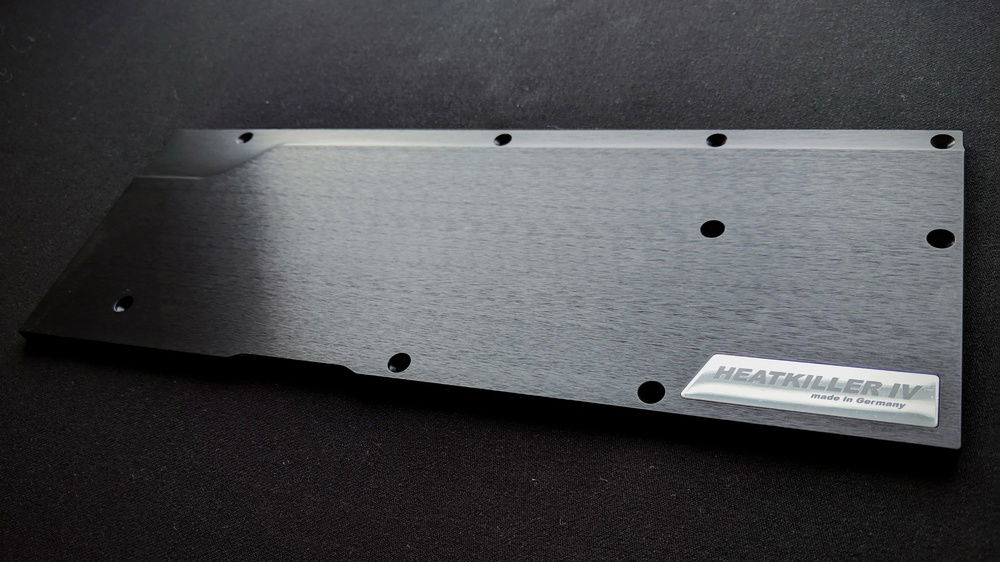
Obligatory stack of product box shot.
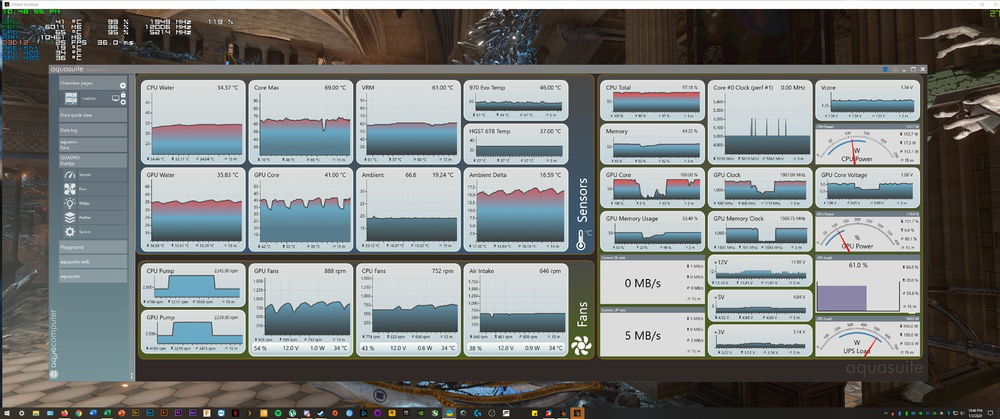
TimeSpy Extreme demo at 4K and Folding@Home CPU project at medium running at the same time. This is a good illustration of near maximum system load. This is obviously much more load than a game or a productivity task, so temps/fan speeds would be even better under those conditions.
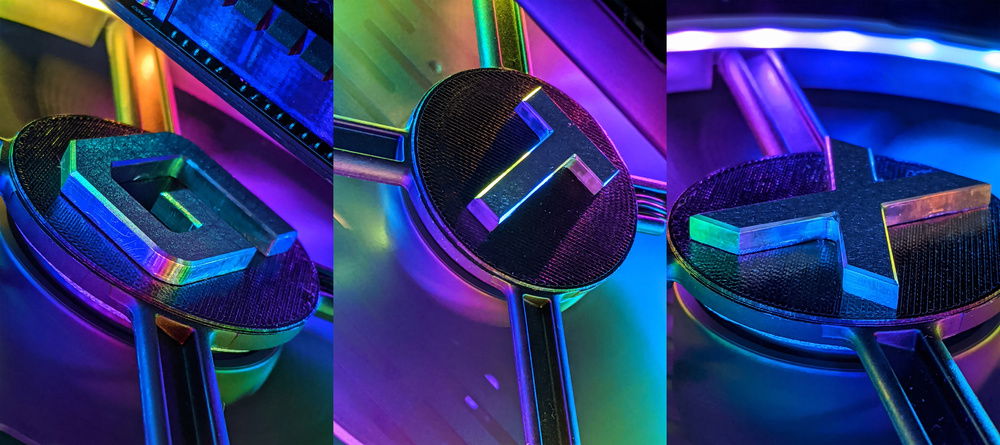
CNC'd GTX letters. Top is raw aluminum. Chamfered edges and then machined sides. Gives it a nice contrast when light hits it.
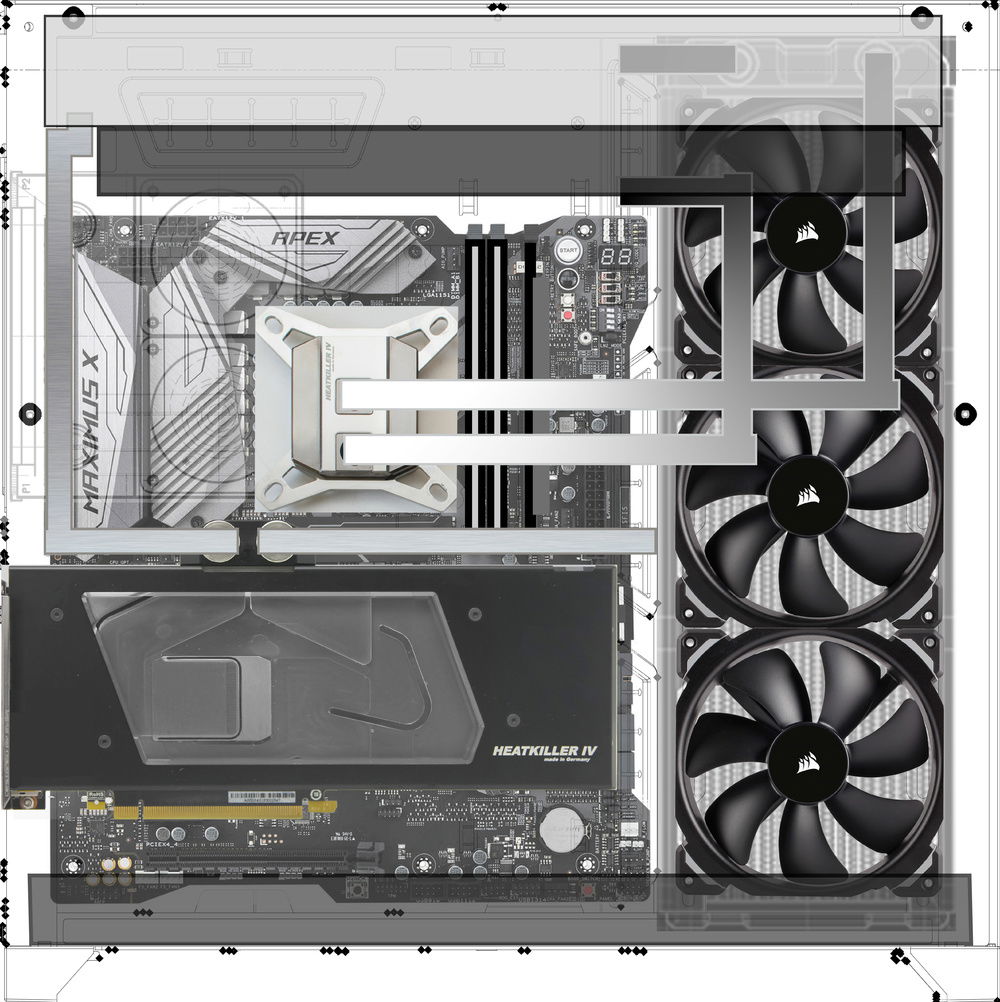
Original moc up in Photoshop. I used this for planning the loop. Everything is to scale. This helped visualize what I needed in terms of fittings and tube length. Also helped me spot potential incompatibilities before I had any parts in.
The bottom of the O11D is baaaarely compatible with 140mm fans (had to drill custom mounting holes). In hindsight, this was a dumb decision and I should have just stuck with the stock 120mm fans.
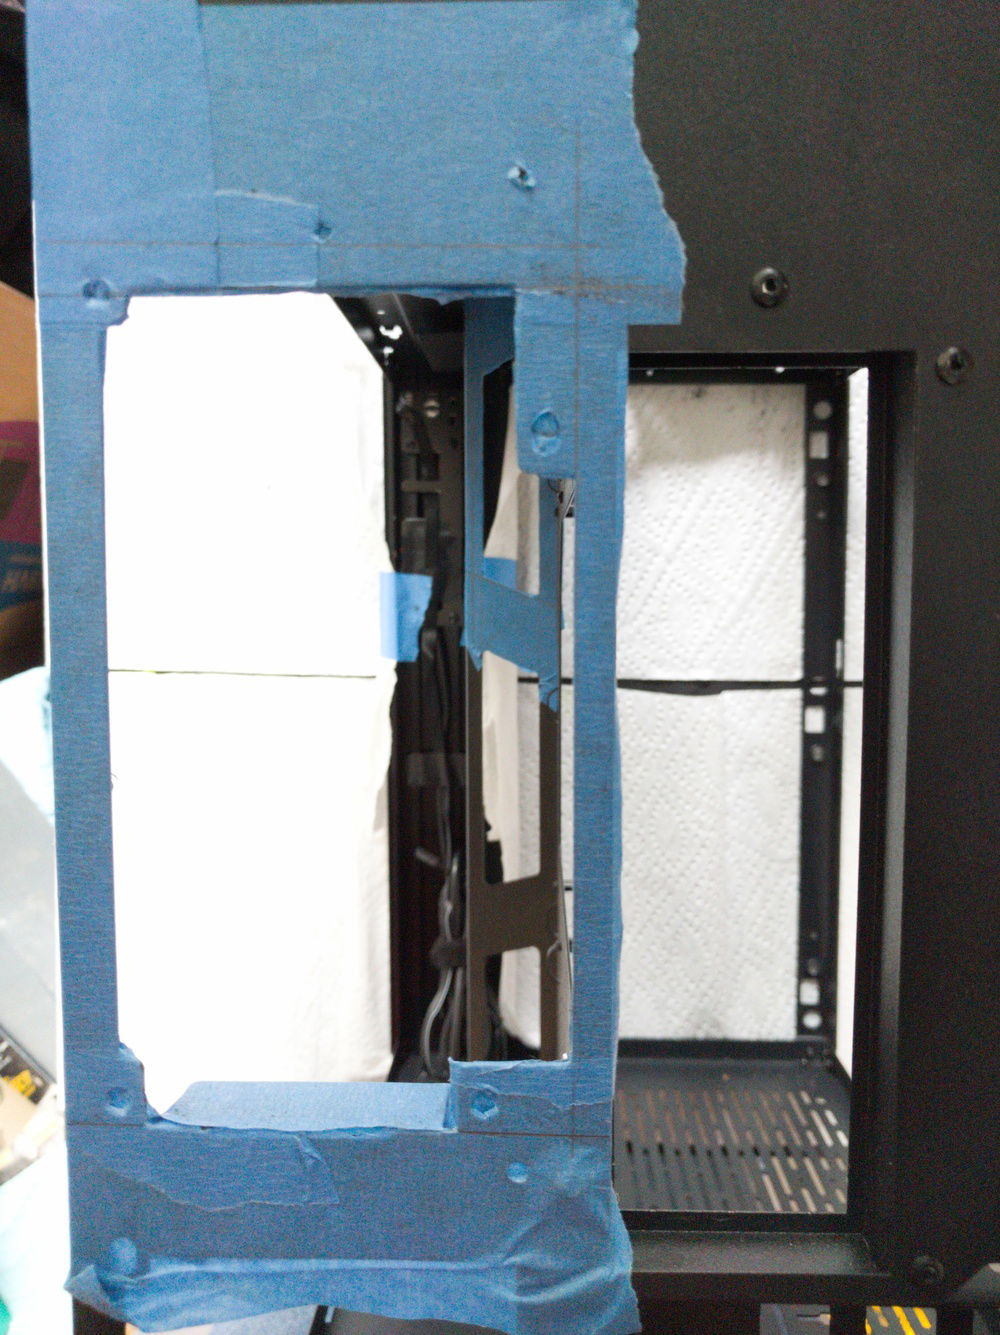
Cut out prep for pump/res unit
I am not a Dremel artiste.
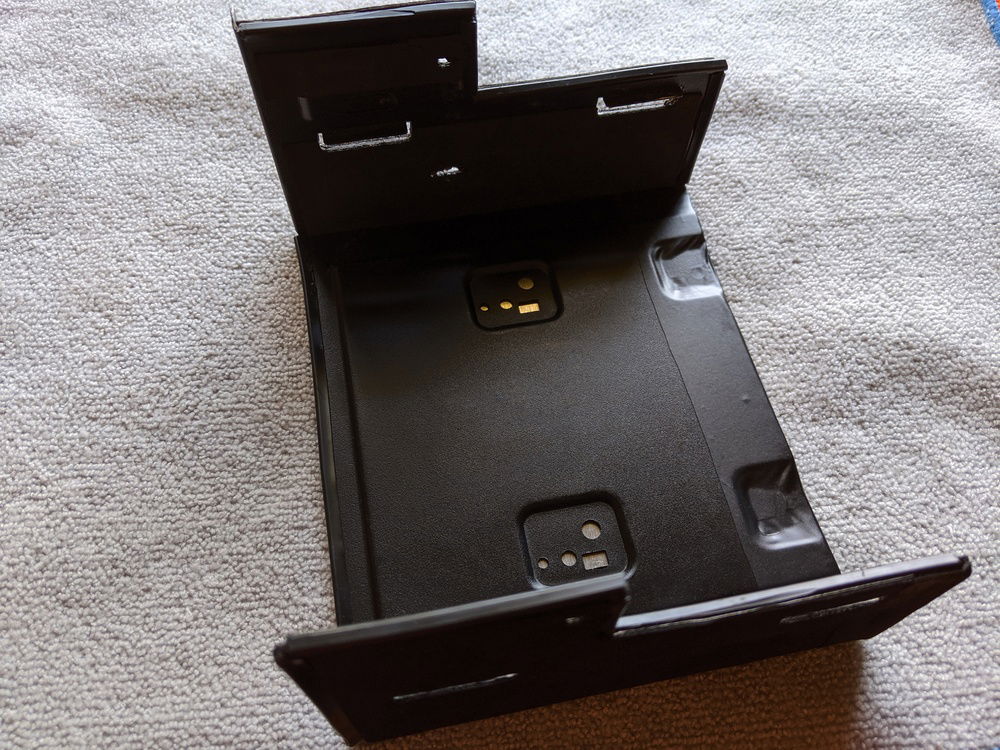
I used the 5.25" bay from my old Fractal Design Define R4 to house my pump/res unit. I cut it to size, attached an aluminum plate to the bottom, wrapped that in vinyl, and then used 3M adhesive padding on the sides.
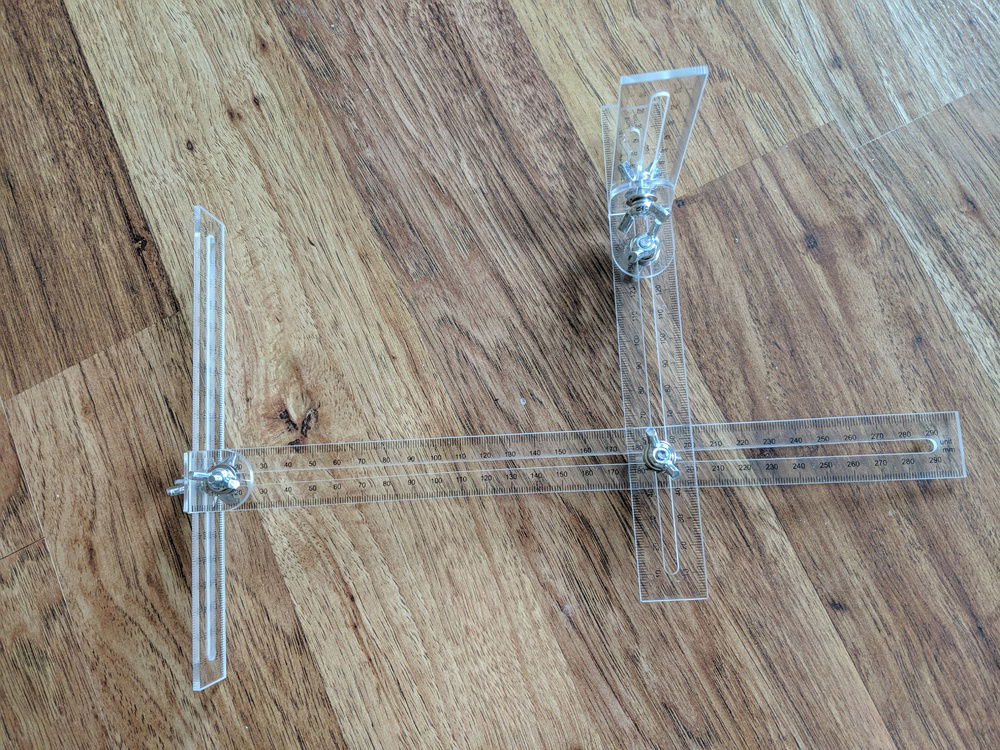
Monsoon Pro Bending kit rulers. Absolutely essential for doing 3 bend, 3 axis runs. ... not to mention ones that are parallel to each other. This build would have been impossible (for me at least) without this tool.
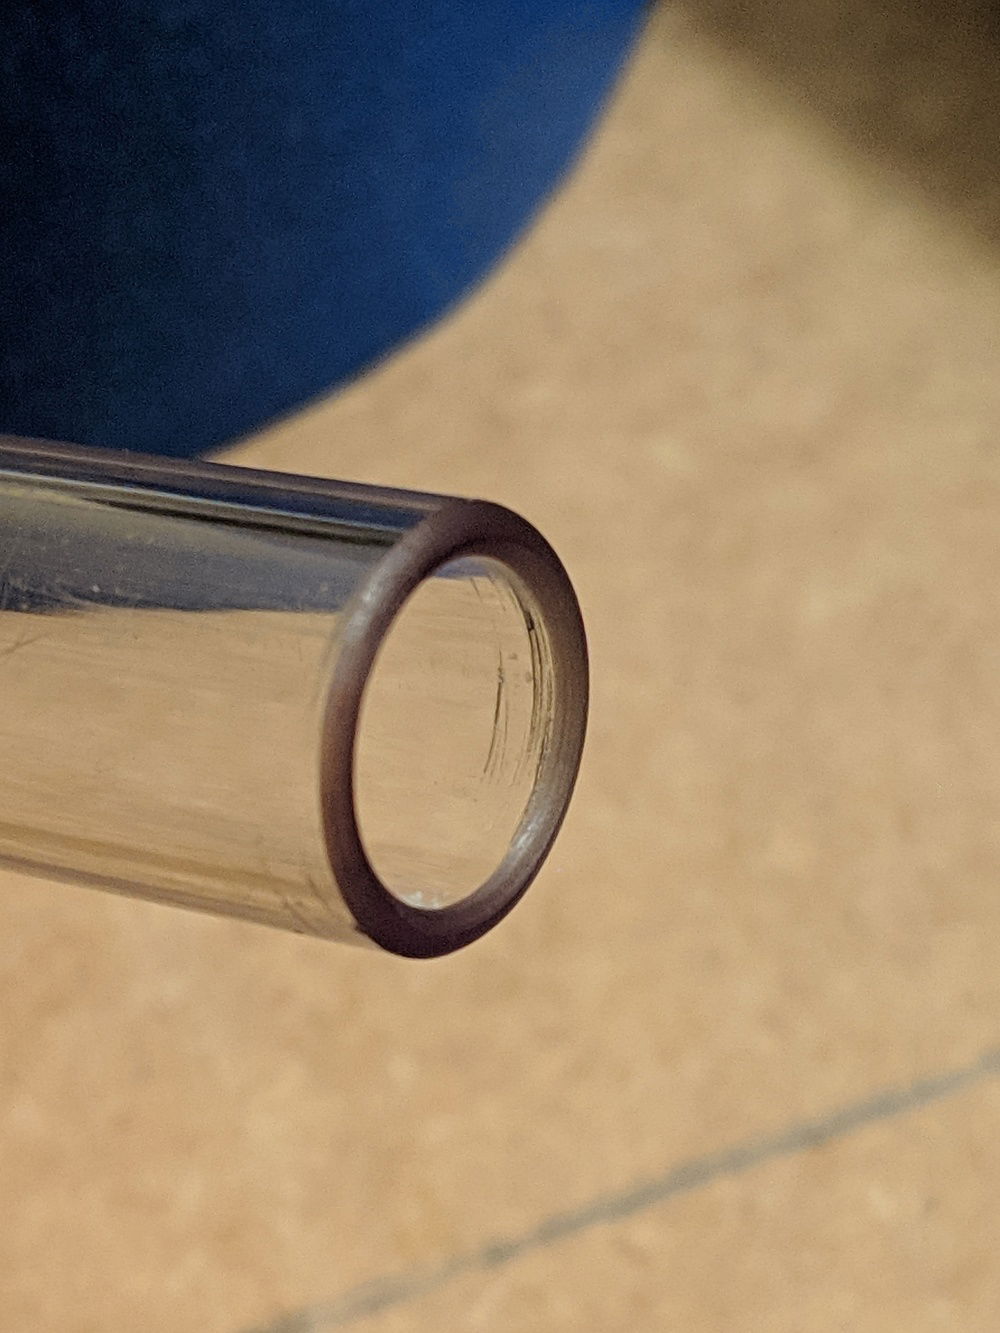
Used the Primochill rigid finishing bit (RFB) to deburr and finely adjust the length of the tubing. Another essential tool.
Used the rulers to maintain the level of the tubes.
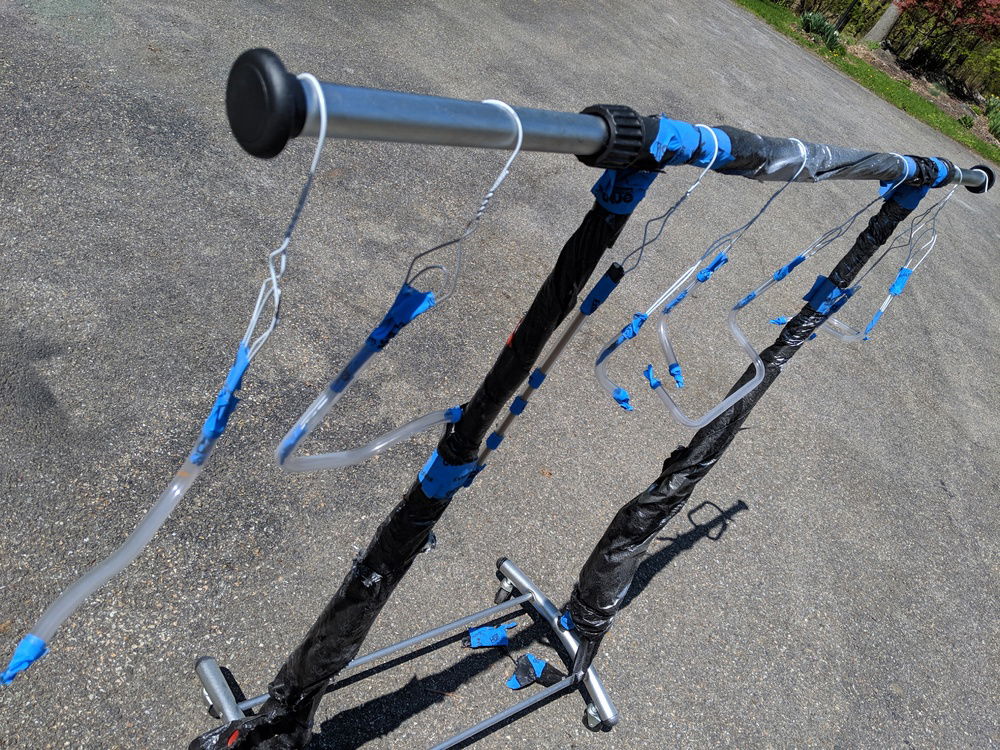
This run is so long and has so many dual compression fittings... it would collapse without some form of support. Using fishing line also let me finely adjust the position of that tube run to get it flush with the other run.
Paint prep. 2 coats of primer. 2 coats of paint, sand, 2 coat of paint.

Close up of finish. Not bad.

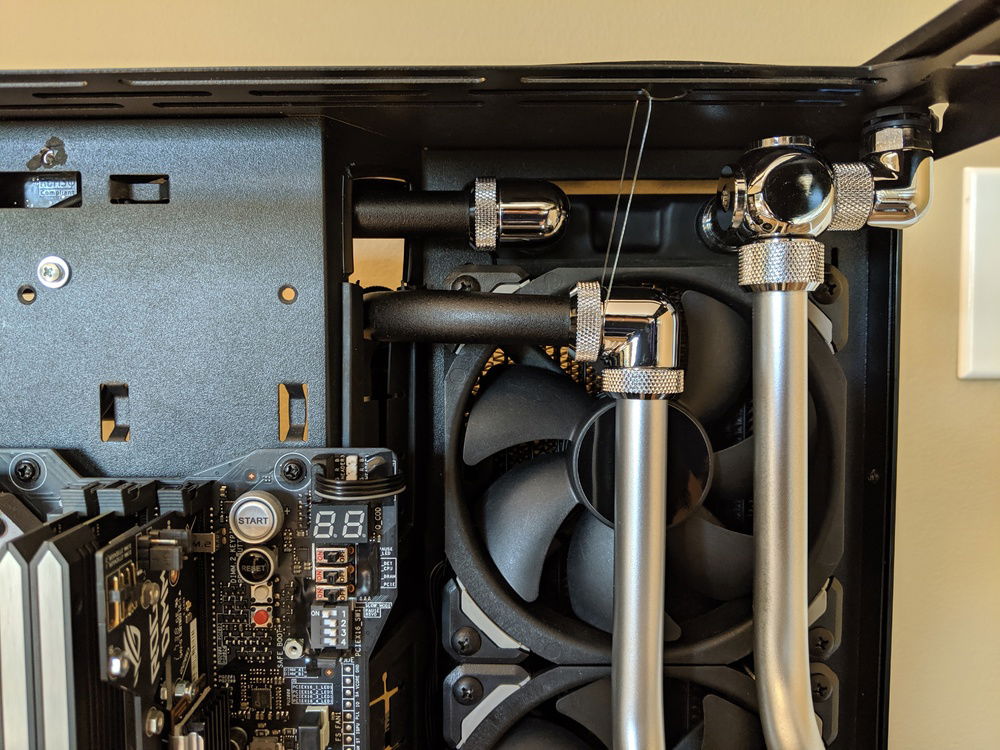
Not exactly chrome, but definitely "metal".
German flag on GPU
It may seem small, but one of my biggest gripes with this case is the poor quality of the paint job. There is a ton of "orange peel". I should have sanded the panels before I applied the vinyl.
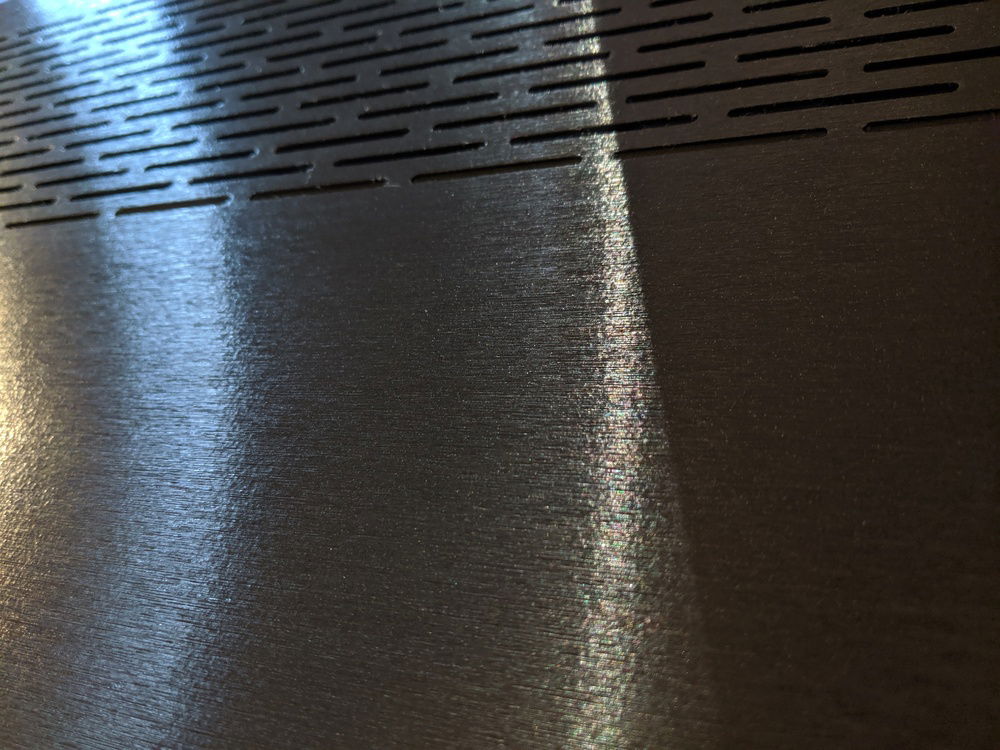
Close up shots of brushed aluminum vinyl wrap on exterior panels.
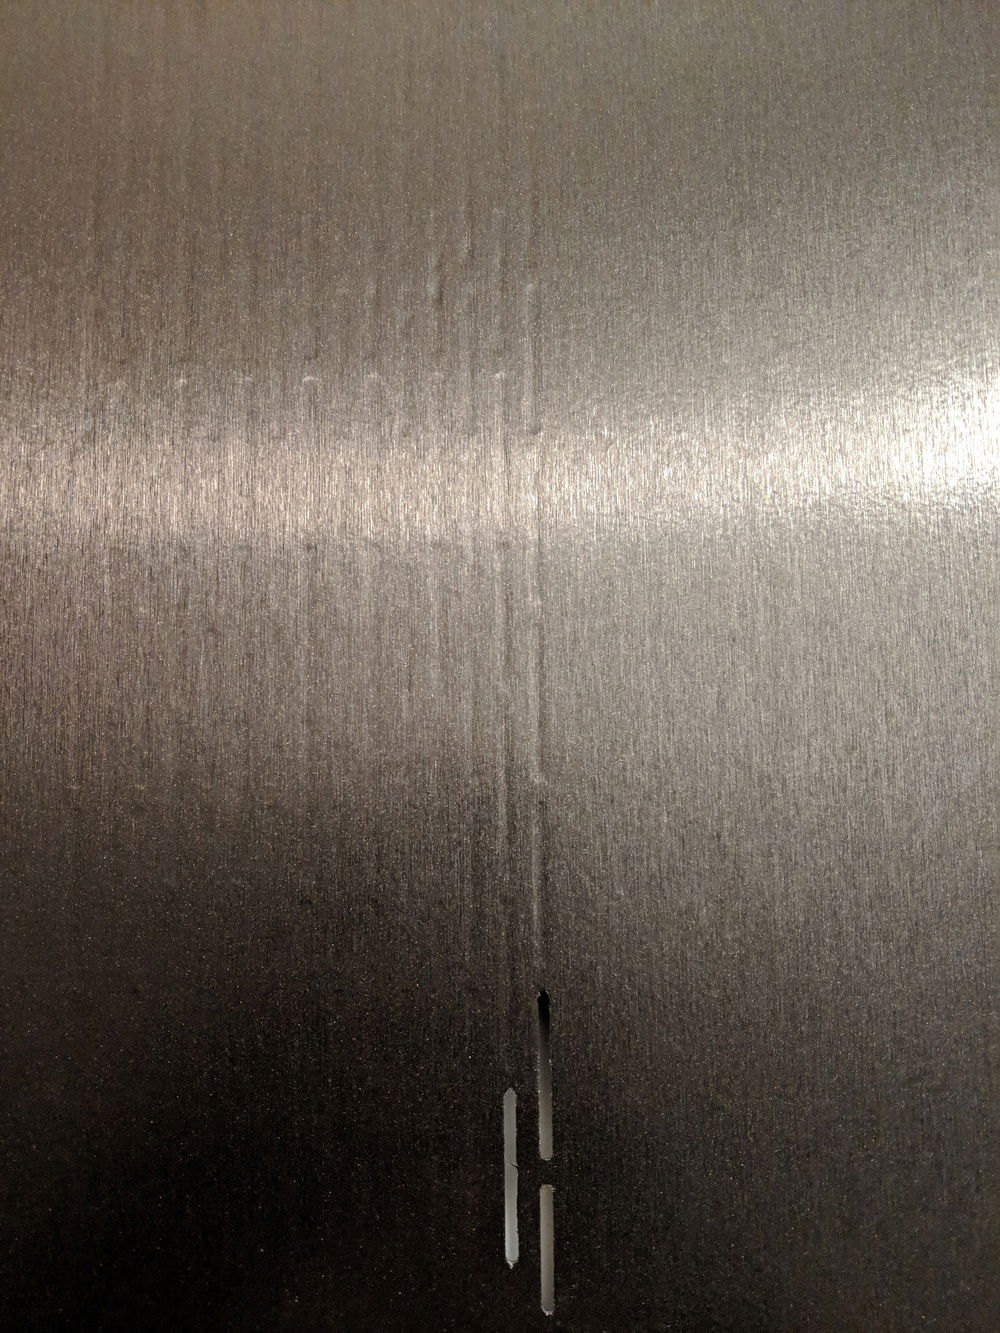
Every damn hole had to be cut by hand with an exacto knife.
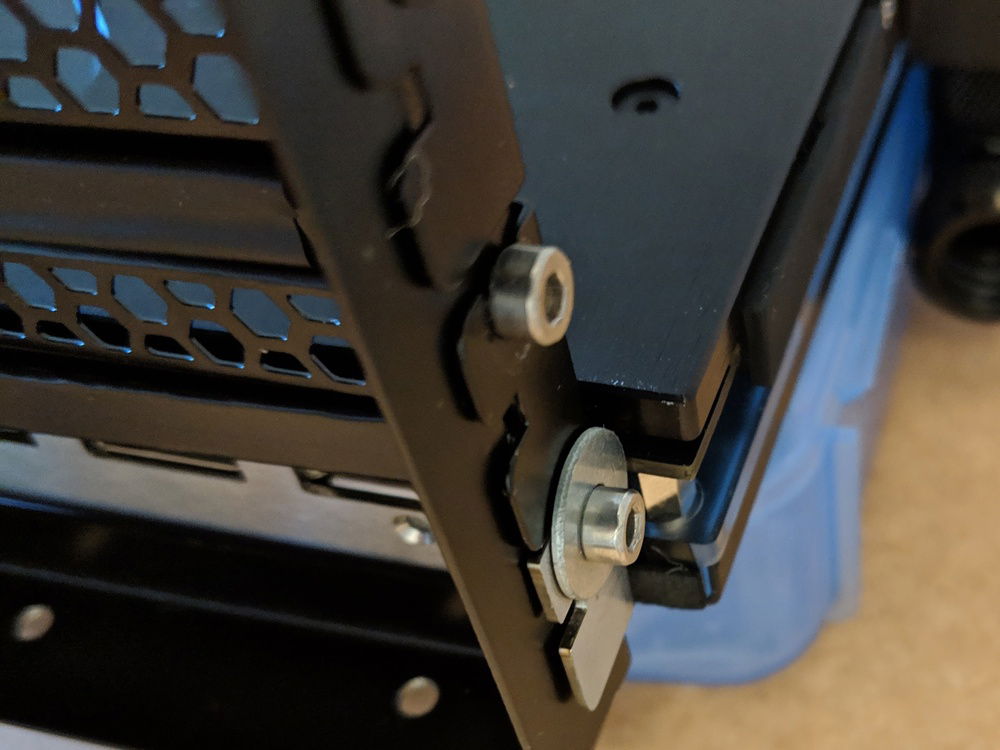
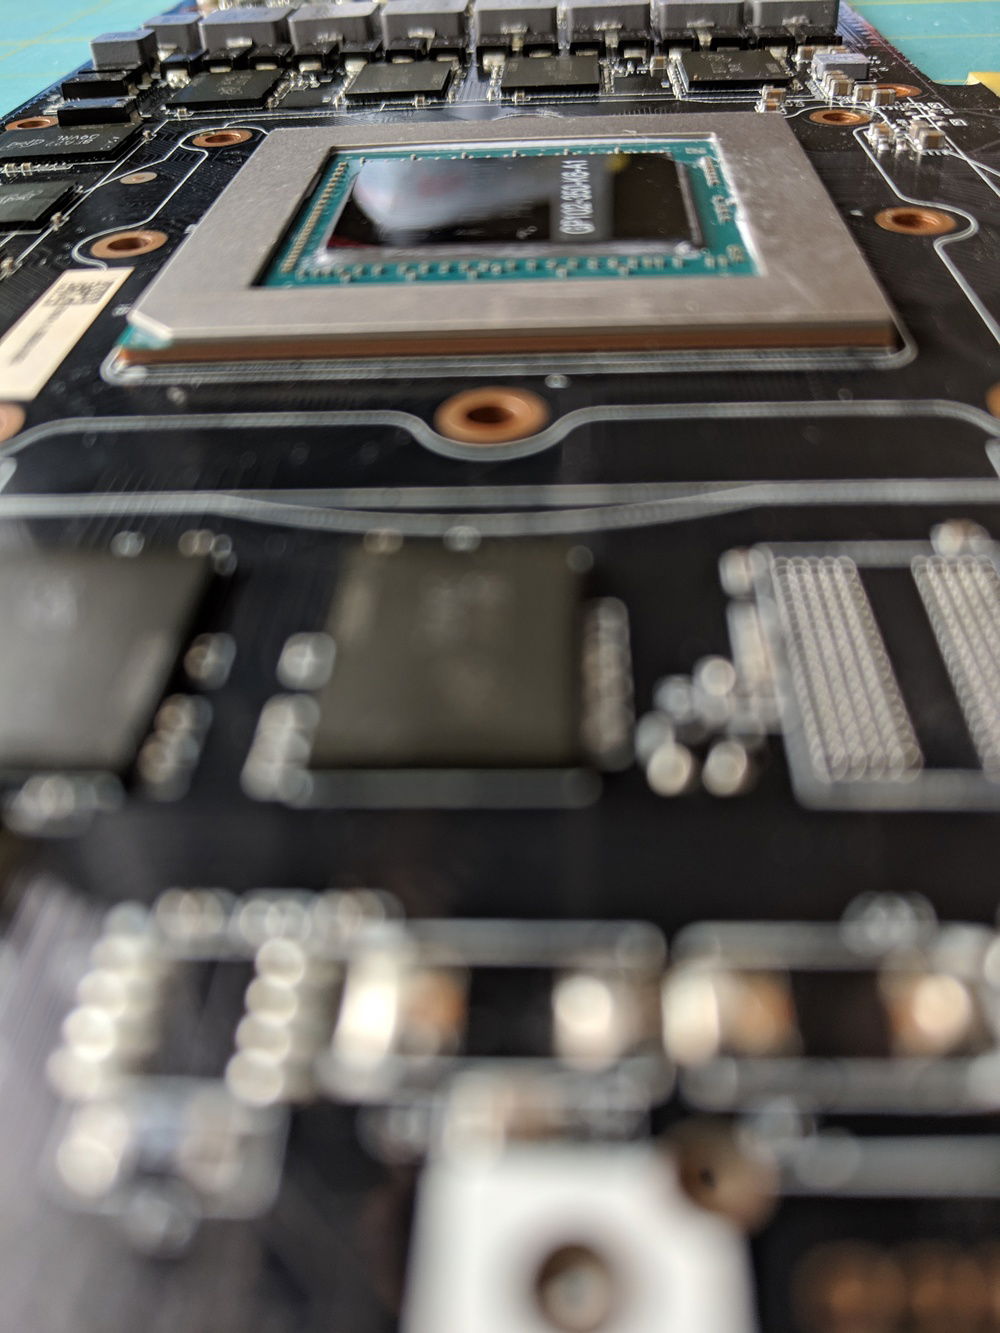
Braced heavy GPU block with a washer and nut on the other side. Really did not want that thing flexing on me.
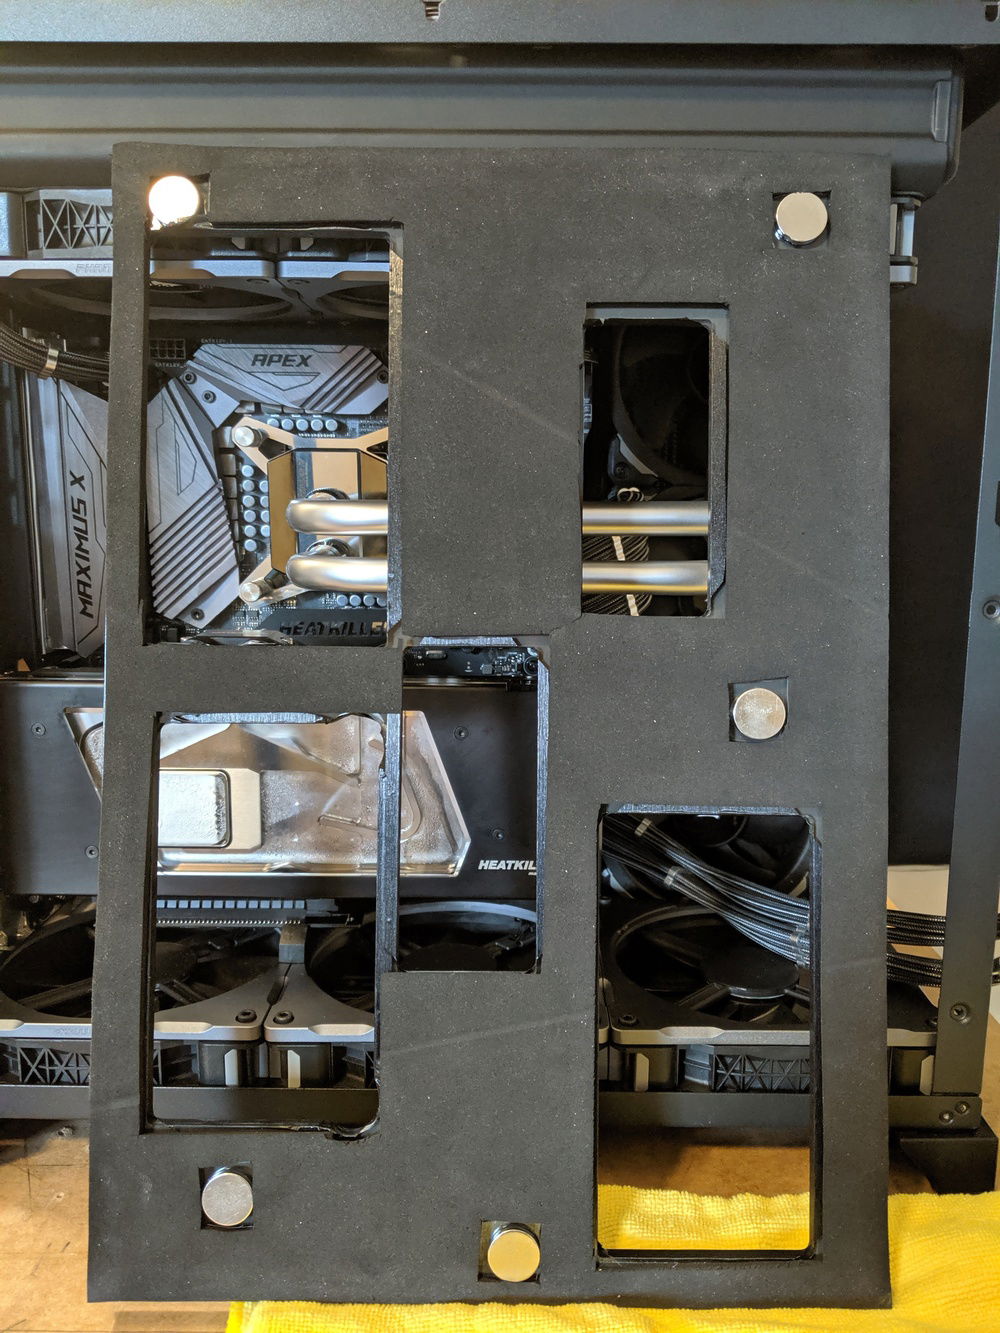
Back side of rear case cover. Neoprene and magnets to firmly attach to the case. Luckily you don't see this side.
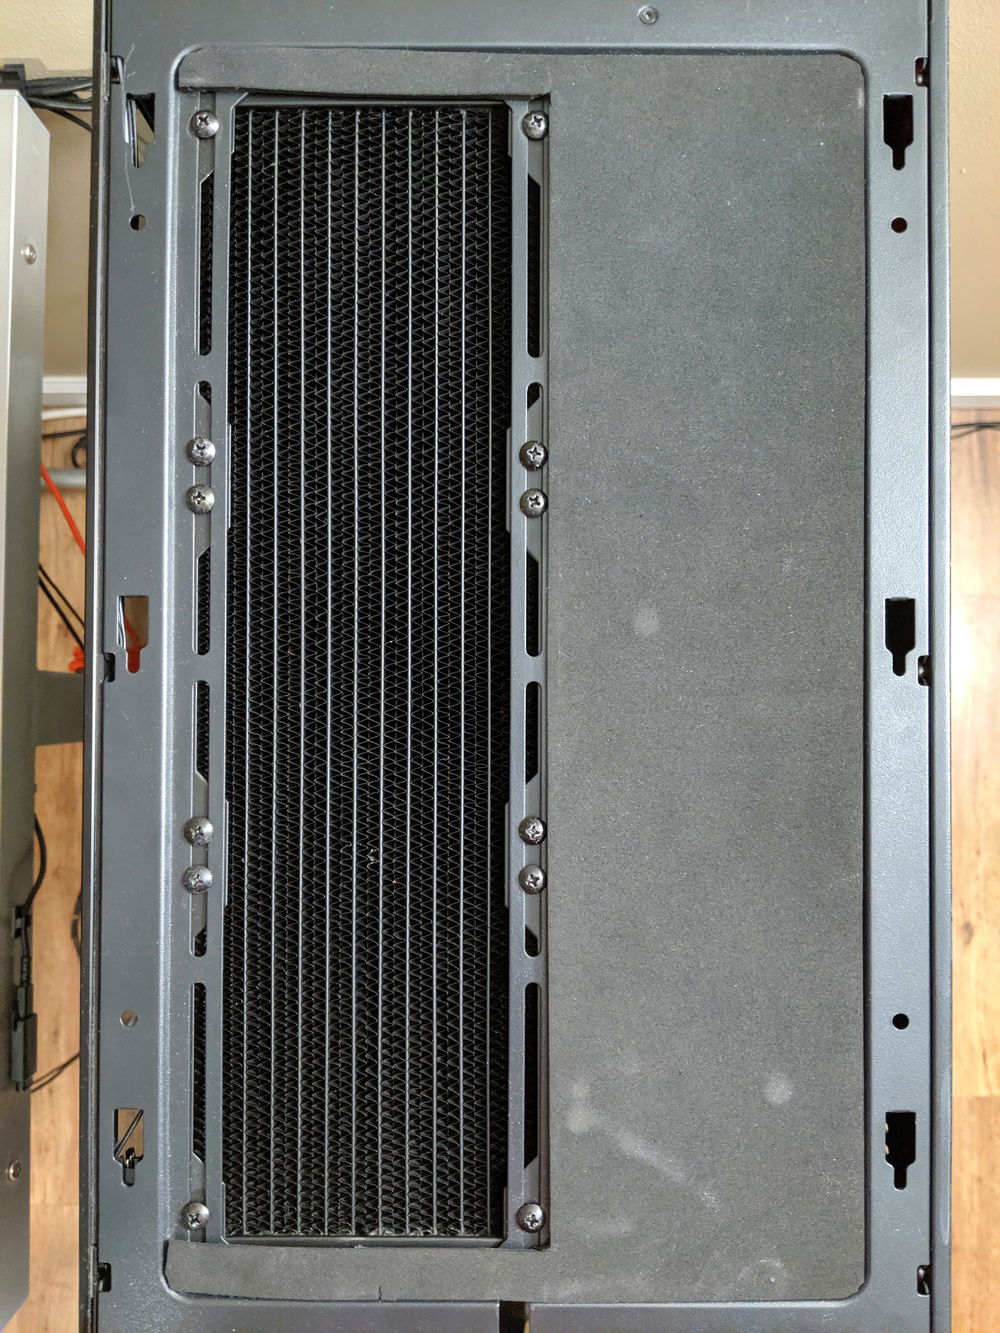
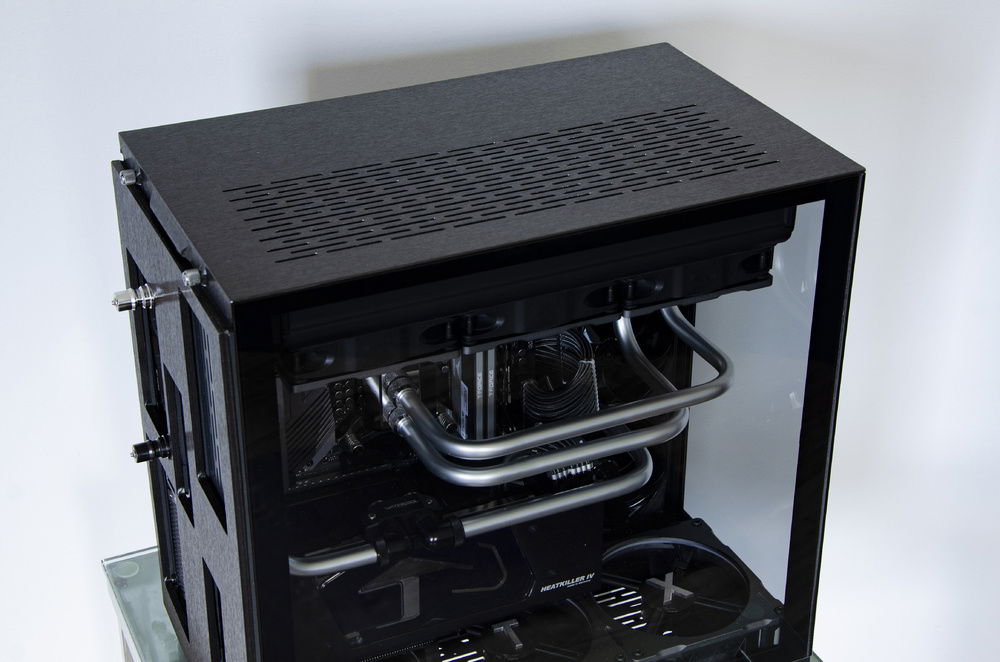
Neoprene on the top.
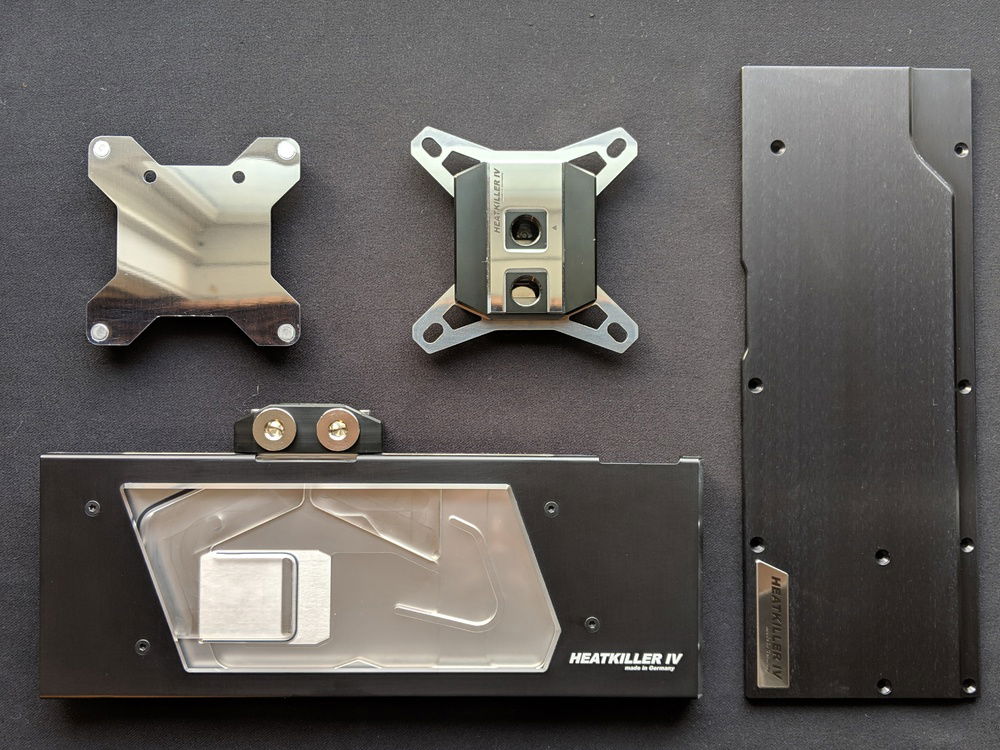
Product shots...


HEATKILLER - Dual loop | Painted Tubing | CNC'd Al | Vinyl
AD:
This build is getting a bit old at this point but I figured I'd post it before I tear it down for a rebuild (12900K/Z690 Apex/3080 Ti). I'll likely keep the same themes in this build but make subtle improvements. I wrote the text bellow a while ago and never hit publish... lol. Anyways, it's a good insight into my thought process at the time.
1: "Not another O11D".
Whatever I did, it had to be different in some way from the sea of other O11D builds. At this point, I think everyone is suffering from O11D fatigue, lol. I figured a dual loop without a distro or tube reservoirs would fit the bill. While this will perform slightly worse than a single loop, it will let me keep my PC largely operational when I'm in "selling current GPU/buying new GPU limbo". All I have to do is drain the GPU loop 75% or so, remove the GPU and cap the ports. I won't have to redo any runs, since the CPU is independent, while I'm waiting. While there are a few other dual loop O11Ds, to my knowledge there are none with the reservoirs in the rear chamber. The 5.25" Koolance dual bay res is a bit of a call back to the early 2010's of water cooling. It offers a very compact form factor for 2 reservoirs/pumps. Extremely high quality piece of kit. That combined with the satin metallic-ish painted tubing and vinyl work hopefully make for a unique O11D.
2: The system has to perform.
That doesn't mean FPS (custom loops don't improve in game performance by an appreciable amount vs a quality air cooled system), it means temps and acoustics. Outside of the dual loop, everything about the system is setup for optimal performance. In terms of cooling, the flow direction for every block/rad is optimal, each rad gets fresh air, GPU block/VRM/SSD all get direct airflow, delid with LM & copper IHS, the radiator fans are minimally obstructed, foam gaskets between the fans/rads/case, blocks/rads/fans are all from top quality brands, etc etc. I'd like to think that, in totality, that amounts to a couple % here or there. My GPU to water temp delta under load ranges from +4-6c (Heatkiller blocks are very good). CPU doesn't exceed +25c and is usually +15-20c. Both are OC'd (8086K: 5.2ghz at 1.33v, 1080 Ti 2000/12000mhz). Depending on ambient, water temps are between 30-37c under load.
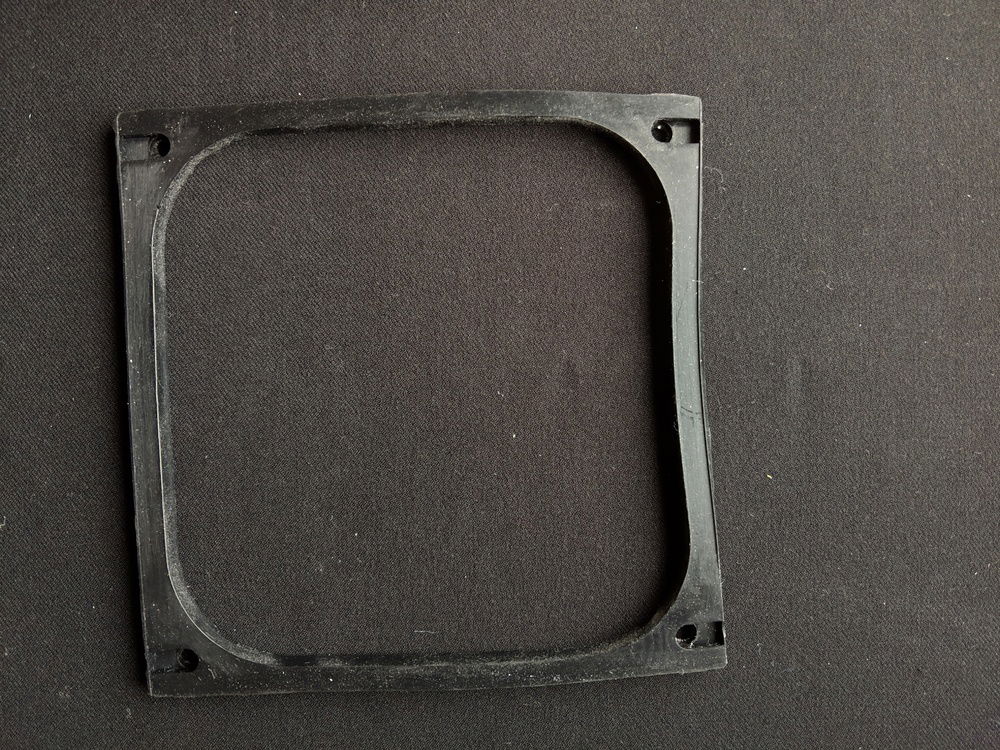
For acoustics, each D5 only having to handle 1 rad and 1 block means I can keep the pump RPM range very low 850-2000rpm (below fan noise). The noiseblocker fans are terrific at low RPM. Outside of the A12-25s from Noctua, I haven't heard a quieter fan. I have all my fans capped at 1000rpm up to any water temp below 38c (which I only reach on hot days). The bottom 3x140mm fans are on 7mm thick rubber gaskets that not only dampen vibrations, but raise the fans from case floor, which reduces air turbulence noise at higher RPMs. Finally, the top, rear and back side case panels as well as the pump housing are lined in sponge neoprene. I was very skeptical this would have any noticeable effect... but at least for the back side case panel, which I can A/B test, there is a noticeable reduction in buzzy/high pitch noises from the pump. Combine all that with the overall good airflow of the O11D and you've got a system that is cool and quiet.
3: A clean, industrial, themed aesthetic.
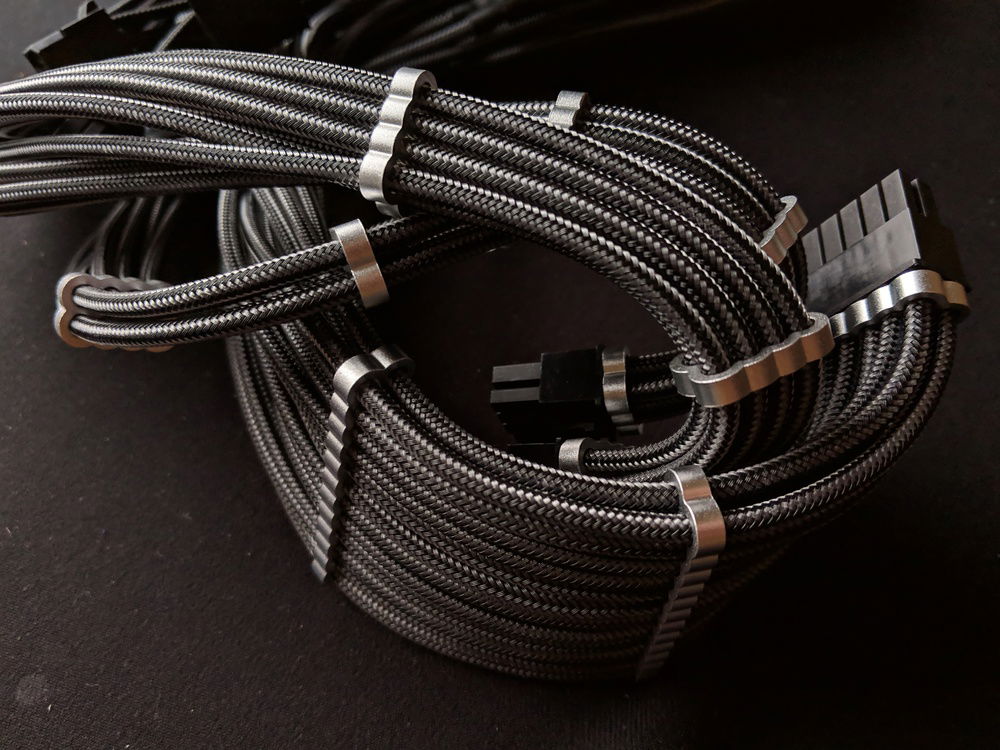
I didn't plan it strictly this way, but one thing I think I did well was creating a matching "themed" aesthetic. The color of the mobo heatsink is similar to the Halo fan frames. The cable combs almost match the tubing. The blocks/mobo/ram all have angular geometry. There is metal inside and outside. Carbon cables match the external power cable. CPU loop is designated by chrome fittings, GPU loop by black fittings, which match their respective blocks. Everything looks like it was meant to be together.
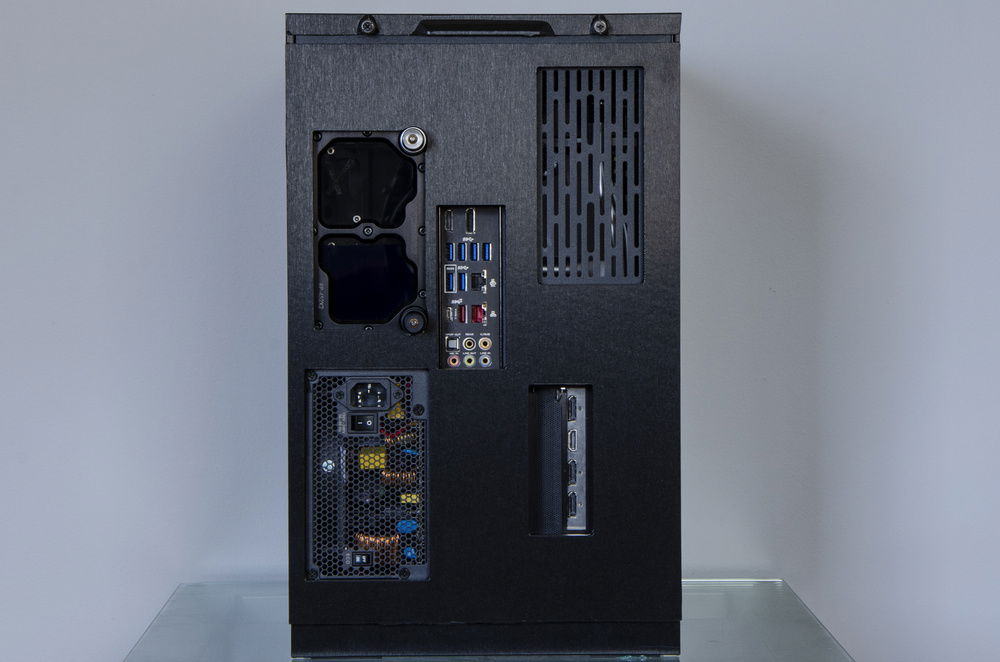
Other little details... the exterior panels are all wrapped in vinyl. The top/rear/side panels are in 3M Brushed Black Metallic wrap to mimic the O11DXL/older aluminum Lian Li cases. For the vinyl on the exterior panels... every single ventilation hole (>100) was hand cut with an exacto knife. The front I/O is wrapped in a wet carbon fiber vinyl, that one could almost mistake for the real thing. The vinyl along with the CNC'd aluminum front strip gives the build a more premium appearance IMO. I did the initial CAD work for the GTX letters on the fan hubs, Watercool nameplate and the alu I/O cover, while the some polishing of the models and machining was done by Clockwerk Industries. For a dash of color, I added a vinyl German flag to the GPU block since Heatkiller and Noiseblocker are German brands. The RGB Halos fan frames and Aquacomputer LED strips provide the lighting. I find that white or red and white are the best colors. Putting the reservoir(s) in the back opens up the main chamber and allowed me to do more uniform and minimalist tube runs.
This is purely a personal preference, but I prefer all my mods to look "super stock". Almost like they came out of the factory that way. Builds with lots of intricate acrylic work or ornate designs are great displays of craftsmanship and machining (which I certainly do not have), and while I like many... they aren't my style.
Here is a list of the "mods" in the build:
Last thing I wanted to touch on is the process for painting the tubing. I wanted to do hand bent nickel plated copper tubing… but that proved to be way too much money (tools and plating) and far too complex. Pre bent chrome tubing was an option but I wasn't keen on using fittings to connect the runs. So I went with paint. I looked into doing chrome effect paint called Alsa Easy Chrome... but that was a disaster. Finally, I settled on Molotow Burner Chrome graffiti spray paint. It’s not quite metallic or chrome, more of a shinny satin stainless steel look. I learned very quickly, getting an even finish is not "easy". My first couple attempts were pretty garbage. The first problem was the paint is very high pressure and comes out very quickly so I had to get a more restrictive cap to reduce the flow. I also did some research on what autobody shops do when they paint bumpers and I ended up with this adapted process: soapy water wash, rinse, wet 1000 grit sanding, distilled water rinse, dry, tape ends of tube runs, 2 coats of primer, 24 hour cure in a dust free environment, wipe any dust off with a microfiber cloth, 2 coats of paint, 24 hour cure, 2000 grit sand, cloth wipe, 2 coats of paint and then a 1 week cure (as recommended by molotow). Tubing was bent before painting. Kind of a ridiculous process but I am pleased with the results.
So that's it. if you have any questions, please feel free to drop a comment below.
1: "Not another O11D".
Whatever I did, it had to be different in some way from the sea of other O11D builds. At this point, I think everyone is suffering from O11D fatigue, lol. I figured a dual loop without a distro or tube reservoirs would fit the bill. While this will perform slightly worse than a single loop, it will let me keep my PC largely operational when I'm in "selling current GPU/buying new GPU limbo". All I have to do is drain the GPU loop 75% or so, remove the GPU and cap the ports. I won't have to redo any runs, since the CPU is independent, while I'm waiting. While there are a few other dual loop O11Ds, to my knowledge there are none with the reservoirs in the rear chamber. The 5.25" Koolance dual bay res is a bit of a call back to the early 2010's of water cooling. It offers a very compact form factor for 2 reservoirs/pumps. Extremely high quality piece of kit. That combined with the satin metallic-ish painted tubing and vinyl work hopefully make for a unique O11D.
2: The system has to perform.
That doesn't mean FPS (custom loops don't improve in game performance by an appreciable amount vs a quality air cooled system), it means temps and acoustics. Outside of the dual loop, everything about the system is setup for optimal performance. In terms of cooling, the flow direction for every block/rad is optimal, each rad gets fresh air, GPU block/VRM/SSD all get direct airflow, delid with LM & copper IHS, the radiator fans are minimally obstructed, foam gaskets between the fans/rads/case, blocks/rads/fans are all from top quality brands, etc etc. I'd like to think that, in totality, that amounts to a couple % here or there. My GPU to water temp delta under load ranges from +4-6c (Heatkiller blocks are very good). CPU doesn't exceed +25c and is usually +15-20c. Both are OC'd (8086K: 5.2ghz at 1.33v, 1080 Ti 2000/12000mhz). Depending on ambient, water temps are between 30-37c under load.
For acoustics, each D5 only having to handle 1 rad and 1 block means I can keep the pump RPM range very low 850-2000rpm (below fan noise). The noiseblocker fans are terrific at low RPM. Outside of the A12-25s from Noctua, I haven't heard a quieter fan. I have all my fans capped at 1000rpm up to any water temp below 38c (which I only reach on hot days). The bottom 3x140mm fans are on 7mm thick rubber gaskets that not only dampen vibrations, but raise the fans from case floor, which reduces air turbulence noise at higher RPMs. Finally, the top, rear and back side case panels as well as the pump housing are lined in sponge neoprene. I was very skeptical this would have any noticeable effect... but at least for the back side case panel, which I can A/B test, there is a noticeable reduction in buzzy/high pitch noises from the pump. Combine all that with the overall good airflow of the O11D and you've got a system that is cool and quiet.
3: A clean, industrial, themed aesthetic.
I didn't plan it strictly this way, but one thing I think I did well was creating a matching "themed" aesthetic. The color of the mobo heatsink is similar to the Halo fan frames. The cable combs almost match the tubing. The blocks/mobo/ram all have angular geometry. There is metal inside and outside. Carbon cables match the external power cable. CPU loop is designated by chrome fittings, GPU loop by black fittings, which match their respective blocks. Everything looks like it was meant to be together.
Other little details... the exterior panels are all wrapped in vinyl. The top/rear/side panels are in 3M Brushed Black Metallic wrap to mimic the O11DXL/older aluminum Lian Li cases. For the vinyl on the exterior panels... every single ventilation hole (>100) was hand cut with an exacto knife. The front I/O is wrapped in a wet carbon fiber vinyl, that one could almost mistake for the real thing. The vinyl along with the CNC'd aluminum front strip gives the build a more premium appearance IMO. I did the initial CAD work for the GTX letters on the fan hubs, Watercool nameplate and the alu I/O cover, while the some polishing of the models and machining was done by Clockwerk Industries. For a dash of color, I added a vinyl German flag to the GPU block since Heatkiller and Noiseblocker are German brands. The RGB Halos fan frames and Aquacomputer LED strips provide the lighting. I find that white or red and white are the best colors. Putting the reservoir(s) in the back opens up the main chamber and allowed me to do more uniform and minimalist tube runs.
This is purely a personal preference, but I prefer all my mods to look "super stock". Almost like they came out of the factory that way. Builds with lots of intricate acrylic work or ornate designs are great displays of craftsmanship and machining (which I certainly do not have), and while I like many... they aren't my style.
Here is a list of the "mods" in the build:
- CNC’d aluminum front IO cover, Watercool badge and GTX letters (machined by Clockwerk Industries).
- Machine cut vinyl HEATKILLER logo on motherboard.
- CNC'd acrylic rear panel and GPU support.
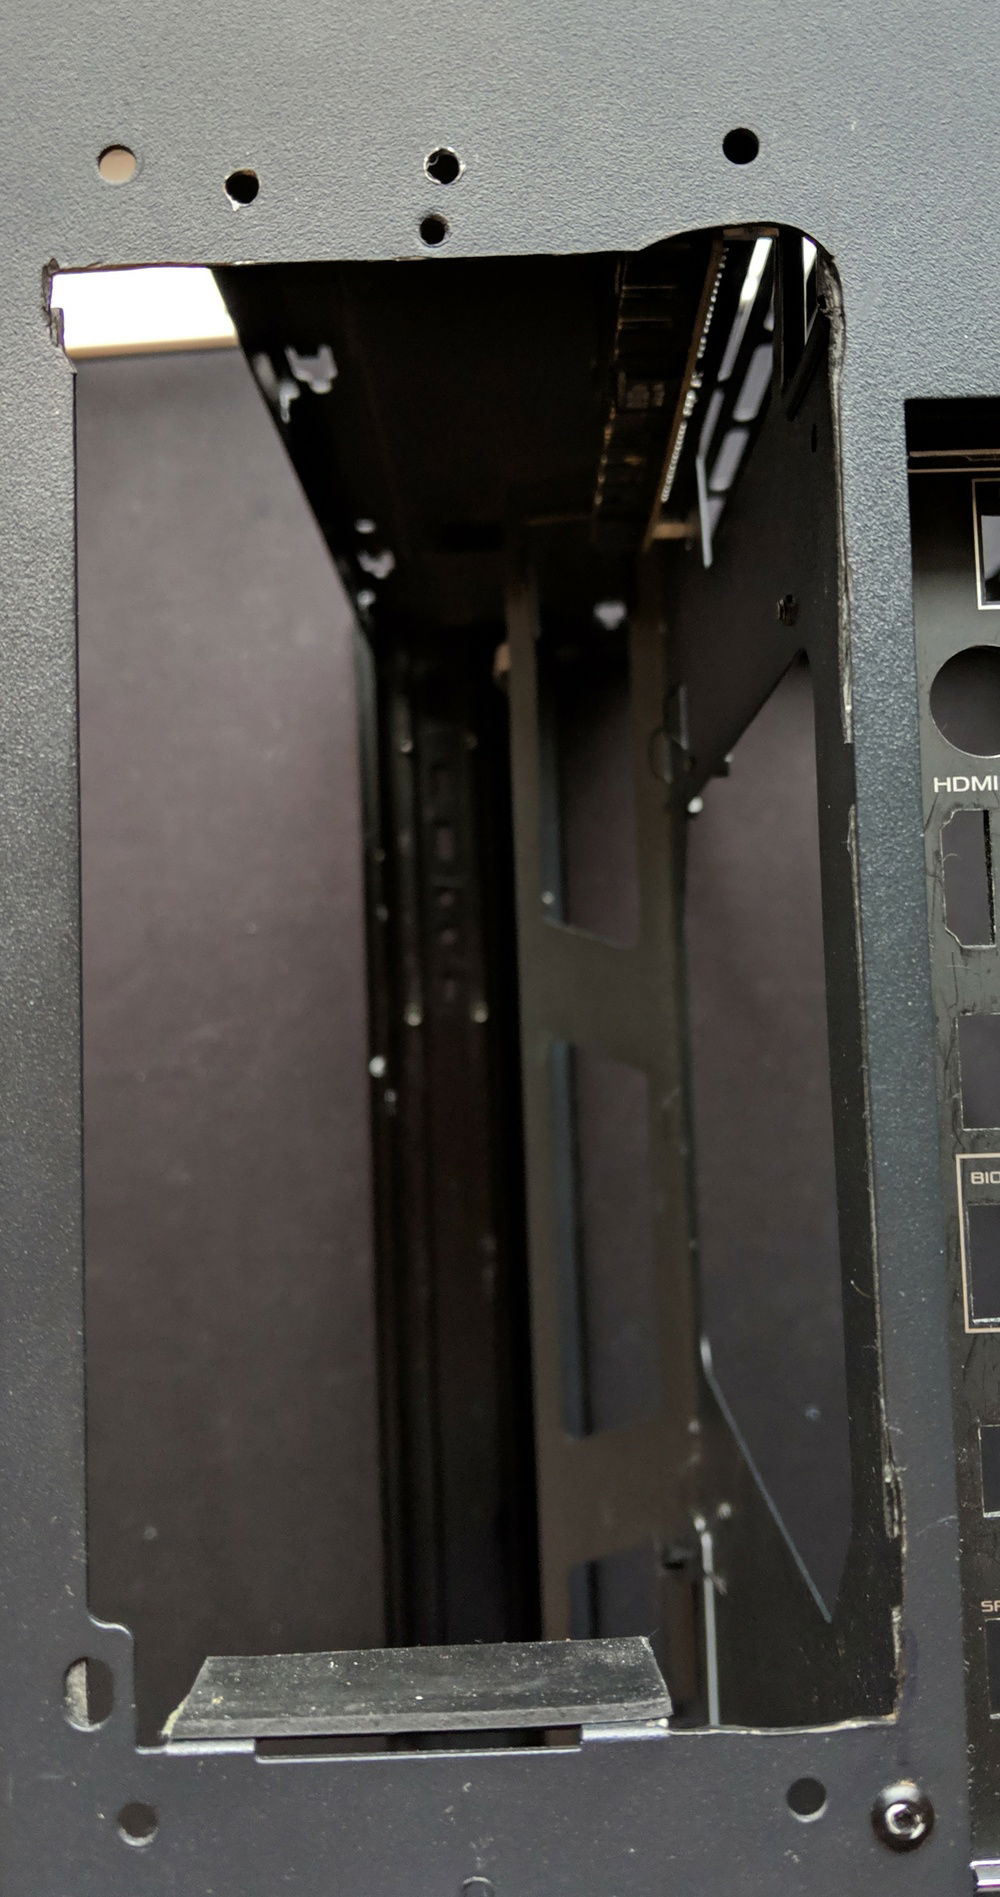
- Enlarged case openings with Dremel to accommodate tube routing to the rear and mounting the 5.25" dual res bay.
- Moded 5.25" bay from a Define R4 to support the Koolance res/pump unit. Includes vinyl, aluminum sheet, acrylic panel, sponge neoprene and rubber dampeners.
- Removed front I/O USB and audio headers to make room for HWL GTS rad.
- Top, side, rear panels and case feet are wrapped in 3M Brushed Black Metallic Automotive wrap.
- Front I/O panel is wrapped in VViViD Vinyl Epoxy High Gloss Carbon Fiber Automotive Wrap[/url].
- Black, red and yellow vinyl German flag on GPU block.
- Painted tubing with Montana Tech Plastic Primer spray paint or Molotow Burner Black spray paint.
- Sponge Neoprene 1/8" sound dampening material on top, side, rear panels and pump housing.
- Drilled holes for 140mm intake fans at the bottom of the case.
- 3D printed black fan hub covers.
- Covered all yellow or green PCB edges with a black acrylic pen.
- Bottom CPU run is supported by a loop of fishing wire. Yes, you read that correctly.
Last thing I wanted to touch on is the process for painting the tubing. I wanted to do hand bent nickel plated copper tubing… but that proved to be way too much money (tools and plating) and far too complex. Pre bent chrome tubing was an option but I wasn't keen on using fittings to connect the runs. So I went with paint. I looked into doing chrome effect paint called Alsa Easy Chrome... but that was a disaster. Finally, I settled on Molotow Burner Chrome graffiti spray paint. It’s not quite metallic or chrome, more of a shinny satin stainless steel look. I learned very quickly, getting an even finish is not "easy". My first couple attempts were pretty garbage. The first problem was the paint is very high pressure and comes out very quickly so I had to get a more restrictive cap to reduce the flow. I also did some research on what autobody shops do when they paint bumpers and I ended up with this adapted process: soapy water wash, rinse, wet 1000 grit sanding, distilled water rinse, dry, tape ends of tube runs, 2 coats of primer, 24 hour cure in a dust free environment, wipe any dust off with a microfiber cloth, 2 coats of paint, 24 hour cure, 2000 grit sand, cloth wipe, 2 coats of paint and then a 1 week cure (as recommended by molotow). Tubing was bent before painting. Kind of a ridiculous process but I am pleased with the results.
So that's it. if you have any questions, please feel free to drop a comment below.
Color(s): Aluminum Black Carbon Gray Silver
RGB Lighting? Yes
Theme: Industrial
Cooling: Custom Liquid Cooling
Size: ATX
Type: General Build
Contests
This build participated in 1 contest.
| Rank | Contest | Date |
|---|---|---|
| #22 | Build of the Month - November 2021 | ended |
Hardware
CPU
$ 193.00
Motherboard
Memory
Graphics
$ 2,489.78
Storage
$ 89.99
Storage
$ 269.99
PSU
$ 228.84
Case
$ 160.56
Case Fan
$ 149.70
Case Fan
$ 167.58
Cooling
Cooling
Cooling
$ 259.98
Cooling
Cooling
Cooling
$ 149.73
CableMod
$ 9.90
CableMod
CableMod
Accessories
$ 49.70
Accessories
$ 37.01
Accessories
$ 11.60
Accessories
Accessories
$ 64.47
Accessories
Accessories
$ 254.16
Accessories
$ 8.99
Approved by: