Cascading Moonlight - BC1 Benchtable + MO-RA3
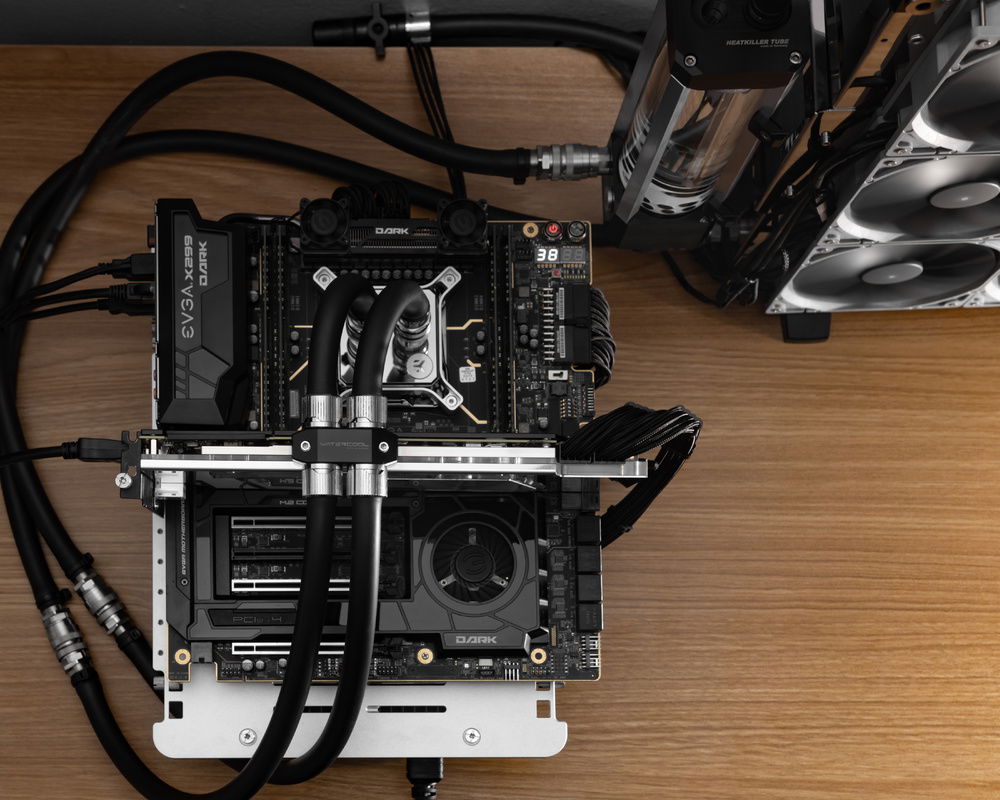
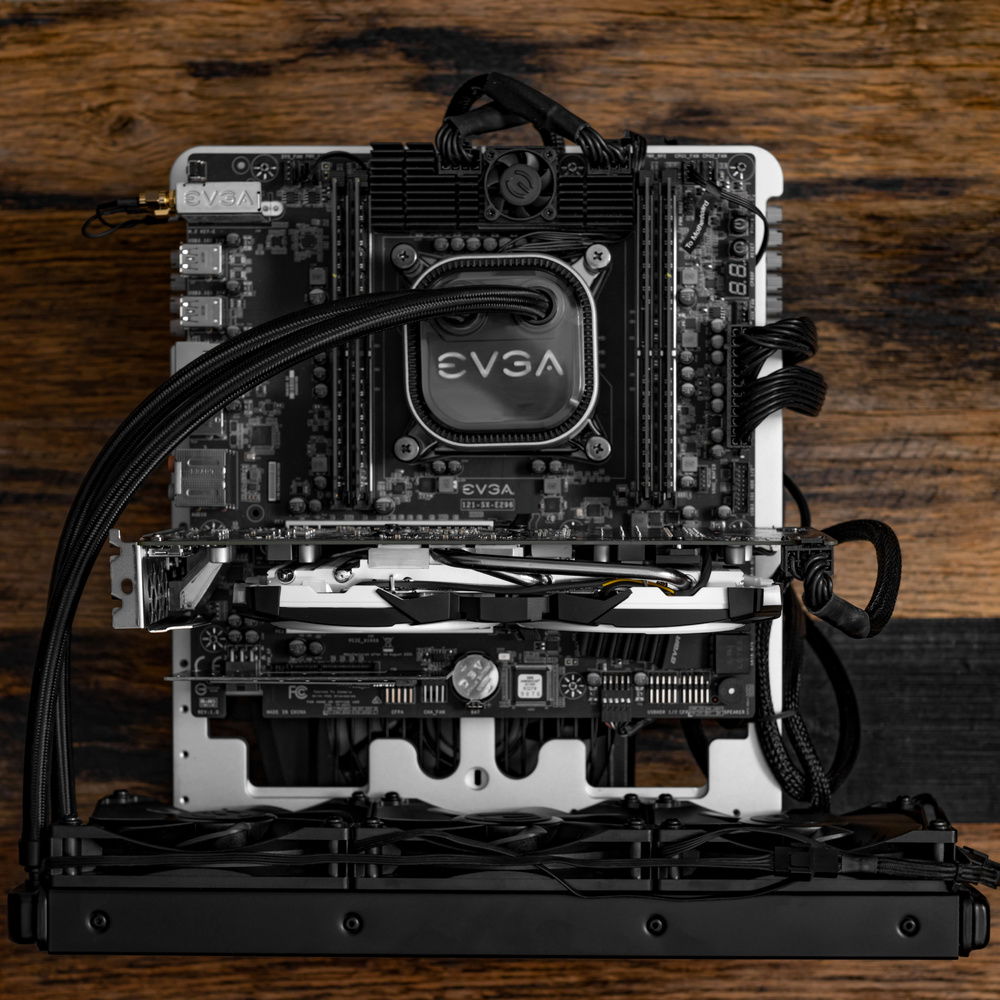
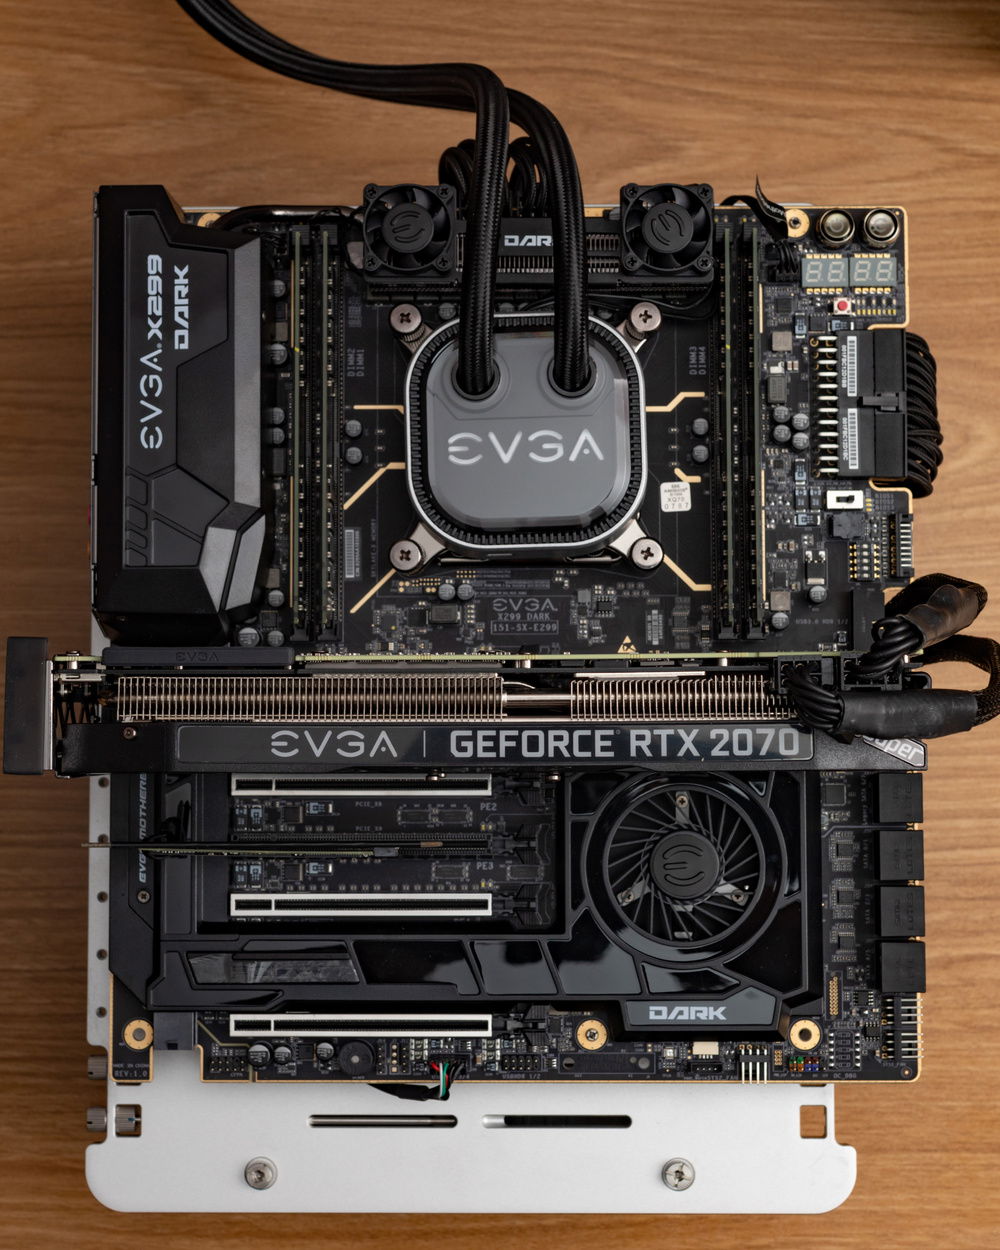
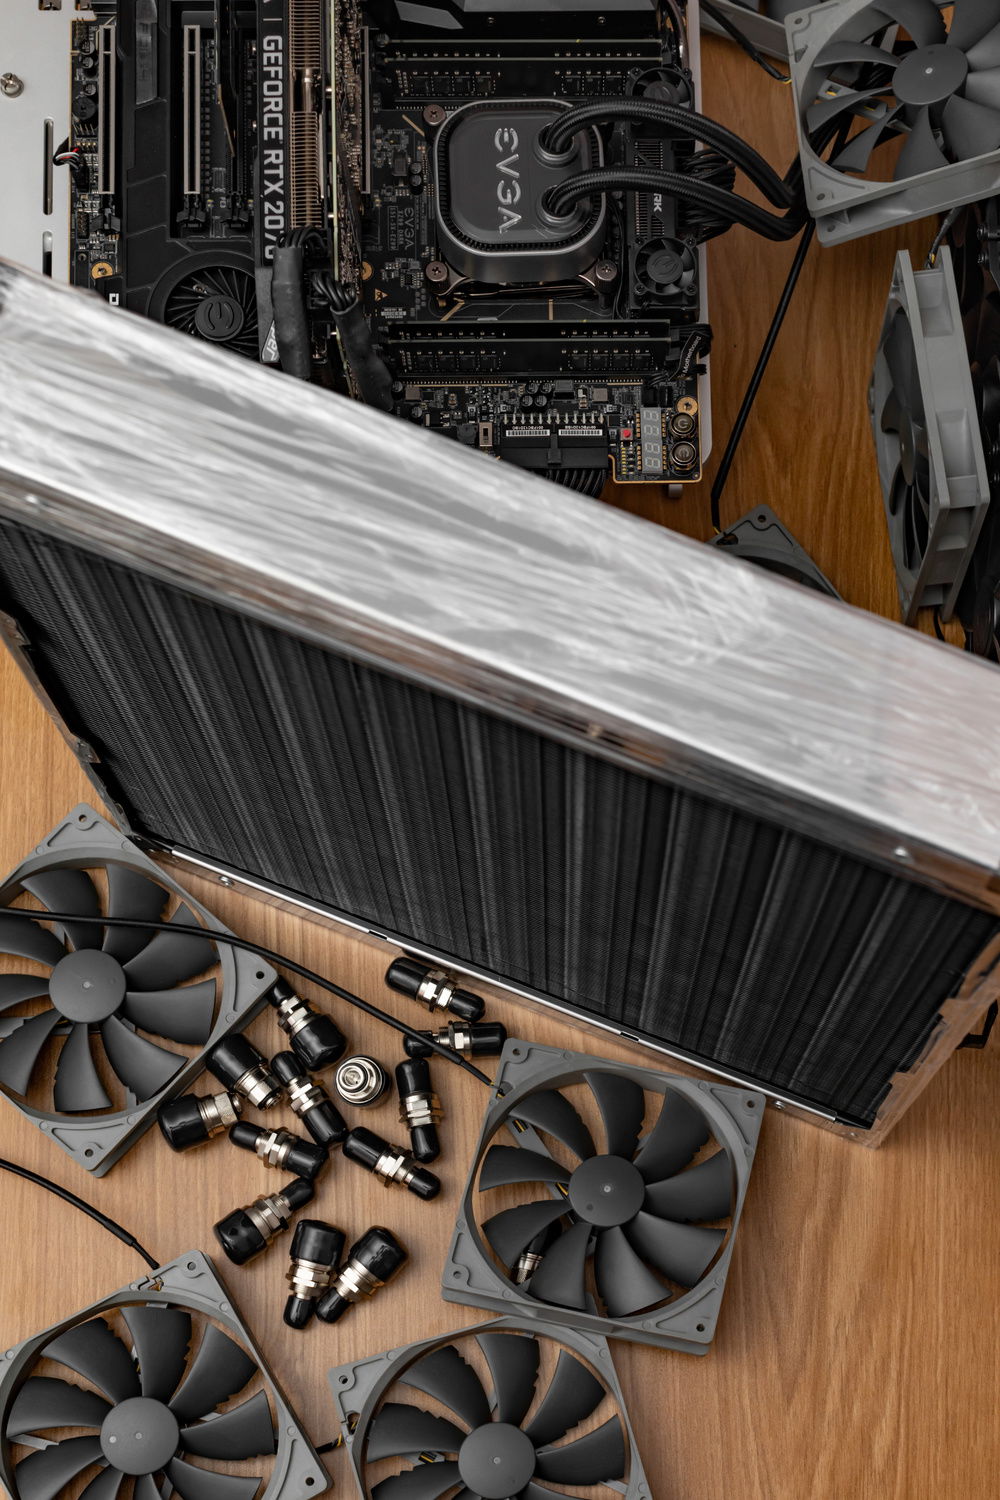
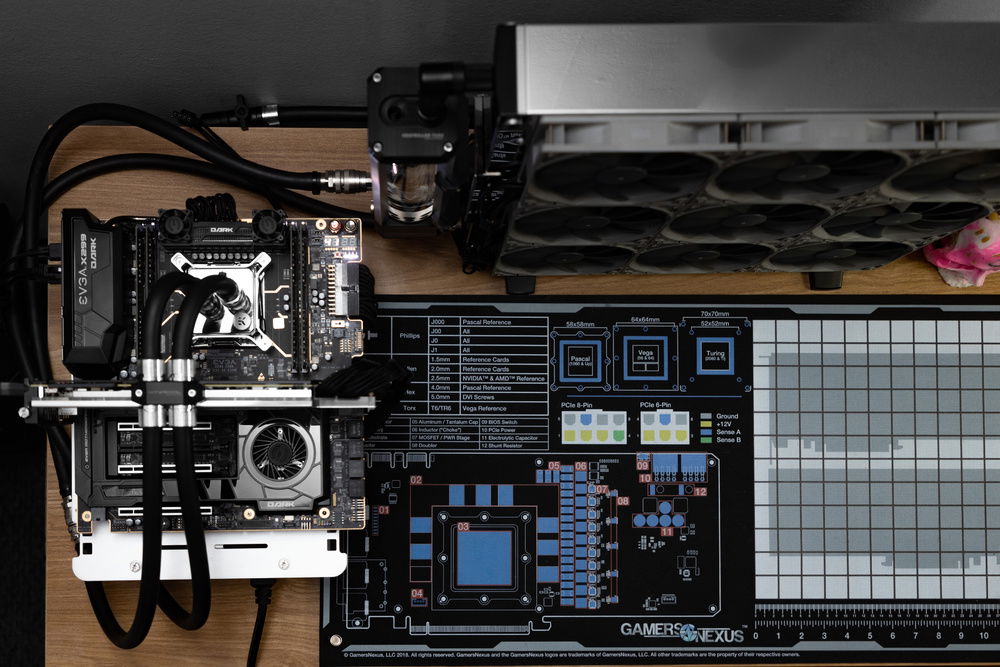
Well, this was a fun one! So many of my builds are purpose driven. I just wanted something that was overkill fun. I do have a backup M.2 set aside for this PC with all my main PC apps as a backup, just in case, but this IS the fun machine. My last run-in with Intel HEDT was X79. Aside from tweaking after building it, I used it strictly as a workhorse. You’ll notice some changing hardware in the pics. While I was waiting for water cooling parts, I was using an EVGA X299 Micro 2 and varying GPUs from an RX580 to a 2070 Super. The CLC was the EVGA CLC 360. Good cooler and cheaper than most others, but the fans are horrendously loud.
Things I liked about the build:
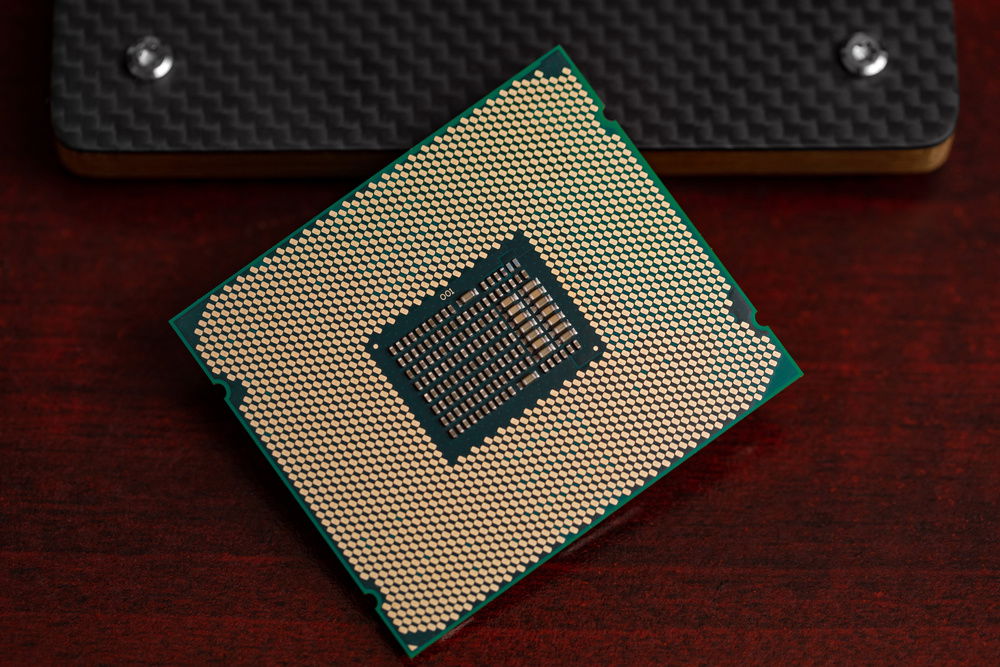
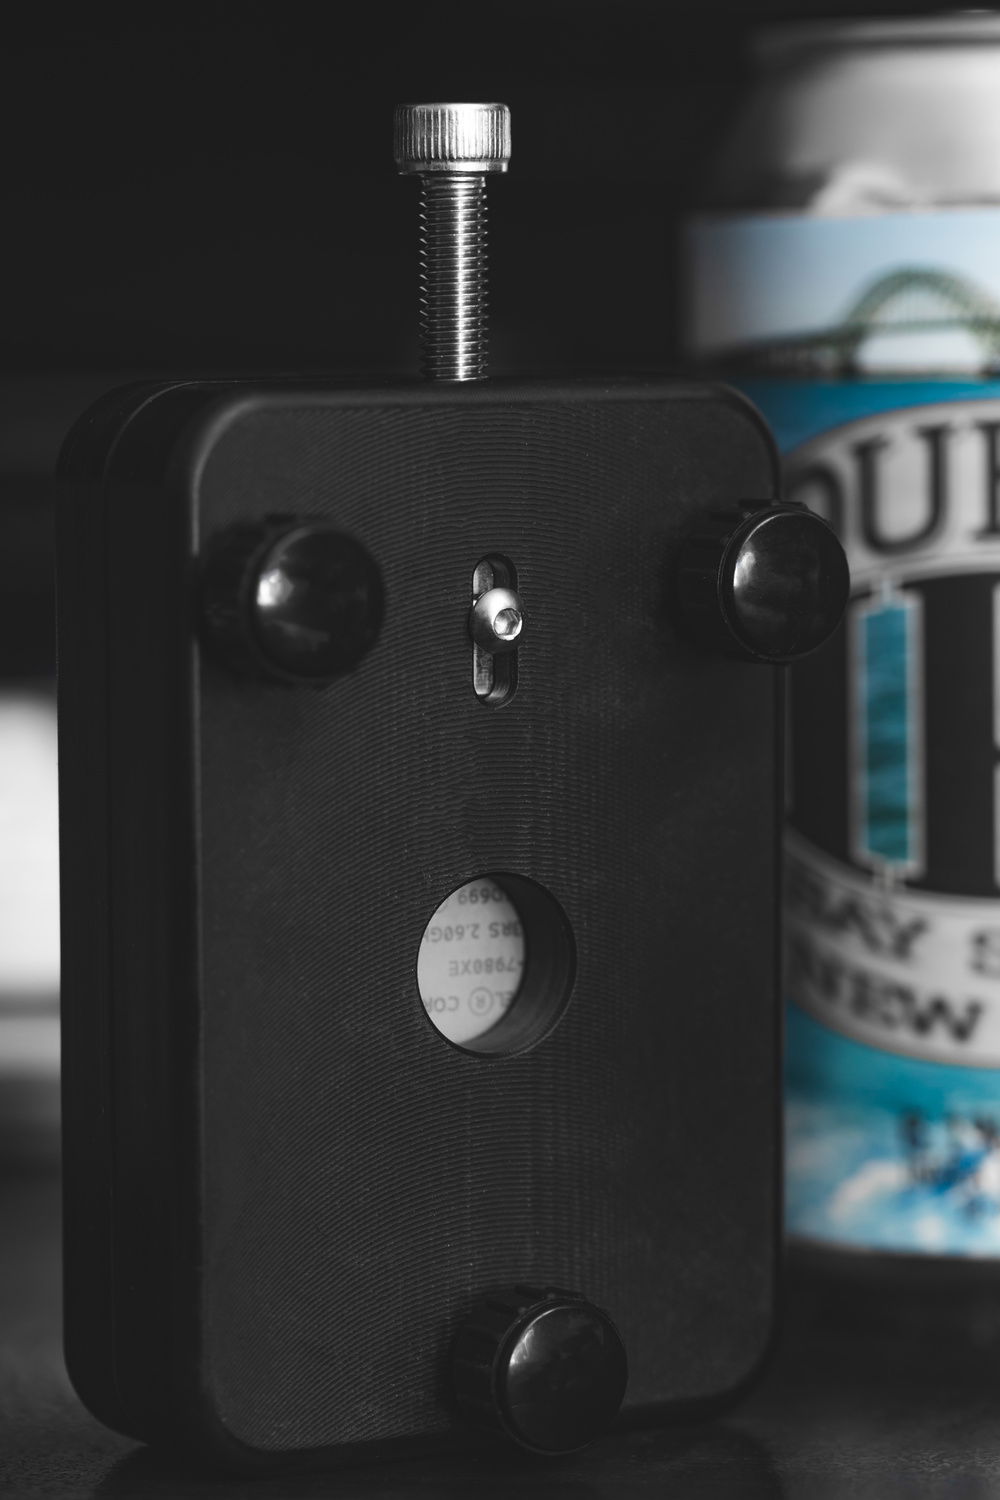
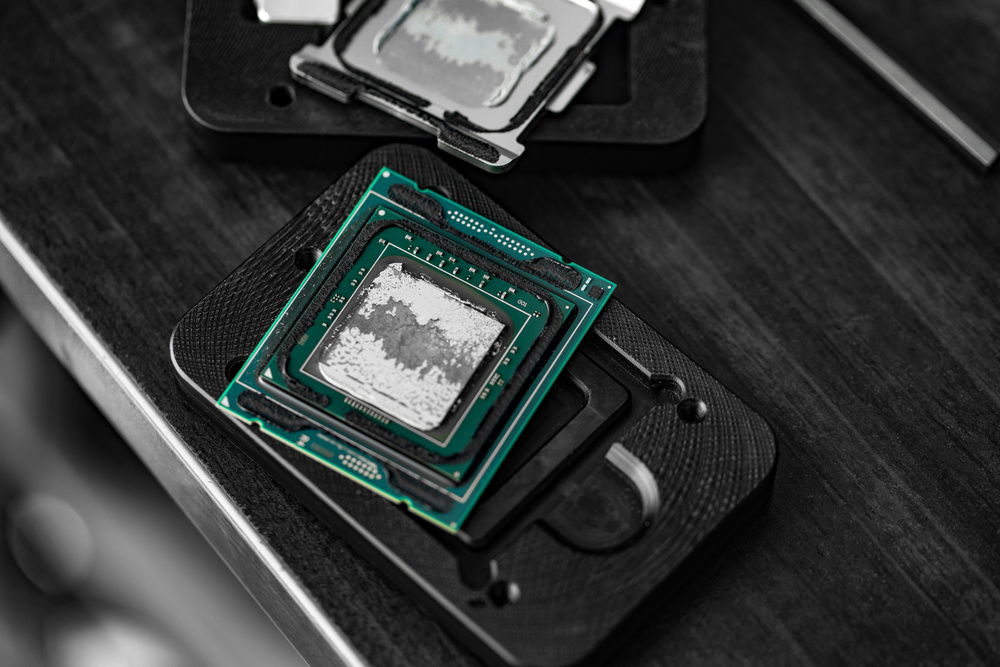
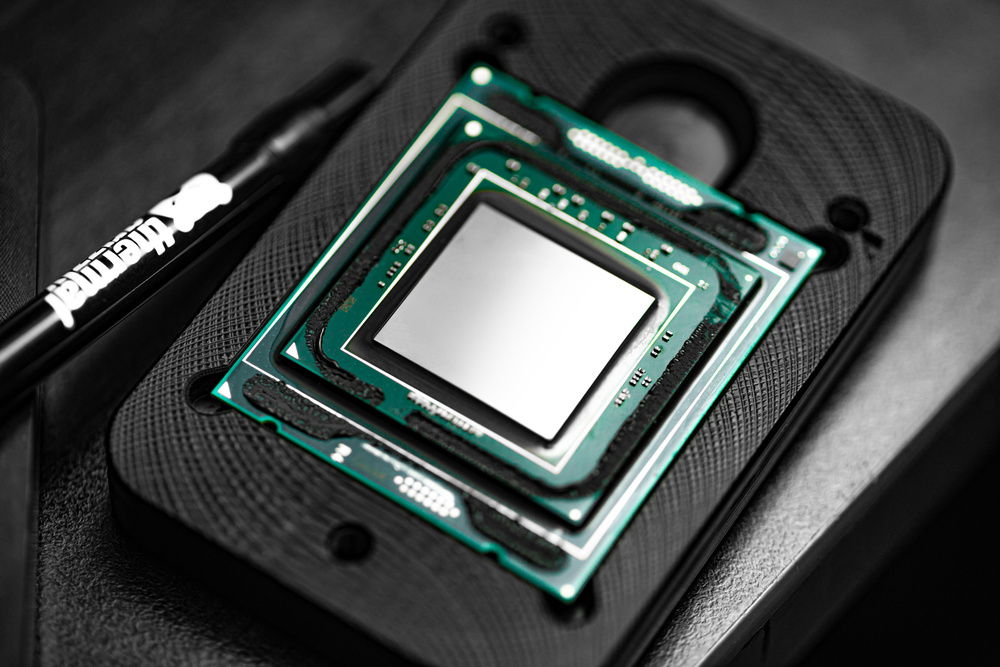
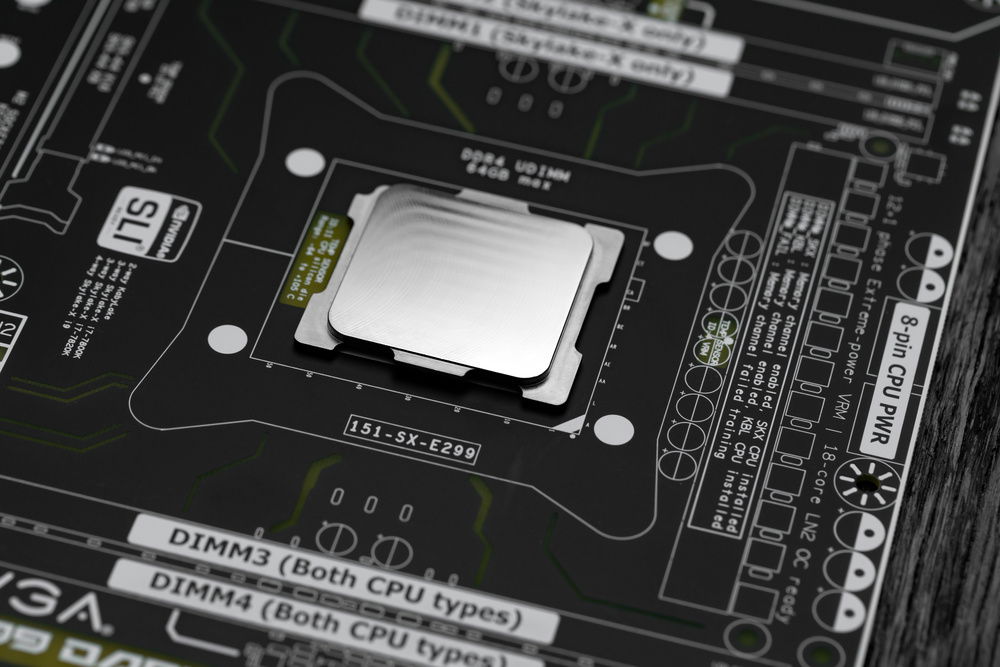
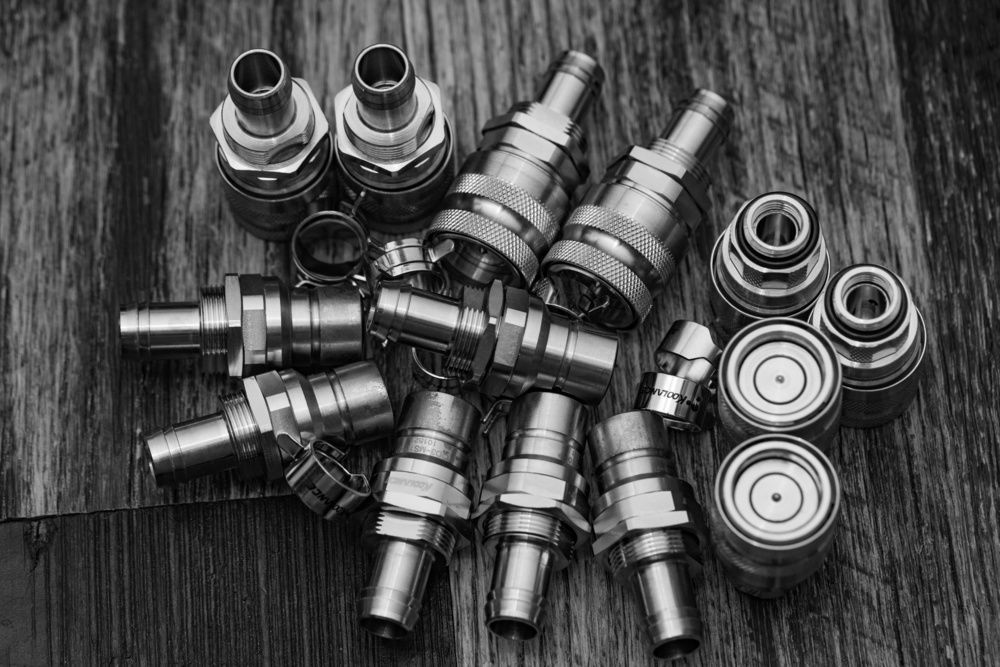
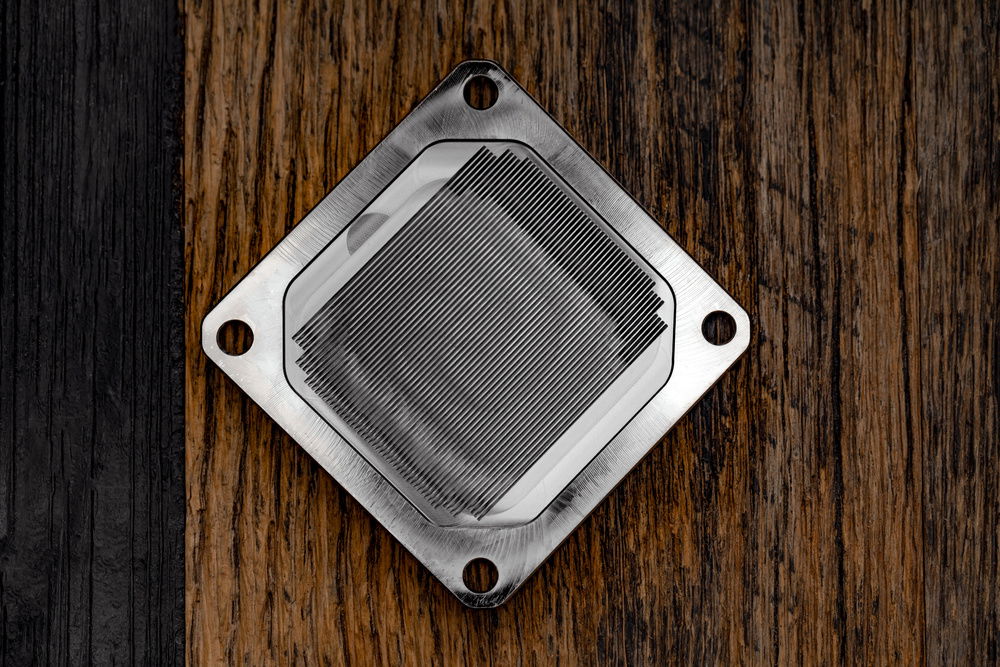
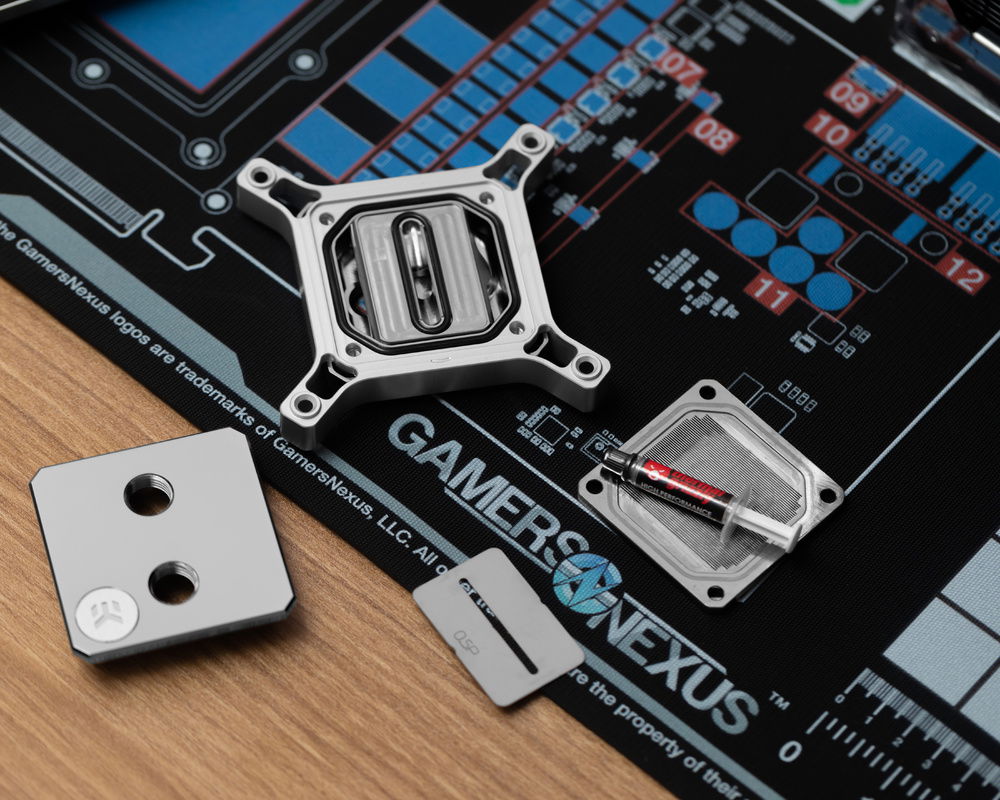
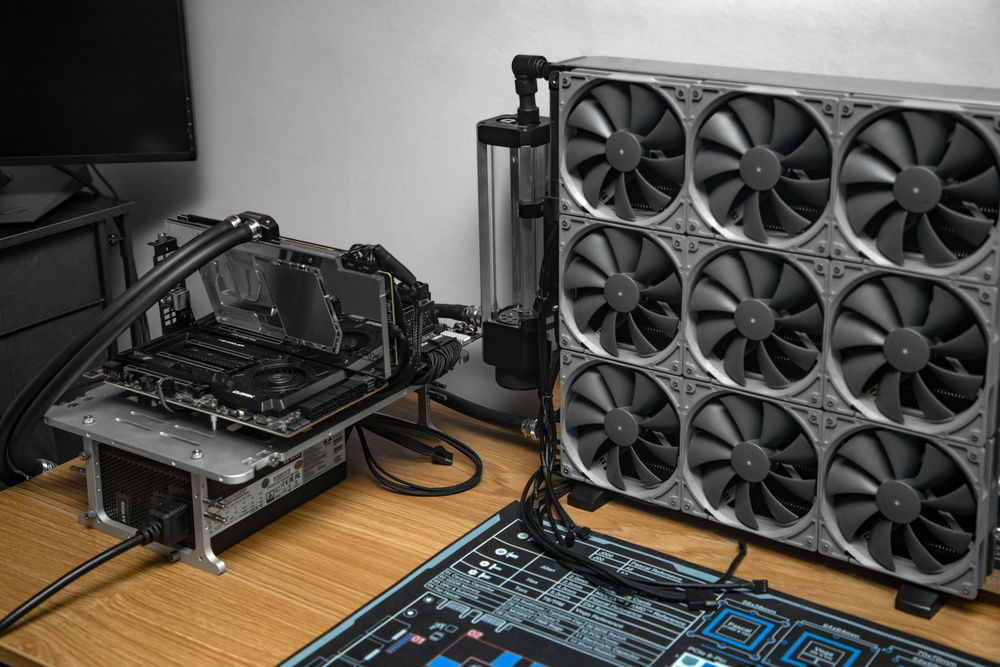
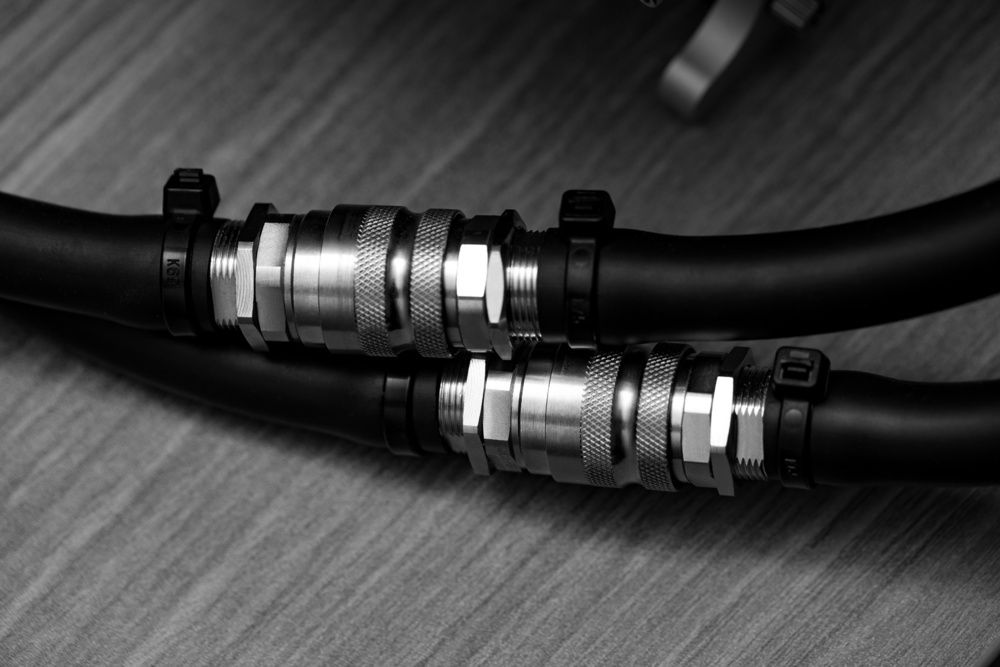
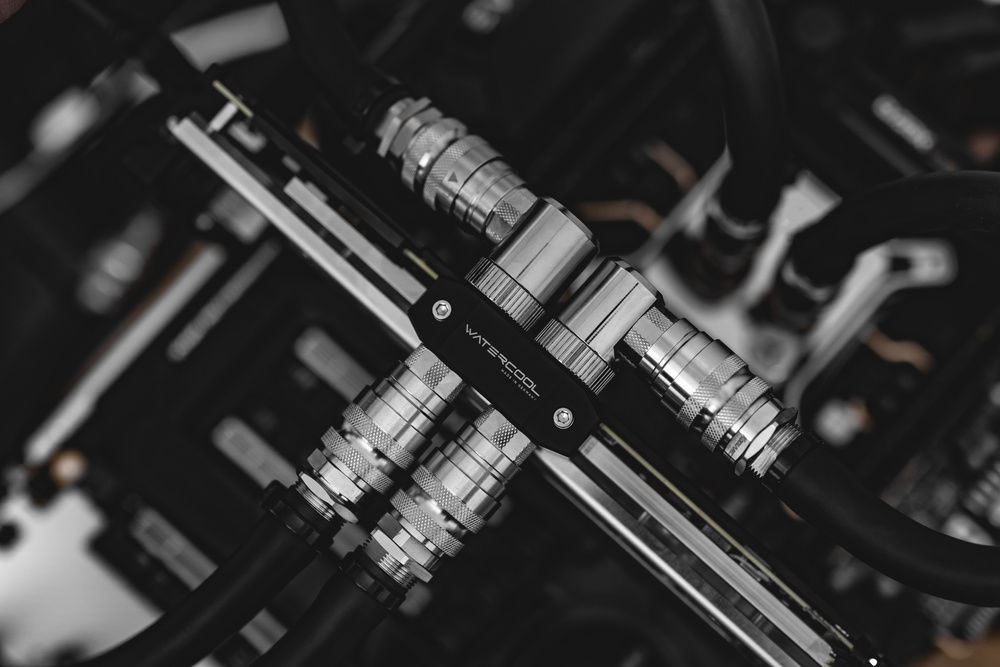
More firsts – I tried to incorporate more firsts into this build. It is my first parallel loop, my first time using quick disconnects, and my first time de-lidding a CPU myself. My 8700K was, but I only popped it open. My friend applied the liquid metal. This time I did everything. I did it a few times since I replaced the IHS with a custom BartX flat IHS. I did not want to ruin the original one by lapping.
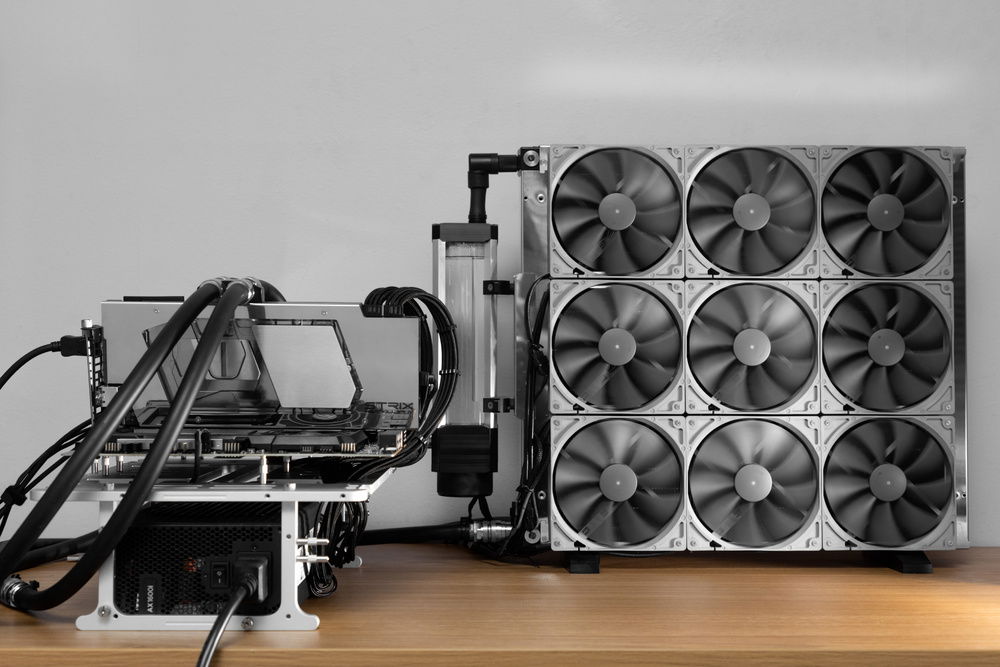
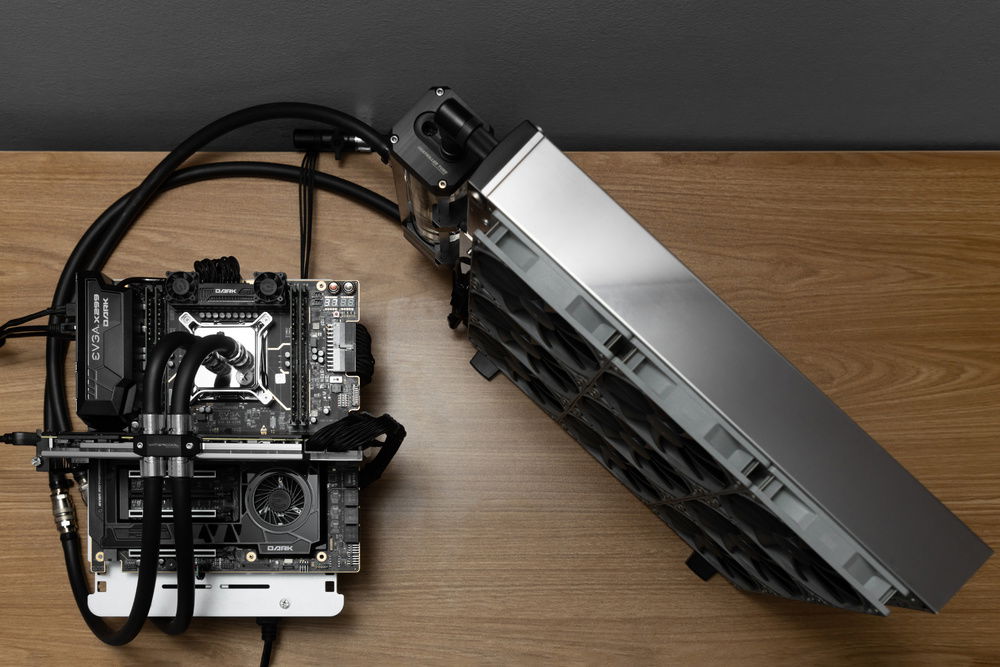
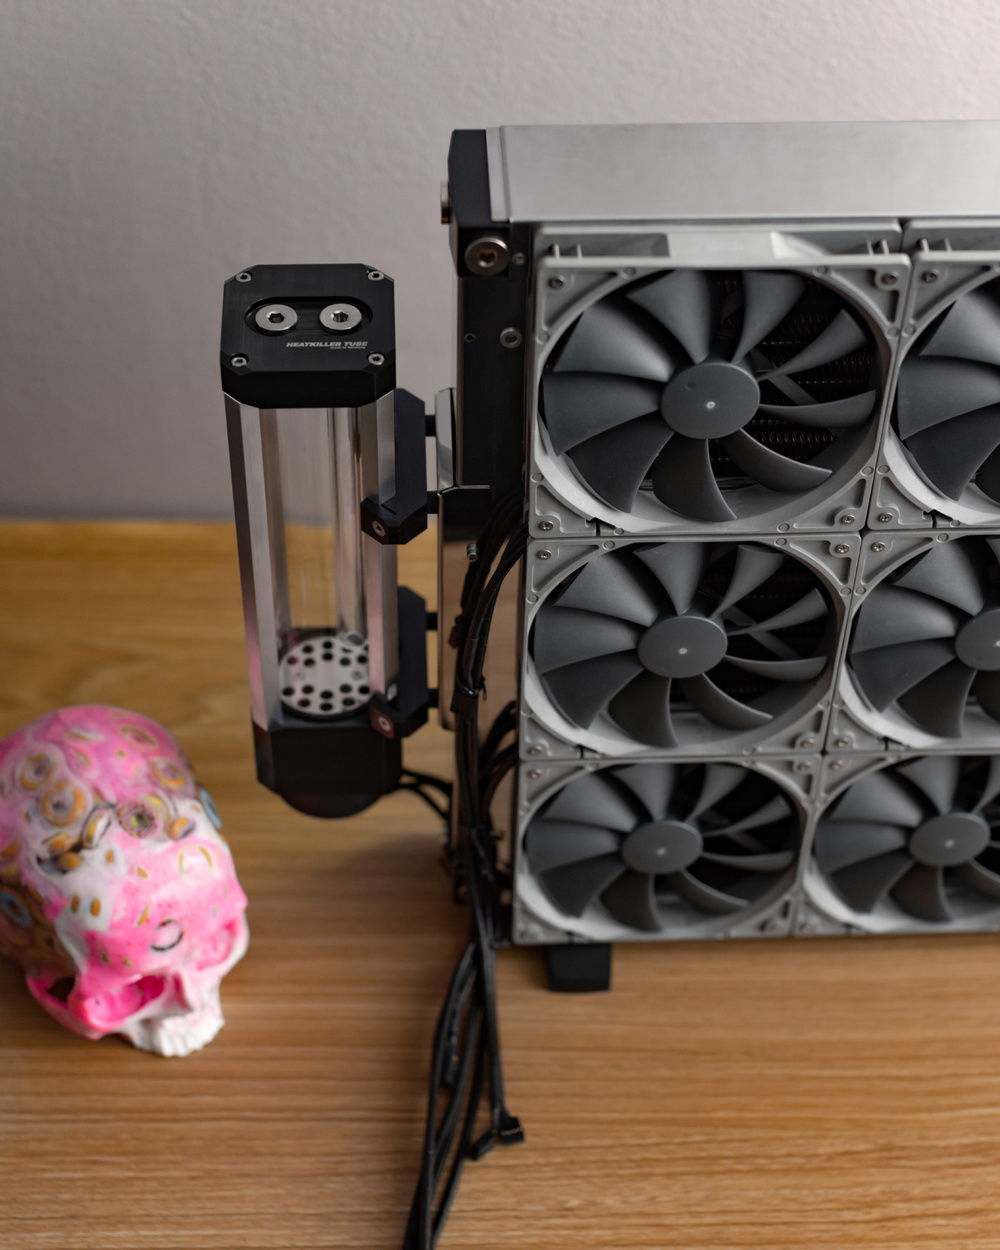
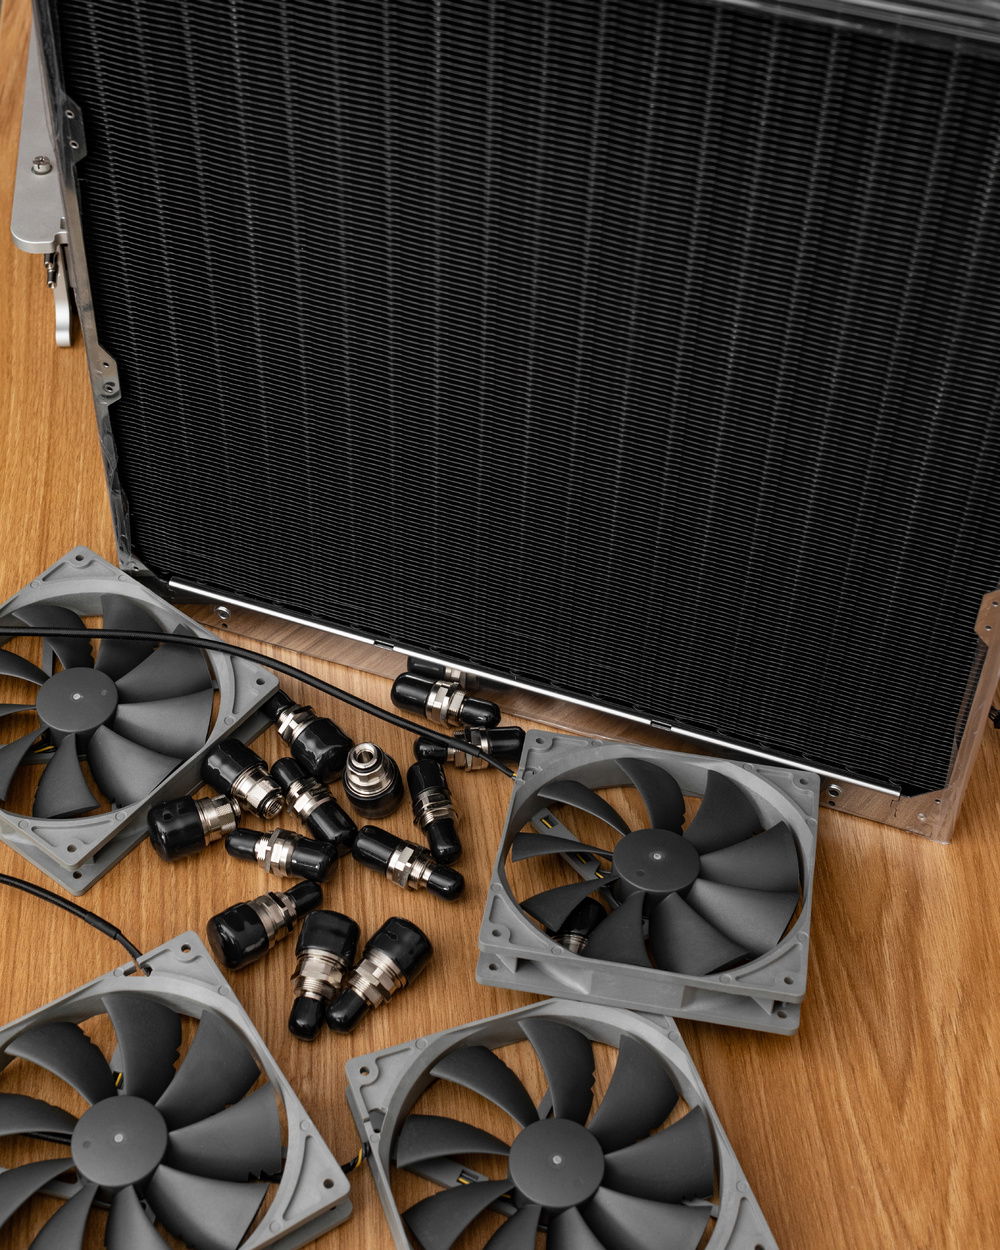
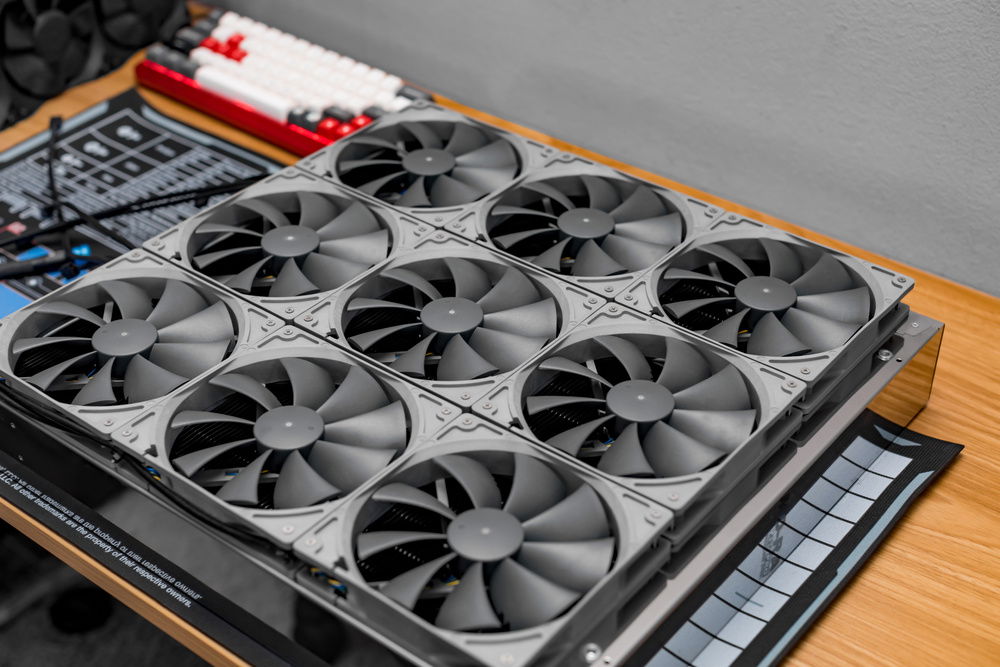
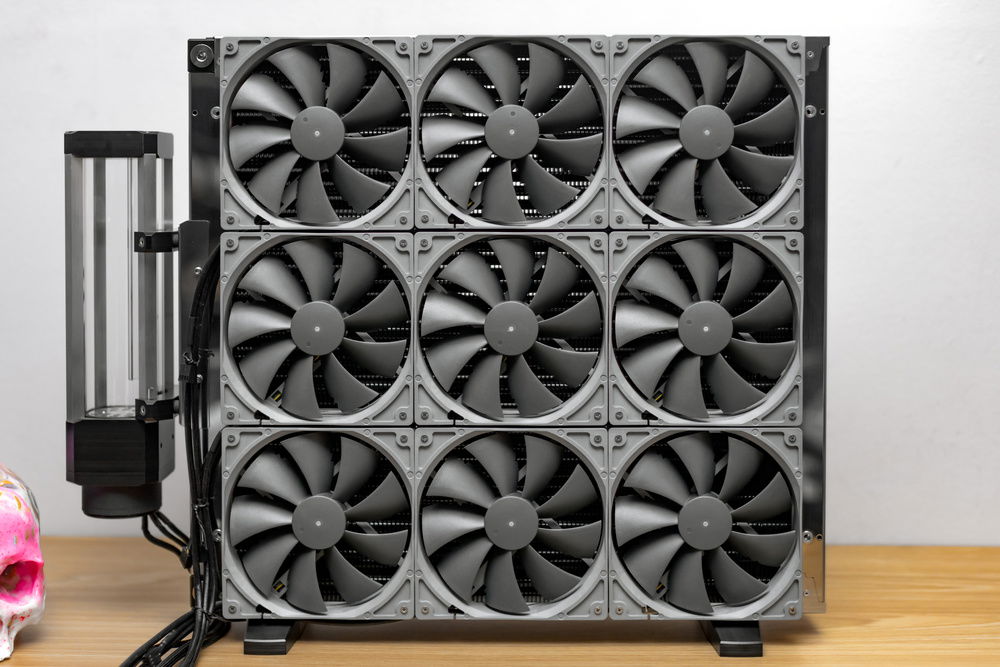
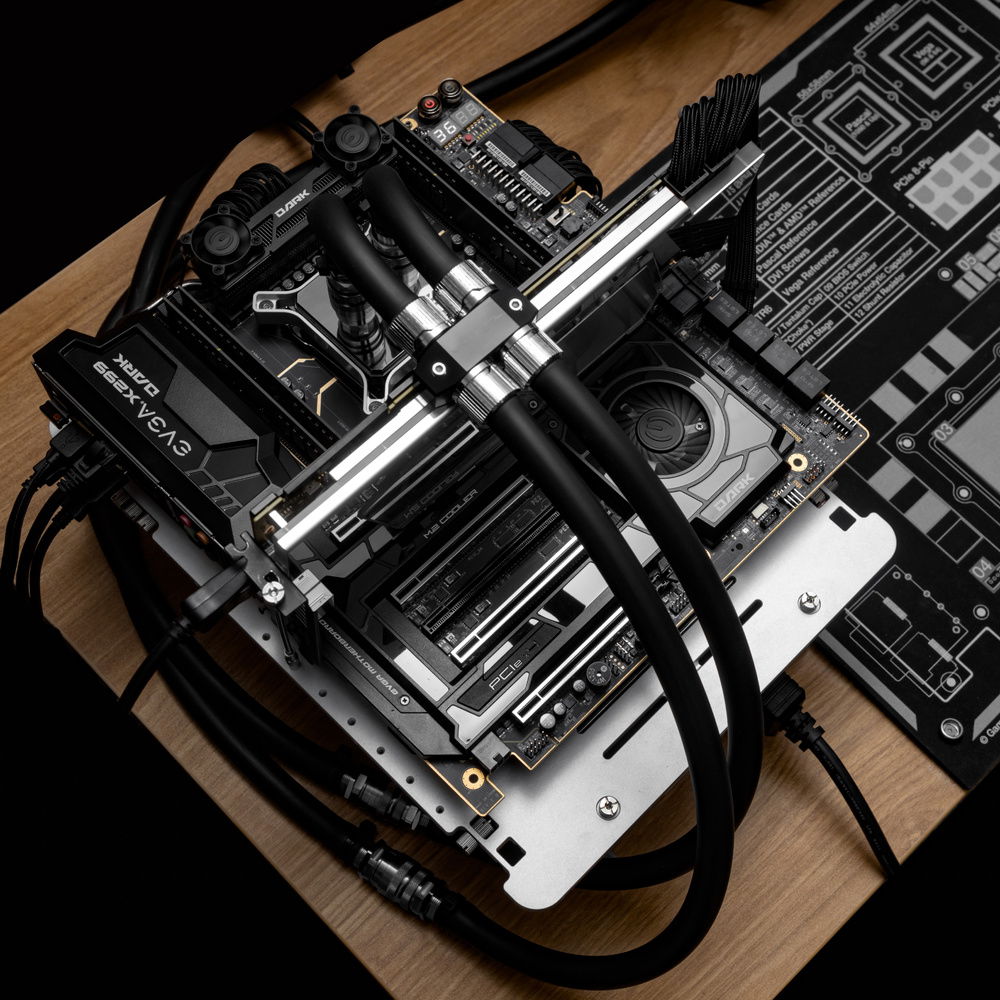
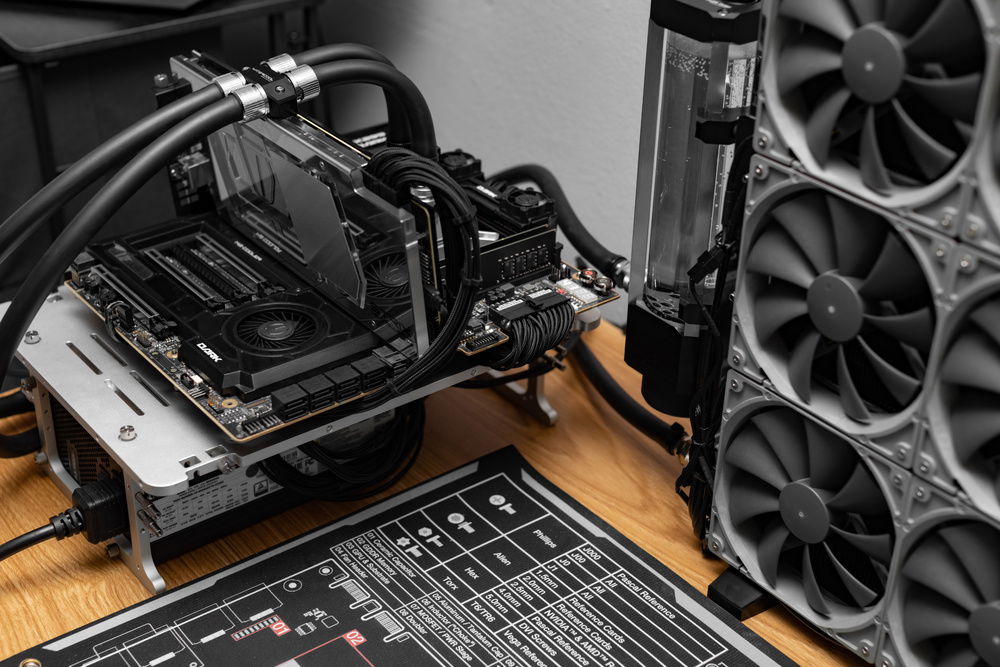
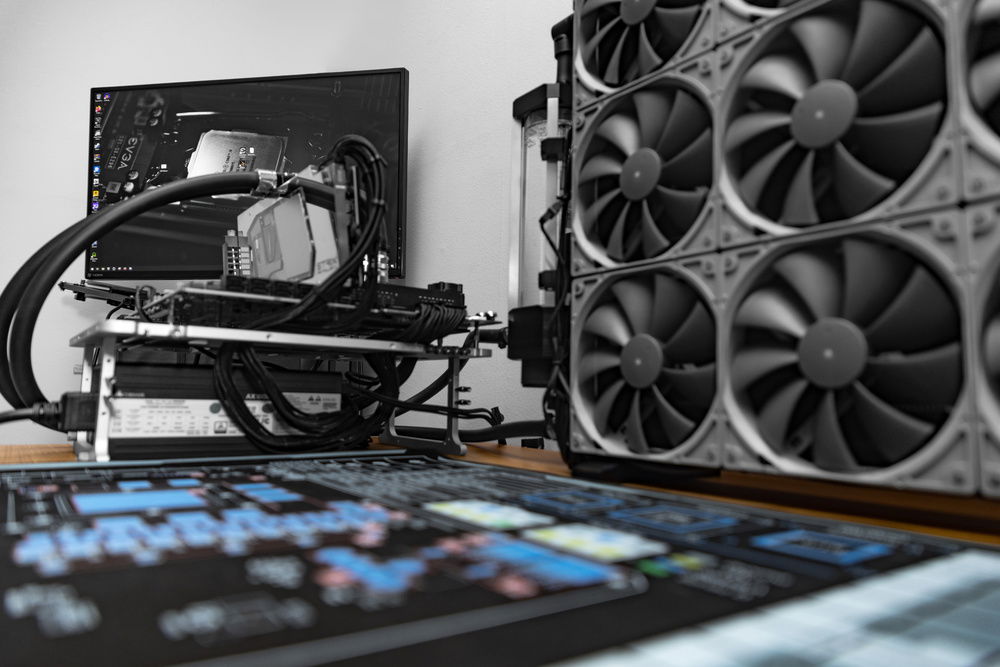
The MO-RA3 – This thing caught my attention long before I got into water cooling. I saw it one a loooong time ago, but again most recently in a Gamers Nexus video/live stream. I knew if I ever got into water cooling, I was going to use one. I waited months before starting this project to get one in stainless, they were out of stock for quite some time. As crazy a sight as it is, it’s still less fans than the 17 in Chisai. The Redux fans were an aesthetic choice. The MO-RA3 fins are less dense than a traditional radiator. This allows you to have plenty of airflow even at lower RPMs.
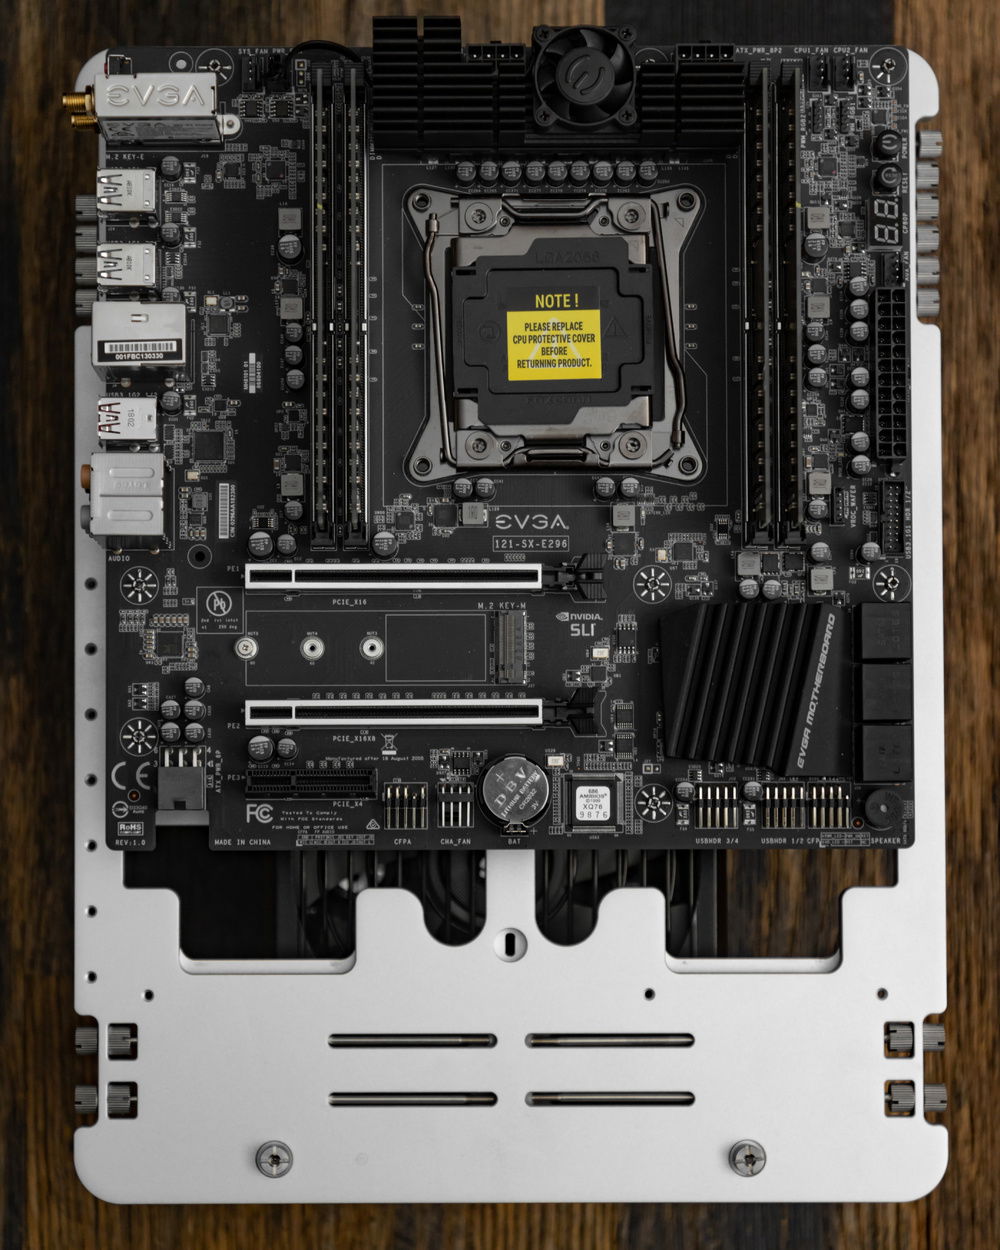
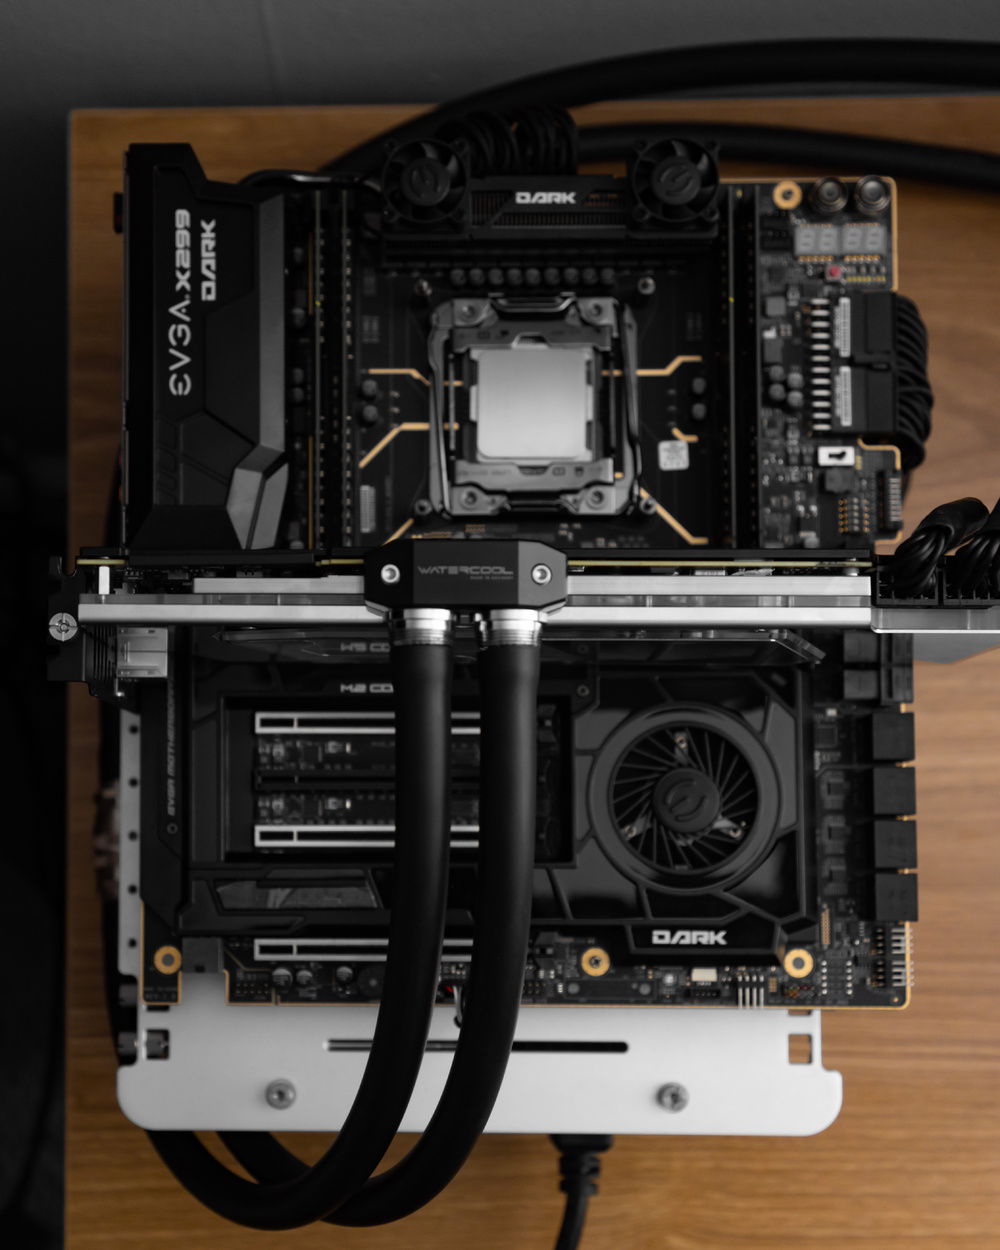
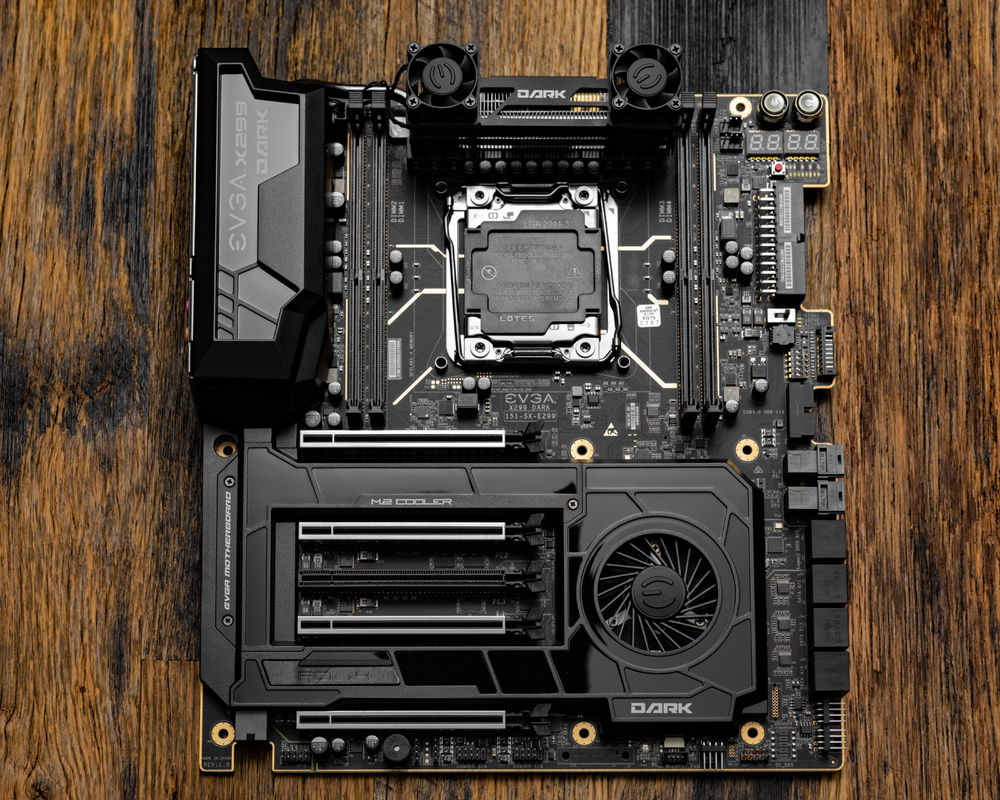
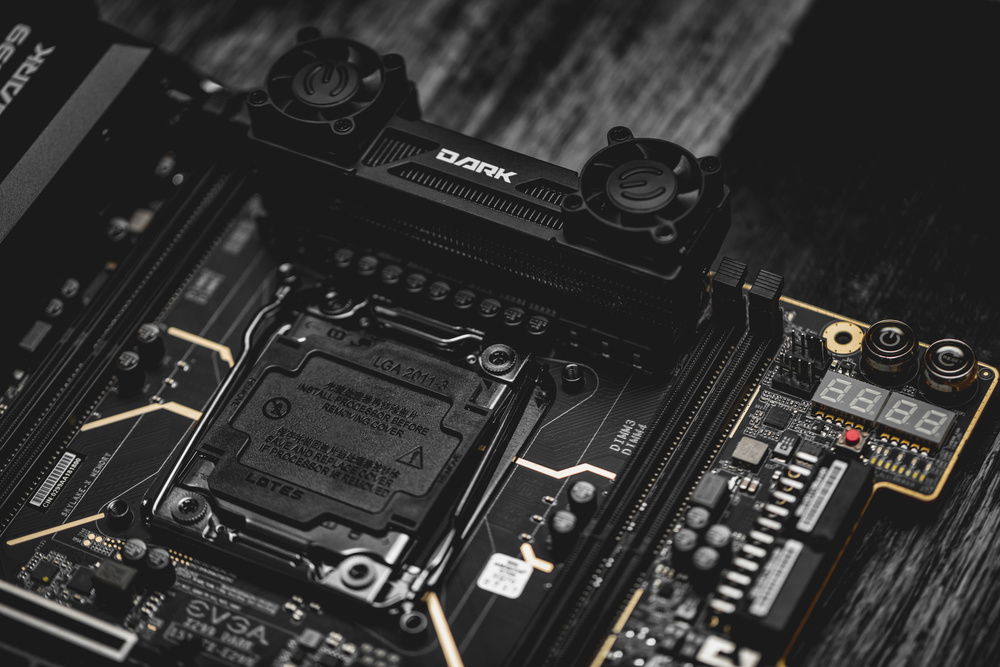
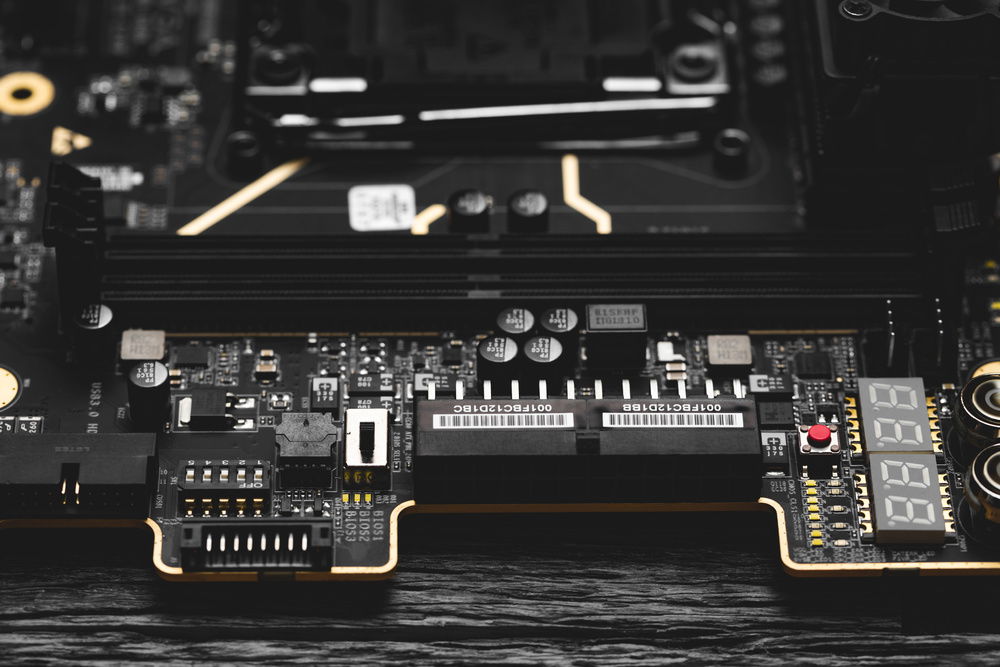
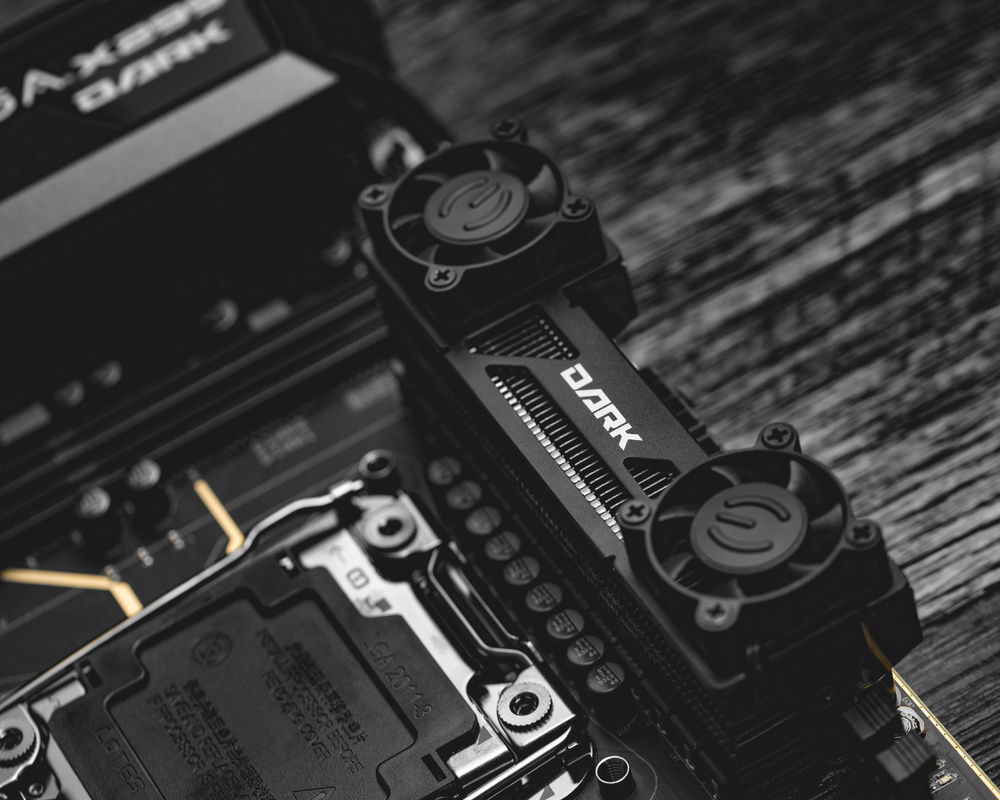
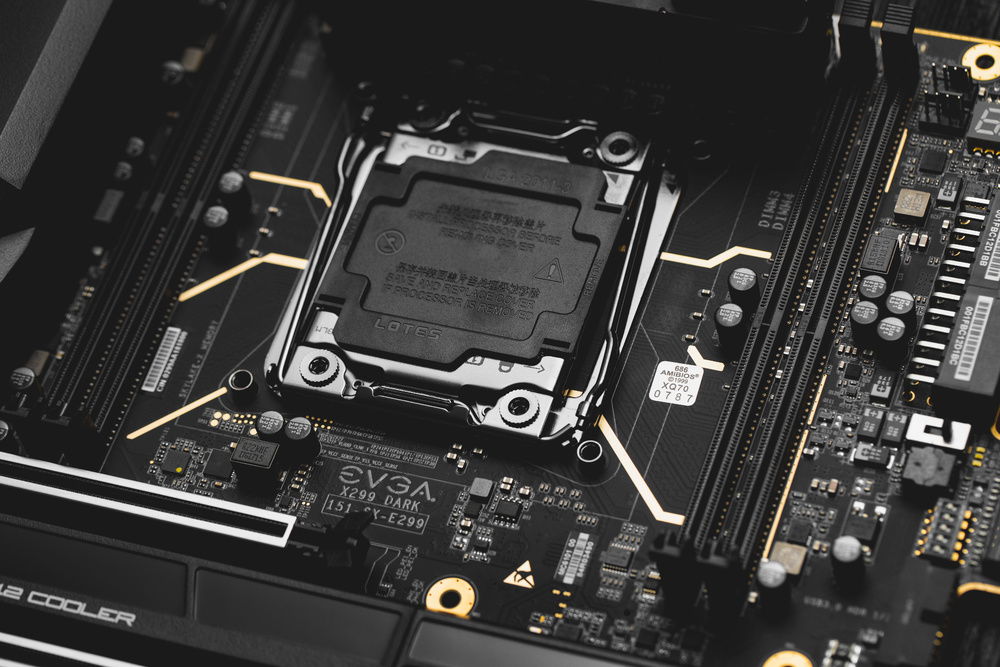
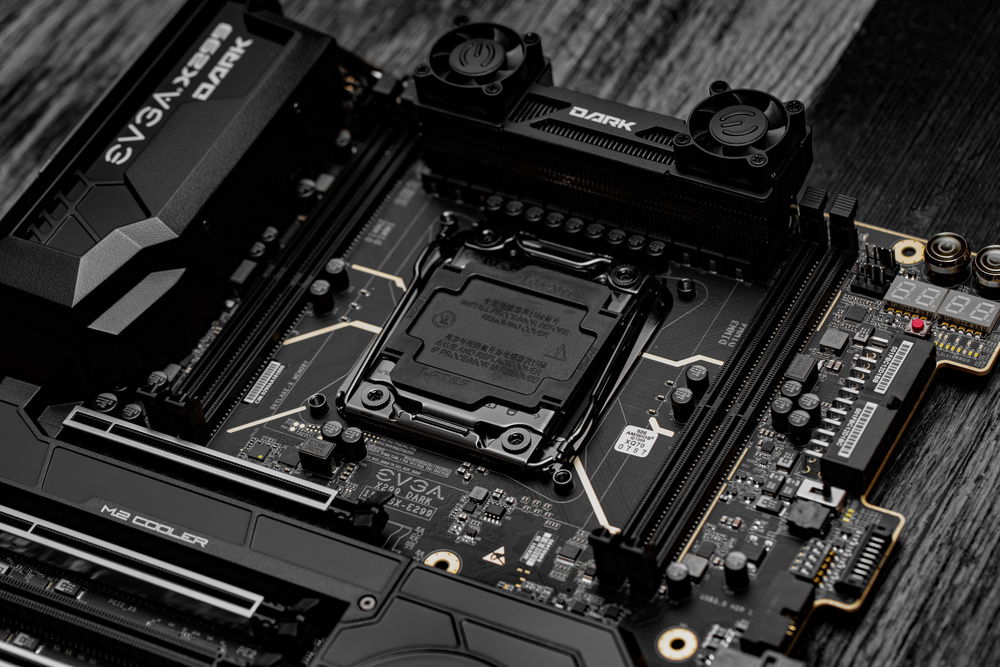
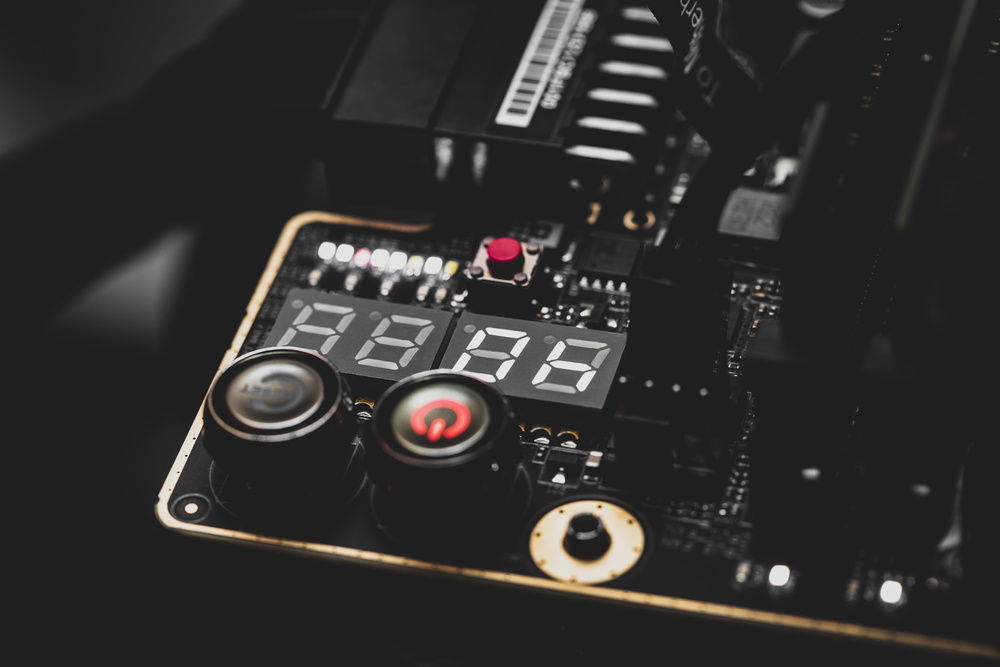
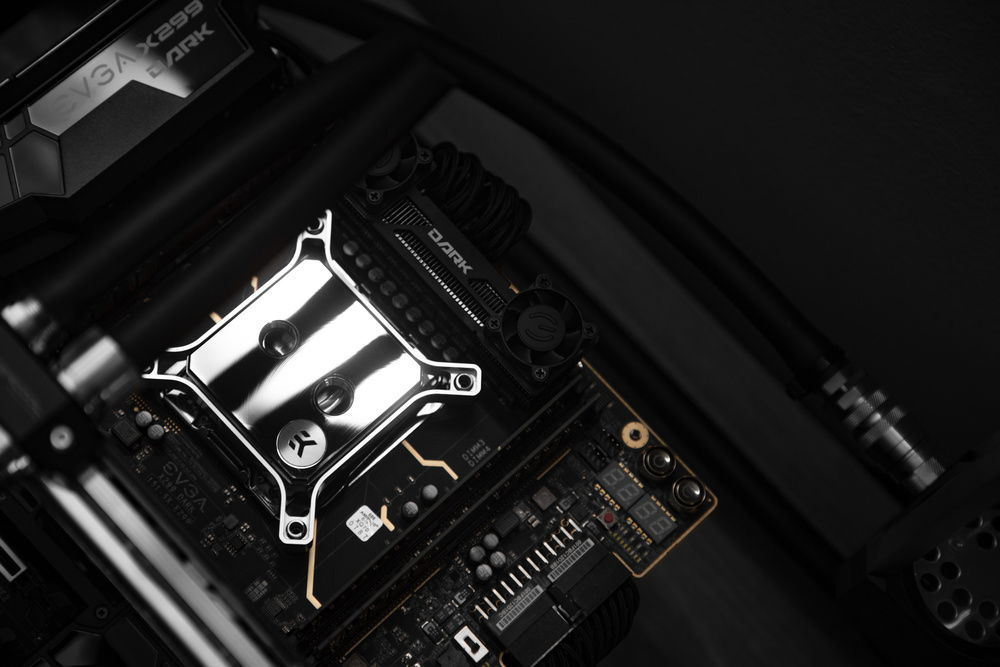
Darkness – What do you see just about everyone using to overclock X299 CPUs? The EVGA X299 Dark. The thing is utterly purpose build, has almost everything you need and nothing you don’t (I’m looking at you RGB!). I’m not often influenced by Youtubers, but I really wanted to check it out after seeing it so often.
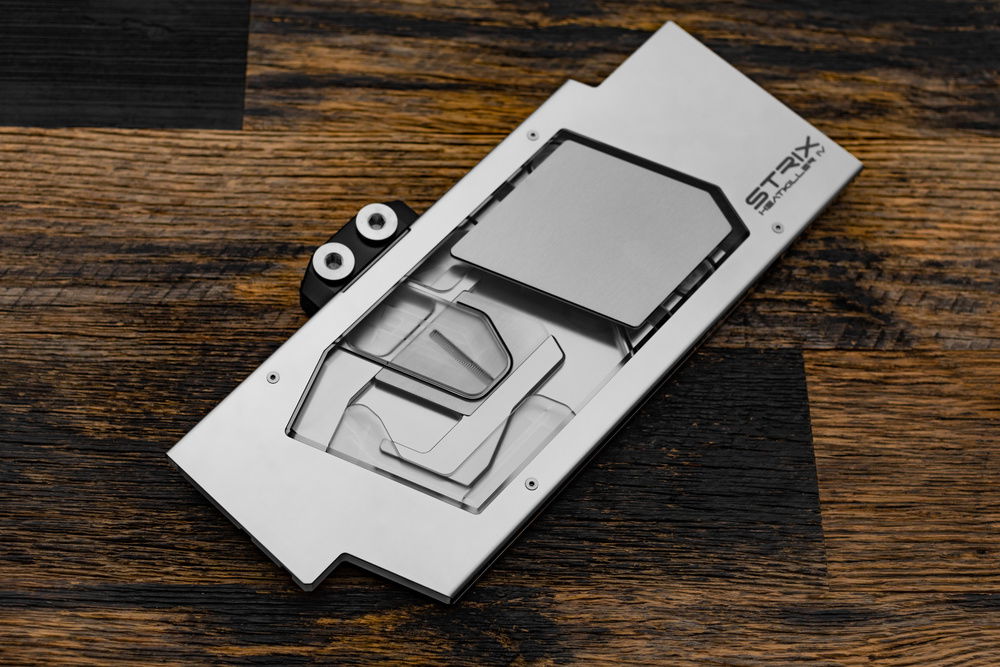
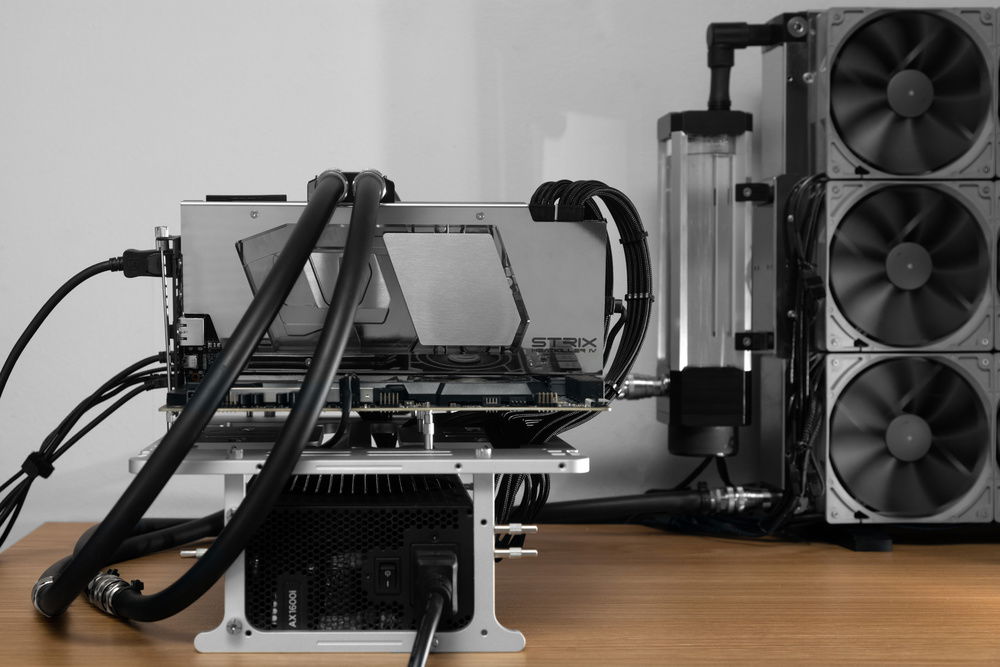
A Just Because Build – Besides serving as a backup in case Chīsai, my 3970X system, goes down (or needs loop maintenance longer than anticipated), this was just something I wanted to build to explore overclocking and overkill water cooling. There was no more rhyme or reason. This was totally a system of wants. I wanted an 18 core Intel CPU, I wanted to de-lid, I wanted to use a nickel Heatkiller IV block, I wanted to use a MO-RA3 420 Pro, I wanted the Streacom BC1 and I wanted to have some fun. Ryzen and Threadripper are wonderful. They shred through any task I give them, but we can’t pretend there’s any fun to be had in the OC dept. It is too good at already being good. This was probably the first-worldiest paragraph I’ve ever written; I realize that.
Challenges:
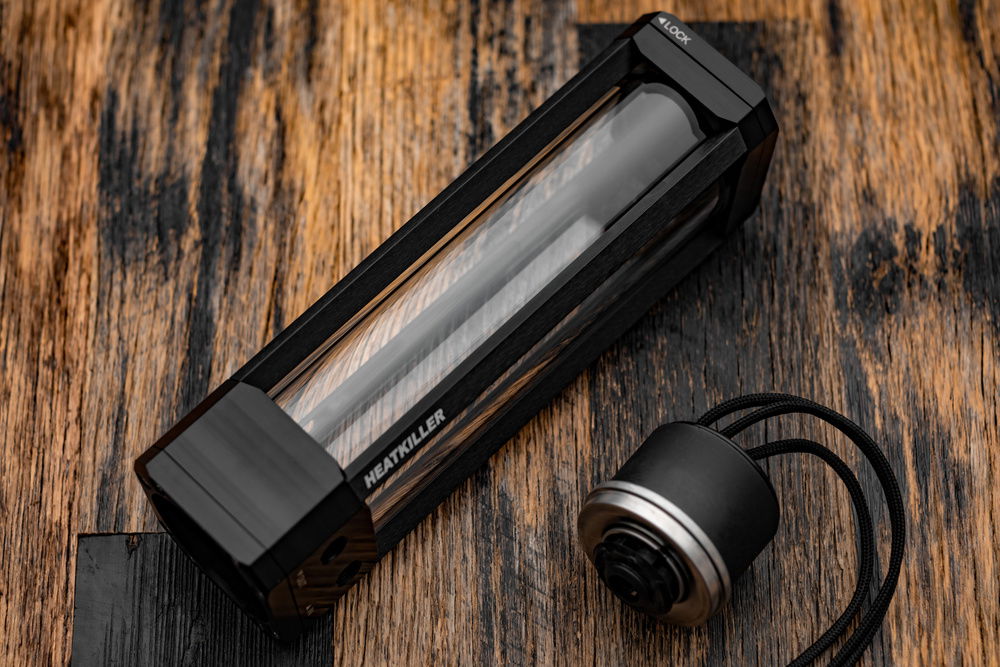
Watercool Modularity – As much as I love how modular Watercool stuff is, this makes it challenging to make sure you have (and can get) everything you need in one shot. Everything for the MO-RA3 is options. The grill, the reservoir mount, the feet… it is all accessories. The same goes for the tube reservoir. This makes everything highly customizable, but it also meant that it is easy to forget a piece of the puzzle or having to order for multiple different places. I had a hard time tracking down the mounting kit for the reservoir and the feet for the MO-RA3. Things I personally think should have been included but do understand that not everyone will use them. Would have been nice to get everything in one shot and not over the course of a month due to availability. Minor gripes individually, but together it made for one large headache.
Left in the Dark – The X299 Dark, despite being an overclocking focused board is missing one feature that drove me insane. The ability to revert to the last safe state, or just booting into the BIOS with safe settings. You only need to slip up a tiny bit with memory overclocking to get into a non-POSTing state. The ability to make profile is great, but a safe boot to BIOS would have been a welcome addition. (Oh, and the BIOS battery arrived dead and the chipset fan unplugged).
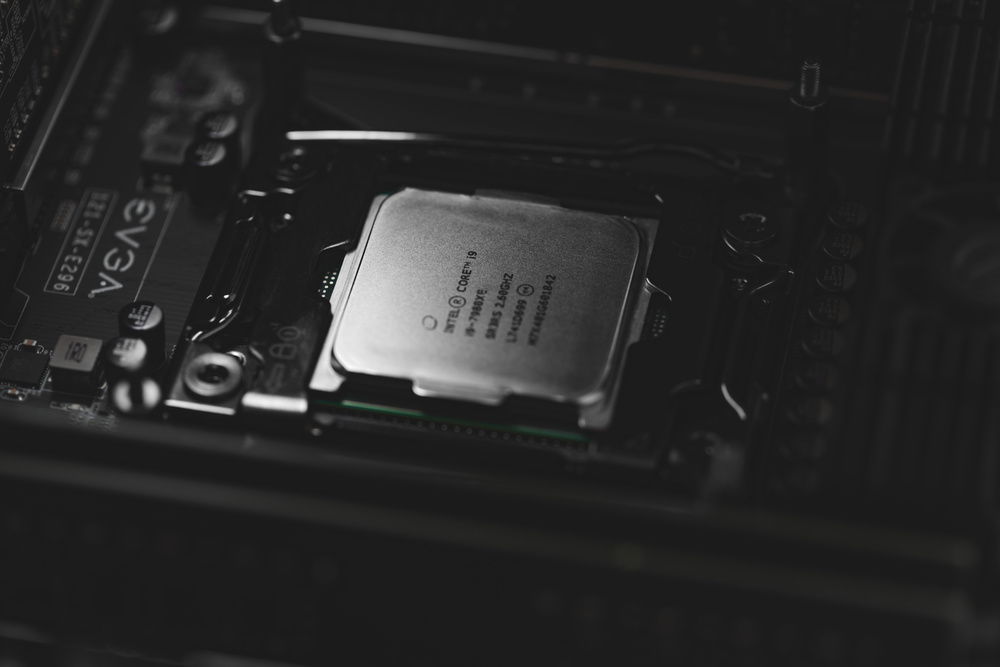
The Vaporware 10980XE – Originally, I wanted to build this using the Cascade Lake X 10980XE, buuuuuuut Intel only pretended to launch it. This is where the name Cascading Moonlight comes from. It was good this never came to pass though. That would have meant no de-lidding. So once the MO-RA3 was finally a thing, I found a 7980XE for “cheap” and went with that instead.
Overclocking & Temps – Didn’t win the lottery here. I ended up a 4.7GHz @ 1.22V on the 7980XE. Max temps during Cinbench runs is around 85C on the hottest core. According to my UPS, total system draw was 657 watts. CB20: 1120
As for GPU, I can push it to 2160MHz with the regular BIOS. Anything but Furmark has yet to get GPU only tasks past 40C. Furmark managed 43 max after an hour, but never stayed there longer than a few seconds before dropping back down to 40. Have not tried modified ones yet. I did flash the Matrix BIOS, but it was not stable at all.
Gaming – (I really only play modded GTA V) CPU: 58C max on the hottest core. GPU: 2160MHz, 8100MHz memory, 40C max temp.
Planned changes and considerations:
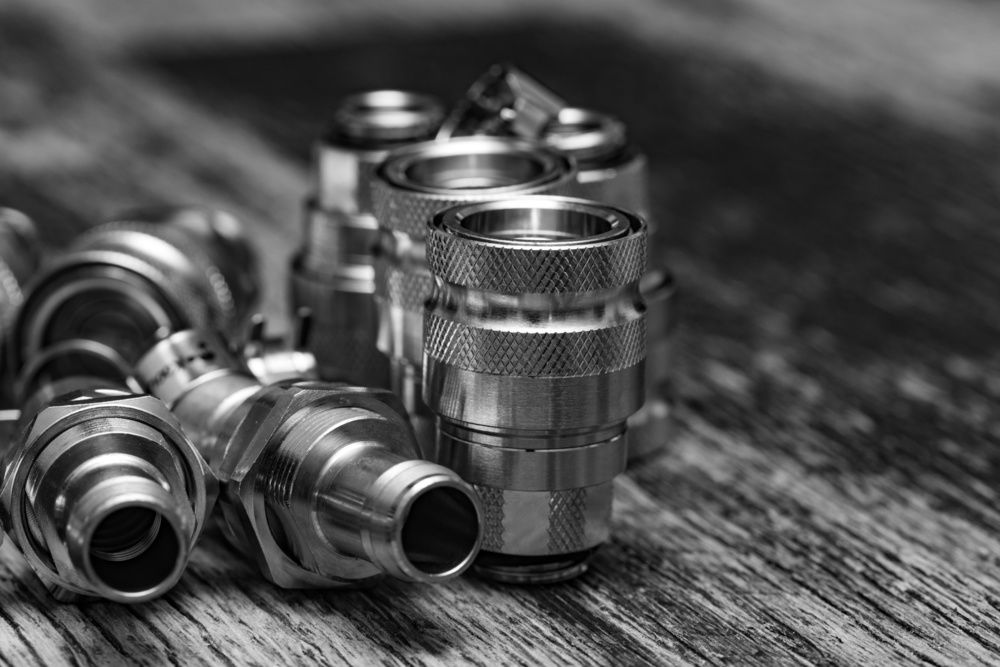
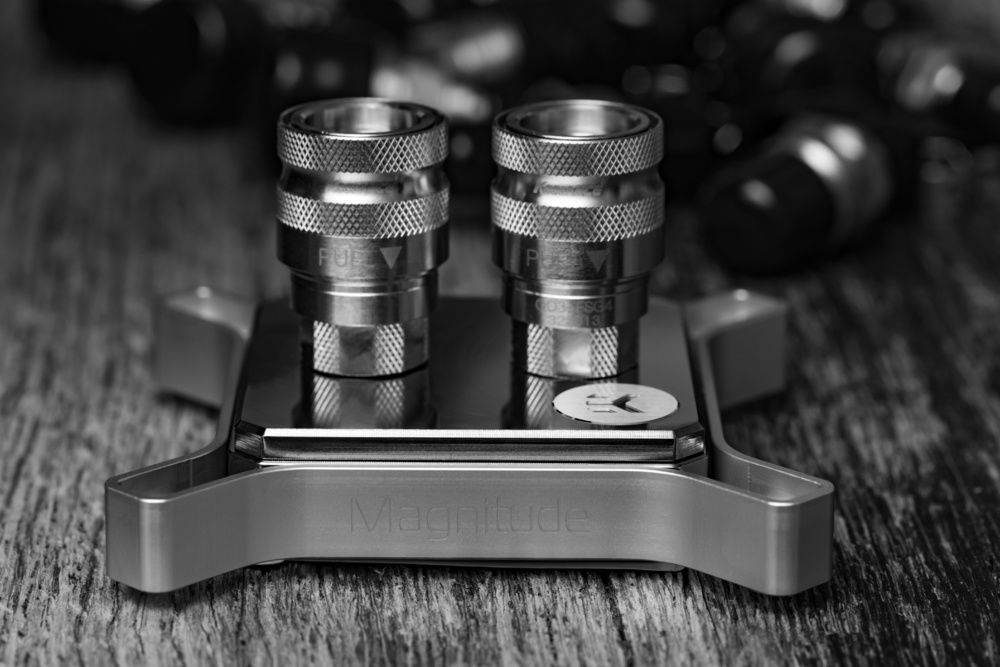
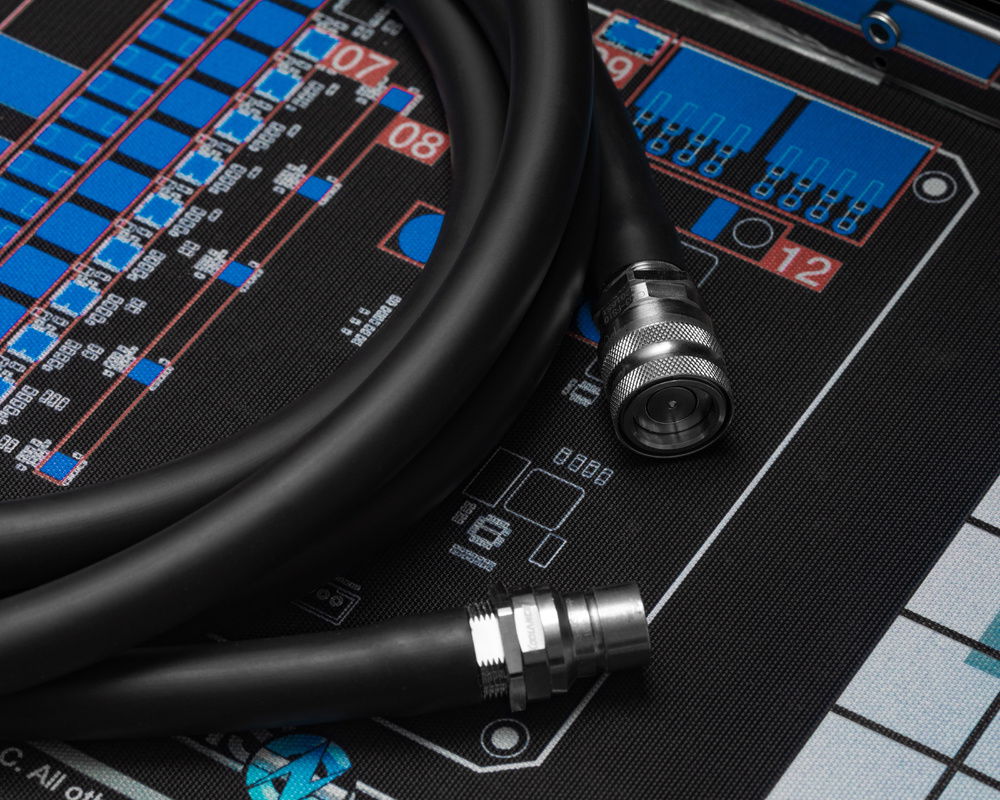
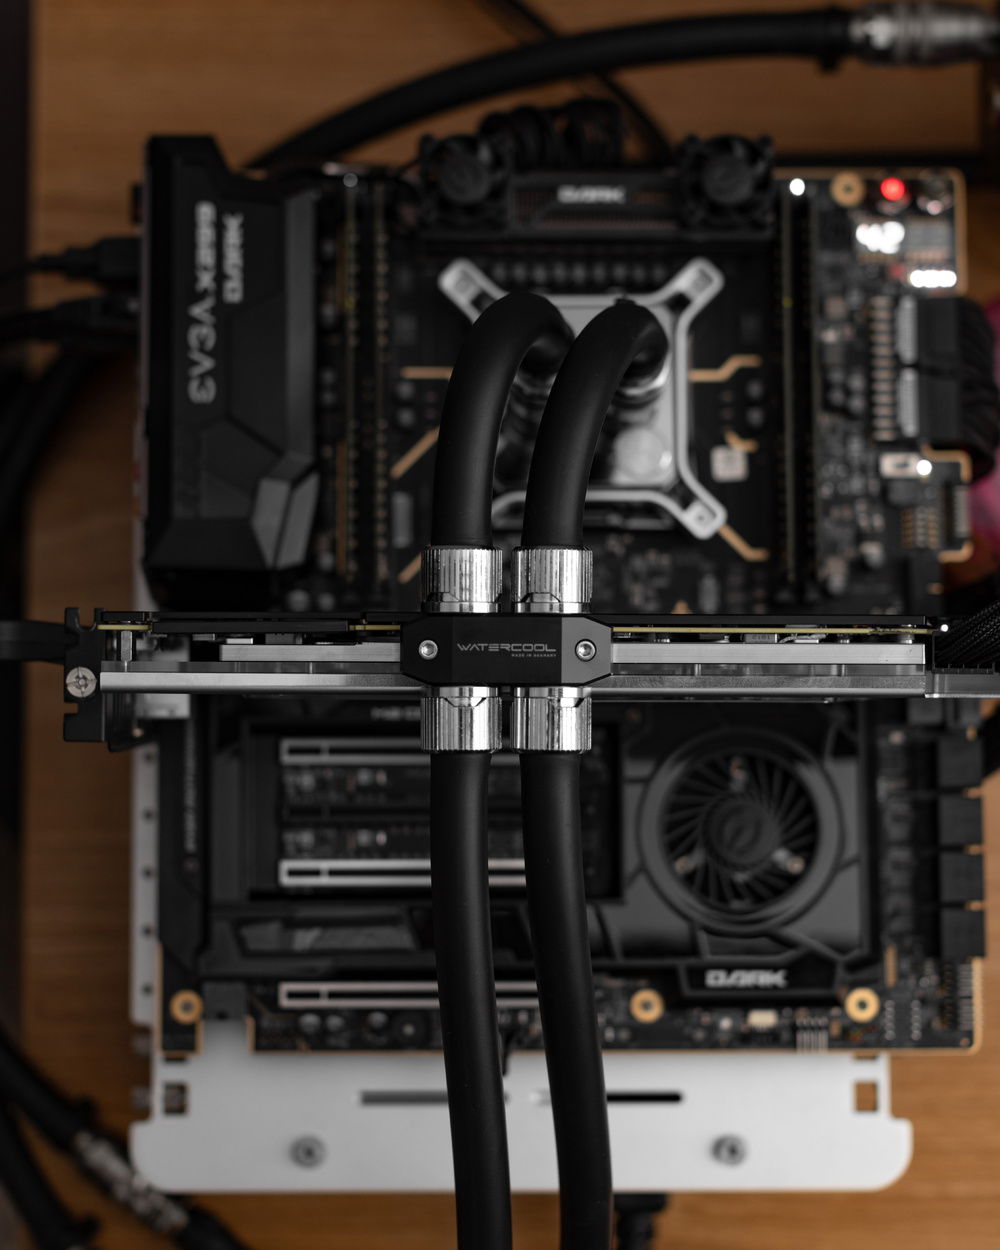
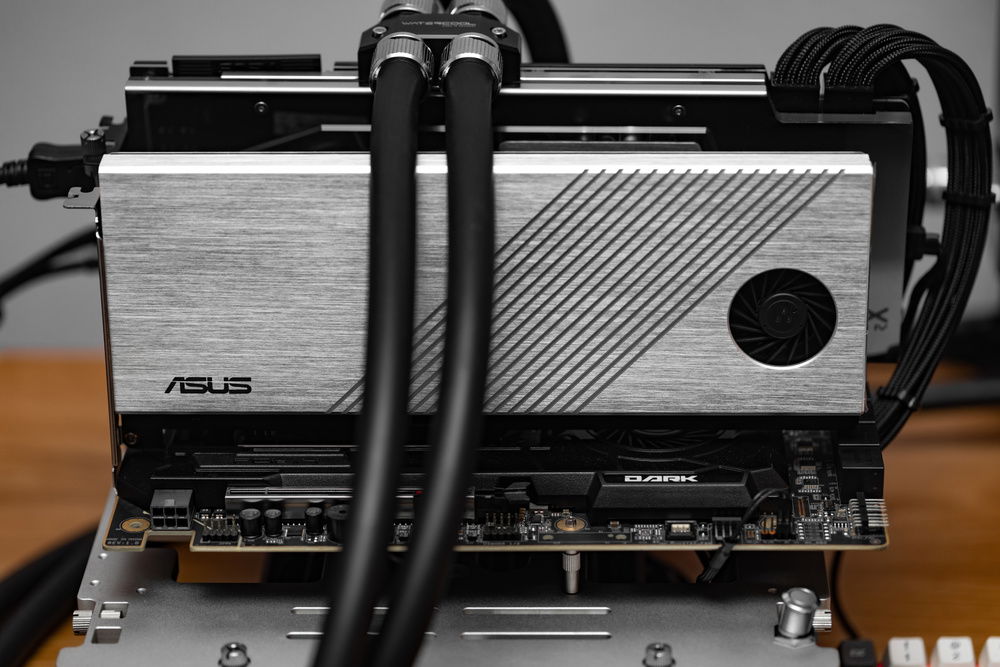
QDs for the GPU – There were not enough QDs in stock for what I wanted to accomplish. When I get more down the line, I will swap out the torque fittings for the QD3s. I can still easily remove the GPU from the system, so it is not super impactful right now.
Conclusion:
This being my third loop in under 6 months really underscores how addictive the hobby is. My fear of leaks has all but disappeared with experience. The quality of parts now vs. years ago is at a level where the main source of leaks is on the builder. There are exceptions for sure. I had a shredded O-ring in a rotary fitting when I was building Chīsai, but leak testing right from the start brought this to light before it was ever a problem.
Above all else, the water cooling community is very quick to share help and experience. I owe a lot of the success of my last two loops to the r/watercooling discord server and some other experienced friends.
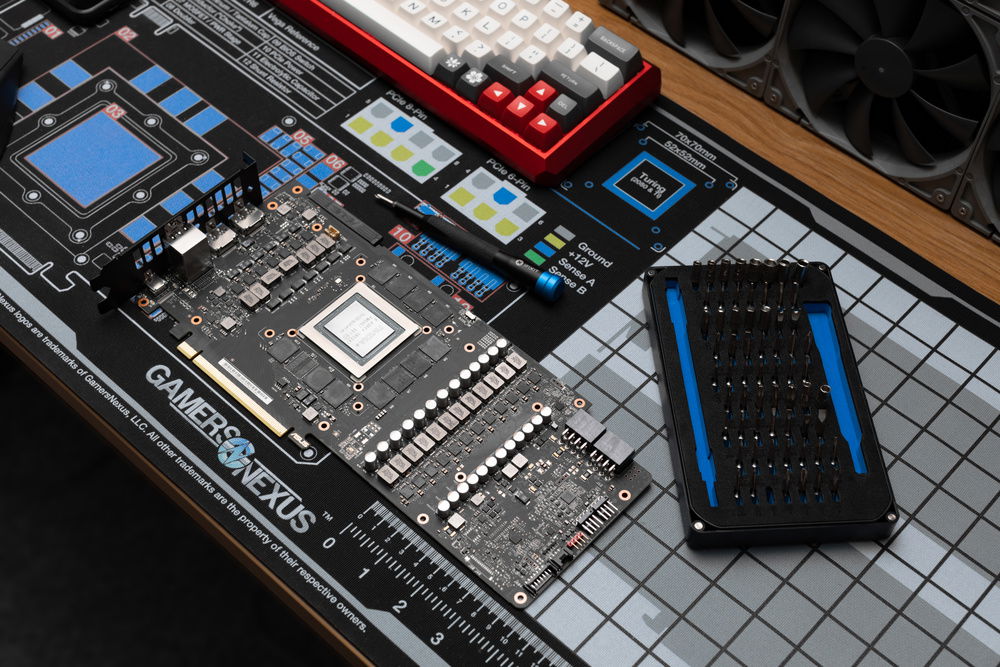
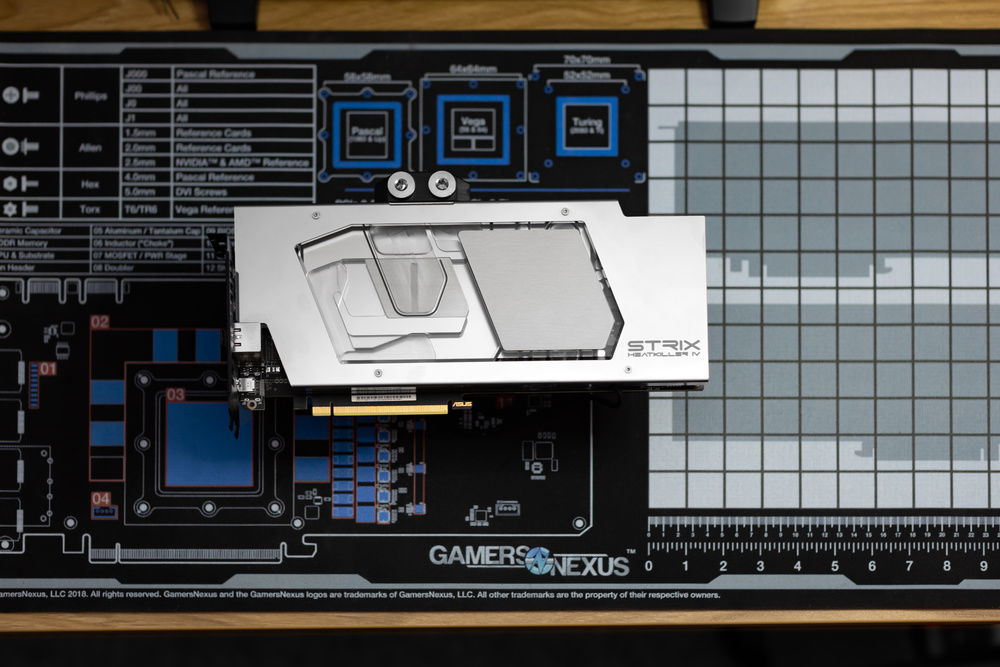
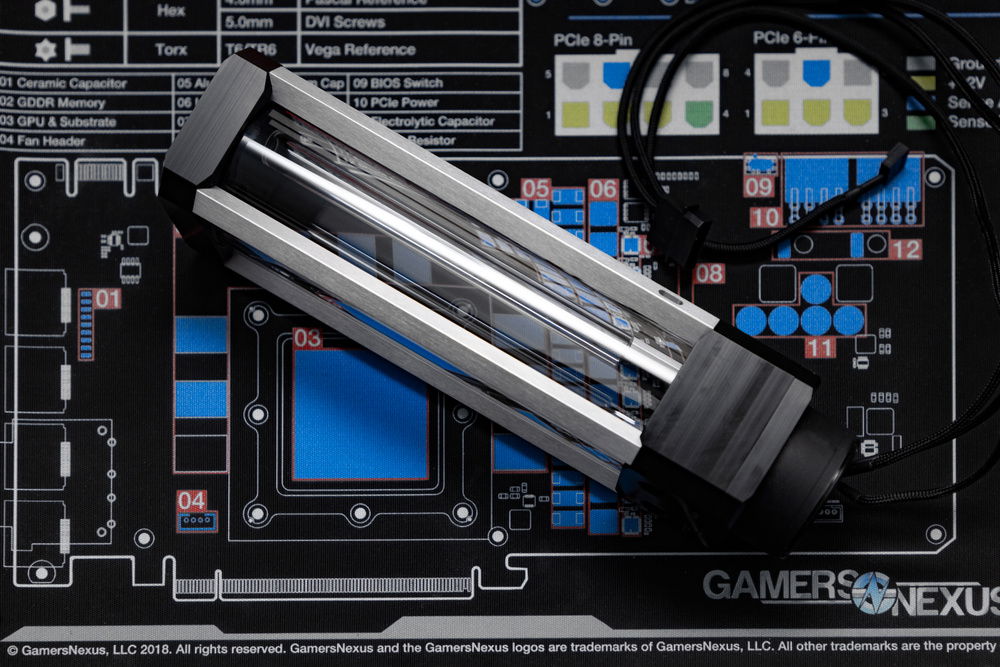
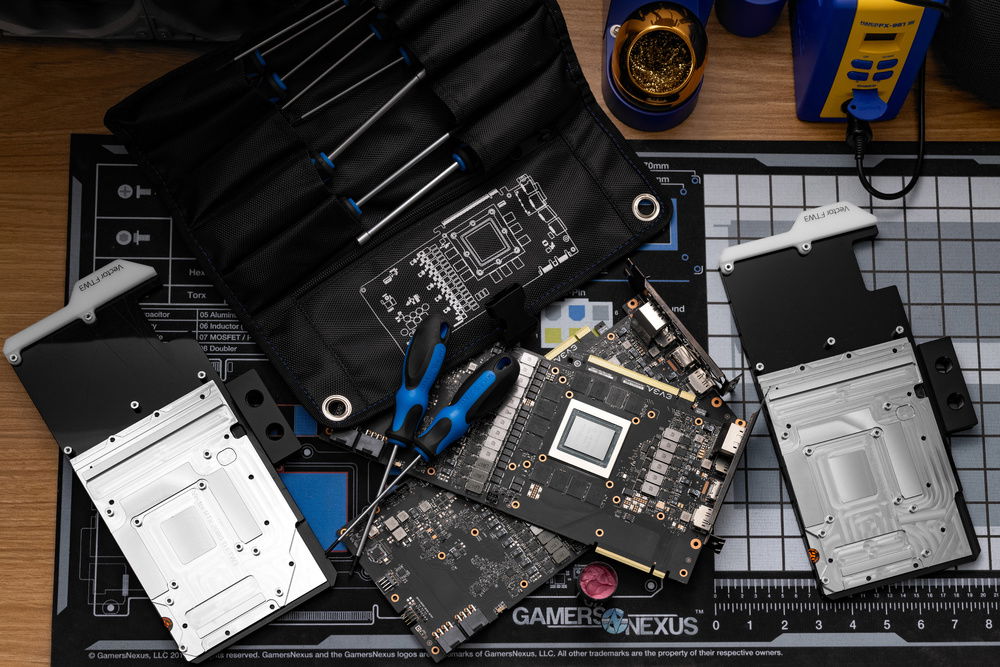
P.S. – The GamersNexus Modmat is awesome… get one. The one I have is the medium version.
PC Parts:
Intel Core i9-7980XE 2.6 GHz 18-Core Processor
Thermal Grizzly Conductonaut 1 g Thermal Paste
Noctua NT-H2 3.5 g Thermal Paste
EVGA X299 DARK EATX LGA2066 Motherboard
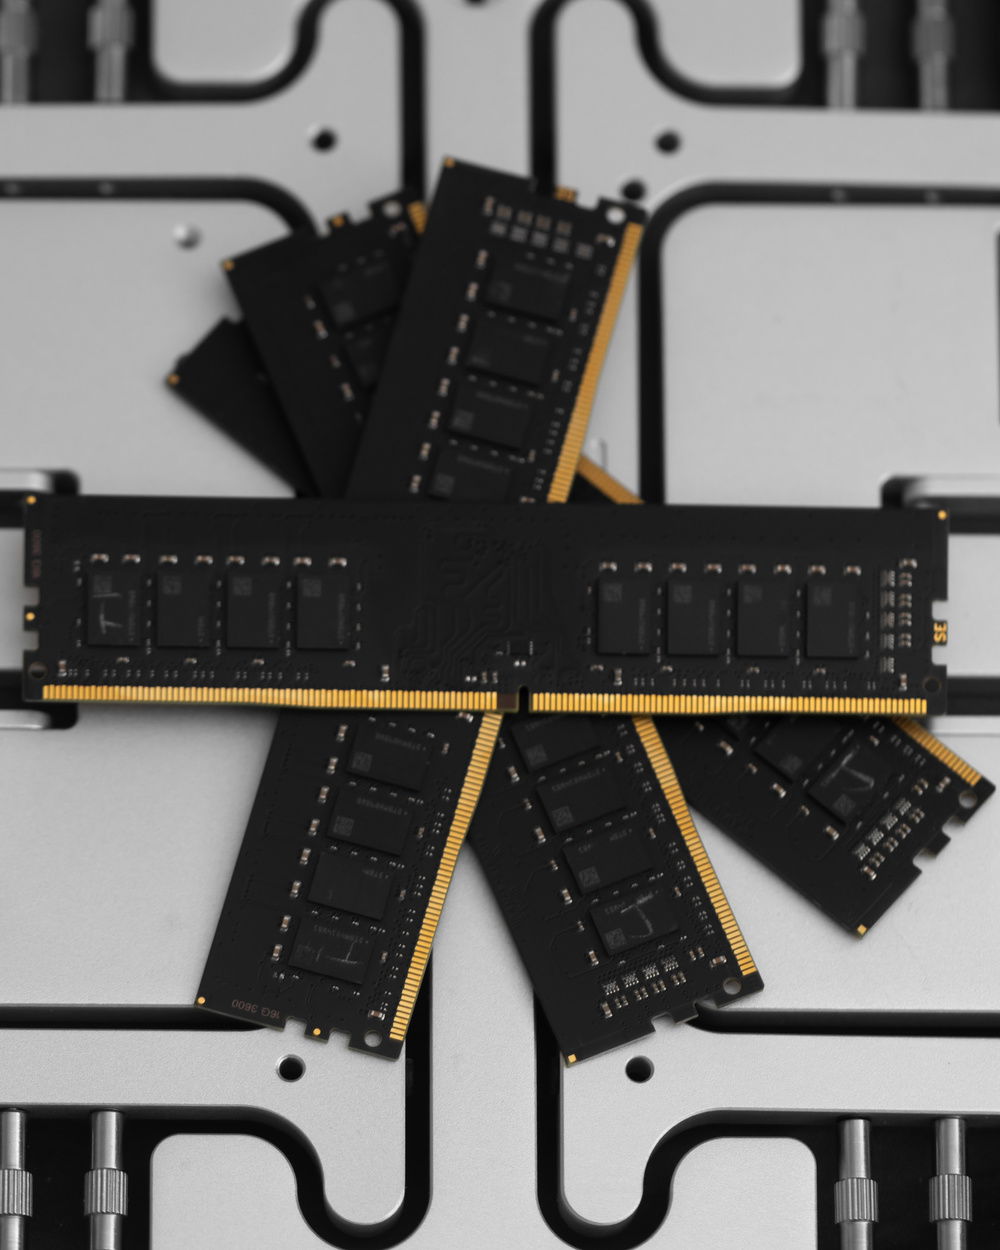
G.Skill Ripjaws V 32 GB (2 x 16 GB) DDR4-3600 Memory
2x Western Digital SN750 500 GB M.2-2280 NVME Solid State Drive Storag
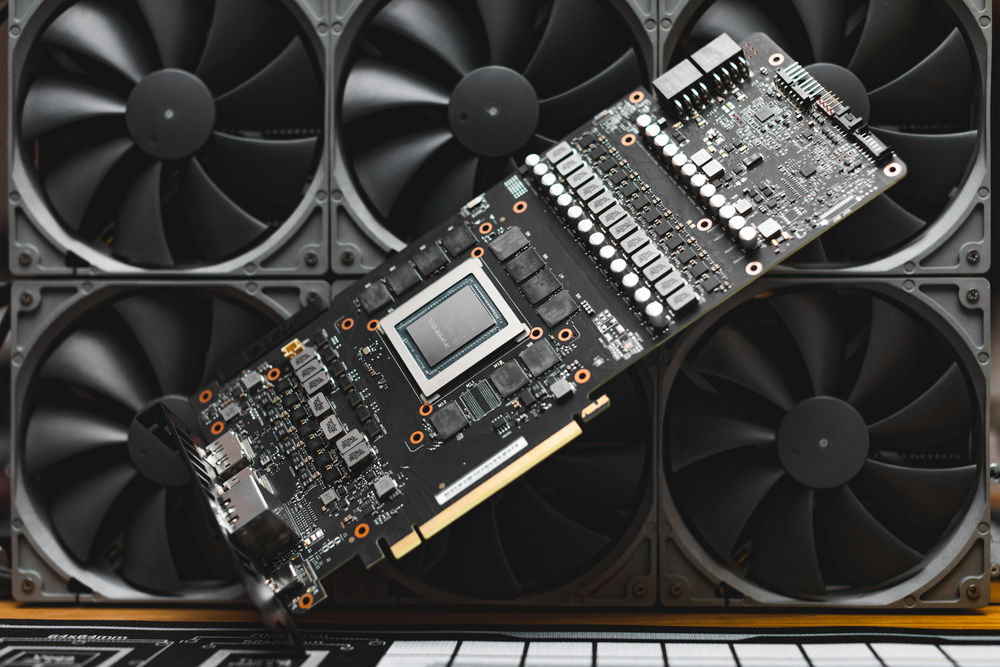
Asus GeForce RTX 2080 Ti 11 GB ROG Strix
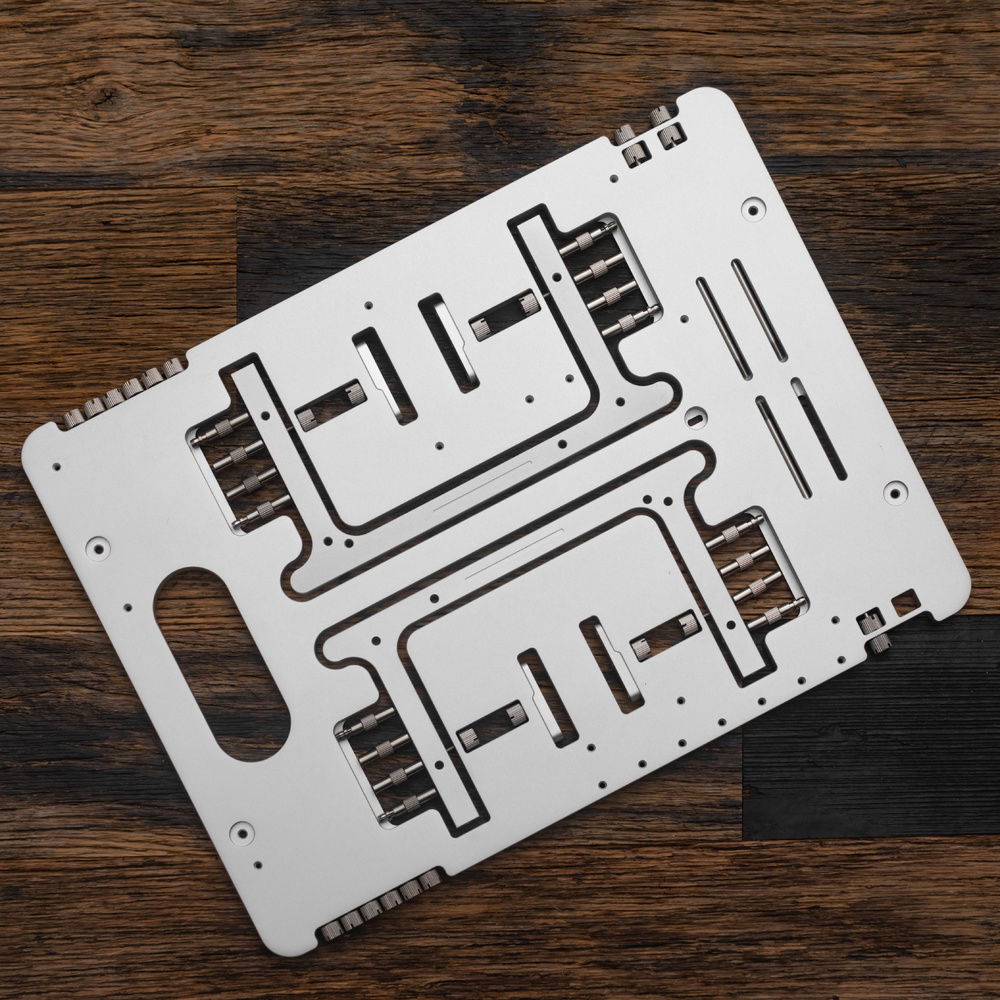
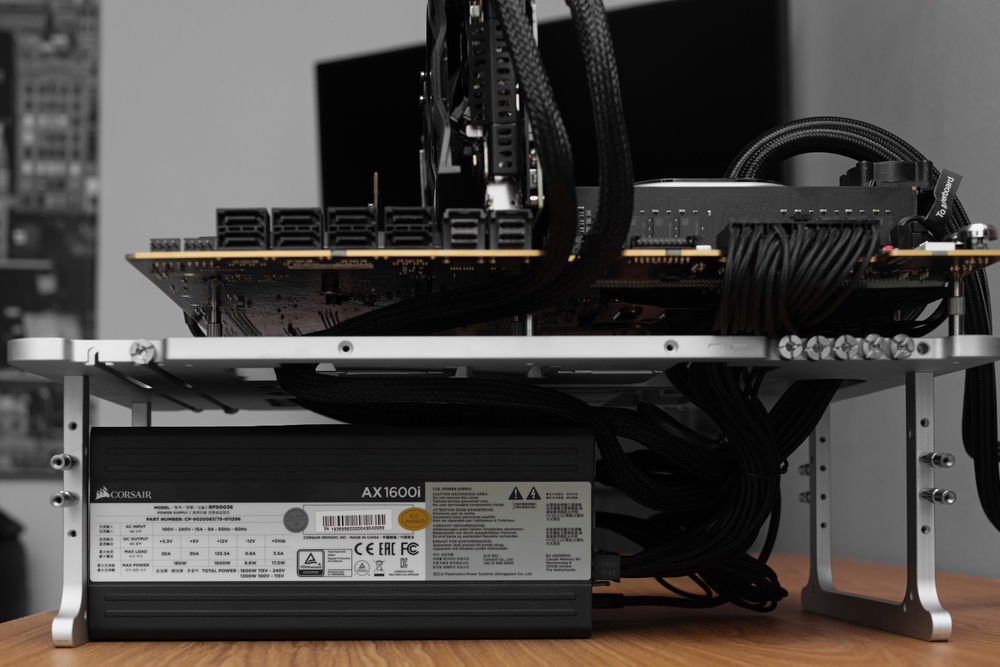
Streacom BC1 ATX Test Bench Case
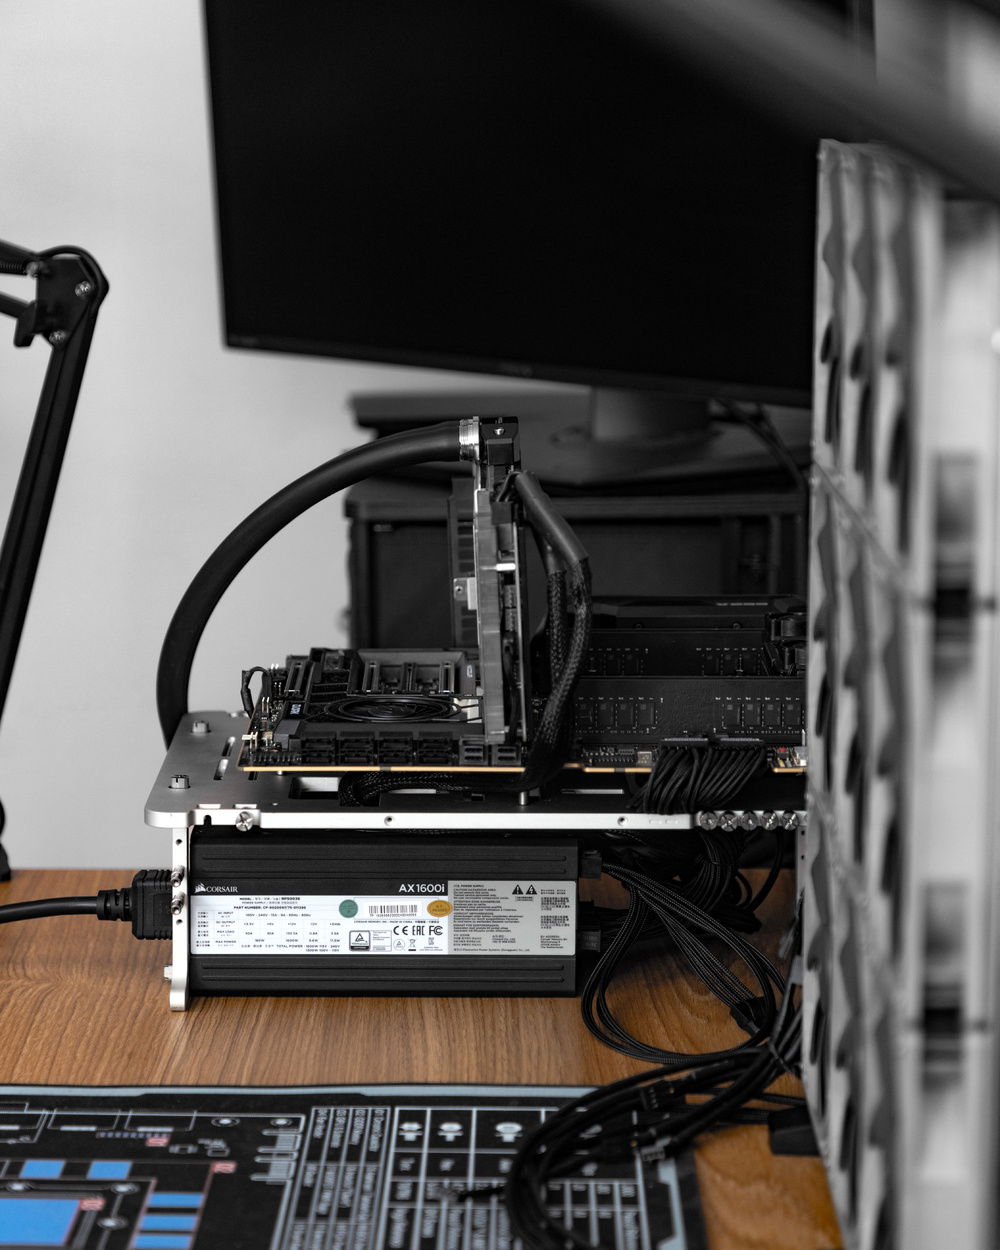
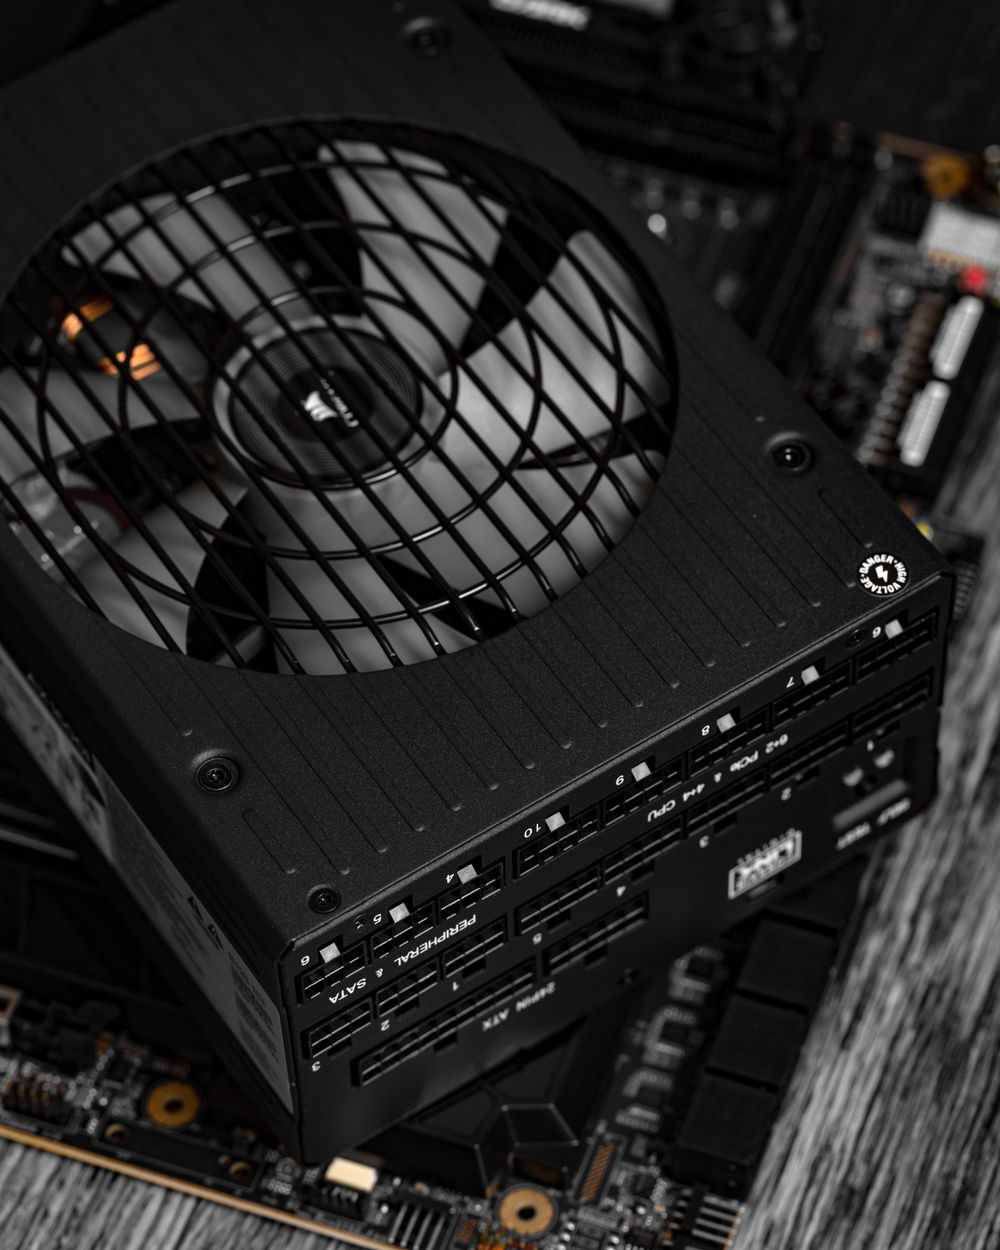
Corsair AX1600i 80+ Titanium ATX Power Supply
Asus XG-C100C PCIe x4 10GBe
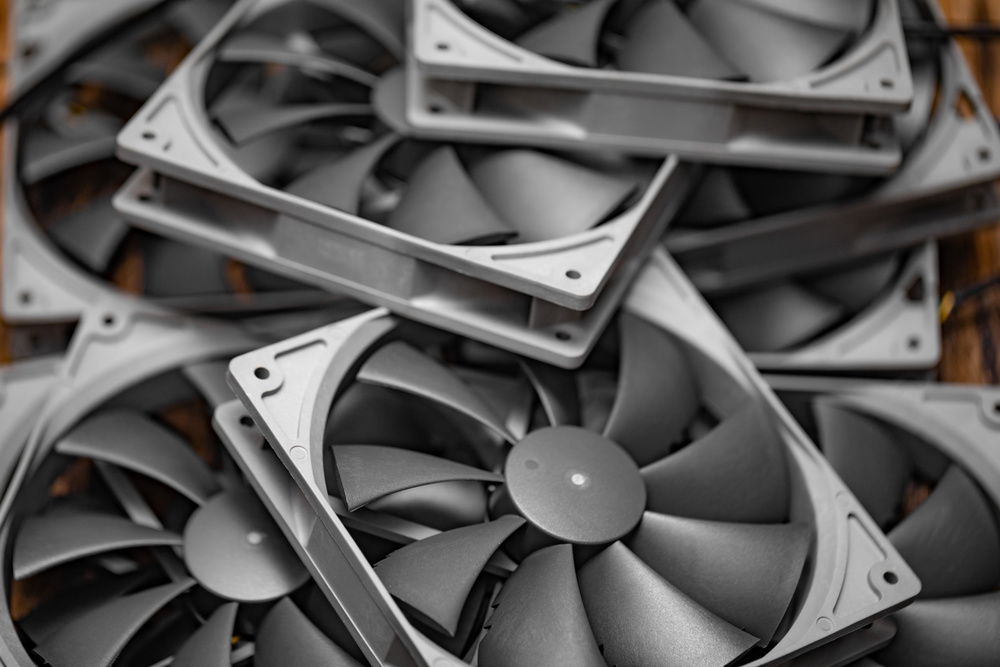
9x Noctua NF-P14s redux-1200 PWM
Asus PG279Q ROG Swift 27.0" 2560x1440 165 Hz Monitor
Logitech MX MASTER 2S (Black) Wireless Laser Mouse
Watercooling Parts:
EK-Tube ZMT Matte Black 15,9/9,5mm 3m
EK Ball Valve (10mm) G14 - Black
Watercool HEATKILLER® Tube 200 D5
CableMod PRO ModMesh Cable Kit - Black
Watercool HEATKILLER® Tube - Stuts 200mm - Raw Aluminum
EKWB EK-D5 PWM G2 Pump
4x EKWB EK-Torque STC-10/16 Compression Fitting, 10/16mm (3/8" ID, 5/8" OD), Nickel
EK-AF Extender 20mm M-F G1/4 - Black
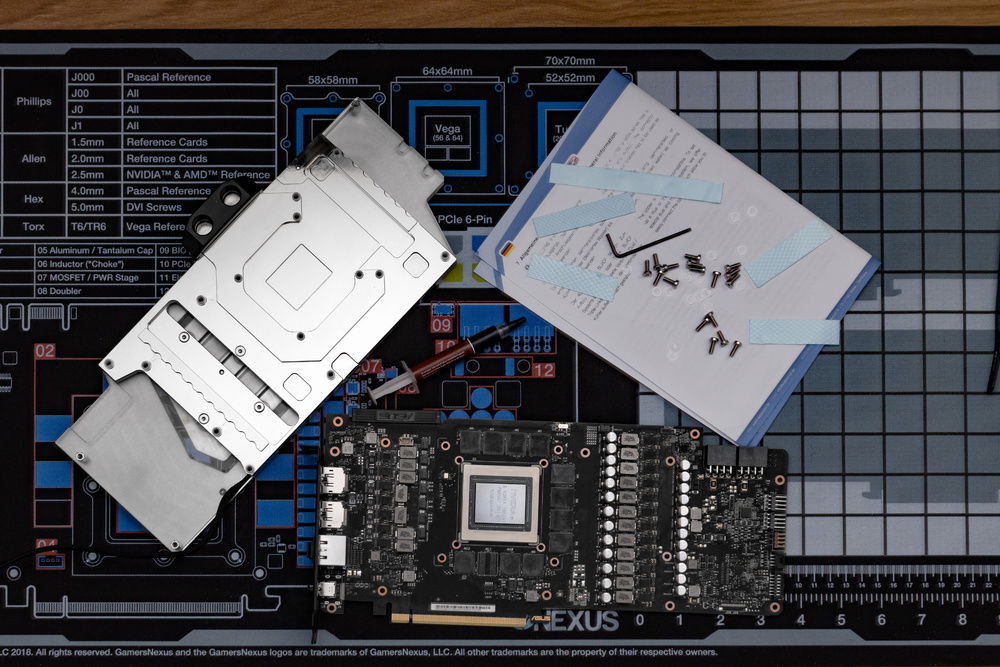
HEATKILLER IV GPU Water Block for ASUS RTX 2080 Ti Strix, Nickel
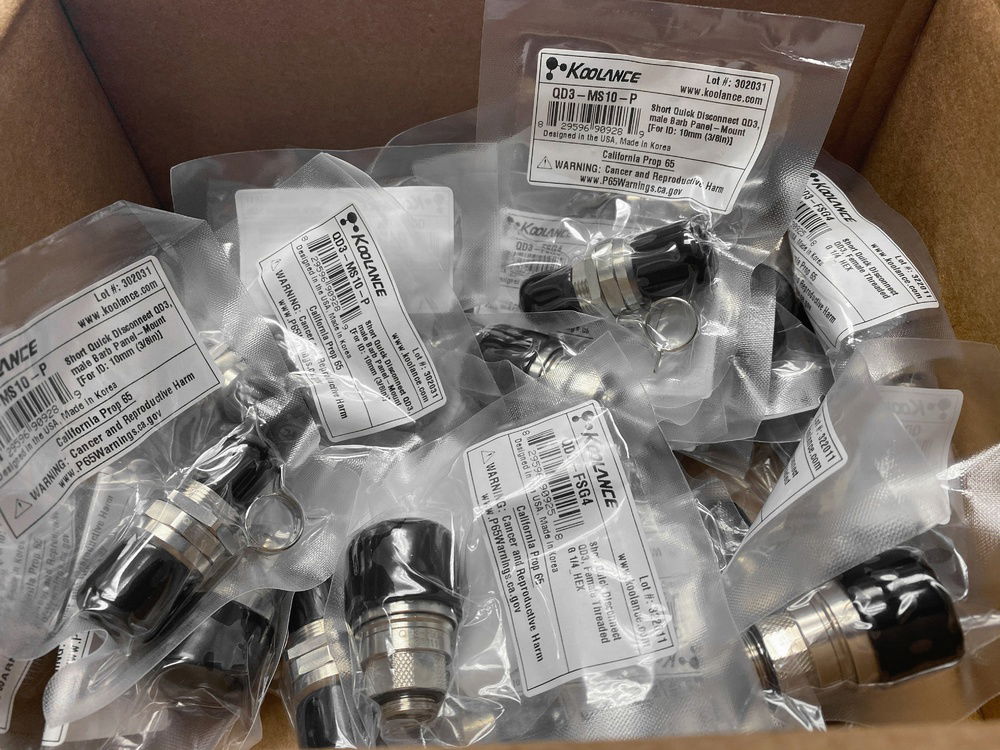
4x Koolance QD3-FSG4 QD3 Female Quick Disconnect No-Spill Coupling, Male Threaded G 1/4 BSPP
6x Koolance QD3 Male Quick Disconnect No-Spill Coupling, Panel Barb for ID 10mm (3/8in)
2x Koolance QD3 Female Quick Disconnect No-Spill Coupling, Panel Barb for ID 10mm (3/8in)
EK-Quantum Magnitude - 20xx Full Nickel
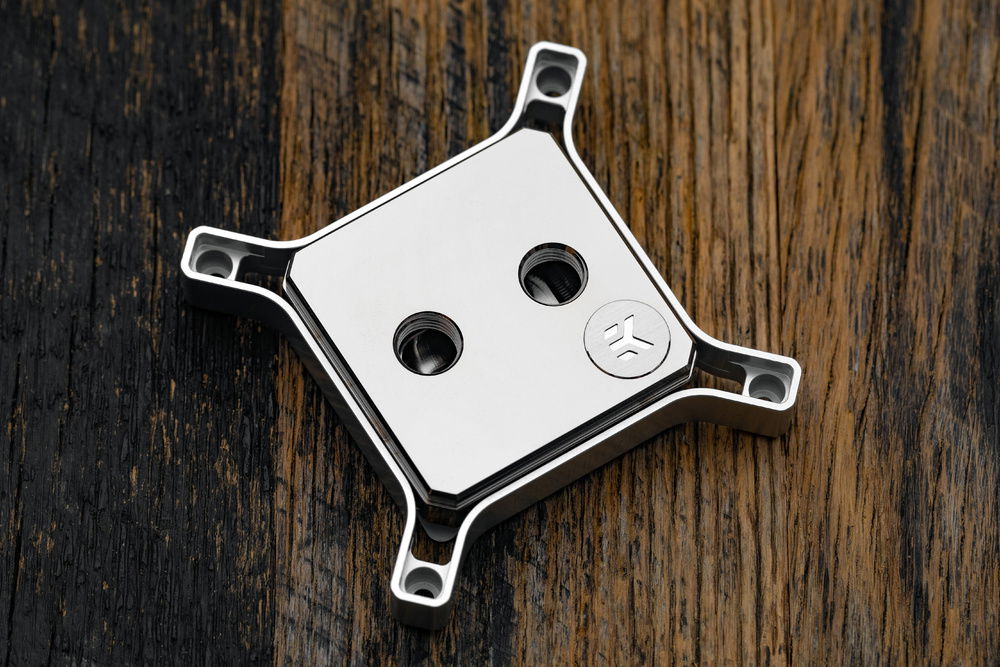
EK-Quantum Magnitude Coldplate - Flat Nickel
MO-RA3 420 PRO Stainless Steel
Color(s): Black Silver
RGB Lighting? No
Theme: Color
Cooling: Custom Liquid Cooling
Size: E-ATX
Type: General Build
Hardware
CPU
$ 299.99
Memory
$ 499.98
Graphics
$ 749.00
Storage
$ 49.70
Case
$ 148.00
Case Fan
$ 161.55
Cooling
$ 29.95
Cooling
$ 11.99
Cooling
$ 98.99
Cooling
$ 224.95
Cooling
$ 63.75
Cooling
$ 139.99
Cooling
$ 71.88
Cooling
$ 24.99
Cooling
$ 12.99
Cooling
$ 43.95
Cooling
$ 173.99
Cooling
$ 145.29
Cooling
$ 282.95
CableMod
$ 99.95
Accessories
$ 88.53
Mouse
$ 69.99
Estimated total value of this build:
$ 5,354.17
Approved by:
