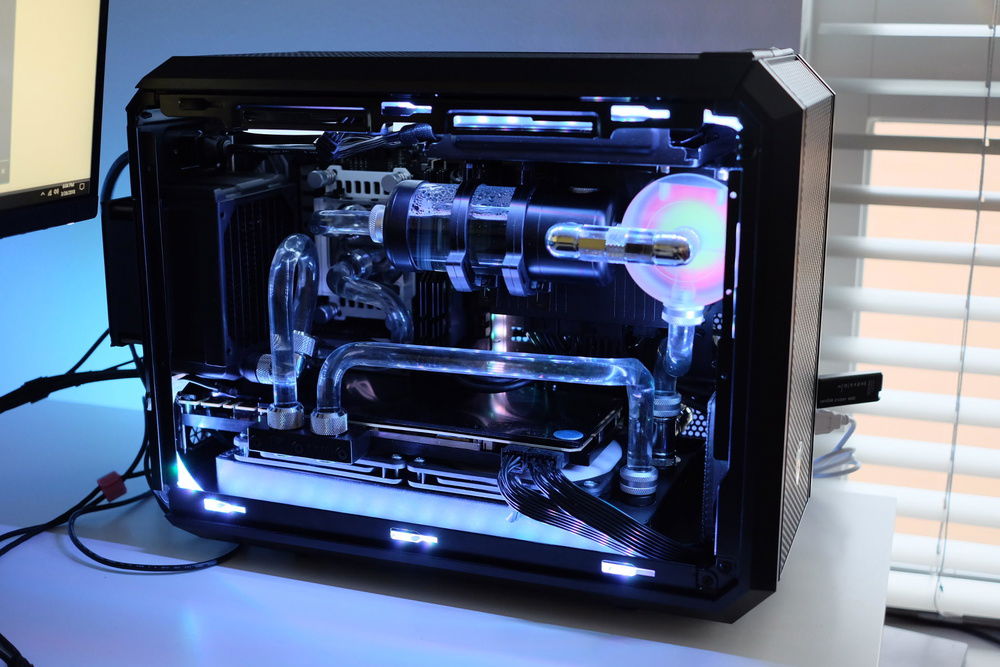
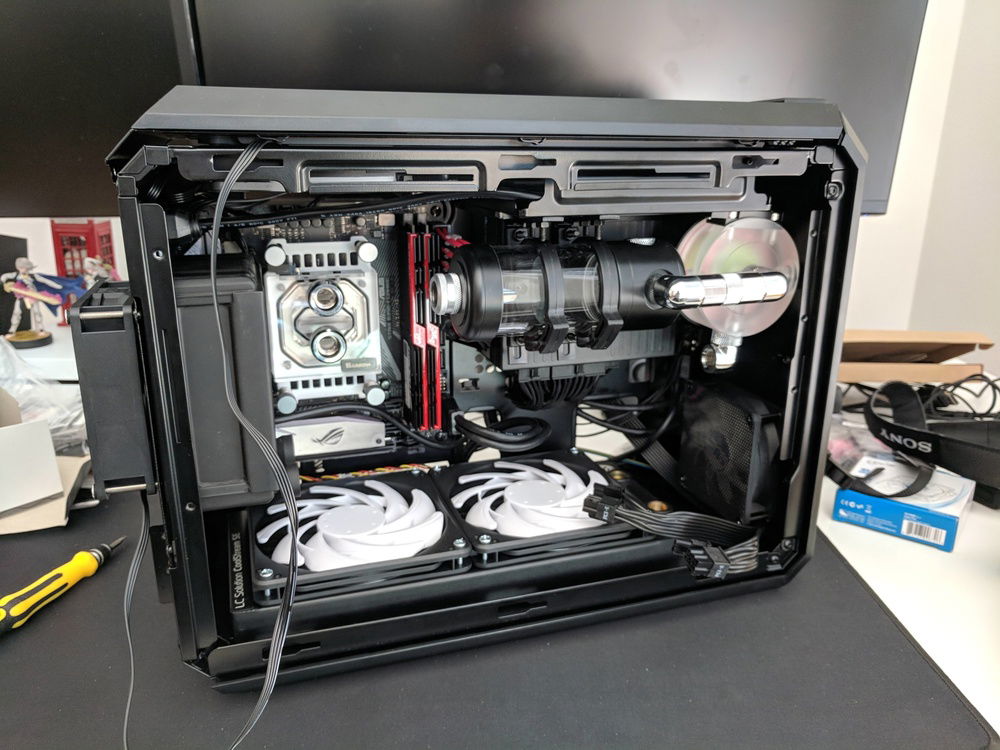
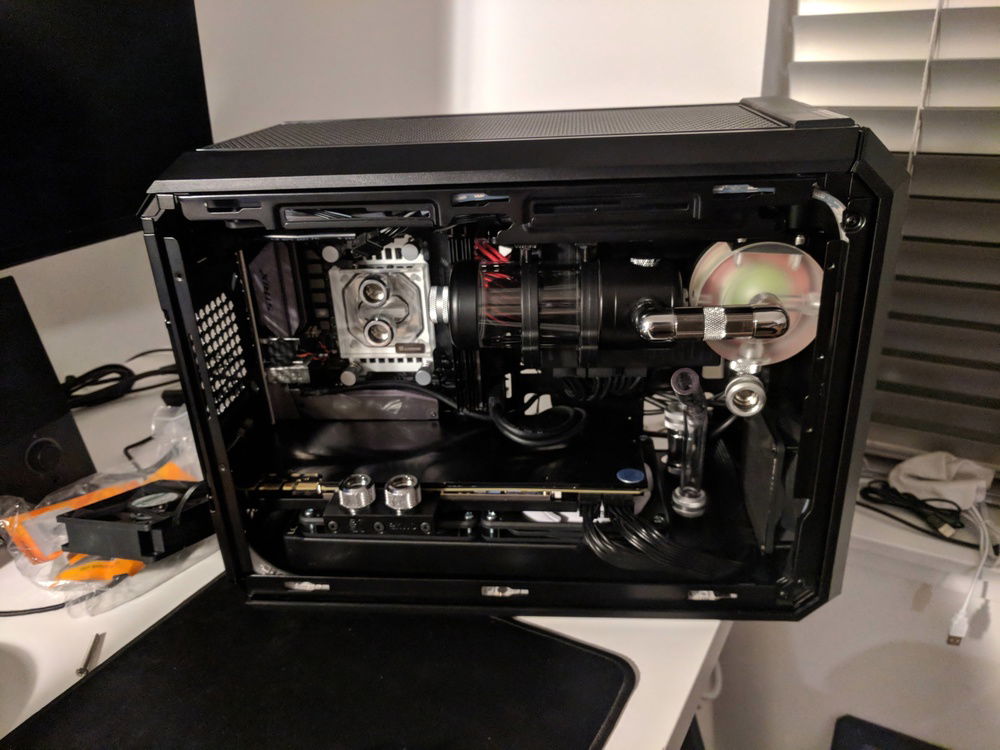
The finished build! Running a Ryzen 7 1700 and an Nvidia Titan X Pascal in my Cougar QBX Kaze ITX case. I've been obsessed with ITX and watercooling for the past few months and finally decided to combine the two in my latest rig update.
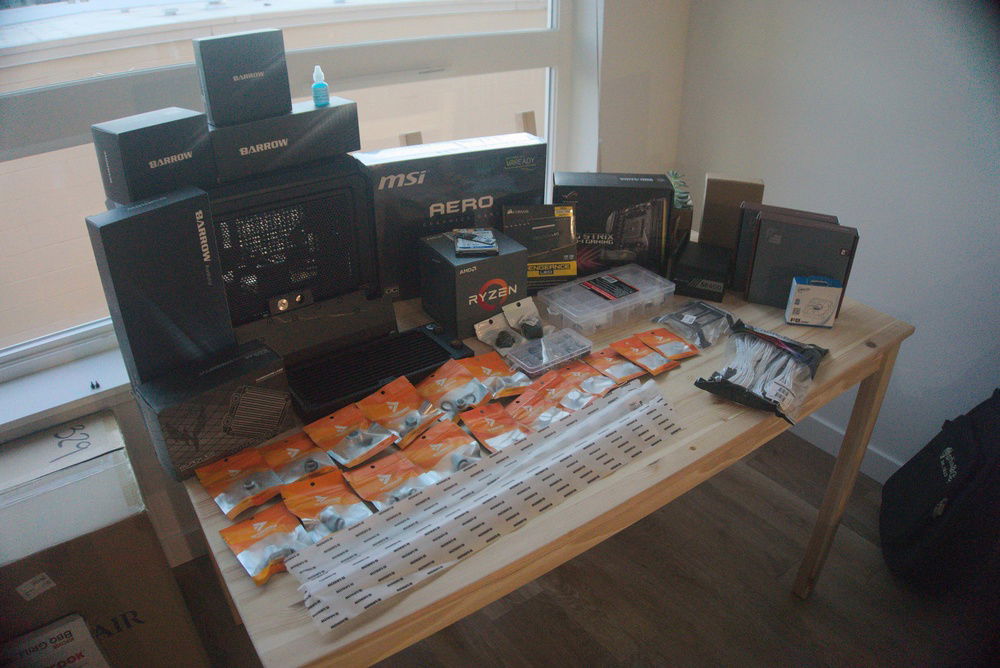
All the parts assembeled (though MANY of these will be changed out throughout the build). The main (final) parts are:
Computer Hardware:
Ryzen 7 1700
Asus B350i Strix
32GB 3333MHz TridentZ DDR4 RAM
Nvidia Titan X Pascal
256GB OCZ RD400 NVME SSD
2TB Micro 1100 SSD (Crucial MX300 Enterprise ver.)
QBX Kaze
Corsair SF600 PSU (Bulldog Cables)
Silverstone SFX -> ATX Adapter
2x Silverstone FN123 120x15mm Fans
1x Barrows 120mm White LED Fan
1x Arctic 80mm Fan + Filter
1x Sunon 92mm Maglev Fan + Filter
Cablemods 24pin Extension (Black 300mm)
2x Phanteks RGB Strip
Watercooling:
Barrows AM4 CPU Block
EKWB Titan X Pascal Nickle + Acetal Block
EKWB Titan X Pascal Acetal Backplate
Barrows PWM Pump
Barrows Reservoir + L and Clamp mounts
Barrows 10/14mm Compression Fittings x10
Barrows 90deg Fitting x3
Swiftech 15mm MtF Extenders x4
Barrows Plugs x4
EKWB Plugs x2
Barrows MtM Fittings x2
T Fitting x1
Blace Ice Nemesis 92mm Radiator
EKWB Coolstream SE 240mm Radiator
Barrows 10/14mm Tubing (used 3 500mm segments)
Tools:
XSPC 10/14mm bend/cut kit
Barrows 10mm silicone insert
Wagner Furno Heat Gun
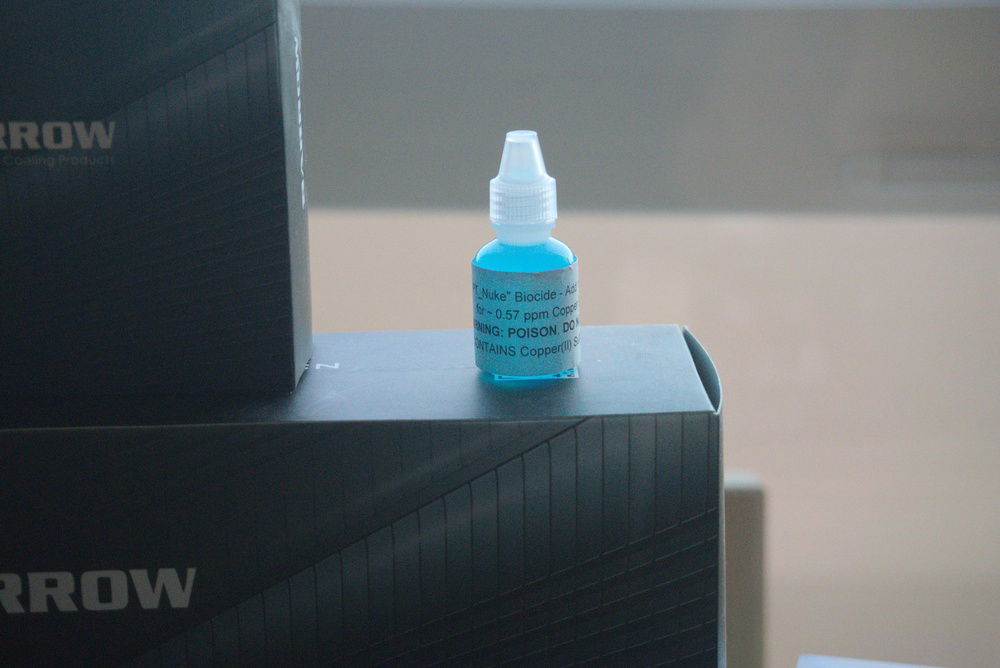
PT Nuke - will be running on distilled water so will need this to prevent bio buildup! Planning on draining and refilling in 6 months with either distilled again or Mayhems Pastel
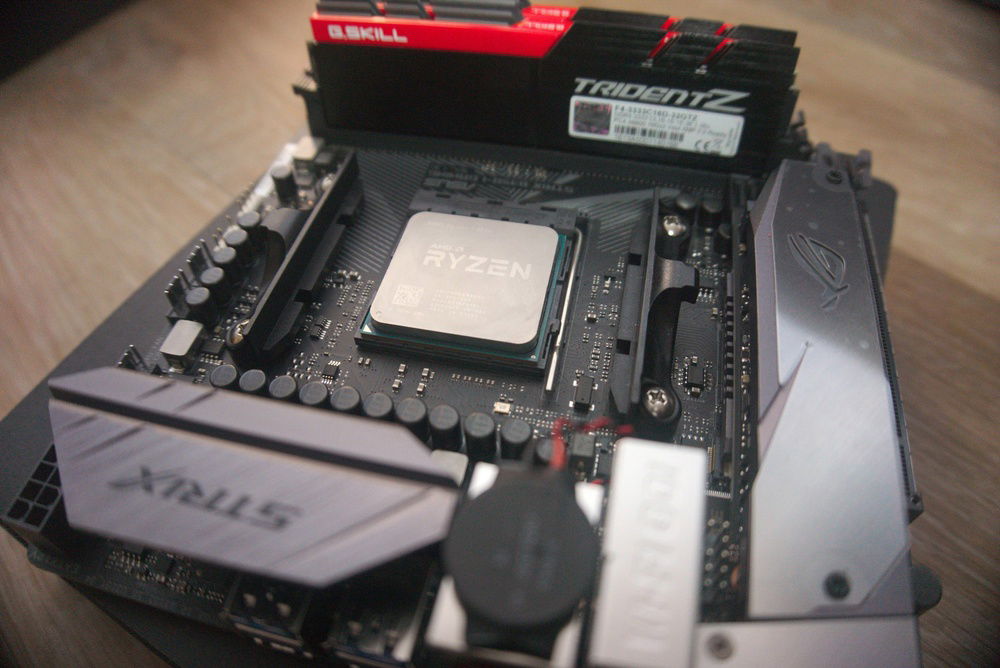
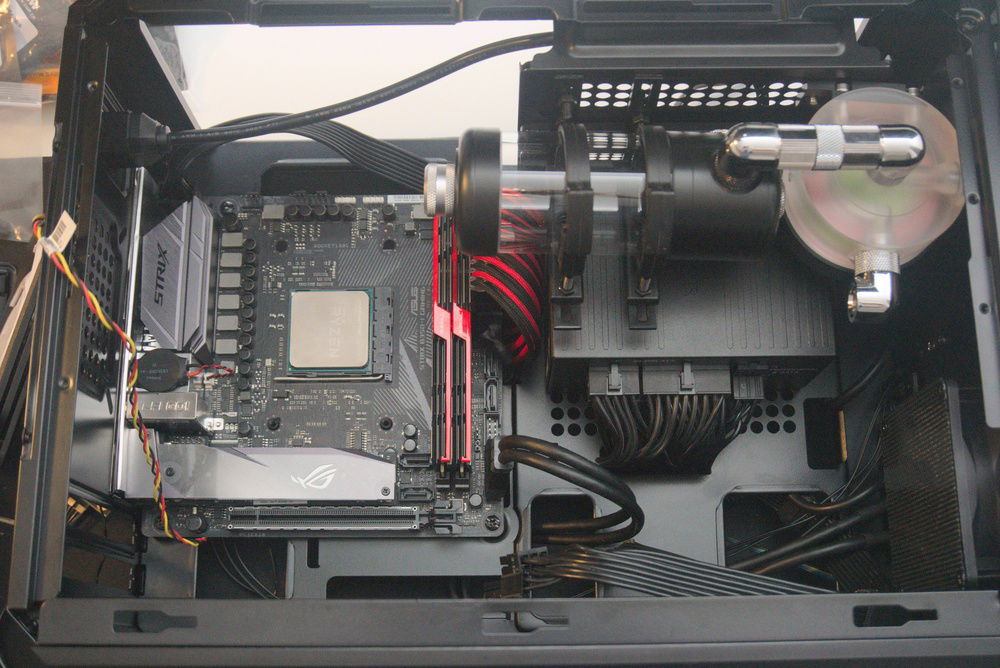
Motherboard with the parts on it! I decided to switch from the original Corsair Vengeance LED 16gb DDR4 3200 to 32GB of TridentZ 3333 since I got a good trade deal on them!
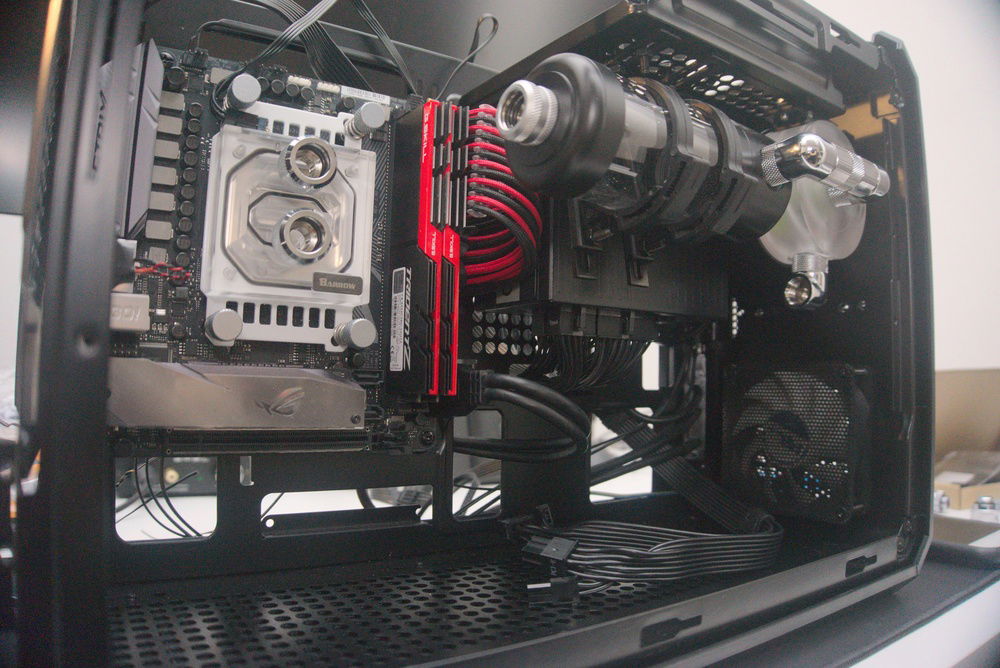
Barrows AMD4 waterblock. Looks absolutely beautiful! I had to switch the mounting bracket 90 degrees for my build, but it was easy to do. This also has RGB capabilities but I haven't purchased the controller needed to do that. Would have liked for it to be able to plug into standard 4 pin rgb headers on motherboards. I think a cable for that exists, but the documentation on which one I need is poor.
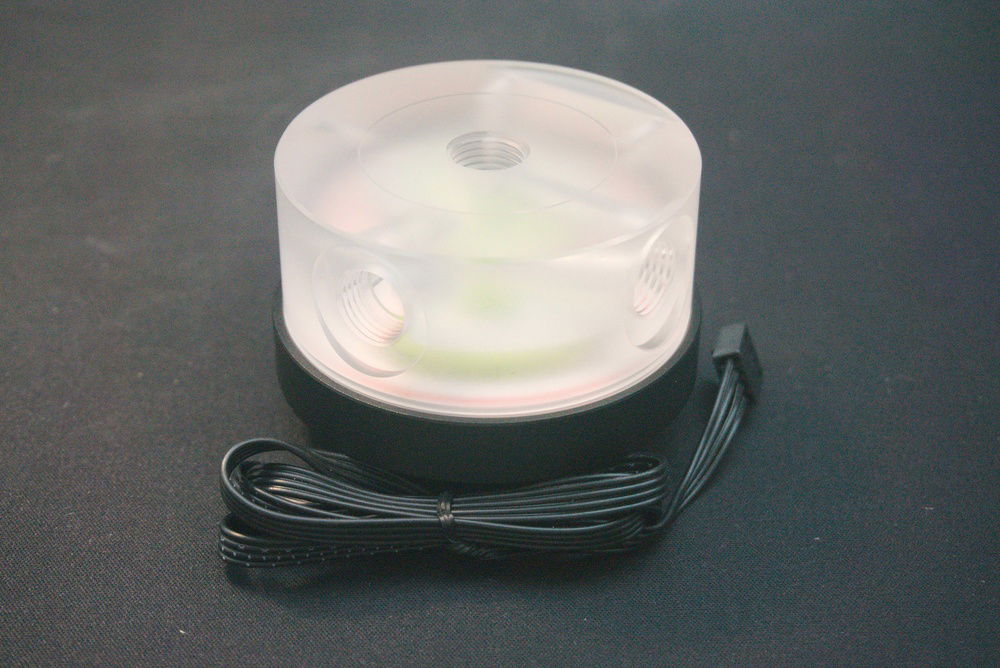
This pump was much larger than I had expected. I think if I were to do any more SFF watercooling builds, I would definitely look into a res+pump combo unit. It saves a lot of space and would have made this build much easier!
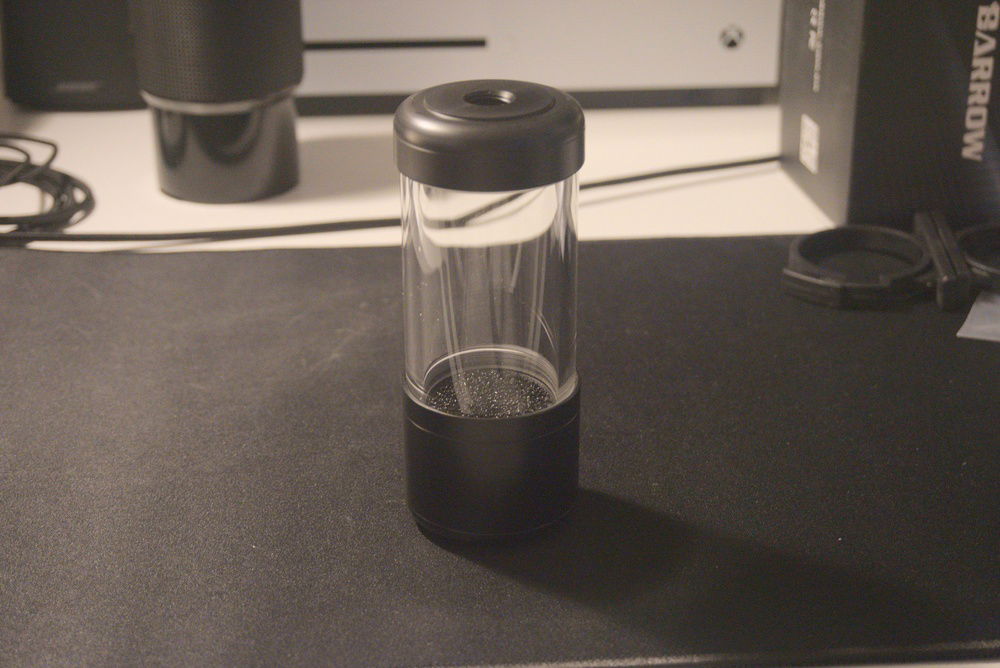
The reservoir was just barely small enough to fit well inside my case. I should have definitely planned and measured everything before I ordered, but it all worked out in the end!
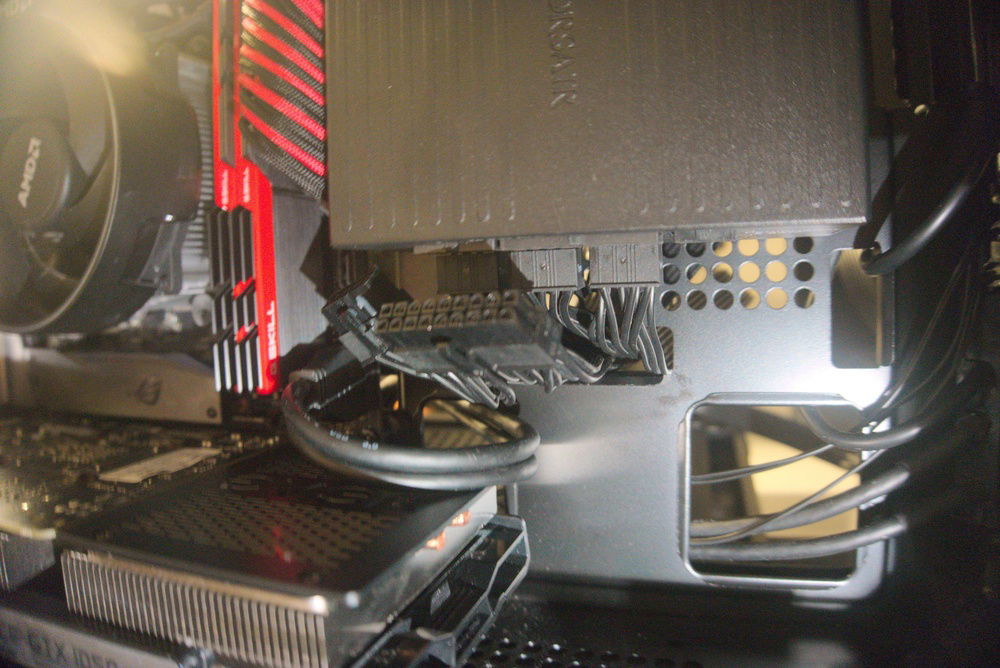
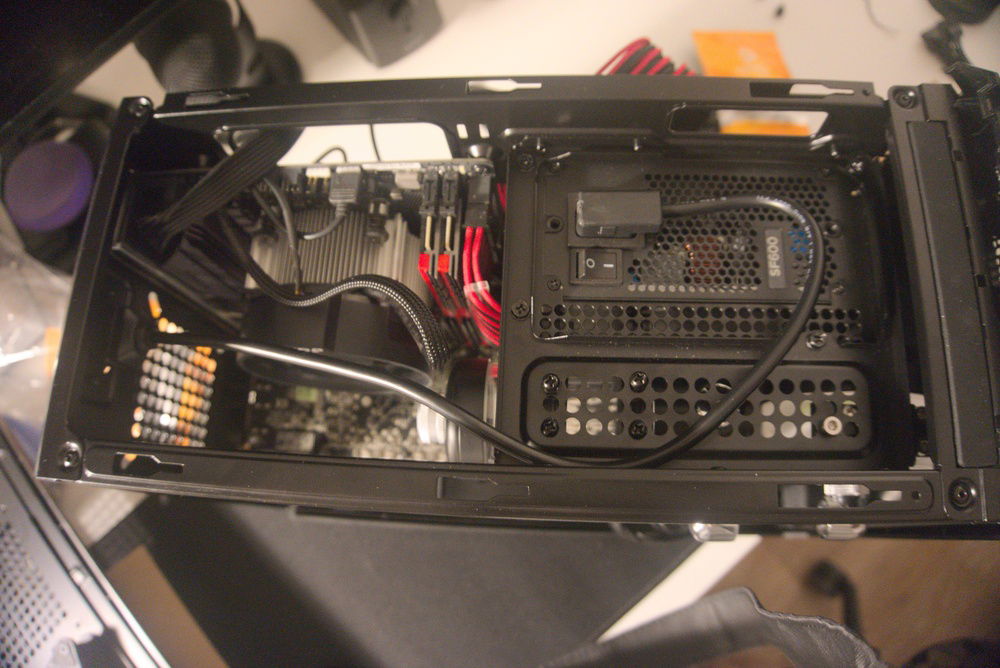
A really neat "feature" of the QBX is that there is a cutout here that usually supports the bottom of an ATX power supply. When using an SFX power supply like my SF600, you can use this space to route your PSU cables into the back of the case. I was able to fit all my cables through the opening with some carefull finesseing. Very awesome surprise that kept the front of the case very clean of cables.
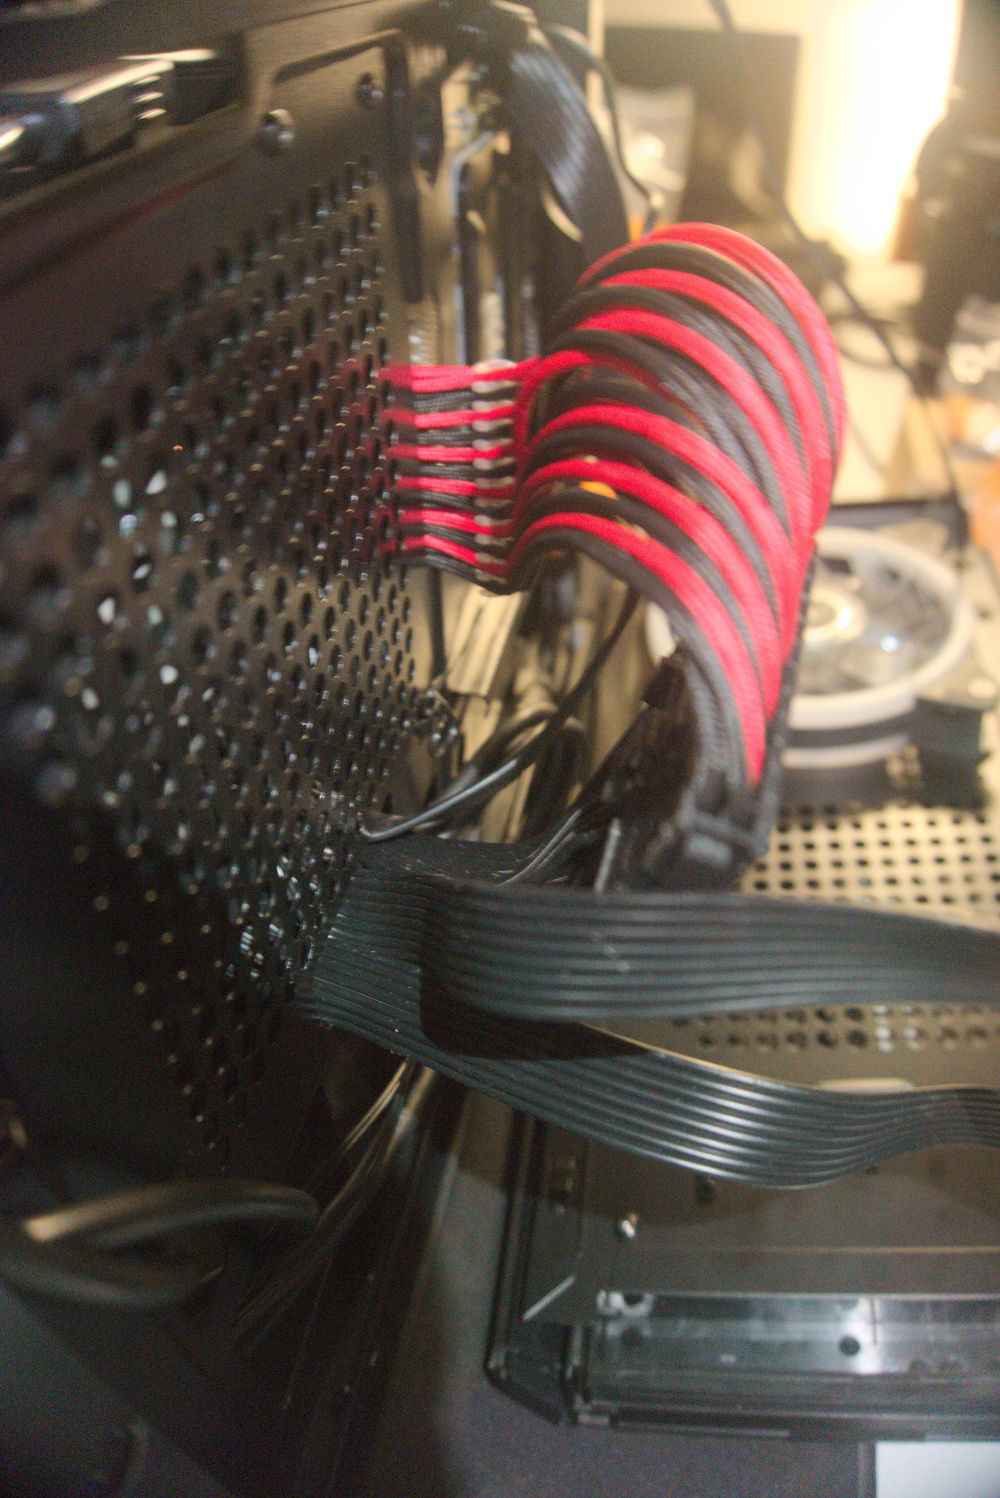
The down side however, is that the cables can be a mess in the back. I had a SF600 from a bulldog kit so I had shorter cables, needed to add a 24pin extension here to reach the motherboard, which really added to the mess of cables here. I would highly reccomend custom cables for SFF builds, if theres room in the budget.
Starting to fit things into the case now. I had a placeholder GPU to test the spacing of everything as I tried out different orientations for the res and pump. Placing these two were definitely the first thing that needed to be done. There is not very much room in the front and the specific configuration of the holes on my pump and res led me to choose this configuration.
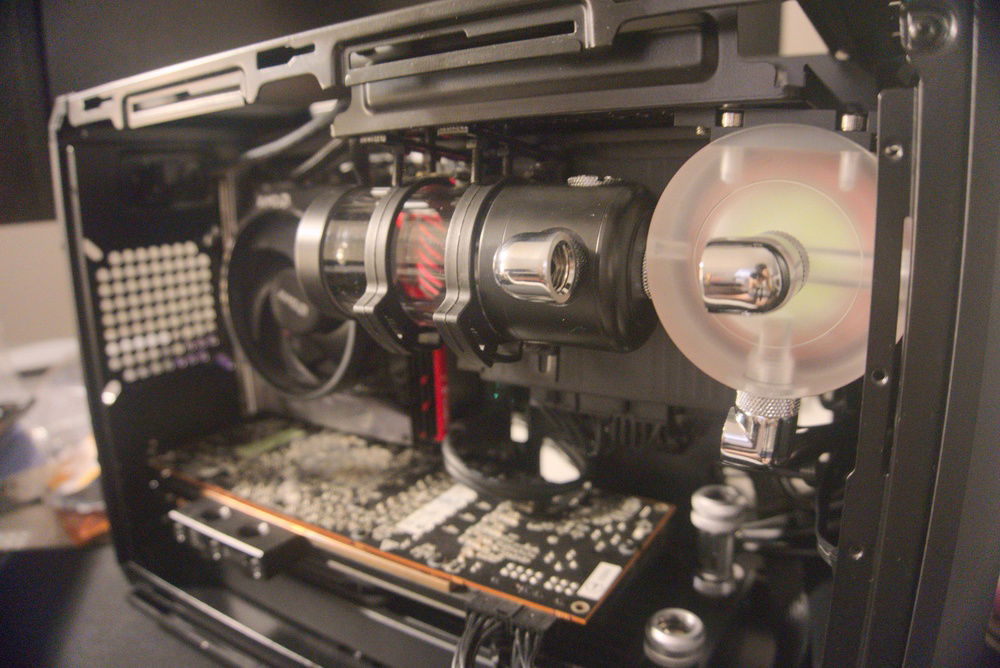
Here you can see where I mounted the res and the pump. There are vents on the top next to the power supply mounting area. I was able to carefully thread everything through here and used nuts on the other end to hold everything in place. Its a bit janky, as I have mounted the L bracket here, and a clamp mount onto the L bracket which then clamps on my res. A somewhat annoying thing about the Silverstone ATX-SFX bracket, is that it has a lip around it that angled my L bracket a bit so it was no longer parallel to the PSU.
I also removed the original power cable (from PSU to rear of case) in favor of the power cable from the Corsair Bulldog case. The original is oriented in a way that makes an S shape for the cable in order to fit, taking up a lot of space. This new cable is also much more flexible, and was easily bent into place.
A shot of the interior without the placeholder GPU. I had to order some MtF extenders to get my res outlet to connect to my pump inlet. Luckily the distance was perfect so that I could use a 10mm MtM and two 15mm MtF fittings to get a solid connection between the two. Things are really starting to come together at this point! I also added a front 80mm fan with filter for improved airflow, though in retrospect it might be better as an intake than exhaust. You can also see the PSU cable management that I mentioned earlier. The 24pin extension can also fit through the left PSU support bracket if you don't have the motherboard installed. With my cablemod extension I had to use an x-acto knife to shave off some of the plastic on the 24pin female end to fit it through the hole. The result is awesome as it leaves very little cable clutter! (Though that USB3 cable is still a huge pain)
Another angle of the previous shot. You can see the L to Clamp mounting for the res here, as well as the room there is between the PSU and the front of the case. I highly suggest getting an SFX PSU for this case, even if you dont plan on custom watercooling. There is practically no room for it to clear the GPU otherwise.
For the bottom rad I'm using the EK slim 240mm radiator with two Silverstone slim fans. I also considered Noctua 120x14mm fans but the color would have distracted me too much :). The back rad is a 92mm Black Ice and has the fan mounted on the exterior. Due to the raised portion of the back fan mount and the thin fans on the 240, I had to make a trip to my local hardware store to buy screws of the proper length.
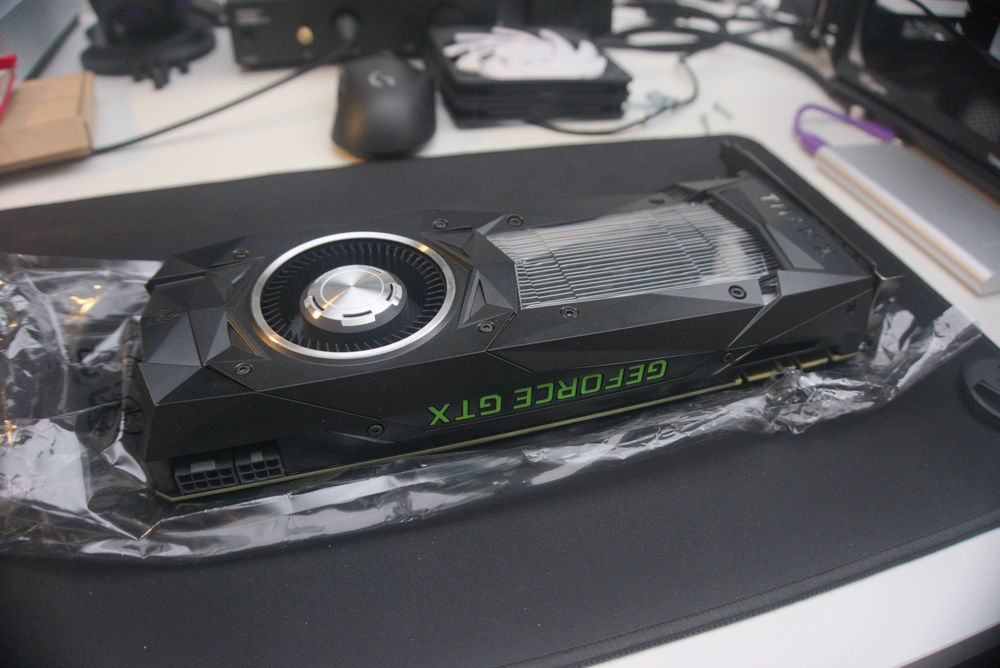
Now for the GPU (finally got shipped in!) -- I actually bought my waterblock before my GPU, a EKWB Titan X Pascal waterblock. I didn't have a GPU that would fit it (originally had a GTX 1080 turbo, but ended up selling it), so I hit up HardwareSwap and found the matching card for the block!
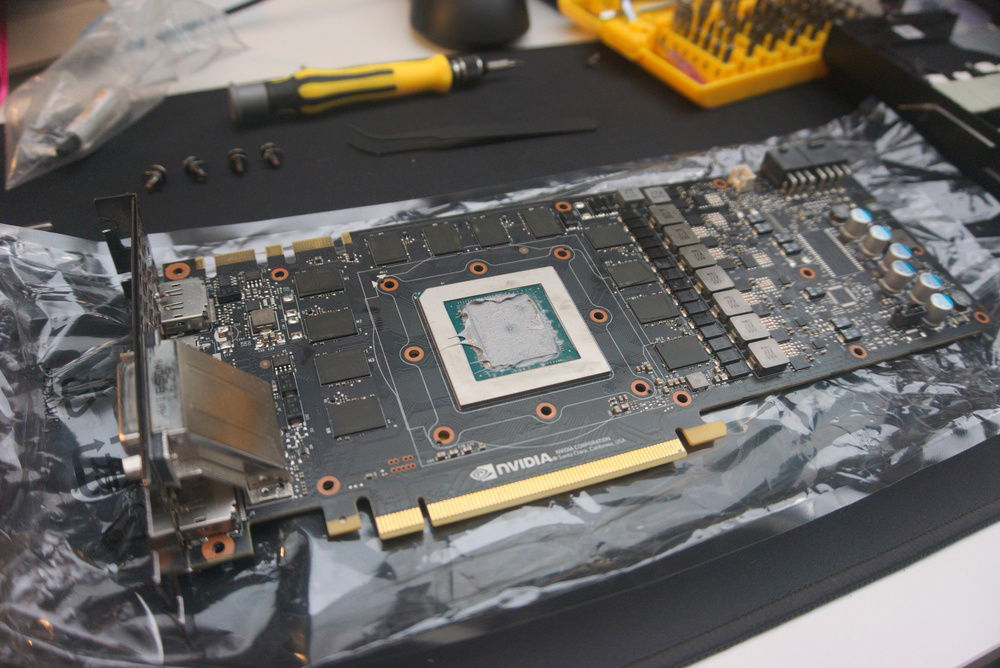
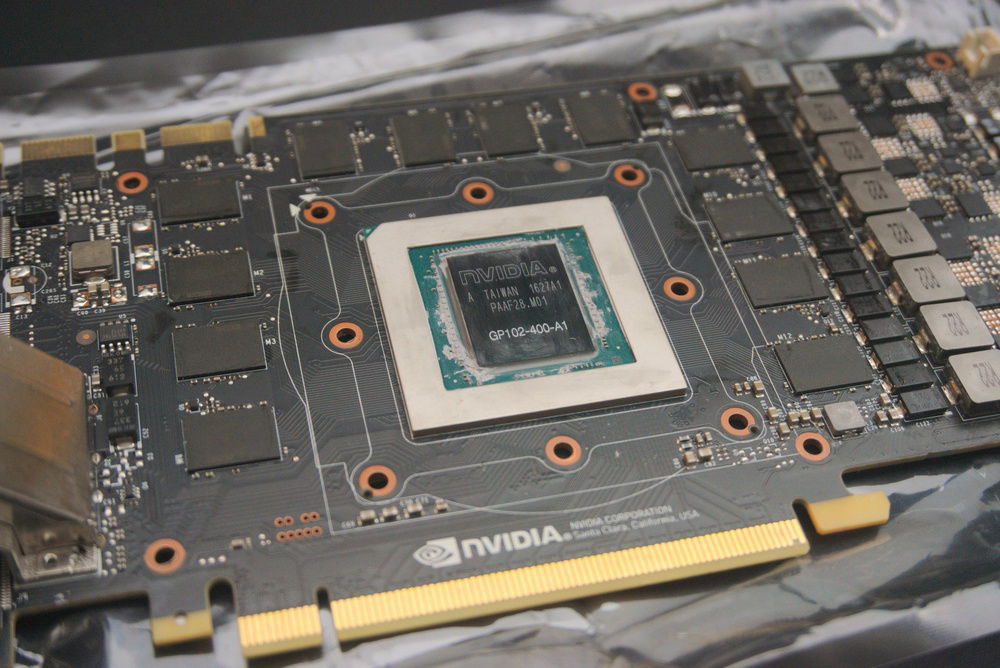
Taking it apart I find a big goop on the die, gotta clean that up :)
Now with the block installed on the card, I insert it into the build so far. With the 30mm EK Radiator and 15mm fans, I just barely have enough room to fit in the GPU. There is a small gap between the GPU and the Fans from which air can be pulled.
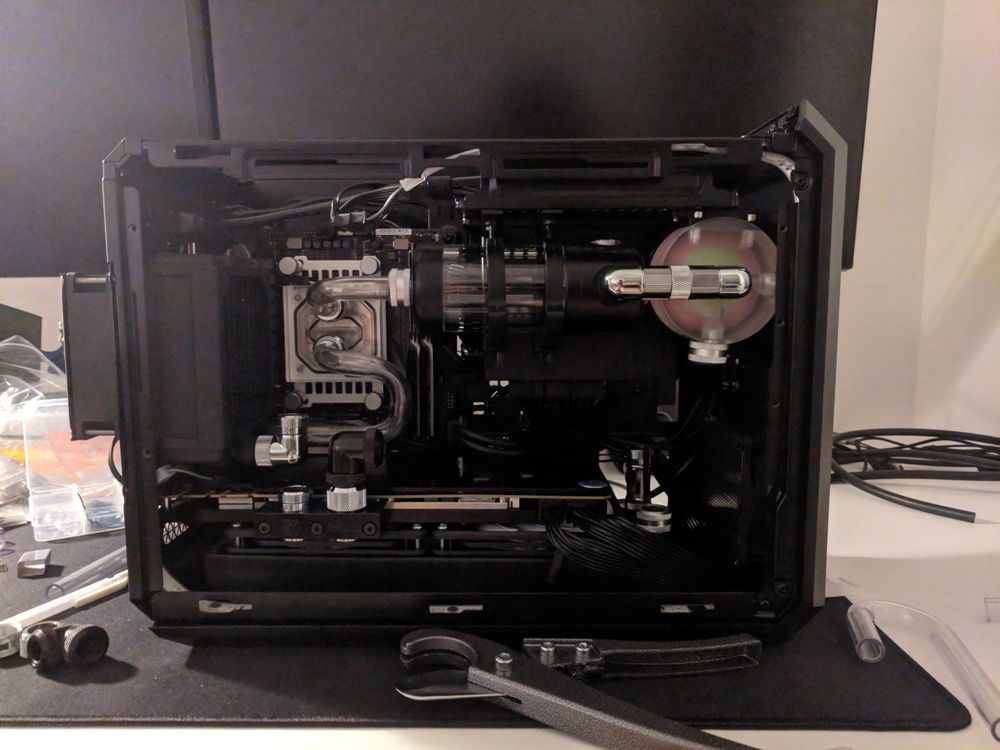
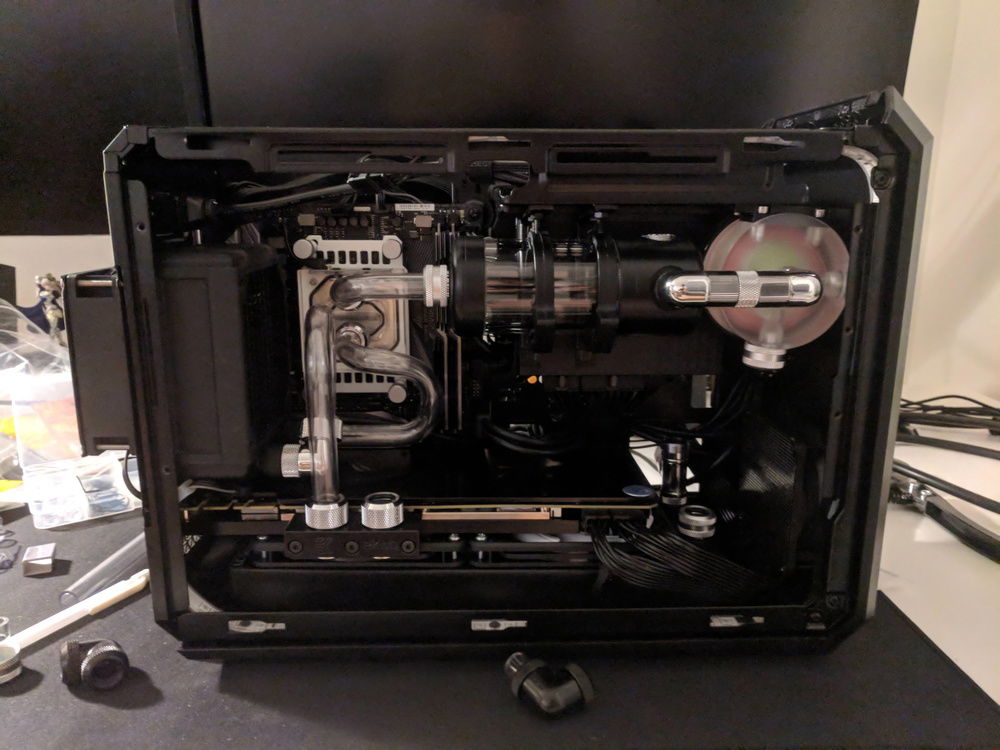
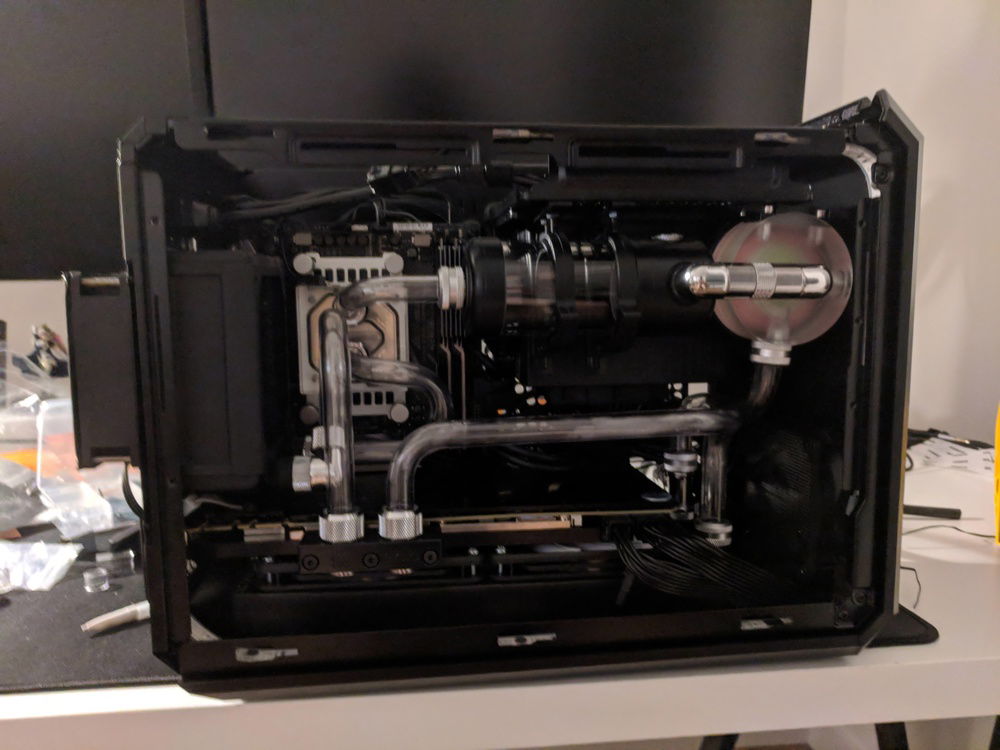
At this point I'm ready to start bending tubes. I start off with some that were pretty clear in my head. The ones coming in/out of the CPU. This was my first time bending hardline (or any watercooling really!) so I was pretty nervous about messing up. I watched a couple of tutorial videos and then got to bending -- I had the XSPC hardline kit, and though I hit a snag to begin with (the silicone insert was too tight in tube, had to get a replacement), it seemed to go smoothly after I got the hang of how the tubes bent. I failed my first res to CPU bend completely, as well as the CPU to 92mm rad bend. The rad to cpu was extremely tight, and none of my bends there were tight enough to be able to work. After some more soul searching I realized I didn't have to have straight 90 degree bends for all of them, nor did I have to take the shortest path from one component to the next, resulting in these two bends. Very happy with how they came out!
I also realized that my red RAM and 24pin cable were starting to clash with the neutral look of the rest of the build. I bought and modded a new 24pin extension from Cablemod in black and removed the red GSkill covers on the RAM. (Found out this was possible through some late night redditing!)
Next was the 92mm rad to the GPU. This was another super tight bend. I had to think for a while on how I wanted to do this, but ultimately I decided to move one of my 90 deg fittings here, bent towards the back top of the case, and have a tube coming out and having a soft 270 deg bend down into the GPU. At somepoint here I also bought a 92mm fan filter for the rear fans so I won't have an open fan on my chassis.
I did the rest of the bends, the GPU to 240mm rad was pretty easy, but the back was difficult. For my drainage system, I put a T fitting into the back of the 240mm rad, with one end going into a fitting/tube towards the pump, and one as a drain. The run from that t fitting to the pump was partially blocked by the PSU so it required a bit of effort to get it down.
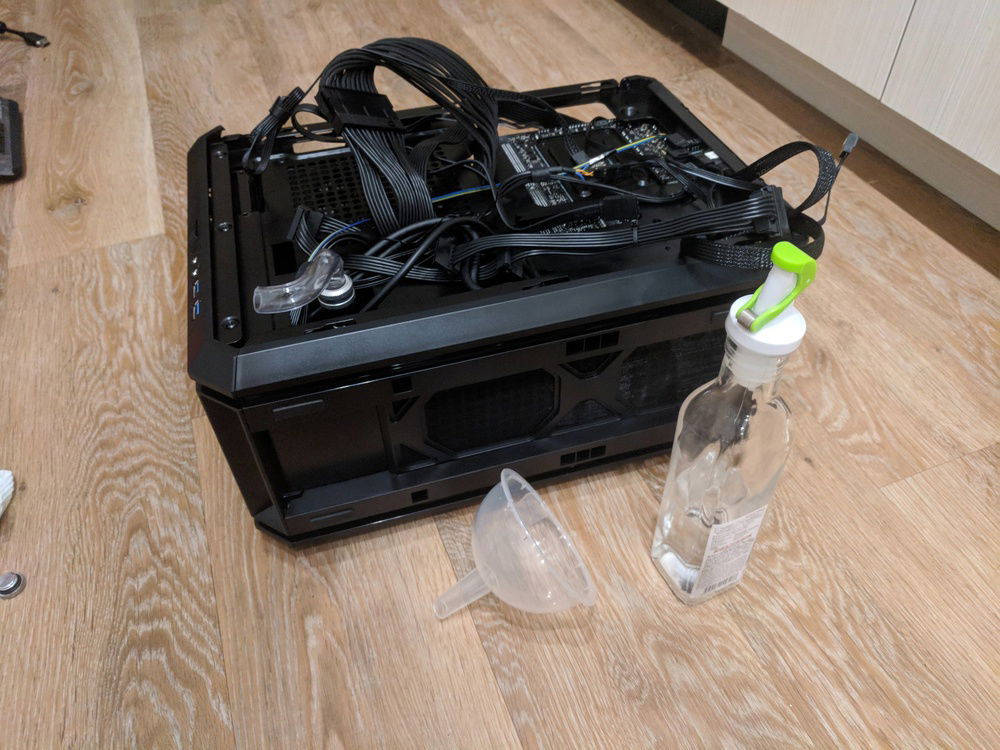
Now that all the bends are completed, its time to fill the system! Here you can see my drain/fill port. It is not ideal, but I didn't really think of any other good solutions. I ordered a drain fitting but it didn't arrive on time (and still hasnt arrived...) for me to use. Filling the loop was very difficult. I went to the local dollar store (Daiso!) and bought some supplies, namely the funnel and the glass bottle. The funnel turned out to be too big to fit into G1/4 hole, but would fit well into the Orings of a fitting. Filling the loop was a huge pain, and took a long time of adding water, tilting it around so the air would escape out that same fill hole, sometimes plugging the fill/drain and shaking it, and repeat. Probably took me a good hour+ to get it even near full. In the future I will definitely look into having a dedicated fill and drain port instead of doing both through one. Will save me a lot of headaches in the future.
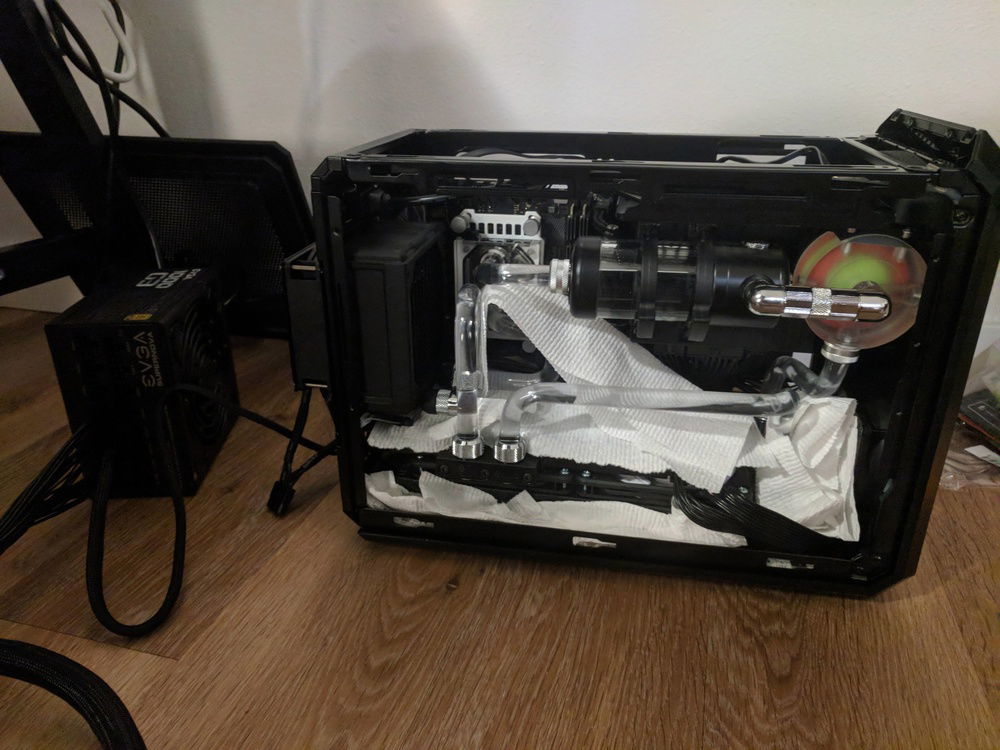
Now the loop is filled (finally) I ran a leak test for about 20 hours with an external PSU. The first few hours I would check back and add in more water as air escaped the loop -- cracking open the top plug on the rad helped alot with helping air leave the system. After I felt the loop was mostly full, I let it run for the rest of the time. No leaks were found :)
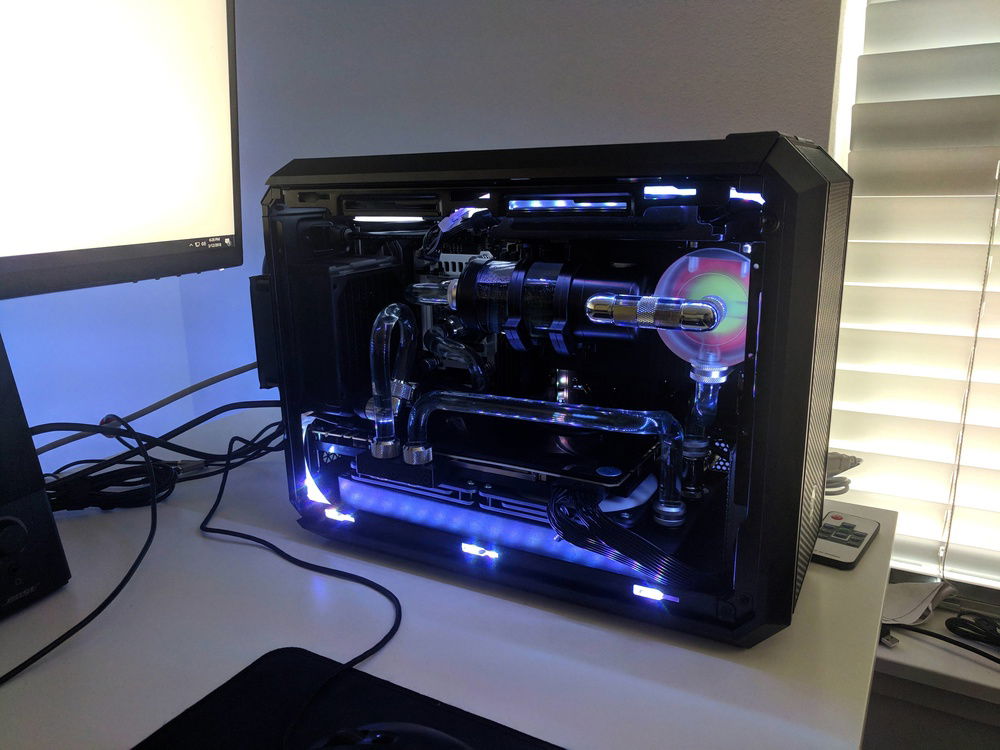
After a short scare on my first boot (no video), the second one worked perfectly! The led strips light up the interior quite well, and I am happy to be a proud owner of a watercooled build. There was a lot of worry and fear that I would mess up somewhere, but it was worth it in the end.
Some things that I would definitely change though, given a refresh of this build or a future one:
- Don't use the EK slim radiators -- they suck. My GPU temps are not too great to be honest. I think the combination of the weak EK radiator and the poor airflow for the fans in combination make my GPU run hotter than I want. I get around 60 degrees after gaming for a while, which some fluctuations. Next time I will try the Magicool slim radiator or the Black Ice 240 slim.
- The 92mm rad to GPU run is a bit large for my liking. I'd like to be able to do maybe a pure fitting run or have a tighter bend there so the run doesn't go up so high.
- Maybe add a 92mm slim fan to give the rear fan a push pull configuration, as well as switching the current 92mm from intake to exhaust. Hopefully improves thermals a bit.
- Get custom length cables. The back case panel is hard to put on, and definitely pushes on some cables.
- Make a clear side panel using acrylic. I like looking at the loop, but the side panels are not mesh! Probably not good for thermals though
- Mod the case feet more - they are a solid strip running front to back, which means all 240mm radiator exhaust comes out the small section in the back of the underside of the case. Likely impacting thermals as well. I've ordered some rubber feet that I will test to see if thermals improve.
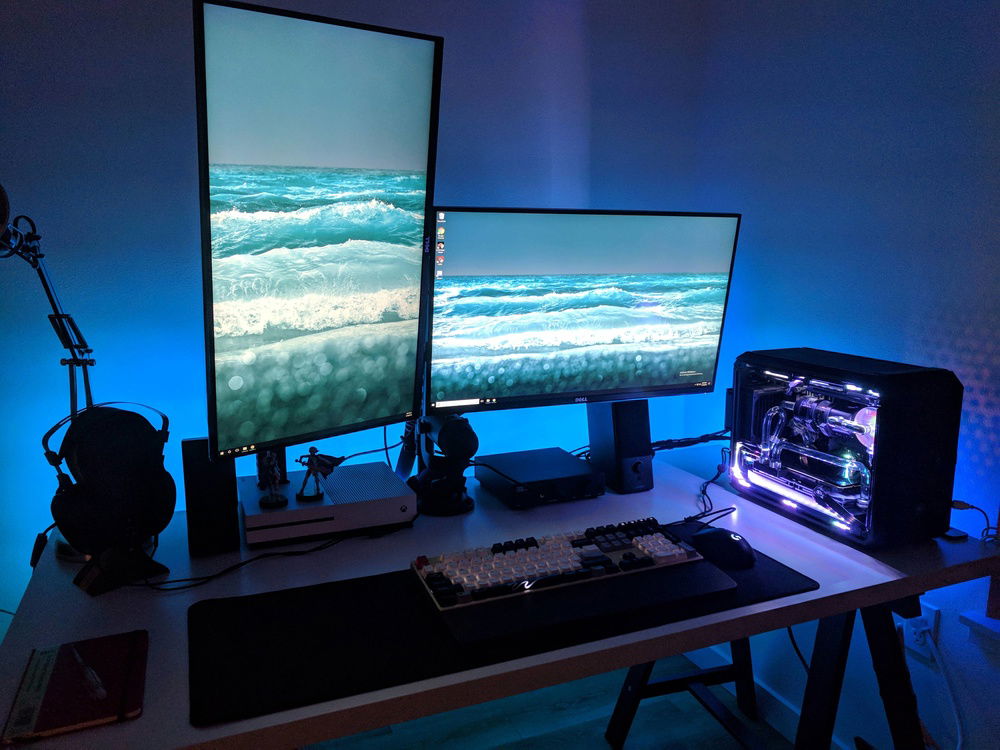
Heres my final battlestation setup - Thanks for reading!
A list of my desk gear:
Monitors: 2x Dell S2716DG 1440p 144hz GSYNC Monitors
Monitor Arms: Rosewill Dual Gas Arms
Keyboard: Ducky Shine 3 Gold Edition with TaiHao Keycap set
Keyboard Wrist Rest: Woodlab Ebony
Mouse: Logitech G403
Headphones: Hifiman HE-560
Headphone Stand: Woodlab Walnut
Headphone Amp: Cavalli Liquid Carbon X
Microphone: Blue Yeti
Speakers: Bose Companion 2
Table: Ikea
