Whoop! Quakecon Themed Build
Intro
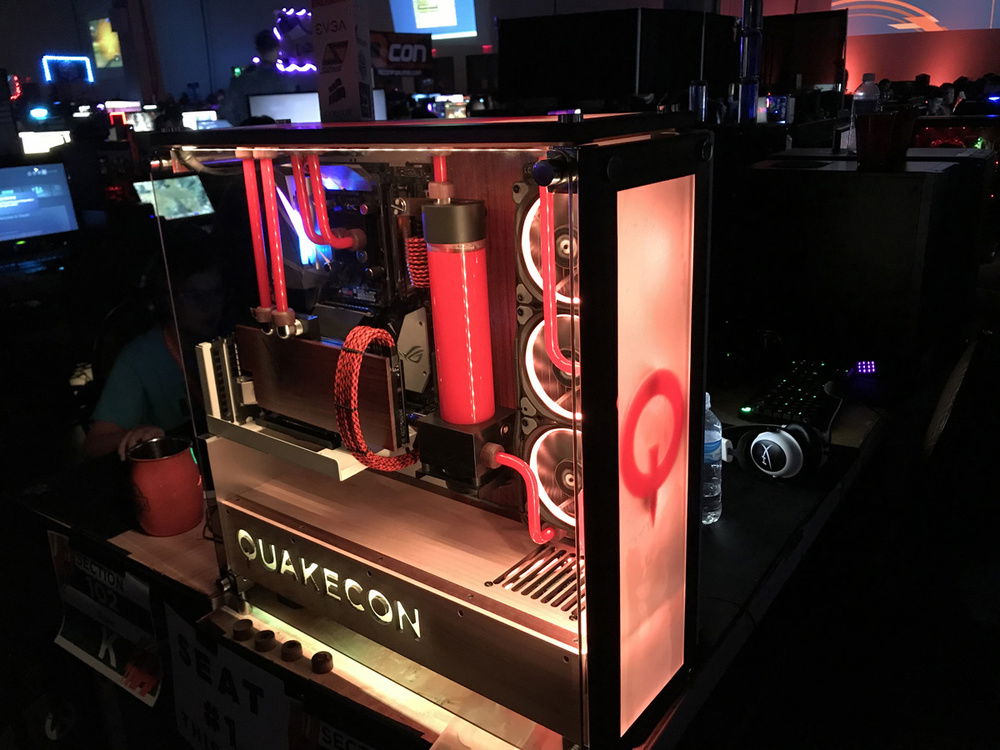
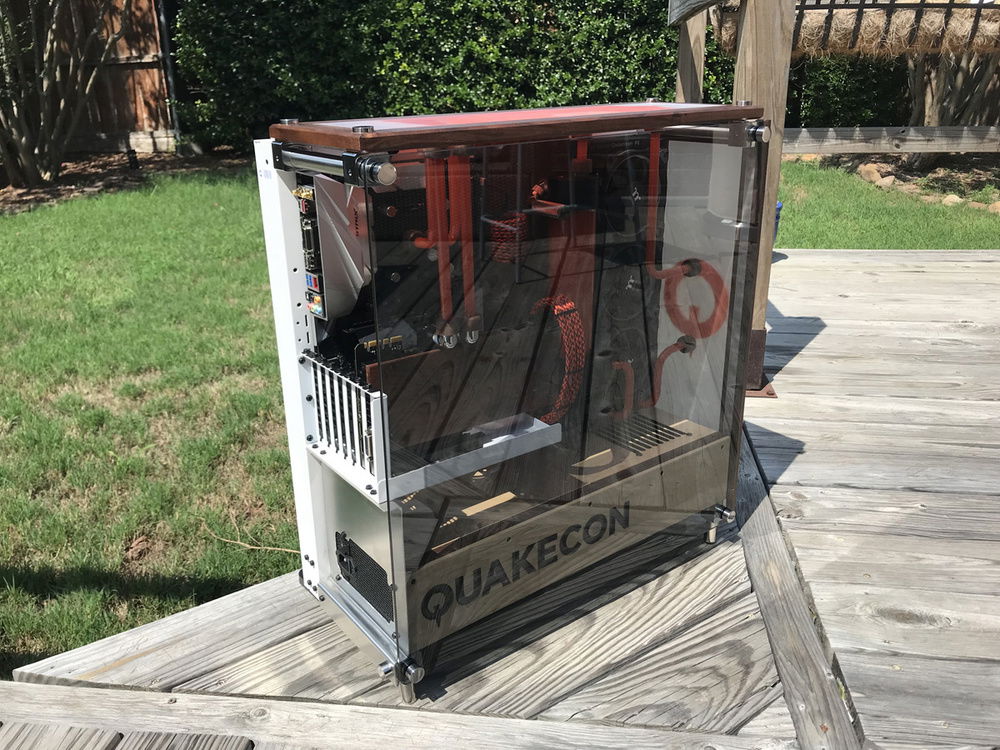
This is my latest build that I did for Quakecon 2018! For those of you that know me, it's by far my favorite event of the year. I've been building a mod for the case modding competition for the last 3 years. In 2016 White Widower took first in the Classic category. Last year, 2017, Breadbox took 1st place in the Scratch Build category, and I am happy to announce, "Whoop!" took first place in the id/Bethesda category this year! I've been the first modder to win all 3 categories back to back and it has been so much fun competing and getting to know all the other modders along the way.
This year I had less than 30 days to complete this build, and a lot of that time was lost due to wood acclimation. A process to allow the wood to adjust to north Texas' climate. I knew I wanted to continue to integrate wooden components into the PC, and this is the result. I wanted to build something that could be seen as not only a PC but also a piece of furniture. A talking piece for a business or home environment. Something that blends in as much as it stands out.
What is with these names? Breadbox? Whoop!? That's not a name!
If you have been to Quakecon in the past 5 to 10 years, chances are you know exactly what this name represents. For the uninitiated, when Quakecon was being held at the Hilton Anatole in downtown Dallas, there is a plaque on the wall that was similar to the following: https://i.imgur.com/7wvw4Bm.jpg. As a result of the fully matured audience at Quakecon, this quickly became a highly vocalized representation among those inside the BYOC (bring your own computer). A single individual would start "Whooping" and a large mass of attendees would quickly follow suite. Highly annoying at times, but still was embedded as a part of Quakecon.
Why the Quakecon theme? Also, why are you using outdated components?
So I originally had an idea of doing a Doom related theme build, but there simply wasn't enough time by the time the tickets finally went on sale.
So I chose Quakecon as the theme as it is ultimately one of my favorite times of the year. We look forward to going to the next one the day after the last one finished. Any how, this computer is made up of watercooling components from my first win at Quakecon, and it was truly sad to take her apart. But she lives on now in Whoop!. Also, serveral components such as the case and power supply were acquired from winning prizes at the event.
Mod Talk
Here are a list of the mods:
- Wood - All the walnut and maple were milled from the same piece of timber allowing for grain and color matching throughout the build process.
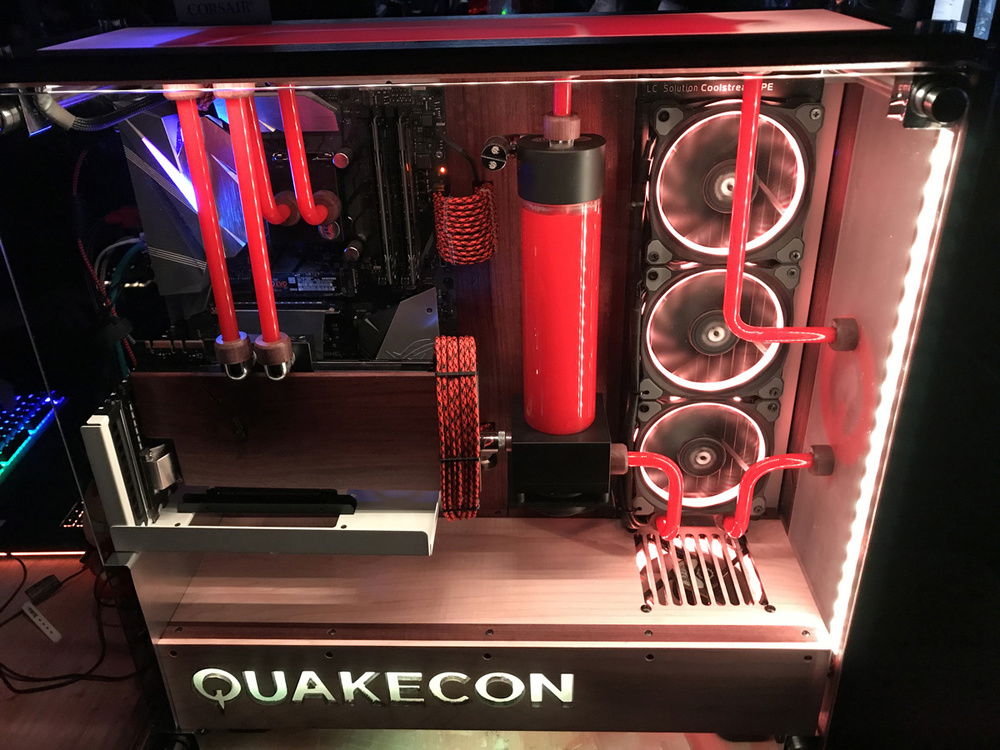
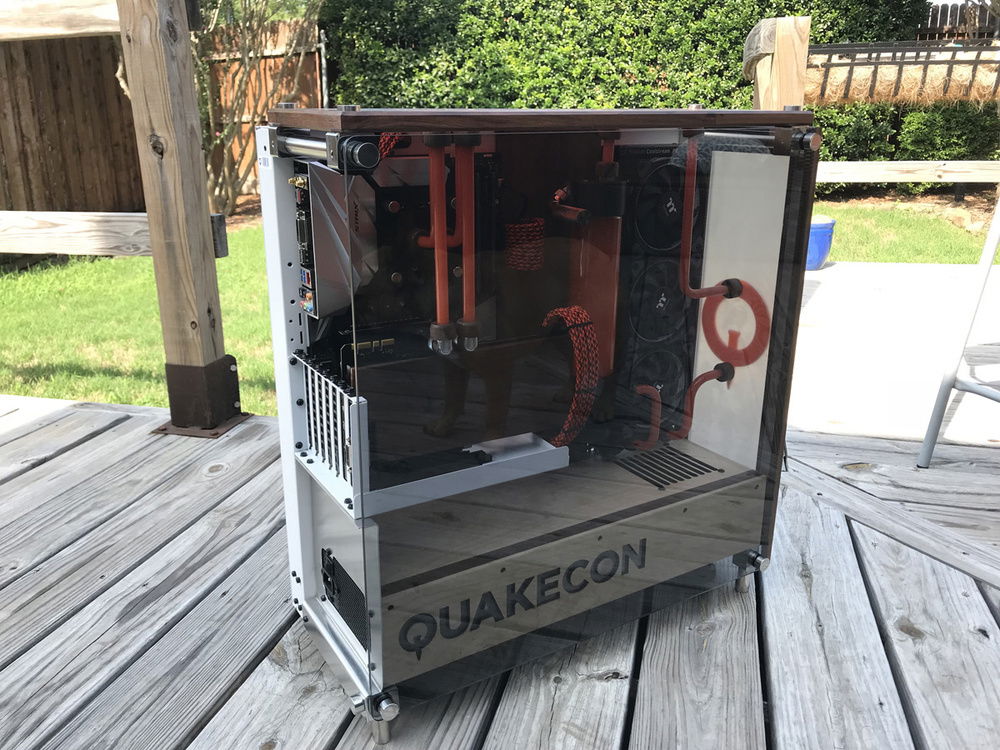
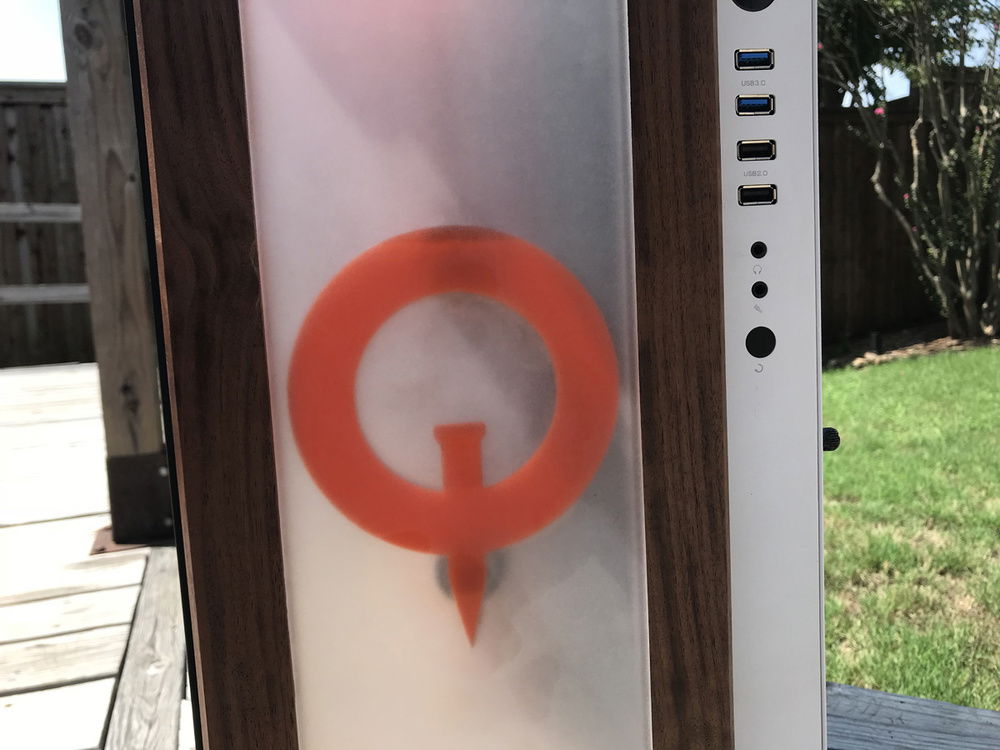
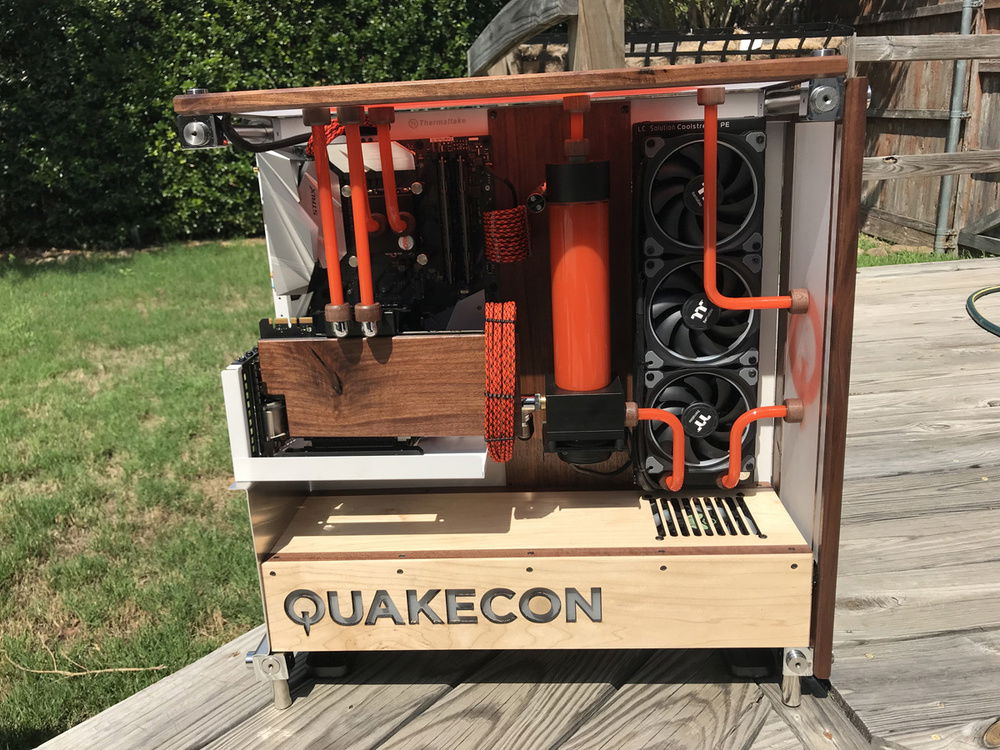
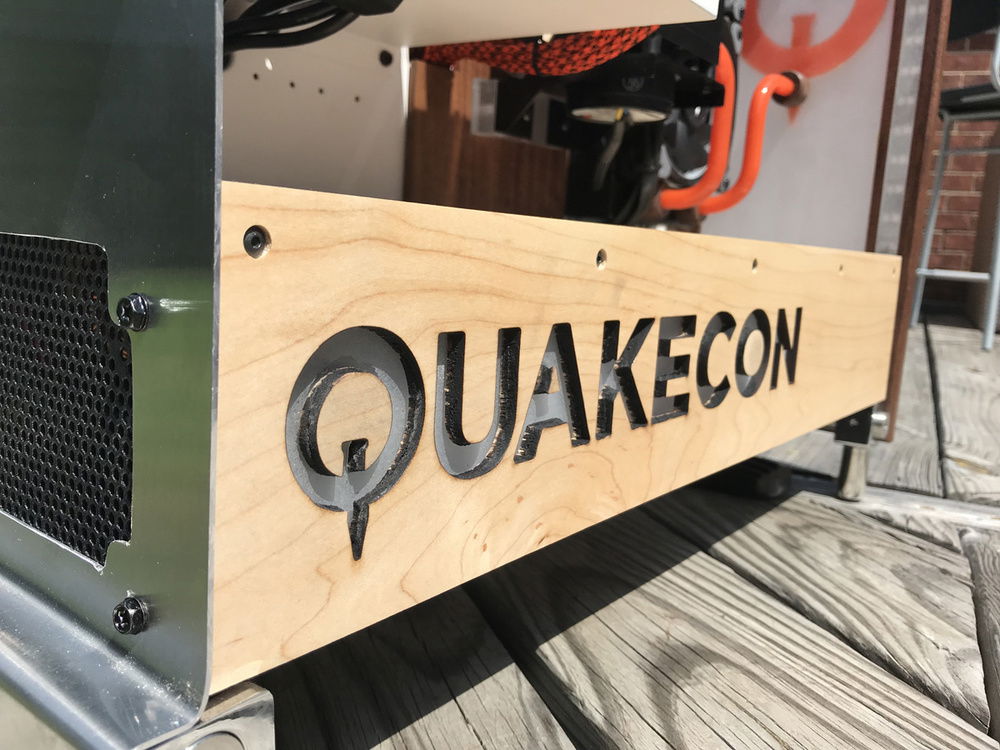
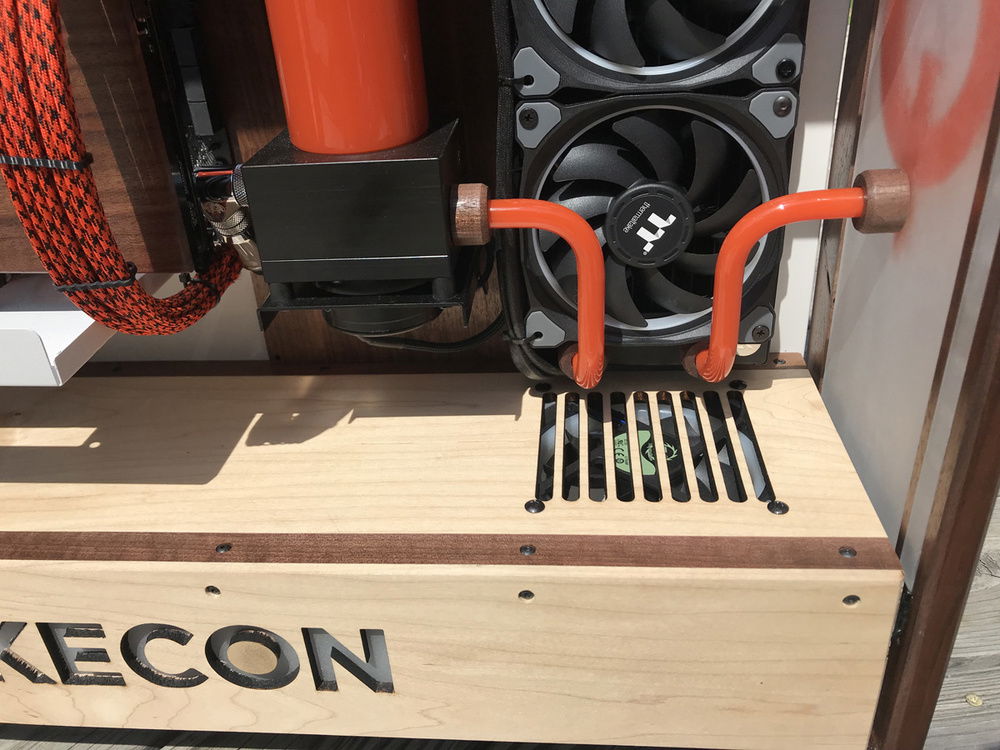
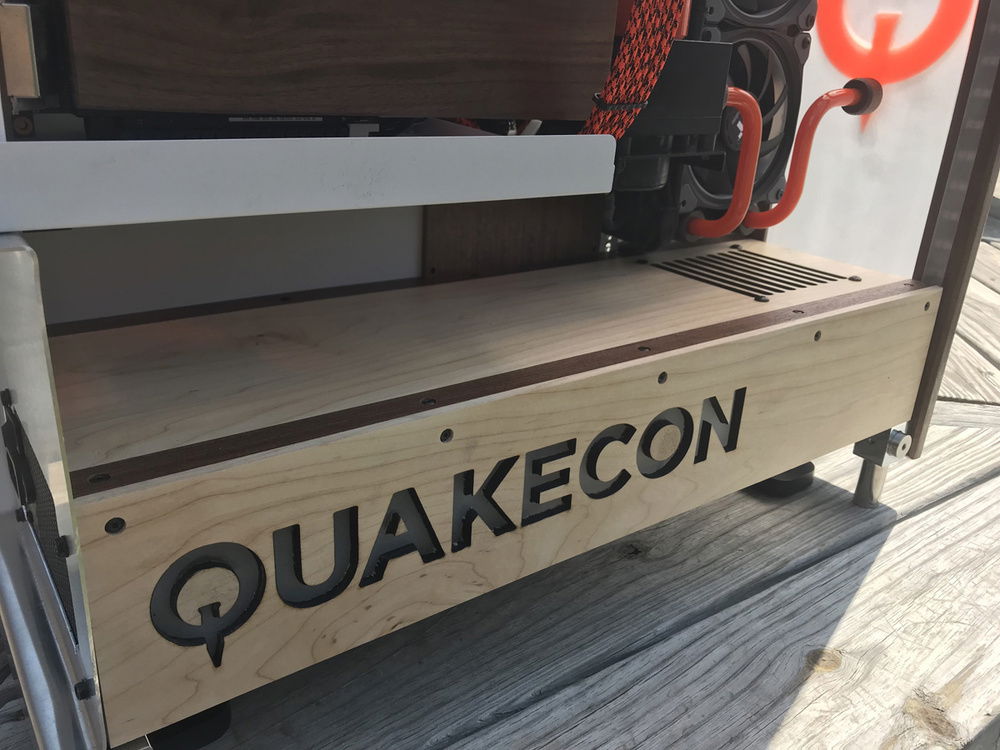
- PSU cover - made of beautiful hard maple and American walnut. The voids were cut using a laser cutter provided by my local library. The wood was laminated together for the top and the front with the logo is attached to an aluminum angle with 6/32 threaded button head screws to allow easy access to the power supply, fan controller, and lighting controller. The fan was added to ensure the radiator has enough air flow. The fan is set to a higher fan curve than that of the fans on the radiator. The logo back light is achieved with a single RGB led strip that is attached to the psu and not the cover to make removing of the front cover less of a hassle. The diffused plastic is just a sanded piece of acrylic.
- PSU mount - this case mounts the PSU in a vertical orientation. That didn't work for my design as it would of required the PSU shroud to be to high. So I made a custom aluminum bracket that a bent into a profile that allowed me to secure it to the case. The aluminum was thick enough to support the super big 1200 p2 power supply. However, I gave it some support with the use of some aluminum angle on the inside just incase.
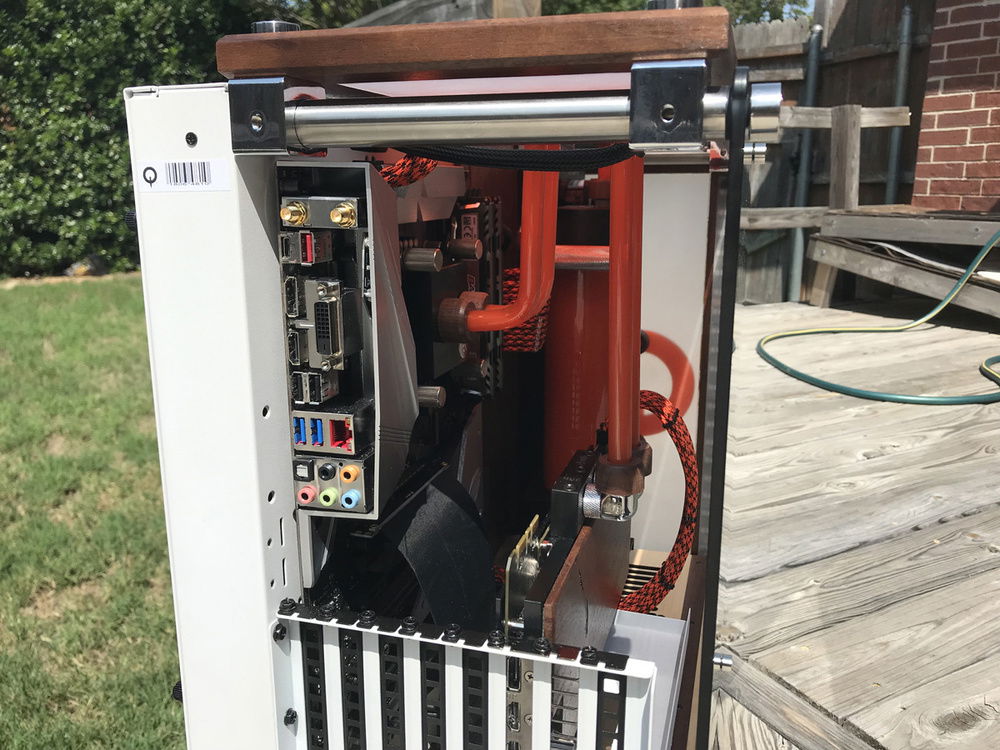
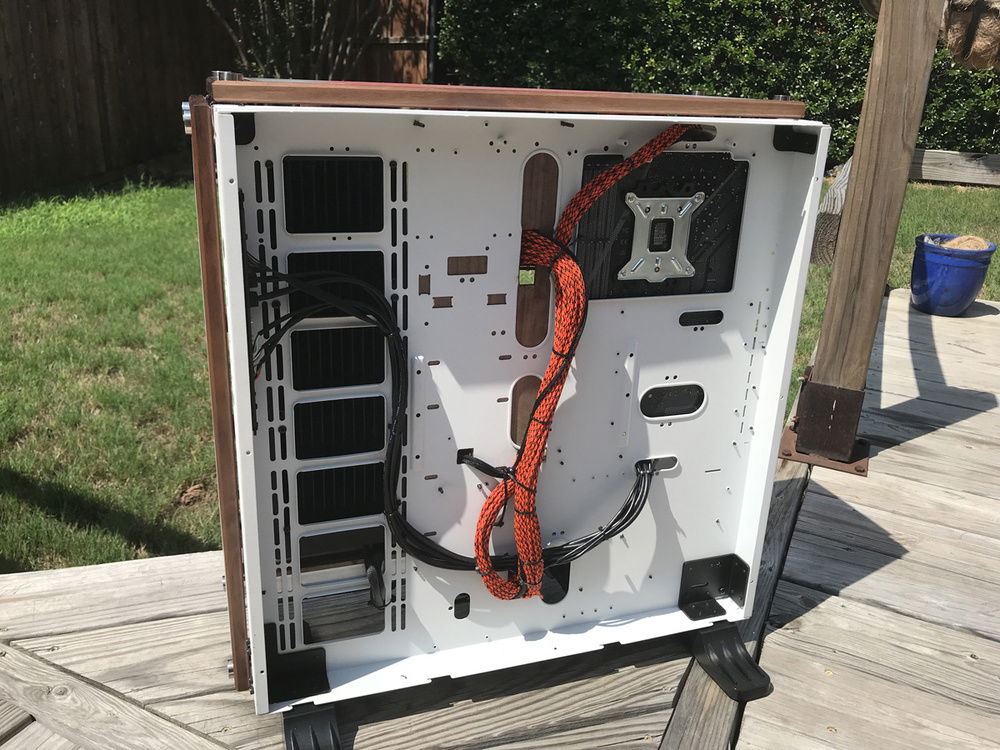
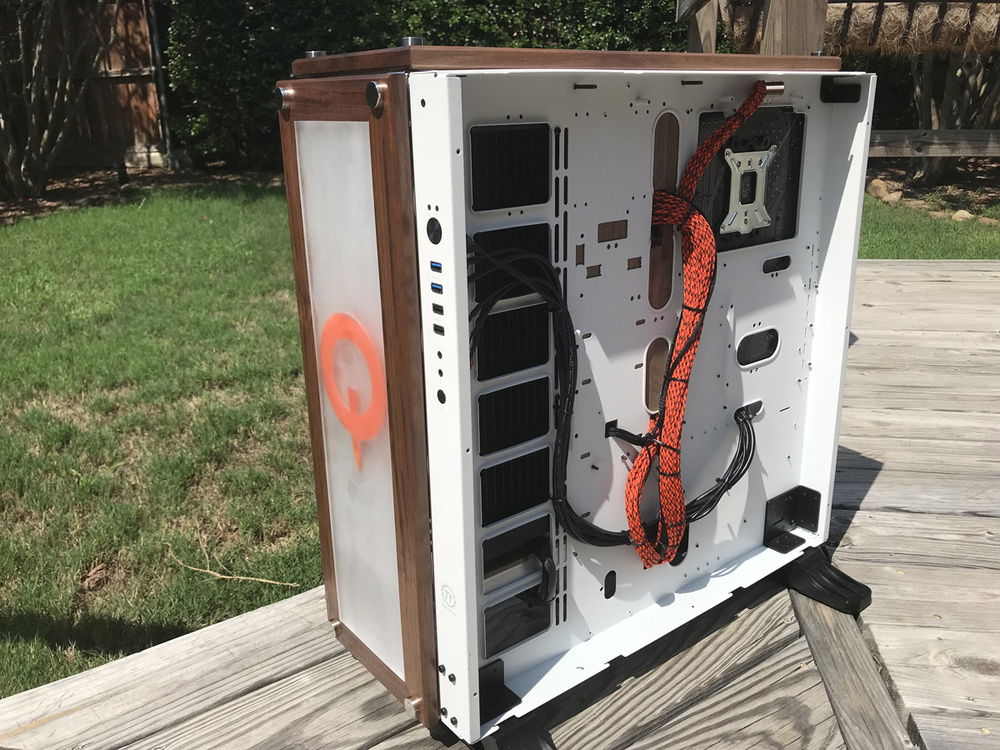
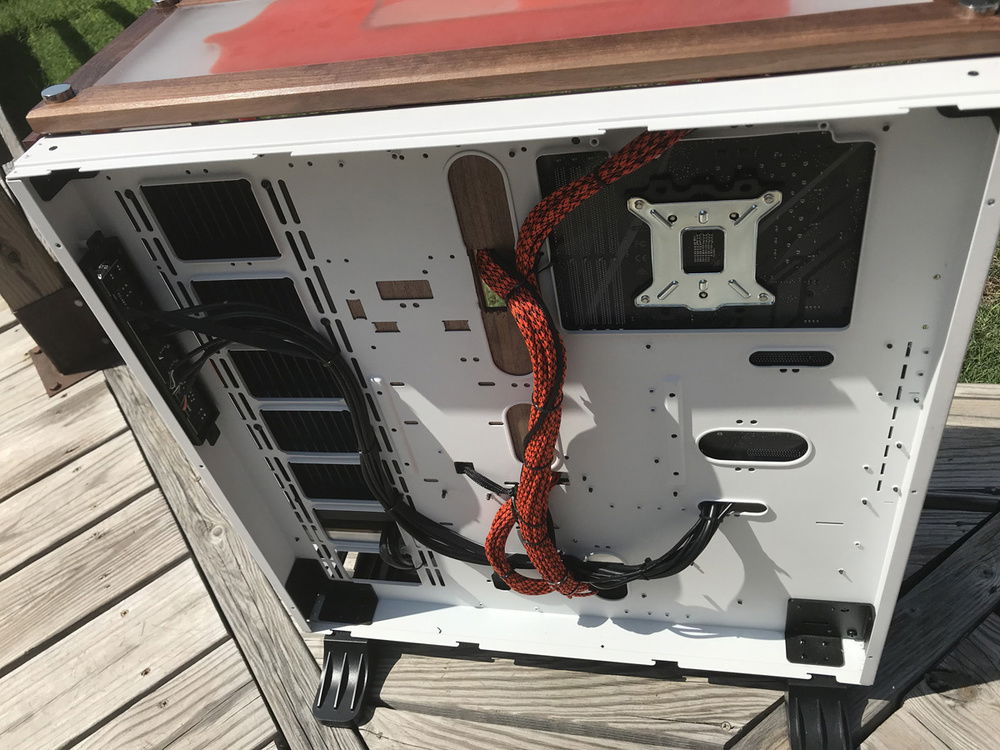
- Mid plate Cover - made of American walnut. The main purpose of this is to tie in the wood them and to provide a cleaner aesthetic. The Thermaltake case is littered with holes and really takes away from the over all look of the build. And funny enough, with all those holes, I couldn't use a single one. I had to remove some metal between the top two stock grommet holes next to the 24pin so that I could cleanly terminate the cable through the case.
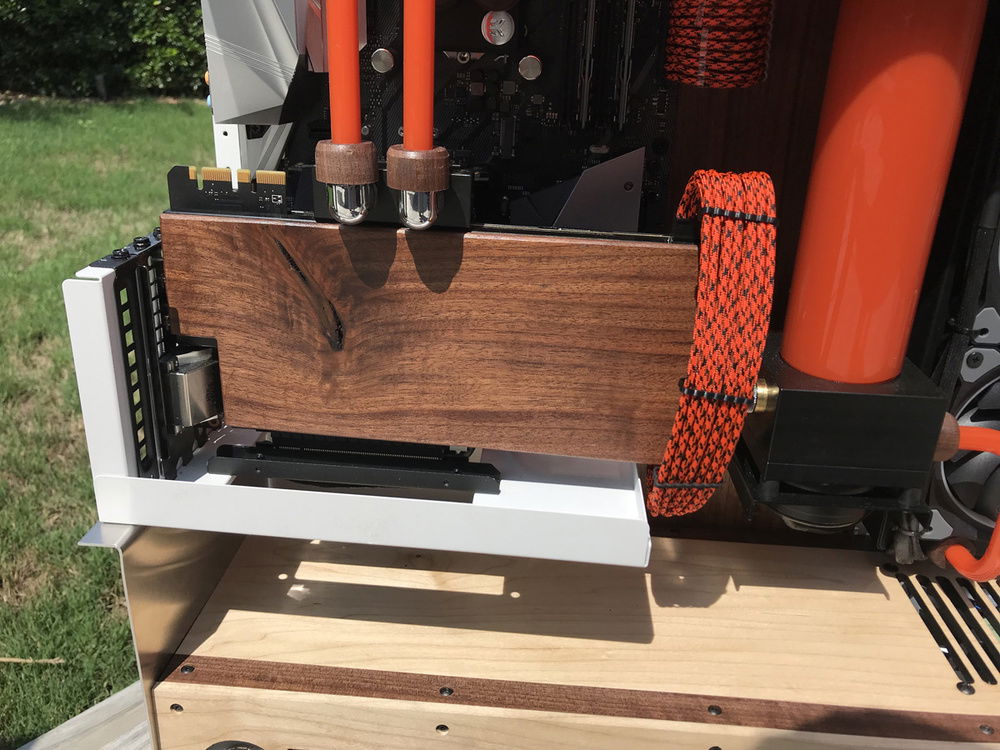
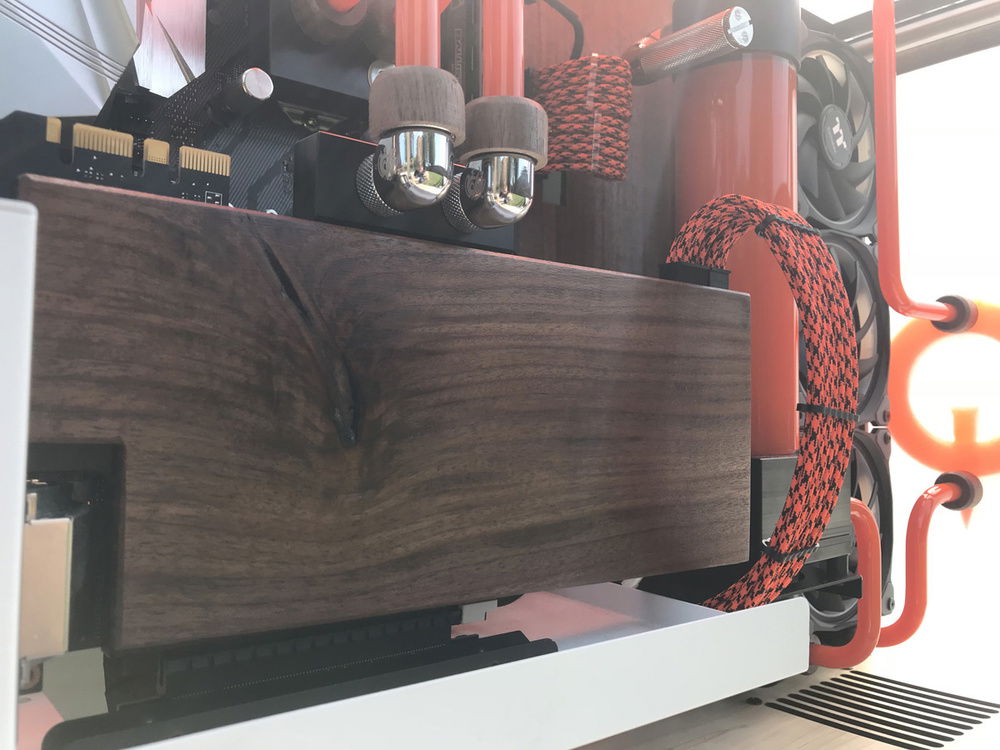
- GPU Front Plate? - I guess that is what you would call it. No, this is NOT EKs waterblock. For one, this is a 980 and two, theirs does not looks as good, and three, pretty sure they got this idea from me after talking to me at Quakecon last year, but the owner is also a wood nut so who knows. I originally was going to cut around this knot in the wood but then realized how damn pretty it was and decided to make it a focal piece on the plate. It is attached with really good tape adhesive so if it needs to be refinished it'll be easy to remove without disassembling the block. The heat from the card has not caused the bond to wear down.
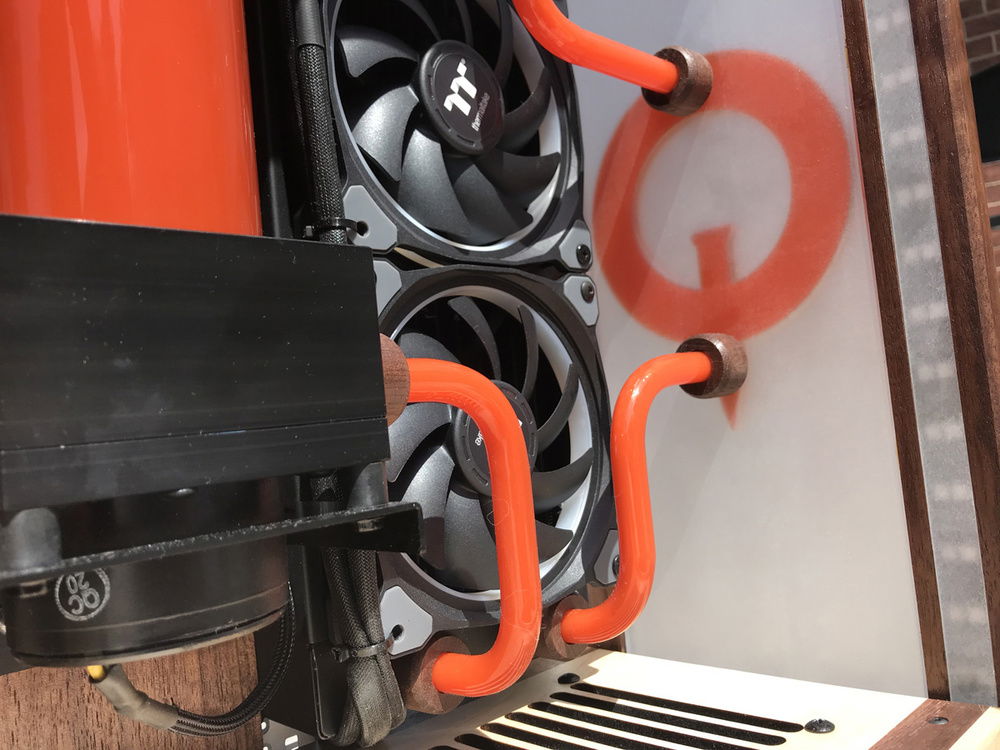
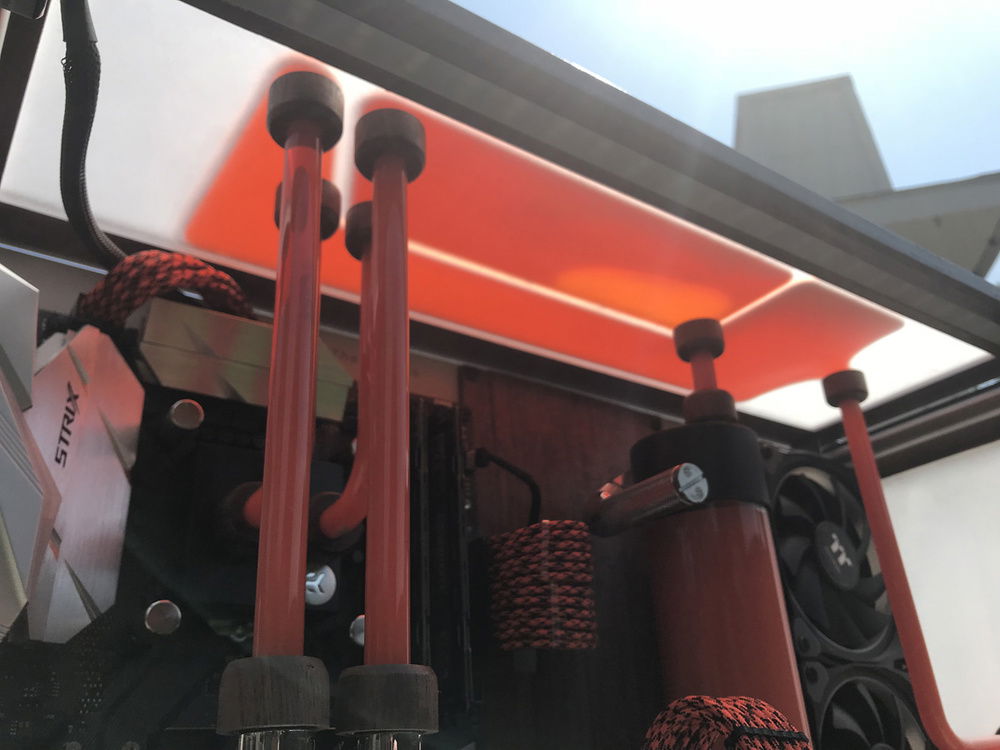
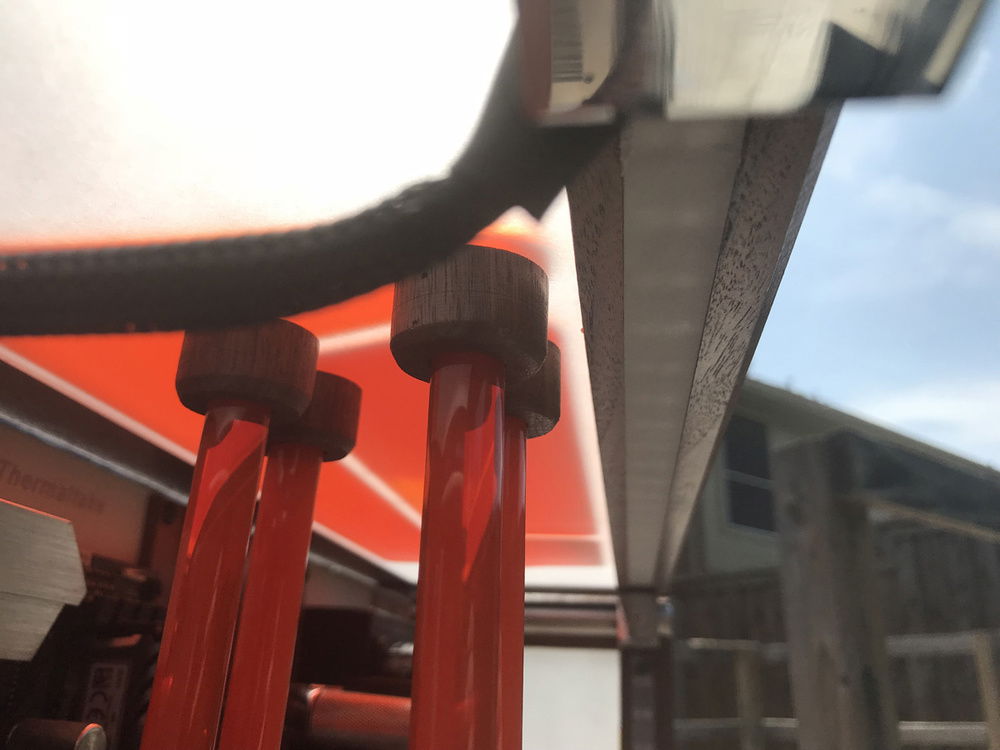
- Fitting covers - All the fitting covers were hand milled by me. You'll notice in the photos I detailed how I did this by making a jig that would allow me to have consistent repeatability. I first started by making a dowel rod so that the diameter would be the same for all the fittings. Then I cut a bunch of blanks too equal size. Next I used a forstner bit to remove the majority of the waste on the fitting side. Then i flipped them around and drilled out the 12mm diameter hole for the tube to slide through. I then mounted them to a spindle I made on my drill press to sand down the profiles evenly on every single one. Lot of work but well worth the effort.
- Cables - sleeved with paracord and were made to length to allow for really clean cable management without a lot of cable clutter. The process for how to do this is well documented and I procured my supplies from Mainframe Customs. They'll have everything you need to make custom cables.
- Tube Bends - The tubing I used was PETG 12mm Bitspower tubing. I've had great success with this material and will most likely continue to use it going forward. All the bends were made by hand.
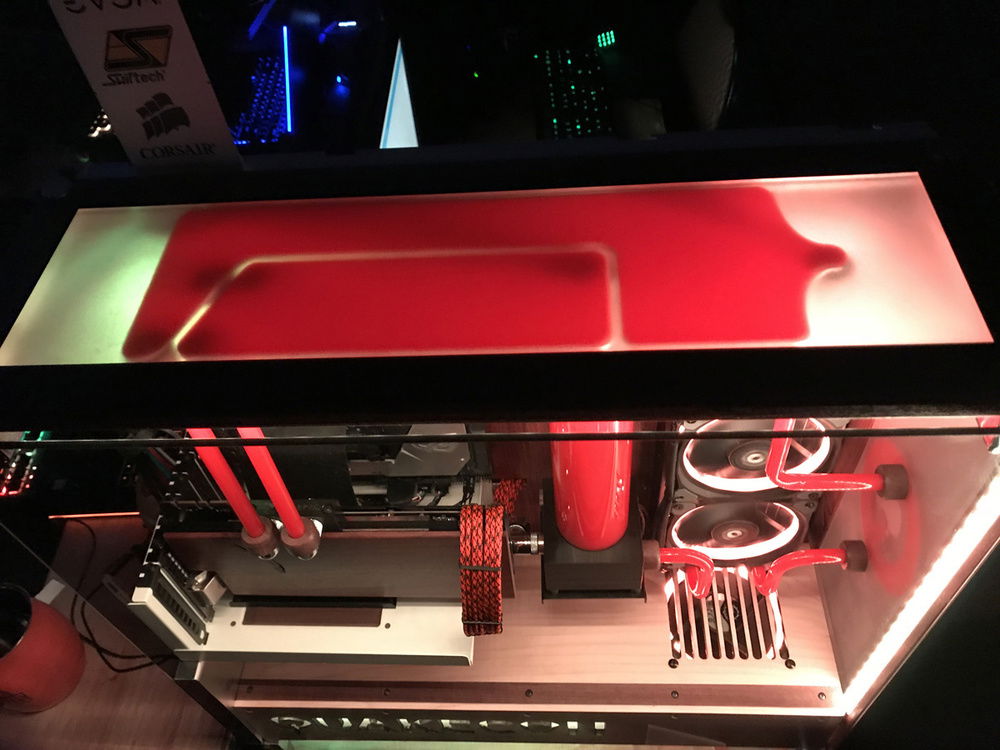
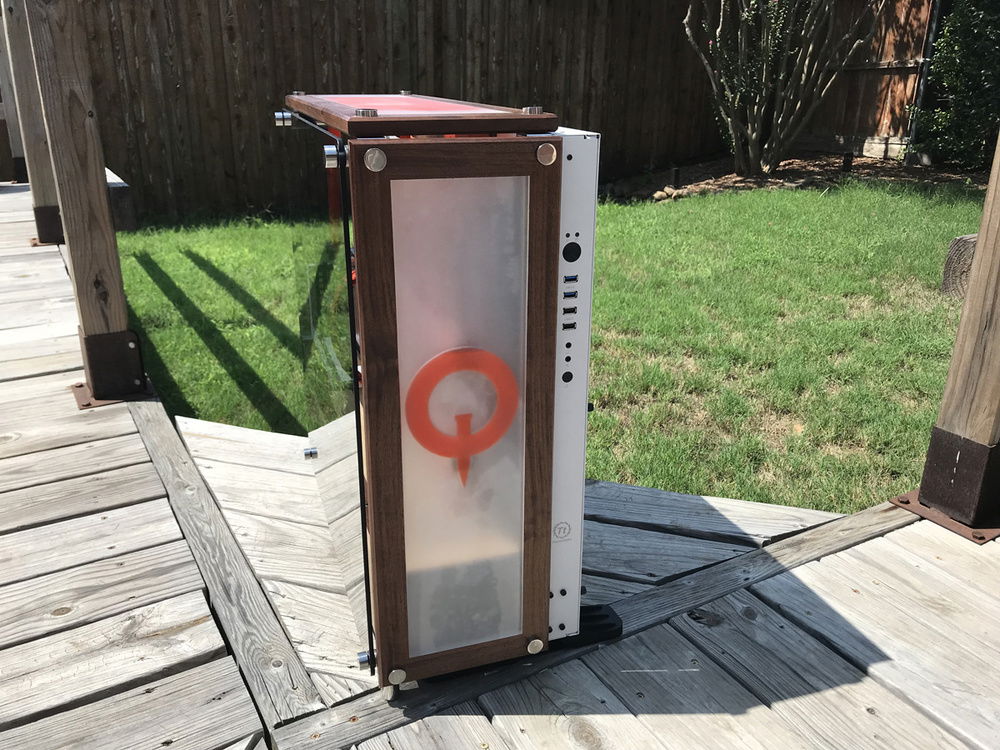
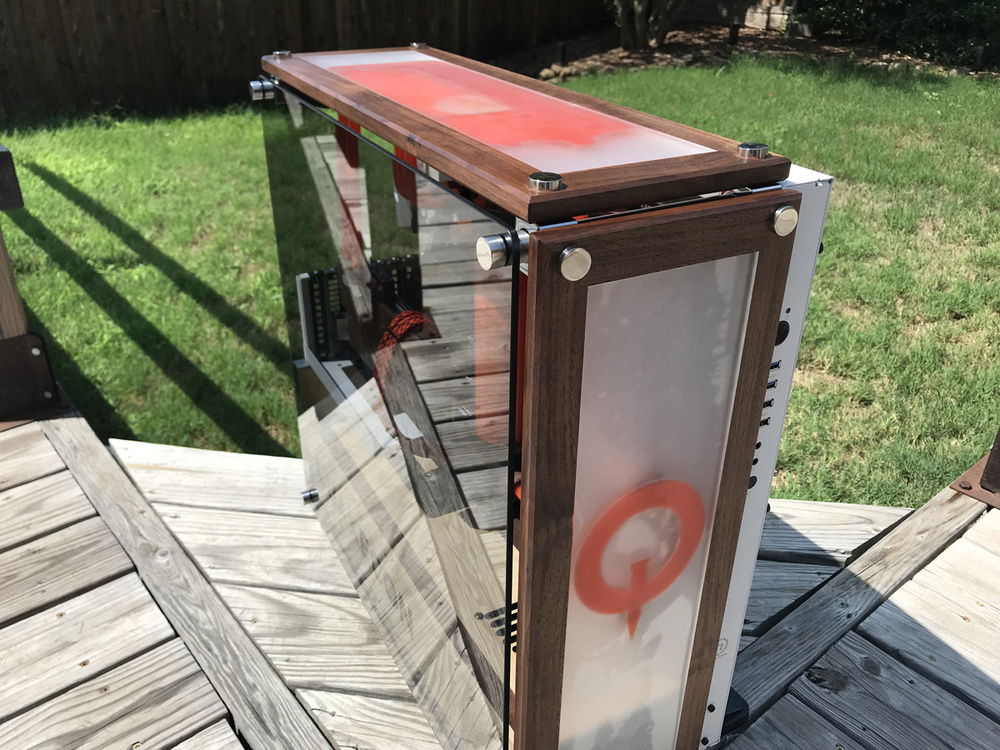
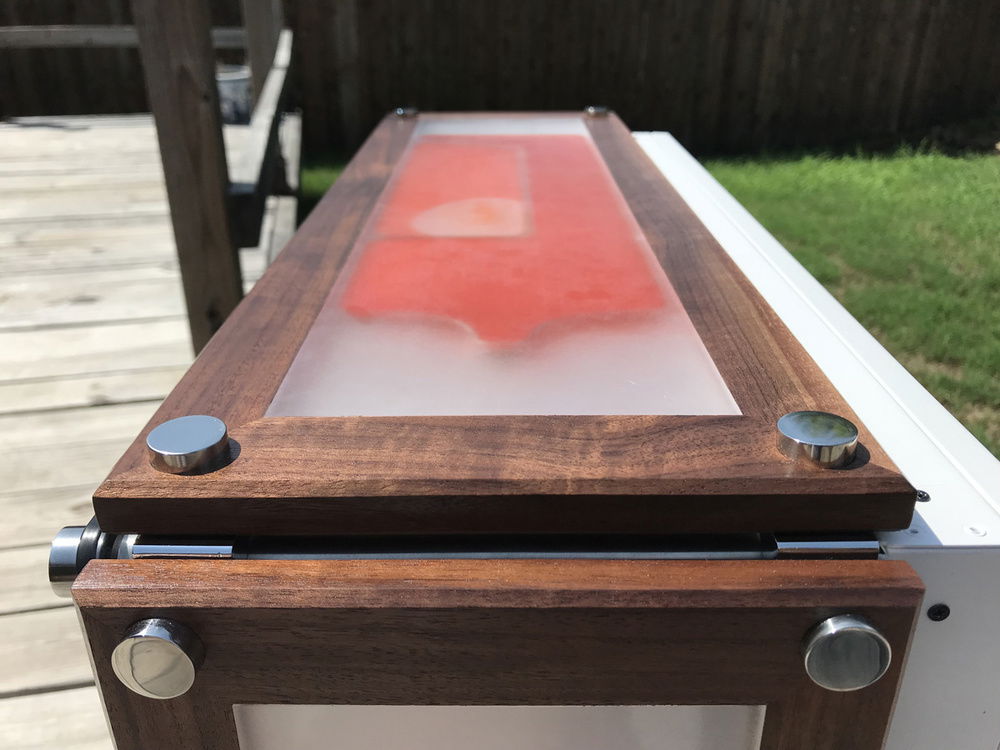
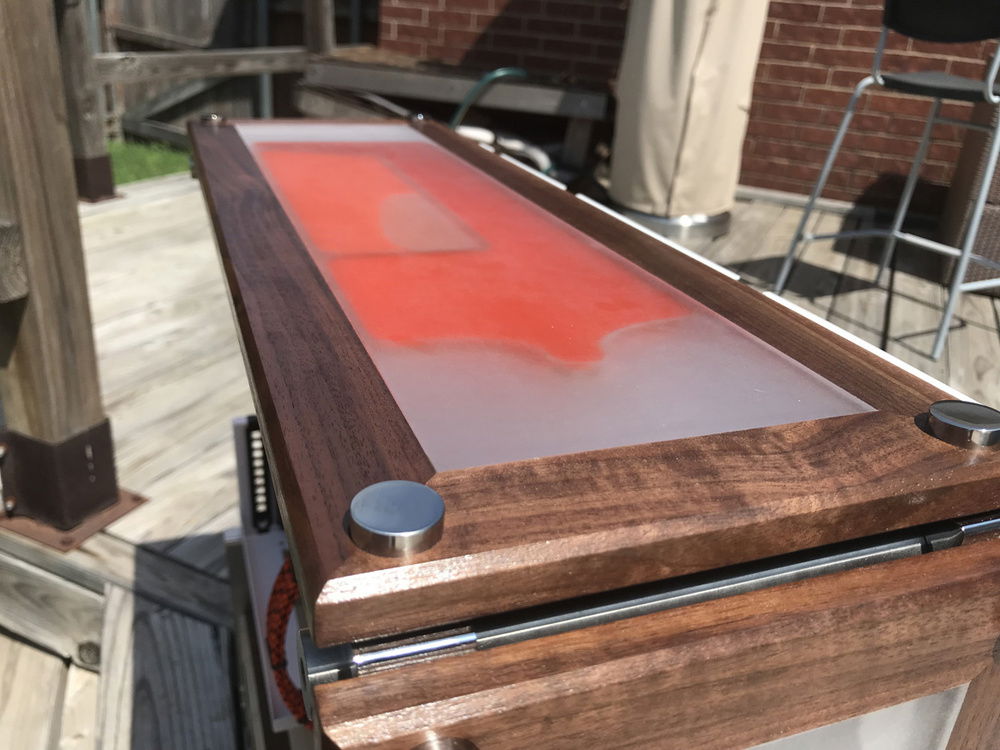
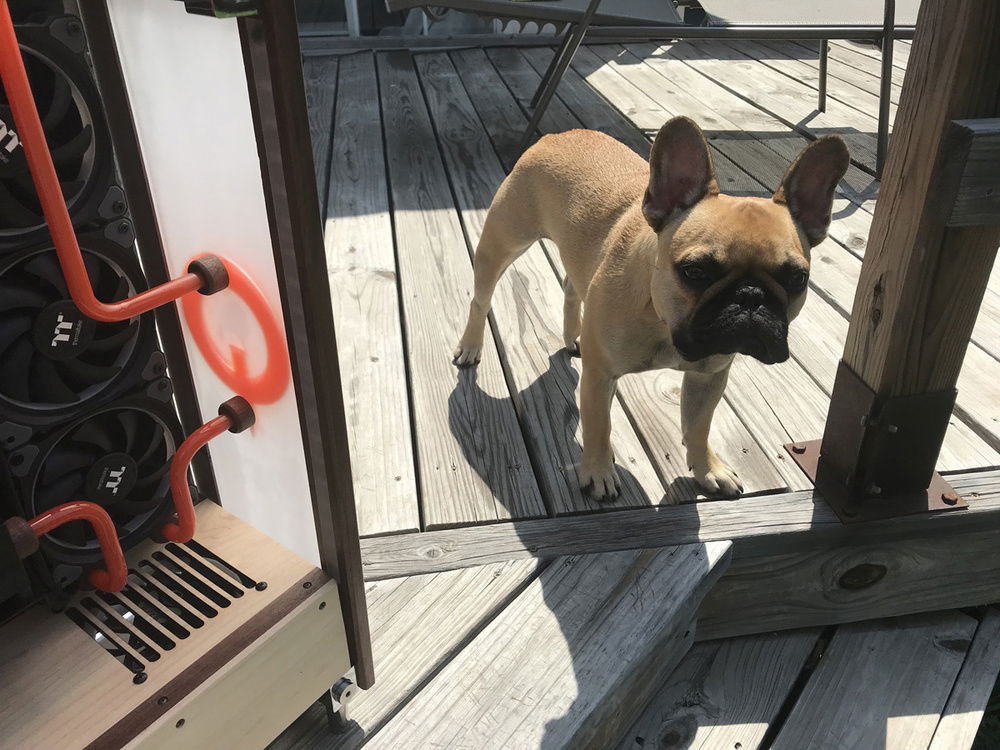
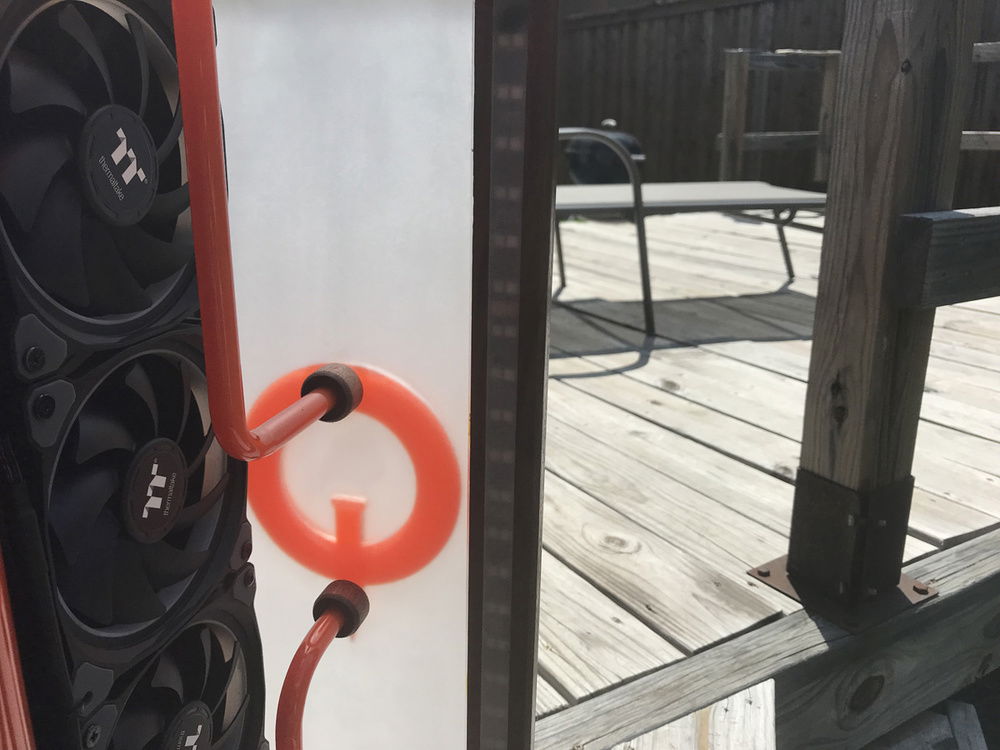
- Top and Front panels/distro plates - this is certainly the highlight mod for me. I've always wanted to make distro plates ever since I've seen high end modders incorporate them into their builds, but never had the software or tools to make that a reality. Also, they are extremely difficult to make and not really attainable by the average builder. So I took a different approach and decided to try layering acrylic to give it the same effect. The design layer is in the middle that was cut out on a laser cutter, I then used #4 acrylic cement to bond the layers of acrylic together. This isn't an easy process, especially if you want to get all the air bubbles out but it is possible to achieve. I'm really lucky that the Quakecon logo is suitable for this mod. It was so cool to see people reactions when they realized the "Q" color was actually the coolant for the loop. Also, the top distro plate is setup in a parallel configuration so that it feeds both the CPU and GPU at the same time. I put a lot of thought into how the fluid would flow in these panels and I'm happy to say it works like a champ!
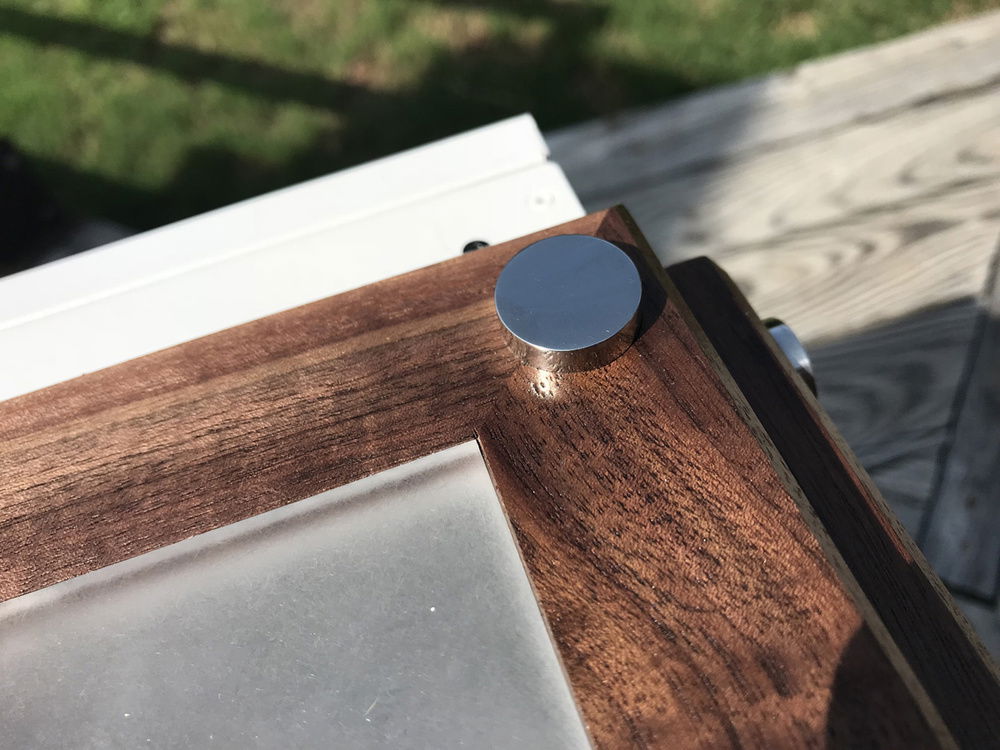
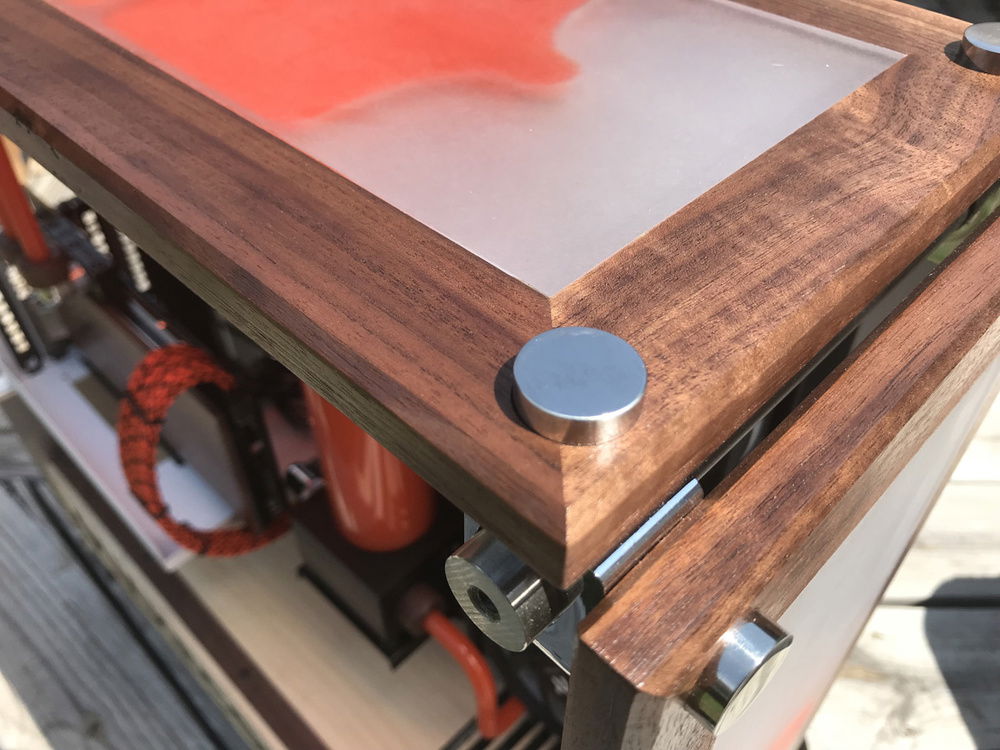
- Top and Front Panels - Wood - The wood edging is also made of walnut that has some hidden mortise and tenon miter joints on the corners that look spectacular and also offer far more strength than a standard miter butt joint. There is also a grove cut into the inside of the rails and styles that allow the acrylic insert to have a place to sit and gives a lot more strength to the panel. I took a lot of time to match up the grain pattern so that if you look at the panel it has a continues grain that flows all the way around. I managed to use the existing hardware that secures these panels to the case. Originally these were made for tempered glass panels which are far thinner, so I had to very precisely create a recessed cavity for the hardware to seat inside the panel. And just look at those gaps around the hardware, hardly can see them!
- Lighting - very challenging to pull off in this case as there are no lips or edges to hide the strips from sight. So if you look at some of the inside photos, you will see that I routed a dado into the front and top panels that house the LED strip and then I covered the strip with a piece of sanded acrylic to diffuse the light. And it blends in nicely as the acrylic sits flush with the panel.
Color(s): Beige Black Orange White
RGB Lighting? Yes
Theme: Event
Cooling: Custom Liquid Cooling
Size: ATX
Type: General Build
Hardware
CPU
$ 193.00
Motherboard
$ 159.99
Memory
Storage
$ 89.99
PSU
$ 278.02
Case
Approved by:
