
Alexia
AD:
The Story
Hey guys. This build was for my best friend who originally got me into PCs and gaming all the way back in the 90s. For years he always had the best hardware. He was an early adopter of liquid cooling running some XSPC blocks and bay reservoir in a Corsair 900D. Needless to say his build was one of the first that made me want to get into modding in the first place back when he built that one around 2007.
As he has been super busy with school and funds being a little more tight to spend on PC hardware, he has been in need of a downsized case and some newer hardware. Most parts were gifted to him by either me or his grandpa who recently upgraded from the x99 platform.
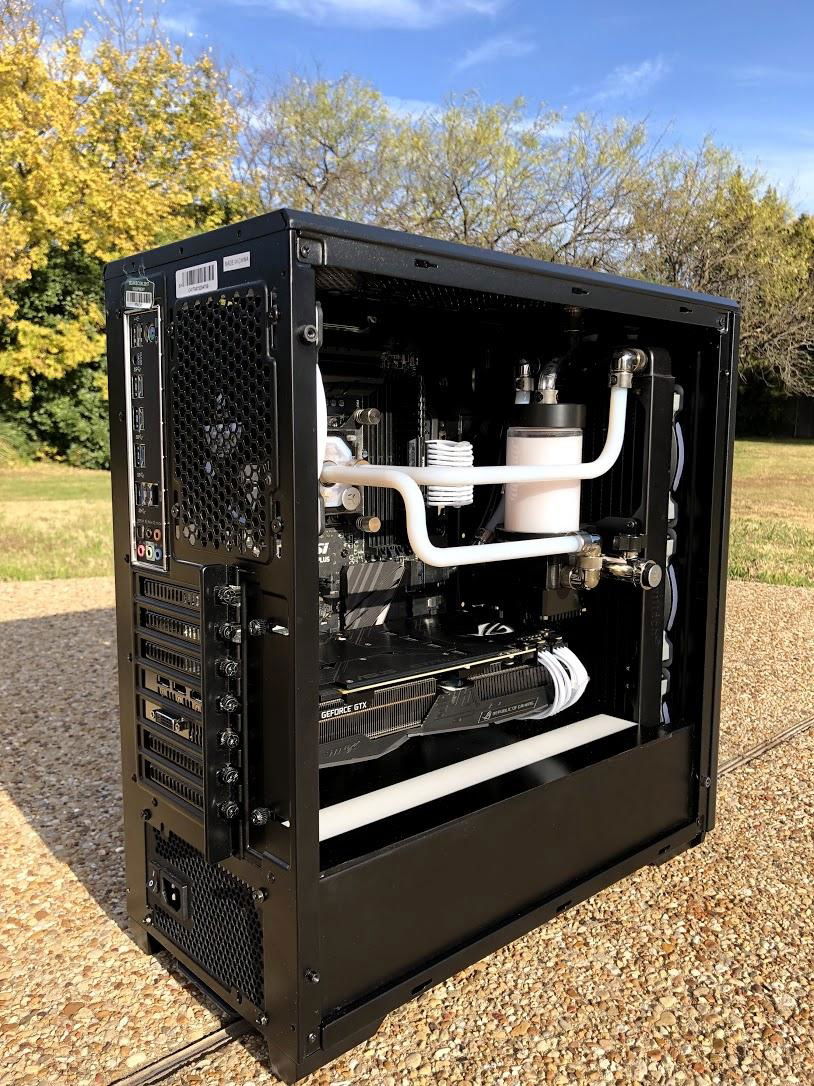
We wanted to get this put together before Quakecon 2017 so we had but one night to get this thing built! And you know I can't just let the thing be stock. Nope. We have to mod this thing a little bit right? YES. So the goals were the following: 360mm front mounted radiator, hardline tubing, fill/drain ports, custom lights, psu cover, and cable management.
Simple Mods
Hardware
I know some of this hardware isn't the latest and greatest, but this is a significant improvement from his first gen i7 and dual Radeon 5870s. (quite the beast of a machine for its day) Being he didn't have a ton of cash for a full rebuild between his grandpa, dad, and myself were able to give him something pretty significant. You'll see he is still rockin those early gen sata 2 SSDs! I think I still have some of those in a bin somewhere.
There was some compatibility with the m.2 nvme drive on the MSI x99 board, but after a simple BIOS update we got that resolved fairly quickly. This also fixed a weird memory error we were getting that was preventing the GPU from outputting a signal. Oddly enough, I've only ever had compatibility issues with MSI motherboards... Could be a coincidence but there is a reason I'm an Asus fan.
Anyway, I hope you enjoy this build. It was a ton of fun to help out a friend who was in need of a PC overhaul, especially when that someone is responsible for my passion in the industry today. Cheers
Hey guys. This build was for my best friend who originally got me into PCs and gaming all the way back in the 90s. For years he always had the best hardware. He was an early adopter of liquid cooling running some XSPC blocks and bay reservoir in a Corsair 900D. Needless to say his build was one of the first that made me want to get into modding in the first place back when he built that one around 2007.
As he has been super busy with school and funds being a little more tight to spend on PC hardware, he has been in need of a downsized case and some newer hardware. Most parts were gifted to him by either me or his grandpa who recently upgraded from the x99 platform.
We wanted to get this put together before Quakecon 2017 so we had but one night to get this thing built! And you know I can't just let the thing be stock. Nope. We have to mod this thing a little bit right? YES. So the goals were the following: 360mm front mounted radiator, hardline tubing, fill/drain ports, custom lights, psu cover, and cable management.
Simple Mods
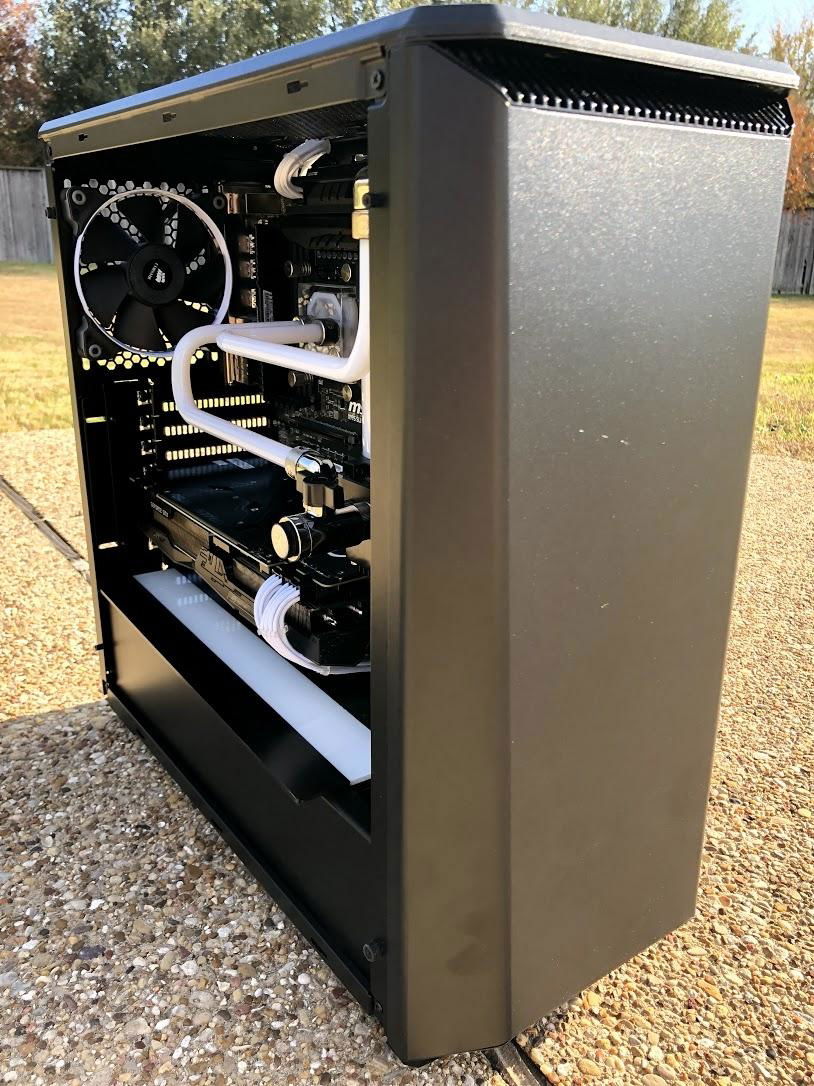
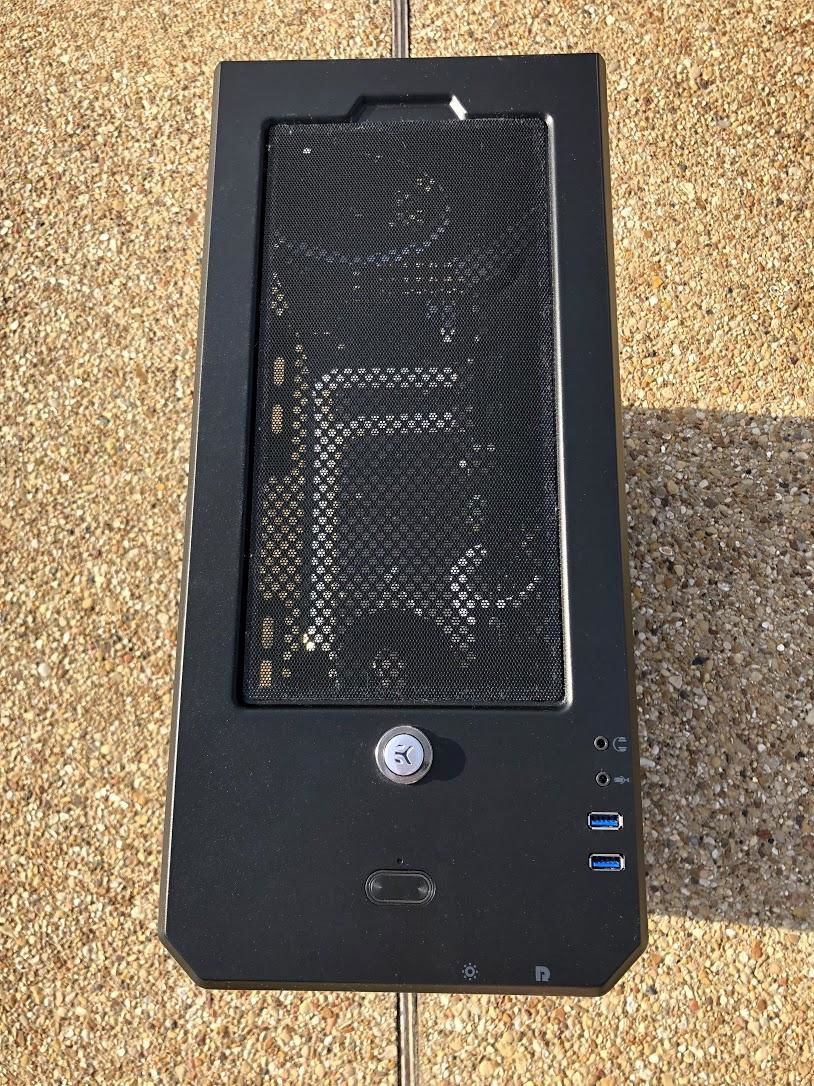
- Case Mod - First thing we needed to do was make room for the front 360mm radiator. This phanteks case is great in that it allows you to remove the hard drive bays in the basement to allow for this, but we need to keep those bays for his mechanical storage. These drive bays are not on a slide rail like some cases so I had to drill and tap some holes to move it closer to the PSU. Simple enough, but there were a few challenges to get it to line up in the right location as the PSU shroud is ventilated making it difficult to place the holes to drill and tap where we wanted them to be.
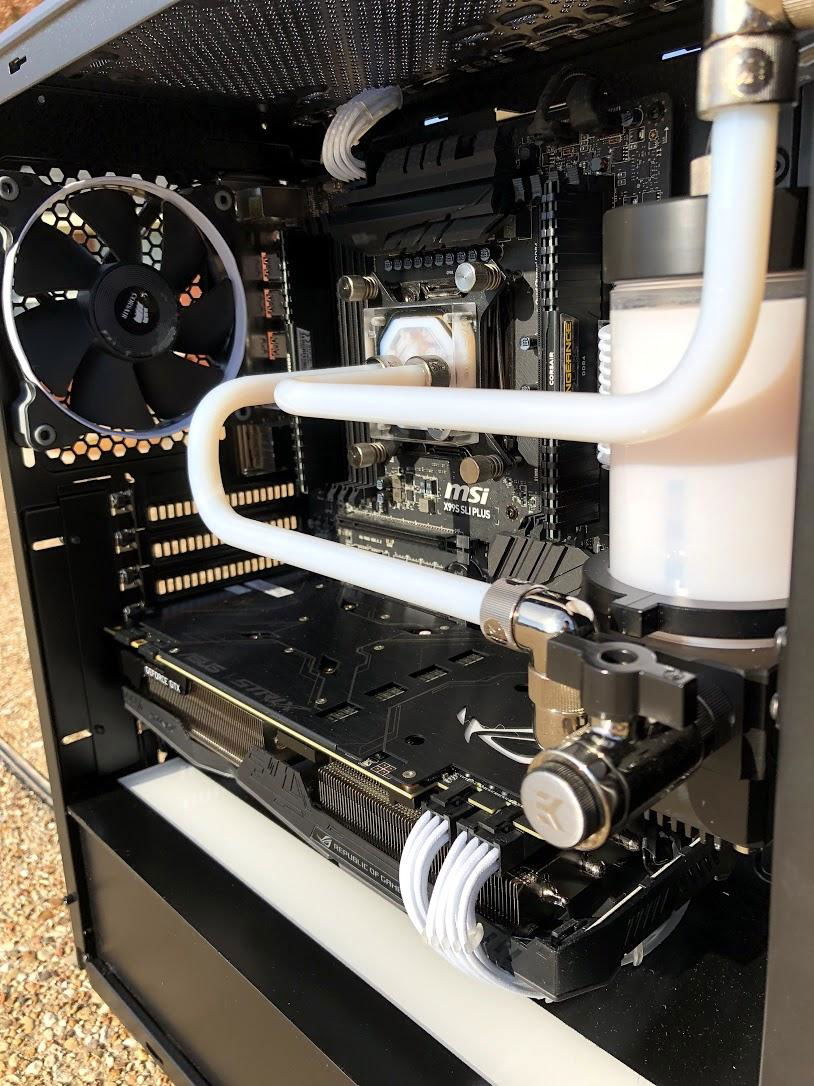
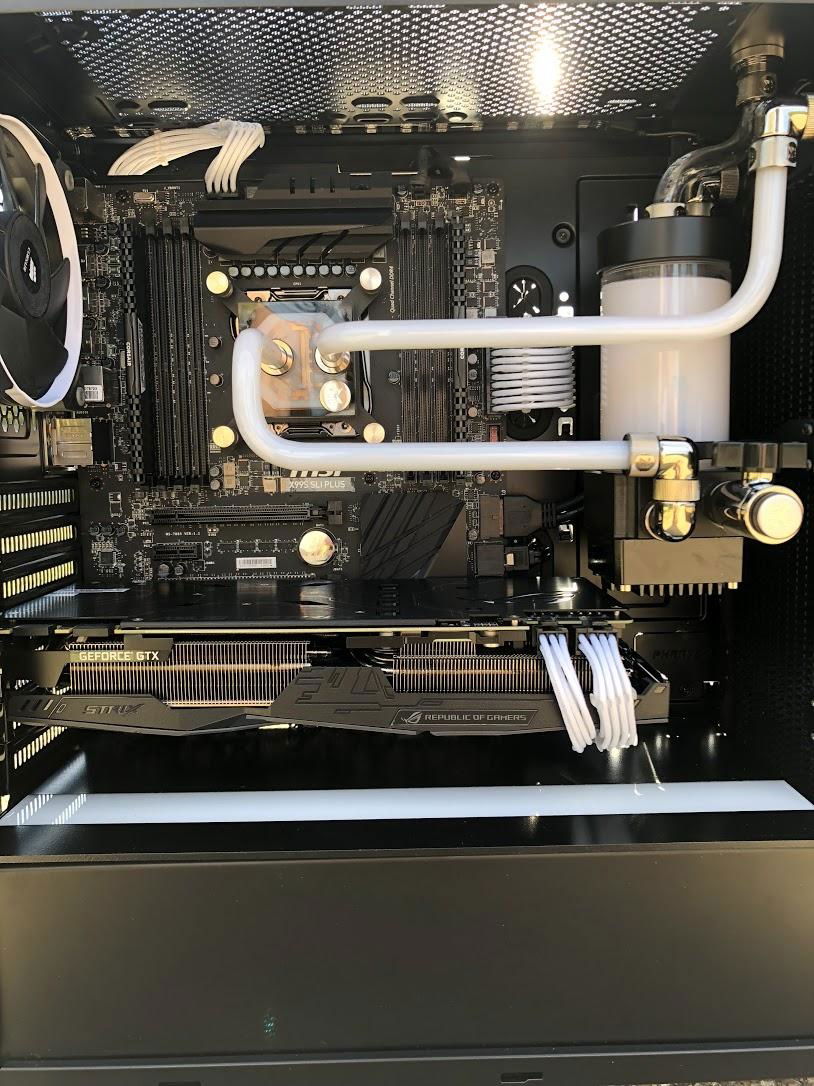
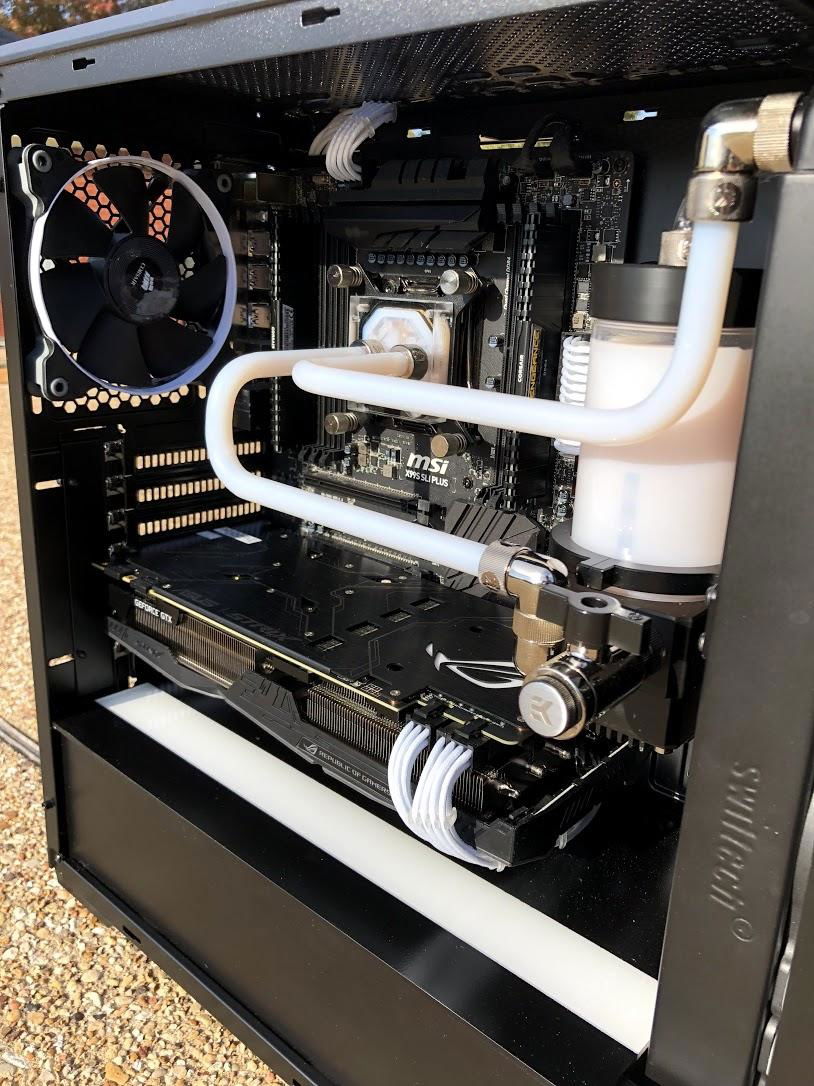
- Custom Loop - His previous loop was a bay res with soft tubing with disconnects. This is 2017 damnit so we're going to go hardline. I donated some of the materials to keep this on the cheap. We reused what parts we could like the radiator, ddc pump and some fittings. I had a left over EK pump top and res from another project that I sold to him for super cheap. I wanted to keep the fittings cost down to a minimum so I opted to use more bends instead of fittings. CPU only loops can actually be more challenging.
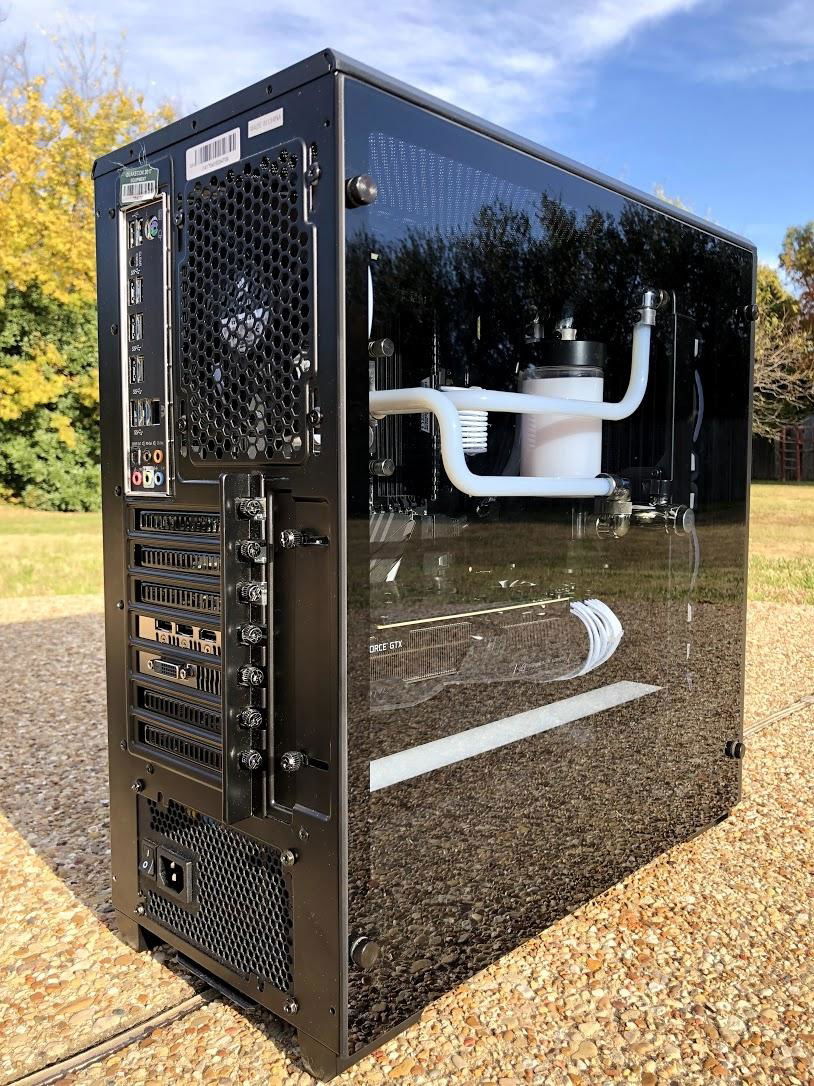
- Fill/Drain Ports - He also wanted to be able to easily maintain to loop, so I added a fill and drain port. The drain port was pretty strait forward. Just mounted it directly to one of the inlets on the Pump Top. The drain port required drilling a hole in the top of the case, and cleaning it up with a pass-through fitting and a stop fitting with EK branding.
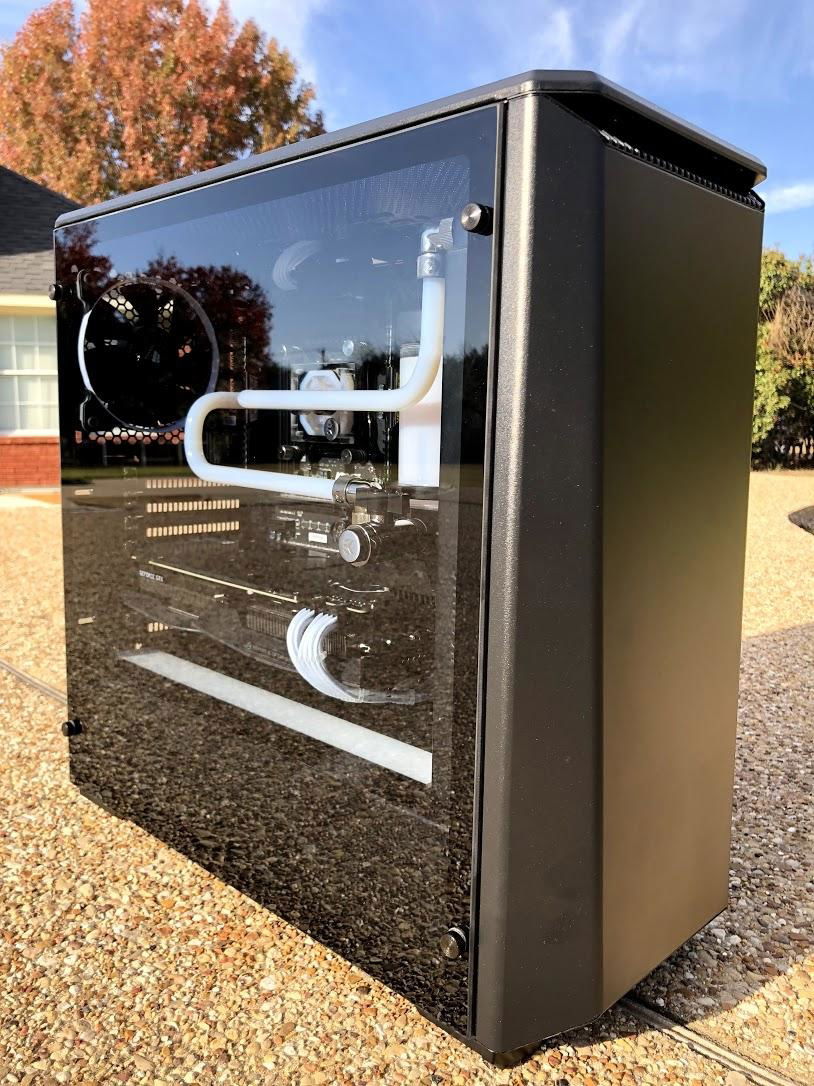
- Lights - We used a light kit from CableMod and opted for the widebeam RGB UV variant. This has a small inline controller making it easy to conceal. The UV with the UV reactive coolant looks super clean.
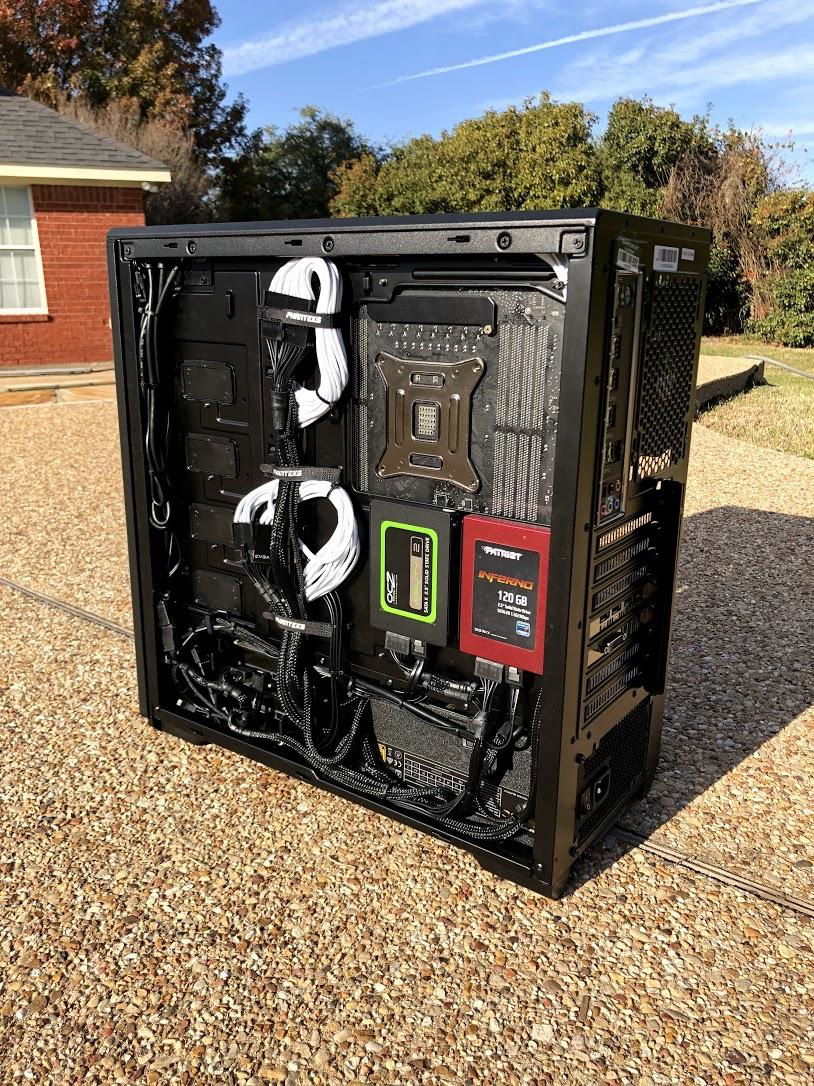
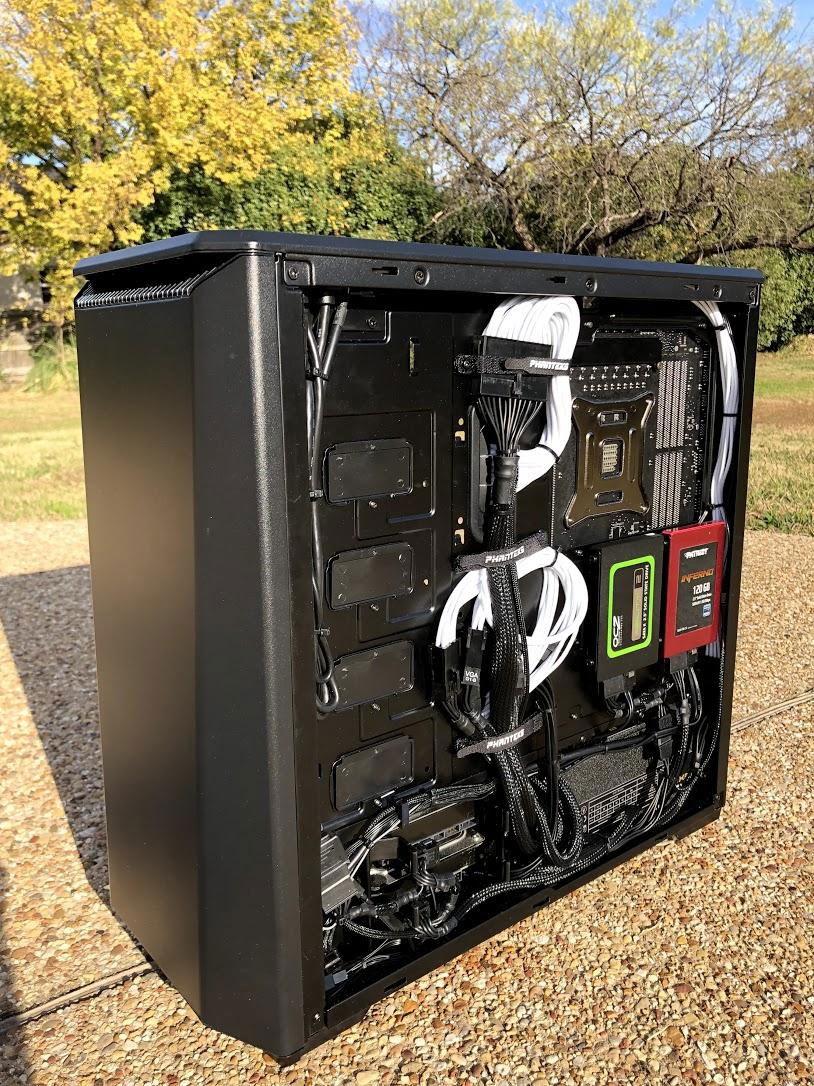
- Cable Management - I really wish I had time to make him some custom system cables. But we only had a night to get this thing done so we opted for some store bought cable extensions. The look great, but managing system cables with the added length of extensions is a choir in itself. But luckily we got it some what under control.
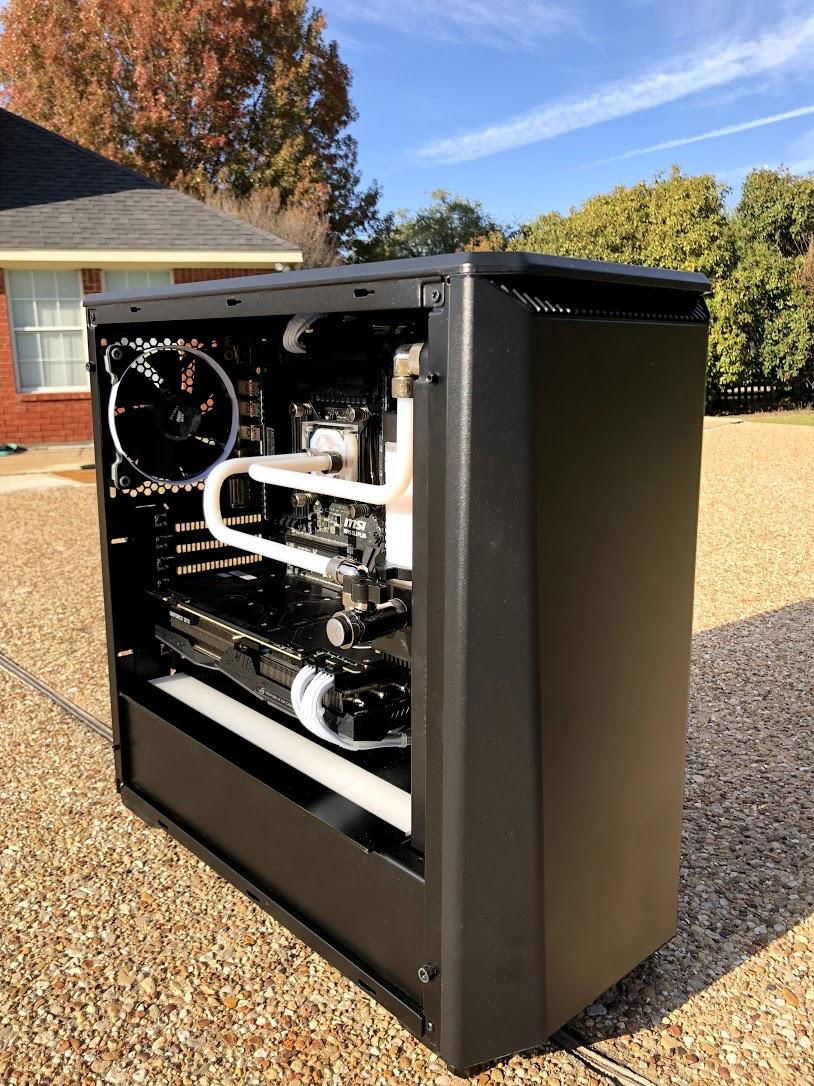
- PSU cover - I wasn't digging the ventilated PSU cover. So to tie the look together, I cut a clear piece of plexi to fit over the cover. I painted the bottom side white, and then taped a strip on the top then sprayed the top with black. This provides a really cool effect with the clear plexi giving it some depth and allowing it to absorb some of that UV light in the case. Super slick and just adds the cherry on top to this quick clean build.
Hardware
I know some of this hardware isn't the latest and greatest, but this is a significant improvement from his first gen i7 and dual Radeon 5870s. (quite the beast of a machine for its day) Being he didn't have a ton of cash for a full rebuild between his grandpa, dad, and myself were able to give him something pretty significant. You'll see he is still rockin those early gen sata 2 SSDs! I think I still have some of those in a bin somewhere.
There was some compatibility with the m.2 nvme drive on the MSI x99 board, but after a simple BIOS update we got that resolved fairly quickly. This also fixed a weird memory error we were getting that was preventing the GPU from outputting a signal. Oddly enough, I've only ever had compatibility issues with MSI motherboards... Could be a coincidence but there is a reason I'm an Asus fan.
Anyway, I hope you enjoy this build. It was a ton of fun to help out a friend who was in need of a PC overhaul, especially when that someone is responsible for my passion in the industry today. Cheers
Color(s): Black White
RGB Lighting? No
Theme: none
Cooling: Custom Liquid Cooling
Size: ATX
Type: General Build
Hardware
CPU
Motherboard
Memory
$ 228.68
Graphics
$ 689.00
PSU
$ 179.98
Case
Approved by: