


Warpcore H2O
AD:
First time building a custom water loop after building multiple air-cooled units, and first build on builds.gg. It was an exciting learning process and I was really nervous to take the plunge, but I finally did it after finding and ordering all the right parts, bits, and pieces. The ordering process was quite complicated as I had to search for the right parts that I really wanted, and ended up having to replace my original radiators as they were too thick to fit in the build. Thankfully Primochill has a line of low-profile radiators that fit quite nicely, though I was concerned about the reduced surface area of the thinner radiators. I also ended up replacing my upper 120mm cooling fans with higher airflow 140mm fans, which resulted in about a 10 degree Celsius reduction in CPU temperature at load. Currently my CPU is topping out at 57C when both it and the GPU are running 3DMark. I have yet to run a full stress test to see if my loop design is as effective as it should be, and if I find that it isn't I'm prepared to rebuild it so I can get lower temperatures. But all in all, I'm very impressed with the setup and very impressed with water cooling in general.
I used the ultra-clean, minimalist NZXT h700 instead of the h700i because I wanted to learn about RGB lighting myself rather than have it all done for me. I think next time I might go for the full NZXT Hue2 product line as I quite like the look of their fans, and having it all in one might make it cheaper and easier to deal with in the end. GPU is the Gigabyte Aorus Waterforce RTX 2080 since I wasn't comfortable stripping apart a GPU and installing a waterblock. I think more pre-built waterblock GPU's will be coming out on the market as this becomes more and more popular. The card was a little bit longer than I expected, and it ends up crashing into my pump/reservoir combo, but I managed to make it work without requiring any major surgery or modifications.
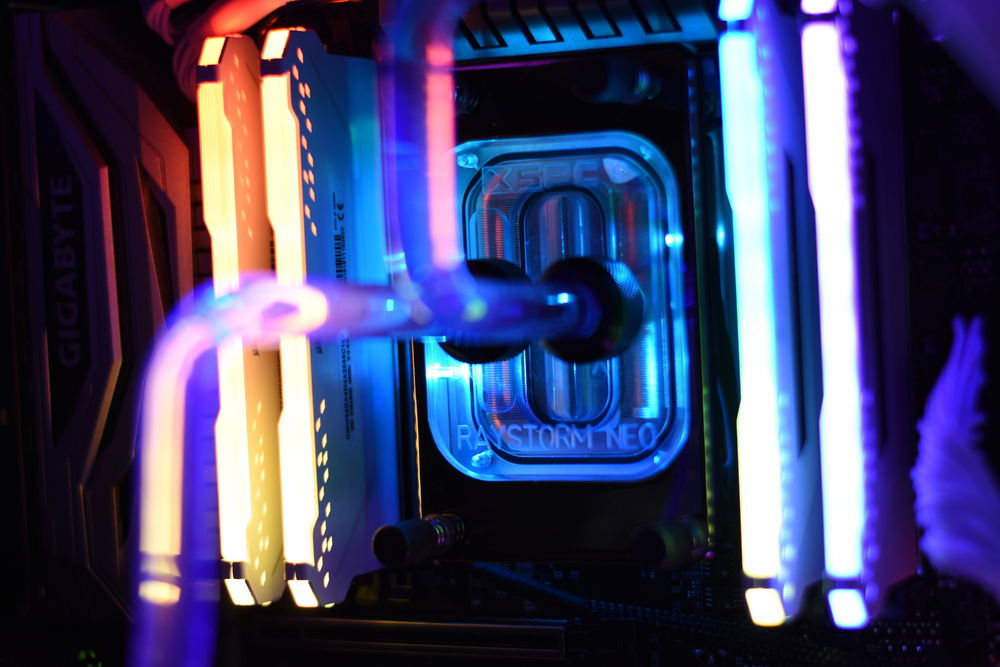
Lighting is accomplished using blacklight strips as opposed to RGB in order to activate the UV-reactive tubing. It doesn't glow quite as brightly as I would have liked, and I tried Primochill's UV reactive dye in Electric blue. It's still not quite as bright as I wanted but I'm ok with it for now. My 120mm fans only have blue LED's, but my 140mm fans can do any color. I'm finding that setting all the devices to blue gives it a more unified monochrome look, but it's certainly nice to have the option to go full RGB color cycling if I want.
I used the ultra-clean, minimalist NZXT h700 instead of the h700i because I wanted to learn about RGB lighting myself rather than have it all done for me. I think next time I might go for the full NZXT Hue2 product line as I quite like the look of their fans, and having it all in one might make it cheaper and easier to deal with in the end. GPU is the Gigabyte Aorus Waterforce RTX 2080 since I wasn't comfortable stripping apart a GPU and installing a waterblock. I think more pre-built waterblock GPU's will be coming out on the market as this becomes more and more popular. The card was a little bit longer than I expected, and it ends up crashing into my pump/reservoir combo, but I managed to make it work without requiring any major surgery or modifications.
Lighting is accomplished using blacklight strips as opposed to RGB in order to activate the UV-reactive tubing. It doesn't glow quite as brightly as I would have liked, and I tried Primochill's UV reactive dye in Electric blue. It's still not quite as bright as I wanted but I'm ok with it for now. My 120mm fans only have blue LED's, but my 140mm fans can do any color. I'm finding that setting all the devices to blue gives it a more unified monochrome look, but it's certainly nice to have the option to go full RGB color cycling if I want.
Color(s): White
RGB Lighting? Yes
Theme: Technology
Cooling: Custom Liquid Cooling
Size: ATX
Type: General Build
Contests
This build participated in 1 contest.
| Rank | Contest | Date |
|---|---|---|
| #655 | The builds.gg 10K Challenge | ended |
Hardware
CPU
$ 850.00
Memory
$ 185.99
PSU
$ 309.00
Case
$ 137.15
Cooling
Cooling
$ 93.95
Approved by: