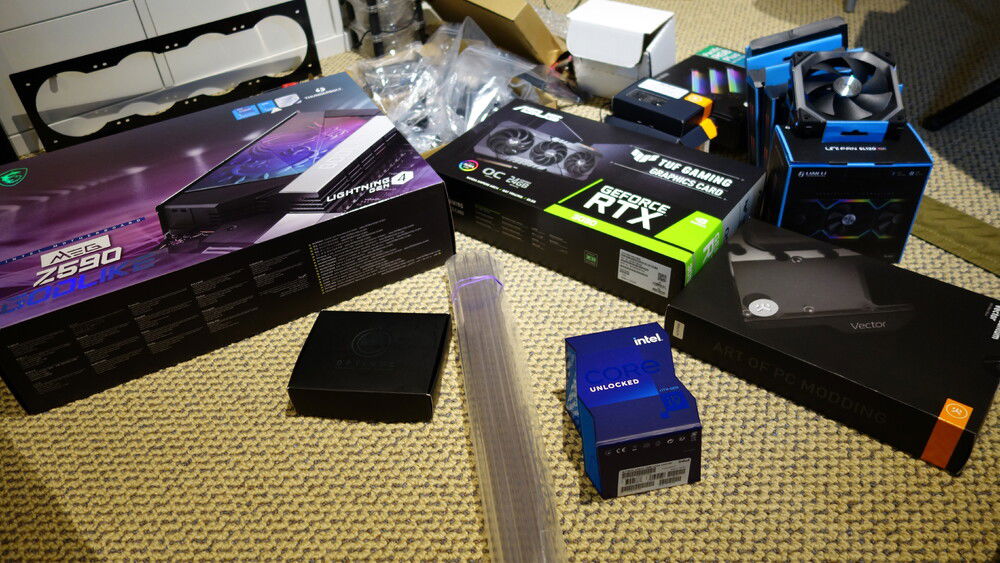
that giddy feeling about to start opening boxes
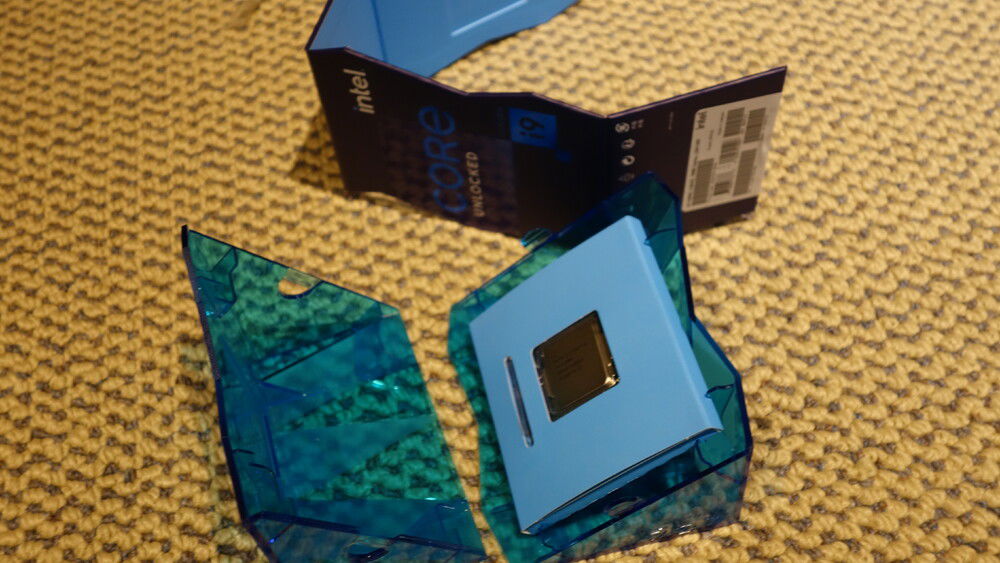
over-engineered funky box to go with the retail packaging price. This chip didn't great reviews for it being flagship, but the bundle enabled me to get a 3090 during the craziness that was the GPU shortage
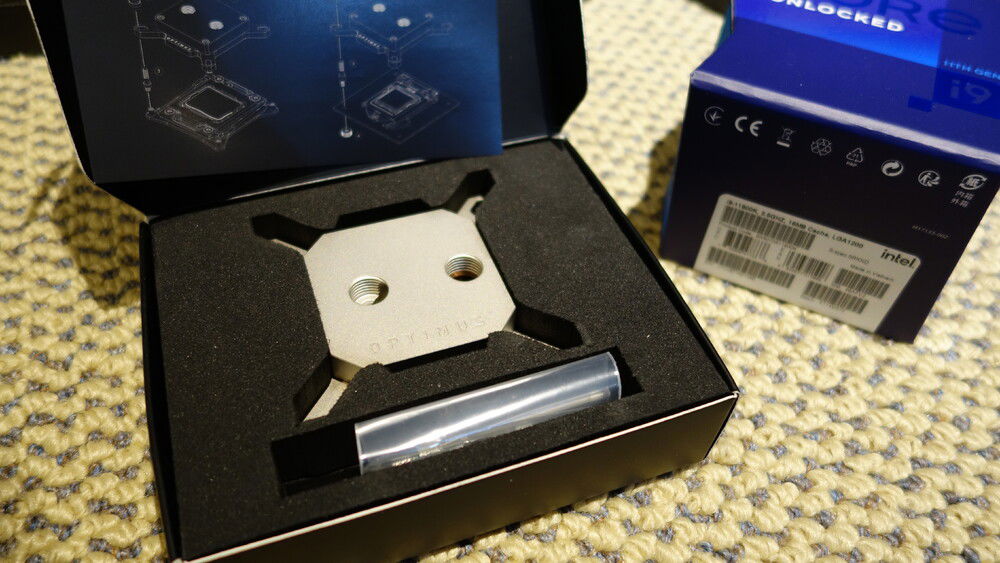
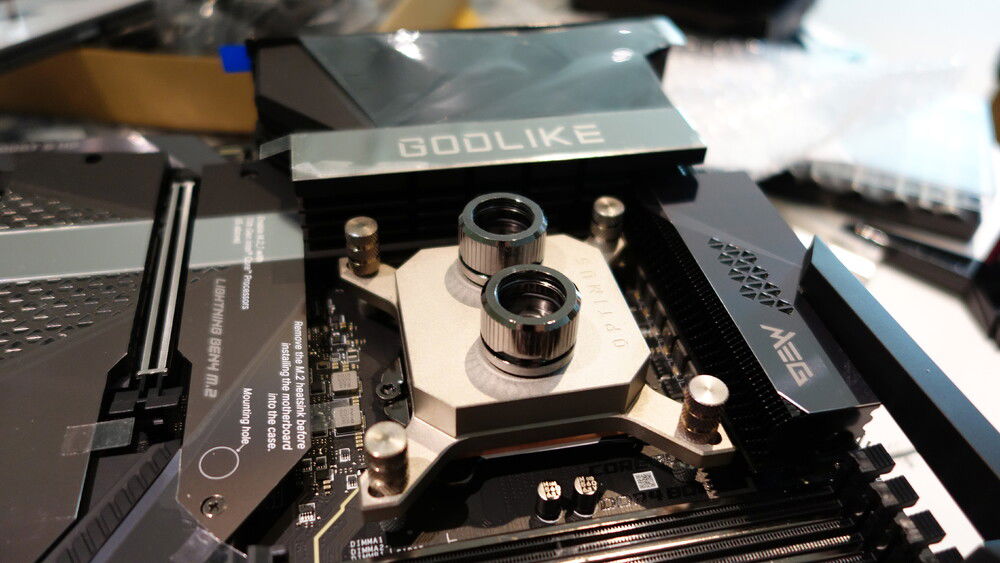
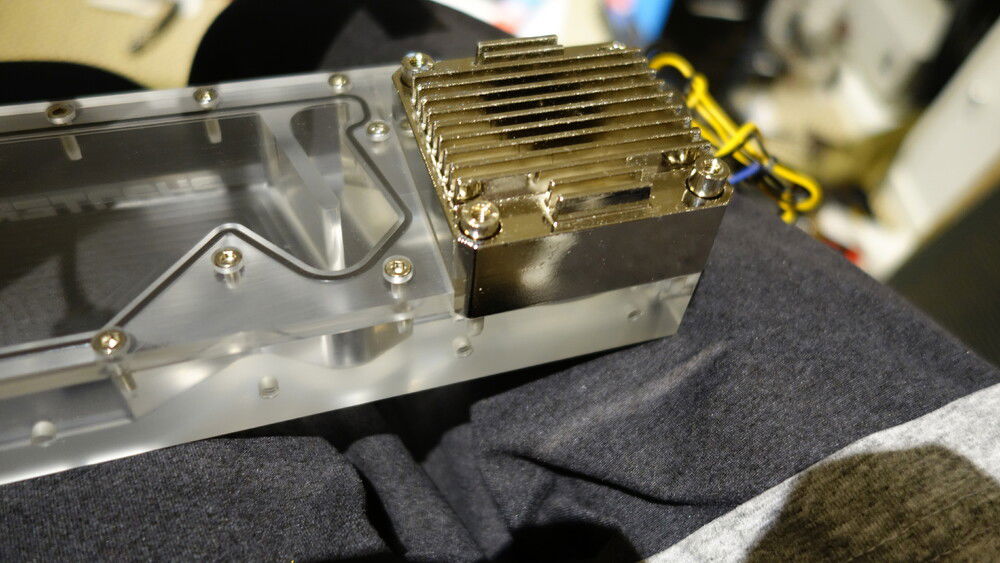
There is HEFT to this block. Never used Optimus before but great products and company reviews.

absolutely love everything about the look and layout of this board
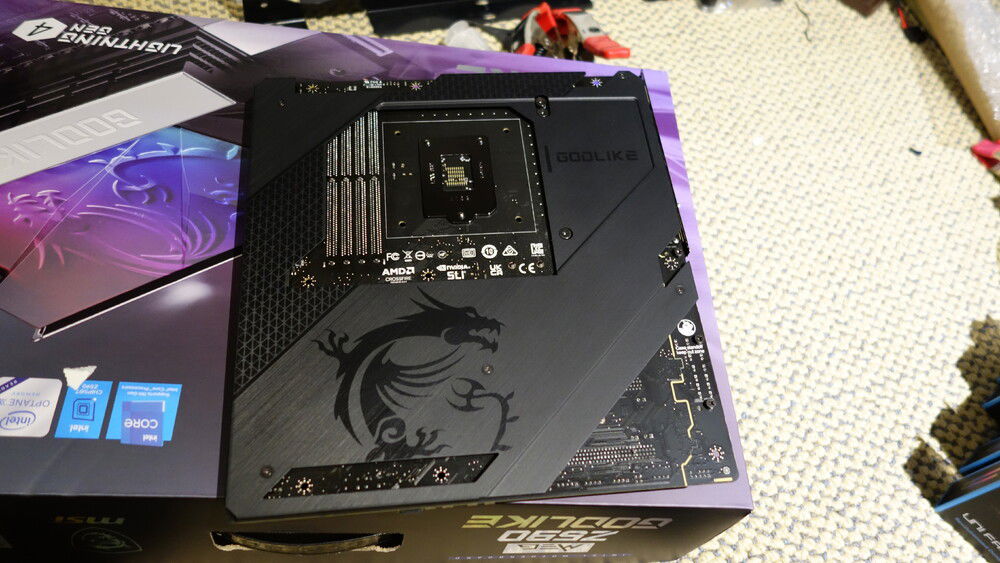
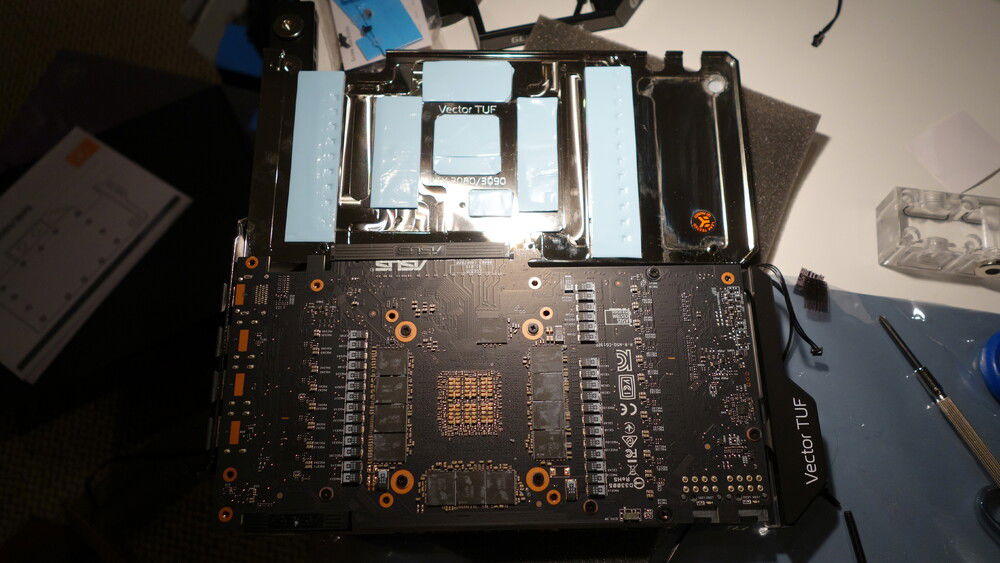
beautiful backplate that I will never see again ever
love the cute godzilla theme throughout
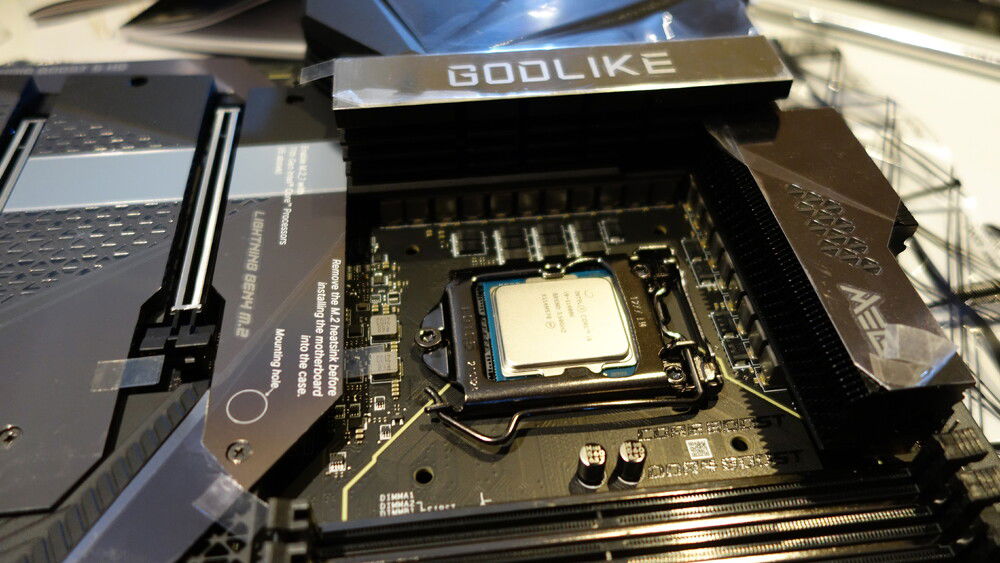
CPU placed
mobo kit includes nice stands to use as test bench.

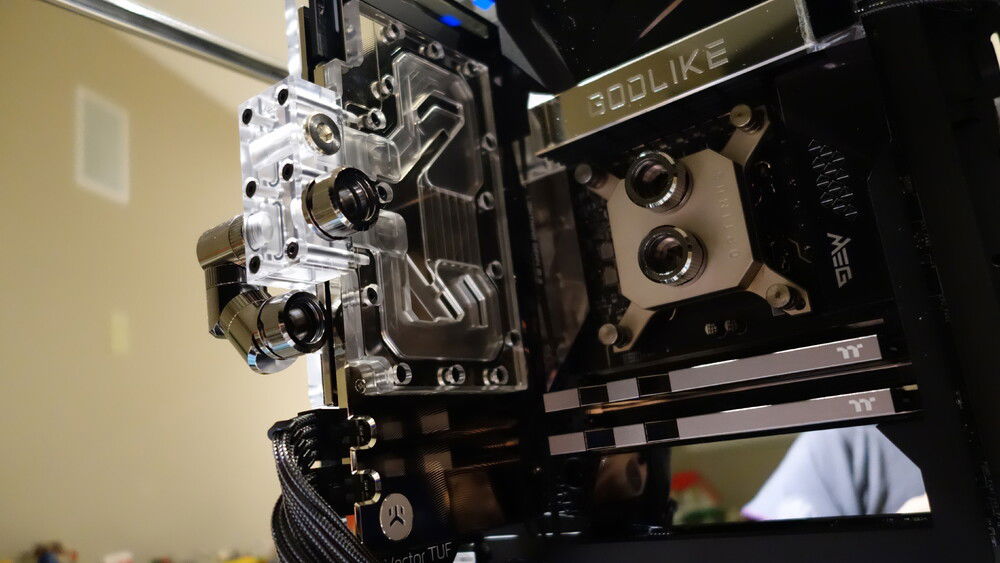
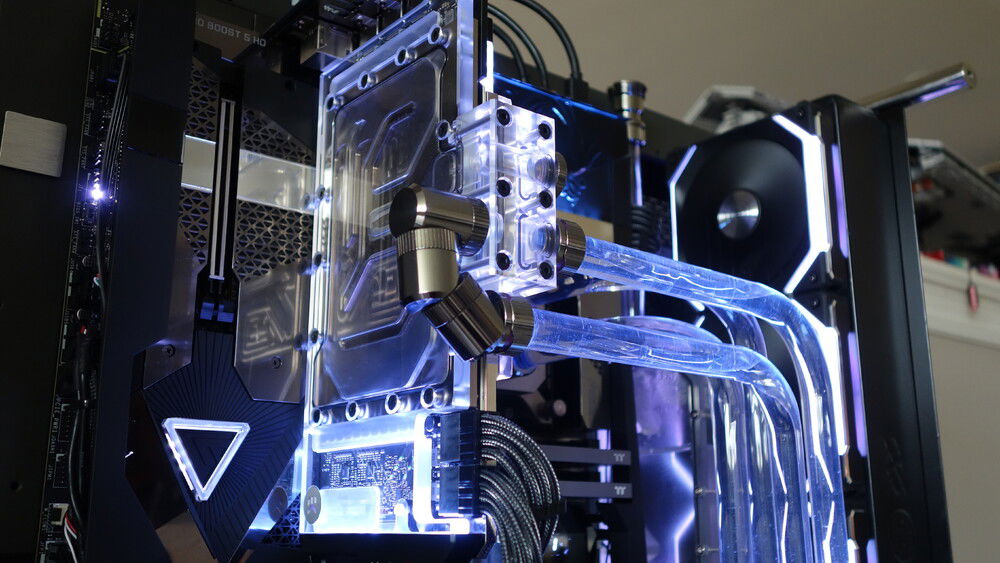
i like that that four corners of the CPU block have a a directional appearance that complements the large angular slash of the adjacent mobo m.2 heatsink
testing EK Torque appearance. Build will end up being a mishmash of metallic textures and colours, but it think it works. Not everything can match!
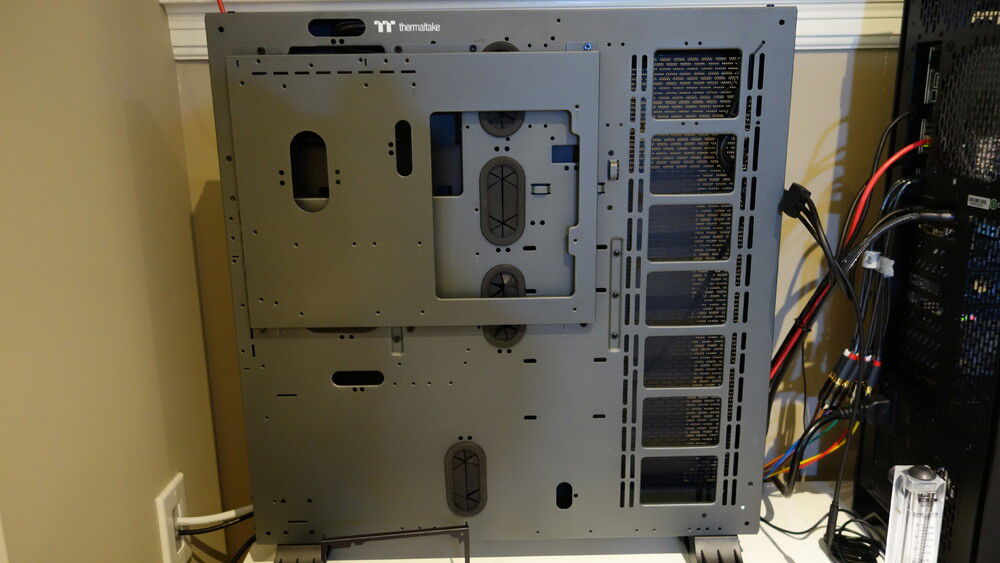
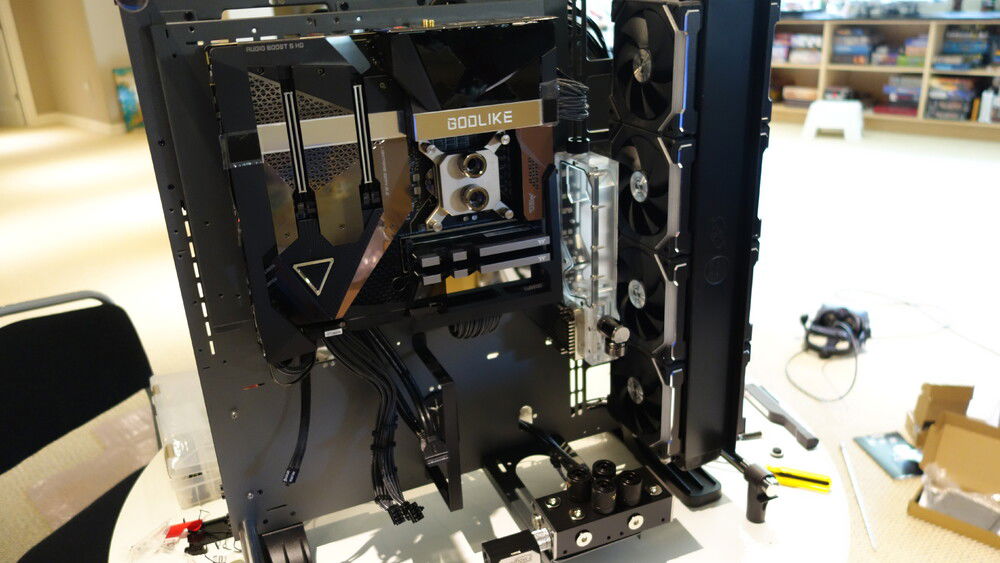
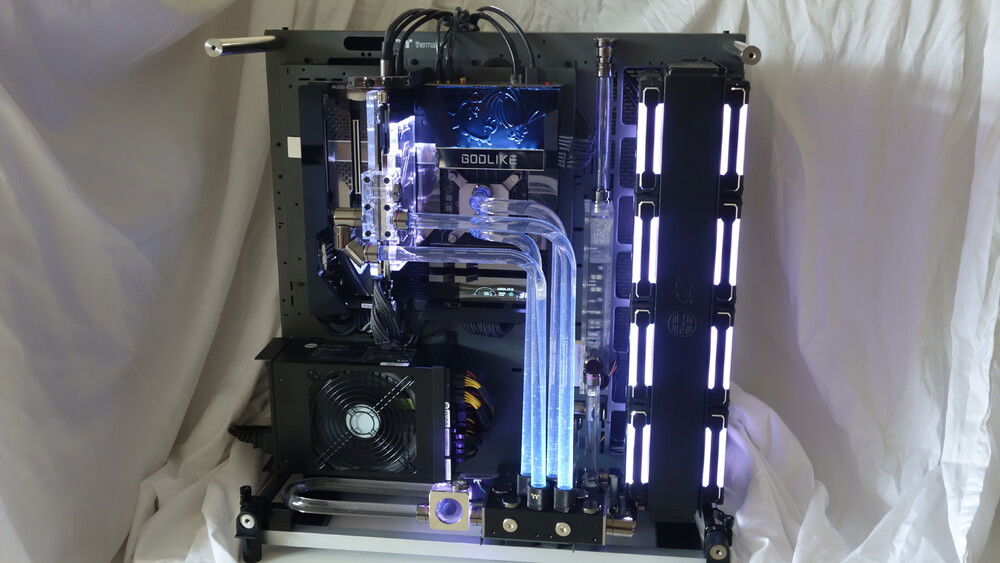
the main reason i chose this iteration of the P5. A horizontal mount for the mobo makes the most sense given the layout, text, and the small built-in display
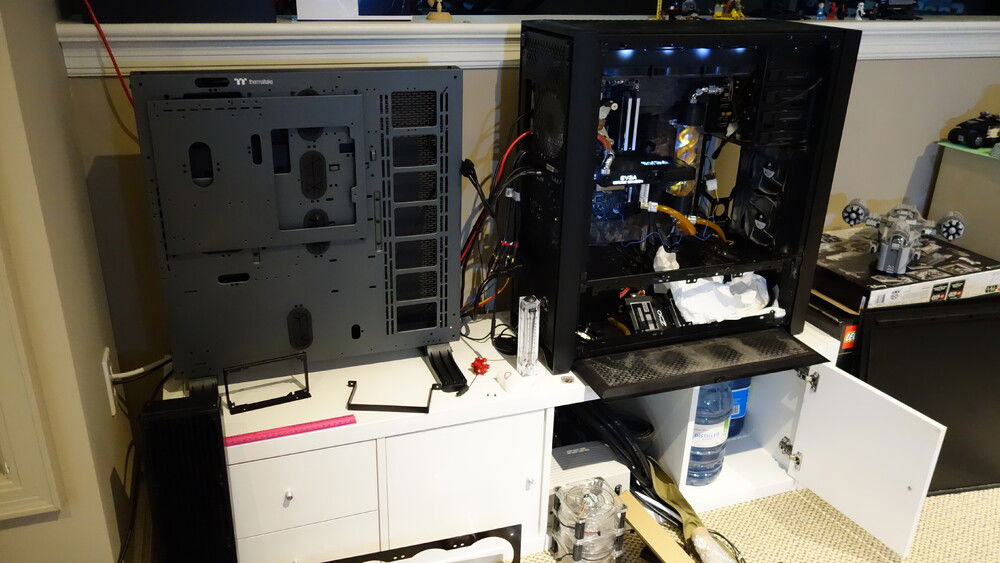
size comparison next to the giant Corsair 900D of my previous rig
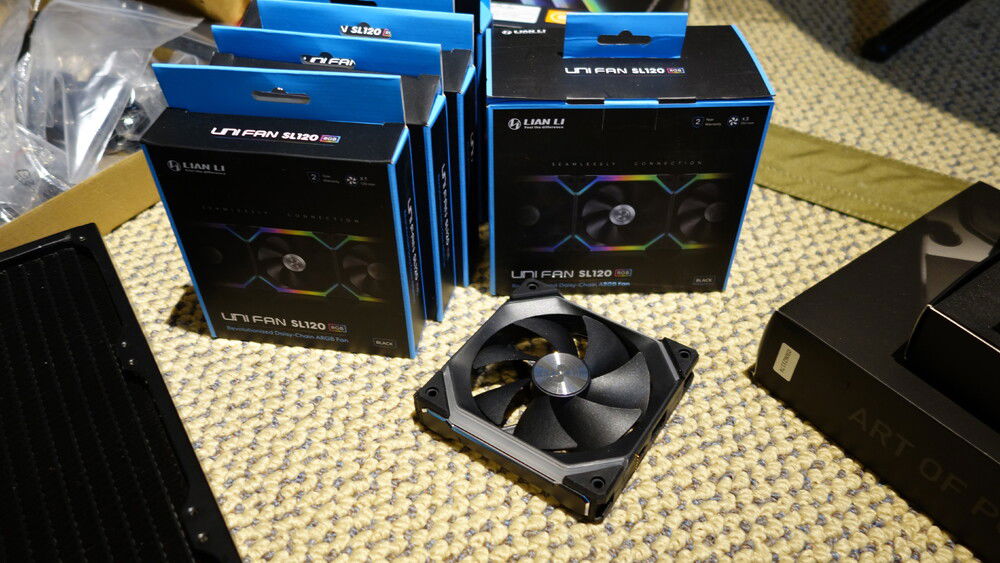
the popular SL120 with those unique RGB lights.
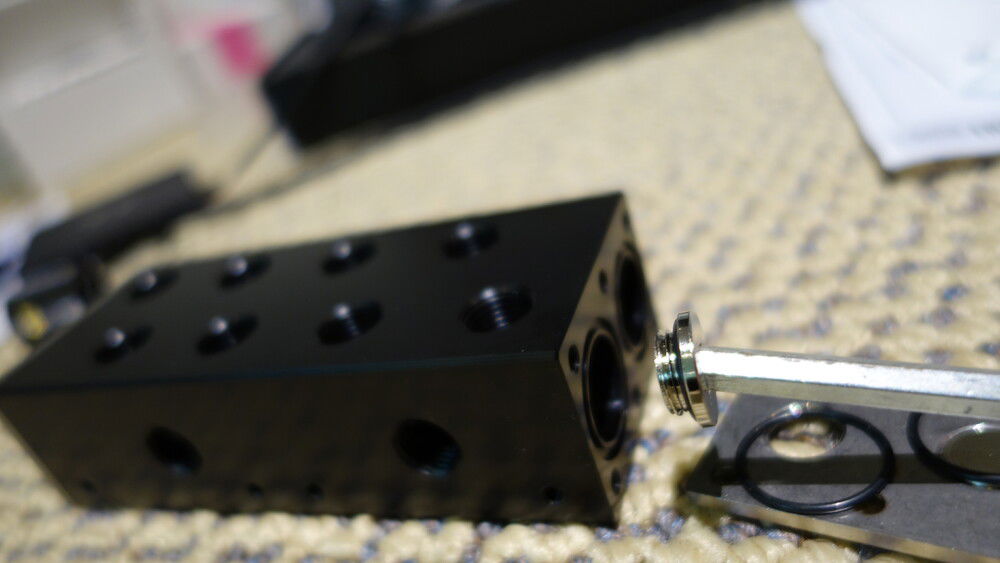
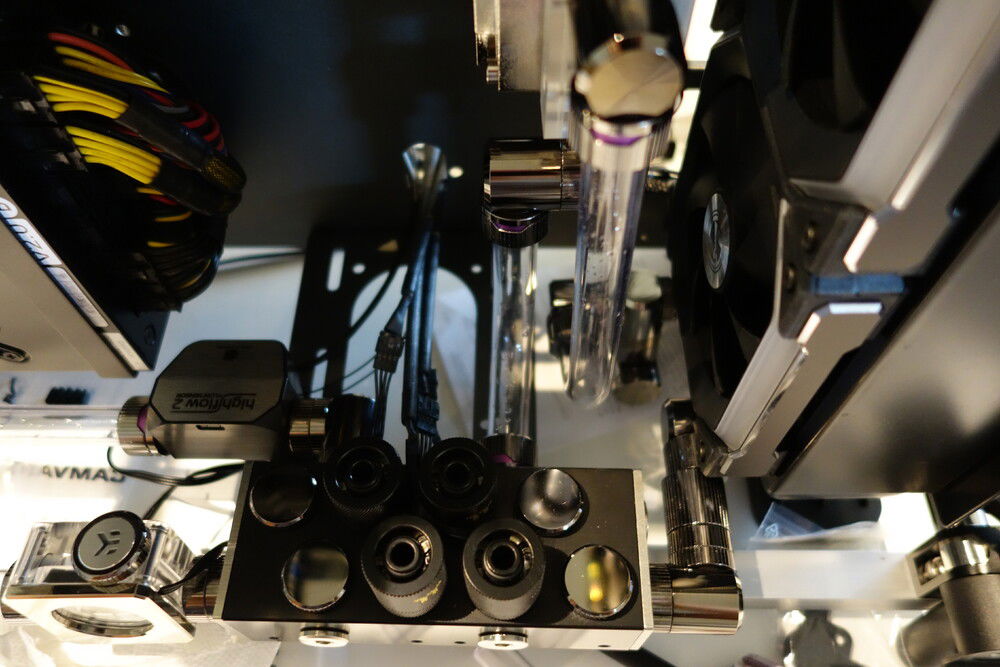
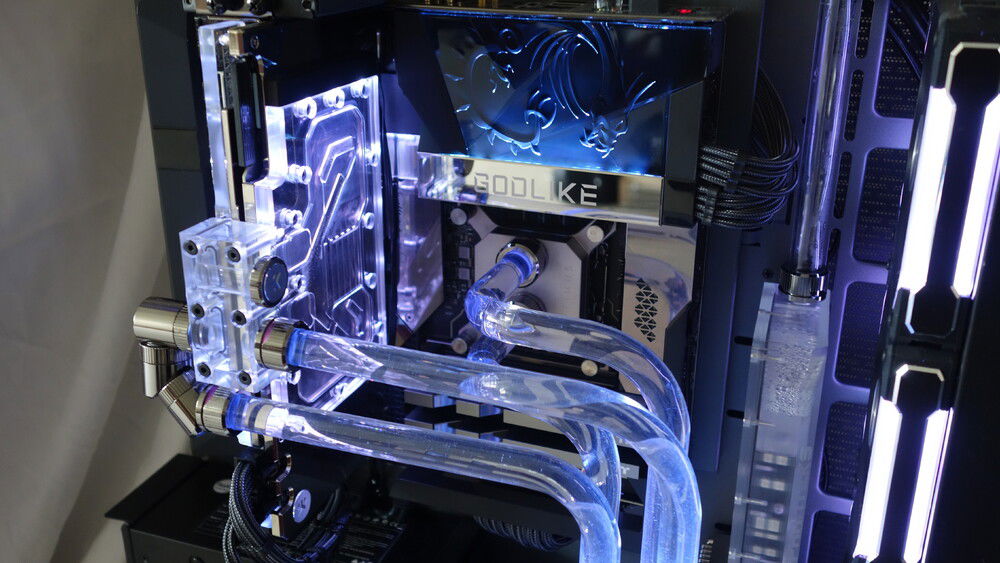
this is the key piece that makes the design work, an EK manifold internally divided into four separate compartments. Very versatile piece of kit.
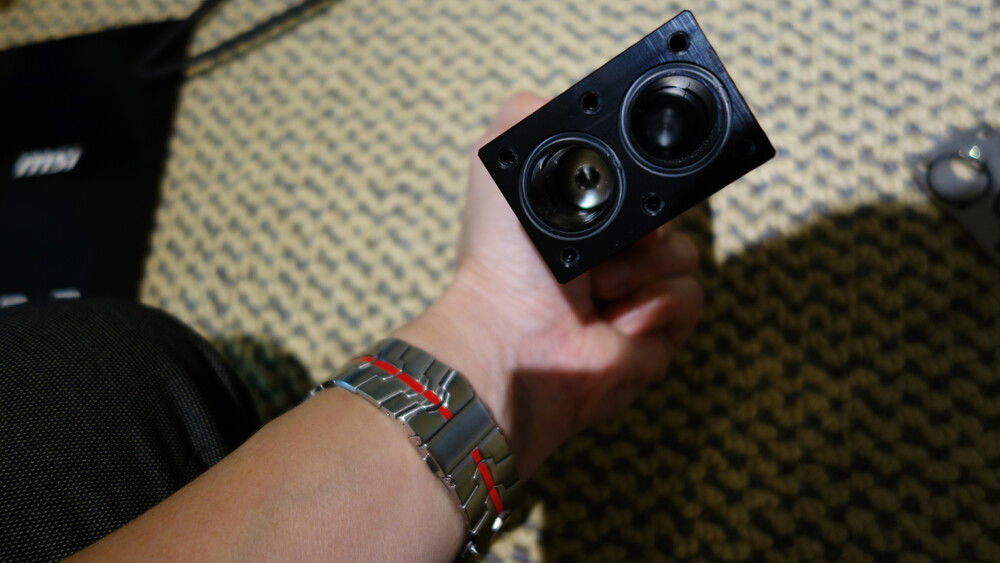
internal view of an ek stop fitting that divides up the compartments. EK tech support was wondering why i would do this when i asked them to confirm it was doable.
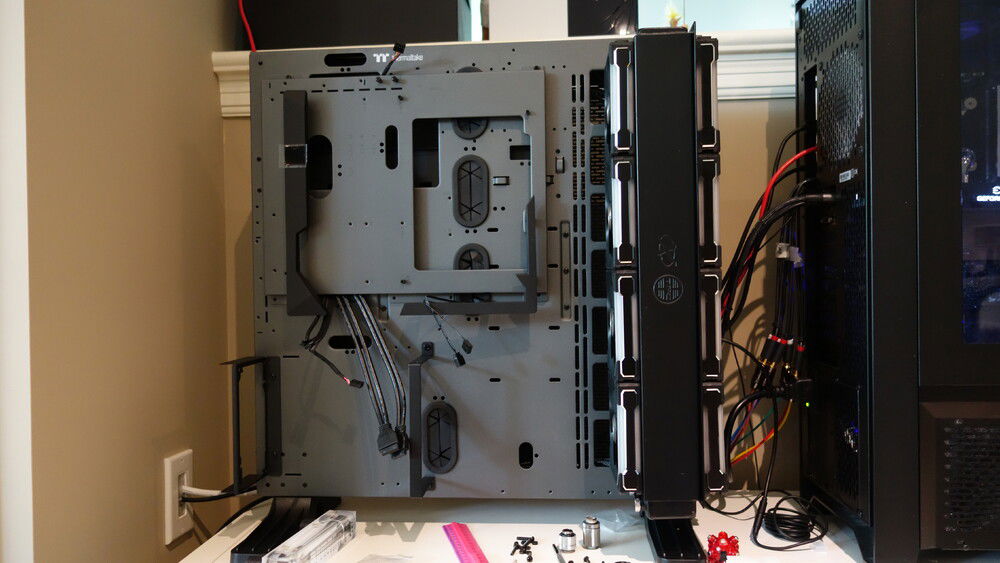
Saved an original TFC X-changer 480 radiator from my very first watercooled machine circa 2009. Still performs great. Mounted 8 SL120 in push pull, and used a bracket mount sideways, more unique than the usual row of circles facing forward one usually finds with these Thermaltake builds
want to keep the top of the case as clear of tubing as possible, so radiator outlets are at bottom. Clearance... ok!
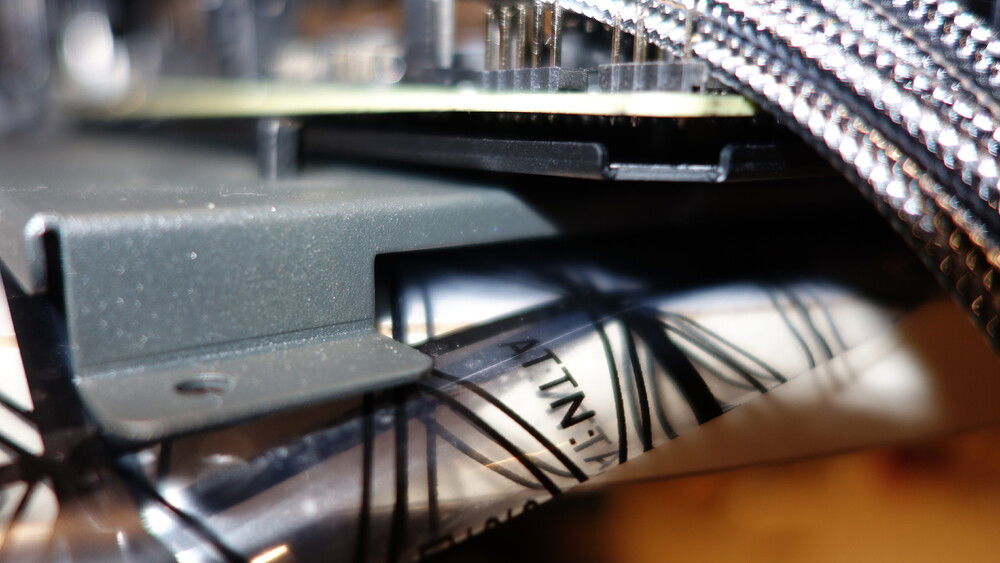
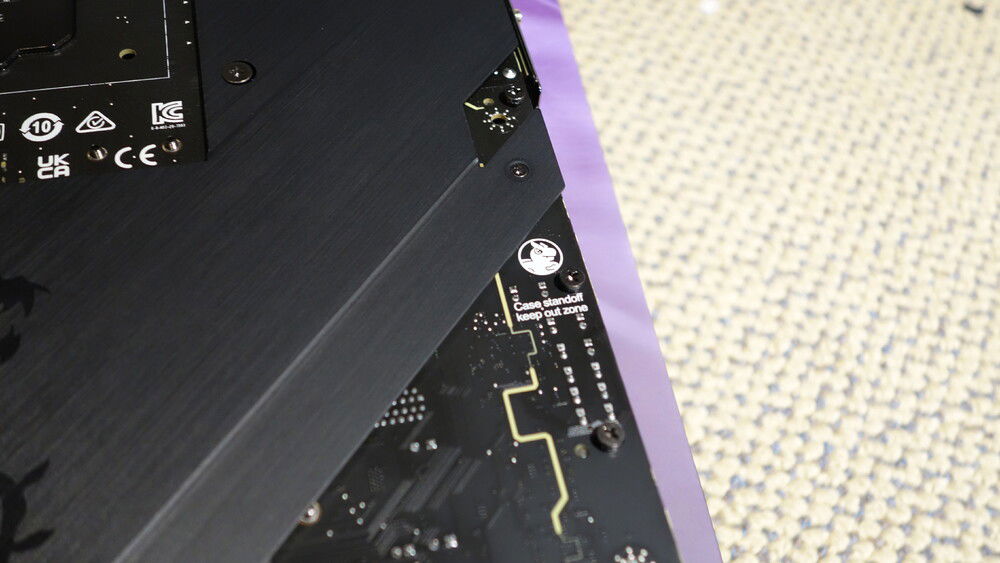
the extra thick back plate on the mobo required taller spacers

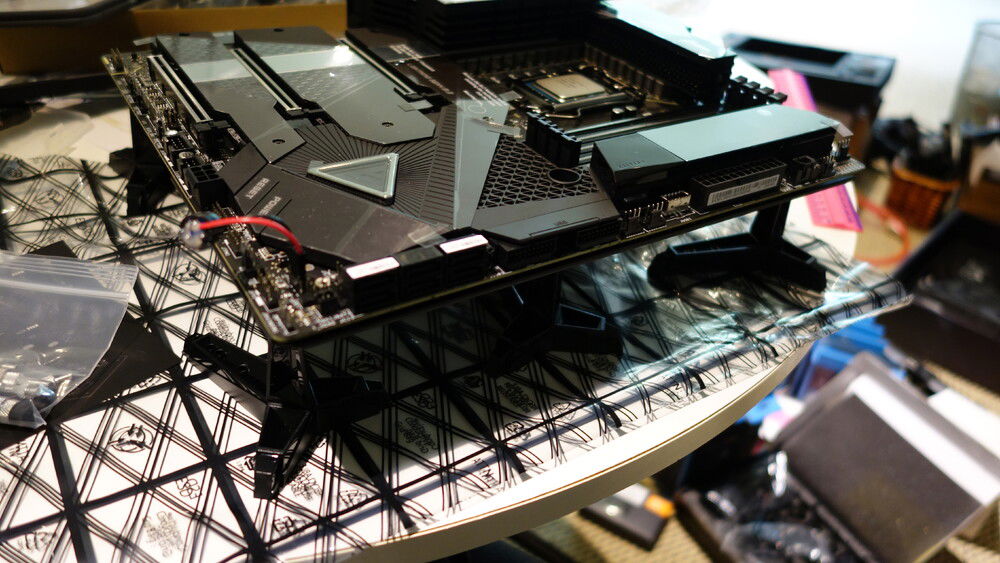
test mounting mobo
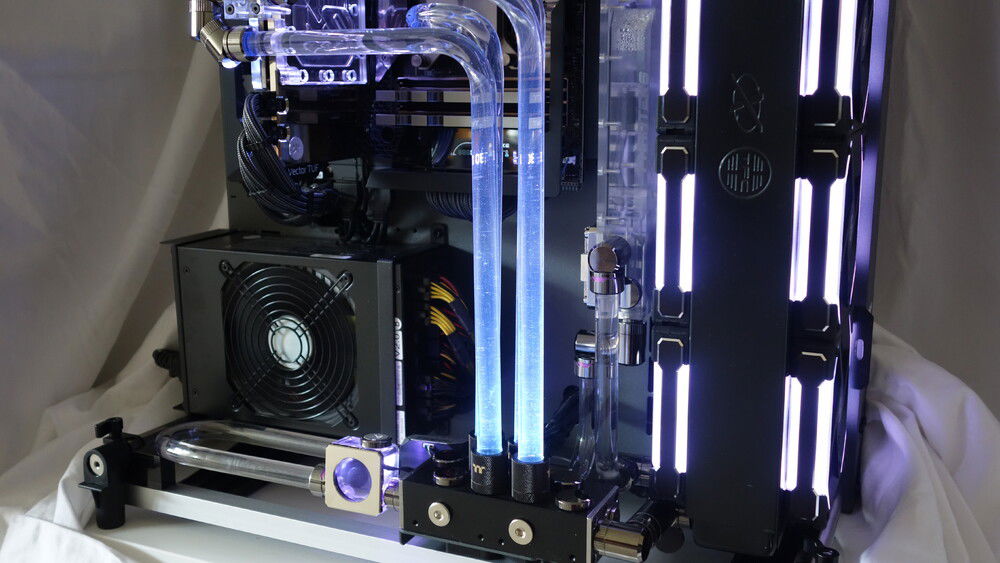
deciding what reservoir and pump and how to mount both items took quite a while, but eventually i chose the the combo unit from Phanteks, which also let me re-use an old EK nickel DDC pump heatsink
still have plenty of airflow around reservoir
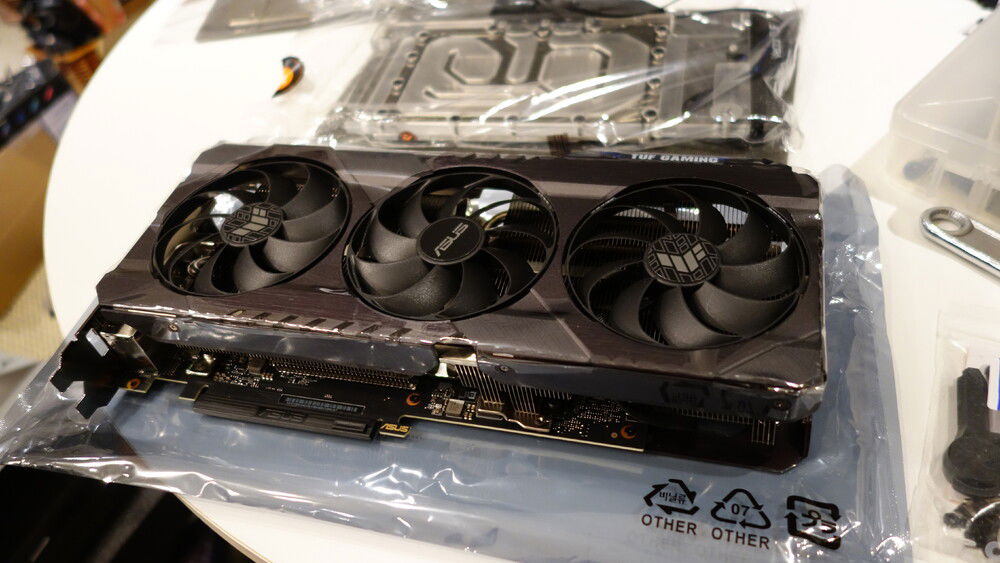
GPU disassembly time!
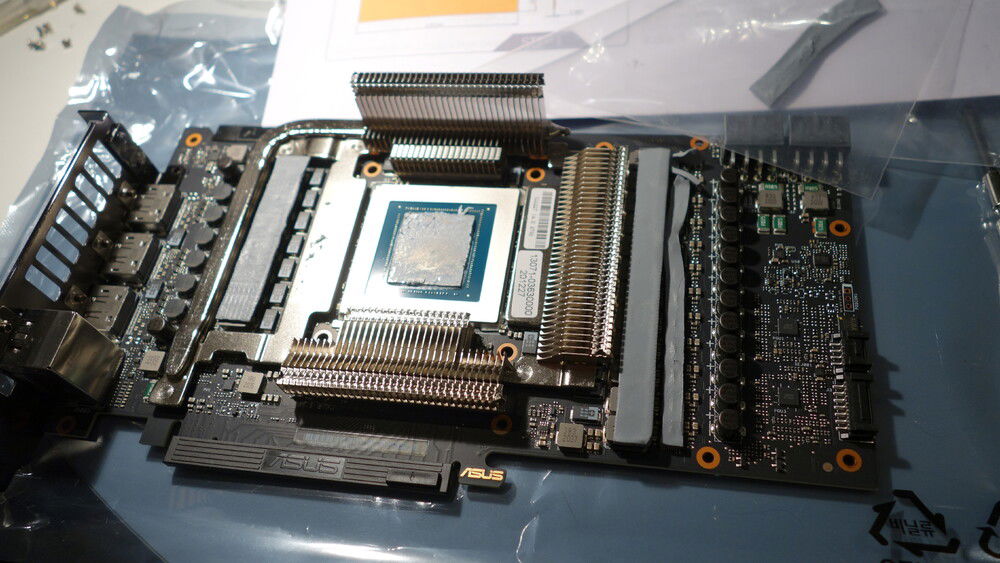
brings back memories of the first time i did a custom GPU block on my GTX295 a long time ago... except this time i didn't even bother testing out the card on the original air cooler
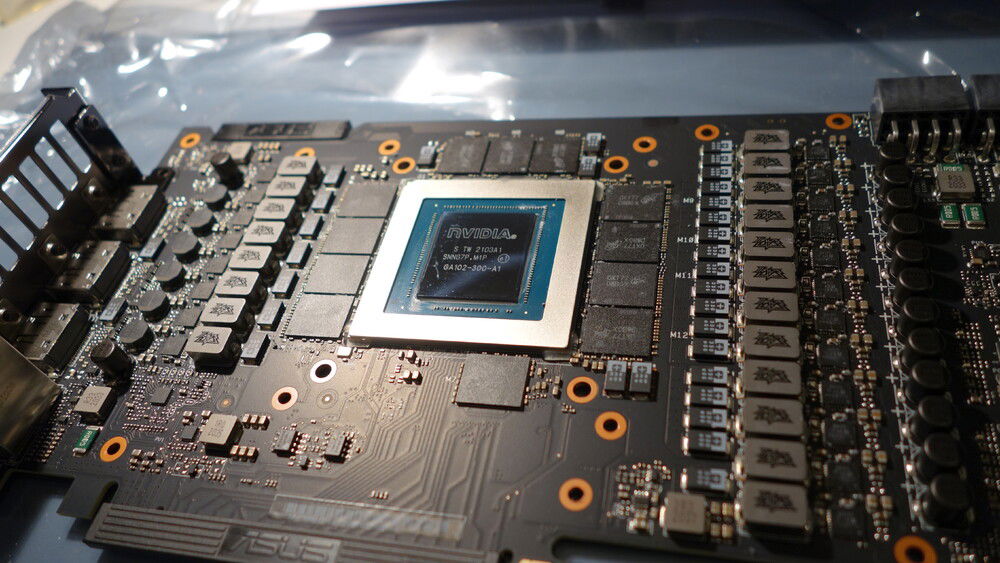
all nicely cleaned up
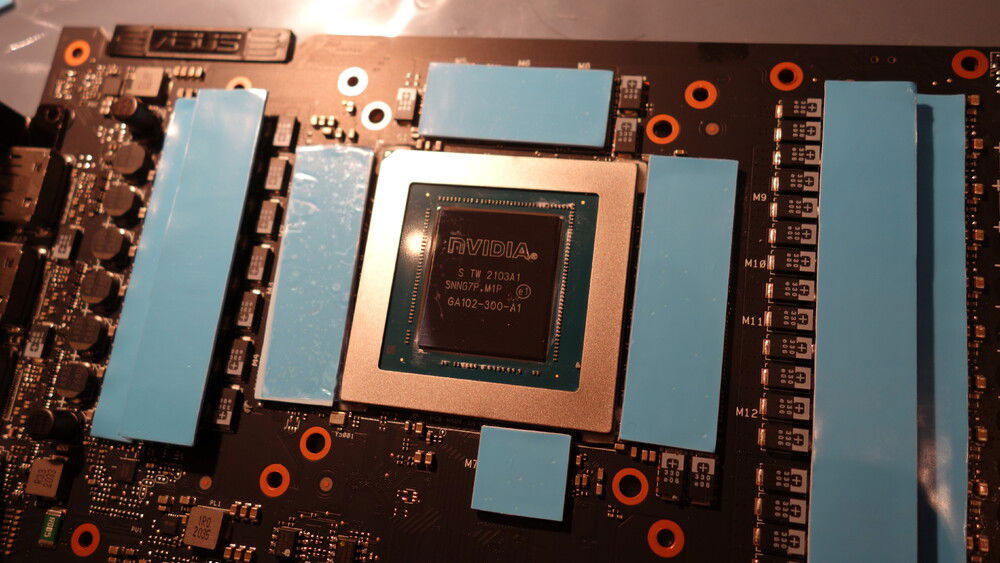
pads in place

checking for good thermal contact
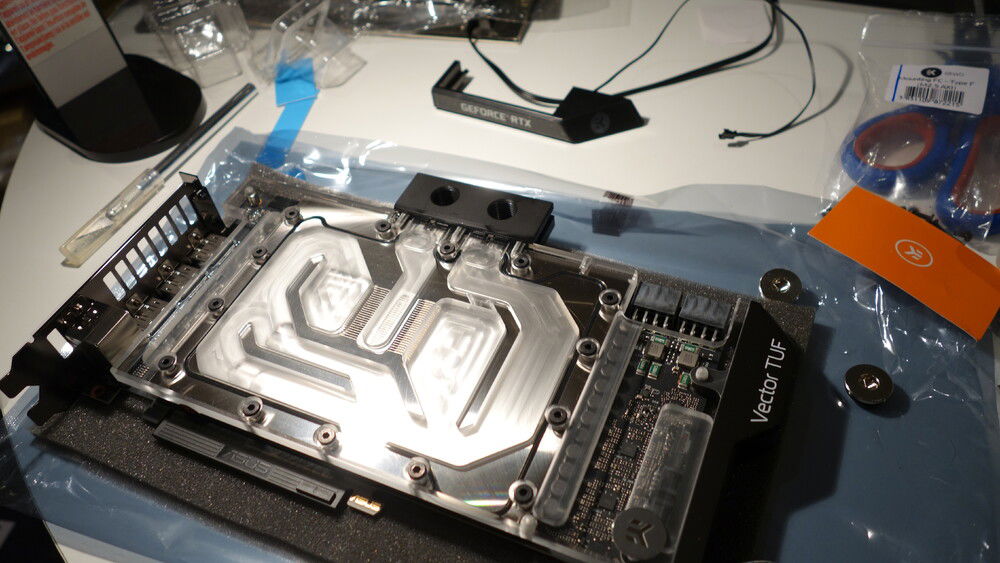
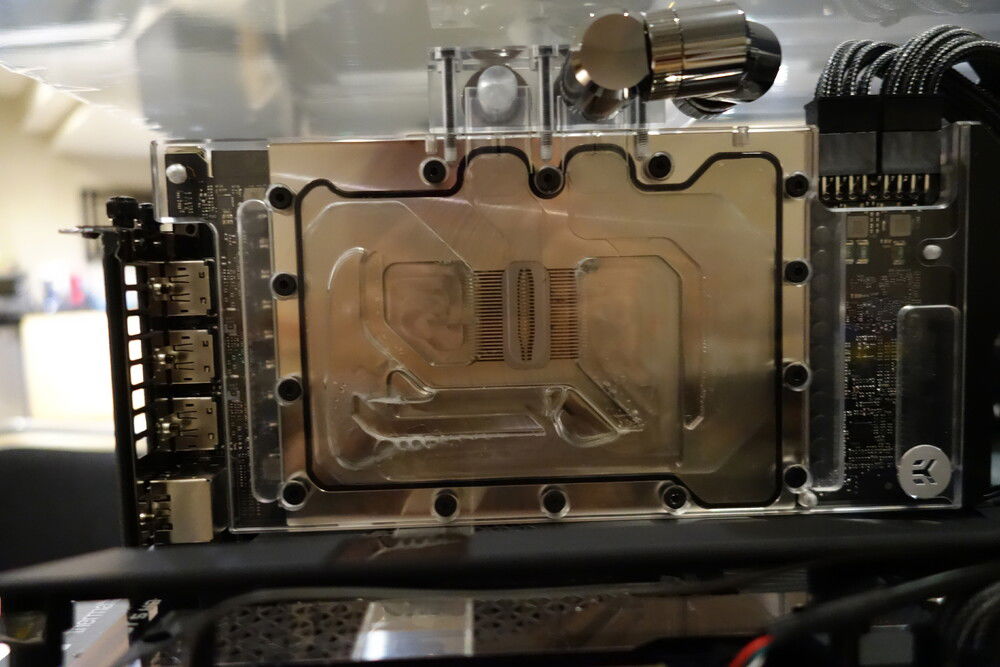
front GPU block mounted
now for the active backplate, essential for the 3090
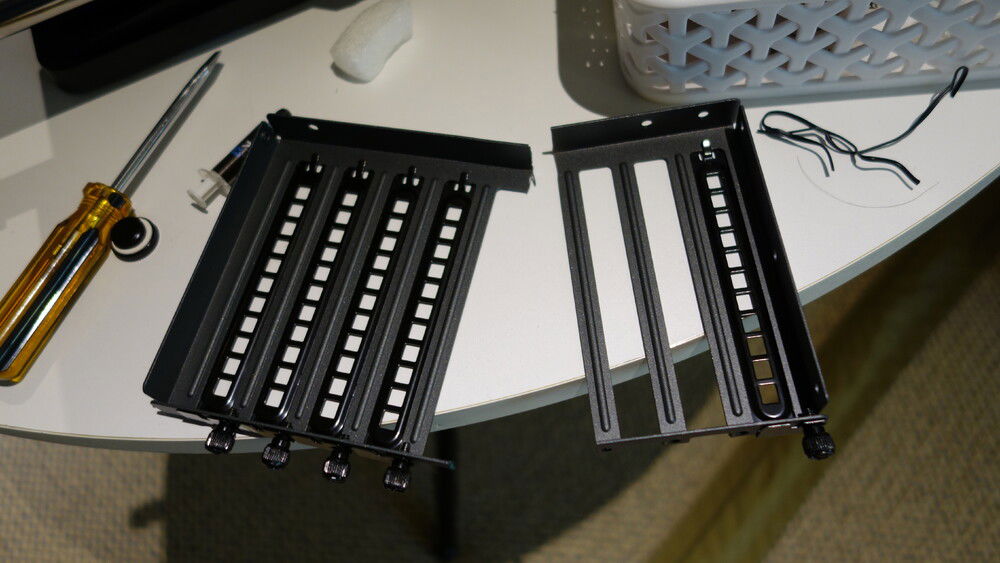
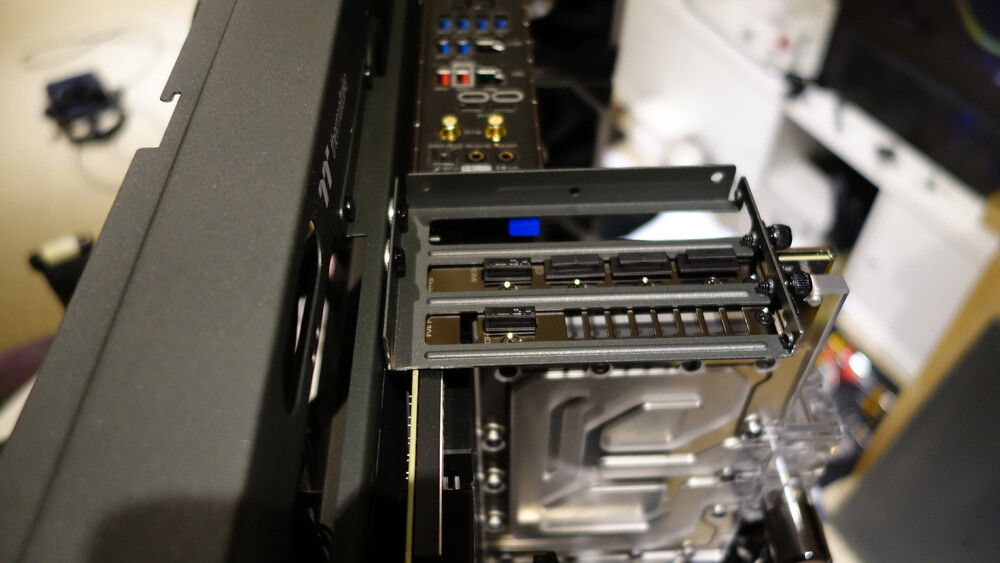
because of the horizontal mount, i wanted to cut the PCI bracket so it wouldn't cast a dark shadow on the mobo. Kept only what I need to secure the GPU
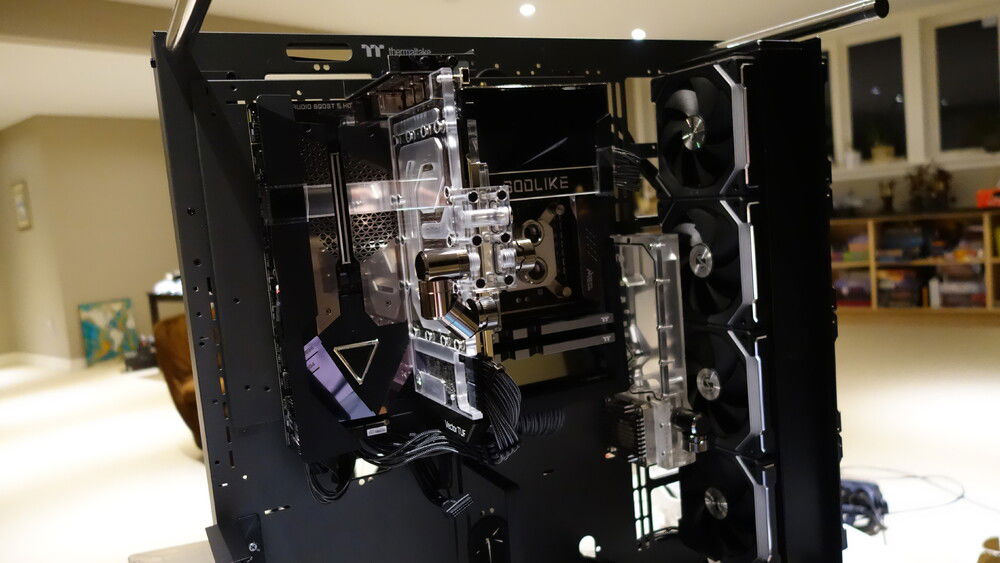
the vertical-ness of the GPU sandwich matches nicely with the reservoir setup
shiny
fill port
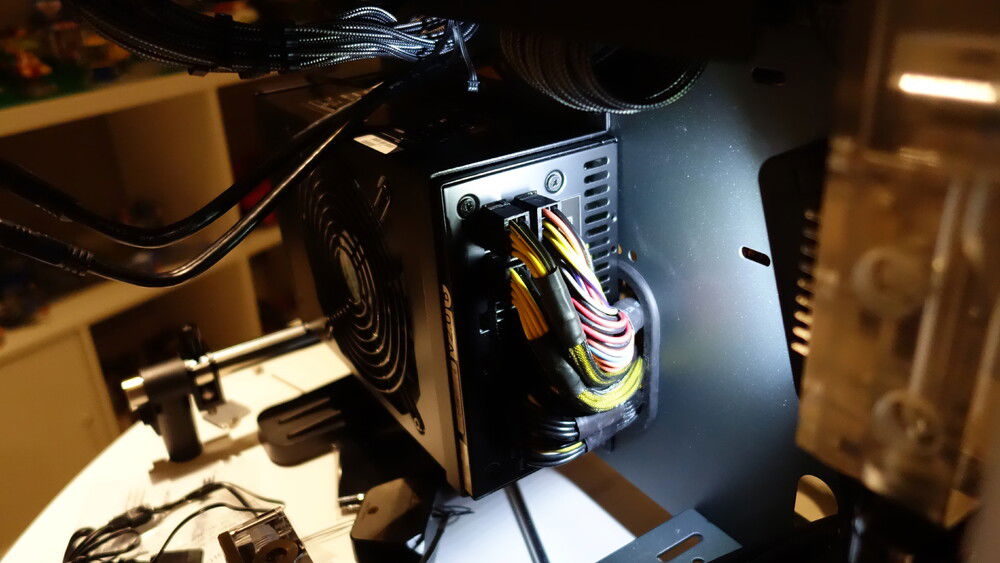
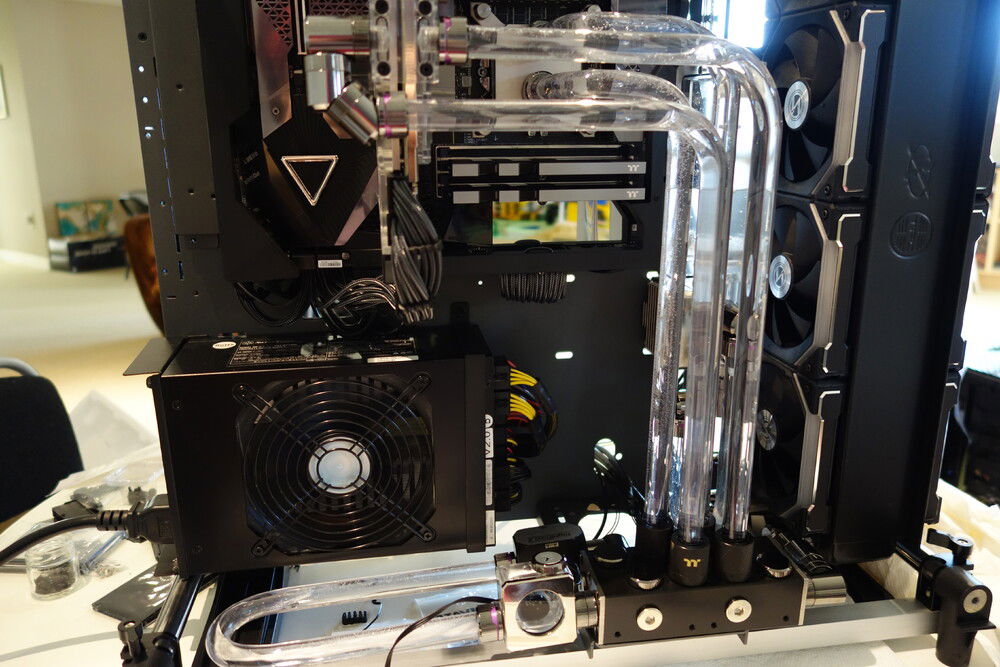
I kept the Silverstone Strider 1500W from my previous rig knowing it was too long for the P5. Solved it by reversing the mount, with just enough room left to route the cables through the cutout. Now if only i had access to a 3D printer to make a shroud....
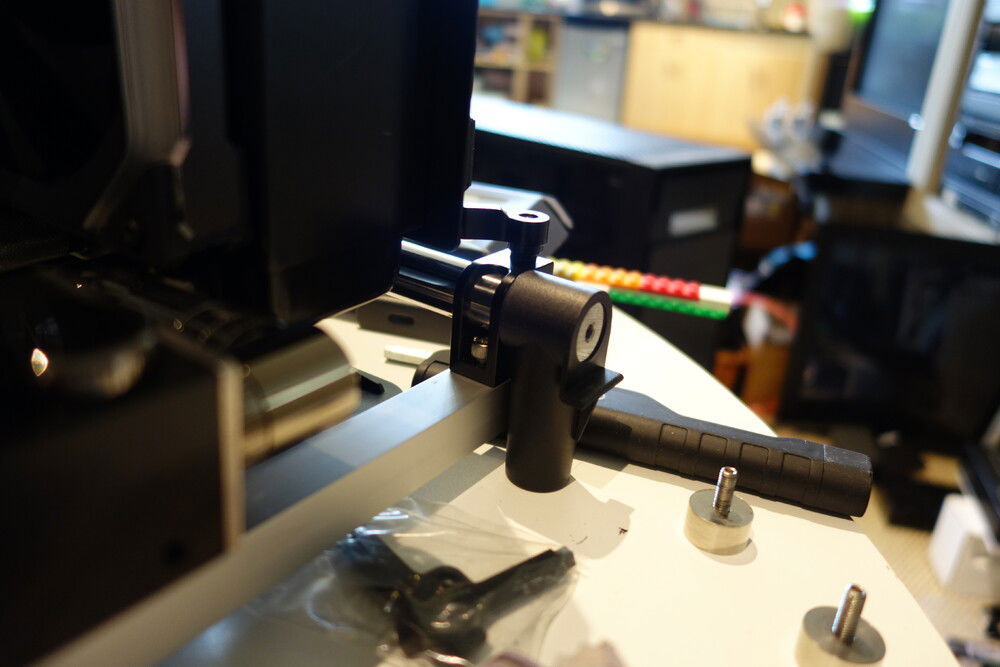
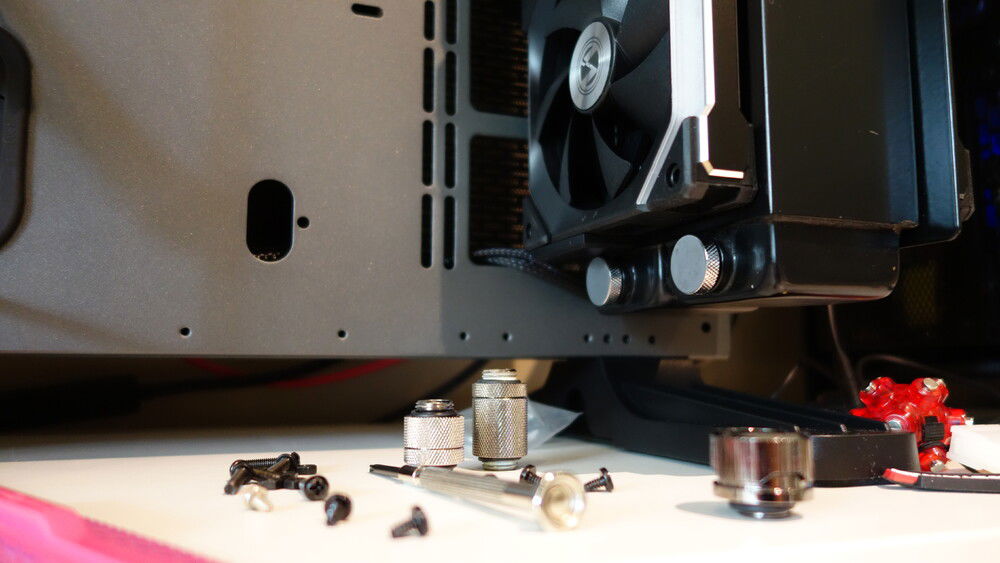
to support the weight of the manifold and all the tubing attached, i fashioned a brace using an aluminum angle and attached it to the lower posts using a camera mount which was the perfect diameter to slide over the posts
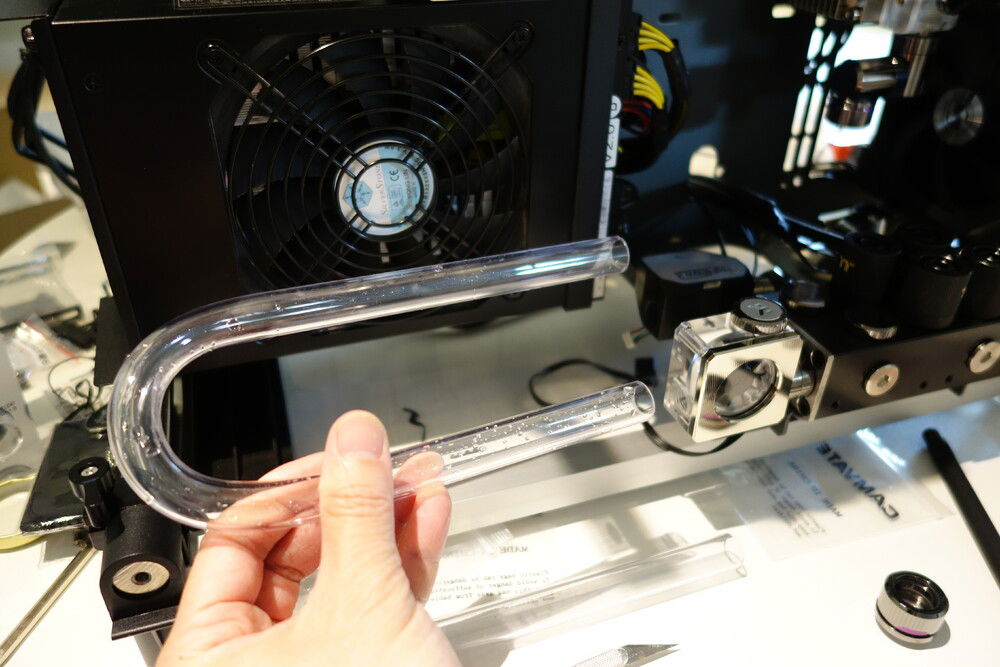
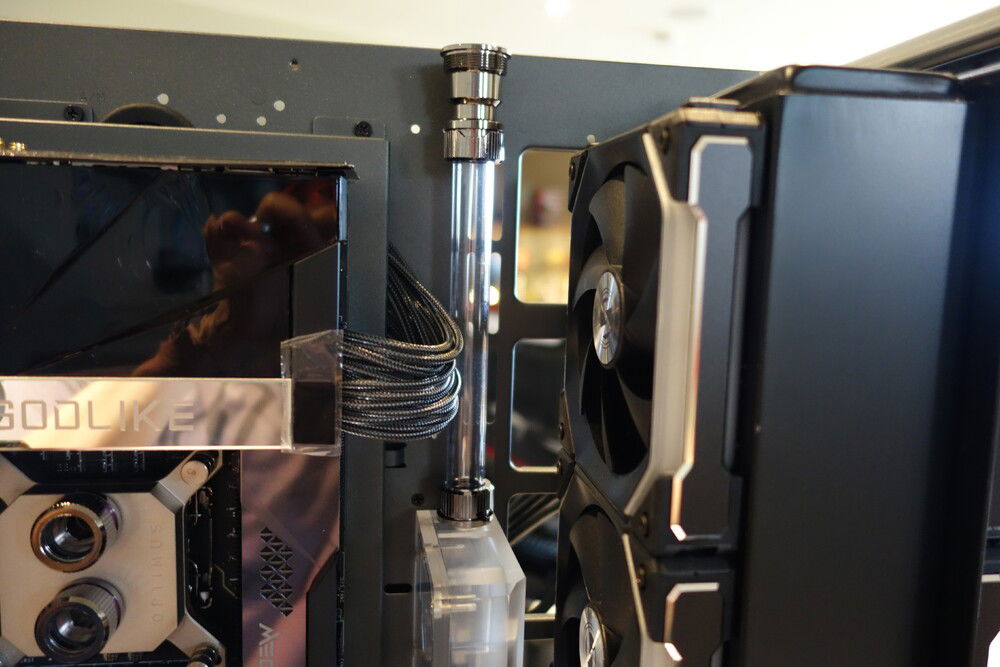
the first bend of my first hard tubing build ever.
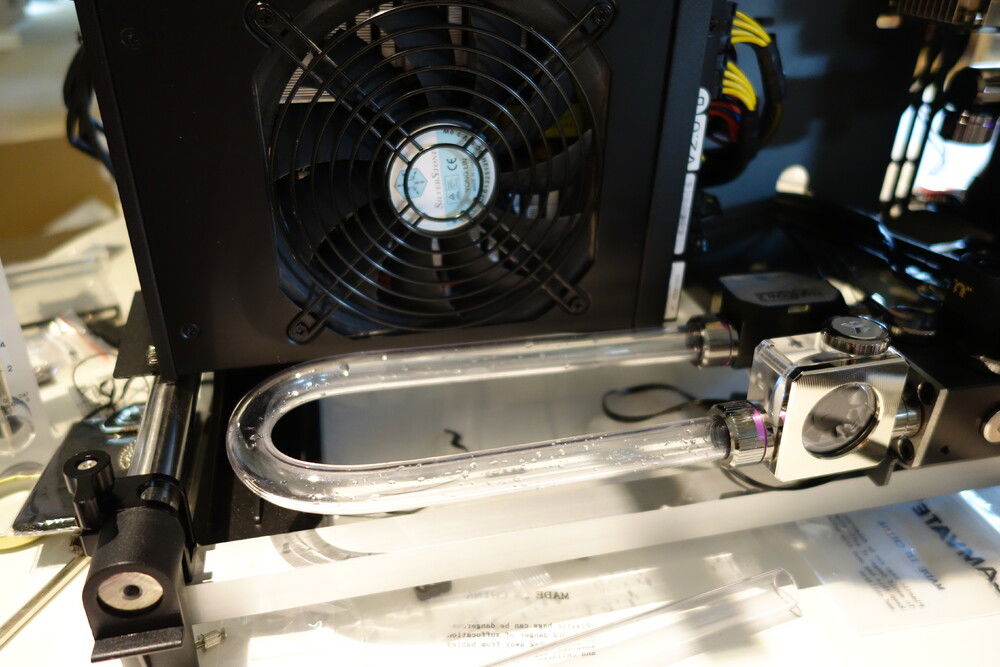
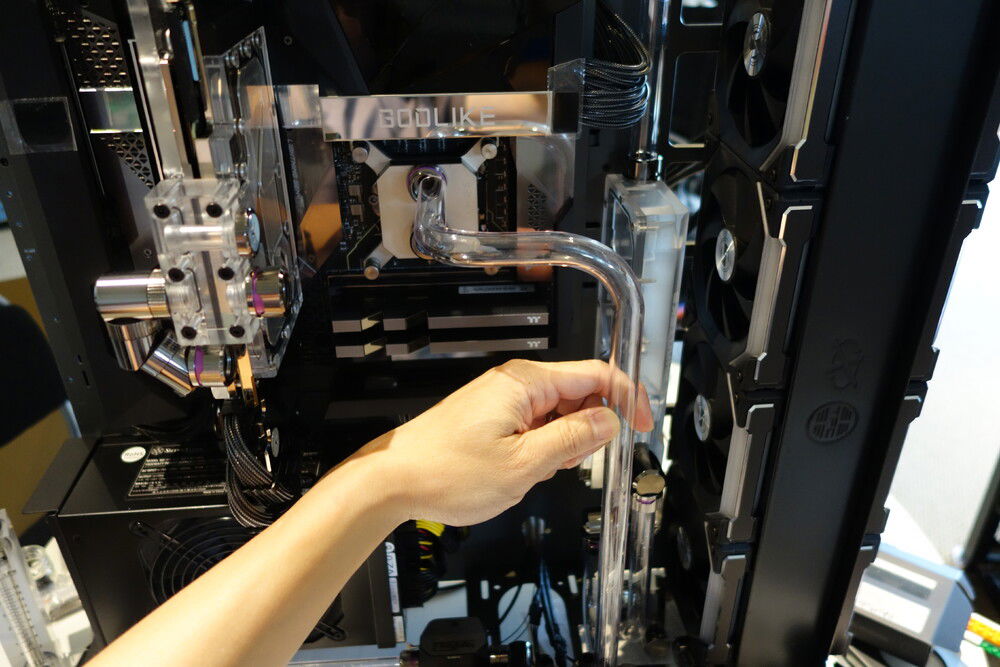
one of the previous iterations had the reservoir/pump mounted here, but mounting would have been crowded and difficult, hanging in mid-air. So instead a nice 180 loop for aesthetics
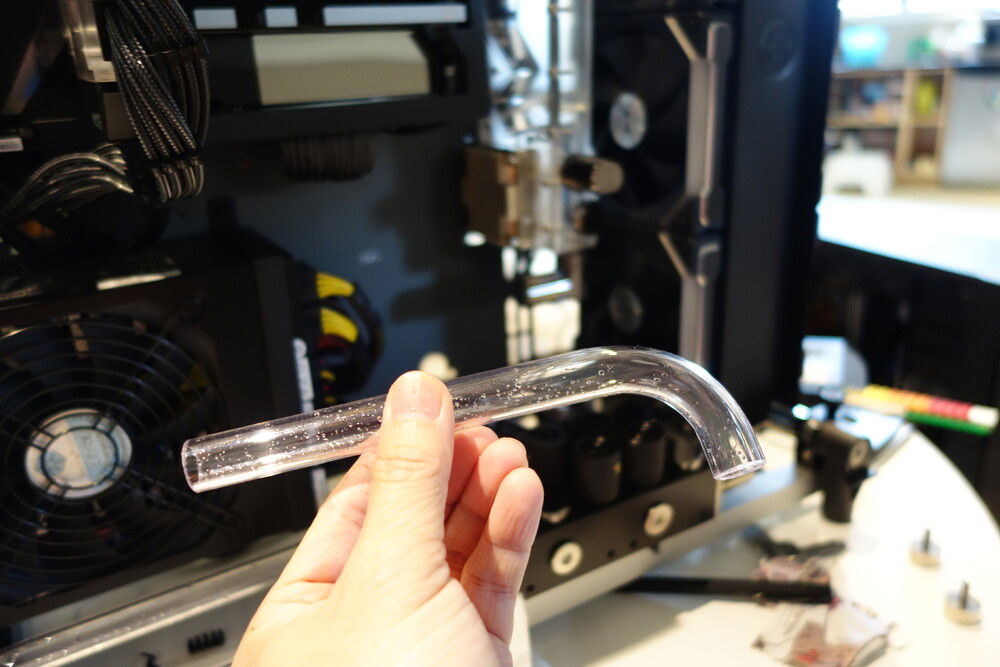
first of two short angles for the reservoir
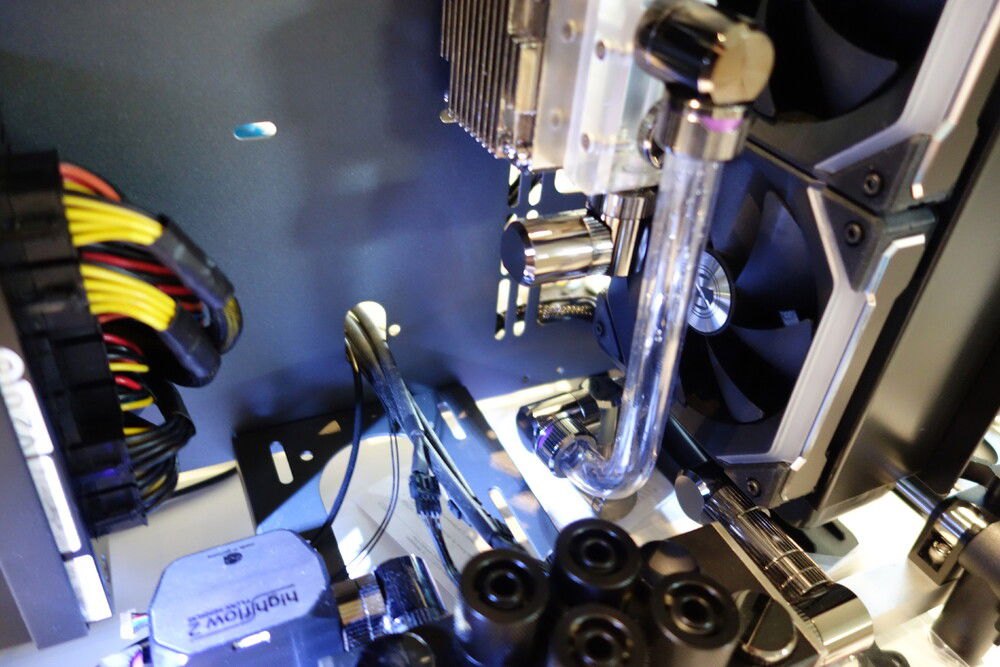
second piece leading to pump inlet
CPU outlet
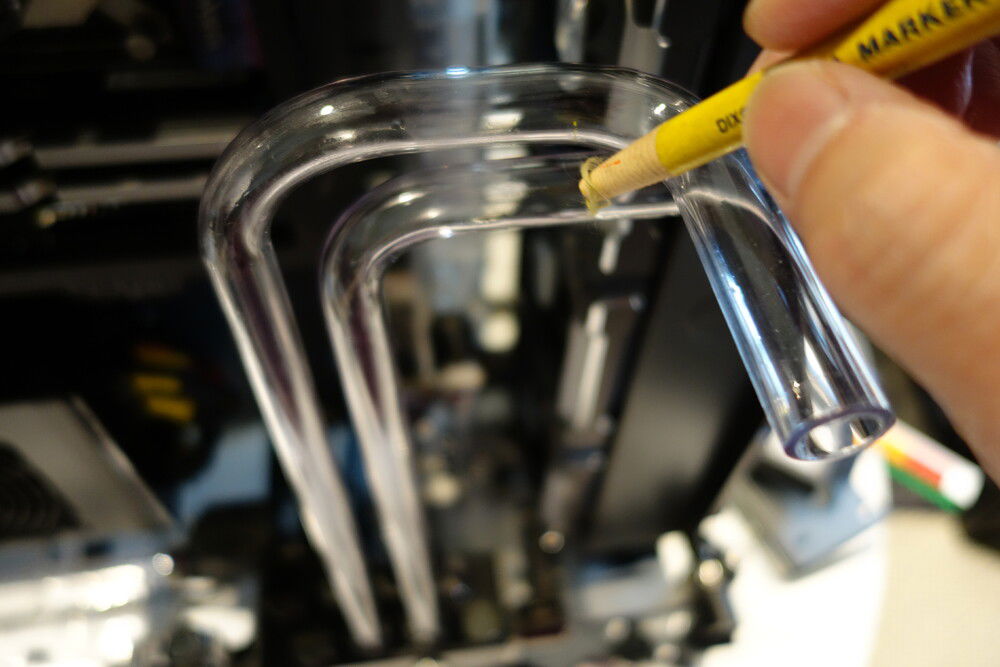
trying to make the CPU inlet run parallel and narrower bend. discovery: yellow wax markers are great and rub off after heating tube
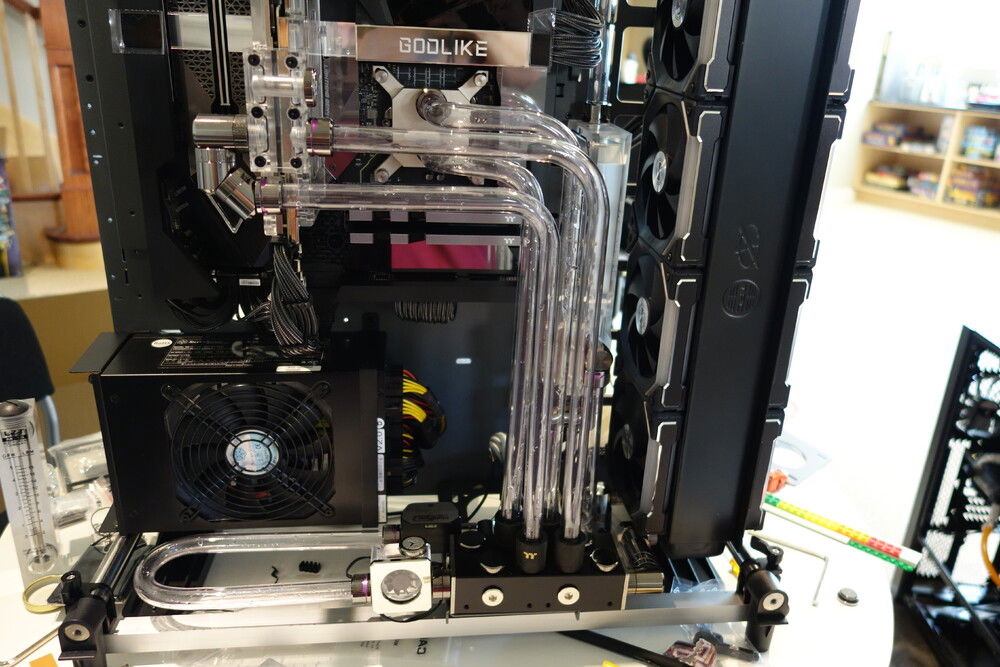
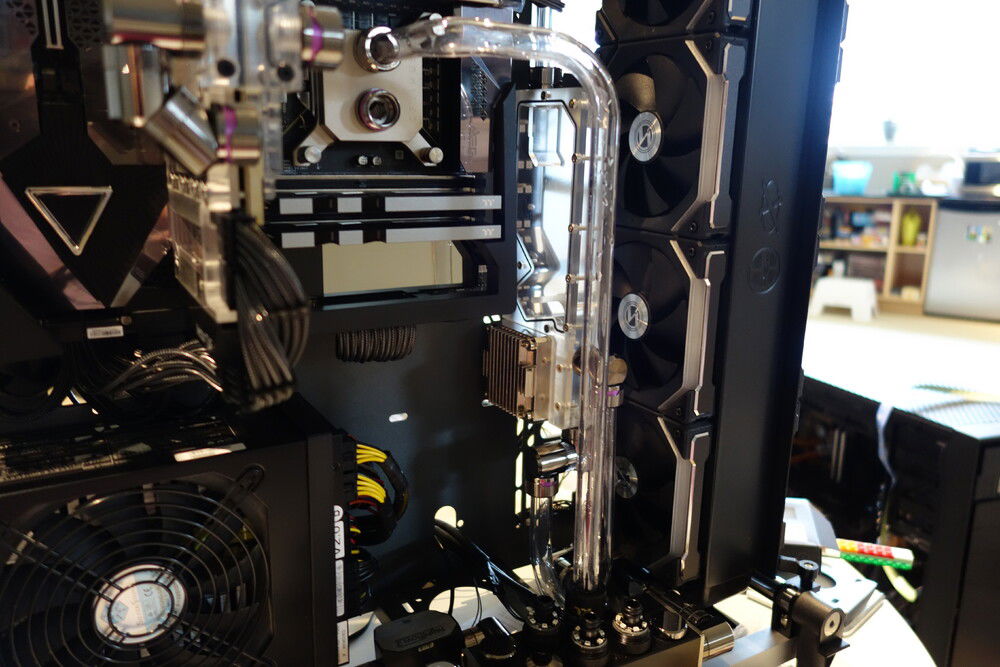
GPU in and out added. About as parallel as i could make the four lines, ok for first time doing hard tubes i suppose, my OCD can only deal with so much
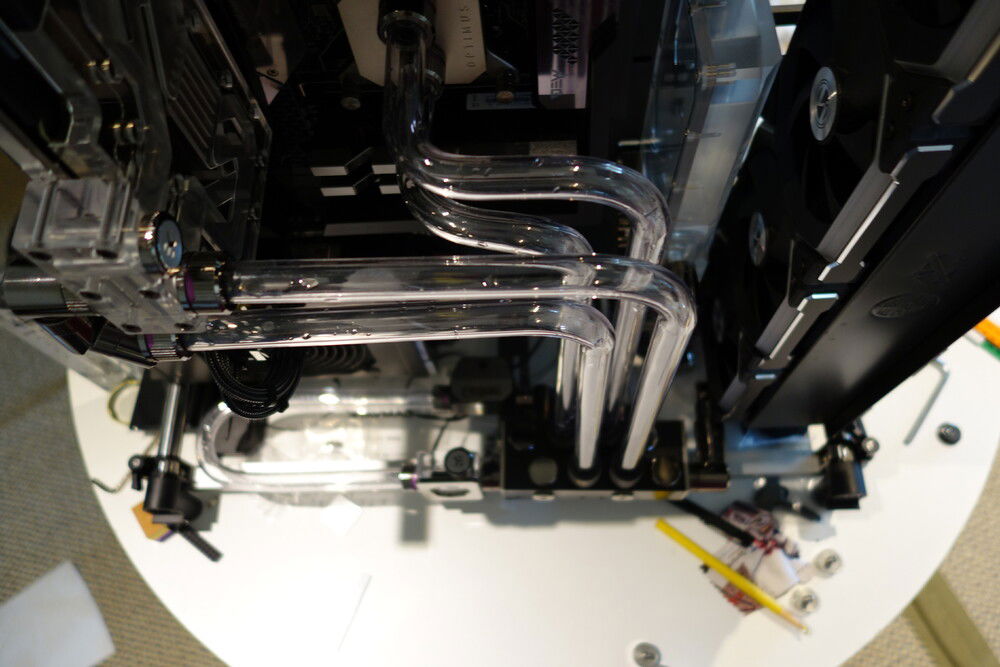
top view
filled with coolant, power up pump... and nothing. After dejectedly wondering if a combo reservoir/pump was a bad idea for maintenance, the pump suddenly starts up after about five minutes and sprays water out the top of the reservoir and the radiator bleeding screw
so much bubbles, leaving it overnight in the horizontal position for the leak testing and bleeding
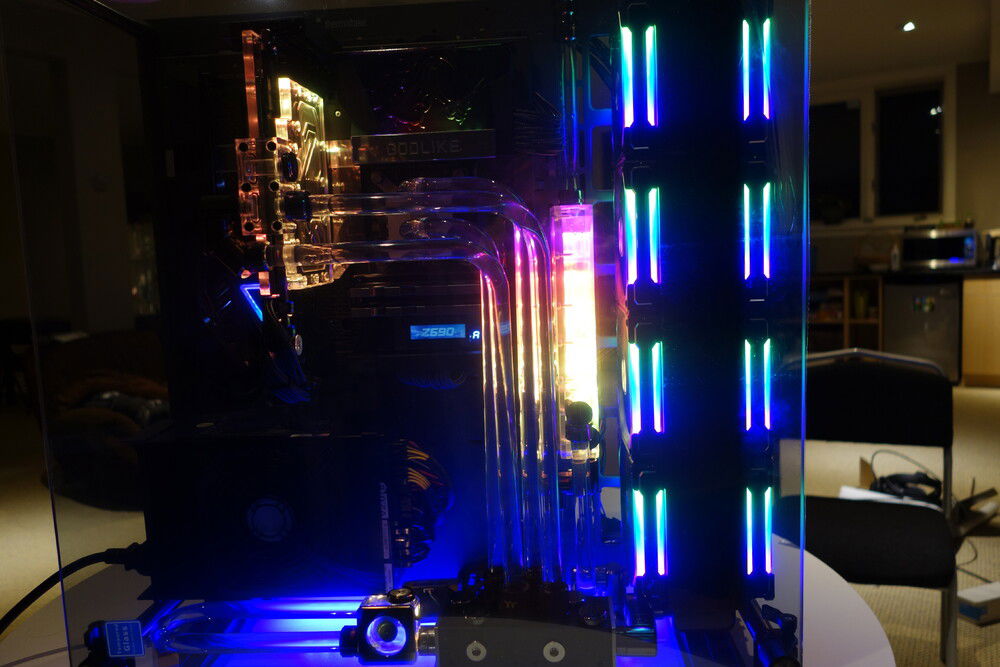
a quick power on to test the lights... and wow. I don't think I missed much by jumping on the RGB wagon so late. What a technicolor mess. Can't wait to customize the colors for something more refined
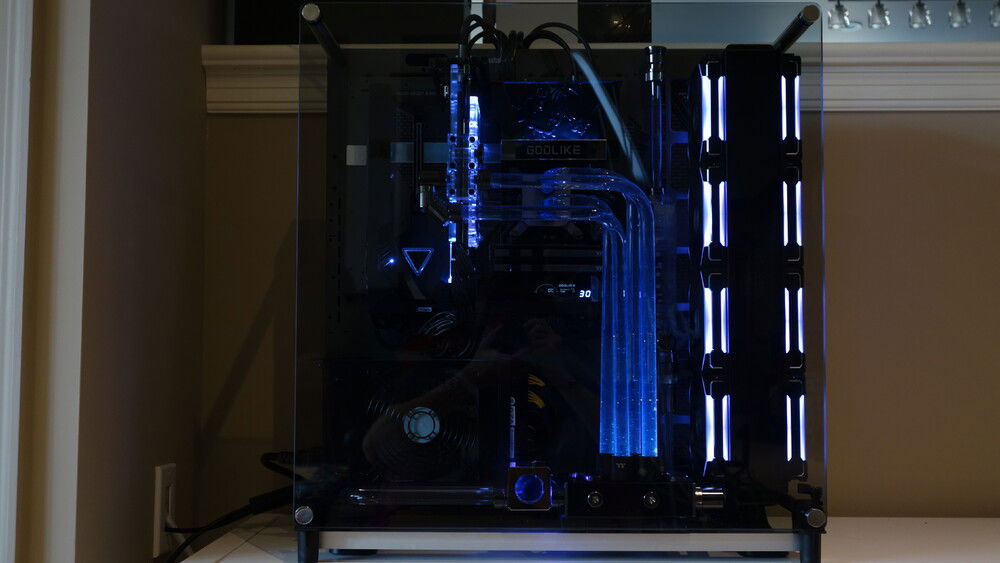
more subtle lighting colour choices. decided against lighting the reservoir, too bright and detracts from the upright tubes
from the very start i had wanted these RGB fittings for a graduated lighting effect that works very well with the clear tubing and distilled water
Finally decided to name the system after Mechagodzilla. I mean, the board is just screaming godzilla...
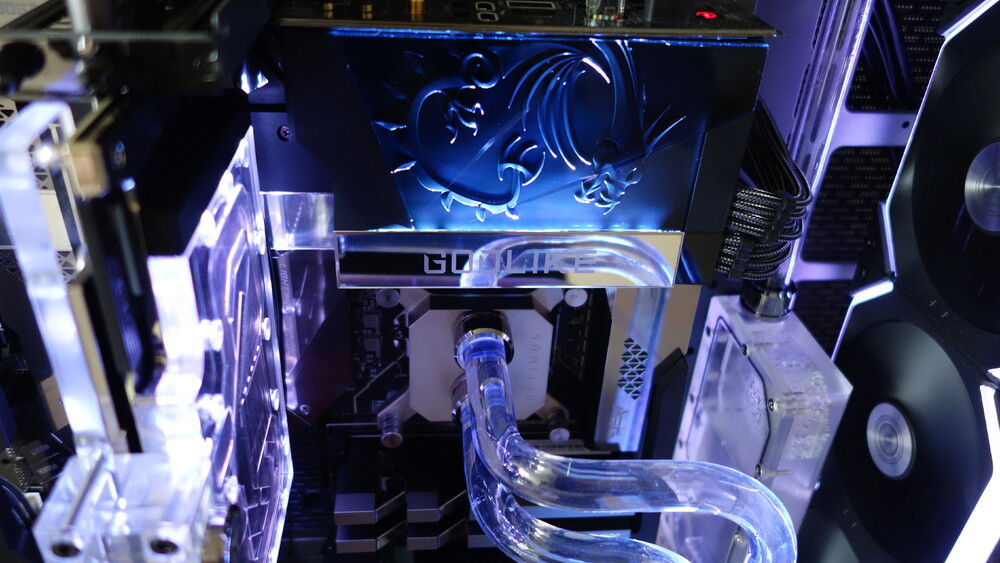
really like the sculpted dragon lit up on the I/O cover

so the my ram choice is not top tier specs, but after looking into the diminishing returns of overclocking memory, I simply chose these because they match the theme of the build nicely, with the triangular cutouts and black/grey/chrome accents
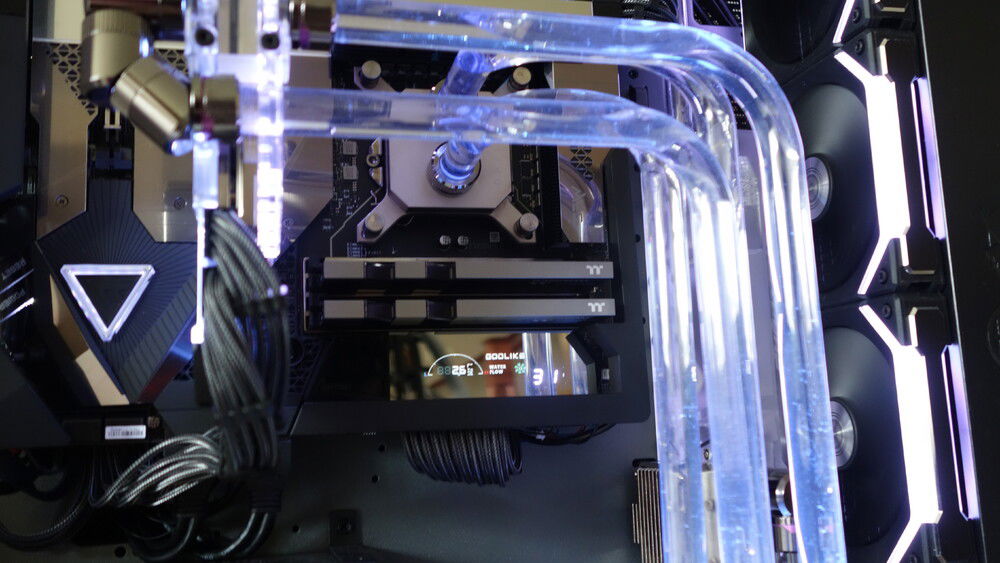
a very pleasant surprise was that the aquacool flow sensor was plug and play into the mobo flow sensor header. 2.6 L/m ~ 0.7 GPM or 156 L/h which seems to be about the right range. except now the temp sensors on the mobo don't seem to work anymore :(
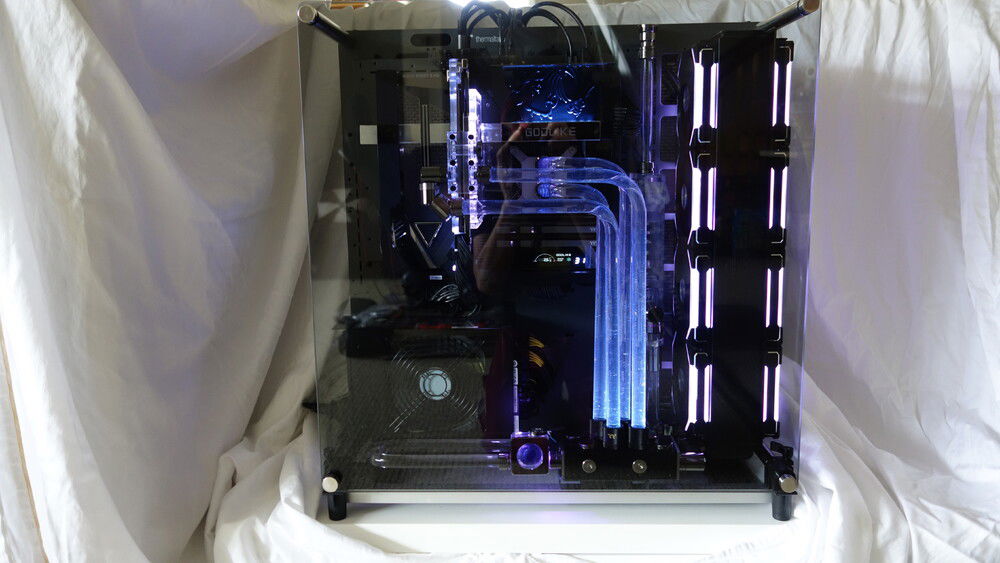
a crappy shot with the glass installed and reflections everywhere. I'm gonna have to learn how to take proper photos next
Mekagojira
AD:
2022-
Mekagojira
MSI Godlike Z590
Intel Core i9-11900K
ASUS TUF Gaming GeForce RTX 3090 OC 24GB
Optimus Signature V2 CPU Block
EK-Quantum Vector TUF RTX 3080/3090 D-RGB - Nickel + Plexi
EK-Quantum Vector TUF RTX 3080/3090 Active Backplate D-RGB - Plexi
Thermaltake Toughram
Thermaltake Core P5 TG Ti
Laing DDC 3.25
Phanteks GLACIER R220C reservoir
EK DDC heatsink
EK flow indicator
TFC X-changer 480 radiator
LIAN LI Uni Fan SL120 x8 push pull
EK-Quantum Torque black nickel fittings
PETG 16mm hard tubing
Aquacomputer Flow sensor high flow Ver.2
Silverstone Strider 1500W
Color(s): Black Chrome Silver
RGB Lighting? Yes
Theme: none
Cooling: Custom Liquid Cooling
Size: E-ATX
Type: General Build
Build Updates
fine tuning
overall design
beat the lottery
Godlike?
Hardware
CPU
$ 435.00
Motherboard
$ 399.99
Memory
$ 240.07
Graphics
$ 2,100.00
Storage
$ 199.99
PSU
$ 345.41
Case
$ 269.09
Case Fan
$ 1,010.56
Cooling
$ 56.00
Cooling
$ 36.96
Cooling
$ 59.99
Cooling
$ 310.00
Cooling
$ 183.99
Cooling
$ 179.00
Cooling
$ 39.99
Cooling
$ 177.00
Monitor
Estimated total value of this build:
$ 6,142.32
Approved by: