[TJ11] Monolith
Hey there! :)
First of all, everything you see is Work-In-Progress. I propably should have put a "WIP" in the name now that I think of it. :D
So, what's this thing about you may ask. Let me tell you how I came up to this point... ;)
I remember when I saw the Silverstone Temjin 11 being shown to the world for the first time like it was yesterday. I was instantly fascinated by this beautiful case but just couldn't afford it. So I bit in my lip and went ahead with a FT02, which too is a very cool case and got me hooked on it's odd formfactor. Back in 2011 I also got my first "real" PC with a 2500k and a GTX570. This system lasted me up to the point when AMD released Ryzen, so I had a good while to save up some money. :)
After the 570 I eventually went for a 780 and after this one I got my 980Ti nearly two years ago. The FT02 was still going strong and I often played with the thought of modding it. You need to know that I always had Air-Cooling and was just waiting for my chance to switch over to liquid cooling. I even had layed out pretty detailed plans on how to set the FT02 under water and also found a lot of great mods which inspired me to do so.
But then something magical happened. During my big break in '17 I came home from my summer job and found a guy who was selling a TJ11 whilst browsing the internet randomly. It was an instant buy, he sold it for less than half the market price because he did some work on it but that didn't bother me. At this point I knew that I needed to start my dream build, so over the next following year I saved as much money as I could and bought pretty much everything needed for this mod. Radiators, reservoirs, the pump, etc...
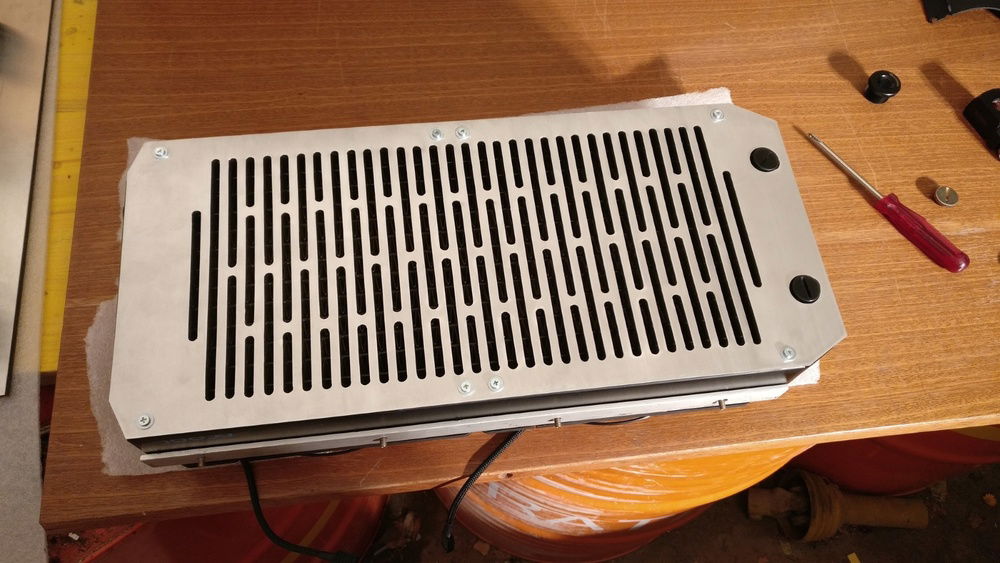
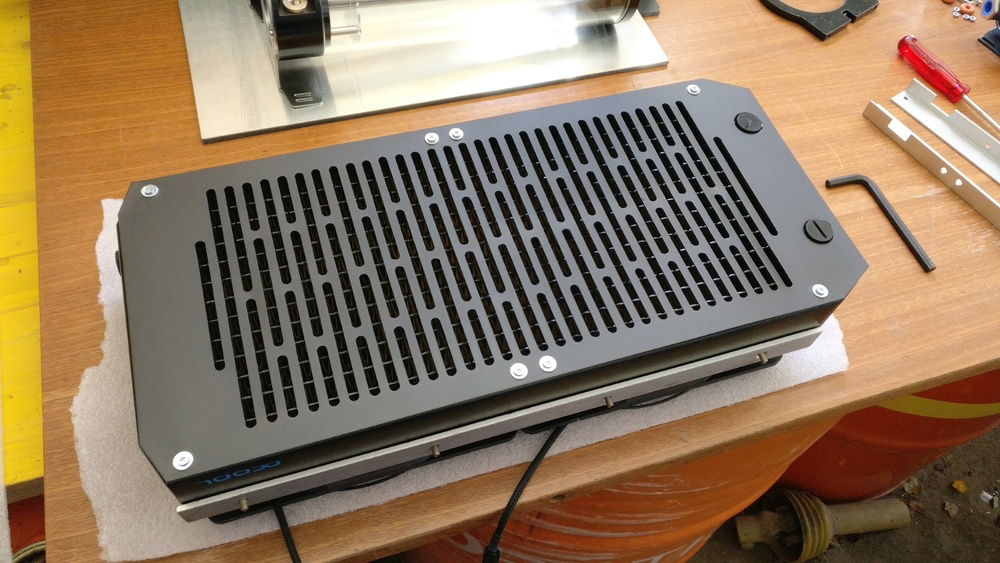
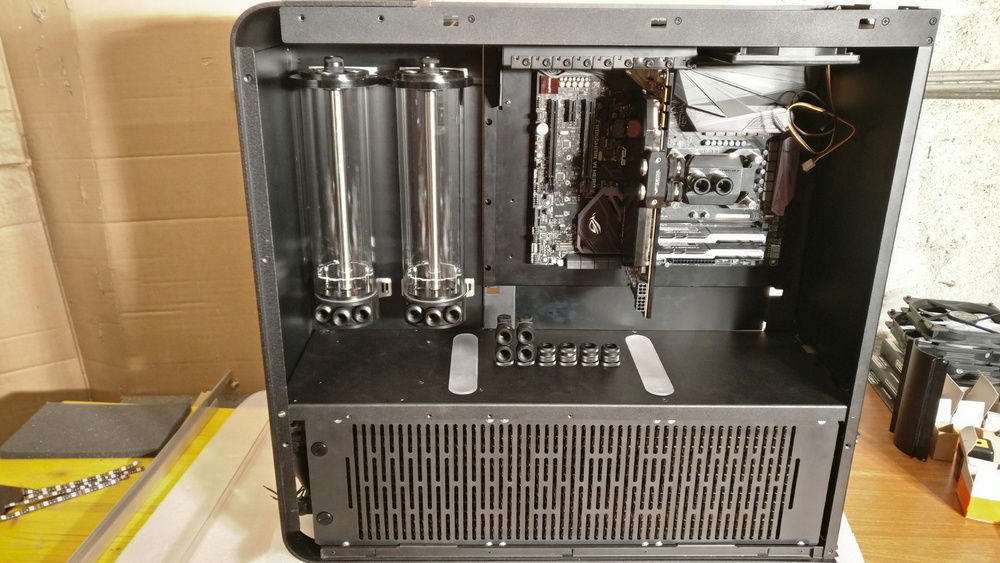
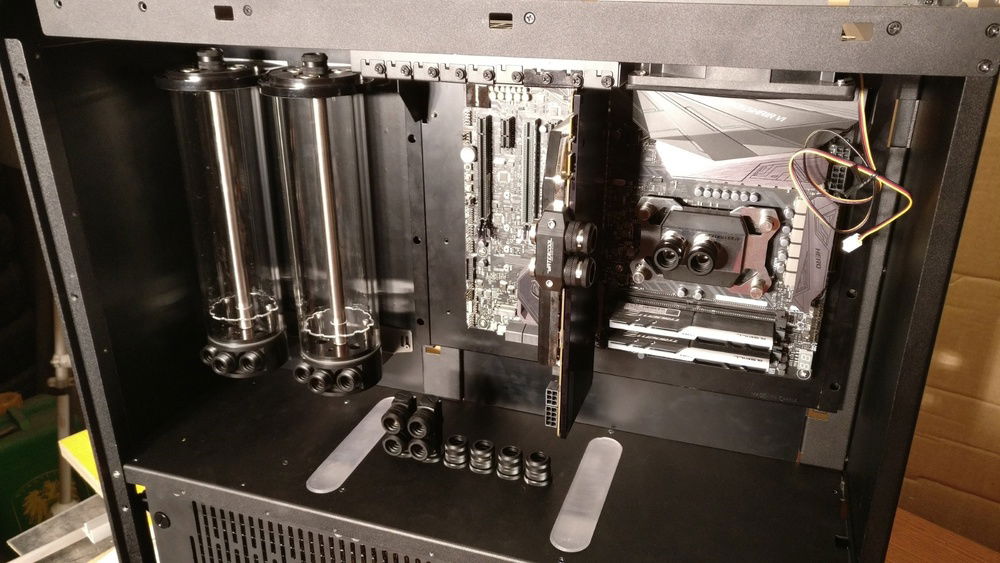
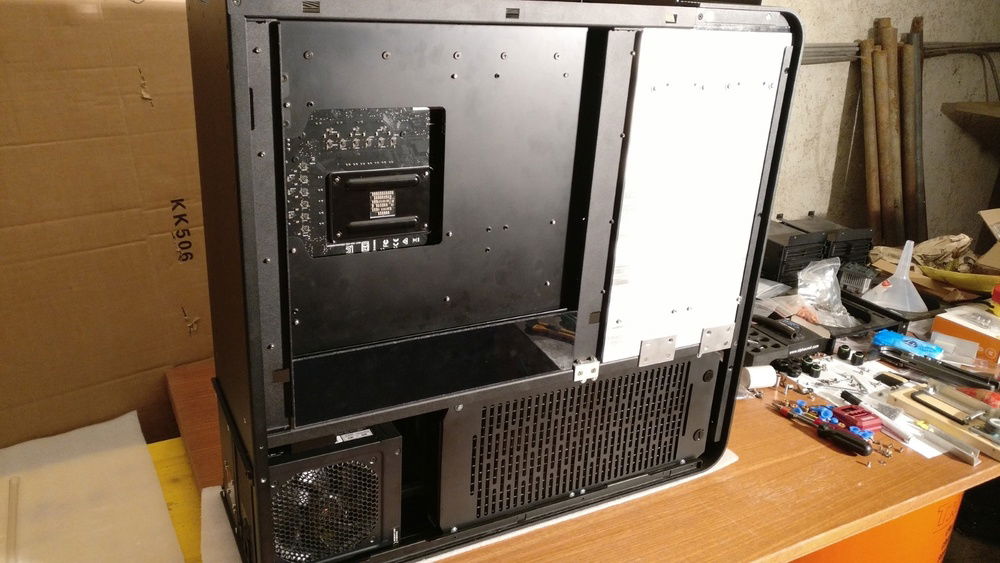
When my summer holidays in 2018 finally started I went into my garage and nearly three months later everything you see in these pictures was made. Sadly I wasn't able to finalize this build as I ran out of time and money. So I hope, that I can finish it up in my next summer holidays. :)
Ah, I still didn't tell you what exactly happened, listen up:
As I stated I always had aircooling. Especially the GPU wasn't very silent, so I really had a wish for a system that didn't sound like a jet taking off whilst gaming.
With that in mind, I went a bit overkill and thought to myself: If I start doing something, then it better should be oversized and time-consuming.
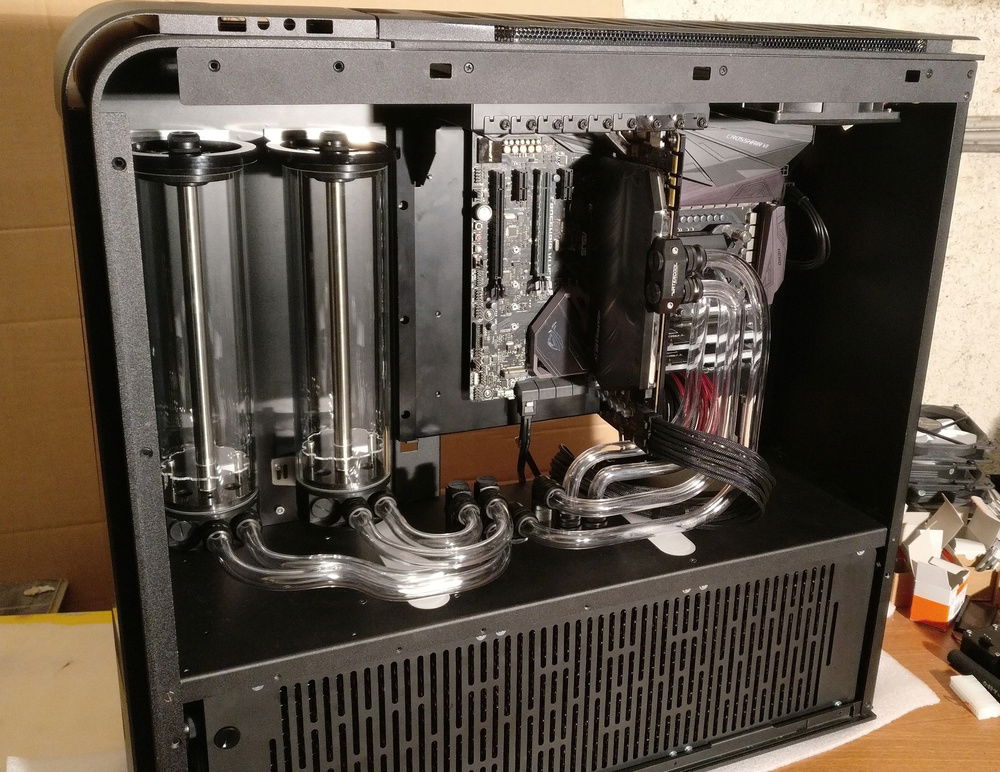
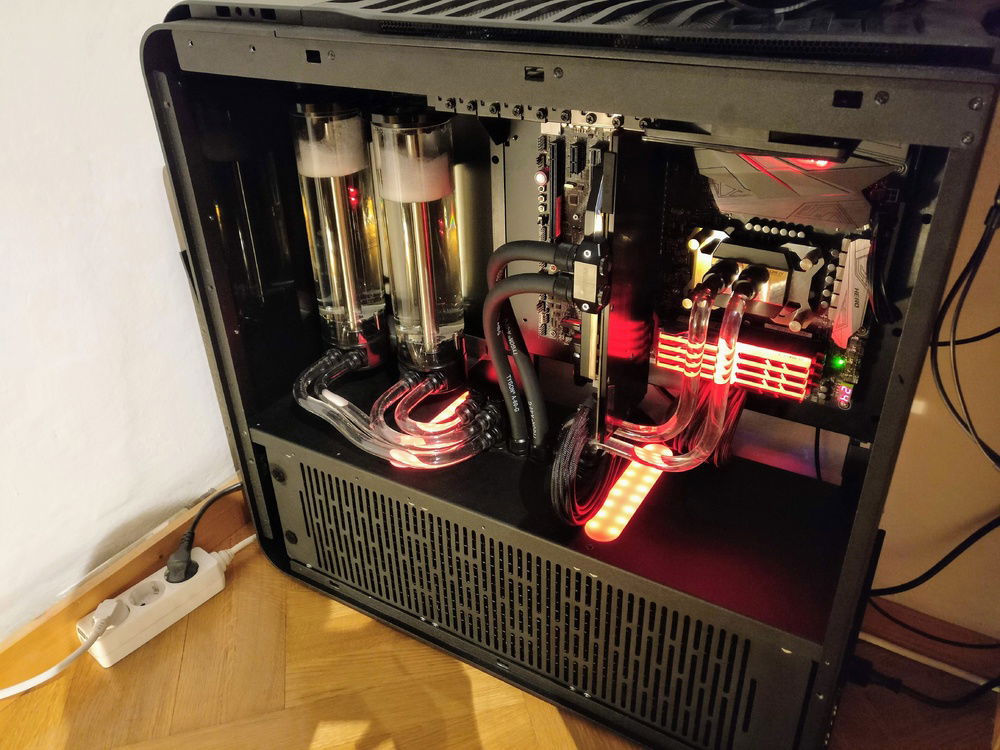
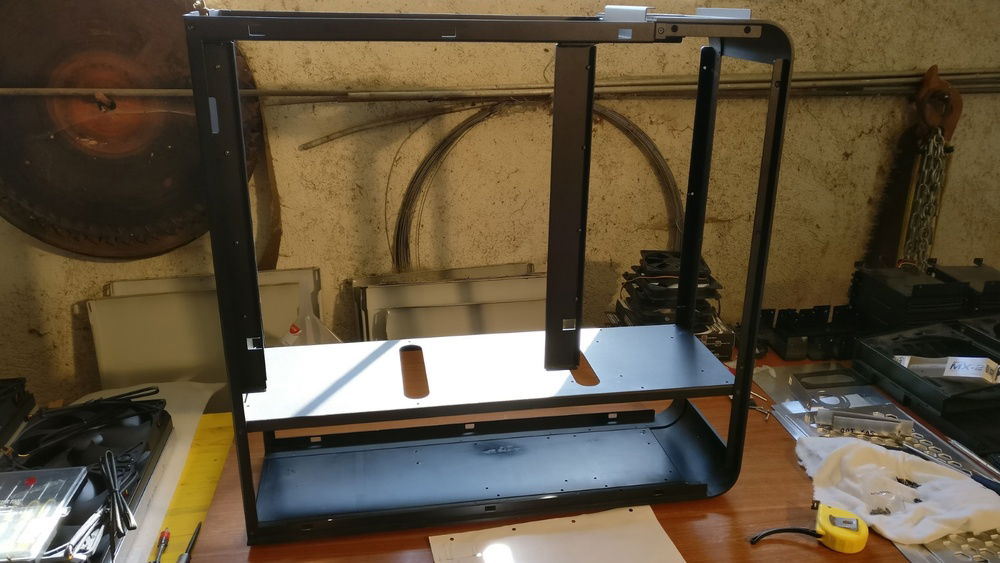
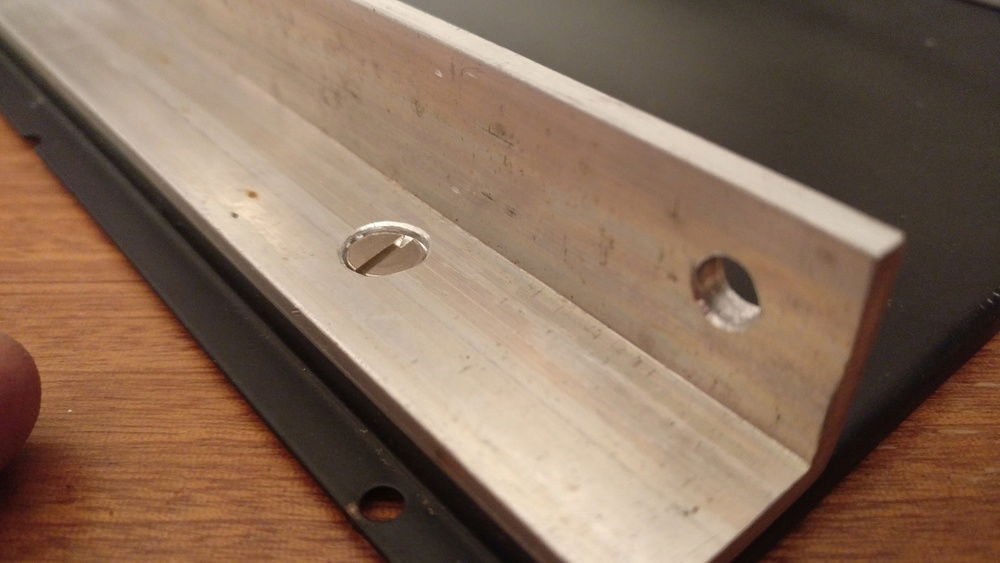
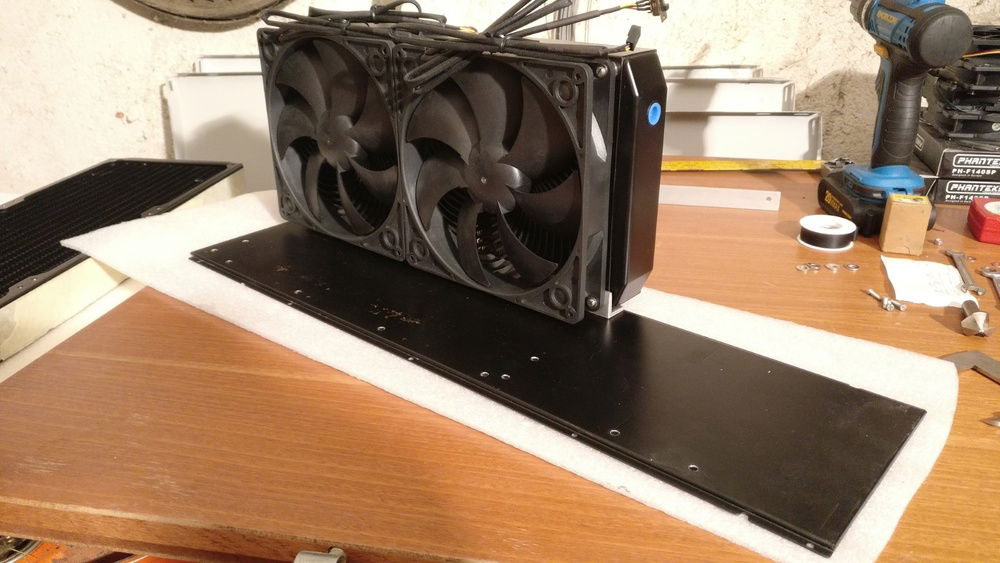
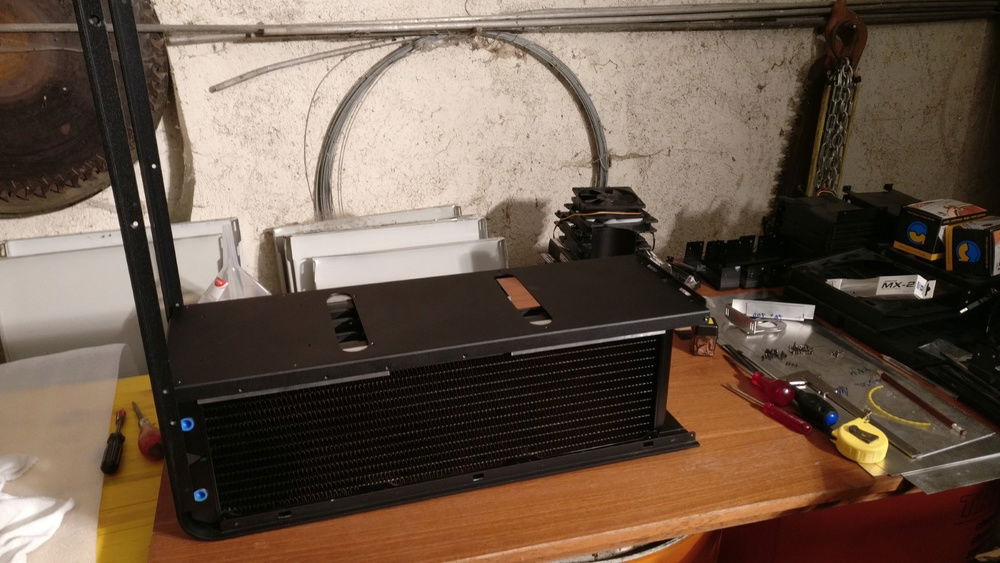
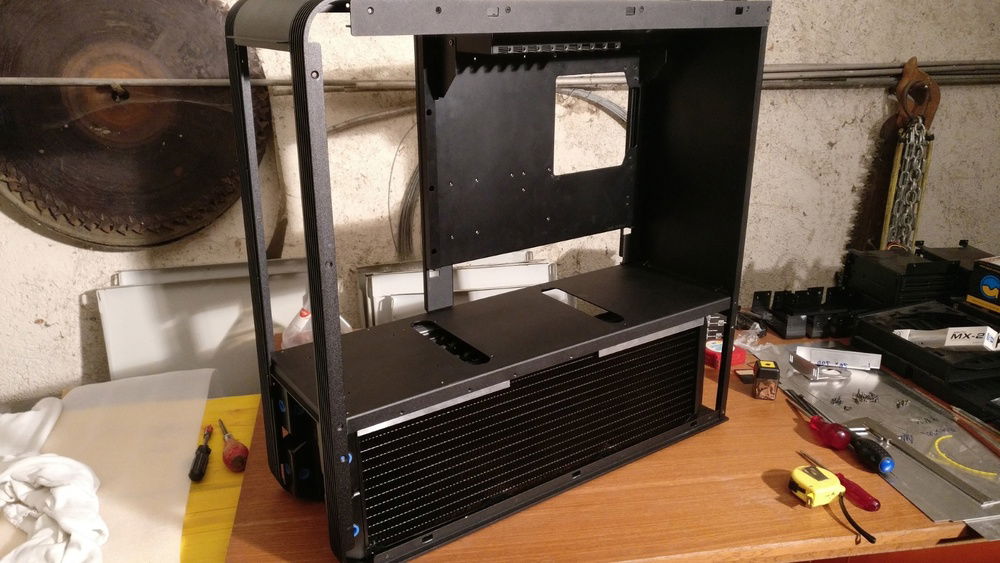
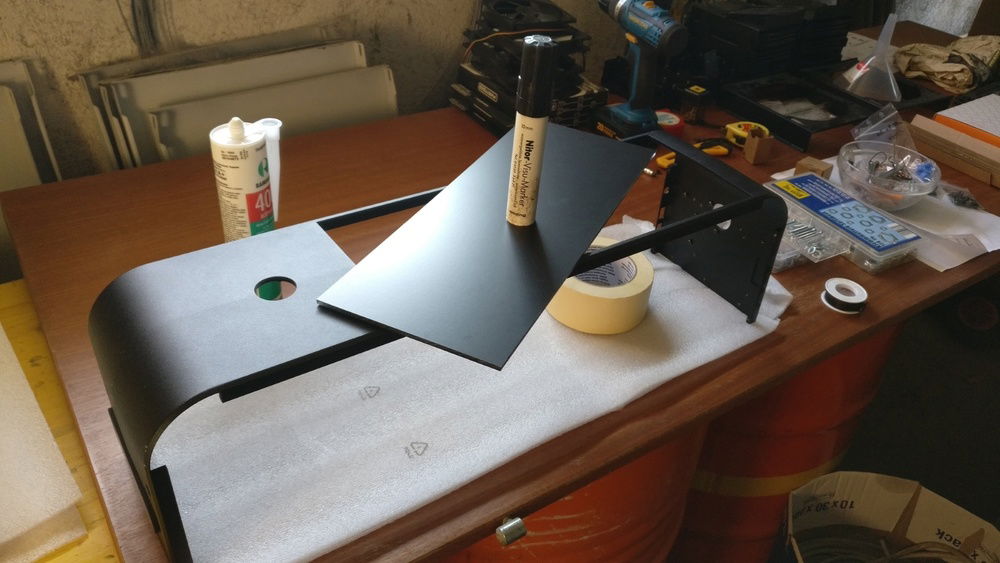
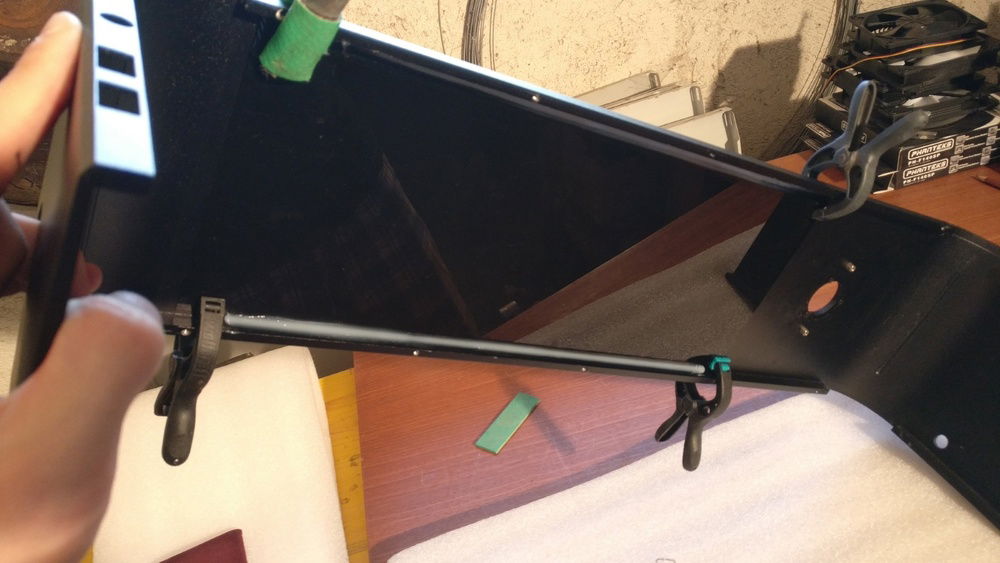
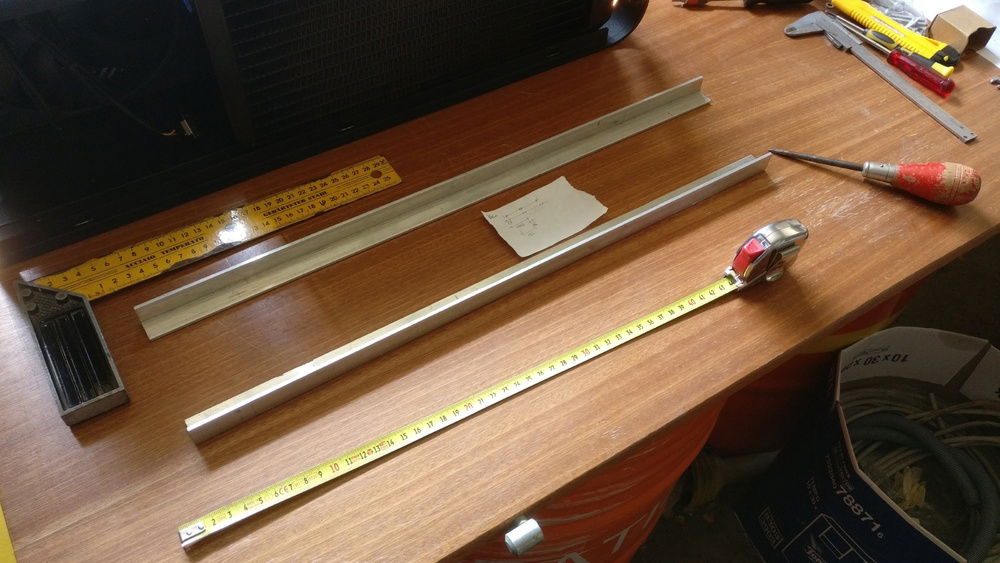
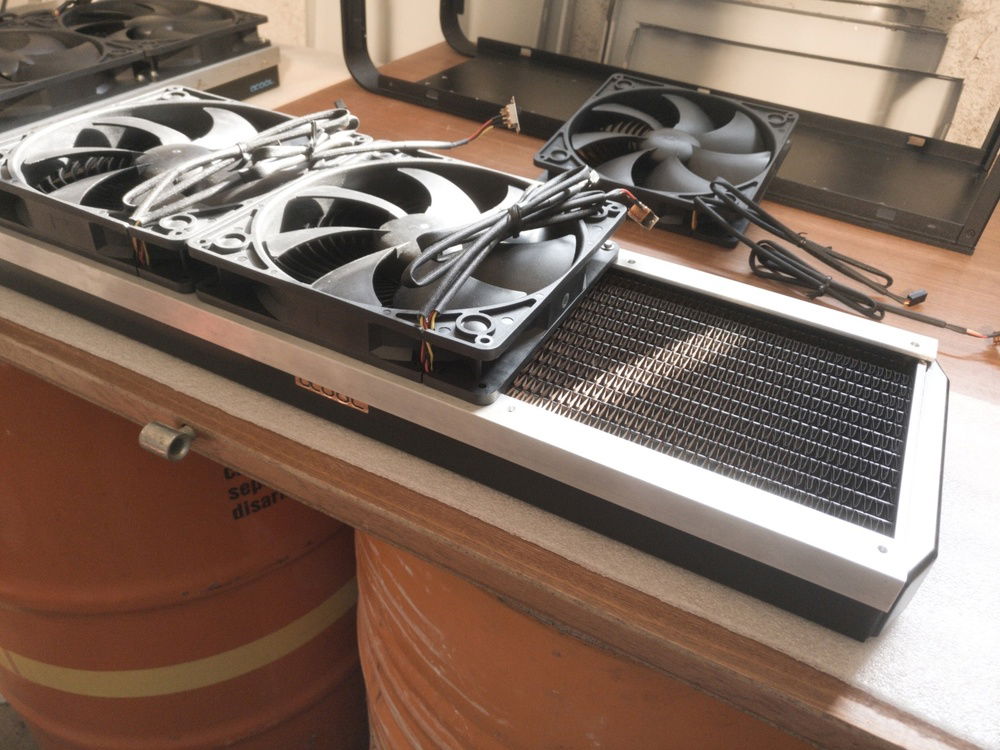
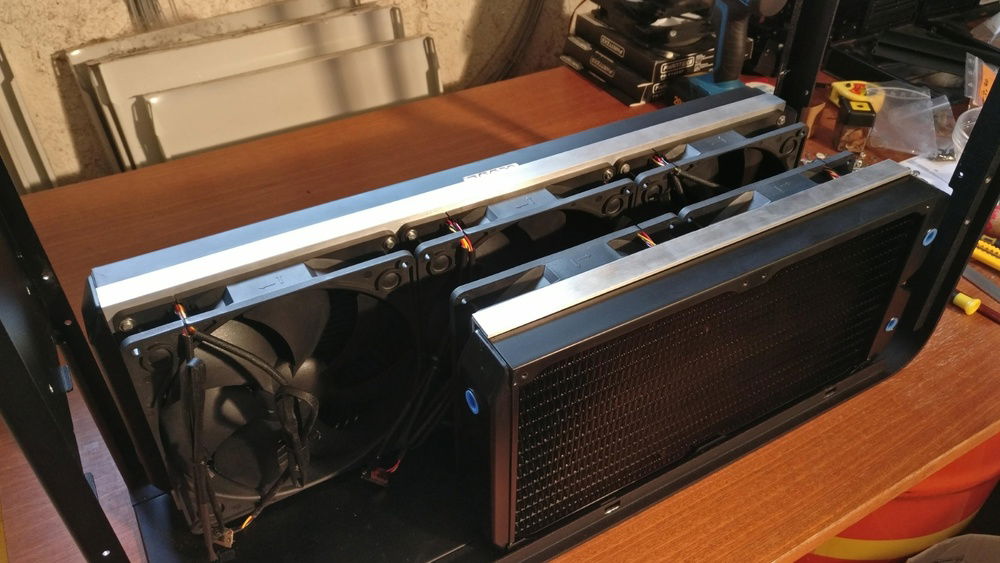
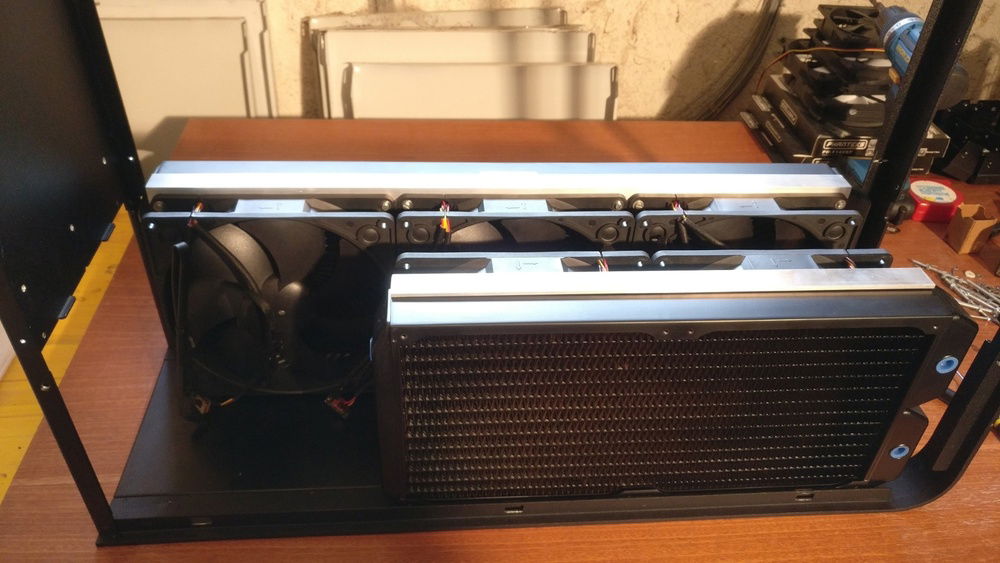
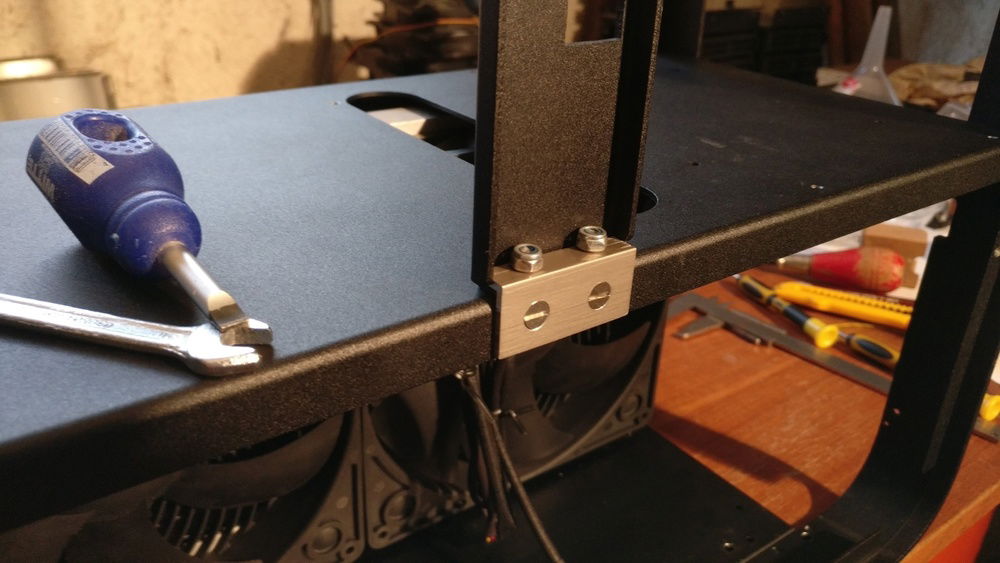
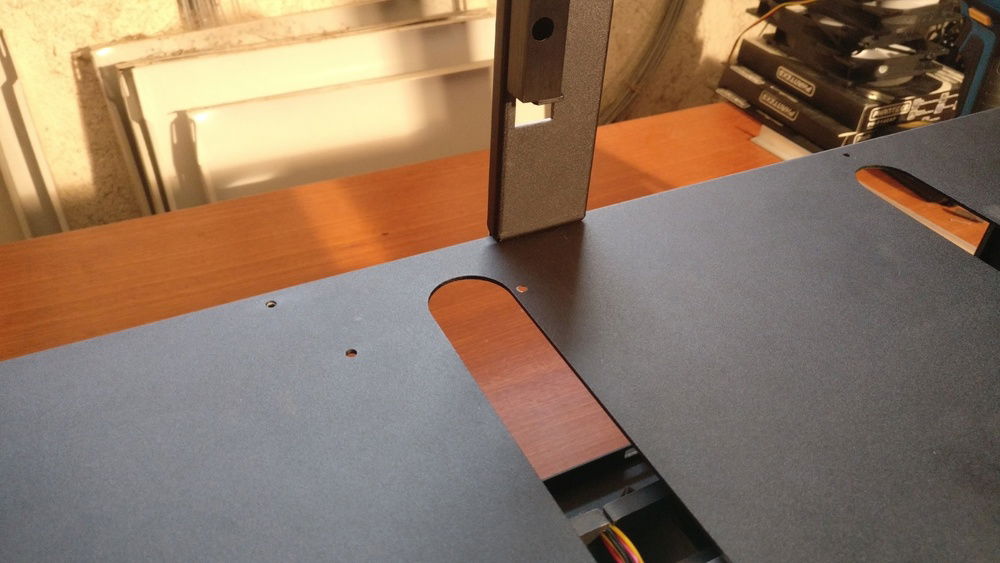
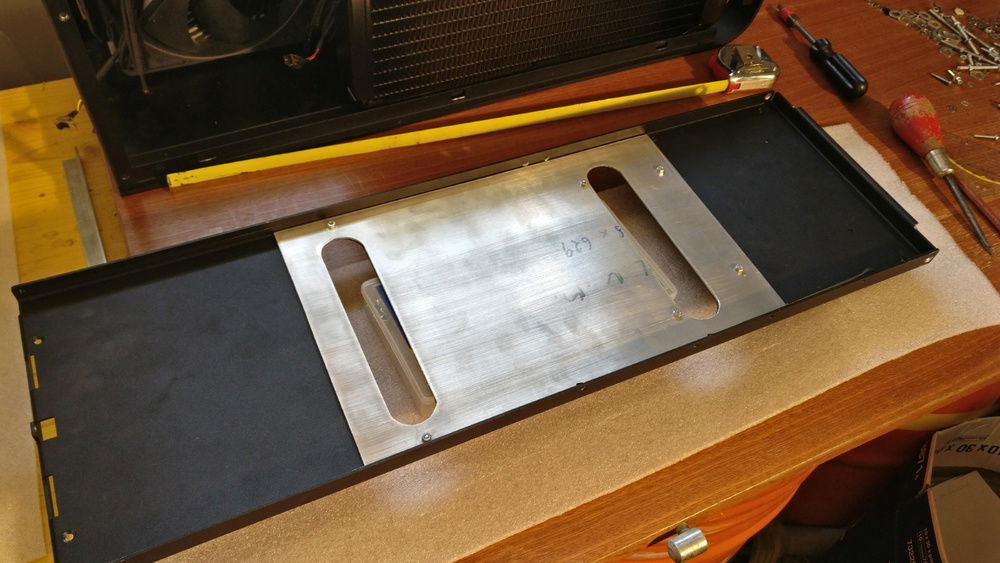
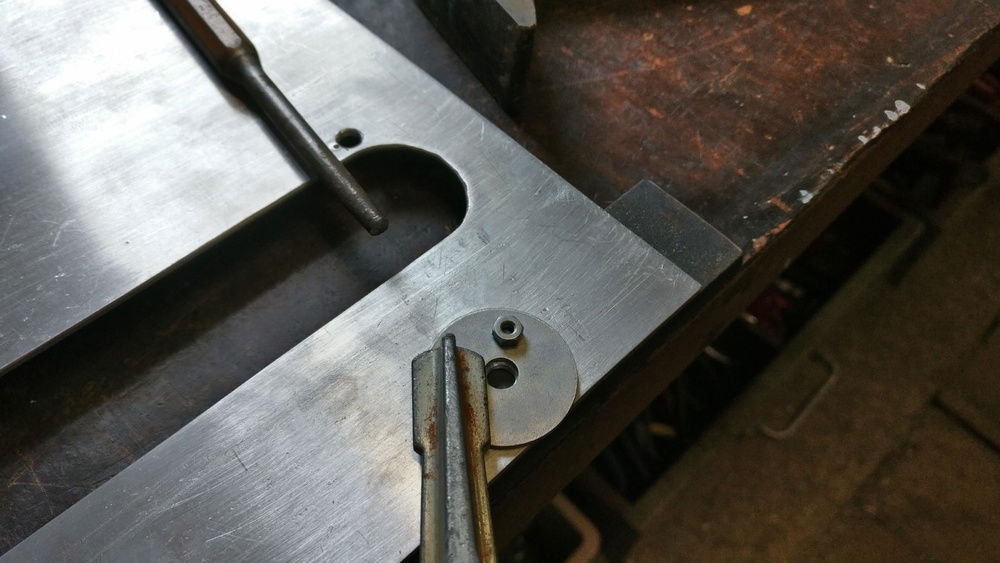
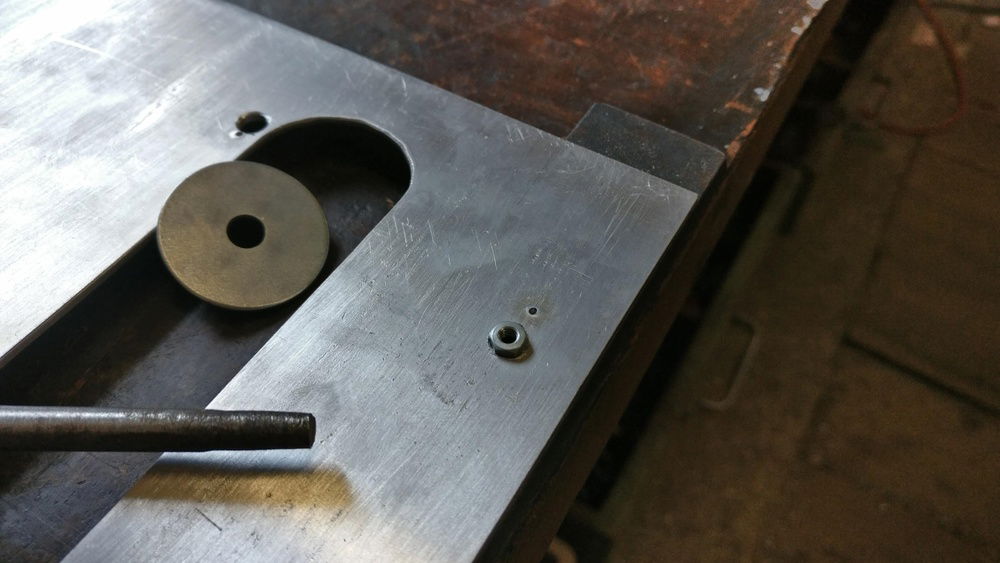
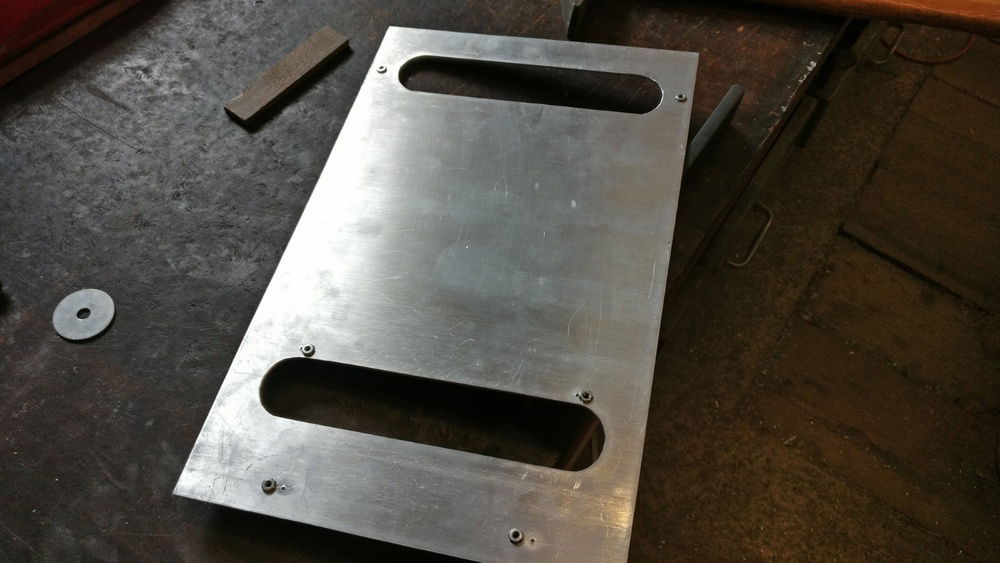
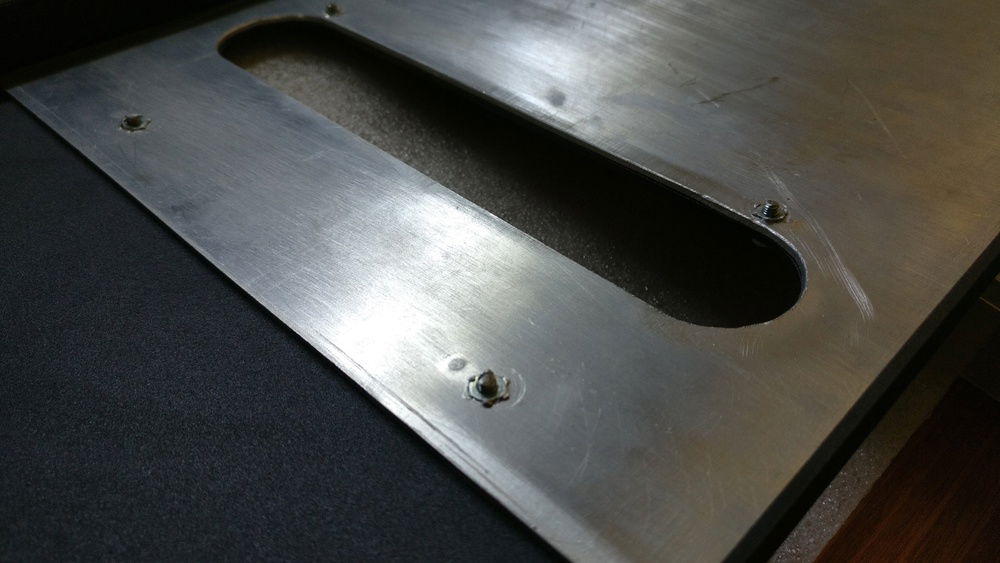
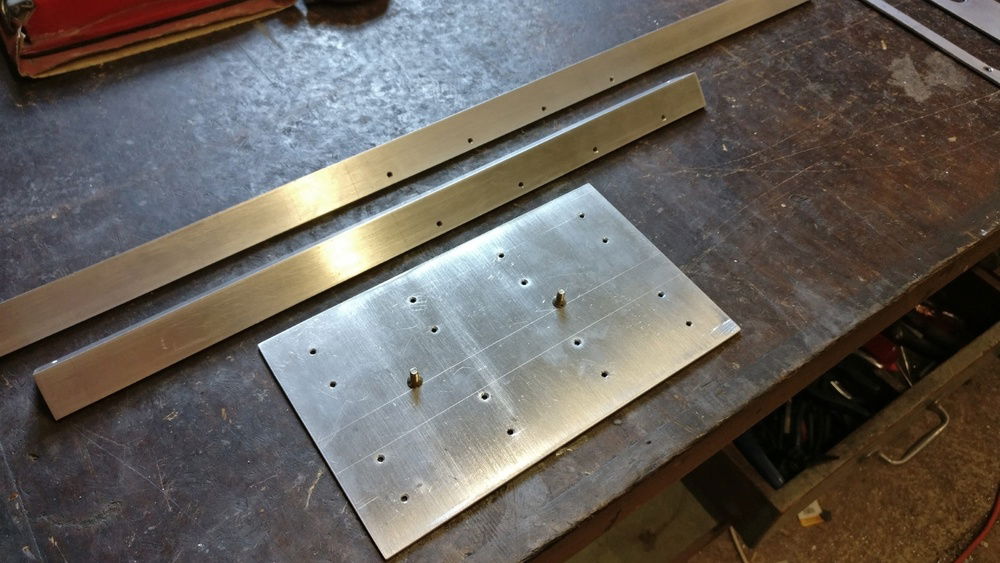
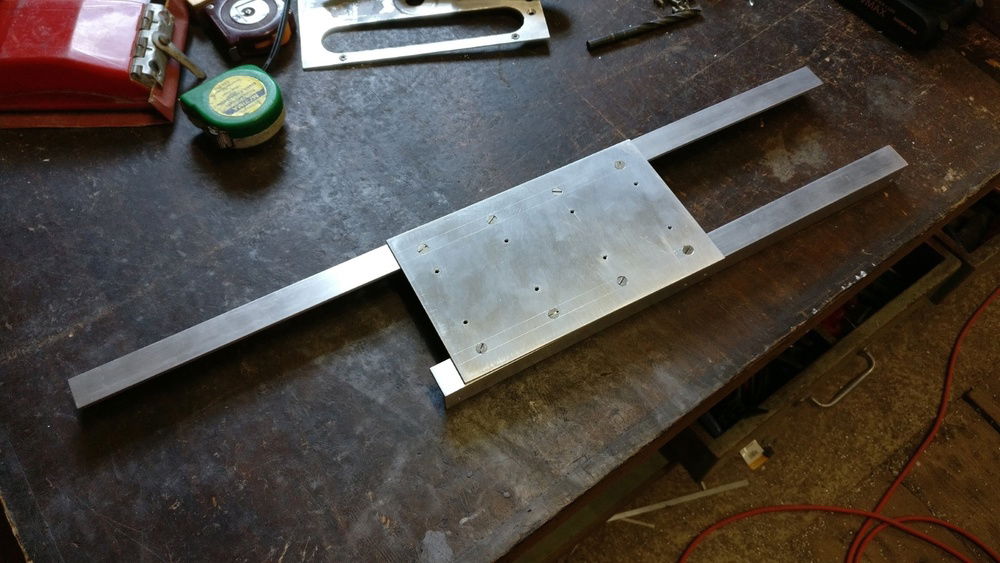
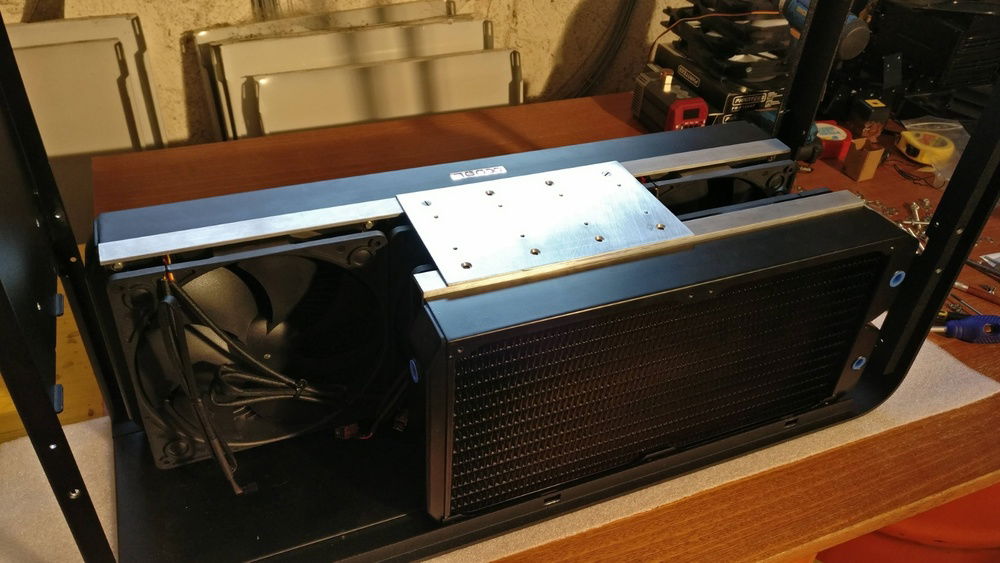
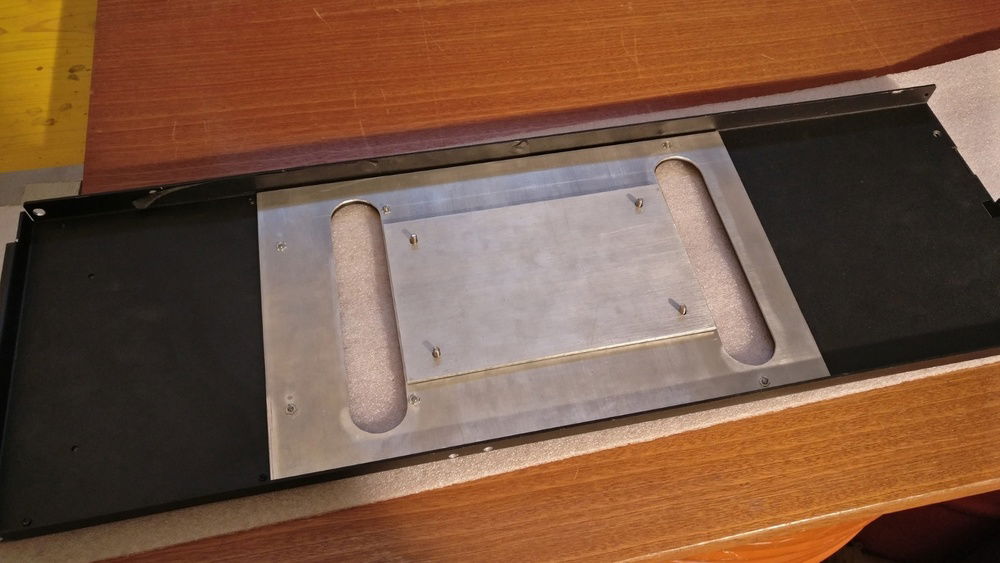
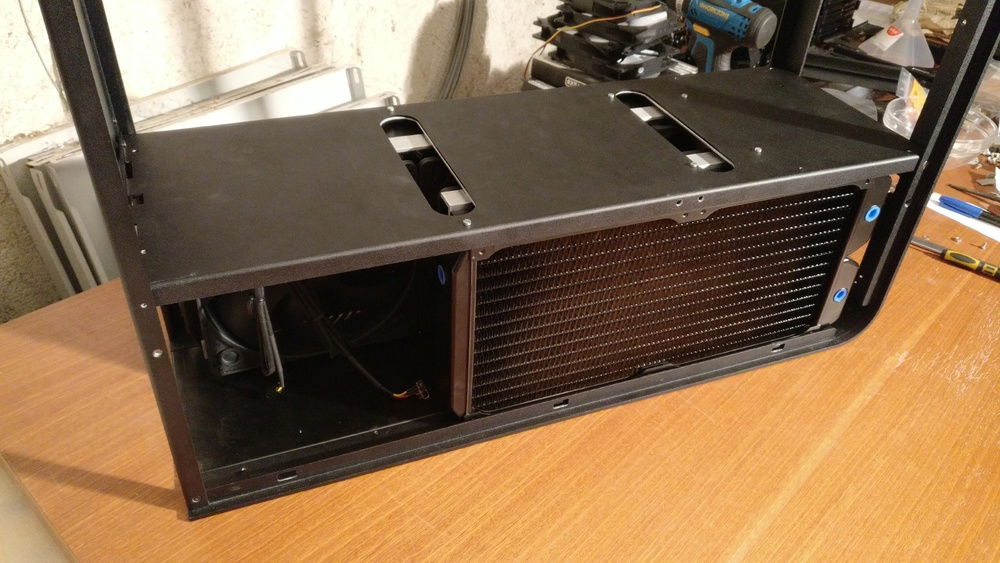
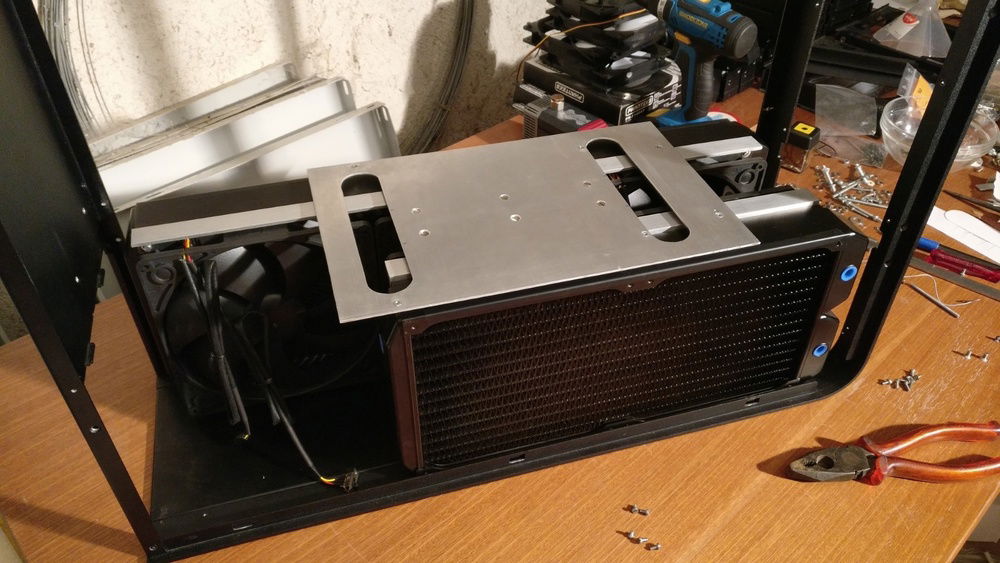
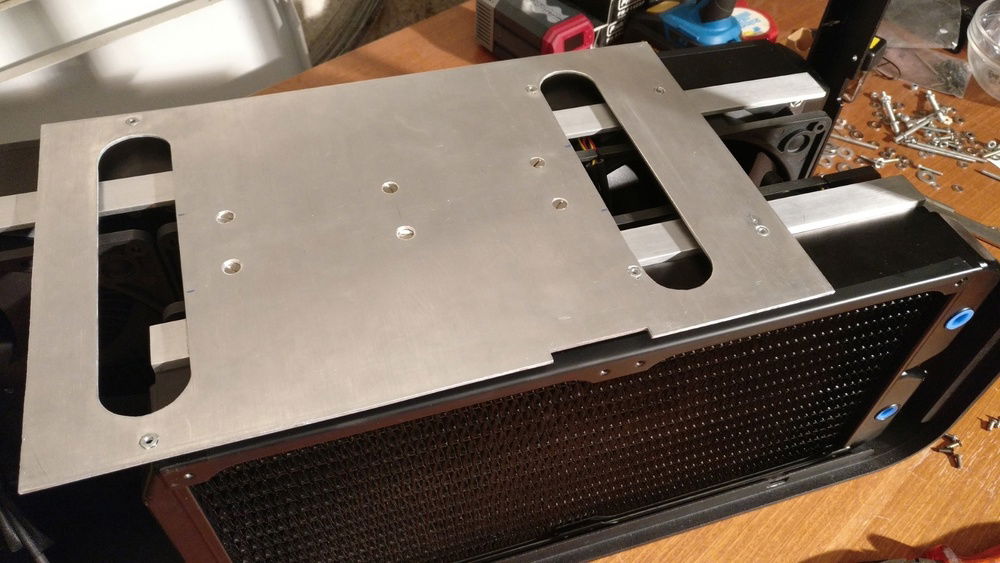
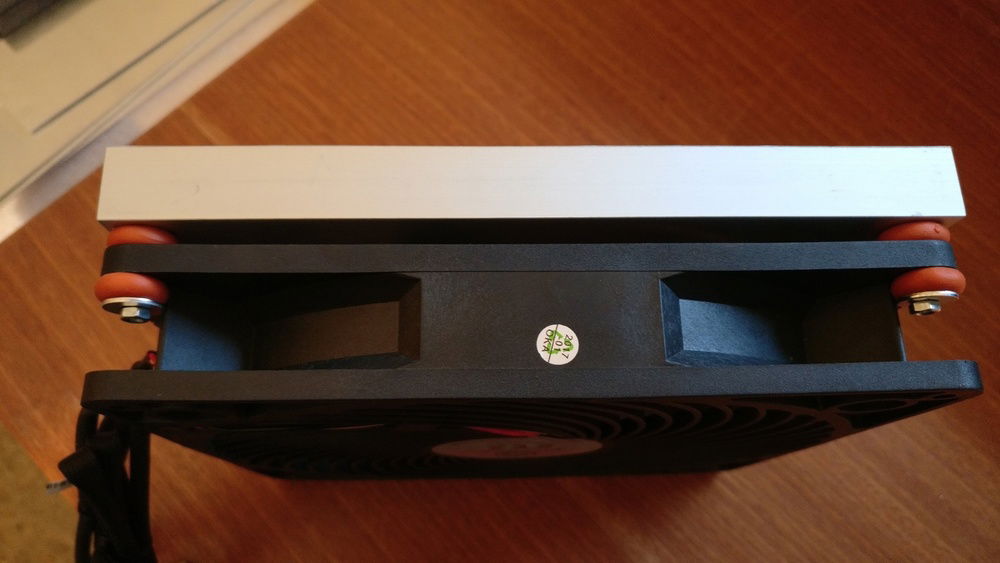
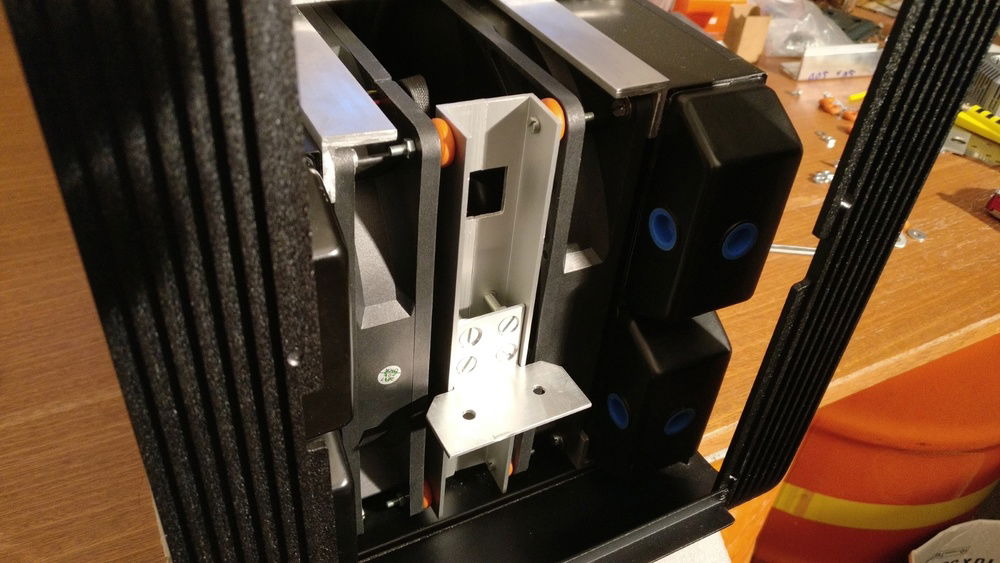
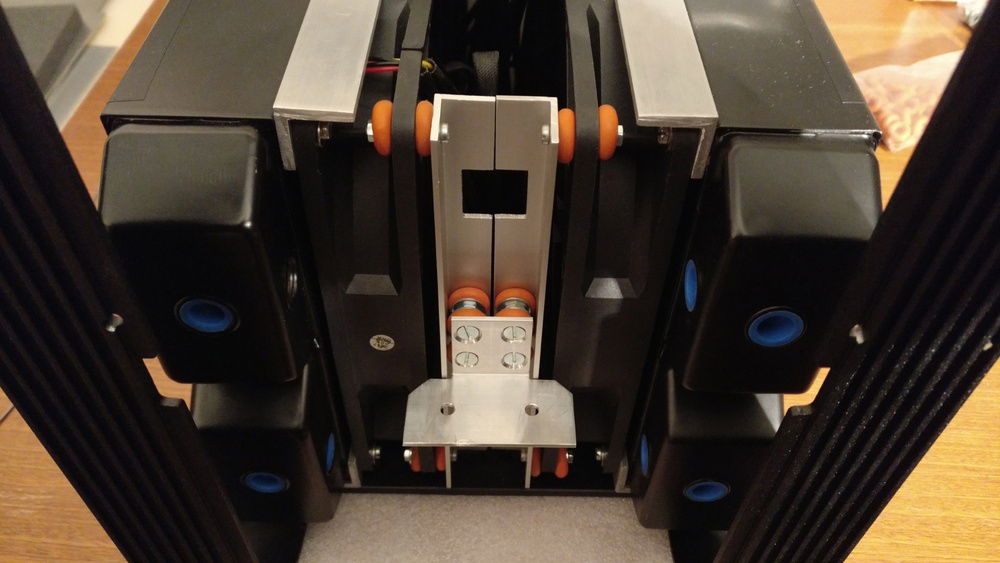
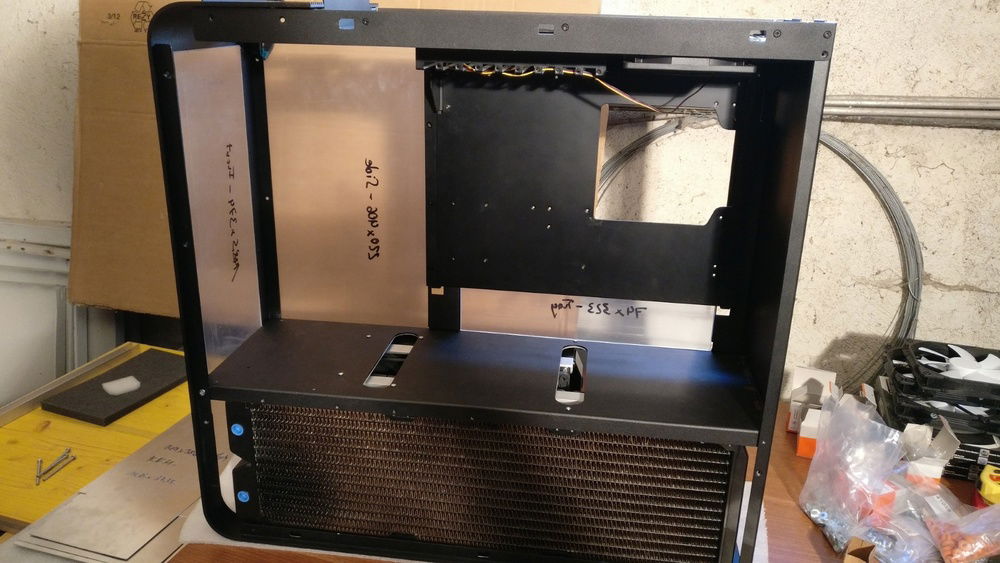
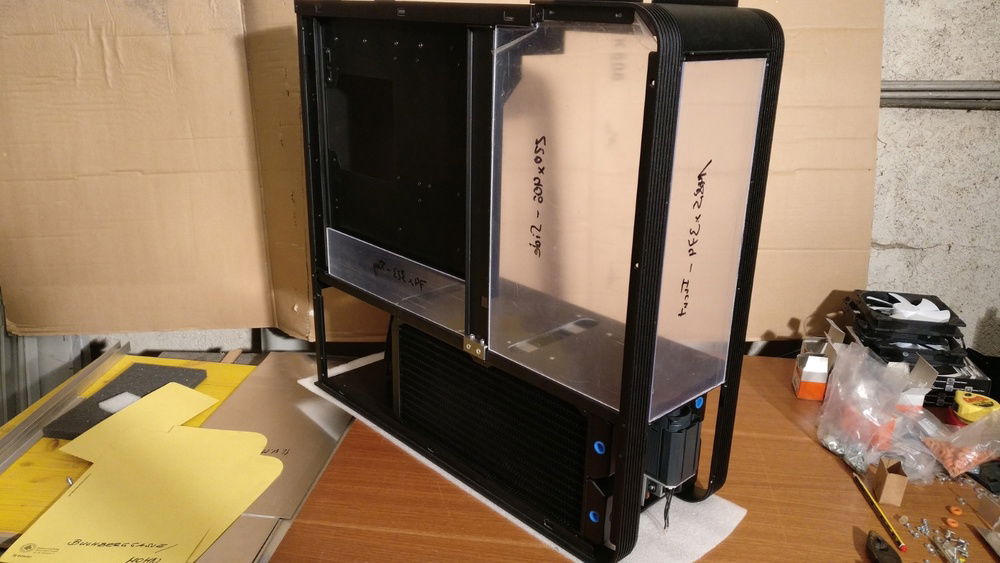
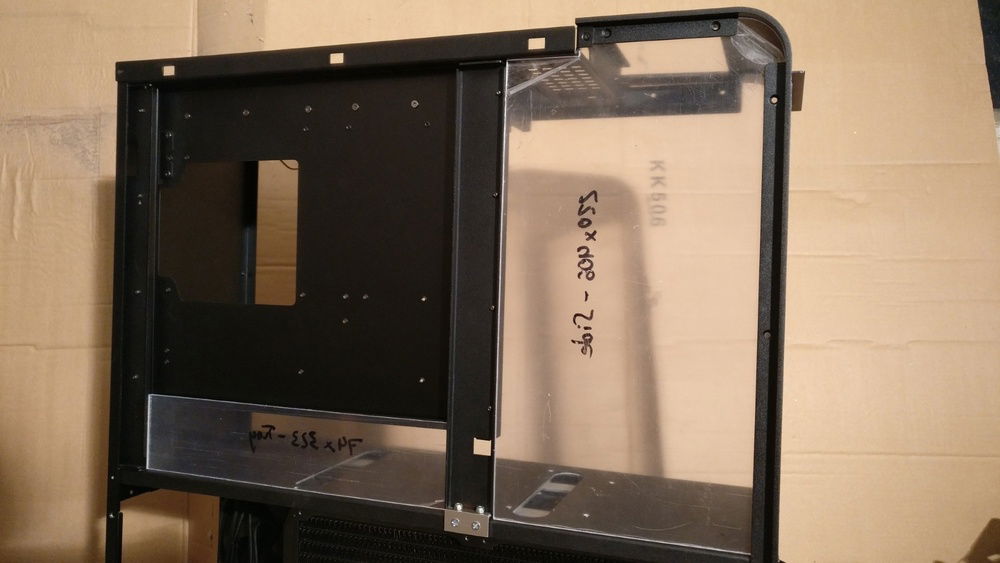
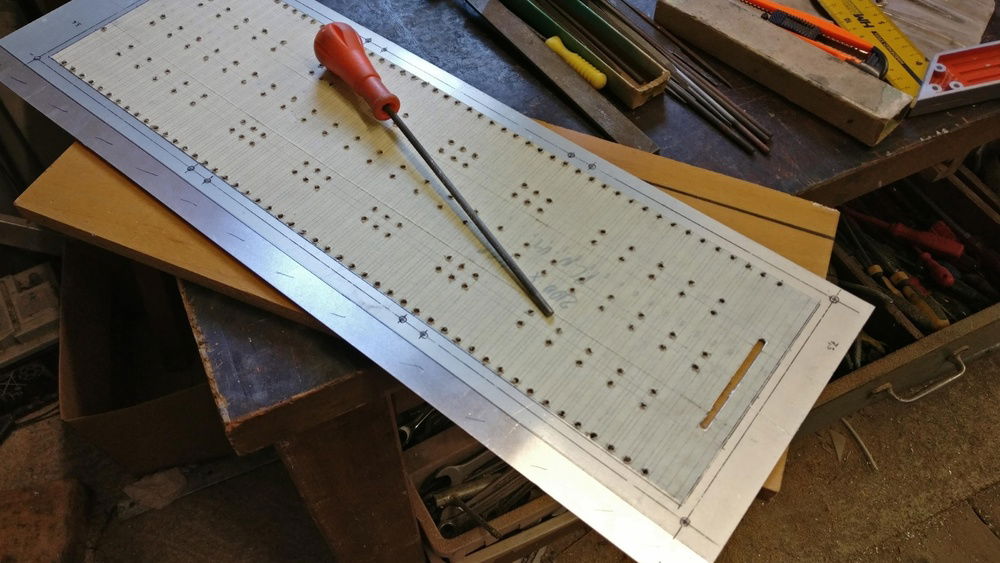
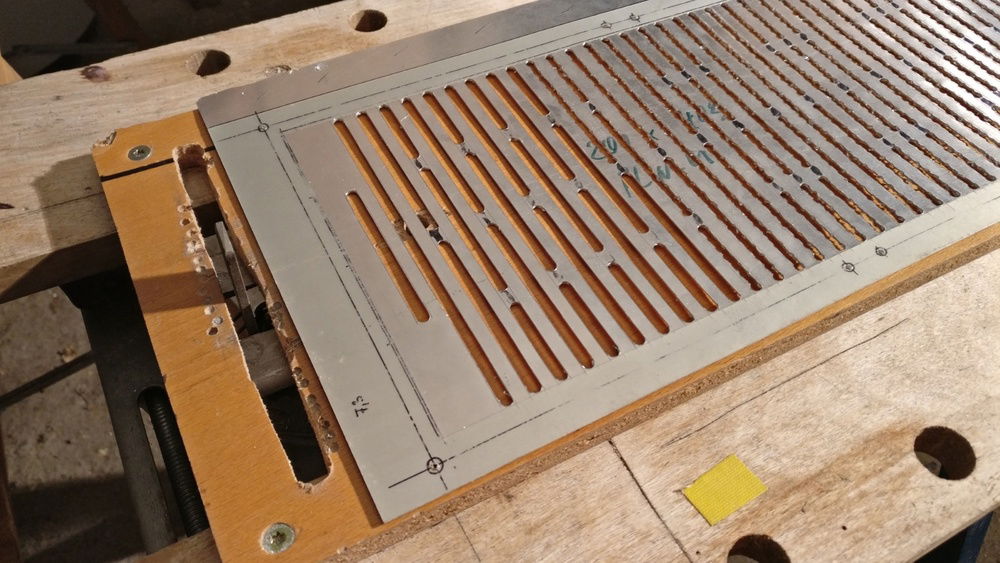
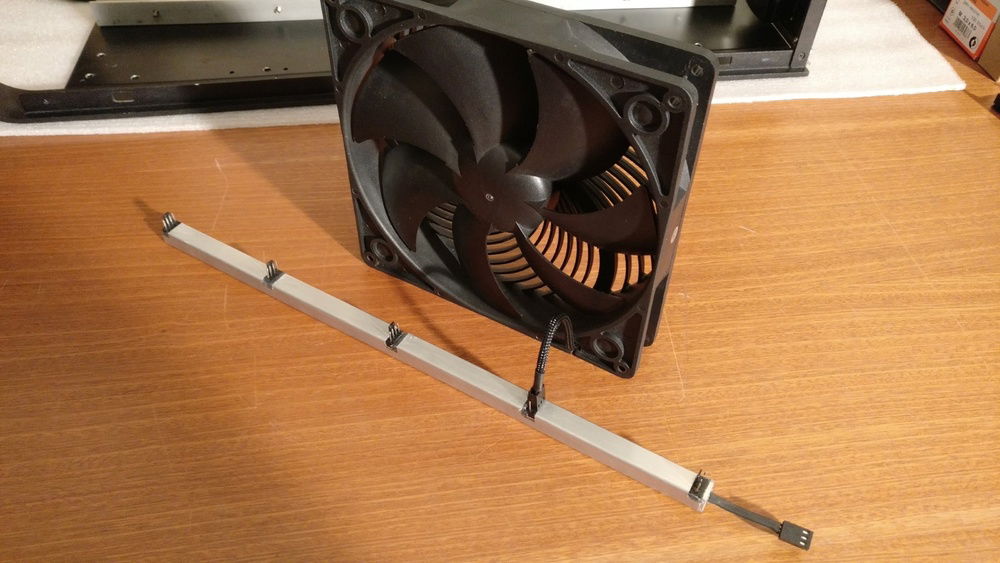
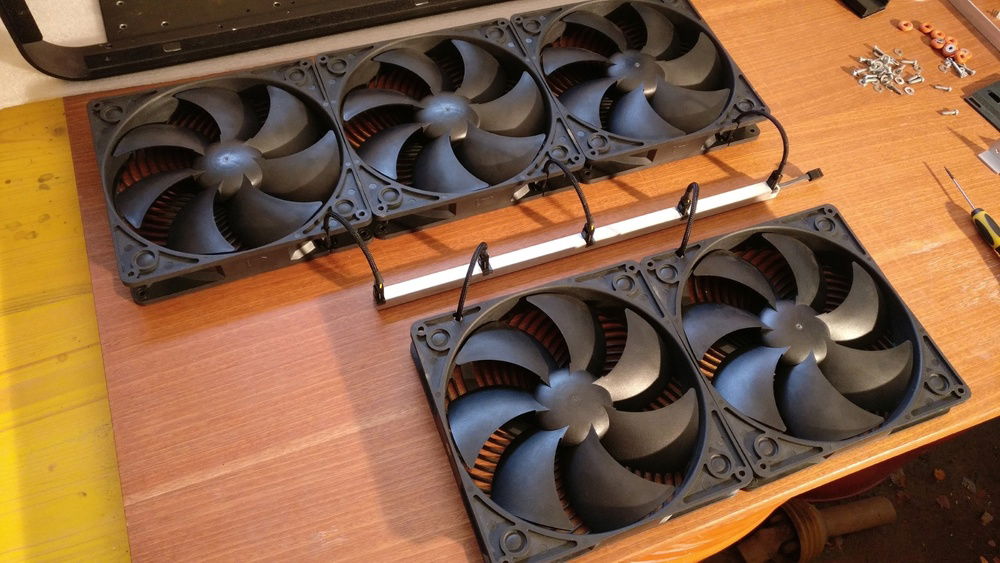
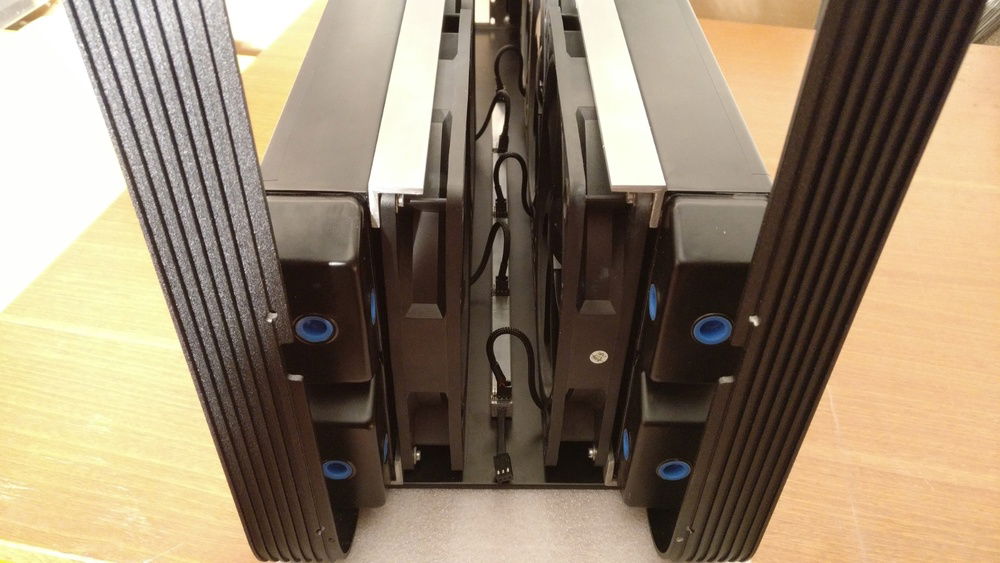
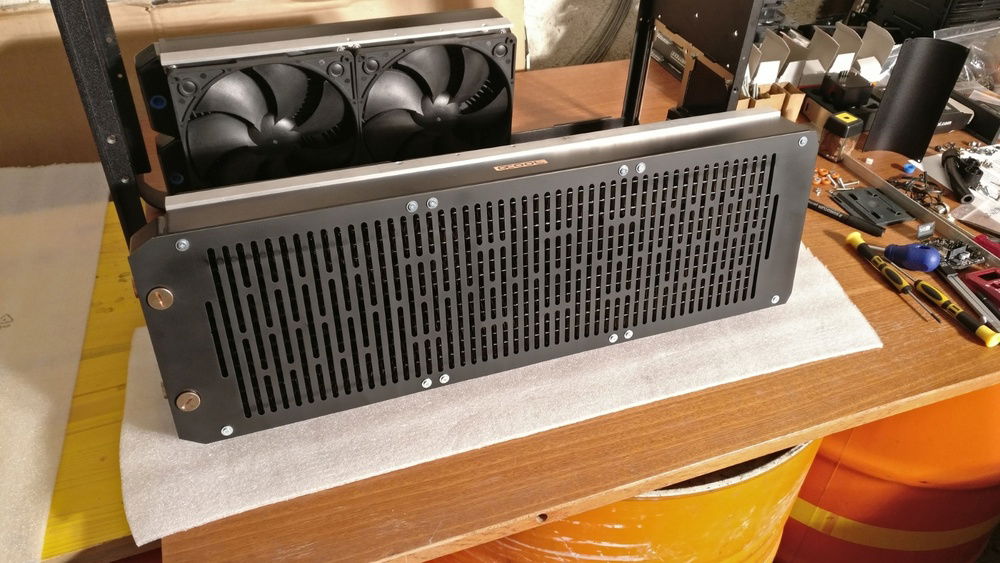
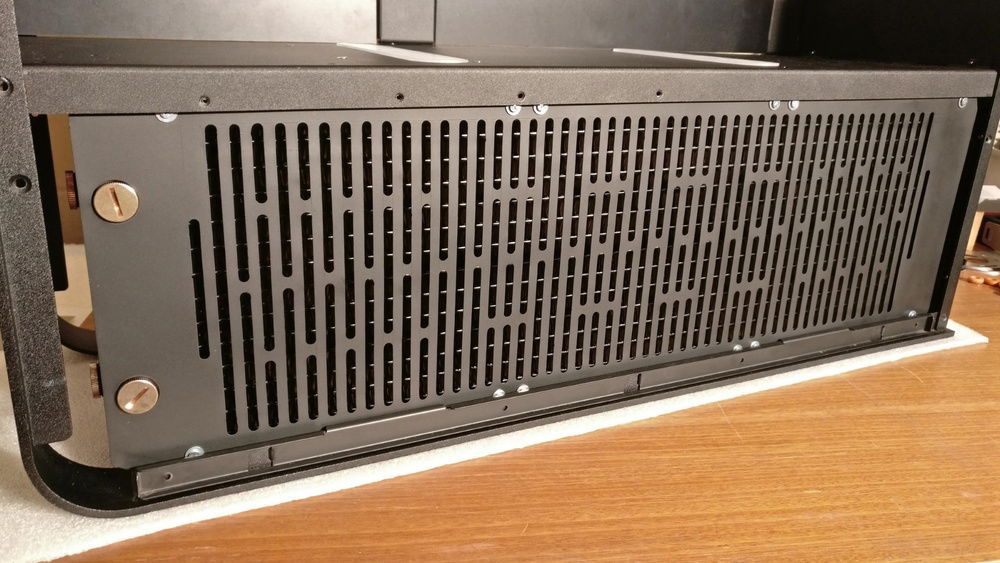
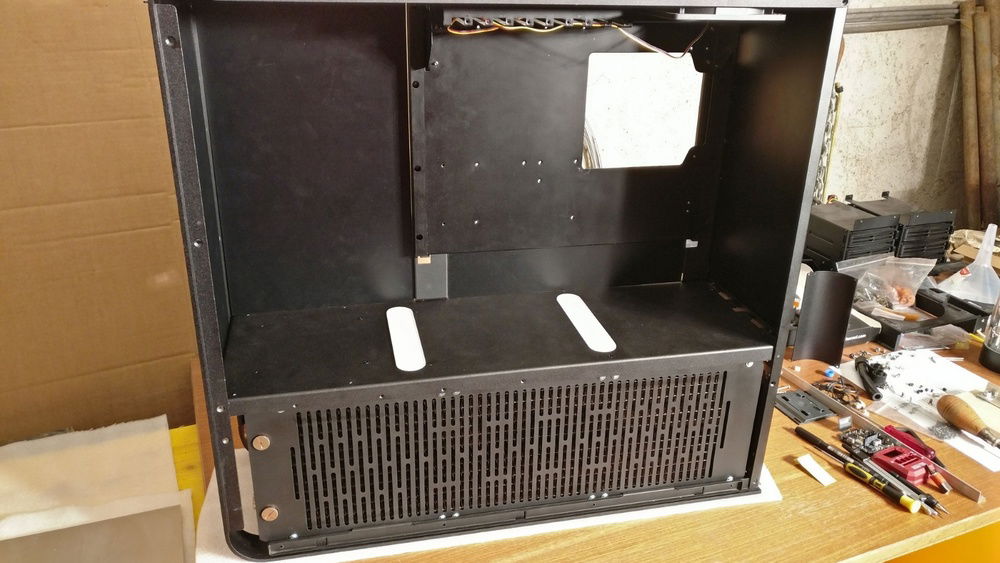
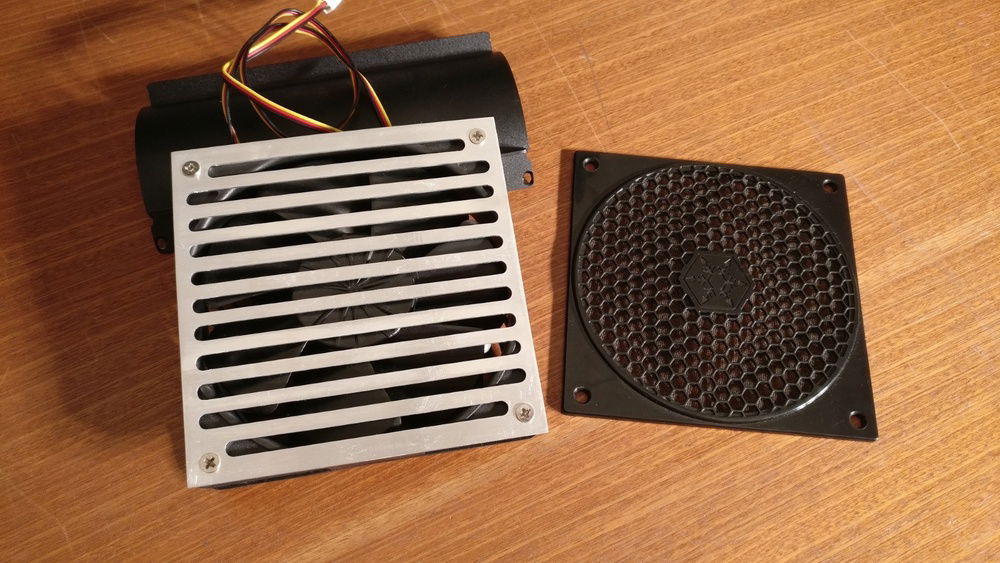
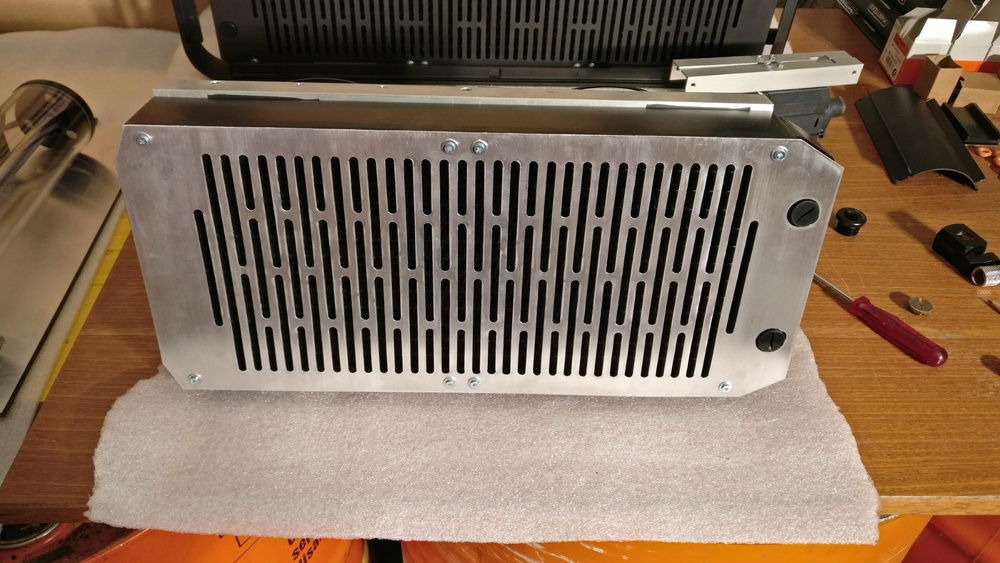
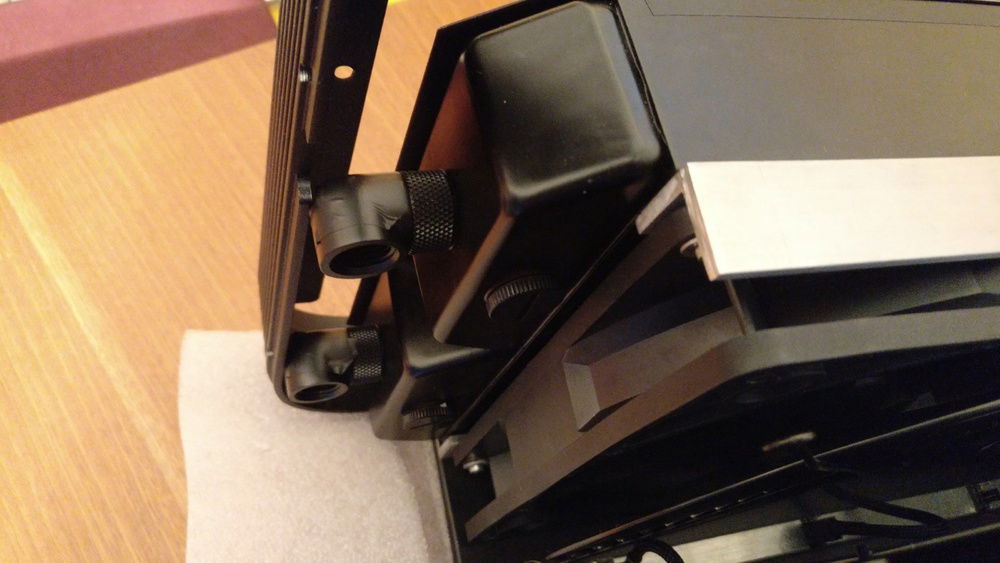
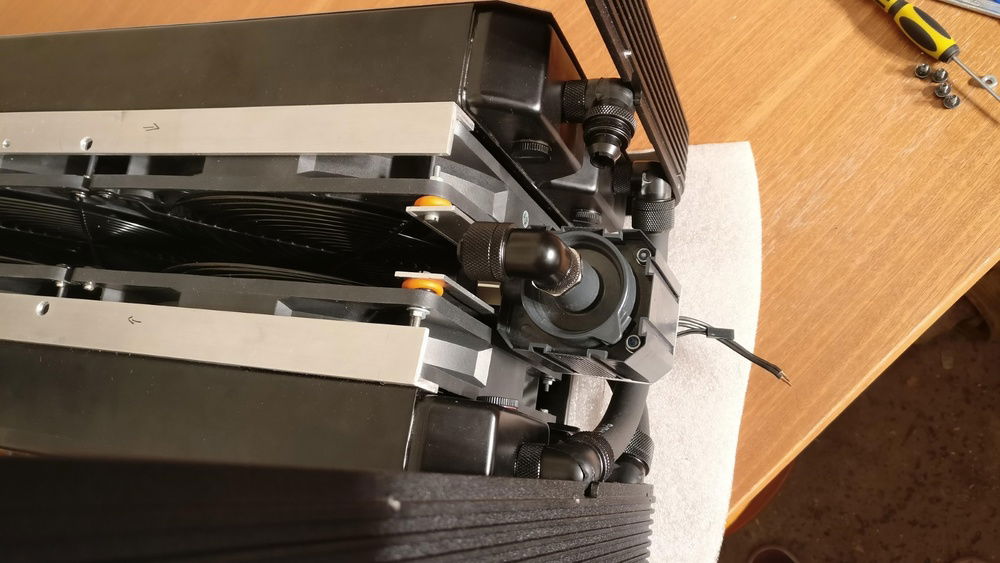
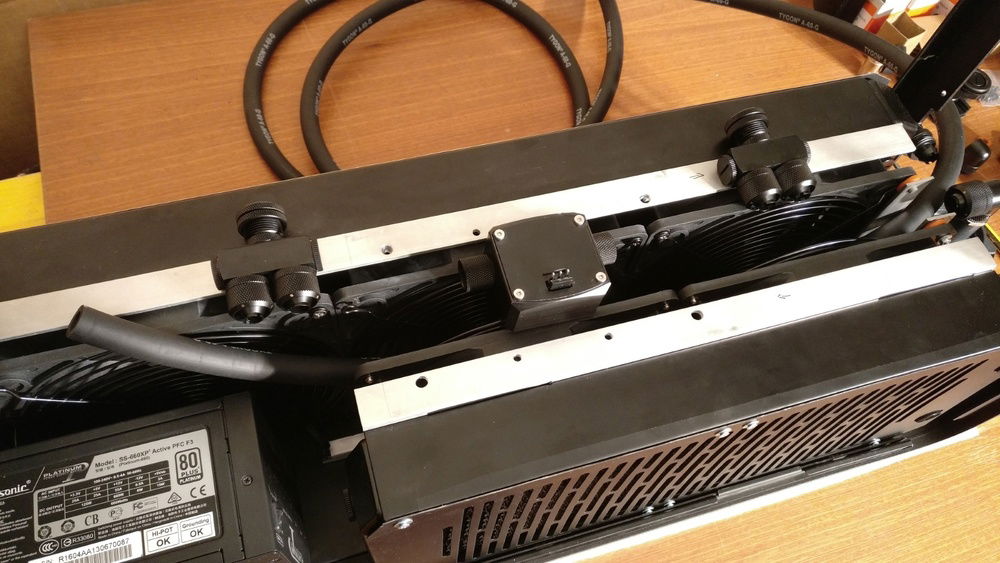
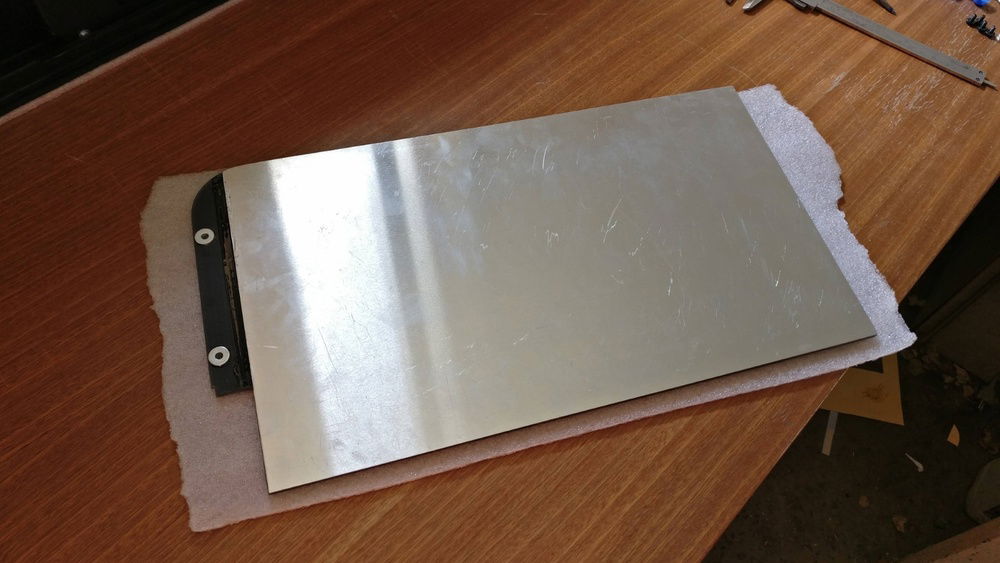
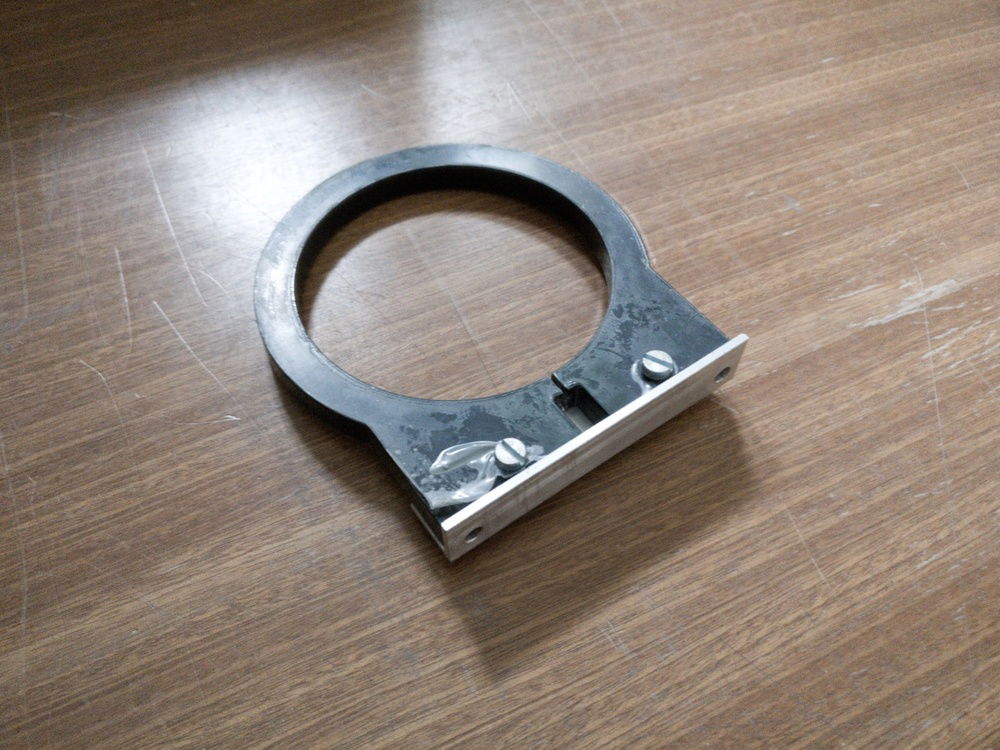
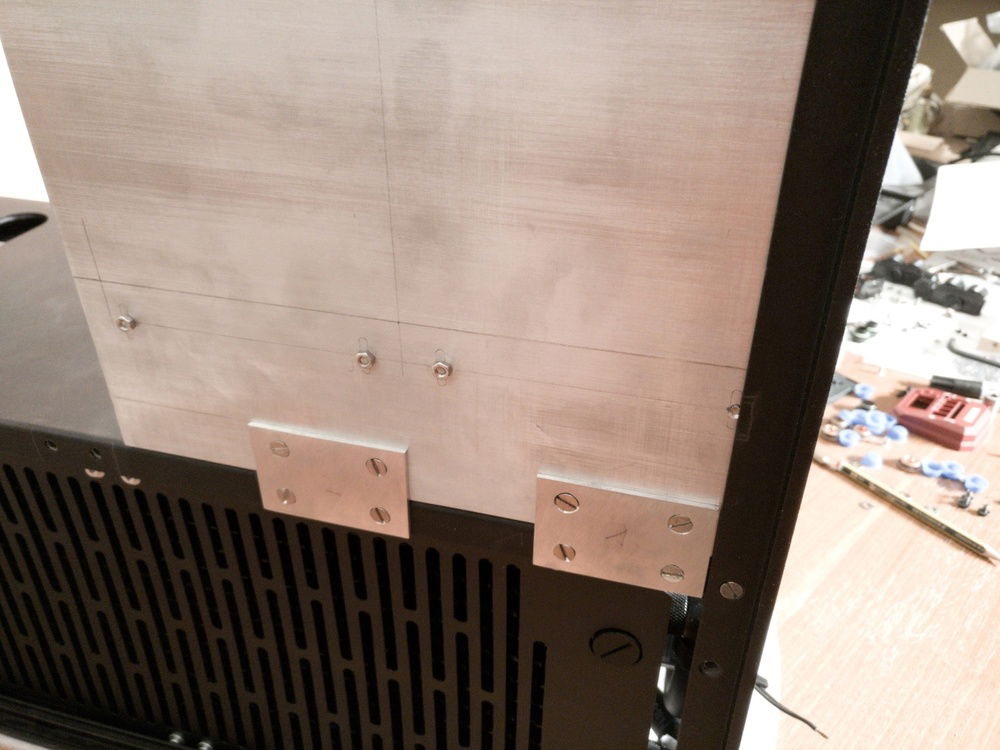
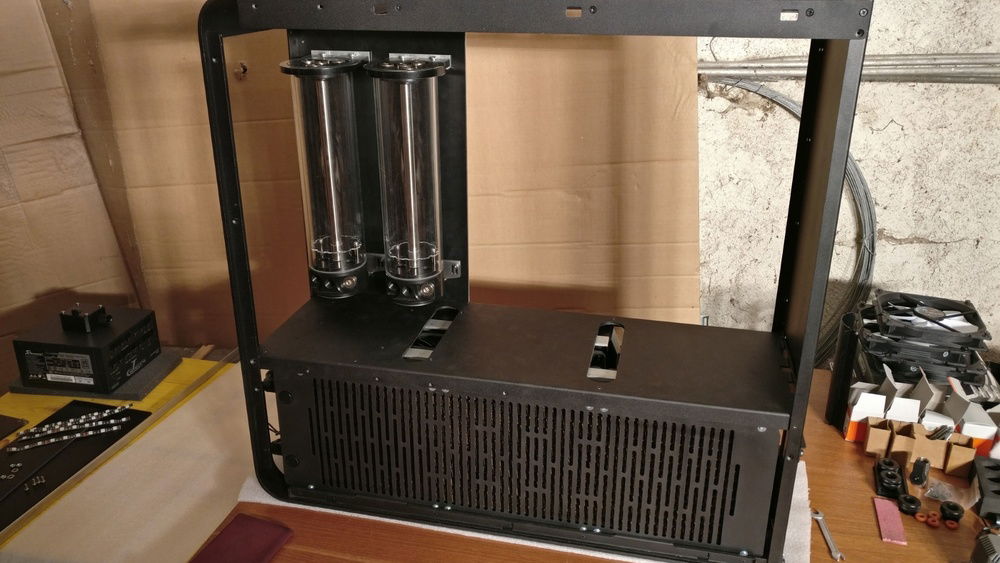
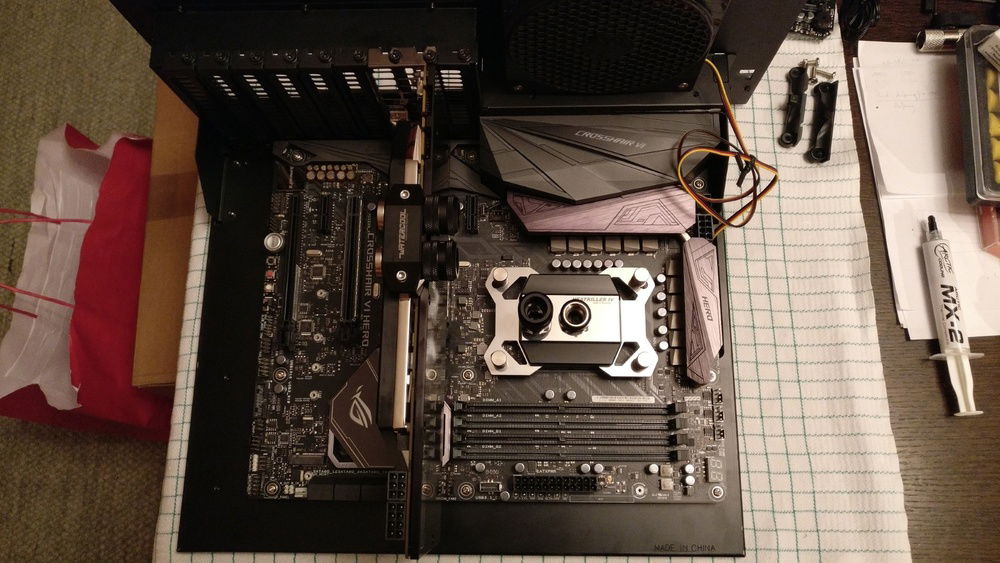
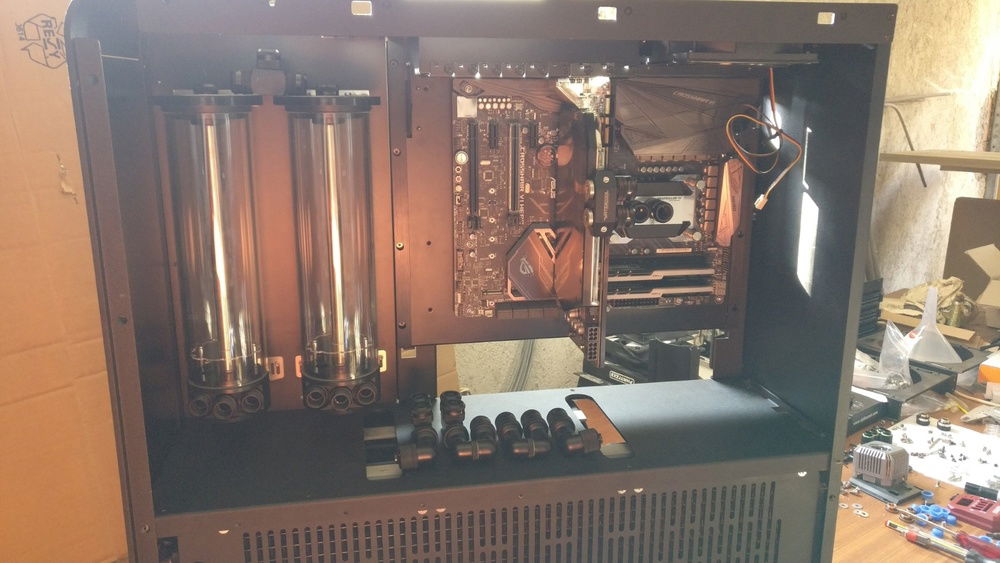
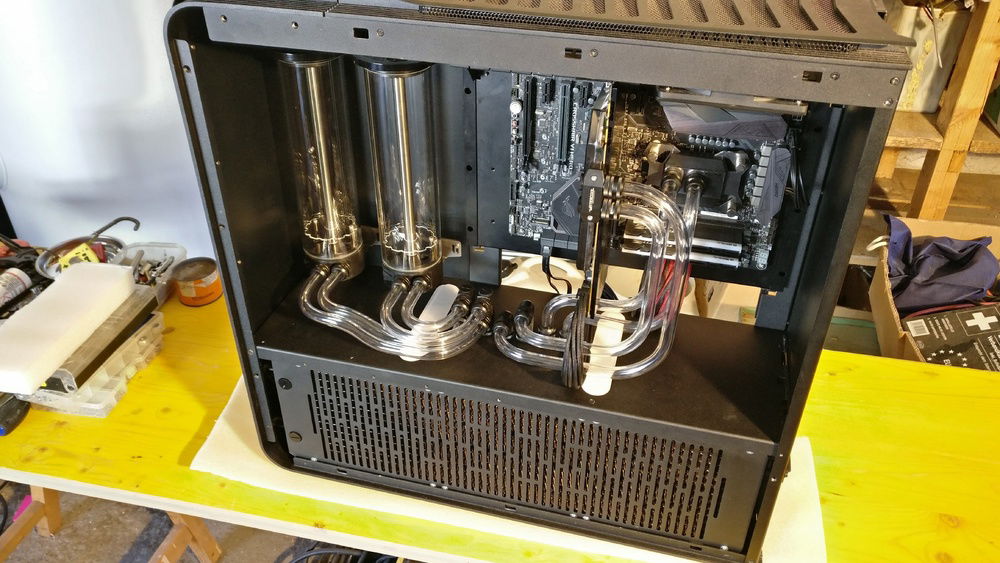
So I modded the case to fit 180mm radiators. To be able installing them (Dual + Tripple) in the bottom compartment of the case, I had to raise the midplate by ~4cm. That was pretty much the trickiest thing to do with the case itself, apart from connecting the radiators with the midplate. :)
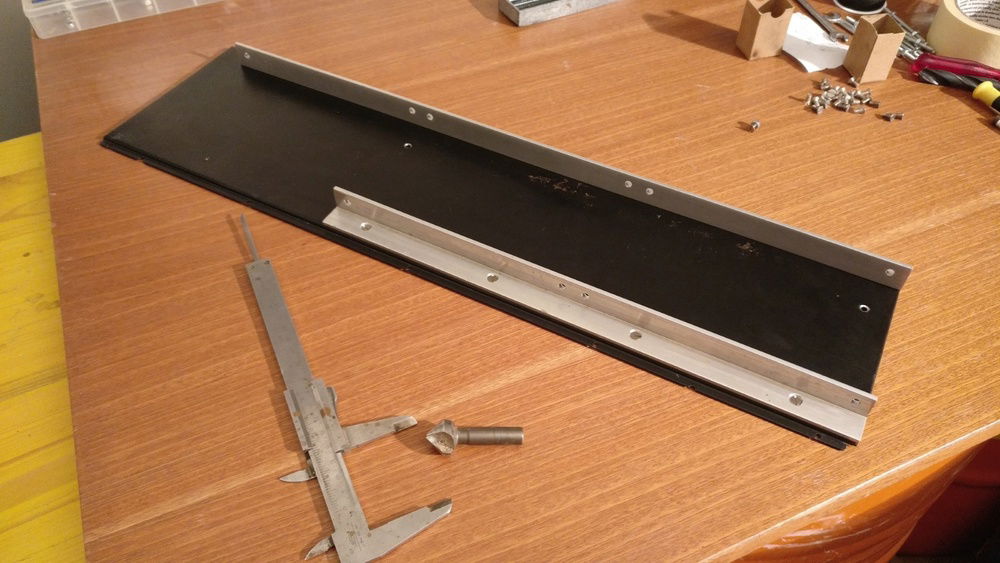
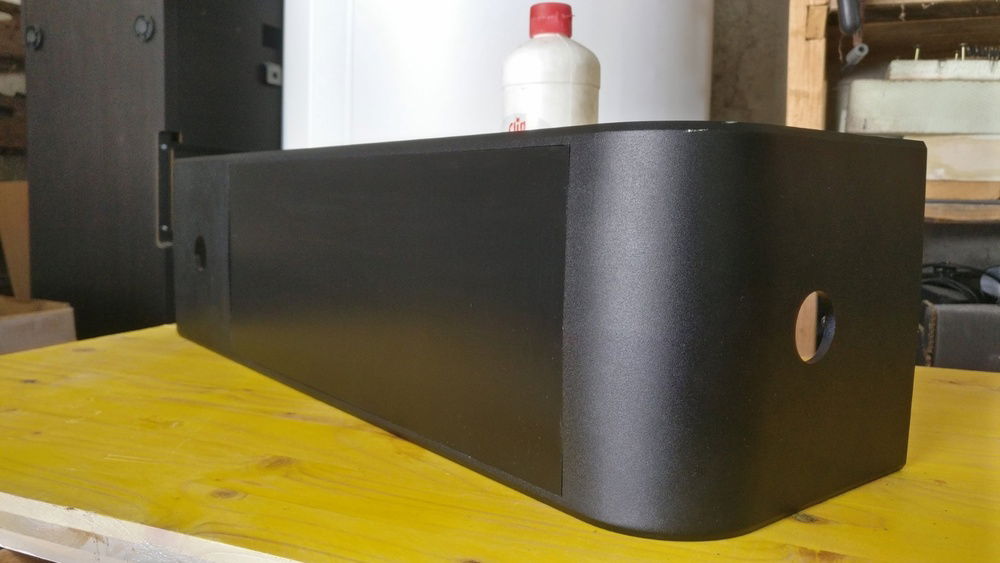
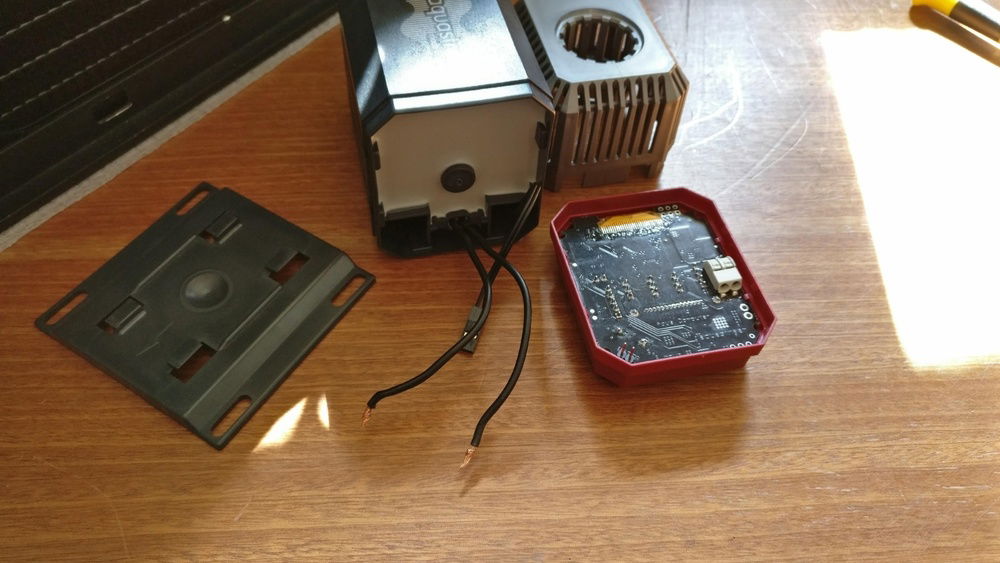
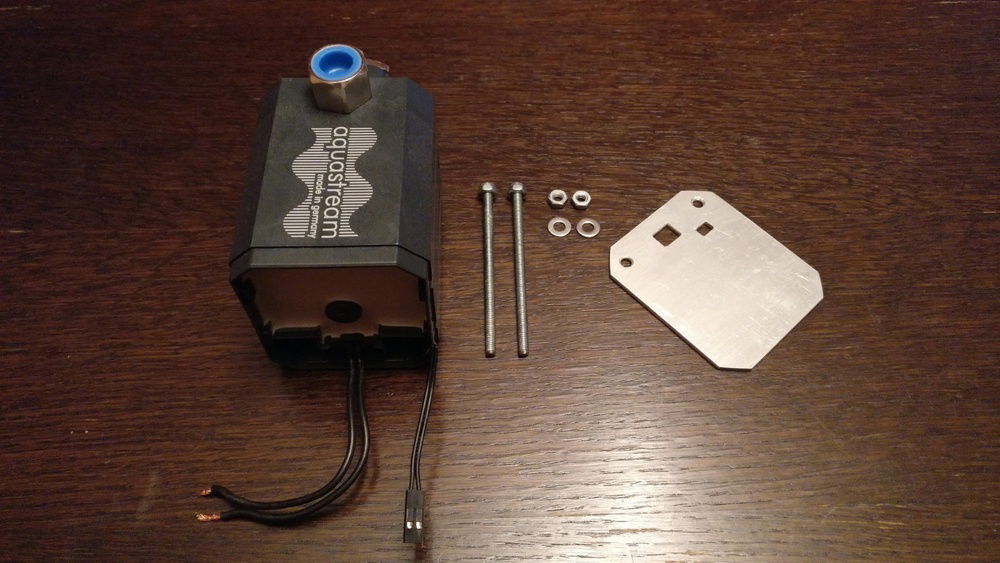
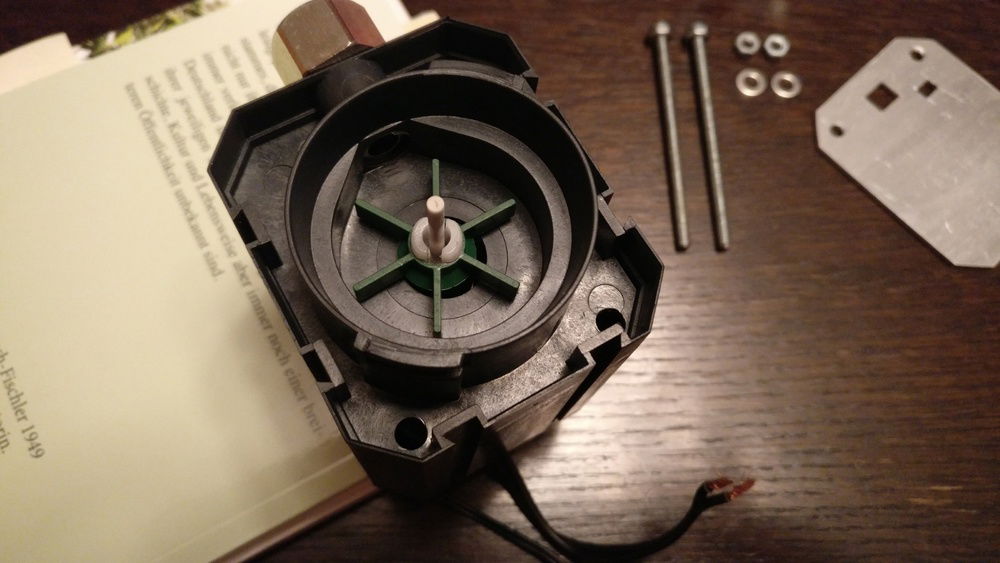
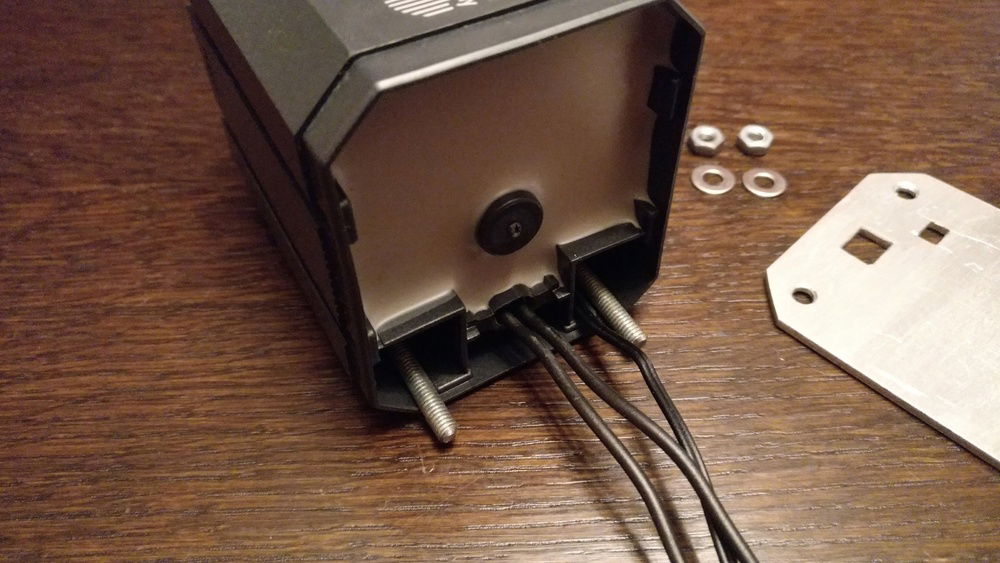
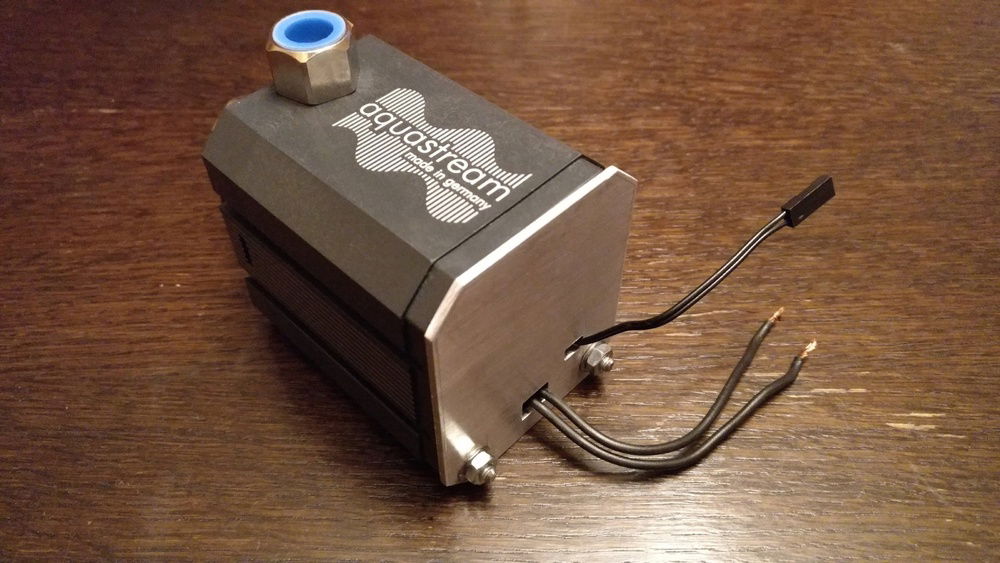
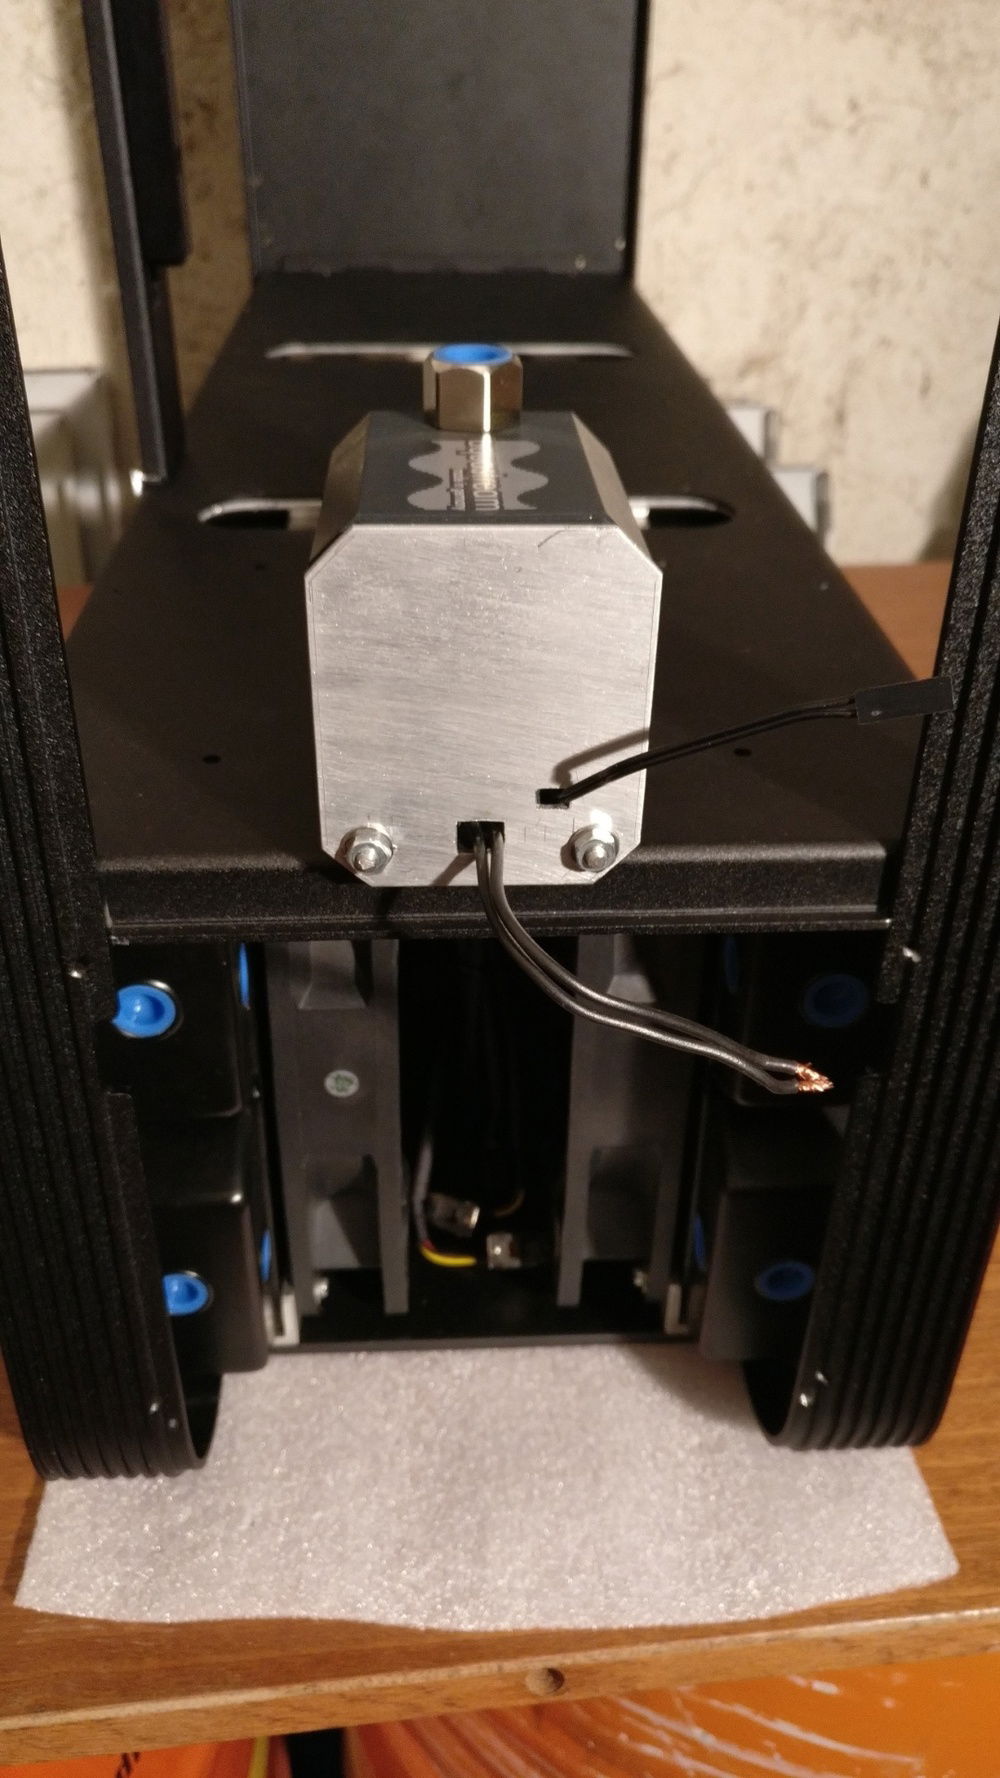
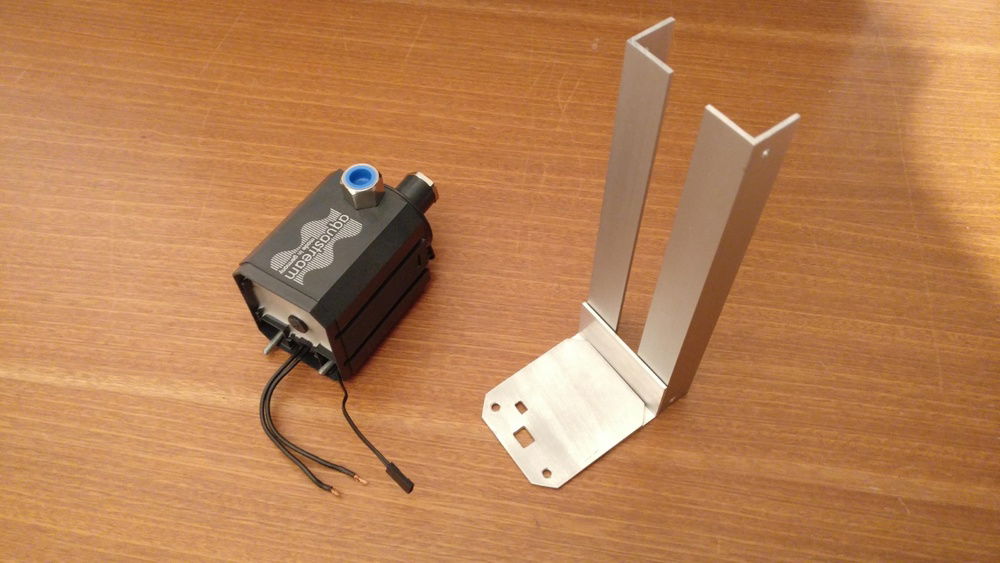
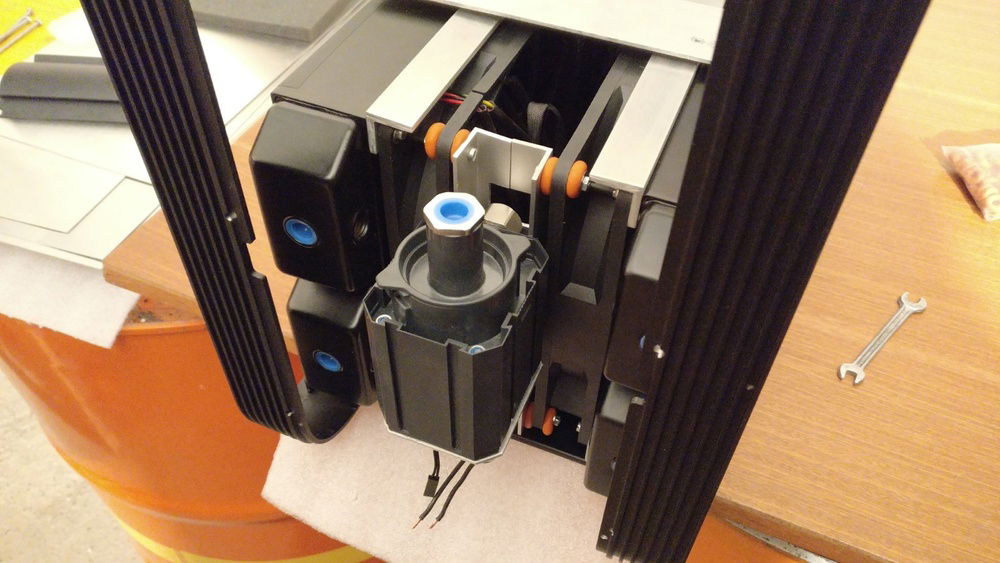
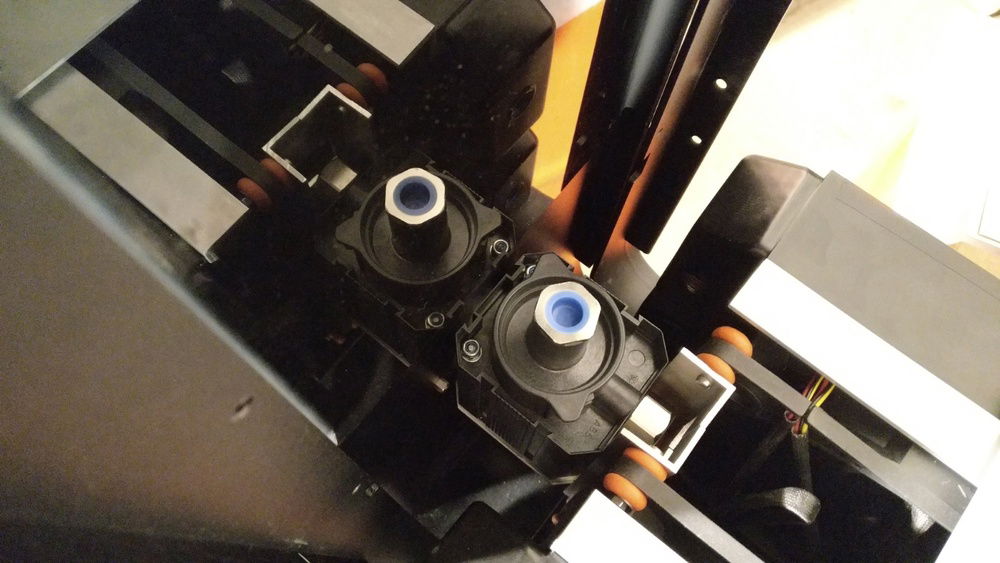
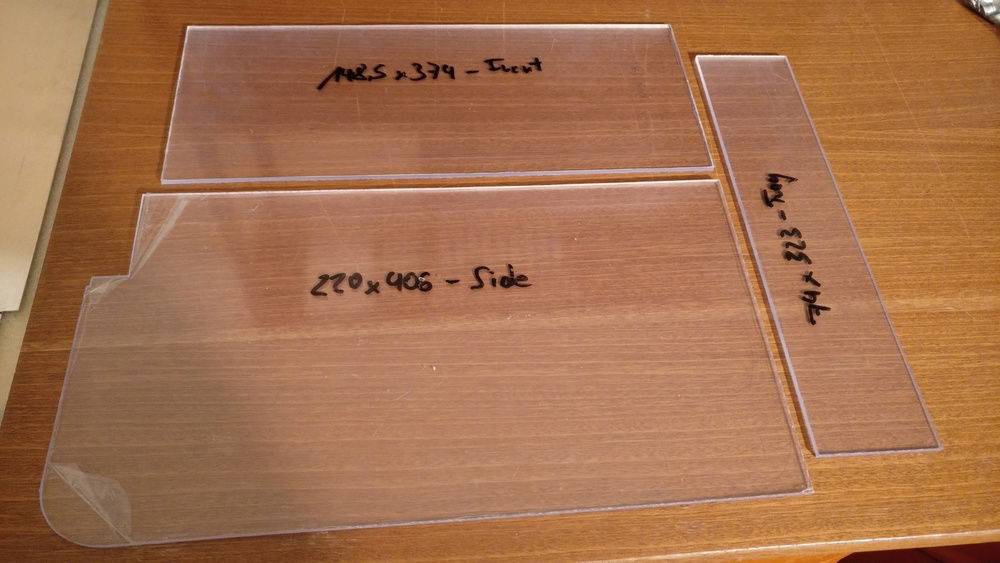
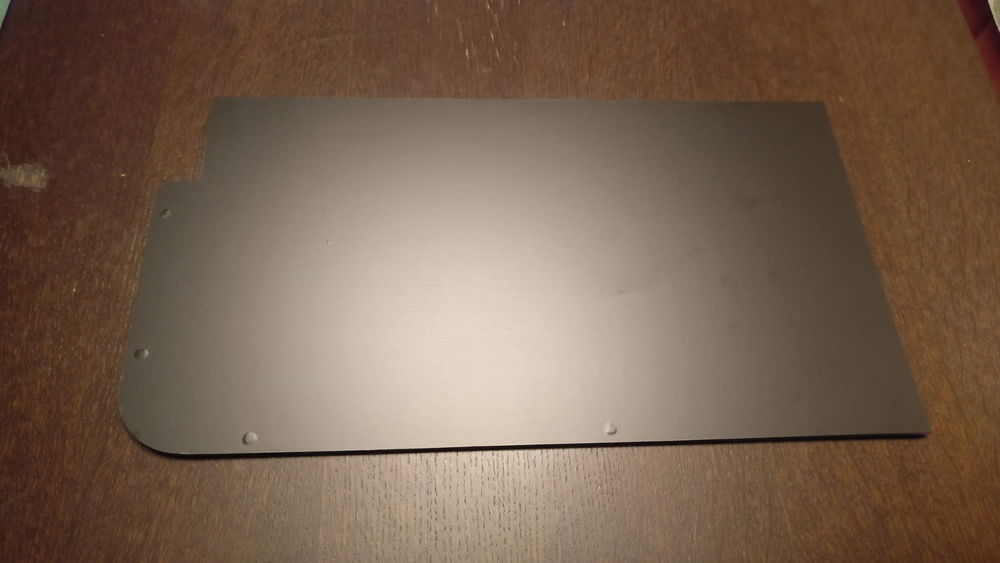
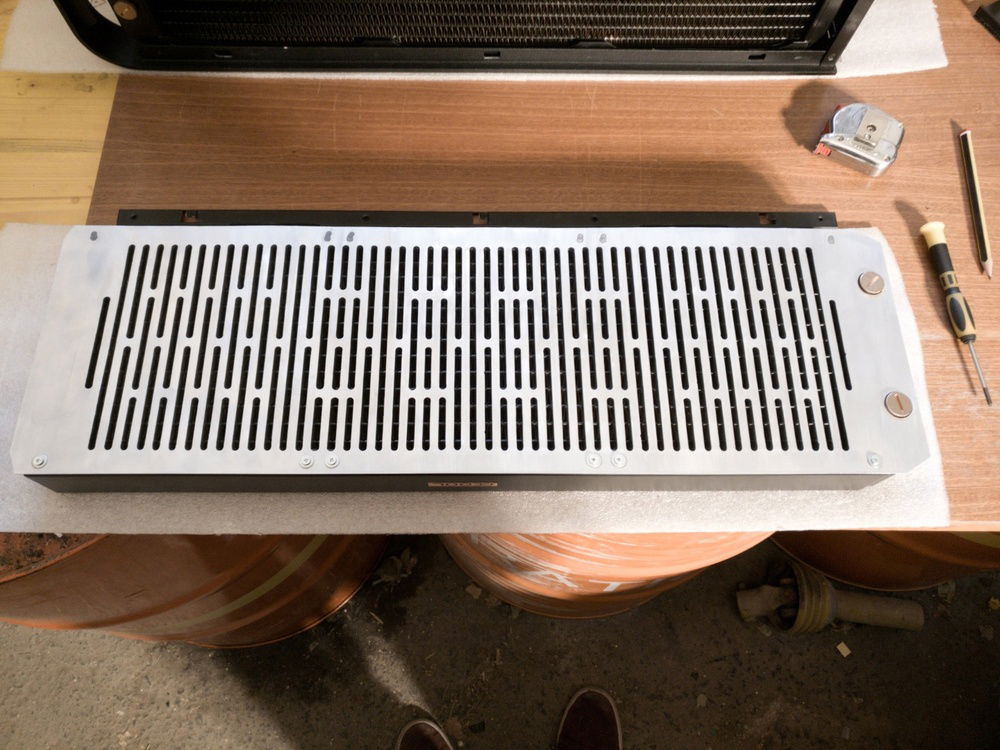
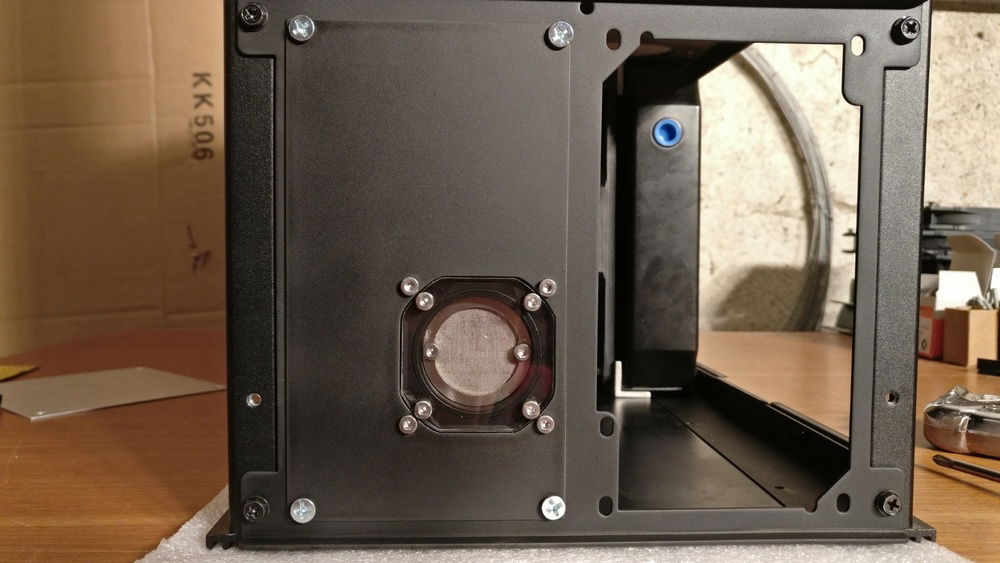
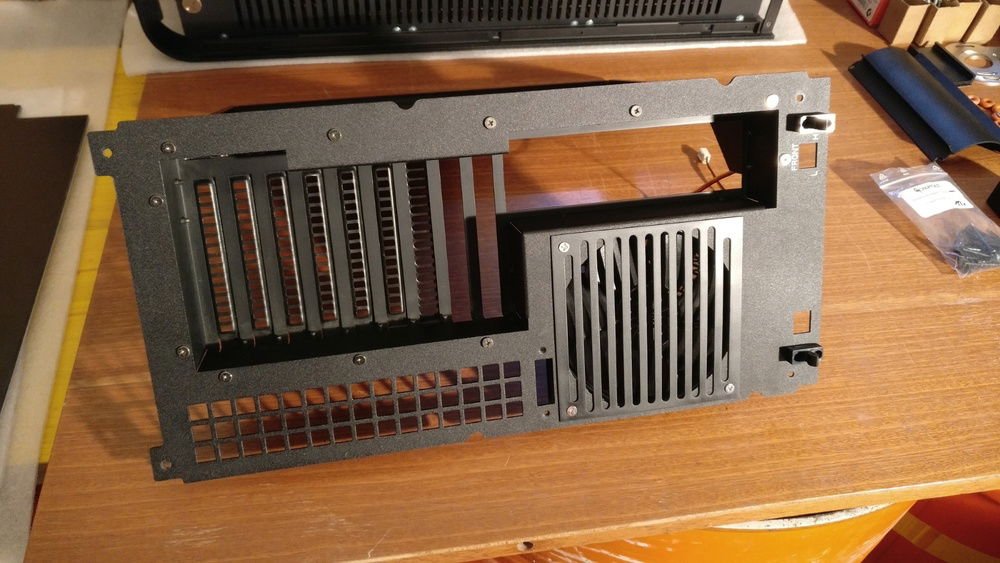
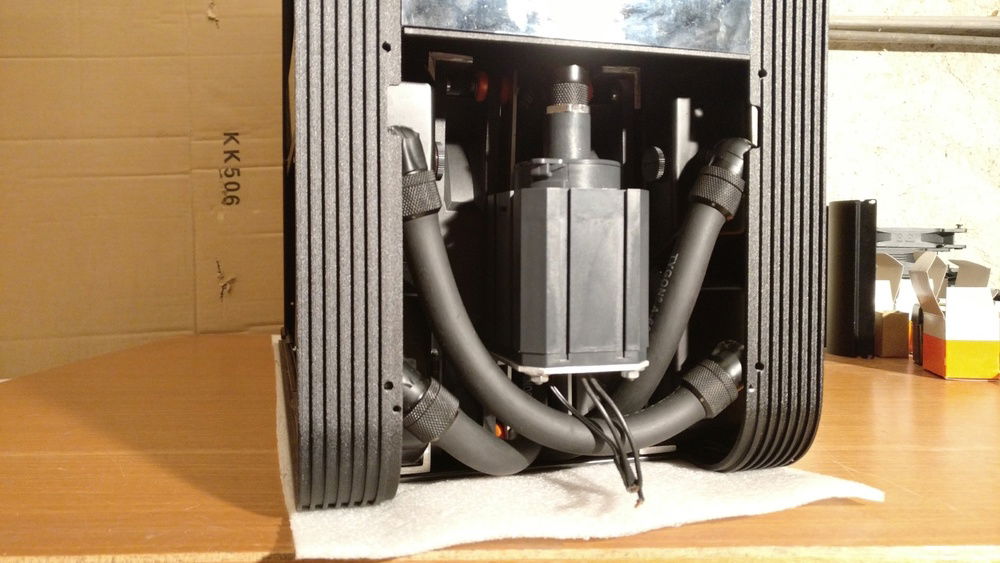
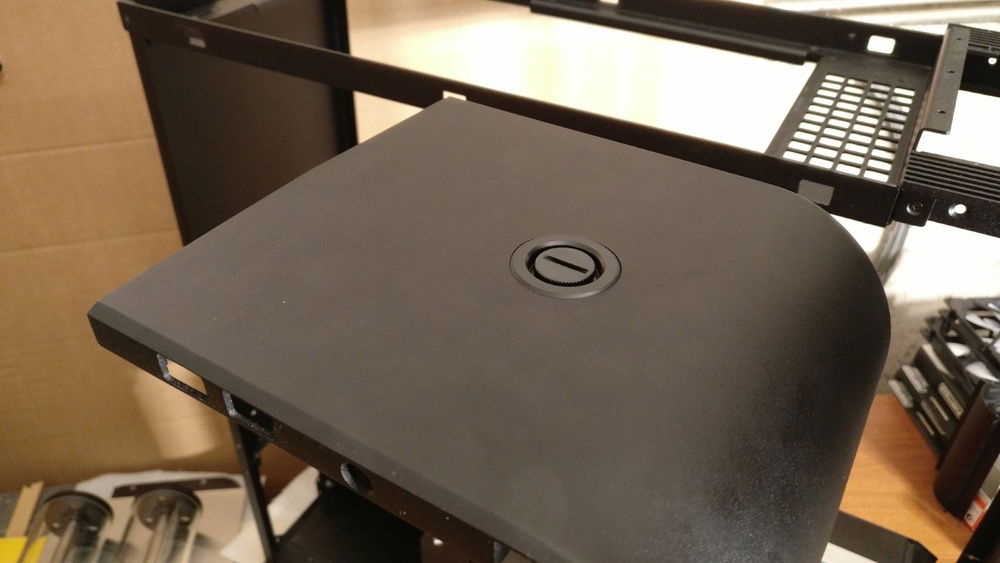
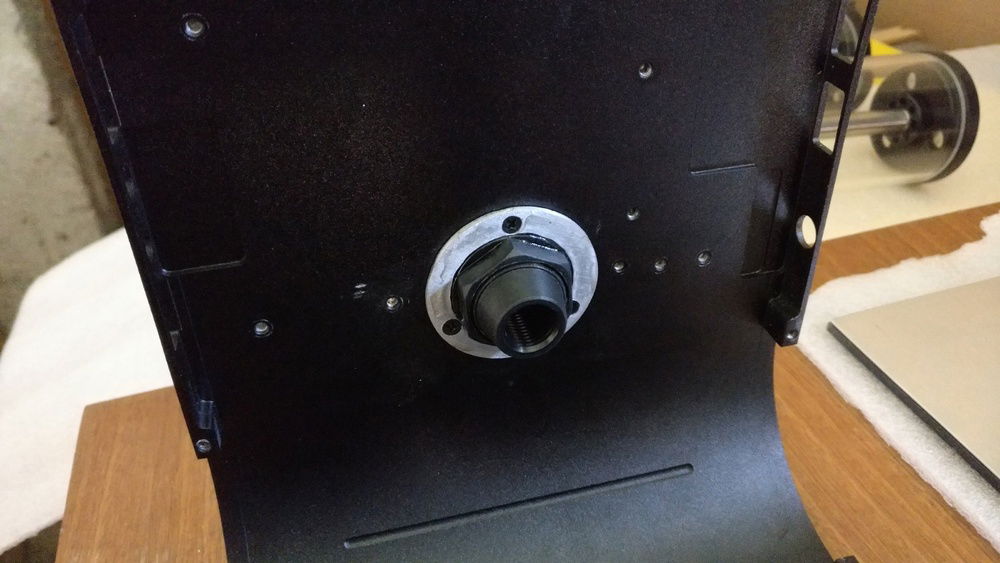
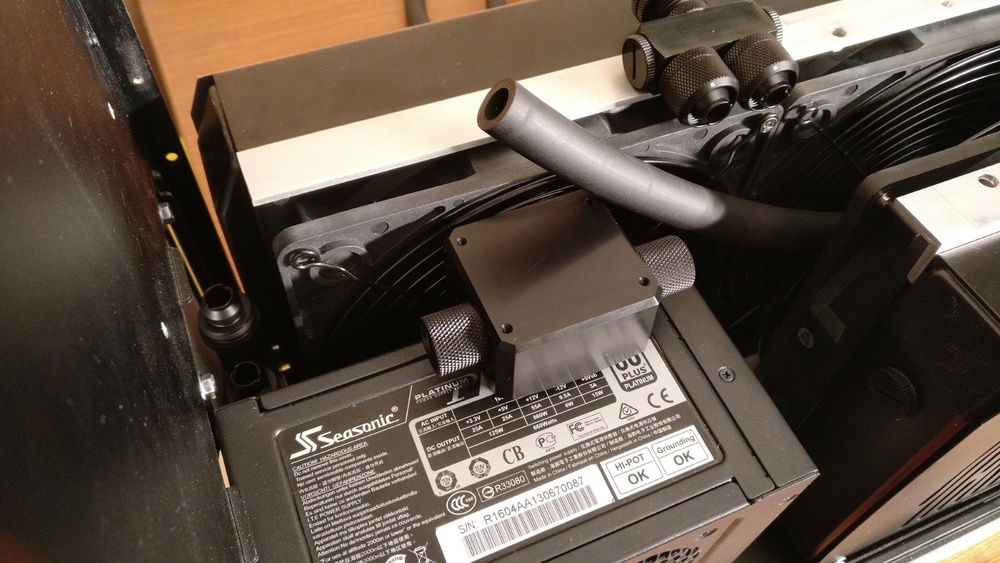
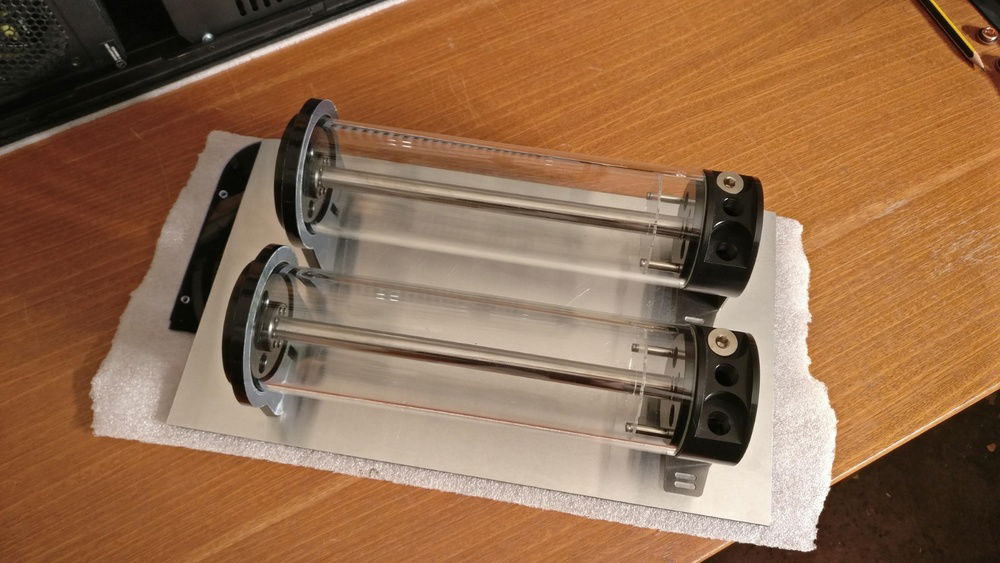
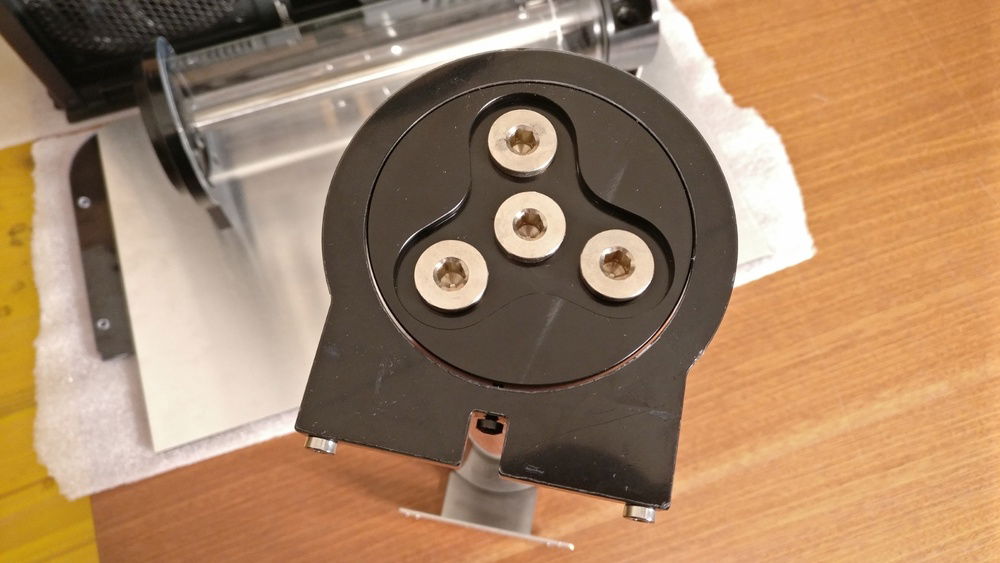
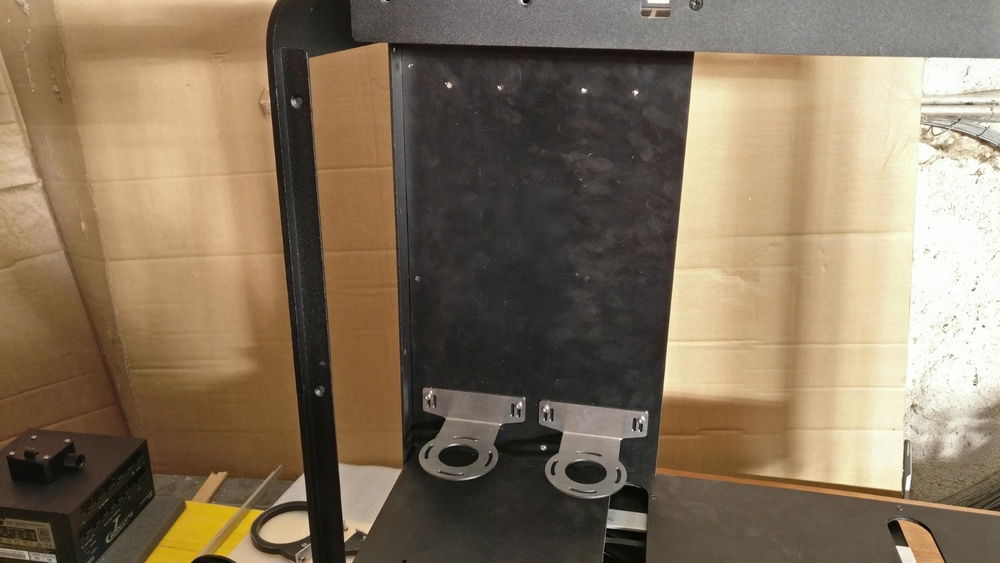
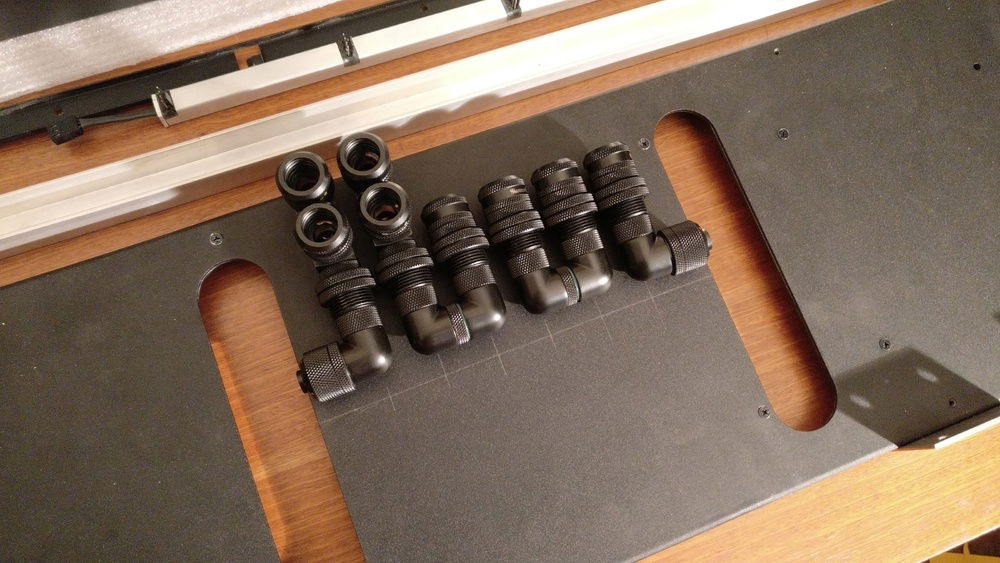
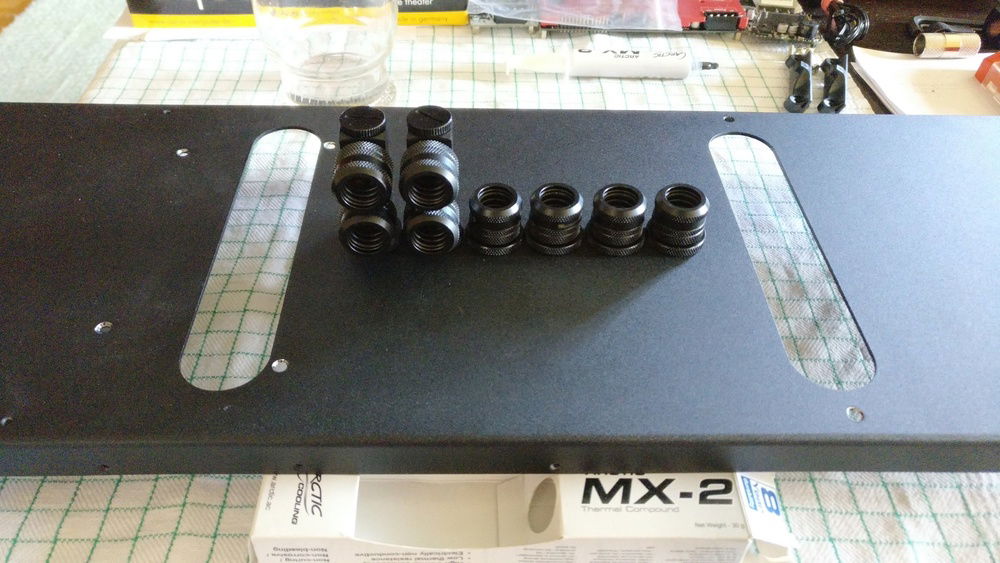
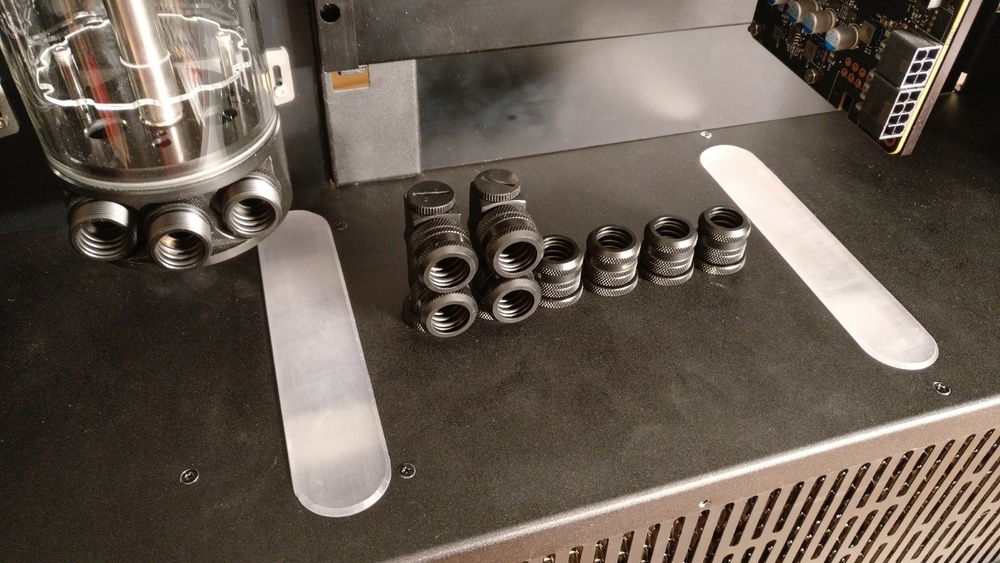
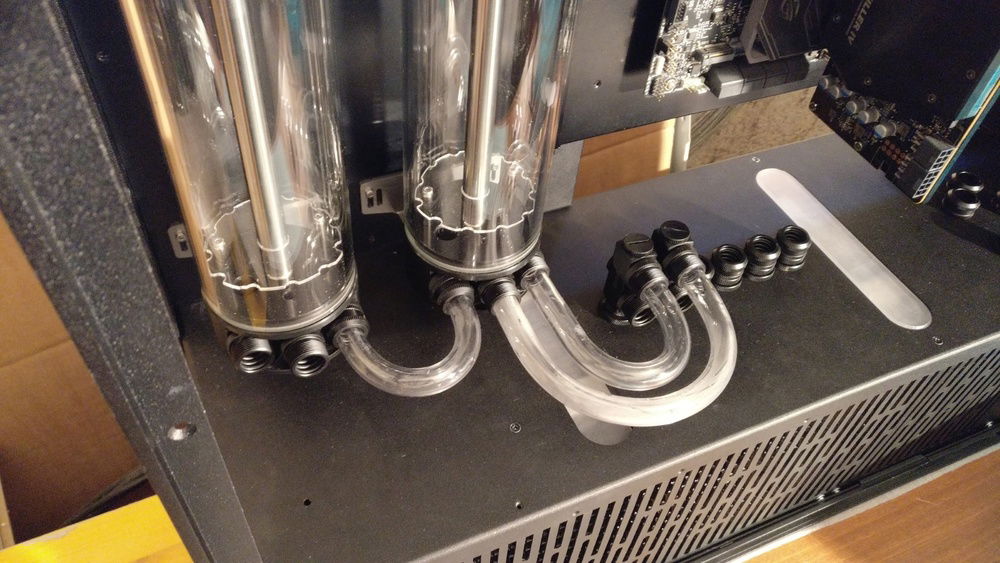
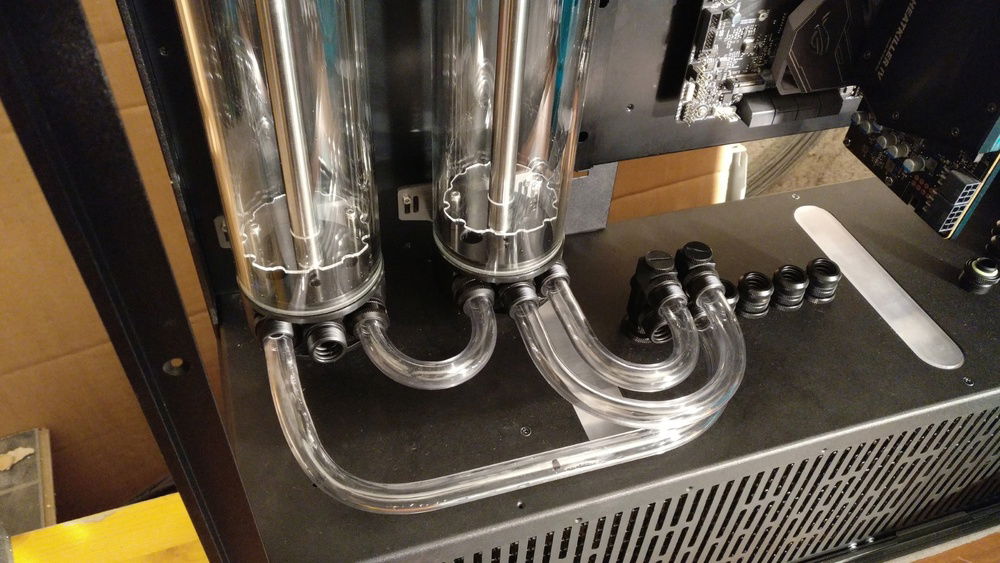
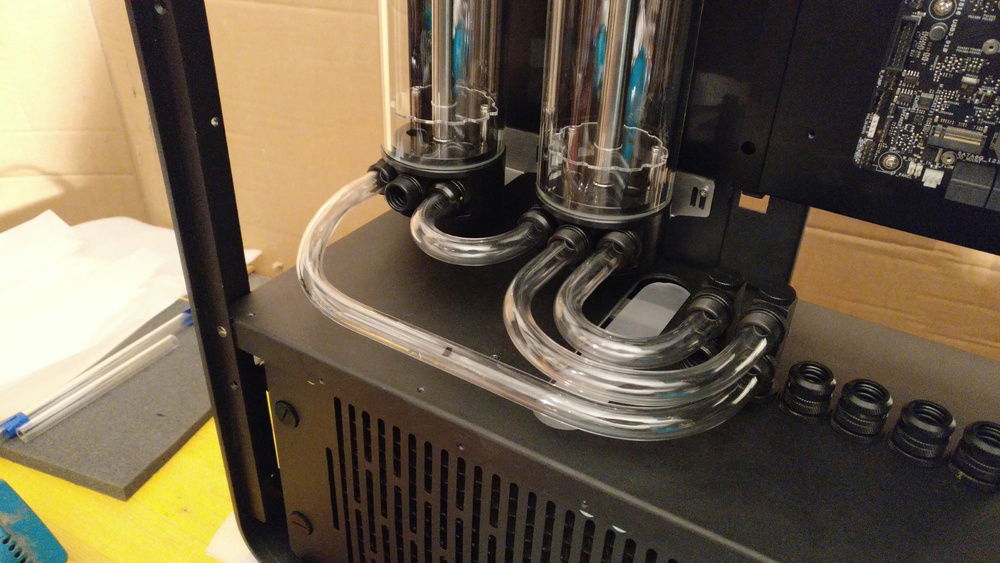
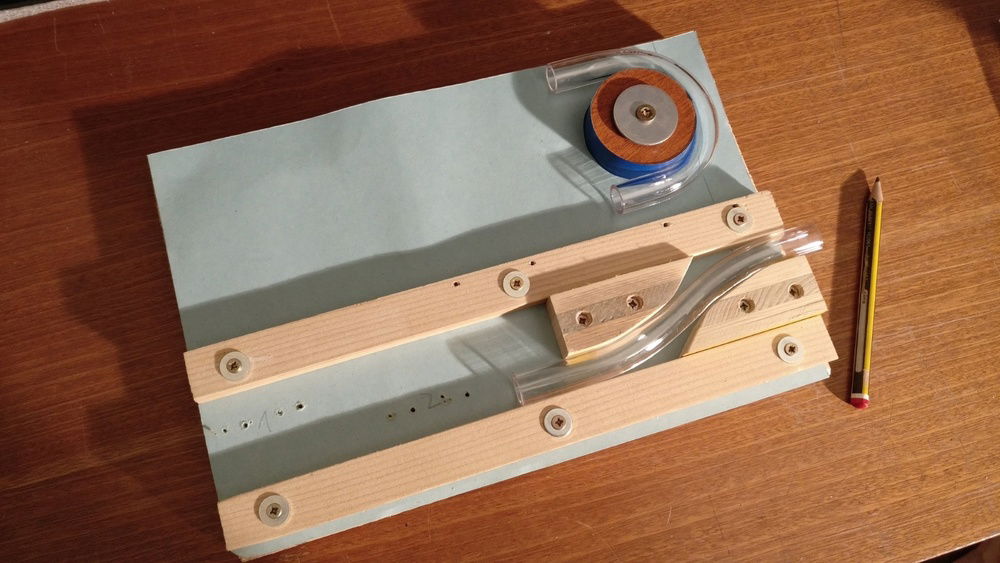
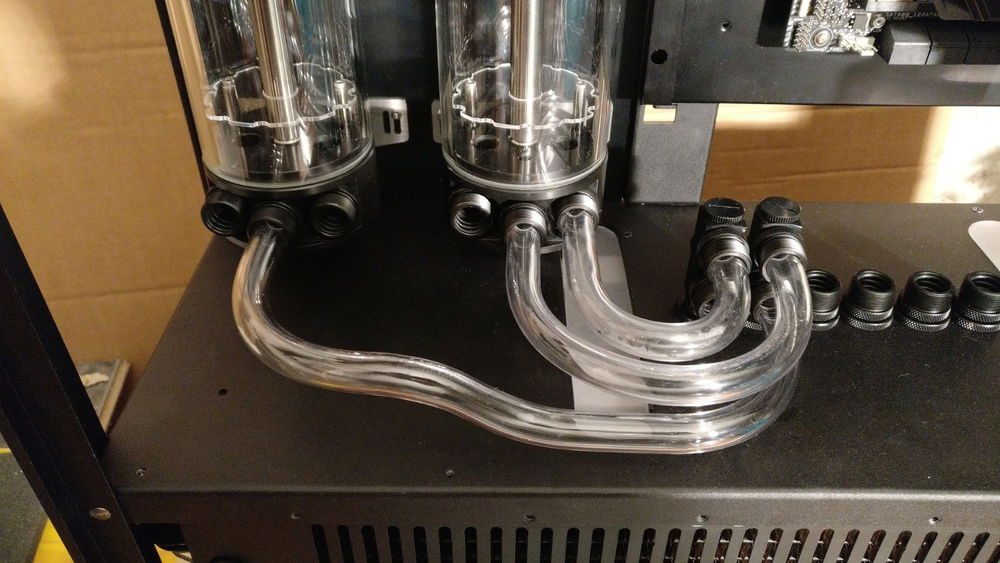
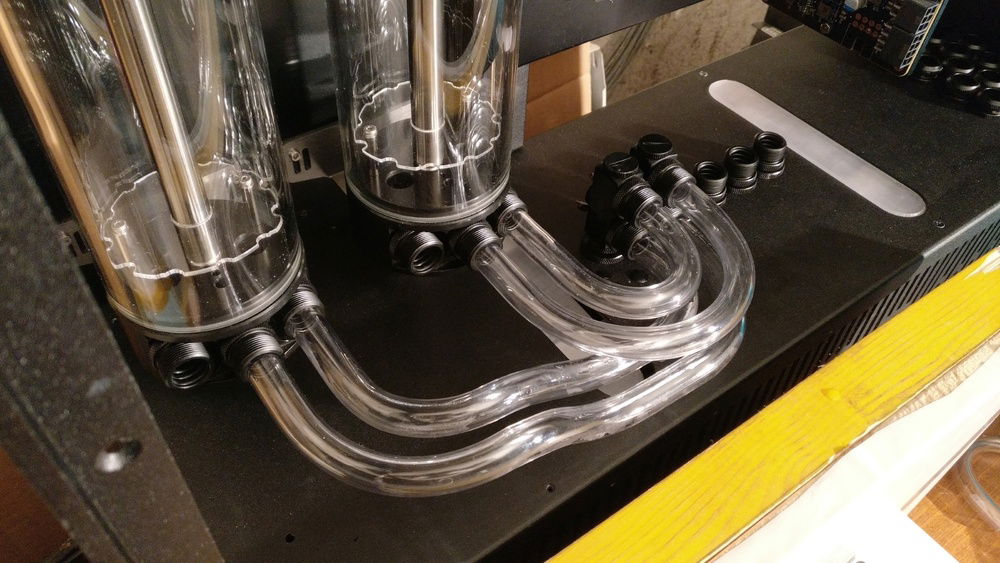
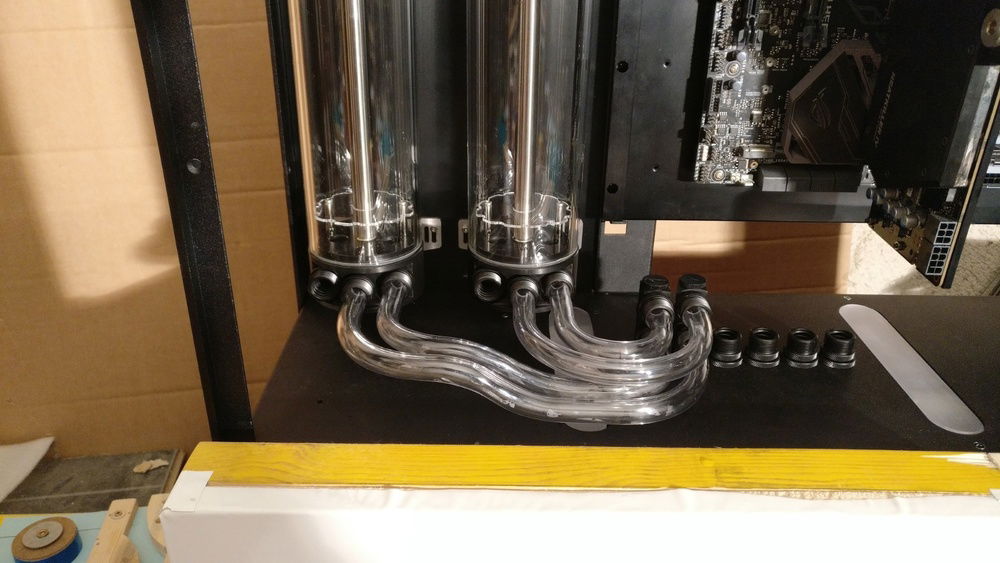
After that I found a neat way to install the pump and made the panels to close the openings in the frame. The last step was to put the passthroughs in the midplate and install the reservoirs. Then I only had to do all the hard-tubing. Done!
Ha, not that fast. I you take a closer look you will see, that there still are a few things I could waste my precious time on. ;)
But as I said, that needs to wait until I have time to do so. :)
A little preview on the next steps:
With all that being said, I hope you enjoy what you see and consider giving me a feedback. I'm always open for new cool ideas and criticism.
Thanks for reading and watching. :)
Links:
My german build log.
Imgur Album #1
Imgur Album #2
First of all, everything you see is Work-In-Progress. I propably should have put a "WIP" in the name now that I think of it. :D
So, what's this thing about you may ask. Let me tell you how I came up to this point... ;)
I remember when I saw the Silverstone Temjin 11 being shown to the world for the first time like it was yesterday. I was instantly fascinated by this beautiful case but just couldn't afford it. So I bit in my lip and went ahead with a FT02, which too is a very cool case and got me hooked on it's odd formfactor. Back in 2011 I also got my first "real" PC with a 2500k and a GTX570. This system lasted me up to the point when AMD released Ryzen, so I had a good while to save up some money. :)
After the 570 I eventually went for a 780 and after this one I got my 980Ti nearly two years ago. The FT02 was still going strong and I often played with the thought of modding it. You need to know that I always had Air-Cooling and was just waiting for my chance to switch over to liquid cooling. I even had layed out pretty detailed plans on how to set the FT02 under water and also found a lot of great mods which inspired me to do so.
But then something magical happened. During my big break in '17 I came home from my summer job and found a guy who was selling a TJ11 whilst browsing the internet randomly. It was an instant buy, he sold it for less than half the market price because he did some work on it but that didn't bother me. At this point I knew that I needed to start my dream build, so over the next following year I saved as much money as I could and bought pretty much everything needed for this mod. Radiators, reservoirs, the pump, etc...
When my summer holidays in 2018 finally started I went into my garage and nearly three months later everything you see in these pictures was made. Sadly I wasn't able to finalize this build as I ran out of time and money. So I hope, that I can finish it up in my next summer holidays. :)
Ah, I still didn't tell you what exactly happened, listen up:
As I stated I always had aircooling. Especially the GPU wasn't very silent, so I really had a wish for a system that didn't sound like a jet taking off whilst gaming.
With that in mind, I went a bit overkill and thought to myself: If I start doing something, then it better should be oversized and time-consuming.
So I modded the case to fit 180mm radiators. To be able installing them (Dual + Tripple) in the bottom compartment of the case, I had to raise the midplate by ~4cm. That was pretty much the trickiest thing to do with the case itself, apart from connecting the radiators with the midplate. :)
After that I found a neat way to install the pump and made the panels to close the openings in the frame. The last step was to put the passthroughs in the midplate and install the reservoirs. Then I only had to do all the hard-tubing. Done!
Ha, not that fast. I you take a closer look you will see, that there still are a few things I could waste my precious time on. ;)
But as I said, that needs to wait until I have time to do so. :)
A little preview on the next steps:
- *Maybe make a distribution plate.
*Definitely a slight...
*Put new tubes in the thing.
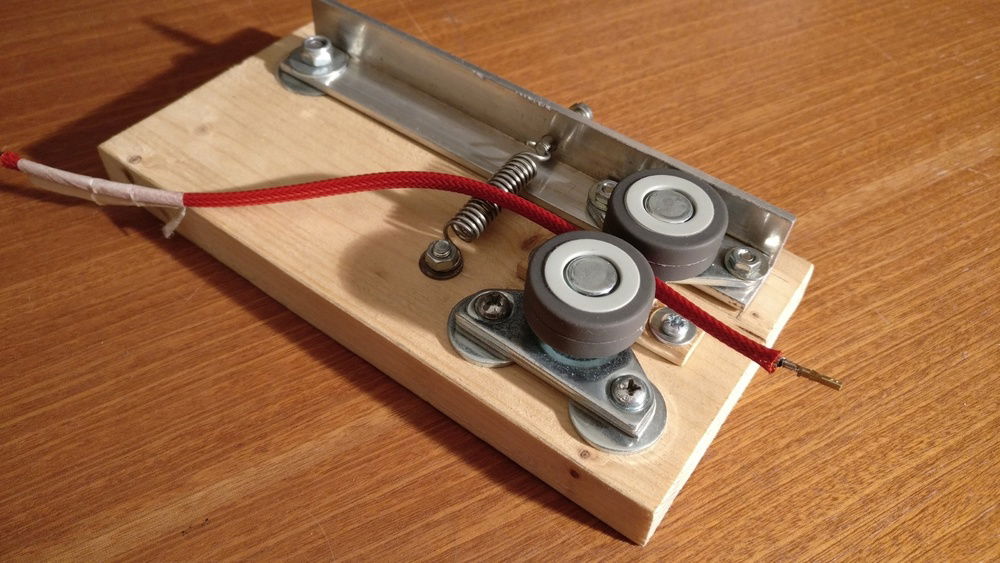
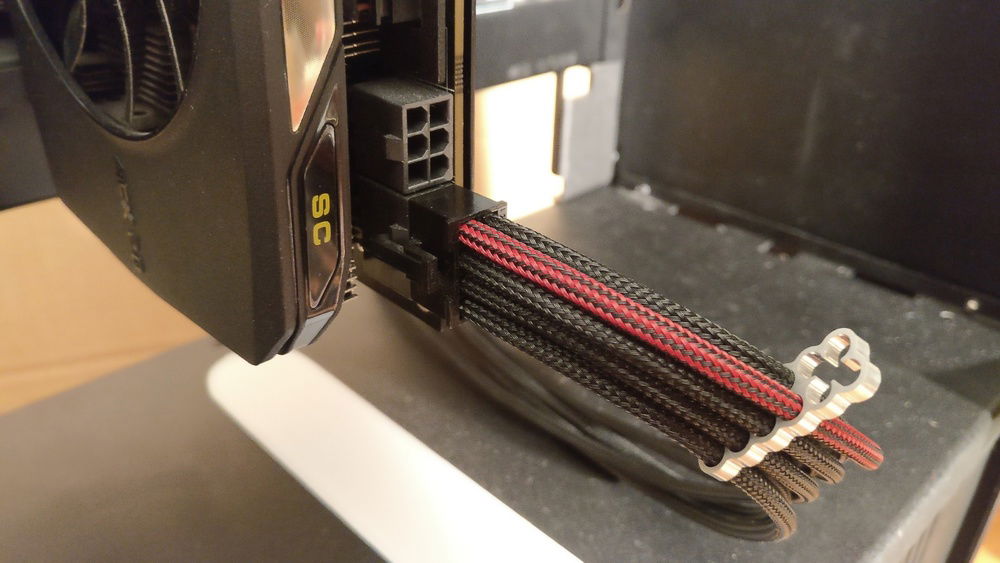
*Tidy up the cables and waste a lot of paracord.
*Find someone who is willing and able to mill a new window in my side panel.
*Trying to find new ideas and look out for another TJ11. ;)
With all that being said, I hope you enjoy what you see and consider giving me a feedback. I'm always open for new cool ideas and criticism.
Thanks for reading and watching. :)
Links:
My german build log.
Imgur Album #1
Imgur Album #2
Color(s): Black Red
RGB Lighting? Yes
Theme: none
Cooling: Custom Liquid Cooling
Size: ATX
Type: General Build
Contests
This build participated in 1 contest.
| Rank | Contest | Date |
|---|---|---|
| #828 | The builds.gg 10K Challenge | ended |
Hardware
CPU
$ 119.99
Motherboard
$ 218.60
Memory
$ 338.68
Case
$ 1,238.98
Cooling
$ 181.95
Cooling
$ 114.75
Accessories
$ 211.50
Accessories
$ 49.70
Keyboard
$ 120.00
Approved by:
