Evolv(ed)
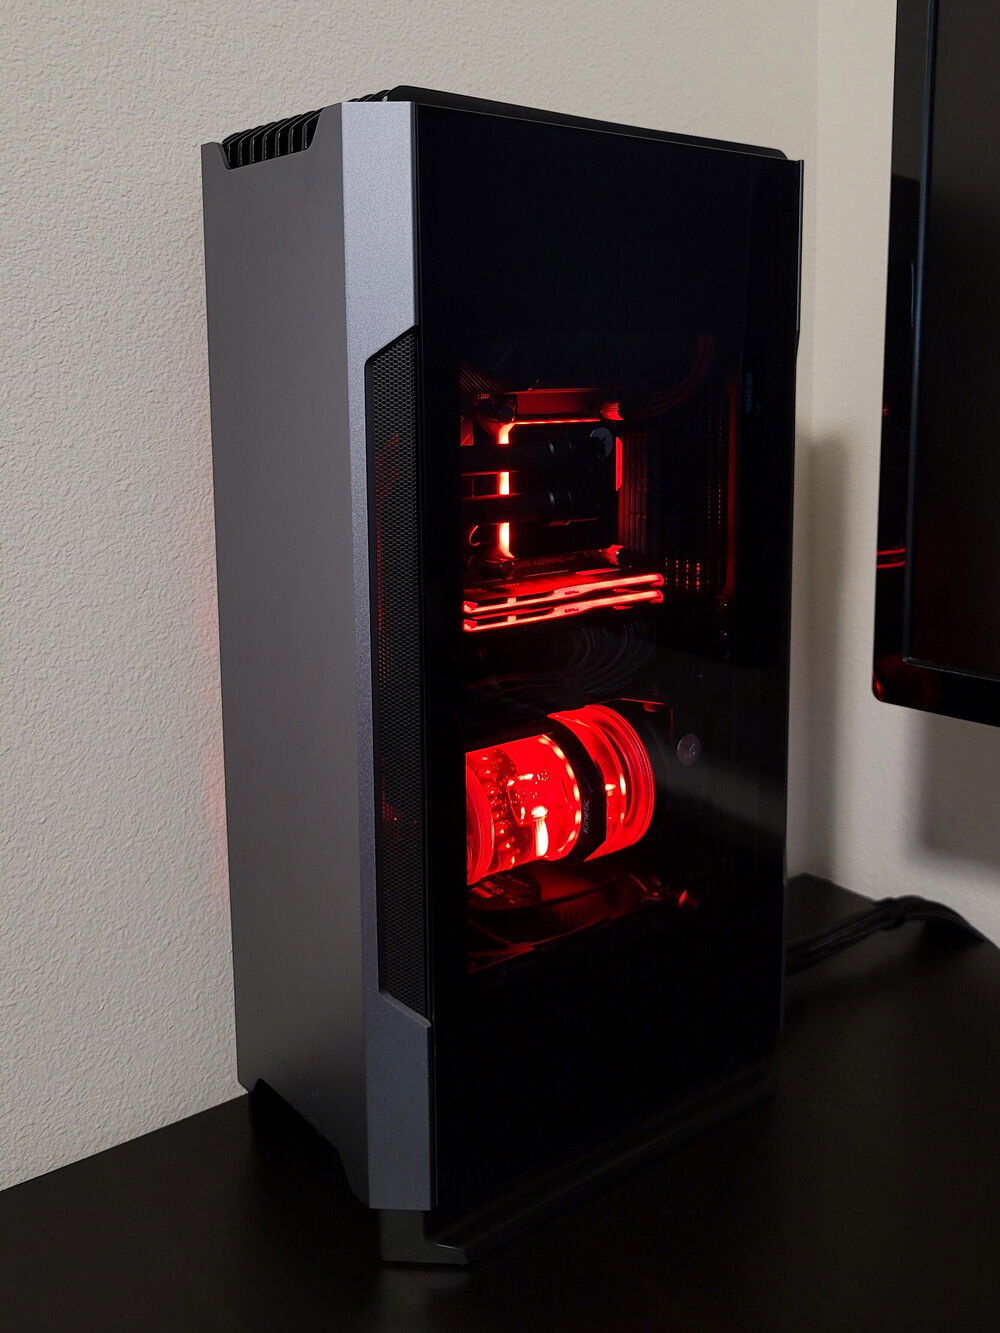
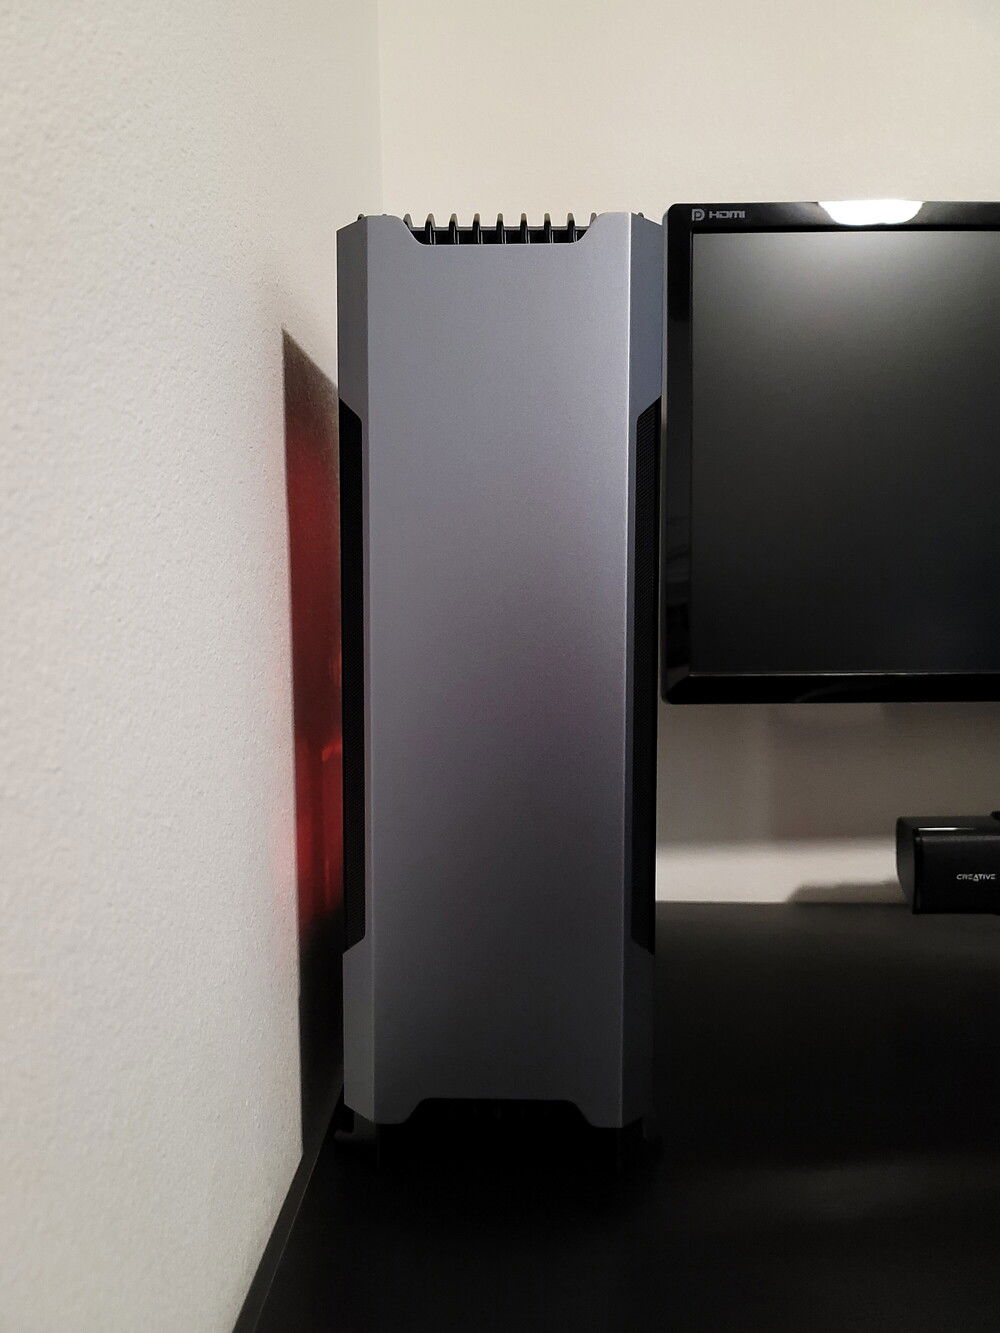
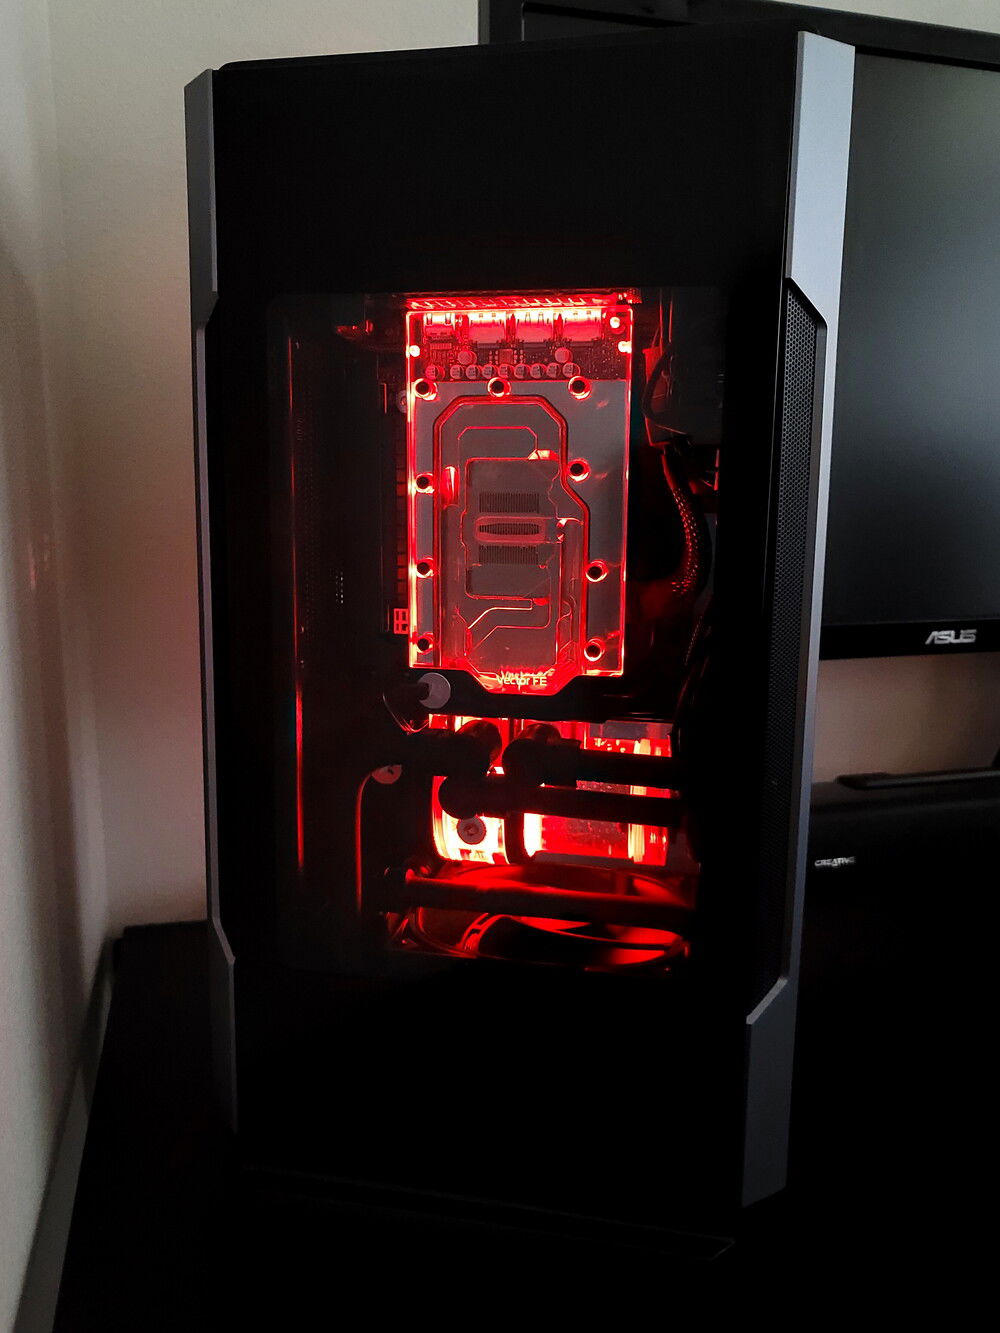
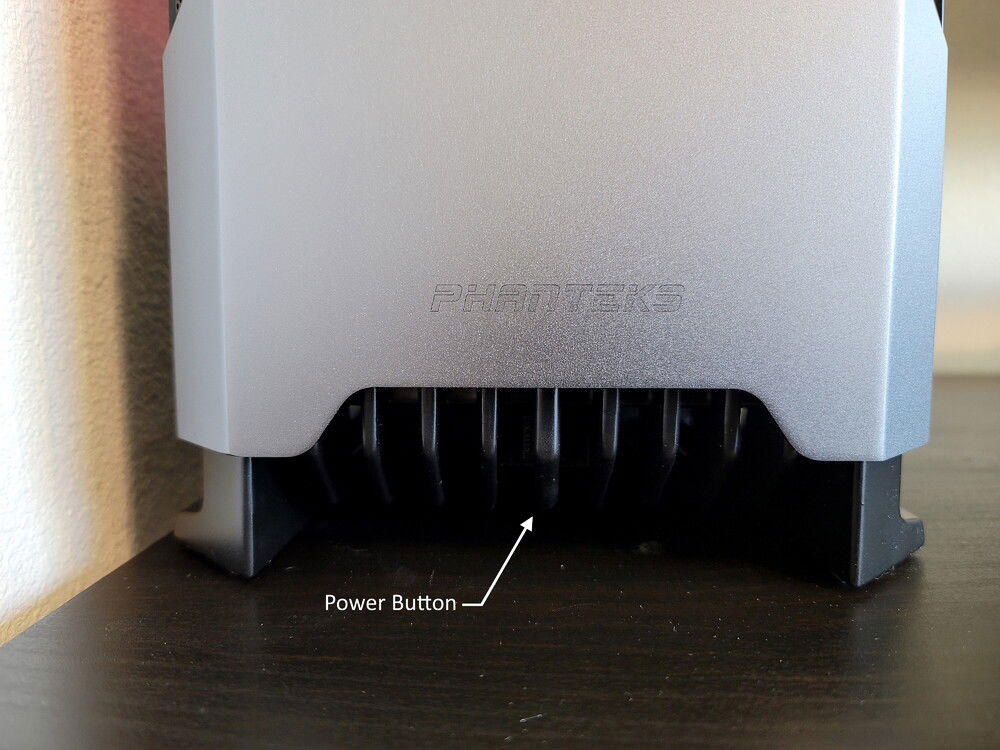
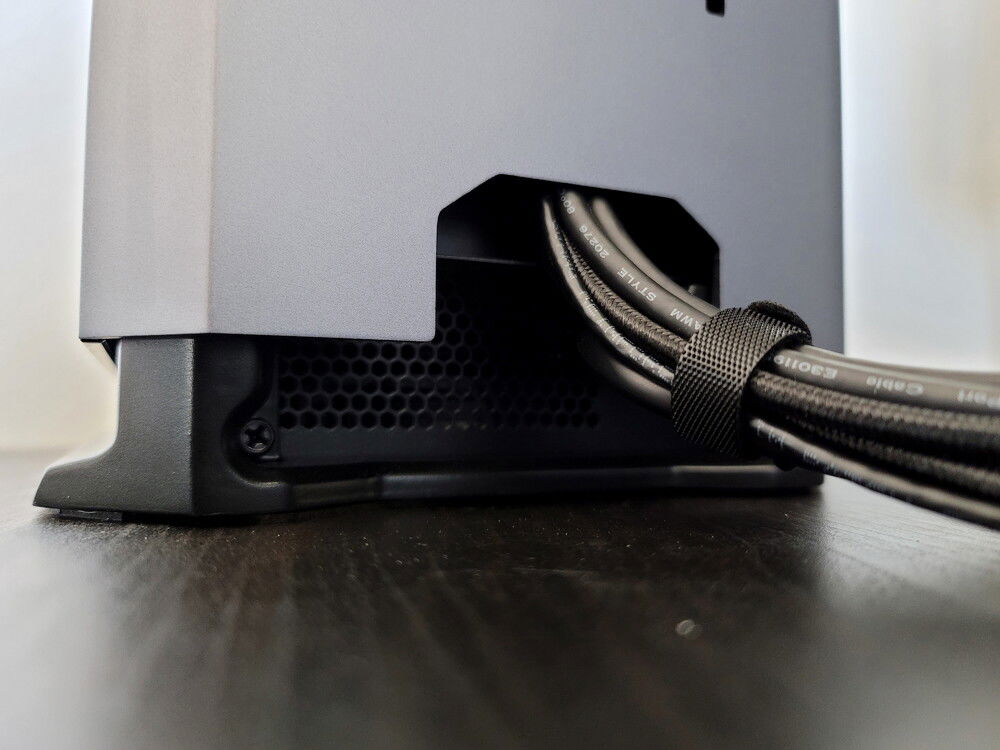
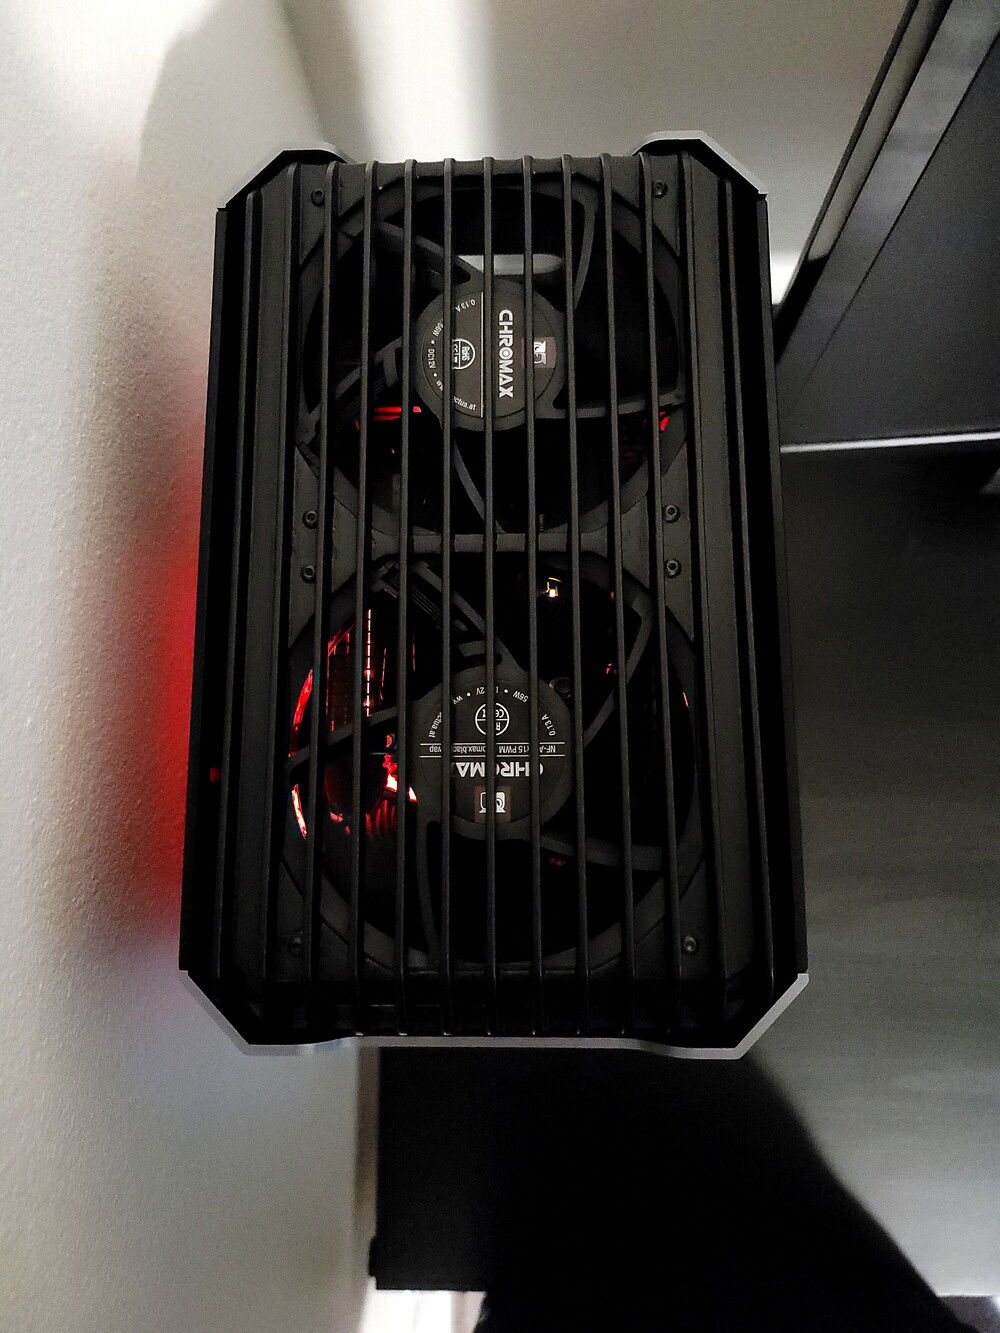
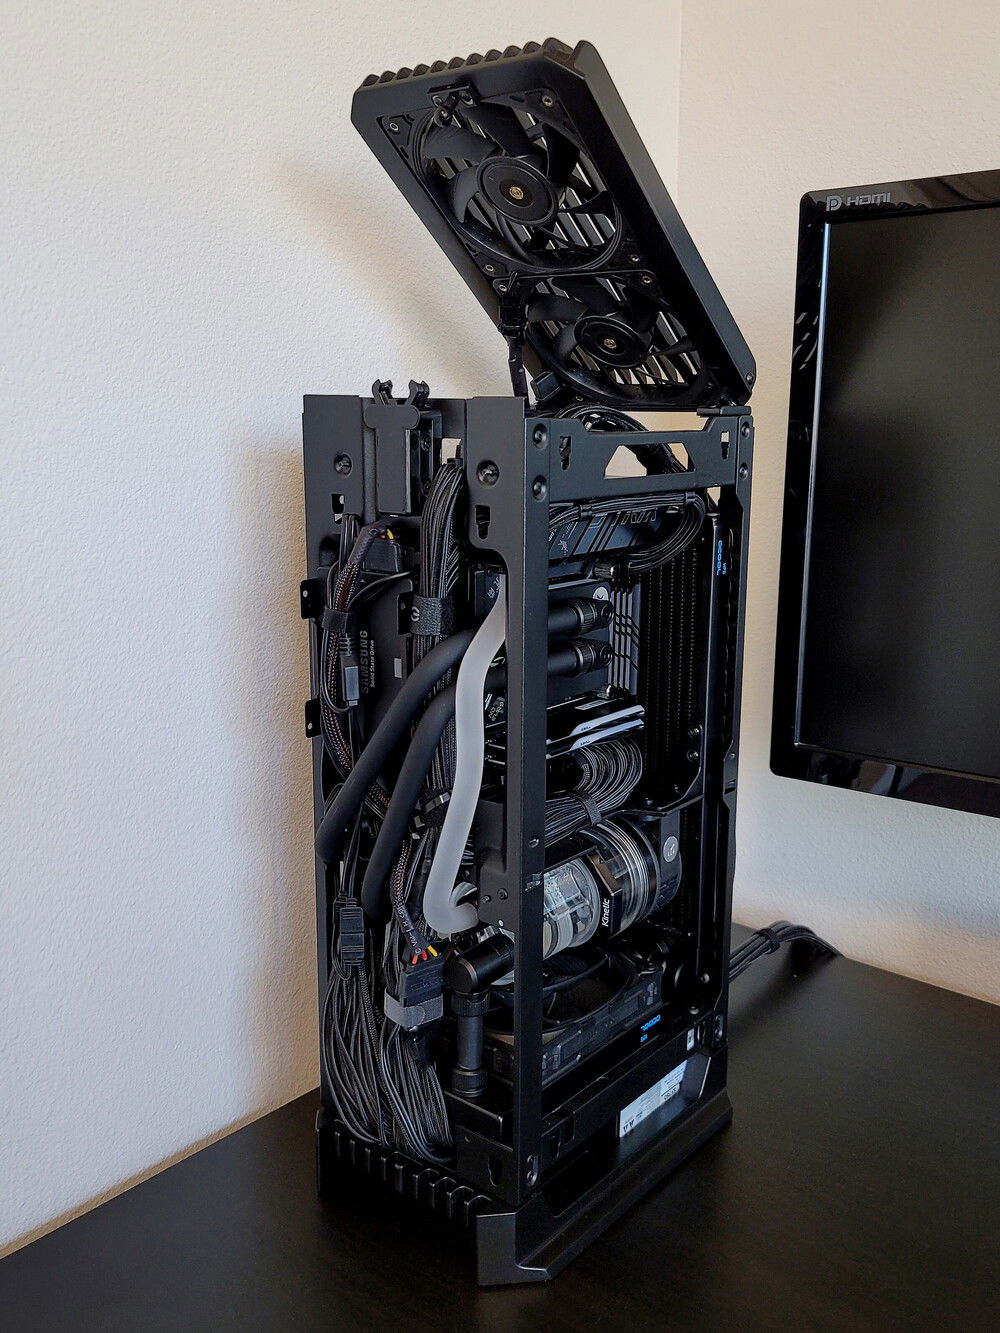
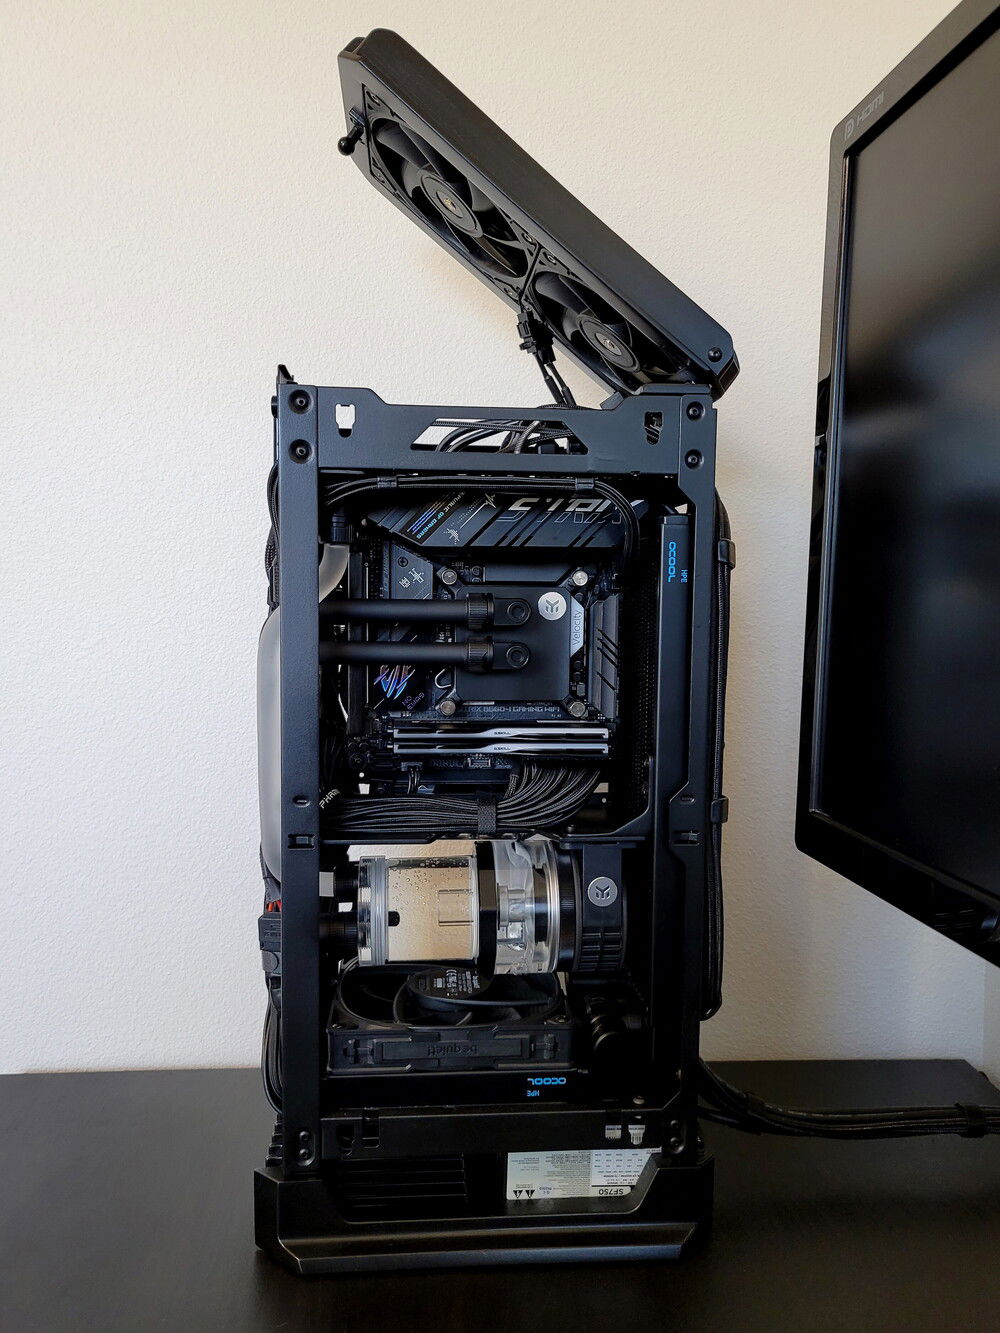
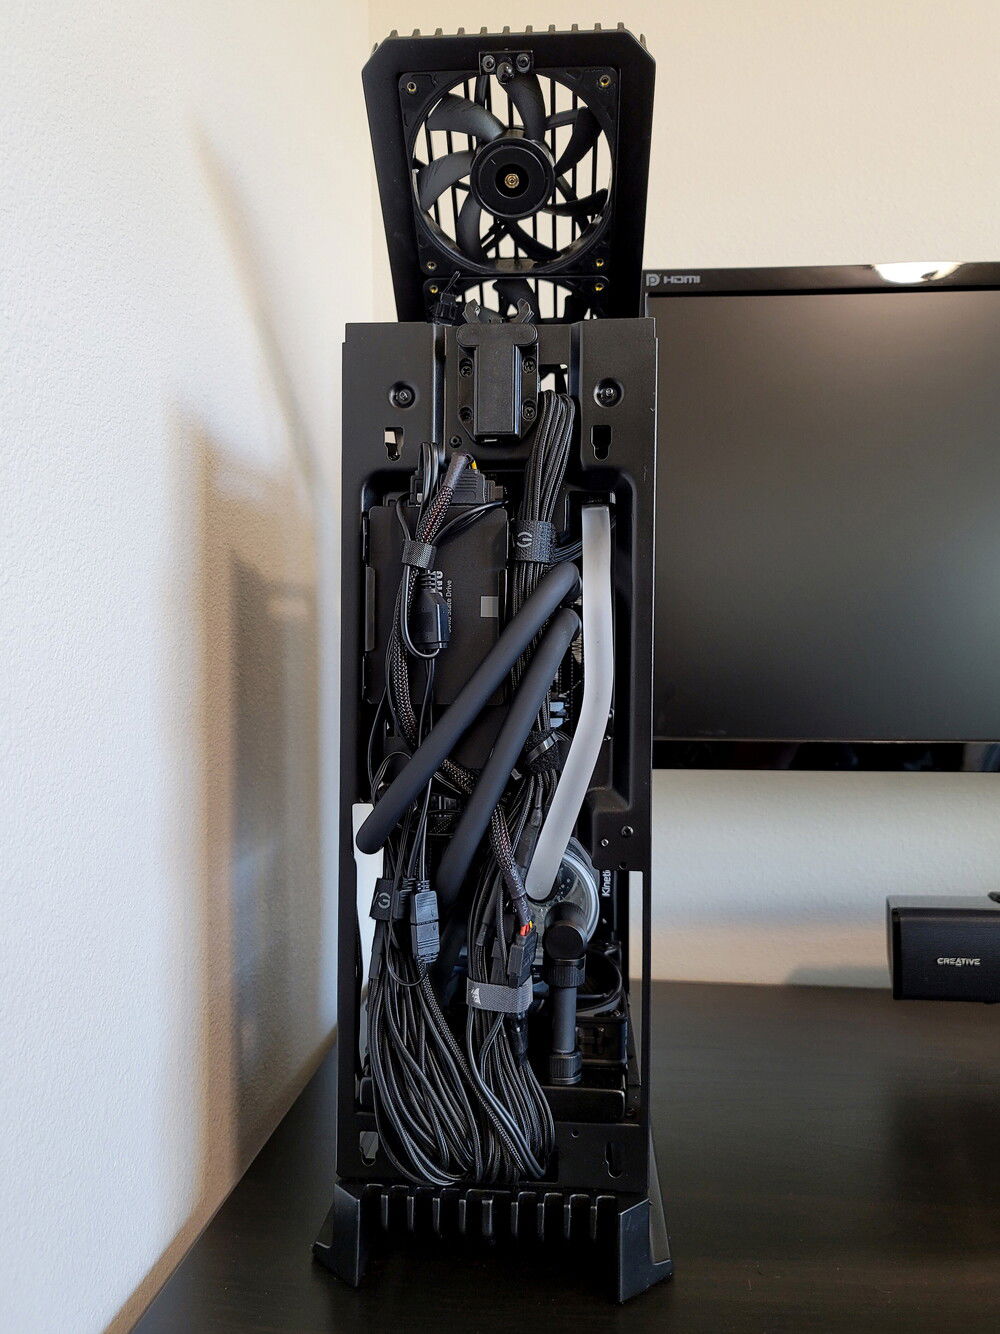
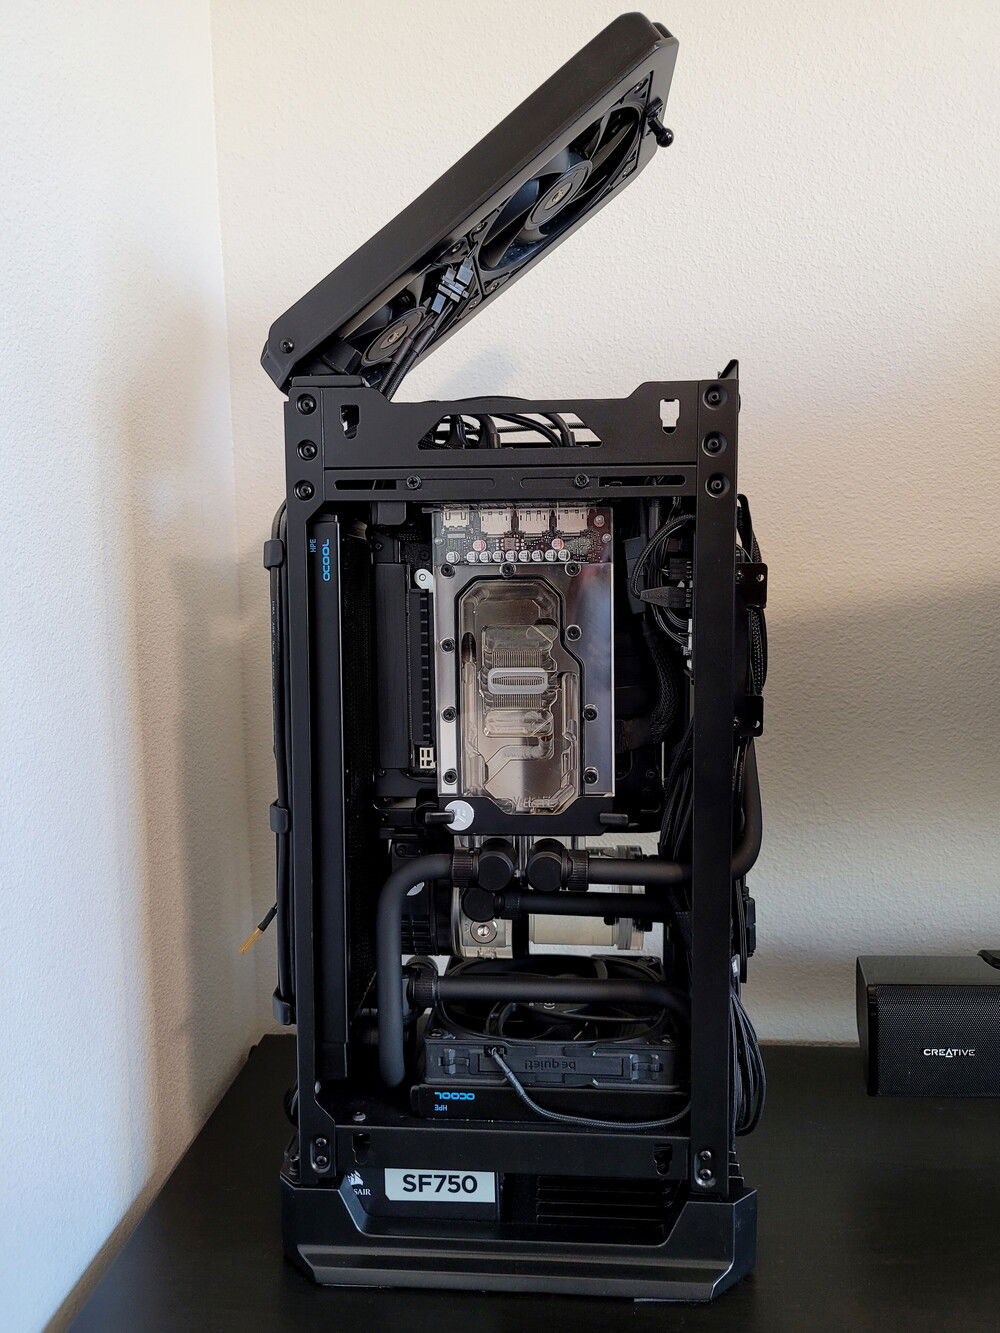
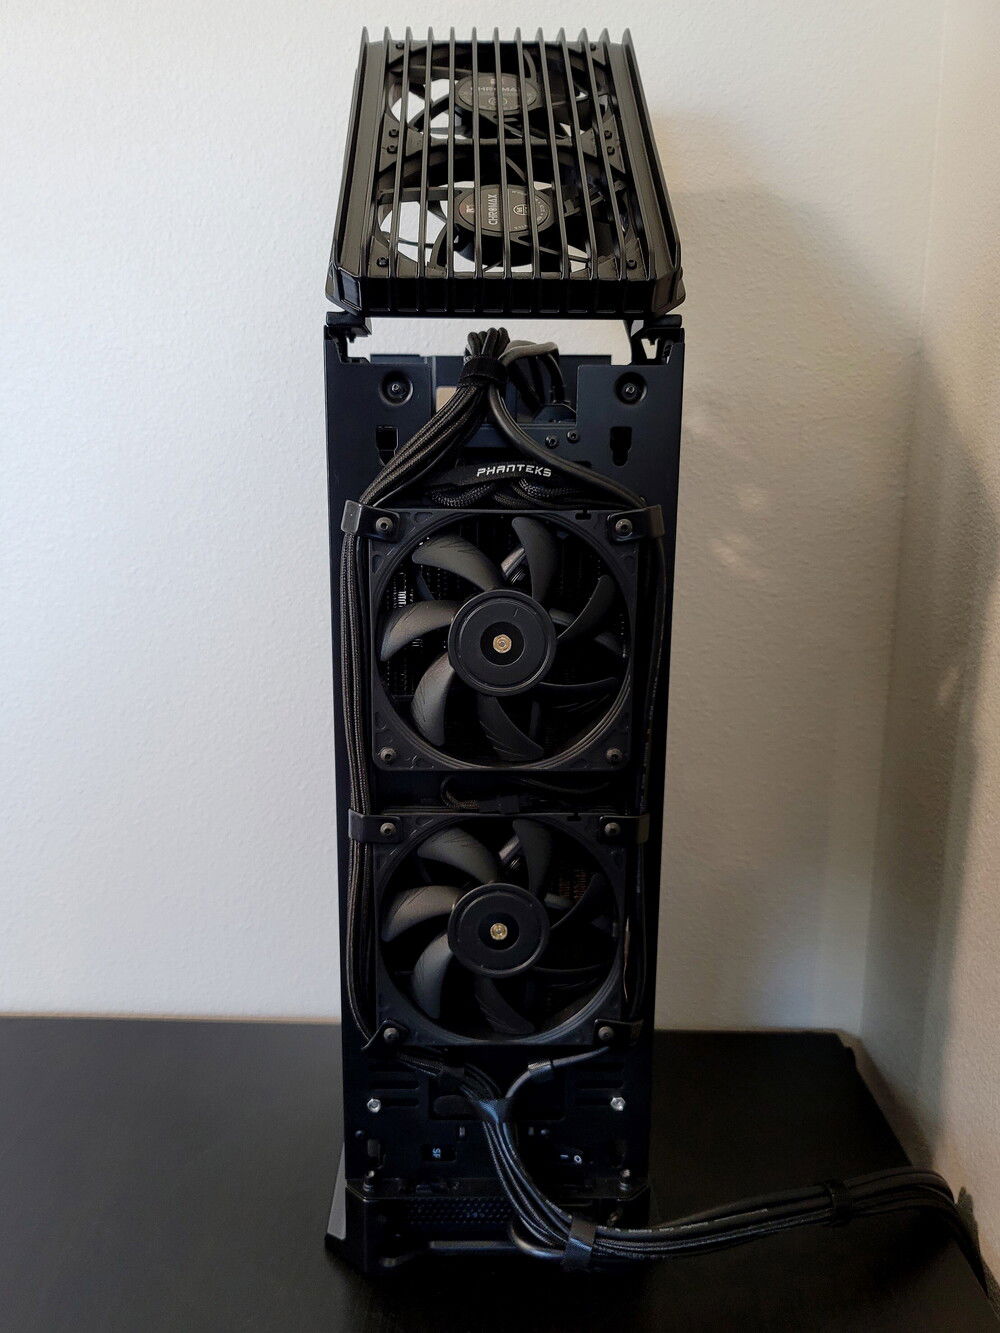
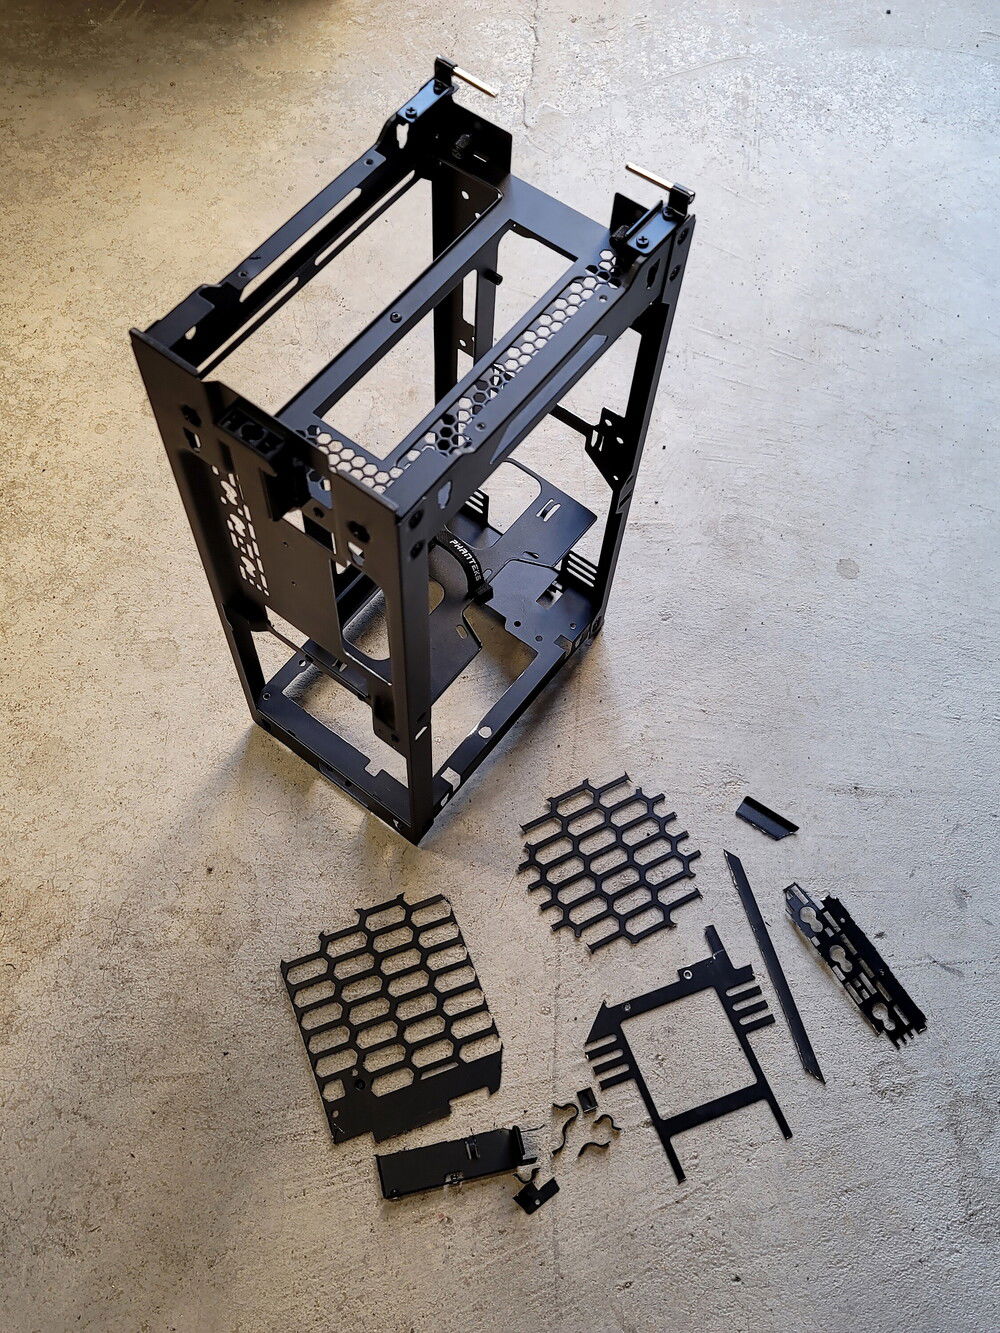
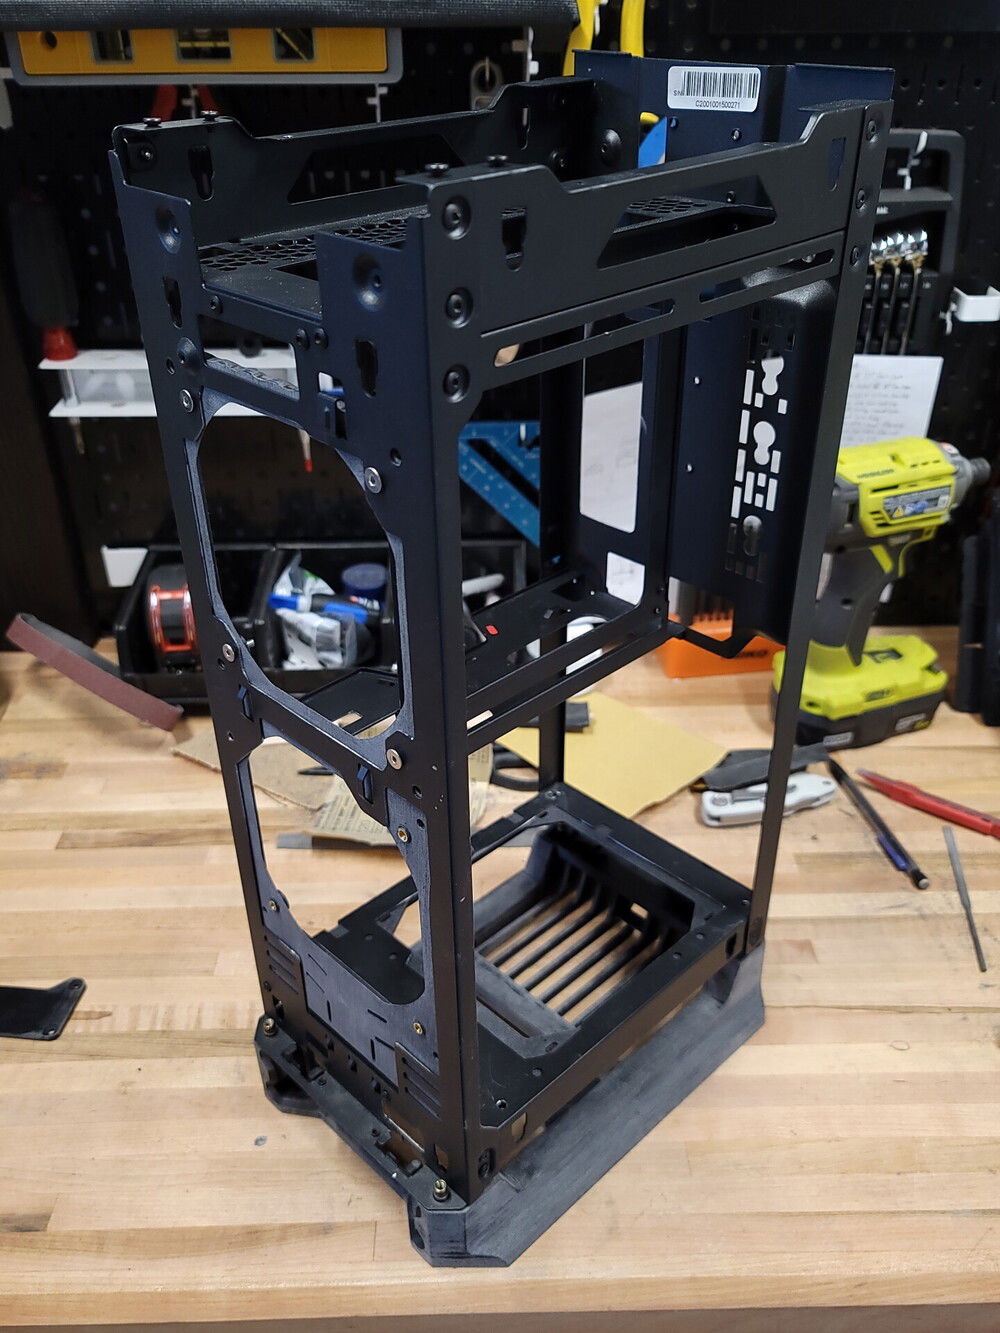
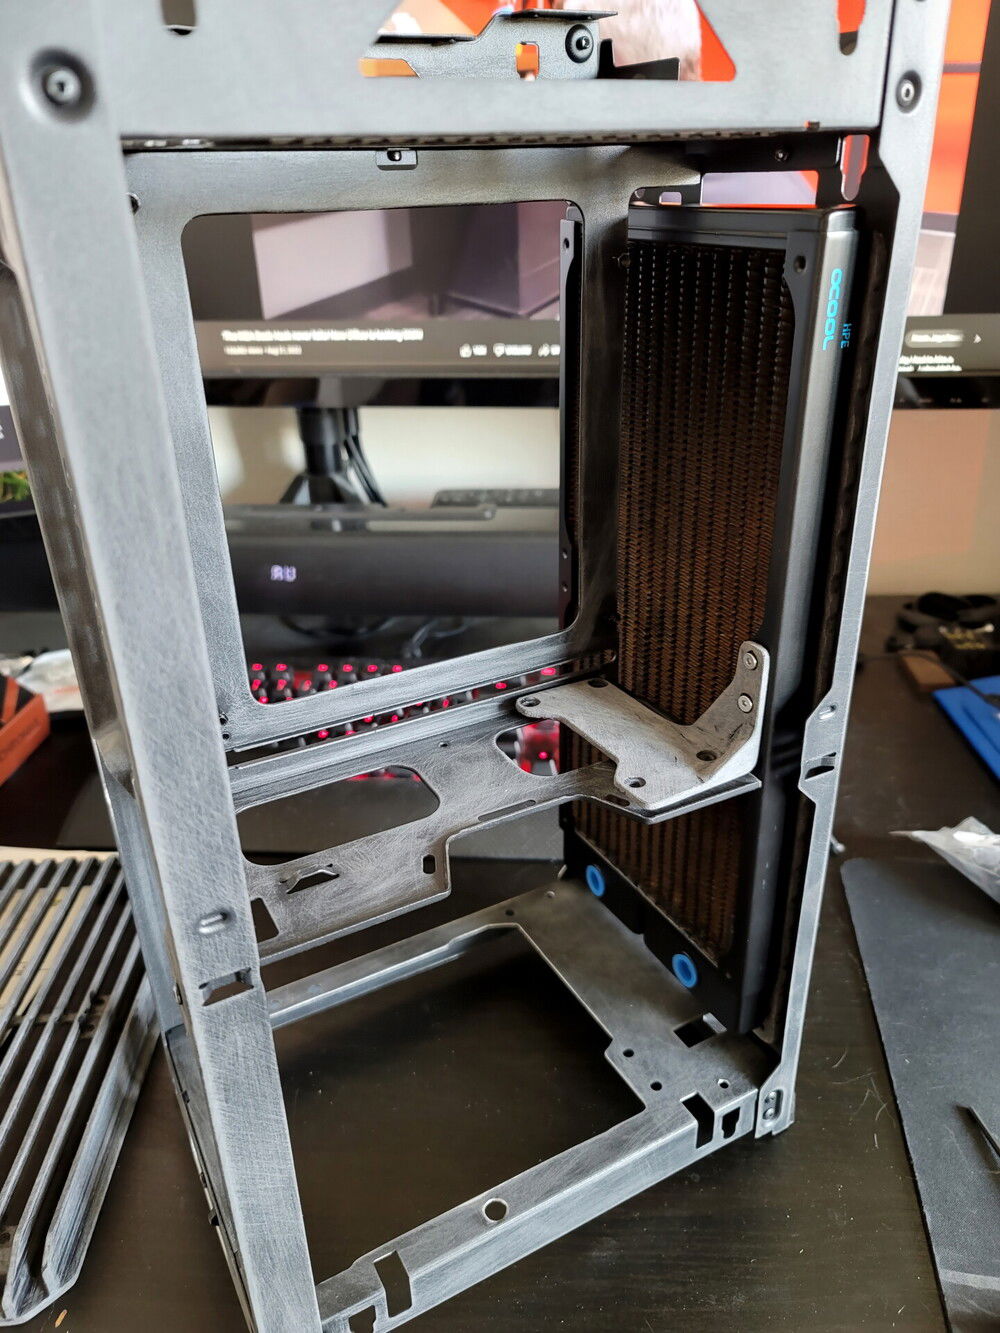
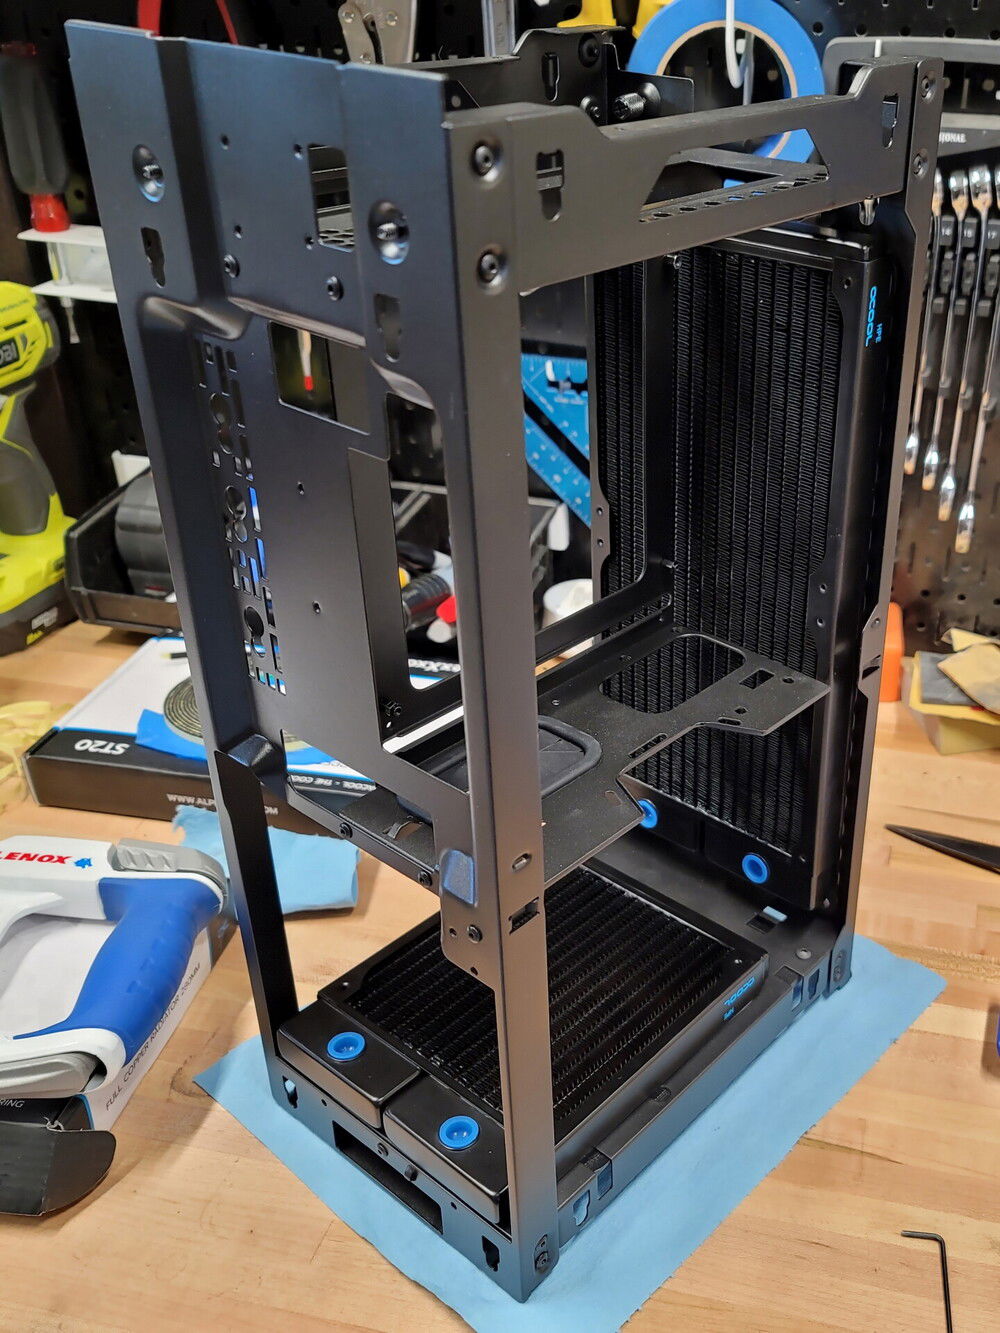
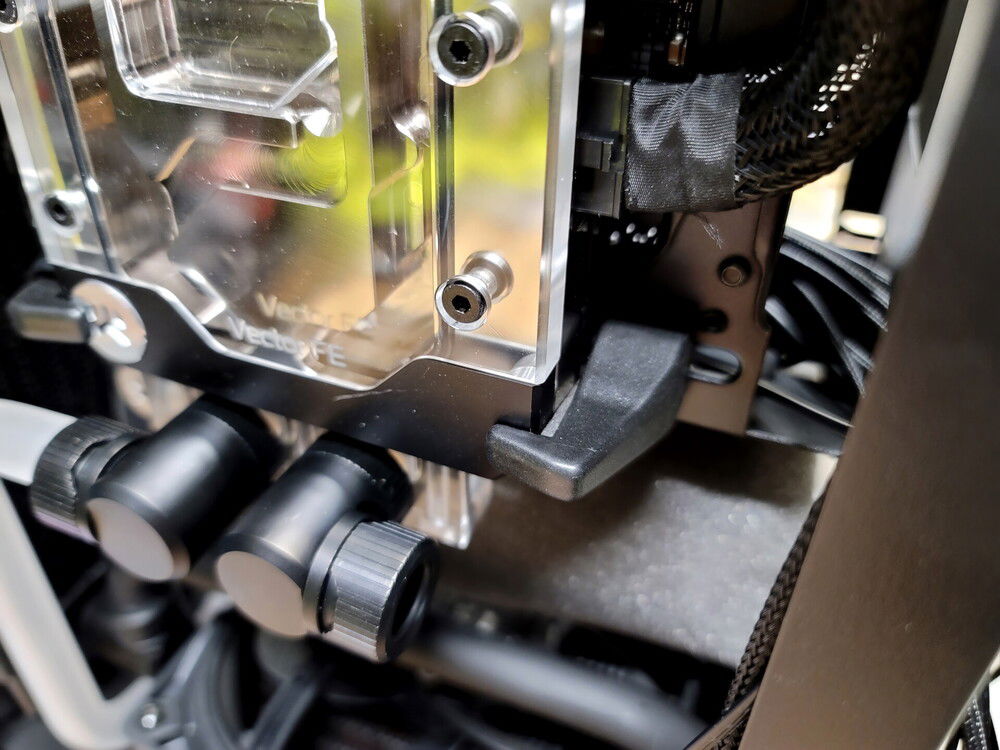
This is my heavily modified Phanteks Evolv Shift 2 build.
After using a giant Corsair Carbide Air 540 for the past 9 years, I wanted something with a very small footprint. I really liked the Corsair One layout but wanted to do a custom loop (my first!). The Phanteks Evolv Shift caught my eye but I wasn't too happy with some of the layout decisions and planned on significant modifications.
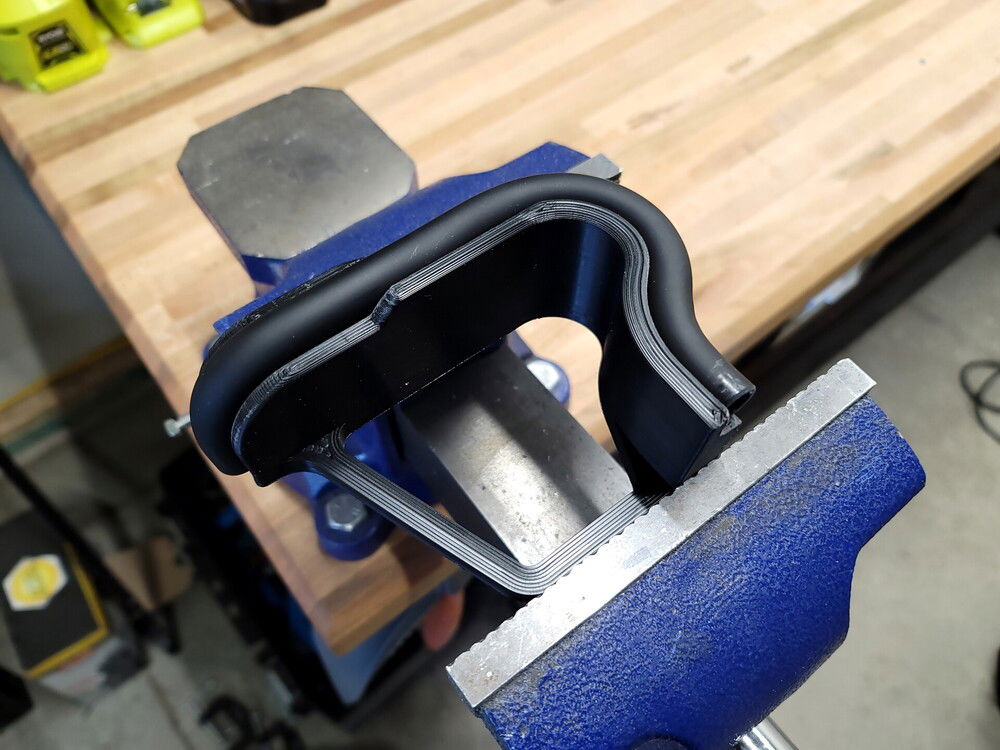
After purchasing the case, I measured every detail and modeled the entire build in CAD. Time consuming but in the end everything fit with the exact number of fittings purchased and a convenient location for both a fill and drain port. A side benefit was the ability to 3D print custom jigs to bend the hardline tubing!
(Case model here: https://grabcad.com/library/phanteks-evolv-shift-2-1)
The build uses mostly EK parts and fittings with the only "unique" one being the pump. I combined the TBE 200 D5 pump with the shorter RES X3 - TUBE 110 to get it to fit.
The OCTO controller is definitely one of my favorite parts, it's so nice to have all the fan and RGB control in one place. The Aquasuite software is fantastic and incredibly advanced. While not at all necessary, the ability to create custom virtual sensors based on block diagrams to control the pump/fans was really useful to tune everything for quiet operation.
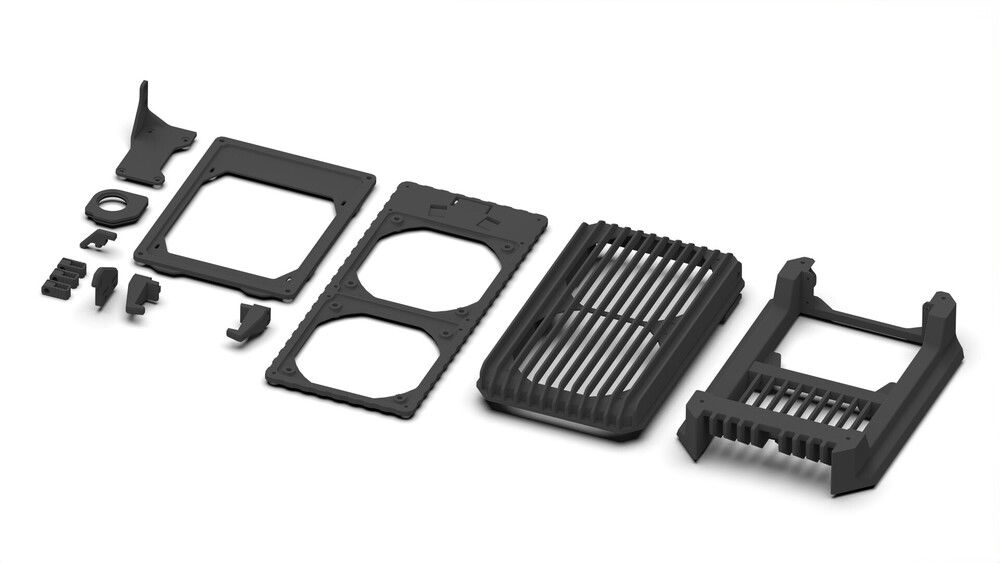
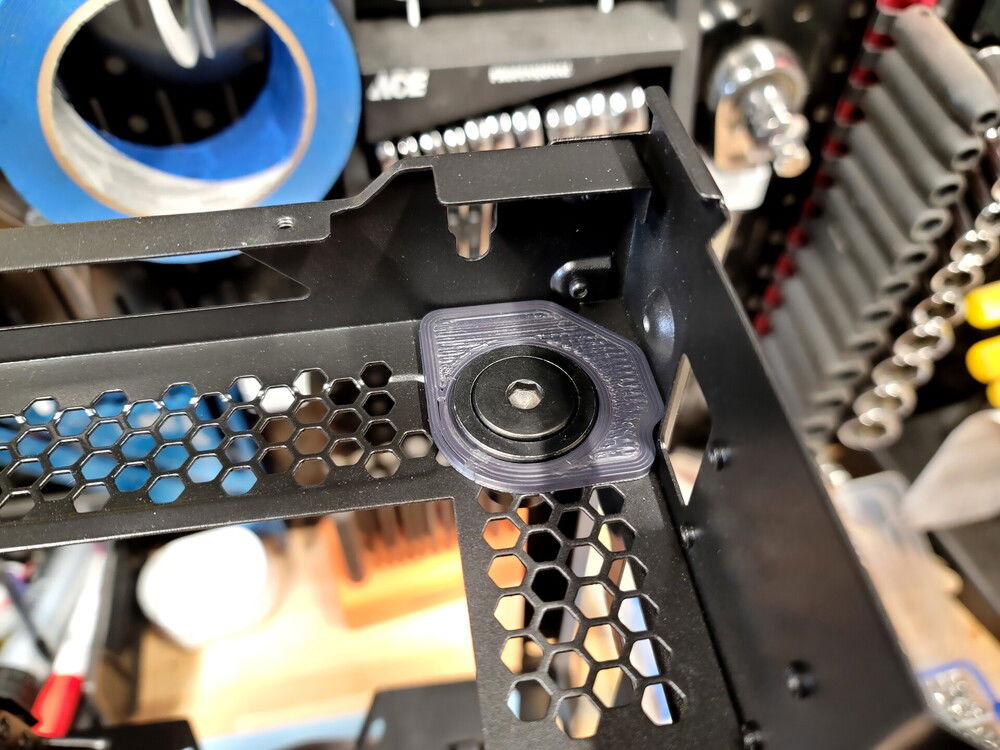
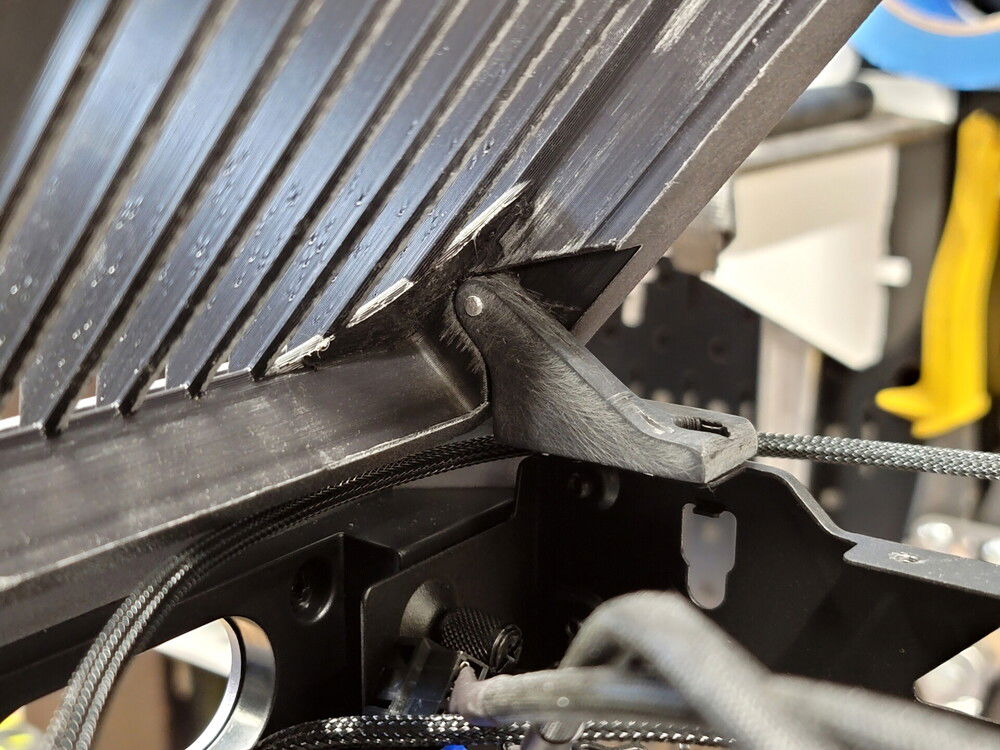
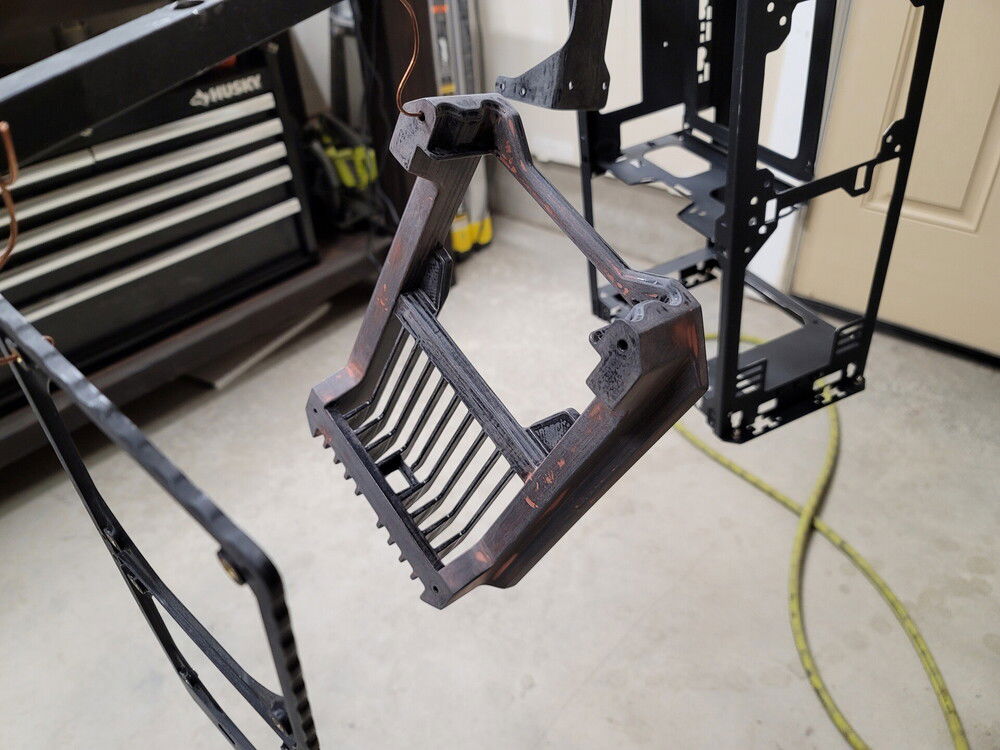
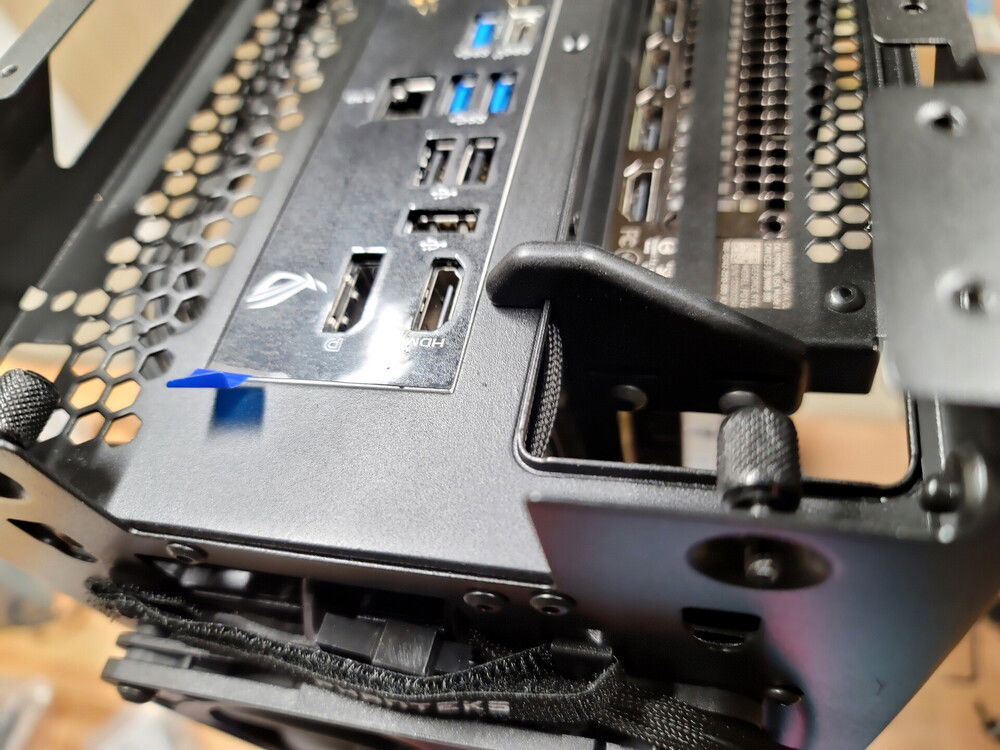
3D printed parts:
(3D printed files here: https://www.thingiverse.com/thing:5549643)
Sanding and painting all of the 3D printed parts was very time consuming, especially the parts that had to be printed in two halves. If I was doing it over, I'd definitely pay for SLS prints after confirming fit with regular FDM test parts. Assembly was relatively straightforward although the Corsair satin black tubing was a bit of a pain to work with. The satin finish is incredibly delicate and can get damaged (polished spot) from just a cable rubbing against it. I wasted a couple of good bent tubes before getting fed up and covering them all in painters tape immediately after bending.
Temps and Performance: Even though the components are not all top of the line, it's a massive improvement from the i5-3570k and GTX 960 I was running before.
For a case that's notoriously hot, I'm pretty happy with those numbers especially with the low fan noise!
Color(s): Aluminum Black
RGB Lighting? No
Theme: Case Mod
Cooling: Custom Liquid Cooling
Size: Mini-ITX
Type: General Build
Hardware
CPU
$ 277.48
Motherboard
$ 299.99
Memory
$ 409.99
Graphics
$ 1,299.00
Case
$ 89.99
Case Fan
$ 29.90
Case Fan
$ 119.80
Cooling
$ 124.00
Cooling
$ 134.00
Cooling
$ 24.99
Cooling
$ 299.99
Cooling
Cooling
$ 197.99
Accessories
$ 119.99
Approved by:
