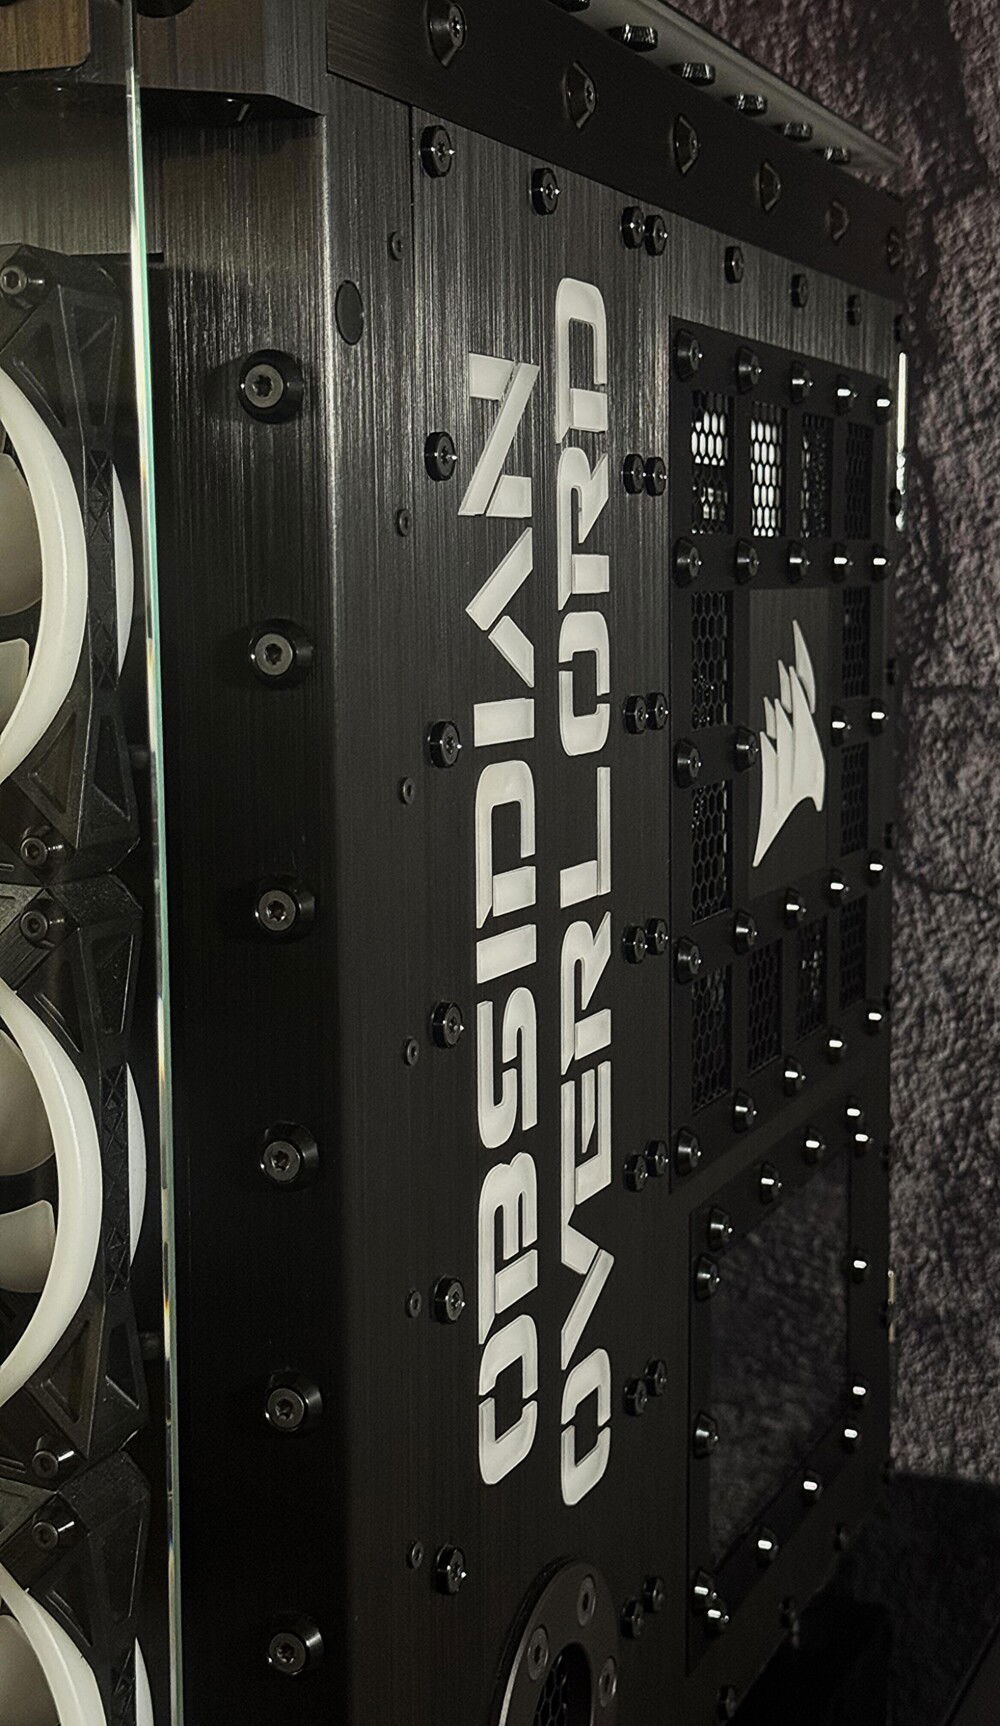
Brushed anodized aluminum from top to bottom.
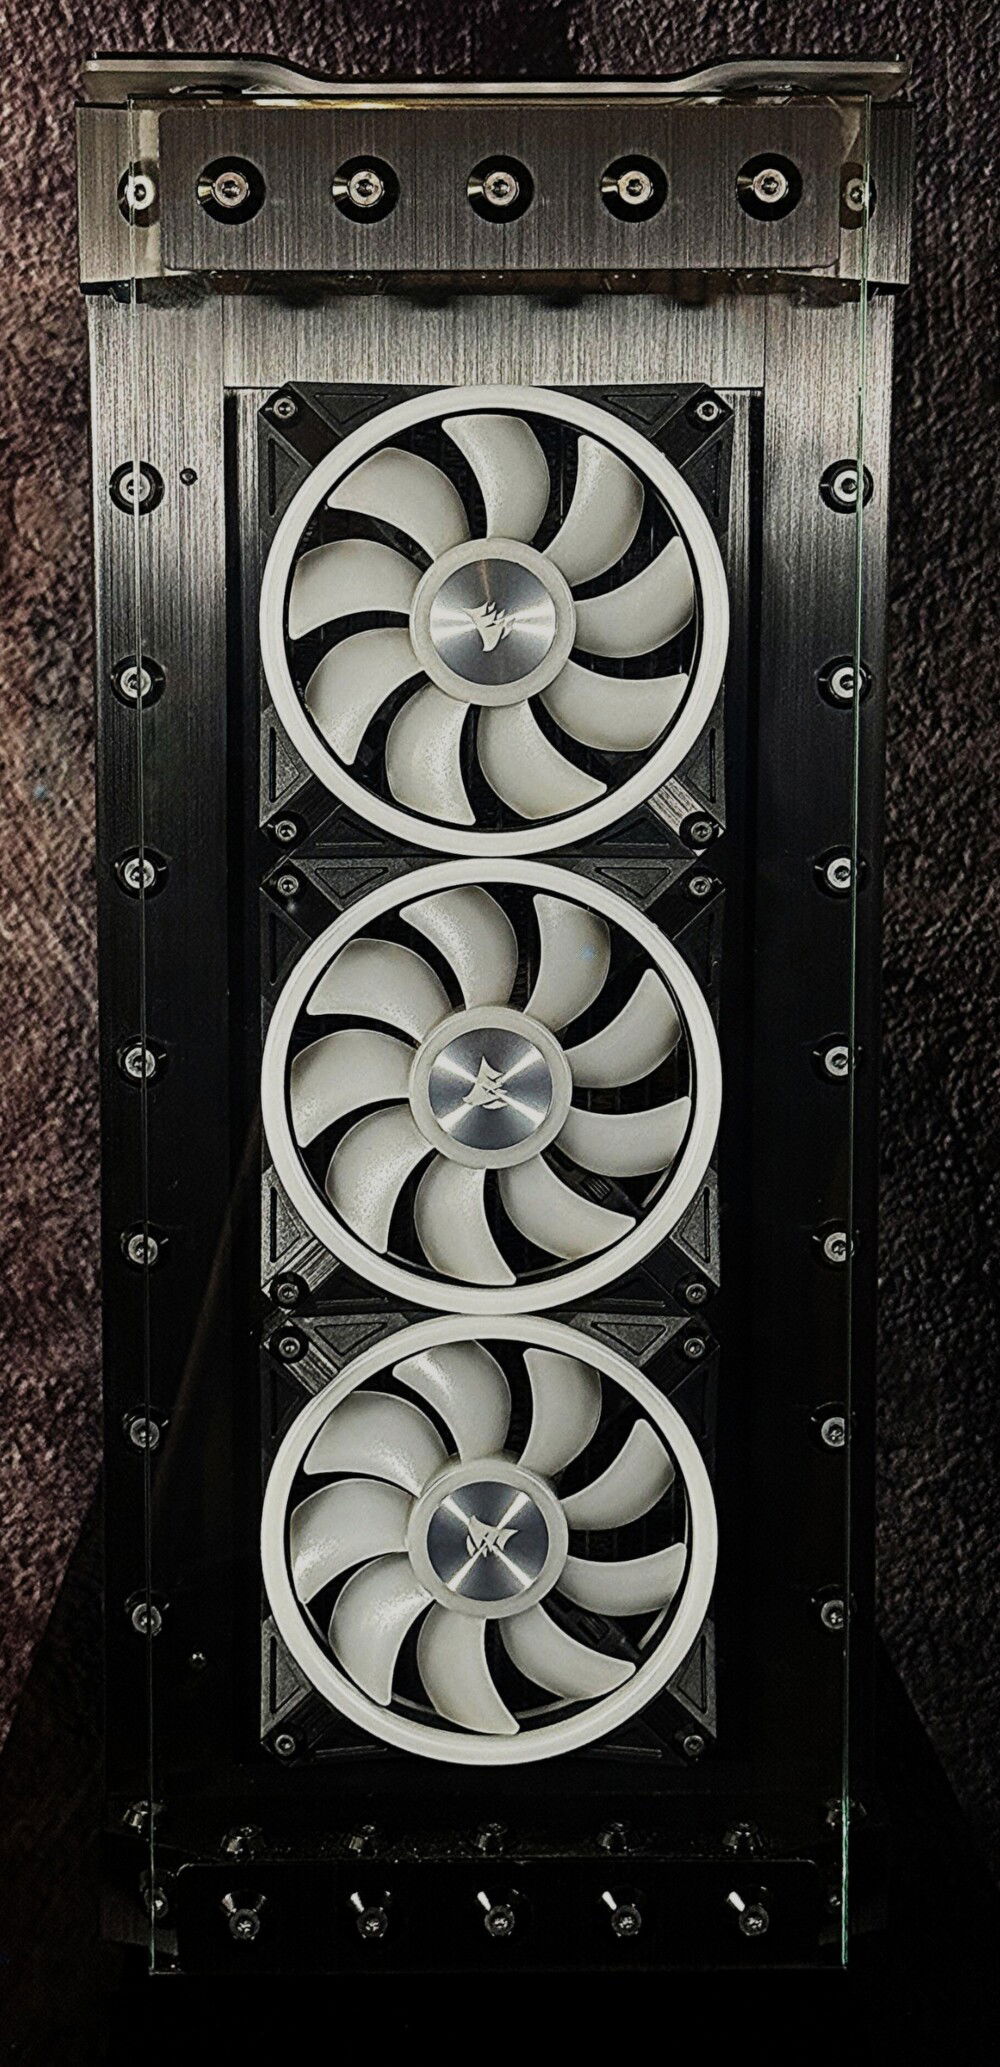
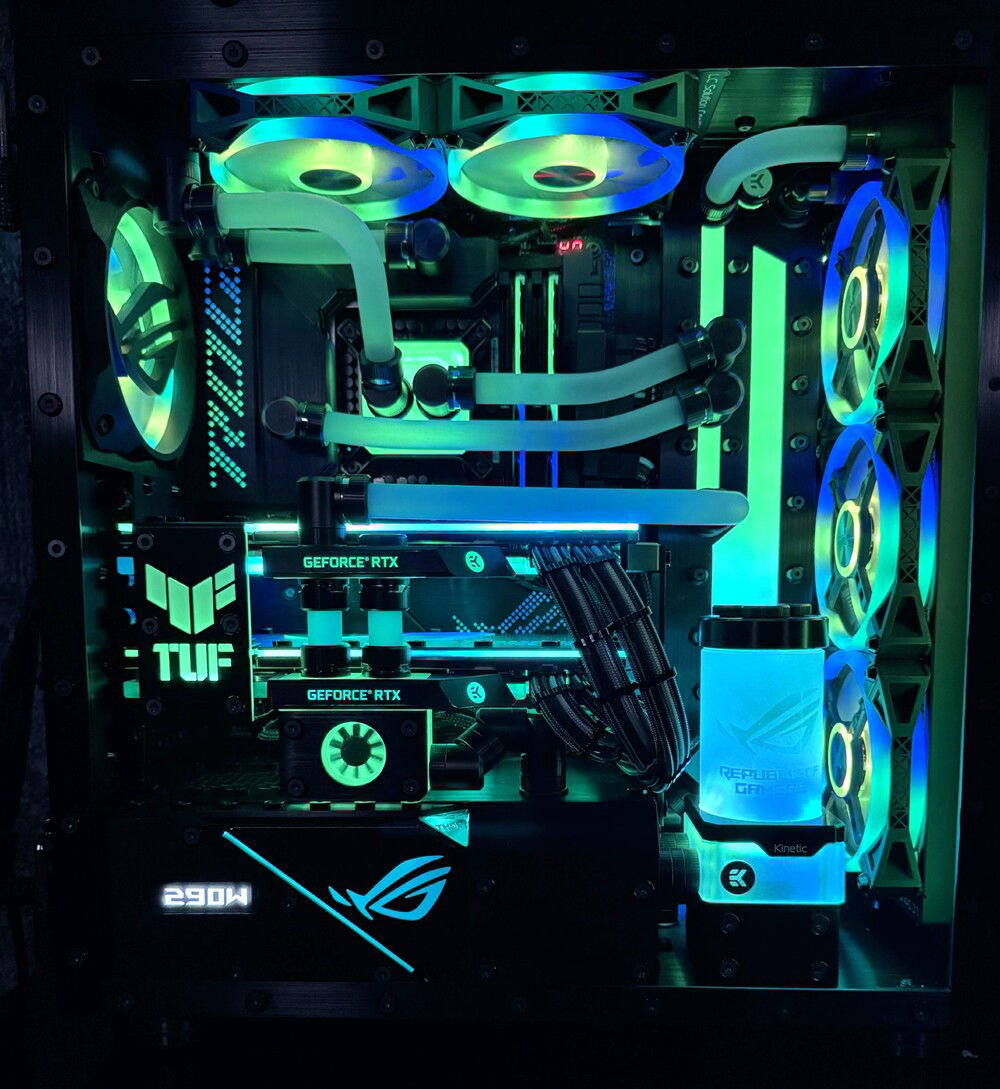
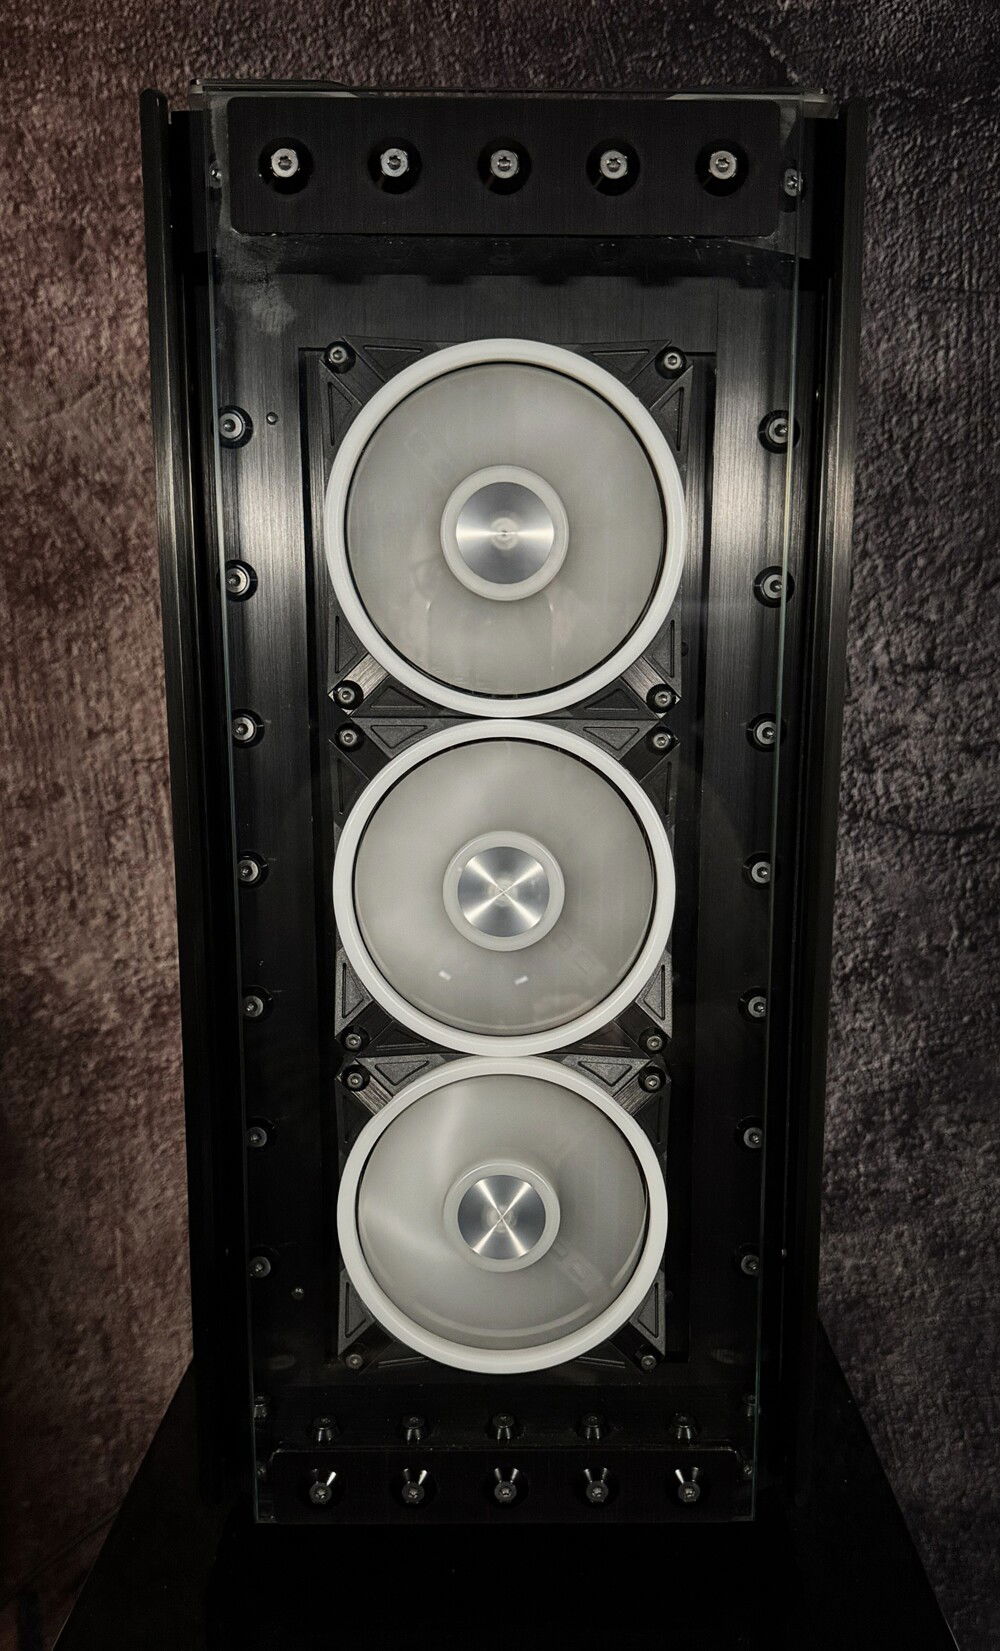
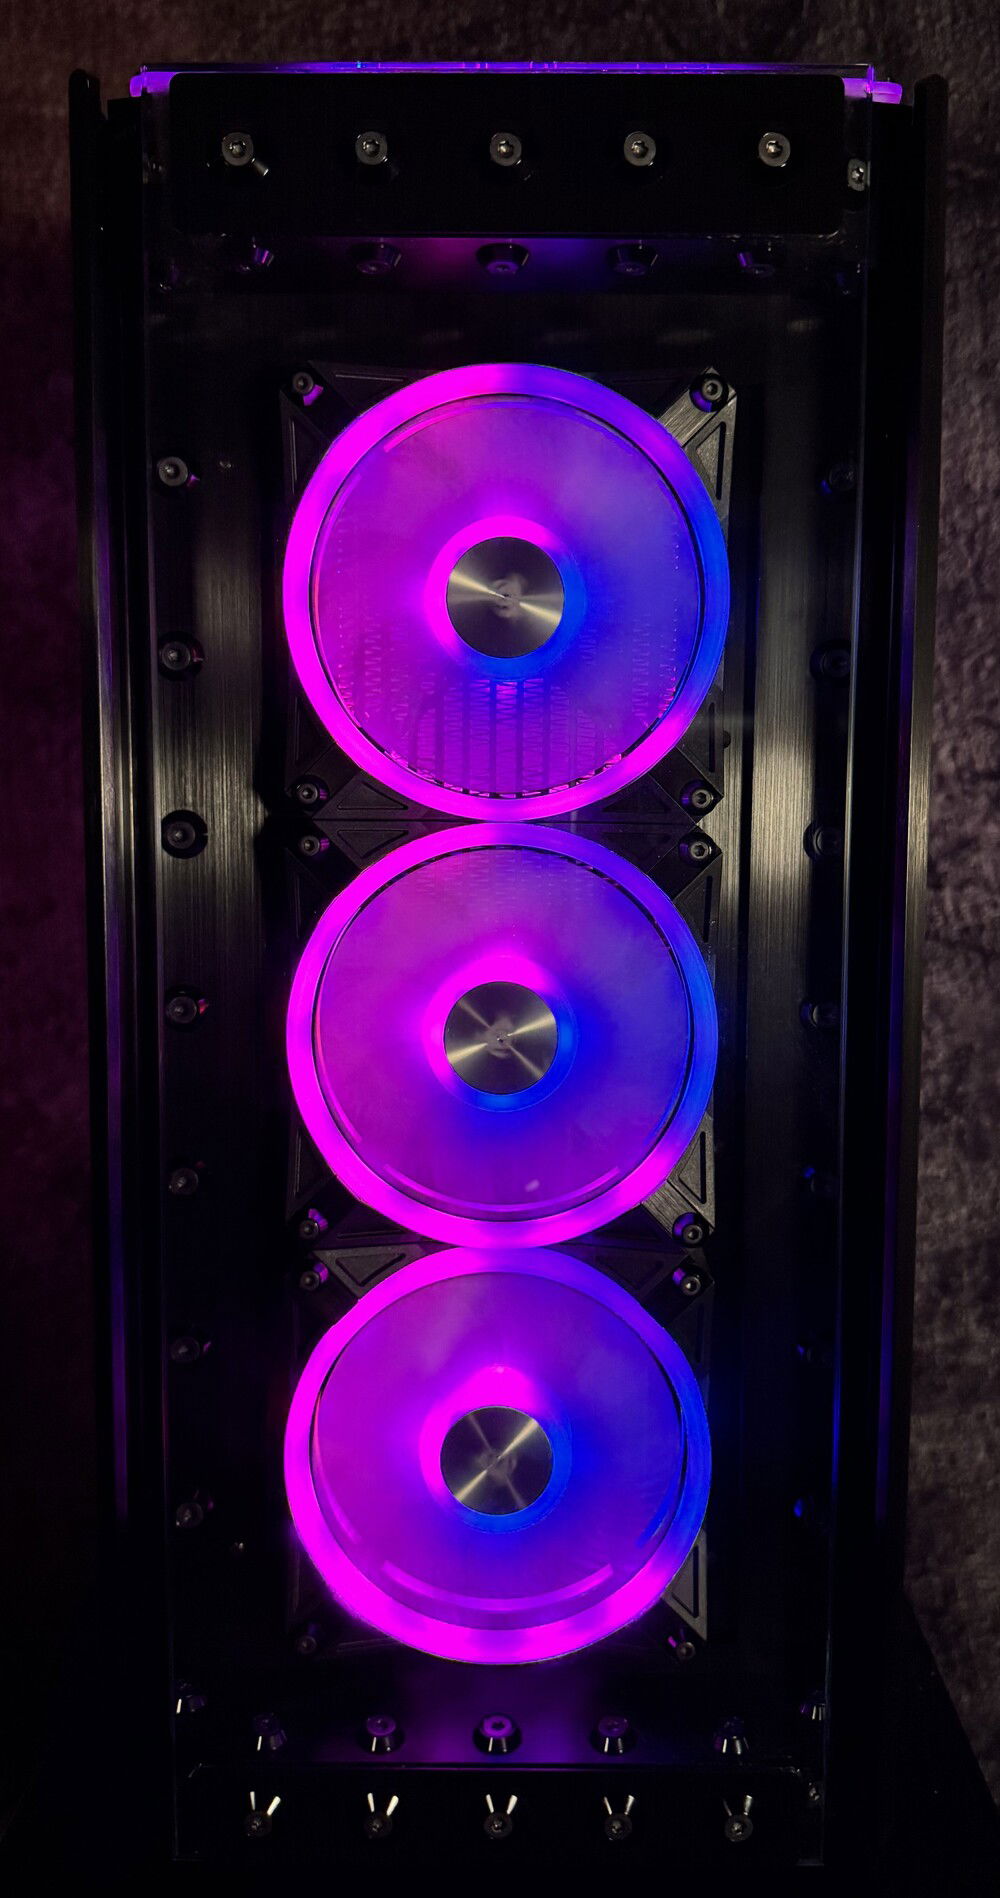
Front shot, without side glass
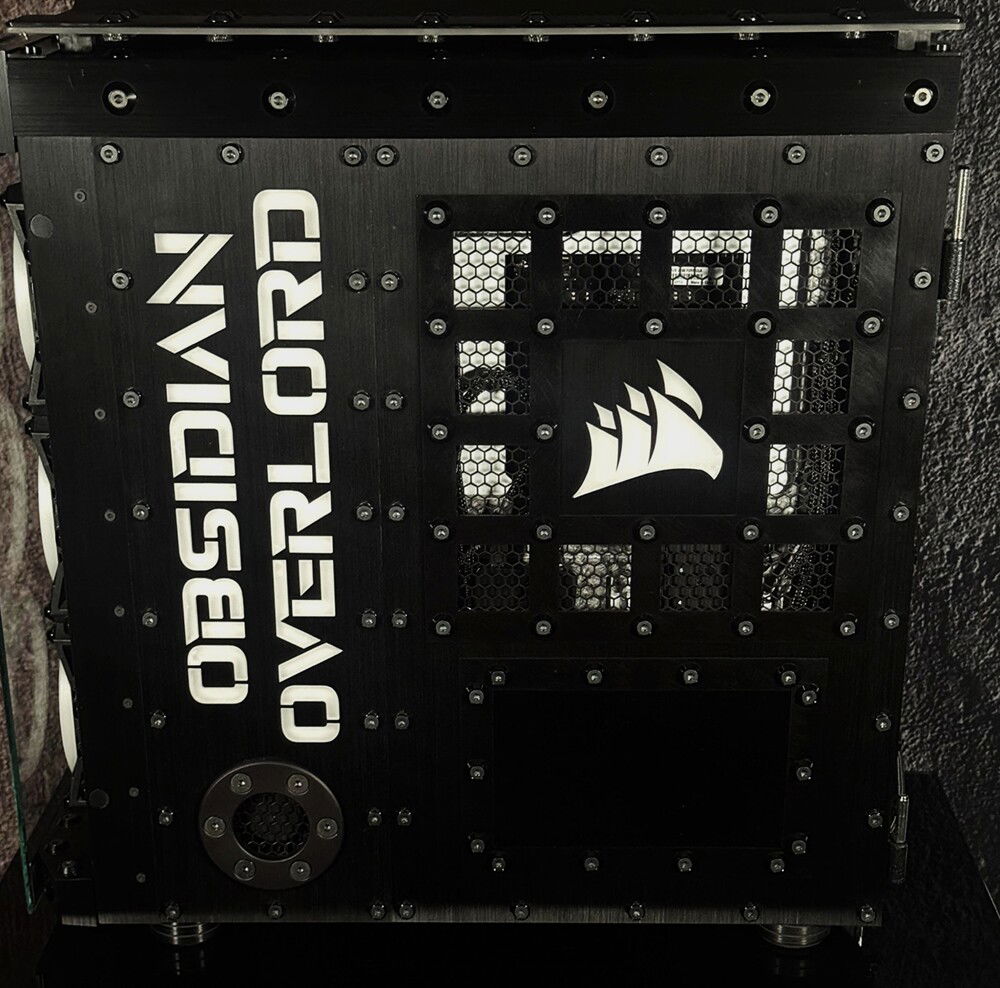
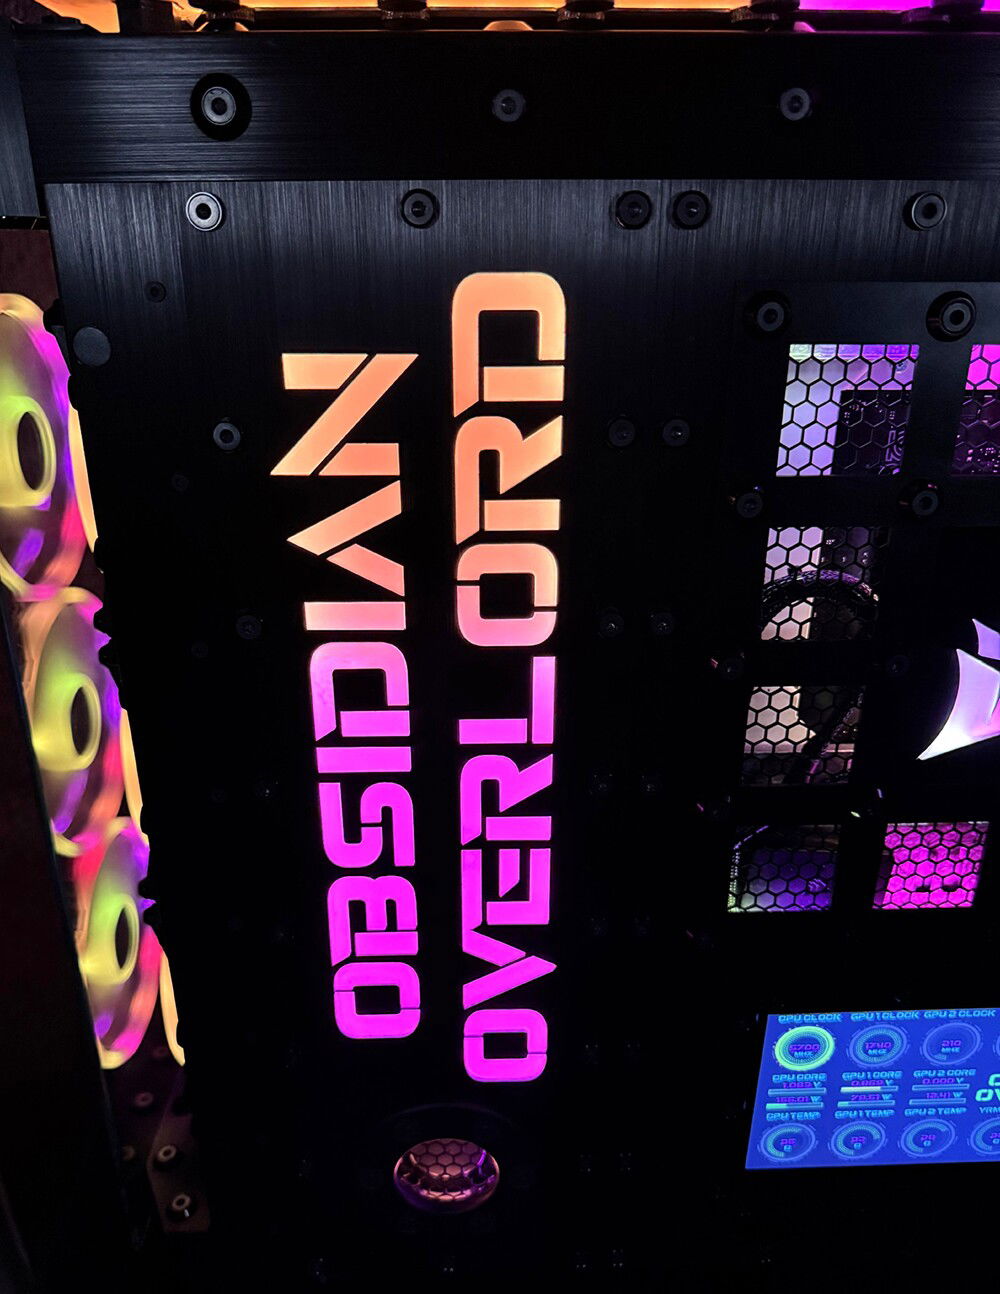
Custom made laser cut back panels, with RGB illumination panel insets
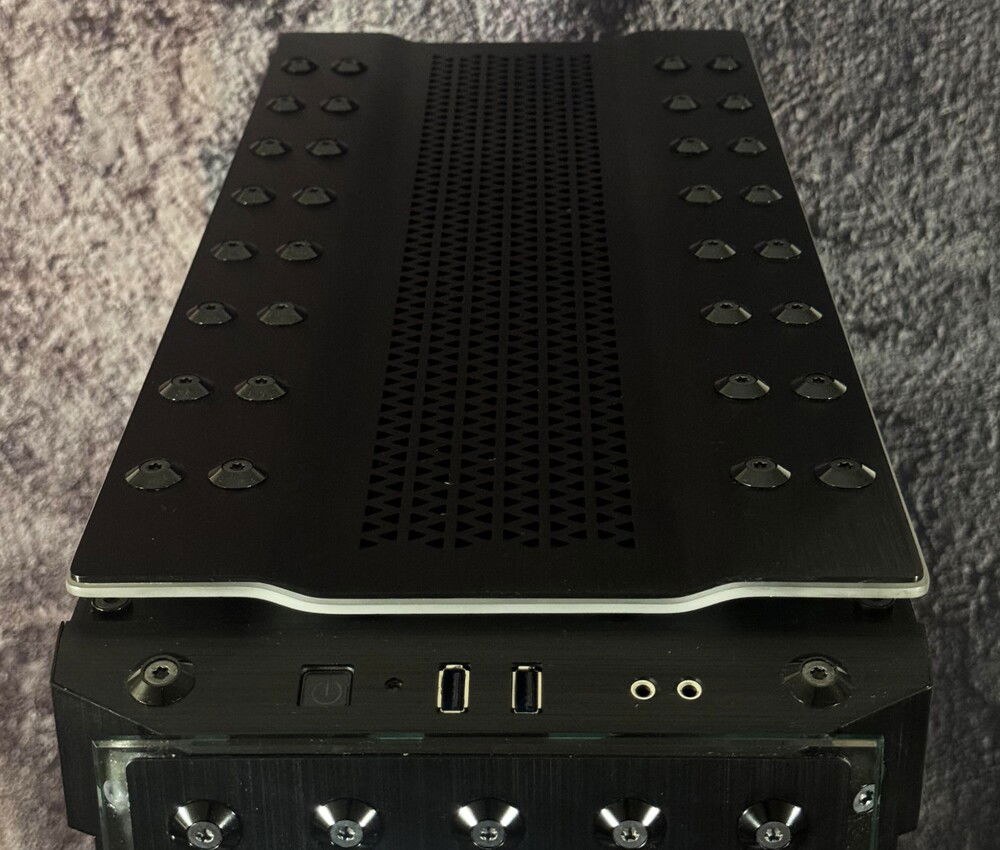
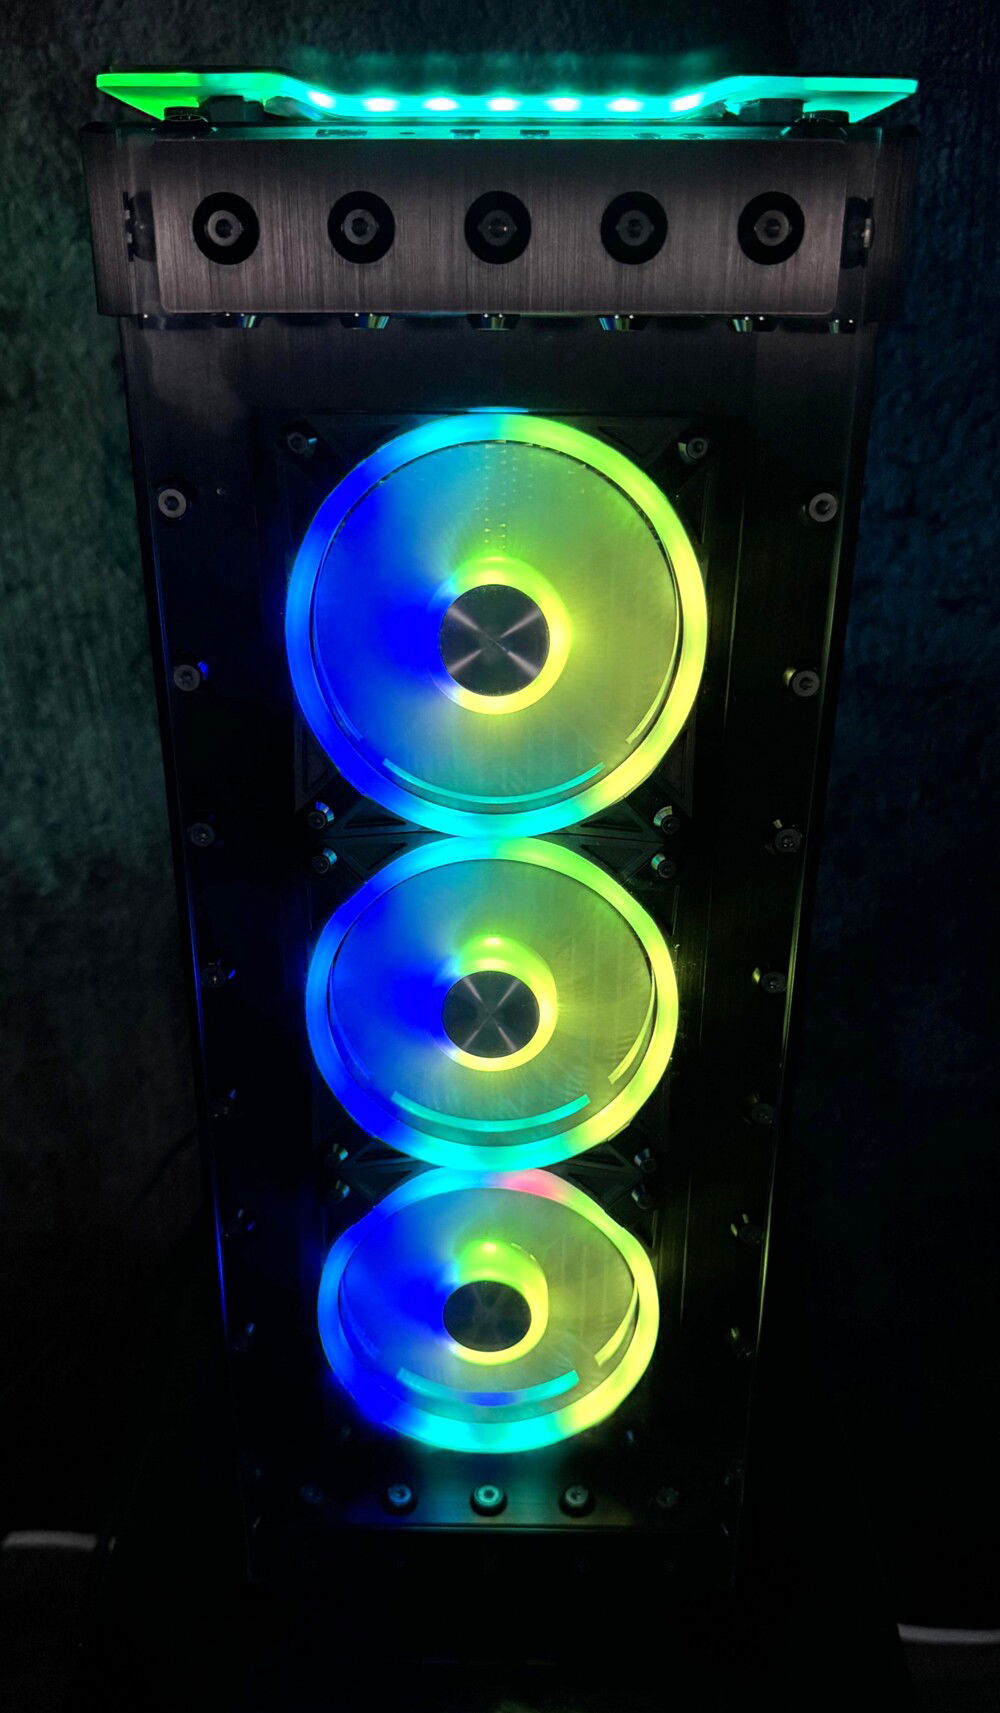
Custom made RGB top, with plenty of anodized aluminum collars to hold it in place.
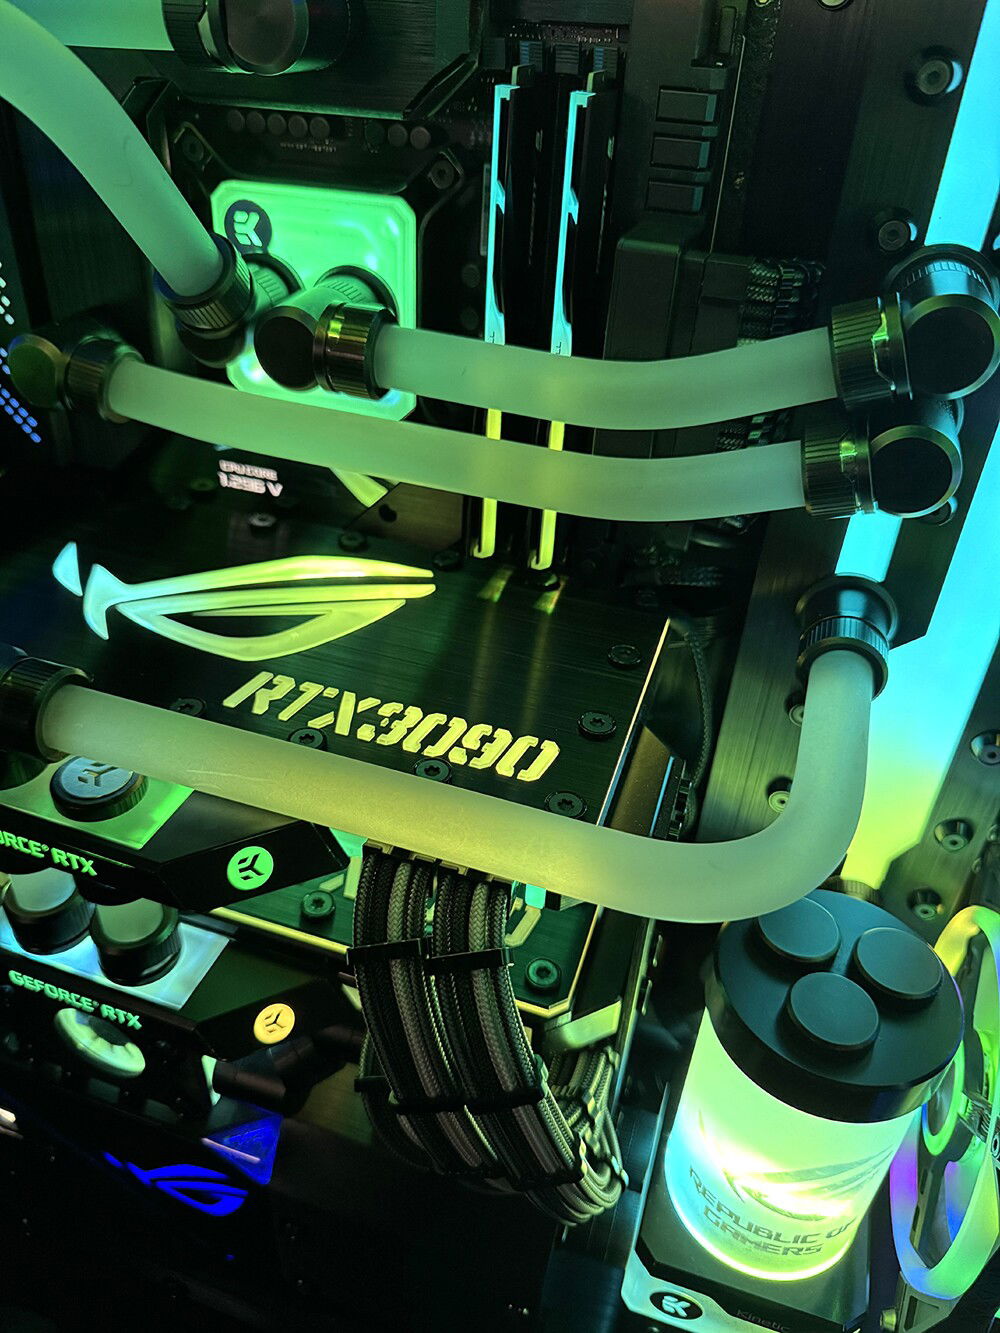
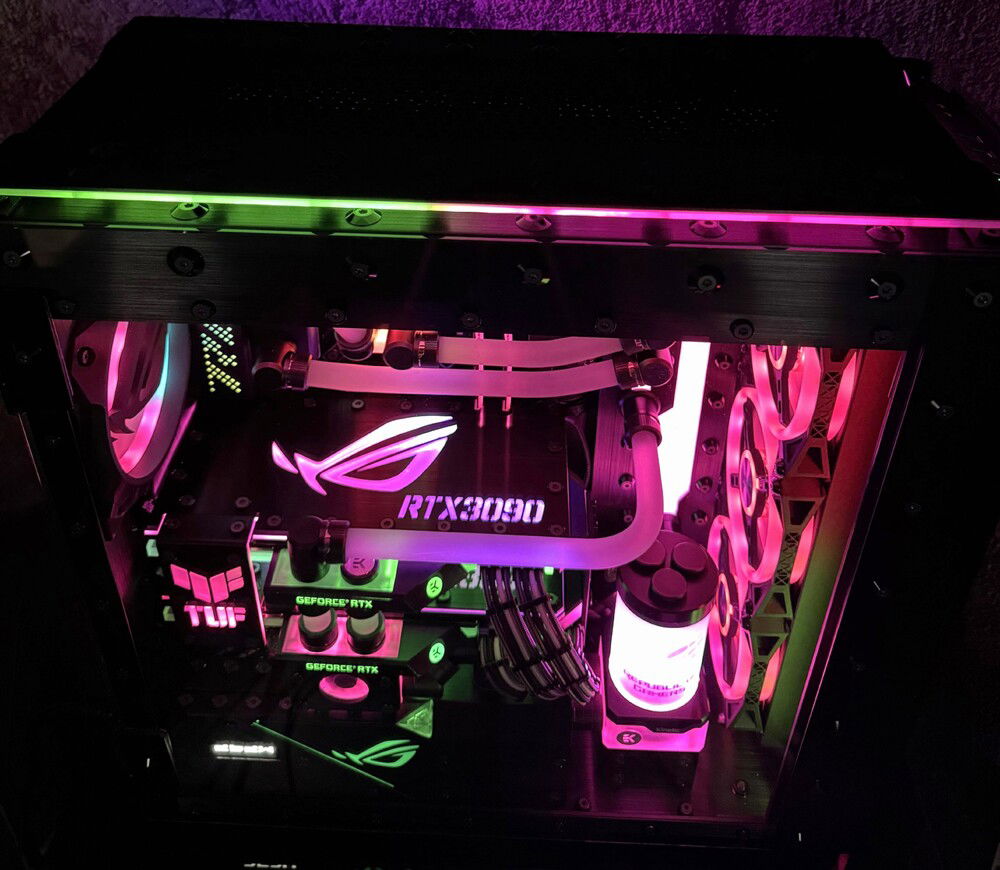
Custom made RGB SLI bridge cover.
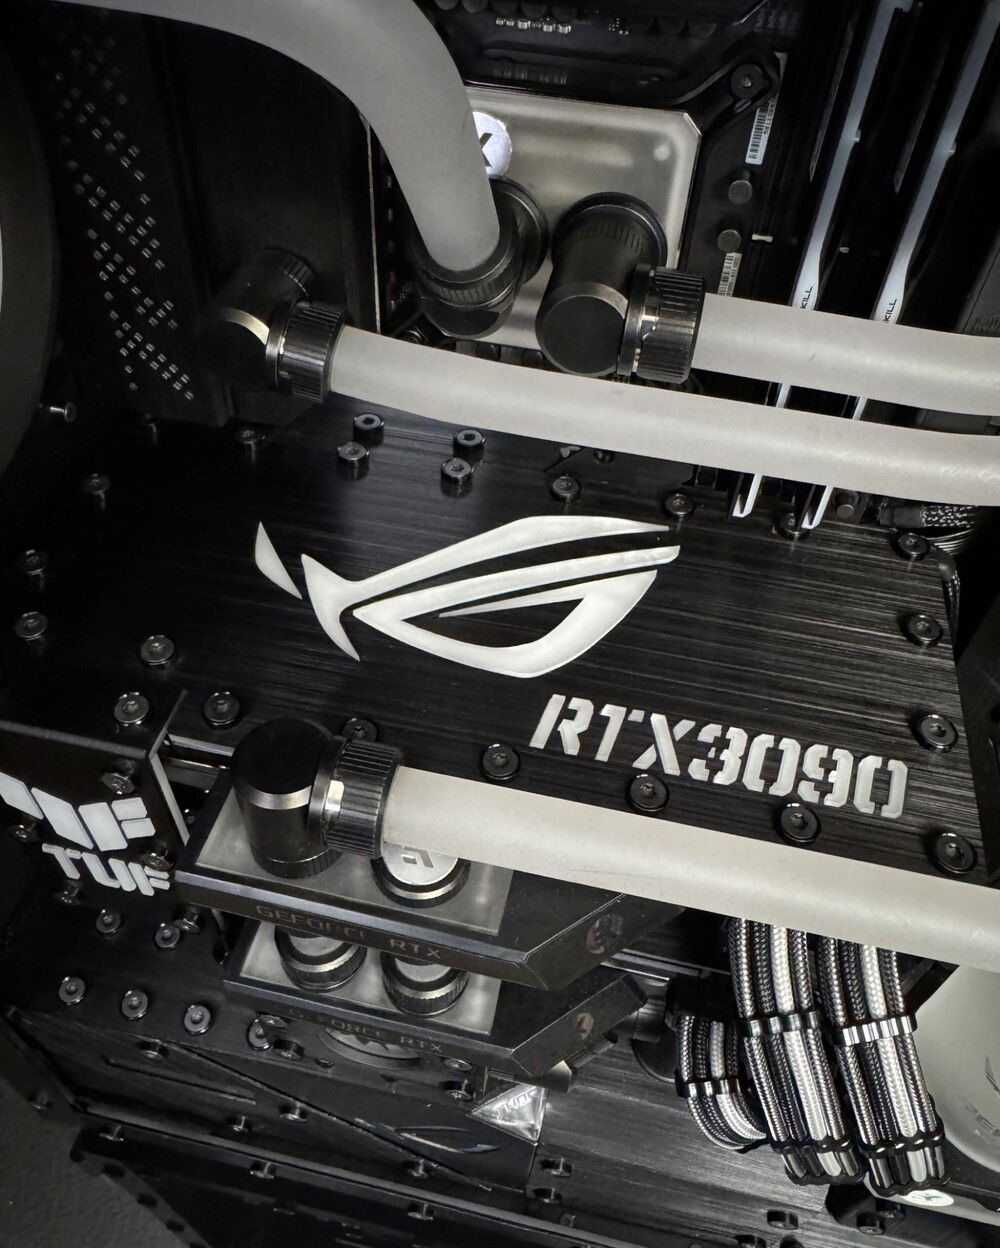
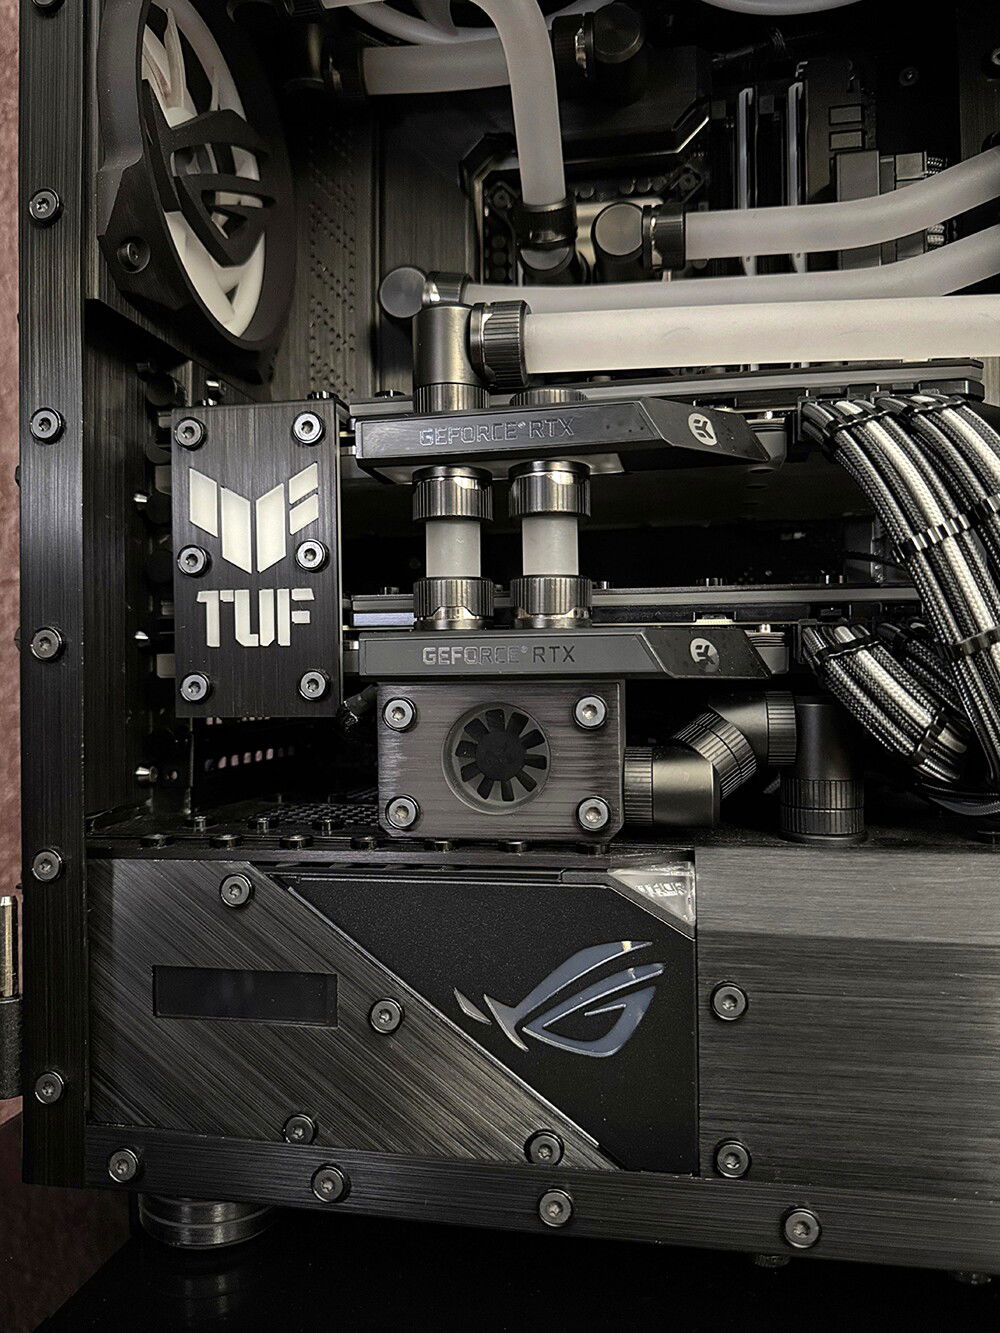
Custom made laser cut brushed anodized aluminum backplates, with illumination panel insets.
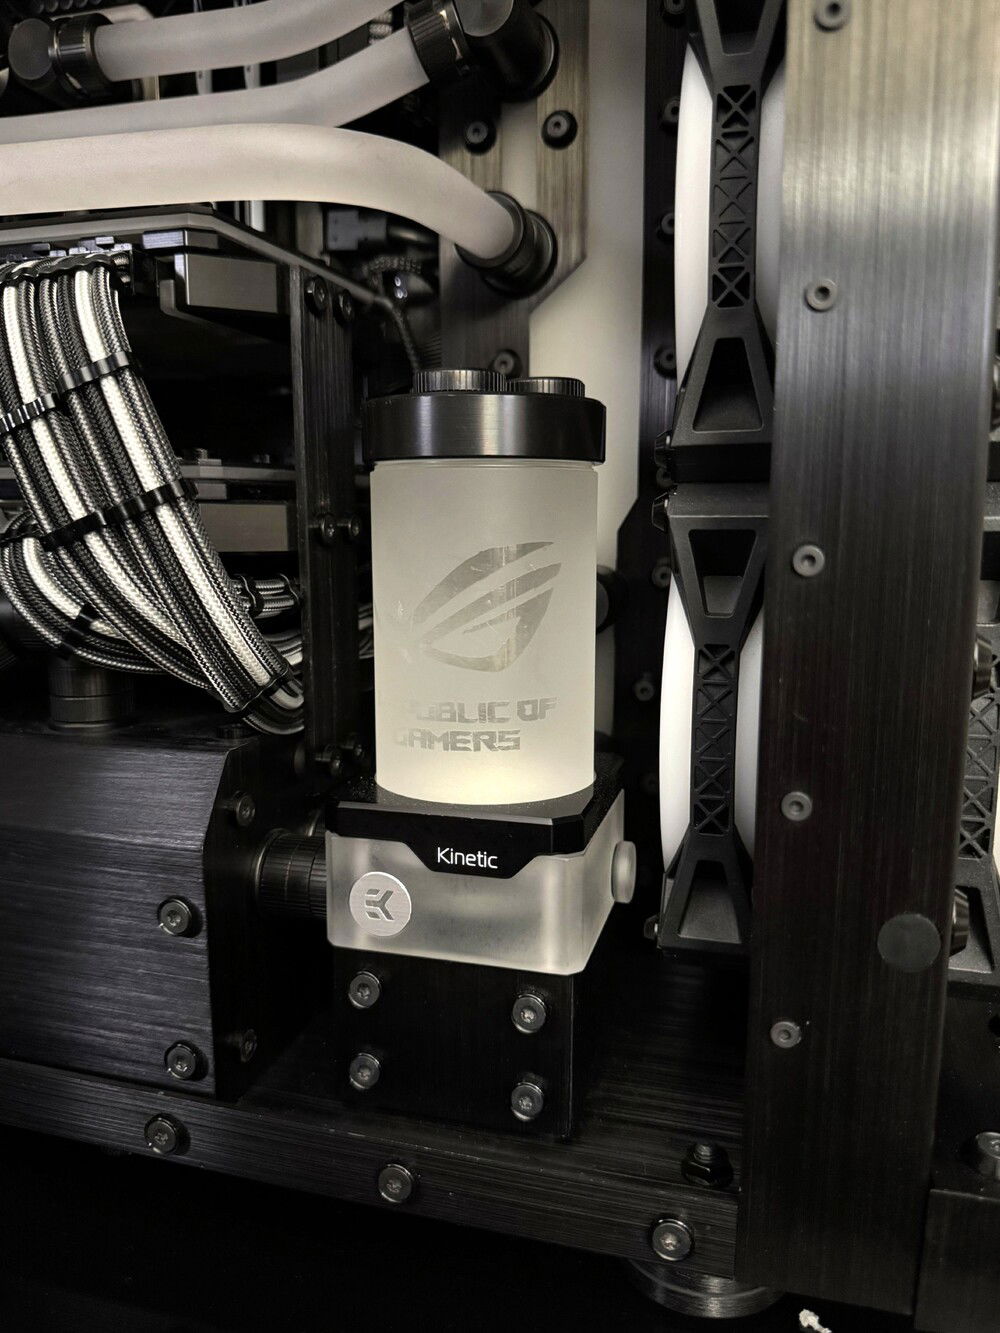
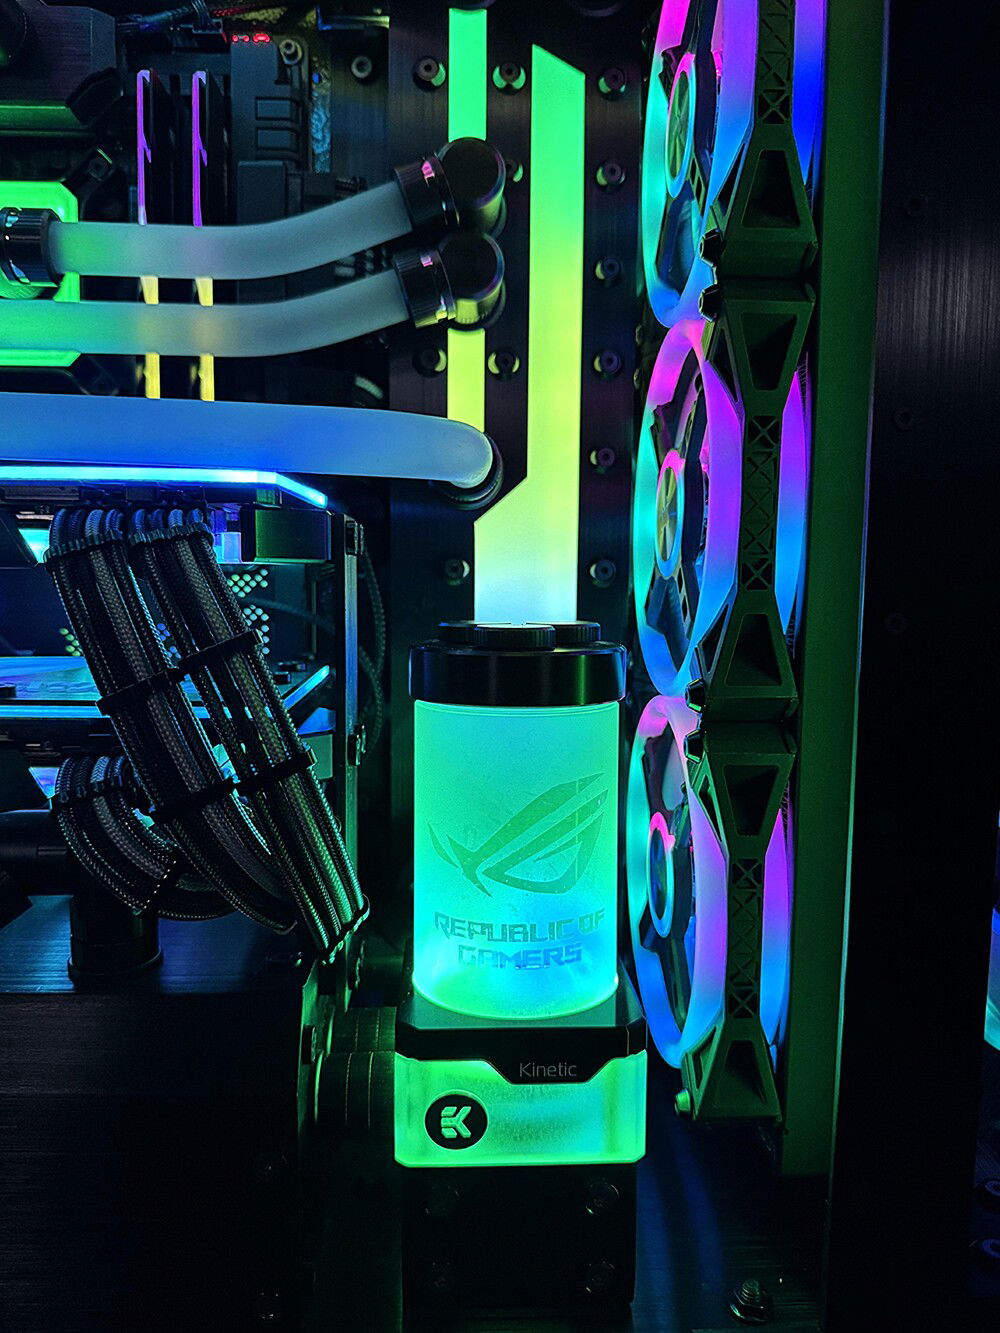
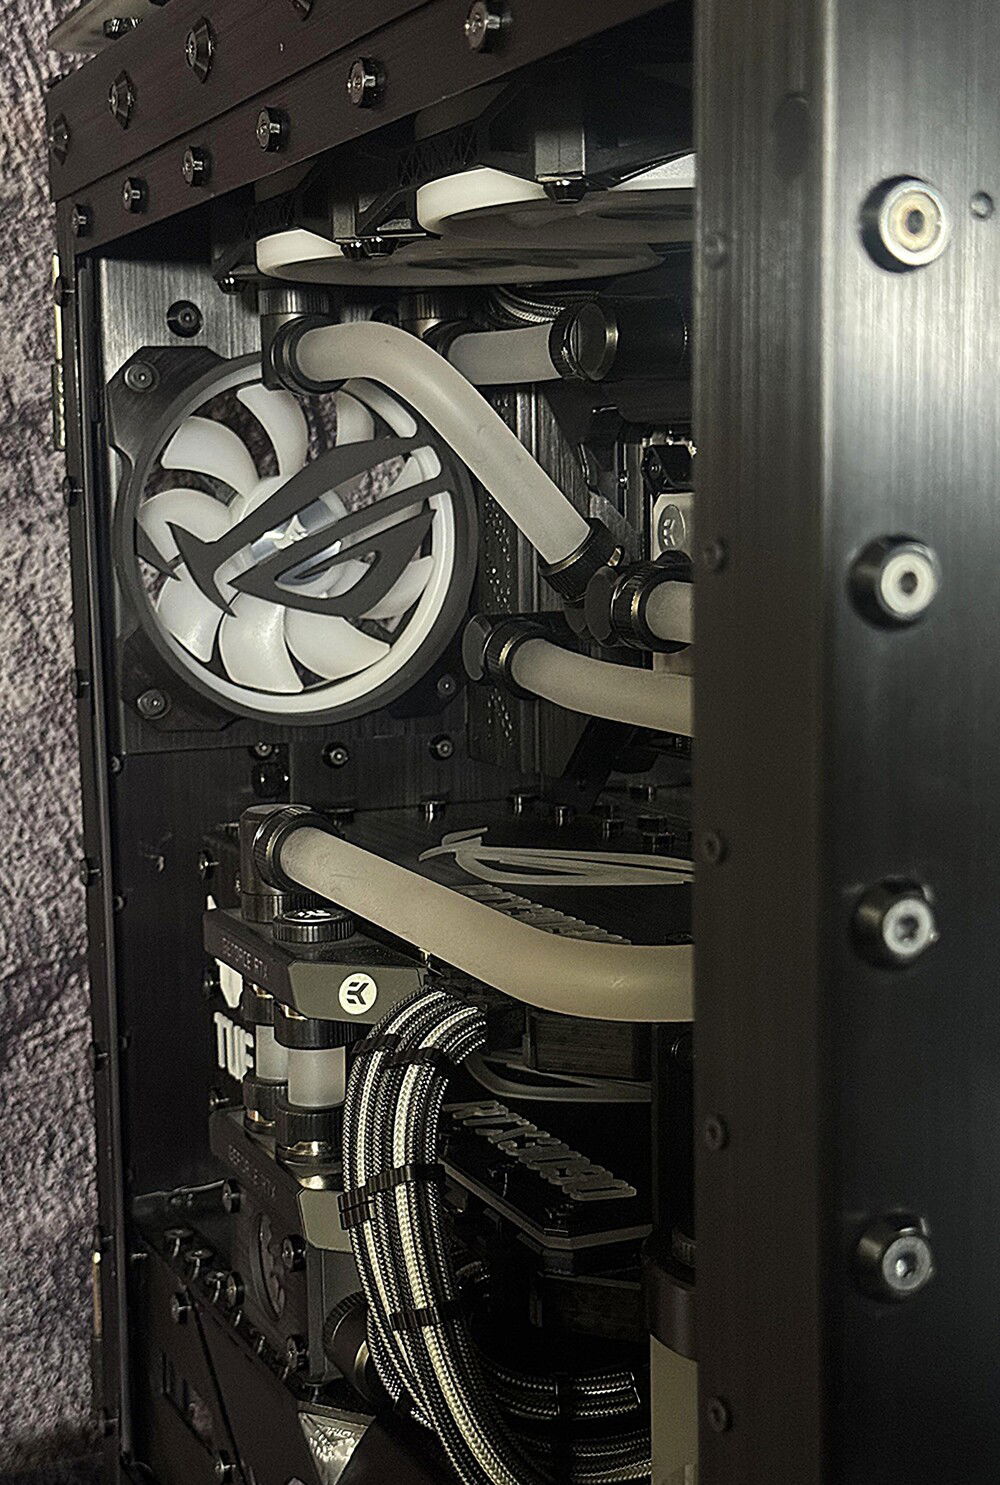
Media blasted acrylic throughout, gives it that nice frosty glow.

Yes, it even has a custom RGB power button.
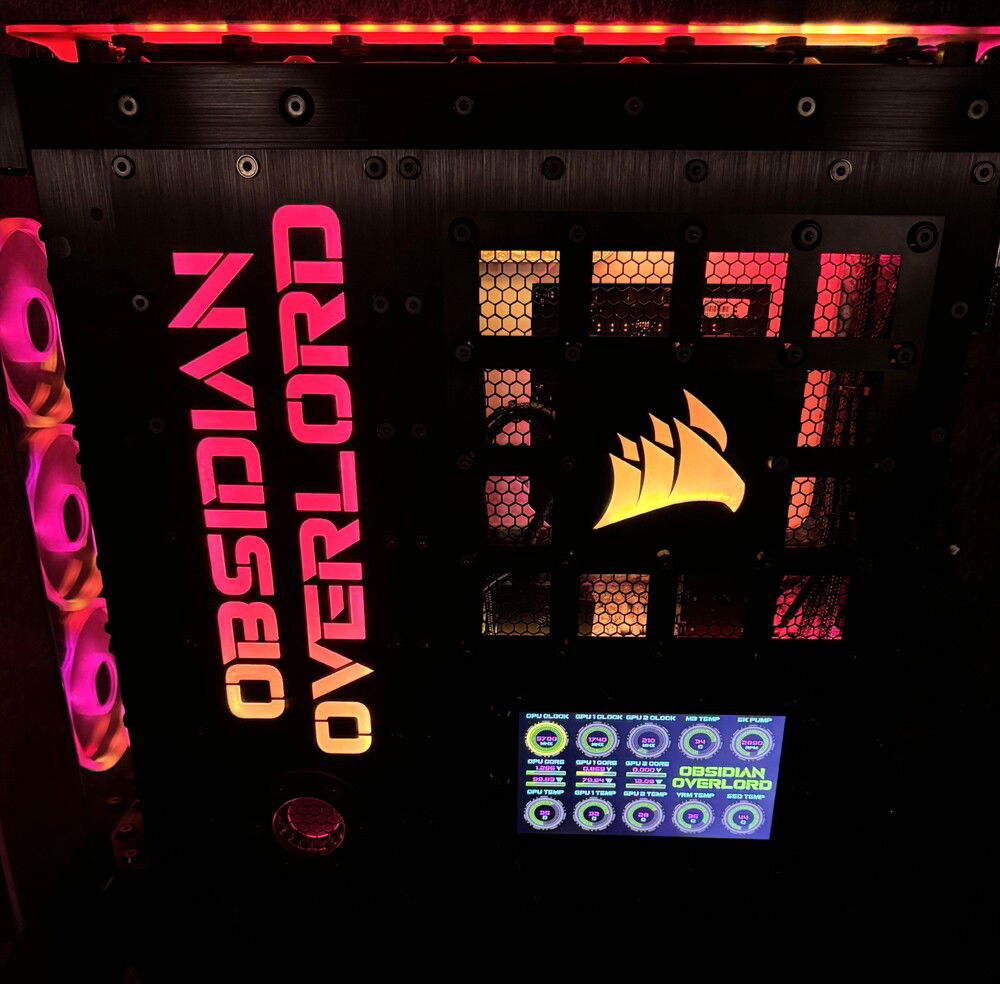

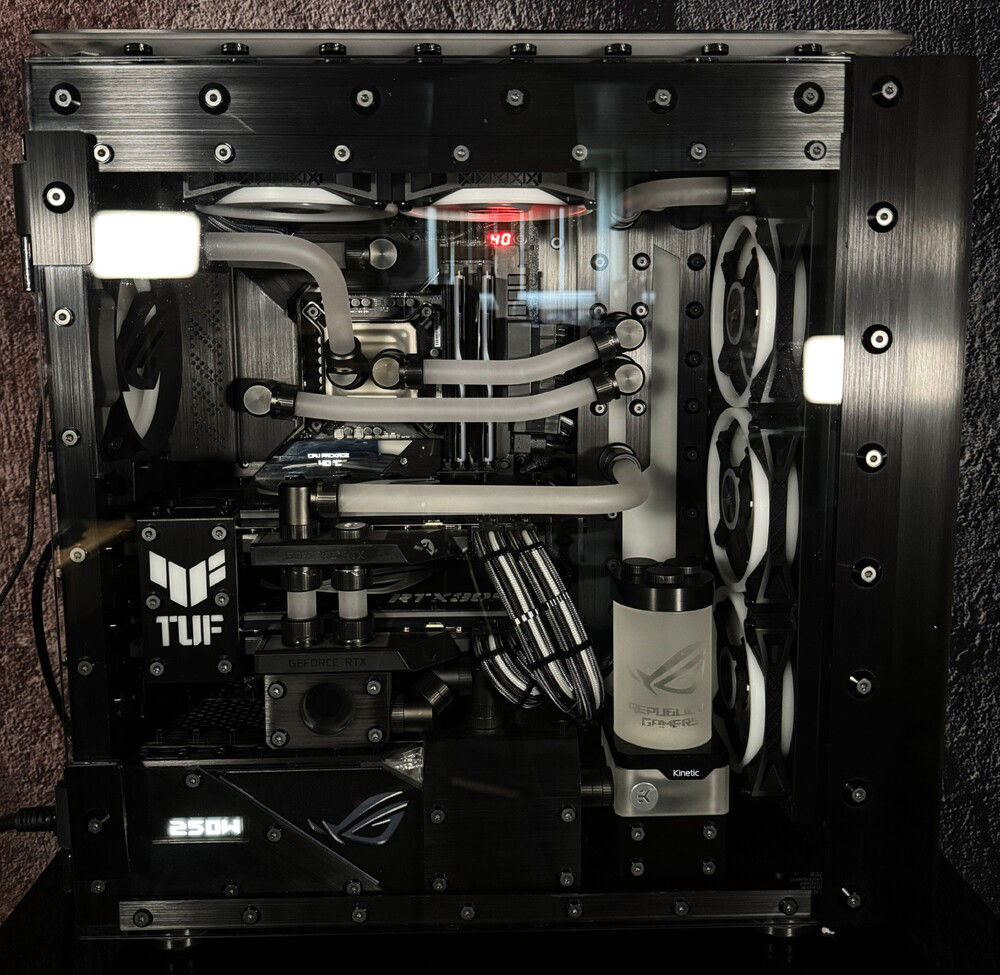
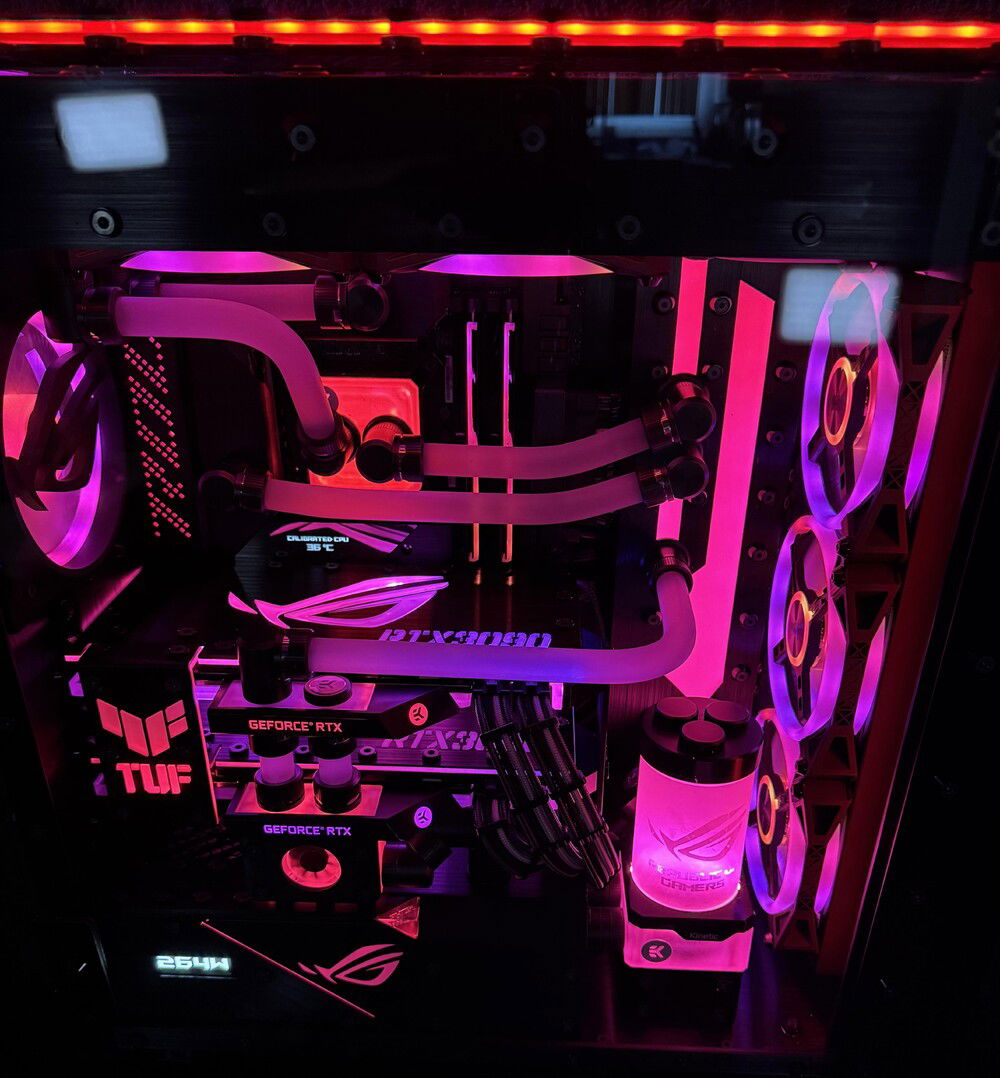
With glass side panel in place
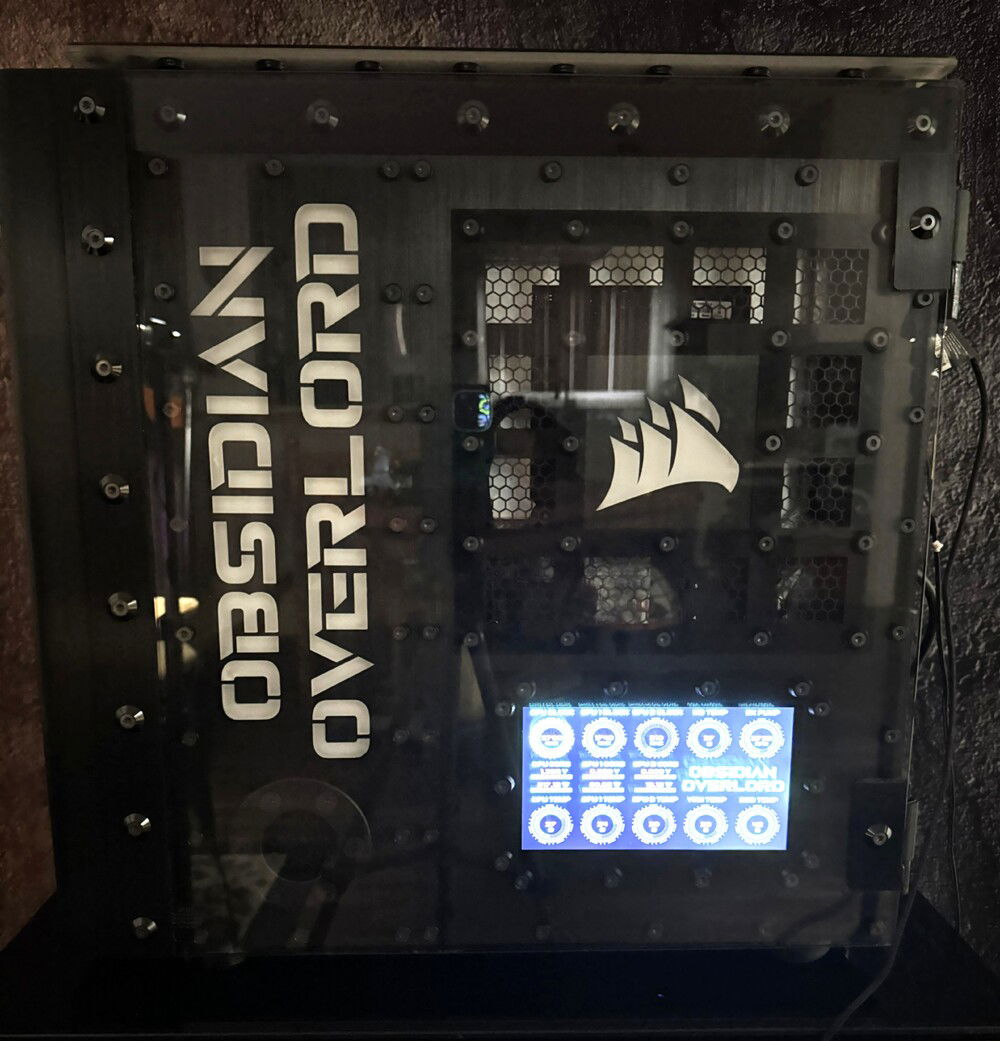
With glass side panel in place
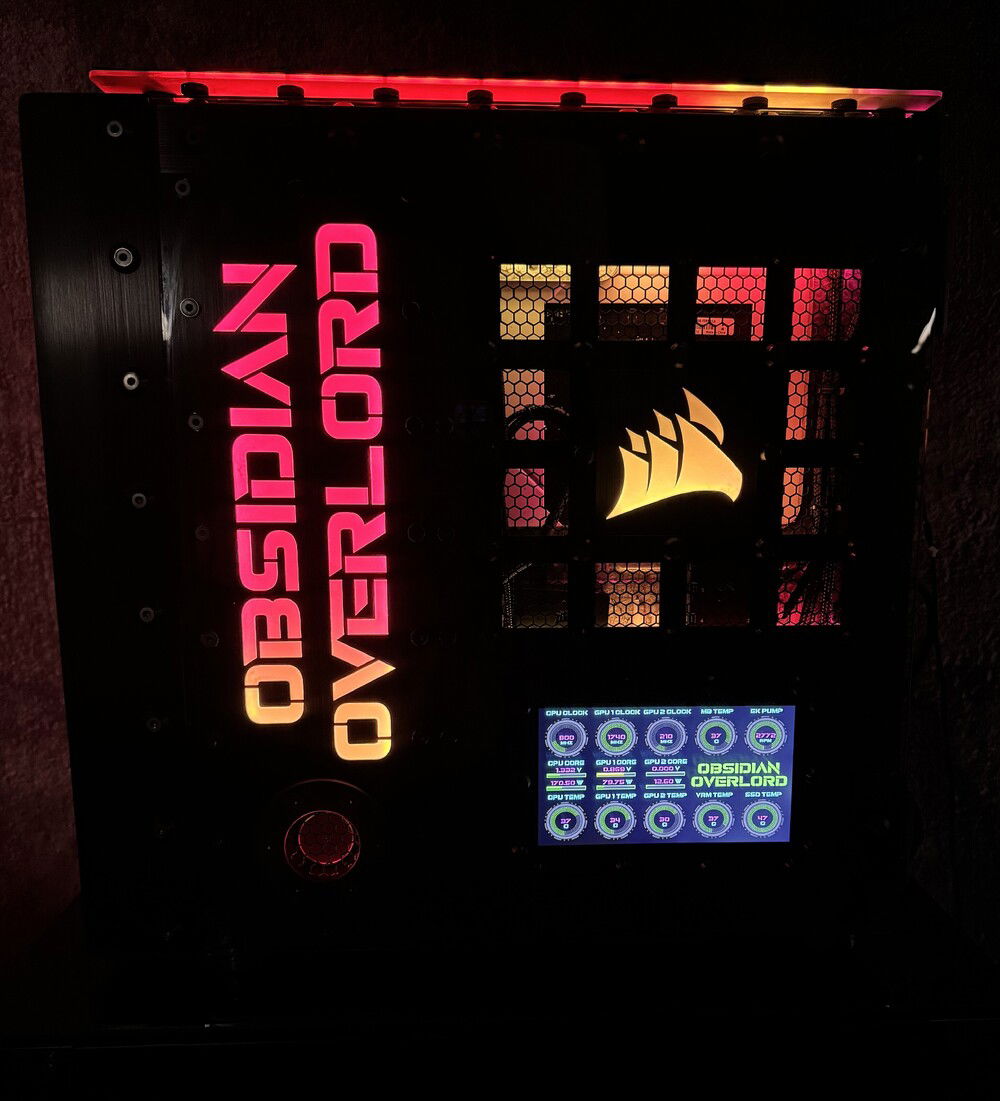
"OBSIDIAN OVERLORD" - 1000 Hour Build
AD:
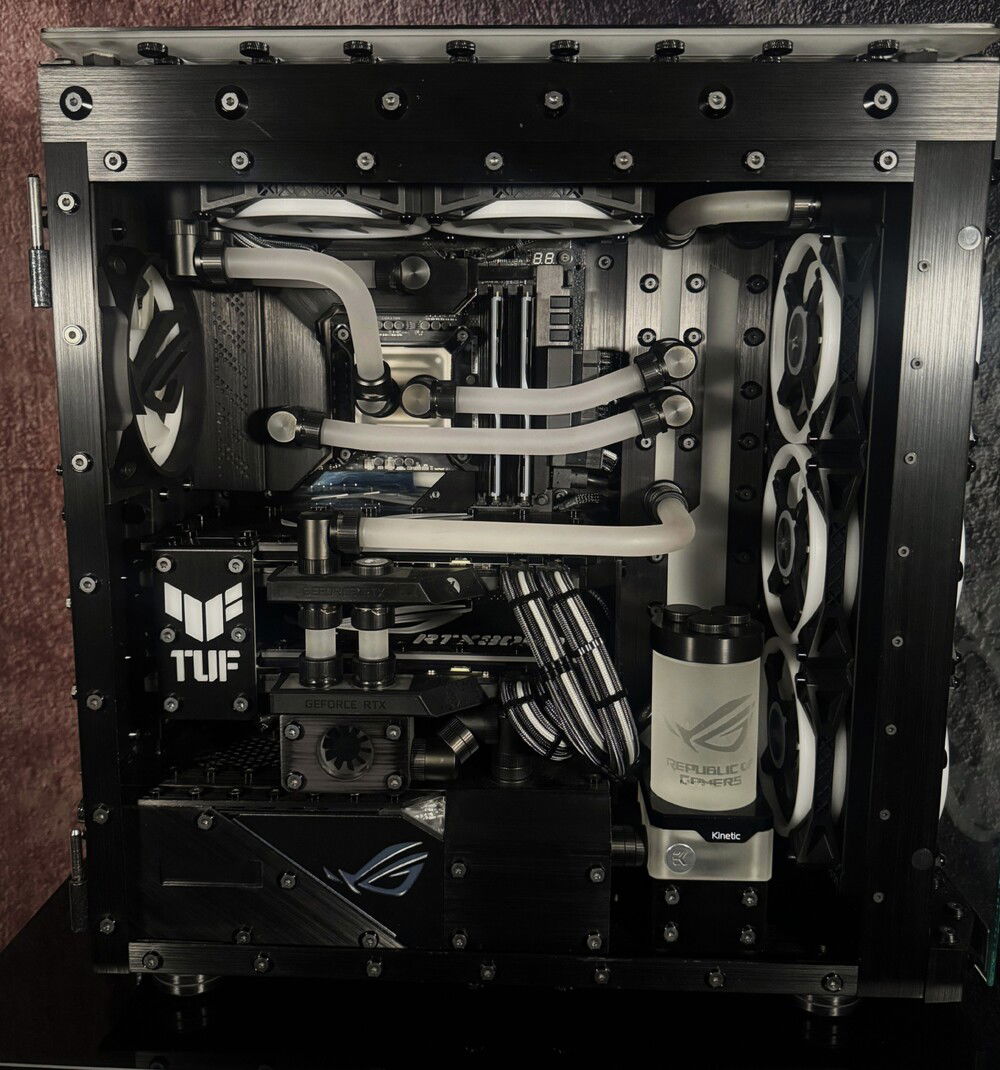
This was an insane build, and it took a really long time. I liked the look of the brushed anodized aluminum that comes on the top and bezels of the case, so I took that look to the rest of the rig. The interior and exterior of the case, as well as all of the components, have been armored in brushed anodized aluminum. This was no easy feat, as each part is custom made to fit it's exact location. There are over 100 custom brushed anodized parts, as well as hundreds of anodized aluminum collars, holding it all together. Add to that the hundreds of torx and hex head screws, and nuts. Not to mention the hundreds of holes drilled and tapped.
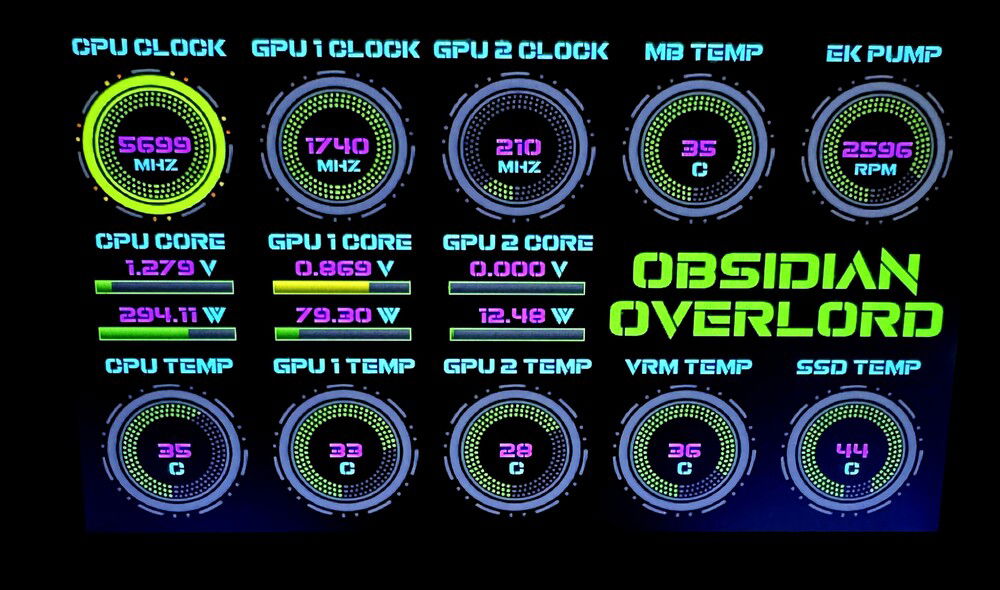
Then there is the LED lighting, which I believe I have taken to a whole new level. There are hundred of LED's in this rig, and they are all being run by Corsair controllers. I have illuminated this rig, through the implementation of illuminated panels. This is much different than the traditional RGB lighting most are use to seeing. Most RGB lighting is already incorporated into the component, or you may have a few LED strips. These are custom made illumination panels, that are set in the brushed anodized aluminum.
Most of the parts of this rig were hand tooled, but obviously there is some laser cutting as well. I would draw up the design, and then send it to Rudy at Laser Bend, and he would put it in CAD, and then I would approve for cutting. The design work took some time, as I had to track down the correct fonts, and doing all the layout and measuring.
There were many problems to overcome, to make this rig a reality. First the top rad had to be relocated, to the far back of the tray, and further forward toward the opening, to allow clearance for the distro plate. A port was cut in the power supply cover, to facilitate moving the power supply to the front. This, along with some brushed anodized aluminum, give the power supply more of an integrated look. The back fan port was modified to allow the fan to be mounted from the back, and have just the RGB bezel poking through, to mate with the ASUS fan grill. These were the major issues, but there were many.
I won't bore you with the details of what it takes to hand brush this much aluminum, let's just say it was a lot of hard work.
Well I think that's about it, if you have any questions, feel free to ask.
I hope you enjoy my build, it took a portion of my life, and is my PC masterpiece.
P.S. truth be told, actually closer to 2000 hours.
Color(s): Black
RGB Lighting? Yes
Theme: Case Mod
Cooling: Custom Liquid Cooling
Size: ATX
Type: General Build
Hardware
CPU
$ 449.00
Motherboard
$ 599.00
Memory
$ 499.95
Graphics
$ 4,998.00
PSU
$ 559.00
Case
$ 191.51
Case Fan
$ 333.99
Cooling
$ 189.00
Cooling
$ 250.66
Cooling
$ 54.99
Cooling
$ 43.96
Cooling
$ 20.76
Cooling
$ 89.91
Cooling
$ 78.00
Cooling
$ 349.98
Cooling
$ 26.97
Cooling
$ 57.98
Estimated total value of this build:
$ 8,972.65
Approved by: