Most Recent Build
DIYPC Vanguard-V6-RGB (Painted Interior)
FIND THE CASE HERE
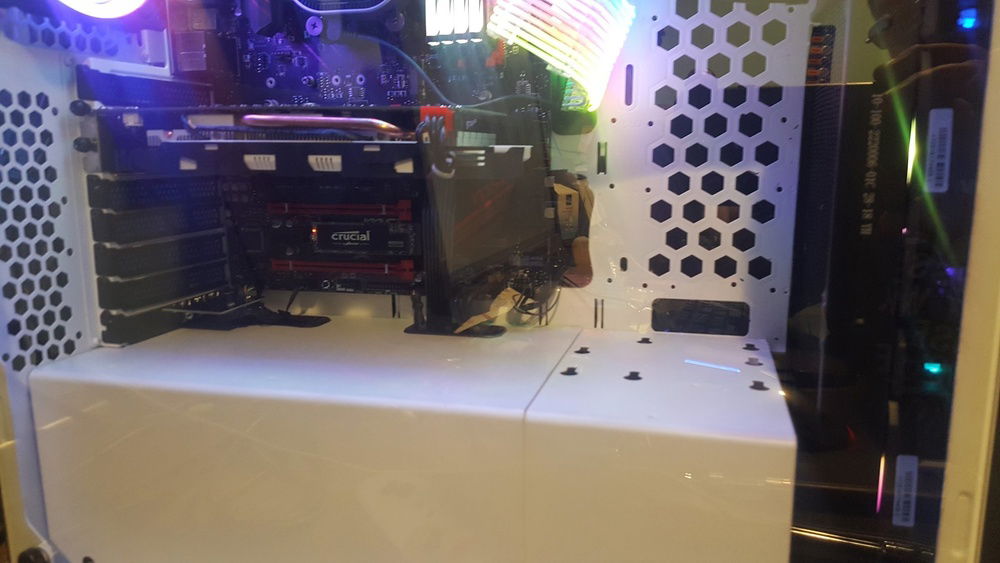
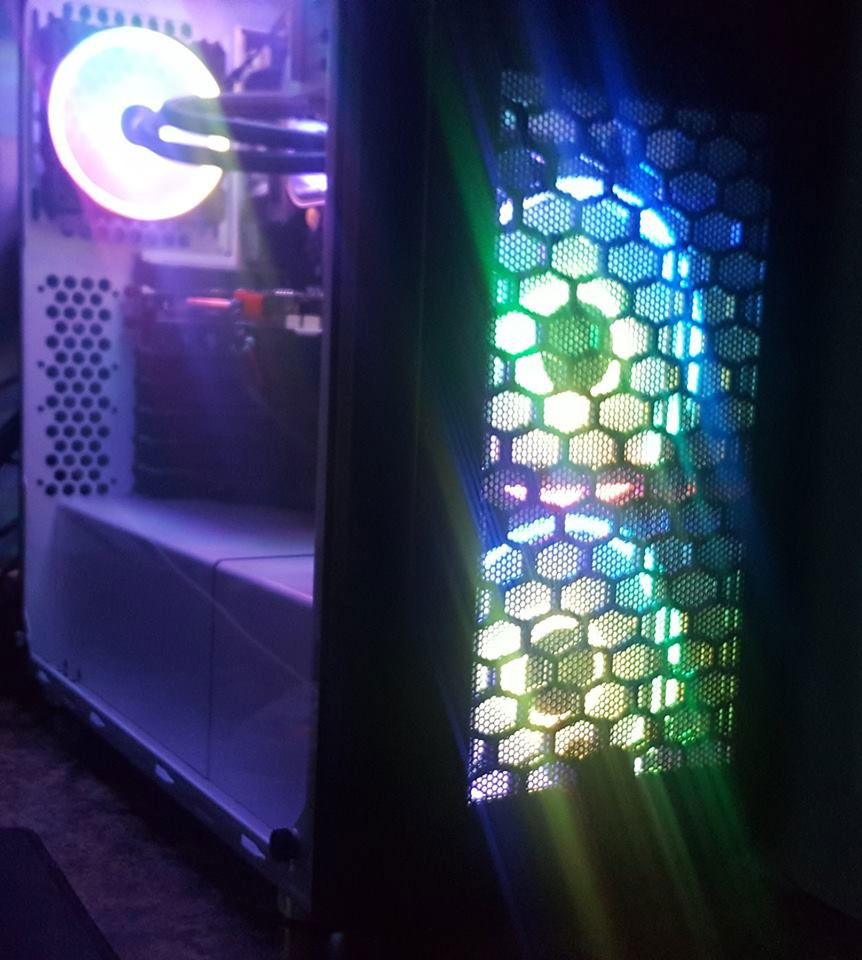
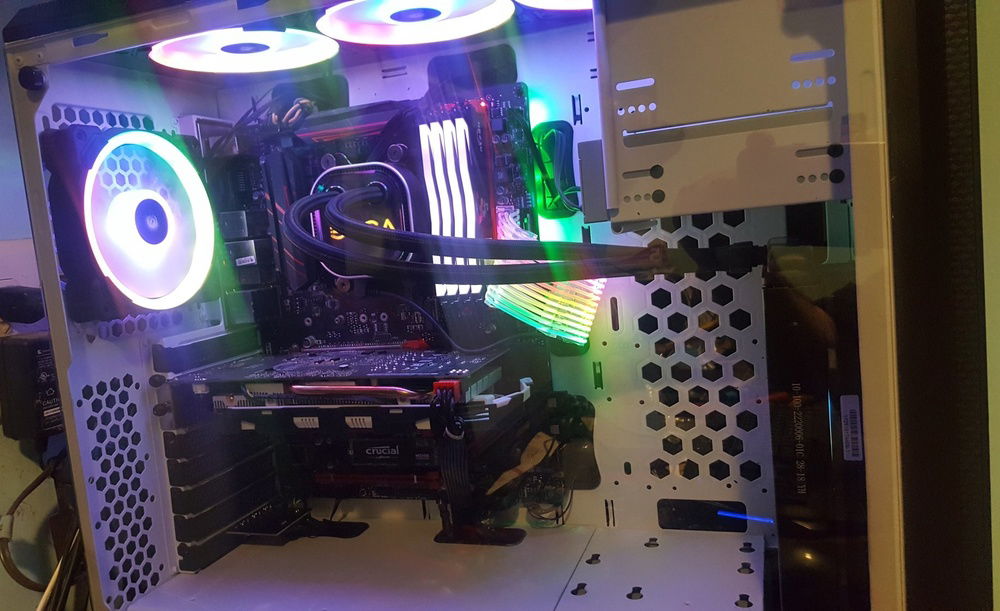
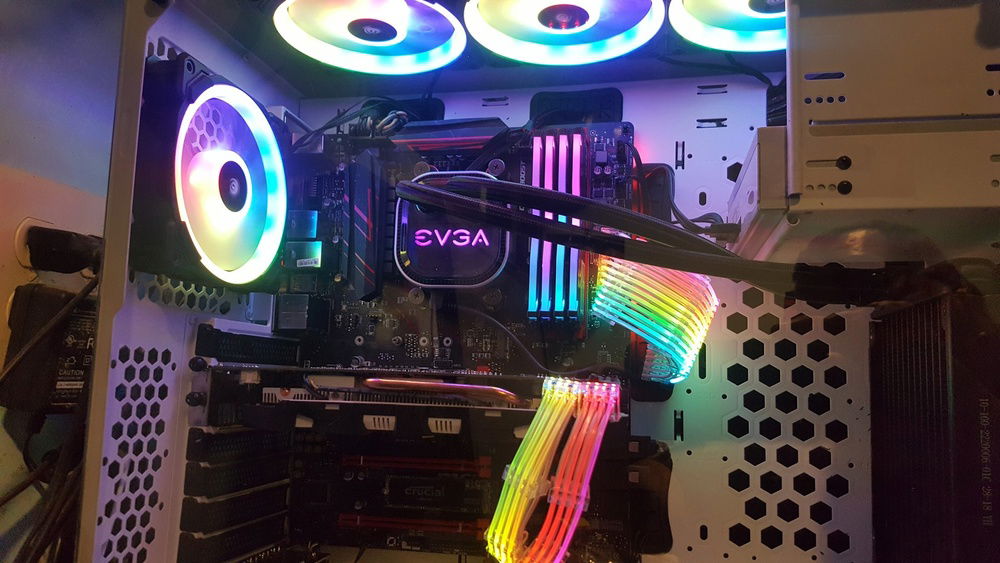
So for this build, it was kind of hard finding the right case. I had a want list of MUST HAVE features. 5.25" optical bay, tempered glass, visible fans in the front for my LL140's, white interior. After filtering out my choices on newegg, the DIYPC Vanguard-V6-RGB seemed to be the only case that fit my criteria except I wanted white inside, so I went with it anyway. My intention from the start was to paint the interior frame white and that is exactly what I did. Since I needed to dismantle the case down to it's shell and do some masking for paint prep, this was a great opportunity to have a good look at what is possible with the case. From what I can tell, side mounting an AIO should be no trouble at all. However, you will have to unscrew the optical drive rack and take it out in order to do so. So yeah, no AIO, you have the potential of 8 fans to cool the PC. NICE!! This is a really nice case. I typically use other brands like CoolerMaster, Corsair, so I hadn't tried a DIYPC before except for a couple months back when I built my stepdad a PC using the Zondda-B. I was absolutely impressed with the Zondda-B considering how budget oriented it was that I had no qualms choosing a DIYPC case for this build. From what I understand the Vanguard is actually made by SAMA. In fact, SAMA also sold a case with the Vanguard name that sports 3 fans in front and no optical which are the same as the DIYPC Vanguard-V8-RGB and Vanguard-RGB. Now all 3 of those cases come with an RGB light setup, but in my case, I pulled those out and used the Corsair RGB instead. I plan on taking the stock RGB stuff and putting it into my son's PC. But anyways, the shroud for the power supply and hard drive tray is completely removeable. Makes working in the case very easy. Had no trouble getting the PSU in even with the shroud on. After installing the AIO, there is about 1.5cm of room between the radiator and hard drive rack. Unfortunately the HDD rack is not removeable, so putting in a thicker AIO or fans might be a tight fit. You WILL have to remove the optical tray to get the AIO in. I tried at first to mount the front fans on the front of the case and the radiator behind that, but there was not enough room for the LL140's when trying to put the cover on, so I had to instead, mount the fans for the AIO on the inside. If the fans would have fit, I would not have needed to remove the optical tray, but no biggy, it all worked out in the end..
Color(s): Black White
RGB Lighting? Yes
Theme: Color
Cooling: AIO Cooling
Size: ATX
Type: General Build
Contests
This build participated in 1 contest.
| Rank | Contest | Date |
|---|---|---|
| #945 | The builds.gg 10K Challenge | ended |
Build Updates
Upgraded video card to GTX 1070, and Power Supply to EVGA 850
Upgraded memory
Hardware
CPU
$ 135.99
Motherboard
$ 139.99
Memory
$ 279.98
Graphics
$ 310.00
Storage
PSU
$ 279.99
Case
$ 268.05
Case Fan
$ 39.61
Case Fan
$ 79.98
Approved by:


