h-mods
Hobbes Caltous



Member since
Musician, Concert Photographer, Graphic Designer, PC Modder
Milwaukee, United States
Most Recent Build
Best Build
AD:
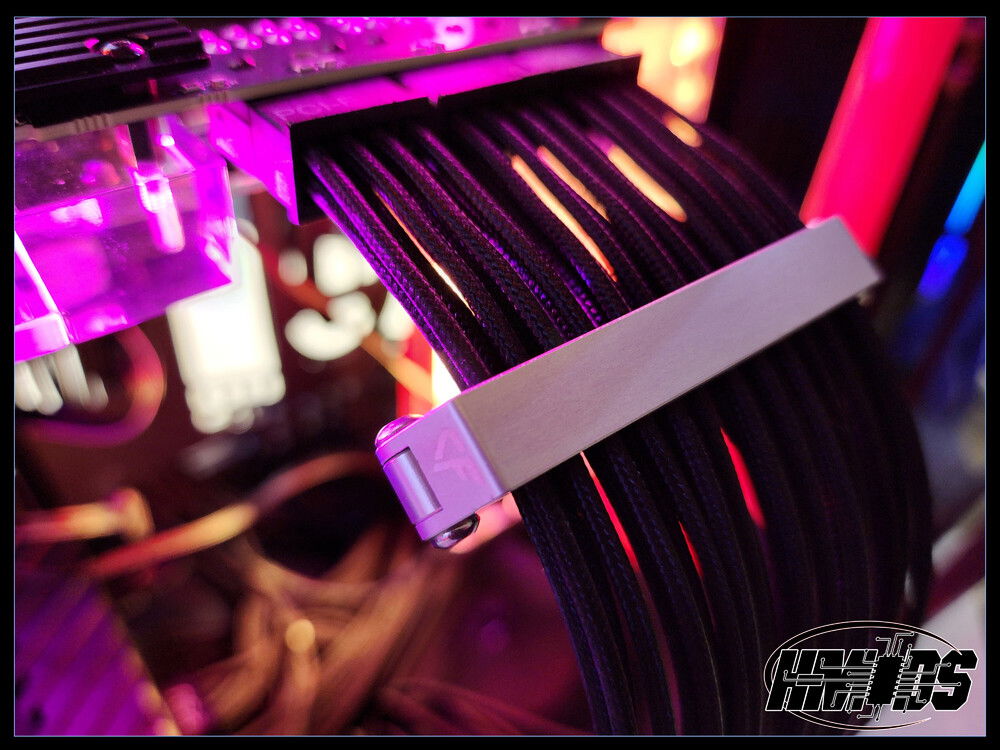
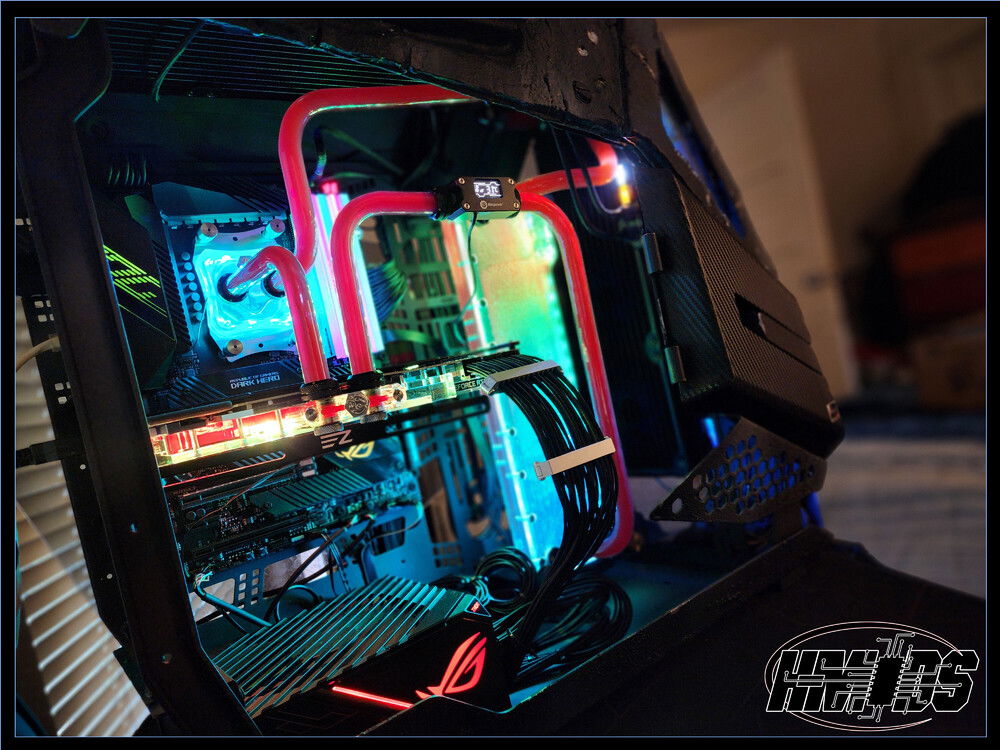

Project Hunchback
AD:
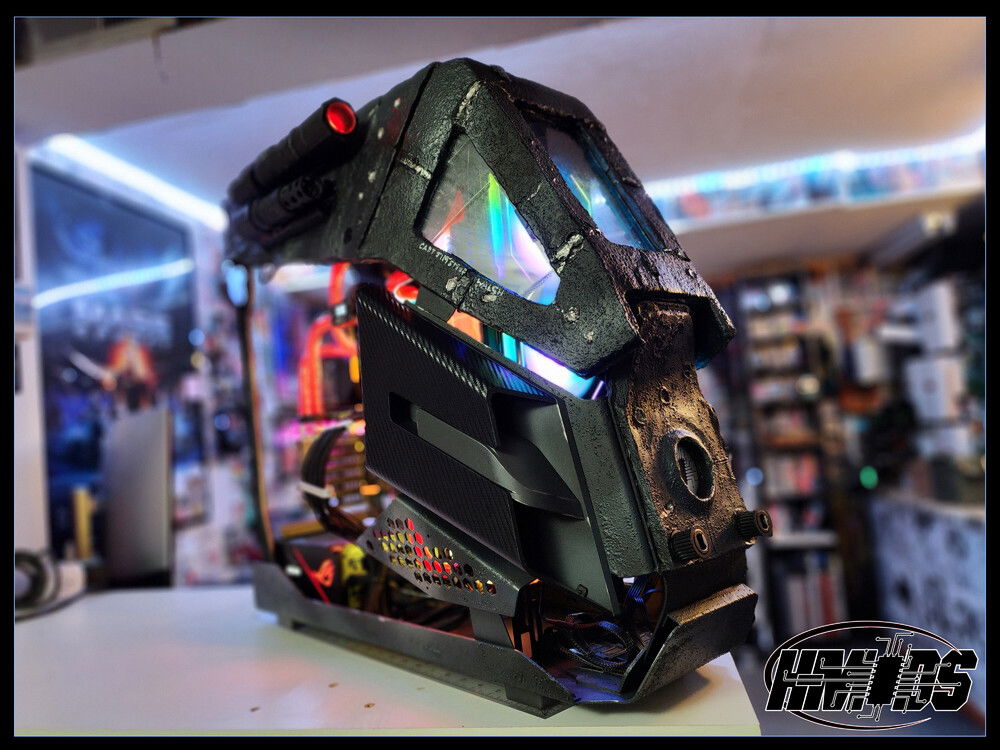
This pc was build with Mechwarrior in mind. The client plays the game and he wanted something in that particular vein.
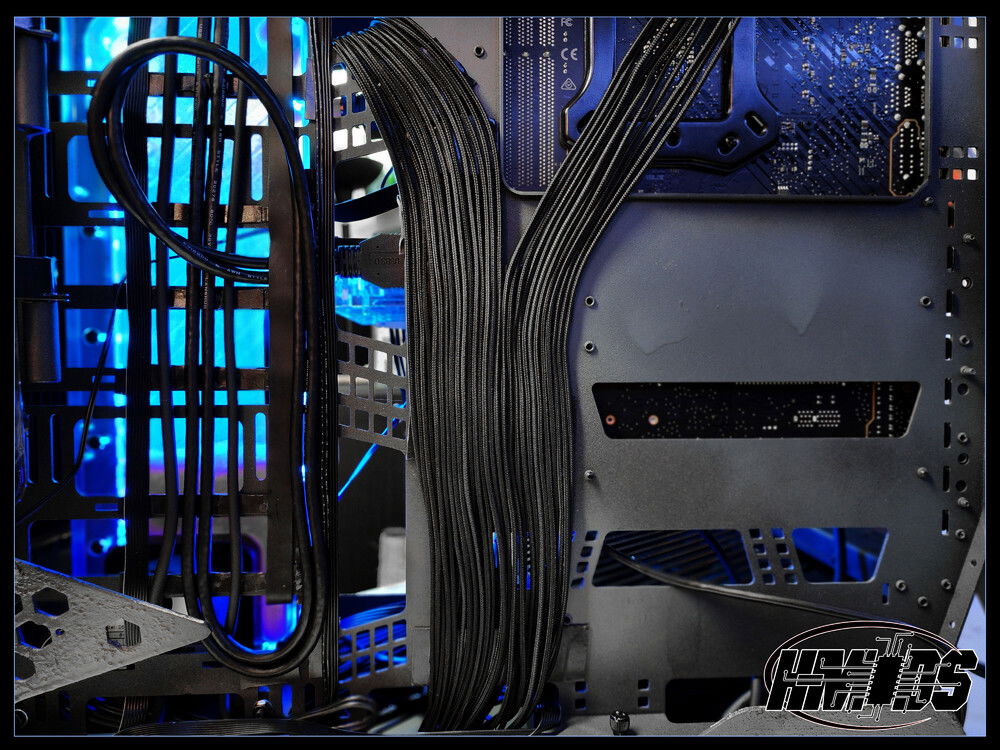
The chassis itself is a rare thing Thermaltake has gotten right, because it was AWE INSPIRING to look at even without all the modding i did to it. It's also one of the easiest modern cases i've ever worked with. even it was a closed case, the motherboard plate and front fan mount both come out easily and were easy to put back in.
Had a lot of fun building it.
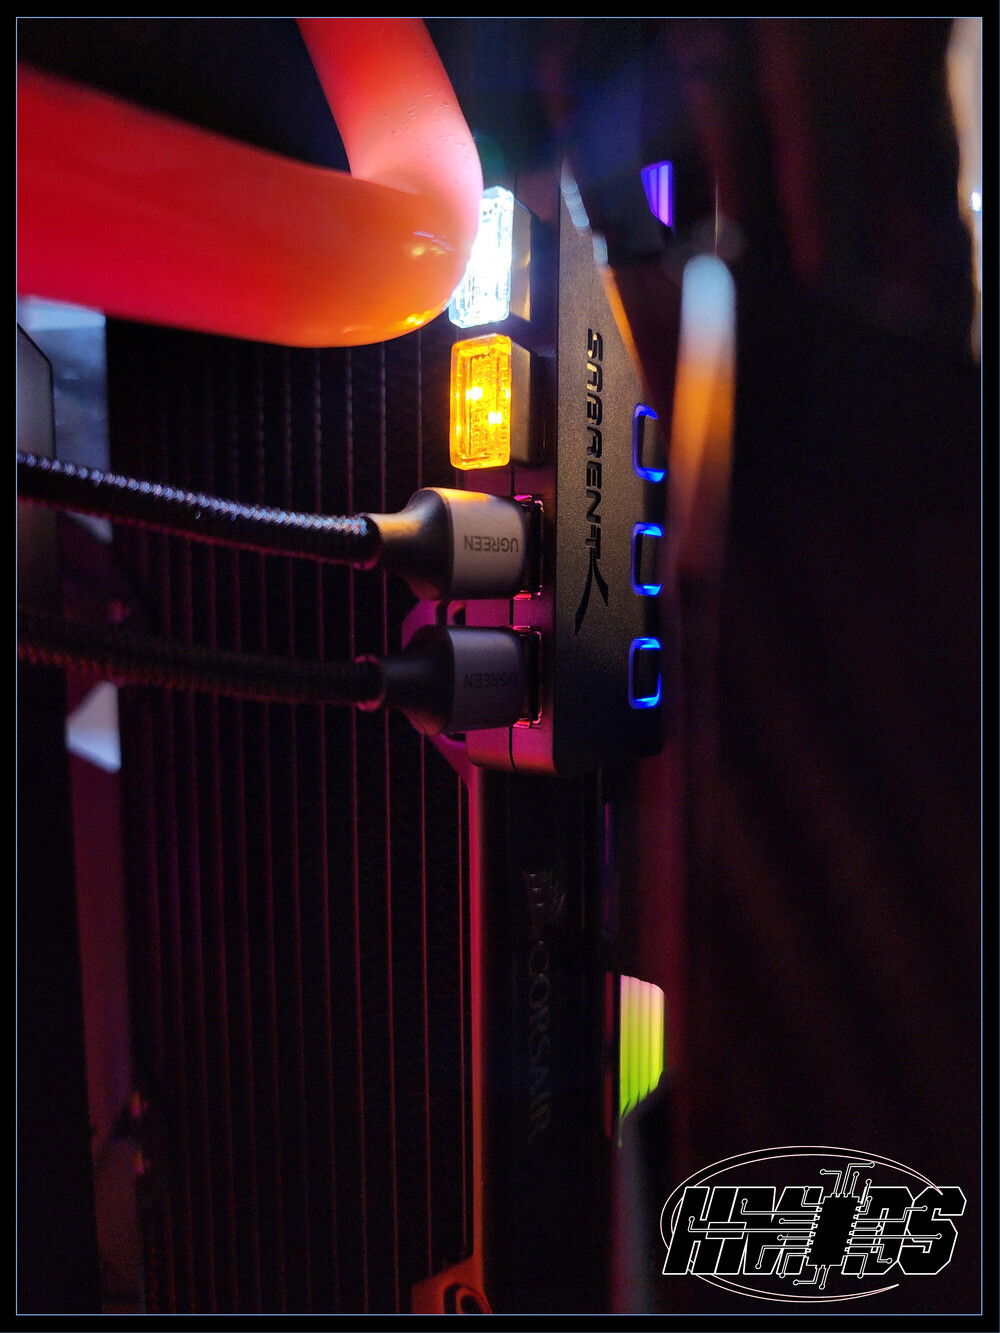
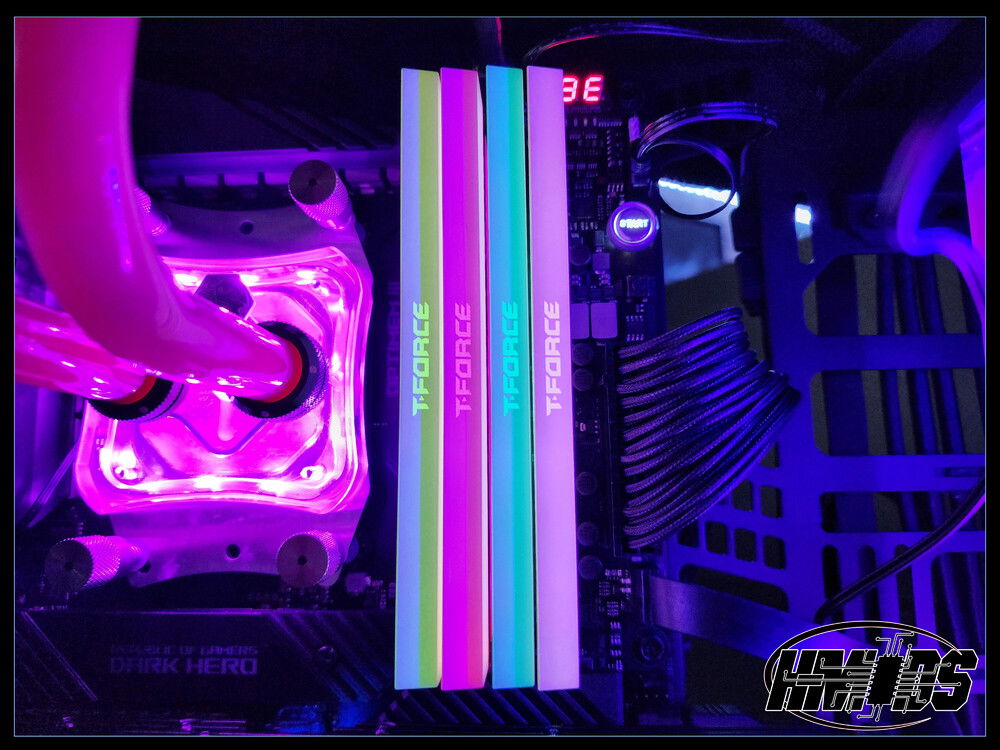
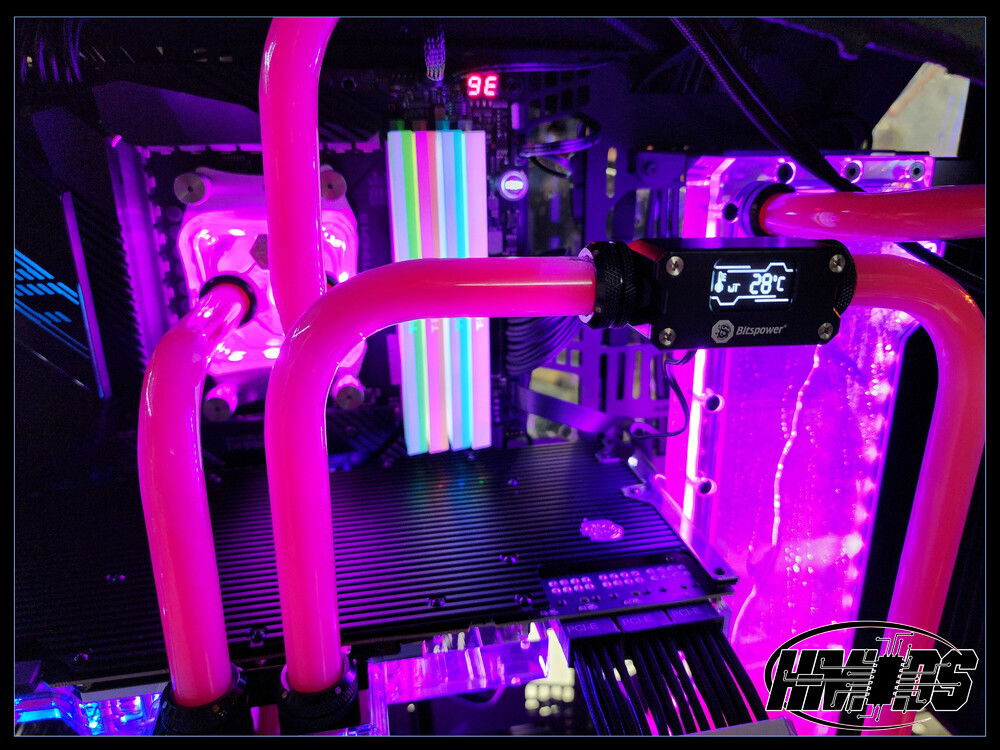
This is also, as you can see from my other builds, my first project with a custom water loop, and I have to say, i knocked it out of the park(aside from the catastrophic seal failure i'd forgotten to check).
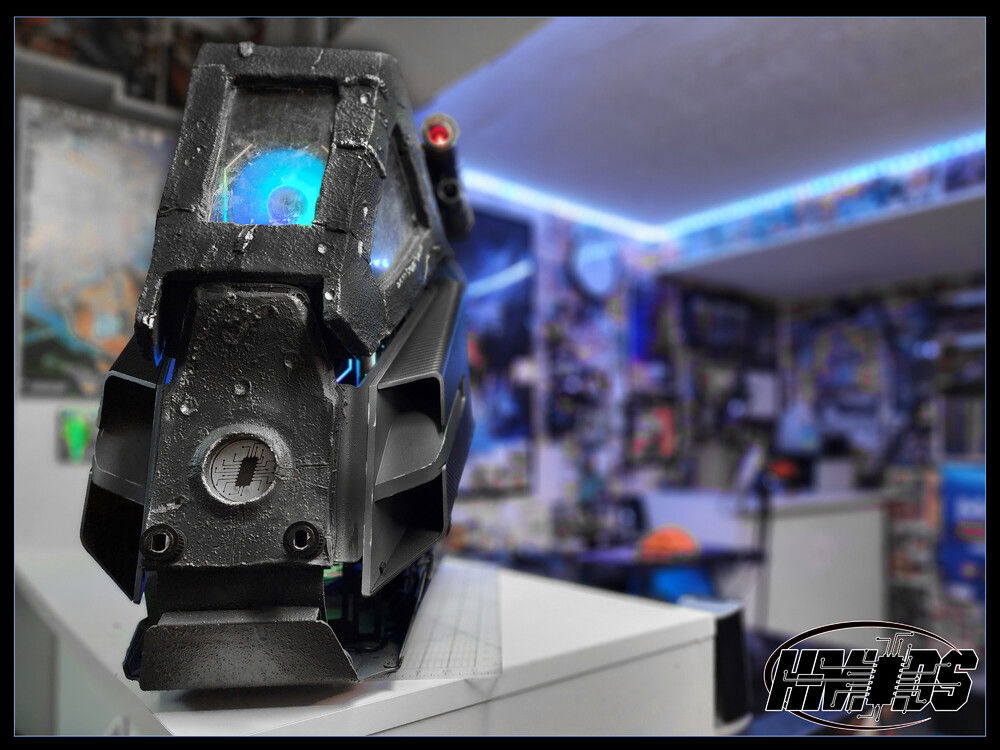
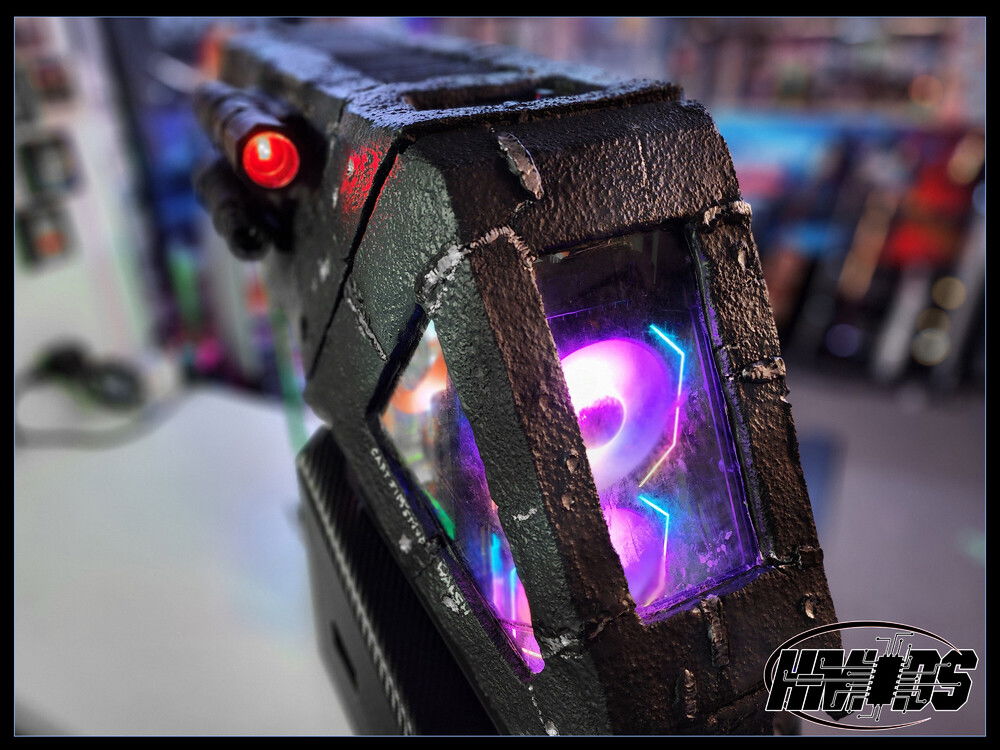
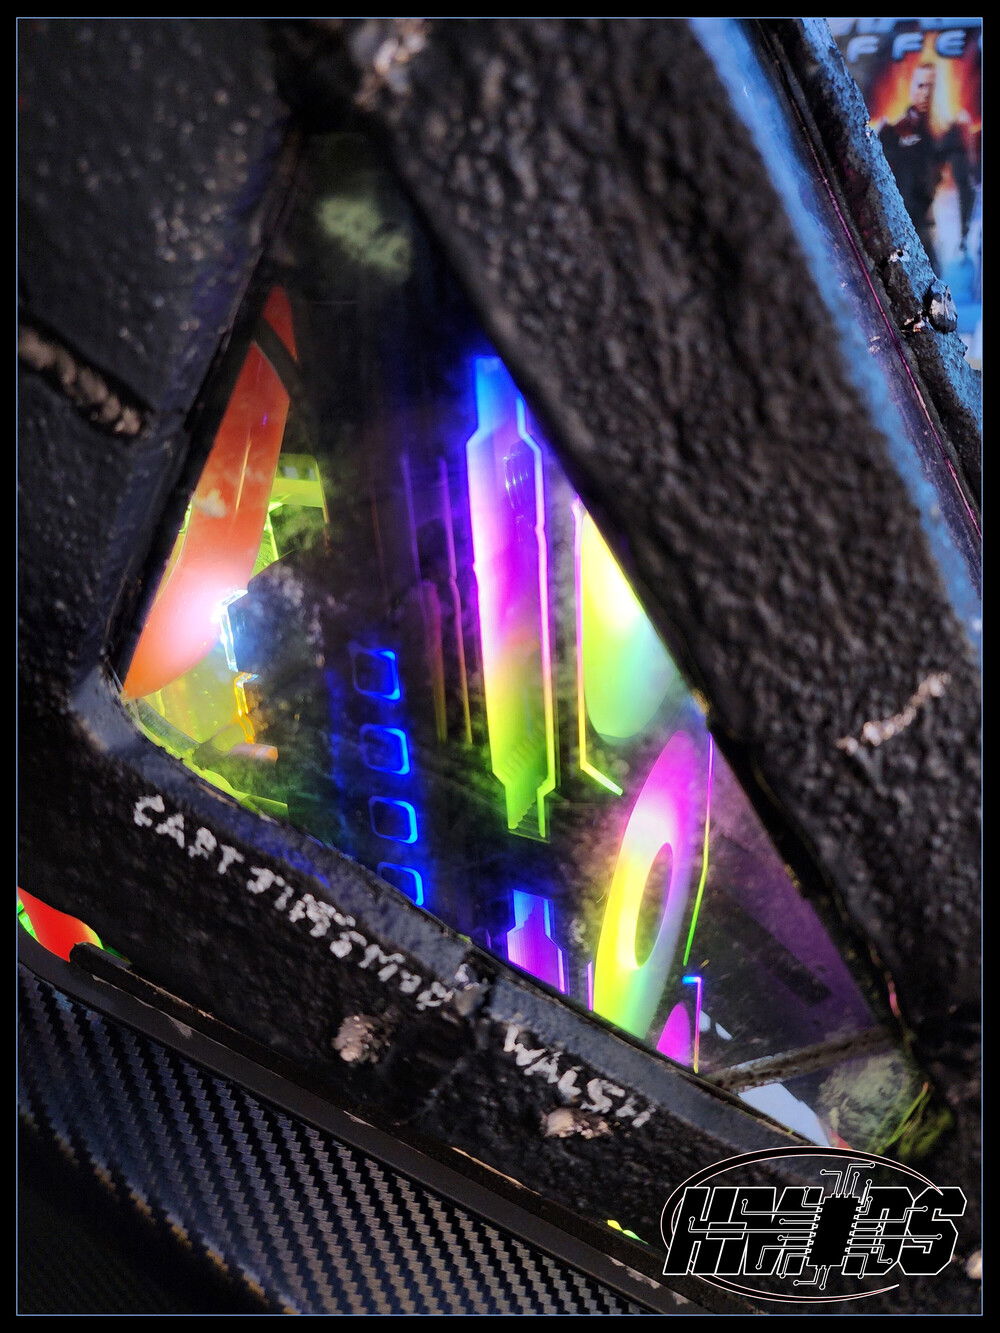
I used plexiglass to form an armature around the top and front panels, extending the canopy about 2.5 inches, and the rear of the top panel by about an inch. Then i applied self hardening clay to the top of it, to make armour, using the back of a pen to make battle damage!
I let it set for a day, covered with plastic wrap, just enough to form some drying cracks, and then i covered the whole panel with 3 coats of truck bed liner, filled the cracks with more clay, applied super glue to that, and then let it set for another day.
The paint i used was a a can of flat black, then a couple cans of differing colors of gray to make urban camo. and I painted the battle damage with liquid silver paint(used for gilding).
The chassis itself is a rare thing Thermaltake has gotten right, because it was AWE INSPIRING to look at even without all the modding i did to it. It's also one of the easiest modern cases i've ever worked with. even it was a closed case, the motherboard plate and front fan mount both come out easily and were easy to put back in.
Had a lot of fun building it.
This is also, as you can see from my other builds, my first project with a custom water loop, and I have to say, i knocked it out of the park(aside from the catastrophic seal failure i'd forgotten to check).
I used plexiglass to form an armature around the top and front panels, extending the canopy about 2.5 inches, and the rear of the top panel by about an inch. Then i applied self hardening clay to the top of it, to make armour, using the back of a pen to make battle damage!
I let it set for a day, covered with plastic wrap, just enough to form some drying cracks, and then i covered the whole panel with 3 coats of truck bed liner, filled the cracks with more clay, applied super glue to that, and then let it set for another day.
The paint i used was a a can of flat black, then a couple cans of differing colors of gray to make urban camo. and I painted the battle damage with liquid silver paint(used for gilding).
Color(s): Black Gray
RGB Lighting? Yes
Theme: Sci-Fi
Cooling: Custom Liquid Cooling
Size: ATX
Type: General Build
Hardware
CPU
$ 56.99
Motherboard
$ 499.99
Memory
$ 559.98
Graphics
$ 1,645.00
Storage
$ 539.90
PSU
$ 389.99
Case
$ 389.96
Case Fan
$ 202.20
Cooling
$ 229.99
Cooling
$ 178.90
Cooling
$ 309.99
Estimated total value of this build:
$ 5,002.89
Approved by: