


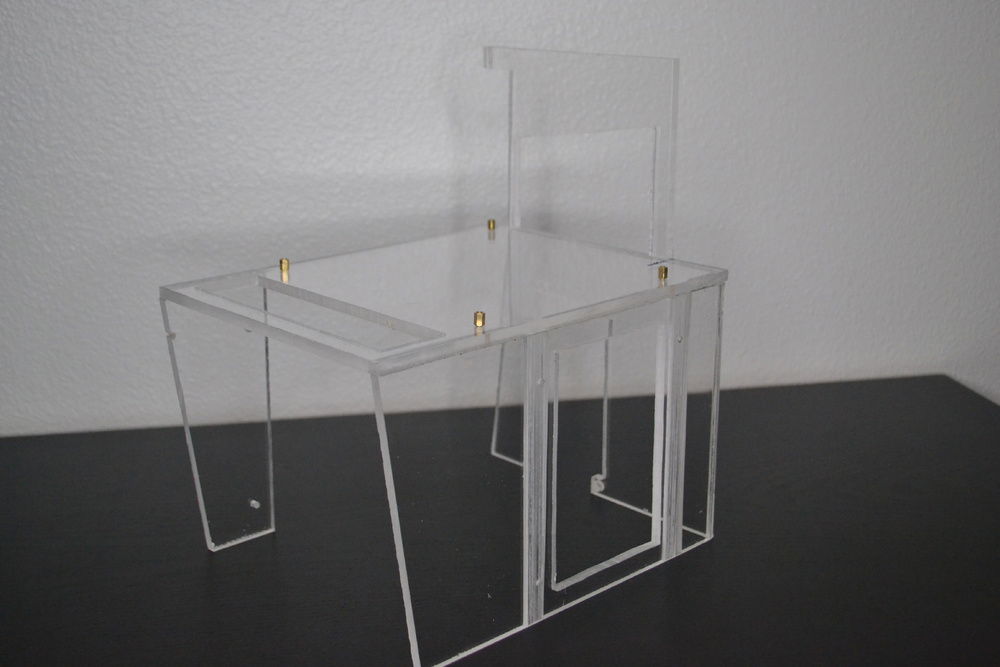
This test bench is much more vertical than my last one, especially the placement of the graphics card.
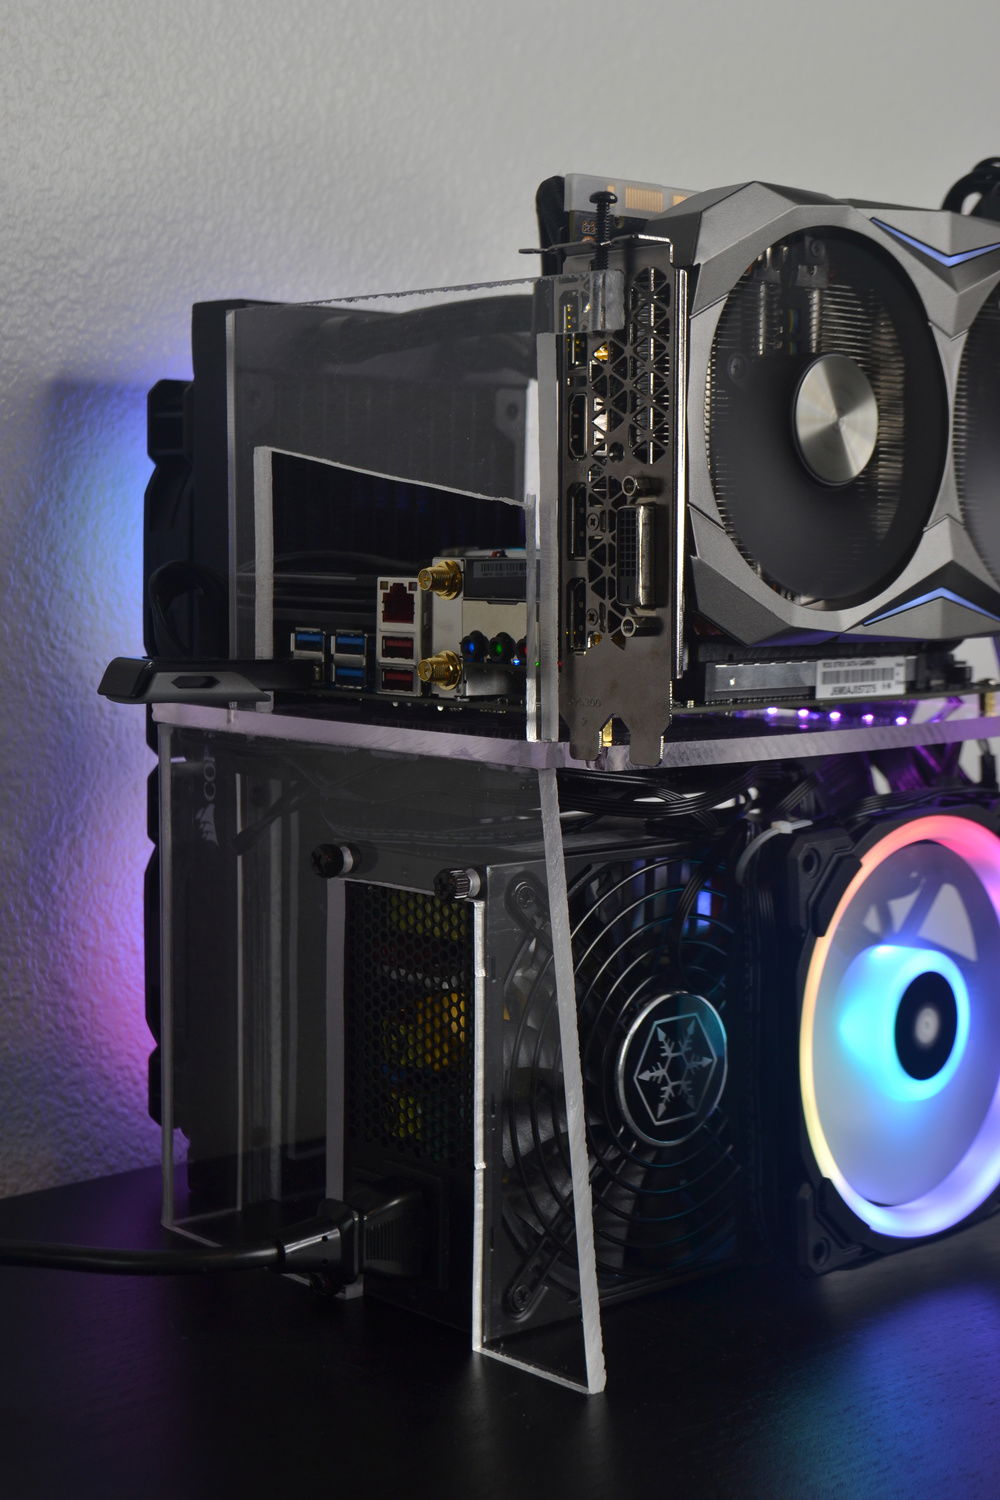
The piece on the top is to hold the graphics card down. The acrylic cement is surprisingly strong, even holding down a piece with such little surface area to bond.
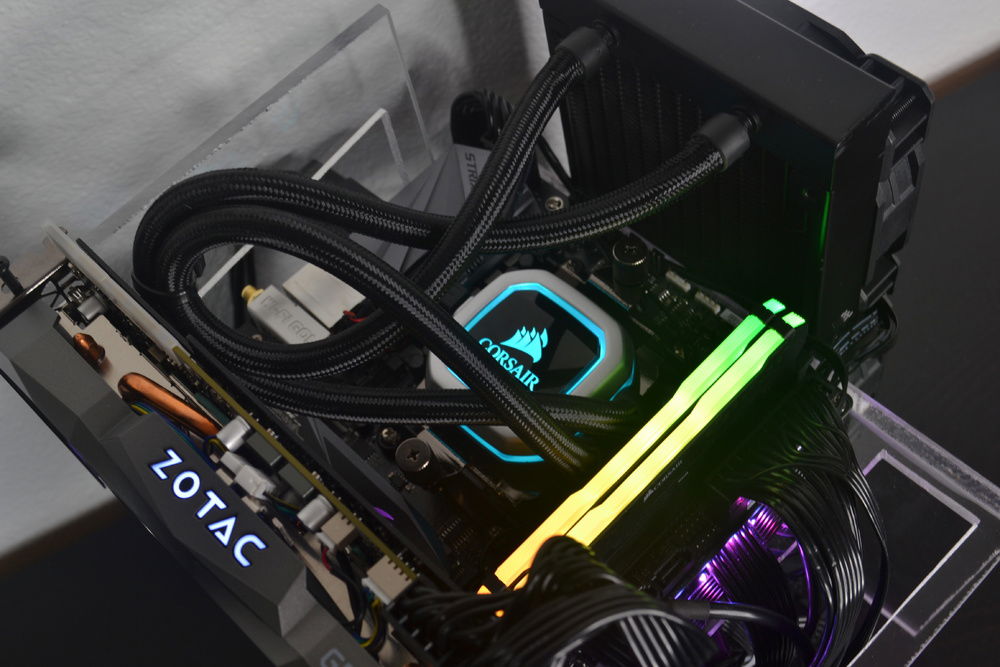
The 8-pin CPU power cable and some other cords are routed underneath the motherboard to clean cables up as much as possible.
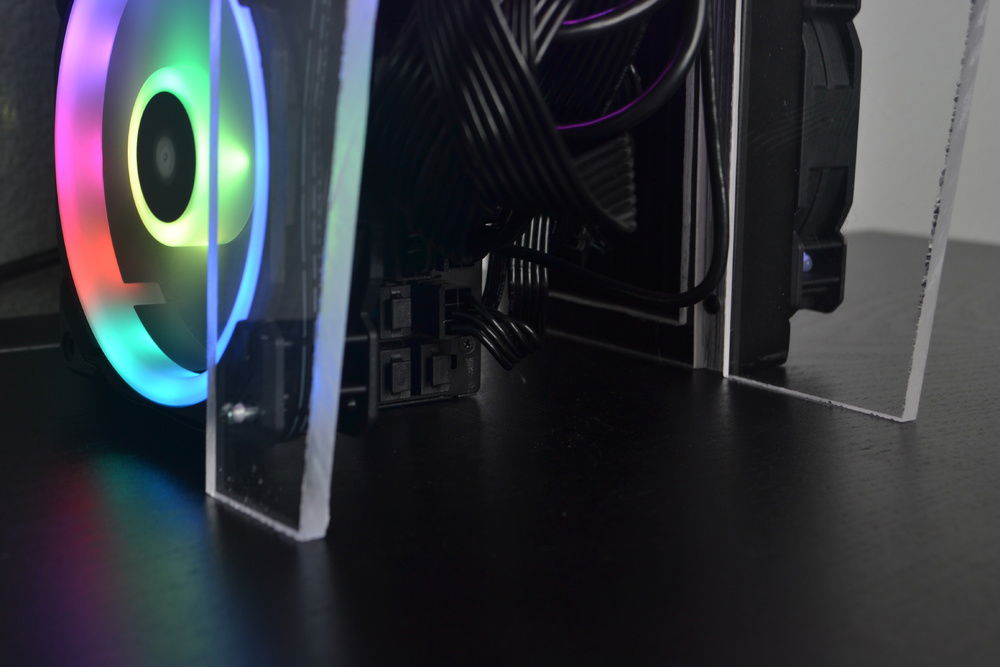
The PSU and radiator sit at the same height as the acrylic bottom, which adds support and balance to the frame.
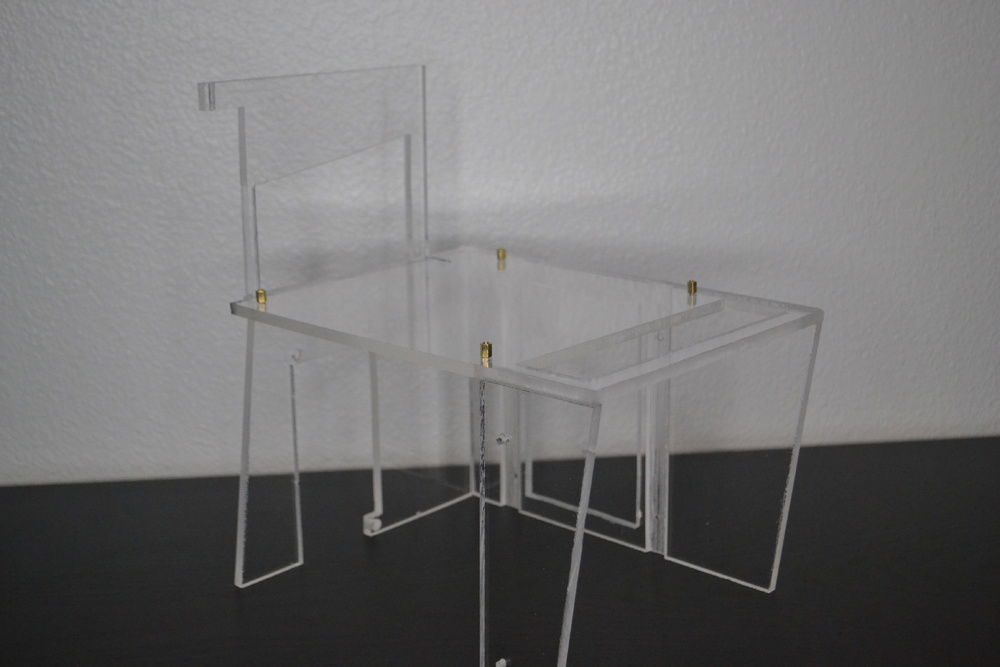
The completed test bench, empty. The acrylic turned out much cleaner this time; I put a lot more effort into making sure it didn't get scratched up while building.
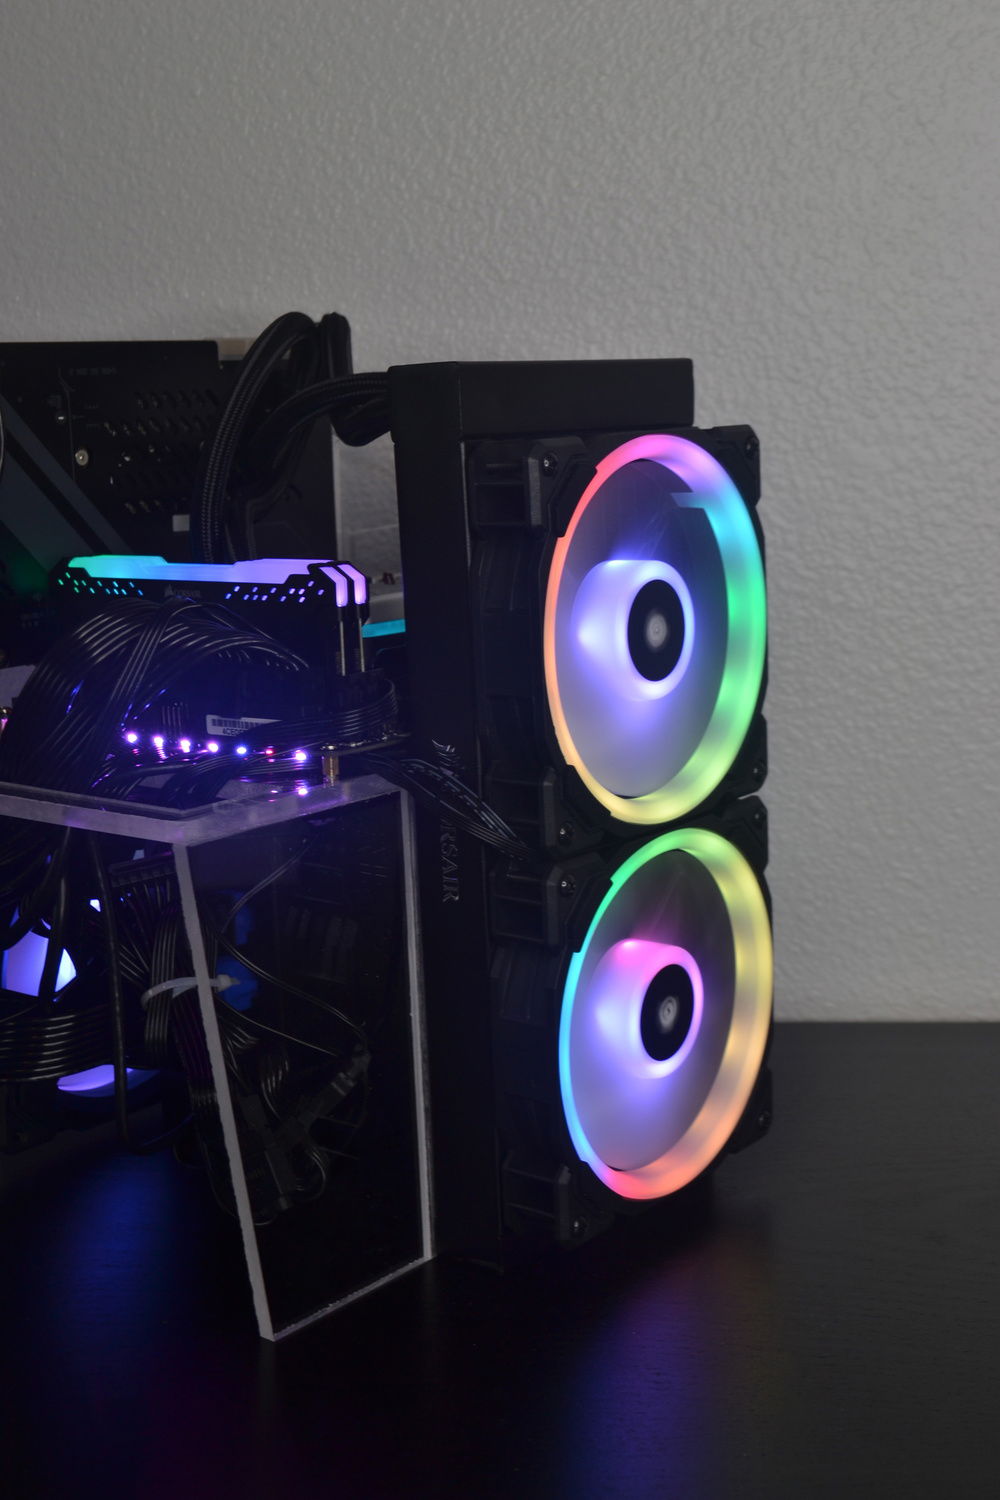
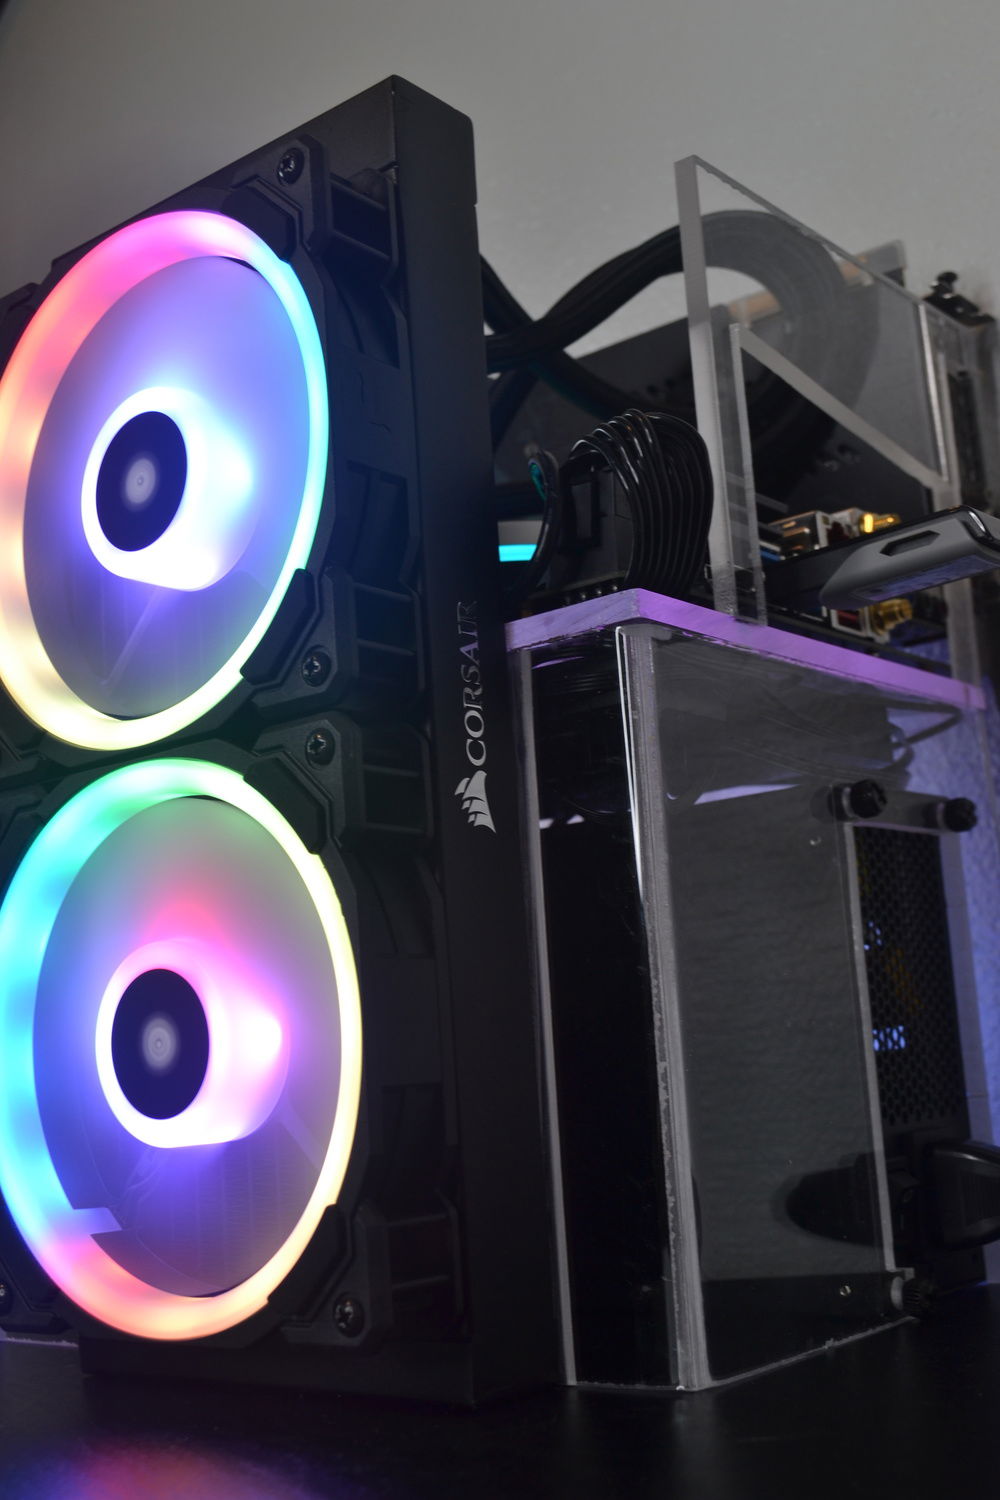
There's a large cutout on the side where the radiator goes so the acrylic doesn't block the airflow.
ITX Test Bench II: Radiator Boogaloo
AD:
My previous test bench (also posted here if you want to check it out!) was great, but there wasn't any space for my AIO, and I didn't realize just how loud the Wraith Prism is until I started using it. After using an AIO for so long, it sounded like a jet engine and I just couldn't do it, so I built a new test bench with 240mm AIO support. Also, the graphics card is even easier to pull out then on the last one, which makes taking quick measurements a breeze. Overall, I don't think it looks quite as nice as the other one (and the cable management is a nightmare, especially with the LL120s' & Corsair Commander Pro rat's nest), but it's more functional and it looks good enough for a simple test bench.
I built this using 6mm acrylic and acrylic cement. I've never used acrylic cement before this; it works really well really fast, but it's also super toxic and will give you headaches if you're not ventilating your workspace well enough (and possibly cancer and birth defects according to the warning label). My seams are a lot cleaner with this than with the e6000 like on my last test bench, and I'm looking forward to using it again on future acrylic projects.
I built this using 6mm acrylic and acrylic cement. I've never used acrylic cement before this; it works really well really fast, but it's also super toxic and will give you headaches if you're not ventilating your workspace well enough (and possibly cancer and birth defects according to the warning label). My seams are a lot cleaner with this than with the e6000 like on my last test bench, and I'm looking forward to using it again on future acrylic projects.
Color(s): Black
RGB Lighting? Yes
Theme: none
Cooling: AIO Cooling
Size: Mini-ITX
Type: General Build
Hardware
CPU
$ 106.27
Motherboard
$ 256.45
Memory
$ 185.99
Graphics
$ 551.00
Storage
$ 59.92
PSU
$ 249.99
Case Fan
$ 39.61
Cooling
$ 108.00
Accessories
$ 74.29
Approved by: