Hardtubed InWin 303c Custom Loop
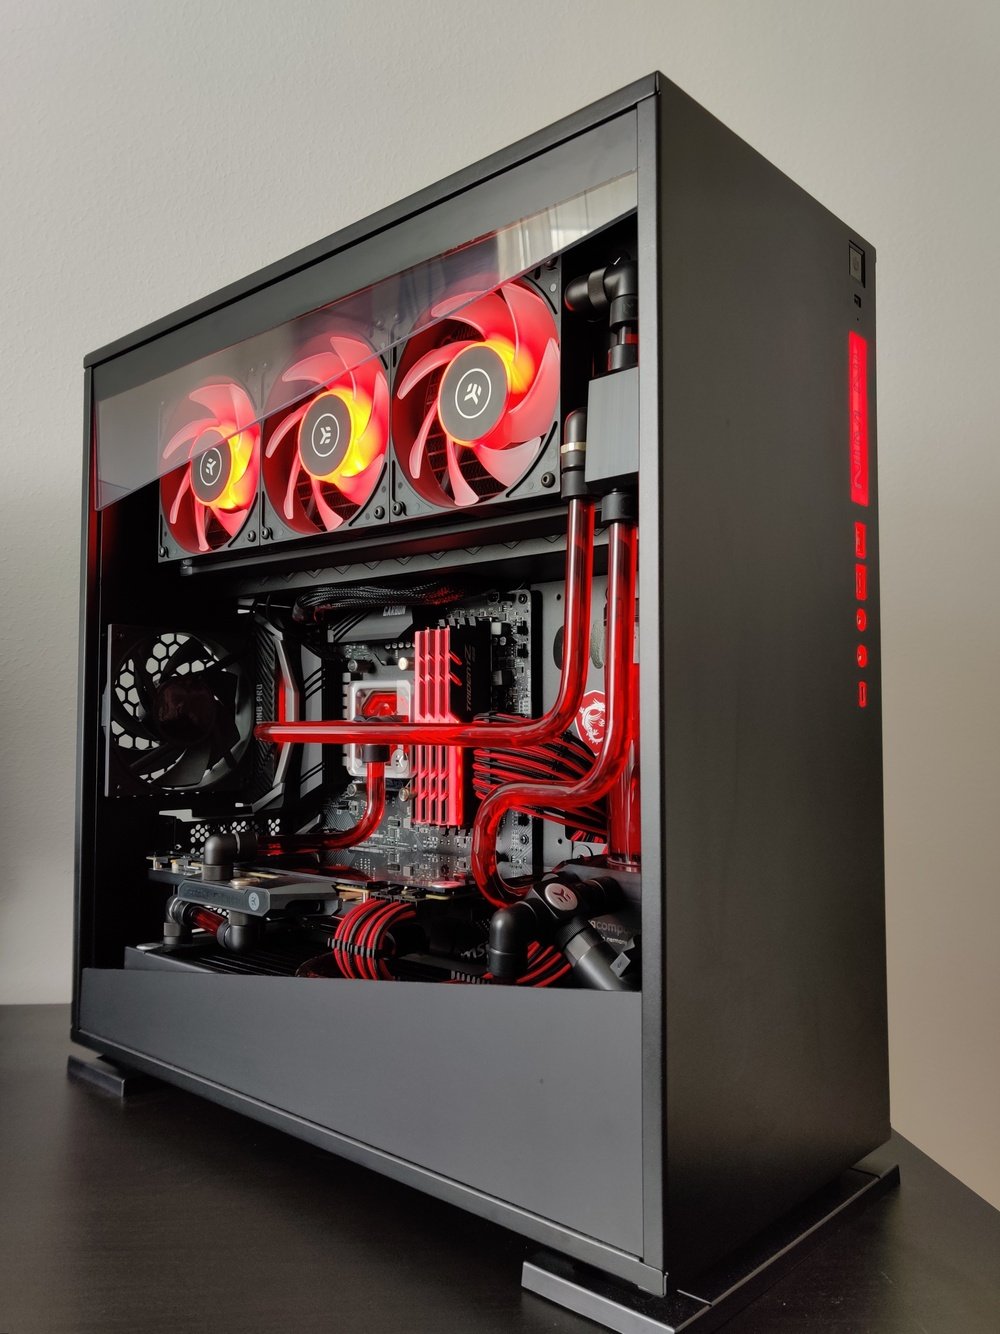
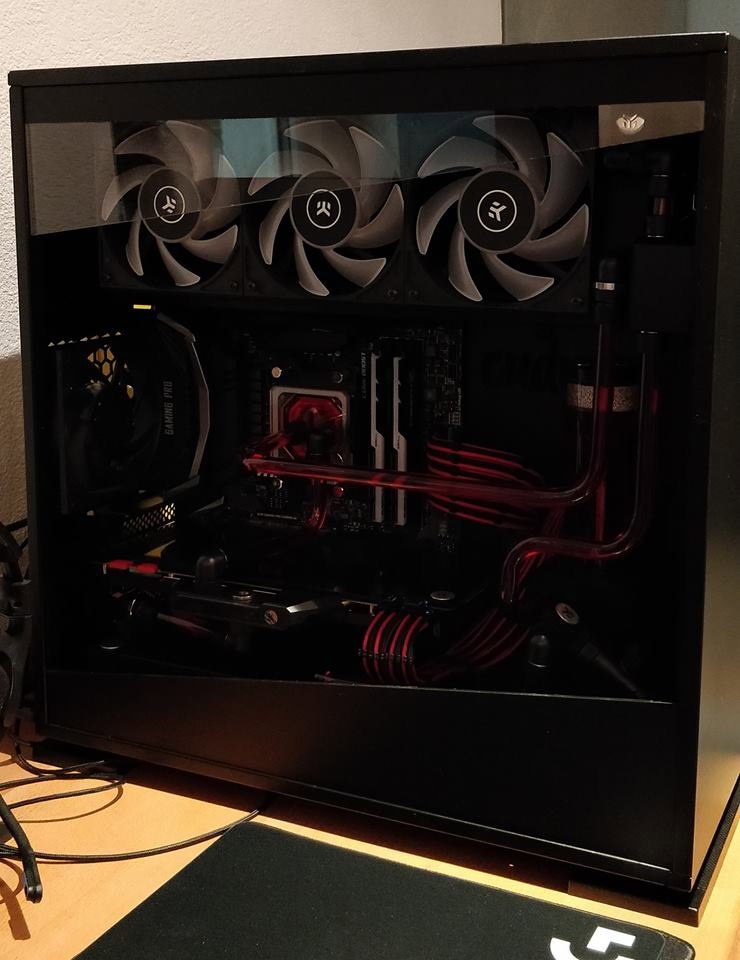
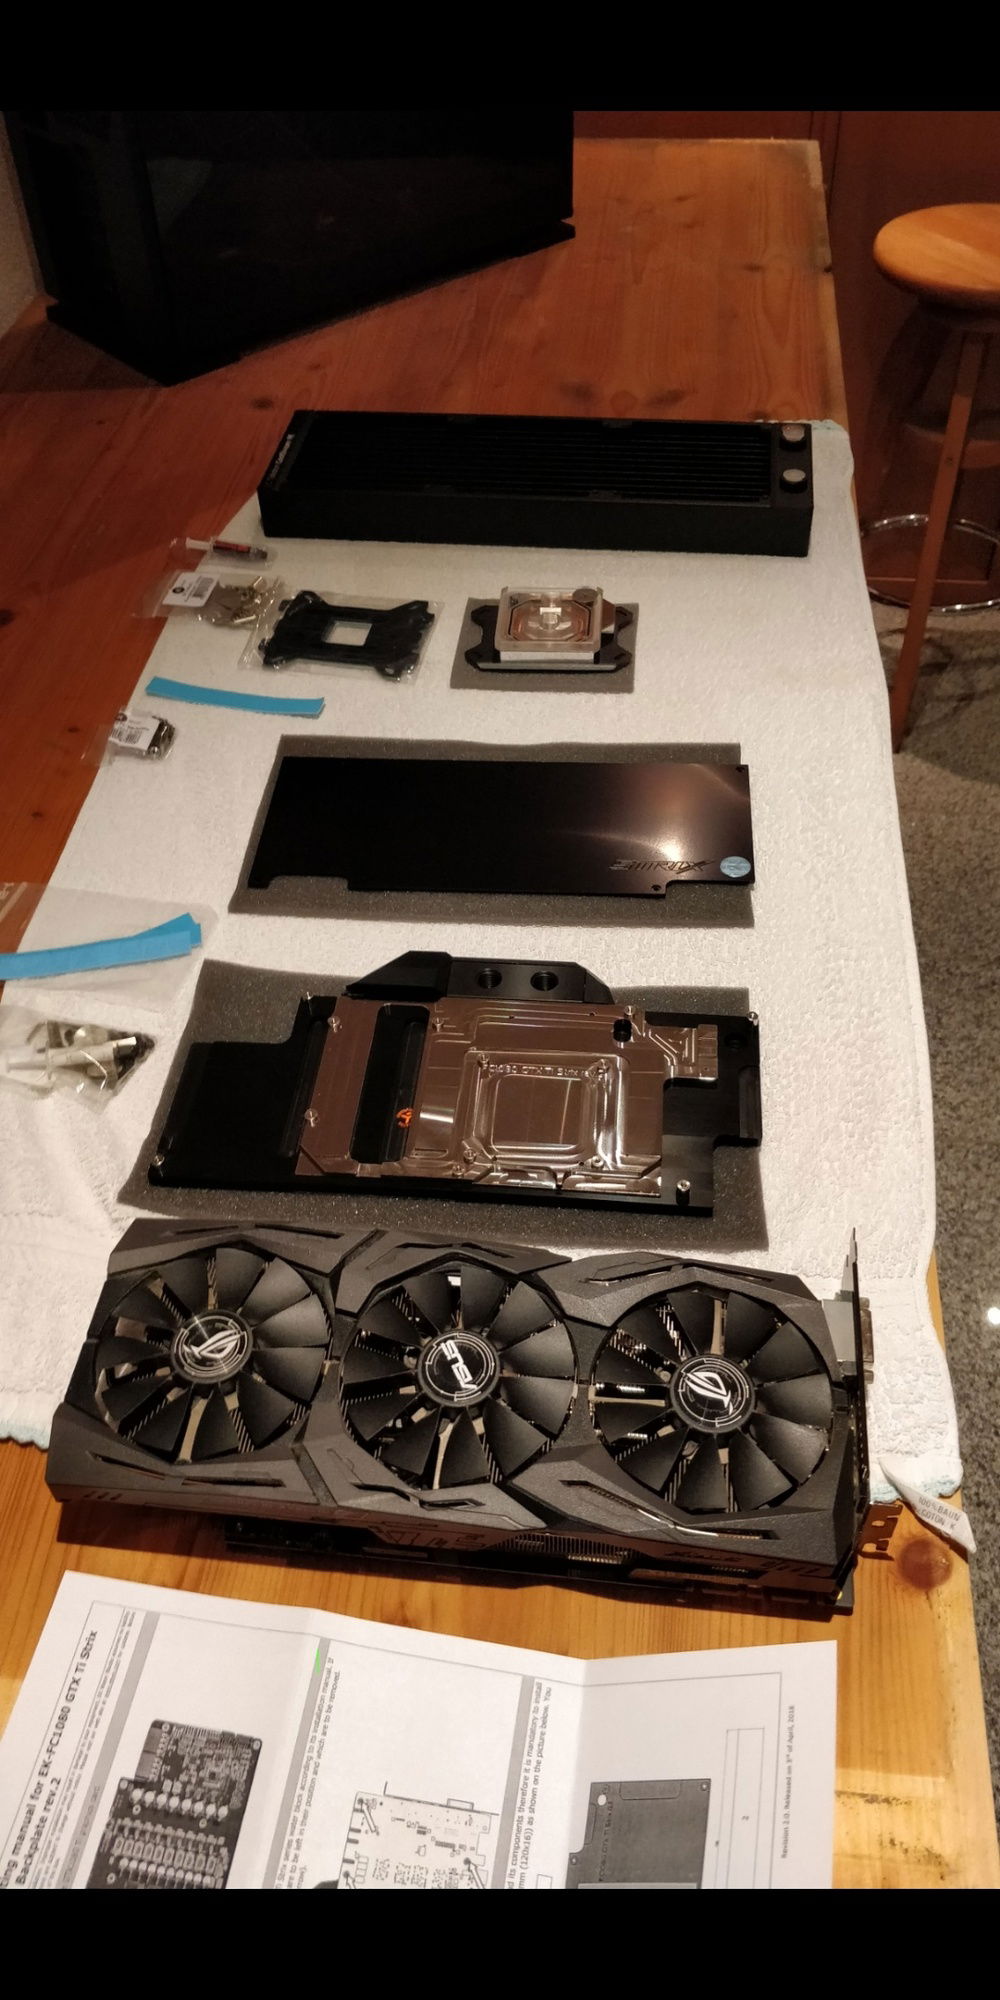
Hey guys, today I want to show you my latest build! This time I went for watercooling (hardtubes) together with my mate who is (gladly!) pro in watercooling. The main idea to start this project was because I got inspired by some other great inwin 303 watercooling builds on the www.
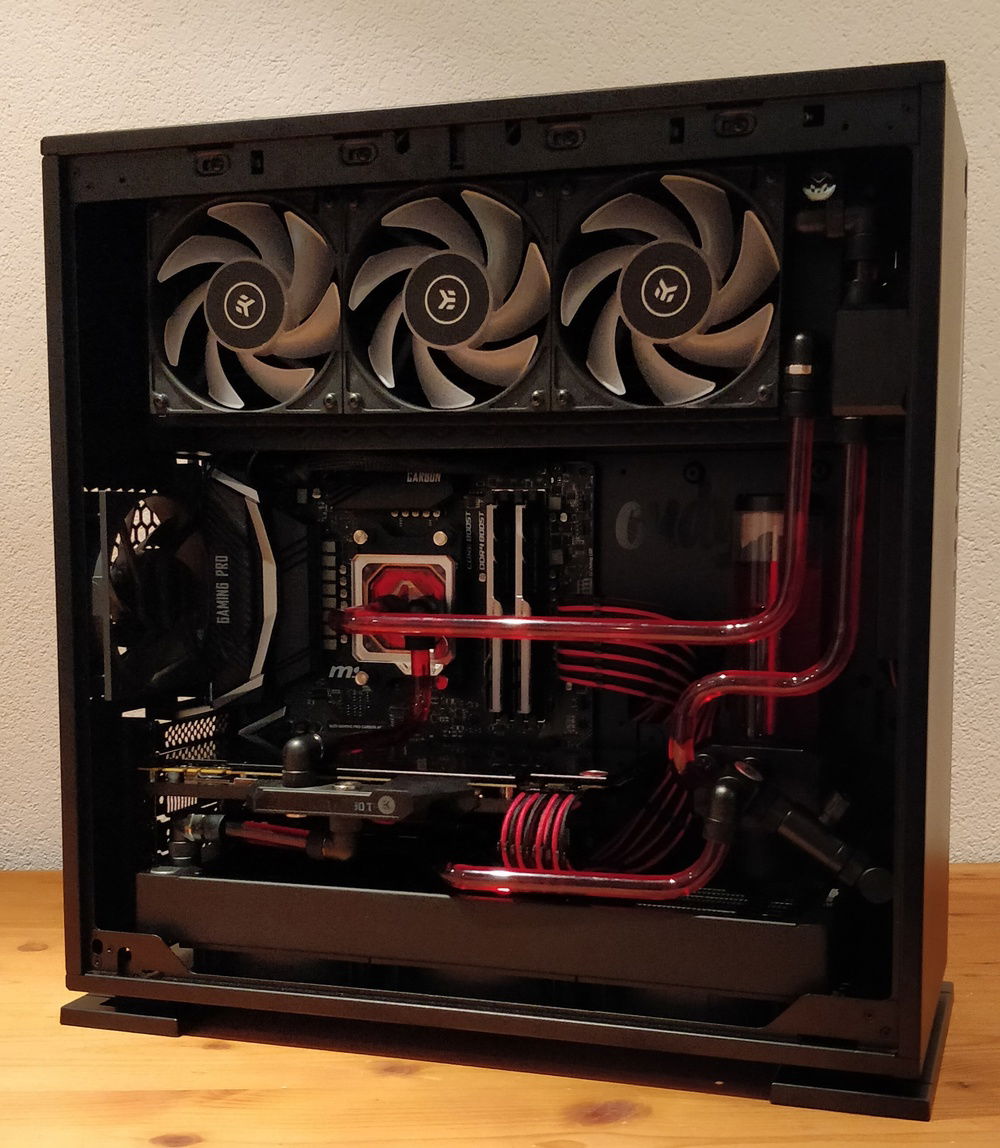
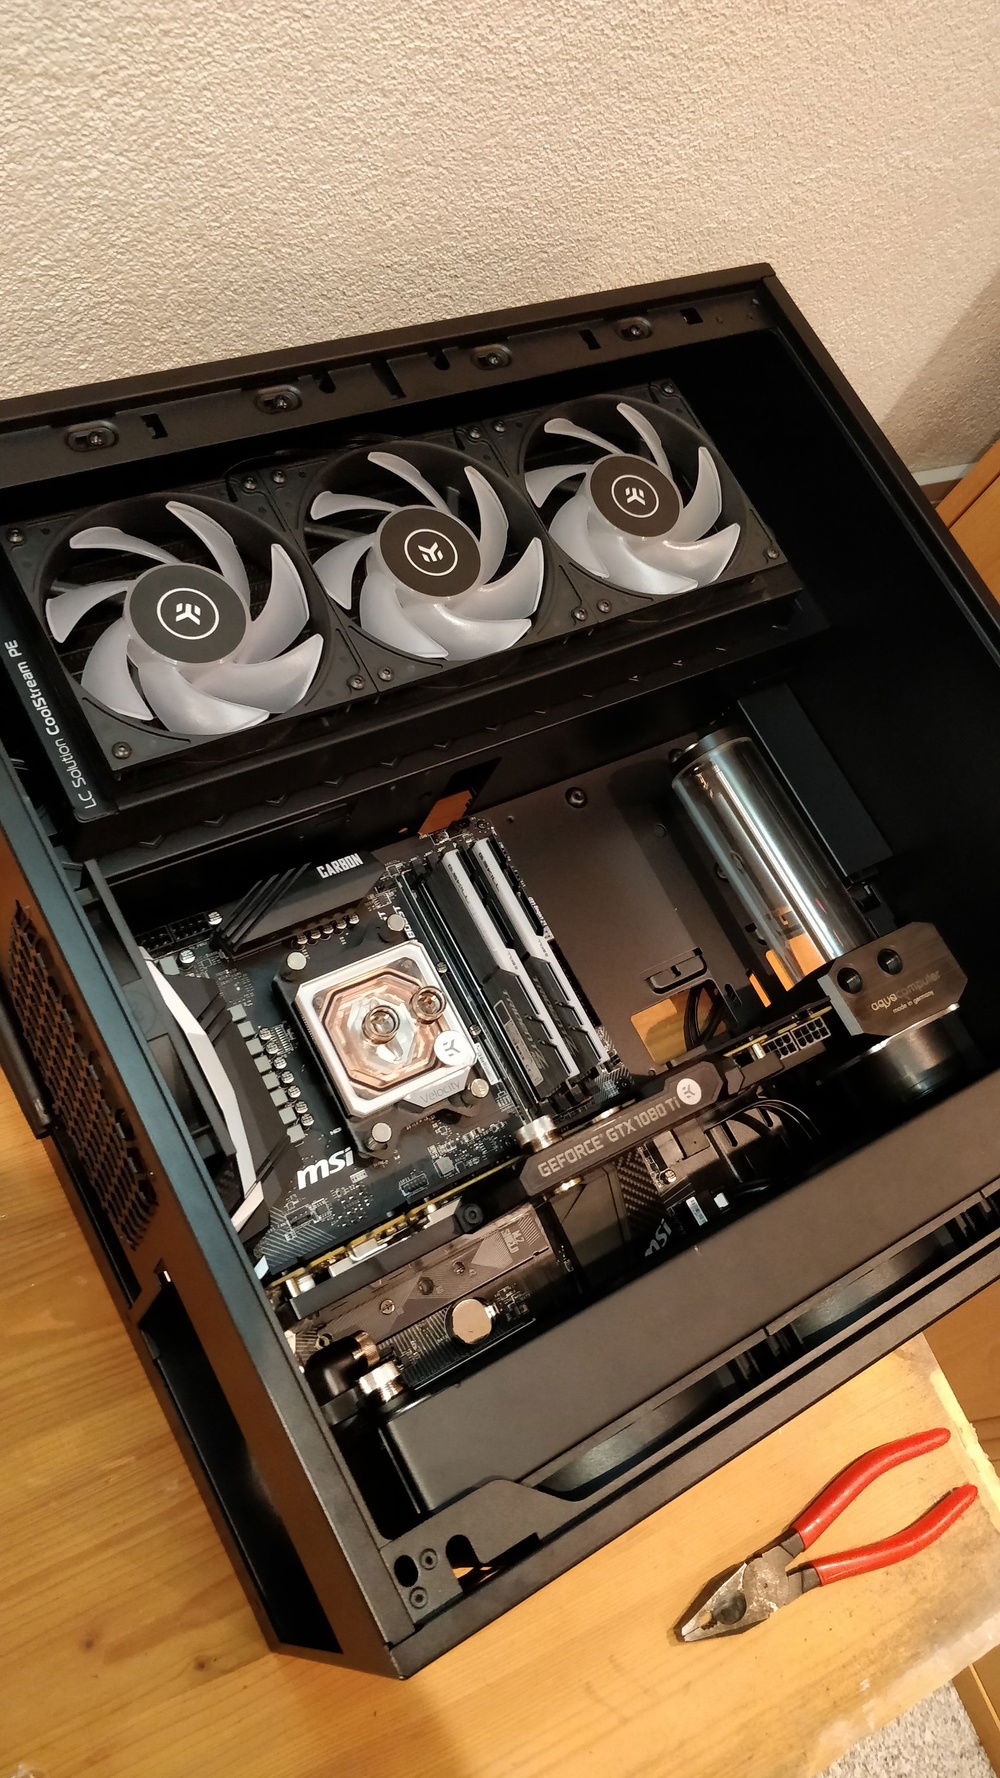
I'm very happy with the result, even tho it was a long and hard way, since we maxed out the space of the case. InWin usually dont recommend using two (360) radiators in this case but it works, even with an ATX board! Gladly there are two holes for each screw in the bottom, so you can move the radiator approx. 1 cm away from the mobo into direction of the glass.
Note: The cable management in the shroud behind the top radiator was very nice to work with! We were able to hide all possible cables we used in the entire build.
The waterloop circle is:
Pump/Res -> flow sensor -> top radiator -> inline temp sensor ('coldest') -> cpu -> gpu -> inline temp sensor ('hottest') -> bottom rad -> Pump/Res
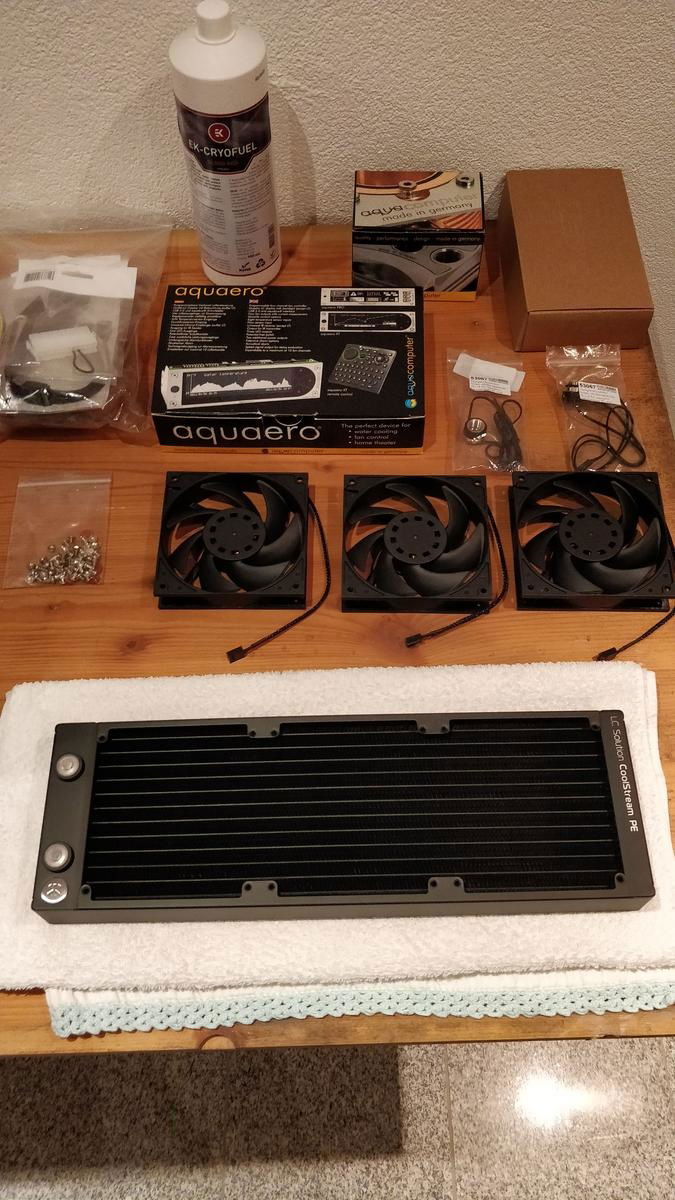
I used: 3x EK Vardar EVO 120ER RGB fans on top rad, outtake 3x EK Vardar EVO 120ER fans on bottom rad, intake 1x EK Vardar EVO 120ER fan on back, intake
The case got some custom moddings by us, as we drilled some extra holes to hide the cables of the top fans (2 per fan) and some extra holes for the fan controller in the back shroud!
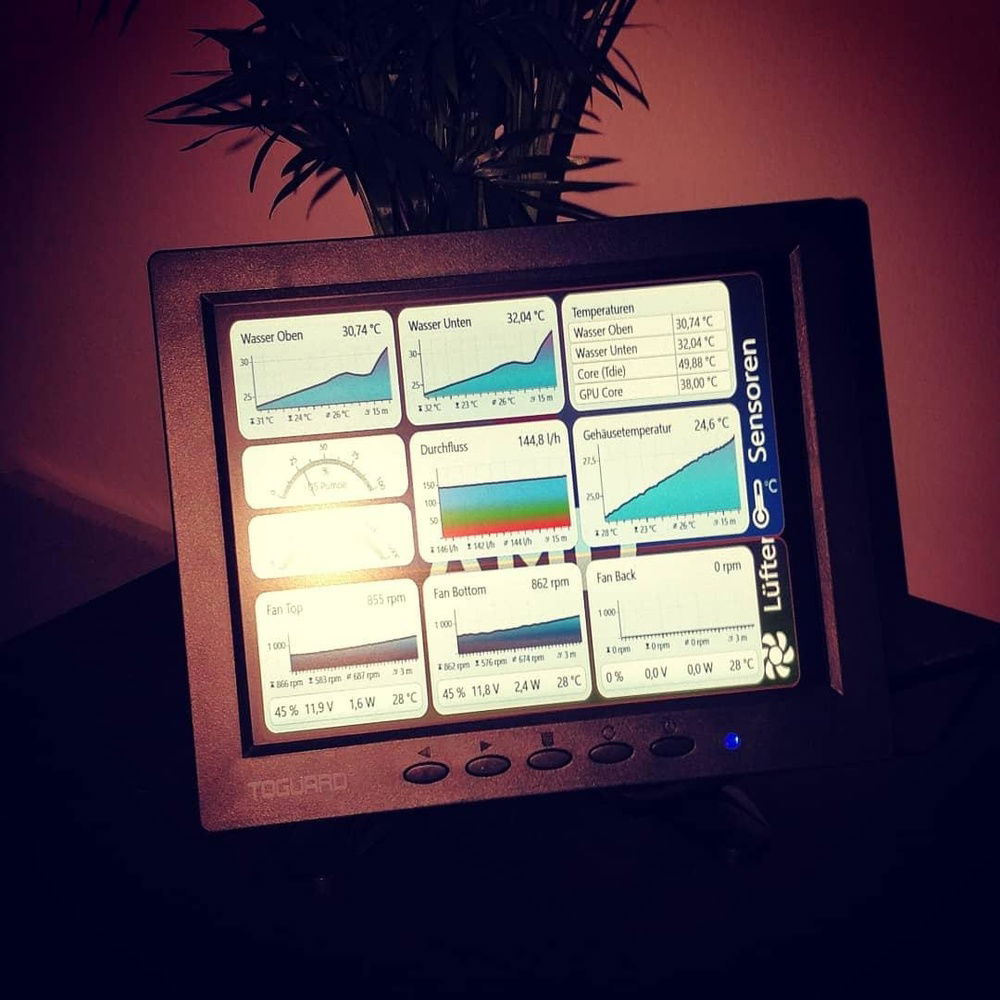
For the controll of the fans i used an Aquacomputer Aquaero (including the software Aquasuite - i ******* love this software, its soooo adjustable, like you can programm your own data stats etc! Also i was able to perfectly make it fit for my small monitoring screen! Way better than the awful CAM software by NZXT, this was the best thing that i got rid of this cruel software)
The cables are by the BitFenix BQT SP 11 Series pack!
I tried to note all usefull parts of this build - if you have questions, feel free to drop it down in the comments!
I really hope you guys like what we did here :-)
Worktime: 28 hours | Pre-Planning: 2 months | Total costs for the watercooling: around €1.100
Color(s): Black Red
RGB Lighting? Yes
Theme: none
Cooling: Custom Liquid Cooling
Size: ATX
Type: General Build
Build Updates
CPU / MOBO Update
Custom side panel
Hardware
CPU
$ 225.00
Motherboard
$ 489.00
Memory
$ 338.68
Graphics
$ 435.00
PSU
$ 161.43
Case
$ 93.51
Case Fan
$ 57.99
Case Fan
Cooling
Cooling
$ 209.06
Cooling
$ 209.06
Cooling
$ 44.99
Cooling
Cooling
Accessories
$ 211.50
Approved by:
