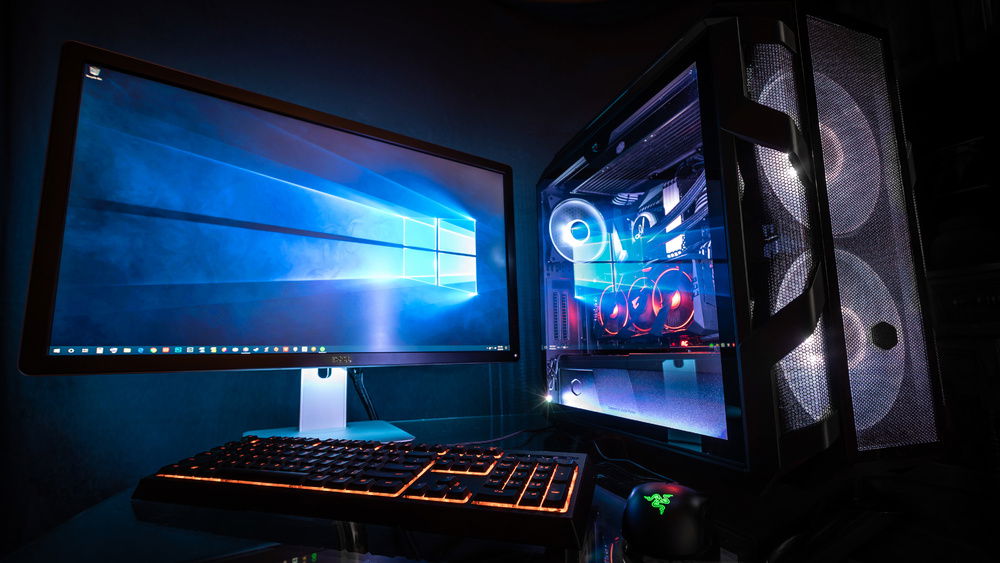
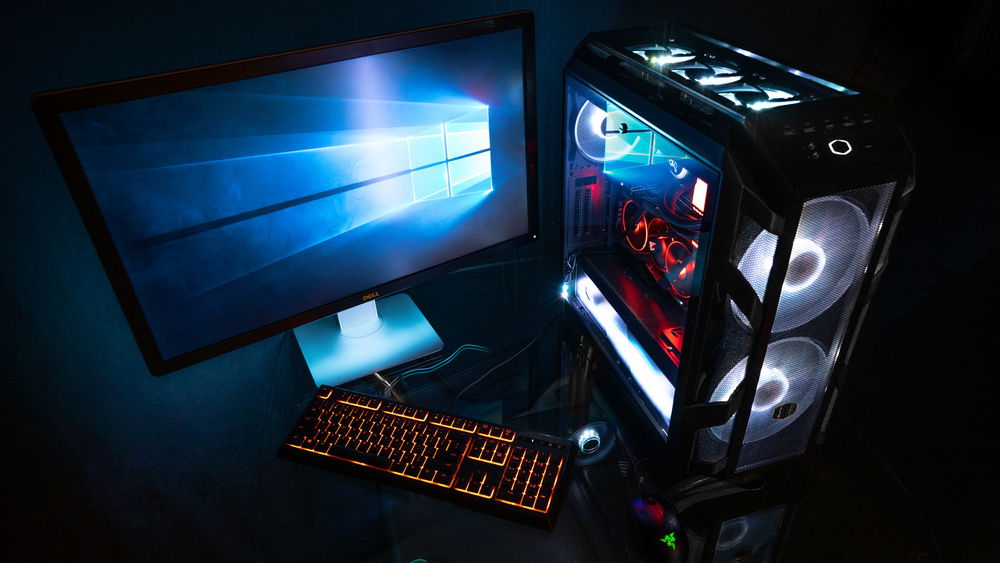
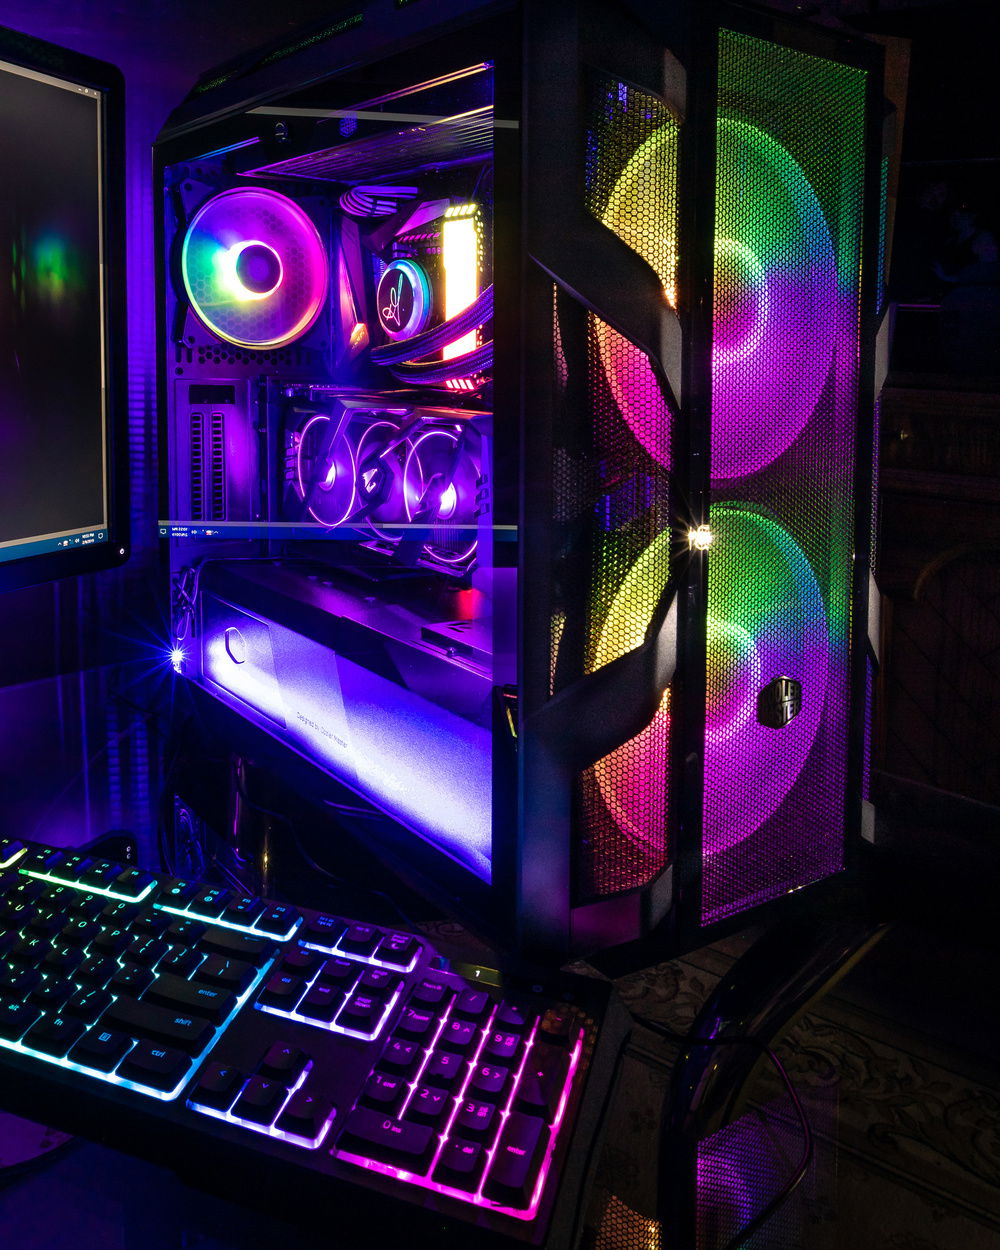
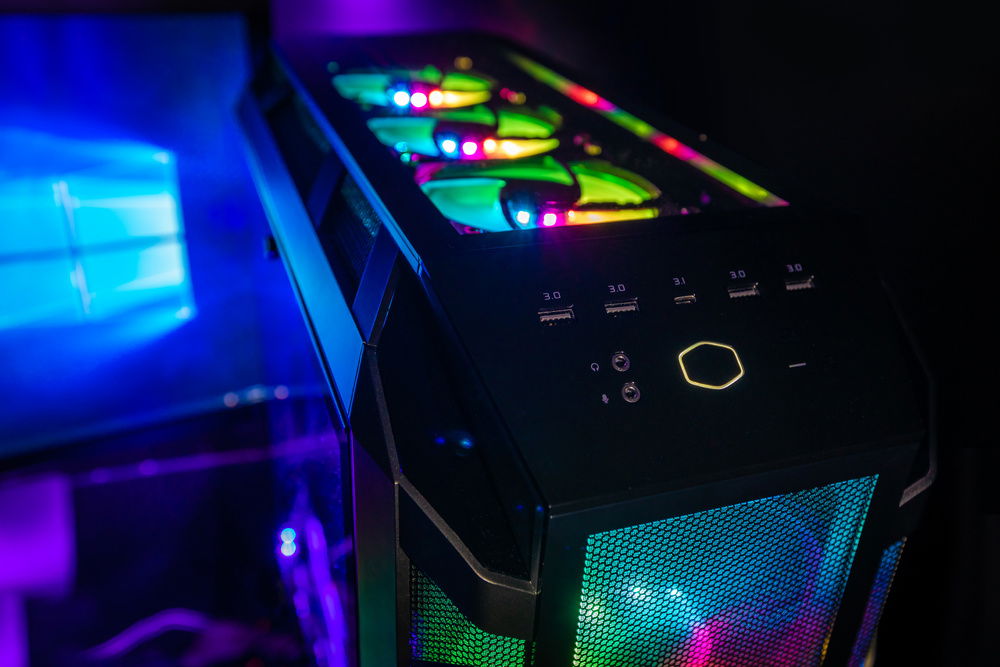
Sasha "Fire and Ice"
As a full-time commercial digital effects artist, part-time photographer and over the hill, spare-time, gamer, I need a PC that can render my personal 3D work, process very high megapixel raw still images, spit out 60fps on high quality game settings, all at 4K resolution on a single 32" monitor. My current setup, an almost 10yo Dell i7-960 3.6GHz quad-core system, just wasn't cutting it anymore, and needed to be retired. So over the holidays, I started the process of acquiring a new machine.
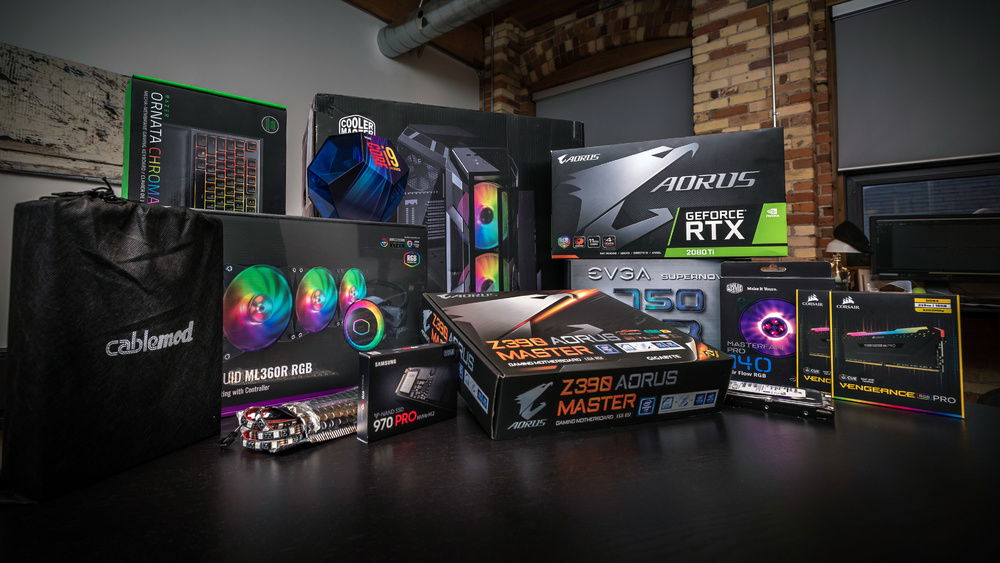
When I discovered Intel announced its new i9-9900K as "the world's best gaming CPU" with its 8 cores/16 threads, all at 5GHz after overclocking. I felt this new CPU would be the perfect balance between core speed and thread count without blowing the budget ( too much ).
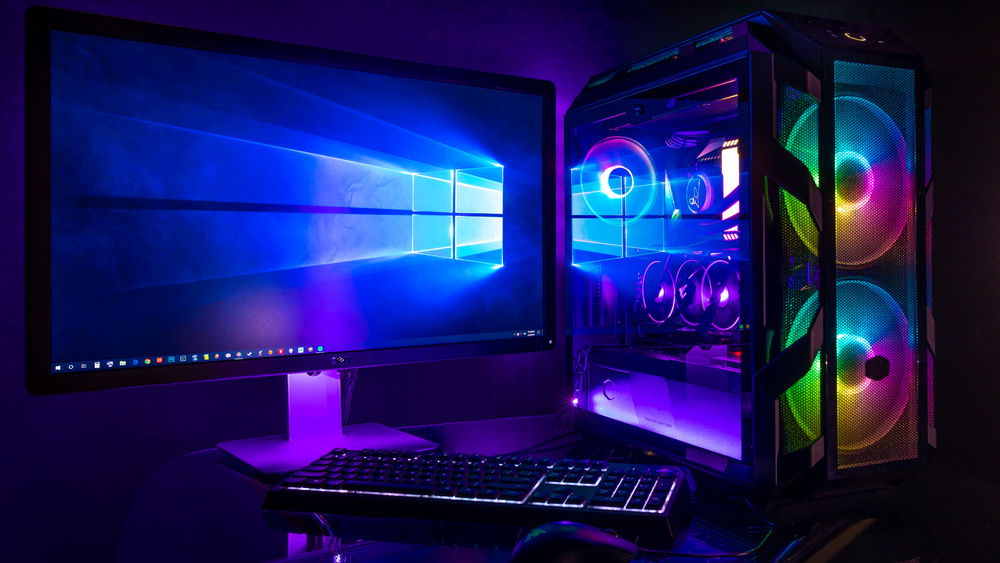
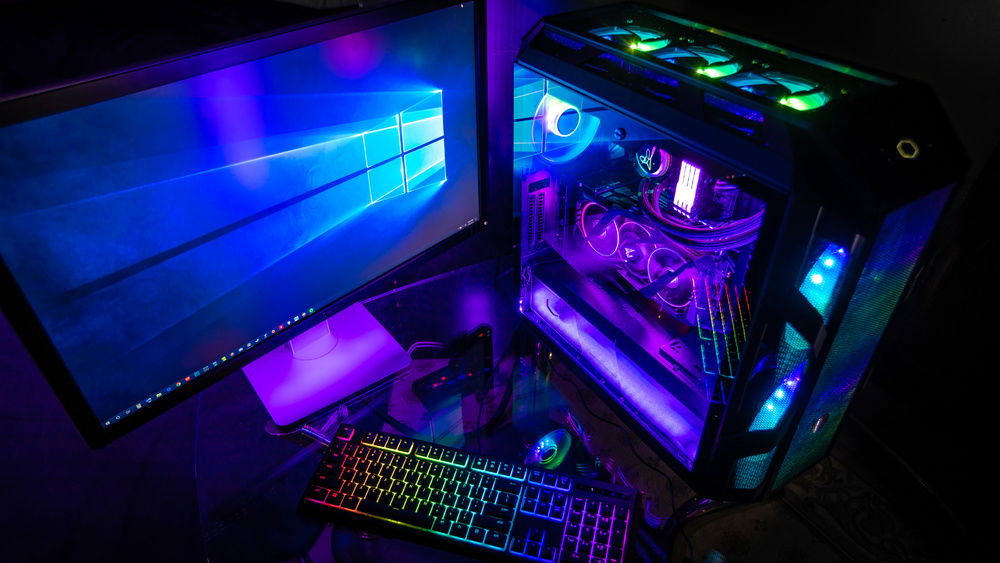
Because I haven't assembled a PC since cases were beige and Windows came on several 3.5" floppy disks, I hopped on to YouTube to do research for my new build. In doing so, it became quickly apparent, RGB lighting is very popular right now. At first, I wasn't going to succumb to the bling-y RGB lifestyle, knowing full well it would come with a higher price tag. But then, the giant "Rainbow Unicorn" black hole opened and sucked me in. I ended up going full Vegas!
At the end of the day, I blew the budget a little bit. I blame the RGB black hole.
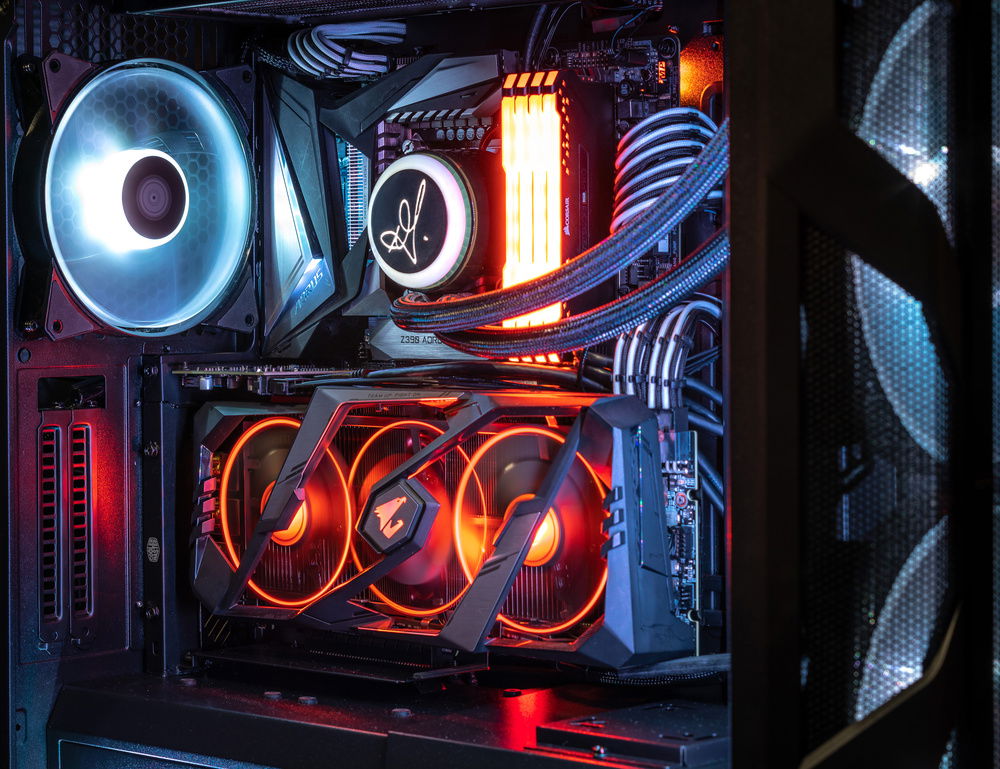
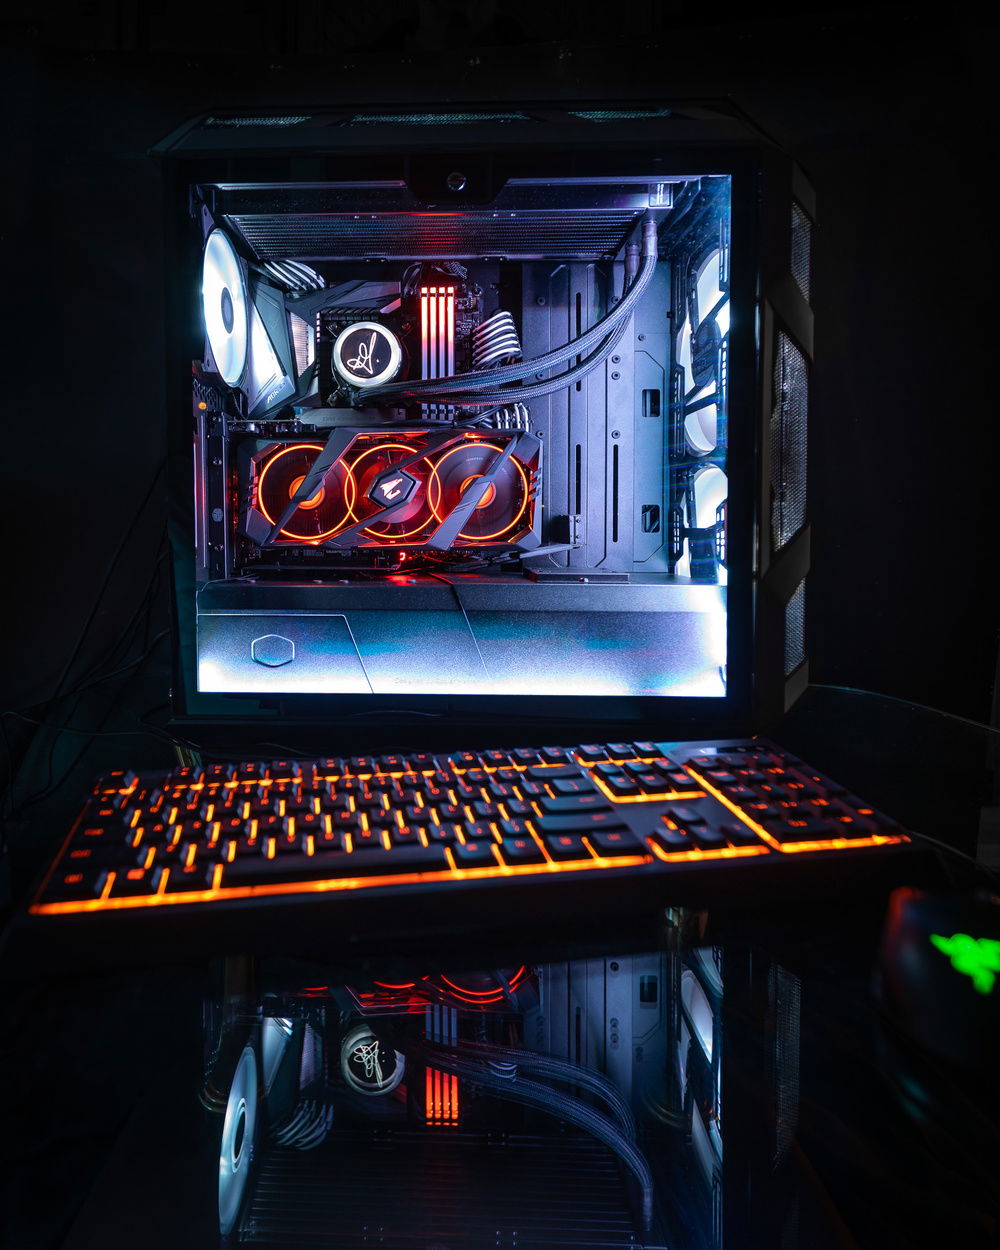
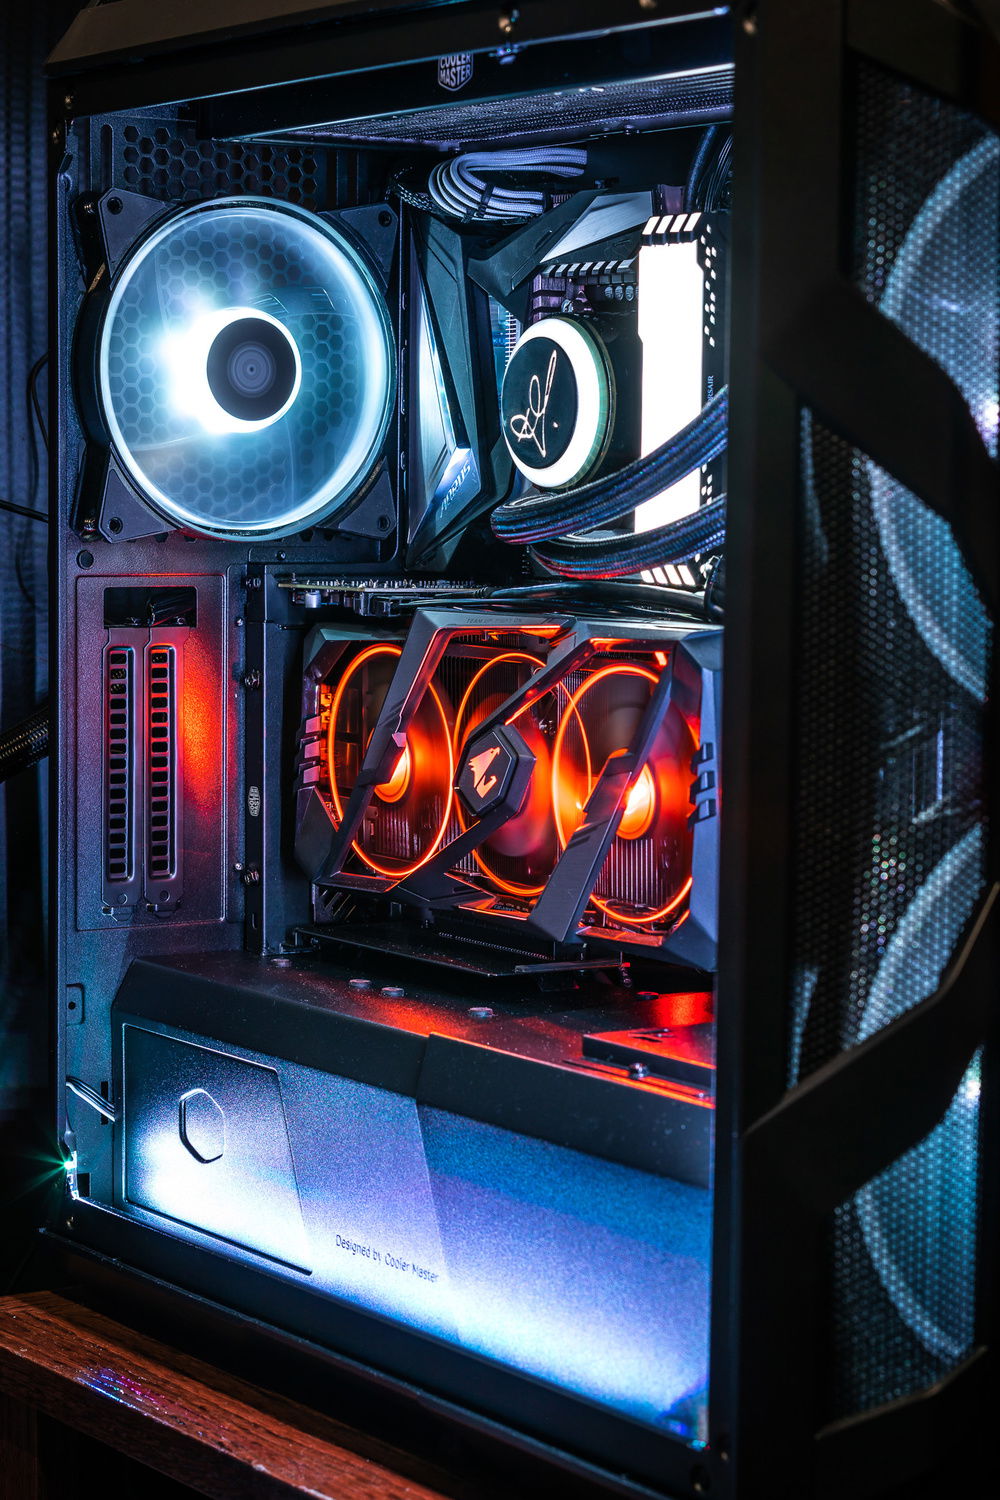
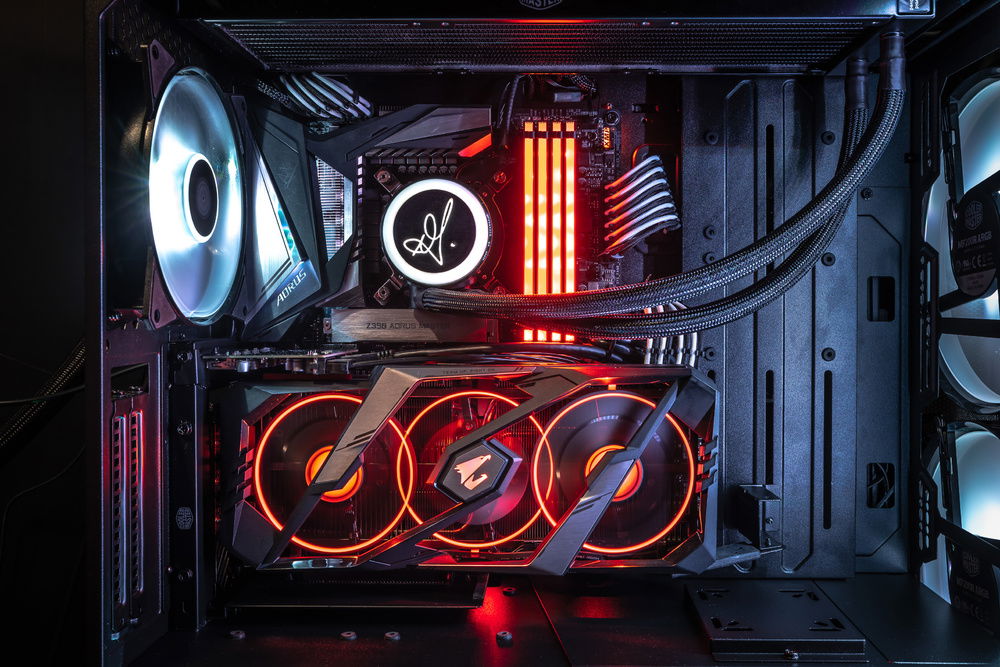
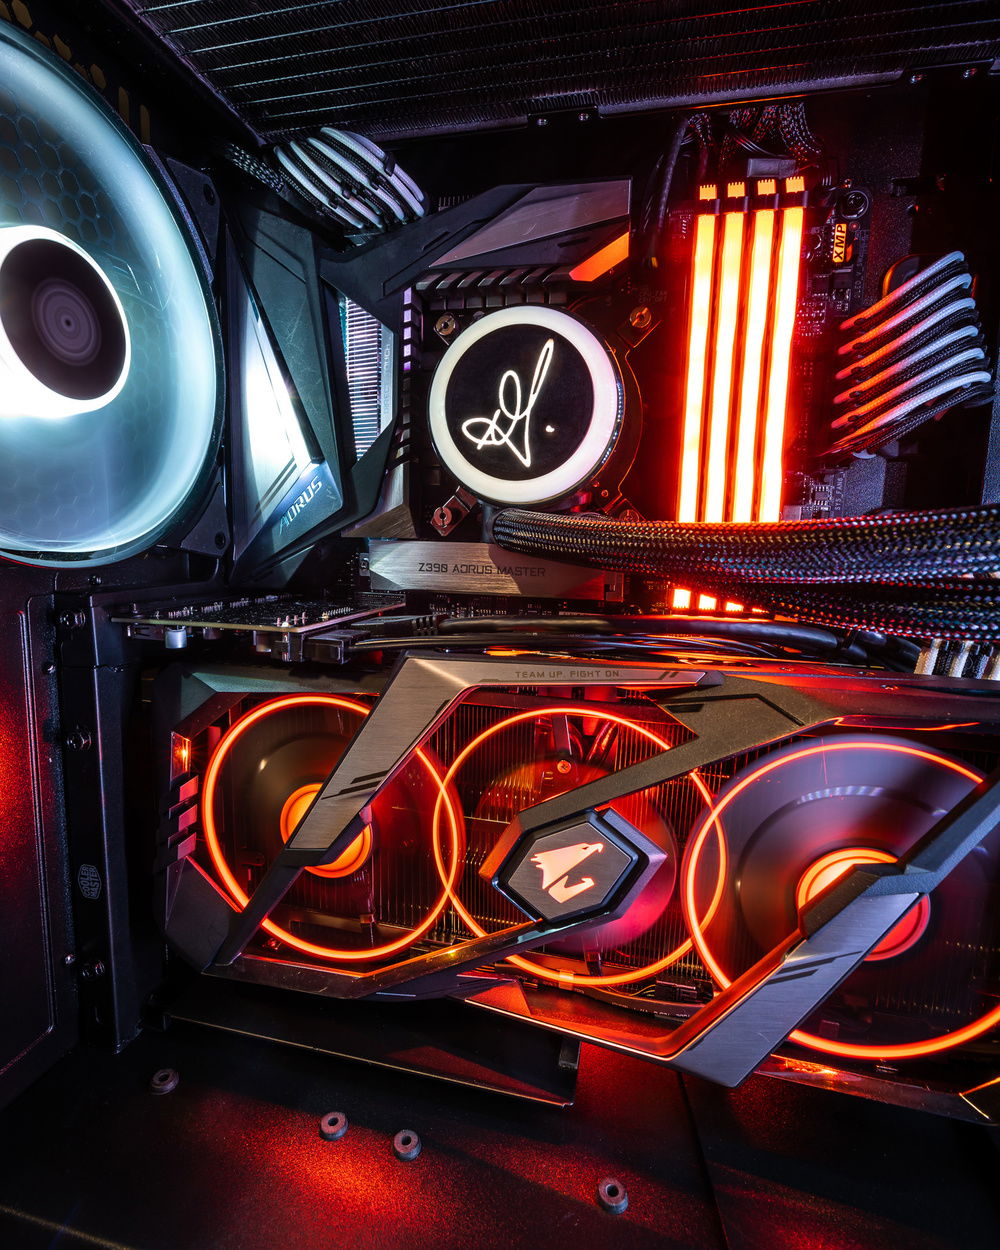
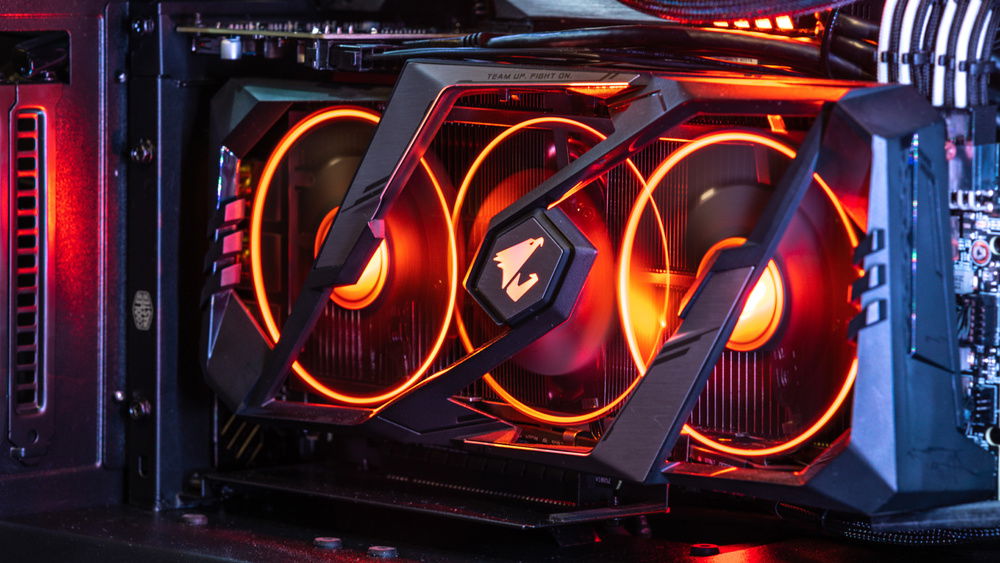
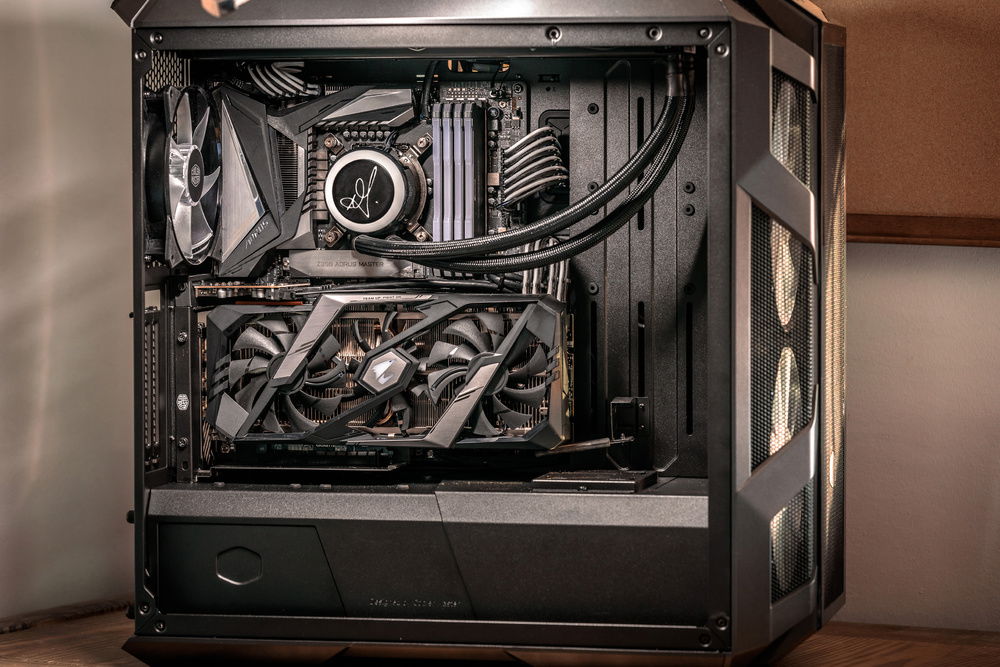
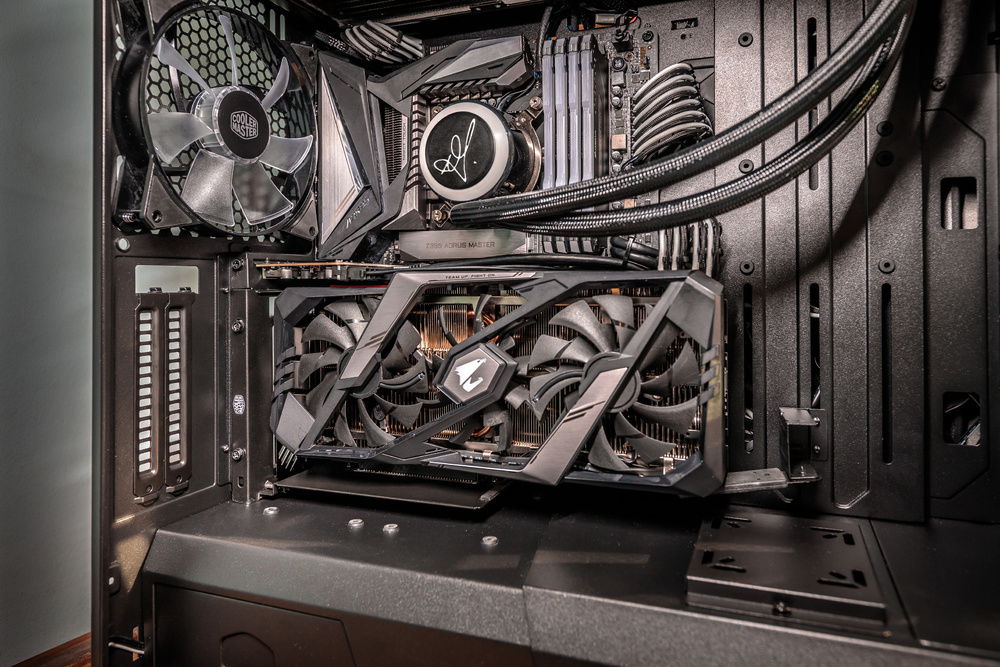
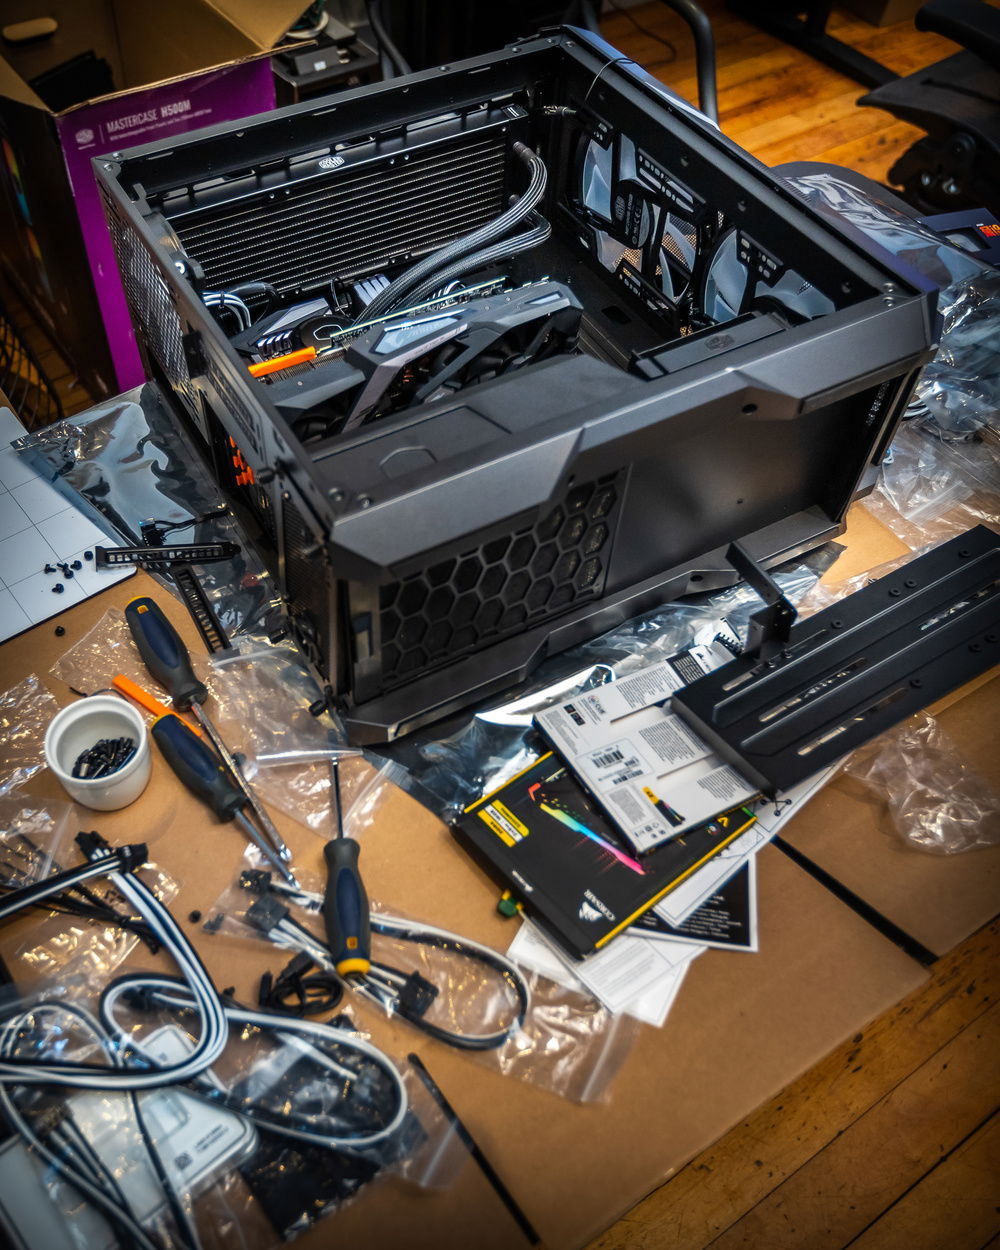
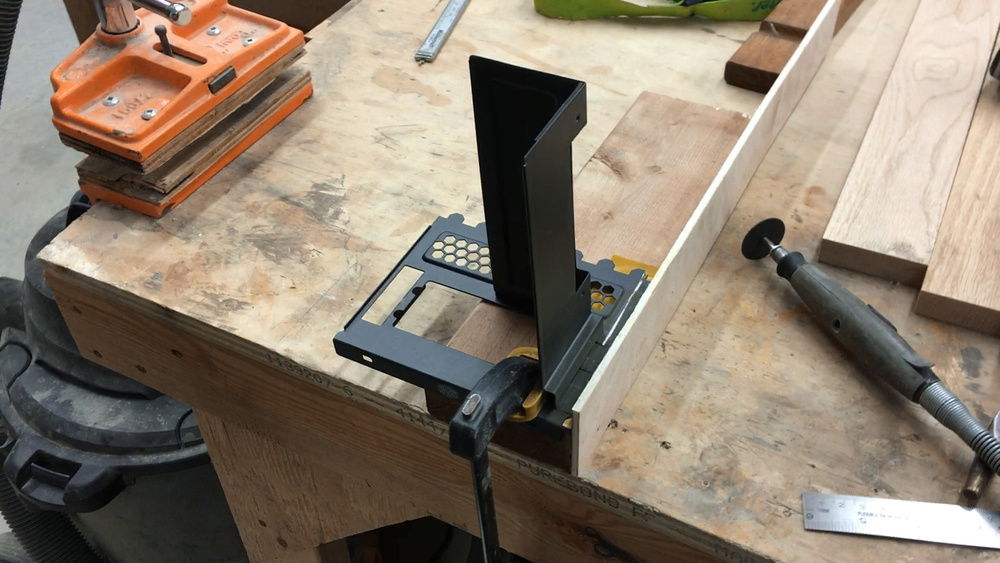
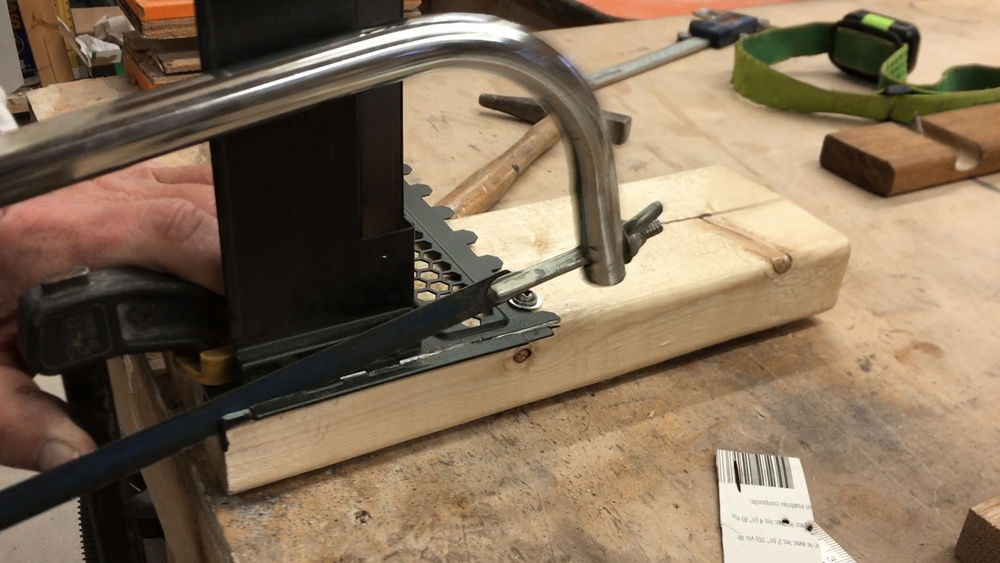
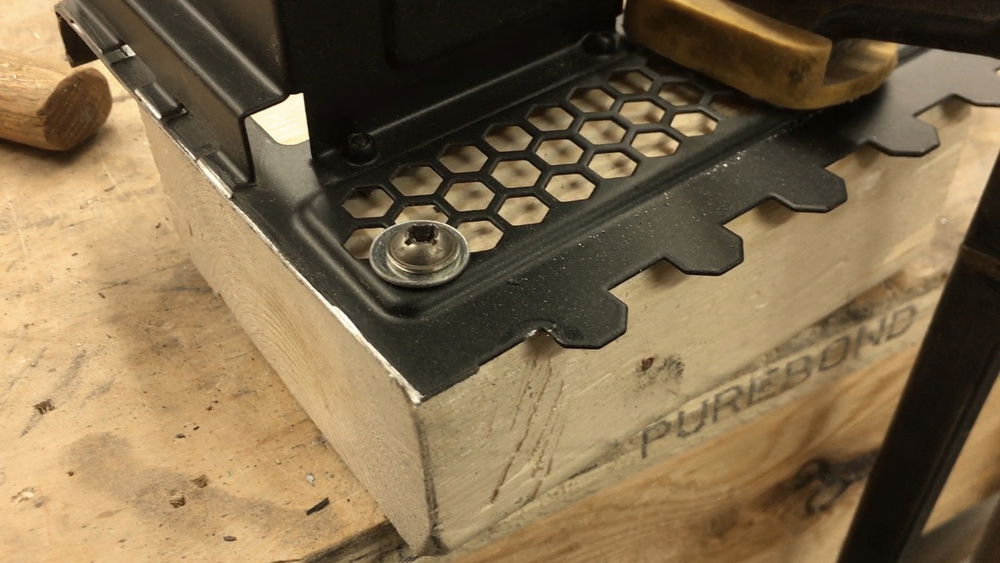
To mount Gigabyte's awesomely lit 2080ti graphics card vertically, I had to modify Cooler Master's 7U vertical bracket to a 6U bracket by chopping off the bottom ( sorry Cooler Master! ). This would allow me to add a USB 3.0 PCIe card to add extra USB ports and more importantly, introduce another USB 3.0 header to plug the other two USB ports in on the front of the case (the Z390 Aorus Master just has one USB 3.0 header, while the case requires two).
The USB 3.0 PCIe card I chose also needed the mounting bracket slightly trimmed in order to fit.
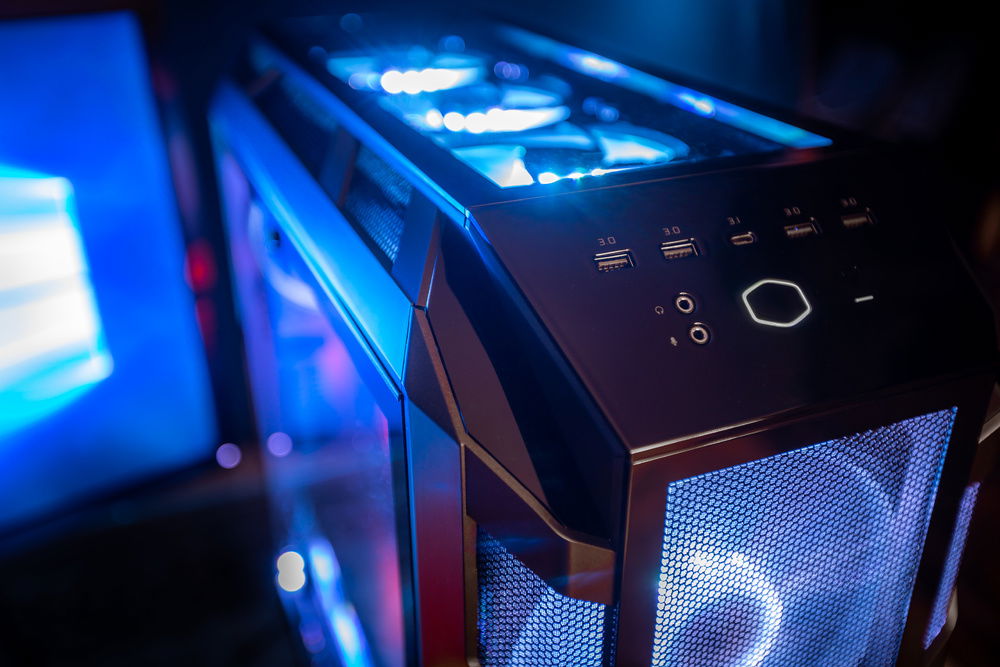
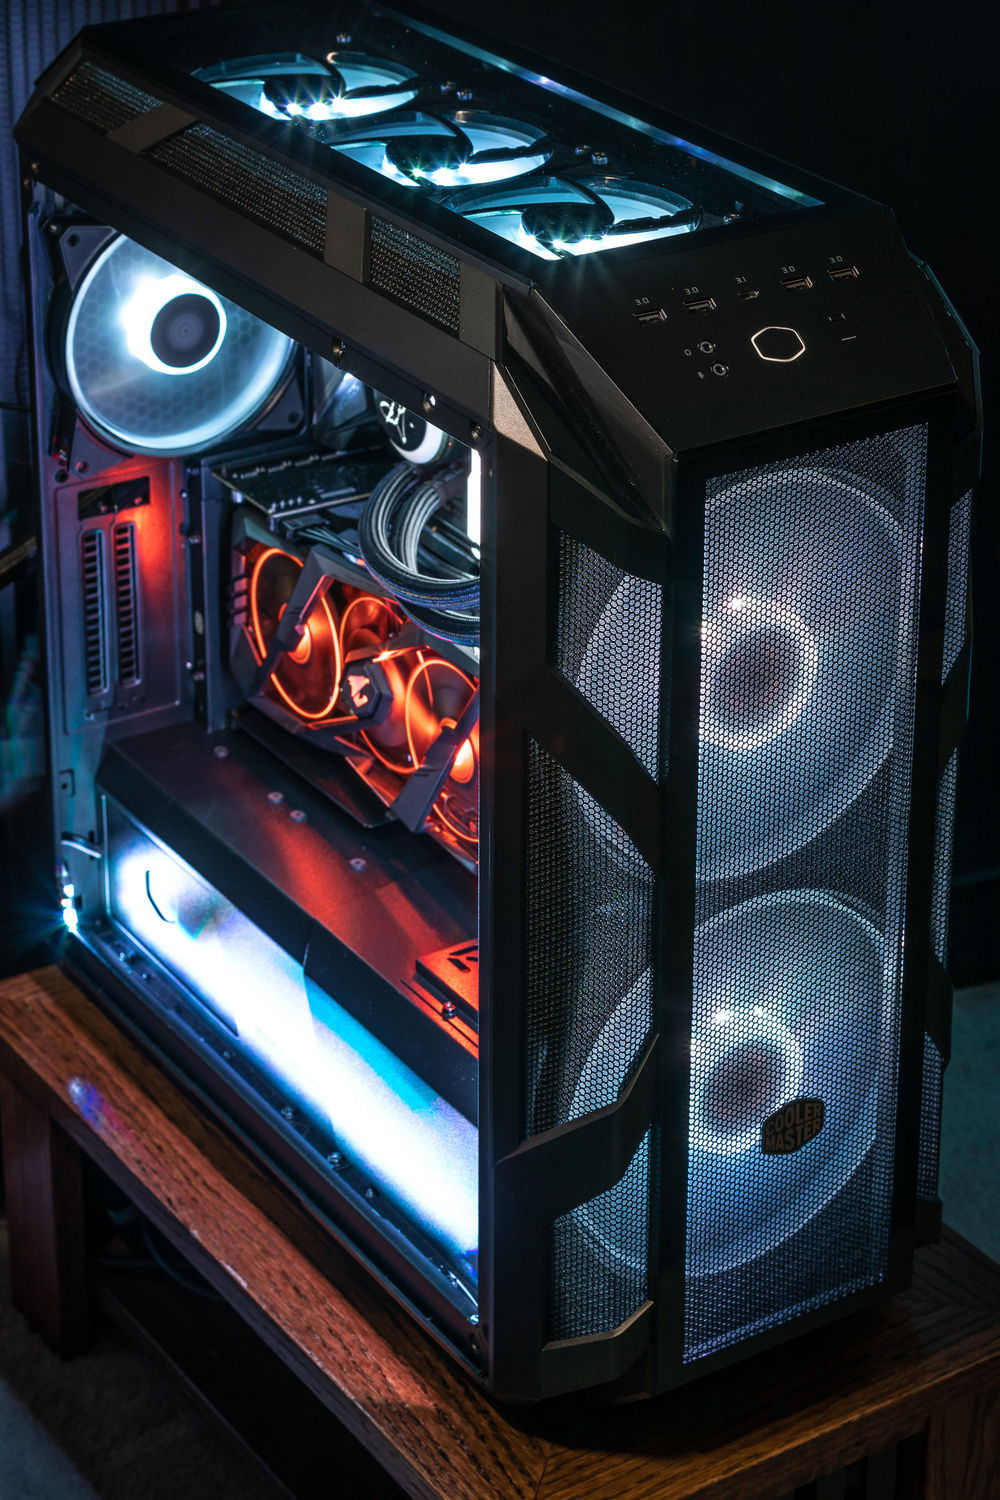
Also note, I don't know why Cooler Master cheaped-out on supplying the H500M case with no tach cable support for the two front 200mm fans. I had to purchase a 4pin Y-connector fan cable to replace the 3pin inferior one the case came with. For the price of the H500M, this shouldn't be!
I also replaced the rear case 140mm fan with an ARGB balanced one. I may have some negative pressure(?) going on with four exhaust fans and only two intake fans, but so be it.
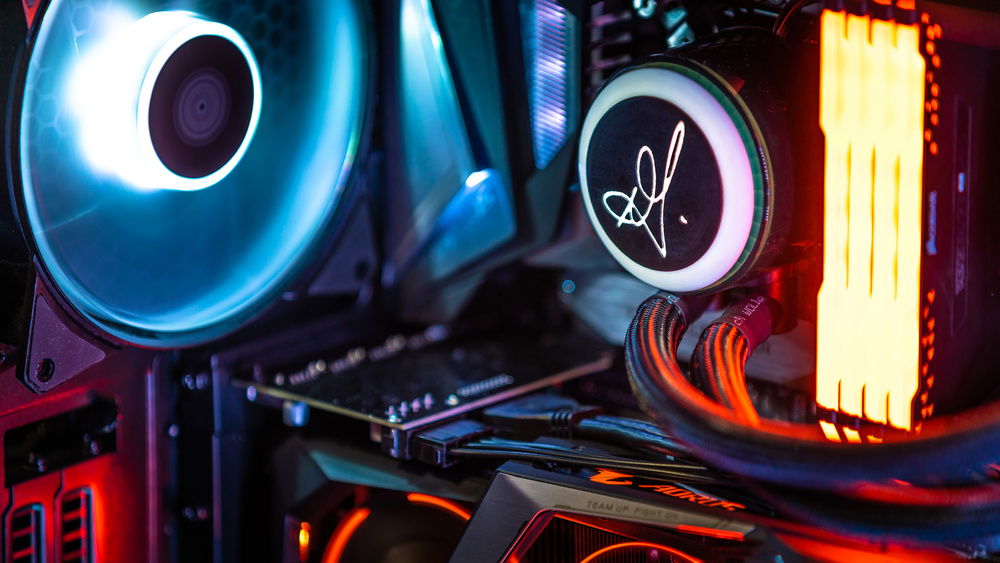
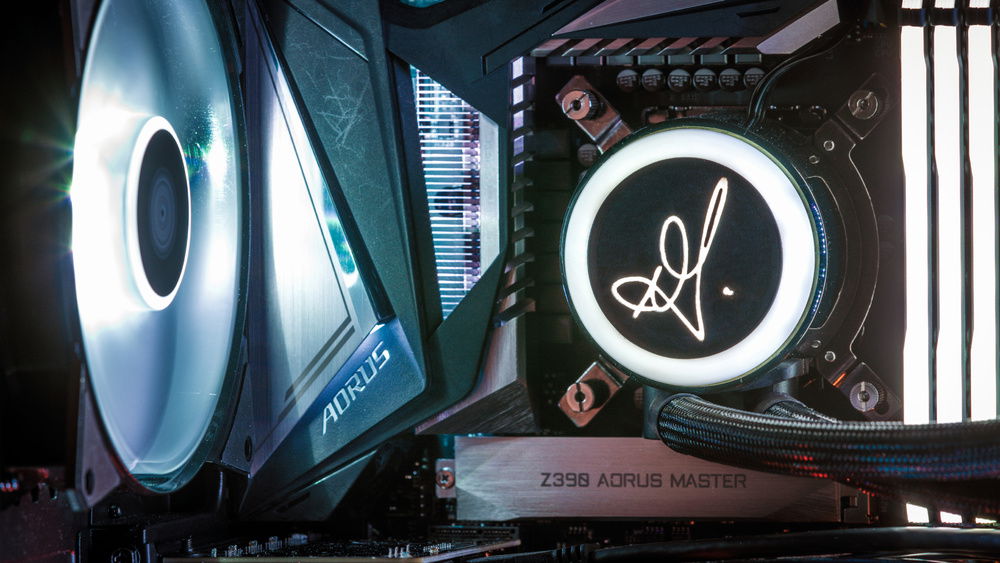
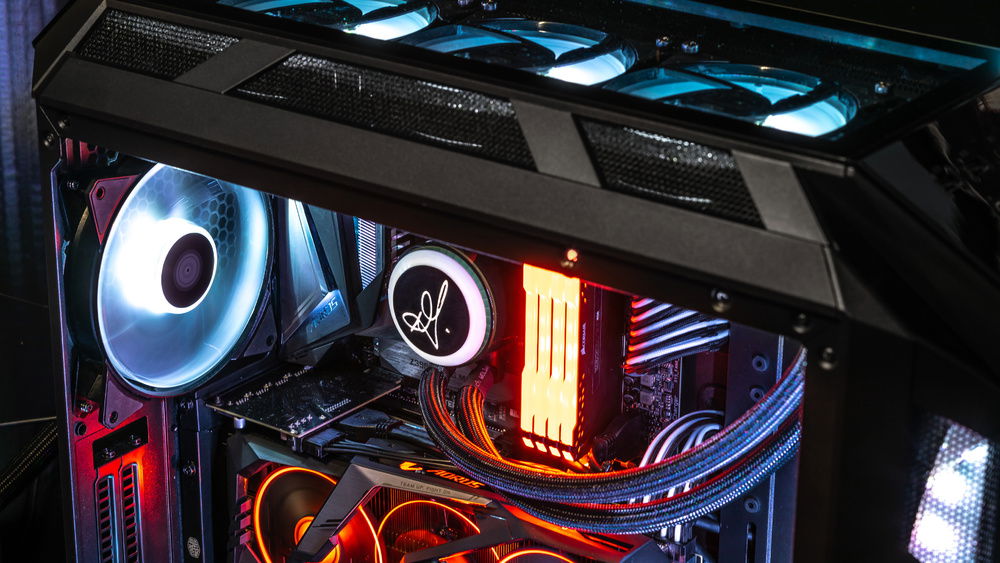
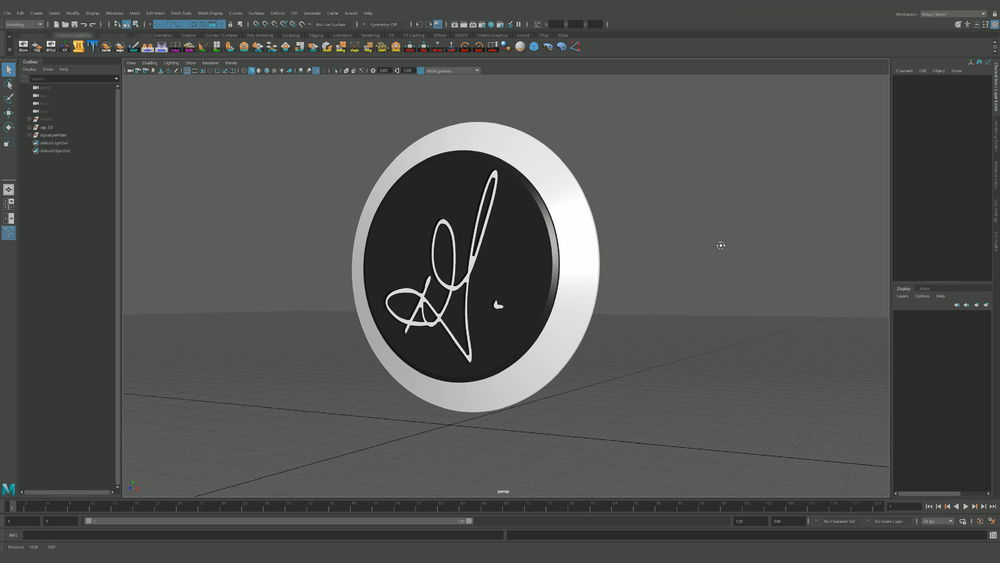
Last, but not least, for total customization, I added a personalized signature CPU pump cover. I noticed the Cooler Master ML360R AIO came with a 3D print file of their pump cover. Since I do 3D for a living and have friends with 3D printers, I created a custom pump cover as a center piece for this build.
Color(s): Black Light Blue Orange
RGB Lighting? Yes
Theme: Futuristic
Cooling: AIO Cooling
Size: ATX
Type: General Build
Contests
This build participated in 2 contests.
| Rank | Contest | Date |
|---|---|---|
| #68 | The builds.gg Stock Cooling Showdown - AIO Cooling Division | ended |
| #365 | The builds.gg 10K Challenge | ended |
Hardware
CPU
$ 449.00
Motherboard
$ 309.99
Memory
$ 185.99
PSU
$ 199.98
Case
$ 462.49
Case Fan
Cooling
CableMod
Accessories
$ 39.99
Keyboard
$ 175.00
Mouse
$ 59.99
Approved by:
