


2

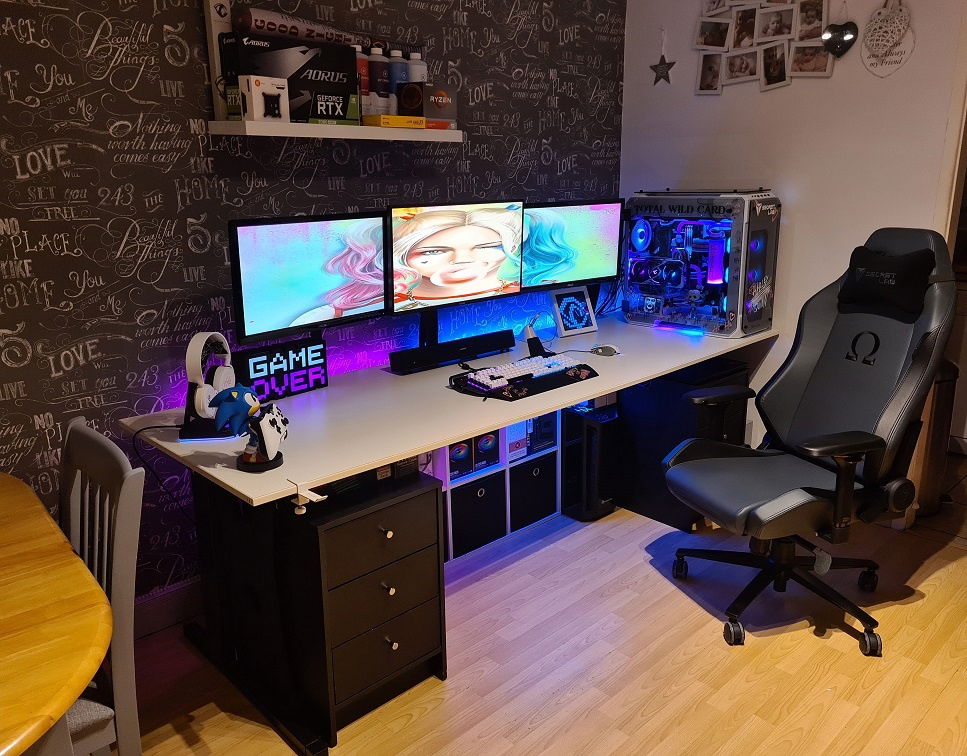
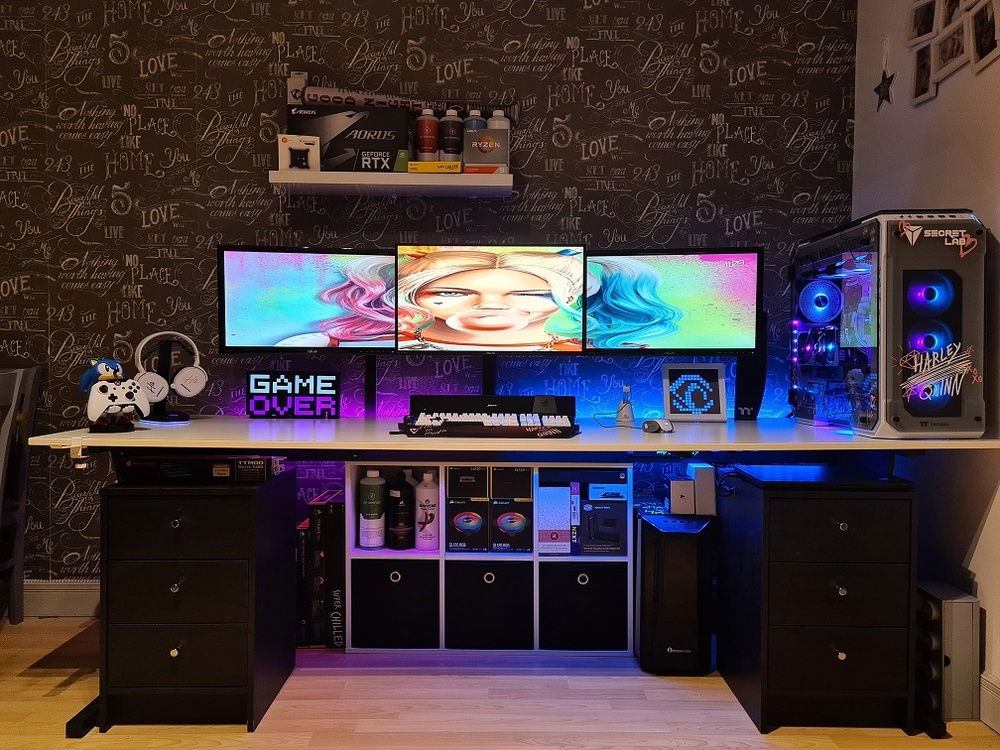
Full set up
Full set up side with chair
Case (Glass closed)
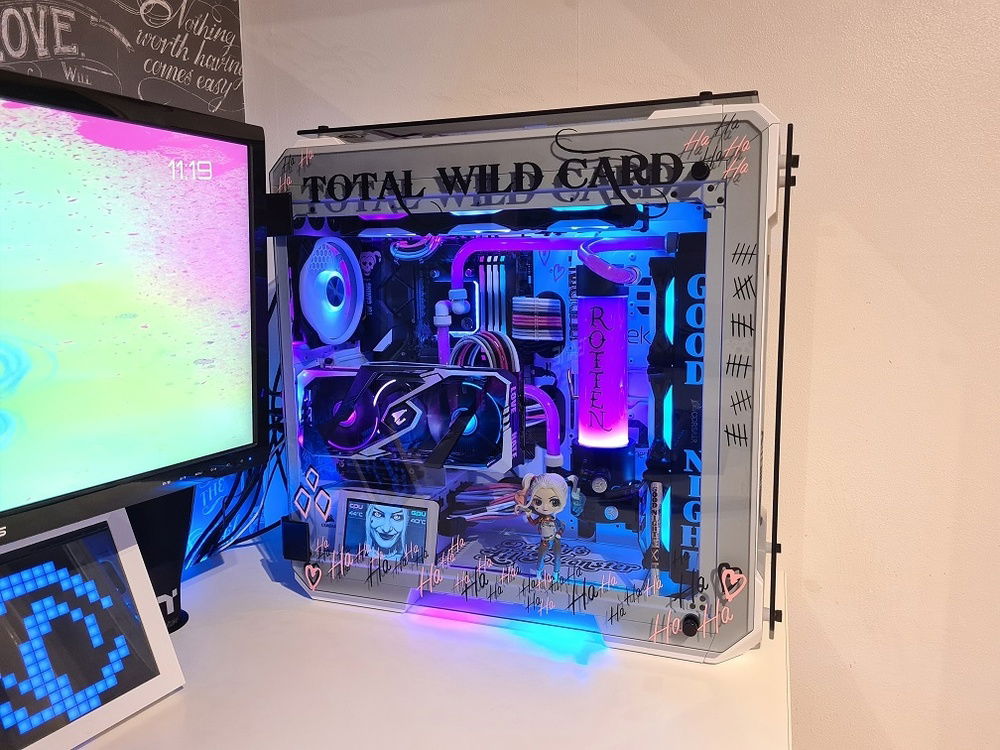
Case (Glass open)
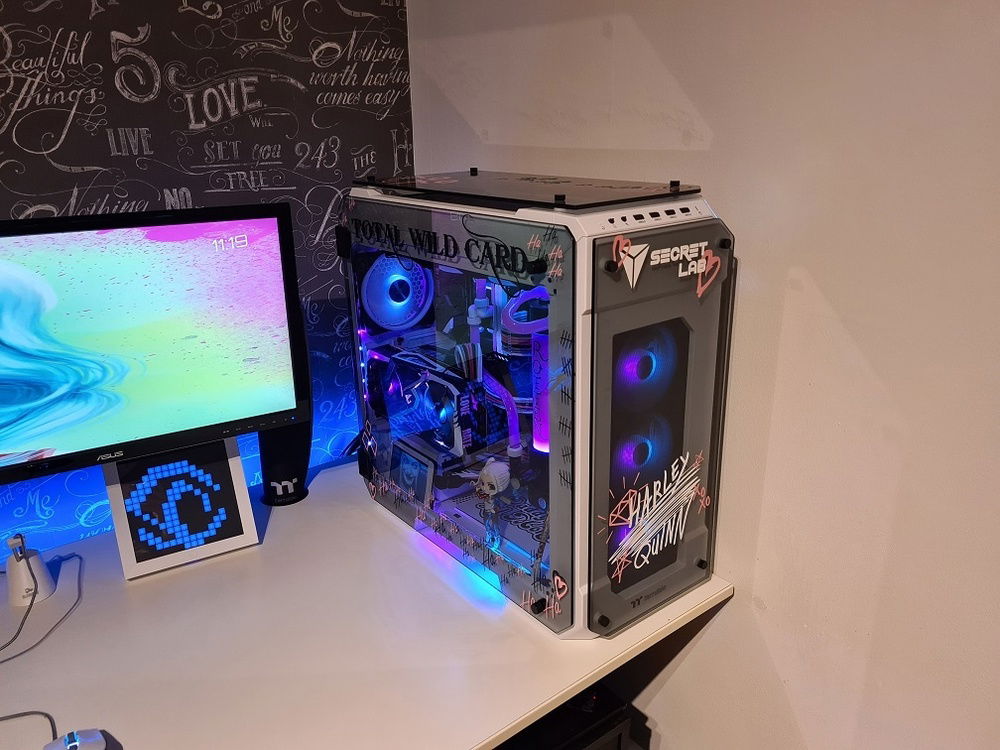
Case front
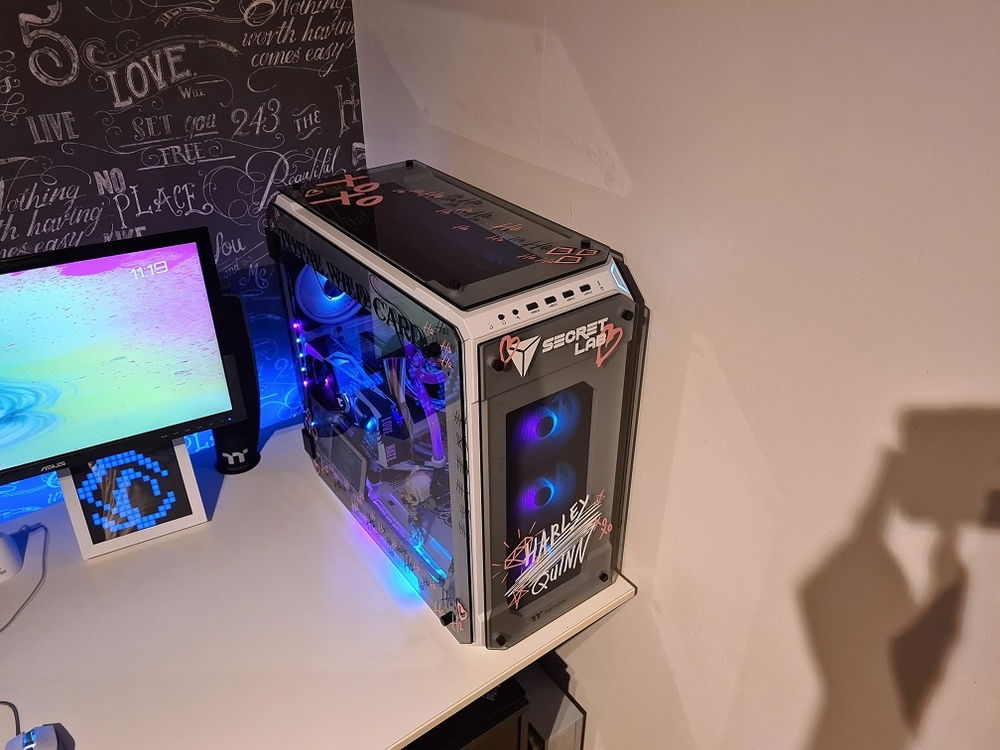
Case top
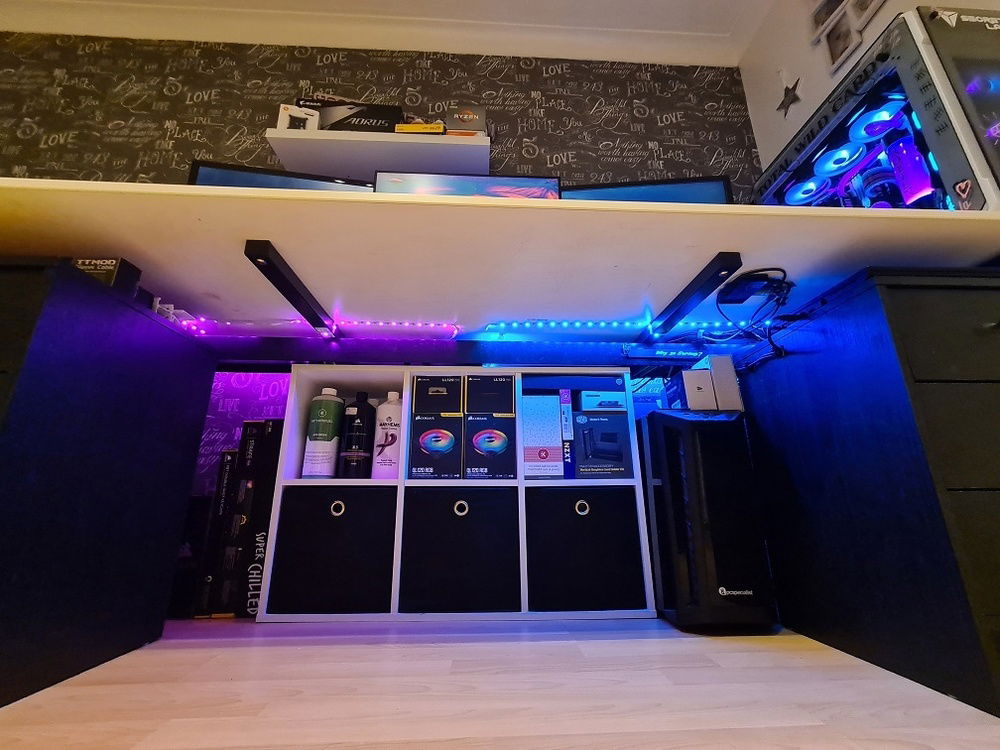
Underneath desk
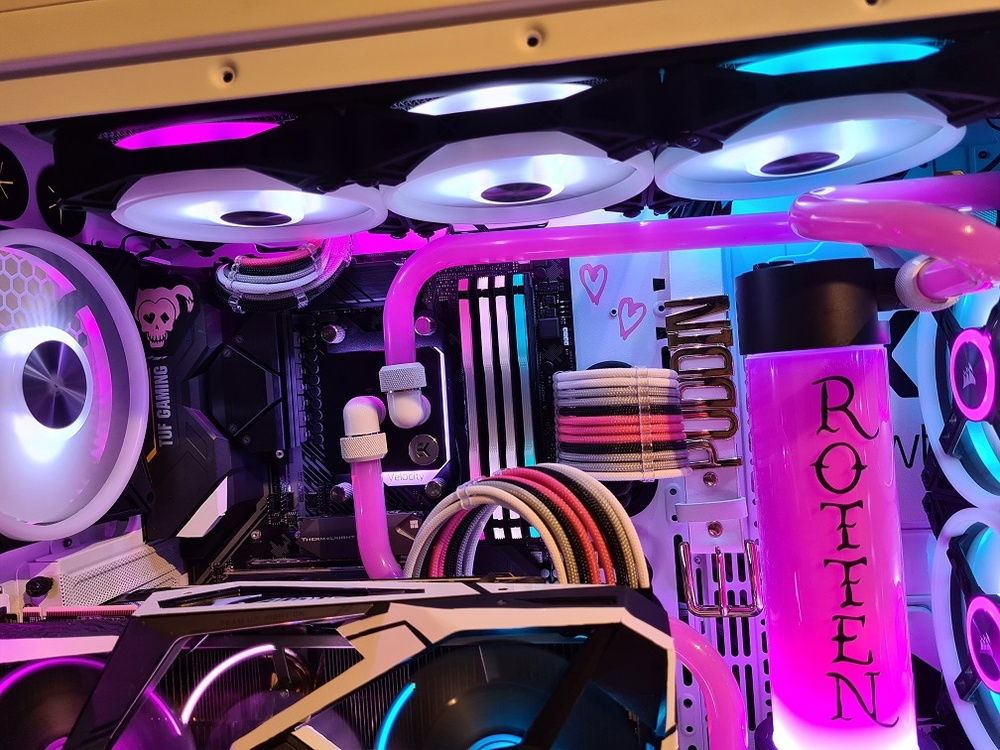
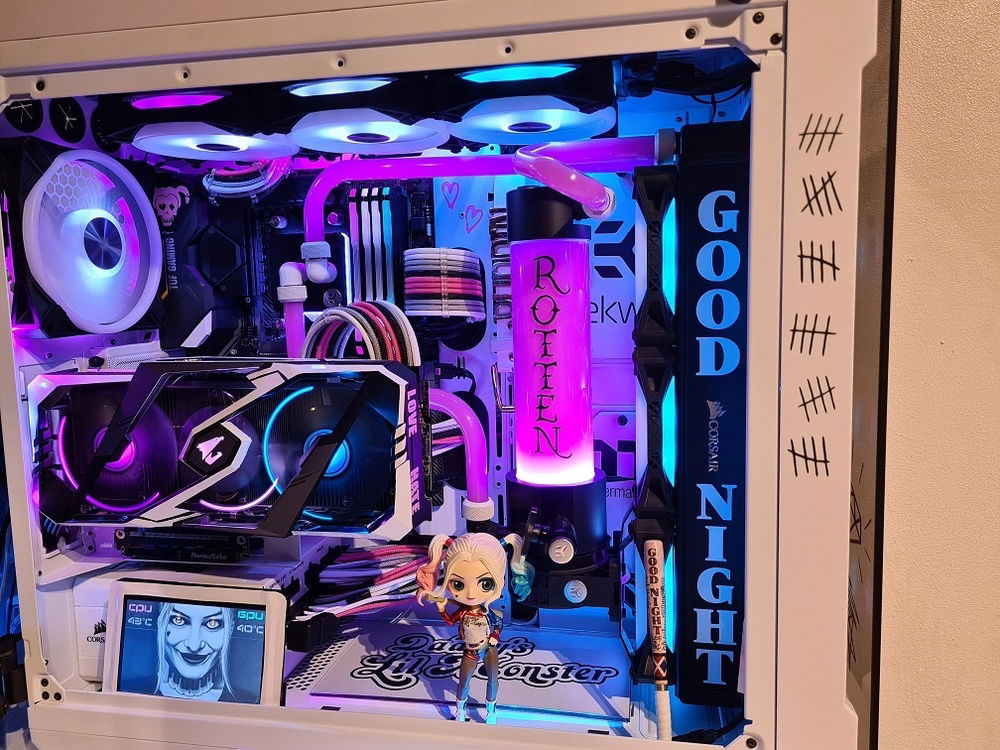
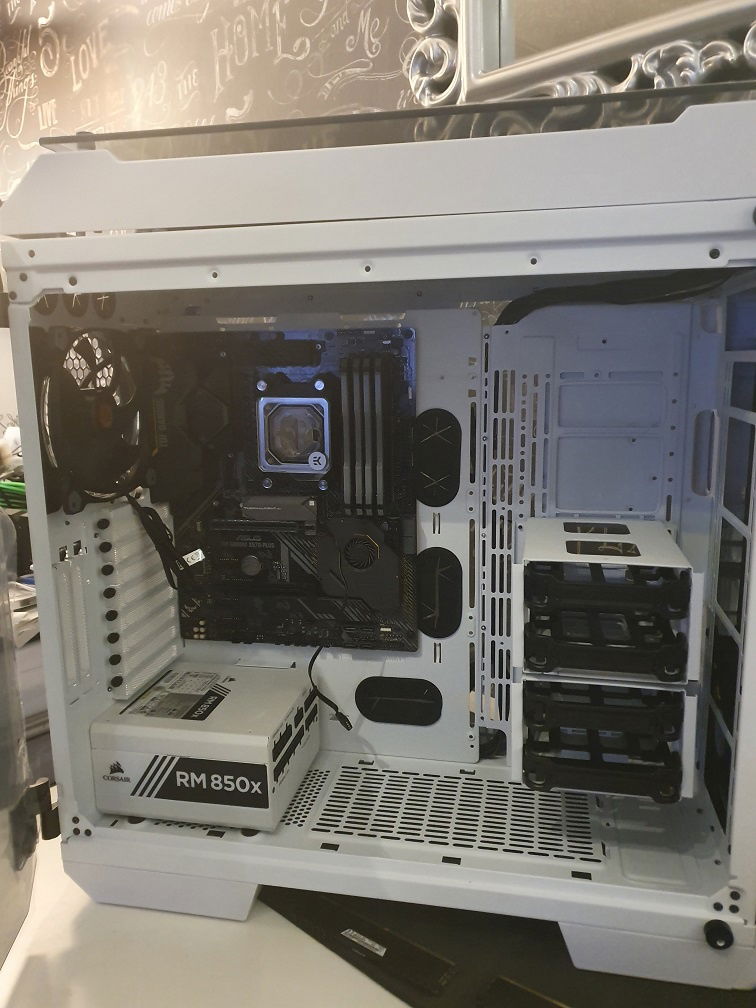
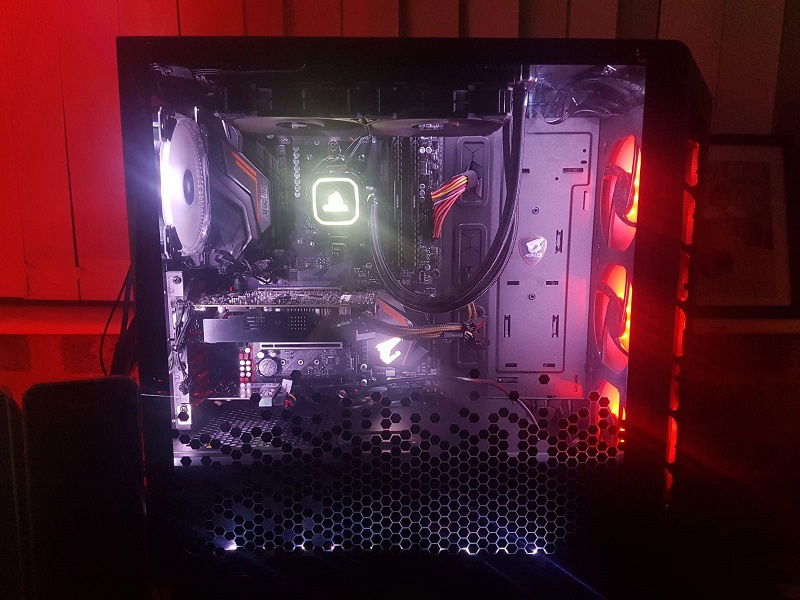
Internal 1
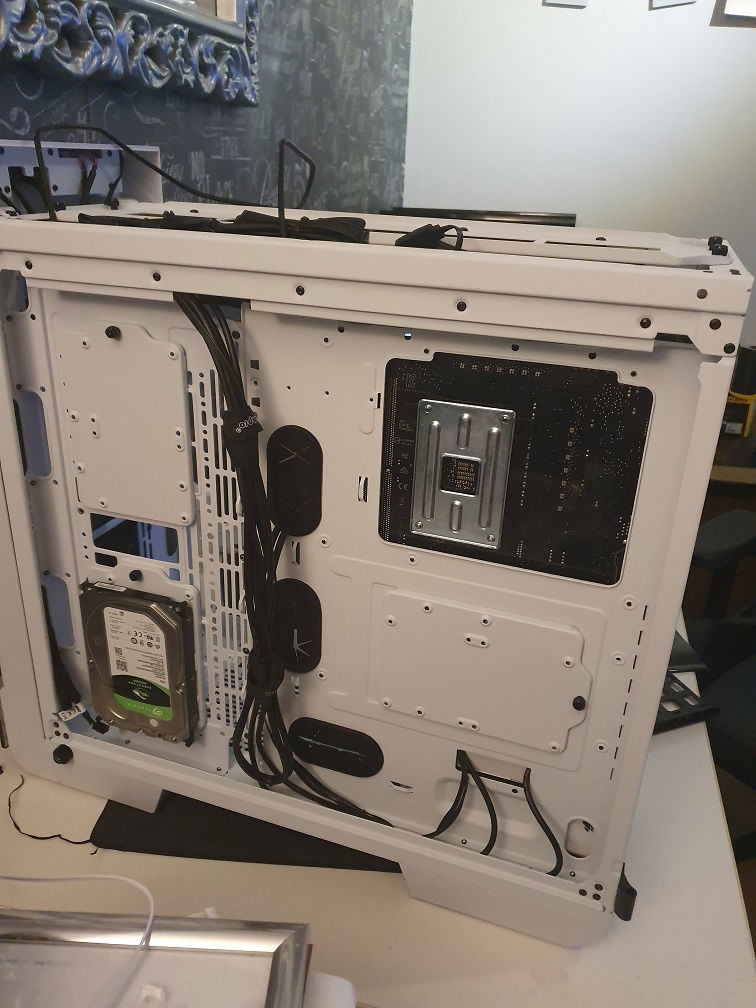
Internal 2
Internal 3
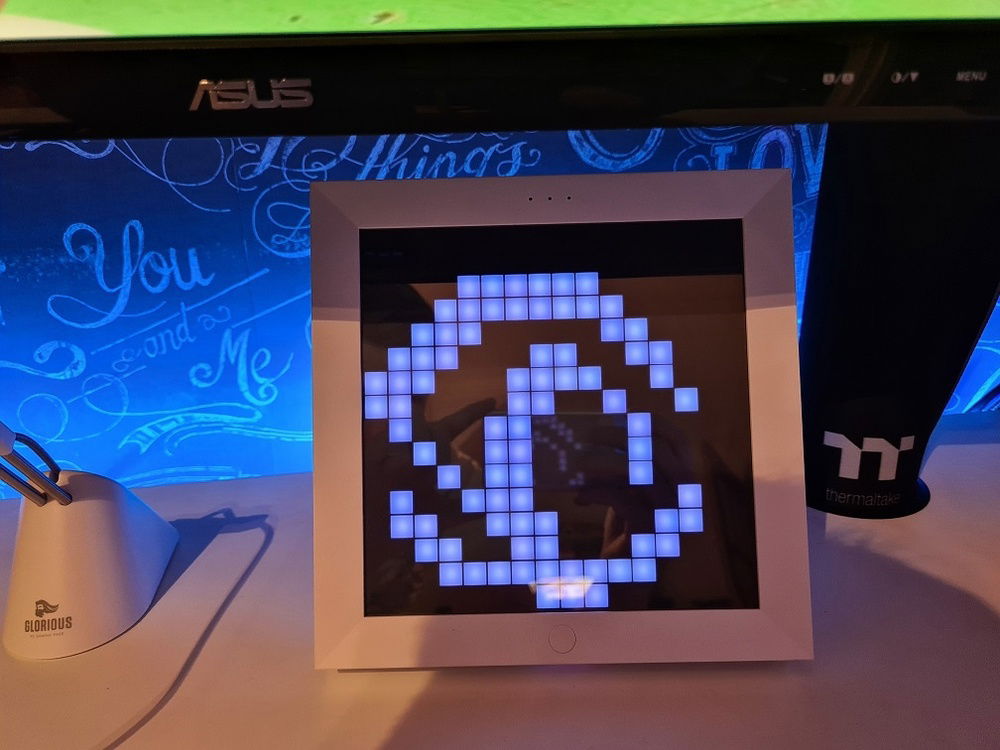
Divoom Pixoo
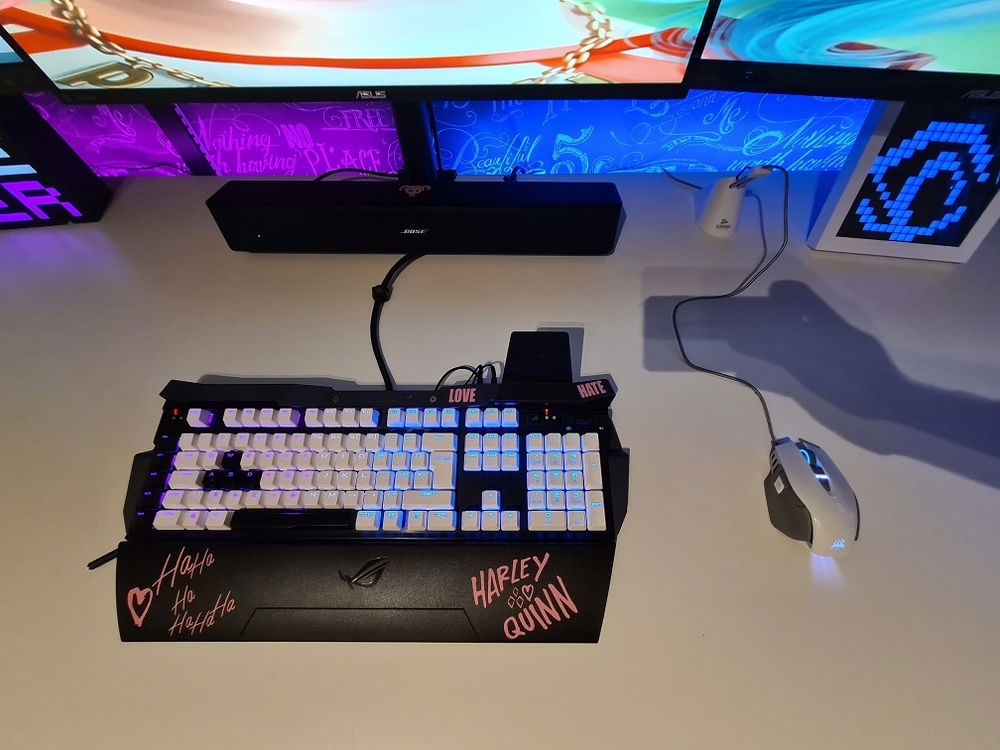
Mouse and Keyboard
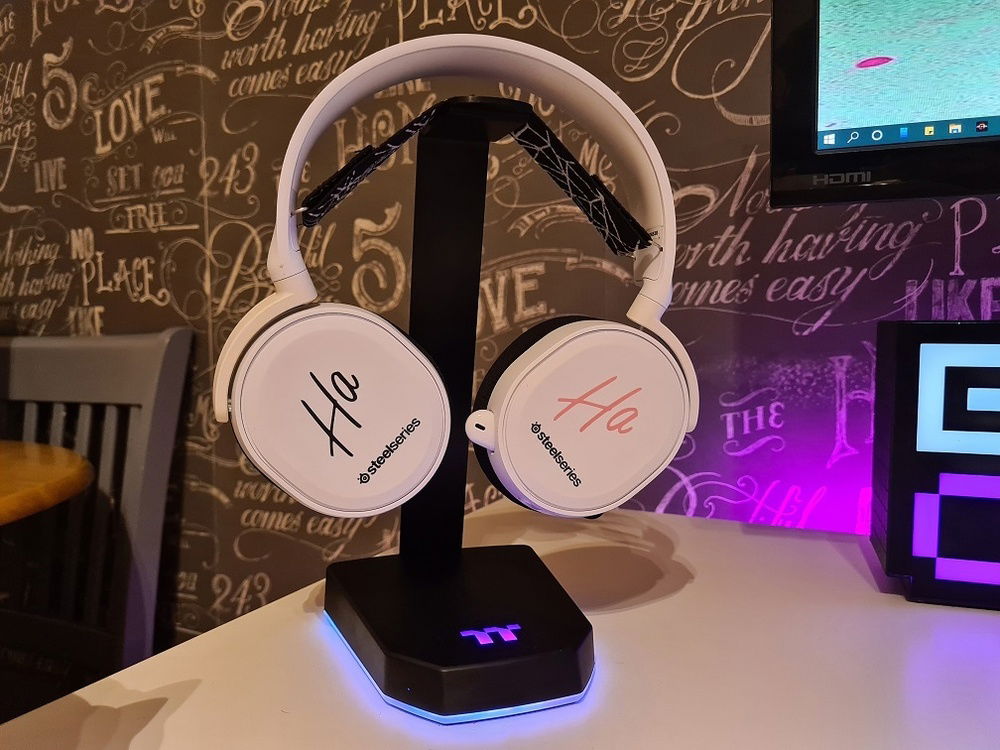
Headset + stand
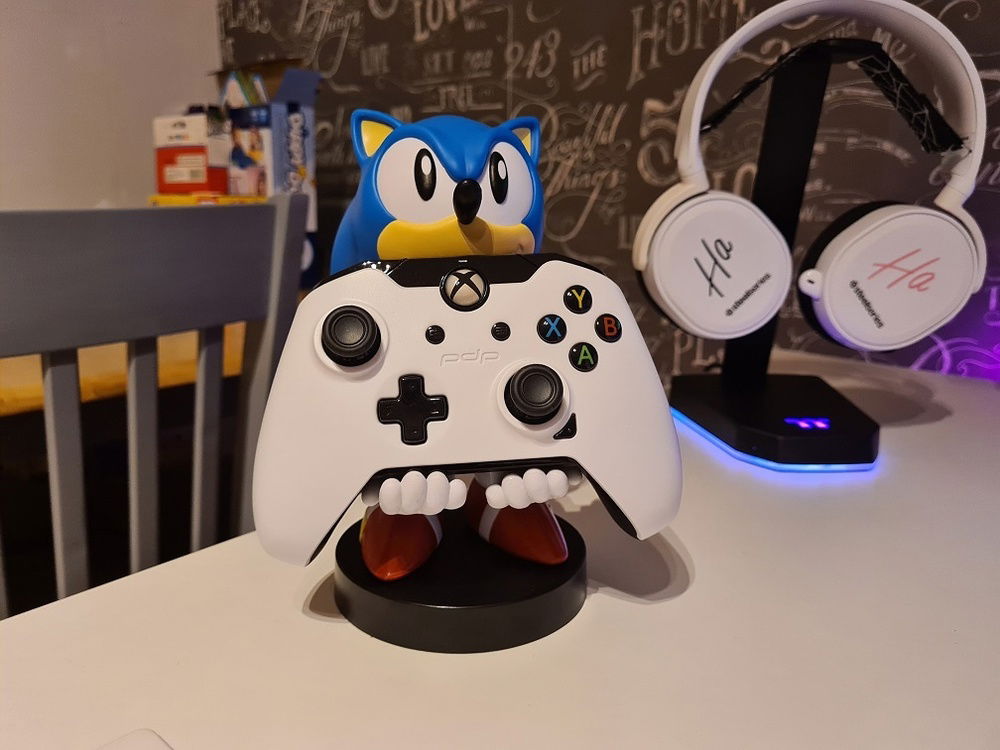
Controller + holder
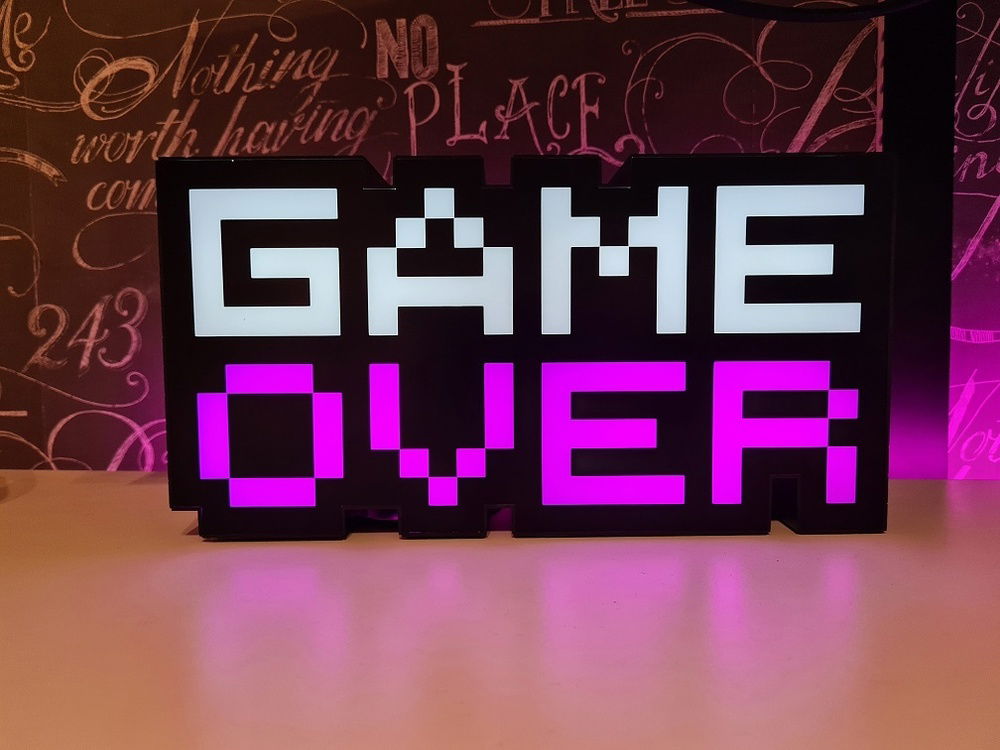
Game Over 8 bit
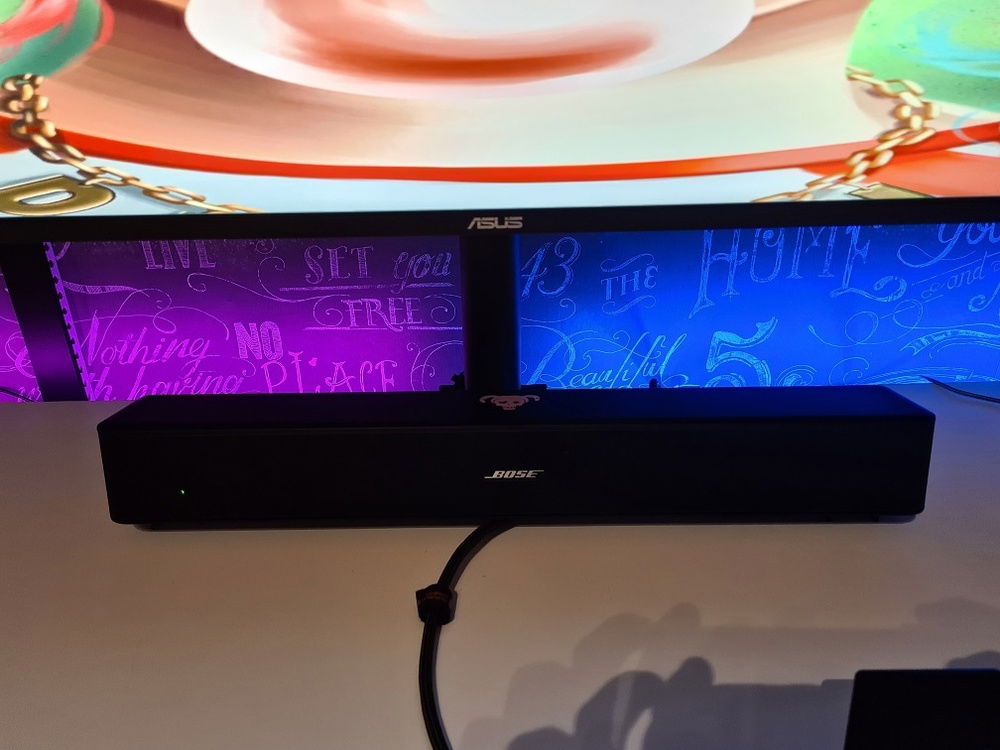
Bose Solo 5 Soundbar
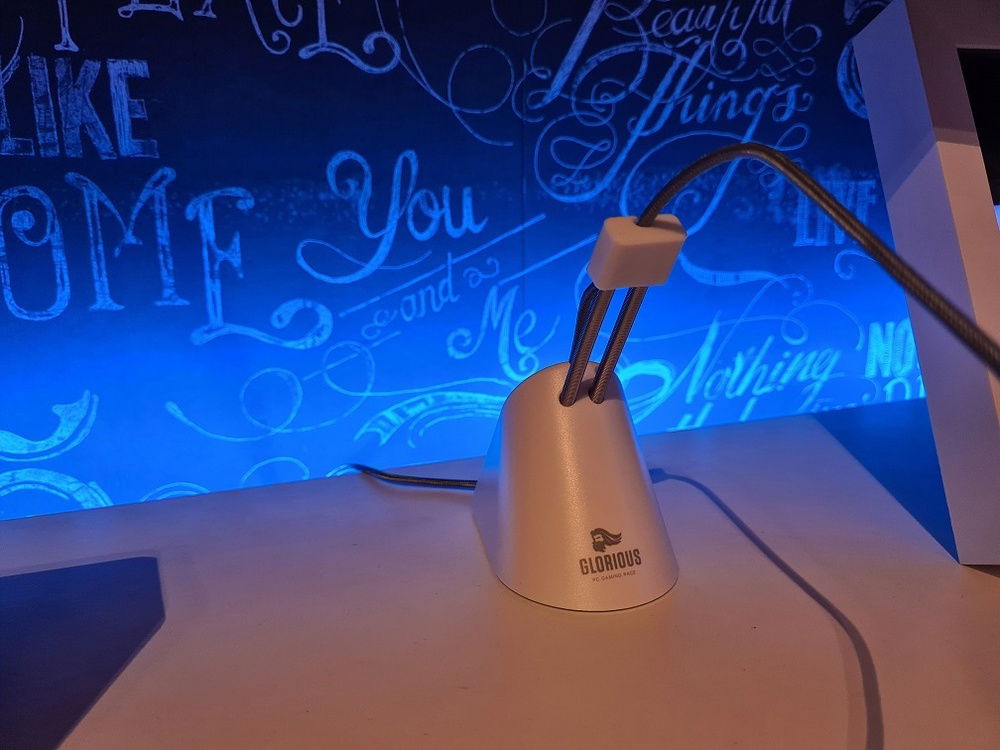
Mouse bungee
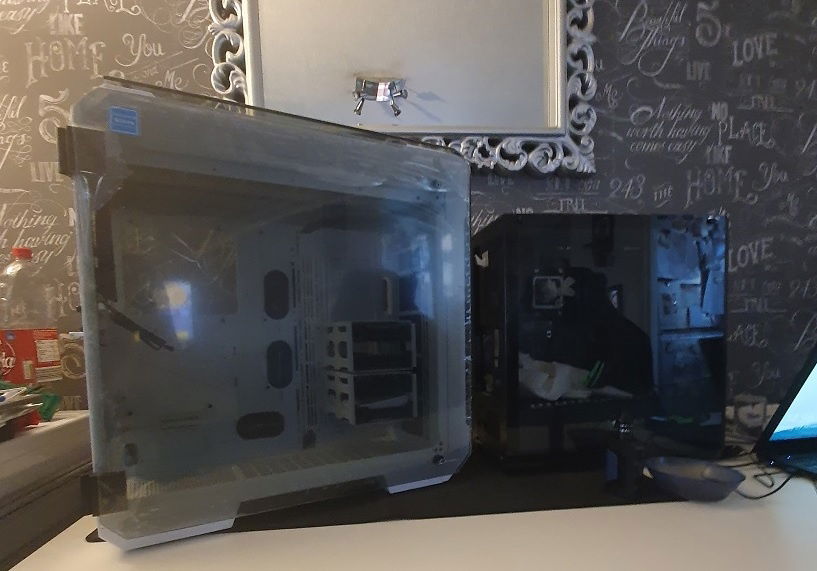
Case comparison to old case (Coolermaster MB530)
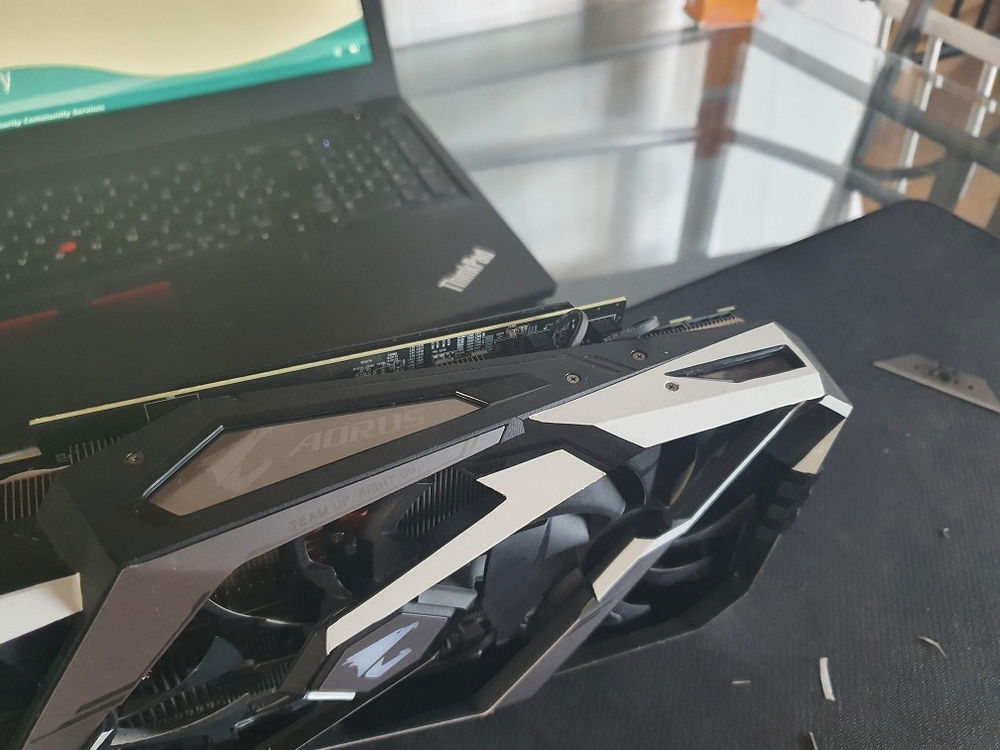
Vinyl wrapping GPU 2
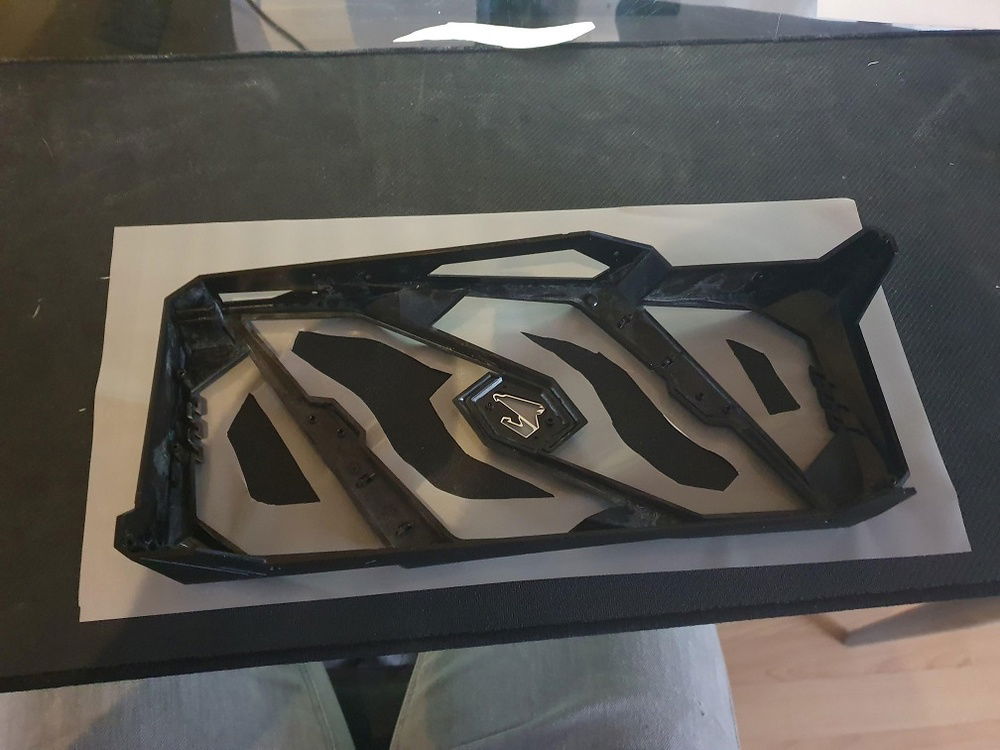
Vinyl wrapping GPU
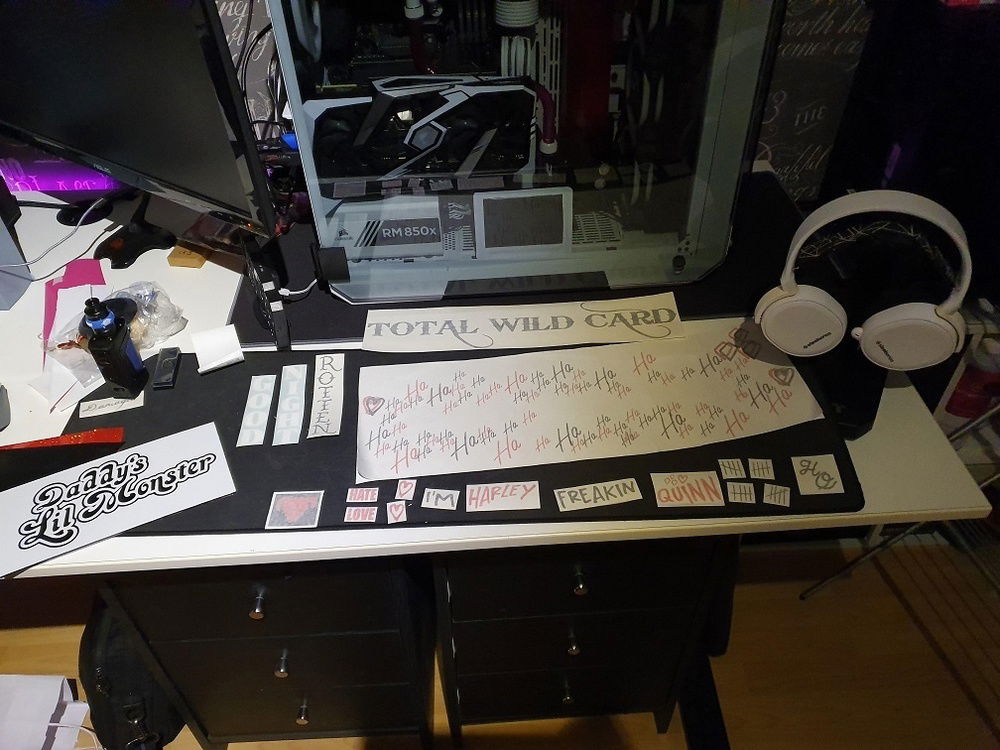
Sticker designs have arrived
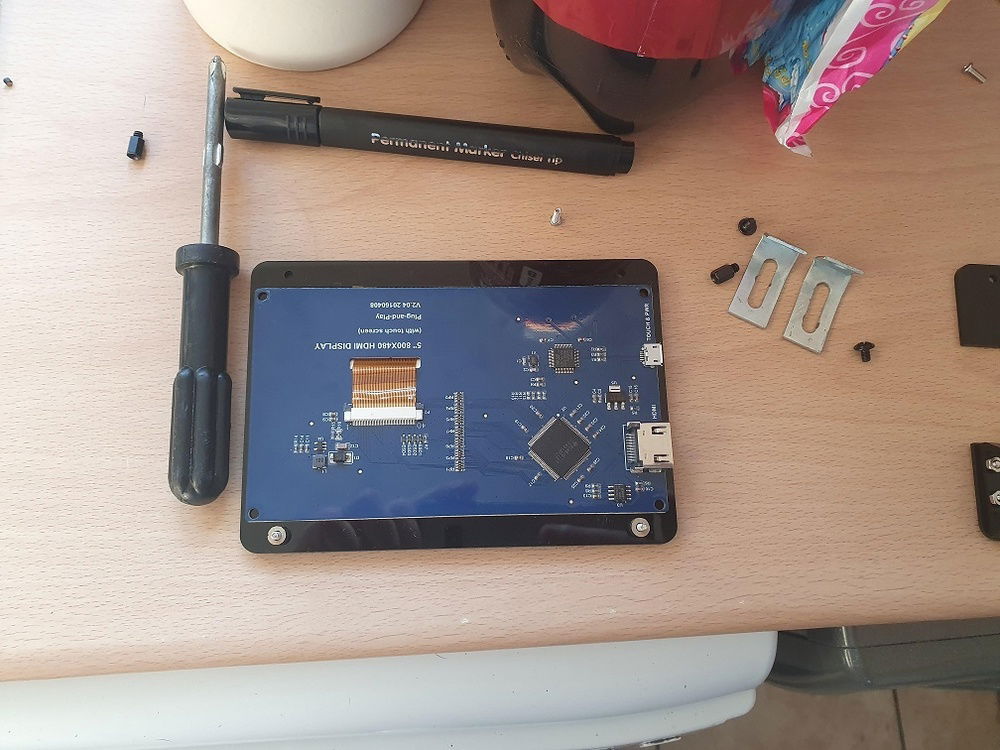
Raspberry PI 5" LCD Screen - Modifying long runner surround to fit
The start front
The start back
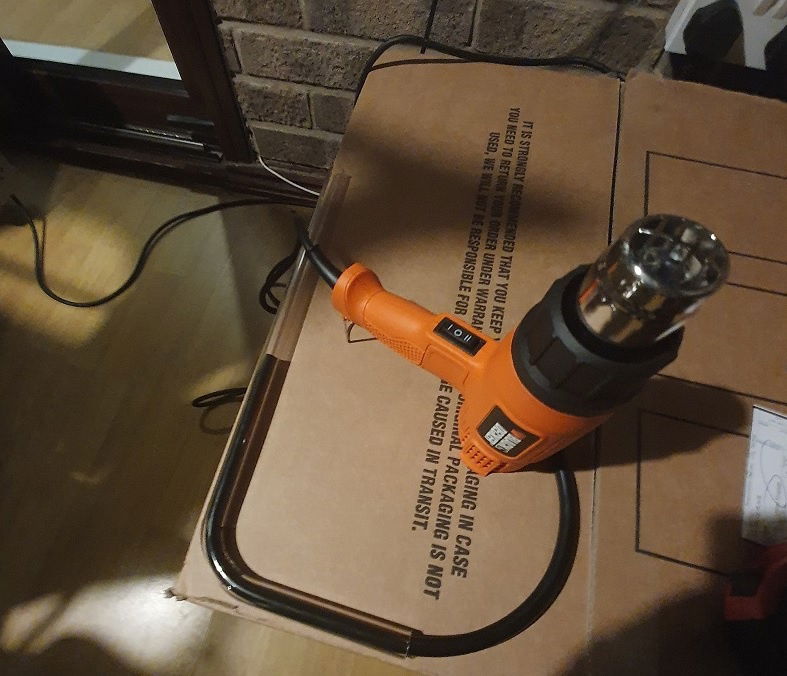
First PETG bend

Parts arriving
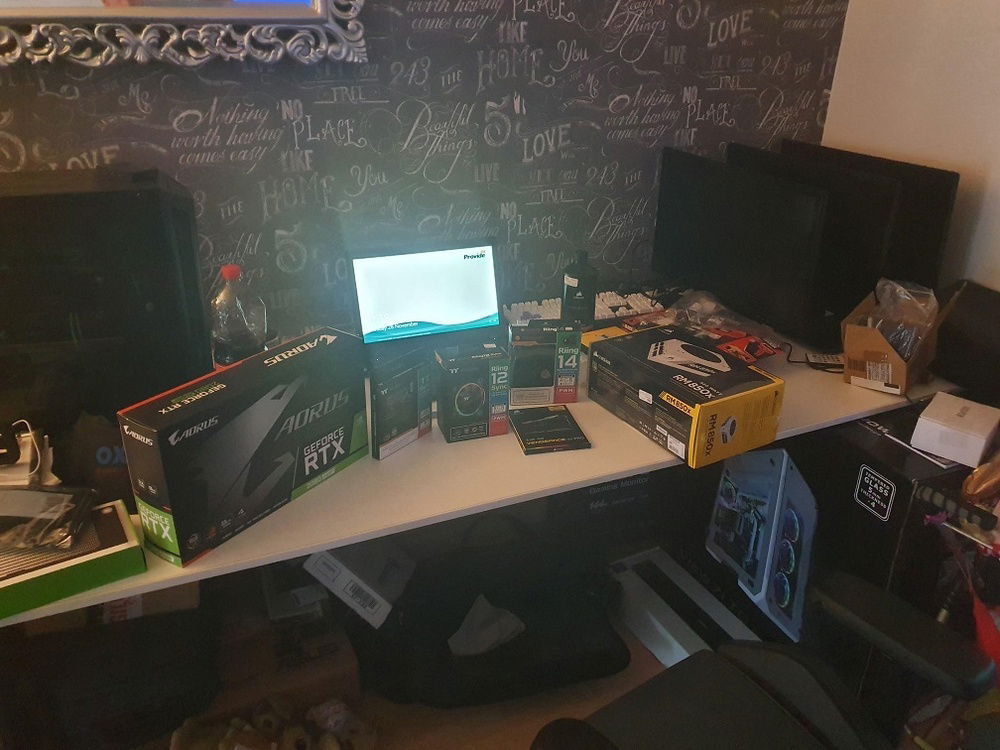
Where it all started, the mess
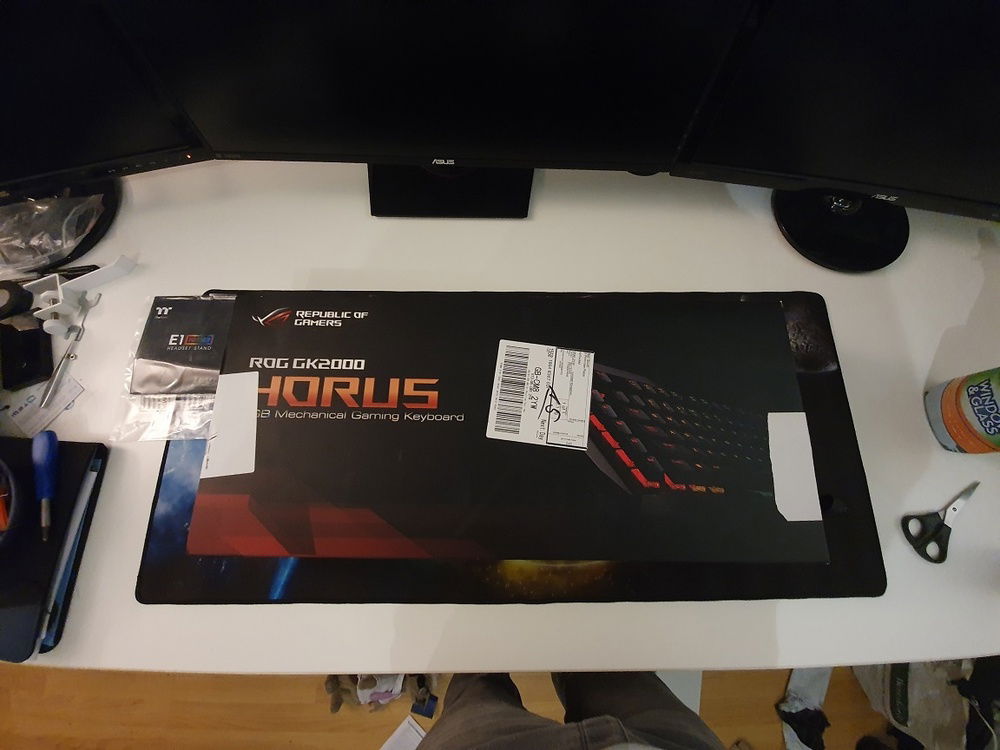
Keyboard arrived
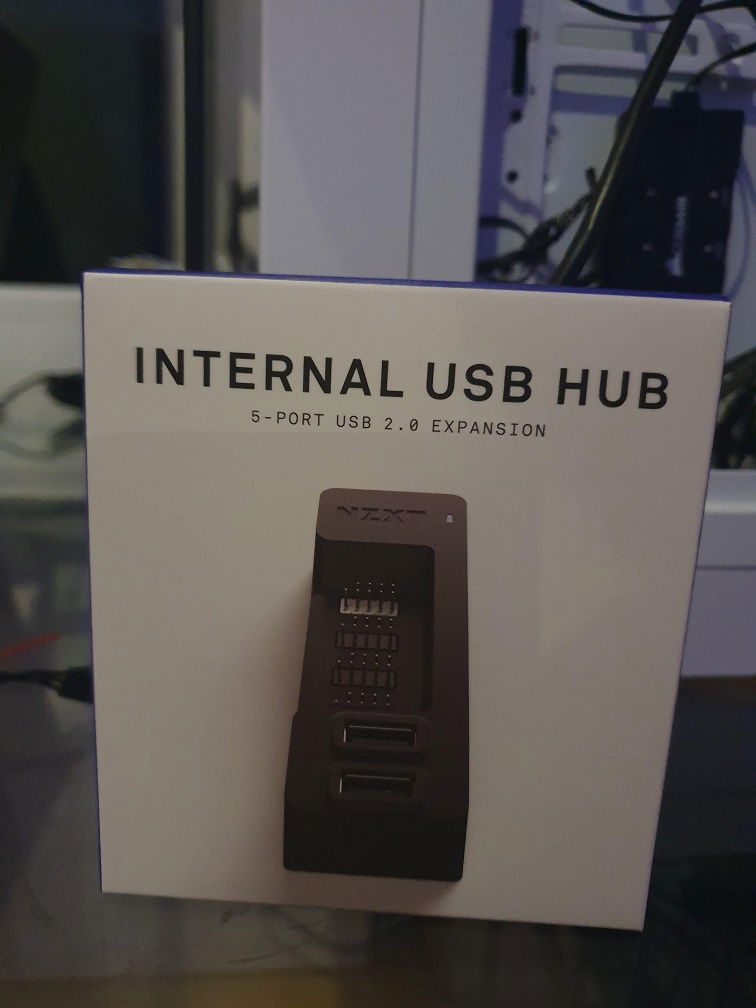
NZXT USB Hub - Great little thing that helped me with the many wires haha
Original PC (prebuild system)
Harley Quinn 2.0 - 3900x and 2080 Super
AD:
I am very proud to show my Harley Quinn themed build. This was my first build from scratch and everything was done myself except for the main stickers which i had made up by a local company. Please forgive some of the imperfections but i was learning my way through this and how to bend hard line tube, how to cut vinyl etc.
I do just want to say, this was all paid for myself, no sponsored parts and no parents input (i am 32 after all haha) but this was done with a lot of hard work in both learning how to do this and also working hard to fund.
The only sensible place to start would be where it all began i guess. I was always a keen console gamer but a little over a year ago, a friend invited me over to try out his PC as suggested i would like it if tried it. Well that was my first mistake, i was hooked instantly and went home that evening and ordered a pre-built system from PC specialist, I had no idea about anything spec wise so took advice on what would be an ok gaming system based on a budget of around £1k (including screen, keyboard, mouse, desk etc). I settled on a Ryzen 5 2600 and GTX 1060.
I was like a child at Christmas waiting for my delivery but (and of no fault of PC specialist) i can only say i was disappointed when arrived, not because of performance but more visually. I had envisioned something much nicer looking when spending out that amount compared to console.This is where my journey really began, i used that system on a small desk for around 8 months while i researched and learn how to build my own and saved up to build a PC that i was happy with aesthetically as well as performance.
I went through a couple colour options and tried different bits but eventually i found my theme.... the one and only Harley Quinn.
I worked out what i wanted, did some searching around for best prices and factored in that i will also use the setup for work (data analyst) so wanted multi screen and an easy method to dock in my work laptop and make use of the station with minimal effort each time dock. I achieved this by using a 4 in - 2 out usb dock and a lenovo docking station to allow me to plug one usb lead into laptop and with press of a button the keyboard/mouse etc all switch between the PC and laptop.
I thought about the purpose and settled on the spec i wanted which led to the issue of space, i was using a small desk previously but knew i would need some space for this so i went on the hunt for a desk and found a right bargain on good old ebay, an office clearance meant i picked up an 8 foot desk (white top and very sturdy black metal frame to support the weight) for £50!! Finished off with a couple of sets of Argos Malibu Drawers (x2) and cube storage unit underneath.
The last piece of the puzzle was the chair, and as we all know how long we spend at desk, comfort and style really was key for me here. I loved the Secret Lab chairs as soon as i saw them and it was worth every penny. I went for the Secret Lab Omega 2020 Chair in Ash colour and it is a dream to sit in.
So the build (nervously) began.....
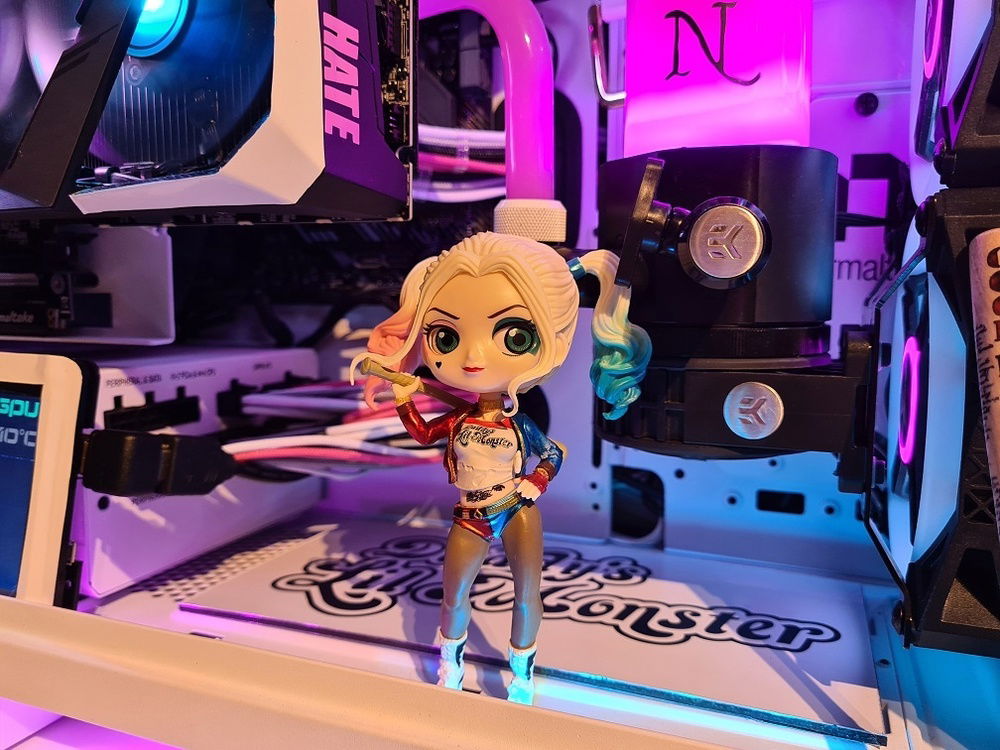
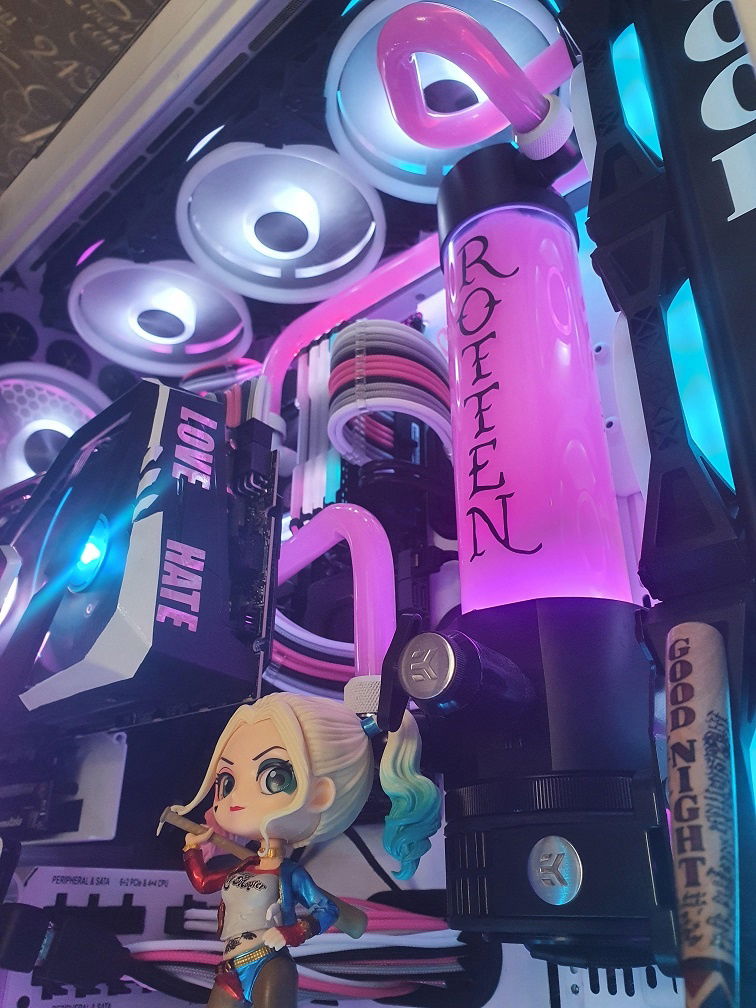
I drew up the design to have a plan to work from and sent my sticker designs over to a local company who delivered exactly what i asked for. The last bit was those little finishing touches i wanted so I went on the hunt for a few little quirky props to include. I managed to find a Harley Quinn figure that i liked for the case, along with a "puddin" neck choker like seen in the film and a very tiny replica of her bat to sit inside the case.
I took my time and triple checked everything but it was coming together well. Then the daunting time came that i had to try my hand at hard tube (PETG) bending. This was the scariest thing as knowing the value inside and one leak could cost me the lot. So i checked everything (alot) and leak tested well with as little hardware as possible in the case.
The last little custom mod i attempted was to the GPU. I love the Aorus card but I wanted to have a little more white on the GPU and didn't want to spray paint so it would be reversible/changeable in future or if i didnt like the outcome so i tried my hand at vinyl wrapping a couple of sections on the shroud just to give it that mix of black/white to go with the case.
She was almost there, stickers arrived and really finished the design off perfectly. I had used cable extensions previously but knew i wanted full length custom PSU cables in this build and I was lucky enough to be offered the opportunity to be one of the first to use Reaper Cable's custom cable service and with the great support from Alex there i settled on a design which they managed to get out to me even in the midst of everything going on and while they are still finishing off the custom tool.
With the PC finished, i set to work on the set up and decided to get a triple monitor mount to keep it clean and added some little touches on desk to give some character and used 2 sets of the Govee lights so i could keep the pink/blue iconic split through the desk as well.
And here we are, i can only say thank you to all the great videos online that i watched and helped me learn how to do this and it really is a proud feeling to look upon this and know i put it together myself and support given at forums like this. The internet can be a horrible place but ive really found a love for PC's and its really nice to have places like this to share this with and also get inspiration (and usually a little envy).
Apologies for some of the picture quality but i am limited to a phone camera.
Thanks all for looking, happy building and keep safe![Emoji]()
I do just want to say, this was all paid for myself, no sponsored parts and no parents input (i am 32 after all haha) but this was done with a lot of hard work in both learning how to do this and also working hard to fund.
The only sensible place to start would be where it all began i guess. I was always a keen console gamer but a little over a year ago, a friend invited me over to try out his PC as suggested i would like it if tried it. Well that was my first mistake, i was hooked instantly and went home that evening and ordered a pre-built system from PC specialist, I had no idea about anything spec wise so took advice on what would be an ok gaming system based on a budget of around £1k (including screen, keyboard, mouse, desk etc). I settled on a Ryzen 5 2600 and GTX 1060.
I was like a child at Christmas waiting for my delivery but (and of no fault of PC specialist) i can only say i was disappointed when arrived, not because of performance but more visually. I had envisioned something much nicer looking when spending out that amount compared to console.This is where my journey really began, i used that system on a small desk for around 8 months while i researched and learn how to build my own and saved up to build a PC that i was happy with aesthetically as well as performance.
I went through a couple colour options and tried different bits but eventually i found my theme.... the one and only Harley Quinn.
I worked out what i wanted, did some searching around for best prices and factored in that i will also use the setup for work (data analyst) so wanted multi screen and an easy method to dock in my work laptop and make use of the station with minimal effort each time dock. I achieved this by using a 4 in - 2 out usb dock and a lenovo docking station to allow me to plug one usb lead into laptop and with press of a button the keyboard/mouse etc all switch between the PC and laptop.
I thought about the purpose and settled on the spec i wanted which led to the issue of space, i was using a small desk previously but knew i would need some space for this so i went on the hunt for a desk and found a right bargain on good old ebay, an office clearance meant i picked up an 8 foot desk (white top and very sturdy black metal frame to support the weight) for £50!! Finished off with a couple of sets of Argos Malibu Drawers (x2) and cube storage unit underneath.
The last piece of the puzzle was the chair, and as we all know how long we spend at desk, comfort and style really was key for me here. I loved the Secret Lab chairs as soon as i saw them and it was worth every penny. I went for the Secret Lab Omega 2020 Chair in Ash colour and it is a dream to sit in.
So the build (nervously) began.....
I drew up the design to have a plan to work from and sent my sticker designs over to a local company who delivered exactly what i asked for. The last bit was those little finishing touches i wanted so I went on the hunt for a few little quirky props to include. I managed to find a Harley Quinn figure that i liked for the case, along with a "puddin" neck choker like seen in the film and a very tiny replica of her bat to sit inside the case.
I took my time and triple checked everything but it was coming together well. Then the daunting time came that i had to try my hand at hard tube (PETG) bending. This was the scariest thing as knowing the value inside and one leak could cost me the lot. So i checked everything (alot) and leak tested well with as little hardware as possible in the case.
The last little custom mod i attempted was to the GPU. I love the Aorus card but I wanted to have a little more white on the GPU and didn't want to spray paint so it would be reversible/changeable in future or if i didnt like the outcome so i tried my hand at vinyl wrapping a couple of sections on the shroud just to give it that mix of black/white to go with the case.
She was almost there, stickers arrived and really finished the design off perfectly. I had used cable extensions previously but knew i wanted full length custom PSU cables in this build and I was lucky enough to be offered the opportunity to be one of the first to use Reaper Cable's custom cable service and with the great support from Alex there i settled on a design which they managed to get out to me even in the midst of everything going on and while they are still finishing off the custom tool.
With the PC finished, i set to work on the set up and decided to get a triple monitor mount to keep it clean and added some little touches on desk to give some character and used 2 sets of the Govee lights so i could keep the pink/blue iconic split through the desk as well.
And here we are, i can only say thank you to all the great videos online that i watched and helped me learn how to do this and it really is a proud feeling to look upon this and know i put it together myself and support given at forums like this. The internet can be a horrible place but ive really found a love for PC's and its really nice to have places like this to share this with and also get inspiration (and usually a little envy).
Apologies for some of the picture quality but i am limited to a phone camera.
Thanks all for looking, happy building and keep safe

Color(s): Black Light Blue Pink White
RGB Lighting? Yes
Theme: Comics
Cooling: Custom Liquid Cooling
Size: ATX
Type: General Build
Build Updates
Trying out some tougher PETG bending
Theme finished, case and desk lighting re-done to match
Hardware
CPU
$ 225.00
Motherboard
$ 192.99
Memory
$ 371.98
Graphics
$ 927.00
Storage
$ 96.61
Storage
$ 315.00
PSU
$ 197.00
Case
$ 266.81
Case Fan
$ 52.99
Case Fan
$ 494.46
Cooling
$ 37.96
Cooling
$ 124.99
Cooling
$ 50.00
Cooling
$ 142.72
Cooling
$ 30.00
CableMod
$ 50.00
Accessories
$ 380.69
Monitor
$ 65.99
Keyboard
$ 185.99
Mouse
$ 48.69
Estimated total value of this build:
$ 3,680.50
Approved by: