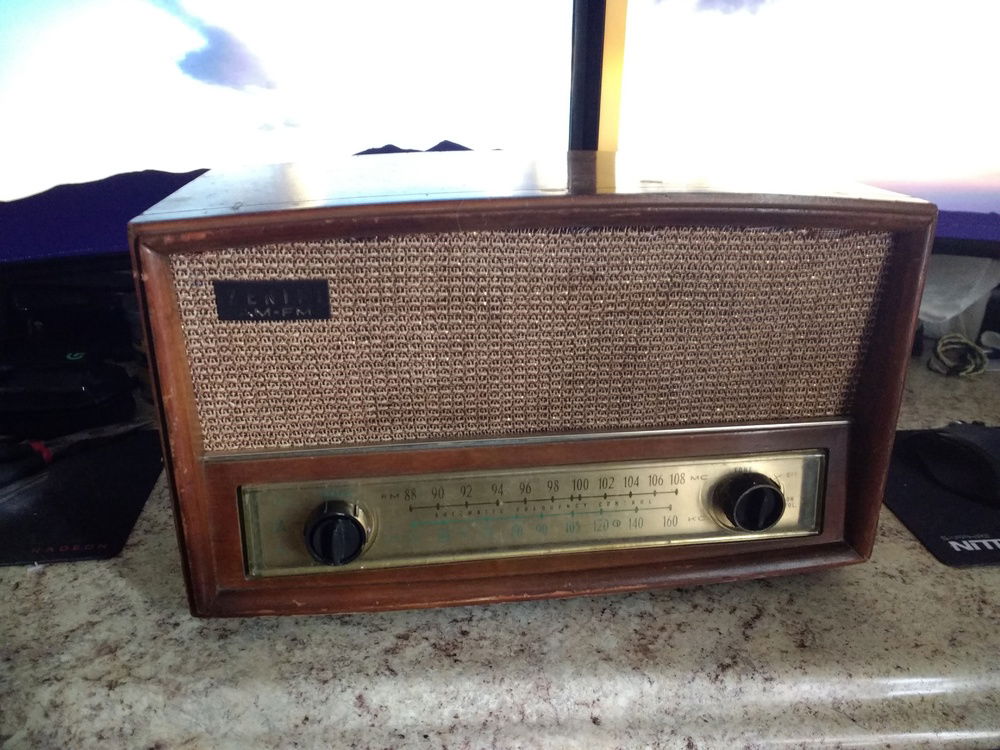
The completed computer. The knob to the left acts as the power button.
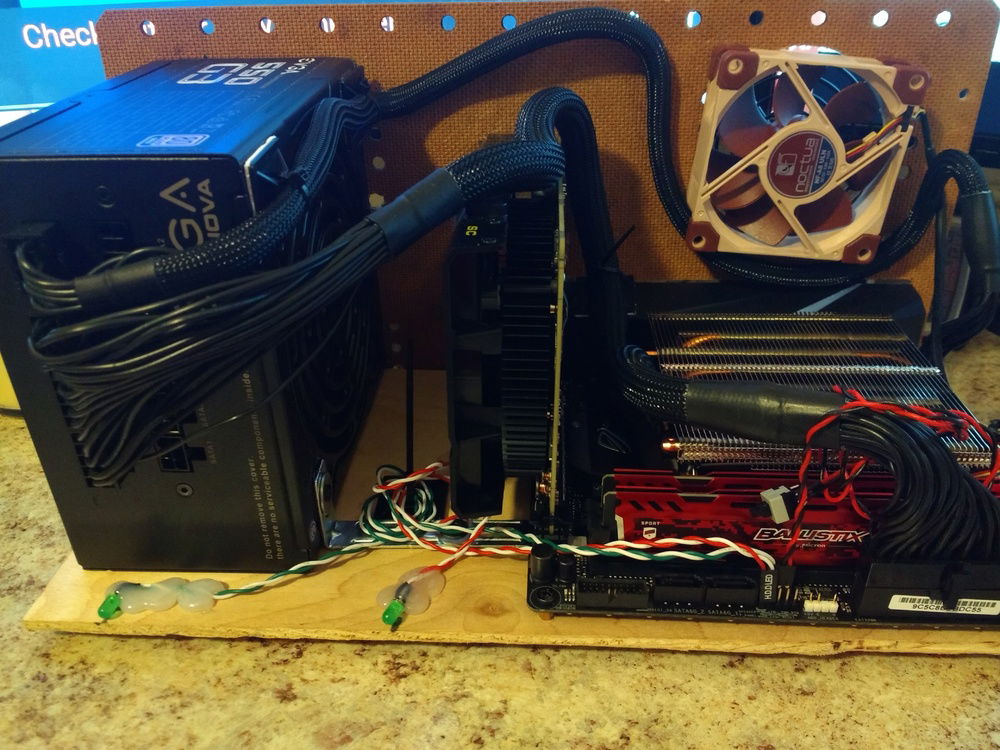
A shot of the inside. I was hoping the power/hdd LEDs would shine through, but they are too dim to see. I also had to re-route the 24-pin power cable so it runs against the back of the motherboard, tucked as low as possible, so it clears the Noctua fan on the front panel.
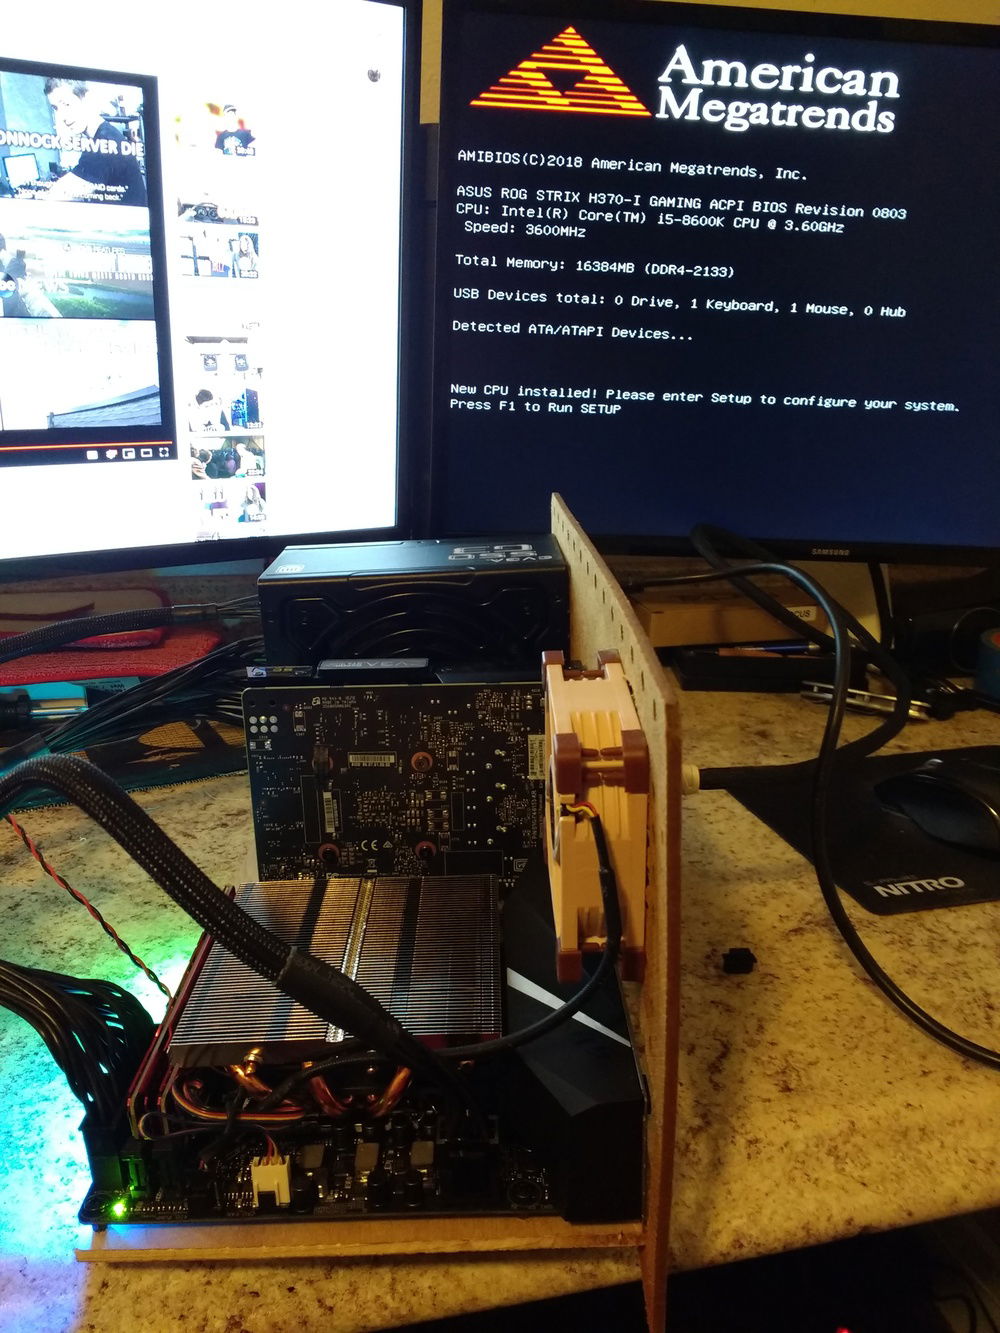
Glory shot of the first boot-up. Everything was recognized successfully, except for the NVME drive... after a lot of cursing and troubleshooting I discovered the bios simply doesn't show it, but it is there.
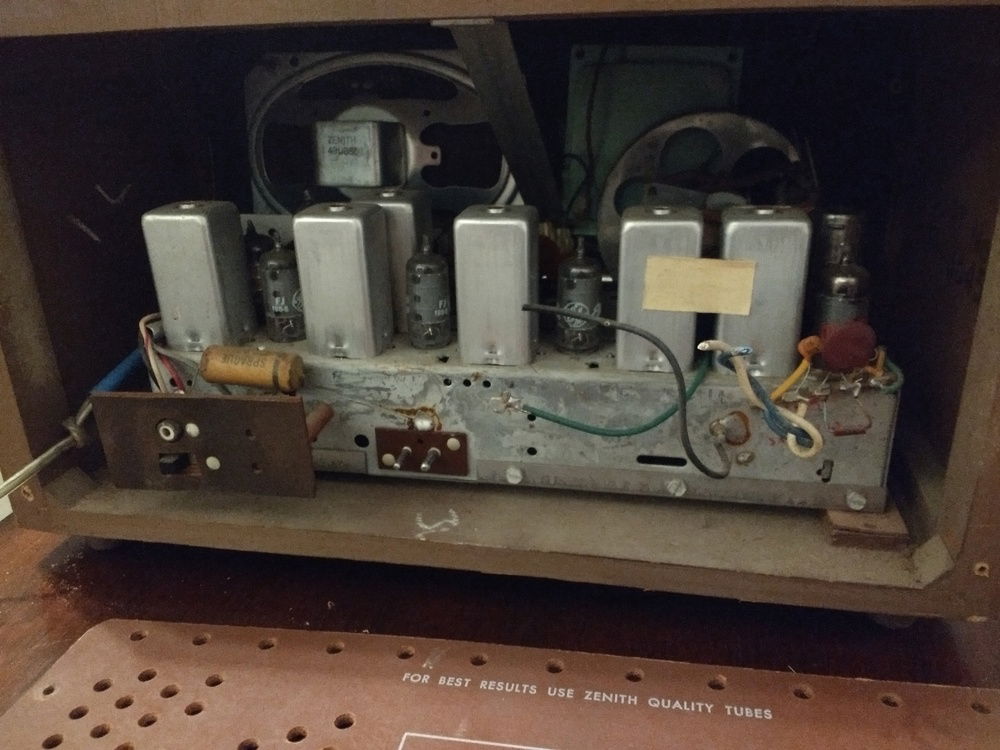
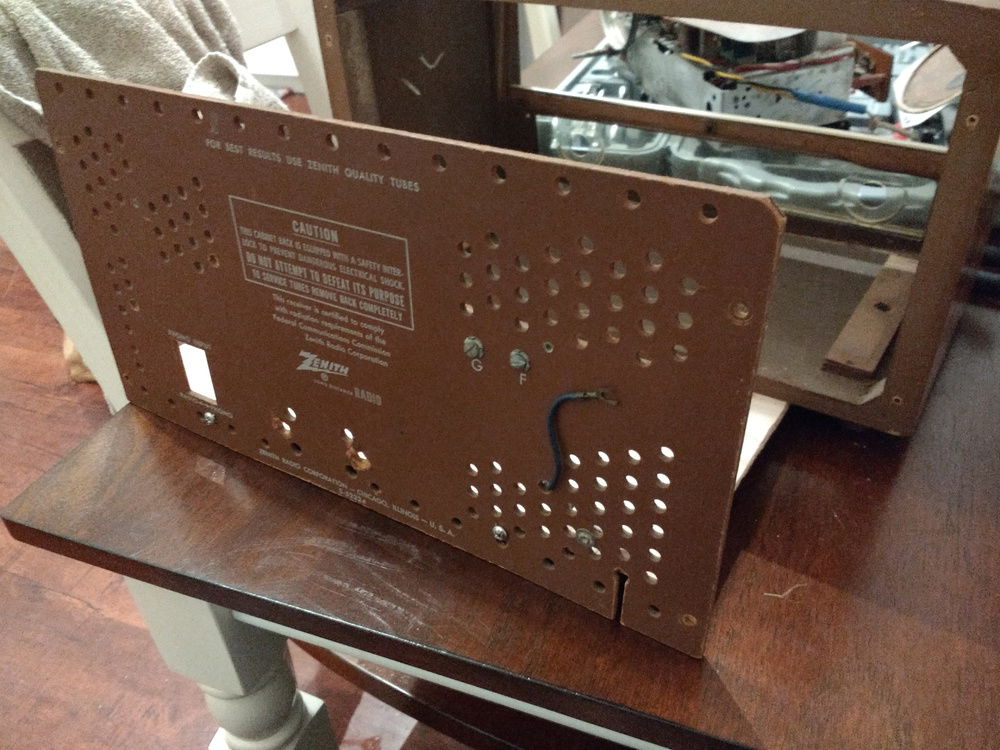
The former occupants of the case that were evicted.
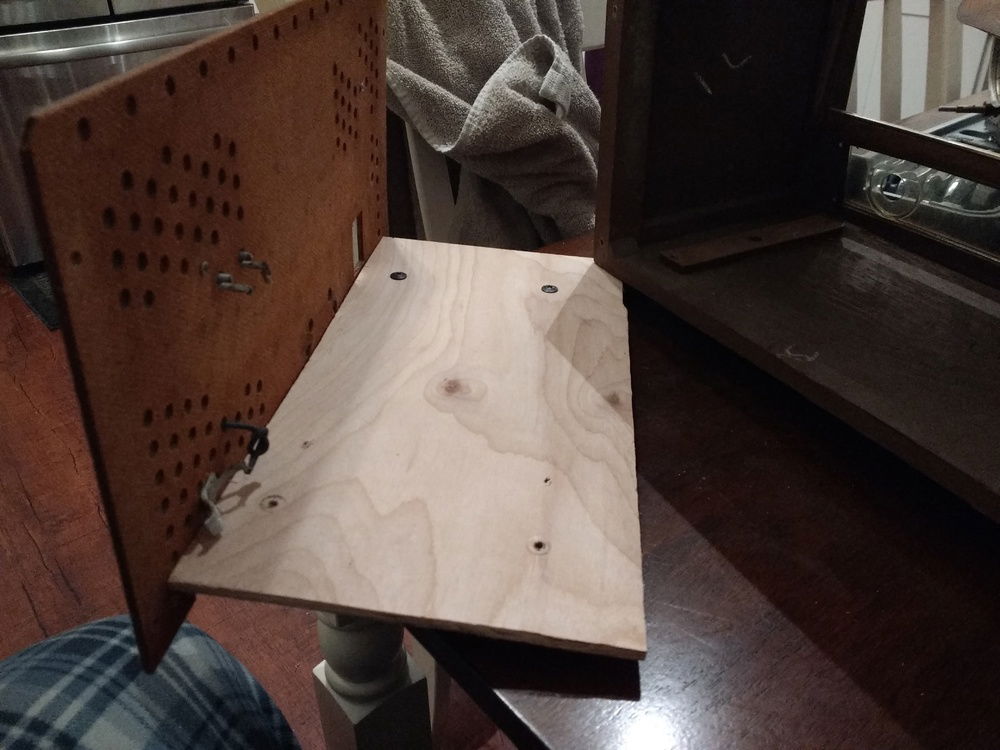
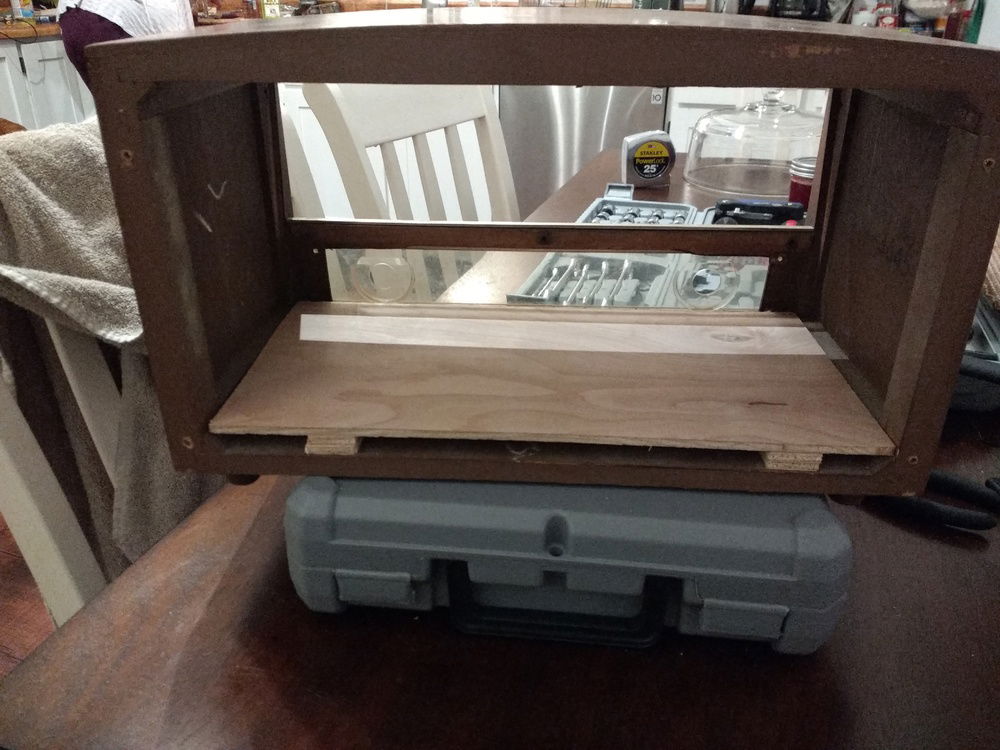
the shelf with the back piece installed.
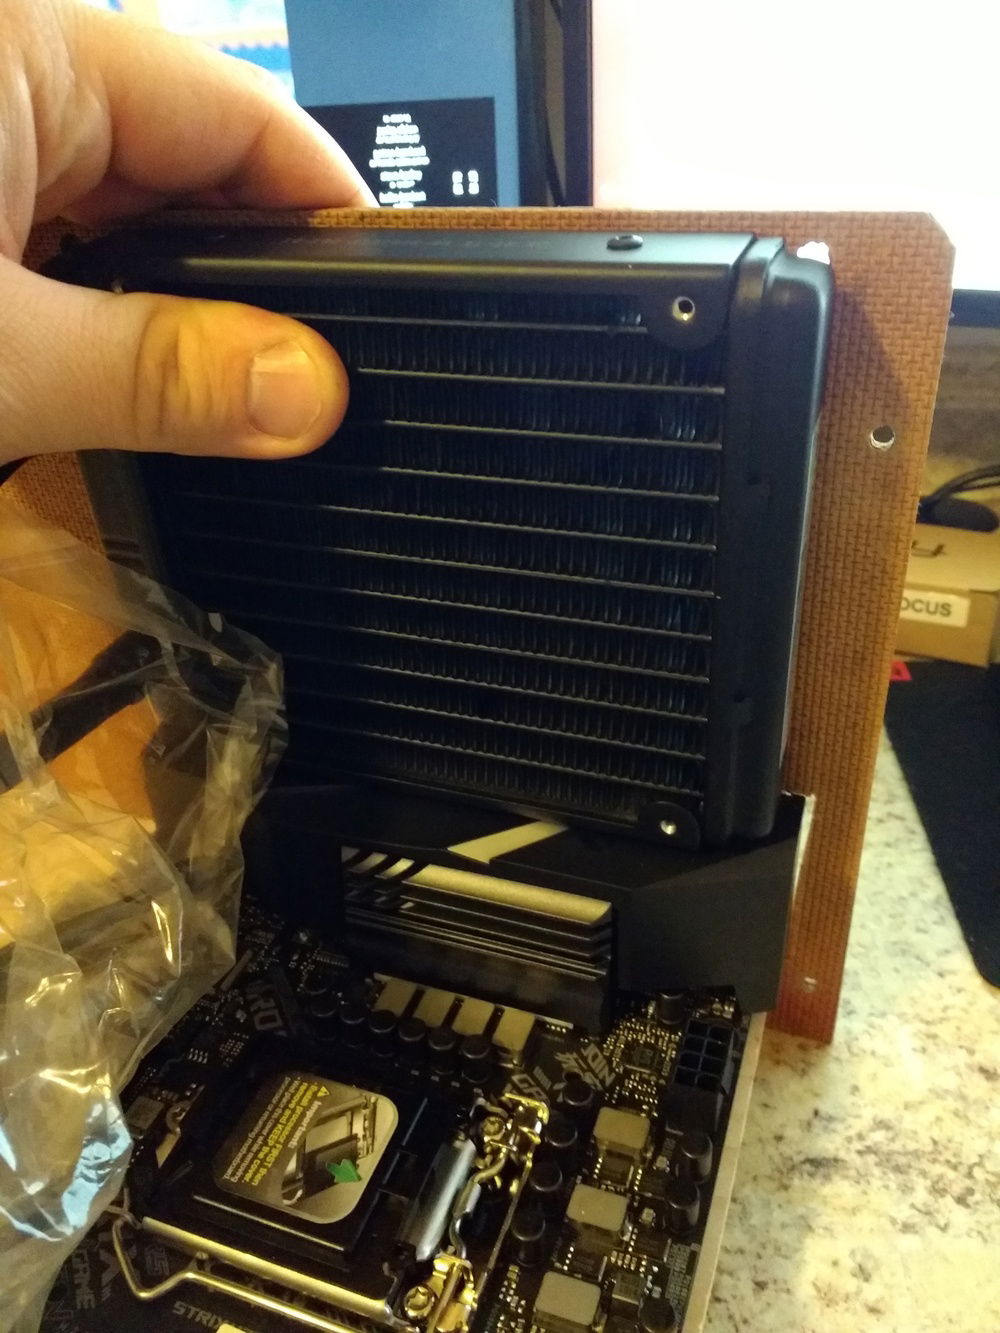
Originally I wanted to use this AIO liquid cooler, but it was about 1/4" too tall - I forgot to account for the motherboard risers!
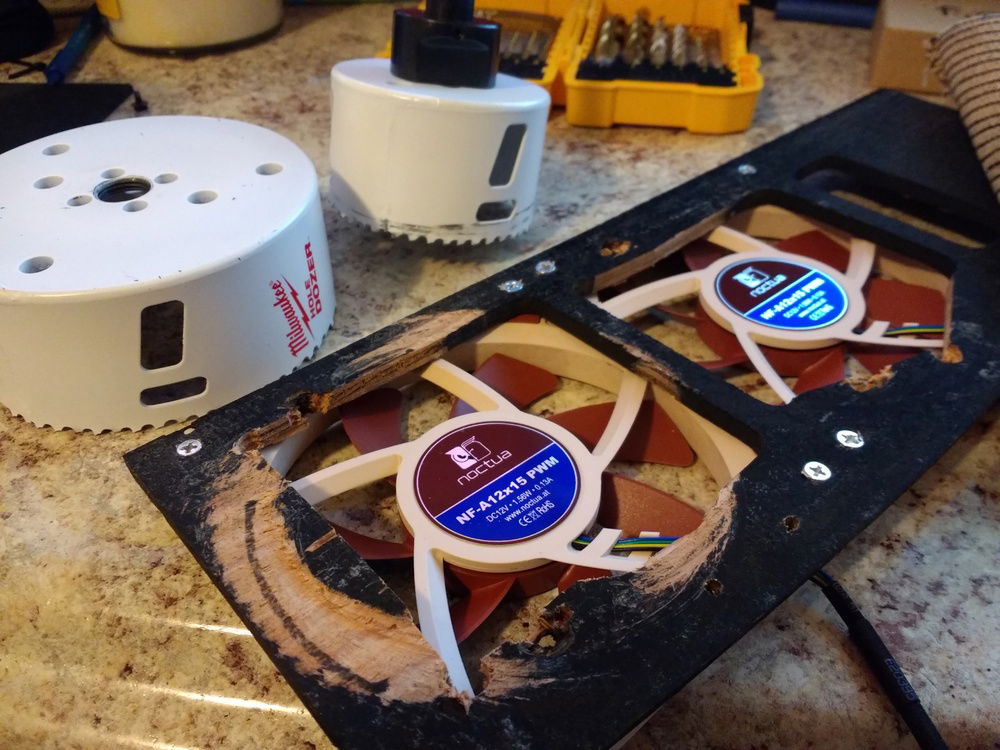
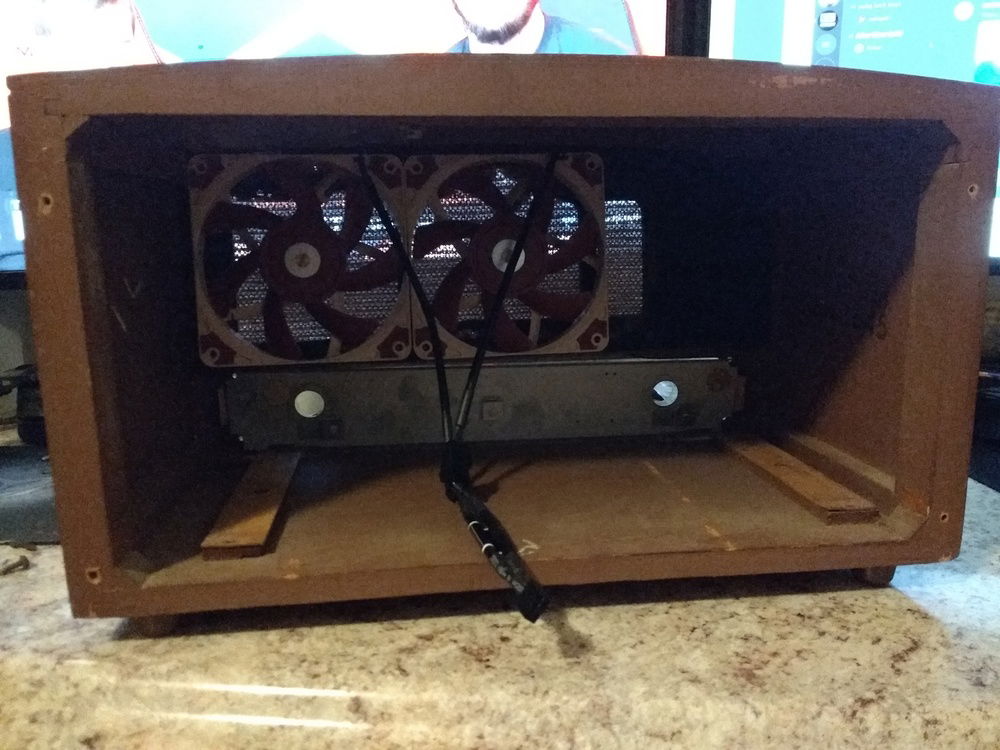
The two Noctua fans at the front of the case, behind the fabric, that drive most of the airflow. I widened the existing holes to let them breathe more, unsuccessfully with a hole saw (pictured), then with a jigsaw.
The Noctua fans installed in the front of the case. They're set to blow through so that dust doesn't collect on the front fabric.
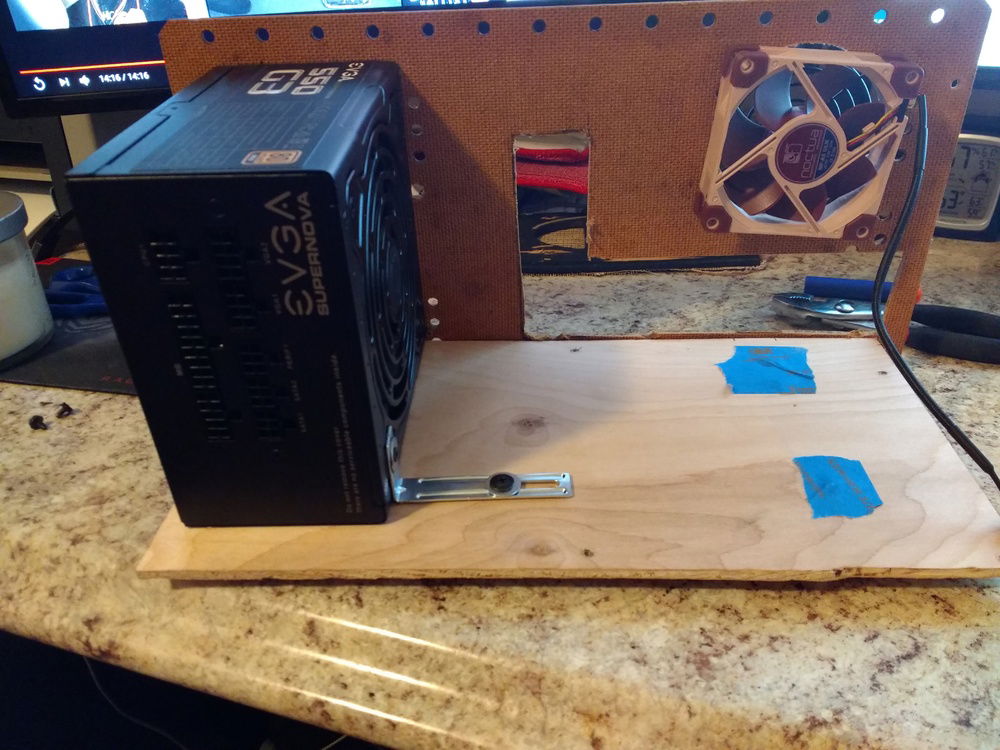
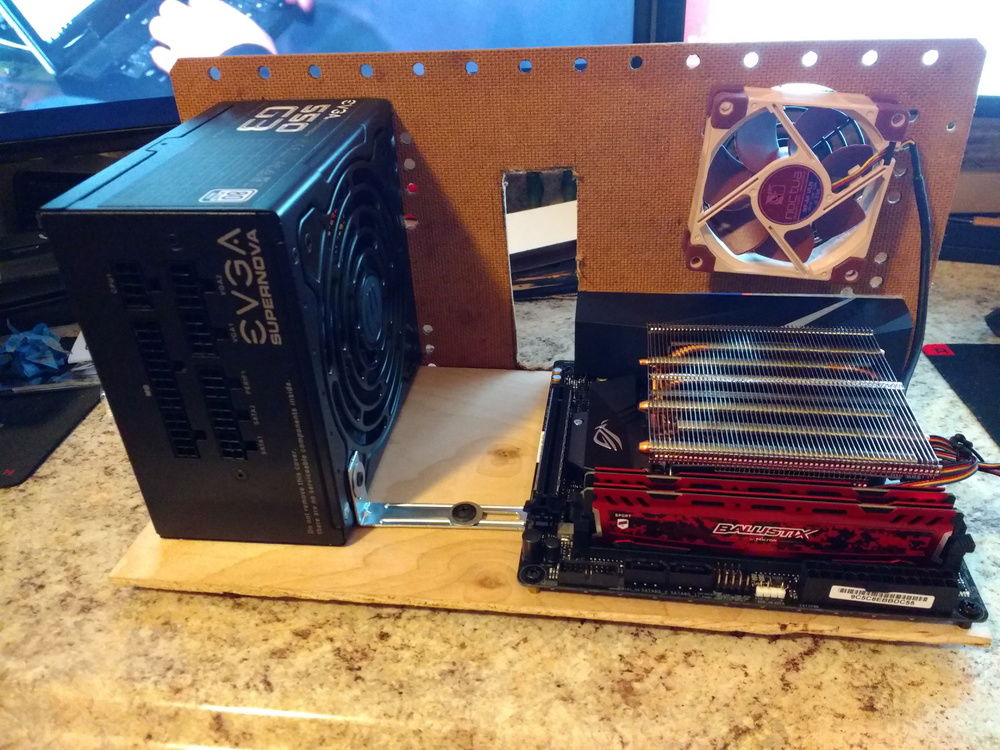
The power supply installed. That little bracket does most of the heavy lifting to keep it in place, and it also doubles as a way to ground the case.
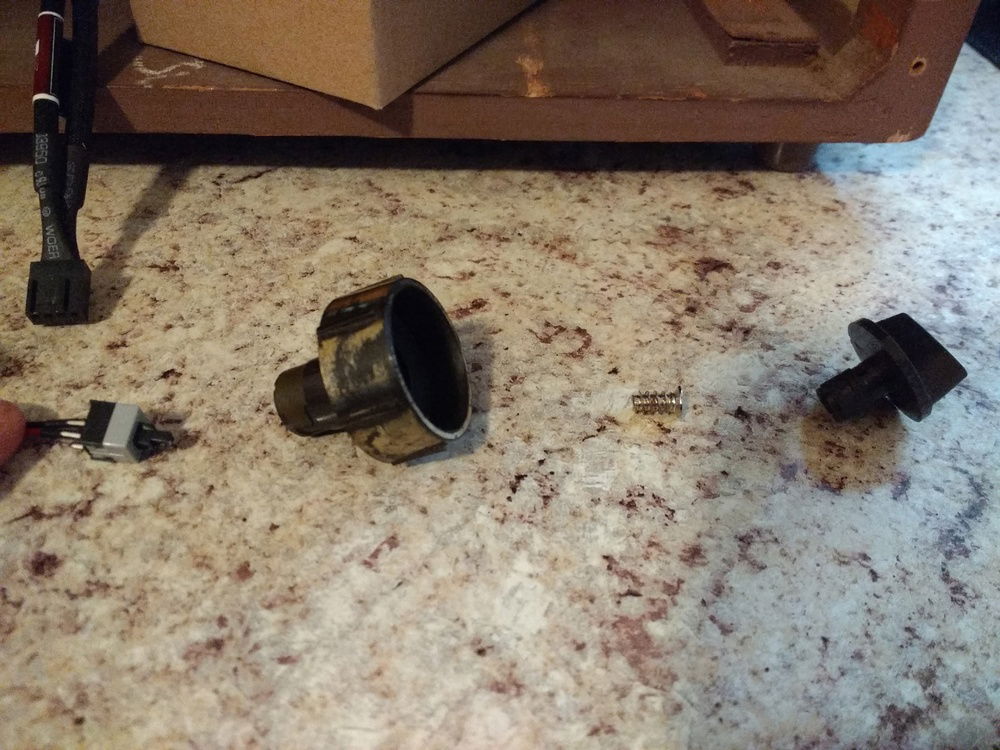
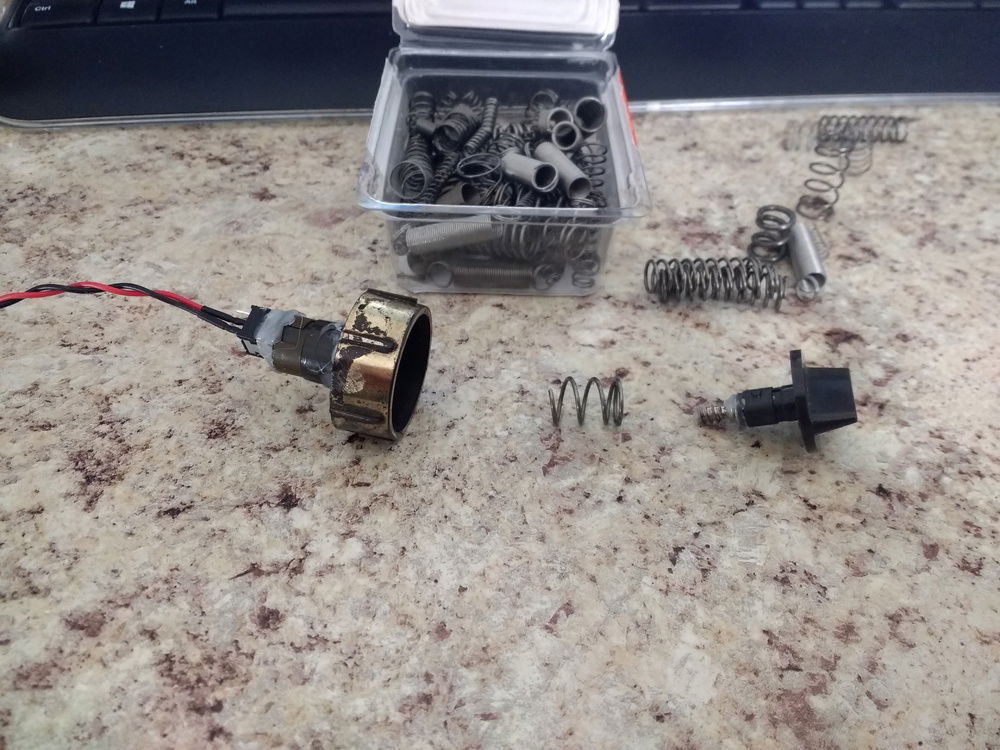
How the power button passes through the radio knob. Lots of hot glue and an extra screw.
Had to add a spring to the power button so it pops back up correctly.
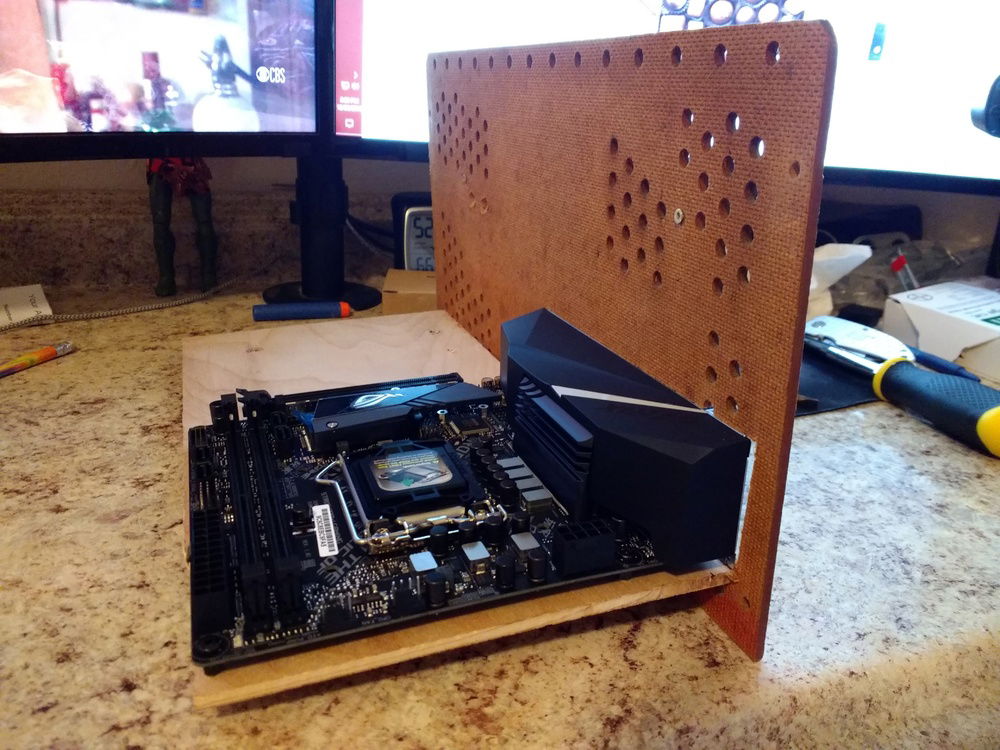
Test fit of the motherboard on the shelf
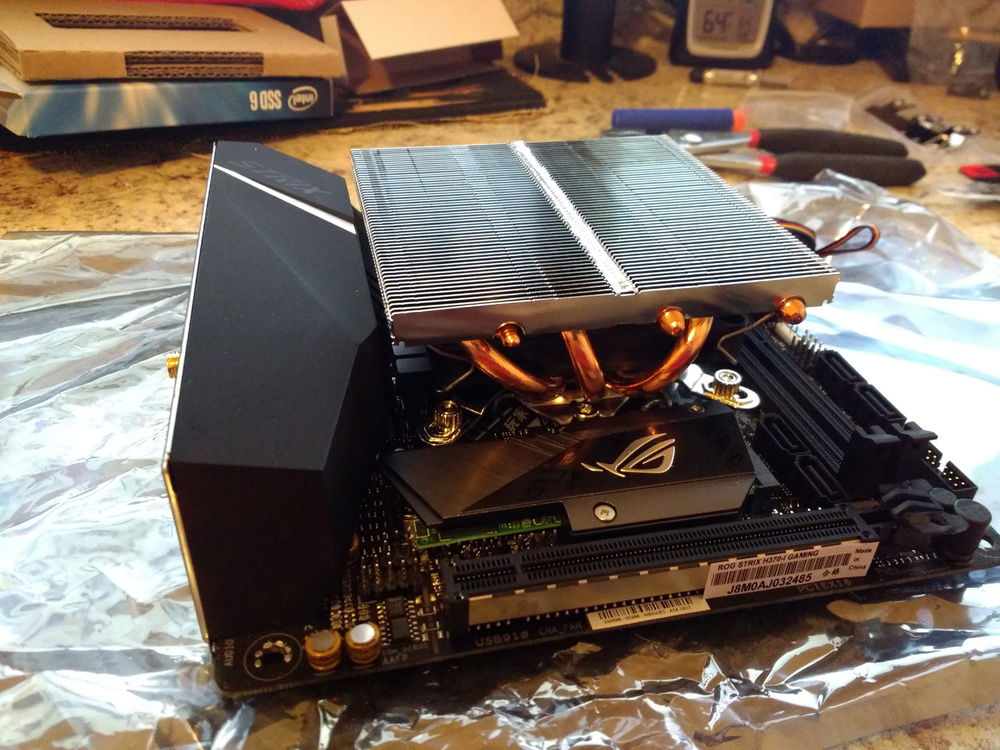
The motherboard/proc/cooler outside the case.
I built a shelf for the components to sit on so that I could slide it in/out to work on it
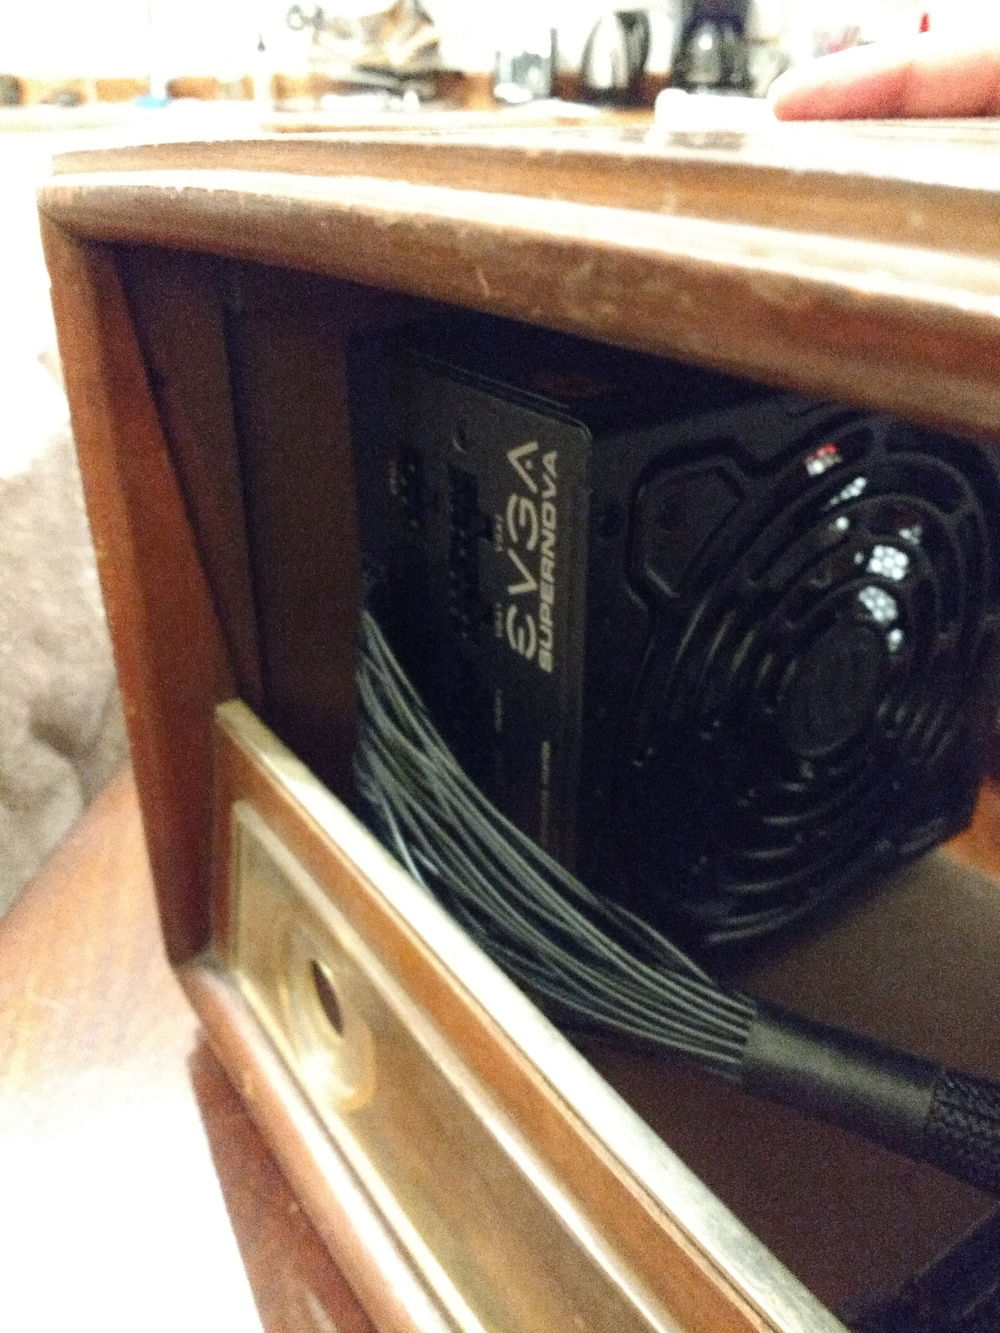
Test fit of the power supply. I only have about a quarter inch of clearance.
The computer guts installed, without cabling or the video card.
Classic Tube Radio Computer
This is a microATX gaming computer in a re-purposed tube radio case. Custom made by me. Moderate parts as to game without breaking the bank.
No RGB so the aesthetics of the computer remain looking like a classic radio from the exterior