


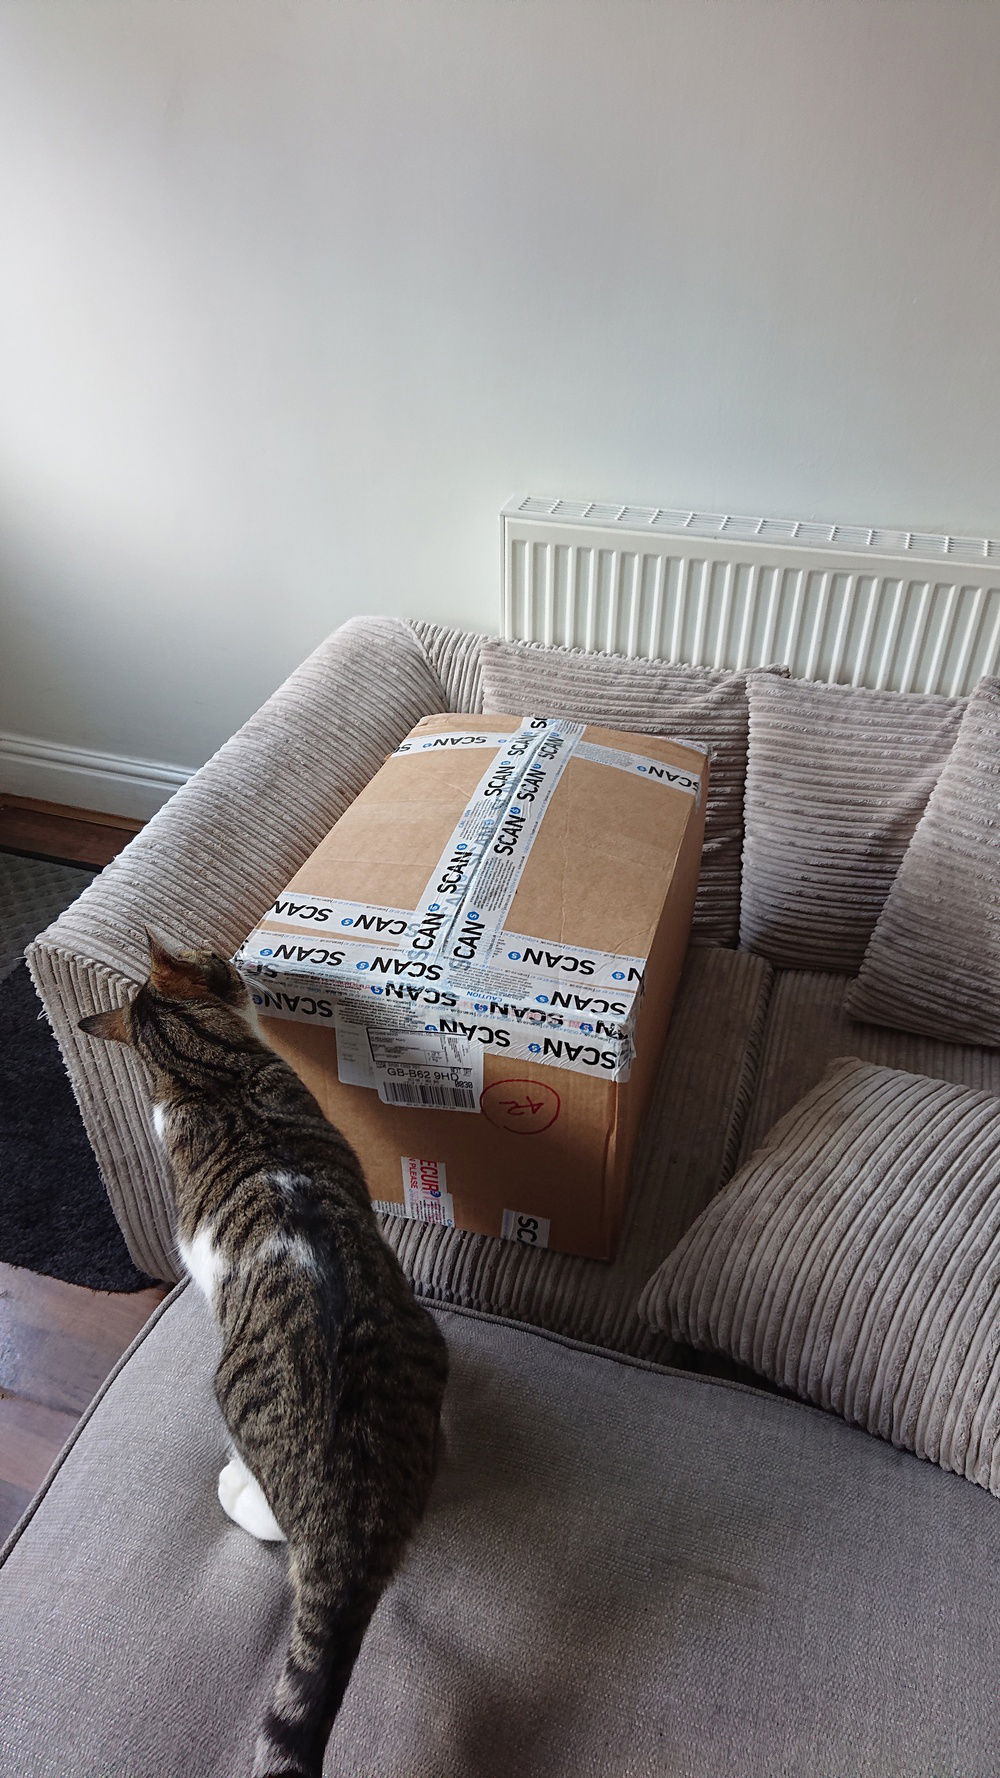
What's this? Is it for me?

They look boring.
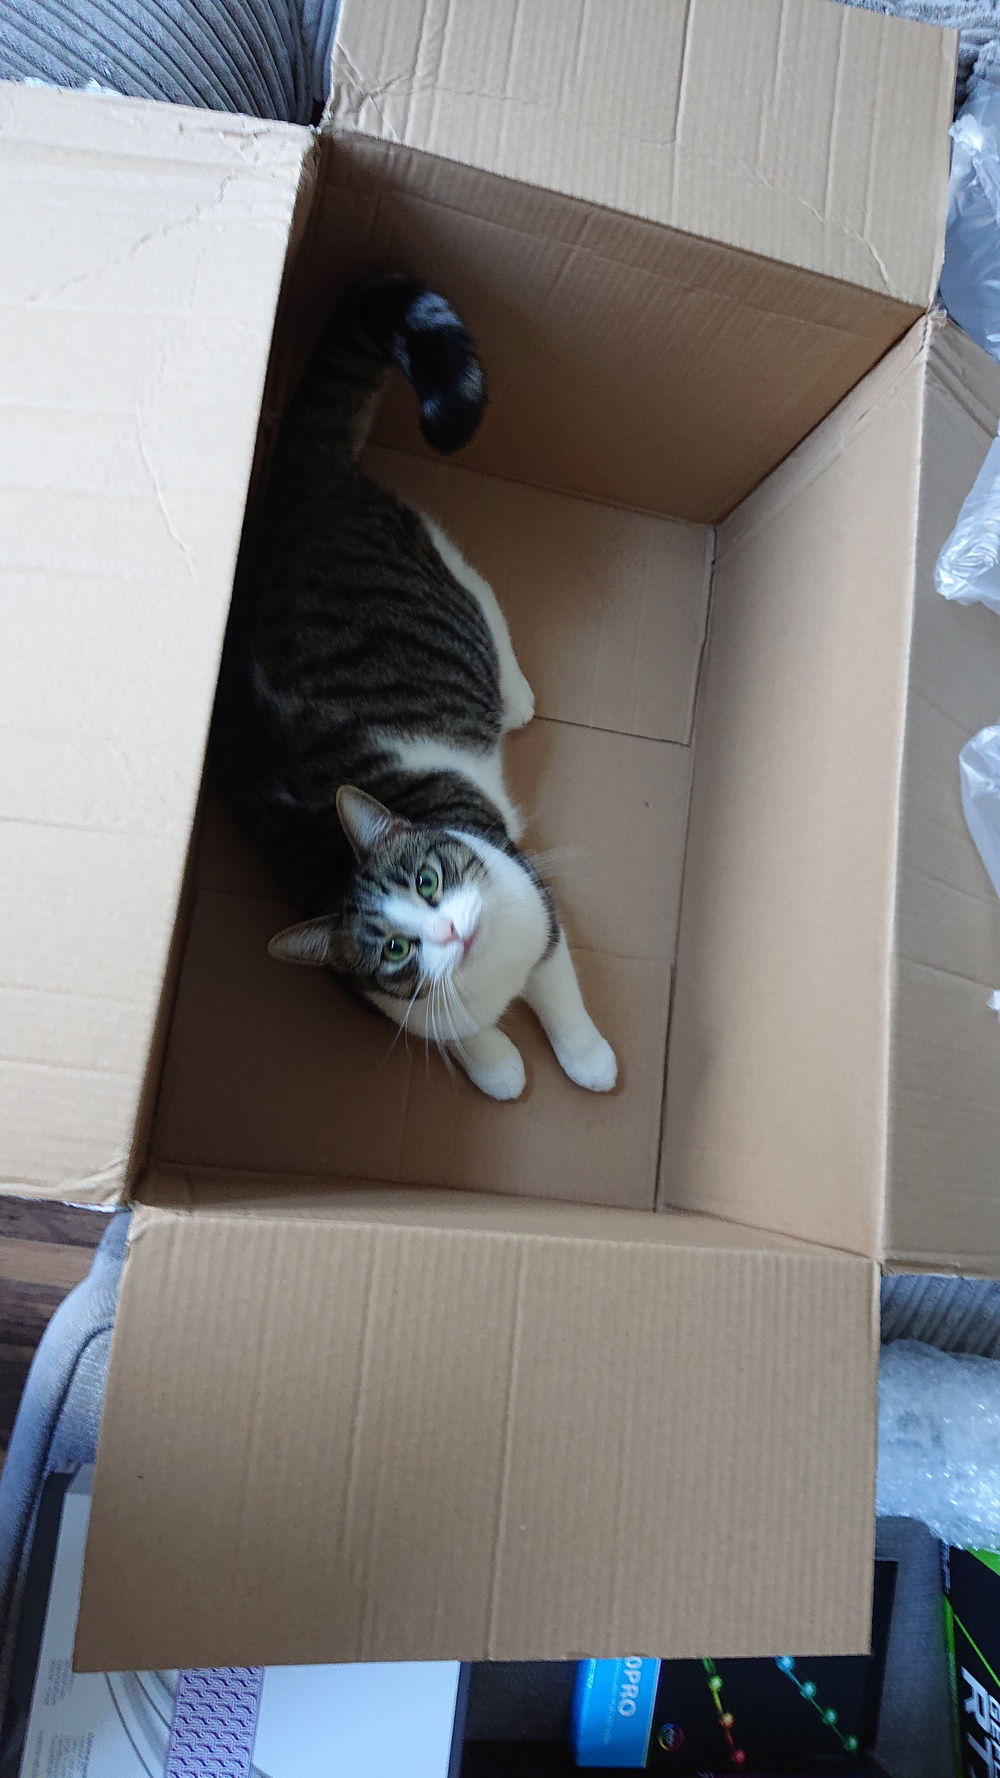
This is mine now.
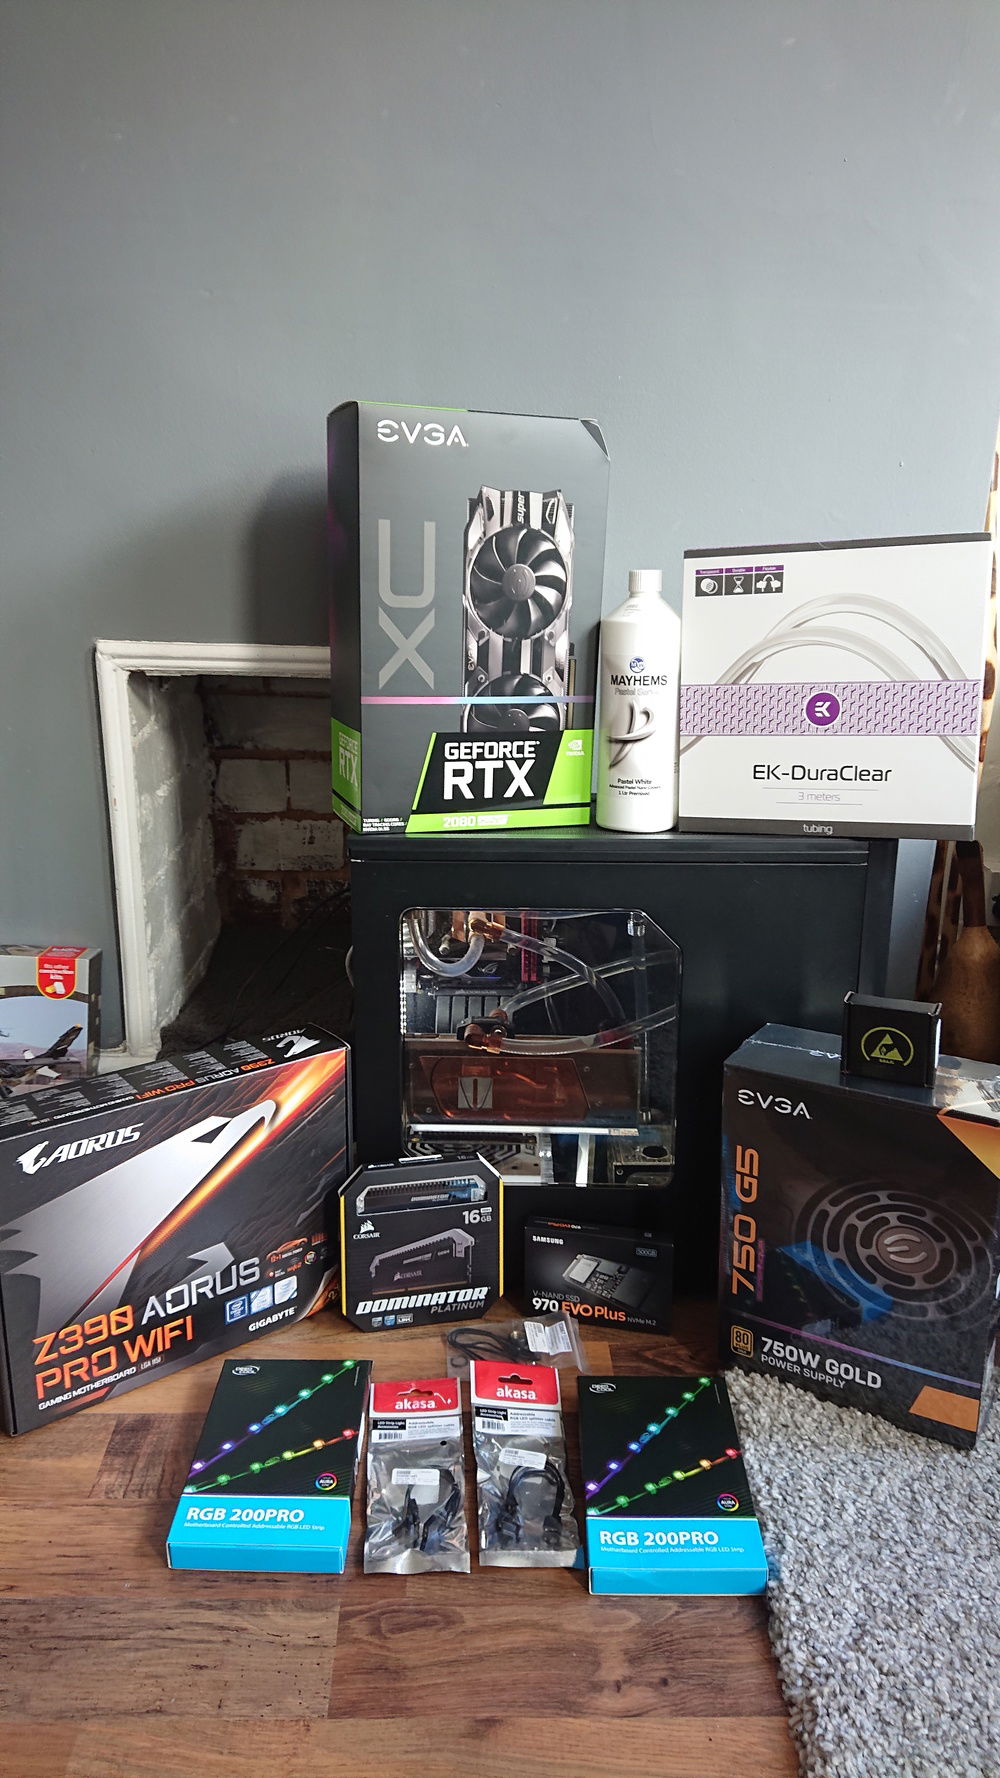
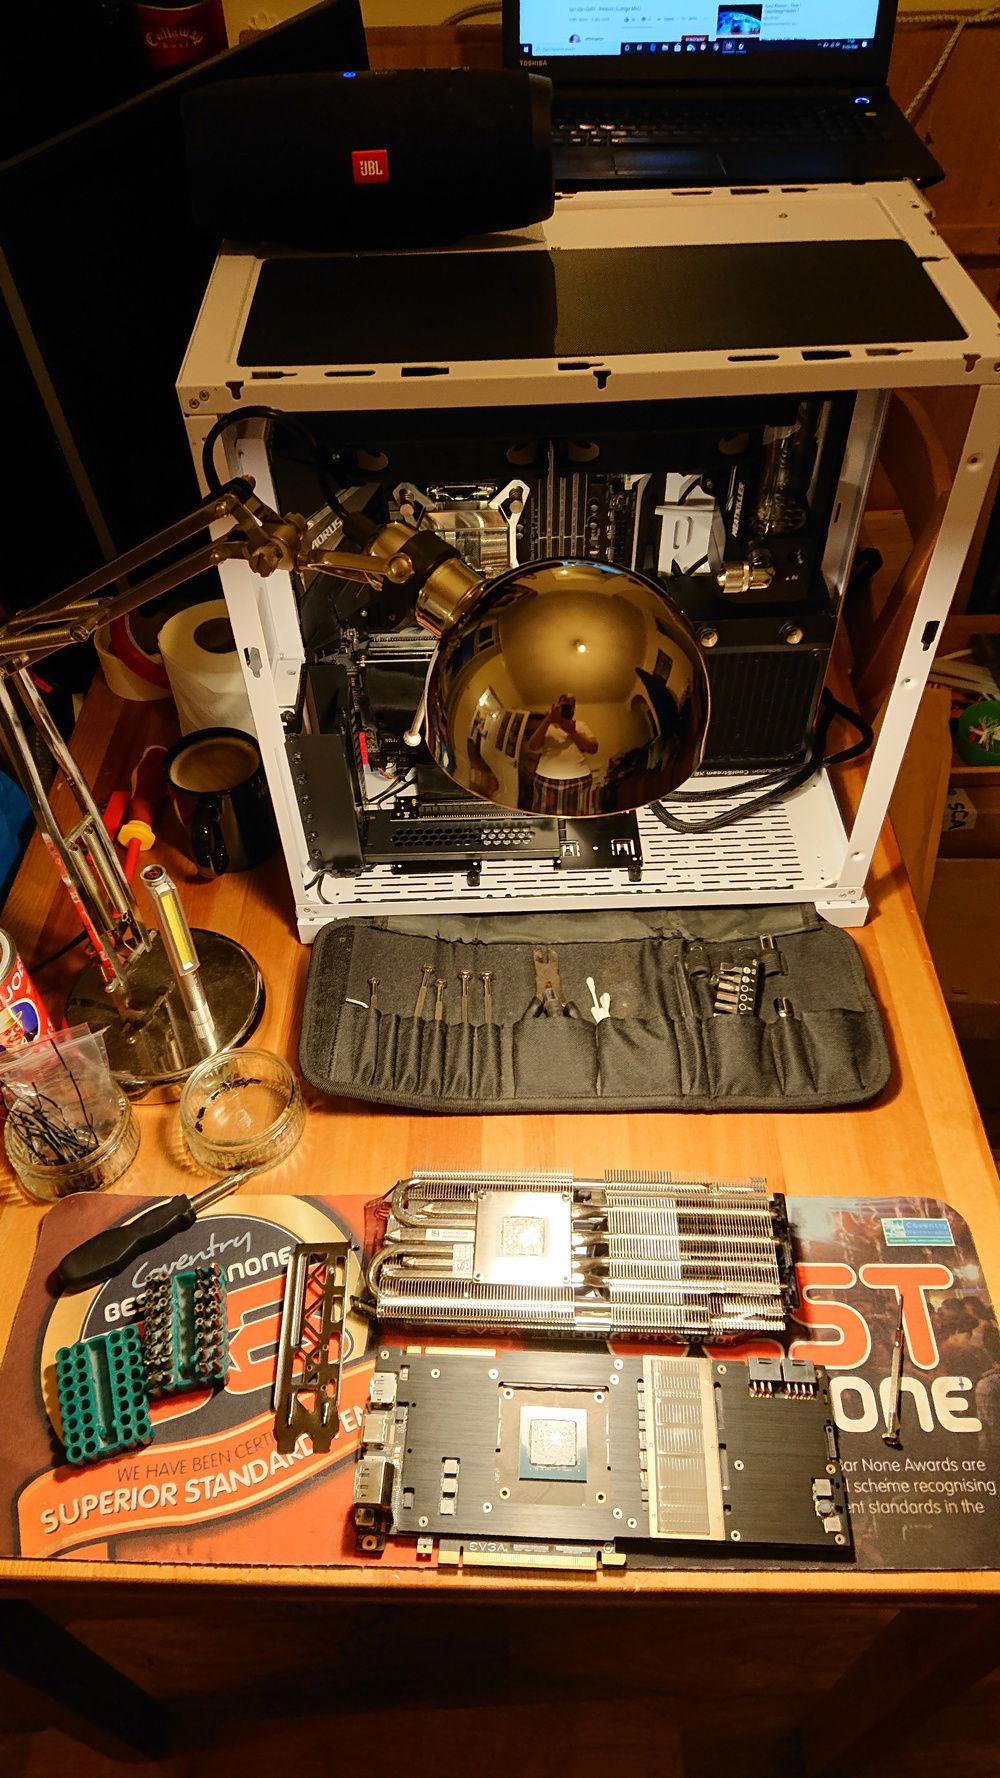
Gratuitous hardware shot
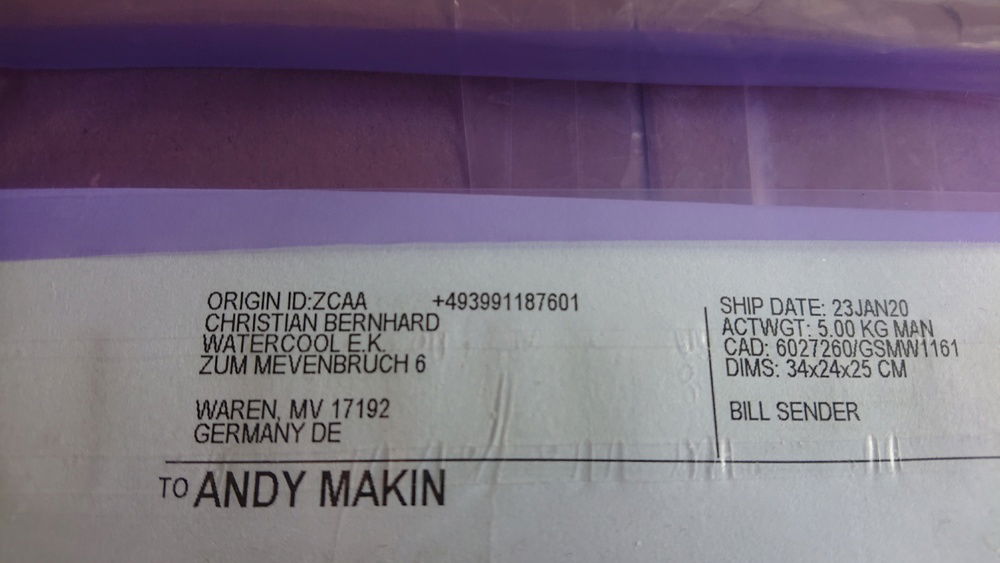
A package from the fatherland
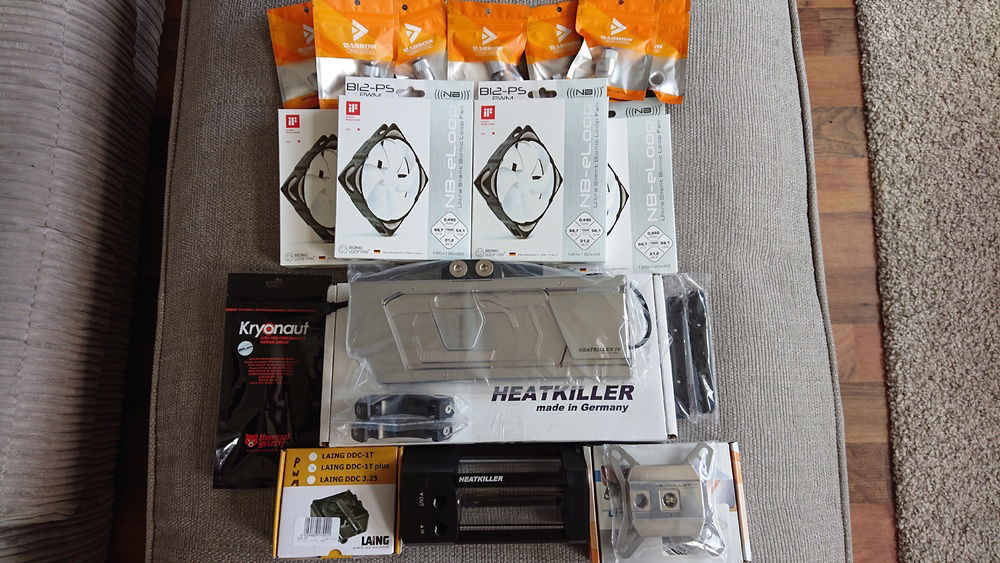
Because Germans make the best hardware pron ;)
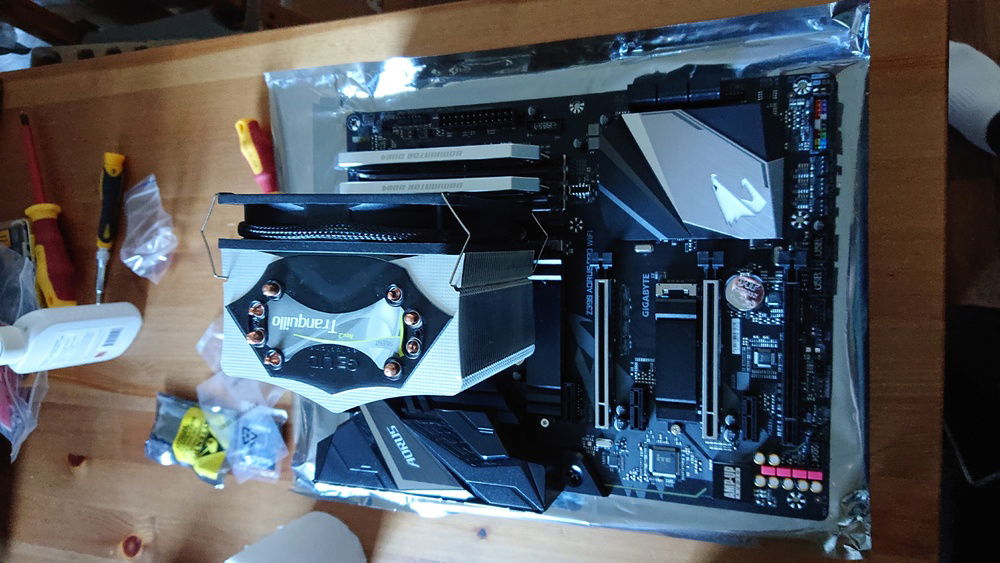
Quick systems check
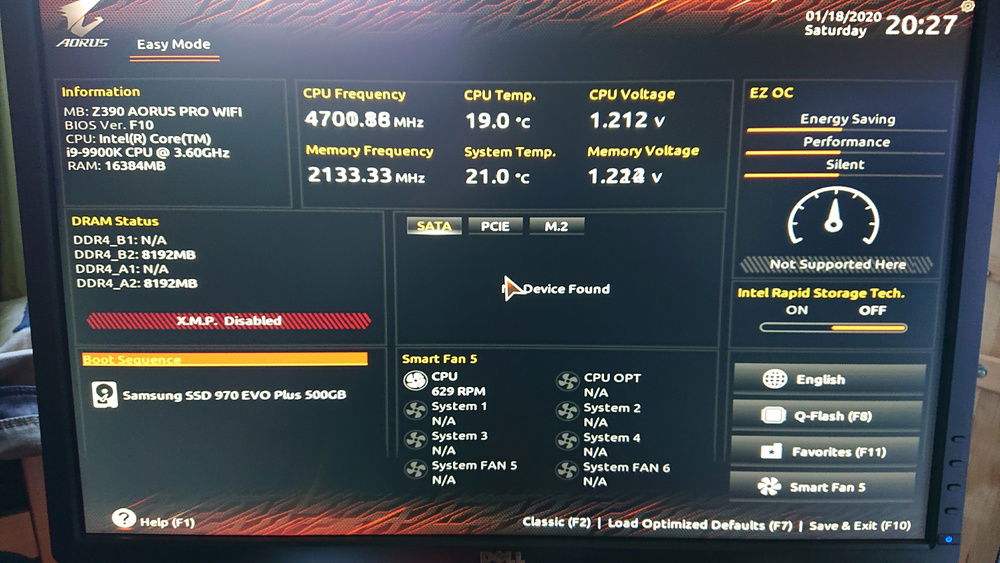
All good, lets get building!
They see me sleevin, they hatin.....
So fresh and so clean
I've run out of song references, finally...
it has happened to me, right in front of my face...
Ok. ok. I'll stop... Hammertime ;p
Simply the best (honest that's the last one now). The applicator allows you to get a really good spread, but is a pain to clean afterwards.
Yummy!
Backplate will keep it nice and snug and help to equalise the pressure on the block.
I can builds computorz?
I like to tidy the cables as I go, gets them out the way and then not a big spaghetti mess at the end.
I used a little piece of the plastic light strip to help keep the pump cables parallel. Hide one behind the other.
When your "modmat" is older than the term...
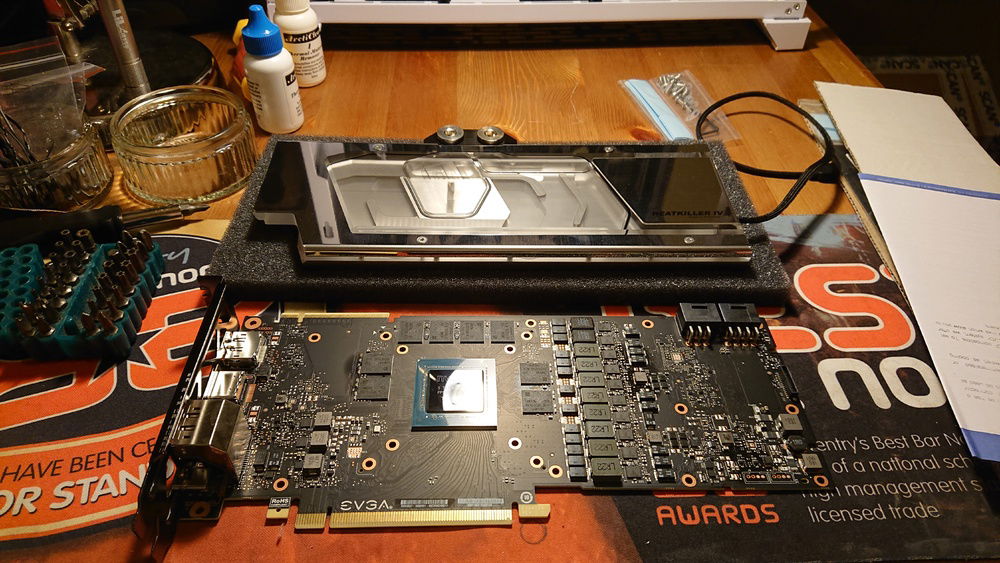
Card meet block, block this is card. I just know you'll get along.

I had to use the thermal pads off the original backplate as it never came with any for the RAM.
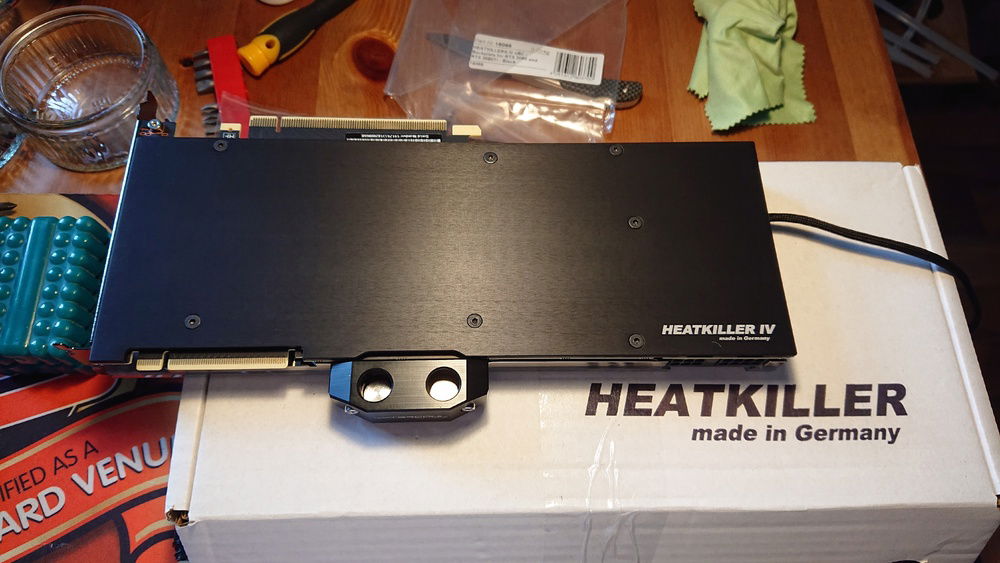
Don't worry I've got your back.

Wow, Edward Norton has really hit hard times.
Modding fuel for the final push.
Tried something a little different for the Rad-> Res run.
It looks good, but just a little out of place i think with no other runs with solid lines. Close, but no cigar.
Juuust right
Wow what a great job on the cabling
Kind of... (and I would have got away with it if it wasn't for those meddling stock cables).
Drink up, I'm calling time.
Was it all worth it?
YES!

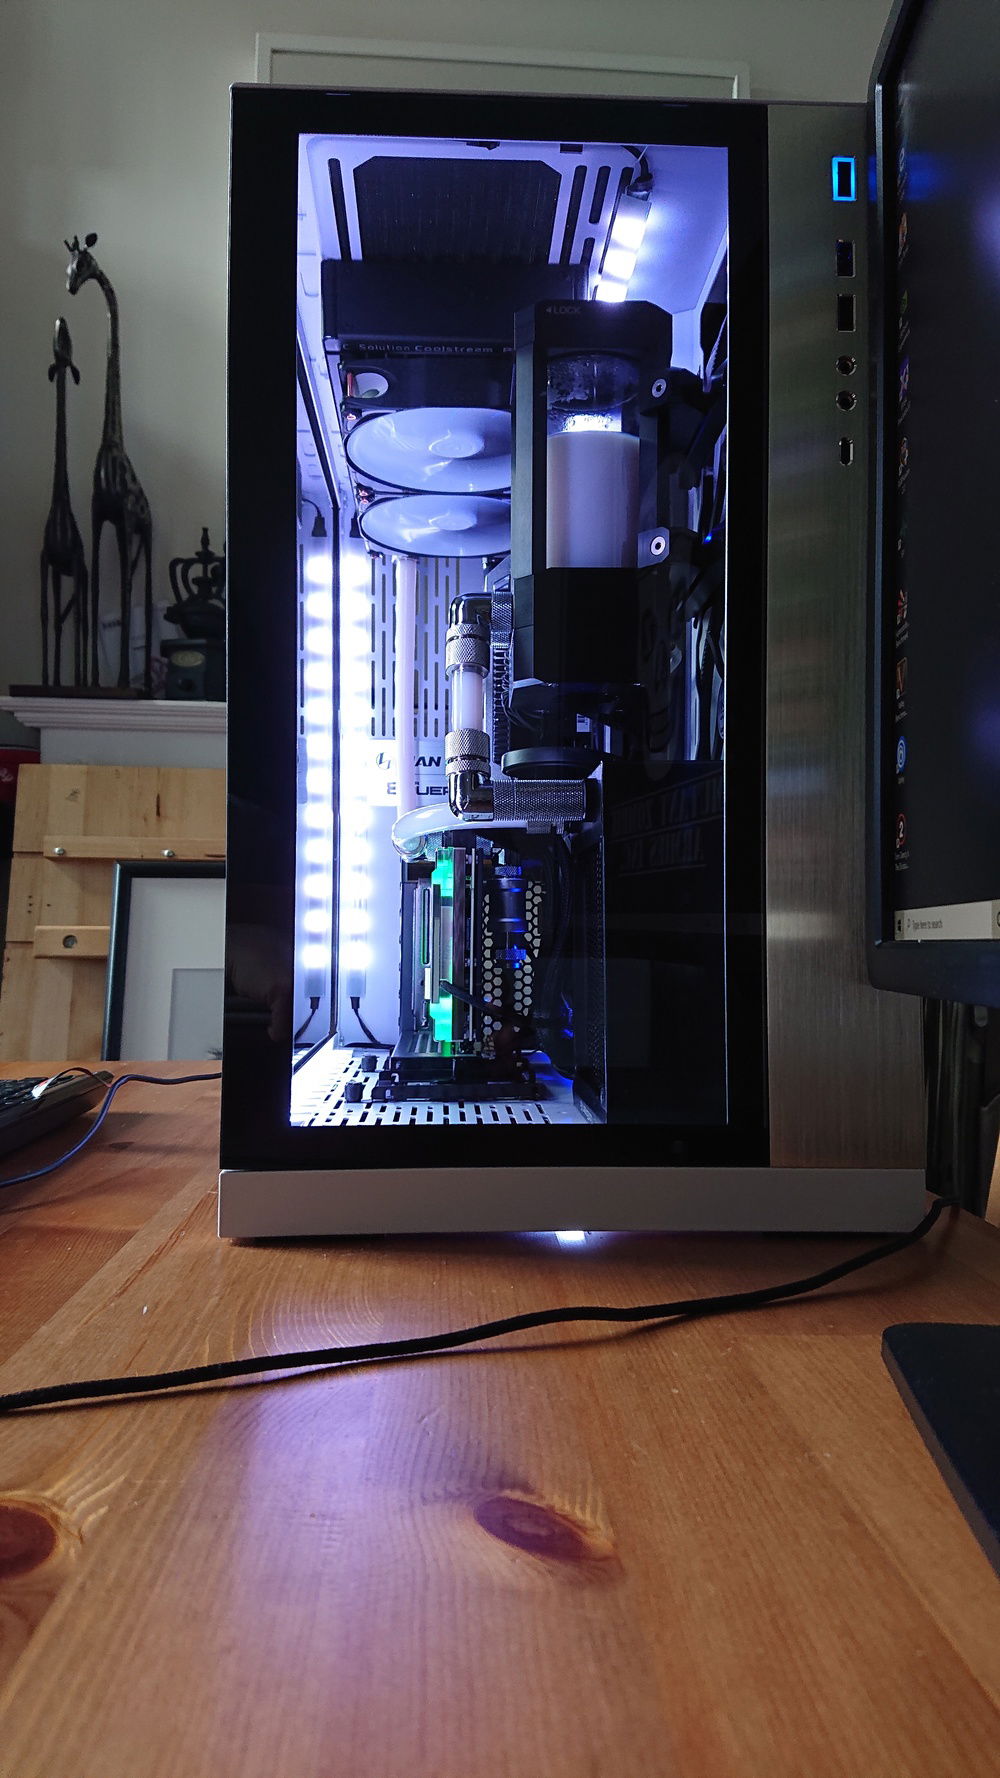
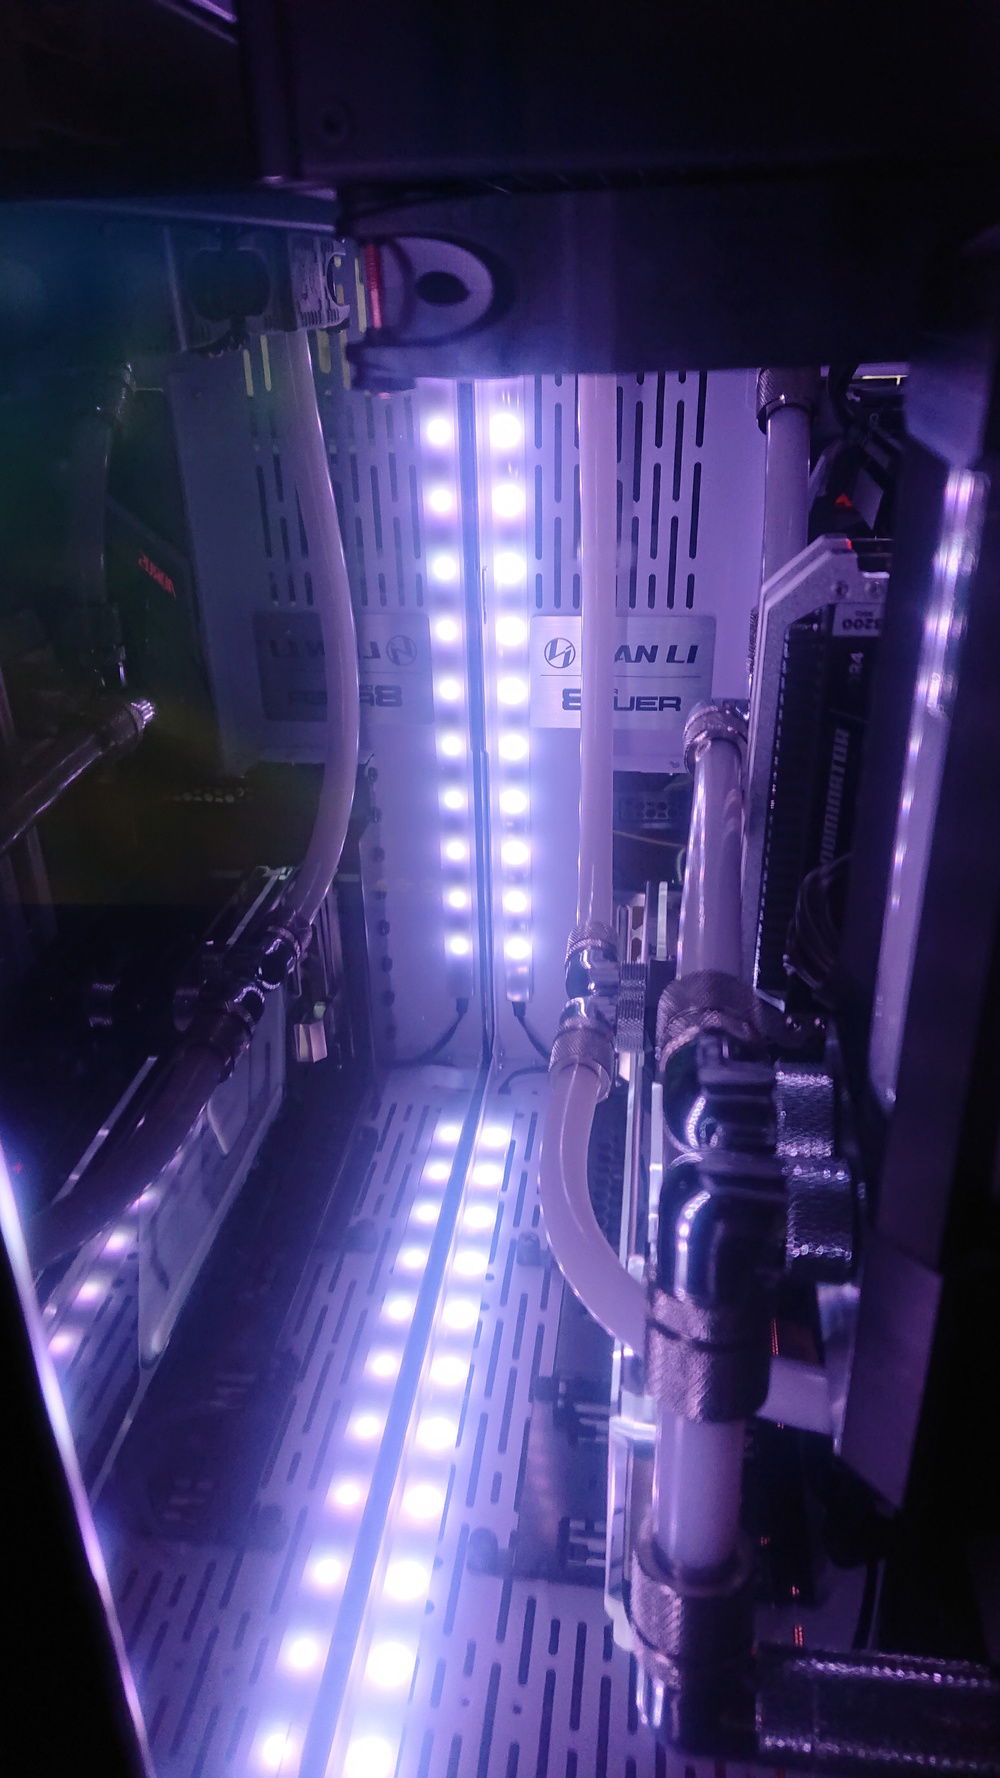
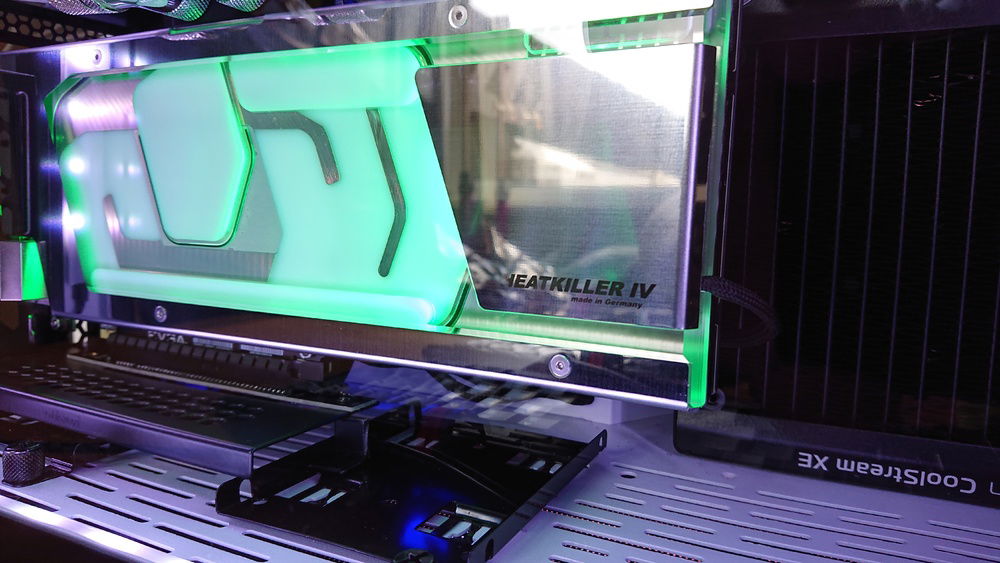
Sneaky LED strip hidden underneath for a bit more glow.
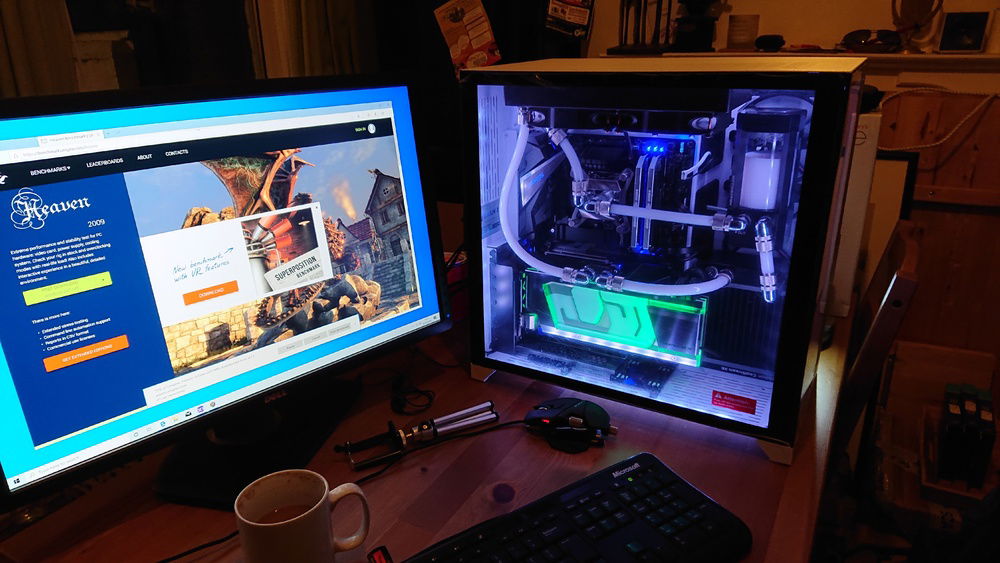
Trying to load the loop was dam near impossible, even after hours of Heaven, Valley, Superposition. Even Furmark couldn't push the coolant above 38C and it was dam near silent.
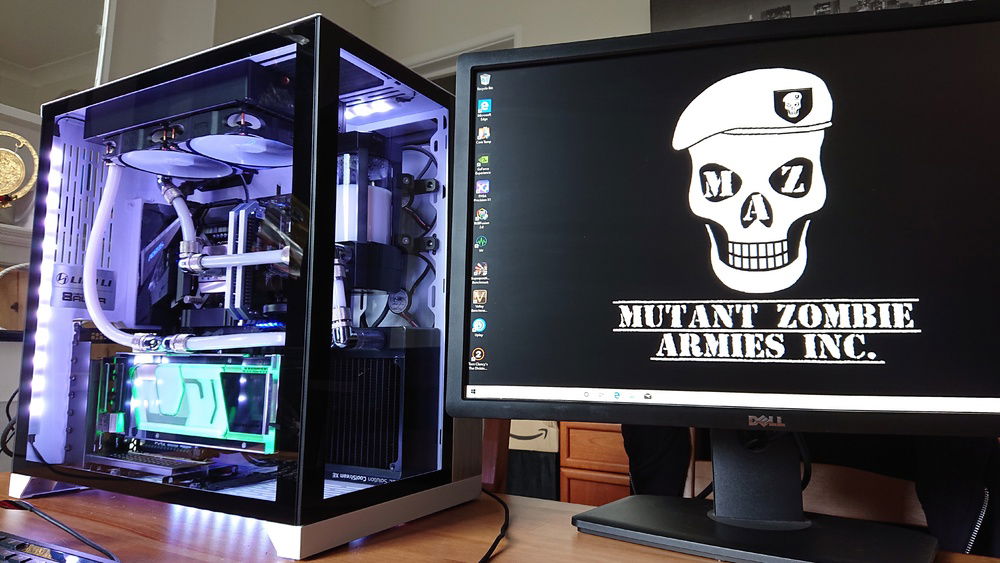
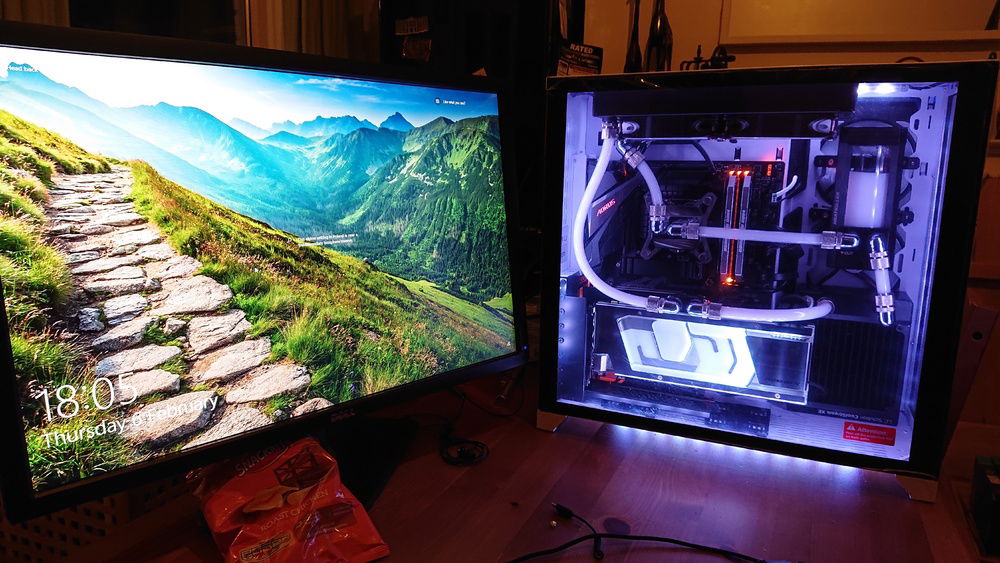
Looks just as good in the daylight
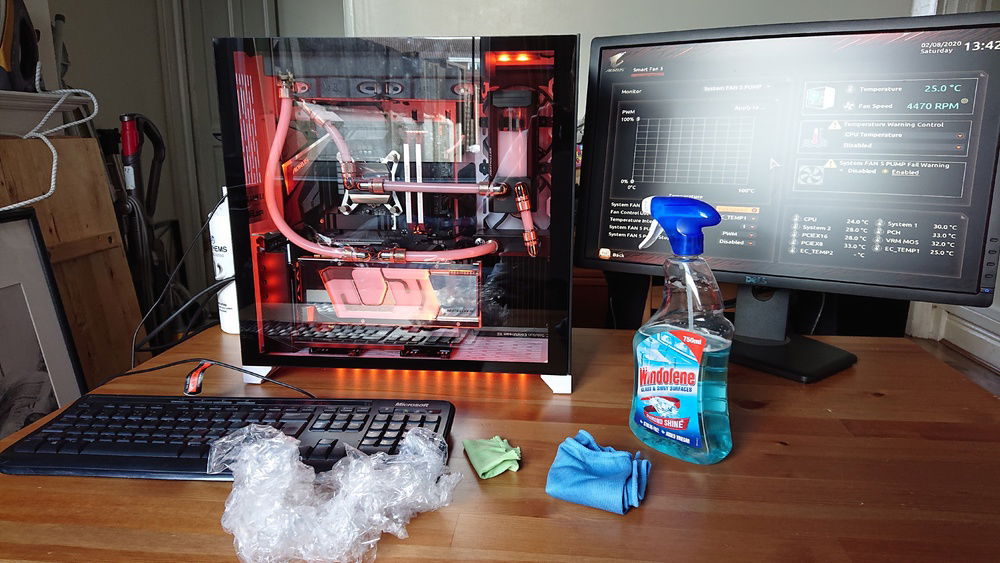
Giving it a clean and a quick tweak before it's owner arrives.
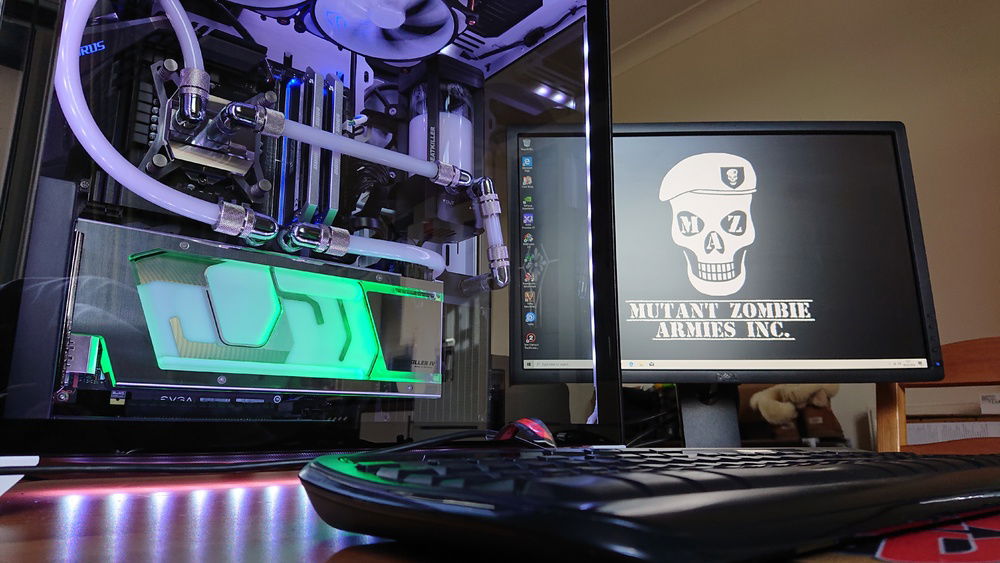

One last look.
Off she goes, away to her new home.
MC0001 - Oh Bro1her, Ano1her Dynamic
AD:
Now this is the story all about how
My build got flipped, turned upside down
And I'd like to take a minute, just sit right there
I'll tell you how it became the build that causes nightmares
This is a build I recently did for my brother, after his PSU blew up in spectacular fashion and took a bunch of other parts with it. He'd talked about wanting to go custom watercooled for a while as he hated his noisy rig, I'd even bought him some second hand rads, a pump and fittings to get him going, but for various reasons it never got off the ground. Now was the perfect opportunity, go big or go home.
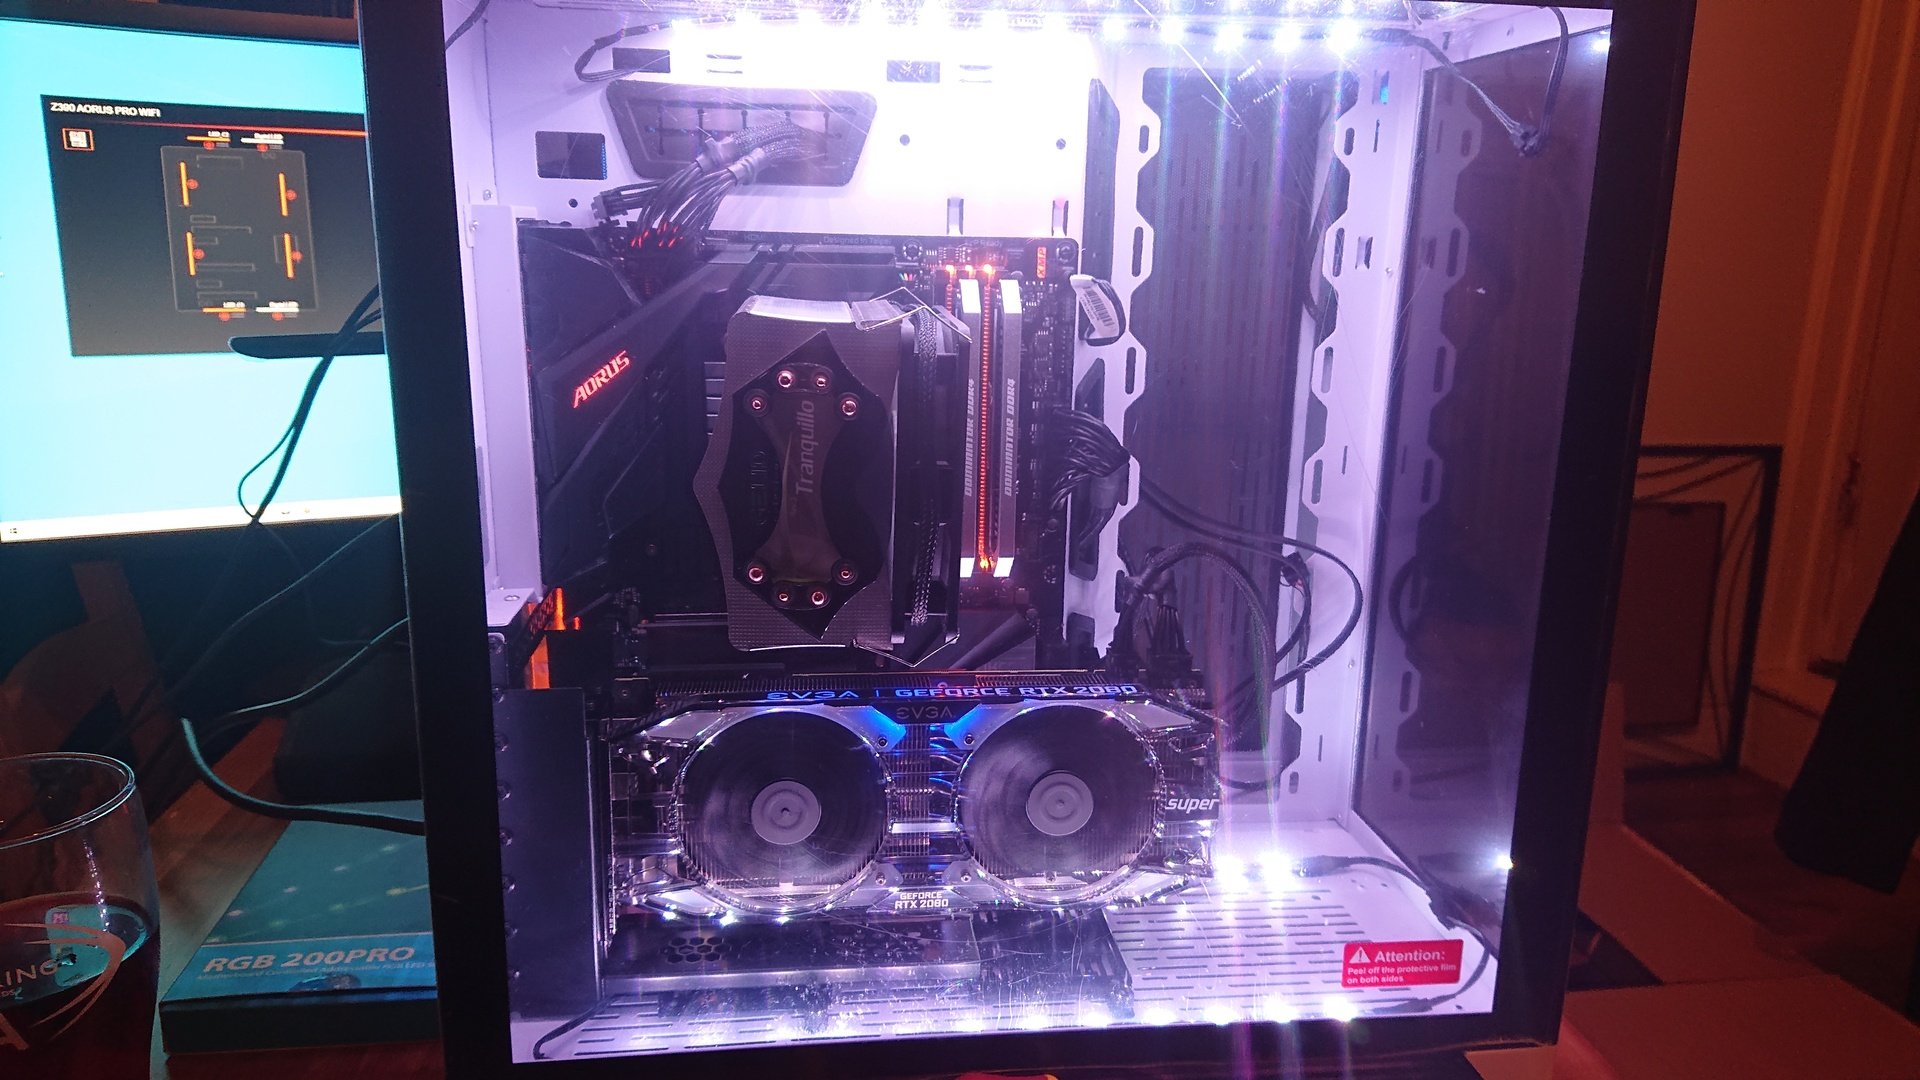
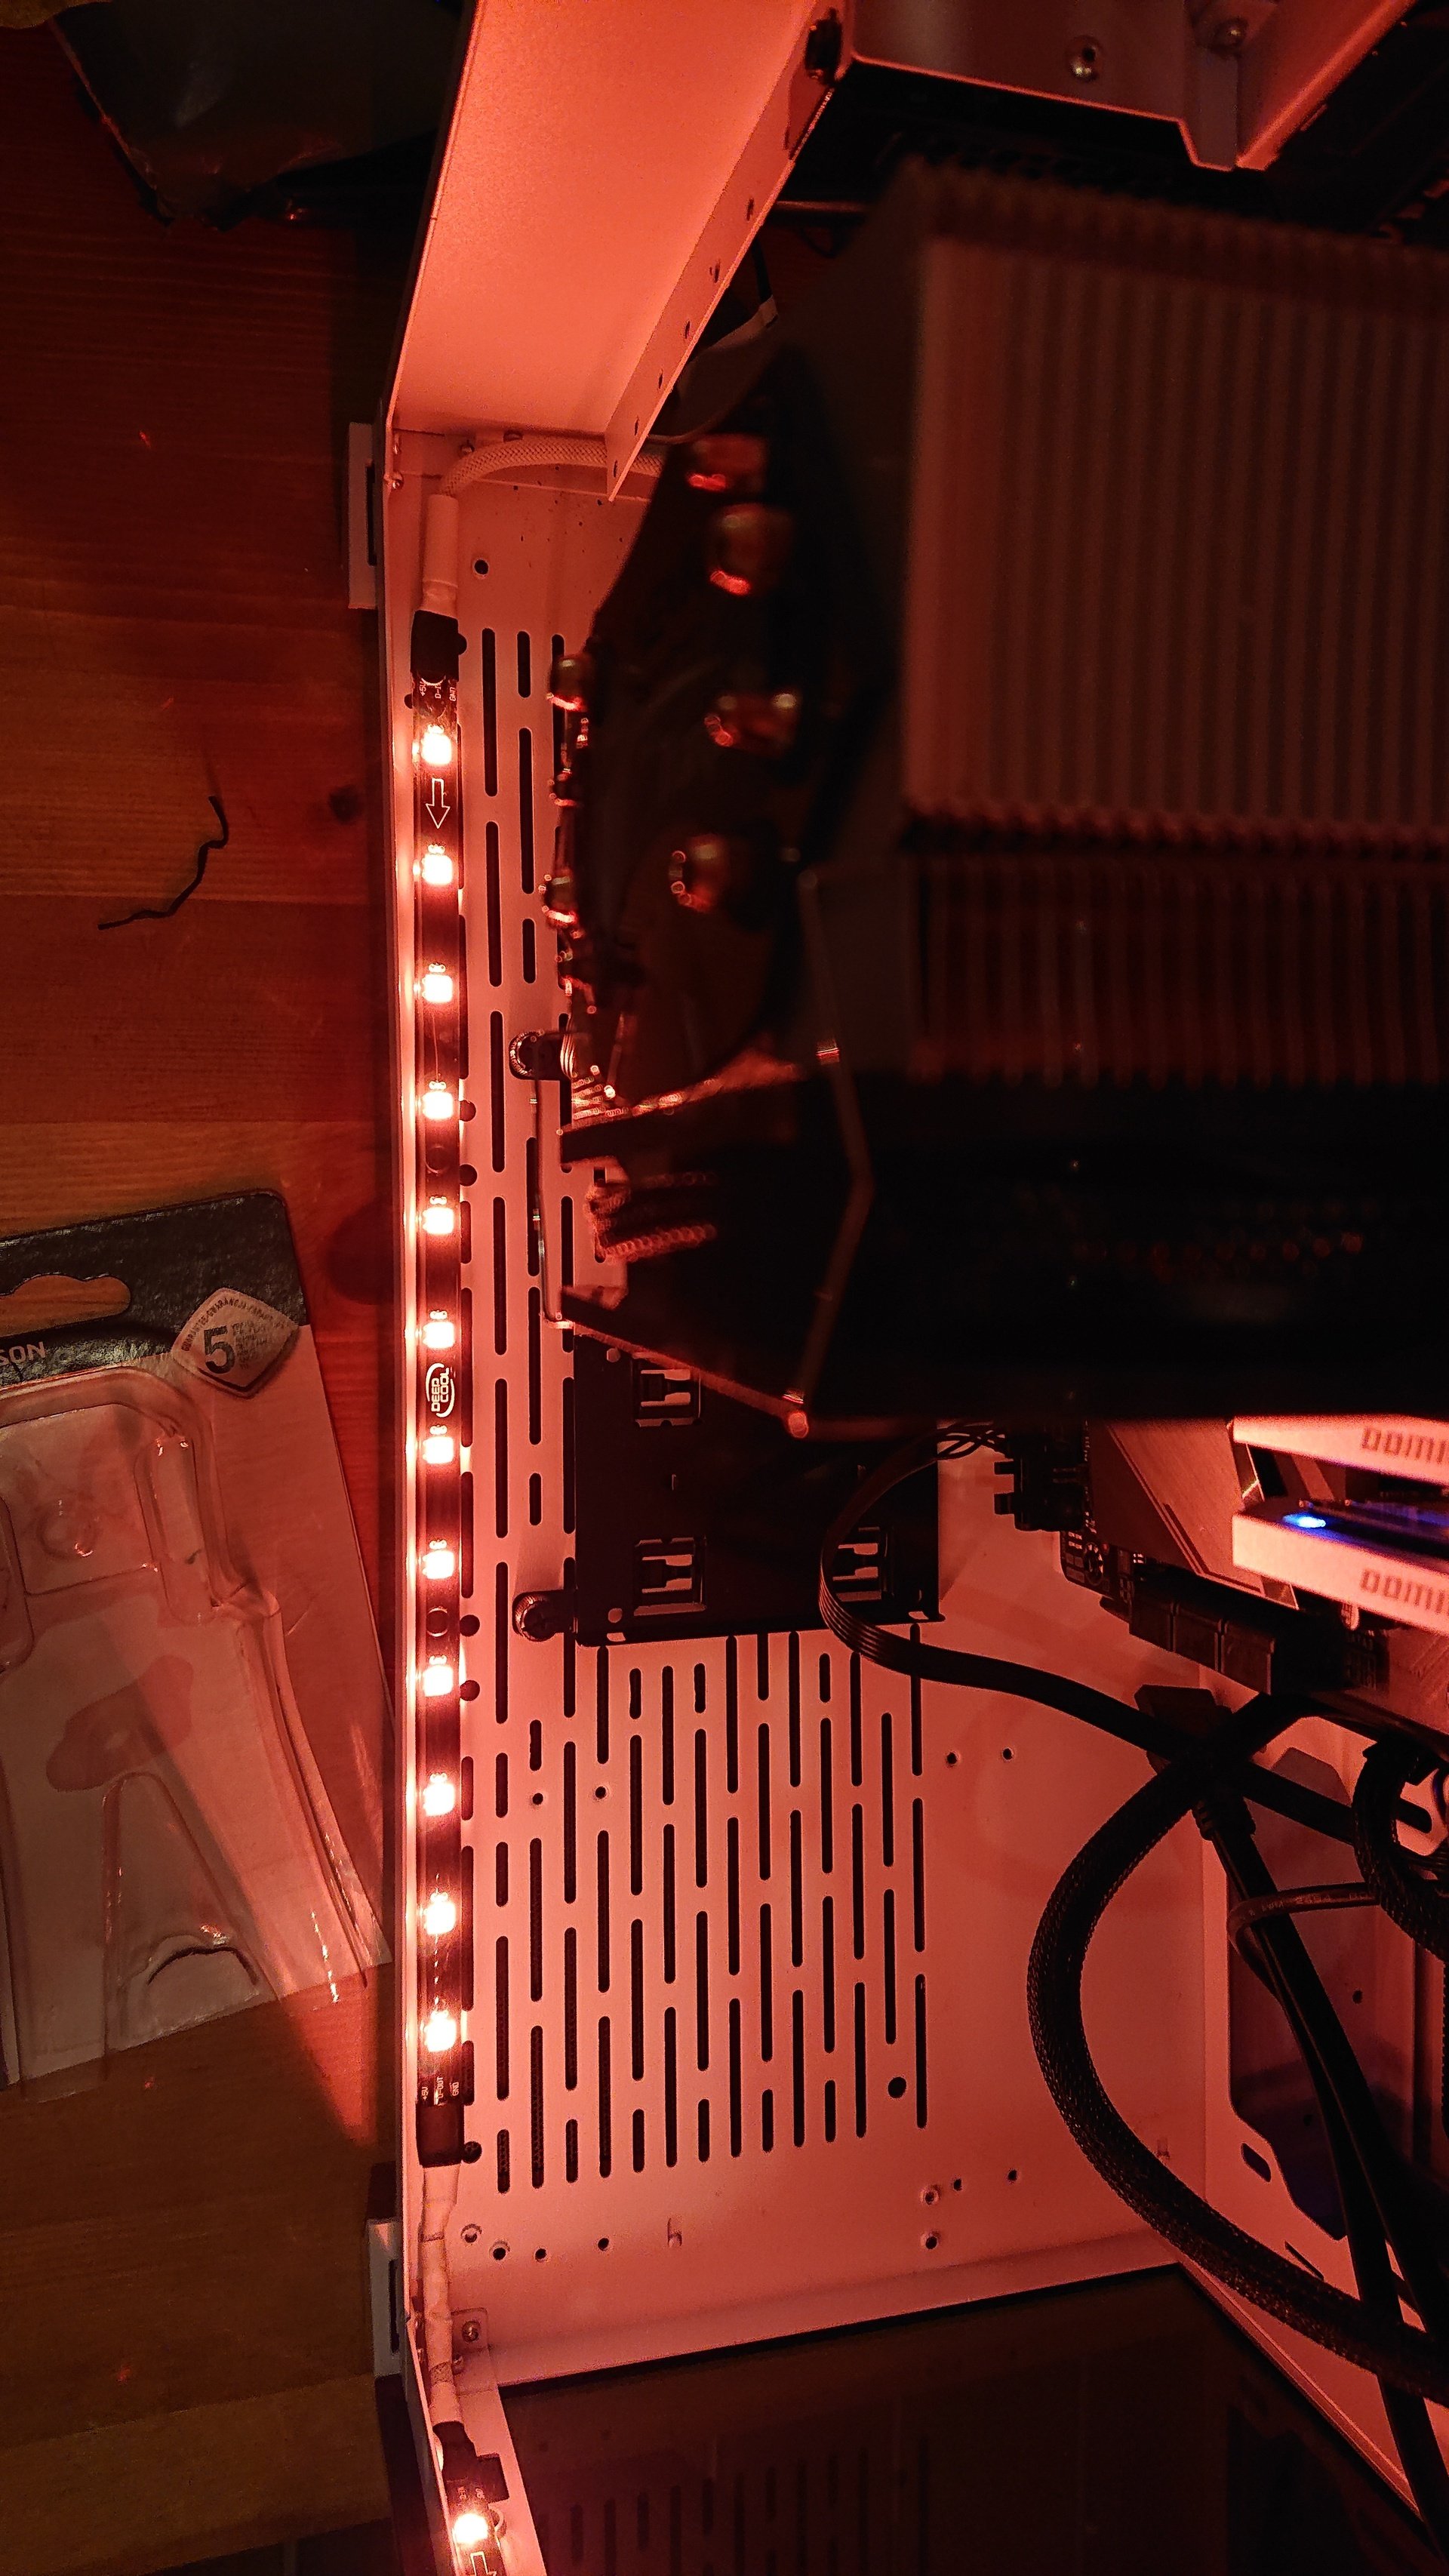
Now my brother has full-on OCD, so things have to be just so or it will annoy him to oblivion, so I had to get it right and make it as neat and clean as possible. After putting together then main hardware temporarily to ensure everything worked, I tested out the DeepCool RGB 200 Pro strips we'd got.
![User Image]()
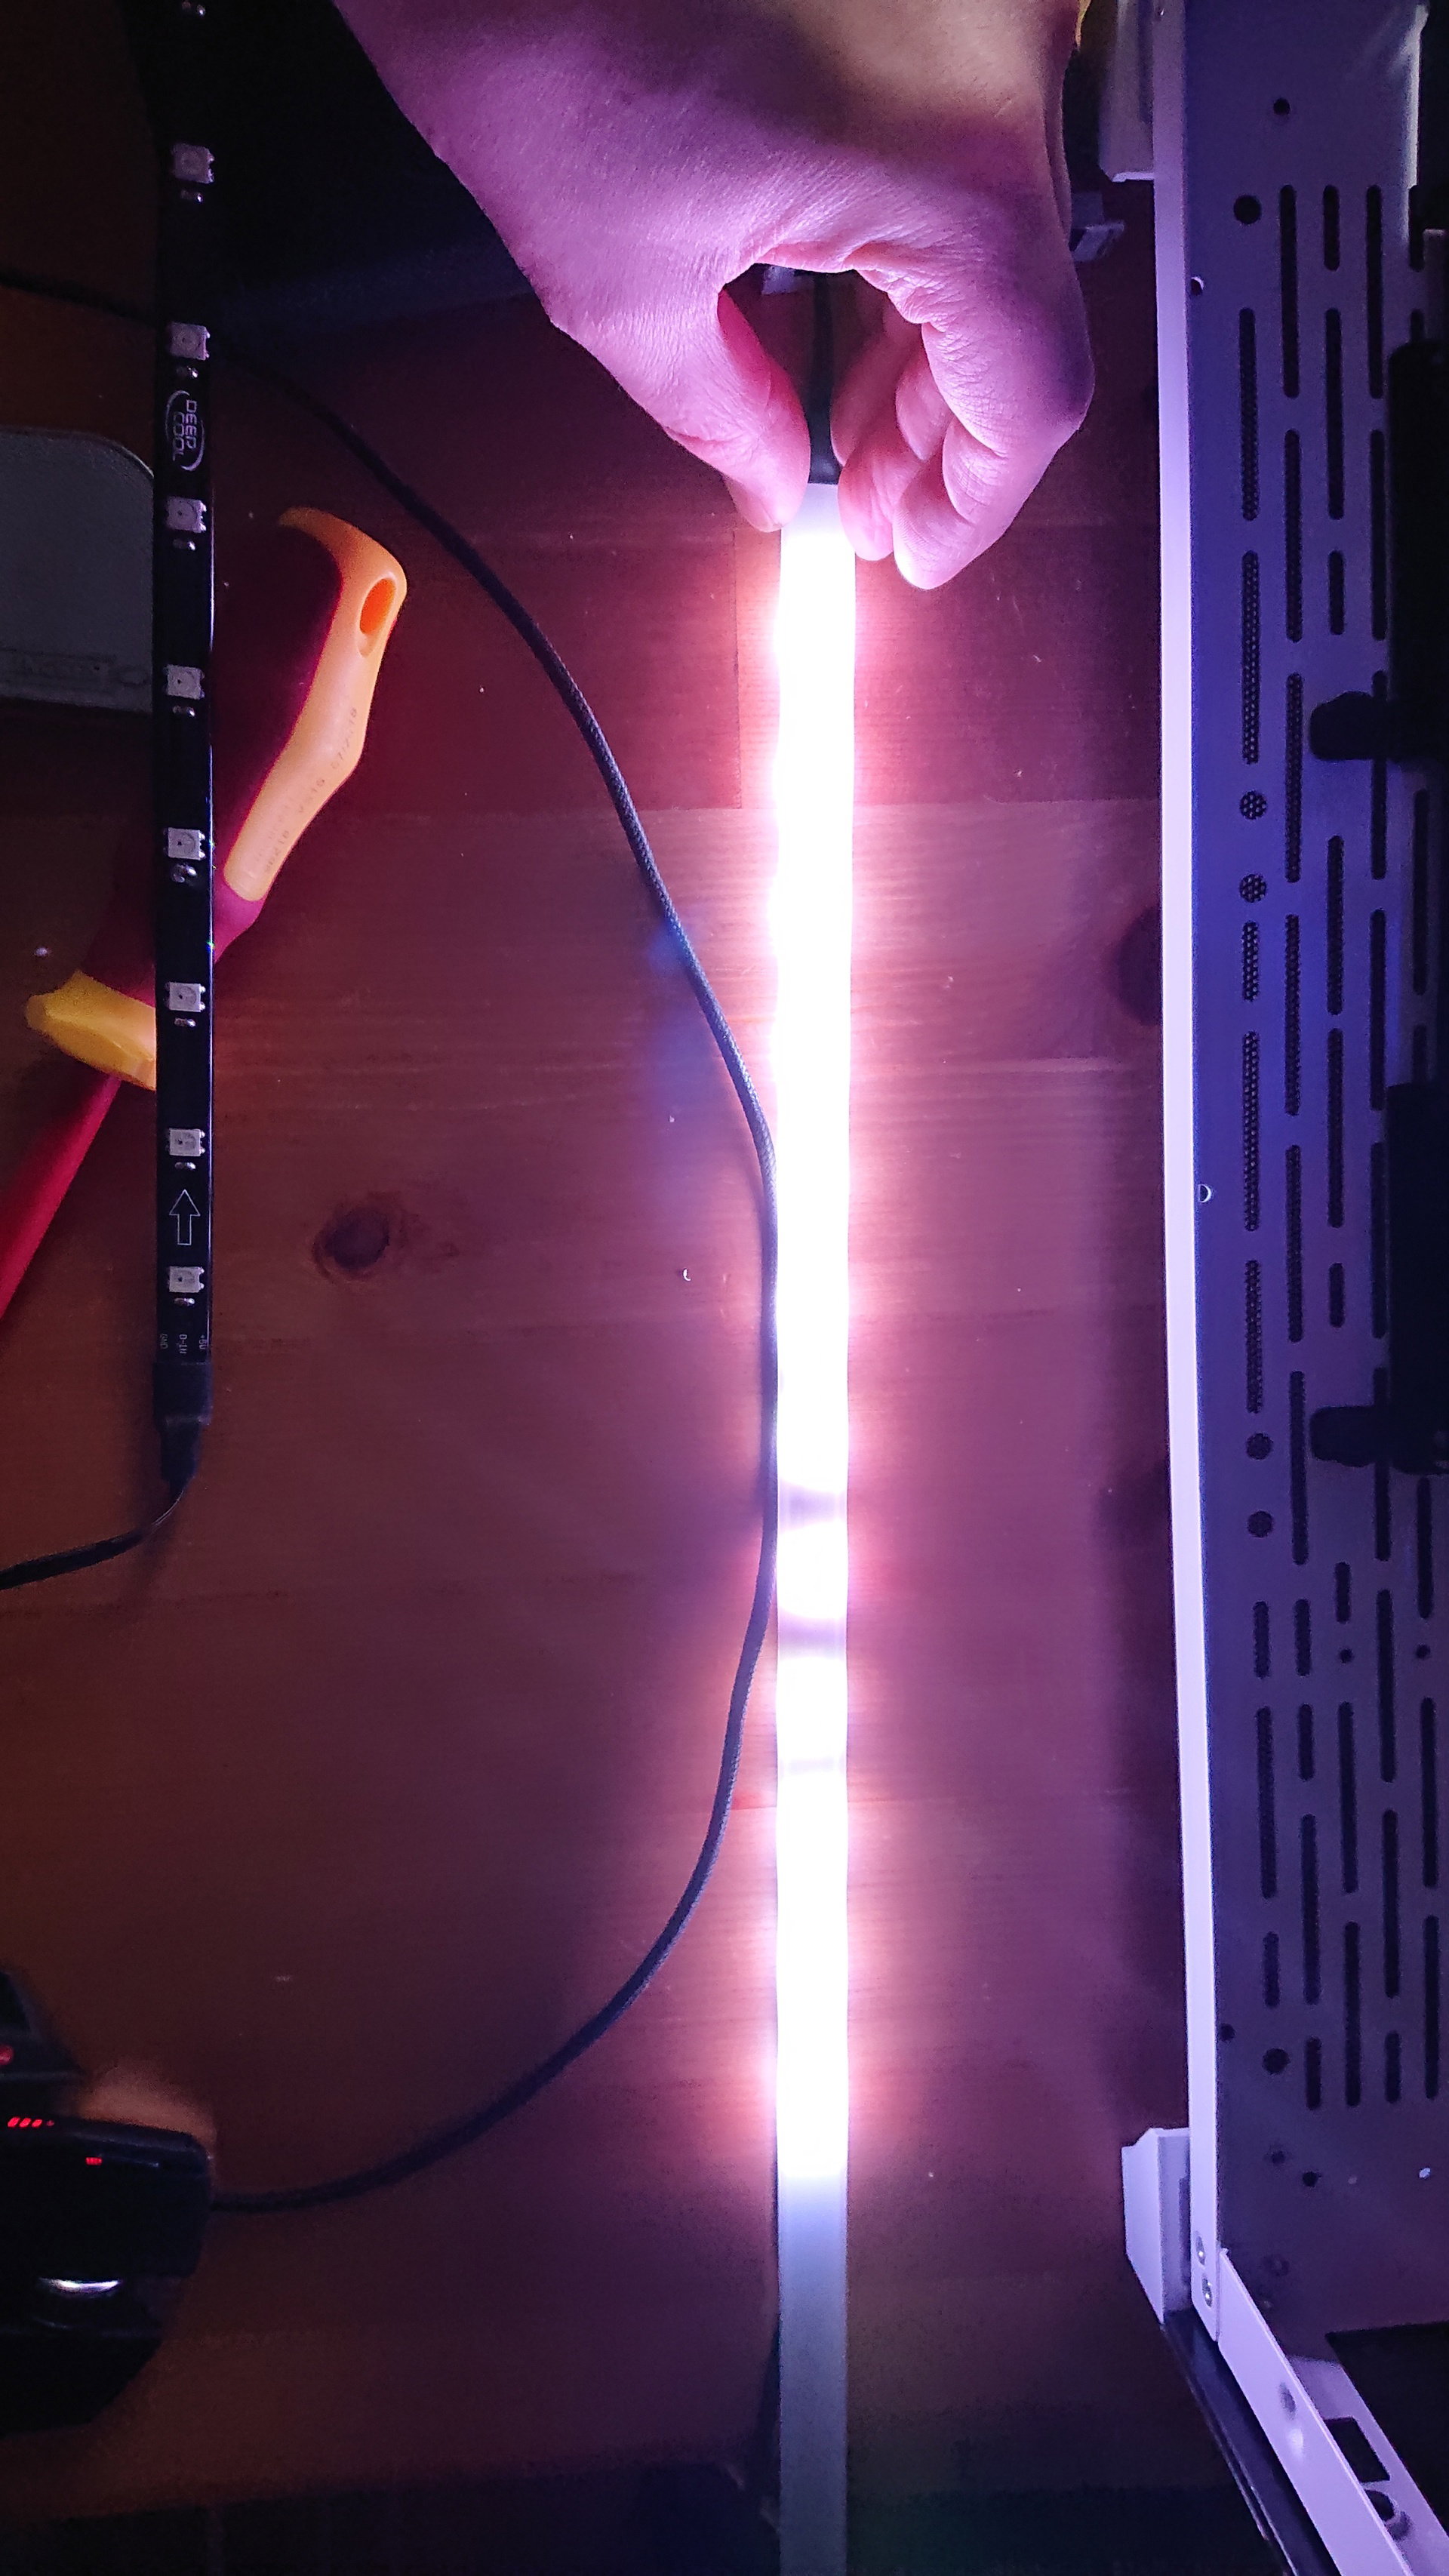
While they looked good, they had a bit of a 'spotlighty' look to them. To try and dissipate the light a bit more, I ordered some of the plastic strips that are used for aluminium channels, when putting led strips in kitchens etc. They seemed to do the trick and would also help to hide the strips in the white case.
![User Image]()
![User Image]()
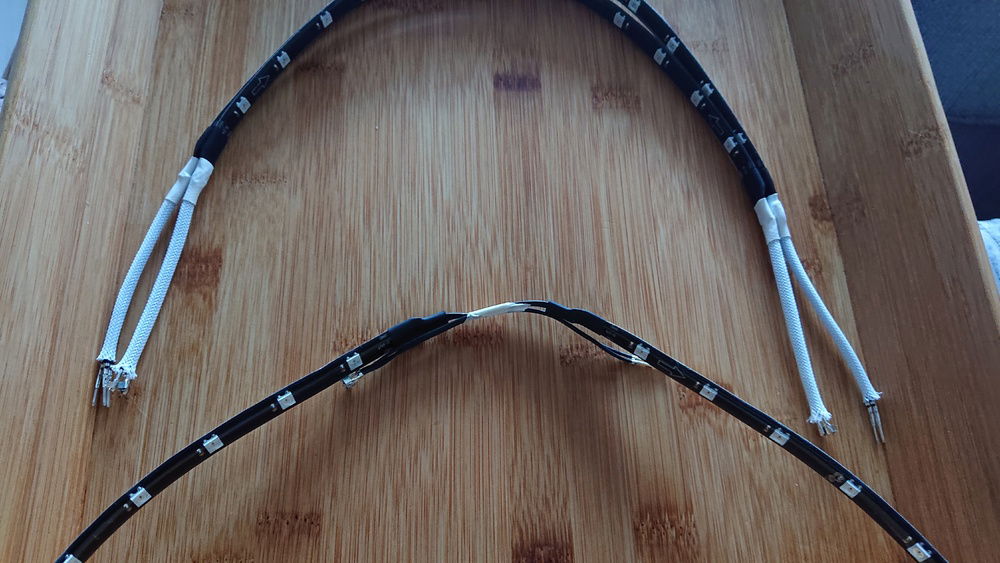
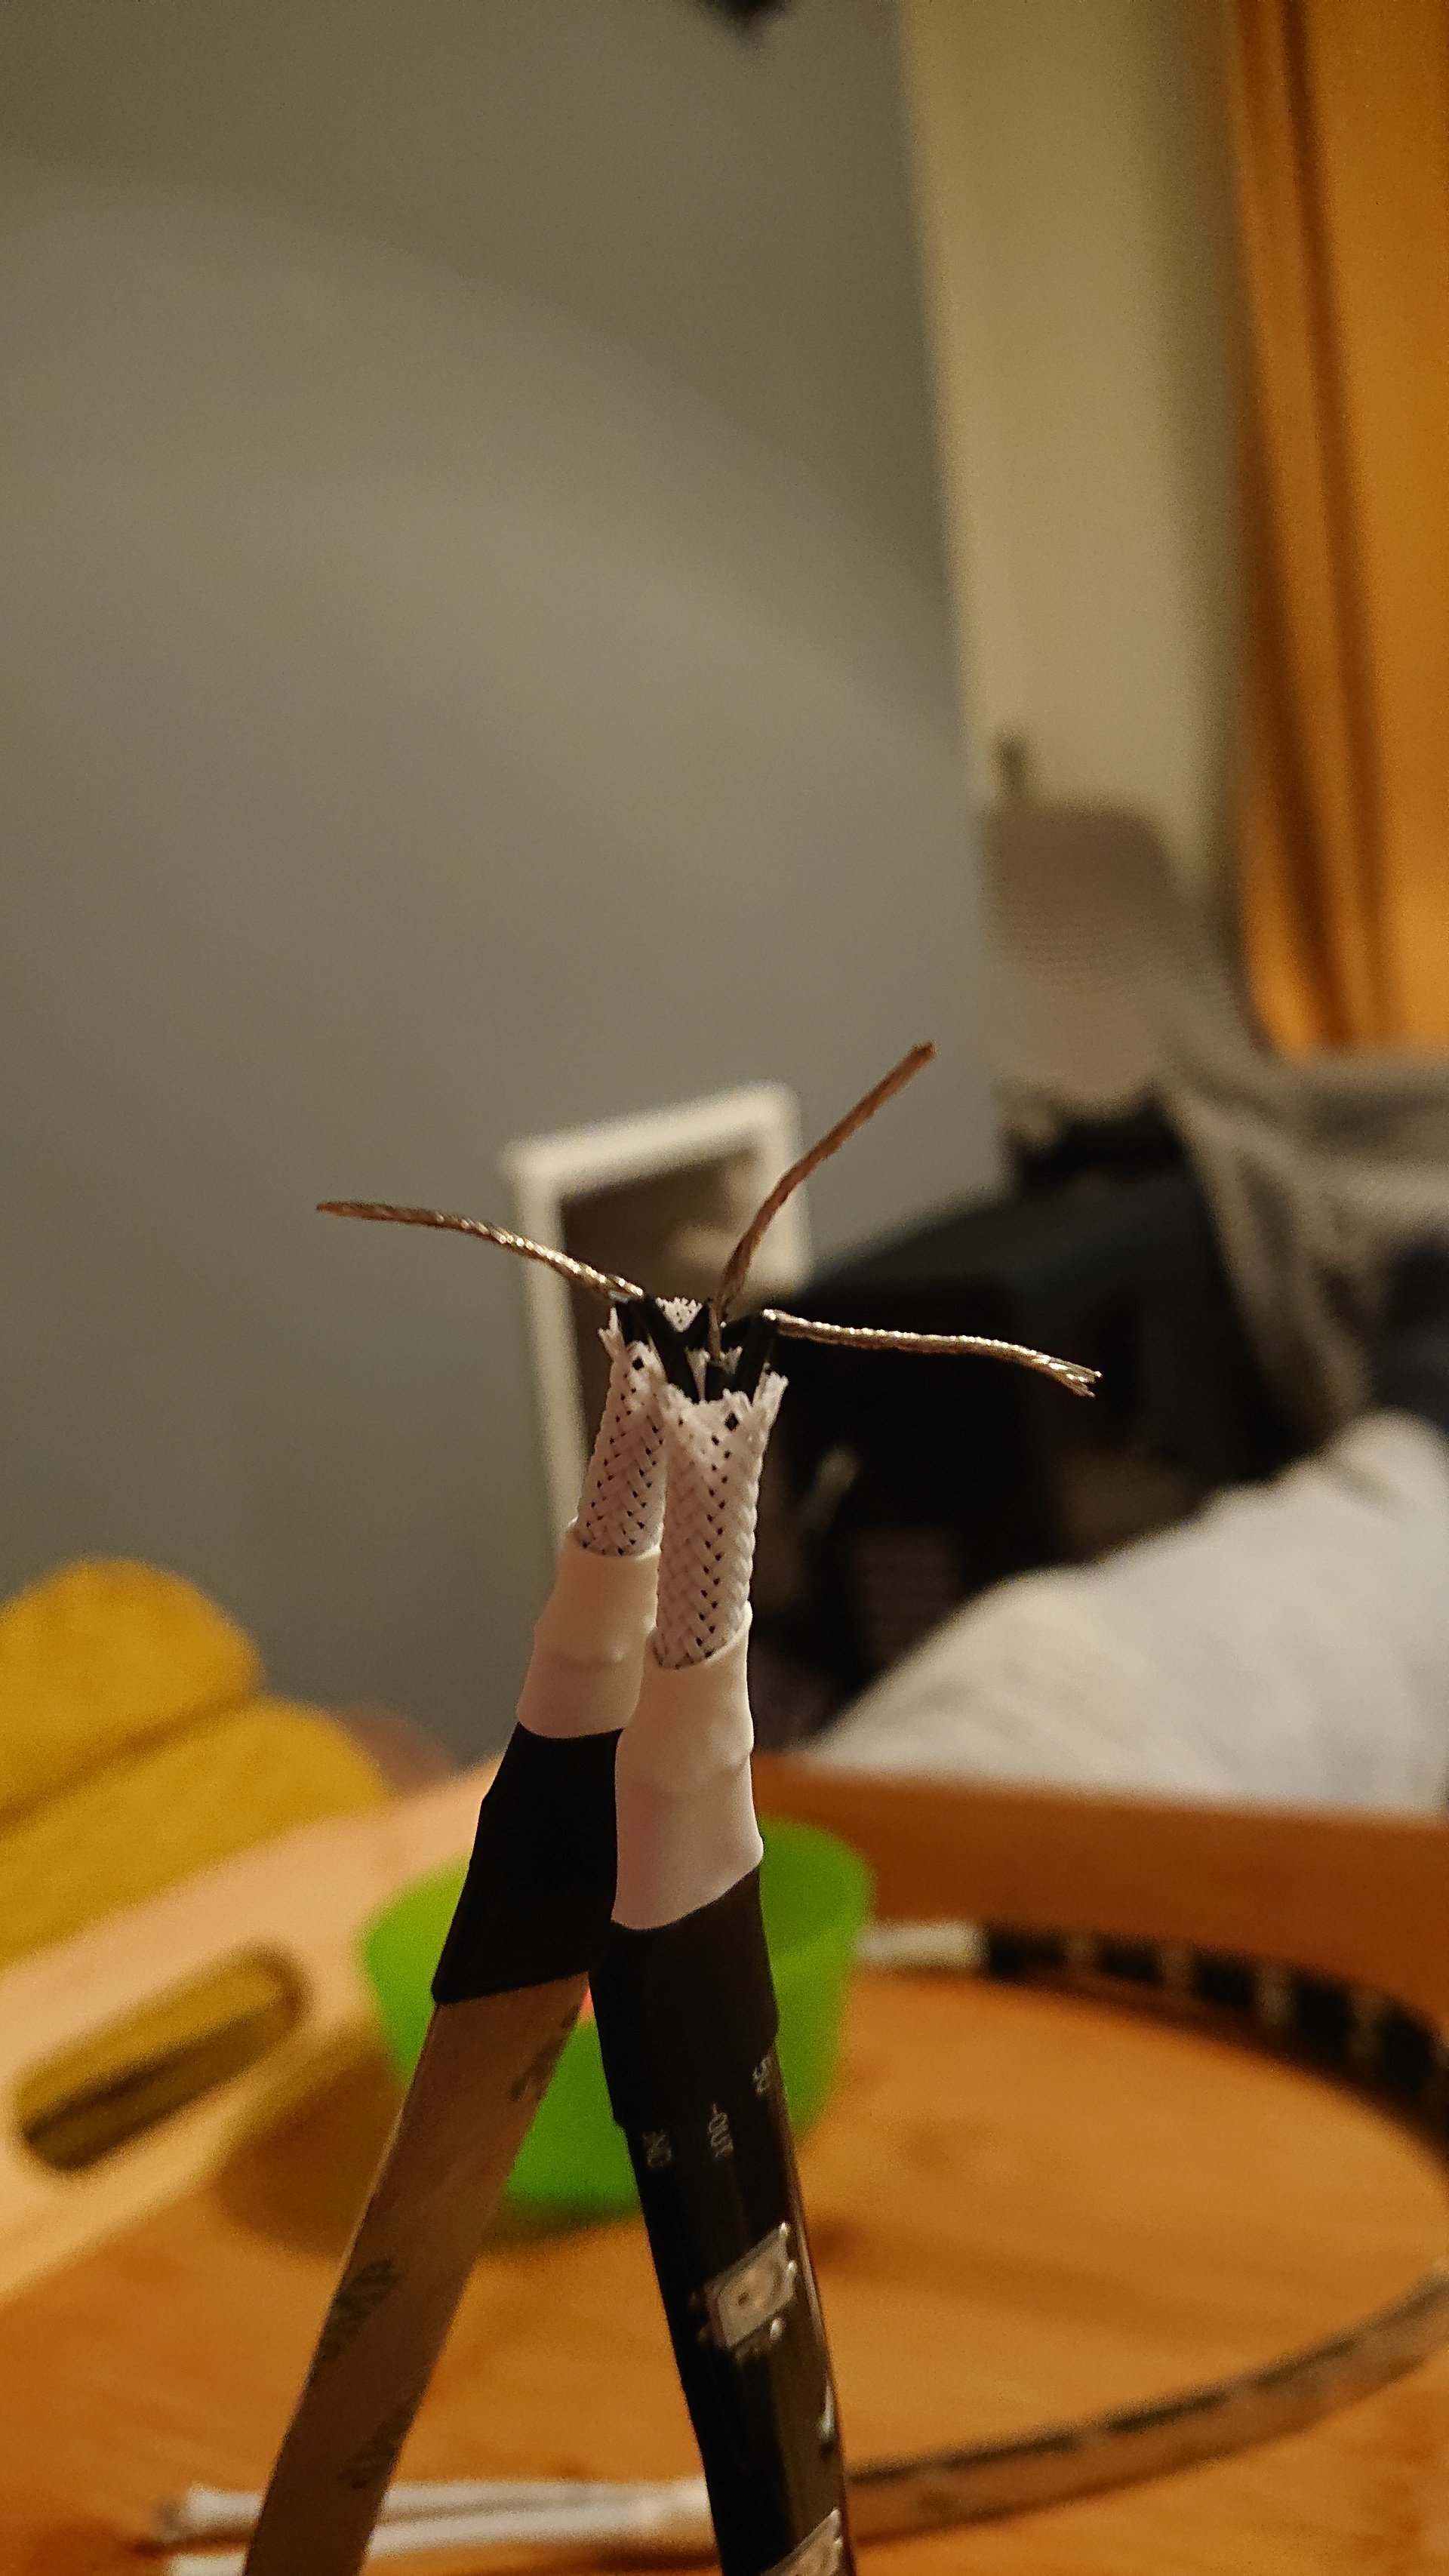
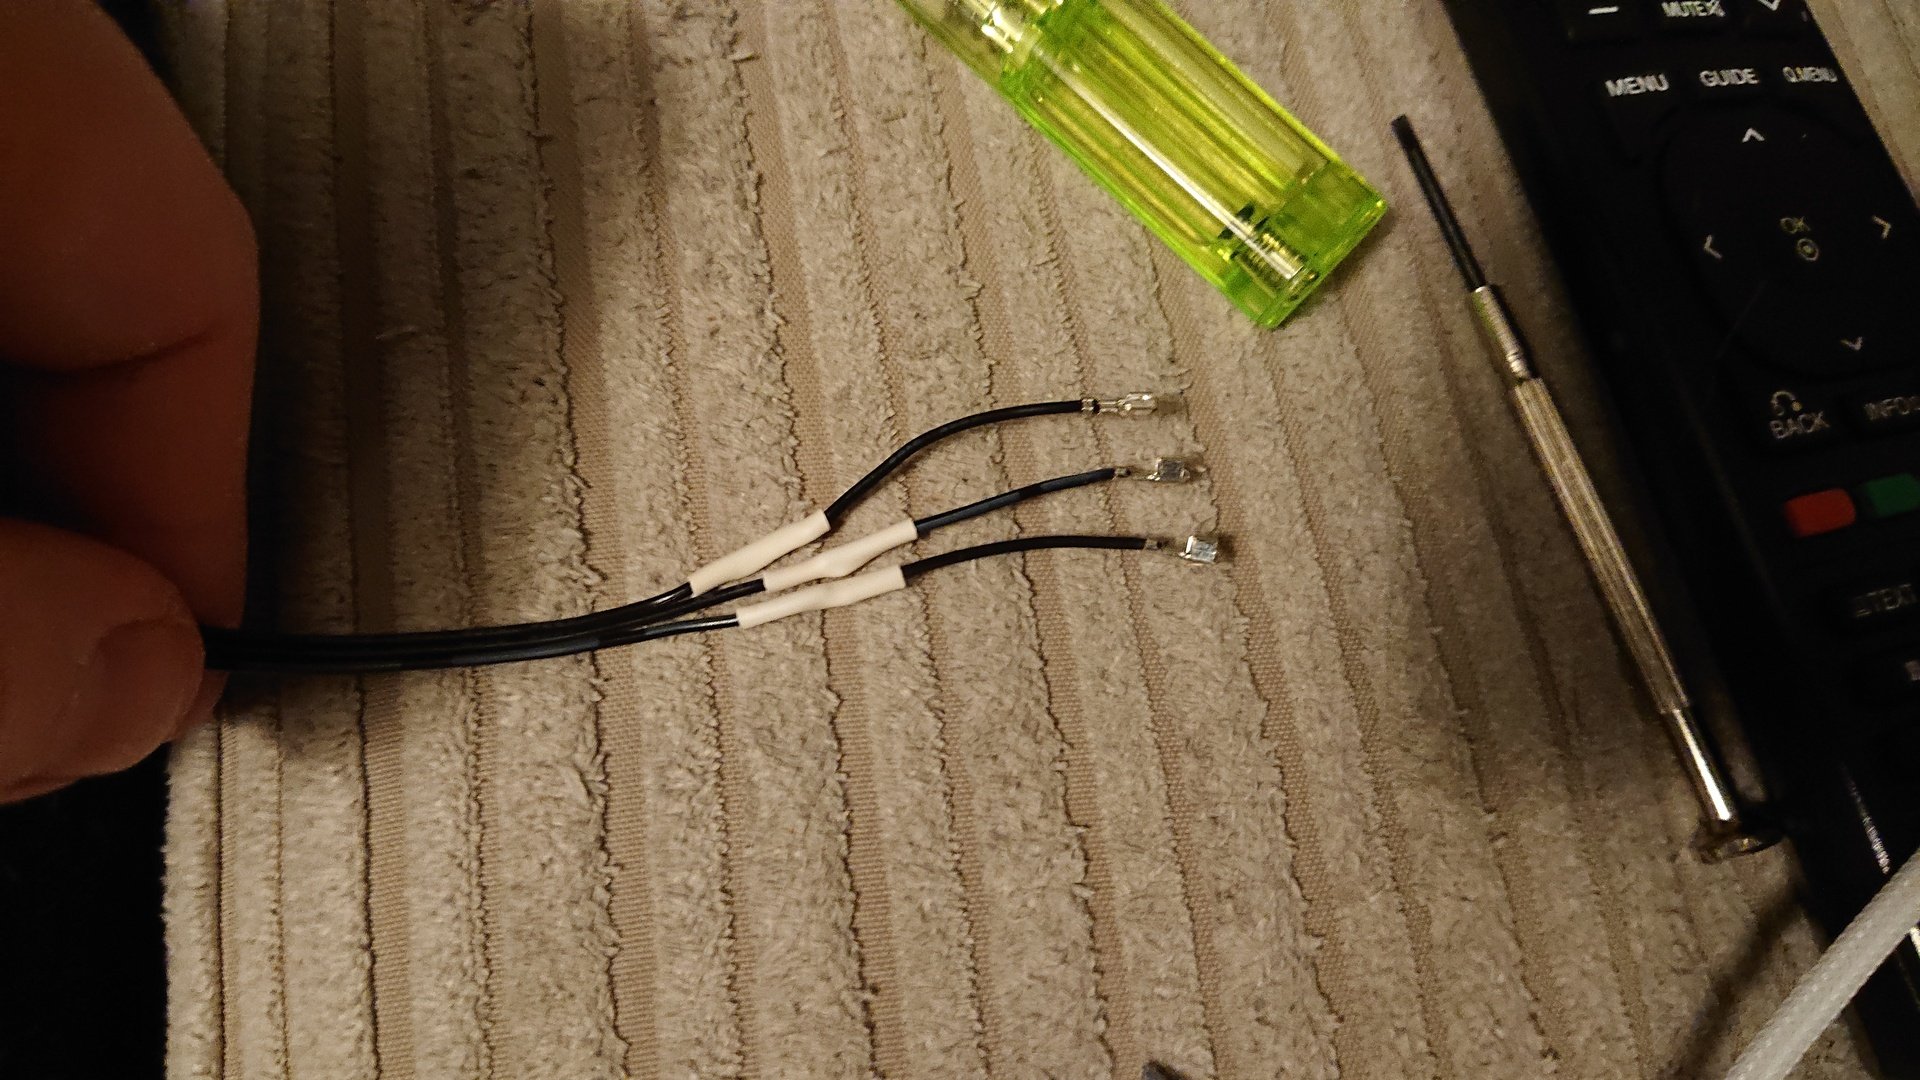
There was a slight problem with the length of the cable between the rgb strips however and the black cables would also stand out a bit, so thought I'd try sleeving them and taking the plastic connectors off the wires, just using the terminal pins.
![User Image]()
![User Image]()
![User Image]()
![User Image]()
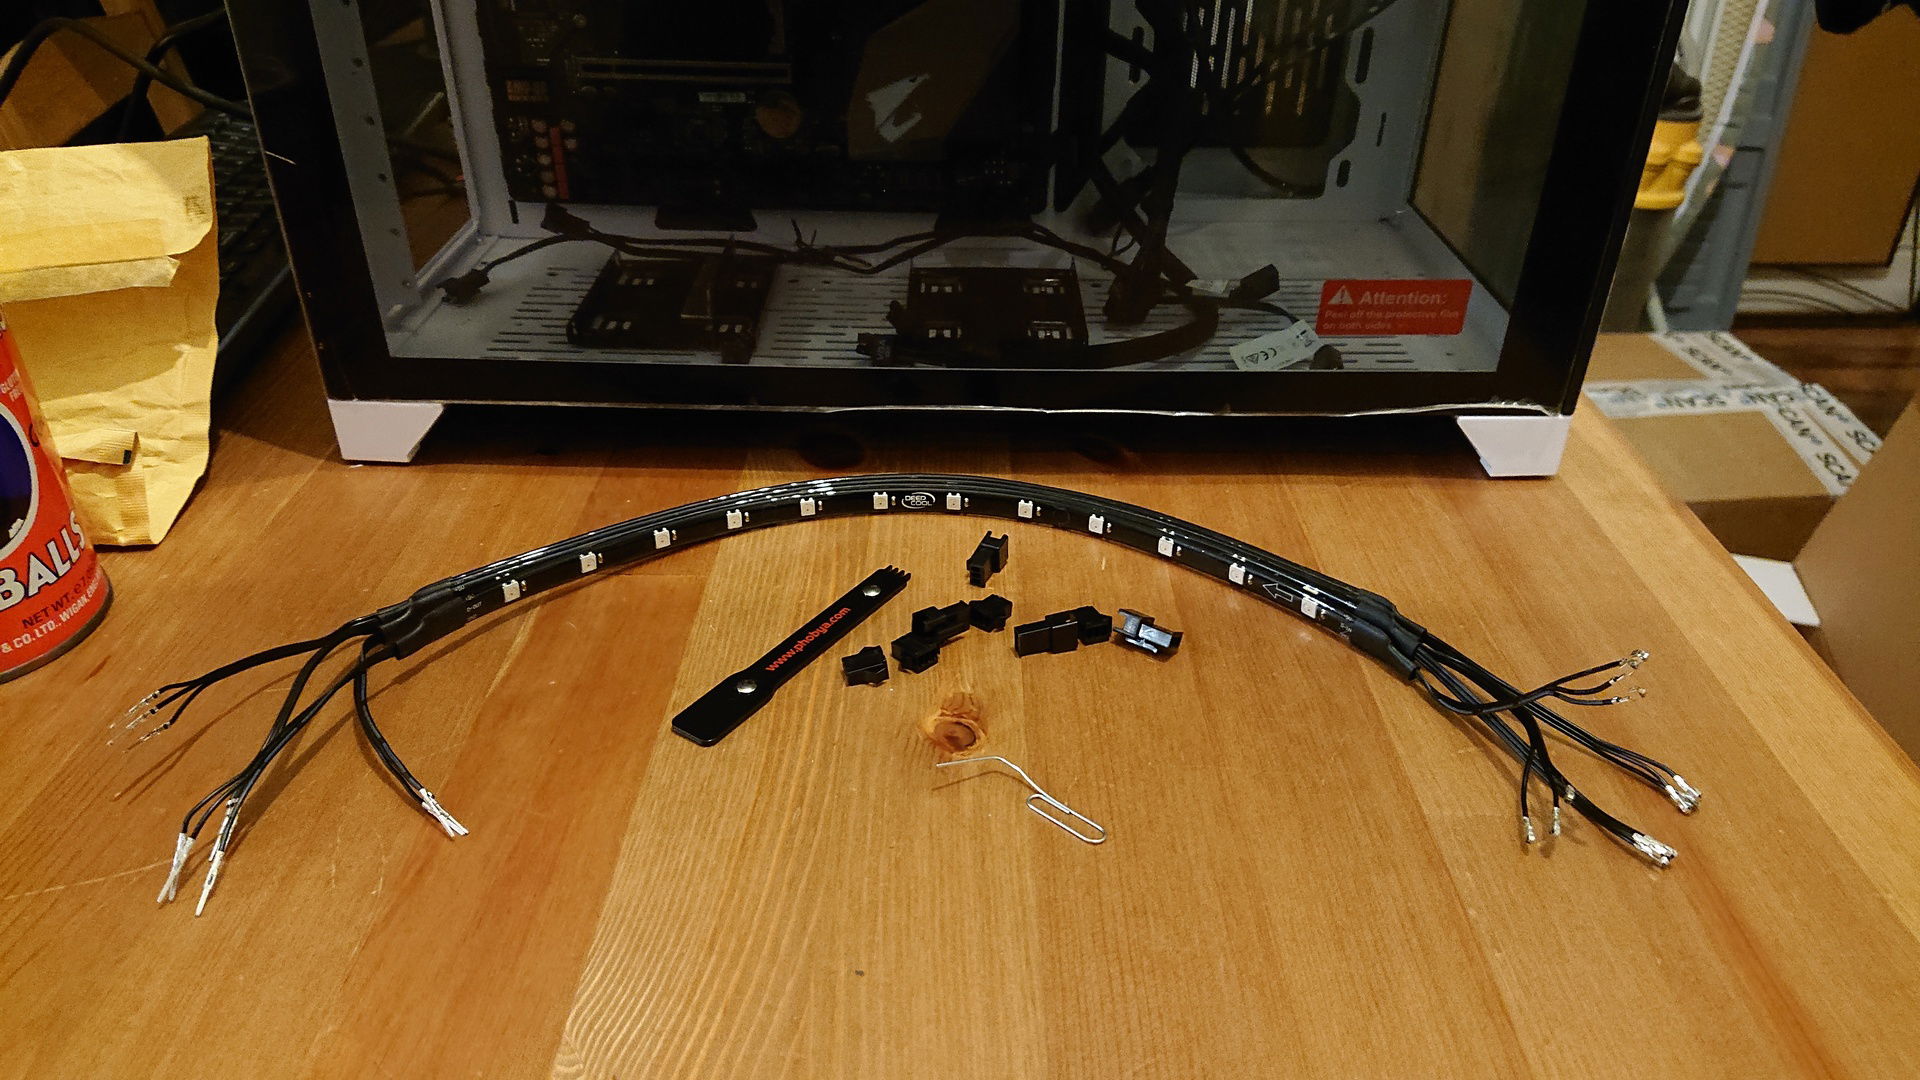
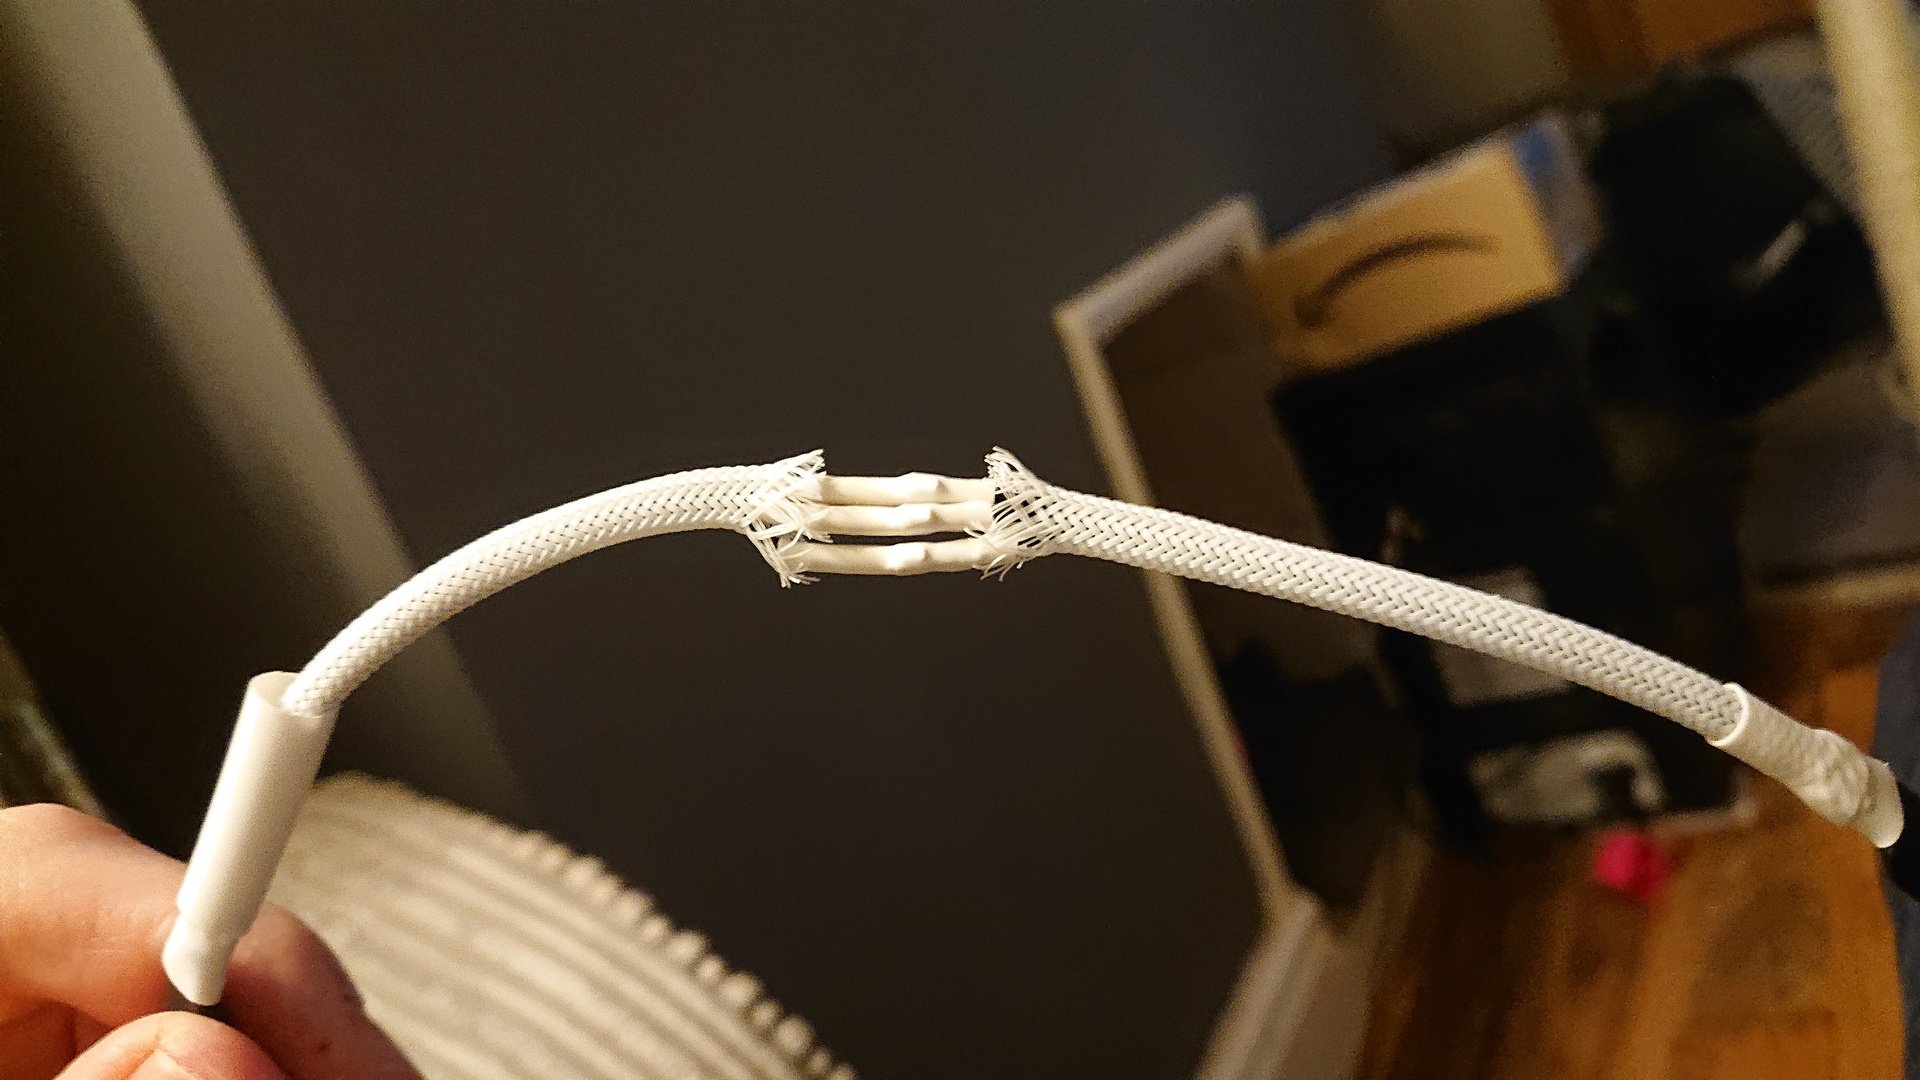
As you can see in the pic above, the test of the new shortened and spliced strips was a great success, I hadn't broken it!![Emoji]() Now I just needed to take the connectors back off to join in the other 2 strips...
Now I just needed to take the connectors back off to join in the other 2 strips...
![User Image]()
Balls.![Emoji]()
I was so annoyed with myself as I only had to take that connector off as I forgot to put the last bit of heatshrink on first. After a bit of thinking, a lot of fiddling trying desperately to reattach it, failing and then ordering some new strips, I realised I had the terminal pins I'd cut off the spliced strips. I could take the other pins off and attach those sections to save it, then carry on joining the strips together.
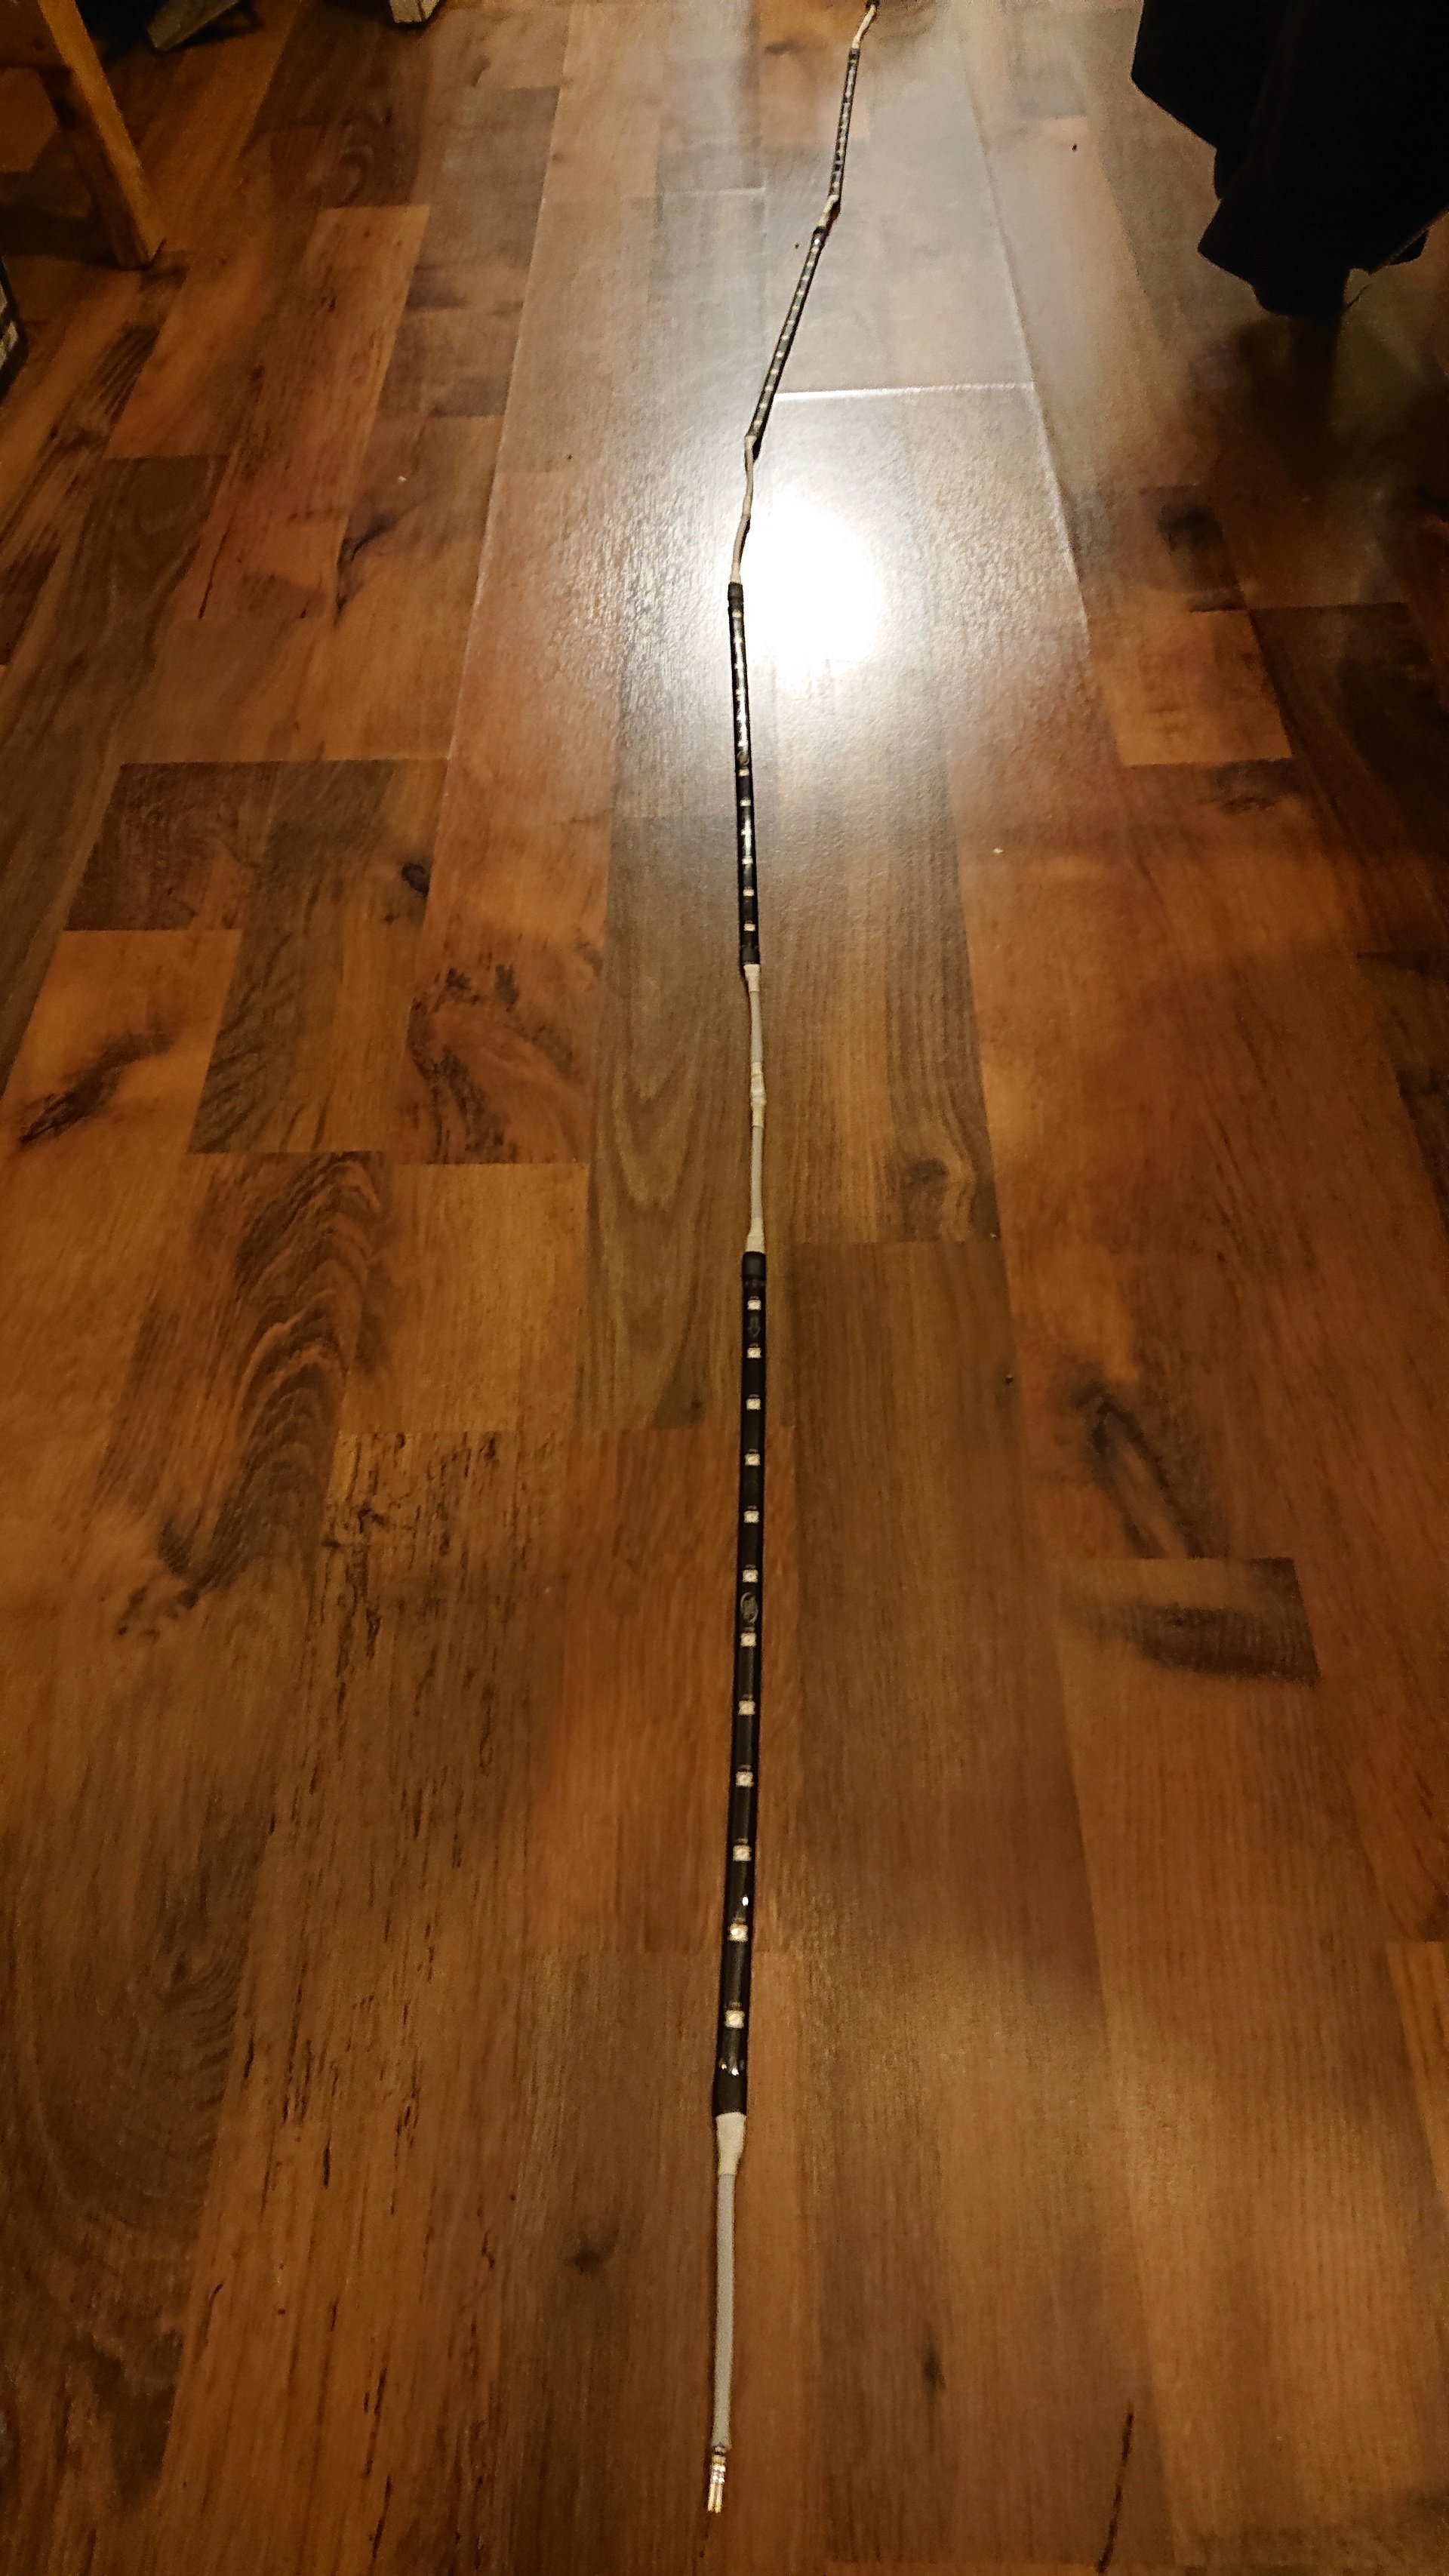
![User Image]()
![User Image]()
![User Image]()
![User Image]()
Turned out pretty good in the end. Accept it didn't. Due to a combination of the ribbon style cable, the sleeving and all the heatshrink used to isolate the connections, the cable just did not want to bend and twist as I wanted. I wriggled and flexed and bent them about, but turning and bending them to get the led strips into place put a lot of torque into the cables and the strips would never have stuck properly. So off it all came, apart from the join in the corner which shortened the cables, which was a massive PITA and a bitter disappointment. But a lesson learned for next time.
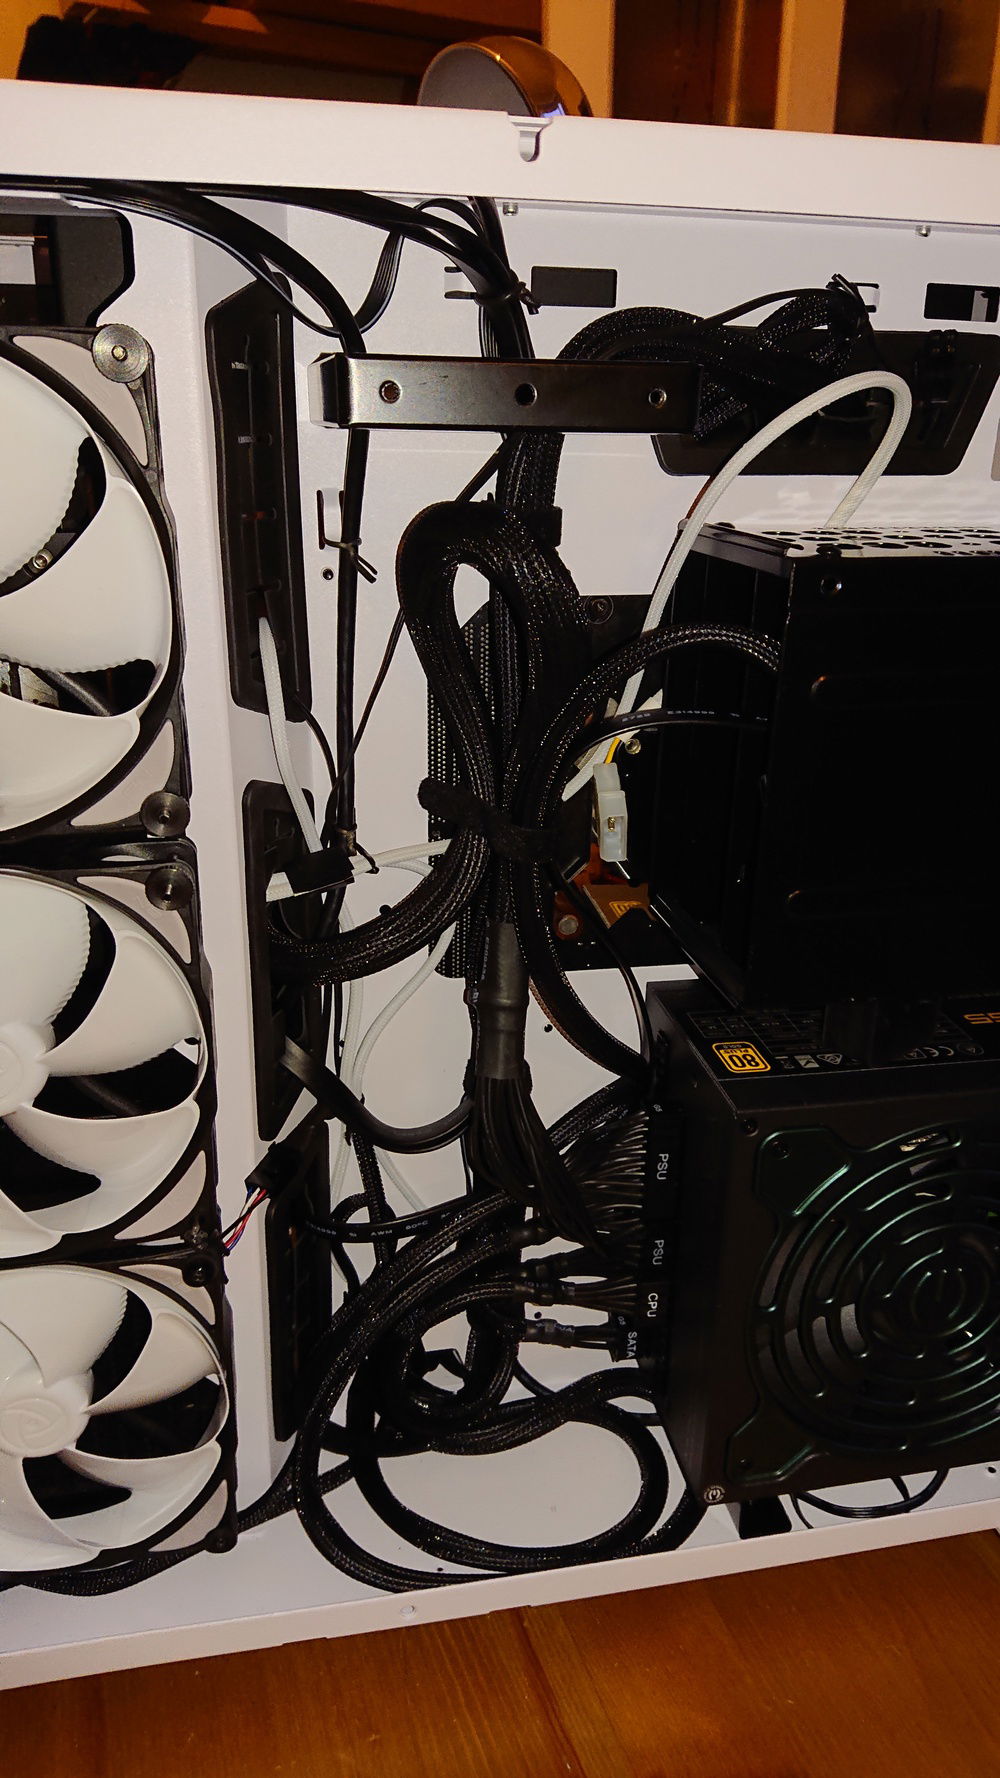
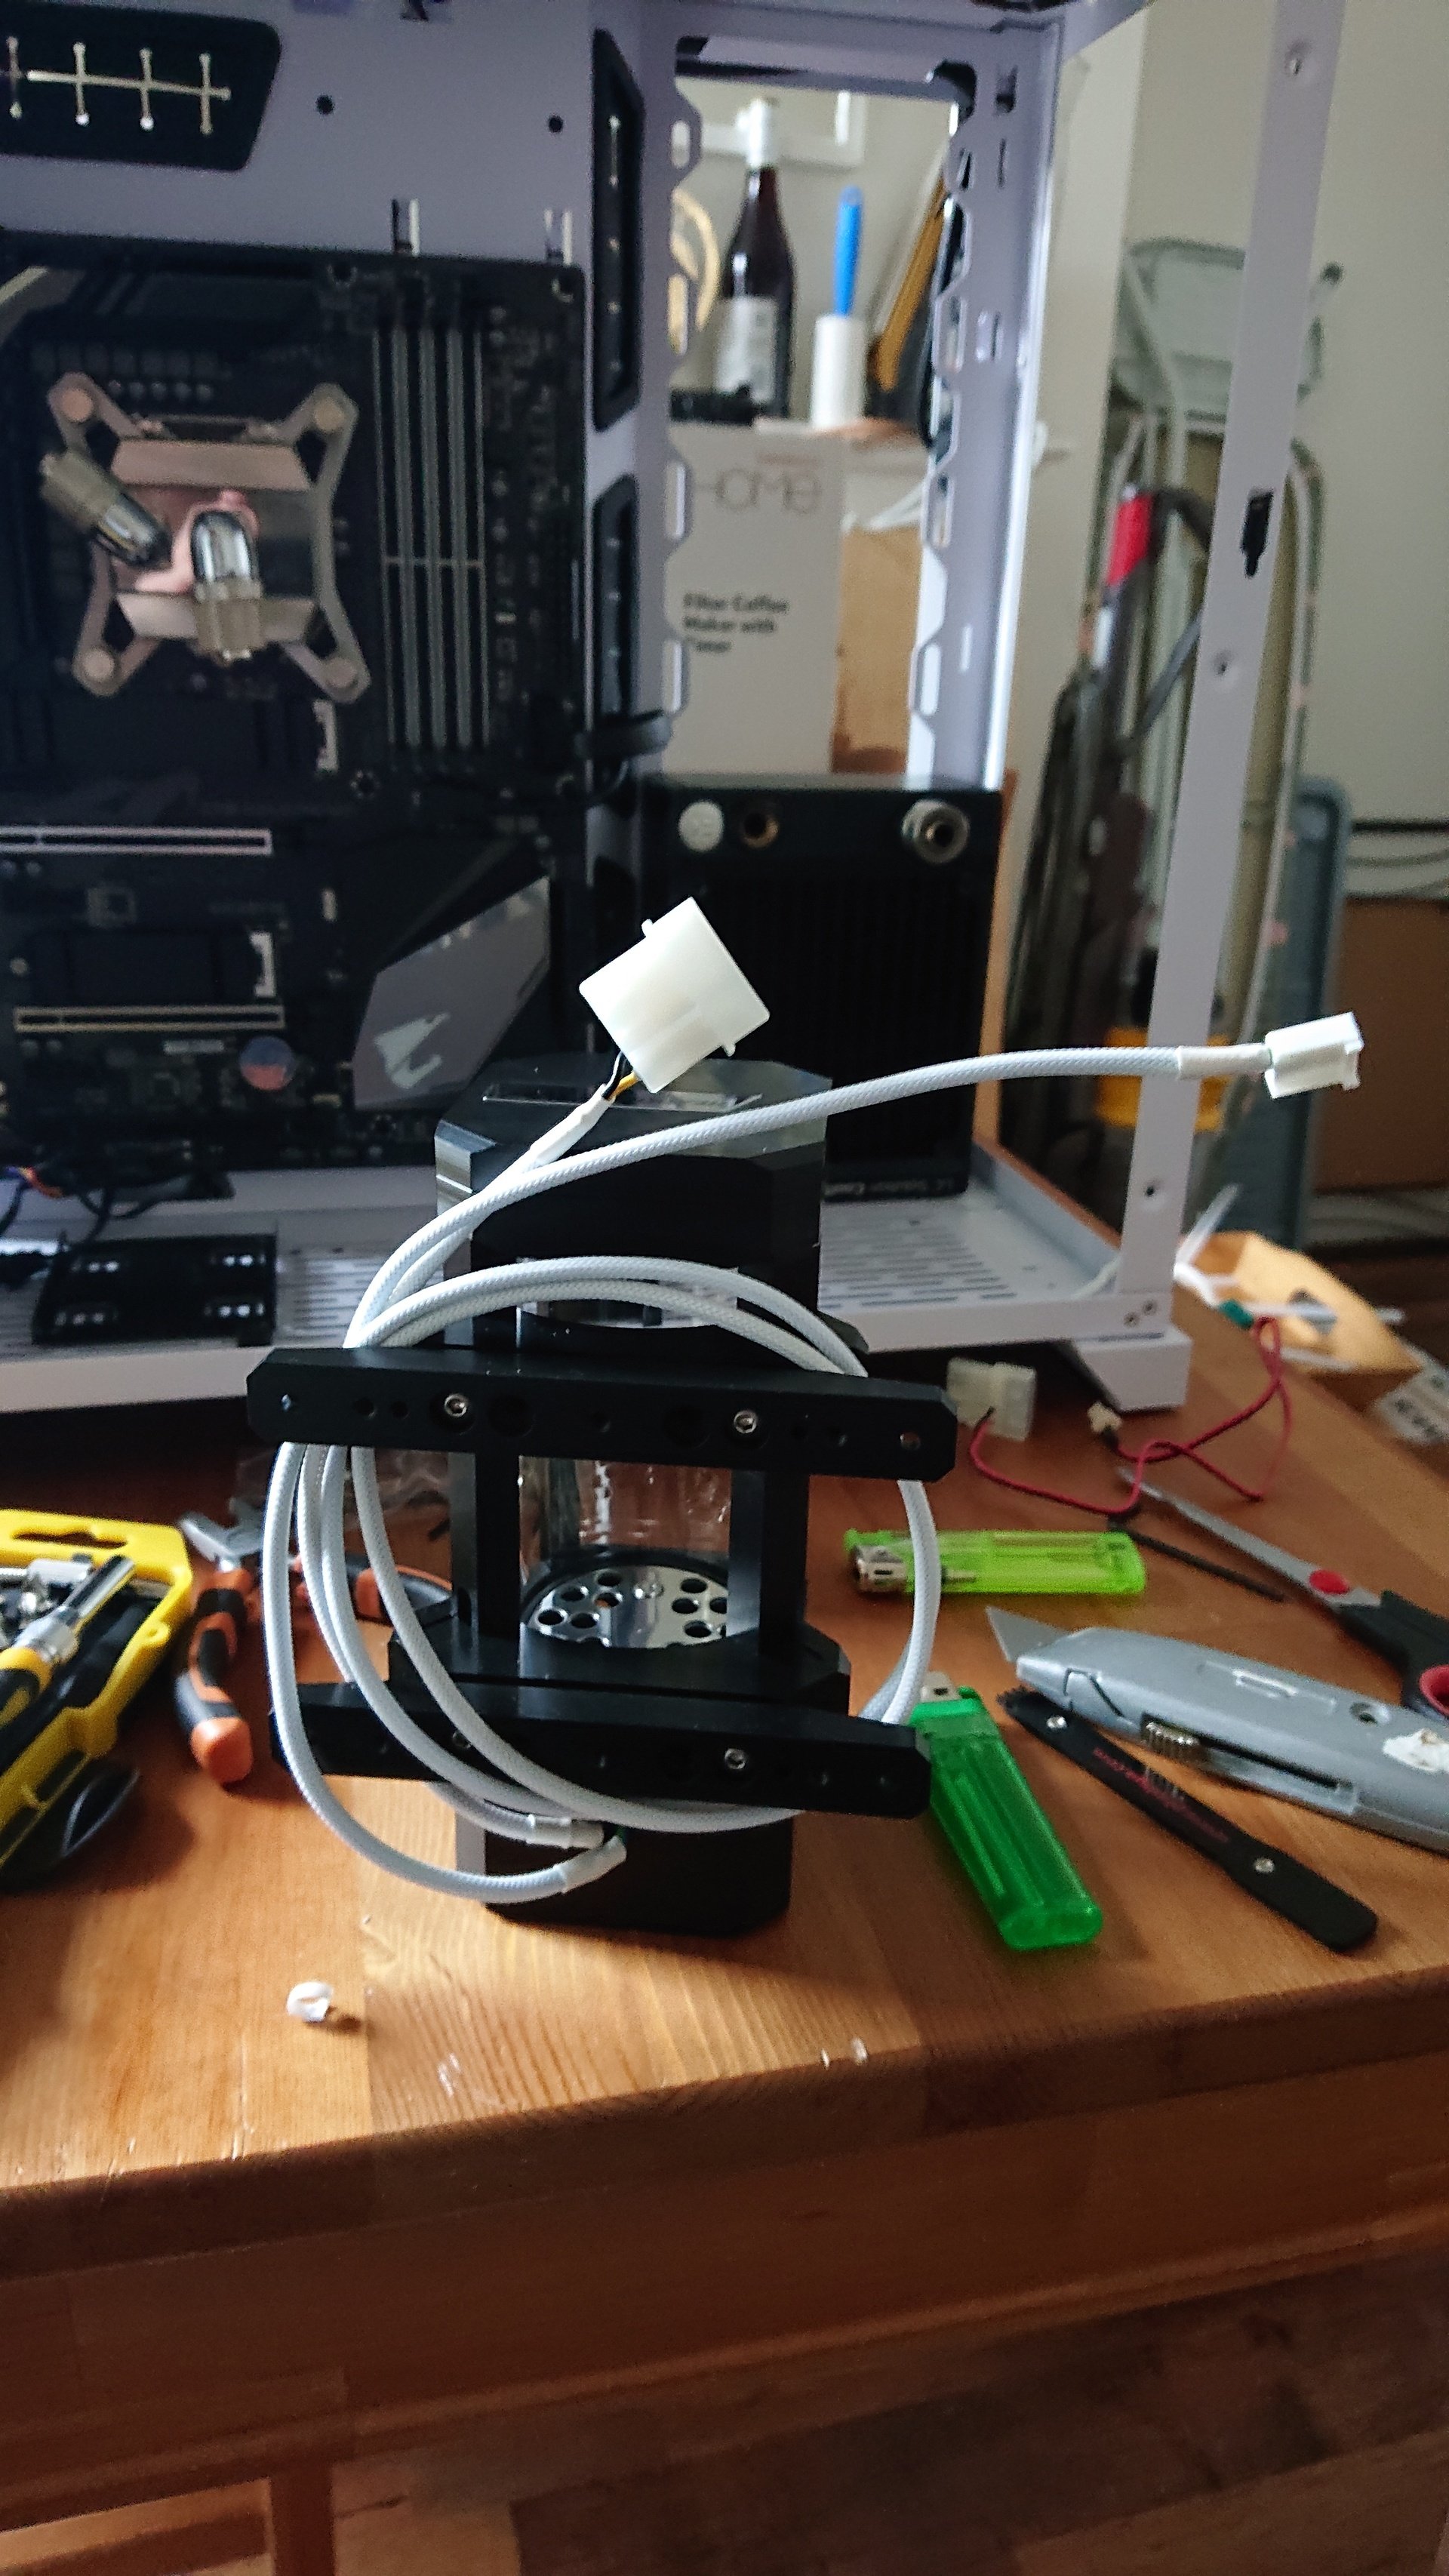
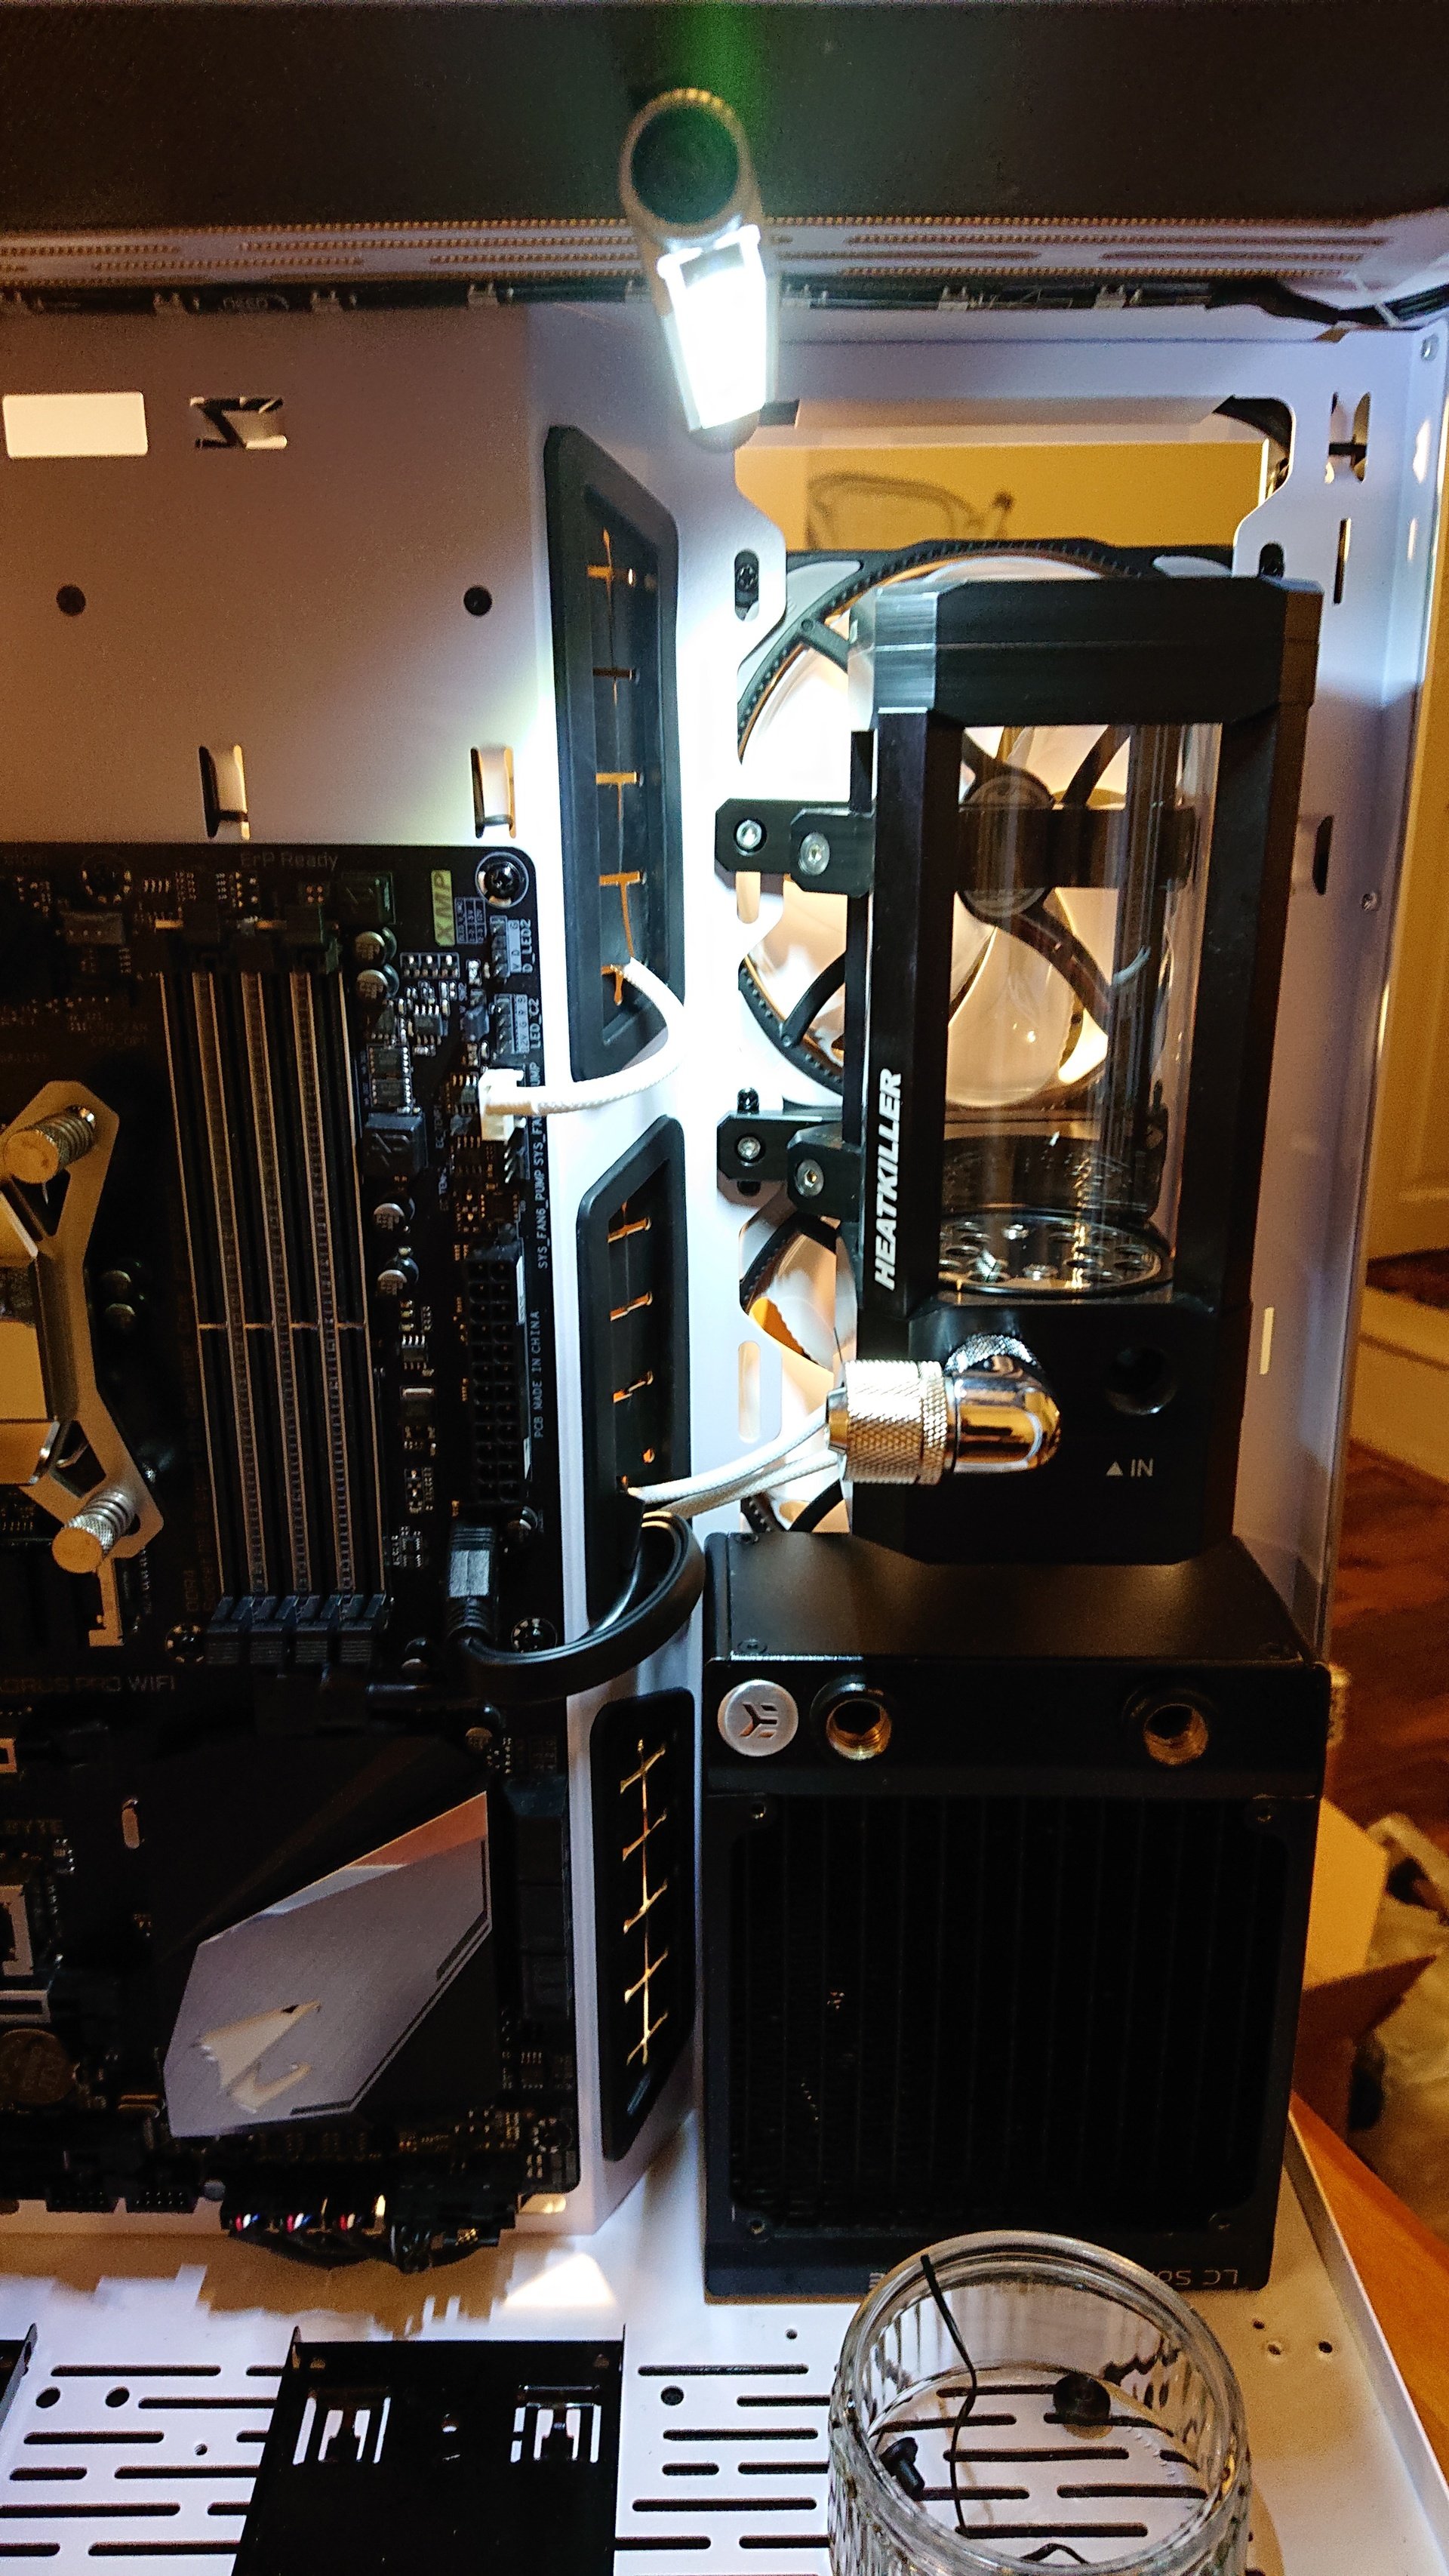
I decided to do a few more fun bits to recover. Cleaned up the CPU and the Heatkiller block and got that mounted, did some cable management and other tidying, plus set up the rads on a spare res/pump unit and got them cleaned with some Mayhems Part2. Next I mounted the DDC pump into the Heatkiller tube. I did still sleeve the power and PWM cable for the pump and they came out really nice.
![User Image]()
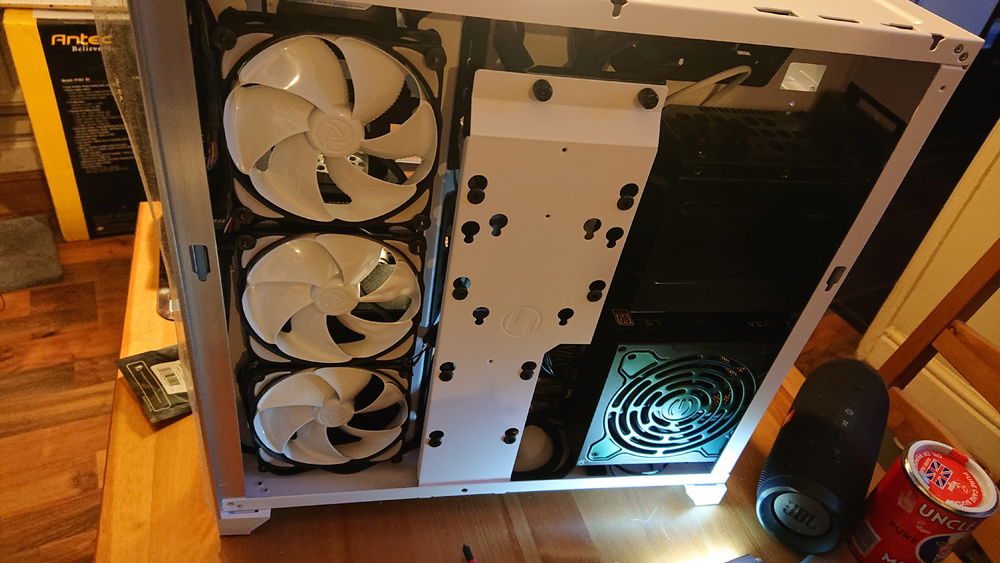
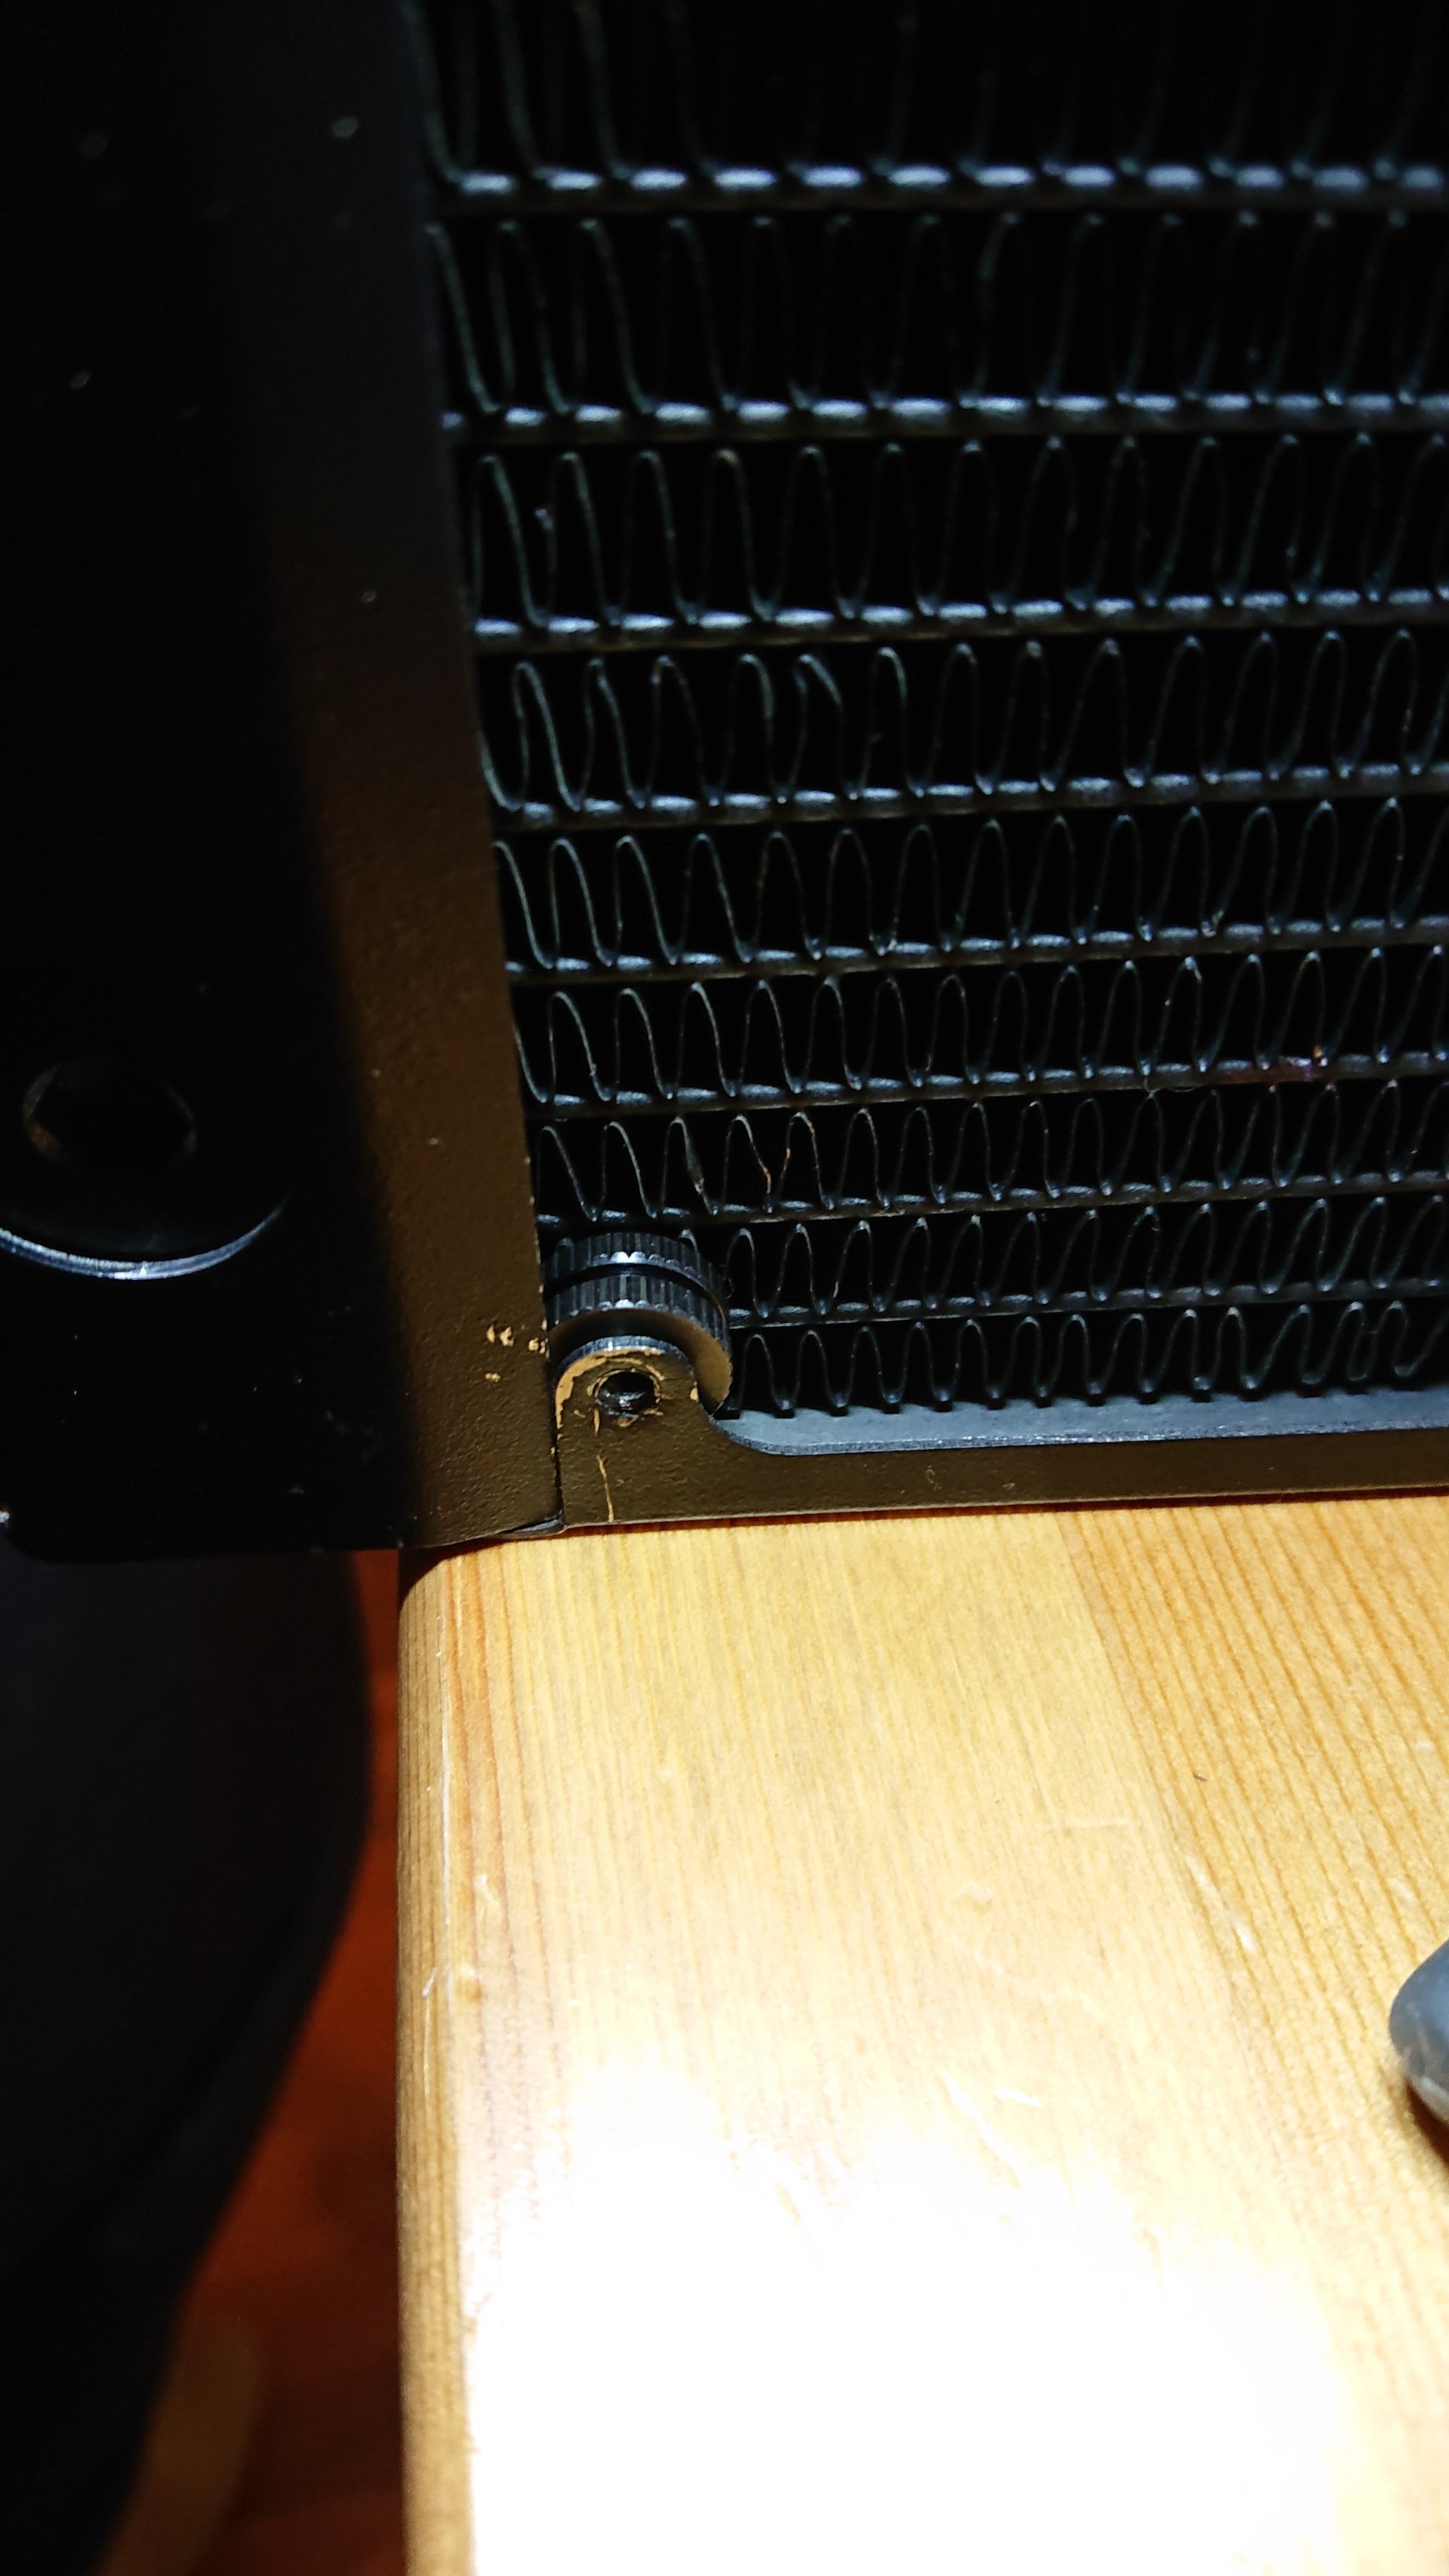
Next it was time to mount the fans, rad and res in the side mounts, it was going to be a really tight fit to get them it. Than NB eloops have a really nice mounting method, but the screws are really long and the nuts a little large for my liking, so i turned the screws round so the small heads were shown in the main chamber. They JUST caught on the the mounting holes, in hindsight some small washers may have been a good idea. The 120 rad was being a pain and I couldn't all the screws to catch. Just when I thought I had done it and was tightening them up there was a "PING" and the top left corner had come away, stripping the thread. I couldn't believe it.![Emoji]()
Determined not to let this build get the better of me, I got to work on a solution. I had the nuts for the eloop fan that would connect to the rad spare, 2 of them almost fit underneath the screw hole, but there was some material in the way. I stripped down the rad, as the panels can be taken off on these EK rads and filed off the debris. I got the panel back on and slid the nuts underneath, it was still a tight fit so they would stay of there own accord while mounting. Fortunately it worked a treat and the rad mounted first time. The res was also really tight and tricky to get into place, but I got there in the end.
![User Image]()
![User Image]()
![User Image]()
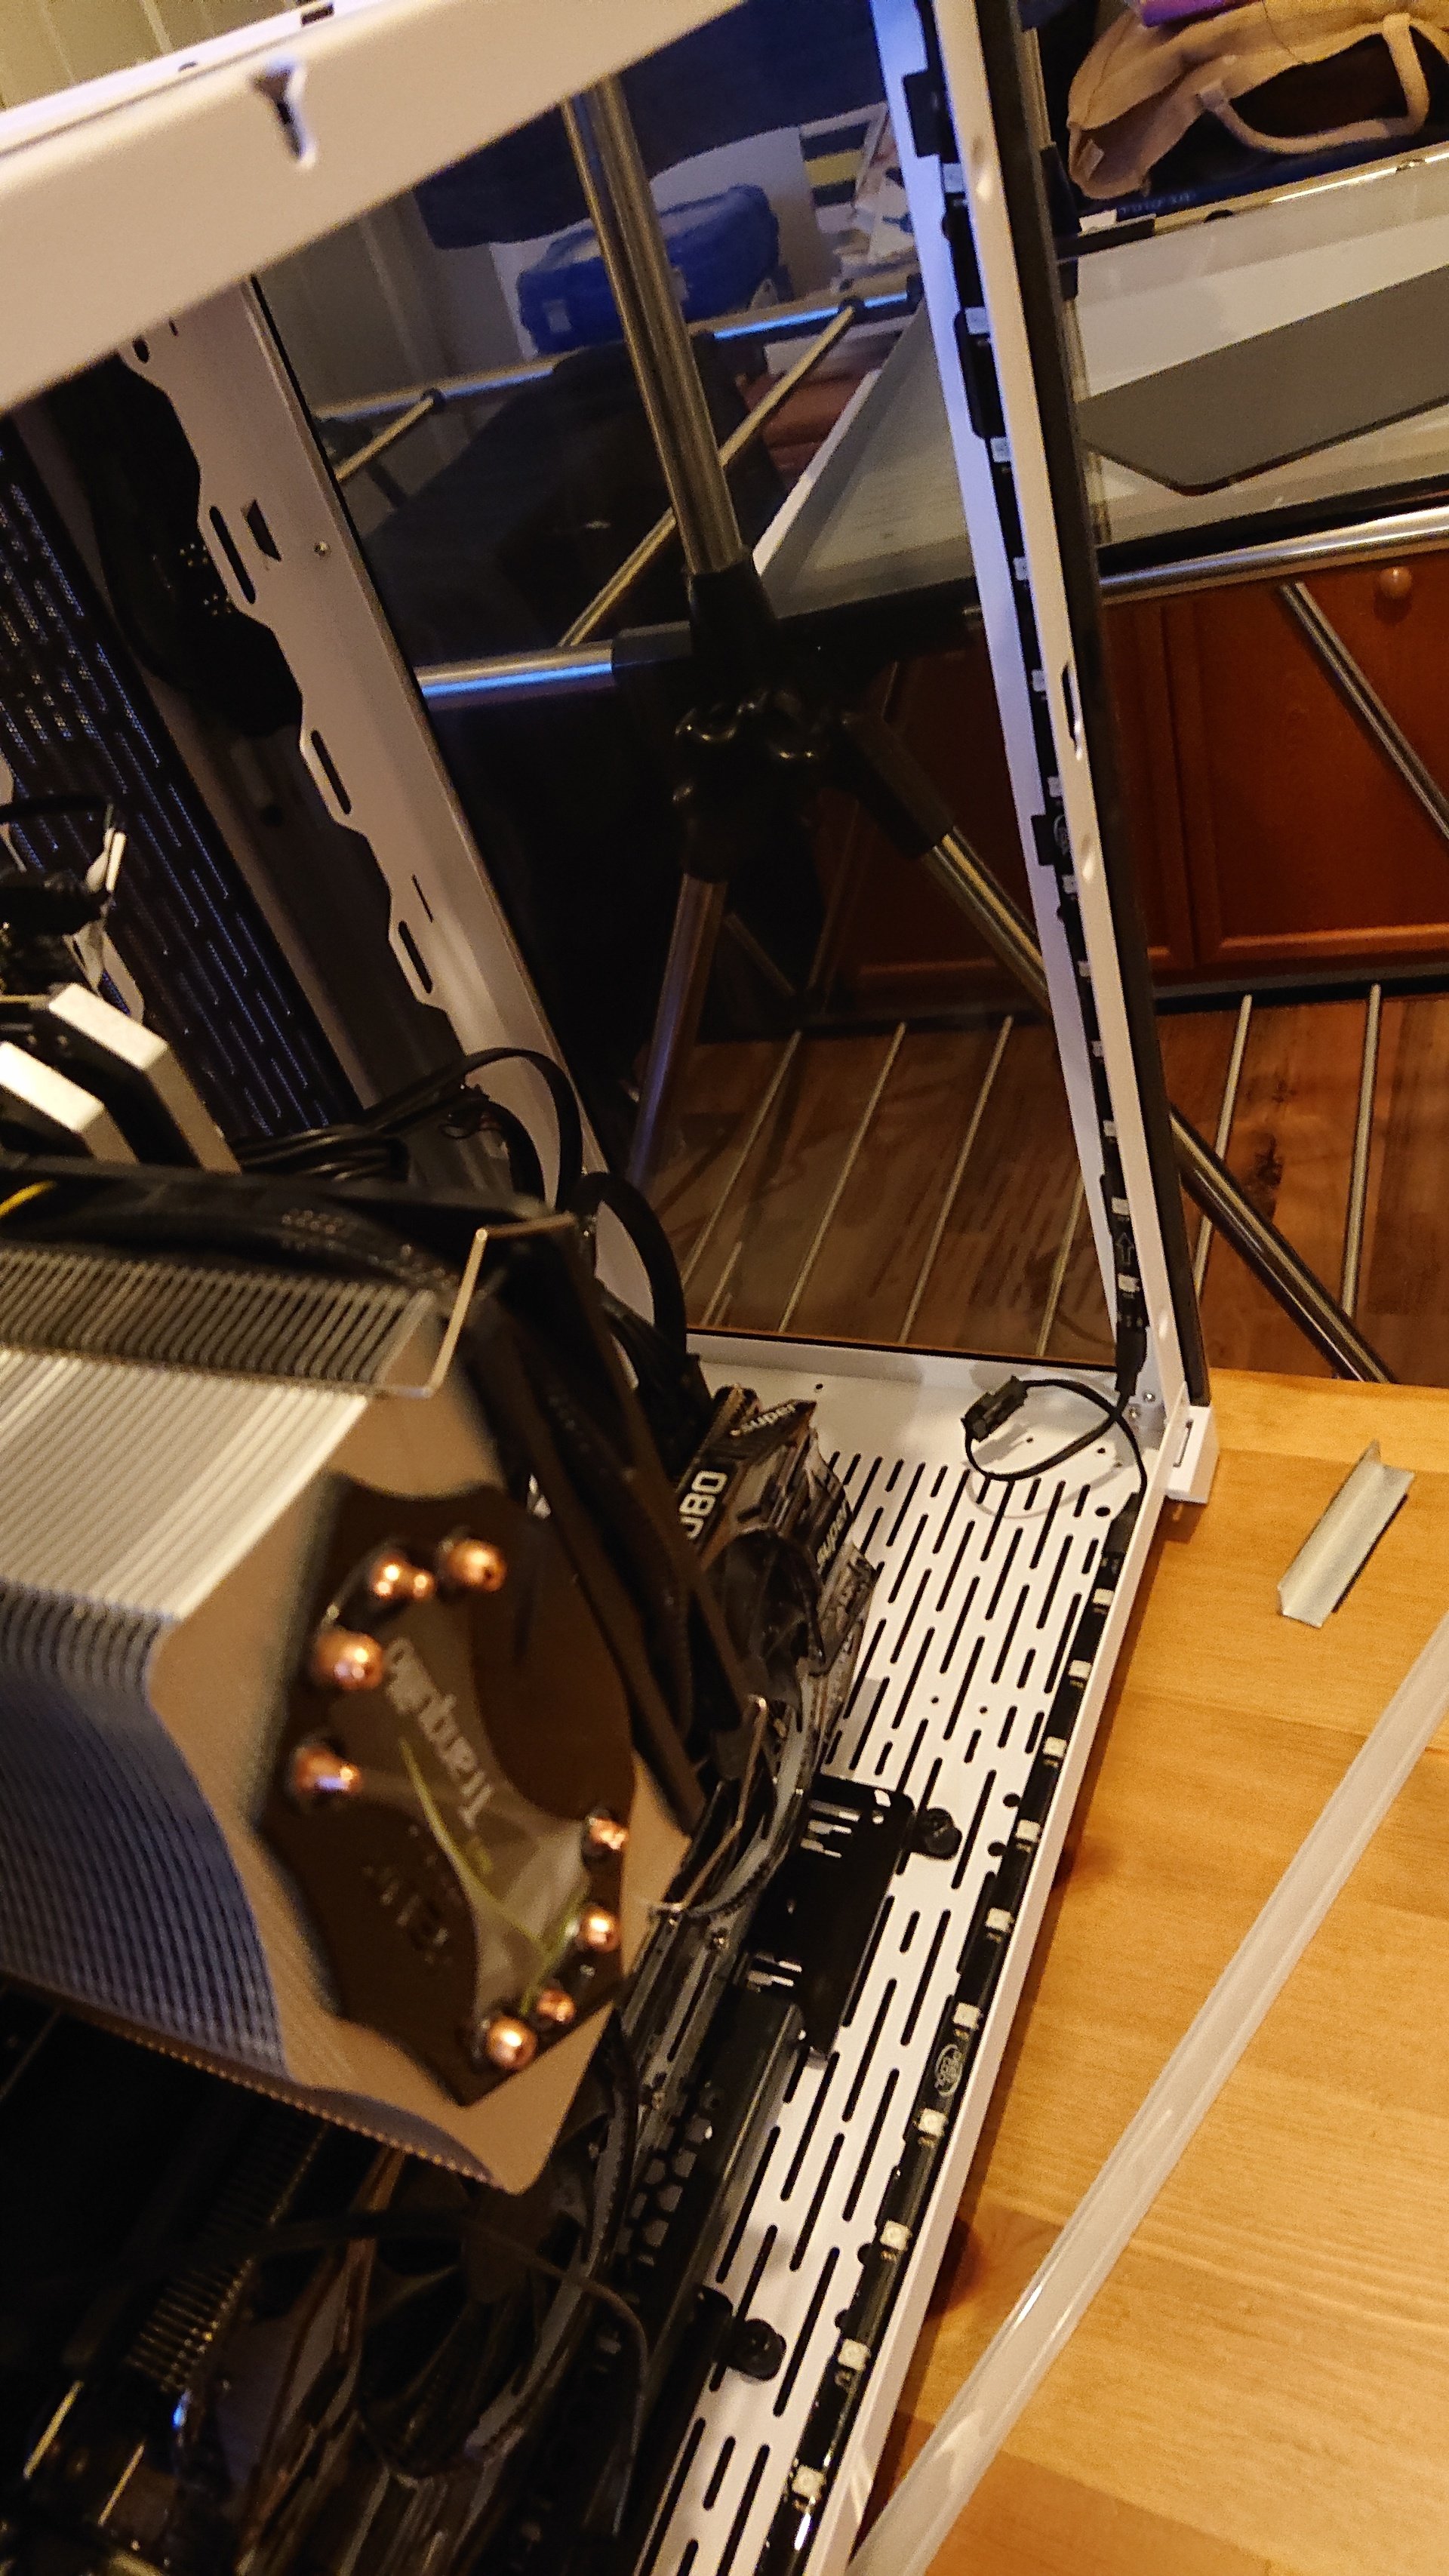
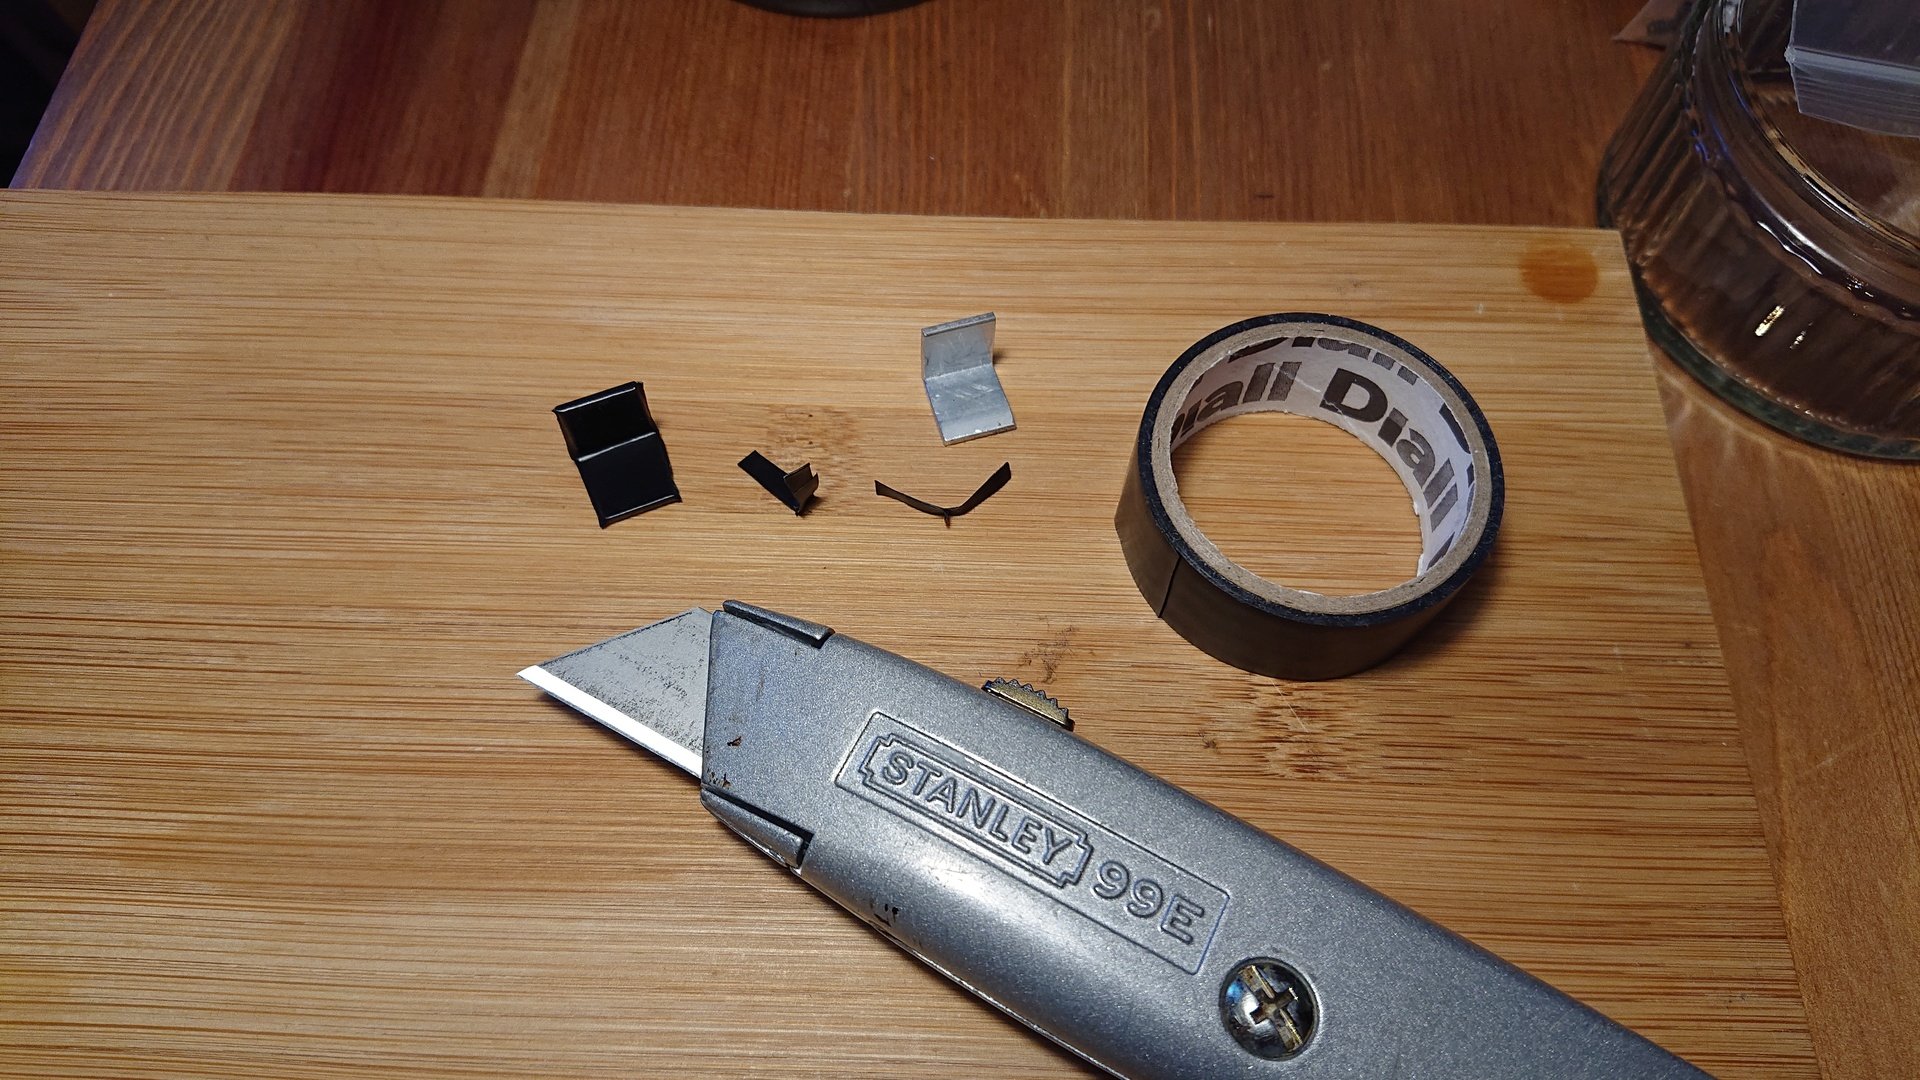
When I was testing the parts, I noticed that the vertical adapter bracket sagged towards the back. While the front of it has a lip that luckily sat nicely on the 2.5" trays on the case floor, the rear had no support at all. I looked for something I could put under it to keep it up (quite in the back there, I hear you laughing), I tried various odds and sods but nothing fit. Luckily I had some aluminium angle left over from making a custom side panel on my rig The Cure and it was the perfect size. I didn't want it to stand out, so I covered them in black electrical tape to match the hard drive trays.
![User Image]()
![User Image]()
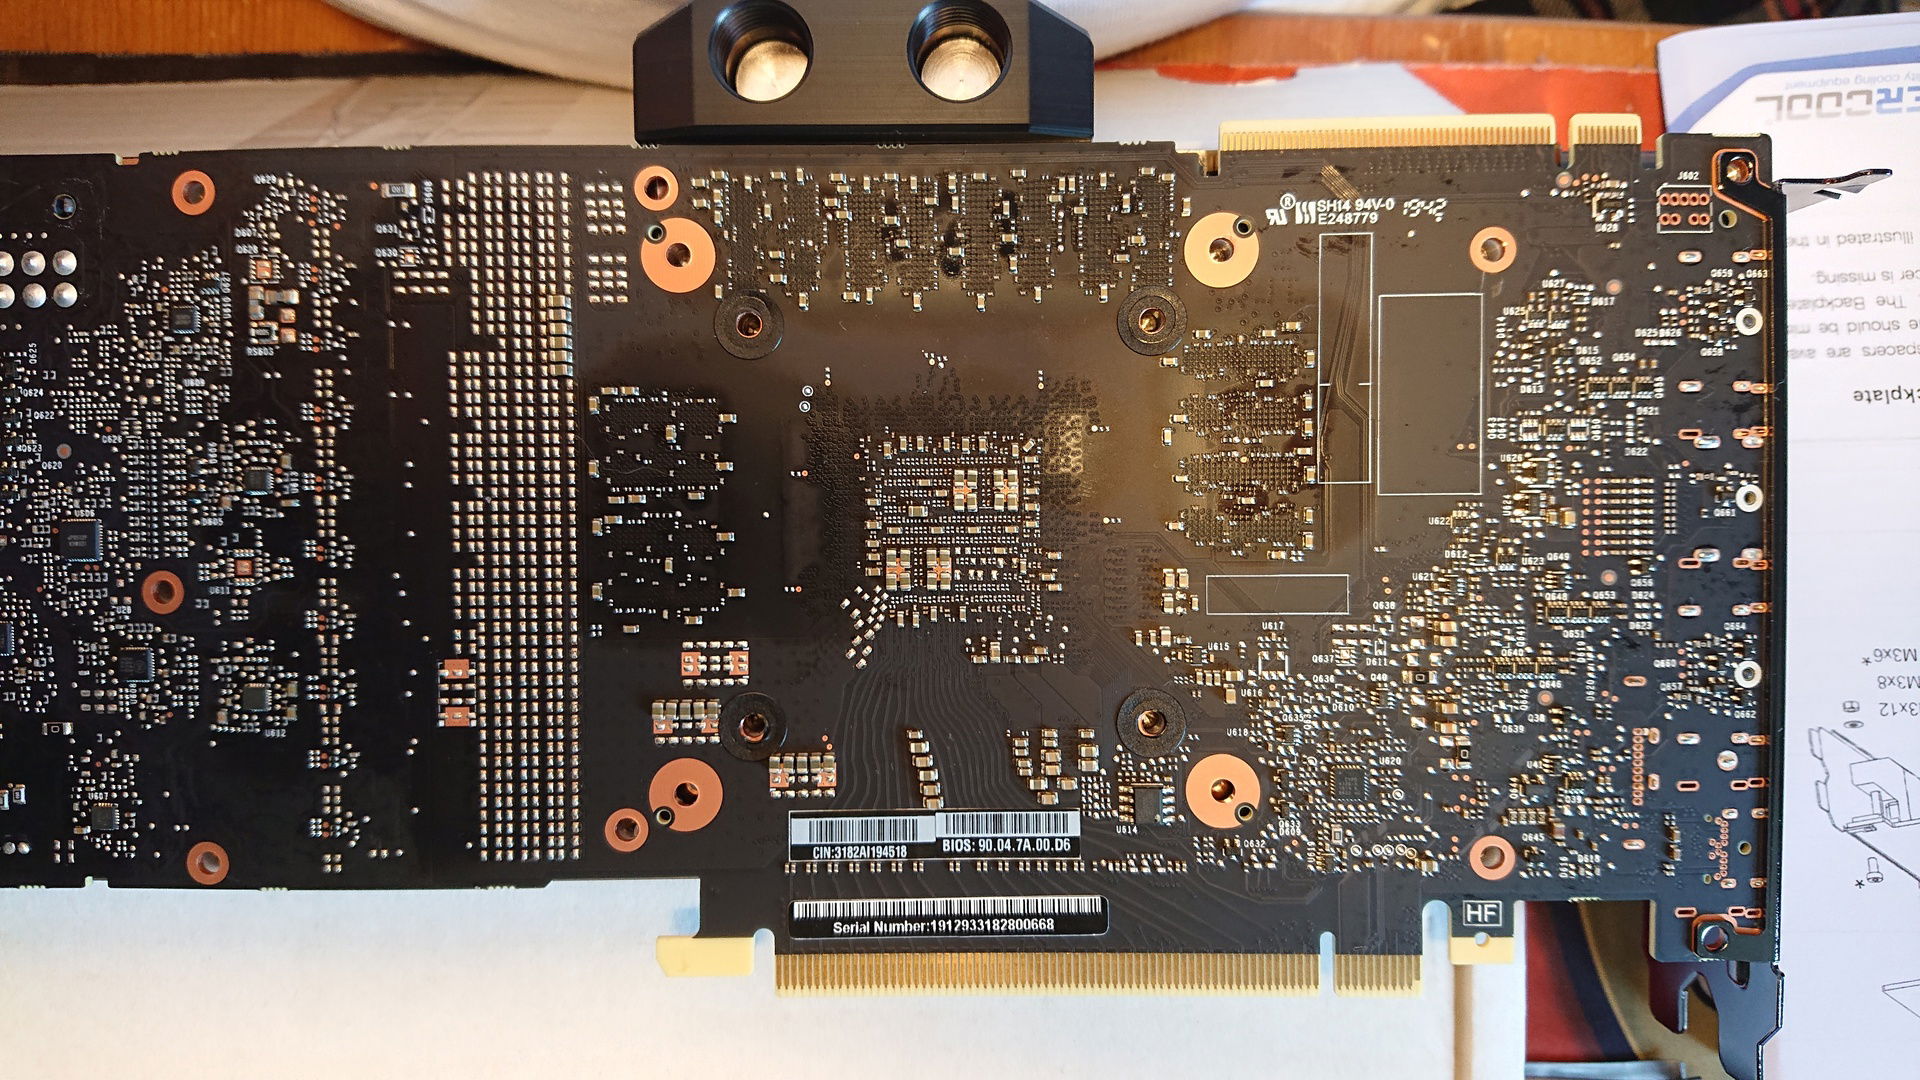
Next up was mounting the GPU, always one of my favourite jobs. The Heatkiller blocks are just incredible, they come with all the thermal pads precut to make things easier, especially as there are 16 of them. 16! It helps if you have a little build buddy.
![User Image]()
When mounting gpu blocks, I like to sit the block upside down on a box and move the pcb to it, rather than have the pcb on the table and move the block onto it. This way you have sight of the screw holes and can get it lined up properly first time.
![User Image]()
I noticed that some fo the LED strips had started to come away, despite being relieved of the additional tension. Fortunately I still had some strong double sided tape to hand and had that fixed in a jiffy, along with installing all the diffusing strips.
![User Image]()
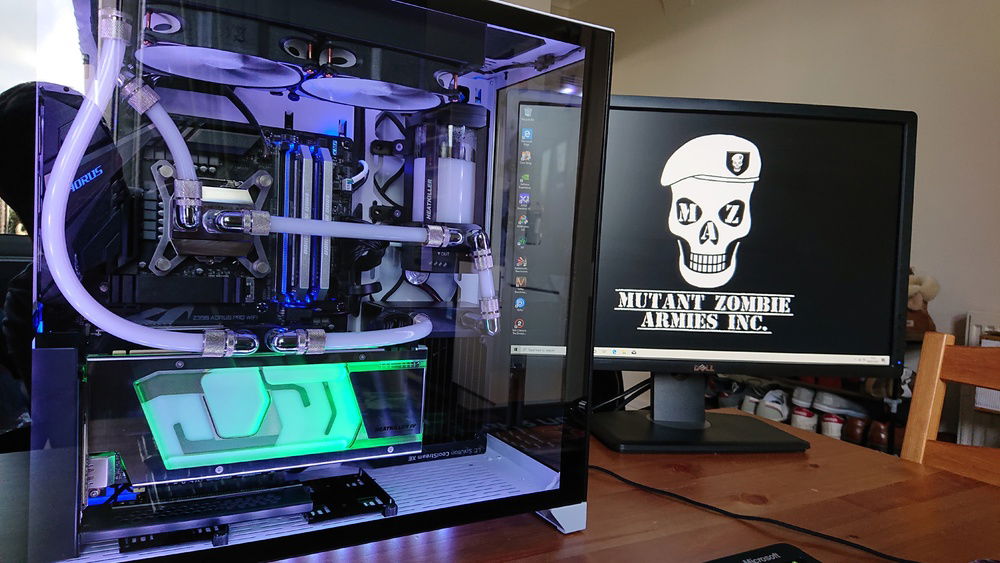
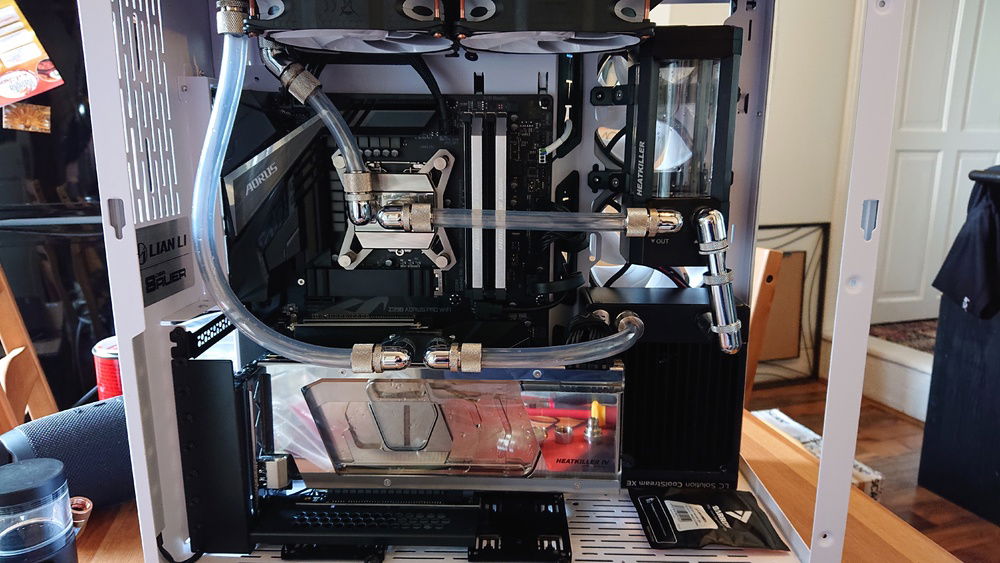
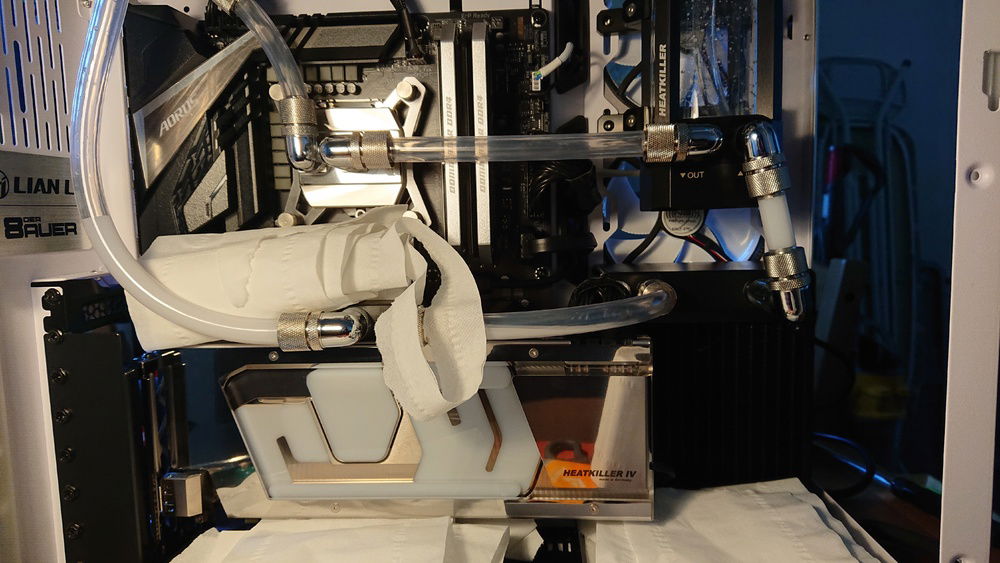
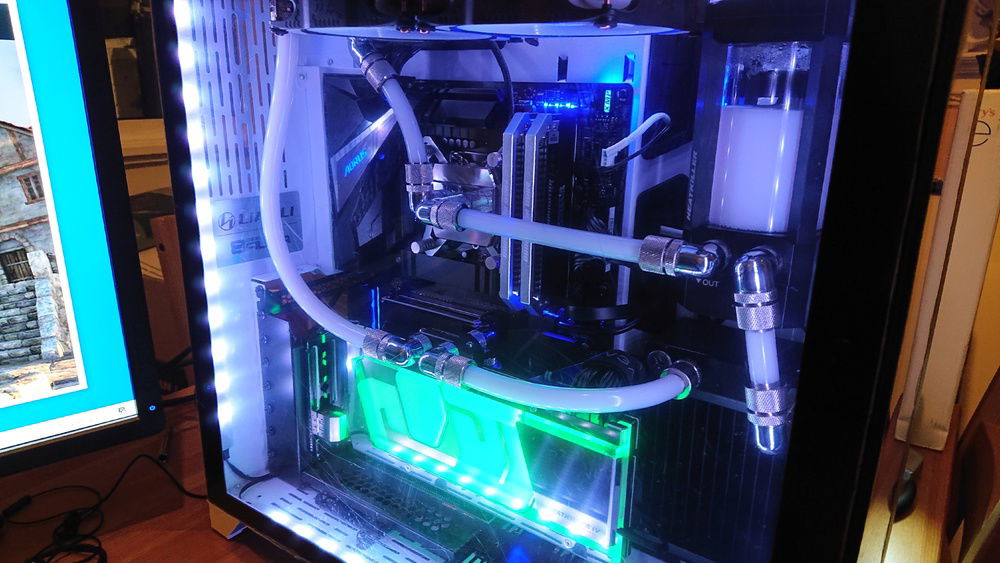
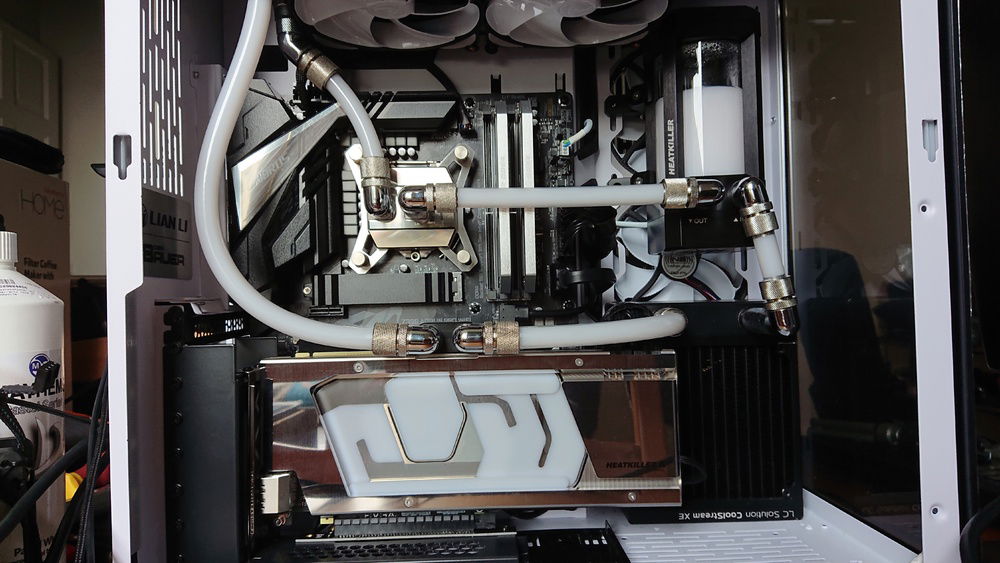
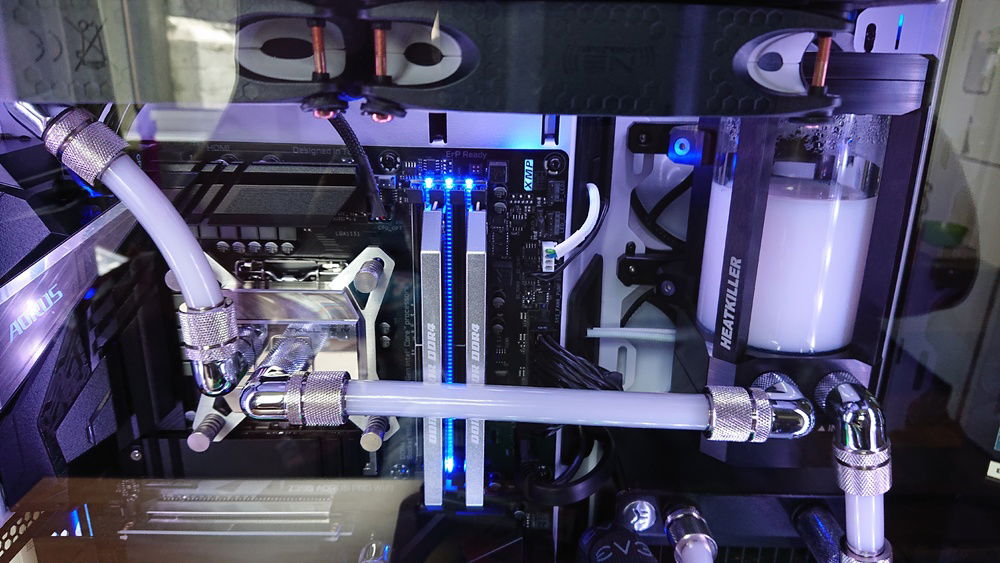
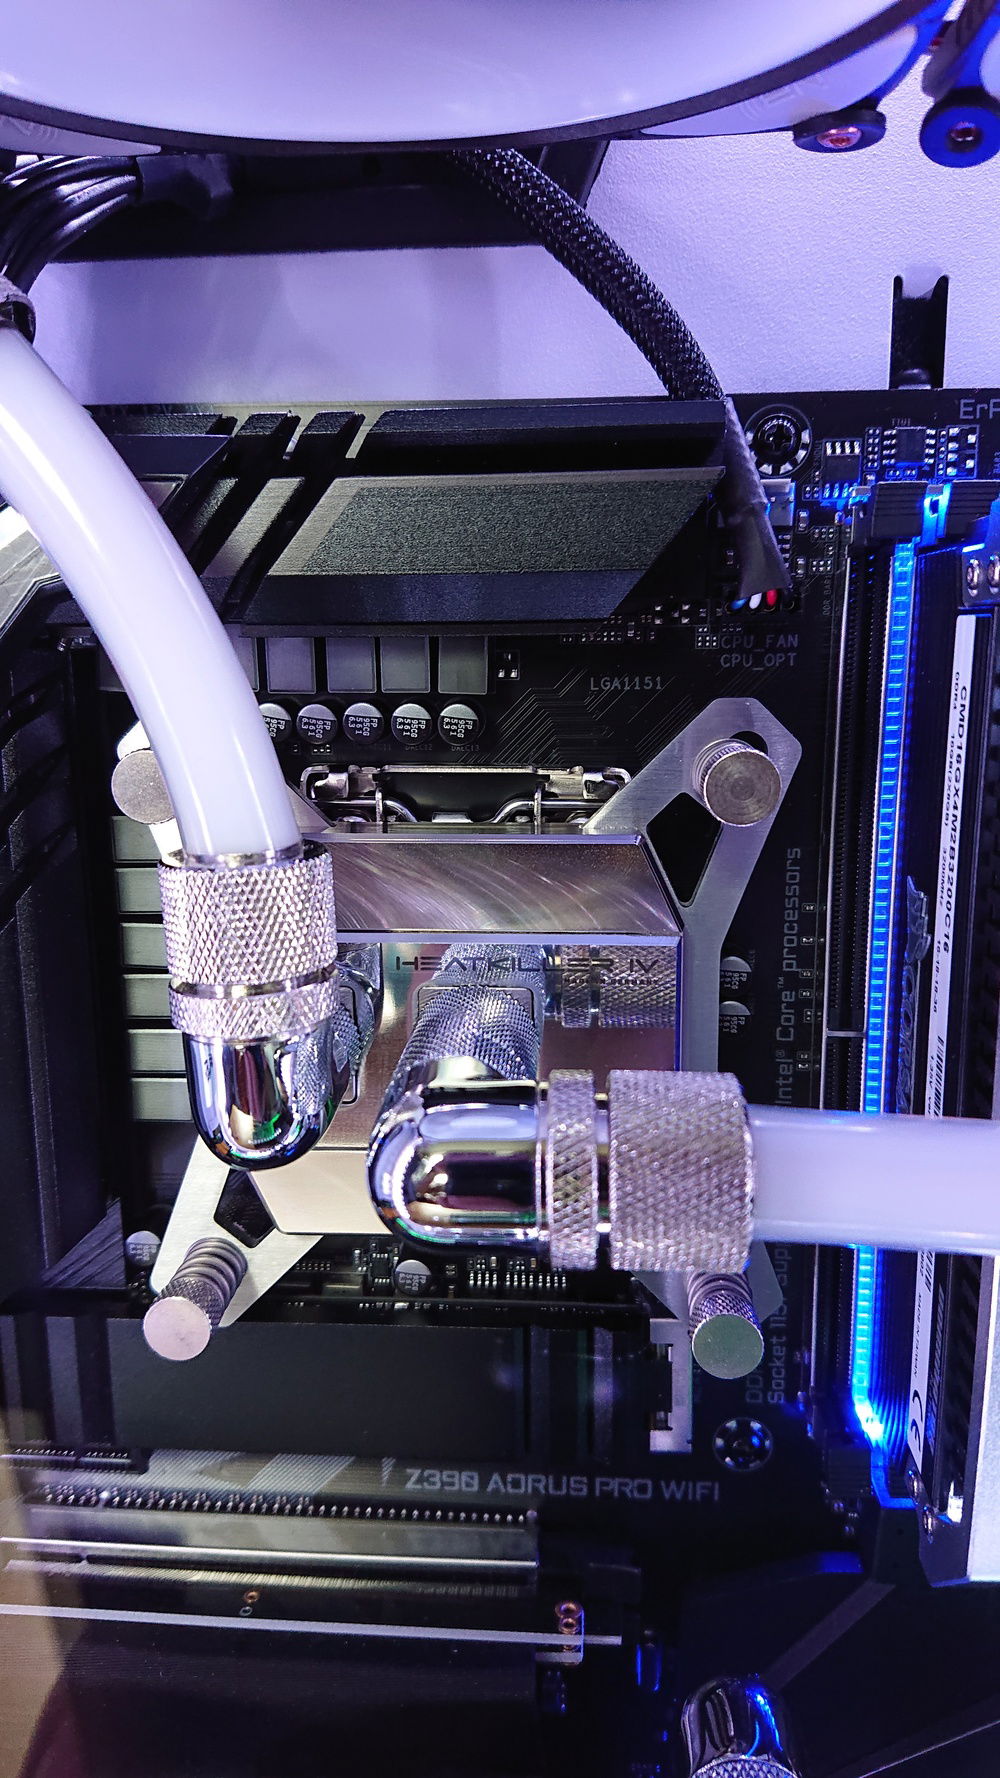
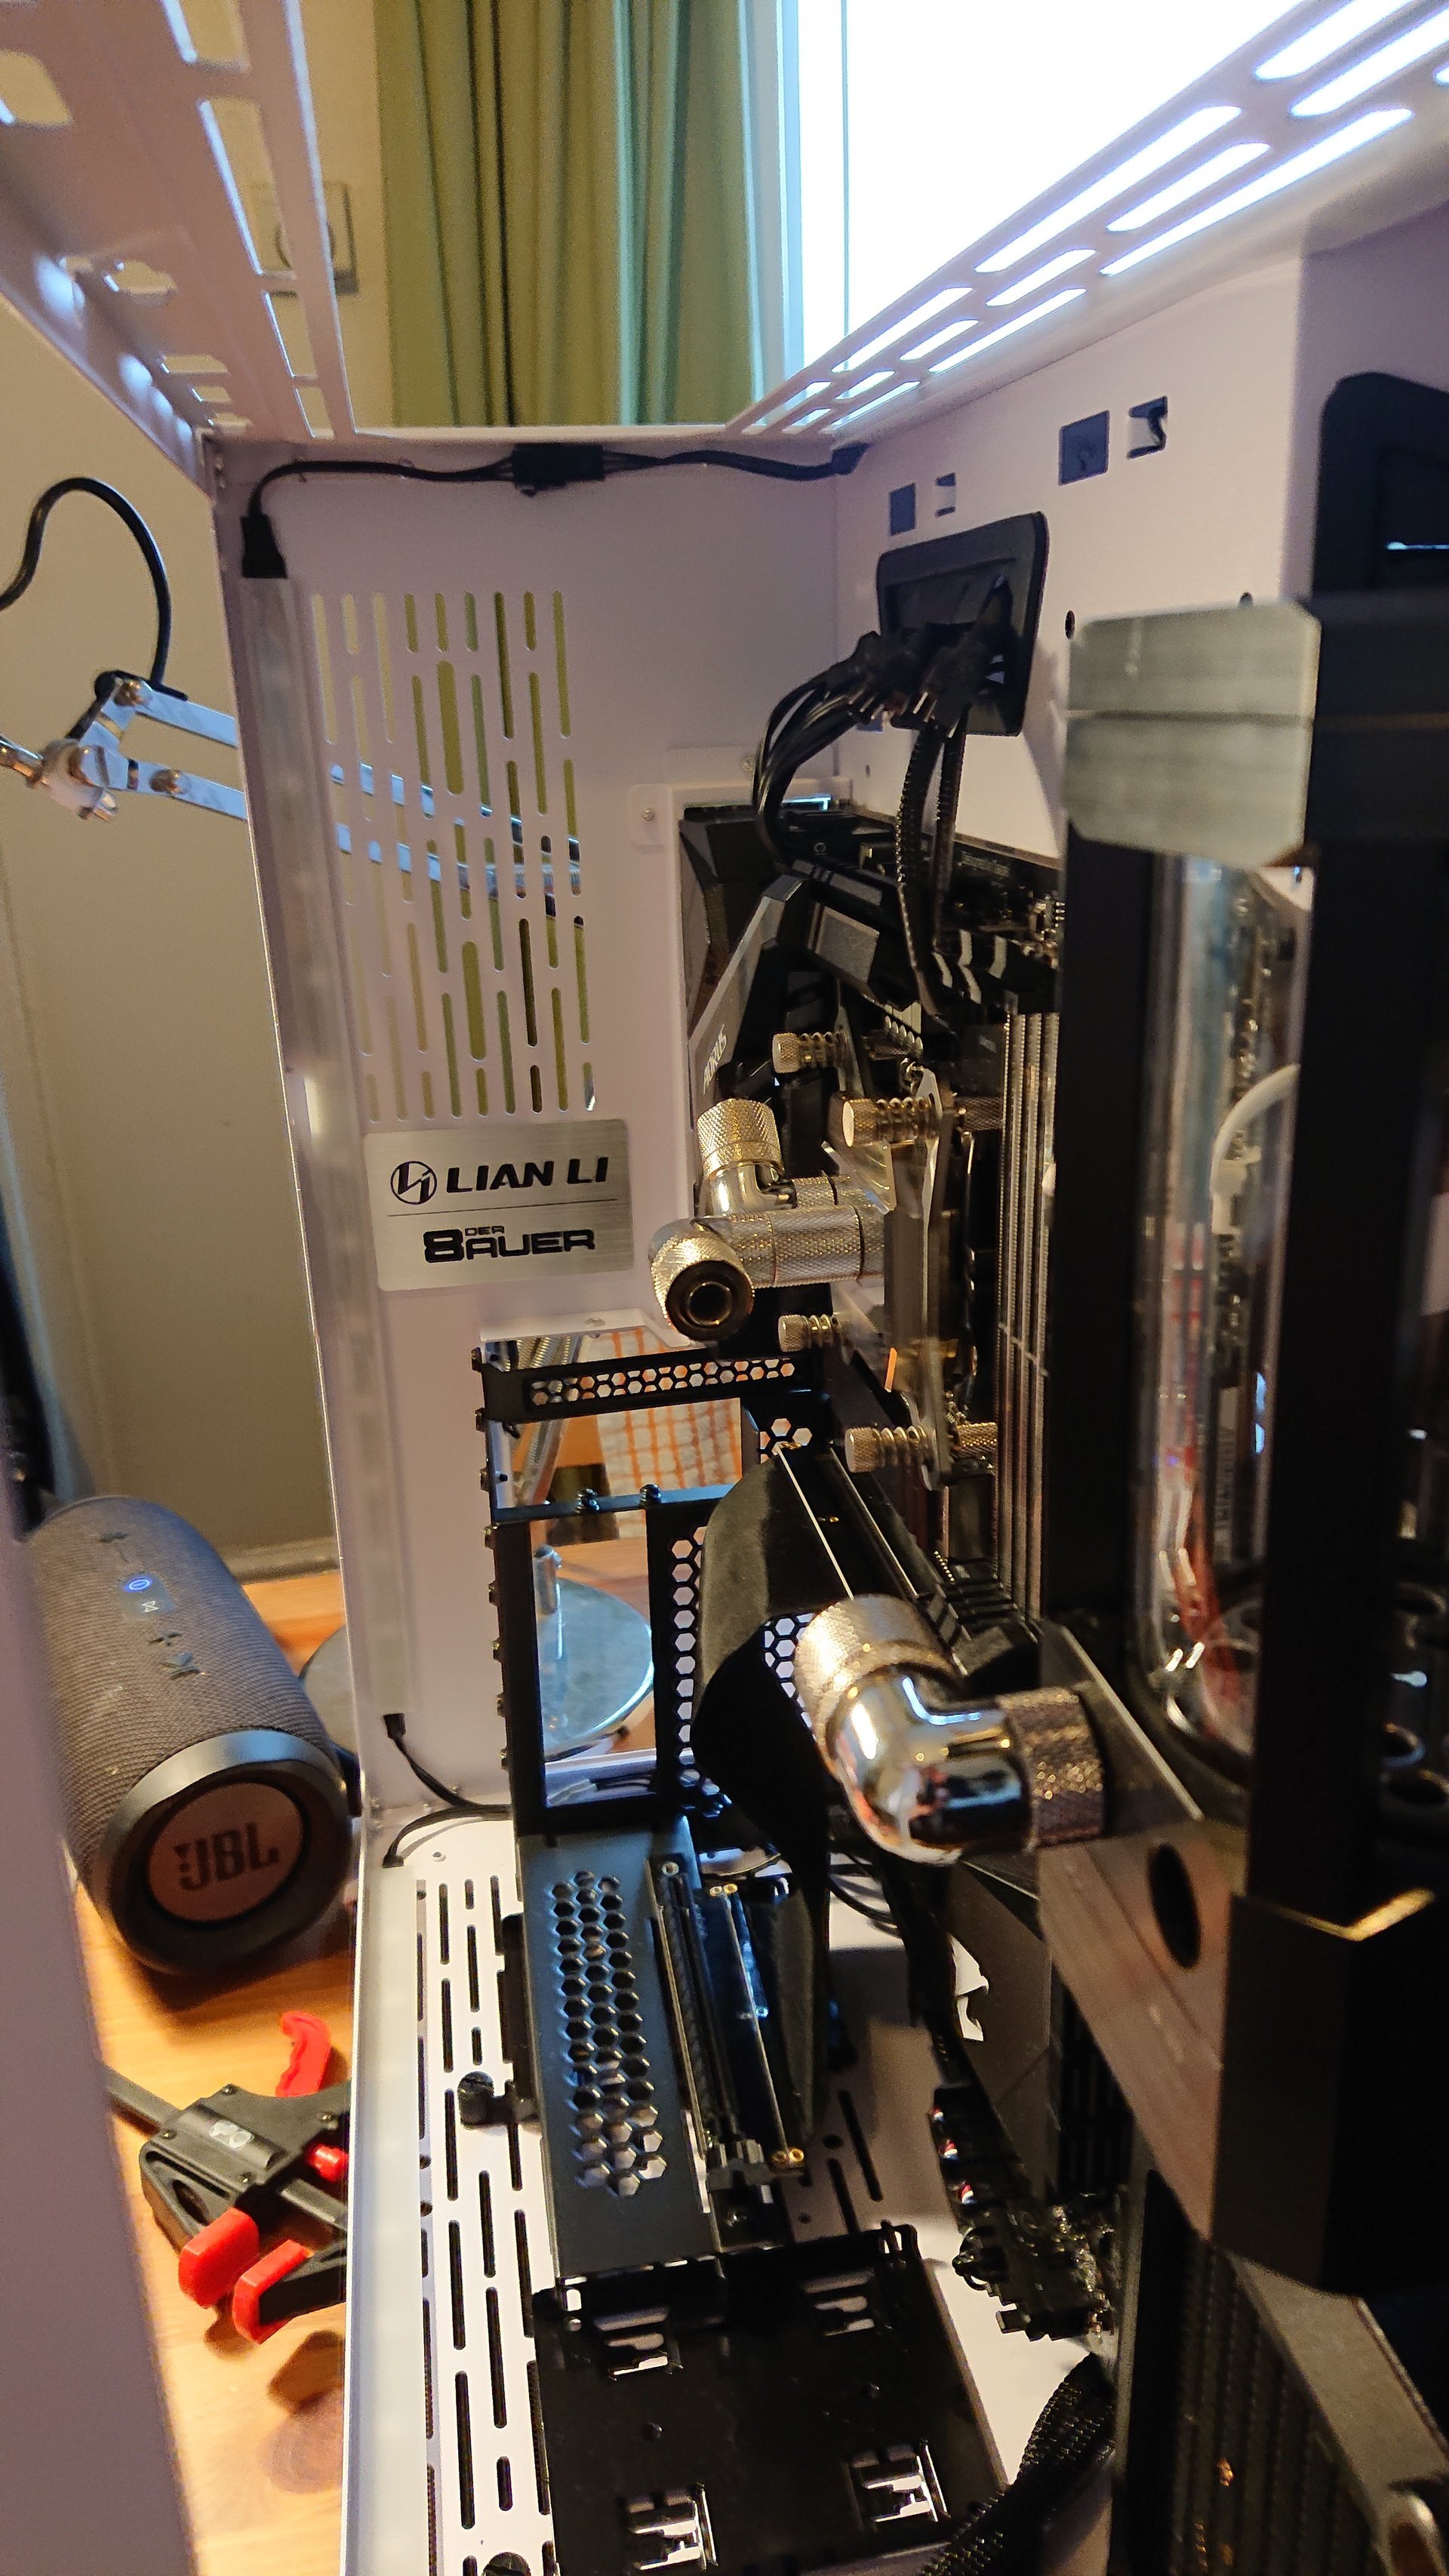
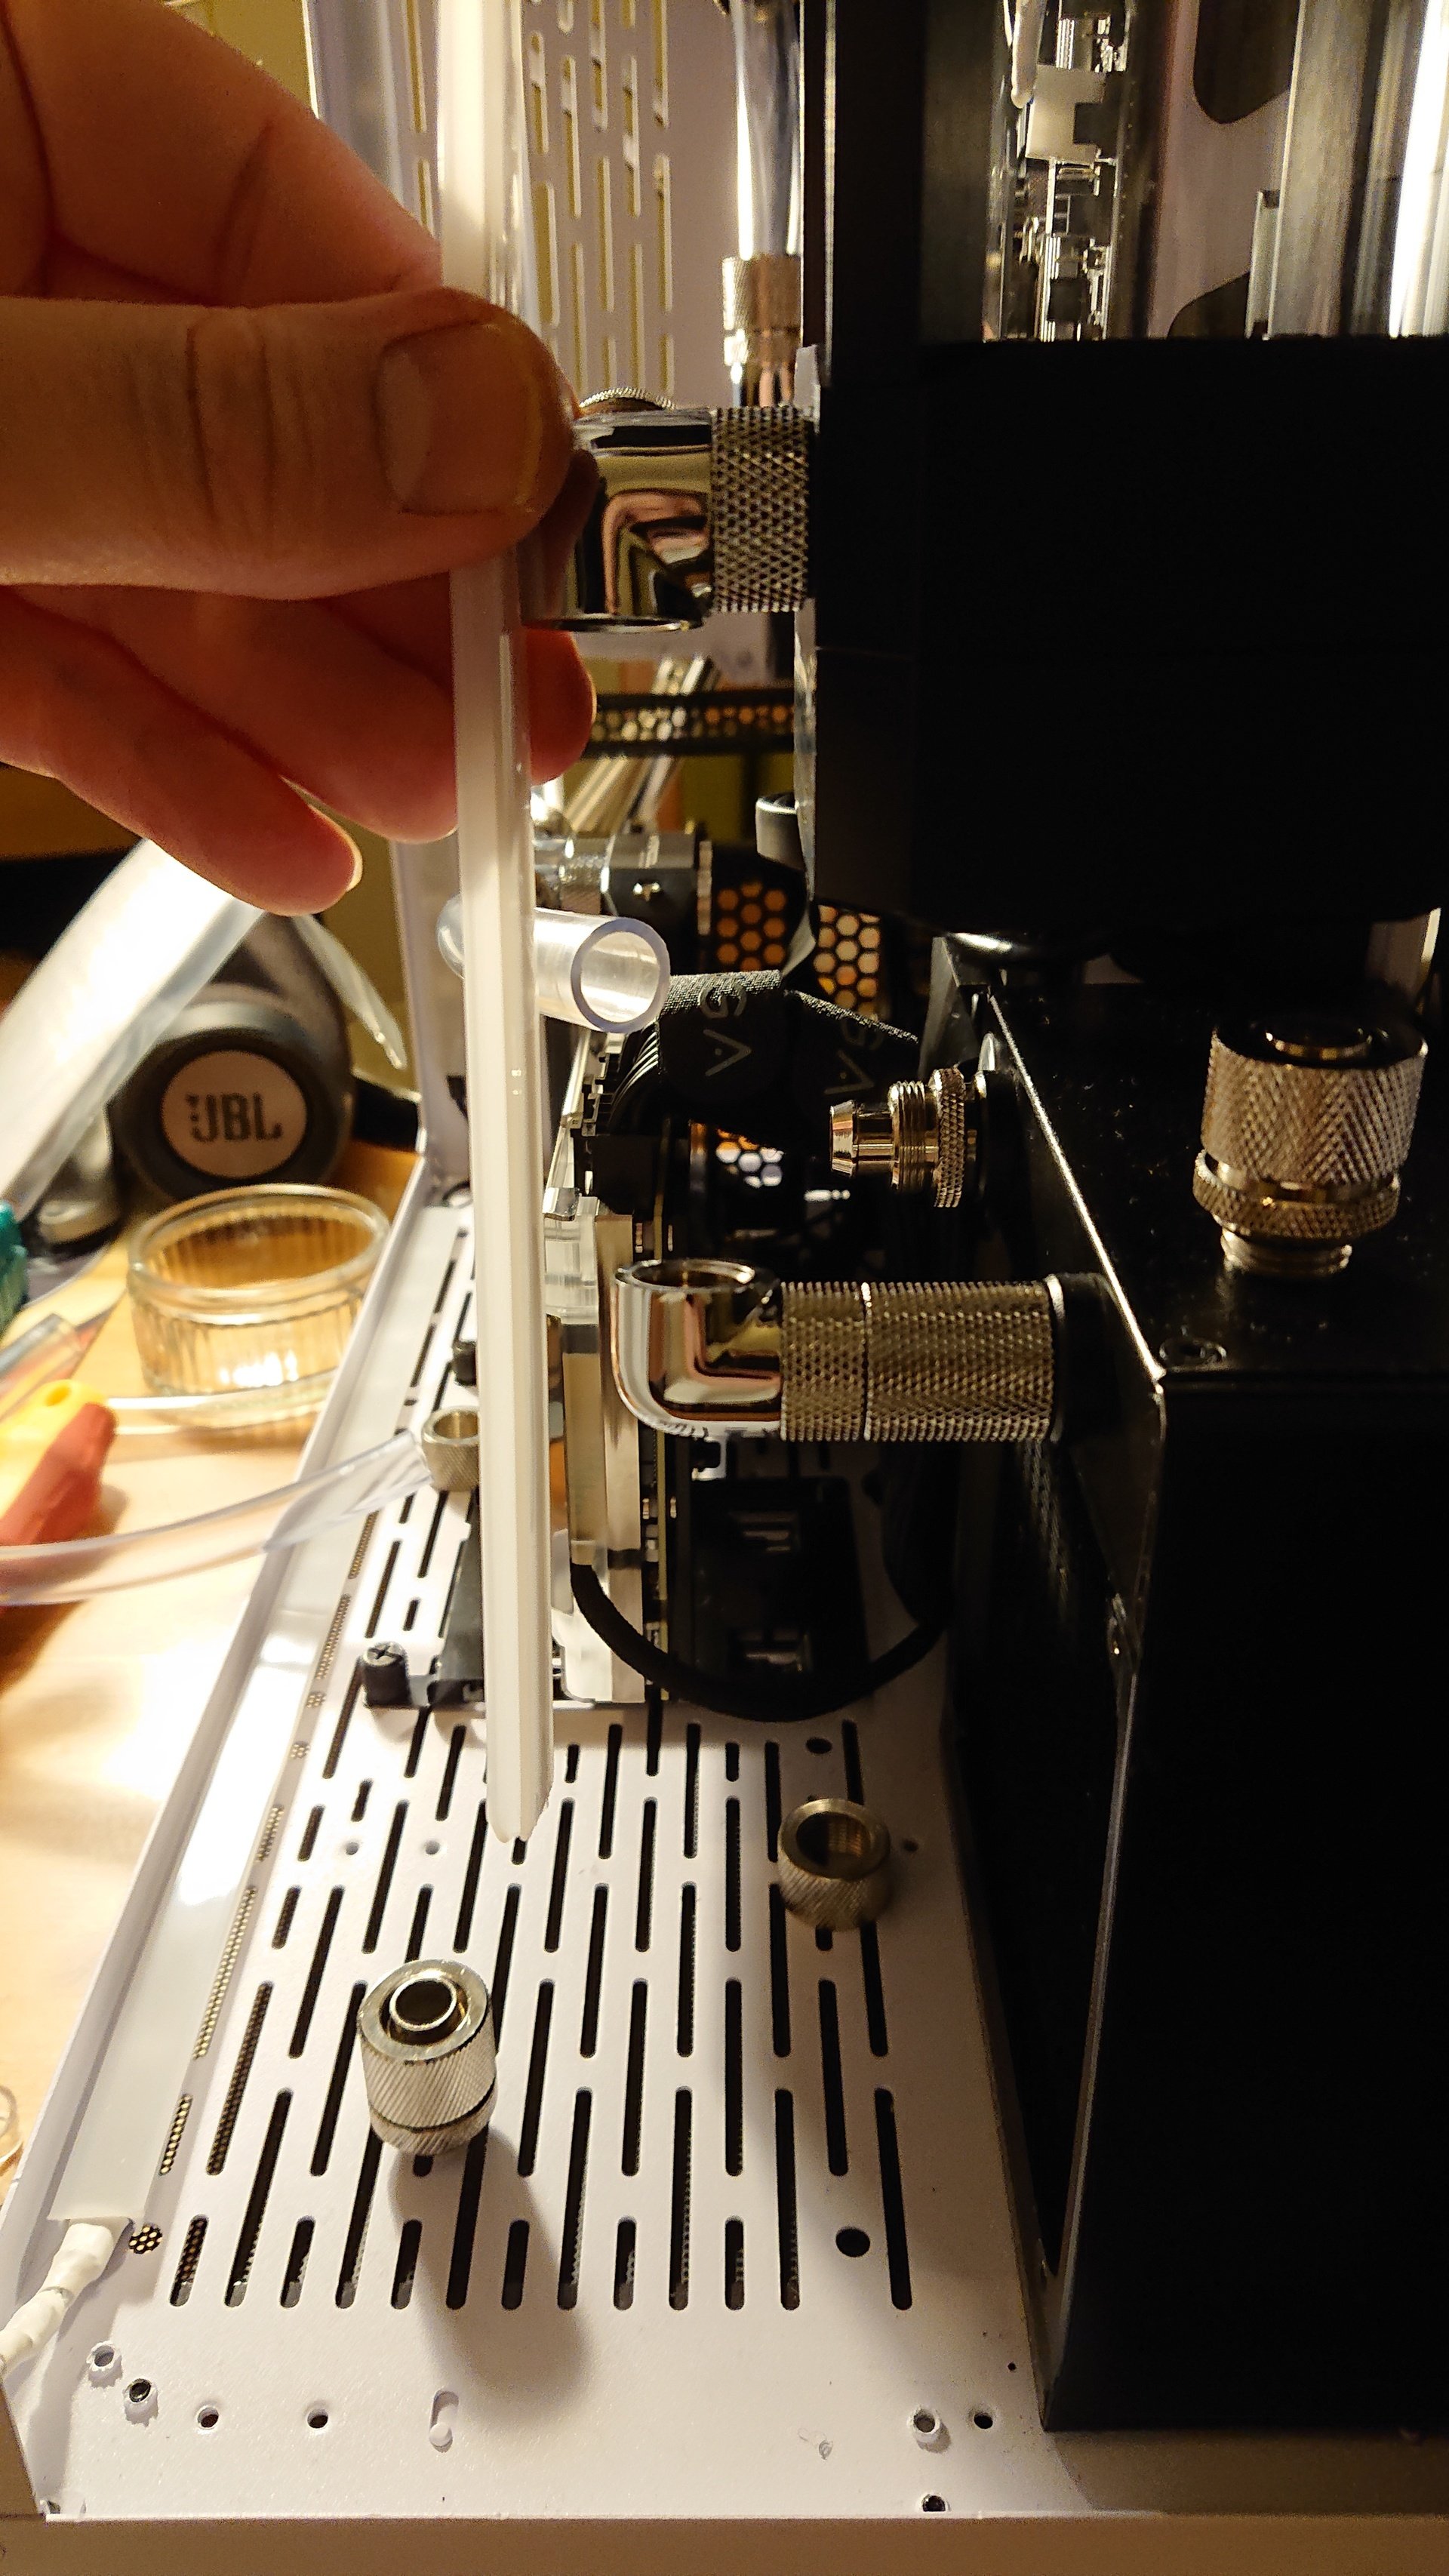
That was the last of the 'construction', now it was time to plug and plumb everything in. I got all the fittings set up and started putting in the tubing. There were a couple of runs that were giving me trouble. The first was the run from the cpu to the top rad. I Thought I could run it at an angle from the cpu straight into the rad, but the io shield was bulkier and taller than I thought and the pipe sat right on top, pushed into it slightly. I put a 45 adapter in the rad and ran the tubing straight up from the cpu and into that. Worked quite nicely and allowed that run to be seen better behind the run from the top rad to the GPU.
![User Image]()
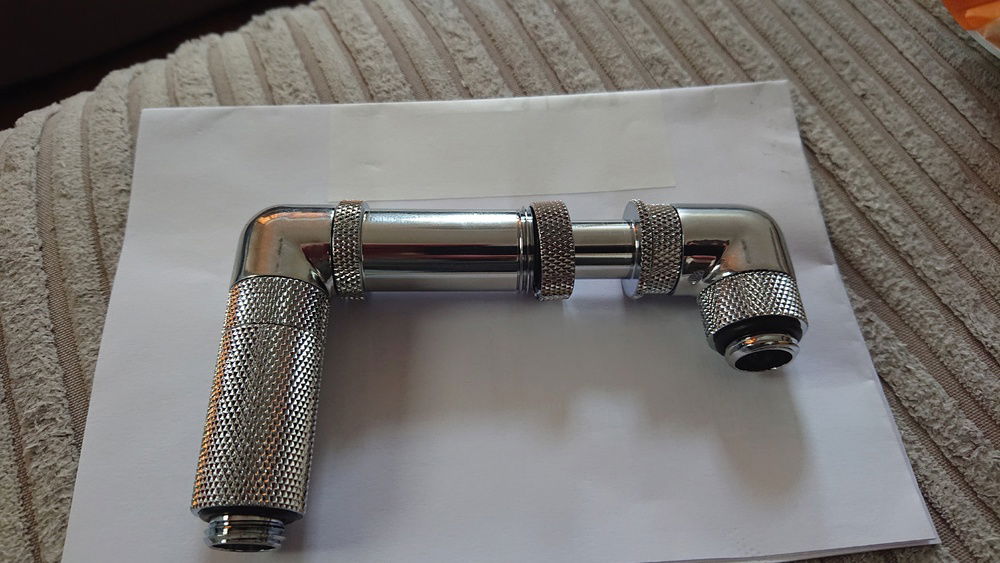
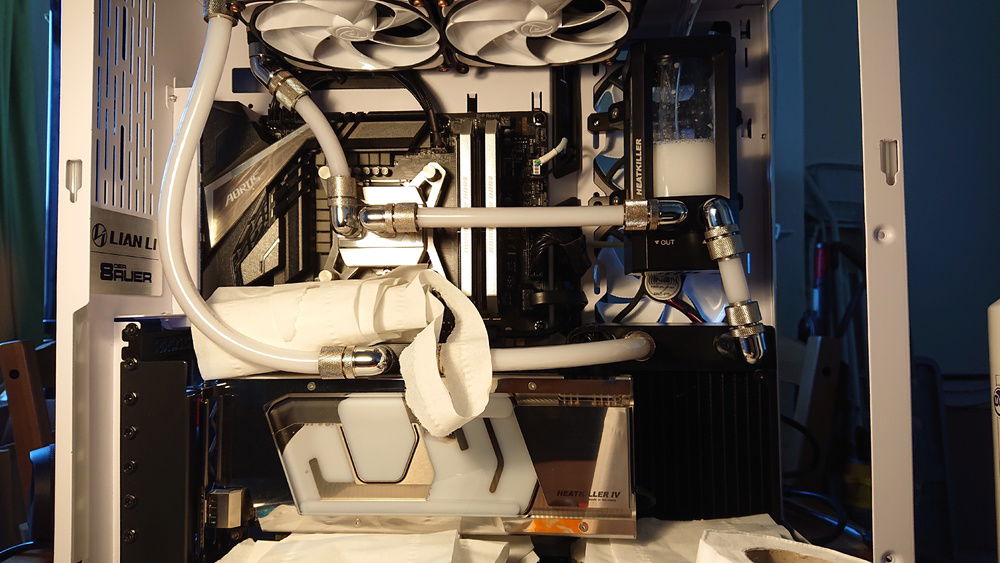
The other was the line from the 120 back up to the res. While planning it out previously I'd shown my brother 2 options; an extension out the rad and the 90's on both with a small straight line, or just 2 straight fittings and a big 180 loop. As I'd knocked them up quickly the small straight run was ruled out as it didn't line up properly, so he picked the 180. Now though, with everything installed properly and in their final resting places, the 180 loop would kink no matter the length and it just didn't look good. I went beck and looked at the possibility of a straight line.
![User Image]()
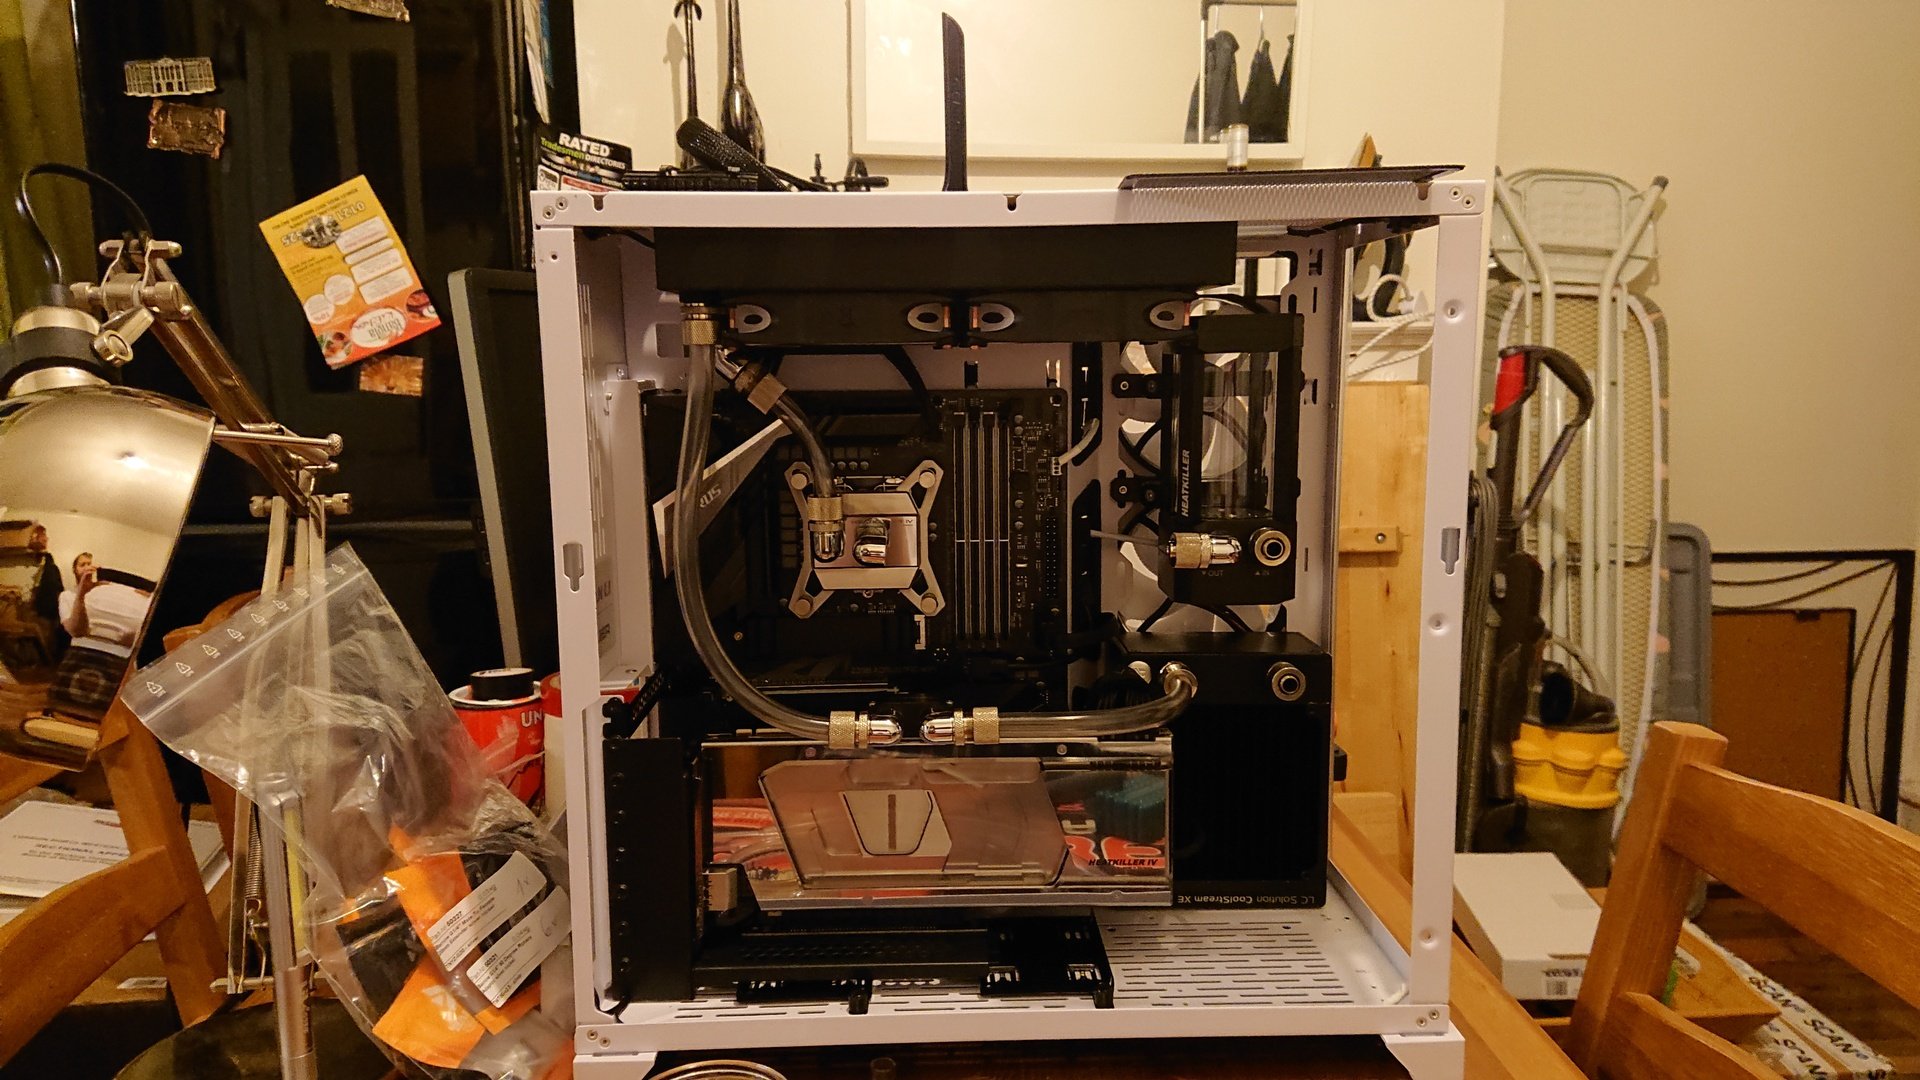
With a 20mm extension there was an 8mm distance to make up. Unfortunately there are no 28mm extensions, but there are 30mm ones and I could push the res out by 2mm by installing some rubber washers and longer screws. So a few ebay orders later (including an extra 90 and drain valve which I'd completely overlooked), I was set, the rest of the loop was finished and it was time for a final clean.
![User Image]()
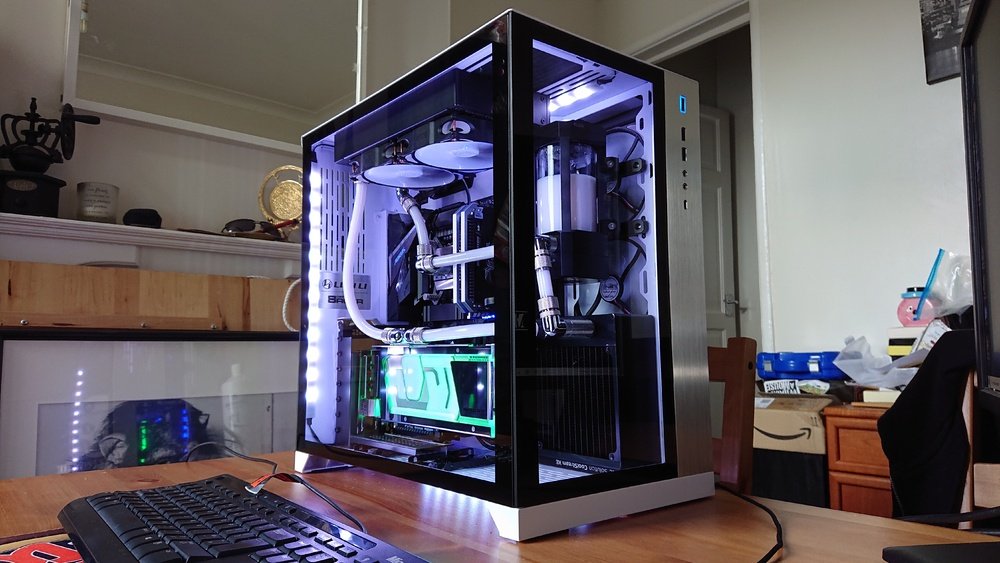
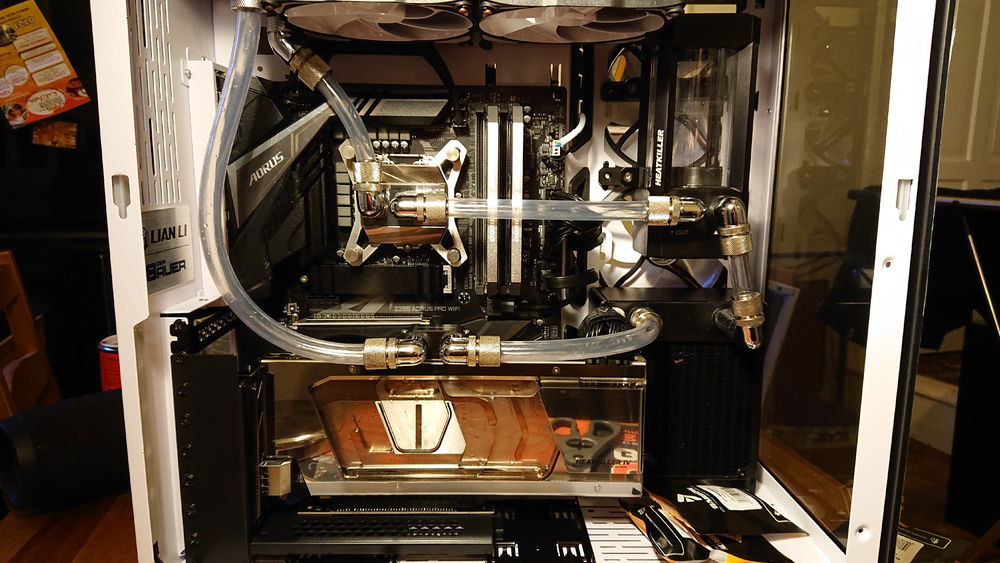
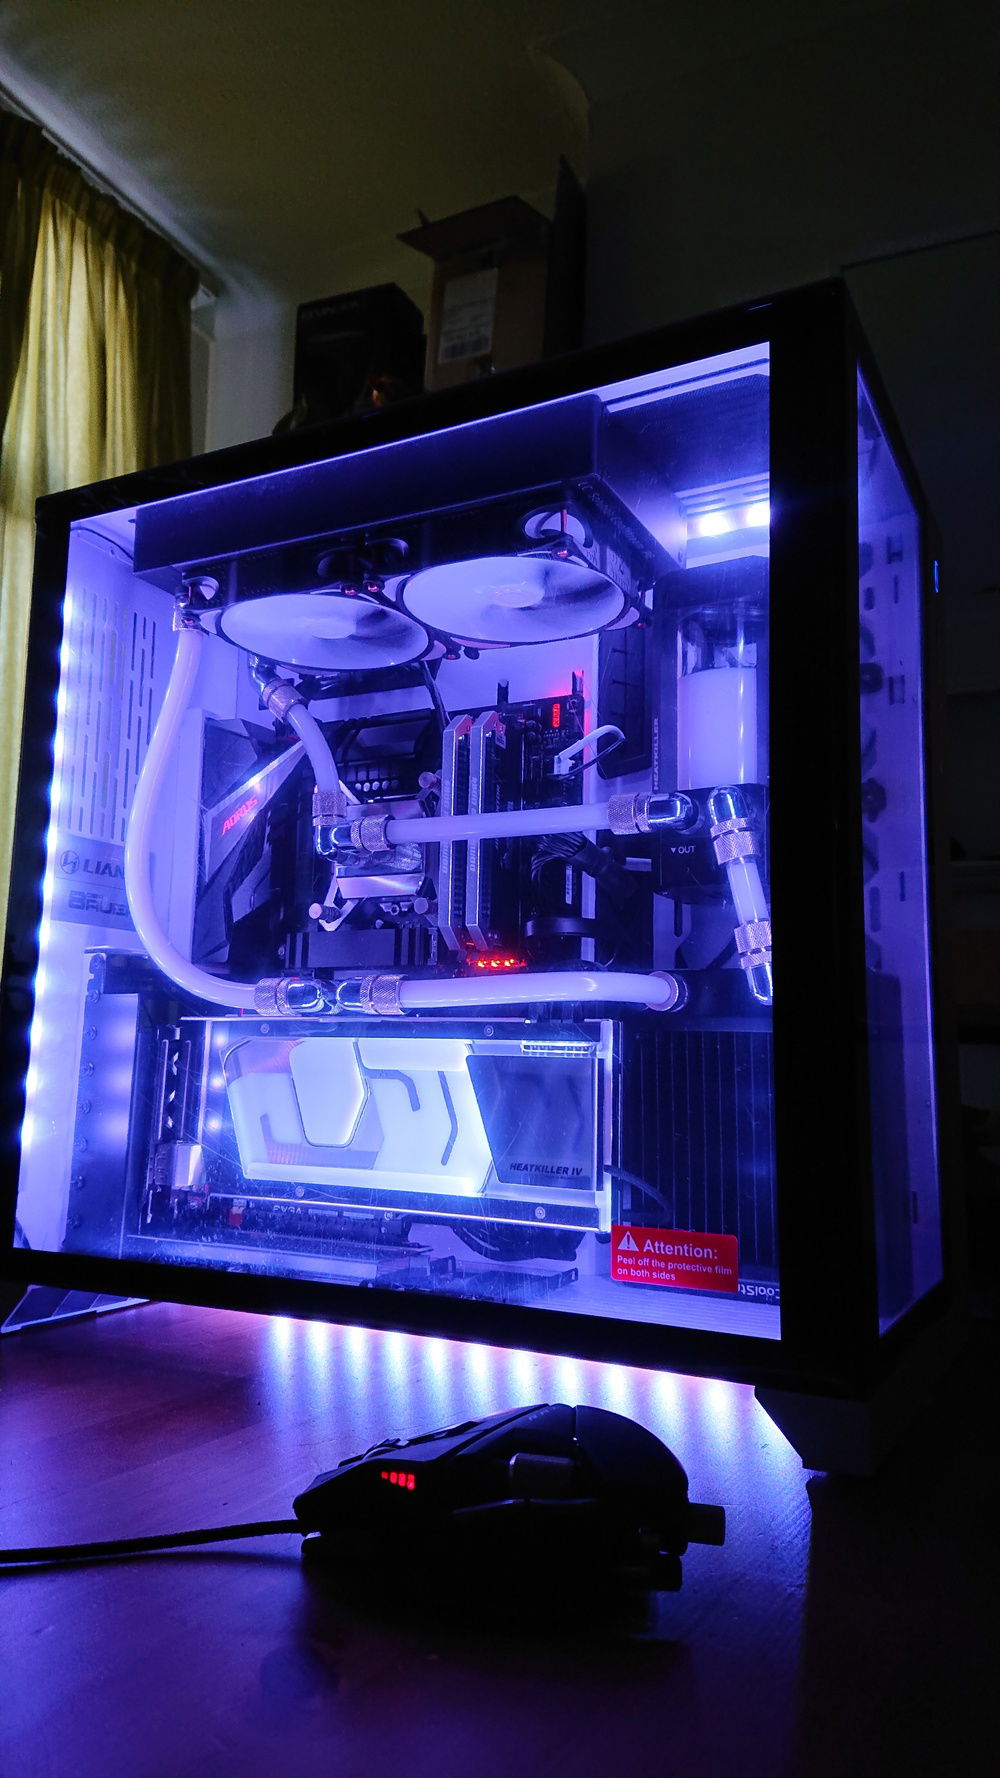
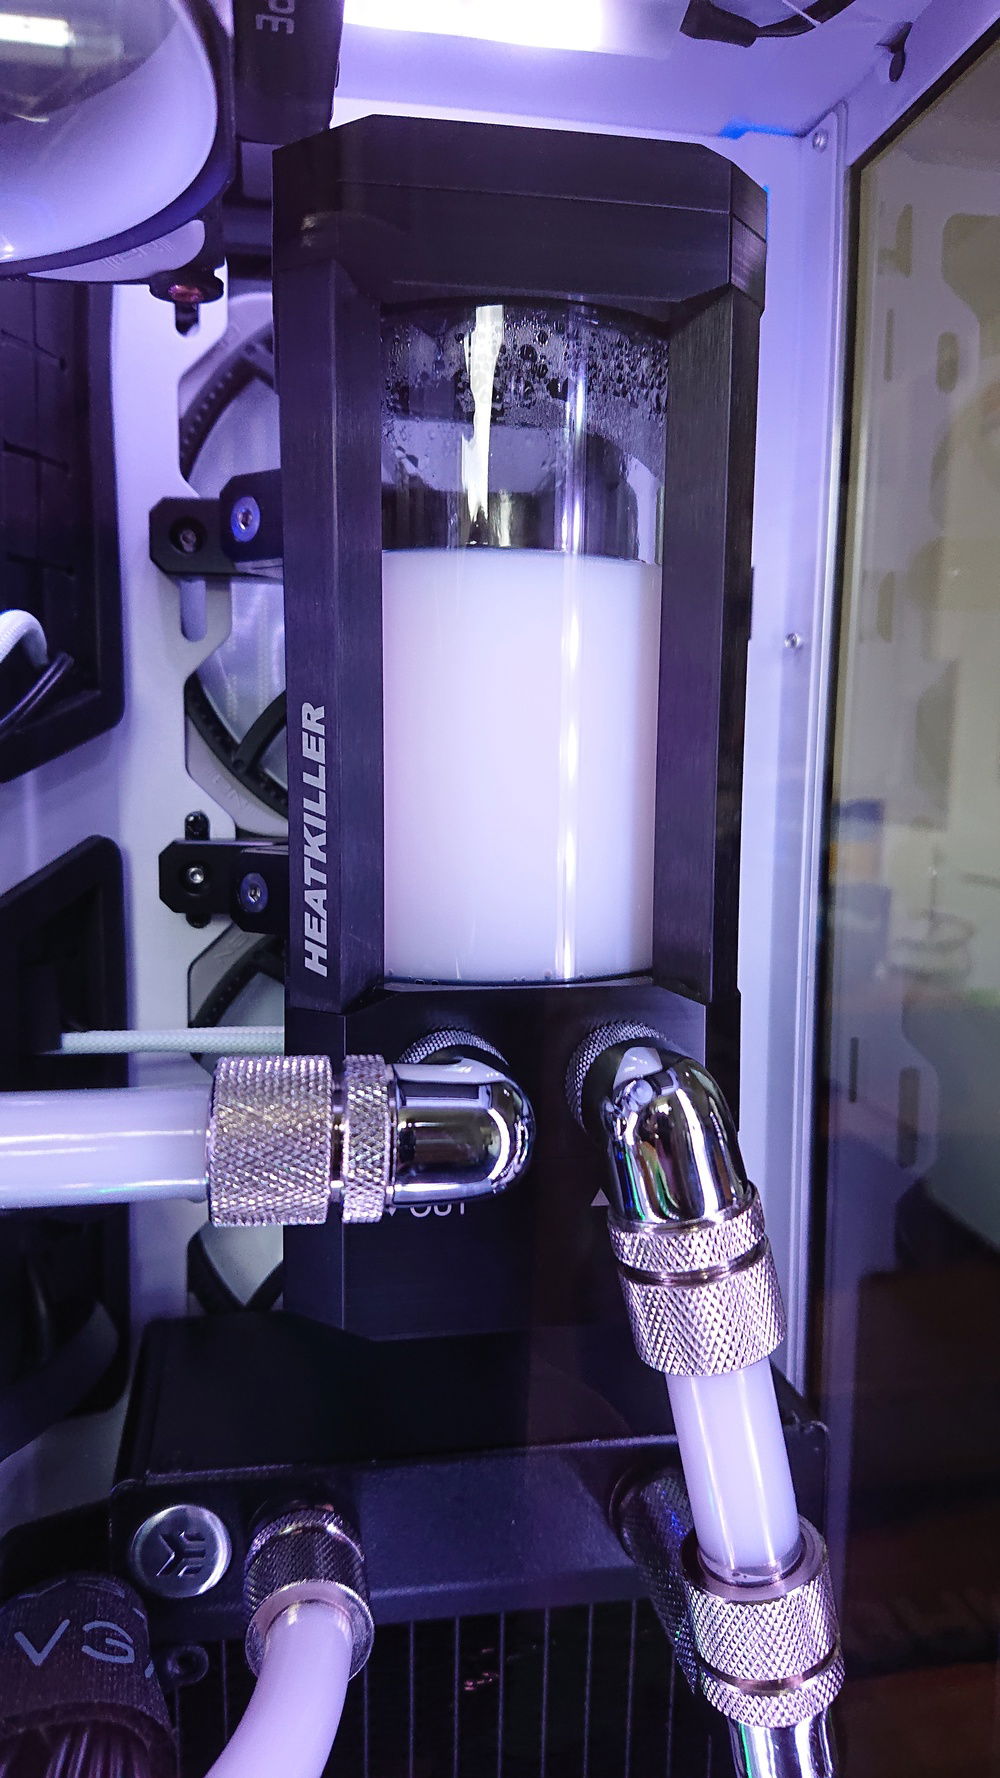
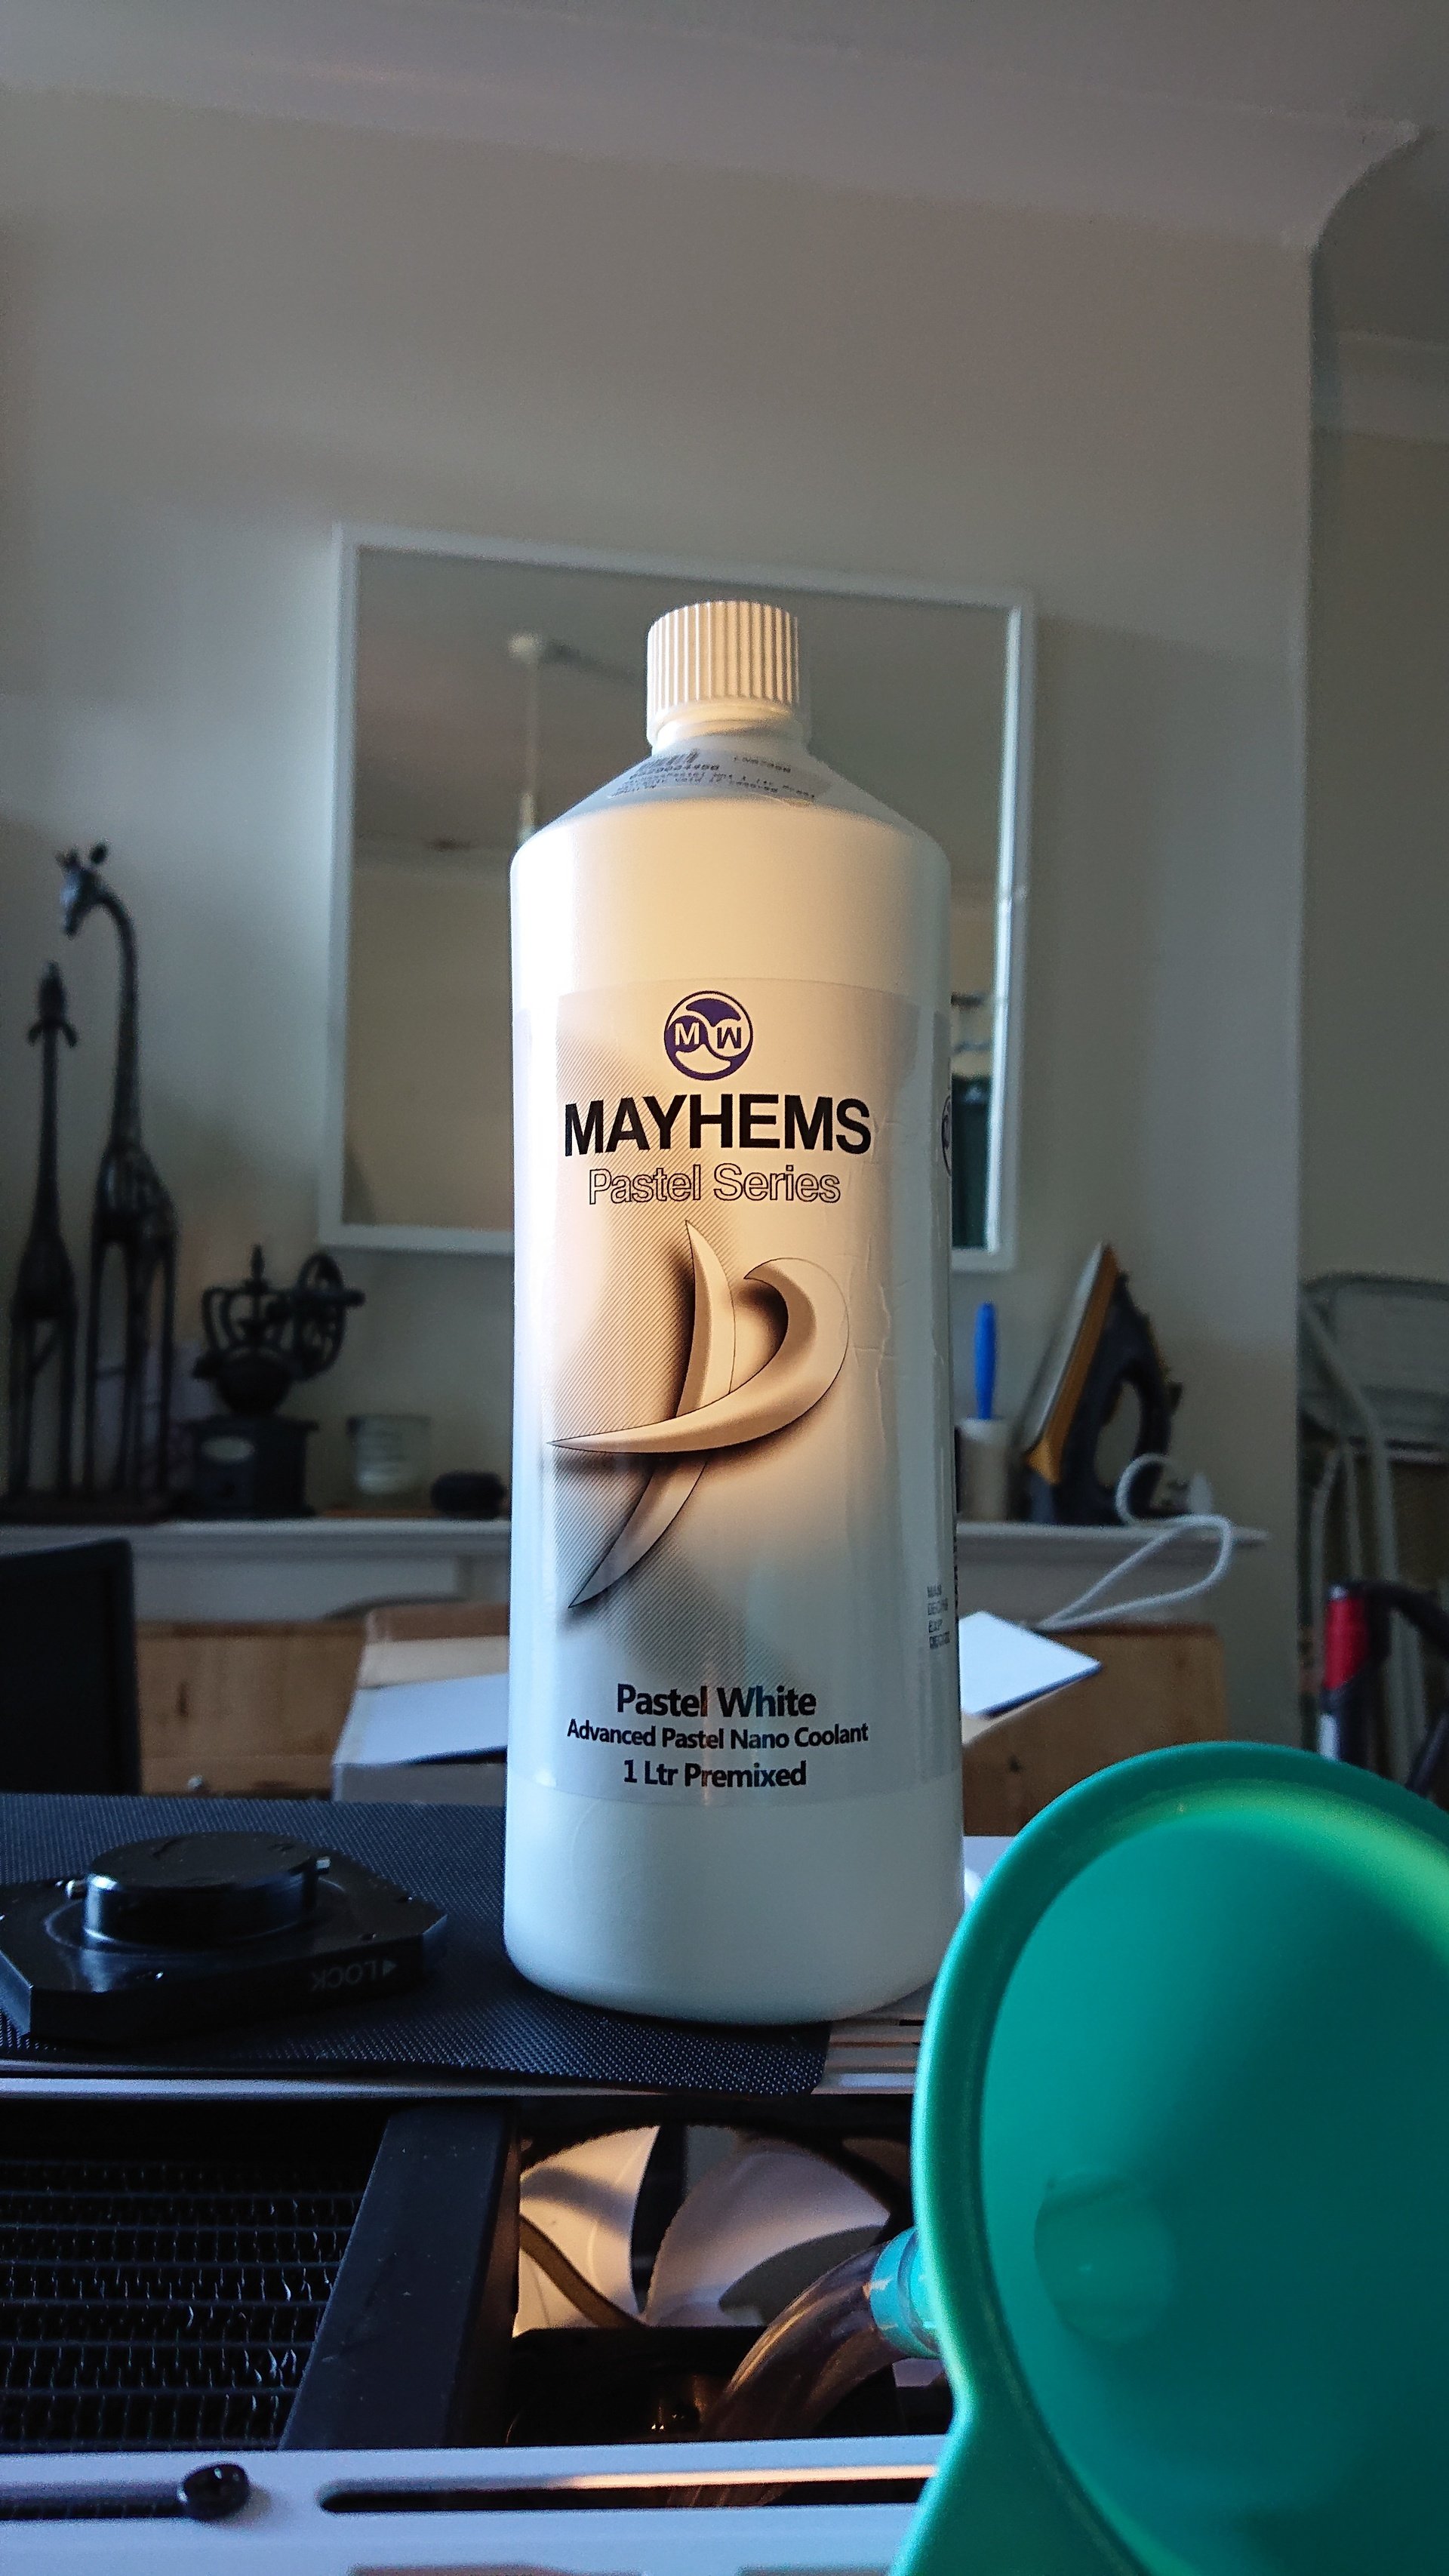
Once the bubbles had settled it looked so god dam good (even if i do say so myself), that I contemplated scrapping using pastel and going with clear coolant. But that wouldn't really catch the light as well and I'm glad I stuck with the pastel in the end. I think. ha ha
After half a dozen or so flushes I dried her out and finished installing and managing all the power cables (as best you can cable manage stock cables![Emoji]() ), the final few parts arrived. This most and surprisingly difficult of builds couldn't let me go without one last kick in the nuts. While installing the rubber washers on the res mount I knocked the middle fan and pushed the bottom screws out of the mounting holes and these screws lived behind the top of the rad. The rad that had already had 1 thread stripped while mounting it.
), the final few parts arrived. This most and surprisingly difficult of builds couldn't let me go without one last kick in the nuts. While installing the rubber washers on the res mount I knocked the middle fan and pushed the bottom screws out of the mounting holes and these screws lived behind the top of the rad. The rad that had already had 1 thread stripped while mounting it.
Try as I might to wriggle them back in and stay put, they simply refused and fell out again at the slightest of touches. I had been so close to finishing, but now I was looking at having to dismantle that whole section and run the risk of stripping yet another thread, as that rad had obviously lived one hell of a life previously. I almost cried.![Emoji]() After a lot of cursing, the answer was staring me right in the face; a big bag of cable ties. I could use a couple of cable ties to loop through the holes and round the mounts! It worked like a charm. The fan was stuck fast and you couldn't really see the total bodge. I'd got away with it.
After a lot of cursing, the answer was staring me right in the face; a big bag of cable ties. I could use a couple of cable ties to loop through the holes and round the mounts! It worked like a charm. The fan was stuck fast and you couldn't really see the total bodge. I'd got away with it. ![Emoji]() Unfortunately I don't have any pictures of it as I was too busy changing my underwear. lol
Unfortunately I don't have any pictures of it as I was too busy changing my underwear. lol
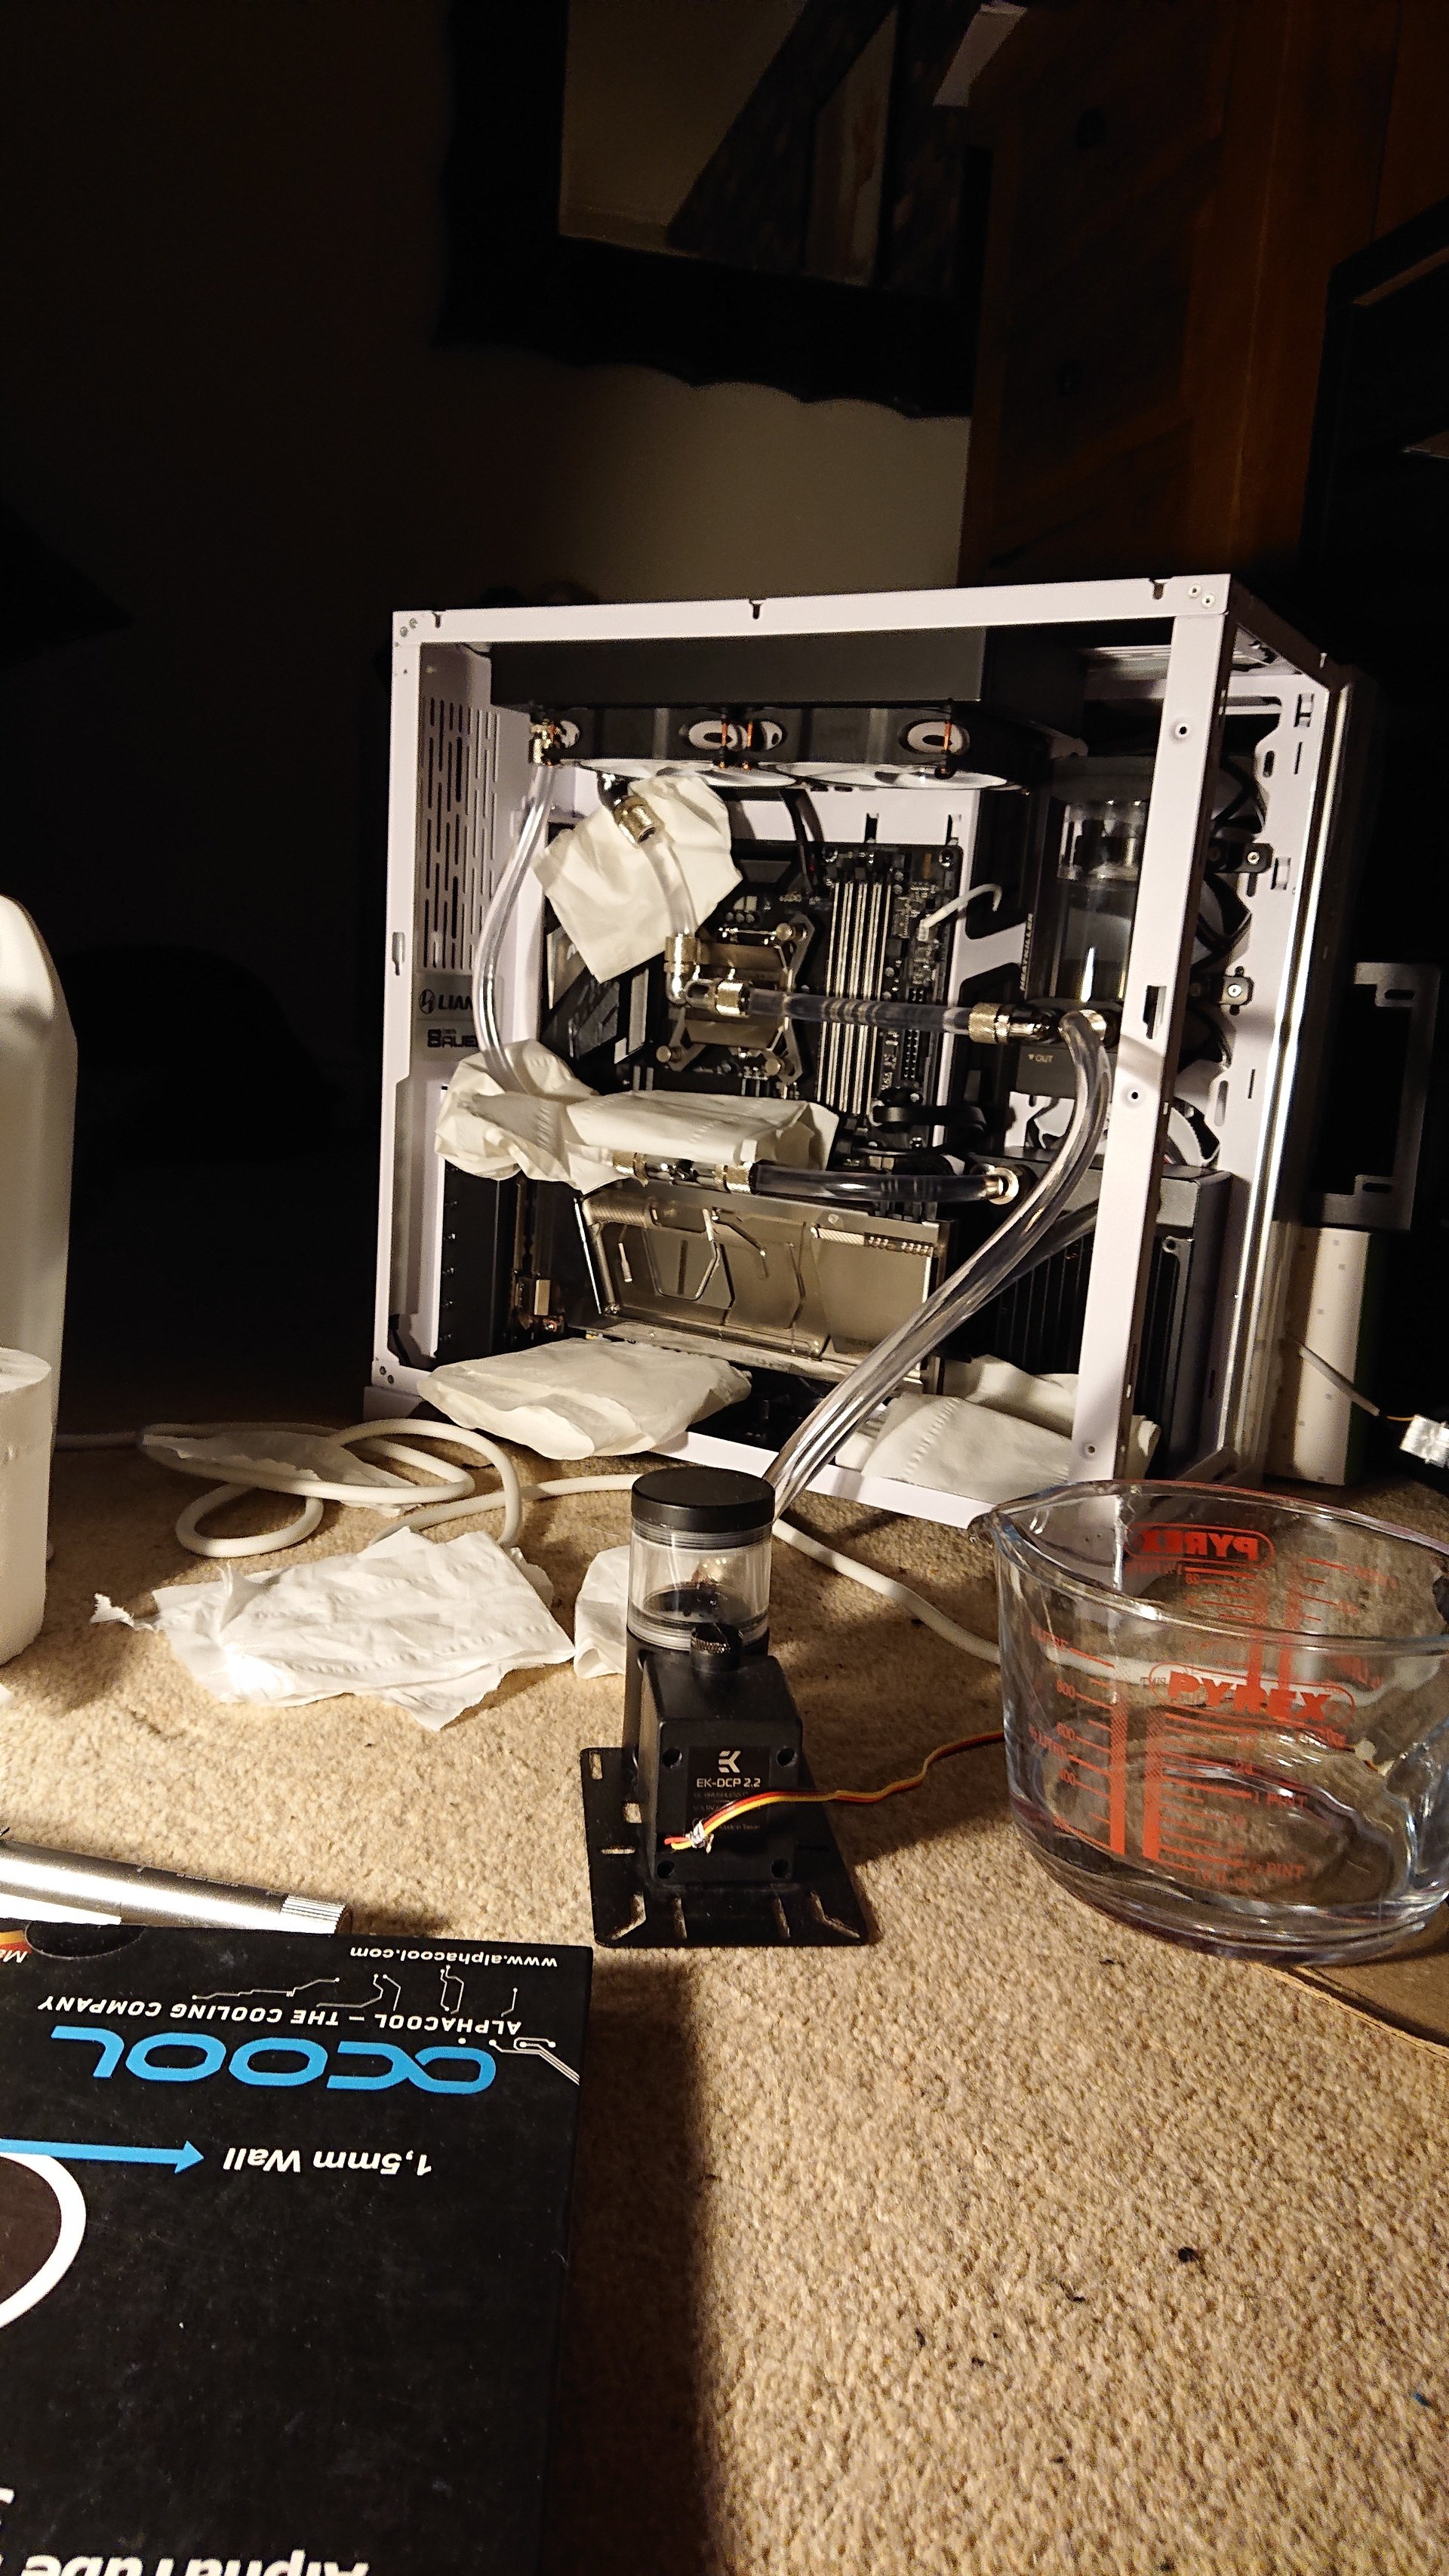
Finally it was time for filling.
![User Image]()
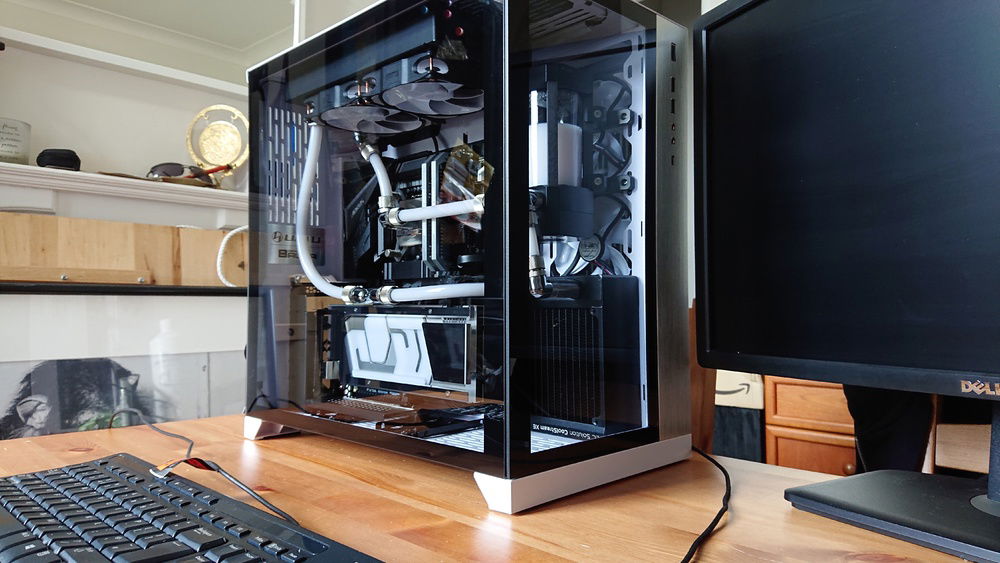
The result you can see for yourself above in the gallery, but I will say this is definitely the nicest build I've ever done and has given me serious rig envy. So stay tuned Crapfans. Same crap time. Same crap channel.
My build got flipped, turned upside down
And I'd like to take a minute, just sit right there
I'll tell you how it became the build that causes nightmares
This is a build I recently did for my brother, after his PSU blew up in spectacular fashion and took a bunch of other parts with it. He'd talked about wanting to go custom watercooled for a while as he hated his noisy rig, I'd even bought him some second hand rads, a pump and fittings to get him going, but for various reasons it never got off the ground. Now was the perfect opportunity, go big or go home.
Now my brother has full-on OCD, so things have to be just so or it will annoy him to oblivion, so I had to get it right and make it as neat and clean as possible. After putting together then main hardware temporarily to ensure everything worked, I tested out the DeepCool RGB 200 Pro strips we'd got.
While they looked good, they had a bit of a 'spotlighty' look to them. To try and dissipate the light a bit more, I ordered some of the plastic strips that are used for aluminium channels, when putting led strips in kitchens etc. They seemed to do the trick and would also help to hide the strips in the white case.
There was a slight problem with the length of the cable between the rgb strips however and the black cables would also stand out a bit, so thought I'd try sleeving them and taking the plastic connectors off the wires, just using the terminal pins.
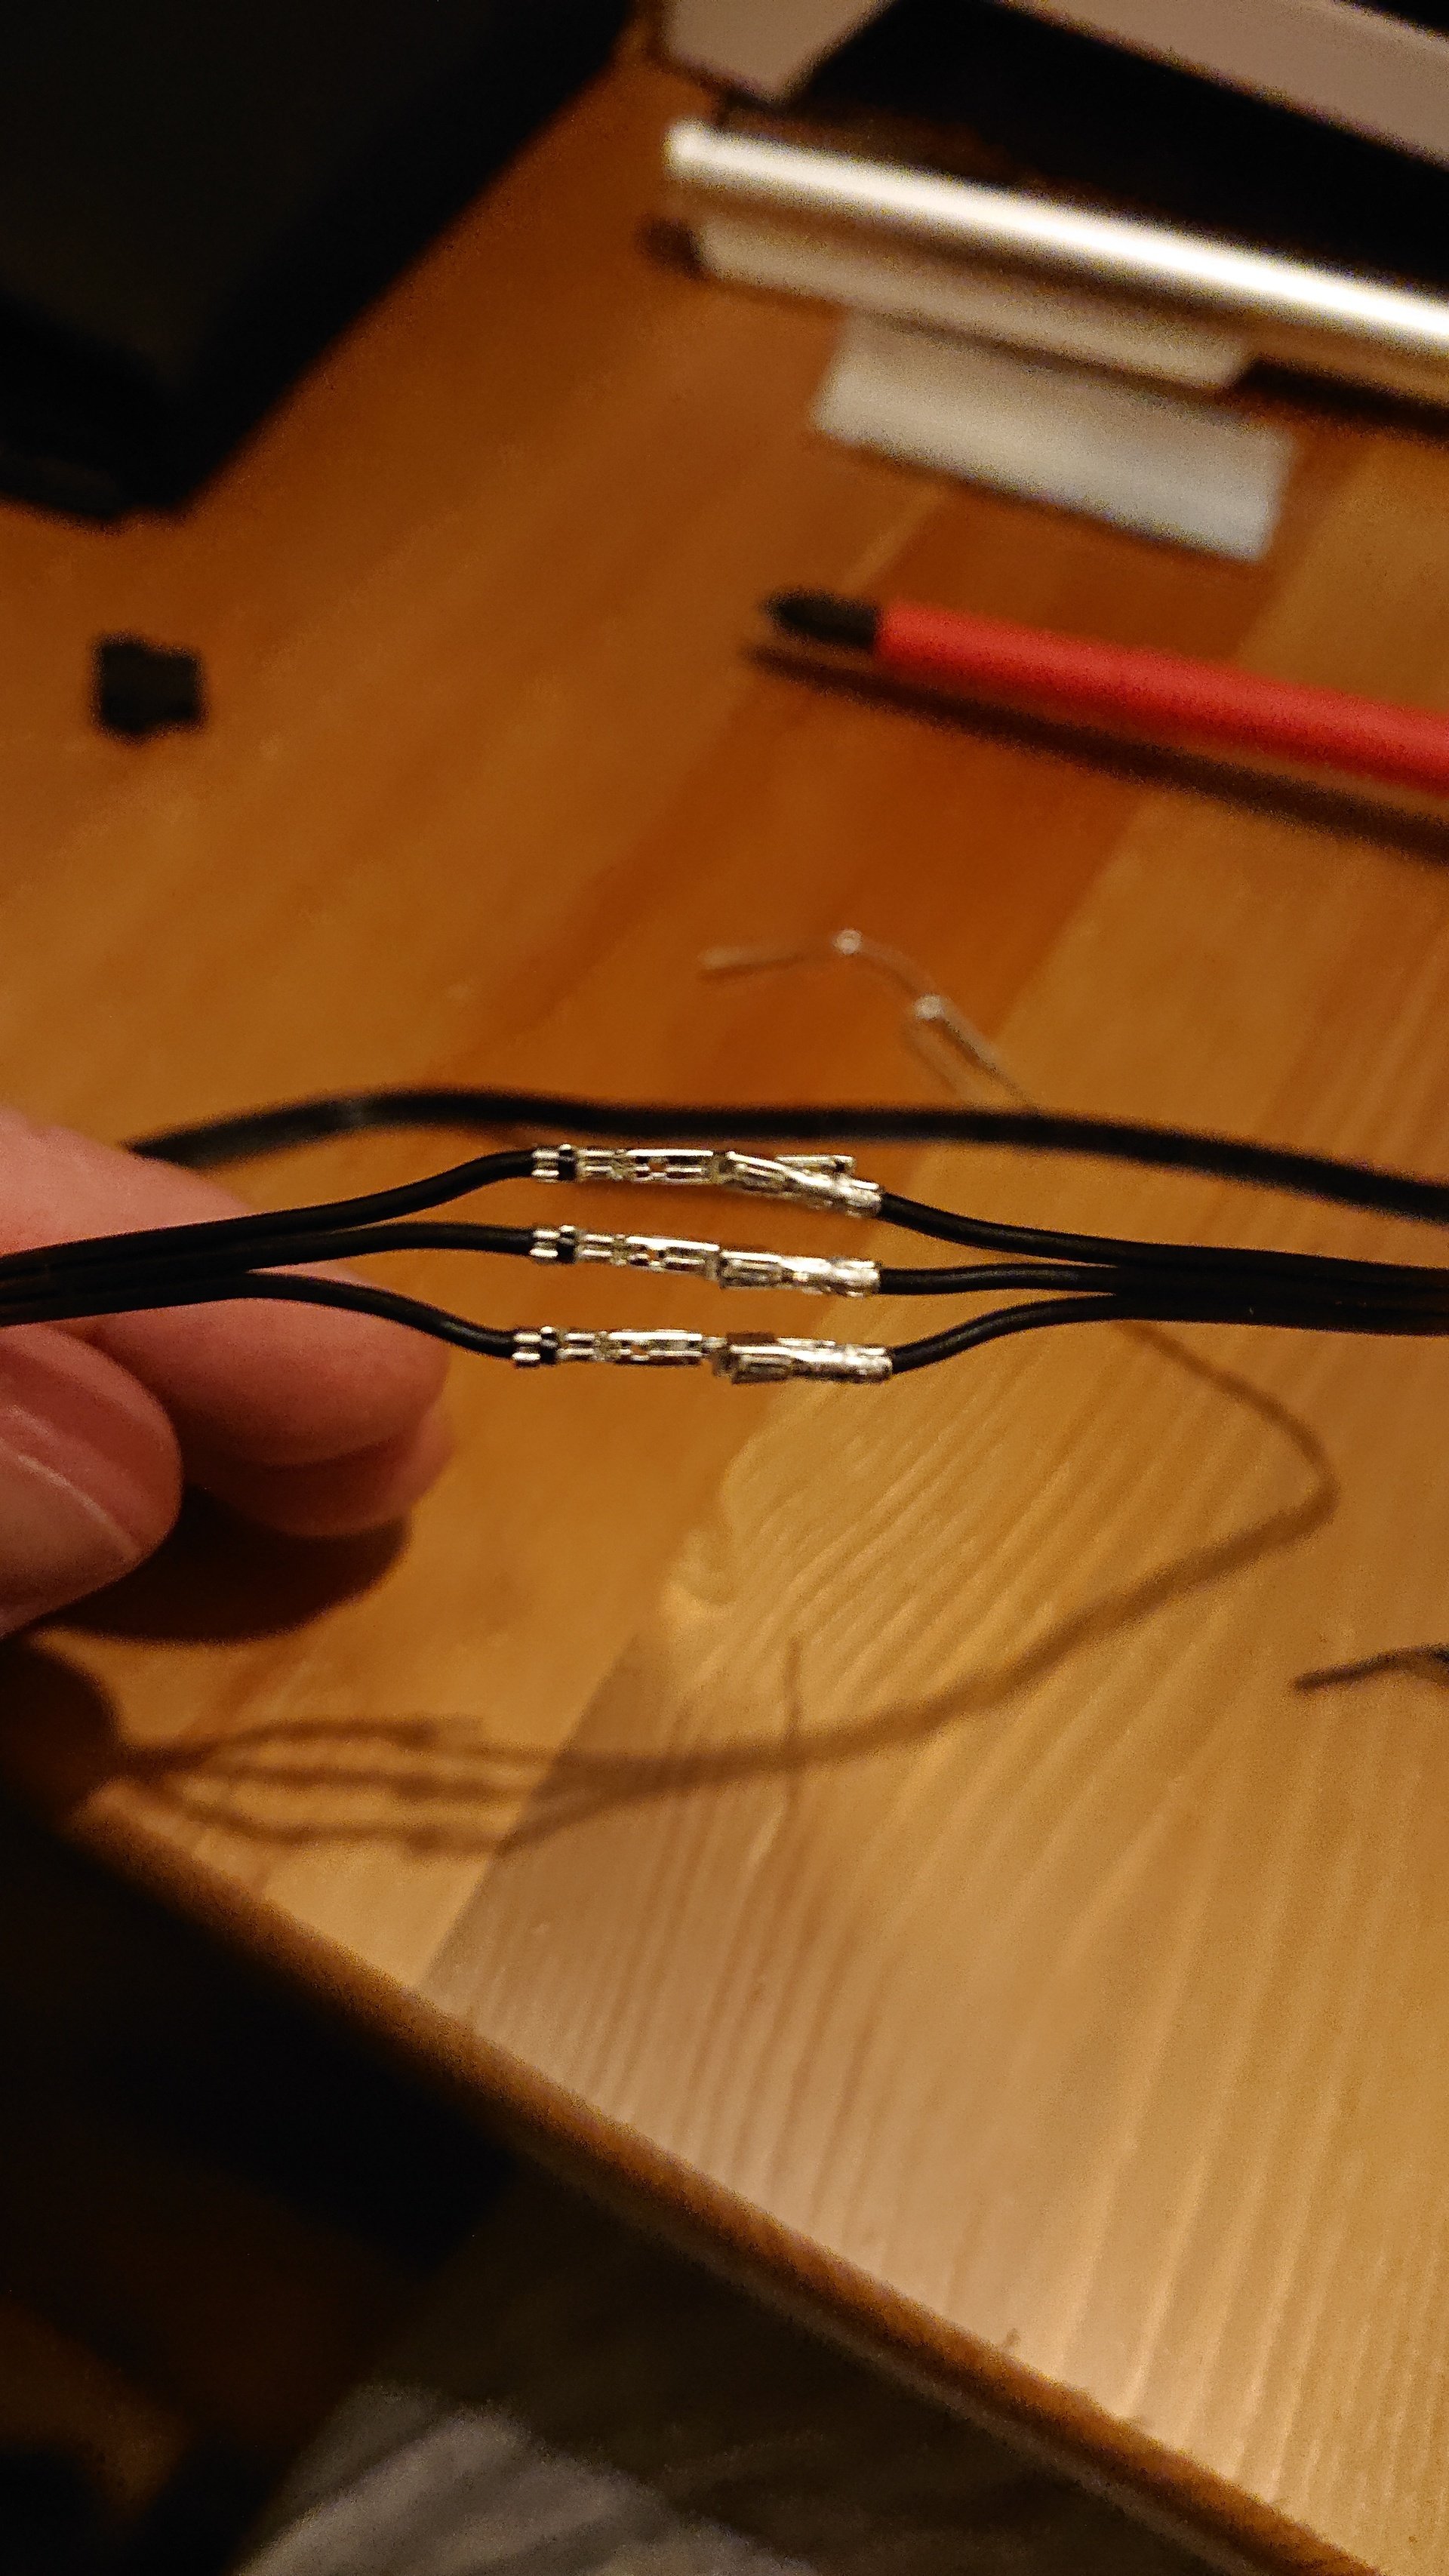
As you can see in the pic above, the test of the new shortened and spliced strips was a great success, I hadn't broken it!
 Now I just needed to take the connectors back off to join in the other 2 strips...
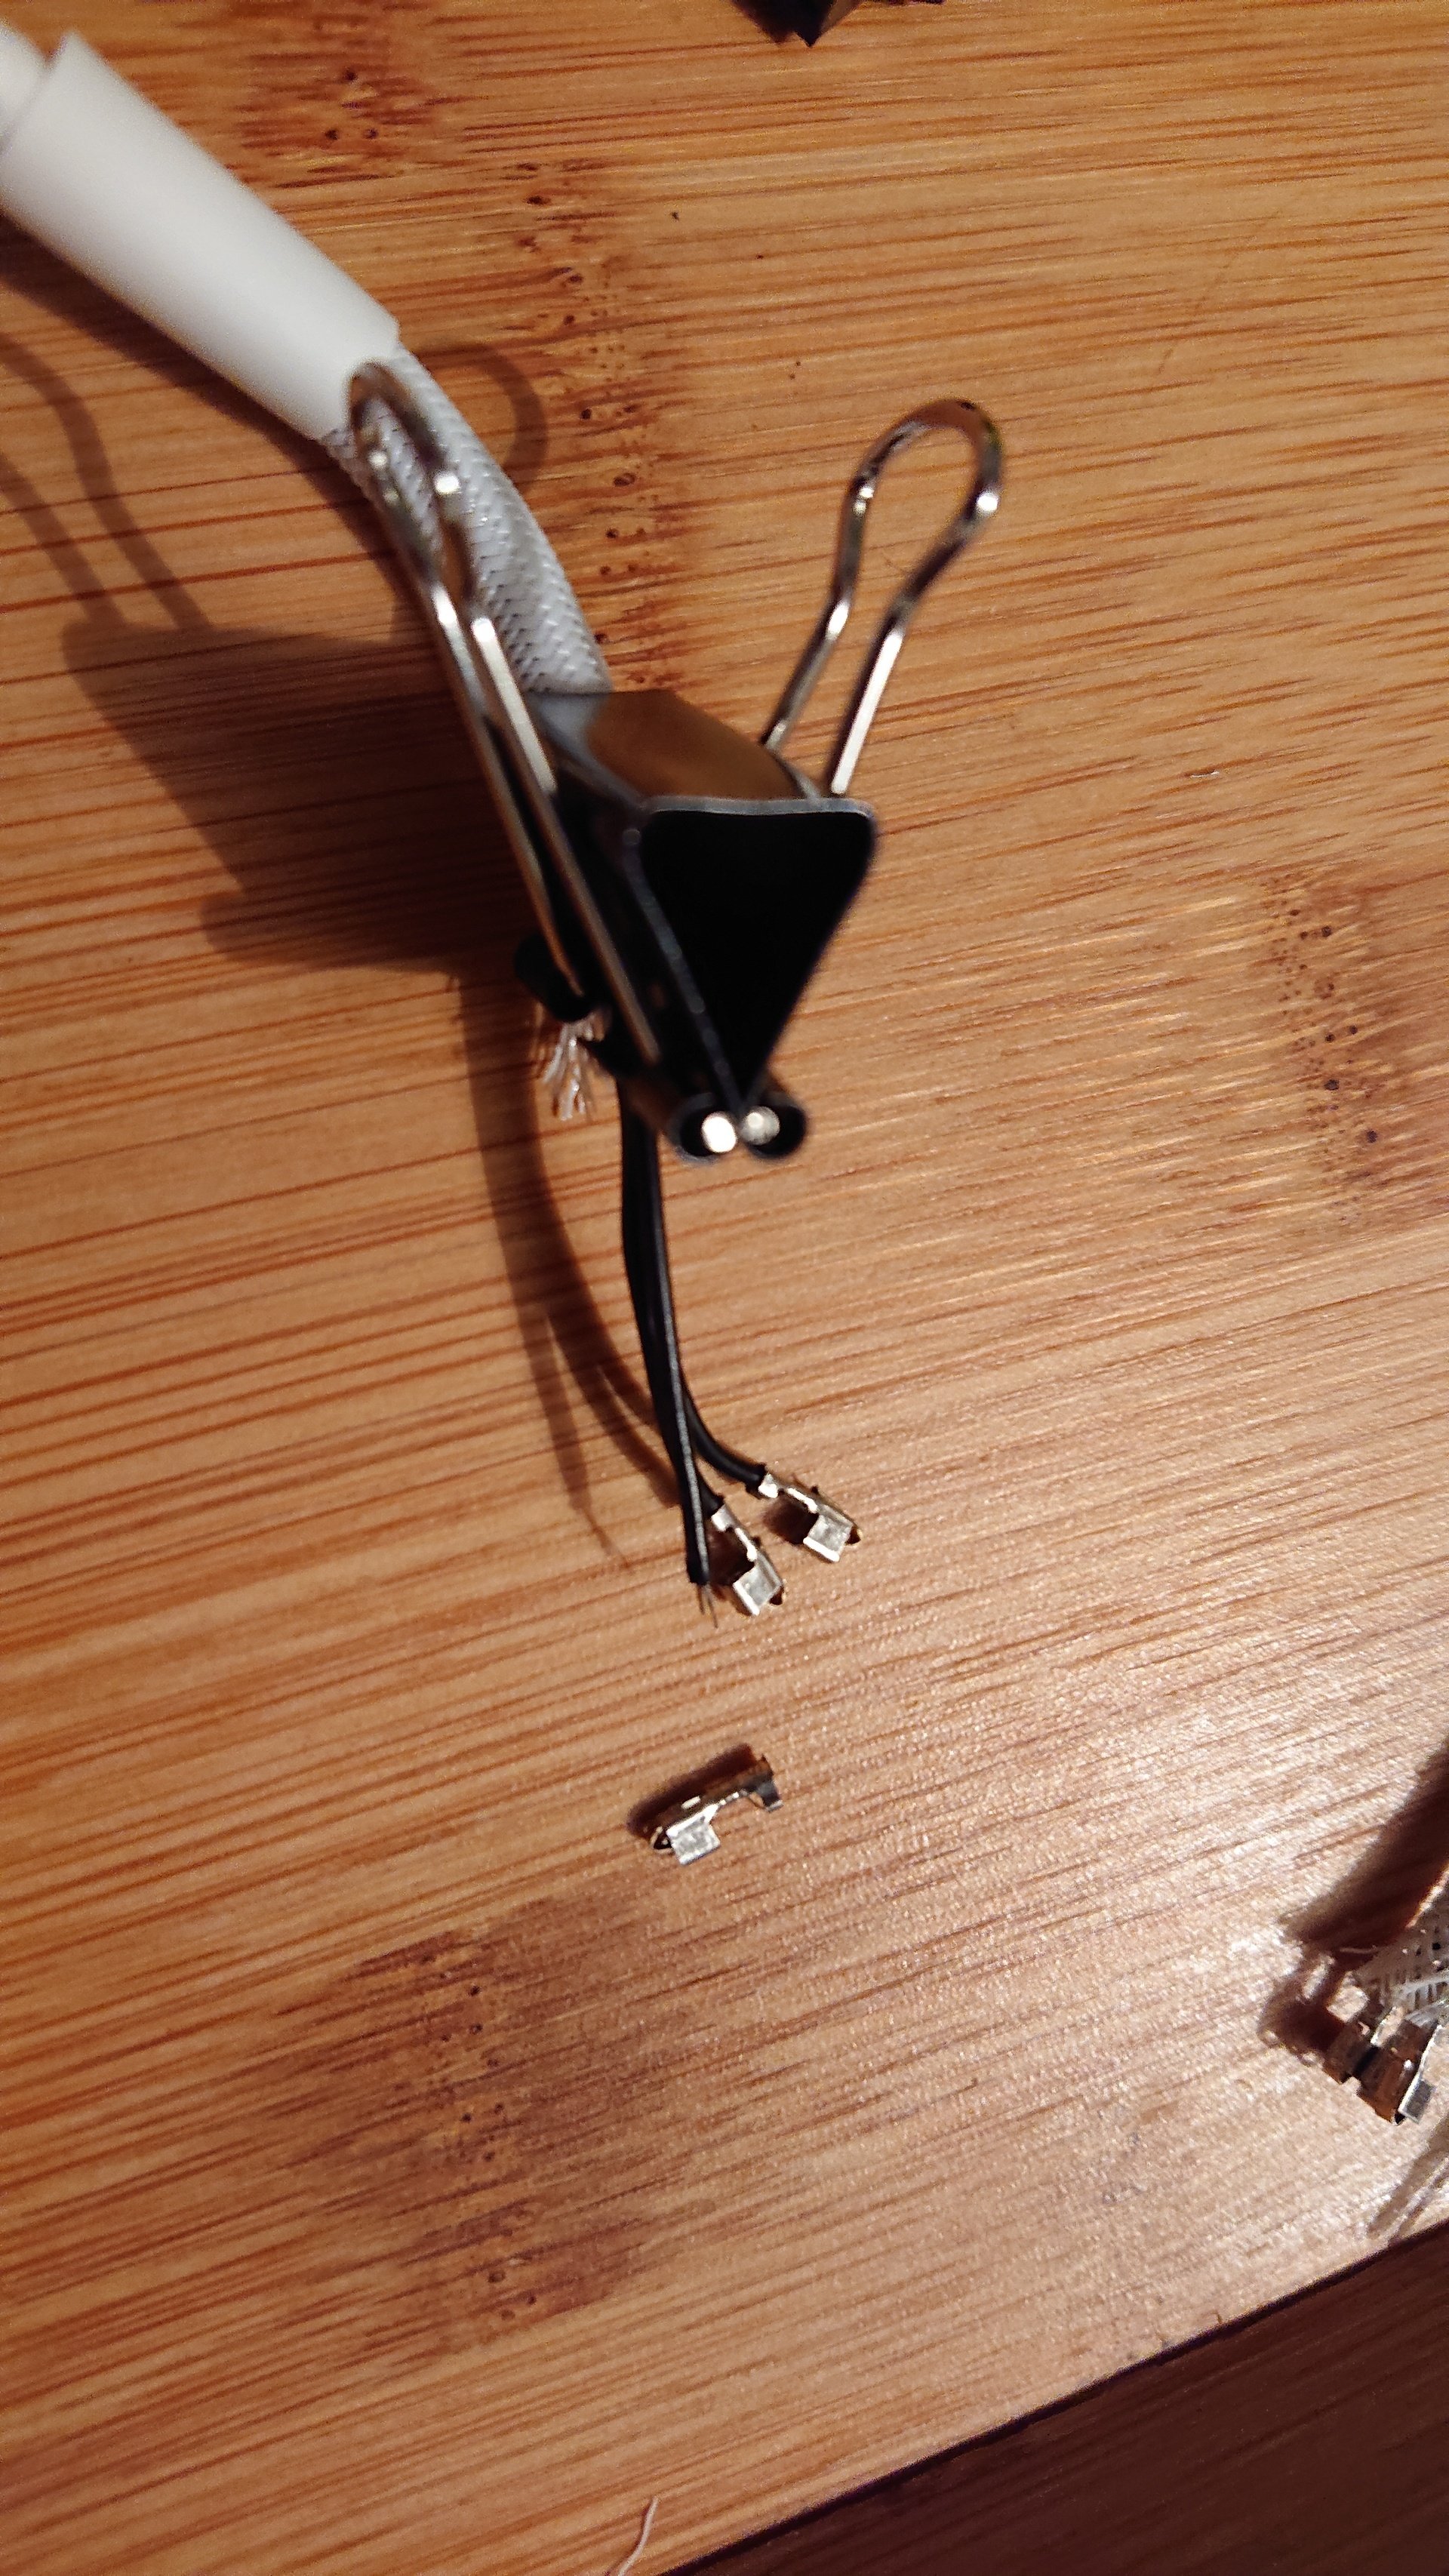
Balls.

I was so annoyed with myself as I only had to take that connector off as I forgot to put the last bit of heatshrink on first. After a bit of thinking, a lot of fiddling trying desperately to reattach it, failing and then ordering some new strips, I realised I had the terminal pins I'd cut off the spliced strips. I could take the other pins off and attach those sections to save it, then carry on joining the strips together.

Turned out pretty good in the end. Accept it didn't. Due to a combination of the ribbon style cable, the sleeving and all the heatshrink used to isolate the connections, the cable just did not want to bend and twist as I wanted. I wriggled and flexed and bent them about, but turning and bending them to get the led strips into place put a lot of torque into the cables and the strips would never have stuck properly. So off it all came, apart from the join in the corner which shortened the cables, which was a massive PITA and a bitter disappointment. But a lesson learned for next time.
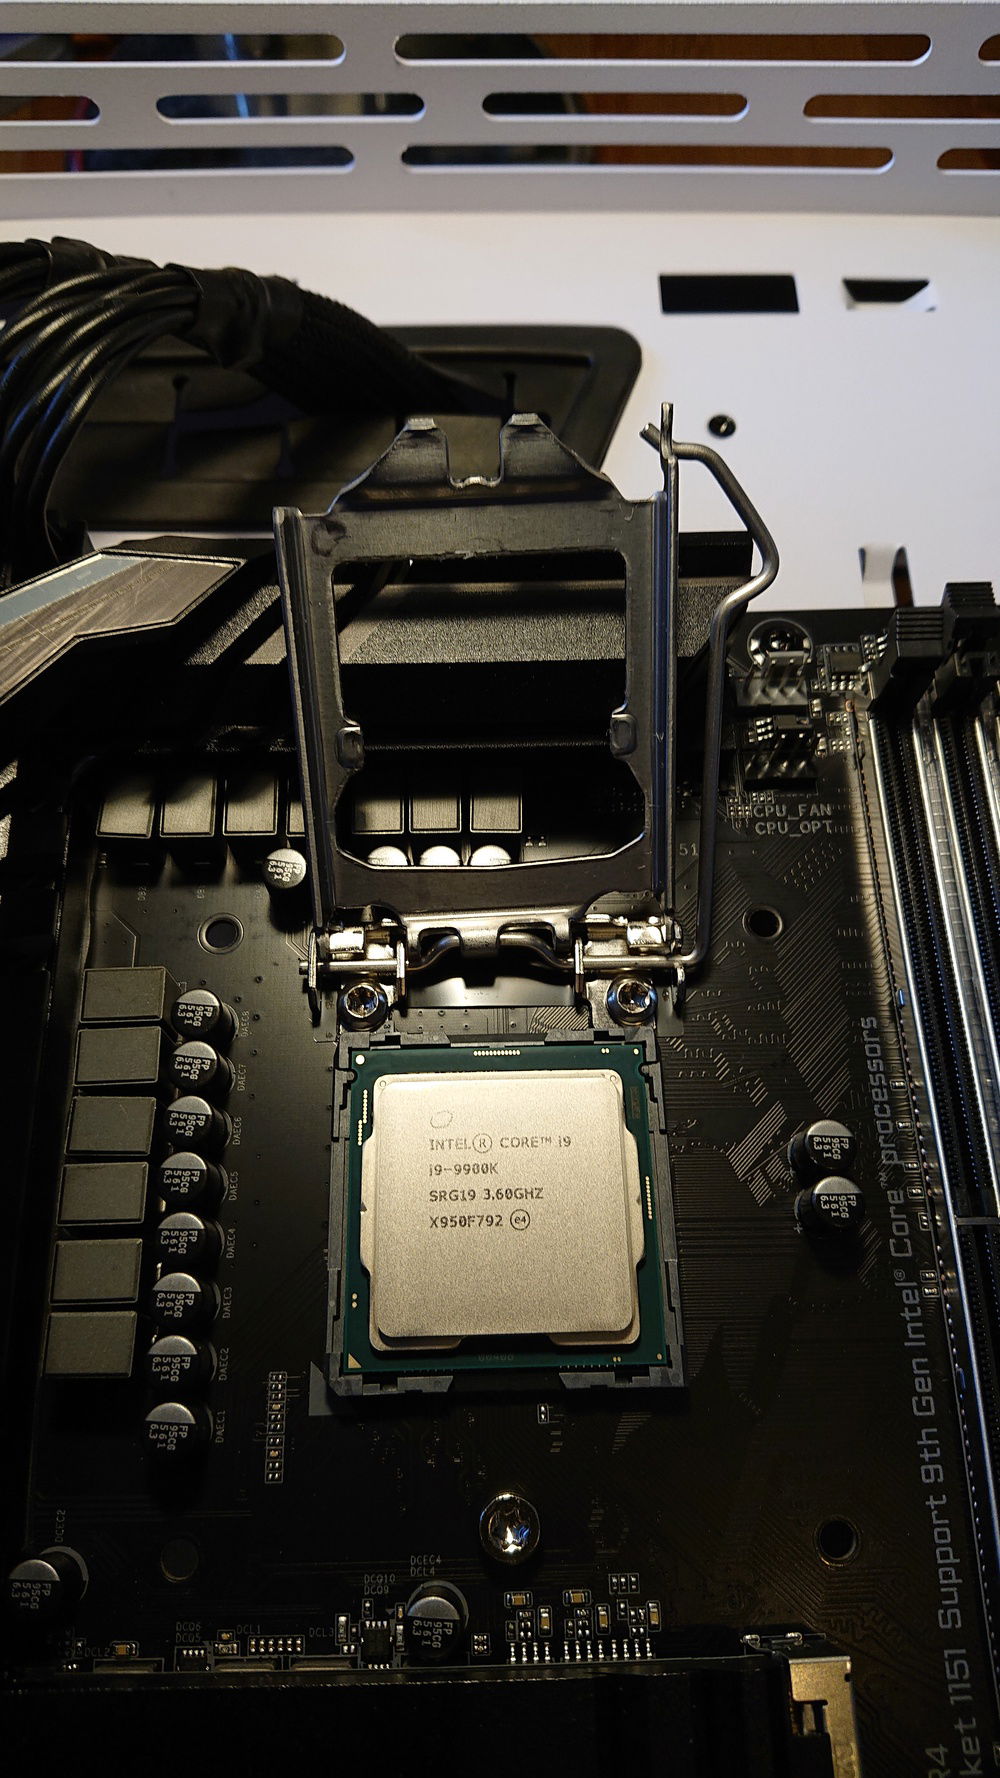
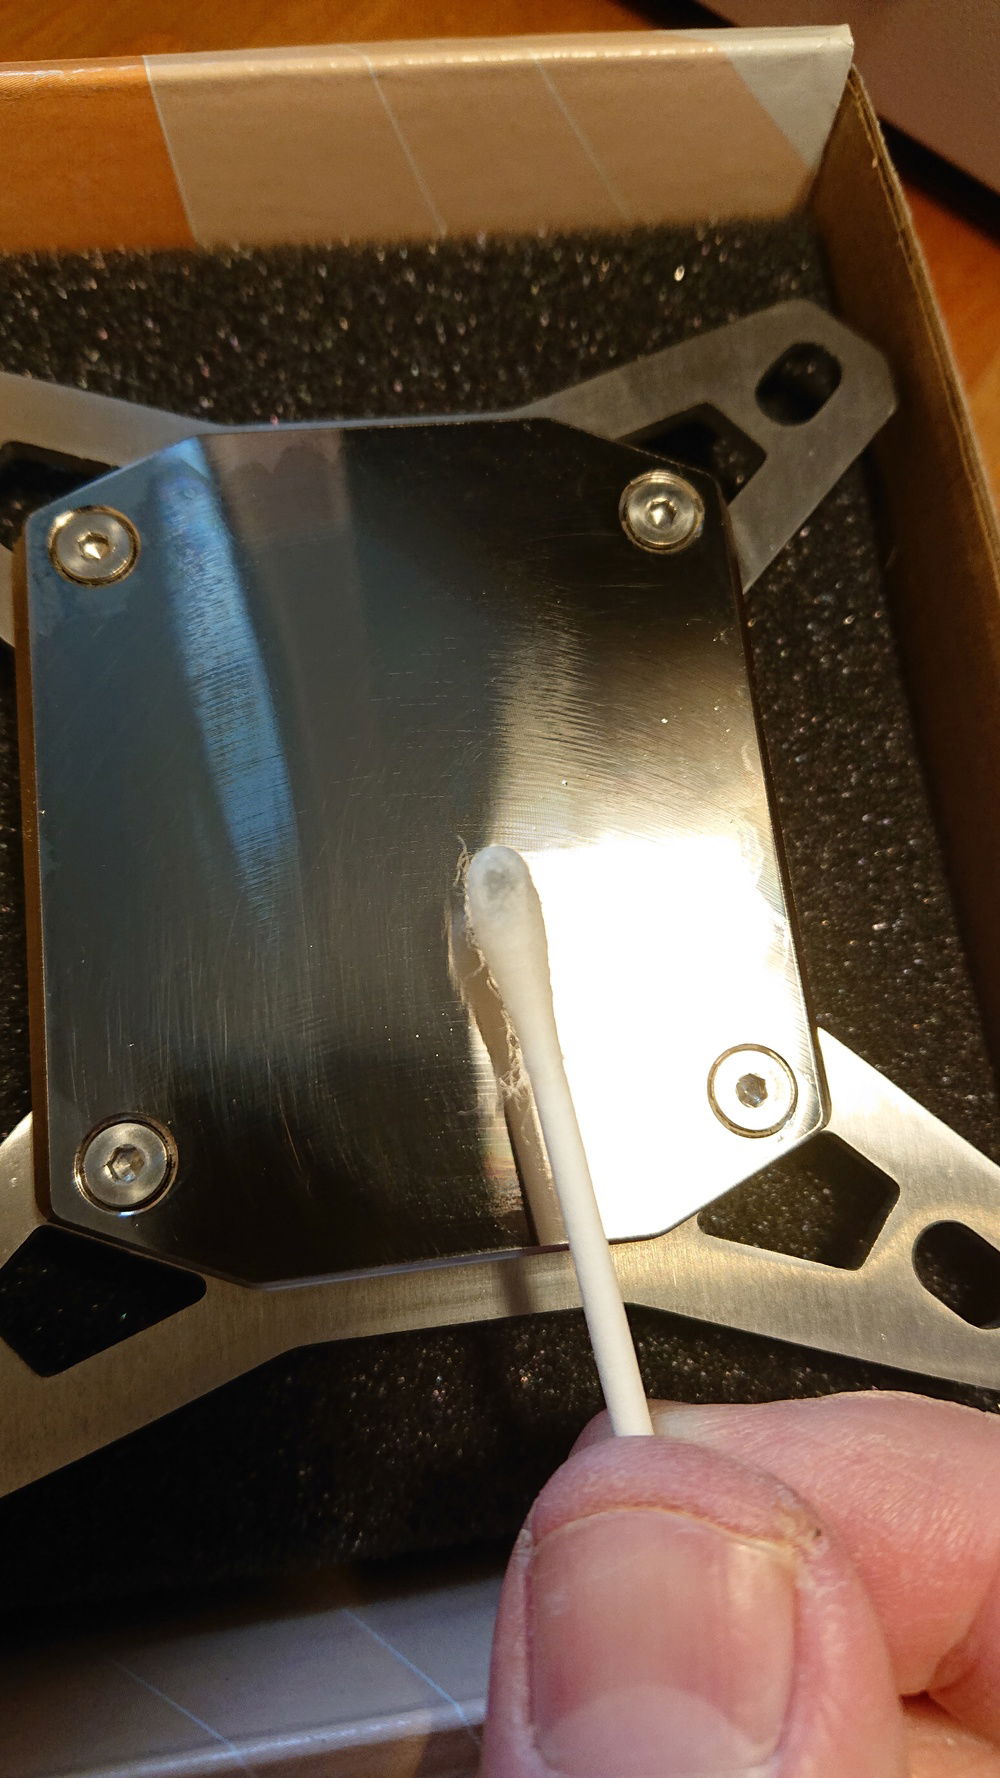
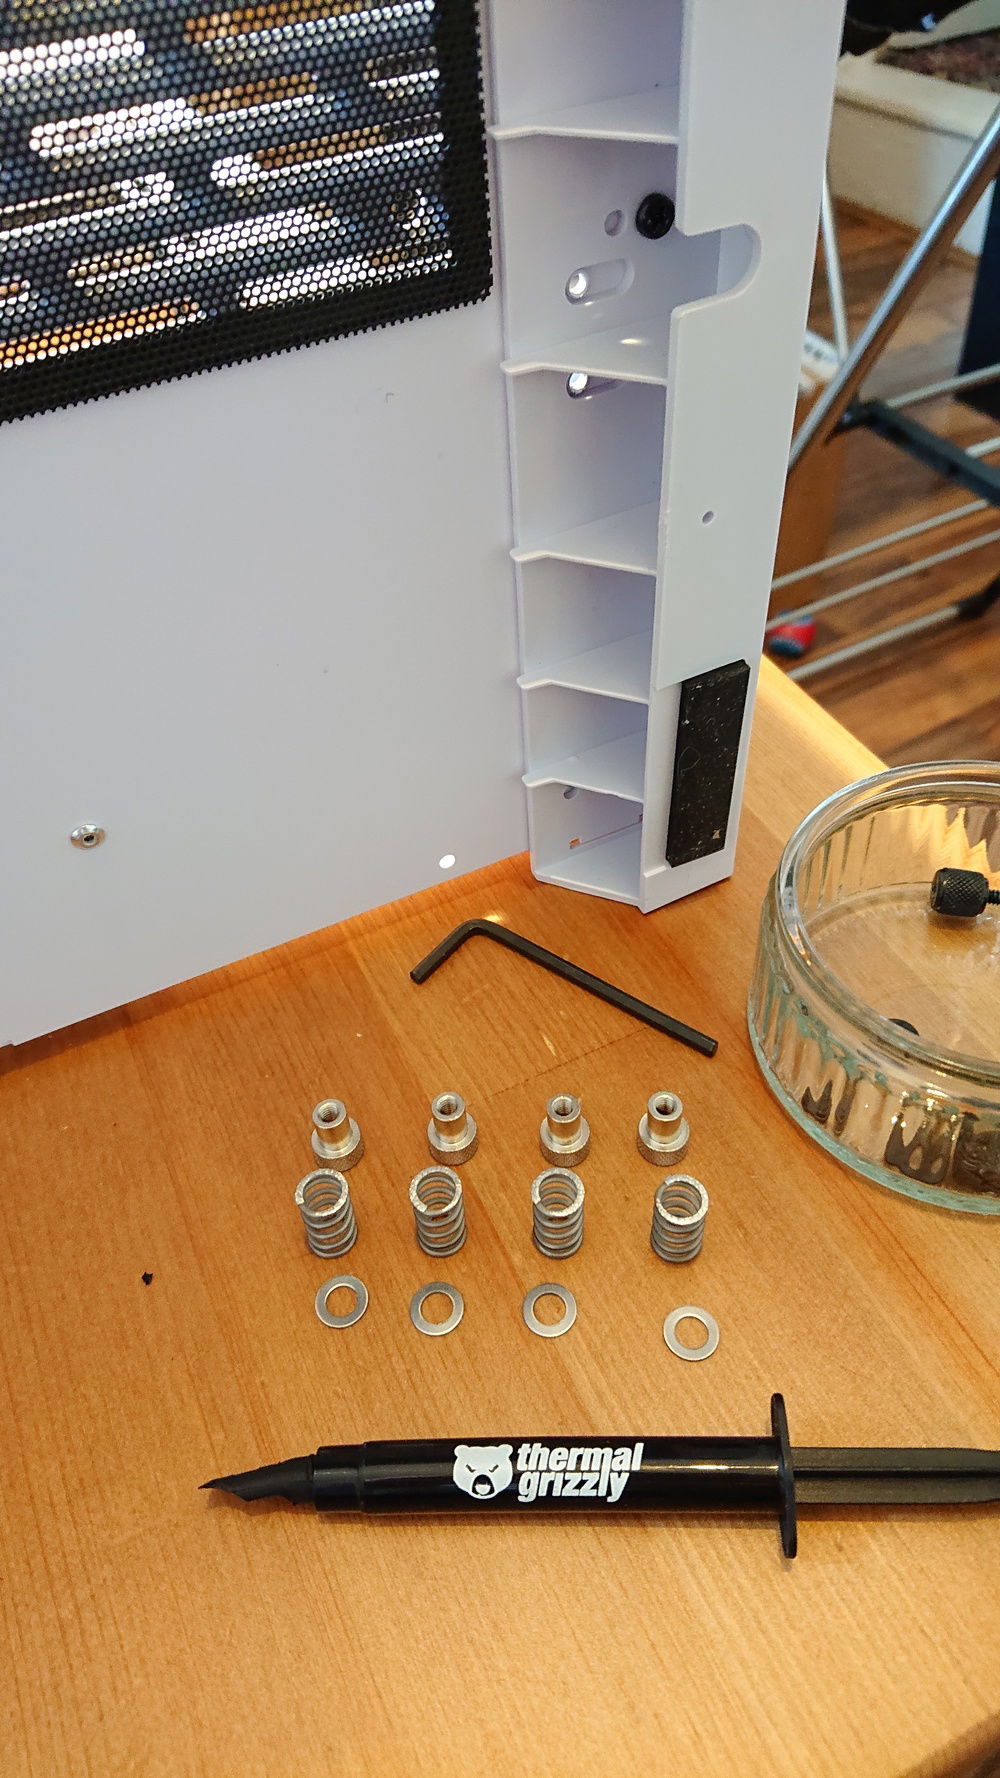
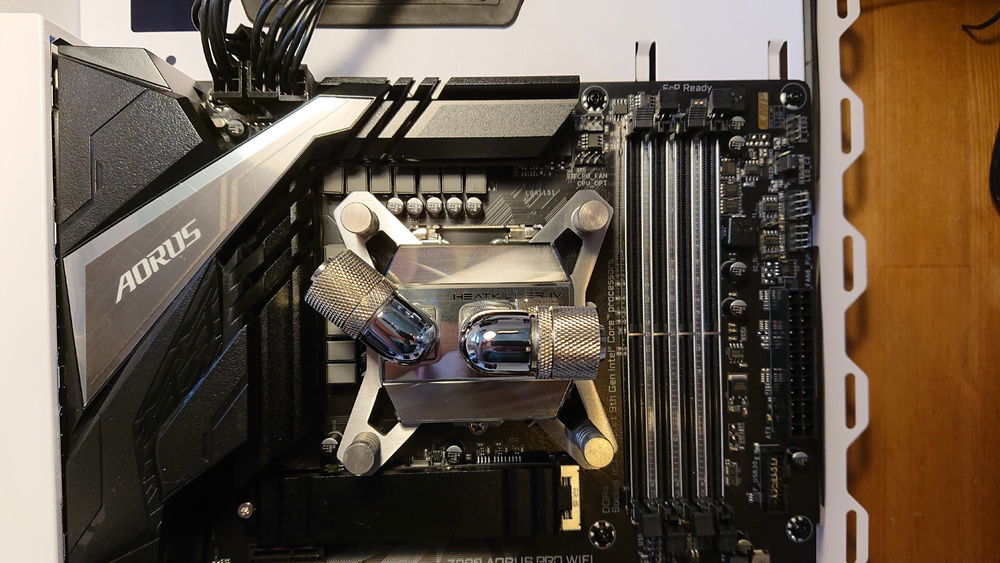
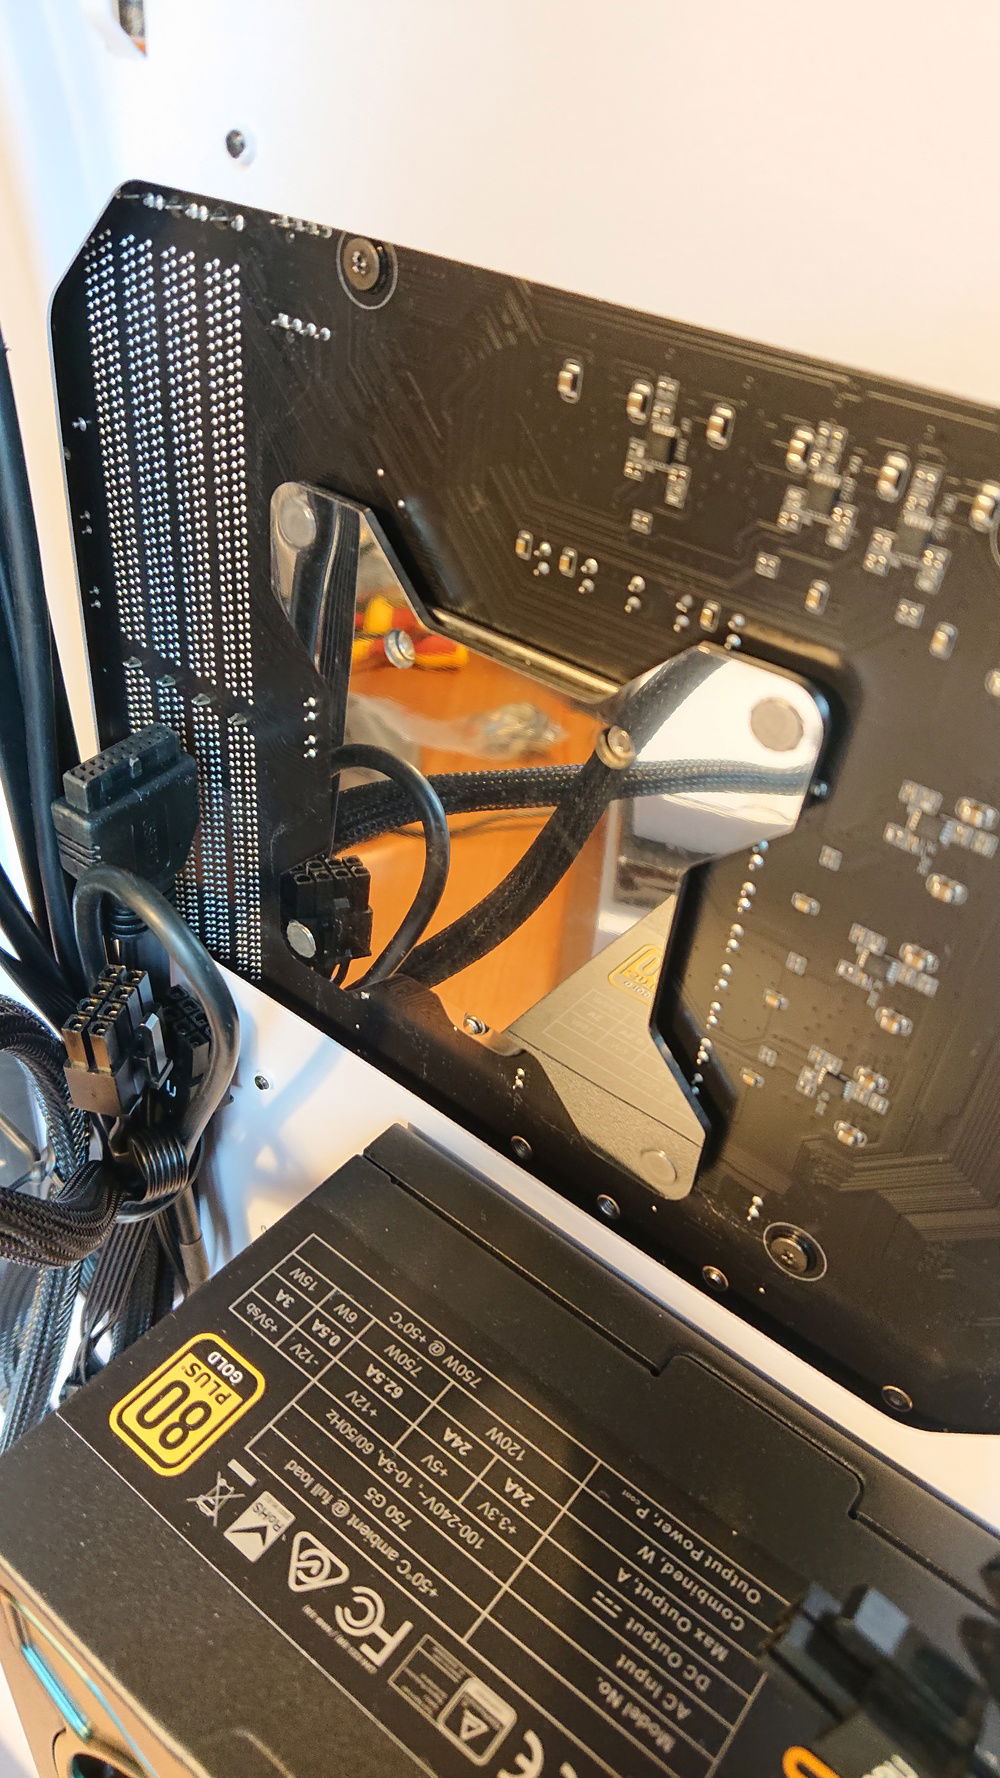
I decided to do a few more fun bits to recover. Cleaned up the CPU and the Heatkiller block and got that mounted, did some cable management and other tidying, plus set up the rads on a spare res/pump unit and got them cleaned with some Mayhems Part2. Next I mounted the DDC pump into the Heatkiller tube. I did still sleeve the power and PWM cable for the pump and they came out really nice.
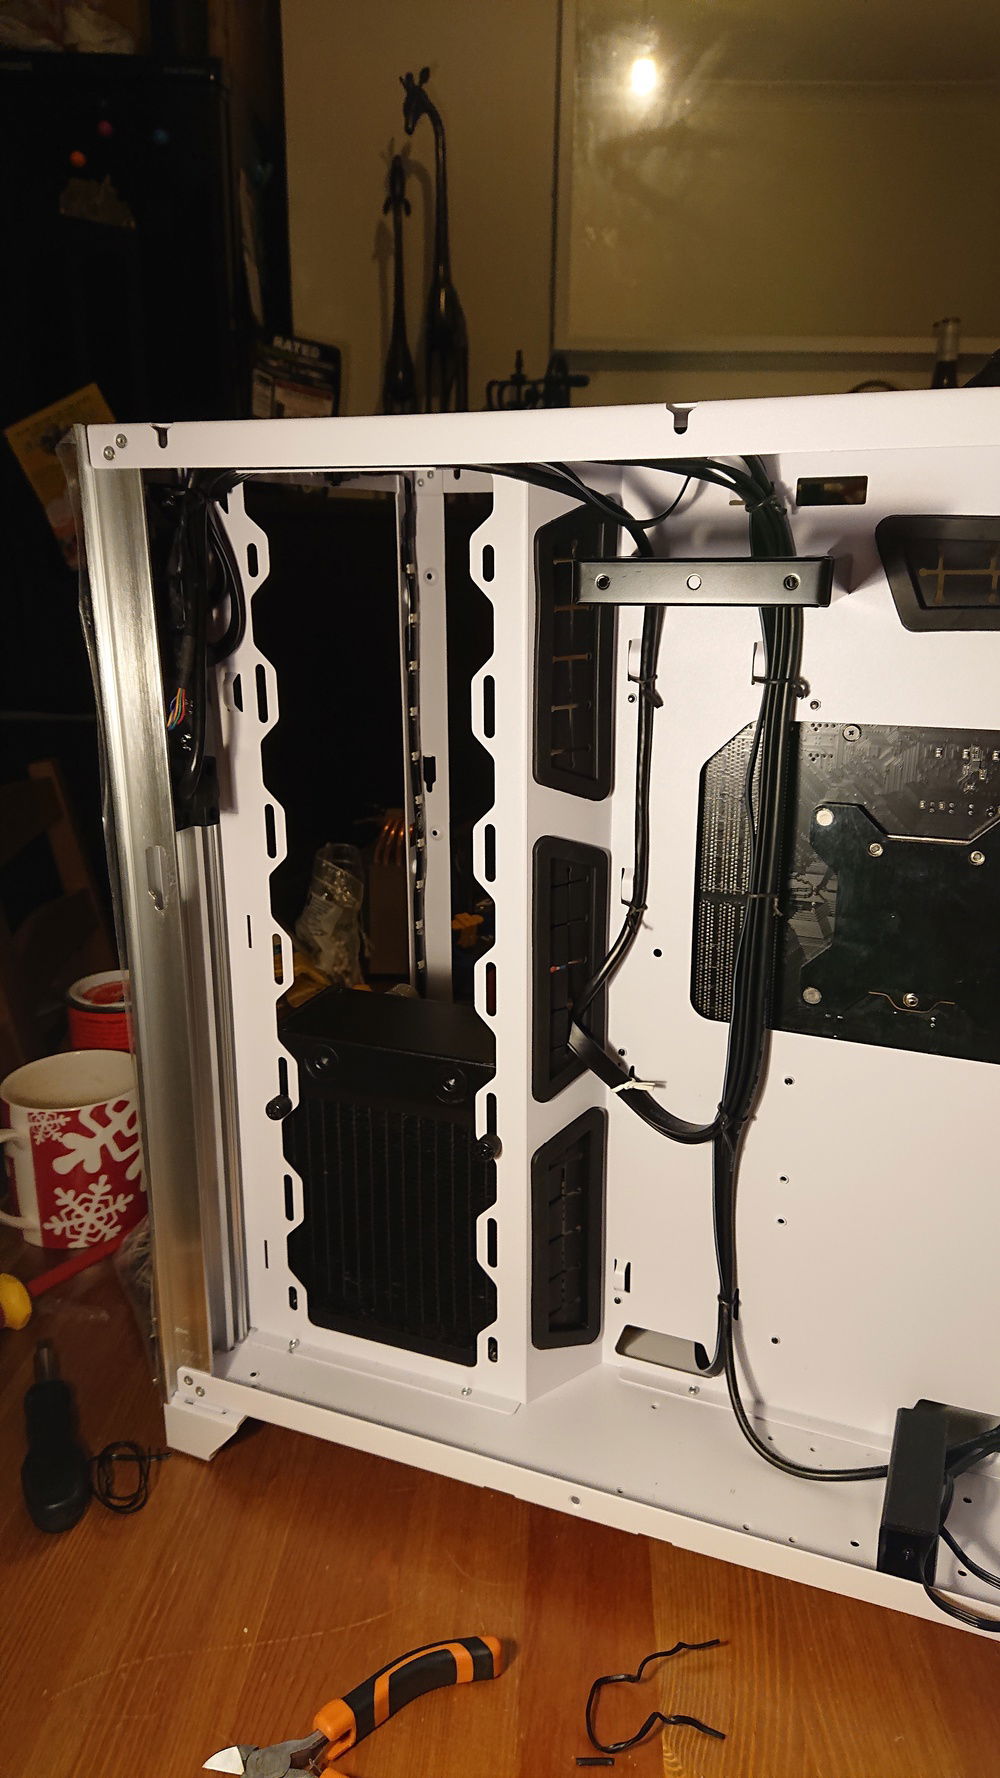
Next it was time to mount the fans, rad and res in the side mounts, it was going to be a really tight fit to get them it. Than NB eloops have a really nice mounting method, but the screws are really long and the nuts a little large for my liking, so i turned the screws round so the small heads were shown in the main chamber. They JUST caught on the the mounting holes, in hindsight some small washers may have been a good idea. The 120 rad was being a pain and I couldn't all the screws to catch. Just when I thought I had done it and was tightening them up there was a "PING" and the top left corner had come away, stripping the thread. I couldn't believe it.

Determined not to let this build get the better of me, I got to work on a solution. I had the nuts for the eloop fan that would connect to the rad spare, 2 of them almost fit underneath the screw hole, but there was some material in the way. I stripped down the rad, as the panels can be taken off on these EK rads and filed off the debris. I got the panel back on and slid the nuts underneath, it was still a tight fit so they would stay of there own accord while mounting. Fortunately it worked a treat and the rad mounted first time. The res was also really tight and tricky to get into place, but I got there in the end.
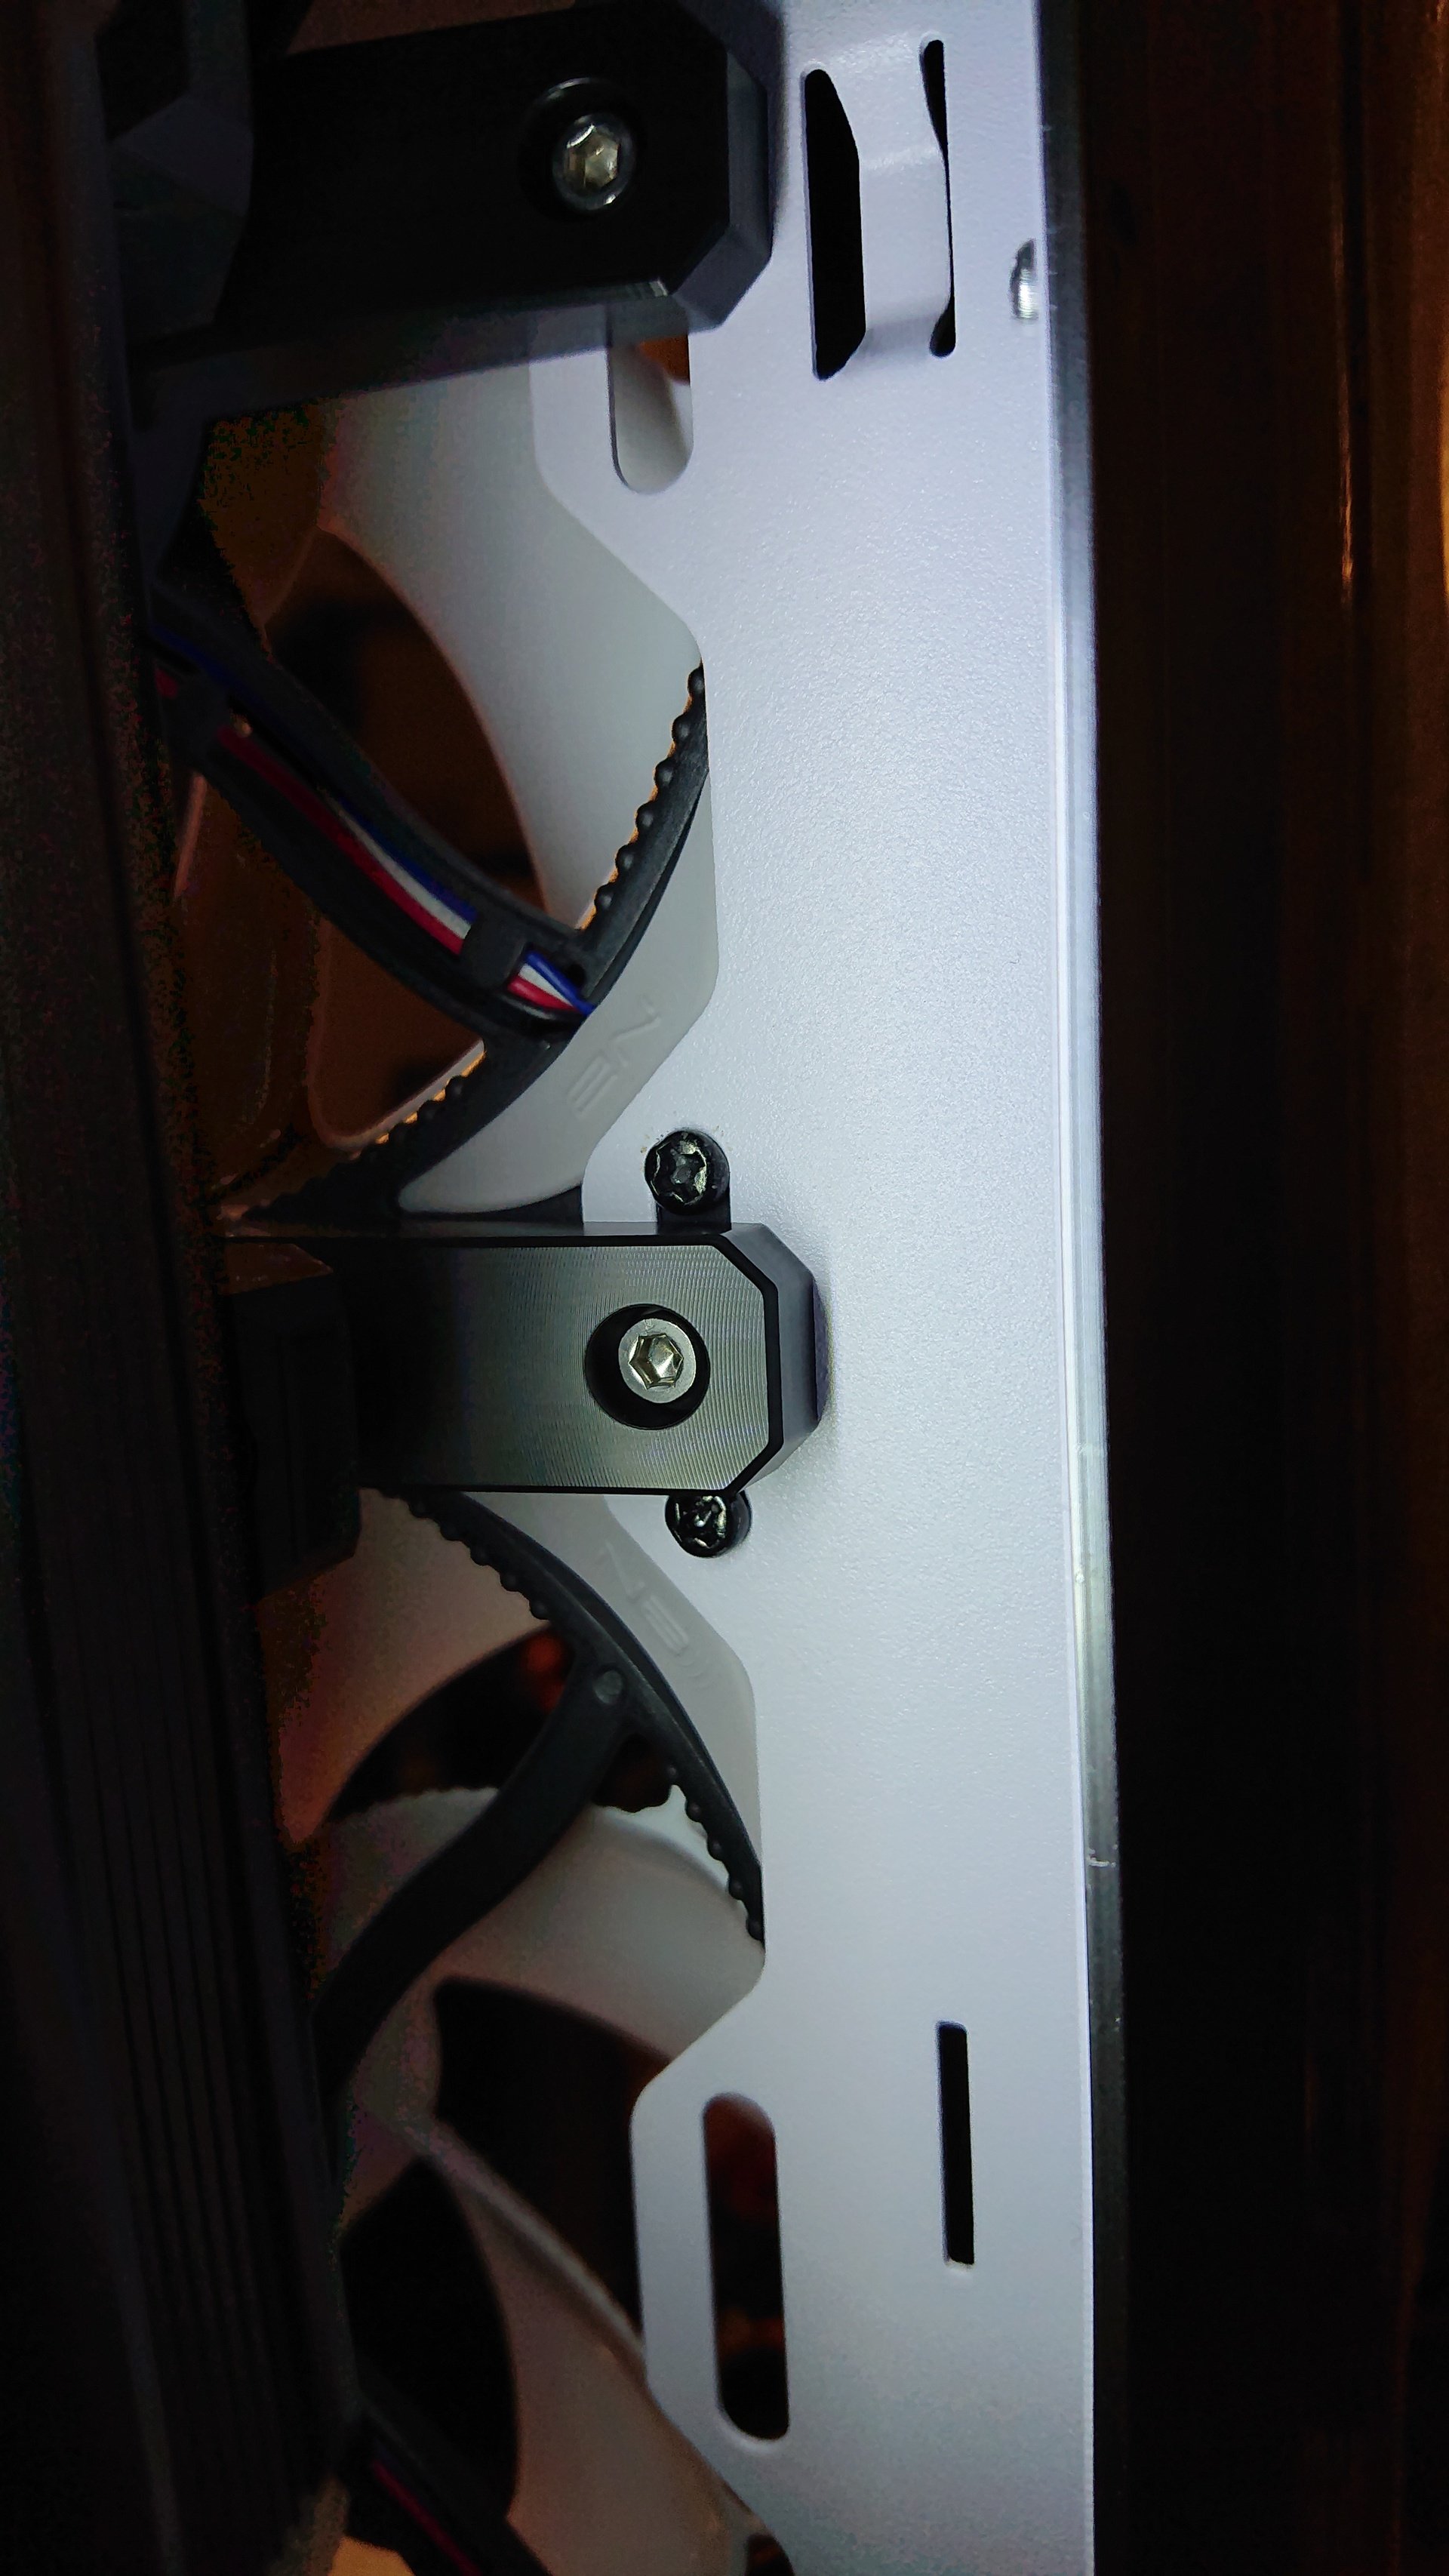
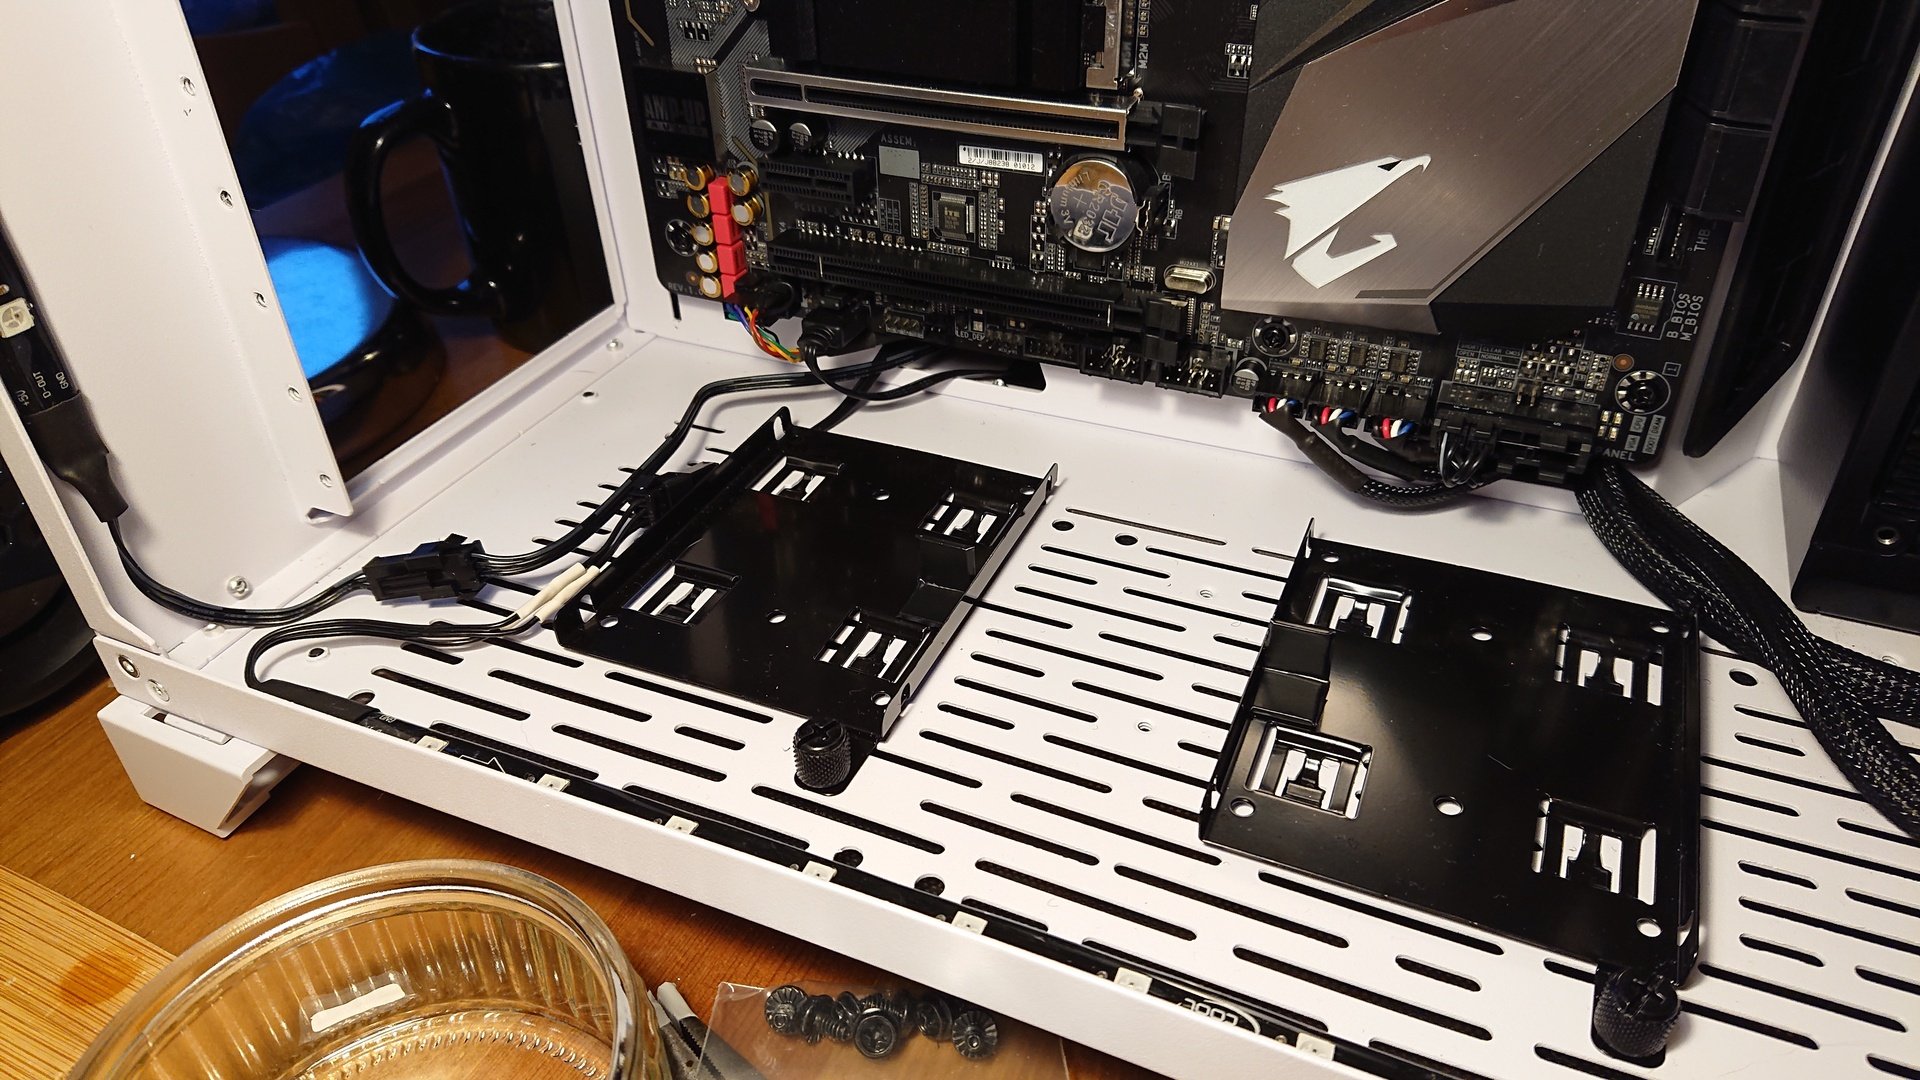
When I was testing the parts, I noticed that the vertical adapter bracket sagged towards the back. While the front of it has a lip that luckily sat nicely on the 2.5" trays on the case floor, the rear had no support at all. I looked for something I could put under it to keep it up (quite in the back there, I hear you laughing), I tried various odds and sods but nothing fit. Luckily I had some aluminium angle left over from making a custom side panel on my rig The Cure and it was the perfect size. I didn't want it to stand out, so I covered them in black electrical tape to match the hard drive trays.
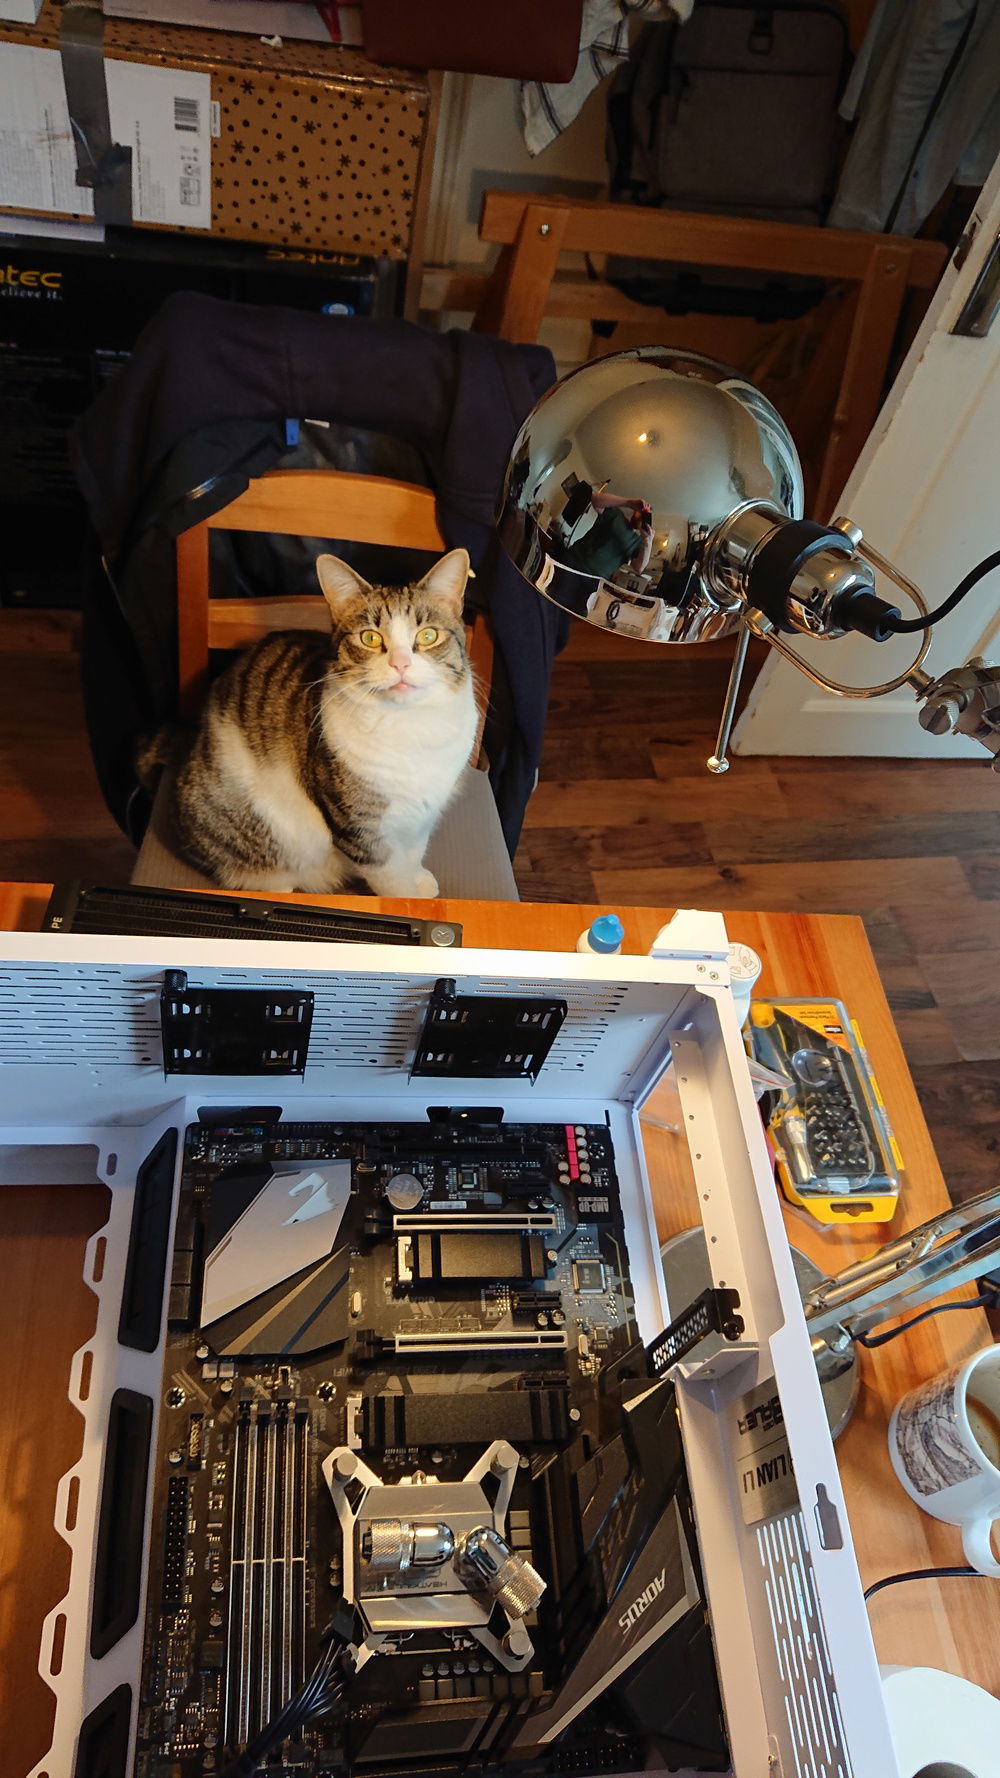
Next up was mounting the GPU, always one of my favourite jobs. The Heatkiller blocks are just incredible, they come with all the thermal pads precut to make things easier, especially as there are 16 of them. 16! It helps if you have a little build buddy.

When mounting gpu blocks, I like to sit the block upside down on a box and move the pcb to it, rather than have the pcb on the table and move the block onto it. This way you have sight of the screw holes and can get it lined up properly first time.
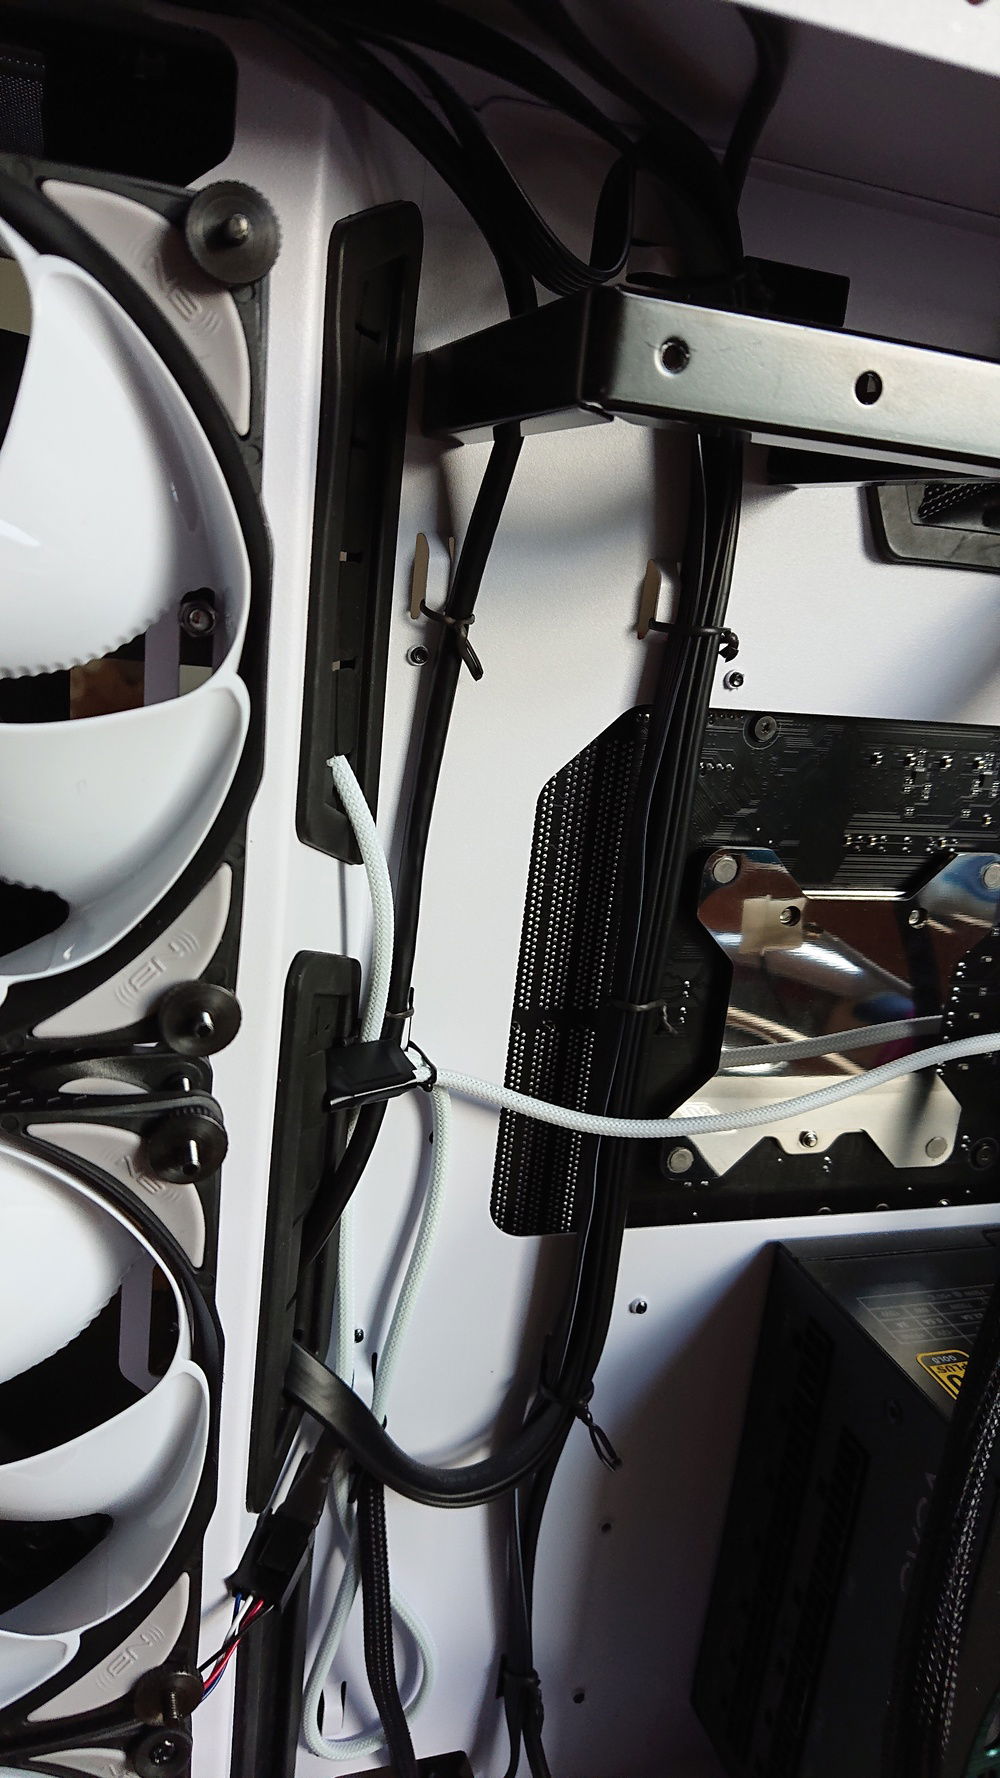
I noticed that some fo the LED strips had started to come away, despite being relieved of the additional tension. Fortunately I still had some strong double sided tape to hand and had that fixed in a jiffy, along with installing all the diffusing strips.
That was the last of the 'construction', now it was time to plug and plumb everything in. I got all the fittings set up and started putting in the tubing. There were a couple of runs that were giving me trouble. The first was the run from the cpu to the top rad. I Thought I could run it at an angle from the cpu straight into the rad, but the io shield was bulkier and taller than I thought and the pipe sat right on top, pushed into it slightly. I put a 45 adapter in the rad and ran the tubing straight up from the cpu and into that. Worked quite nicely and allowed that run to be seen better behind the run from the top rad to the GPU.
The other was the line from the 120 back up to the res. While planning it out previously I'd shown my brother 2 options; an extension out the rad and the 90's on both with a small straight line, or just 2 straight fittings and a big 180 loop. As I'd knocked them up quickly the small straight run was ruled out as it didn't line up properly, so he picked the 180. Now though, with everything installed properly and in their final resting places, the 180 loop would kink no matter the length and it just didn't look good. I went beck and looked at the possibility of a straight line.
With a 20mm extension there was an 8mm distance to make up. Unfortunately there are no 28mm extensions, but there are 30mm ones and I could push the res out by 2mm by installing some rubber washers and longer screws. So a few ebay orders later (including an extra 90 and drain valve which I'd completely overlooked), I was set, the rest of the loop was finished and it was time for a final clean.
Once the bubbles had settled it looked so god dam good (even if i do say so myself), that I contemplated scrapping using pastel and going with clear coolant. But that wouldn't really catch the light as well and I'm glad I stuck with the pastel in the end. I think. ha ha
After half a dozen or so flushes I dried her out and finished installing and managing all the power cables (as best you can cable manage stock cables
 ), the final few parts arrived. This most and surprisingly difficult of builds couldn't let me go without one last kick in the nuts. While installing the rubber washers on the res mount I knocked the middle fan and pushed the bottom screws out of the mounting holes and these screws lived behind the top of the rad. The rad that had already had 1 thread stripped while mounting it.
Try as I might to wriggle them back in and stay put, they simply refused and fell out again at the slightest of touches. I had been so close to finishing, but now I was looking at having to dismantle that whole section and run the risk of stripping yet another thread, as that rad had obviously lived one hell of a life previously. I almost cried.
After a lot of cursing, the answer was staring me right in the face; a big bag of cable ties. I could use a couple of cable ties to loop through the holes and round the mounts! It worked like a charm. The fan was stuck fast and you couldn't really see the total bodge. I'd got away with it.  Unfortunately I don't have any pictures of it as I was too busy changing my underwear. lol
Finally it was time for filling.
The result you can see for yourself above in the gallery, but I will say this is definitely the nicest build I've ever done and has given me serious rig envy. So stay tuned Crapfans. Same crap time. Same crap channel.
Color(s): Black Silver White
RGB Lighting? Yes
Theme: Color
Cooling: Custom Liquid Cooling
Size: ATX
Type: General Build
Hardware
CPU
$ 449.00
Motherboard
$ 229.00
Memory
$ 198.68
Graphics
$ 1,049.00
Storage
$ 148.99
PSU
$ 139.99
Case
$ 160.56
Case Fan
$ 124.75
Cooling
Cooling
$ 149.73
CableMod
Accessories
$ 164.25
Approved by: