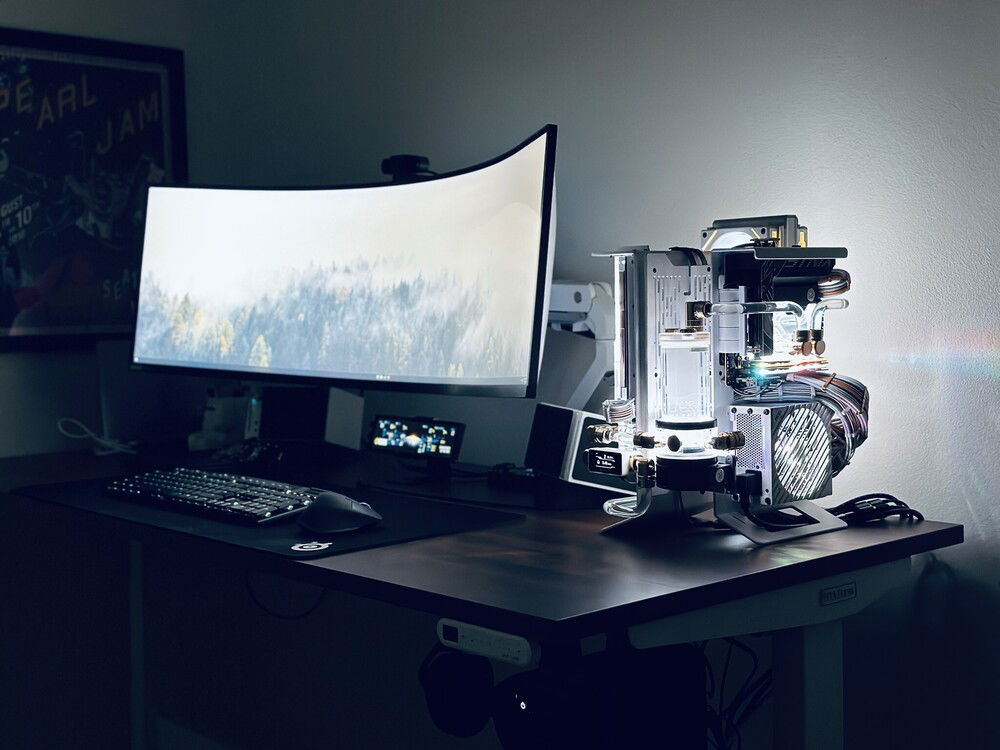
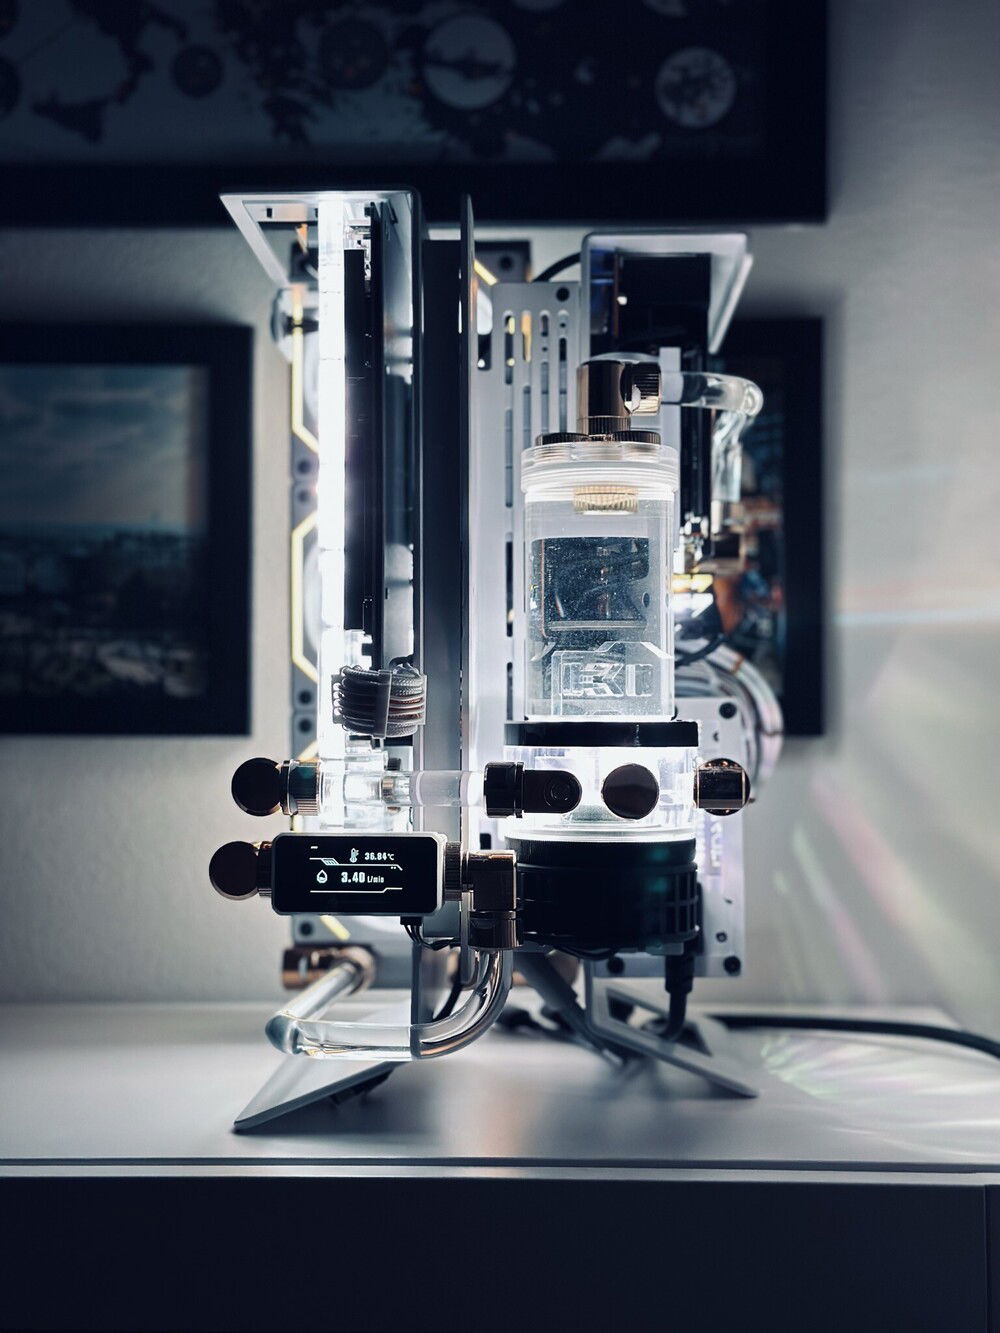
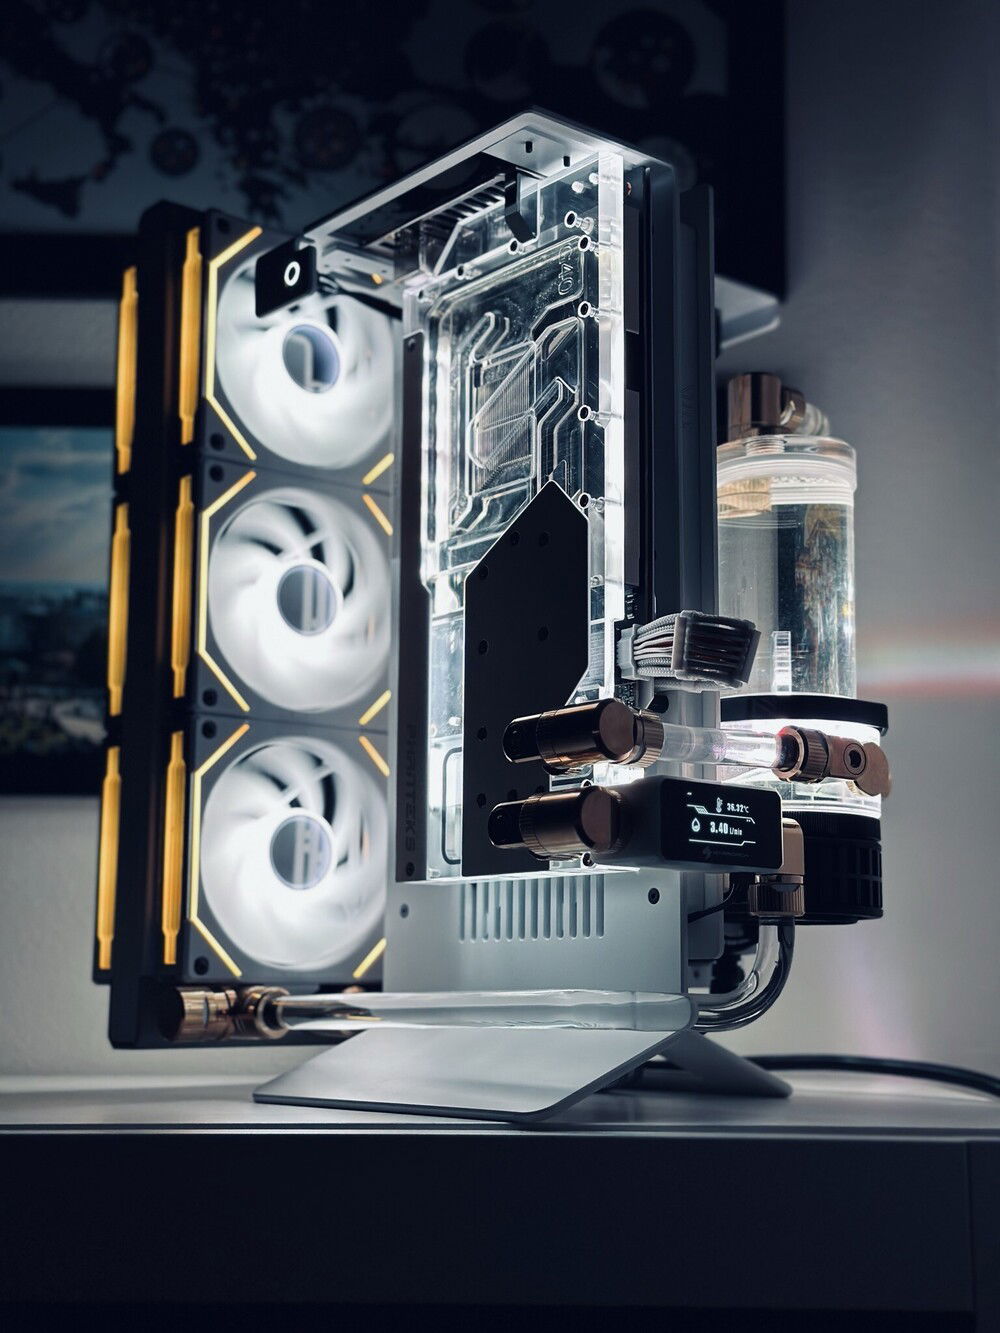
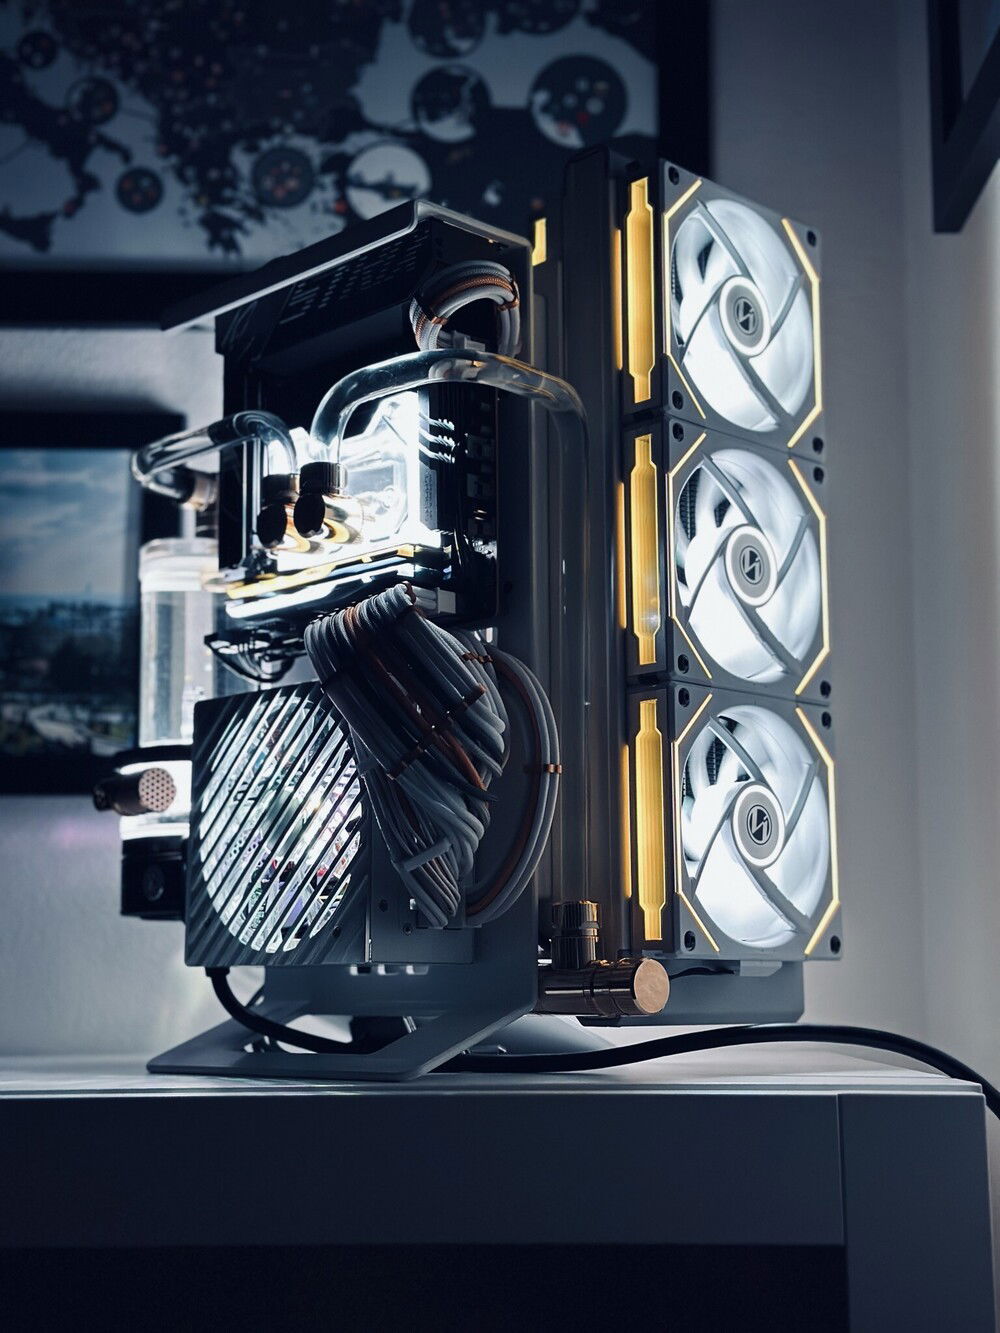
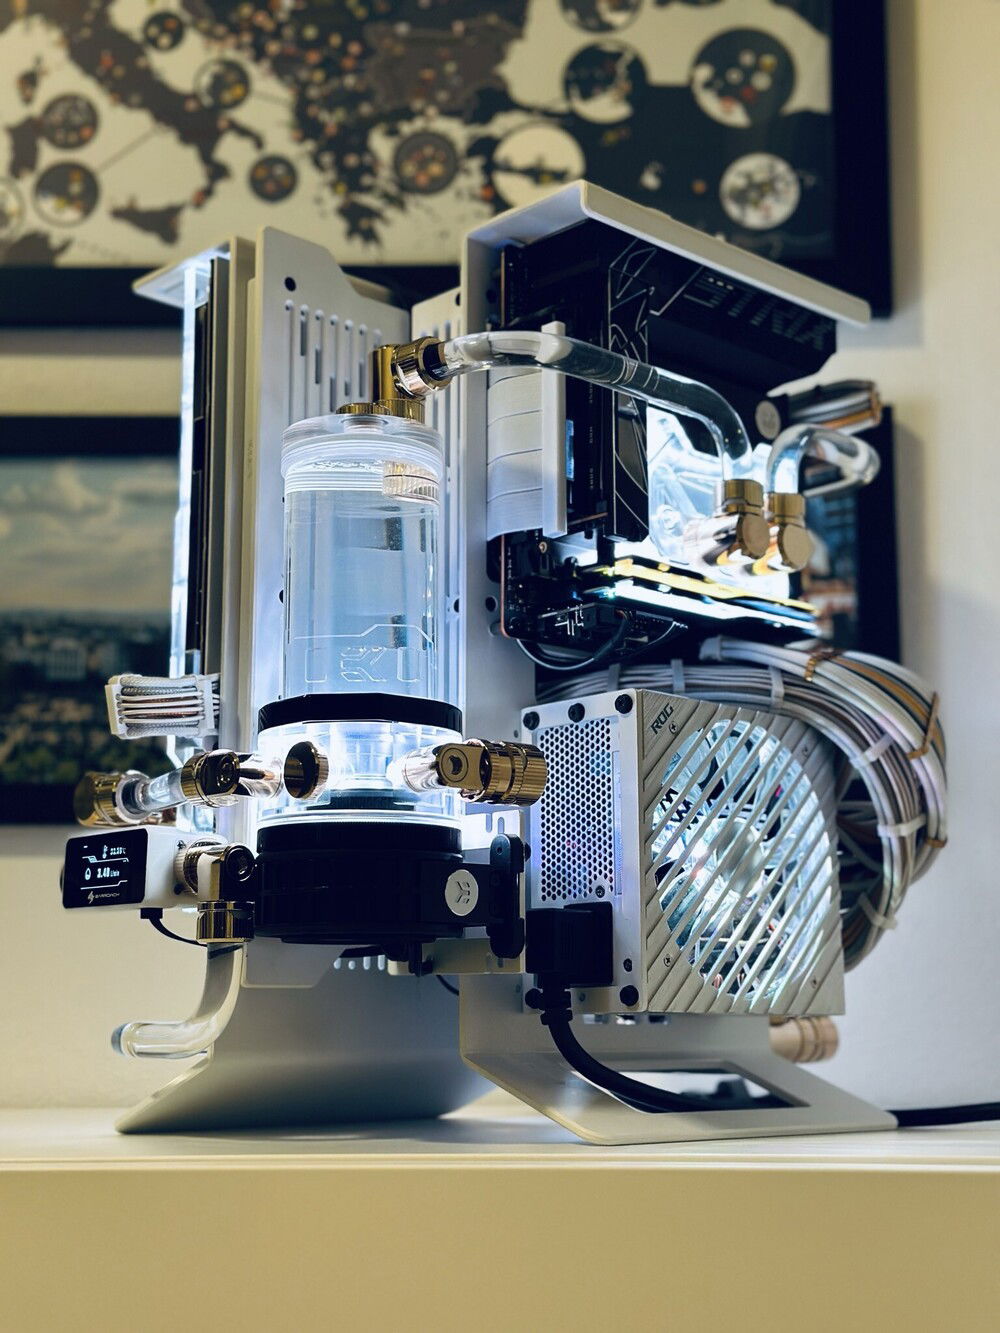
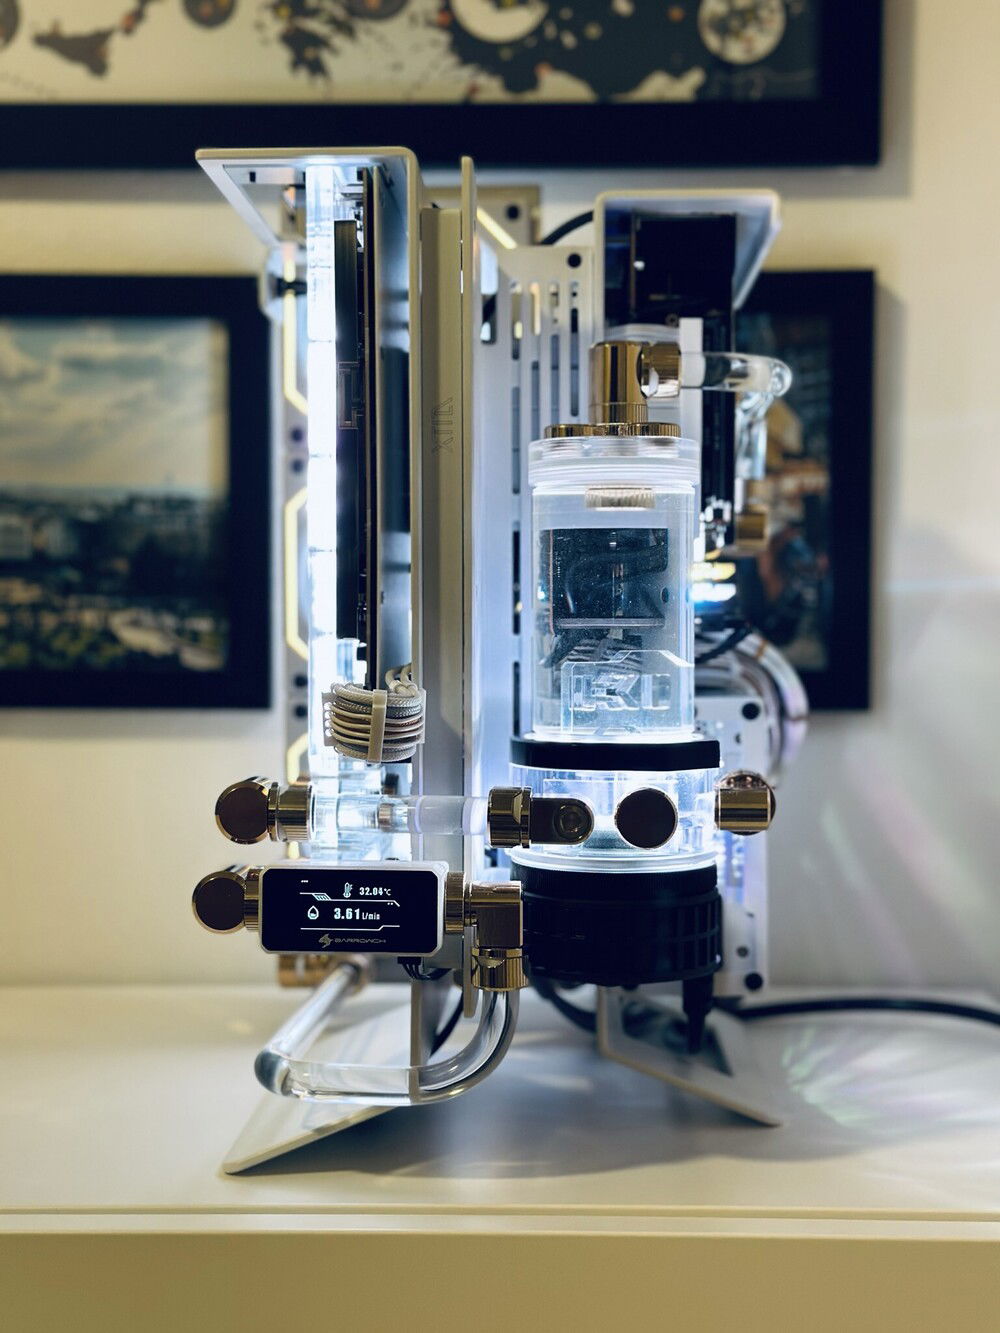
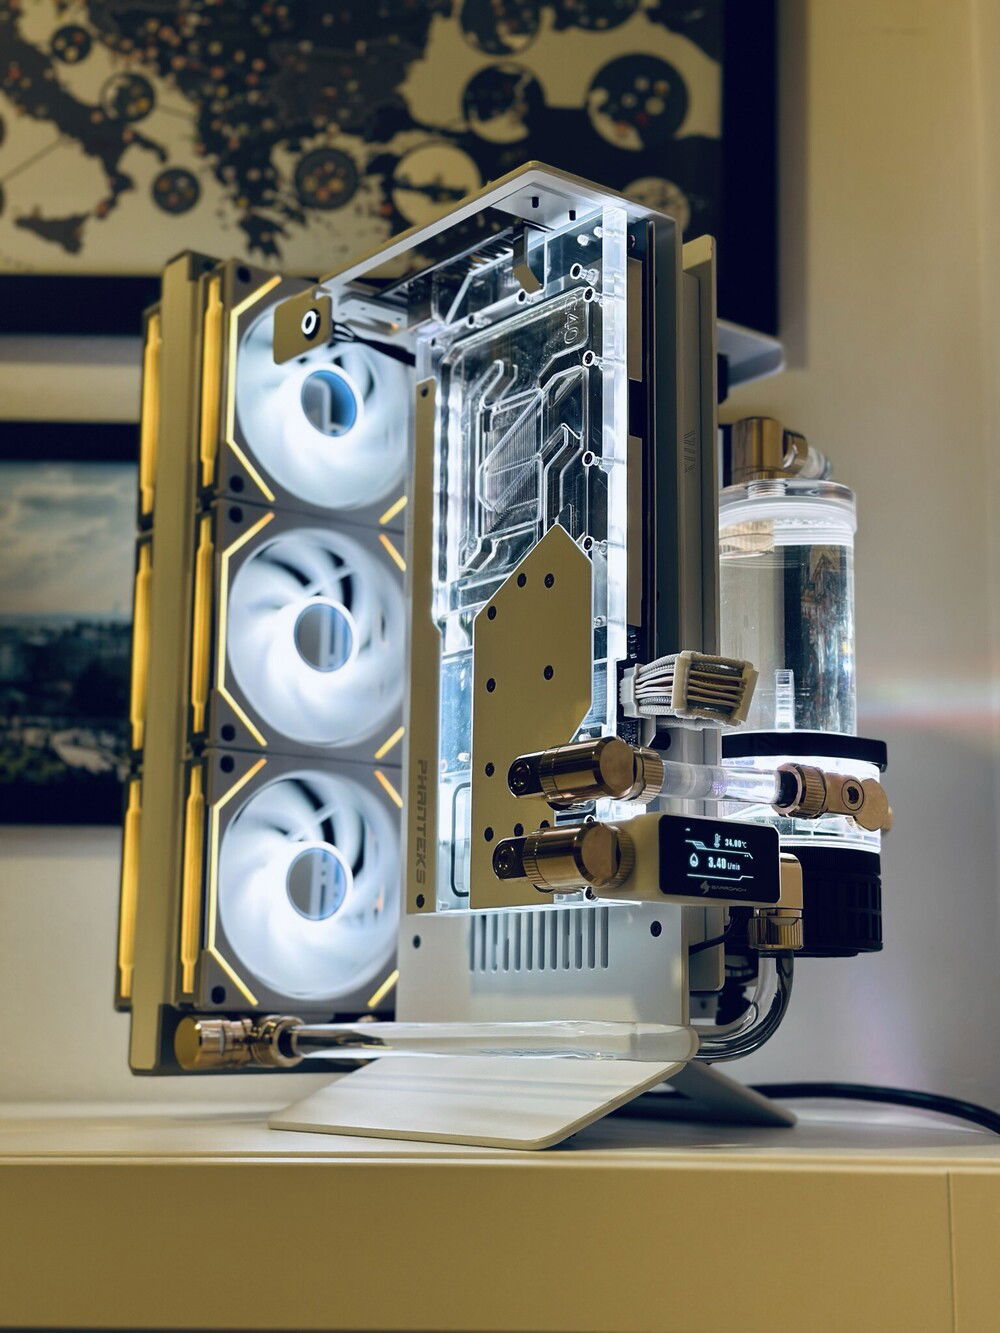
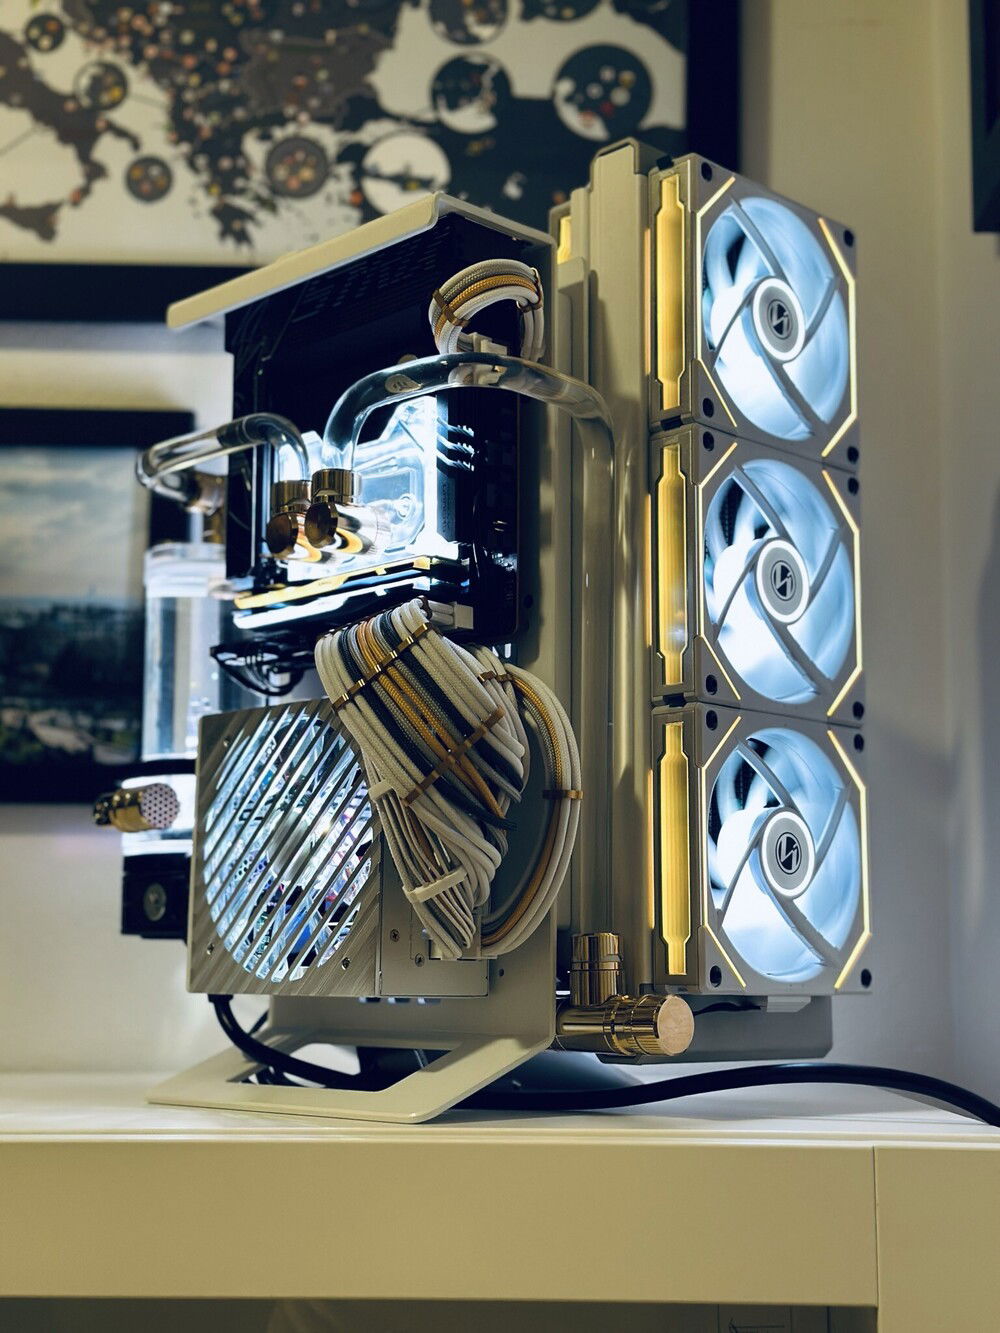
XTIA Xproto-L Custom Loop - White
Overview
My LOUQE custom watercooling build is reaching 4+ years of daily use (but still kicking strong) and it's time to upgrade before its parts start failing. For a first time SFF/RGB/watercool PC build I initially was satisfied with the results. Over time, I recognized several areas of opportunities:
So with that in mind, these setbacks became added requirements for my next build.
Requirement
How to (tastefully) RGB an overclocked small form factor (SFF) case with parts future-proofed for the next 4-5 years.
This build must meet these requirements:
Planning
I had seen a number of open PC builds and was appealed by it's potential for parts and design flexibility. The XTIA Xproto-L was my choice after watching Optimum Tech's build video, and it (mostly) comes in white (minus the liquid cooling module).
Since the LOUQE build is fully operational, I could wait for the right parts (especially the ROG Loki SFX in white) and build without major compromises. RGB fans have also come a long way, with Lian Li's daisy chain fans cutting down on excessive cabling.
With an overall idea of parts placement I began assembly.
Preparing
As the liquid cooling module does not come in white, I gave it (and the case) 4-5 coats of flat white for a consistent color and finish. I took extra caution as unfortunately the paint scratches and chips easily. Damp paper towels removed any small black plastic scuffs.
The radiator was also flushed for several hours with a pump and filter.
Building
Assembling components to the case was (mostly) straightforward, following the XTIA assembly guide. The cooling module is for "experts only" with no instructions, so builders beware, you're on your own to figure that out.
Major trial and error came during the tubing and cabling assembly, resulting in numerous modifications such as:
In tandem (while waiting for parts), I continued to work on:
Final Thoughts
This was by far my most challenging PC build. It was 20x harder than my LOUQE build, it took 20x as long to complete, but I am 20x as satisfied with my results. I set out to push my PC building limits, and walked away with functioning art that I feel is truly besoke.
My LOUQE custom watercooling build is reaching 4+ years of daily use (but still kicking strong) and it's time to upgrade before its parts start failing. For a first time SFF/RGB/watercool PC build I initially was satisfied with the results. Over time, I recognized several areas of opportunities:
- The case size limited my parts and build choices.
- Soft tubing did not achieve a clean aesthetic and the tubes yellowed over time (which I'm guessing is from temperature).
- Cable management was challenging with RGB fans and its controller (it looked like a mess).
- Bleeding the water loop was difficult even with an added reservoir.
So with that in mind, these setbacks became added requirements for my next build.
Requirement
How to (tastefully) RGB an overclocked small form factor (SFF) case with parts future-proofed for the next 4-5 years.
This build must meet these requirements:
- Near highest-end gaming parts at time of purchase.
- Overclocked for performance at reasonable temperatures.
- Small form factor; it must fit on the corner of a 72" x 30" desk and must visually look compact.
- Watercooled with hard tubing, and can easily drain and bleed.
- Clean cable management with minimal wires.
- Aesthetically pleasing inside and out.
- A (mostly) white build.
Planning
I had seen a number of open PC builds and was appealed by it's potential for parts and design flexibility. The XTIA Xproto-L was my choice after watching Optimum Tech's build video, and it (mostly) comes in white (minus the liquid cooling module).
Since the LOUQE build is fully operational, I could wait for the right parts (especially the ROG Loki SFX in white) and build without major compromises. RGB fans have also come a long way, with Lian Li's daisy chain fans cutting down on excessive cabling.
With an overall idea of parts placement I began assembly.
Preparing
As the liquid cooling module does not come in white, I gave it (and the case) 4-5 coats of flat white for a consistent color and finish. I took extra caution as unfortunately the paint scratches and chips easily. Damp paper towels removed any small black plastic scuffs.
The radiator was also flushed for several hours with a pump and filter.
Building
Assembling components to the case was (mostly) straightforward, following the XTIA assembly guide. The cooling module is for "experts only" with no instructions, so builders beware, you're on your own to figure that out.
Major trial and error came during the tubing and cabling assembly, resulting in numerous modifications such as:
- Adding spacers between the case and the fan bracket to fit tubes and fittings.
- Modifying my intended tube runs.
- Ordering additional fittings to accommodate the tube runs.
- Reorienting the PSU to safely fit the cables.
- Cable management in the inner chamber.
- Sourcing cable combs that fit.
In tandem (while waiting for parts), I continued to work on:
- Matching a true white for each RGB component (not all default RGB white is the same).
- Calibrating the undervolt and overlock to maximize performance.
Final Thoughts
This was by far my most challenging PC build. It was 20x harder than my LOUQE build, it took 20x as long to complete, but I am 20x as satisfied with my results. I set out to push my PC building limits, and walked away with functioning art that I feel is truly besoke.
Color(s): White
RGB Lighting? Yes
Theme: Futuristic
Cooling: Custom Liquid Cooling
Size: SFF
Type: General Build
Hardware
CPU
$ 447.79
Motherboard
$ 577.93
Memory
$ 499.95
Graphics
$ 1,199.22
PSU
$ 219.99
Case Fan
$ 187.02
Cooling
$ 69.99
Cooling
$ 299.99
Cooling
$ 97.99
Cooling
$ 154.99
Cooling
$ 269.99
Accessories
$ 63.99
Estimated total value of this build:
$ 4,395.63
Approved by:
