WEAPON X
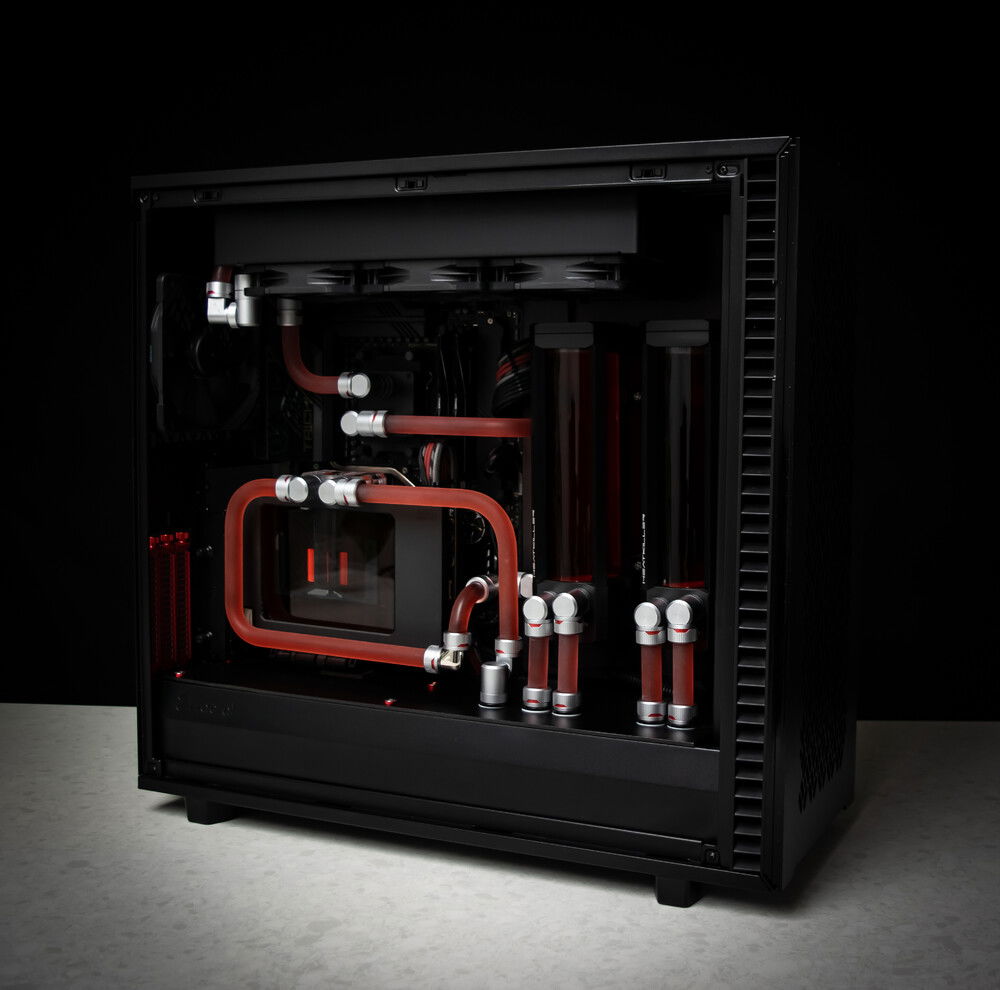
I ditched the RGB in my previous gaming build and upgraded core hardware rather than perform another round of annual maintenance. Now my wife wasn't happy that I spent way more than what I budgeted for, oh well, c'est la vie! I bought the new hardware around summer of 2023 but was slammed with work and completion of 10 builds for others.
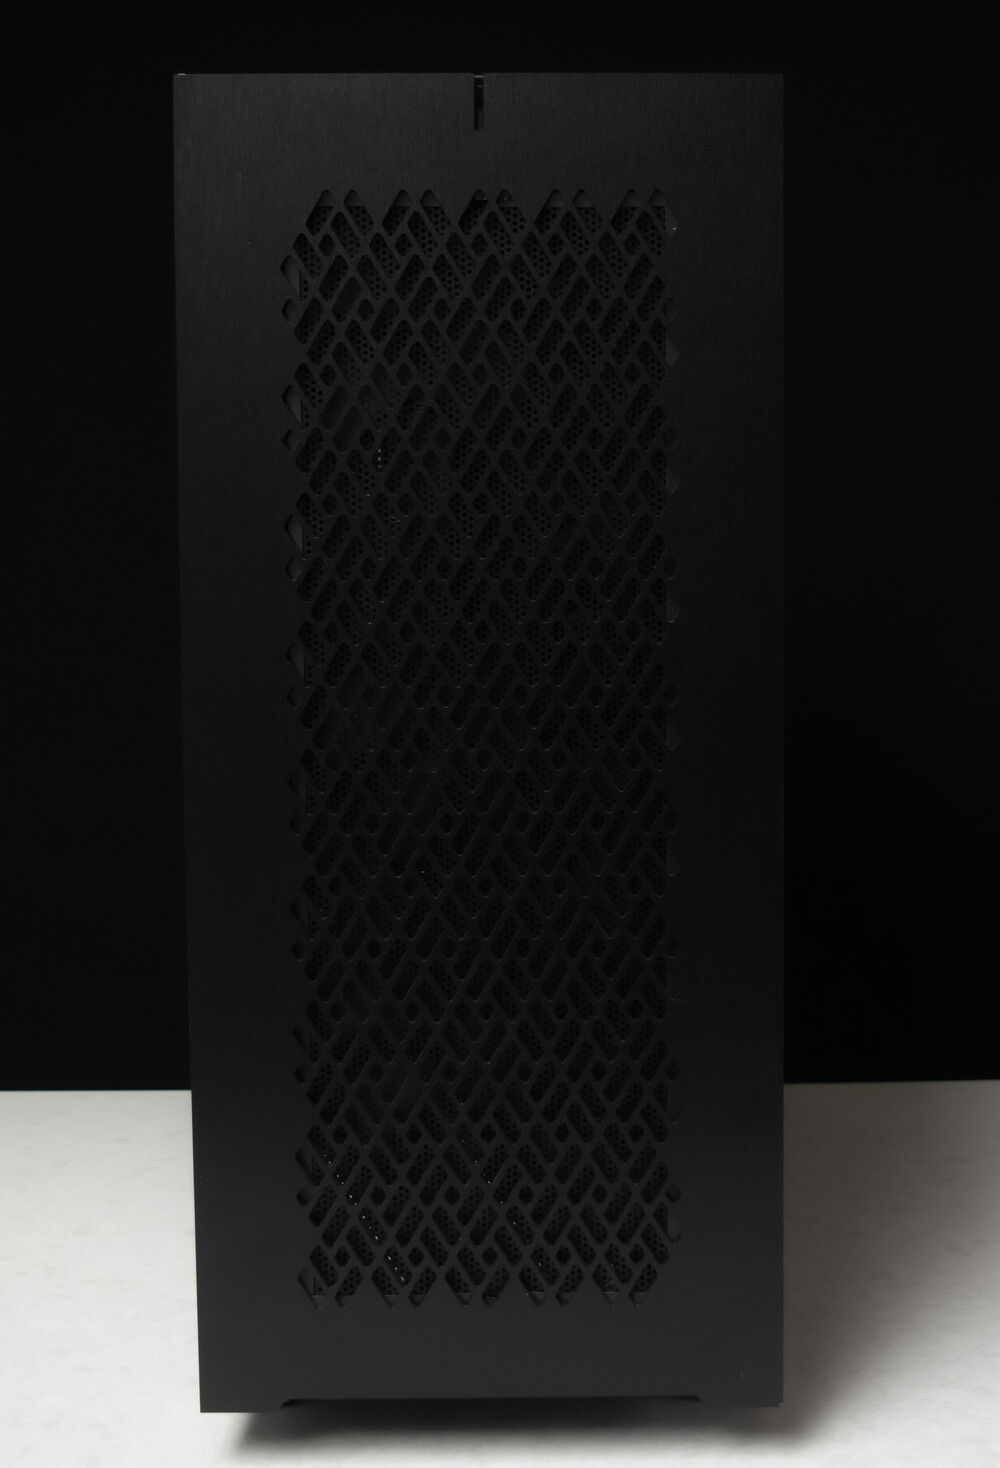
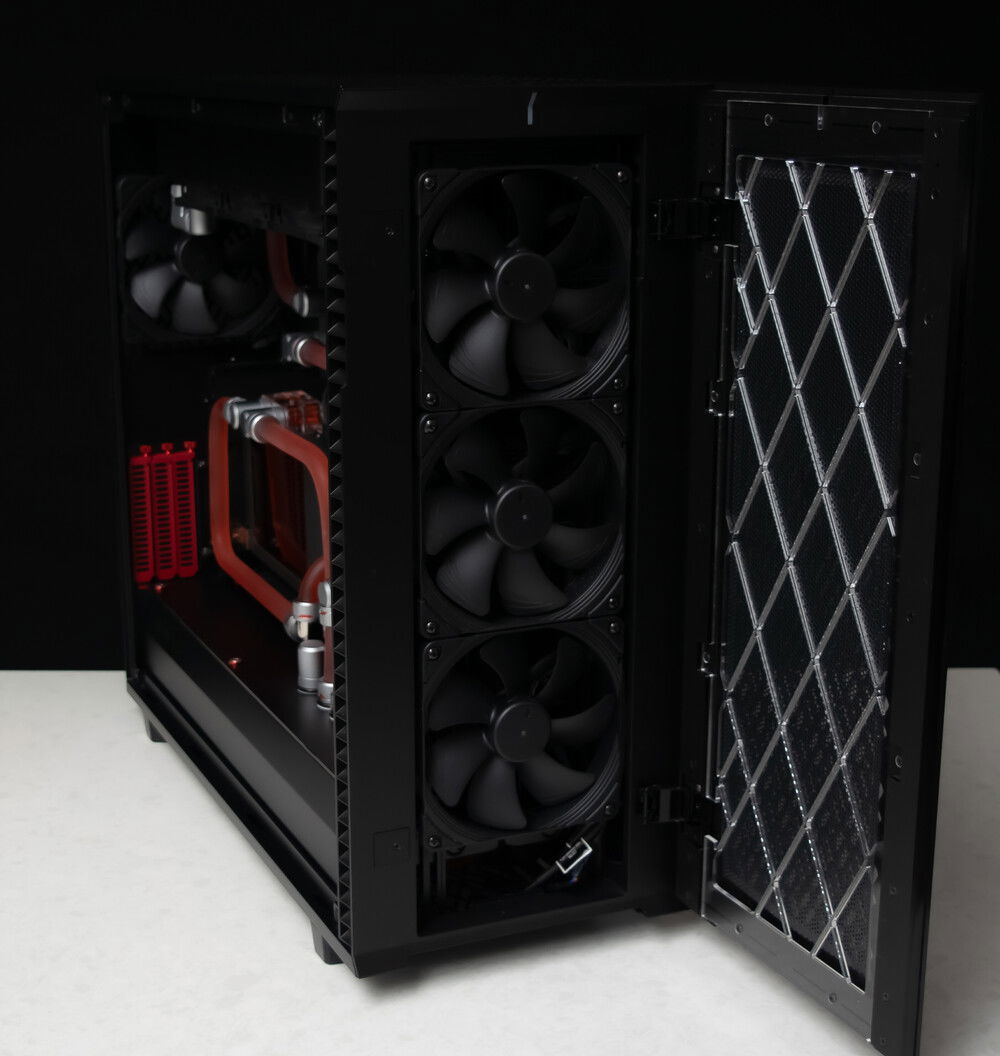
I kept the Define 7 XL because I enjoyed building in this case. It's one of the few that allows the use of a thick (60mm thick!) 360 rad on top, with plenty of room for an EATX motherboard. I made a few more additional case mods, such as modding the solid front panel to allow for more airflow, adding acrylic paneling, and drilling additional pass-through holes
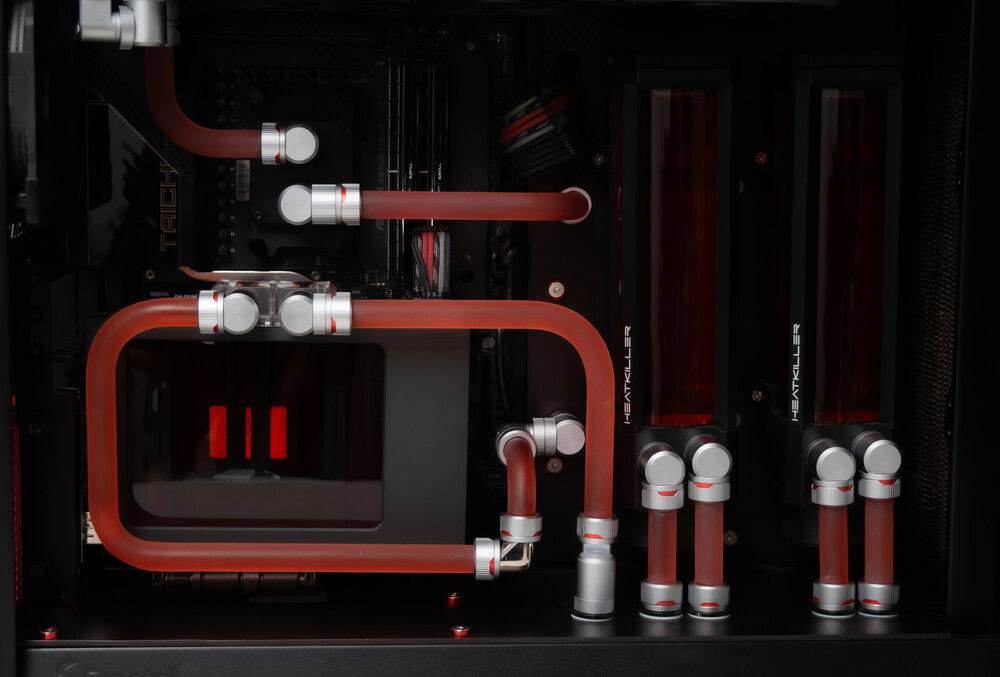
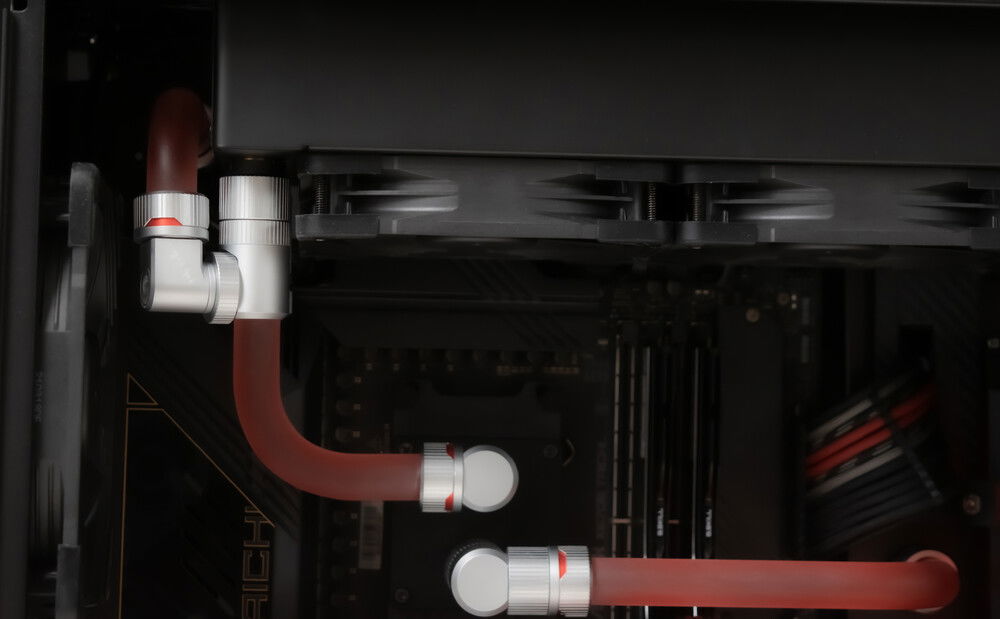
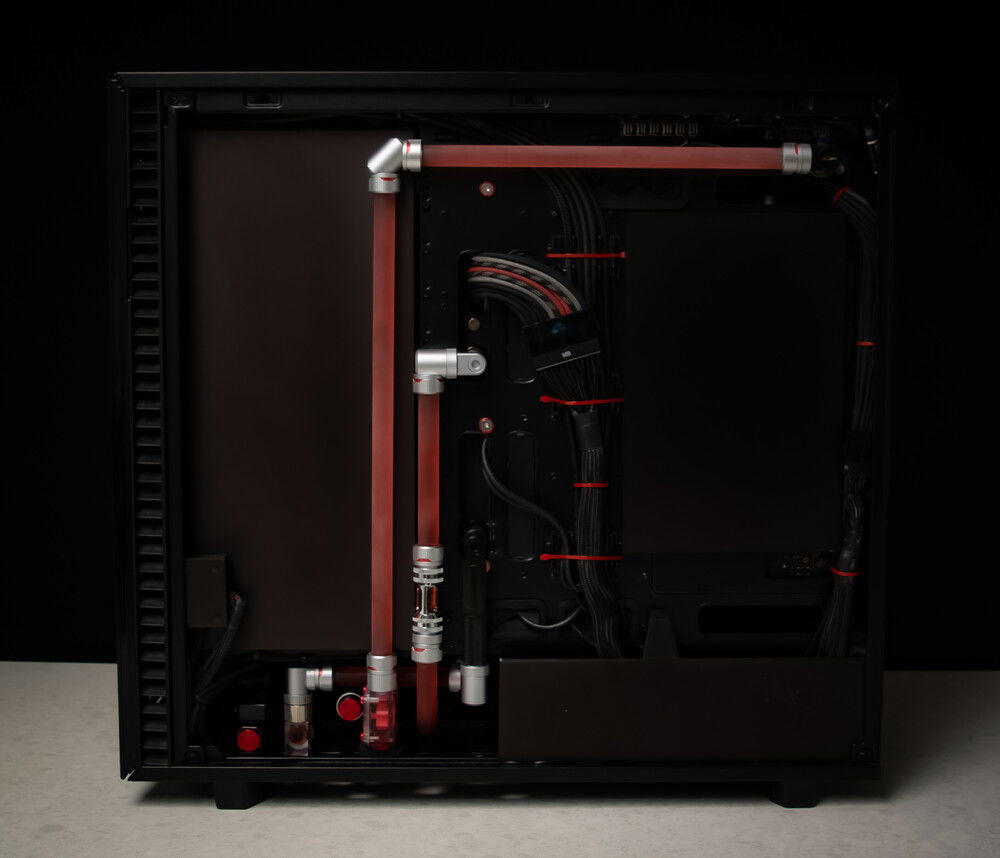
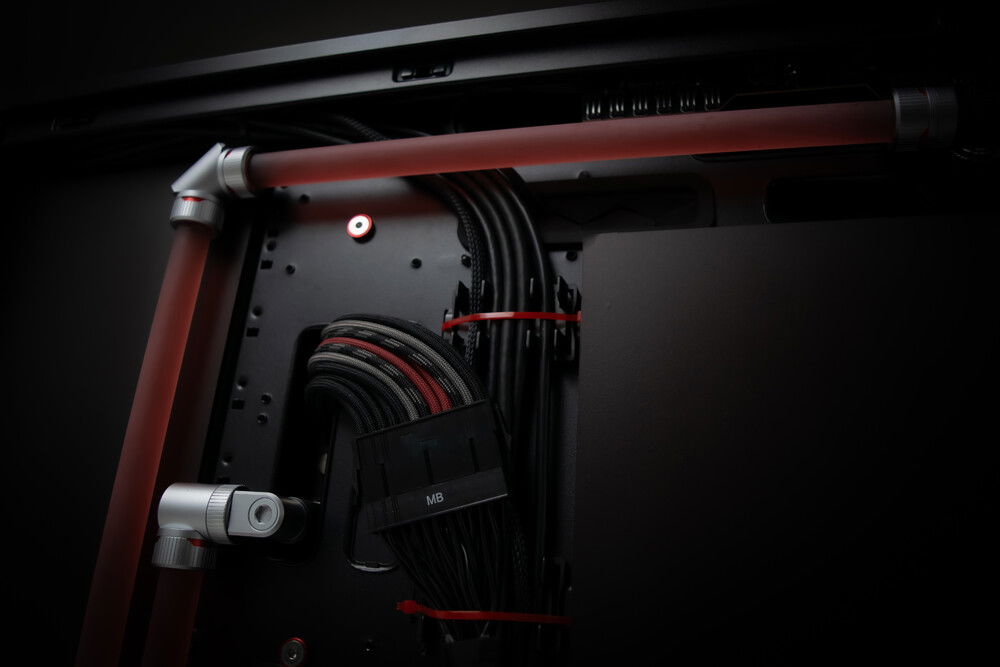
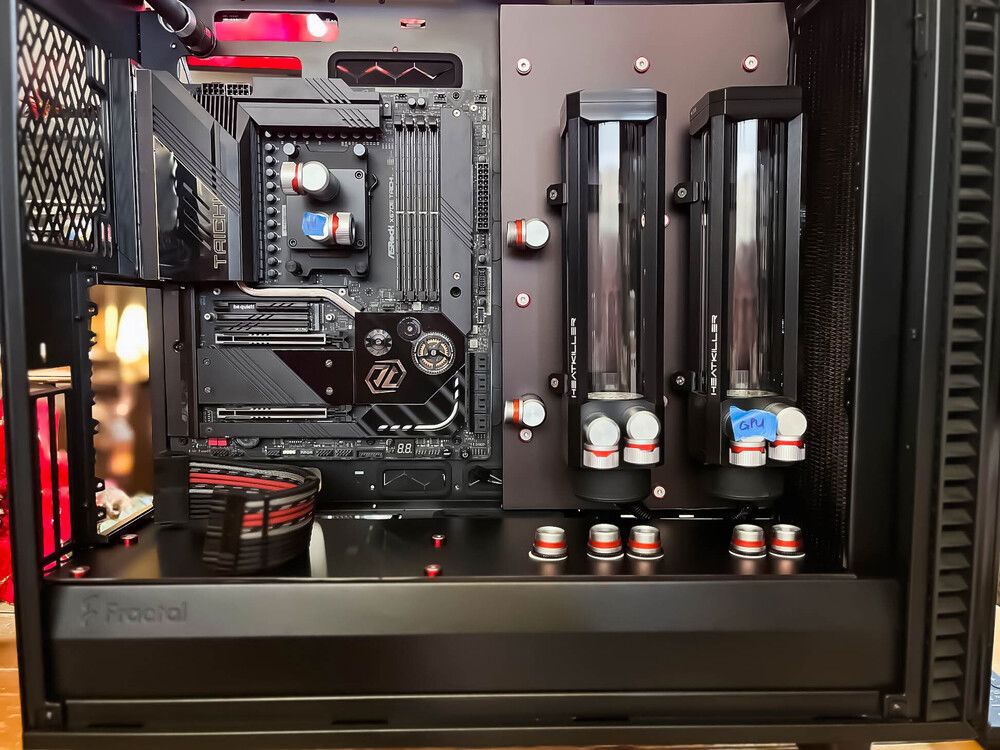
I ran a lot of the tubing in the basement and behind the motherboard tray because I wanted to actually see the hardware vs hiding them behind layers of tubing. Two of the biggest challenges were ensuring the back panel could close and managing the tight working area in the basement. I had realized I should have invested in more micro-fittings from the start, which I eventually did.
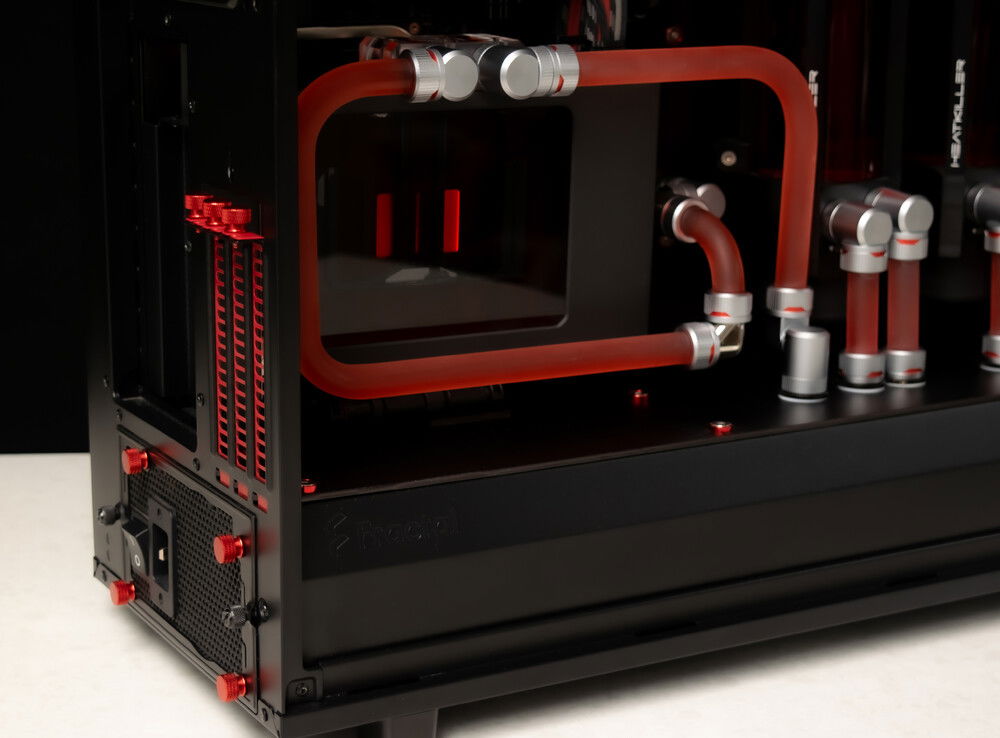
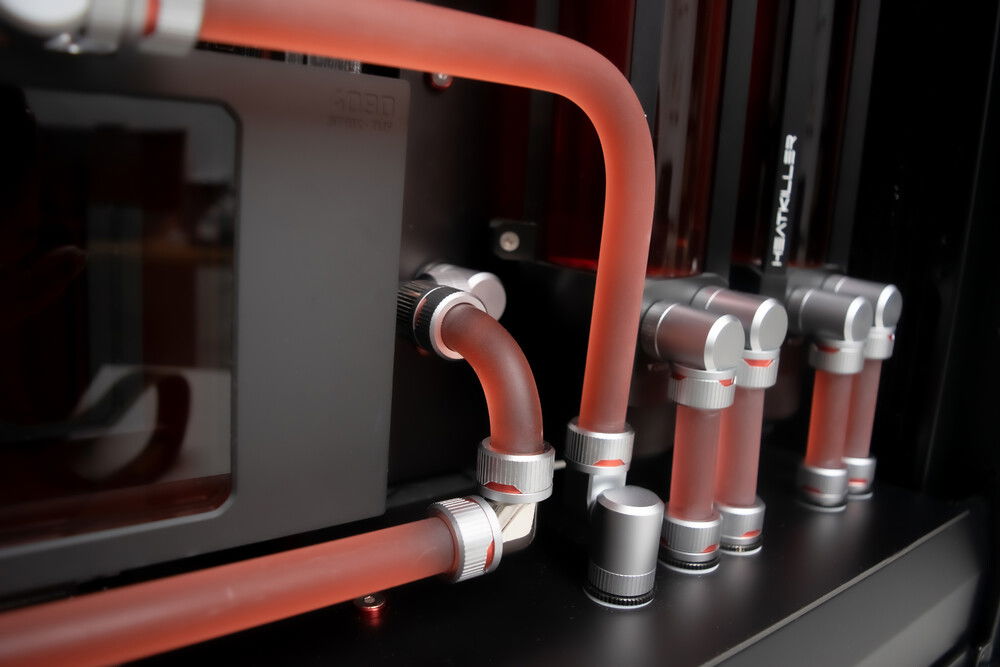
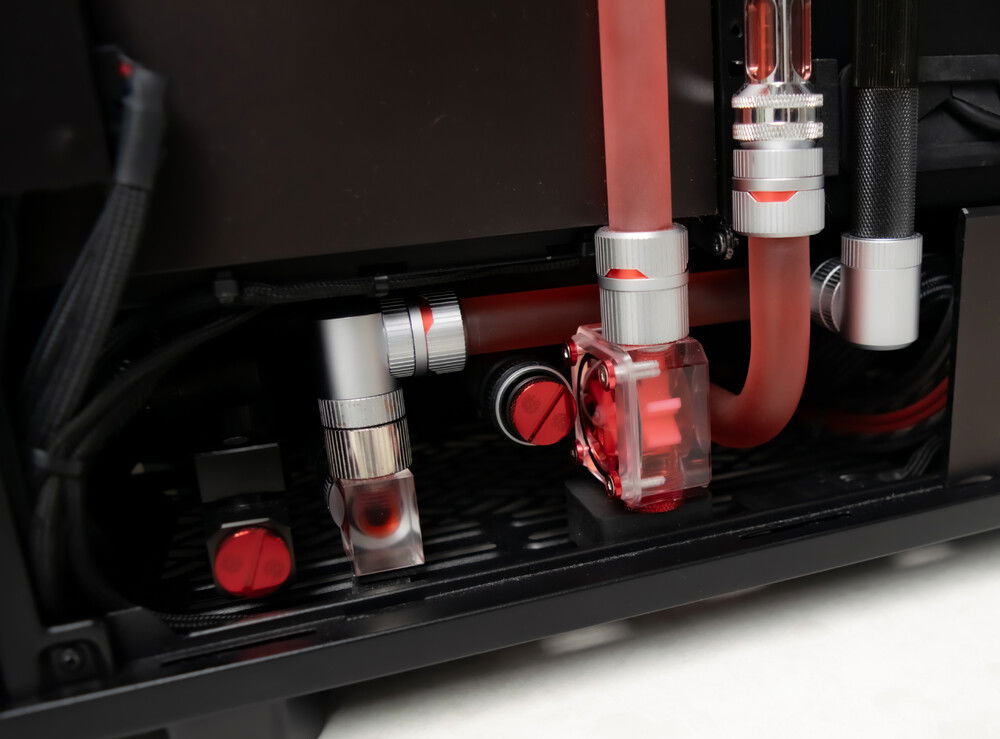
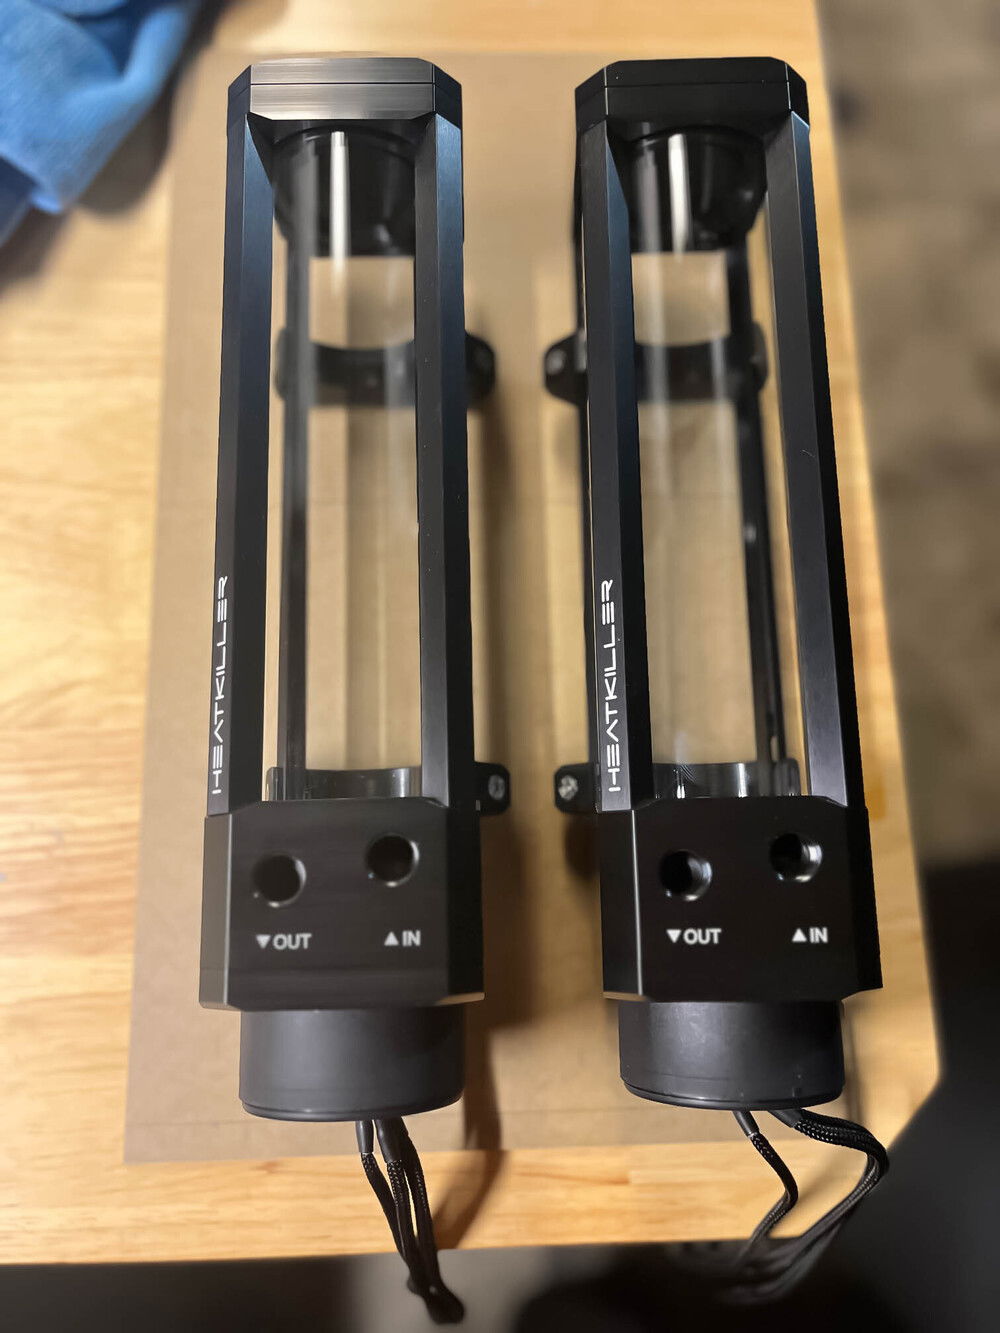
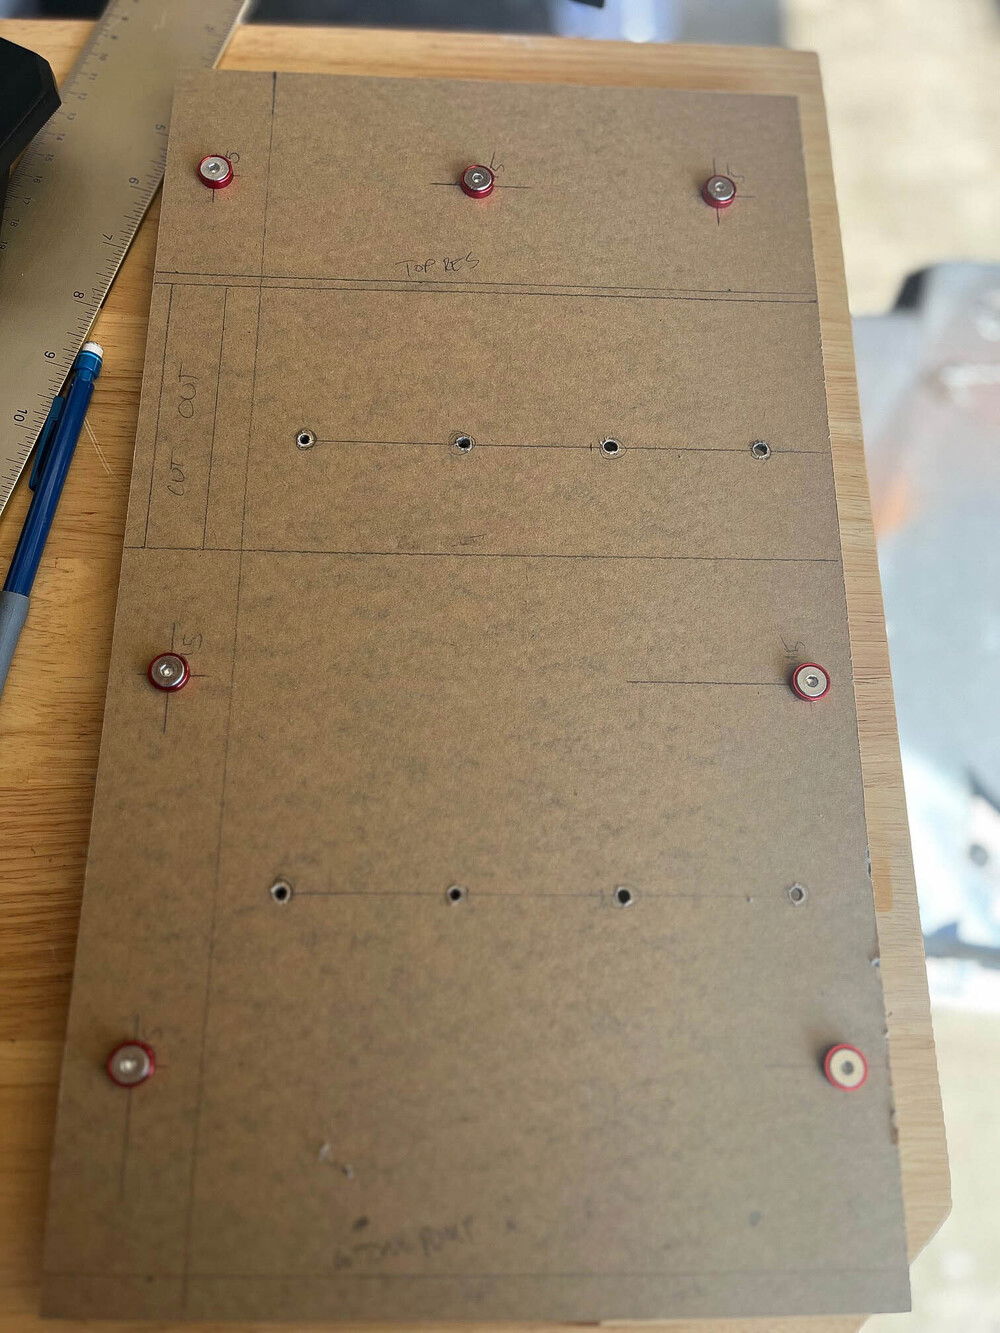
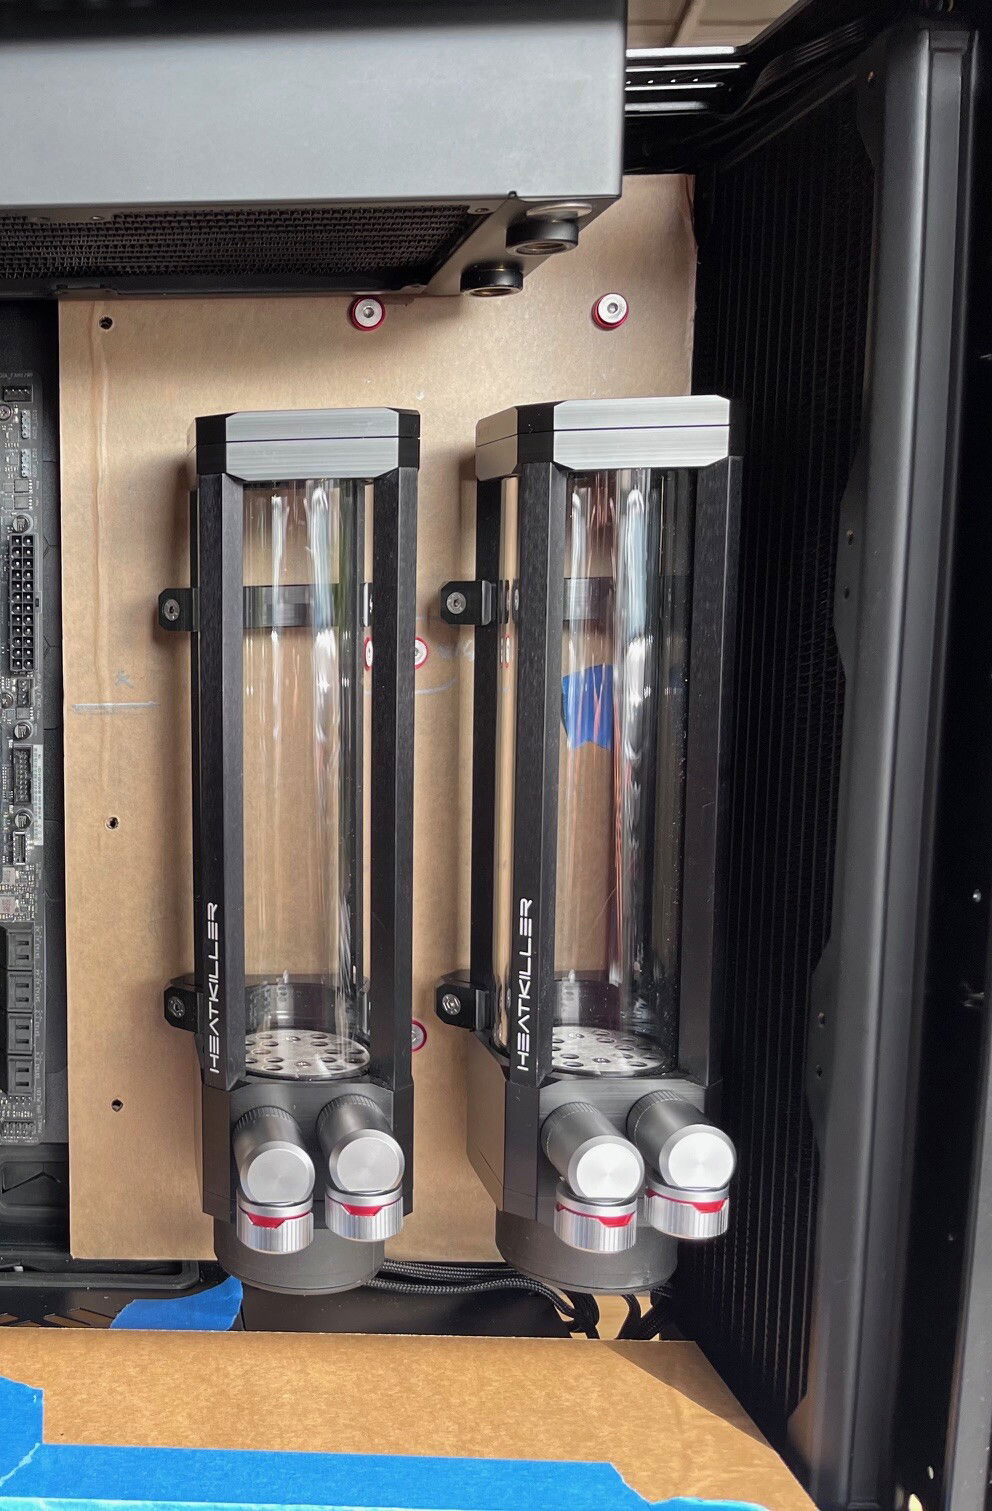
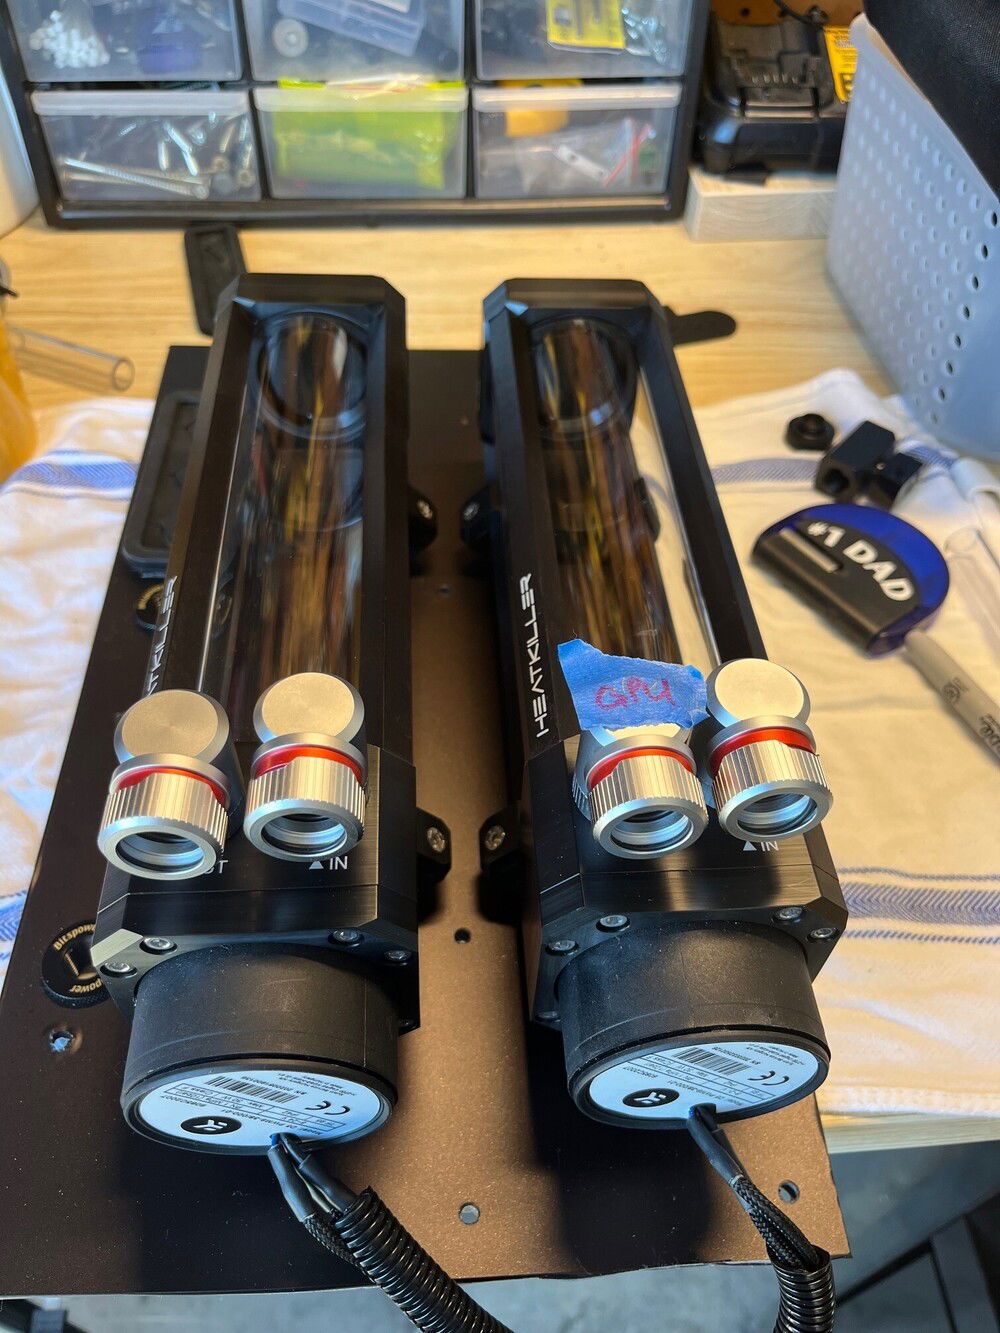
For the dual pump/res, I mounted them on 6mm thick acrylic panel cut to size, tapped with M5 screw holes and wrapped with demon-red matte vinyl. This simplified mounting and allowed for more flexibility in their positioning. I mounted the whole unit on the case using 30mm long M5 female to female standoffs and drilled two passthrough holes for the CPU-in and GPU-out runs. I cut to size another 6mm thick acrylic panel, mounted on top of the PSU shroud to cover the previous passthrough holes and as a substrate to create new ones. This panel was also wrapped in the demon-red matte vinyl.
I drilled another pass through hole adjacent to the rear IO shroud to have the CPU-out run behind the motherboard tray. After planning of all the runs, bending/cutting of tubing and assembly of the loop was straightforward. Before leak testing, I unplumbed the entire build and replumbed to ensure all fittings were tightened and secure.
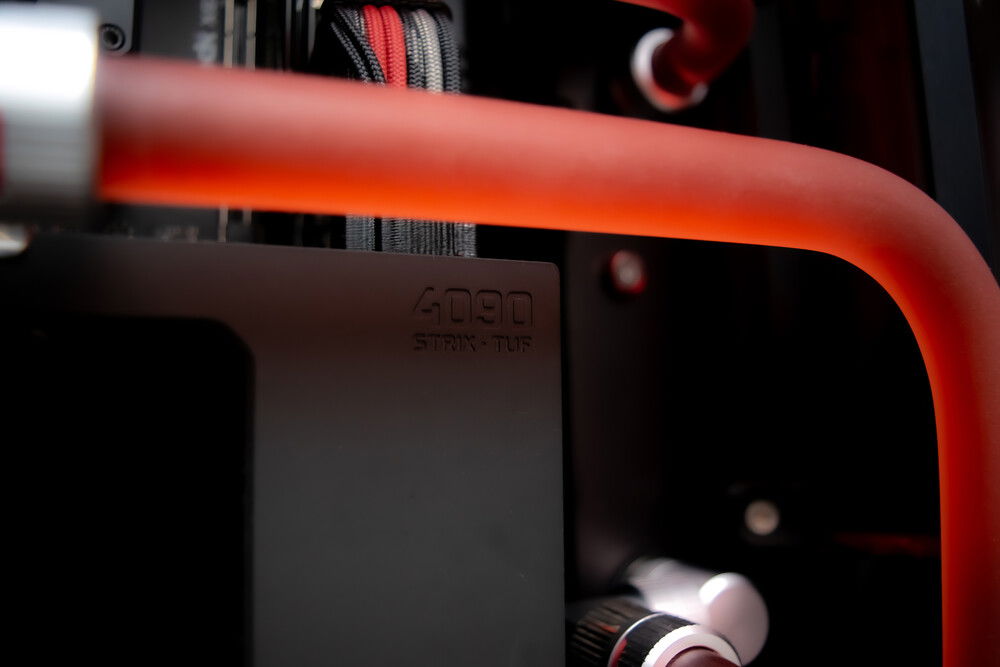
I am really impressed with the Optimus Signature Block for the 4090, on idle temps are at a cool 24C. Monitoring temps during gaming, the card hasn't broken 45C yet.
Enjoy the build bubs!
Color(s): Black Red
RGB Lighting? No
Theme: none
Cooling: Custom Liquid Cooling
Size: E-ATX
Type: General Build
Hardware
CPU
$ 399.00
Motherboard
$ 878.68
Memory
$ 939.99
Graphics
PSU
$ 599.00
Case
Case Fan
$ 29.95
Case Fan
$ 28.95
Cooling
$ 118.95
Cooling
Cooling
Cooling
$ 145.29
Approved by:
