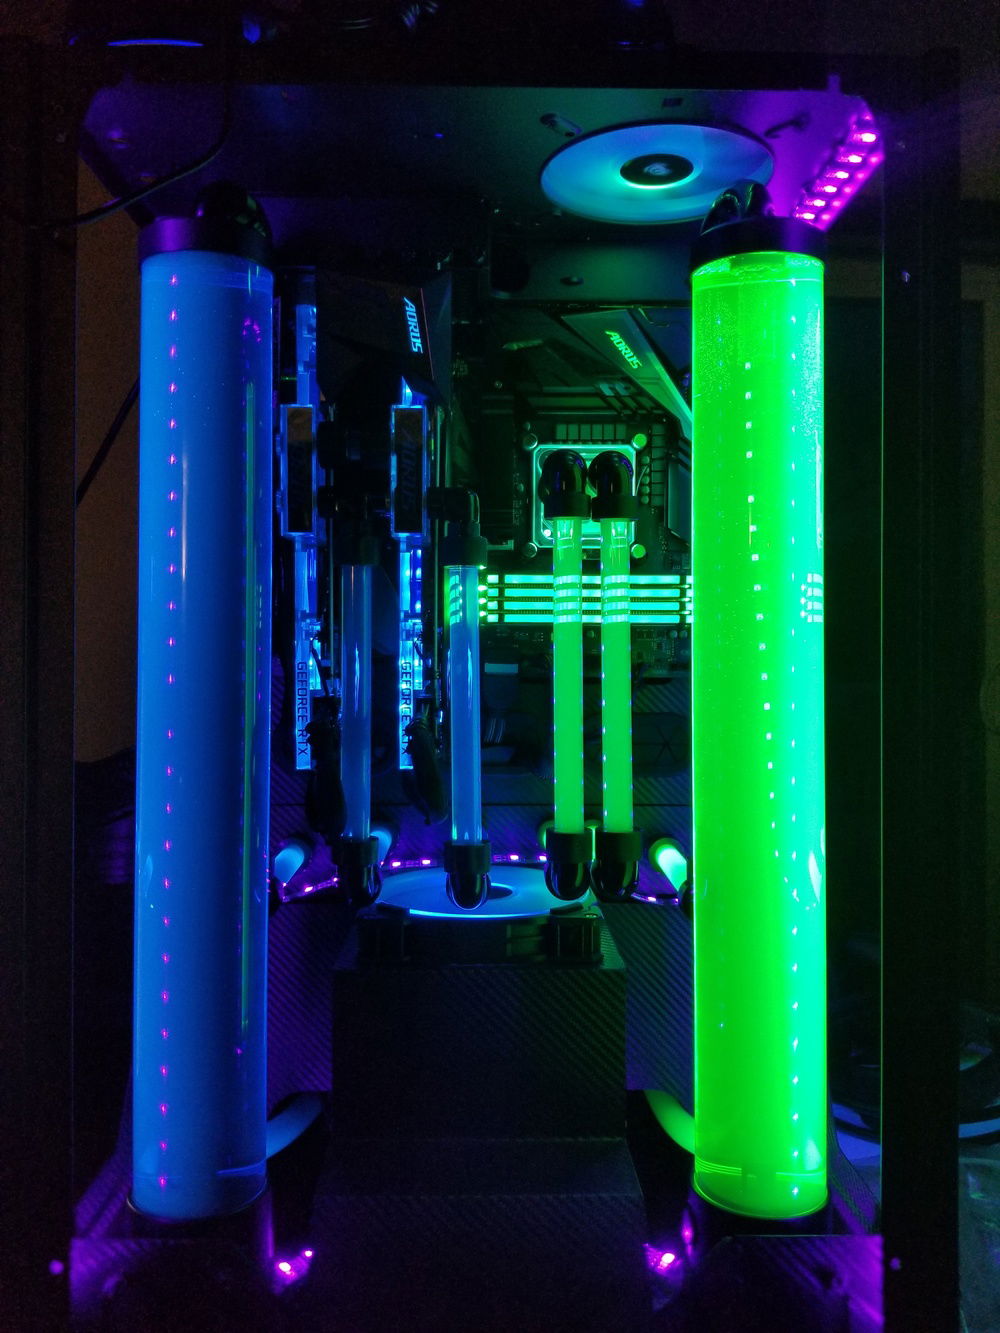
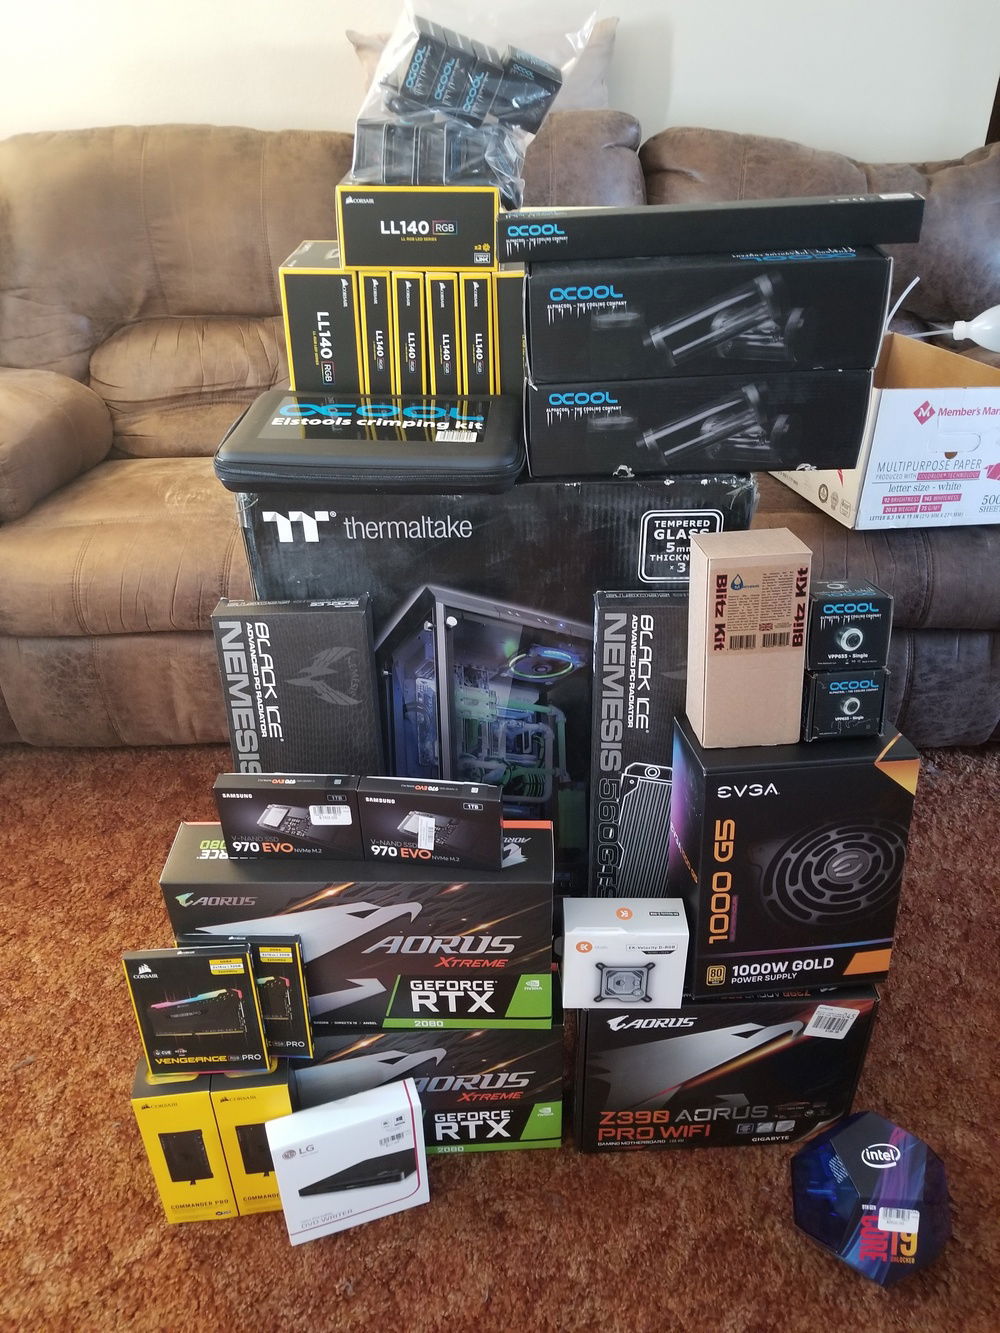
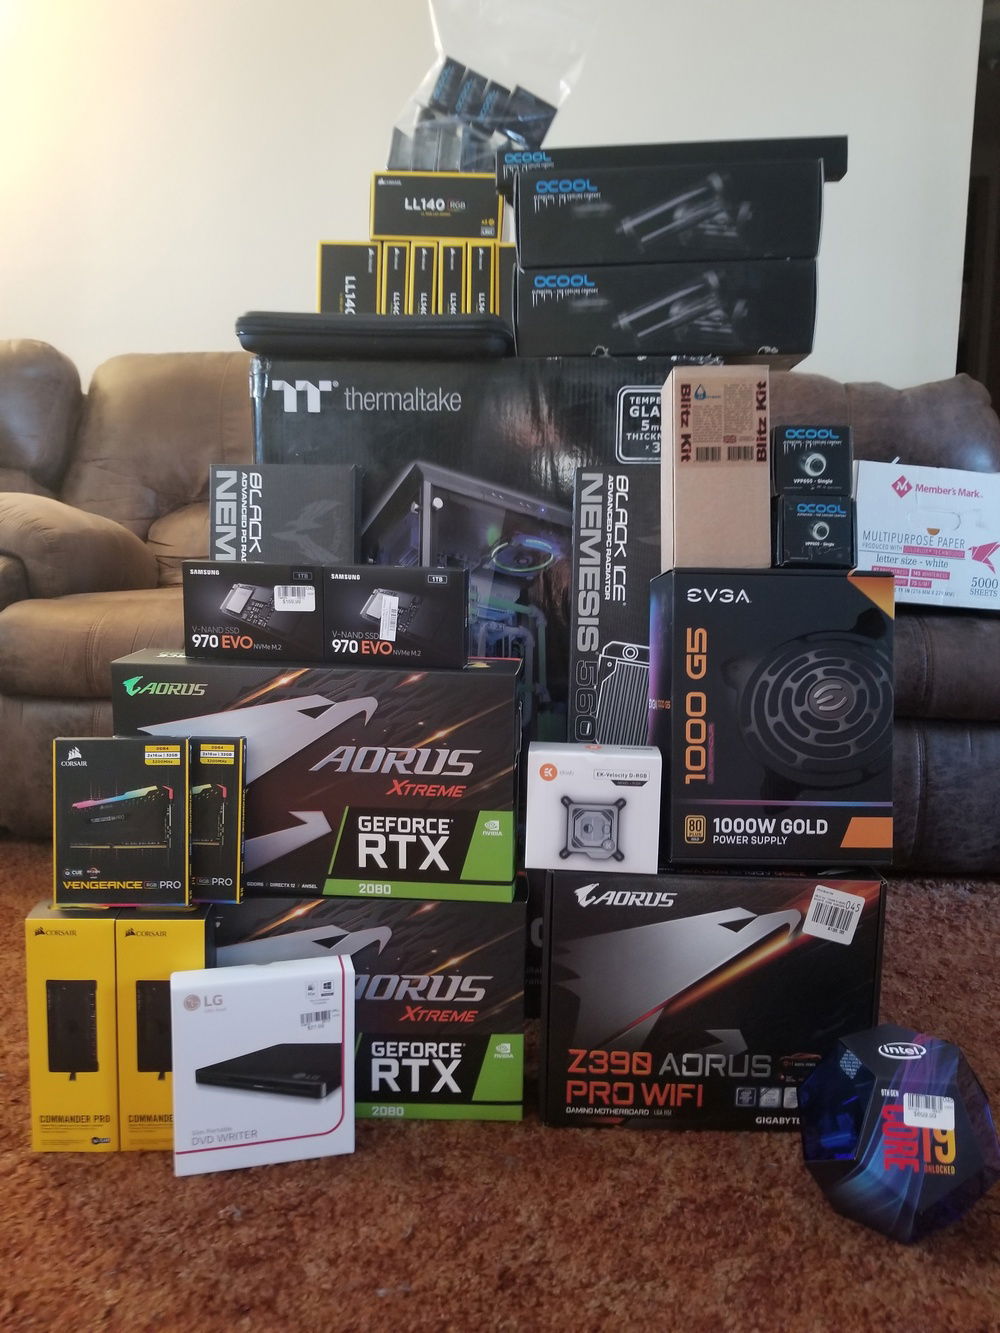
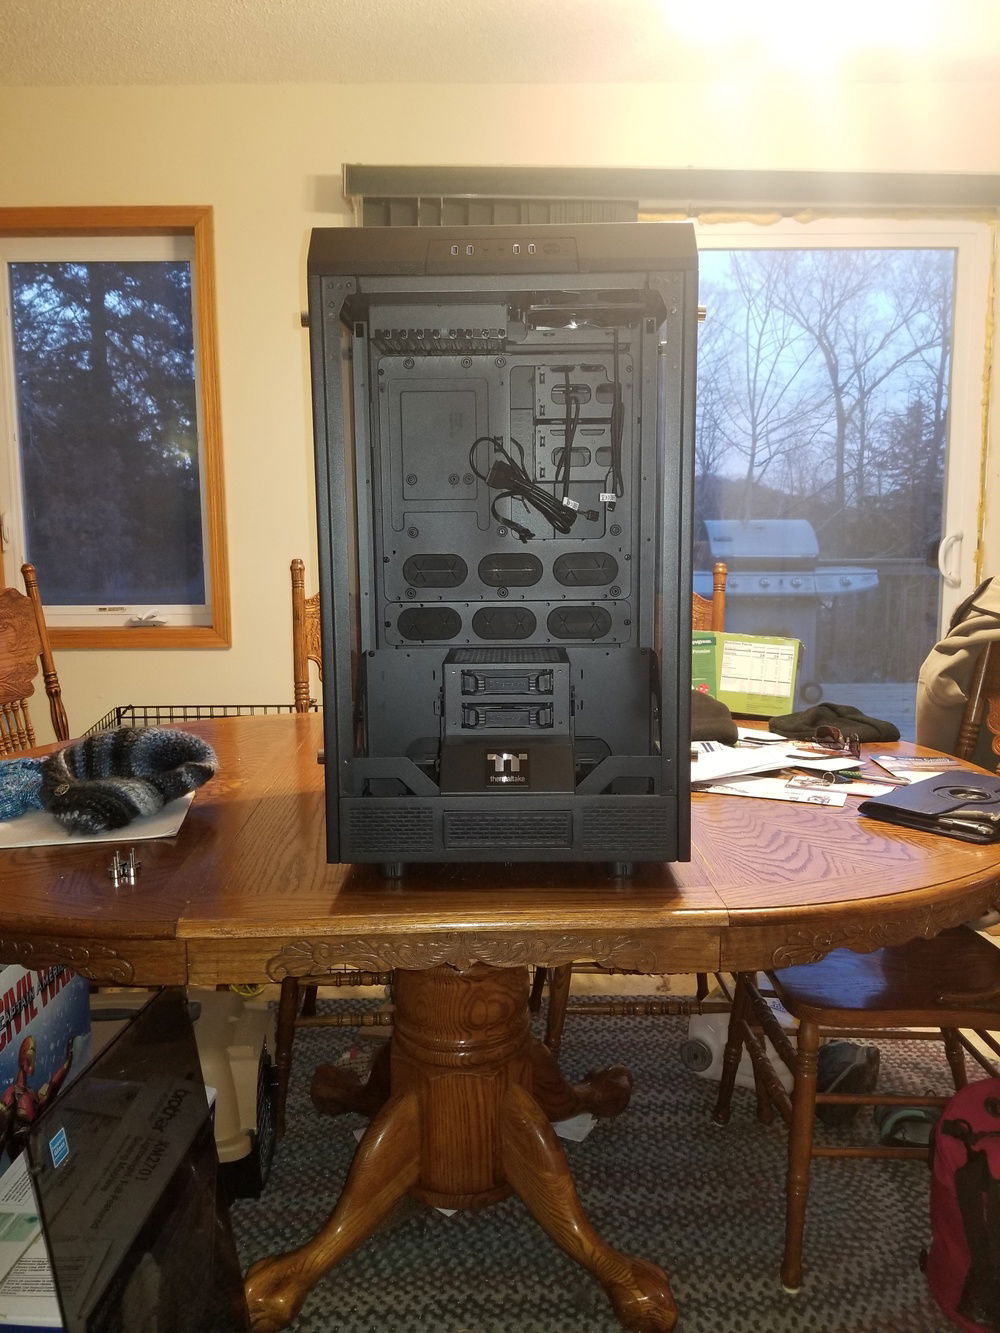
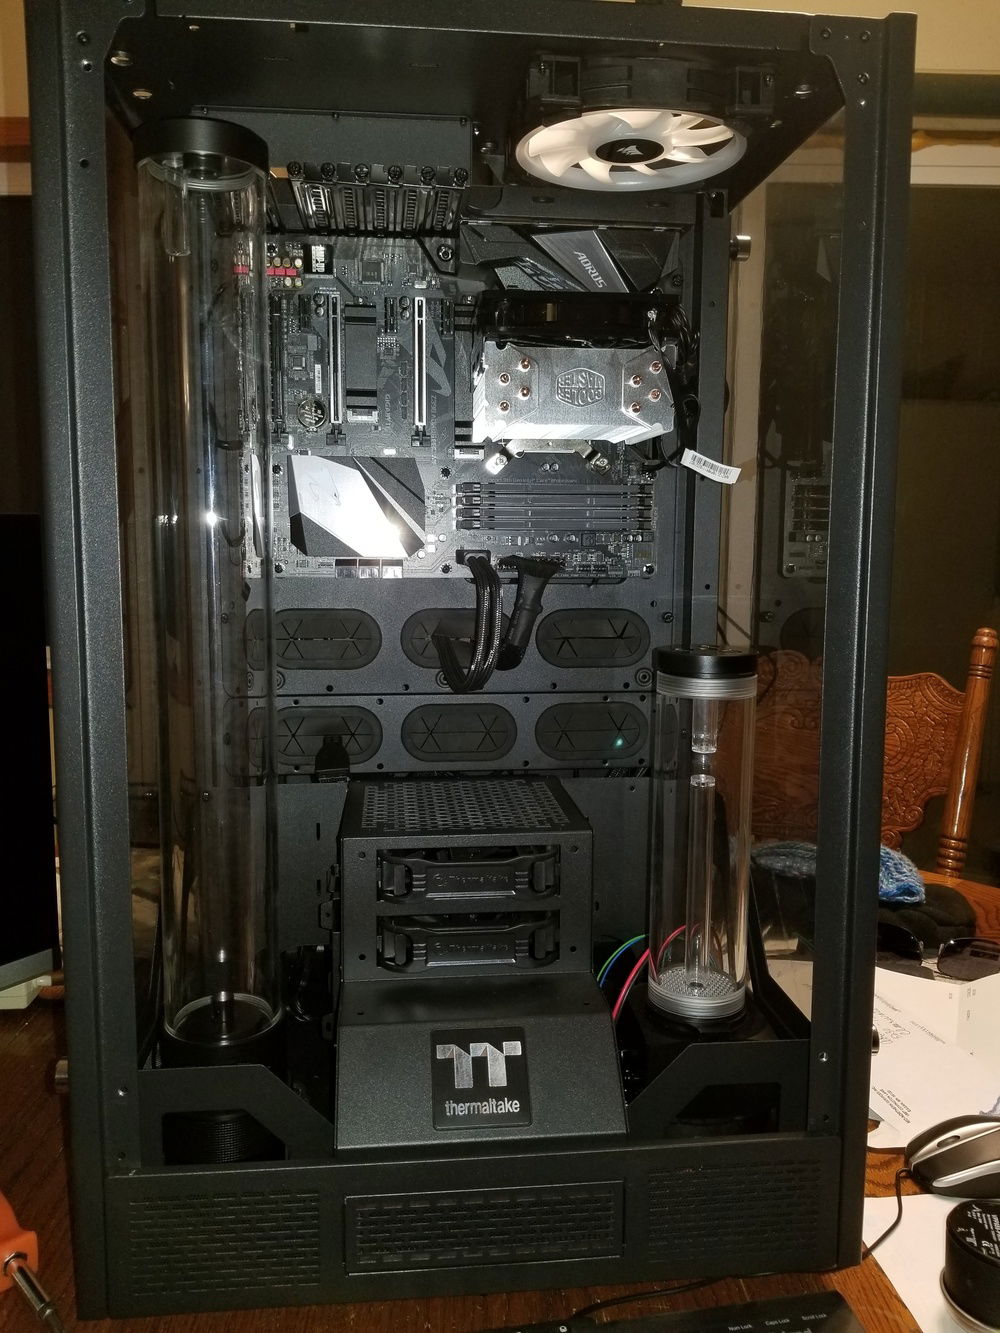
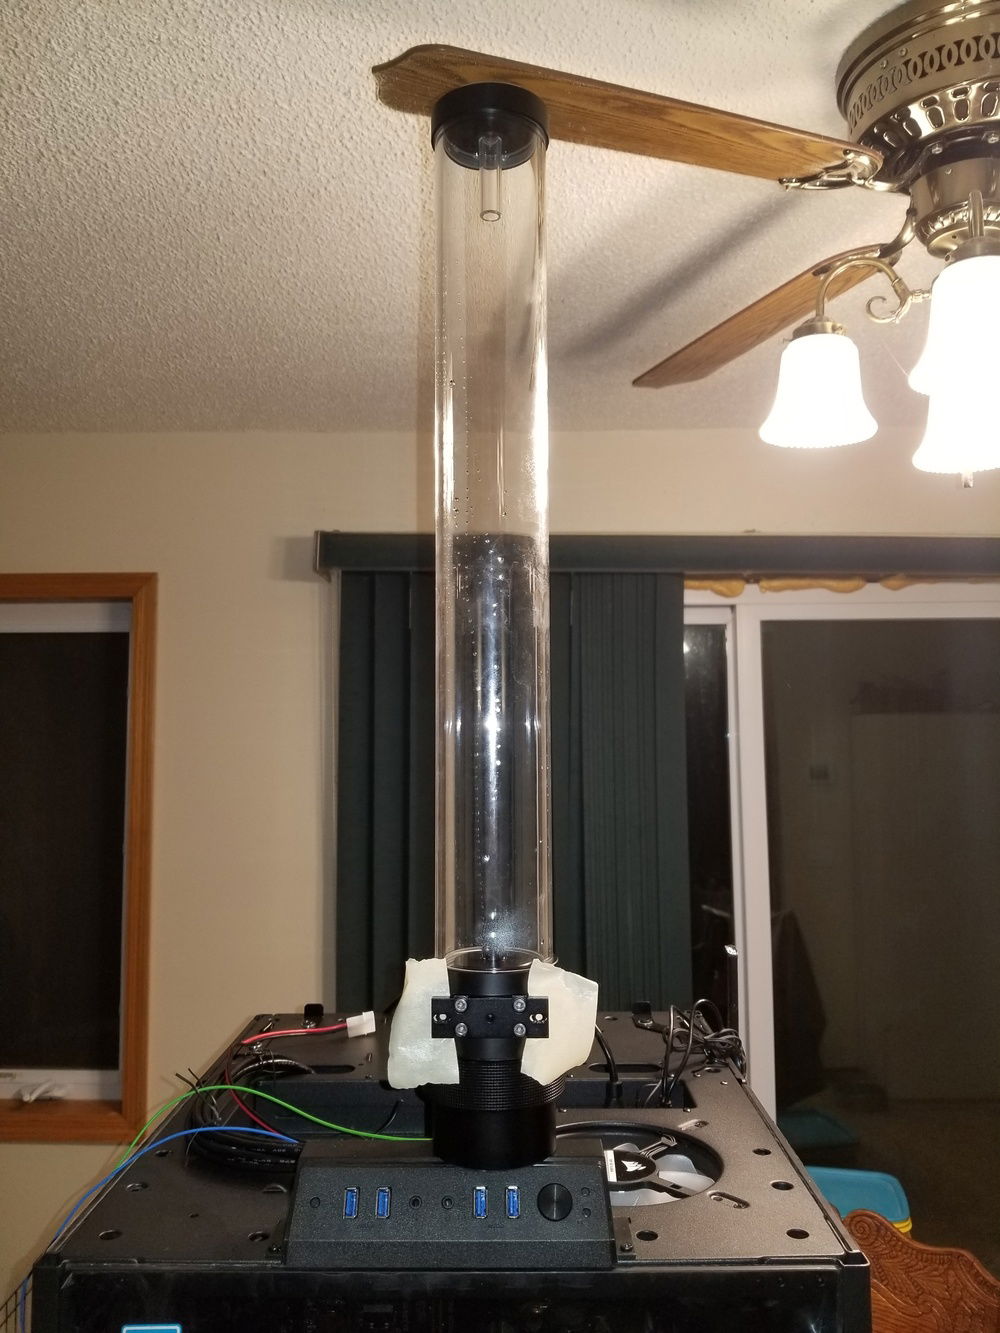
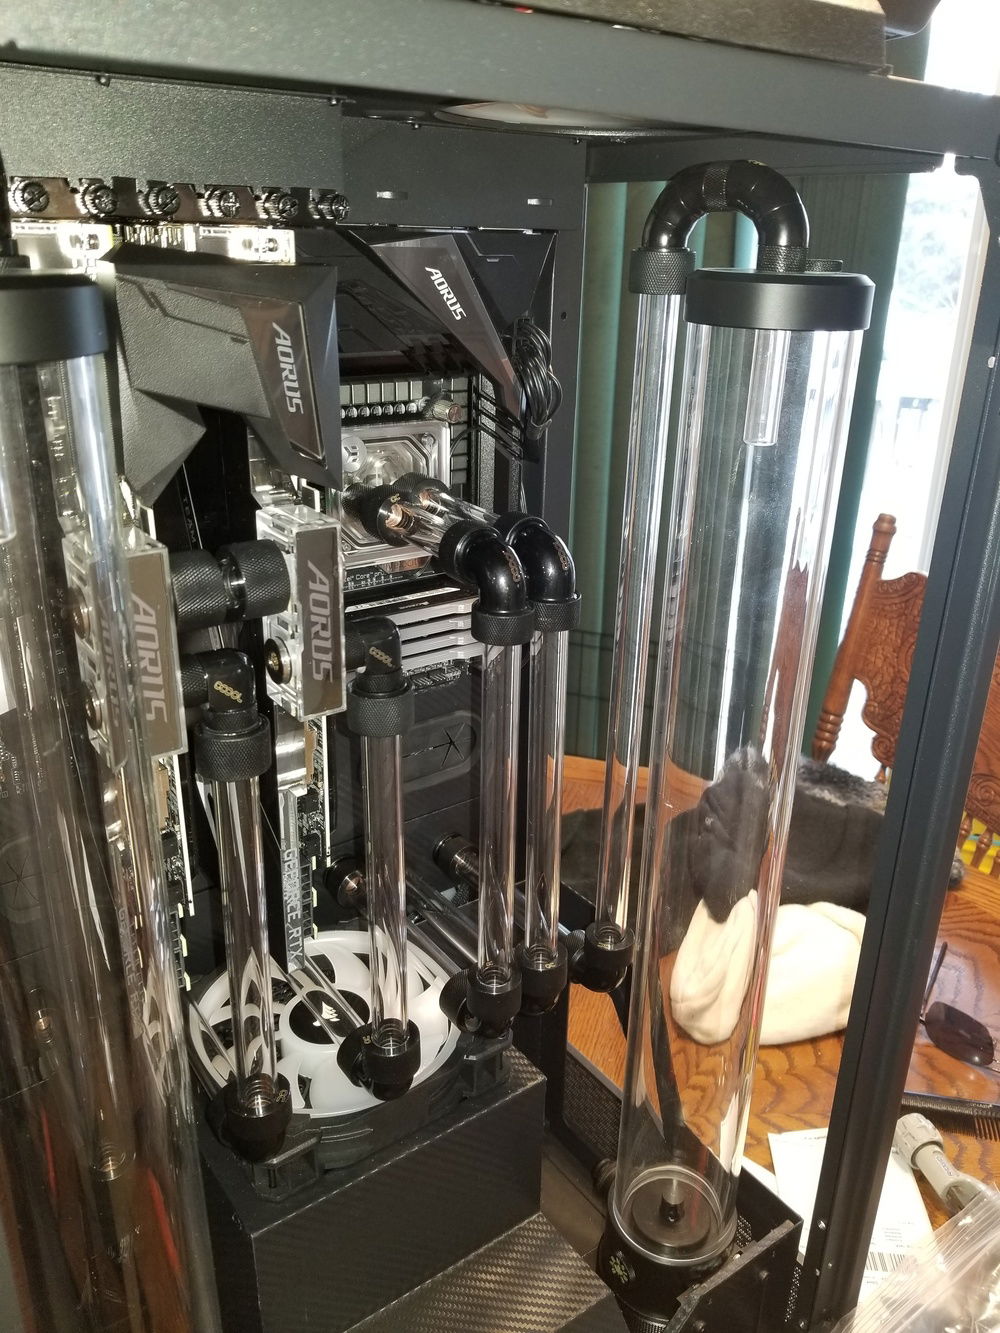
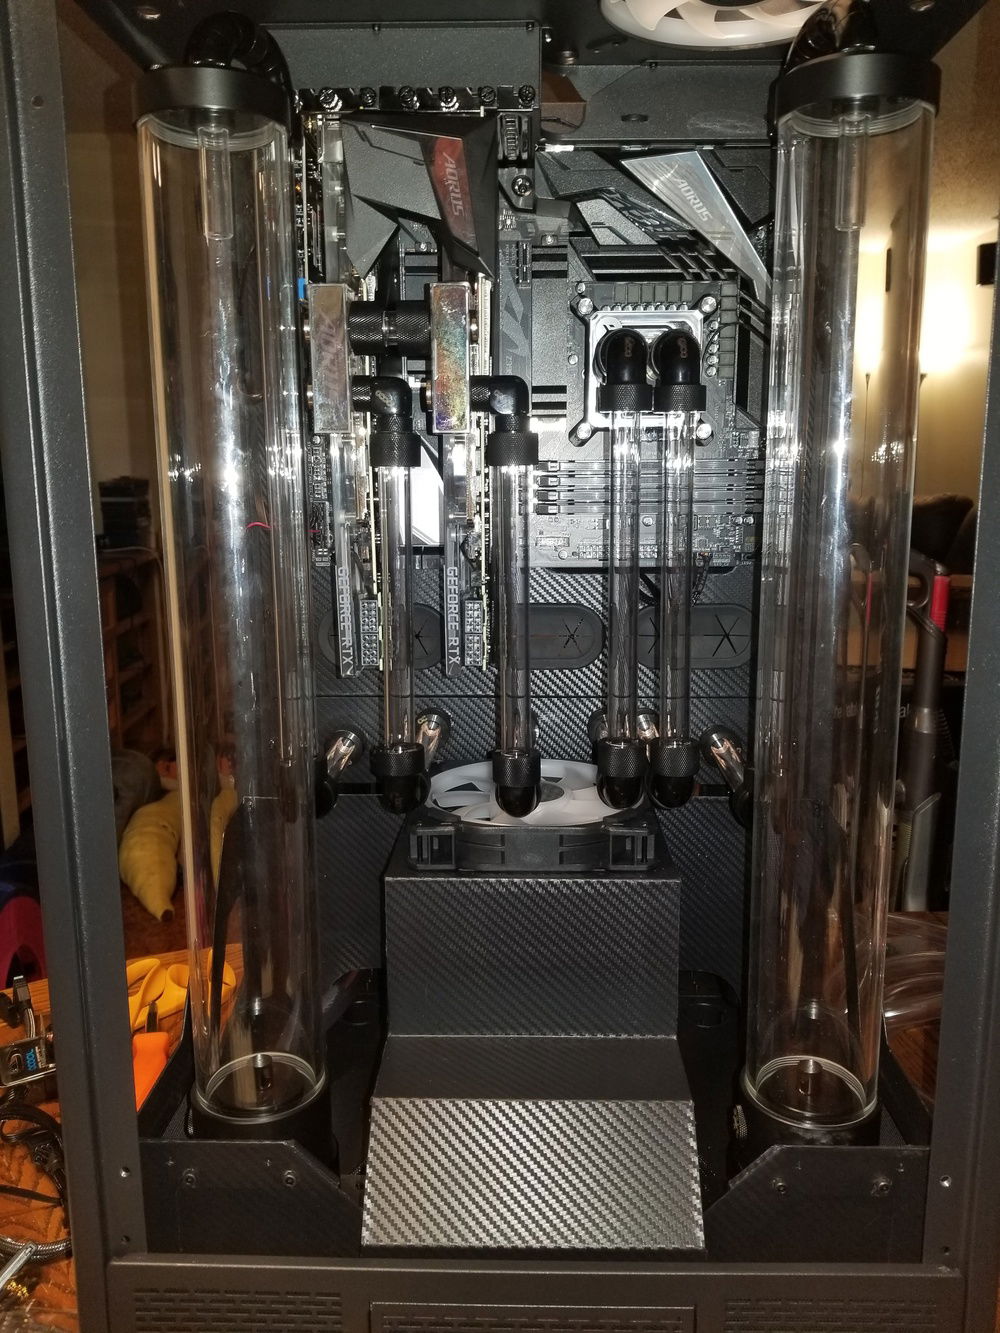
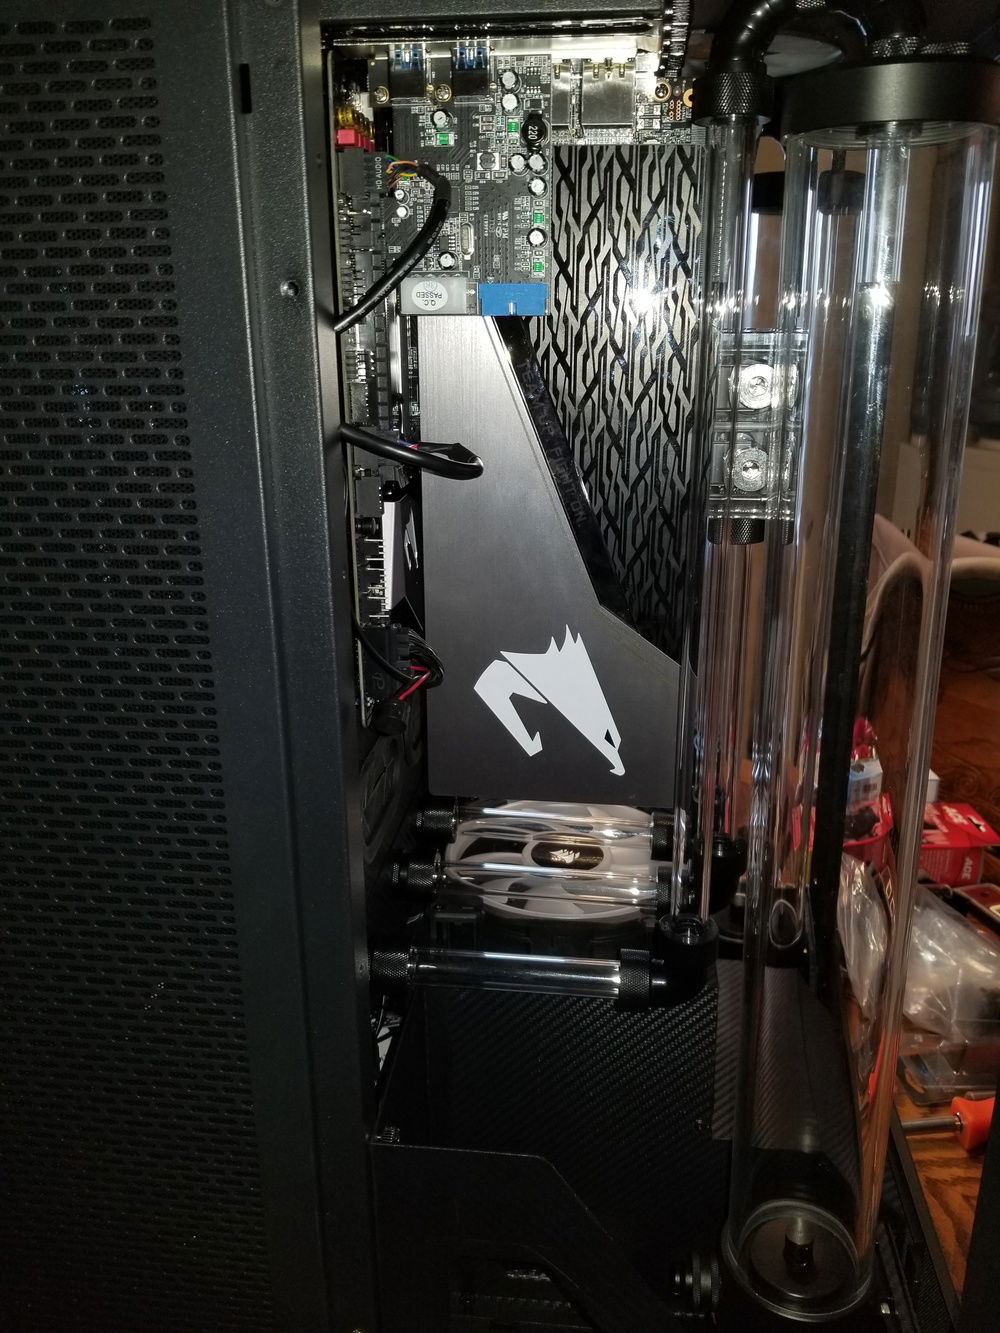
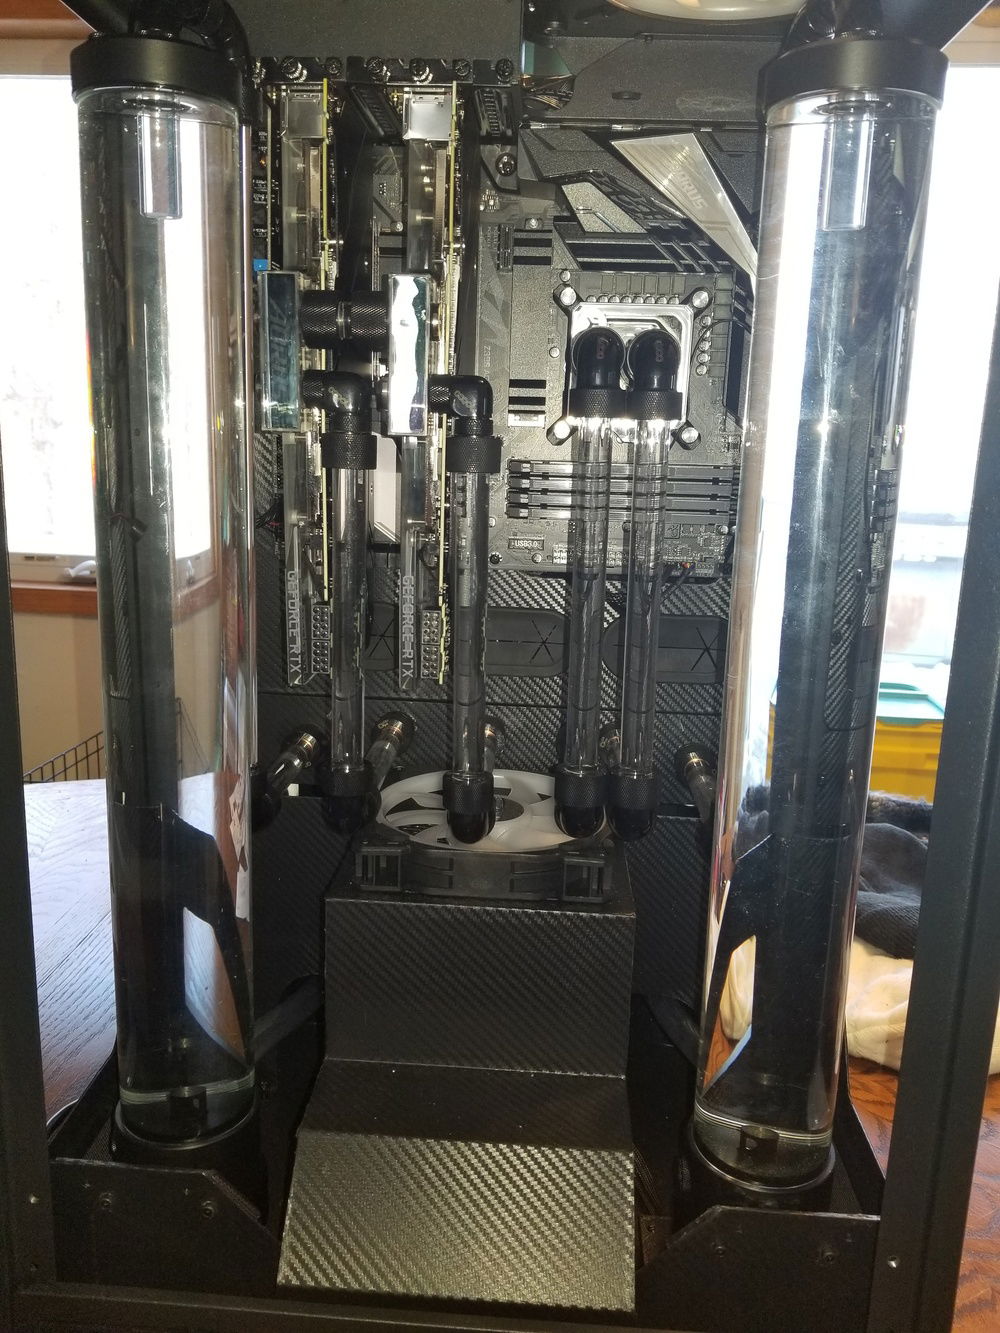
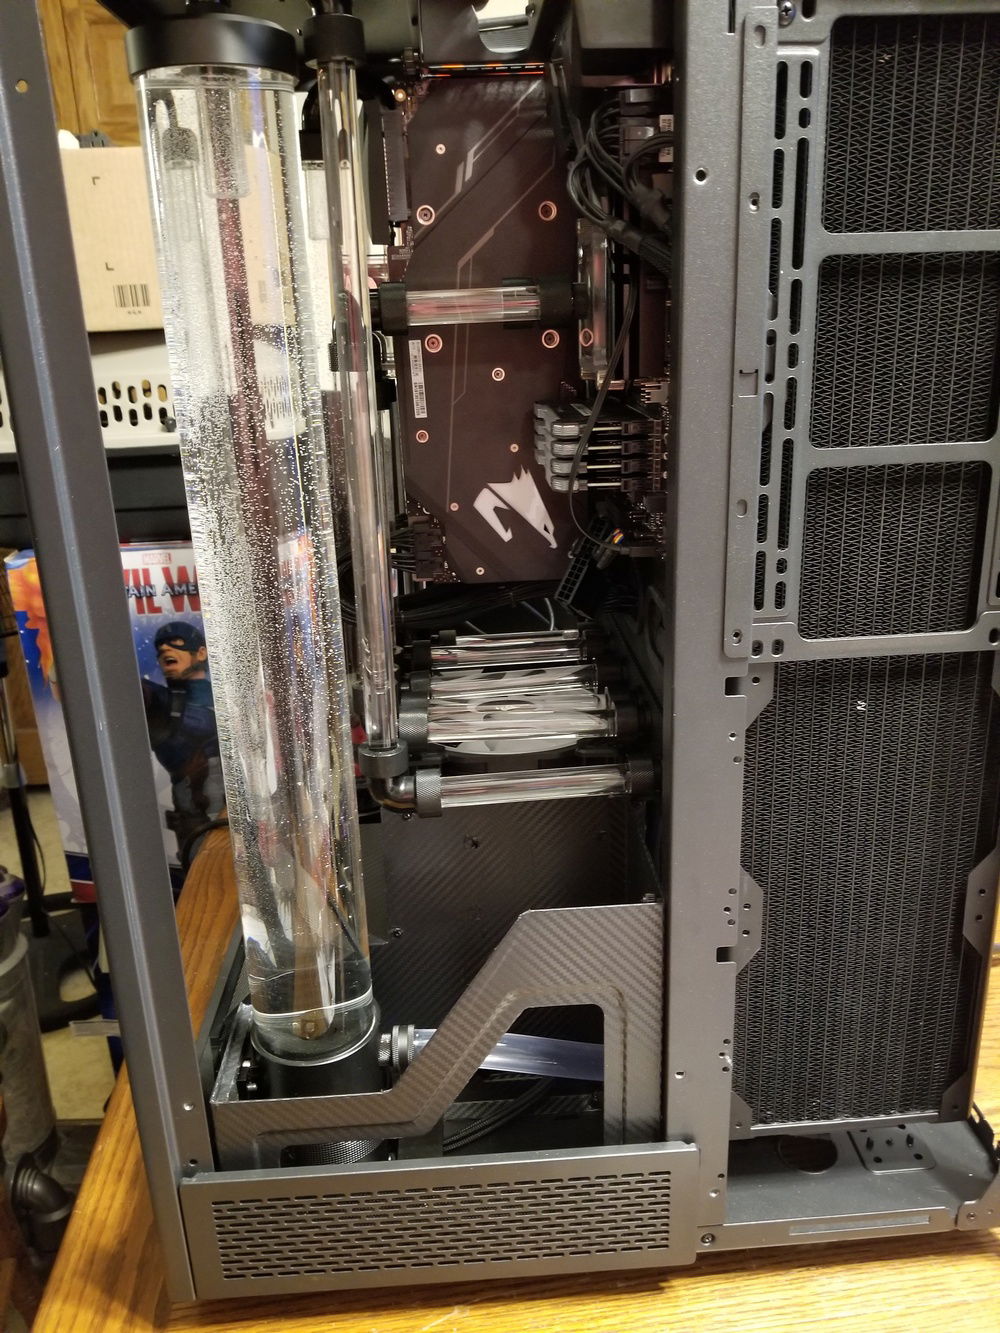
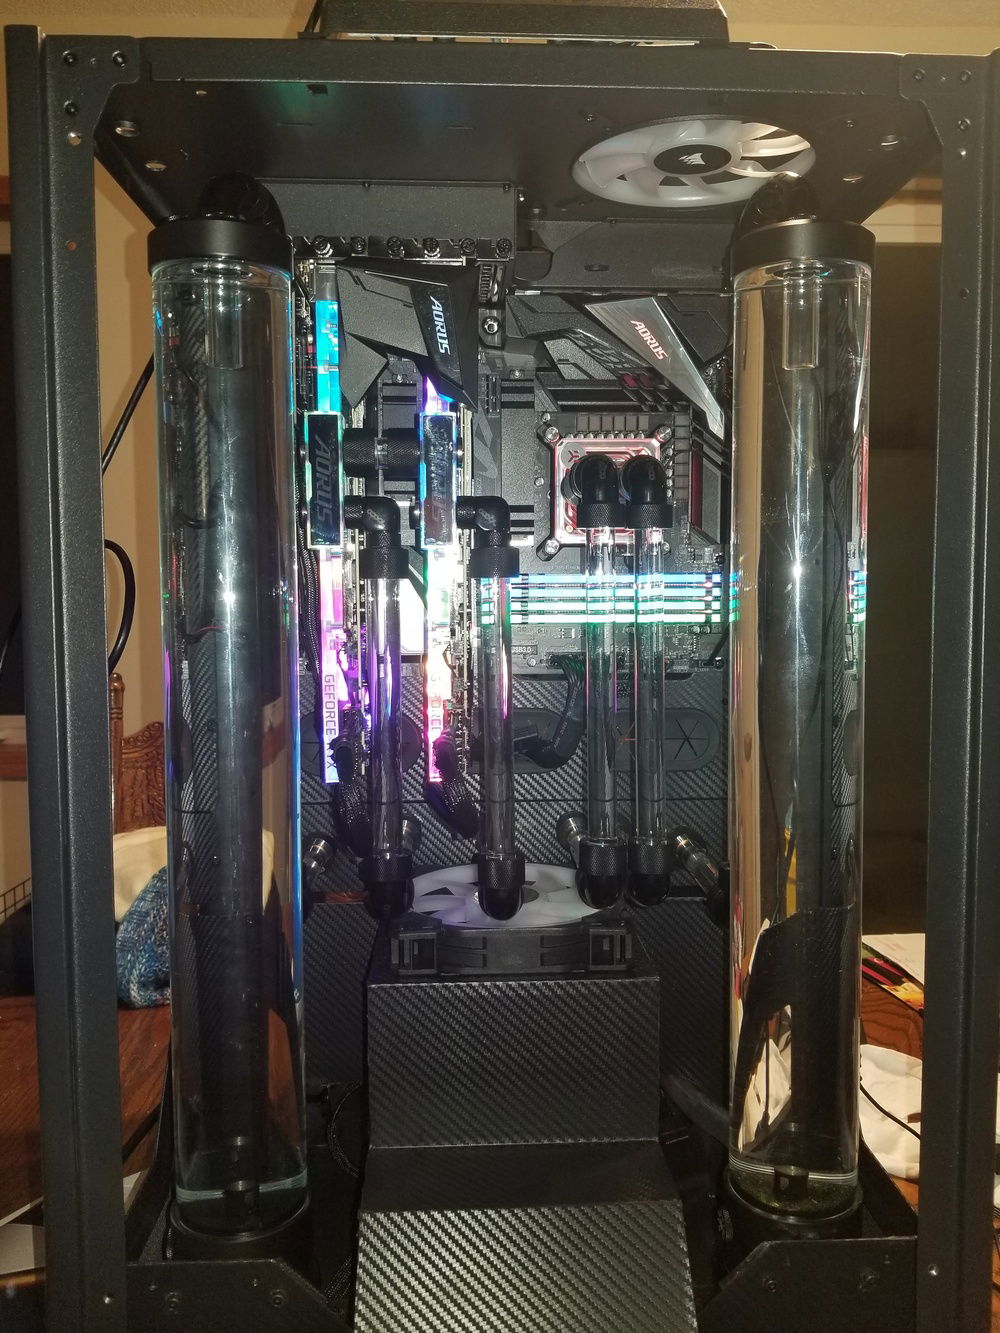
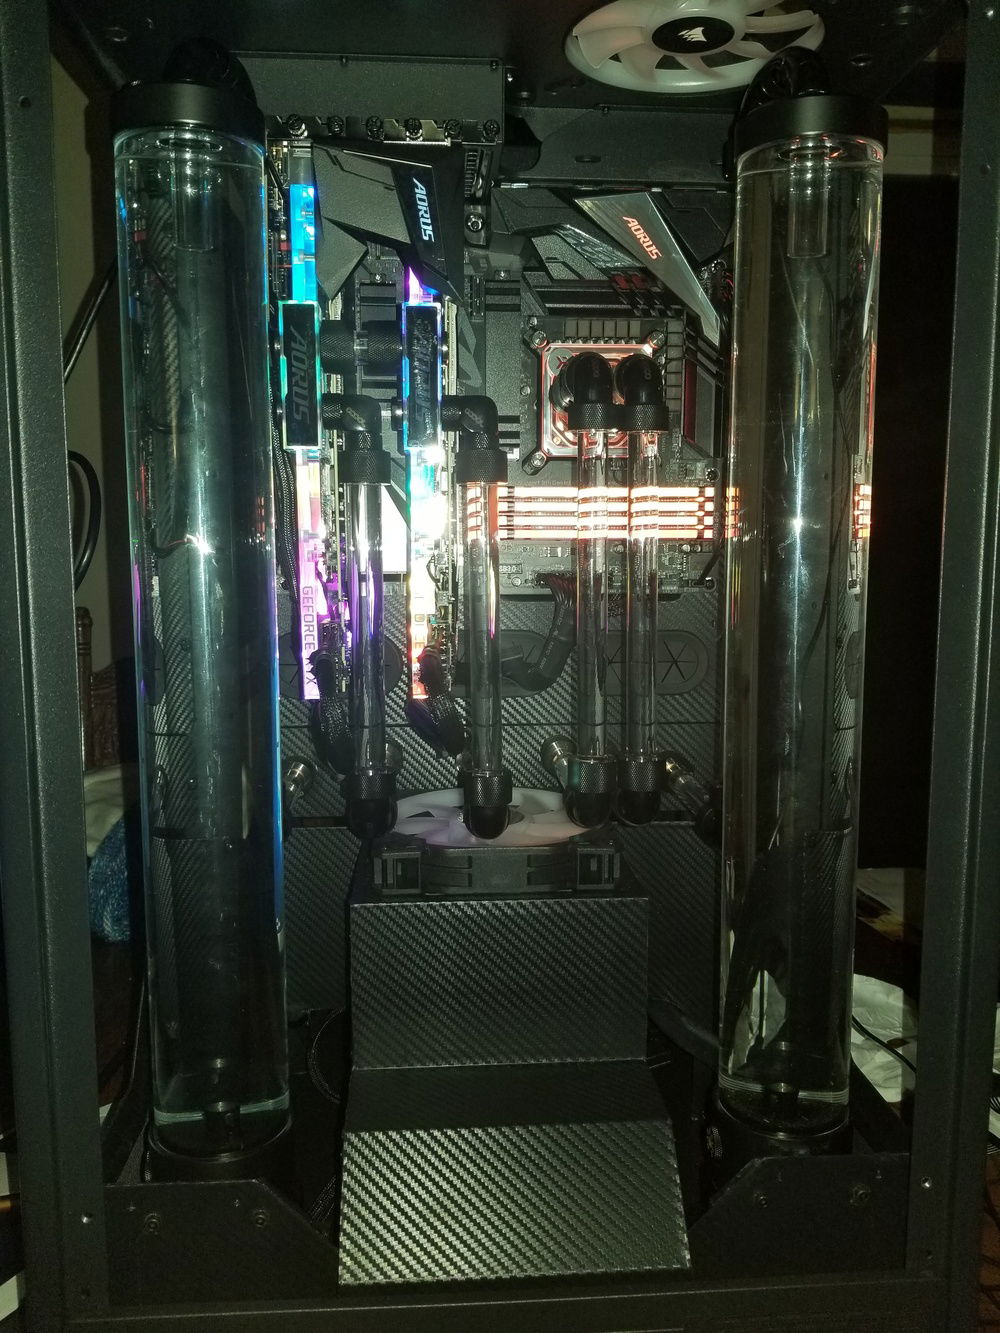
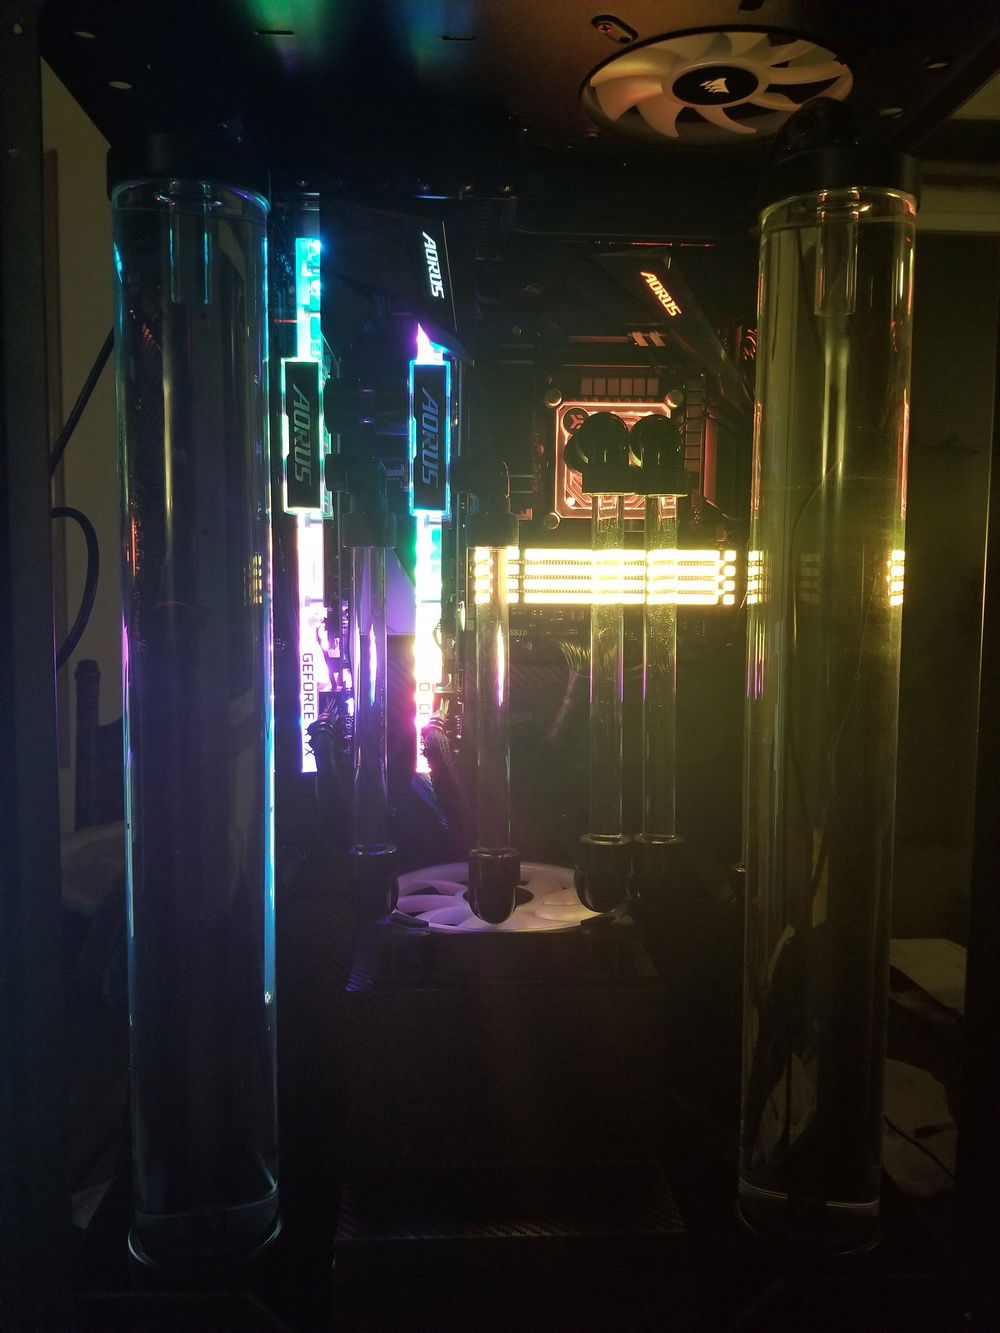
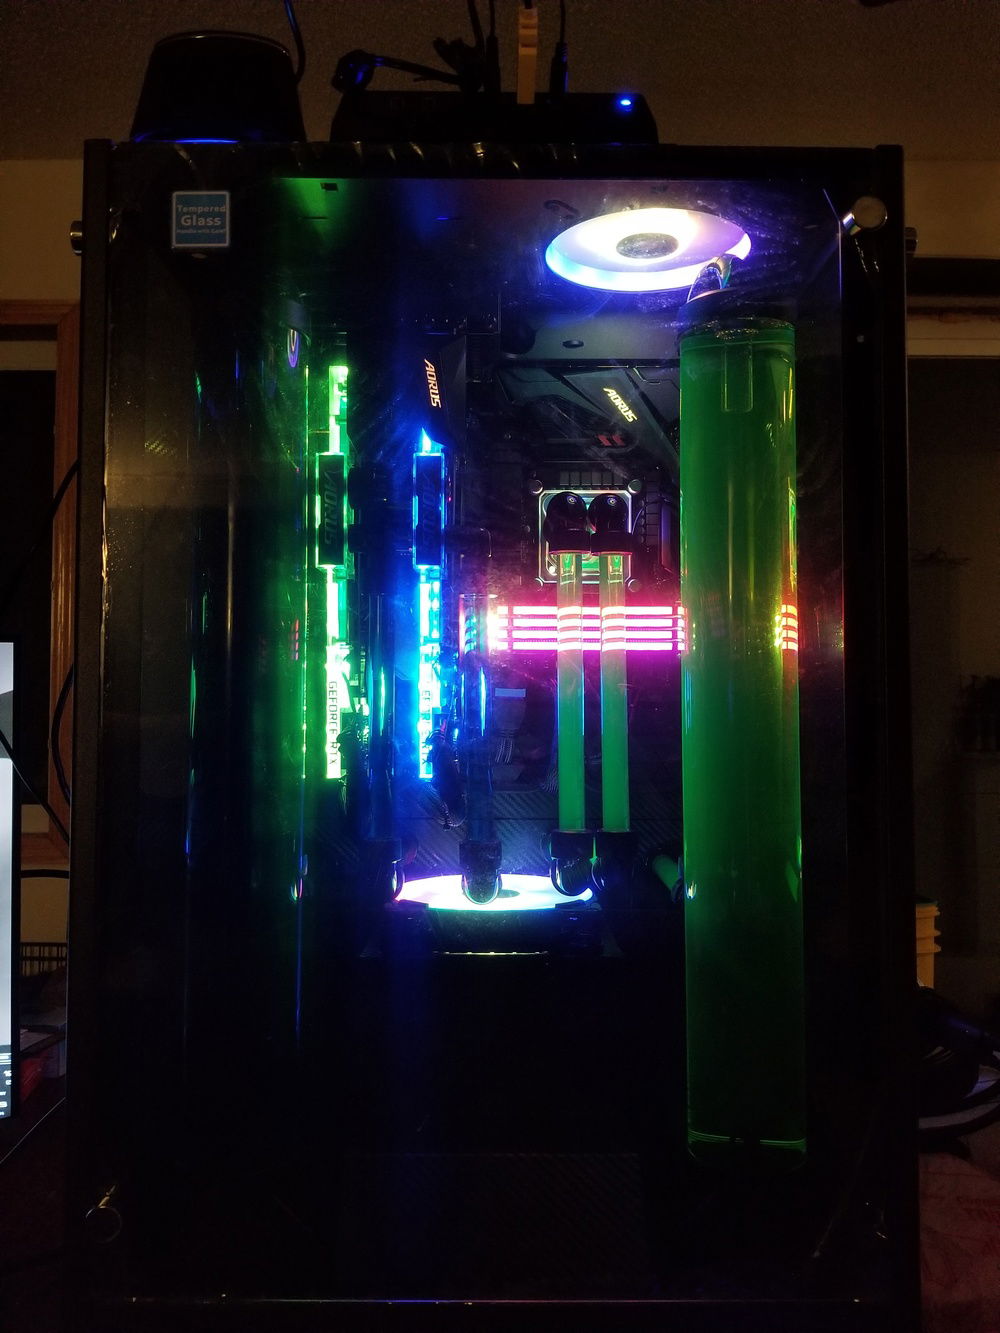
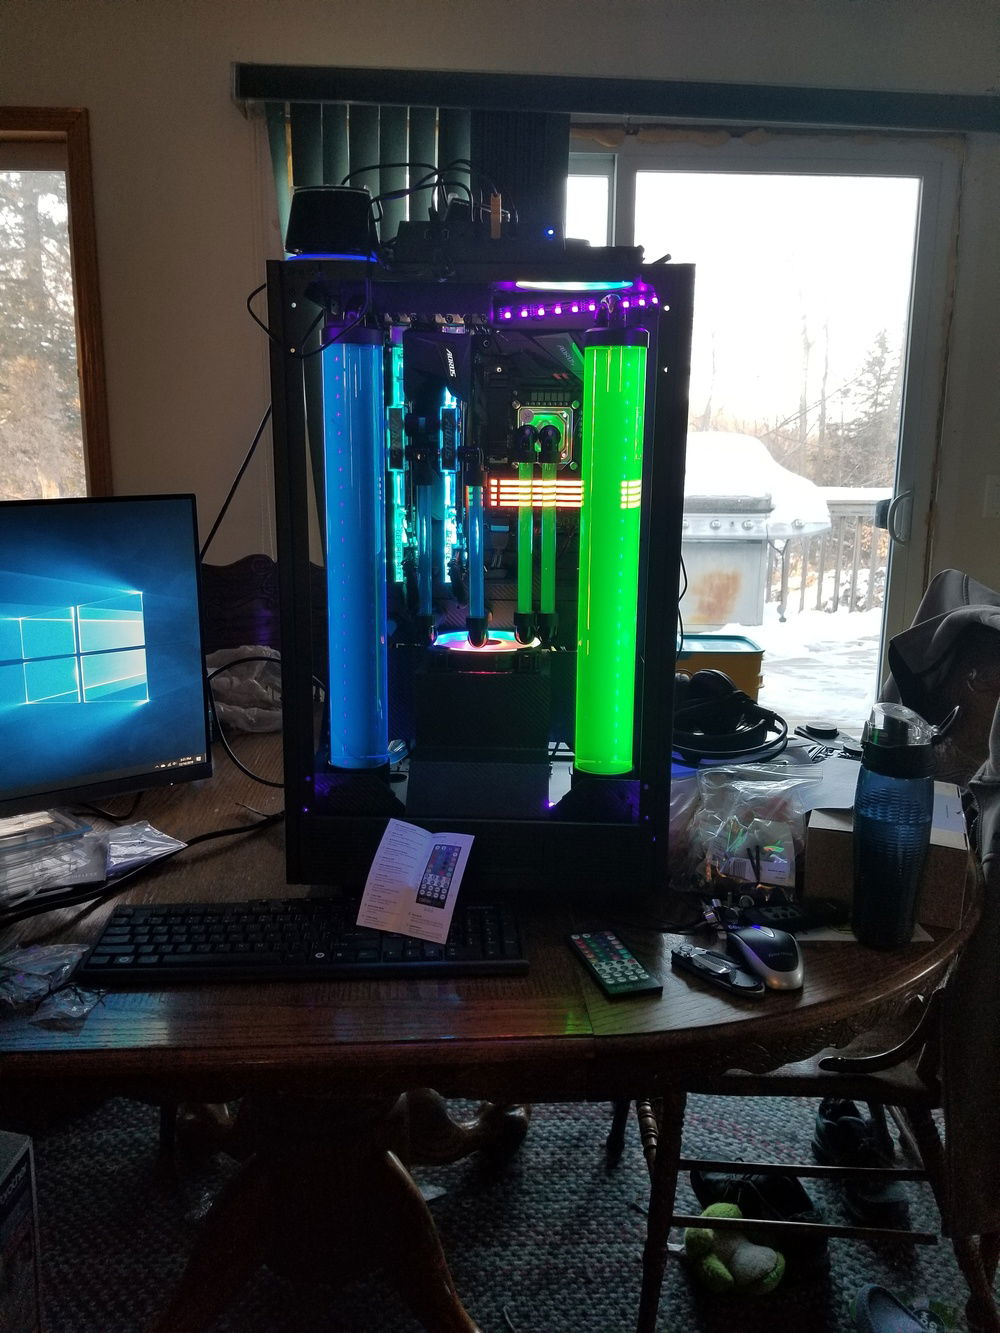
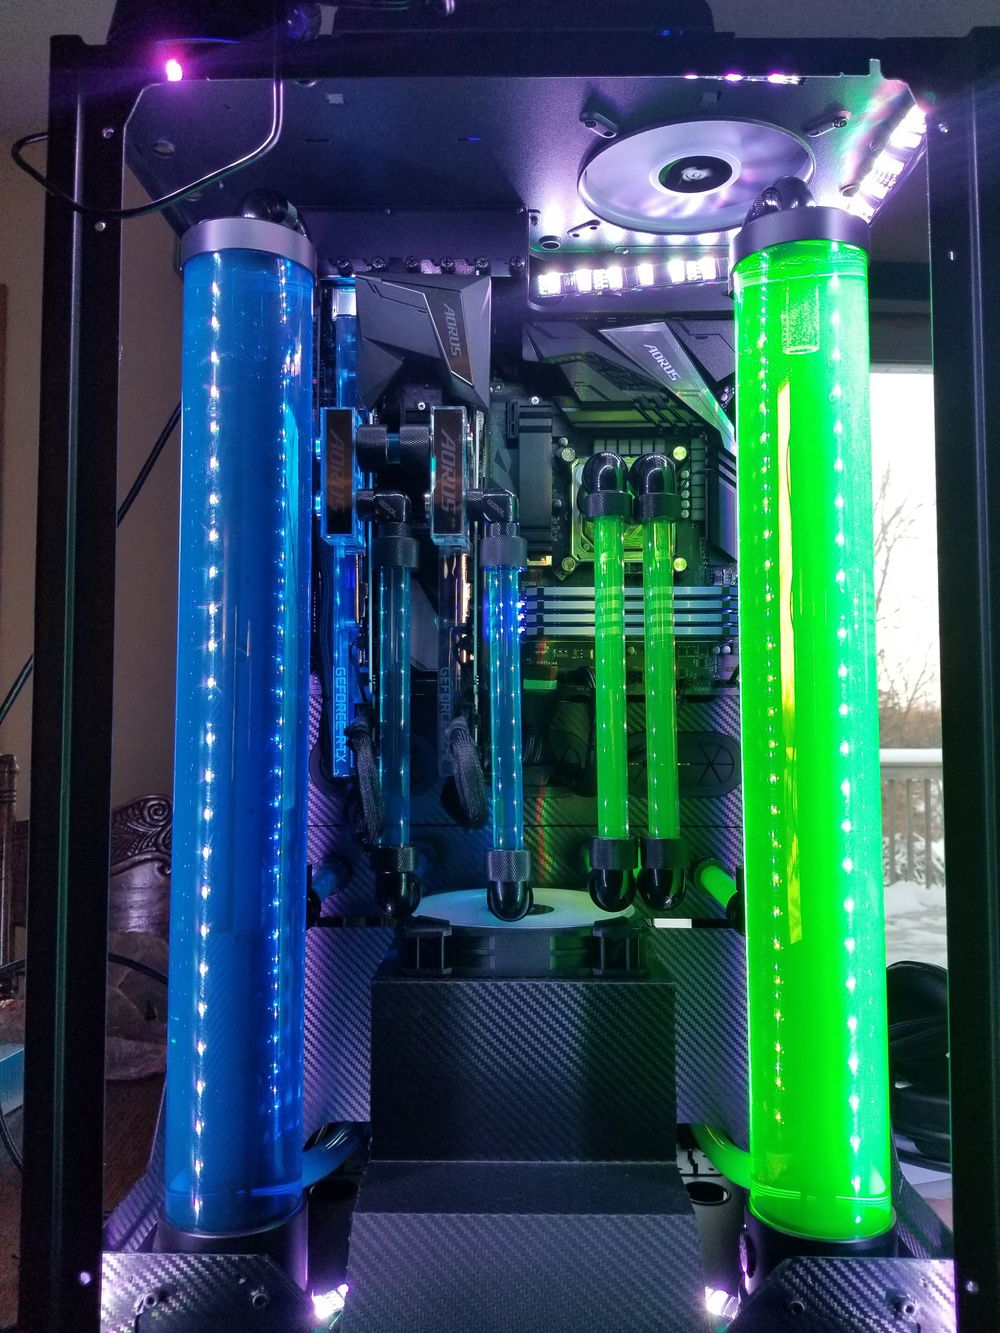
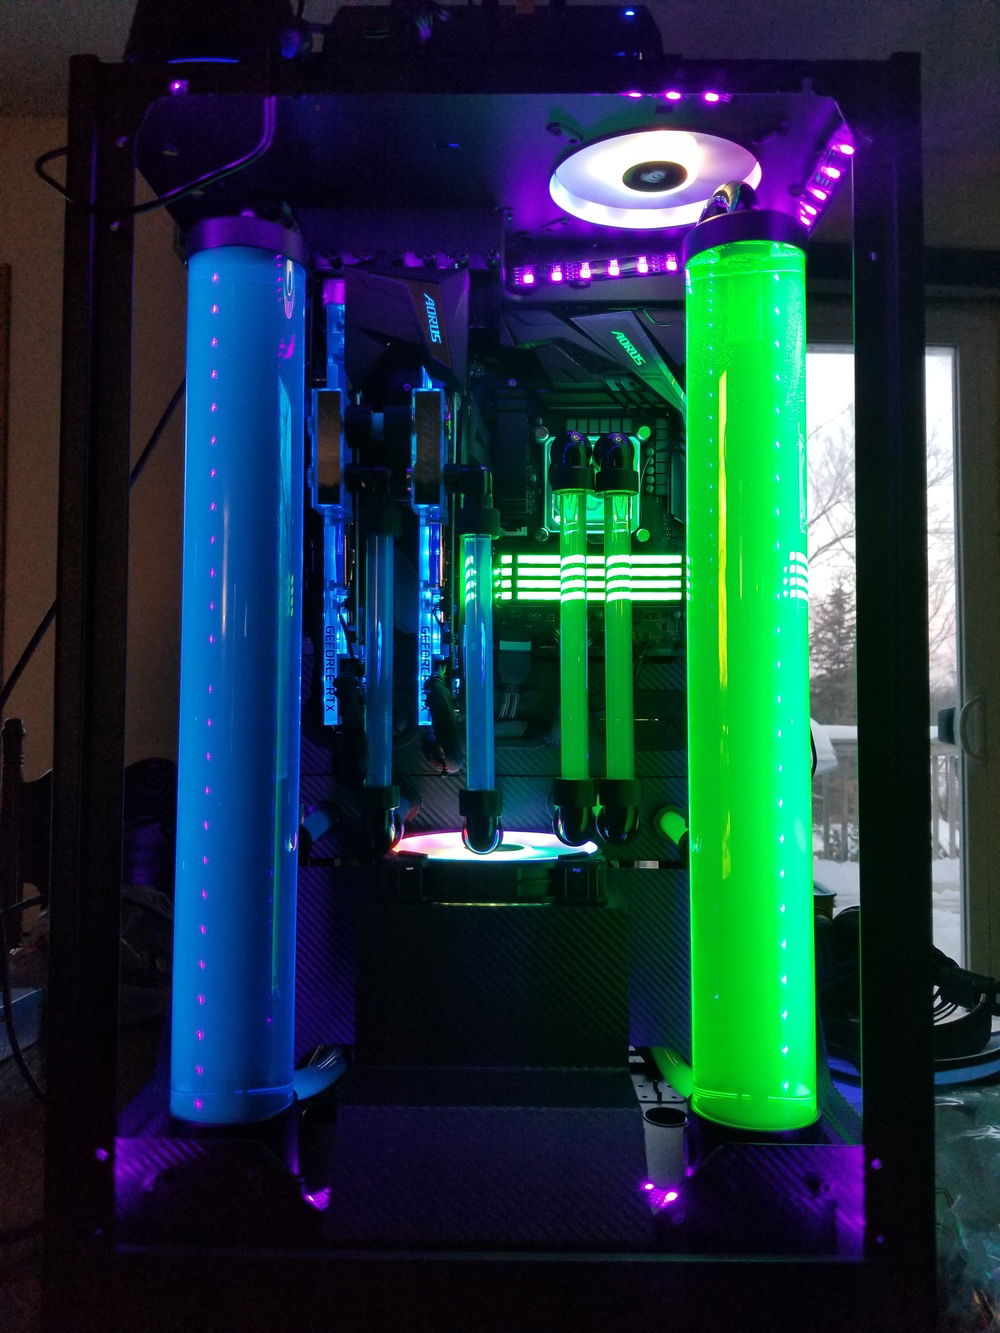
I present to you, Wardenclyffe.
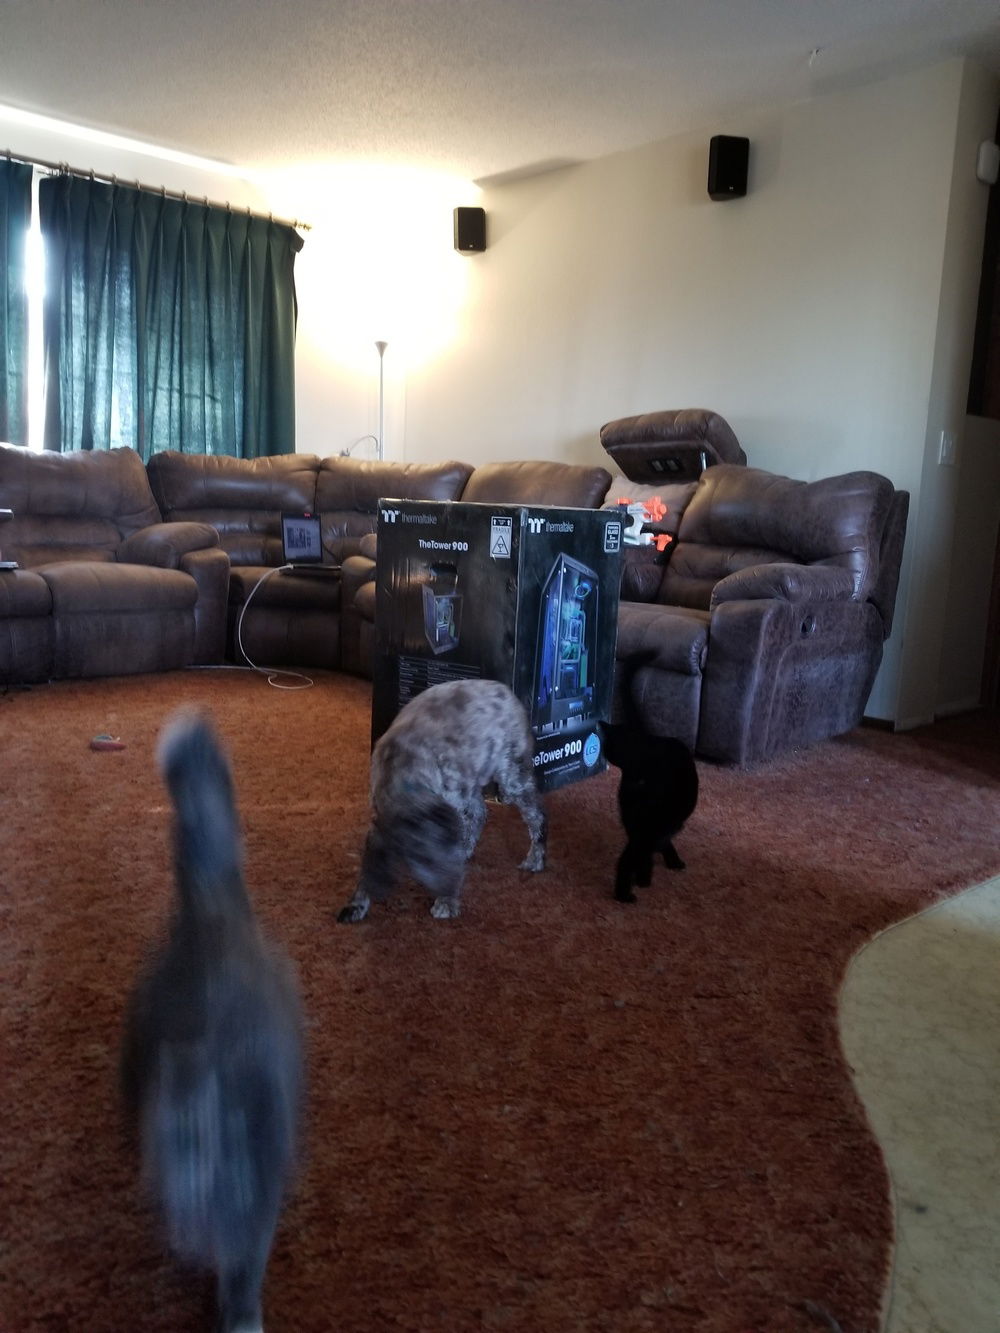
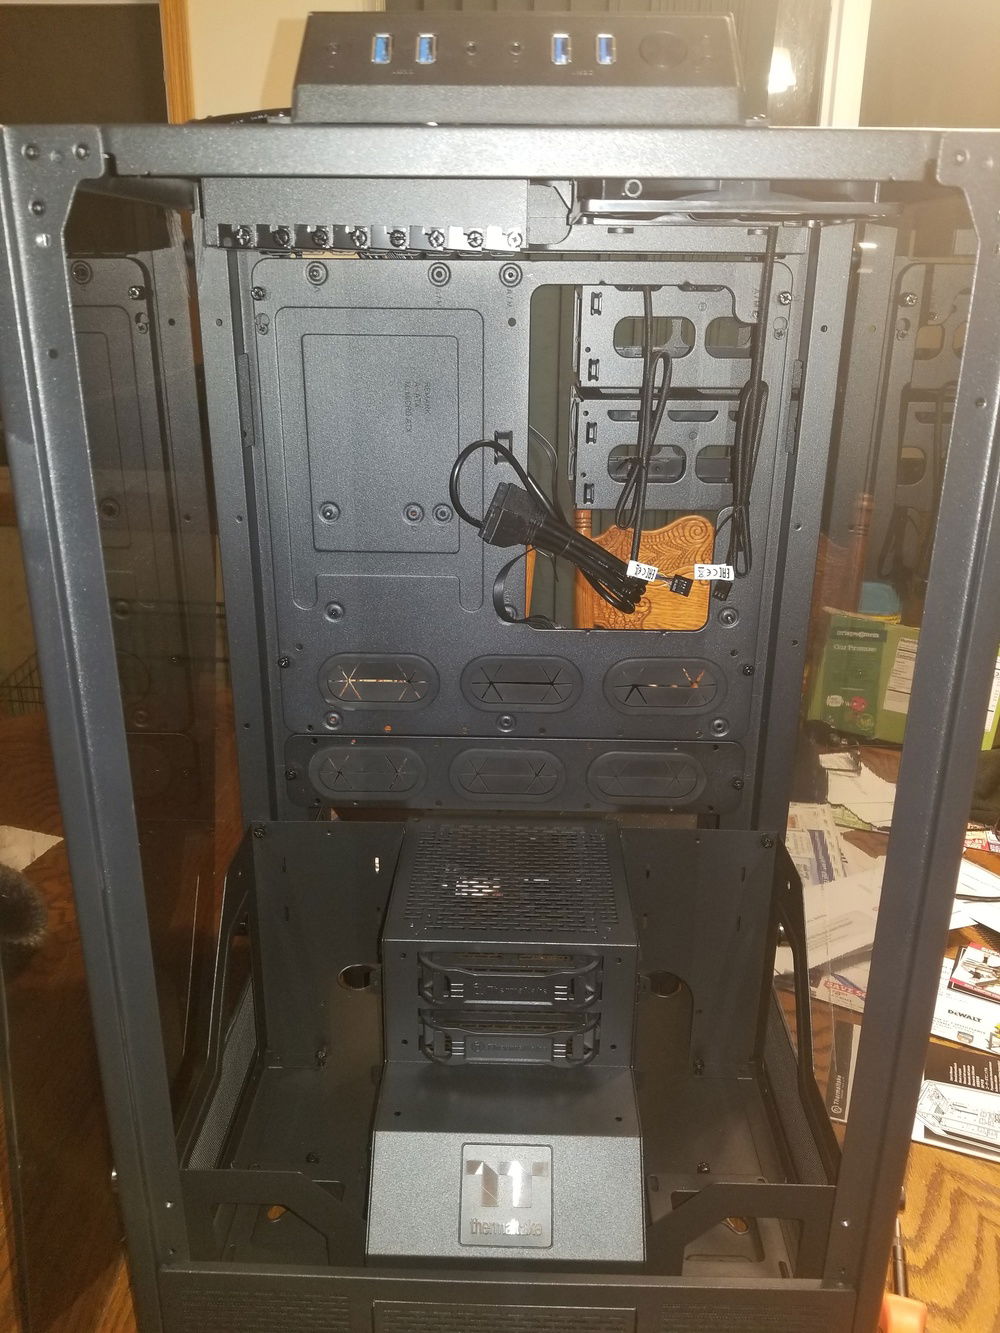
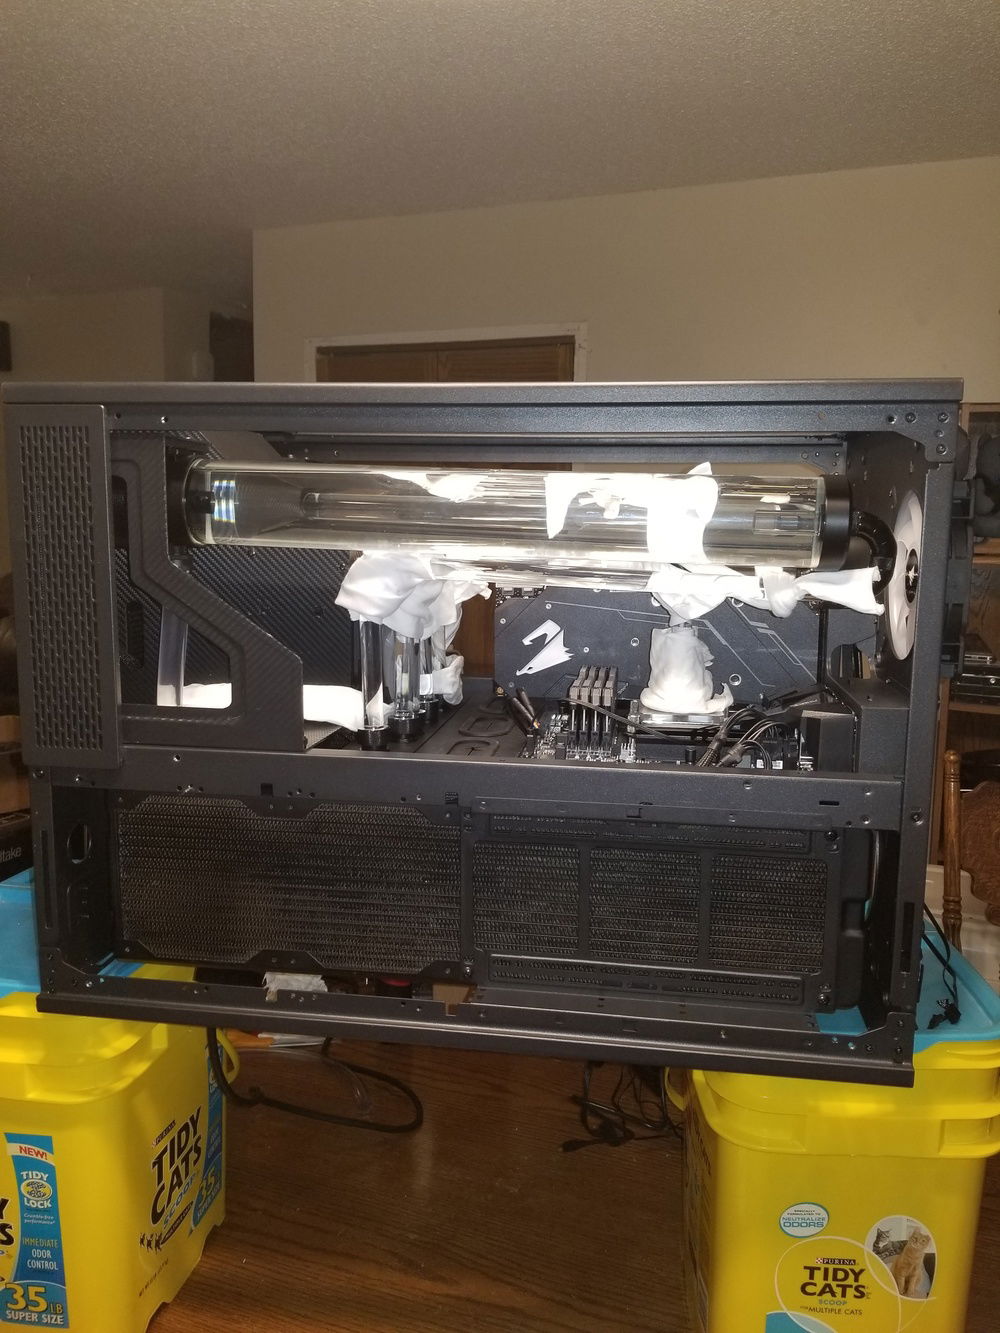
Case was the first thing to arrive. I'm not saying mistakes were made, I'm just saying I may have underestimated how big this case is.
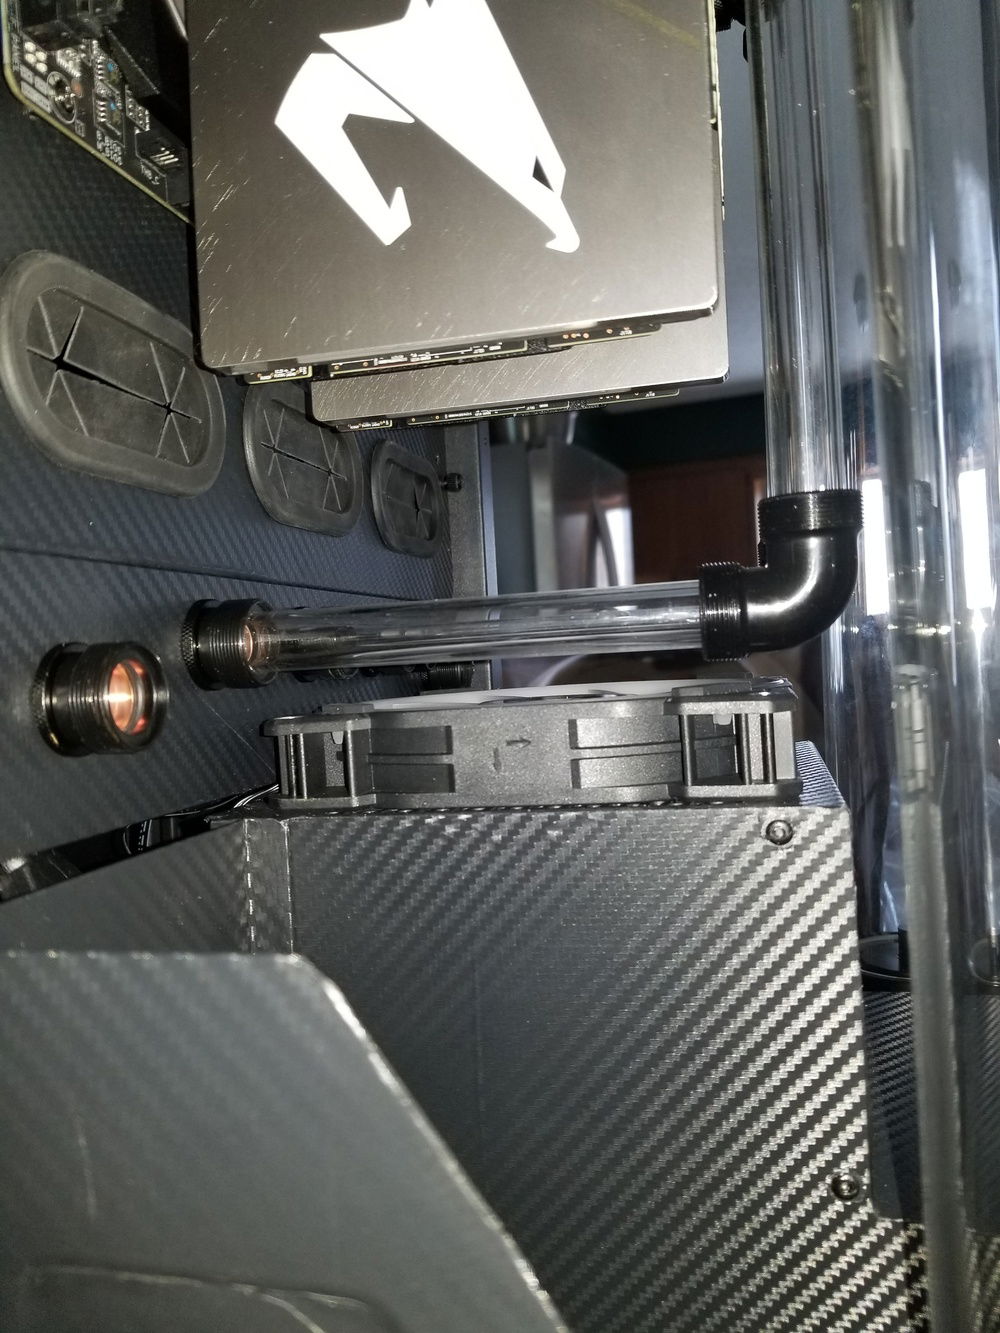
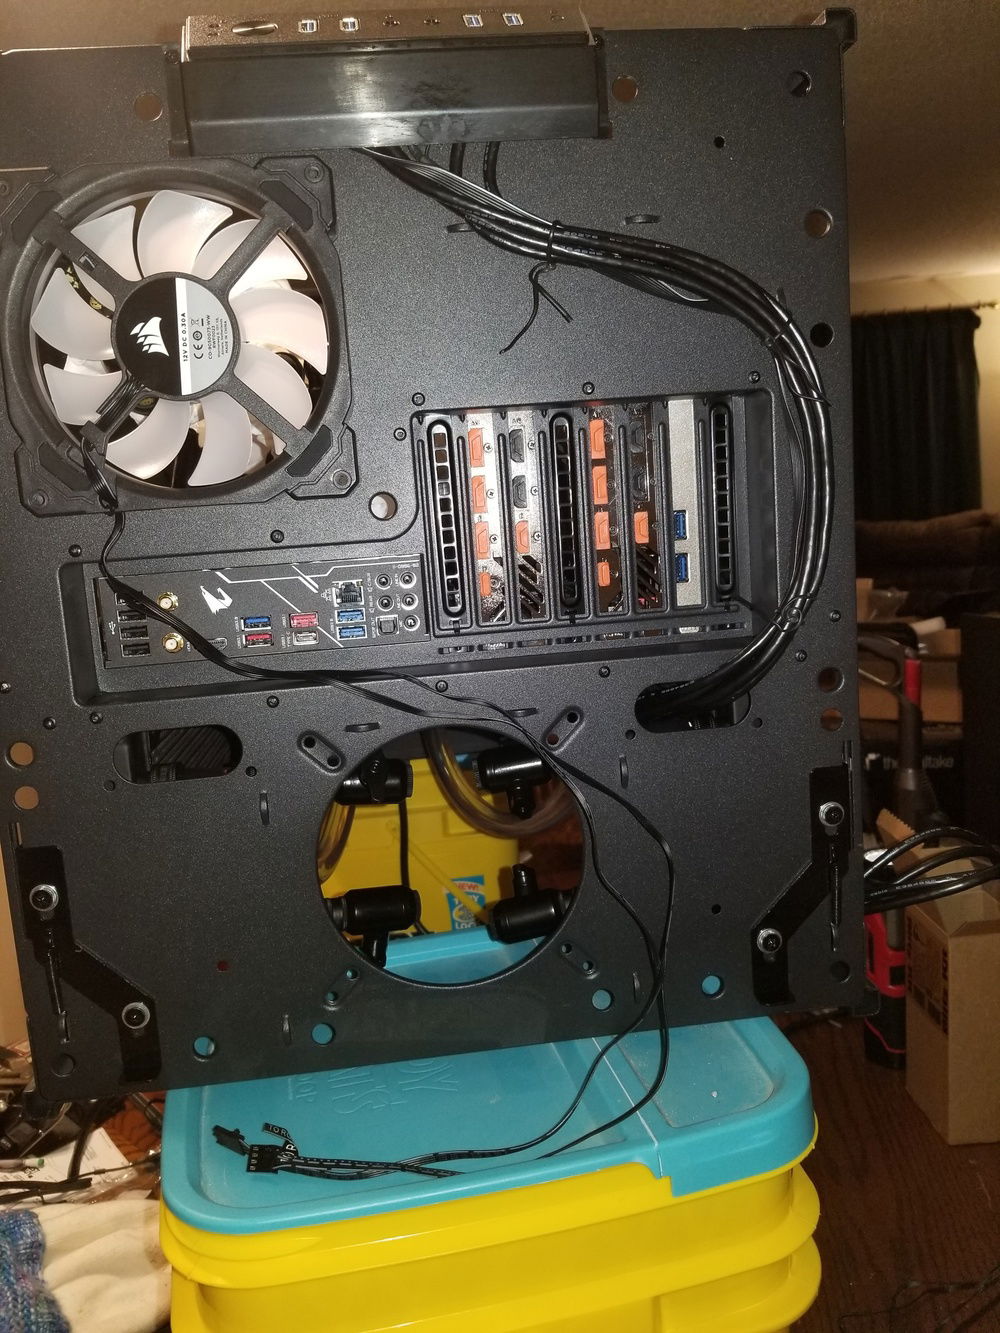
There's so much room to build in this thing. I'm not sure how I'll utilize the lower set of pass-through grommets for the water cooling lines just yet.
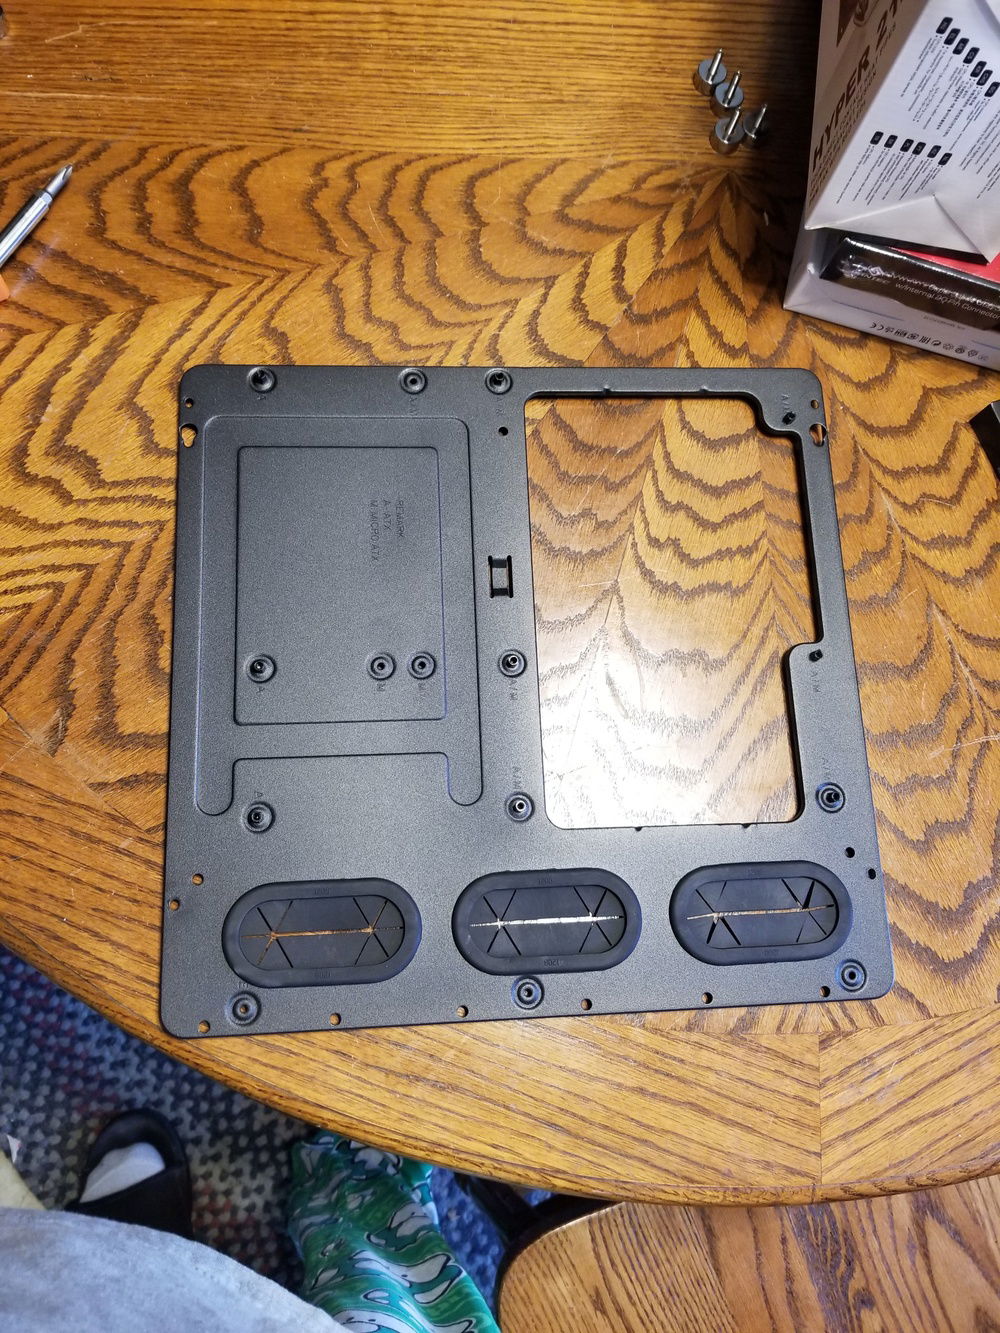
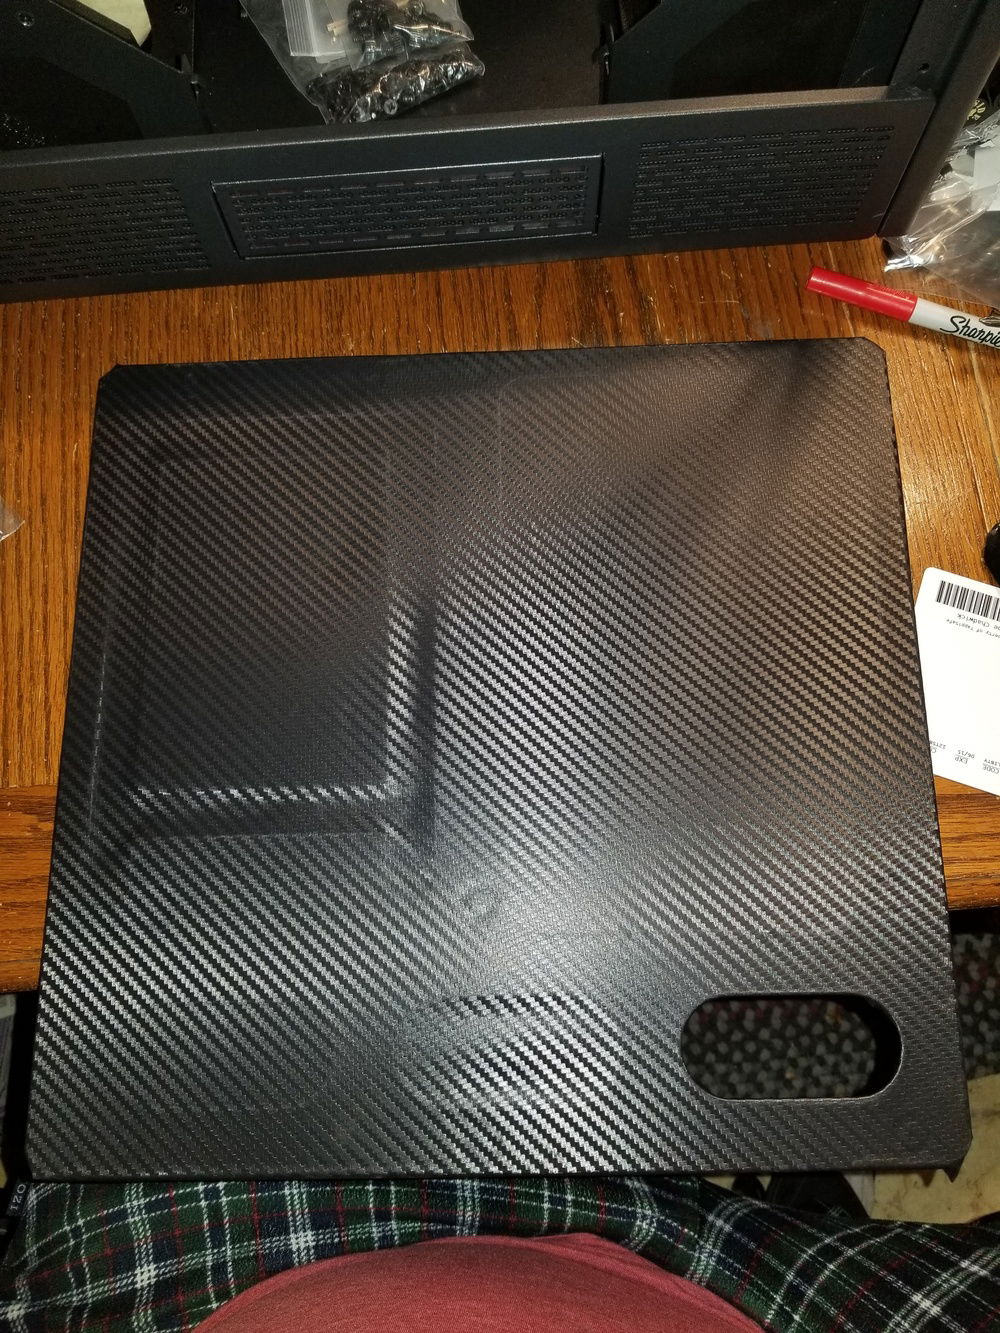
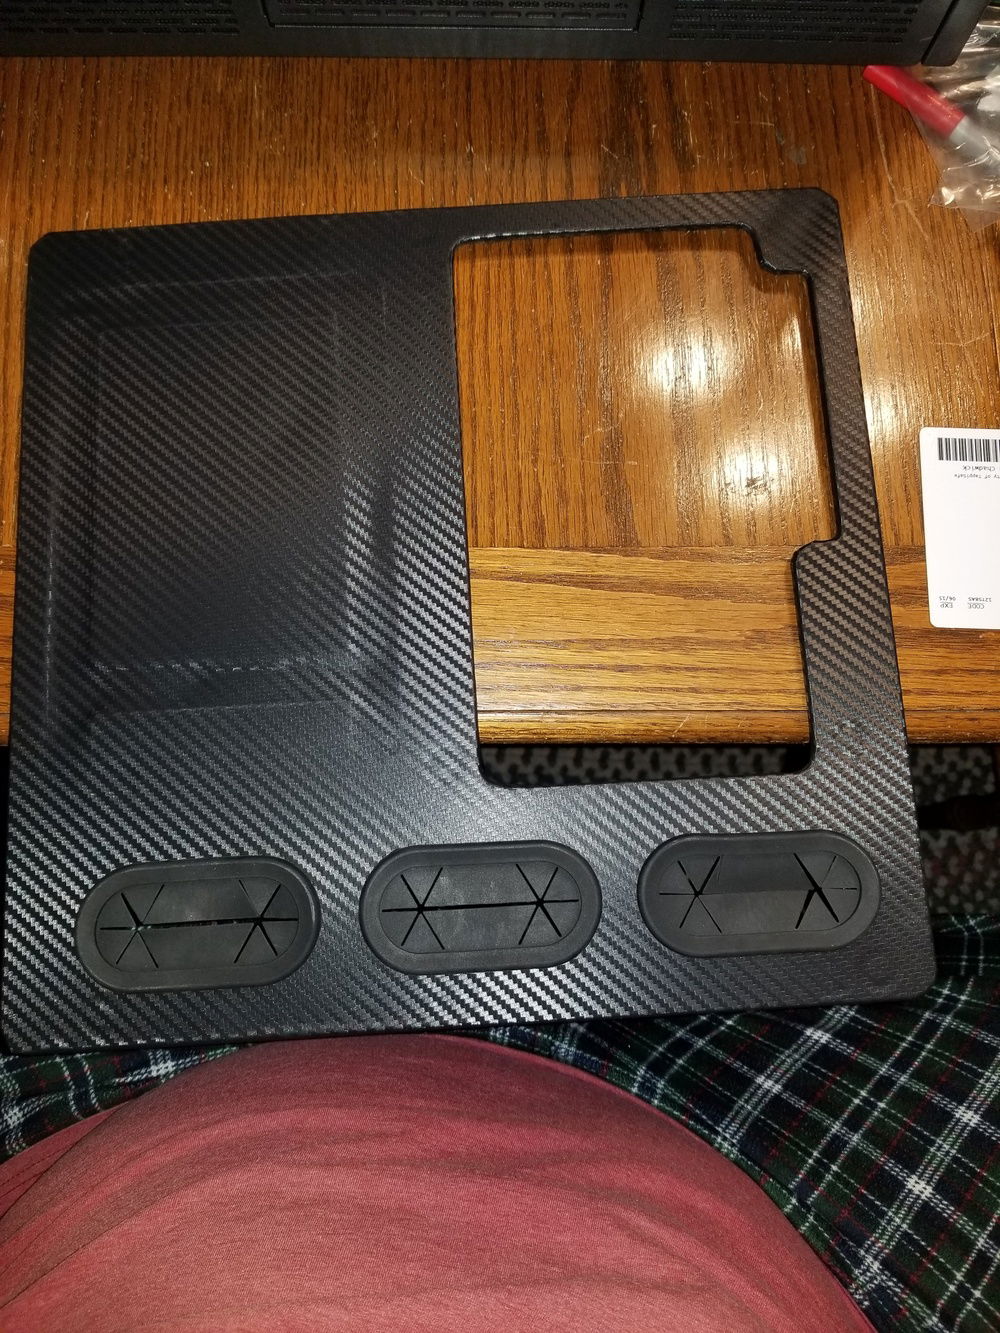
The motherboard tray comes out, making installation easier. This will be getting wrapped in some carbon fiber vinyl.
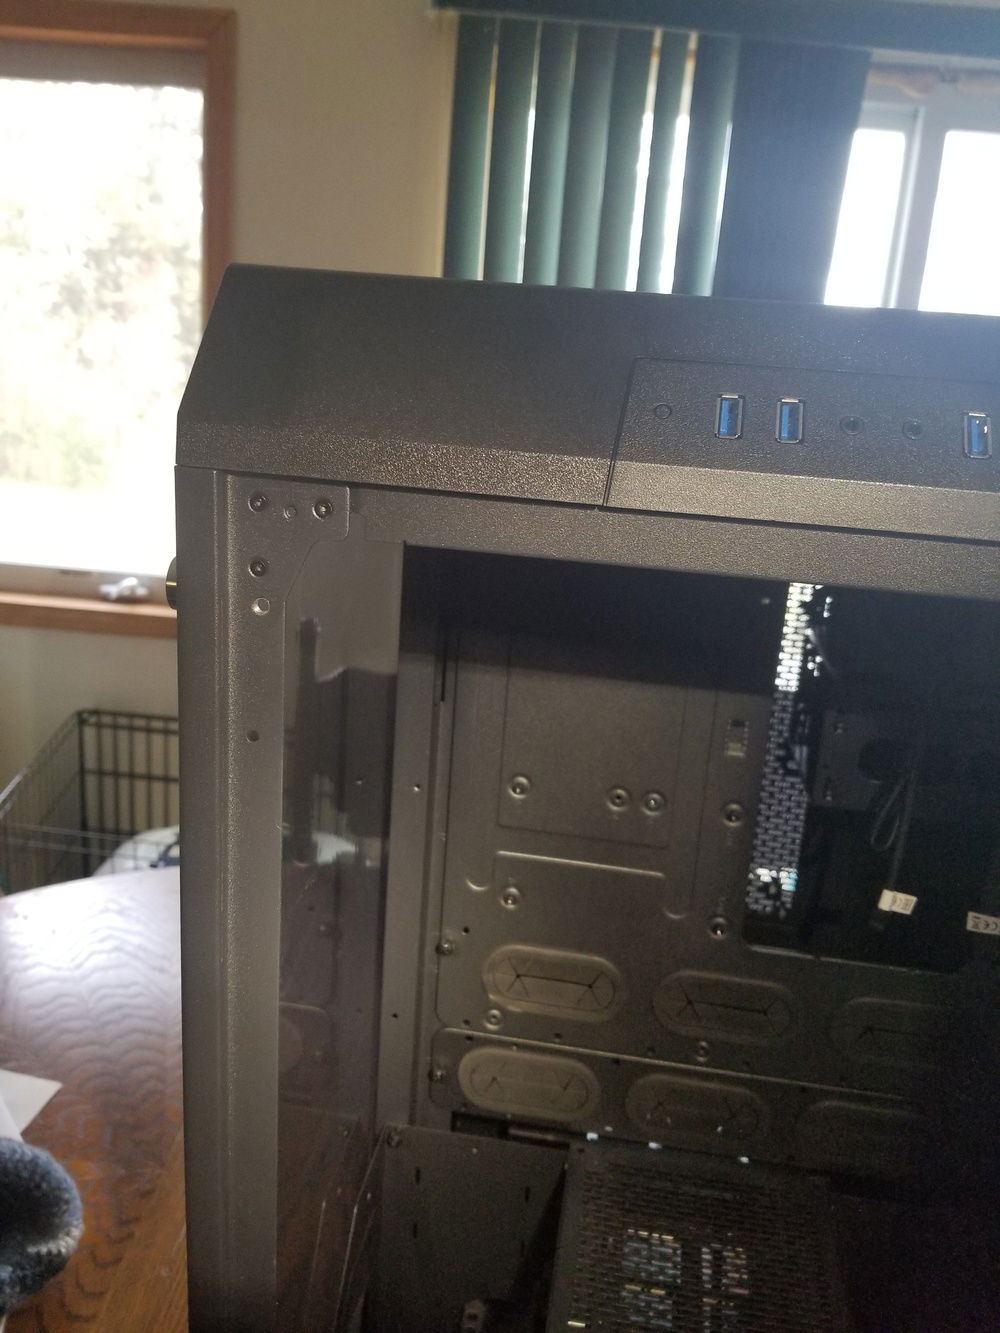
Might have to do something with the frame there the glass rests. Will have to see how noticeable it is later.
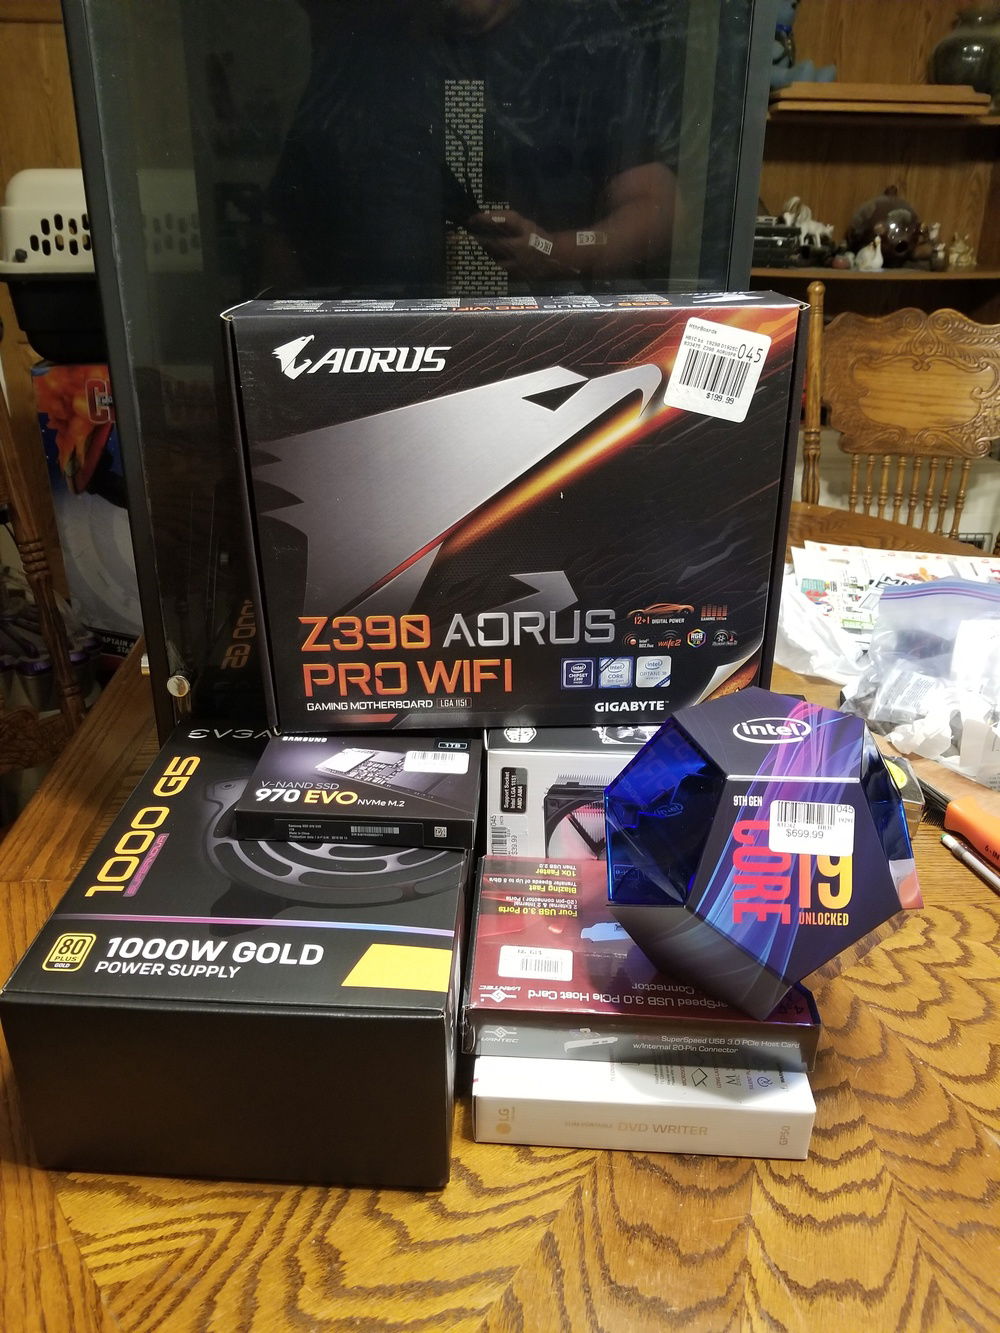
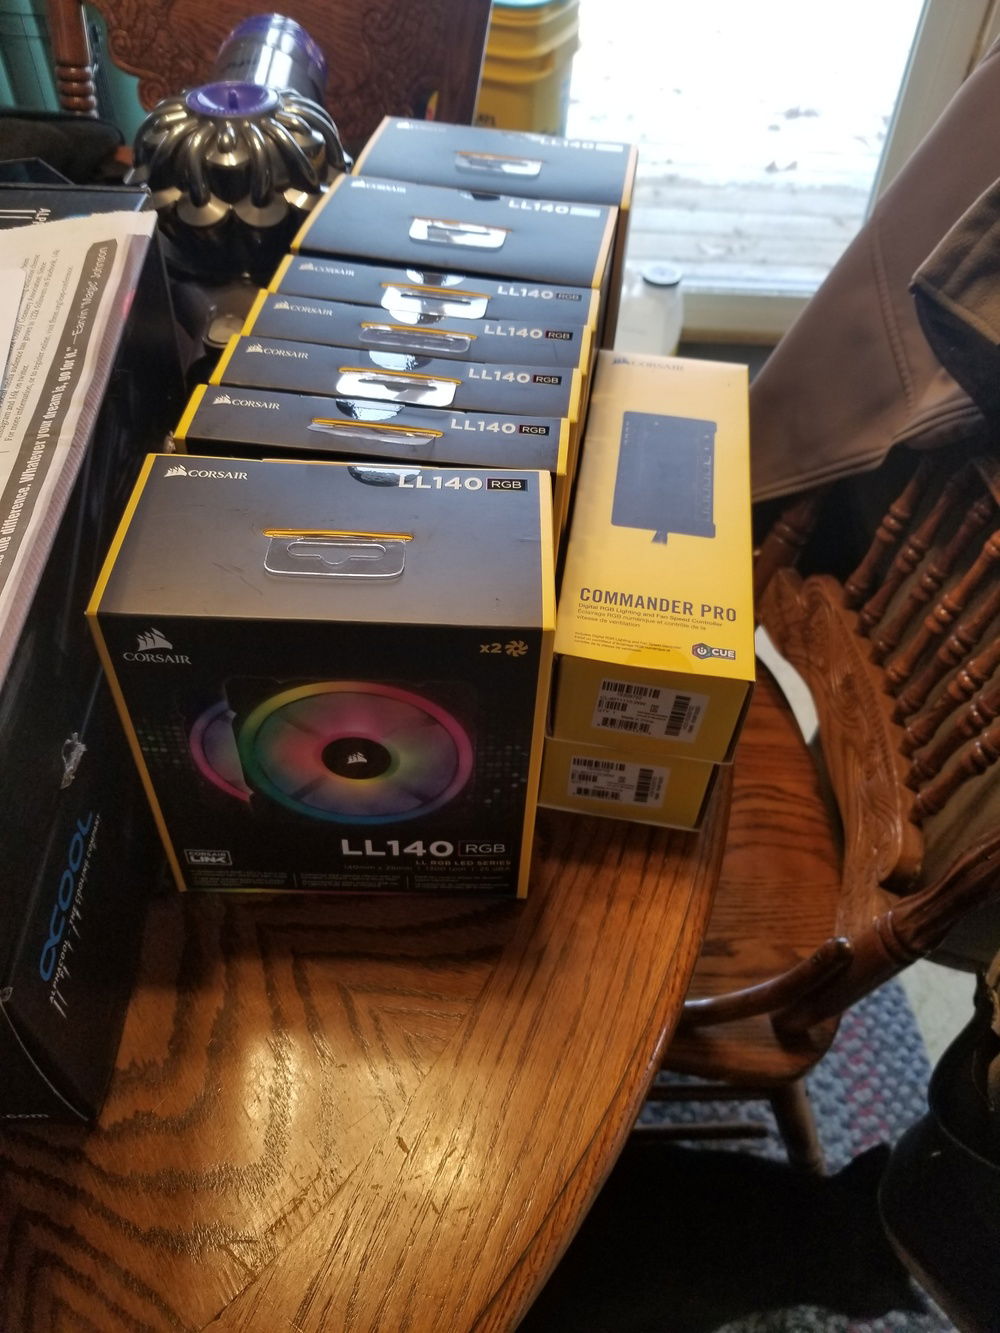
Most of the core components are here, so time for a test fit I think.
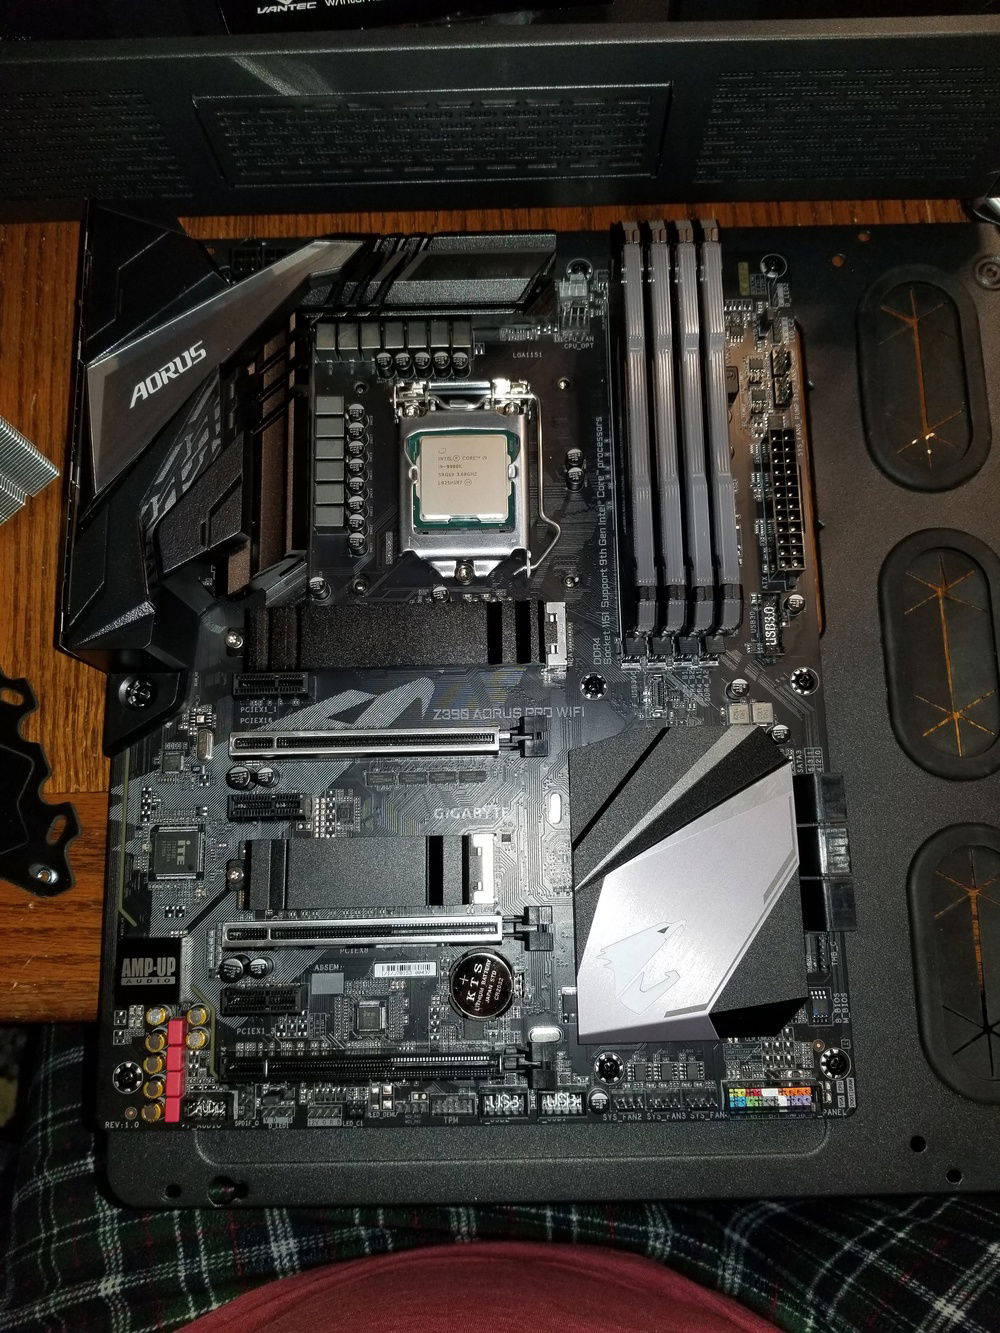
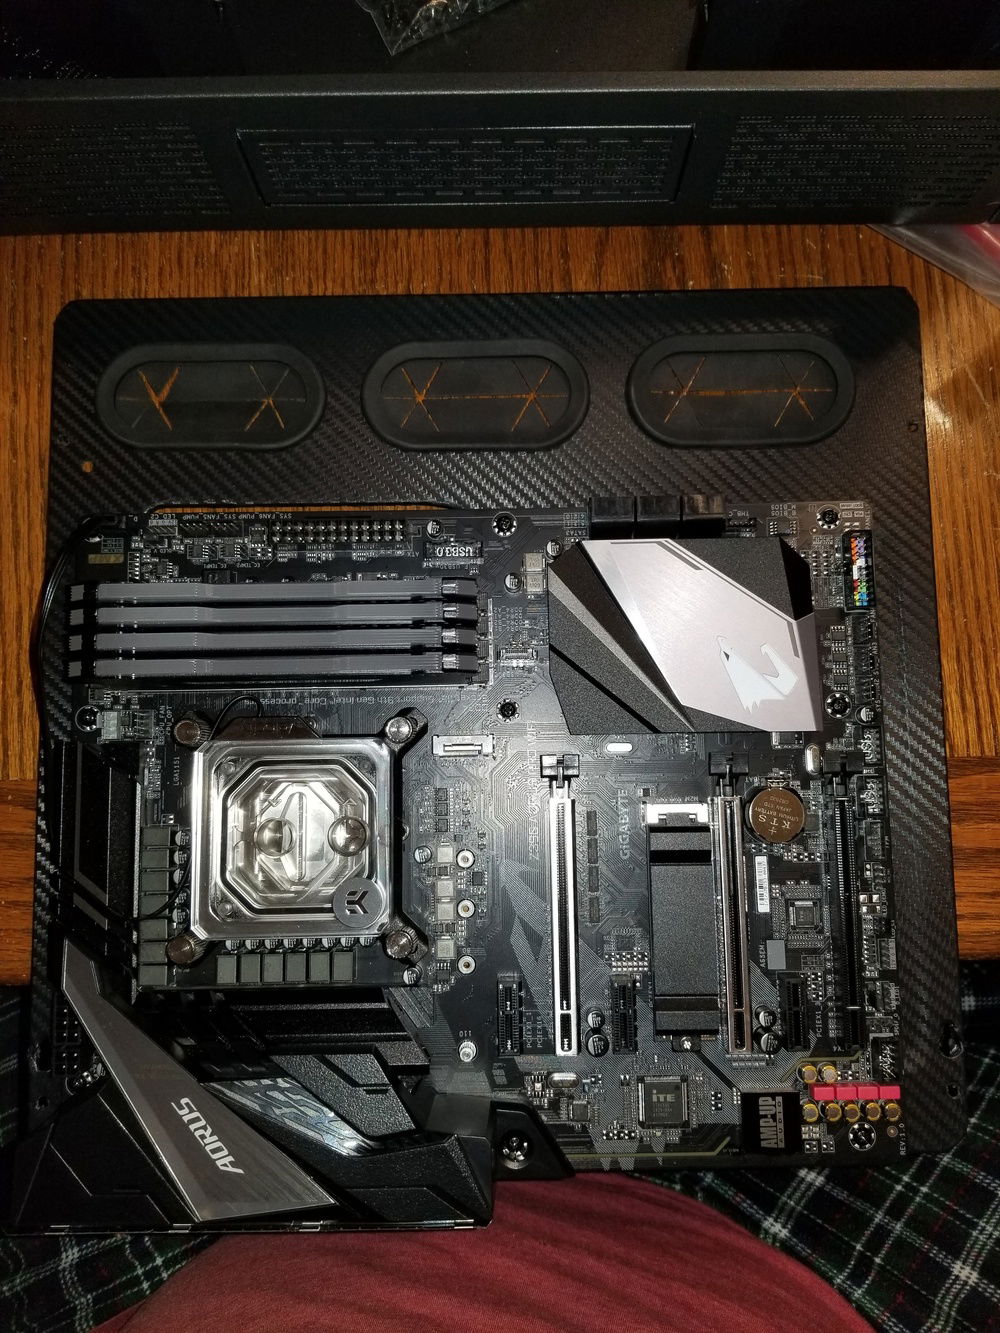
Motherboard mounted up and just about ready to go back in.
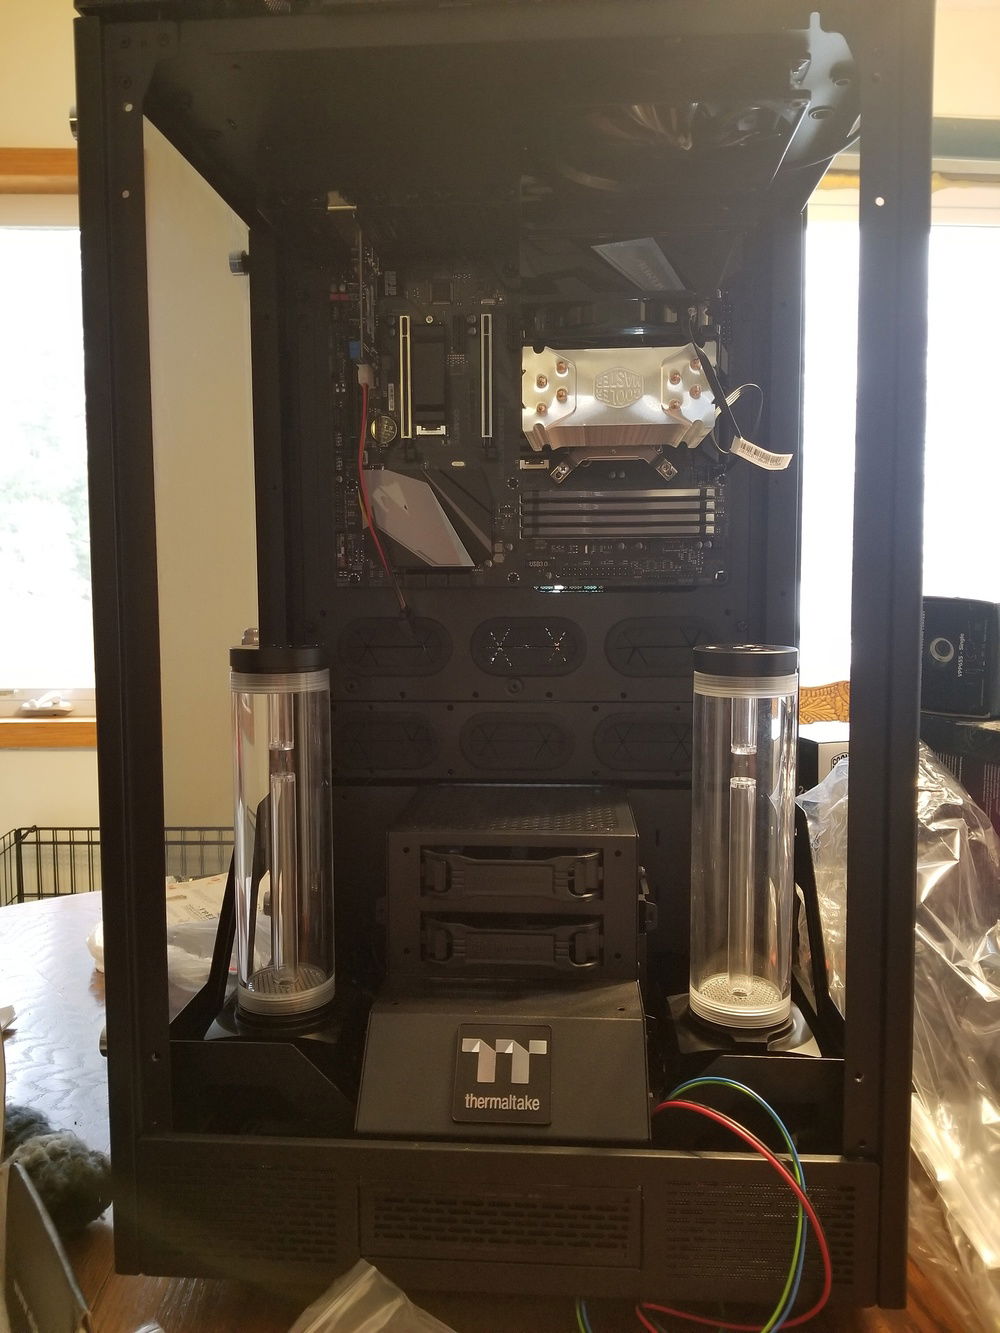
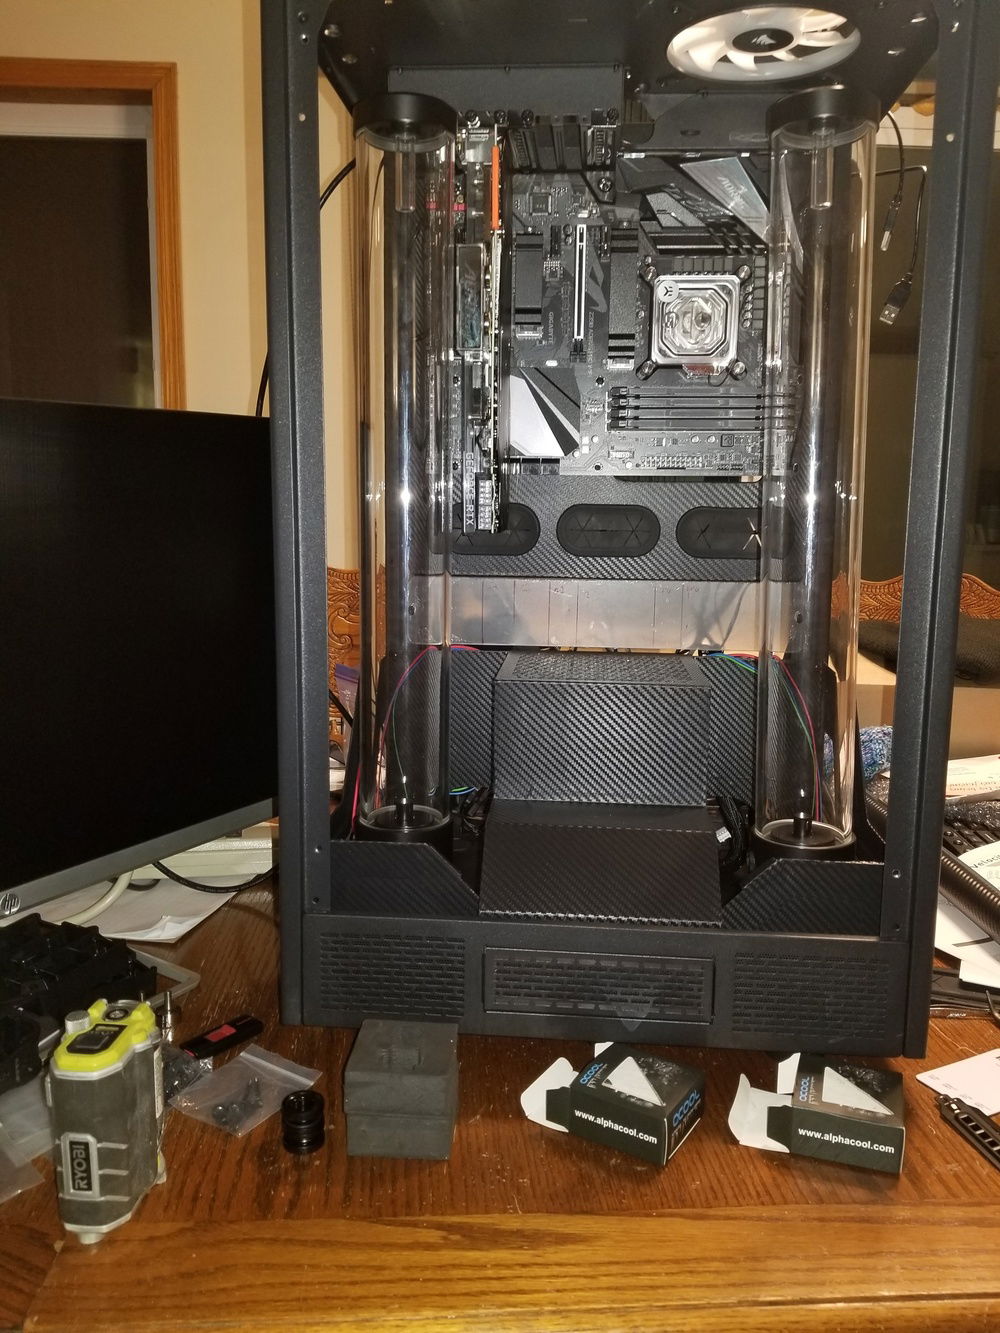
The Alphacool Eisbecher 250's look so tiny in this case. I may have to look into other options, which sucks because the build quality on these is fantastic. Cooler Master CPU block is temporary for testing components in the interim as I have a feeling running the water cooling components will take some time.
I happened across some 590mm reservoirs from Darkside Mods at Dazmode.com. From what I understand, these were a limited production run custom made for this case. Comparison between these and the Eisbecher 250.
Plenty of room for the pump/res to sit, but no good mounting options for something so tall. Going to have to come up with a custom option.
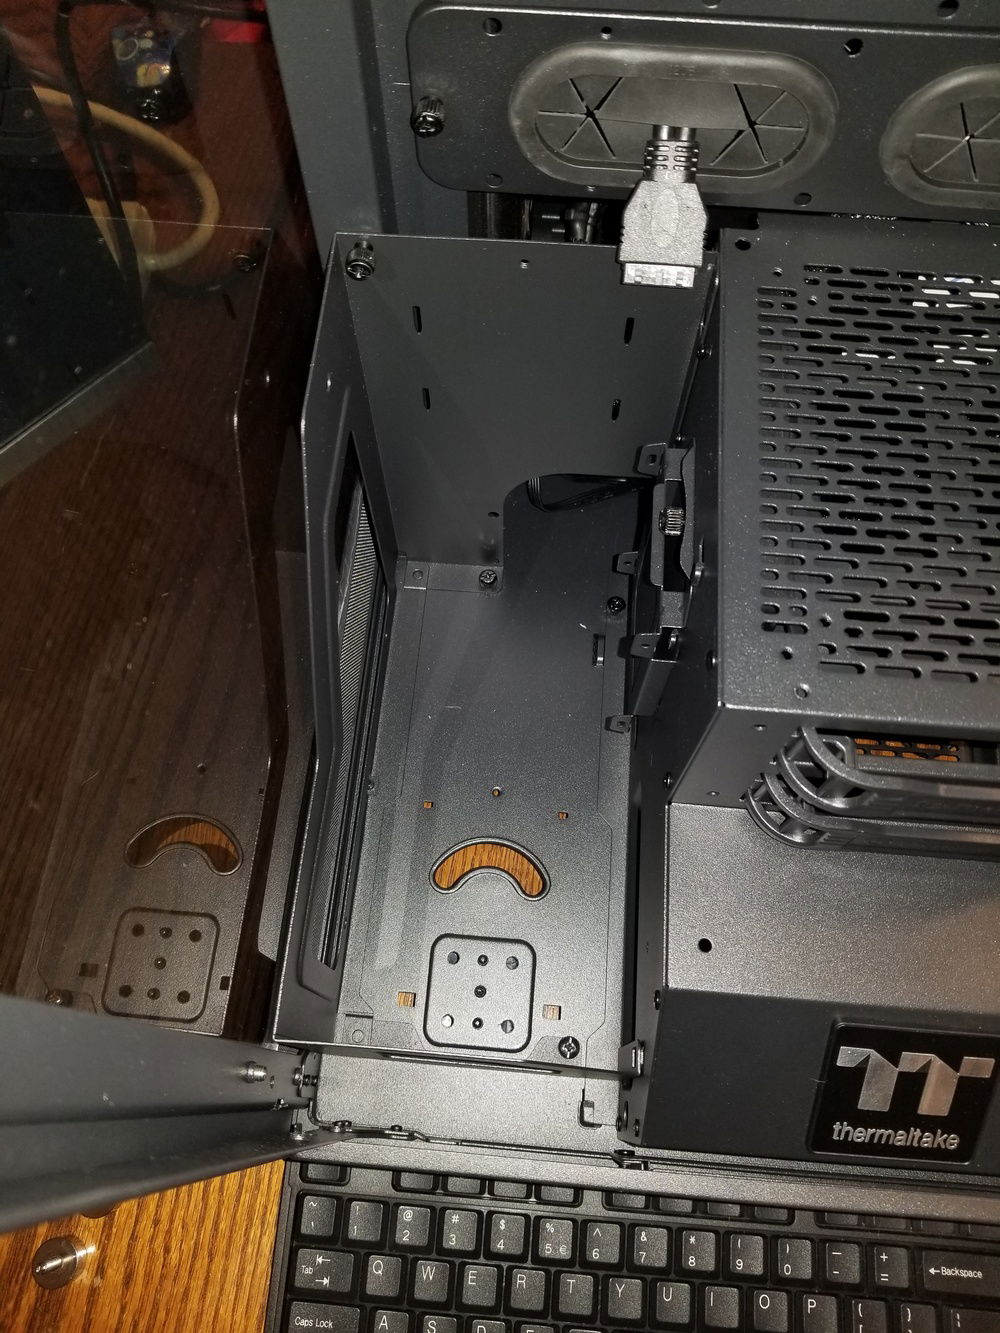
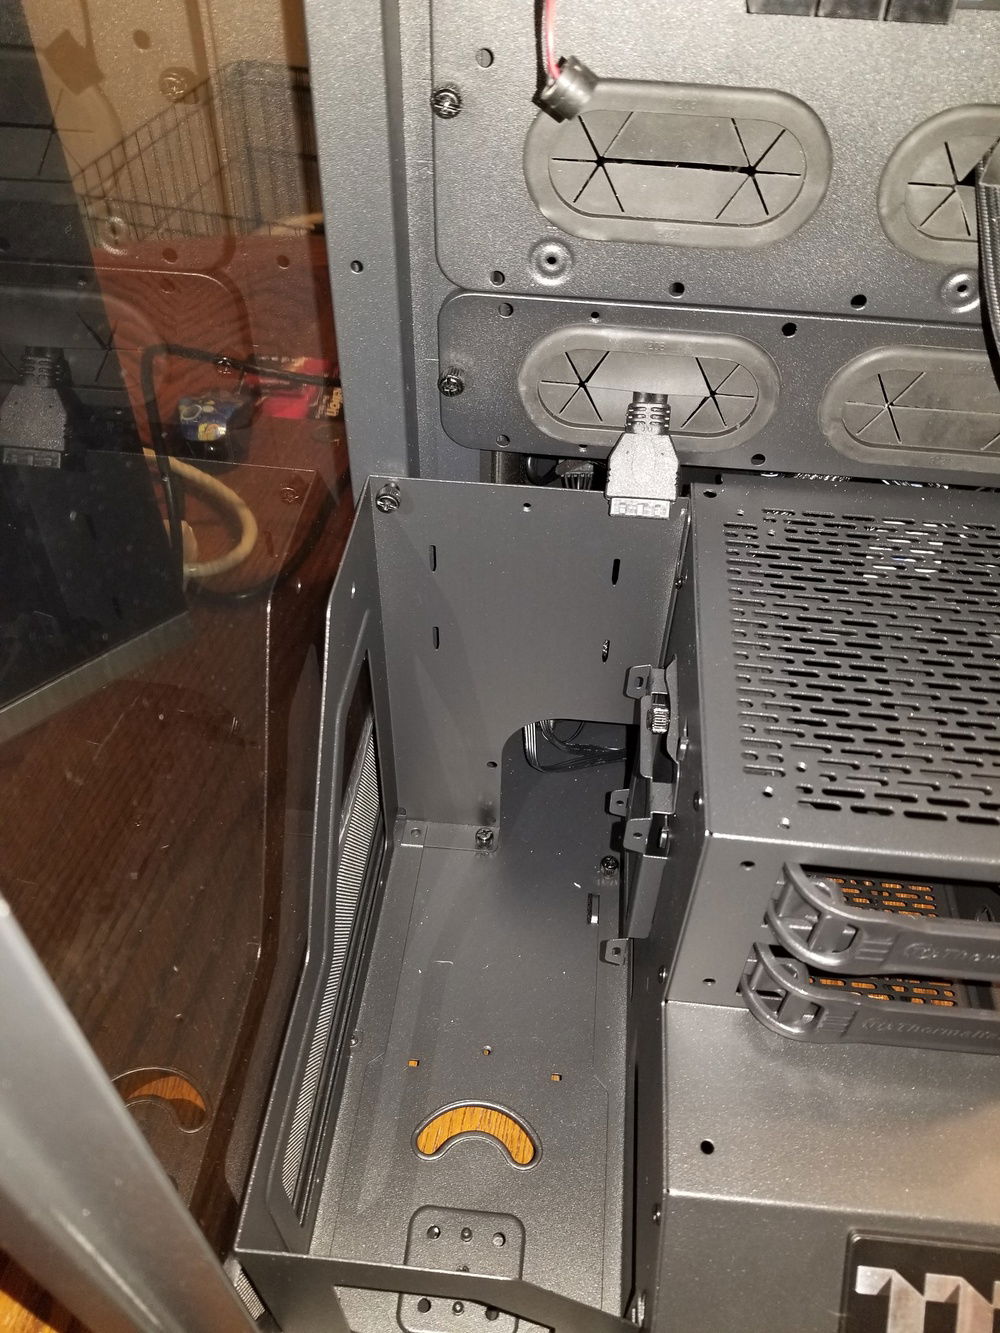
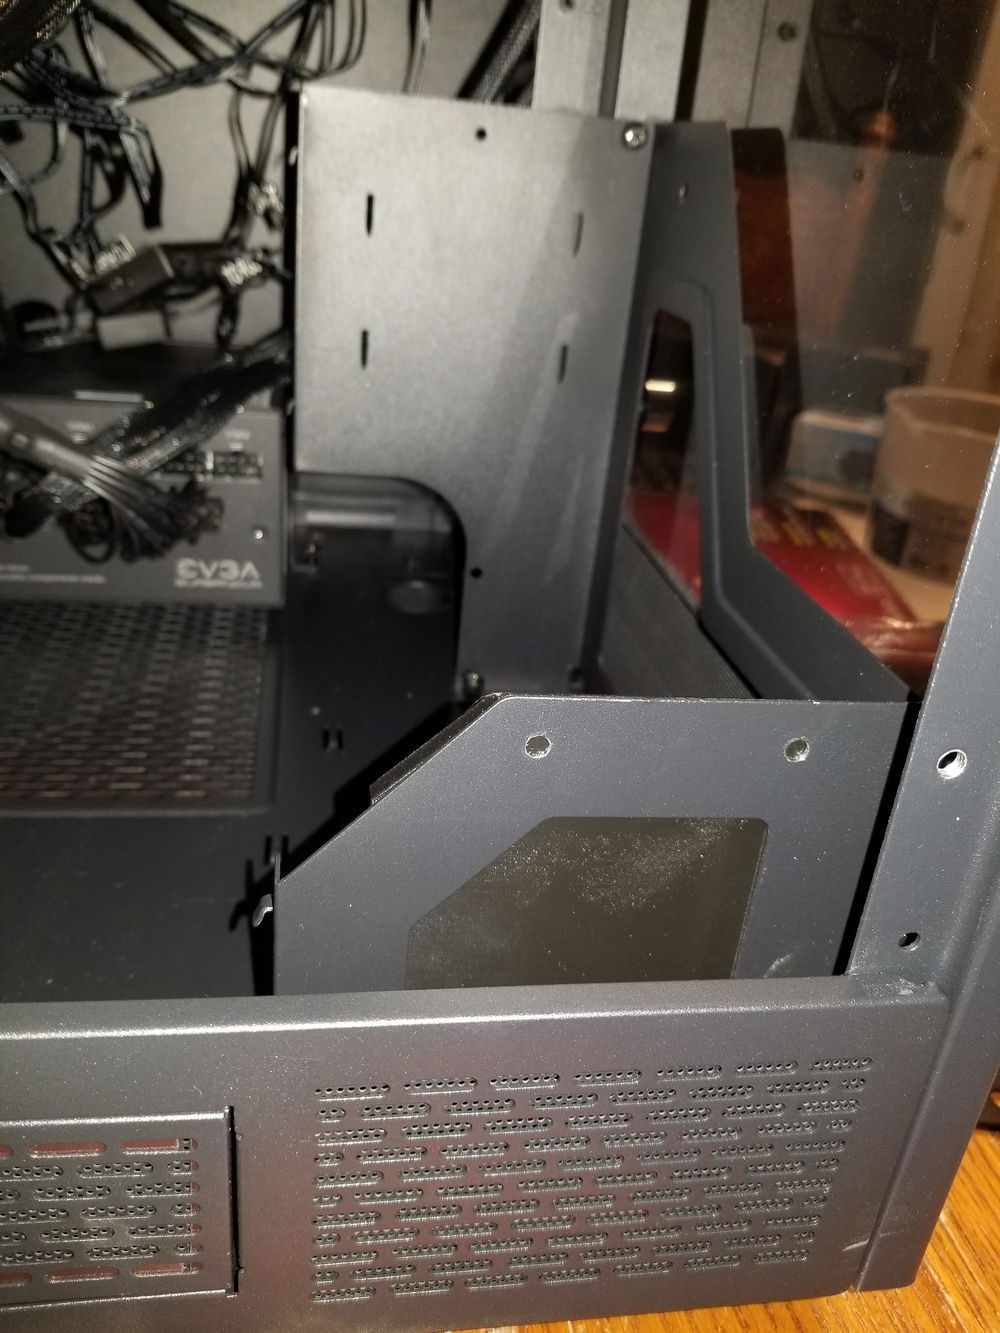
There is a styled metal trim on either side of the hard drive cage. I wouldn't say it's flimsy by any means, but it does have some flex when pressure is applied. I worry about the weight of such tall reservoirs when they're filled with coolant twisting them.
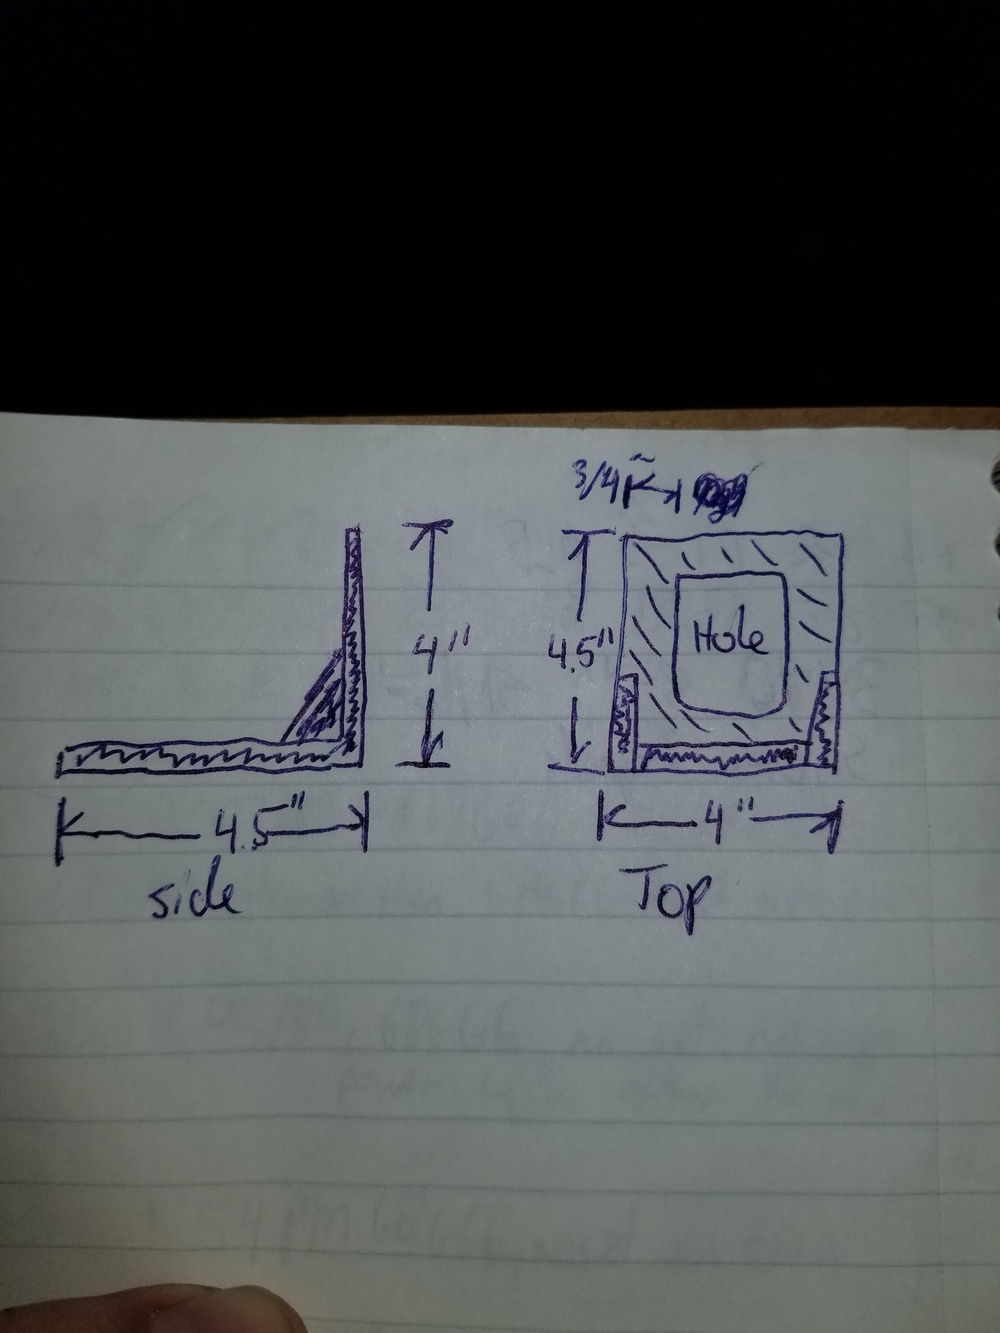
Rough sketch of some mounting brackets that will be 3D printed.
The aluminum base has a mounting block that is well built, but makes it difficult to hold the nut in the slot. Masking tape holds them in place just fine. Wet spots are from testing holding capacity. These things hold a liter each by themselves.
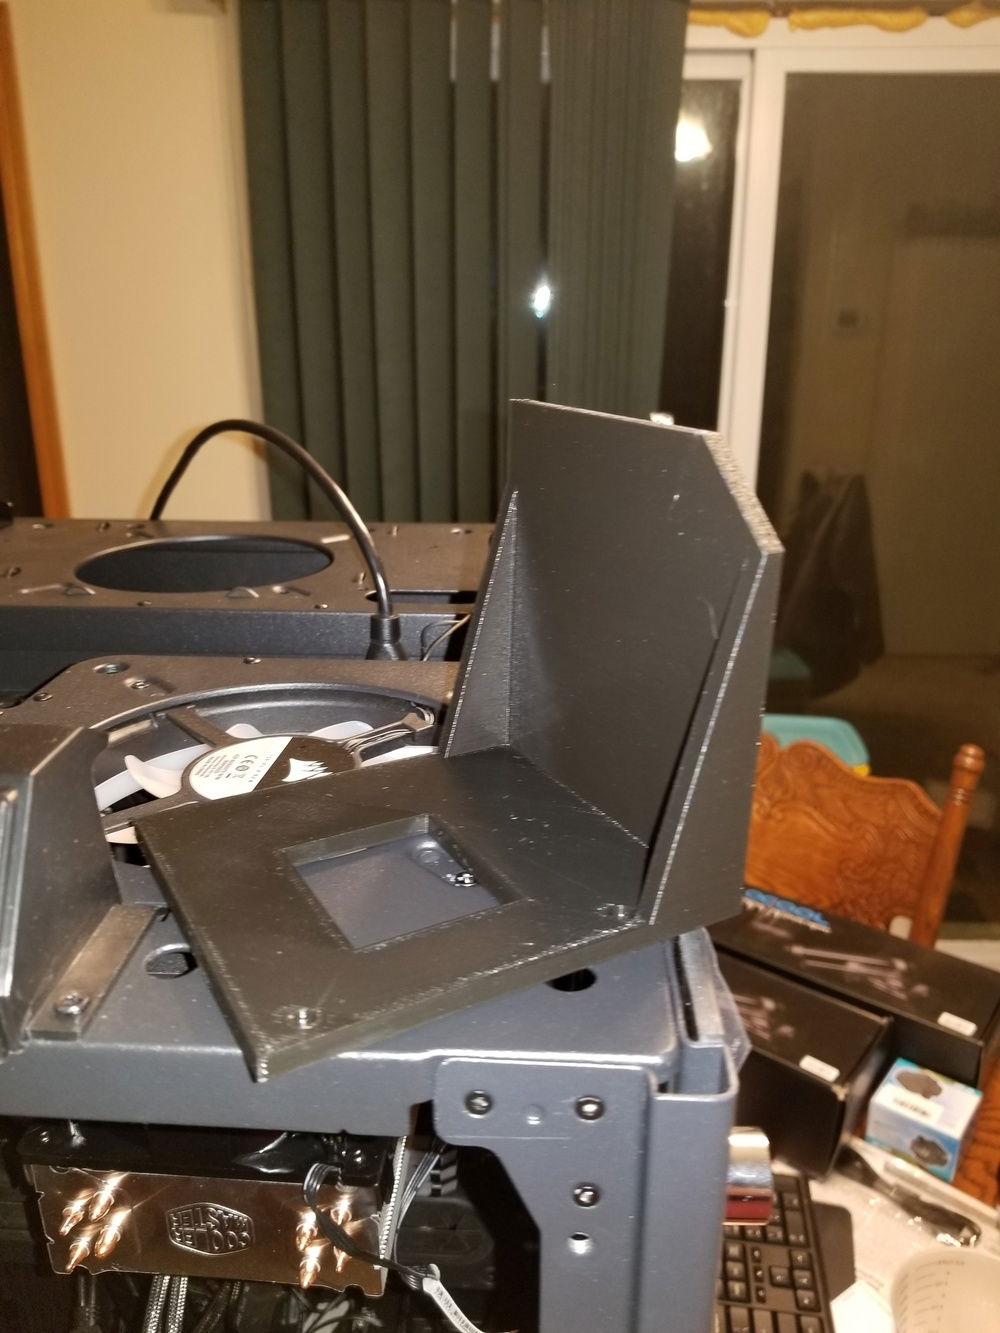
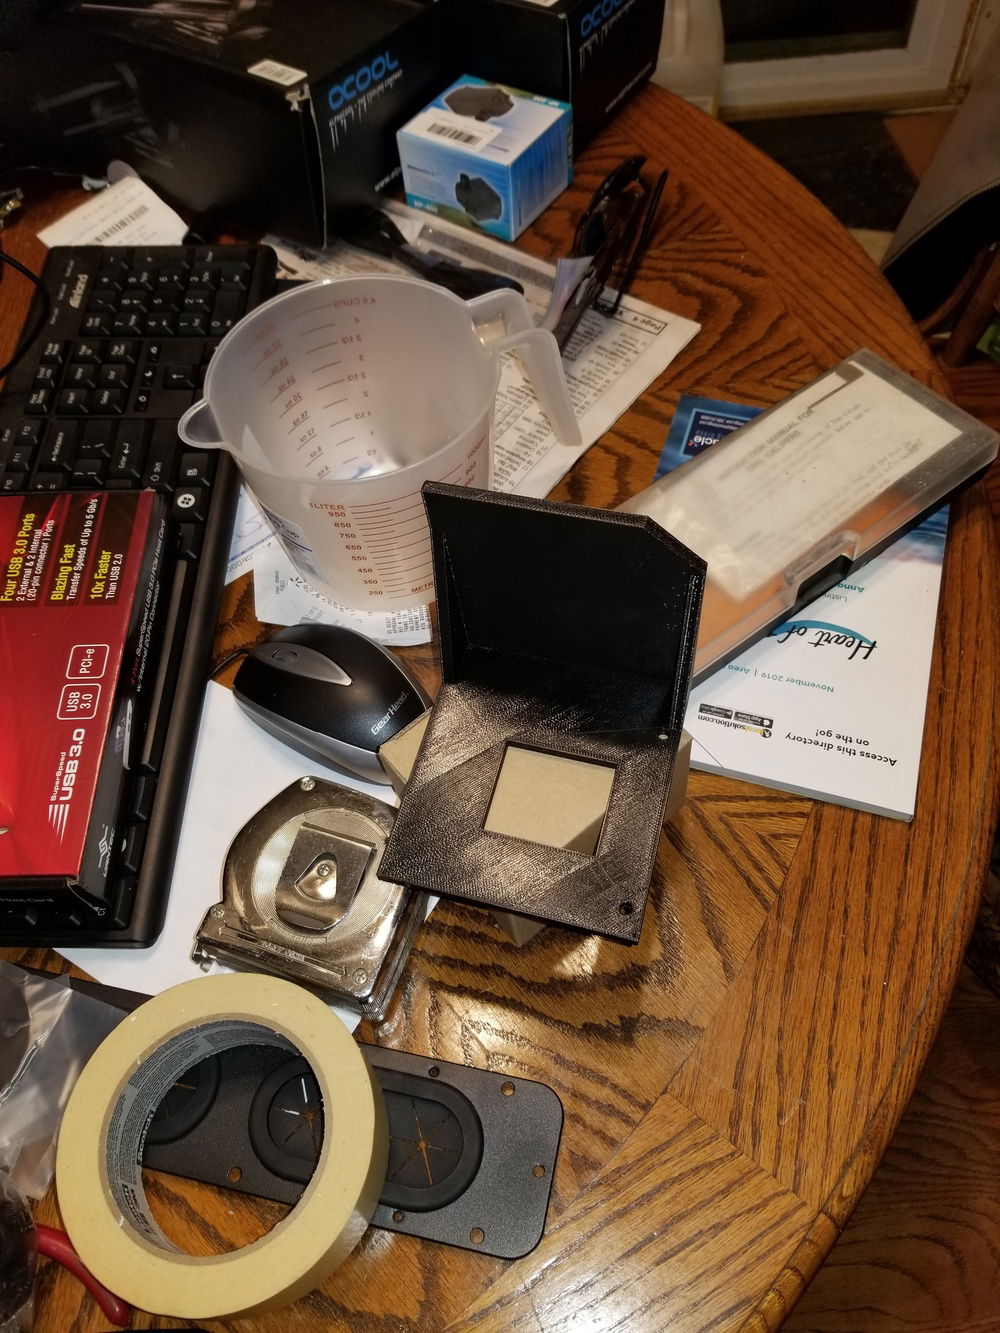
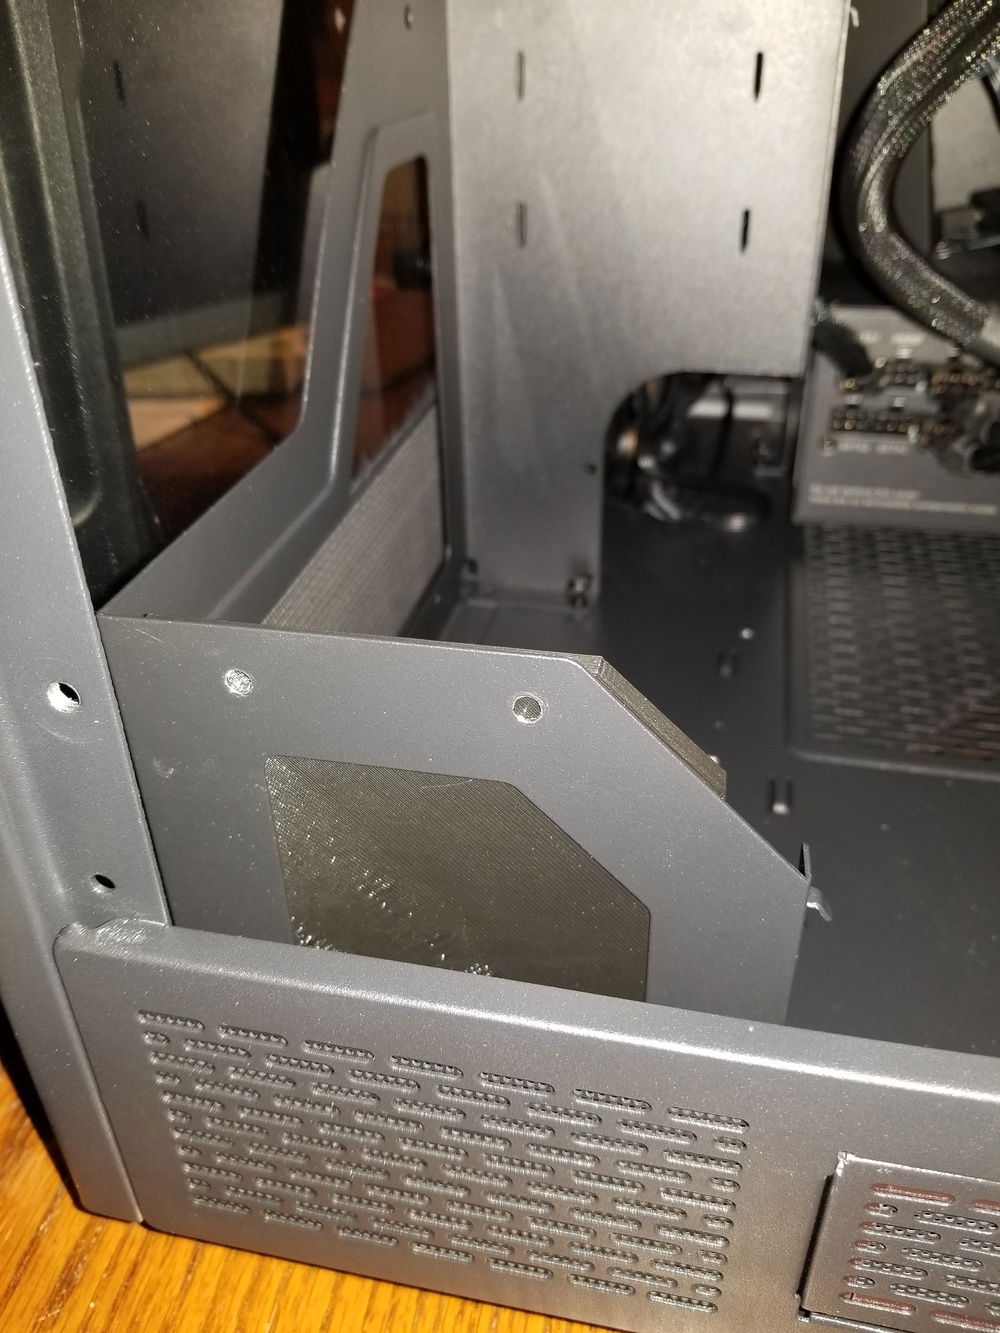
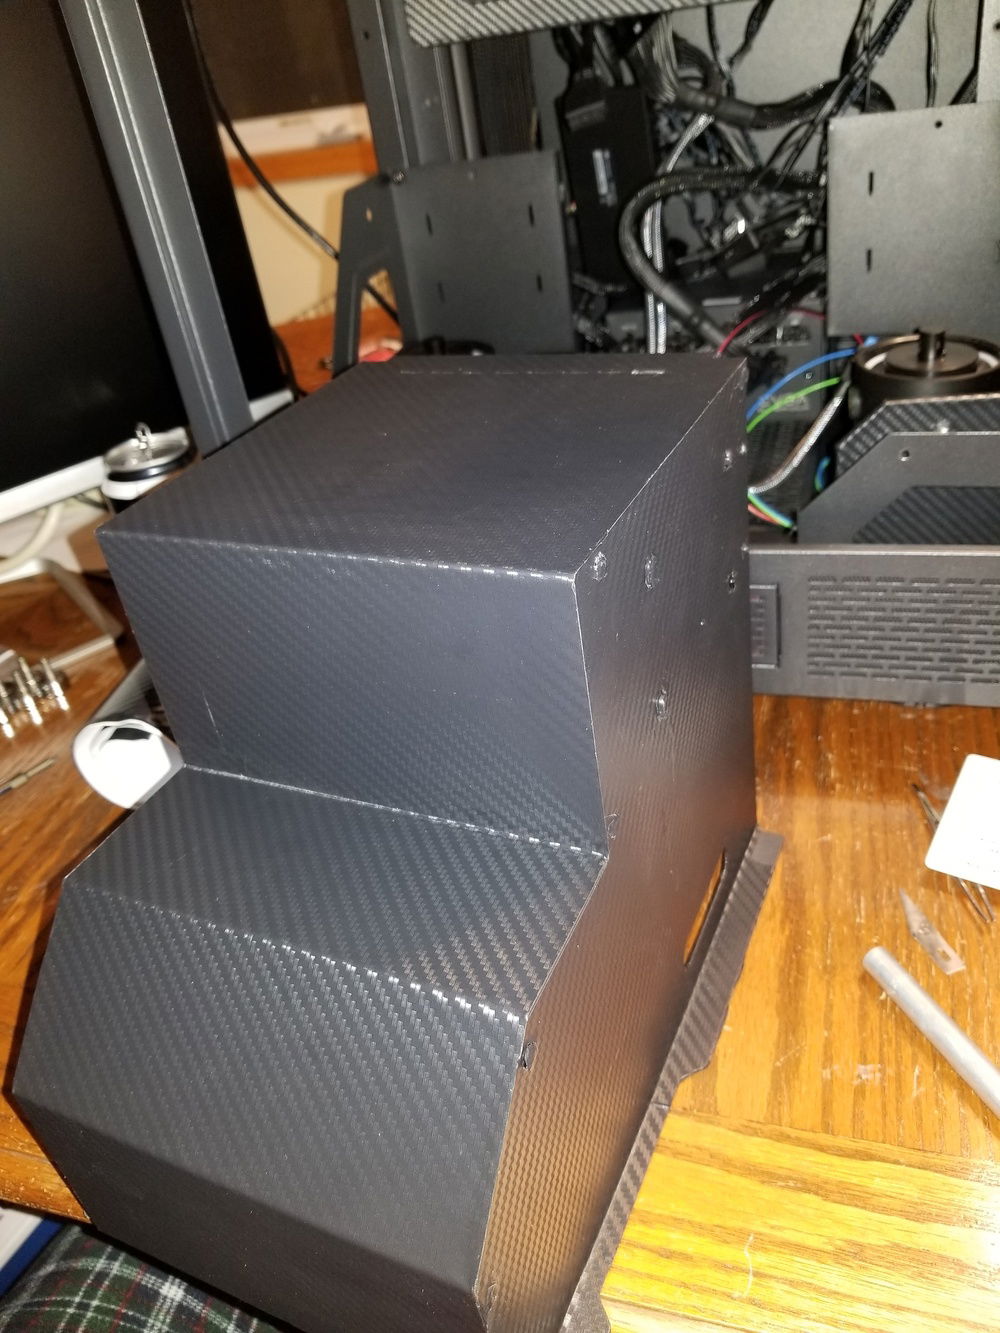
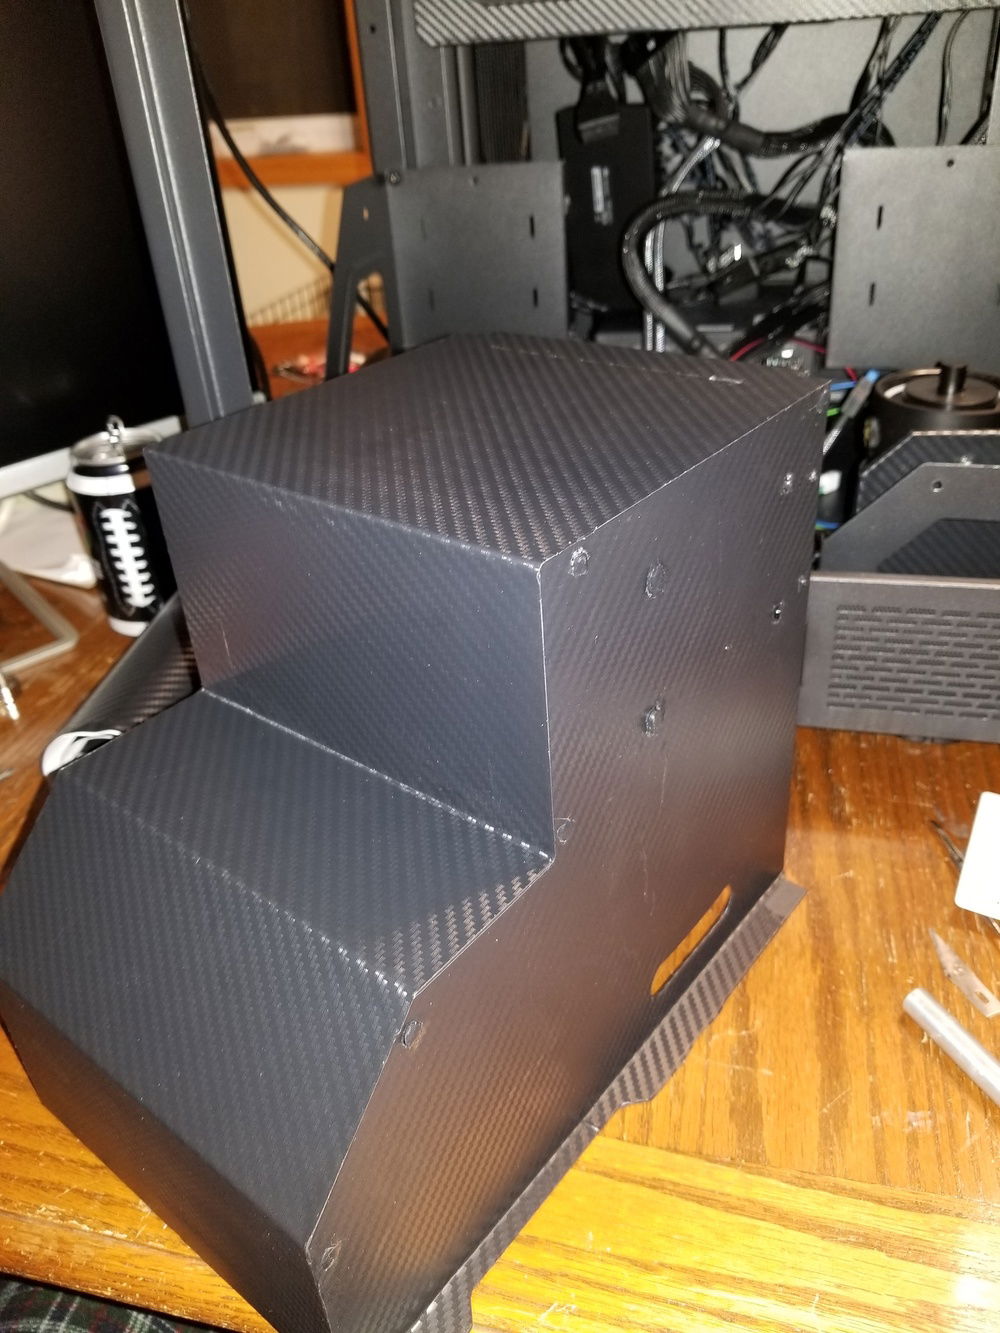
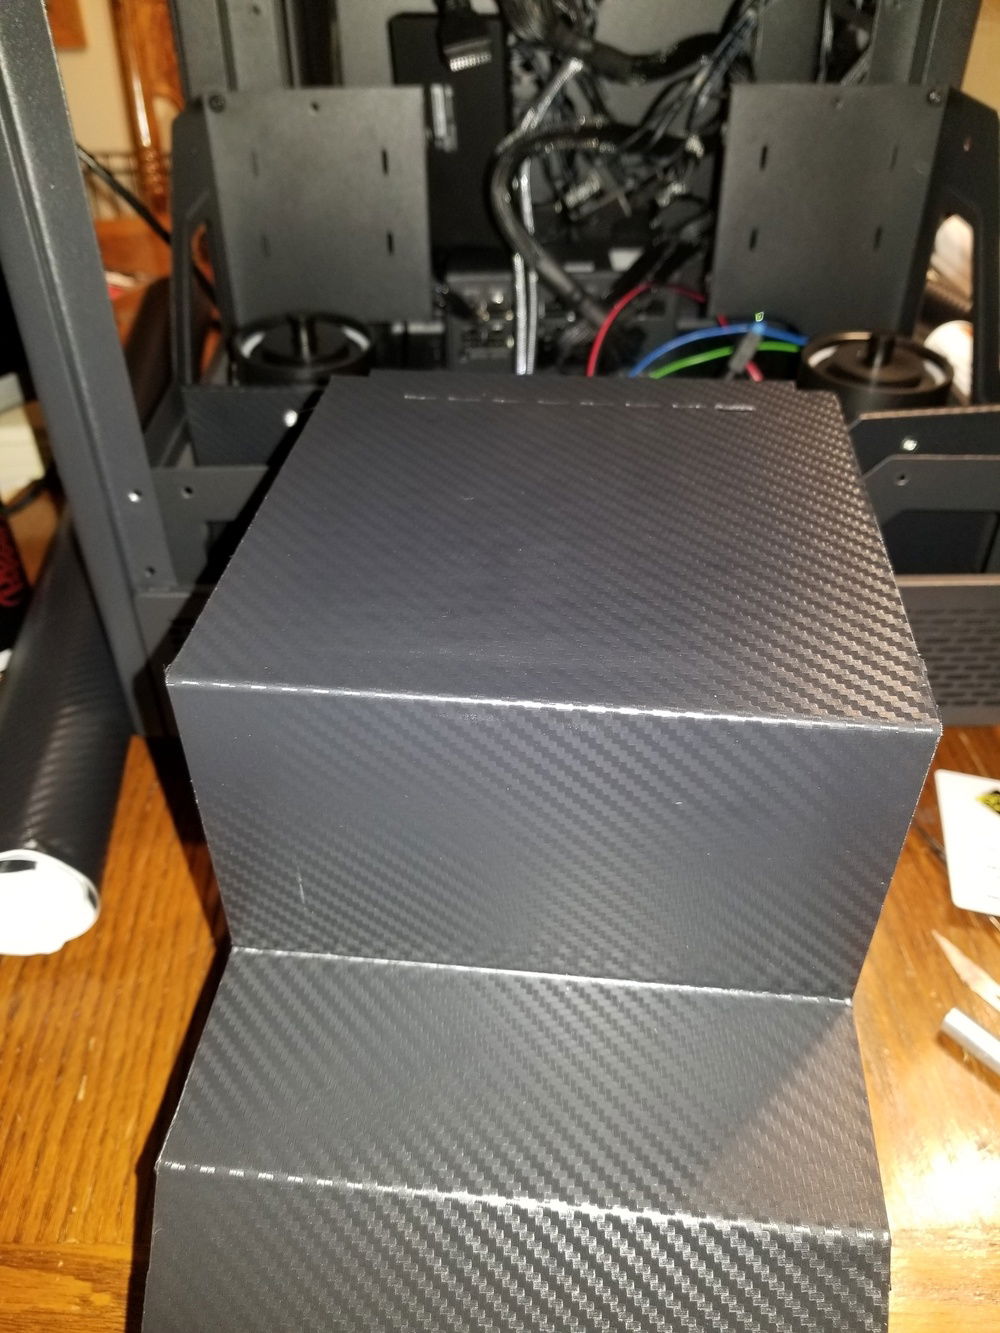
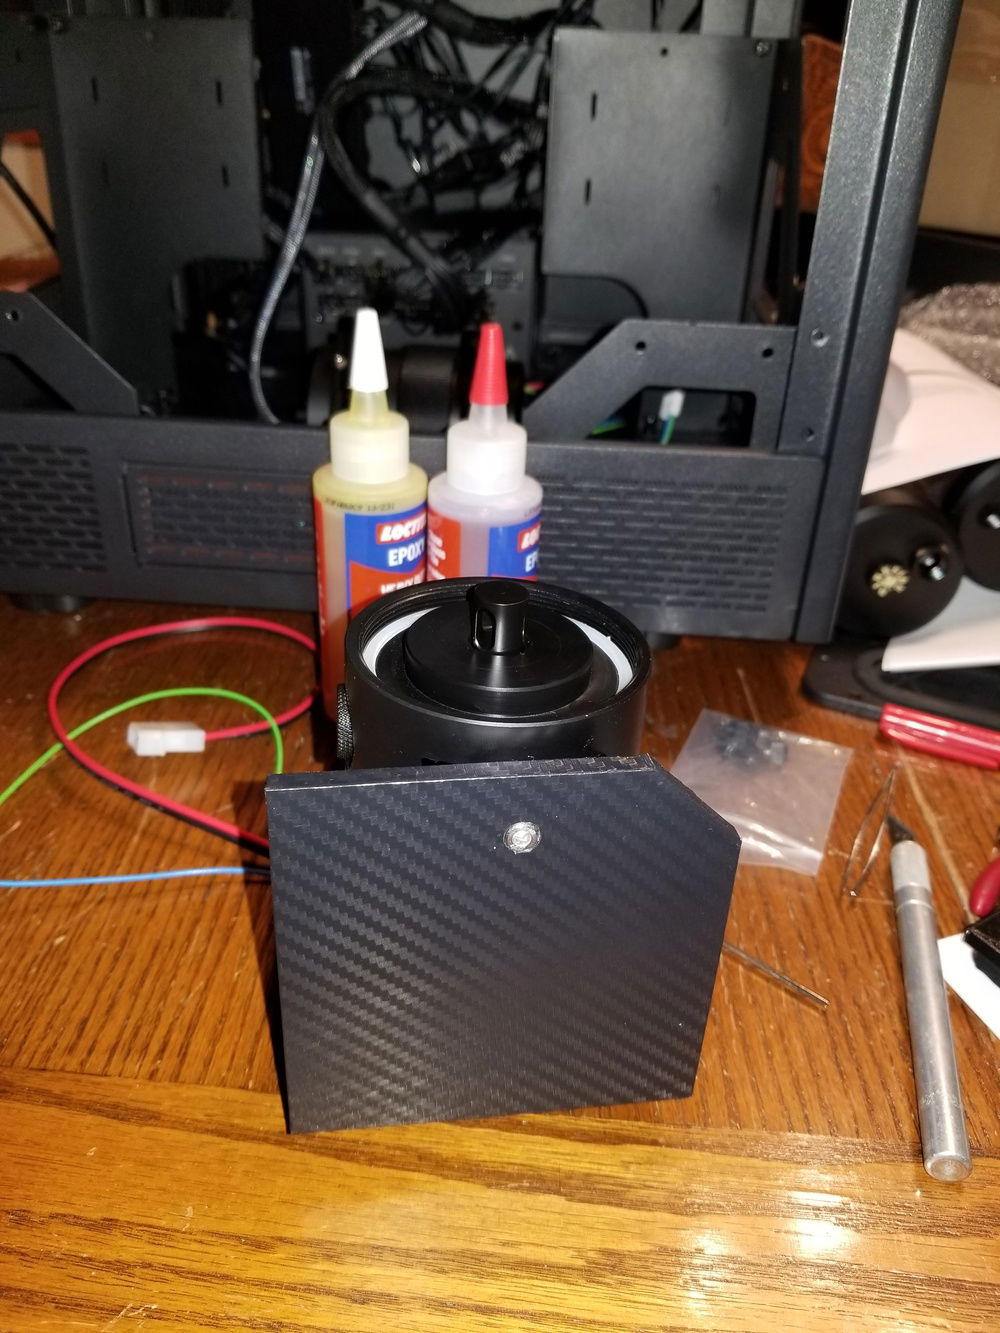
Here is one of the mounting blocks freshly printed. It's pretty rigid, so I'm not sure the angled bracing is necessary, but it's there.
Hole in the bottom for the pump wiring to pass through.
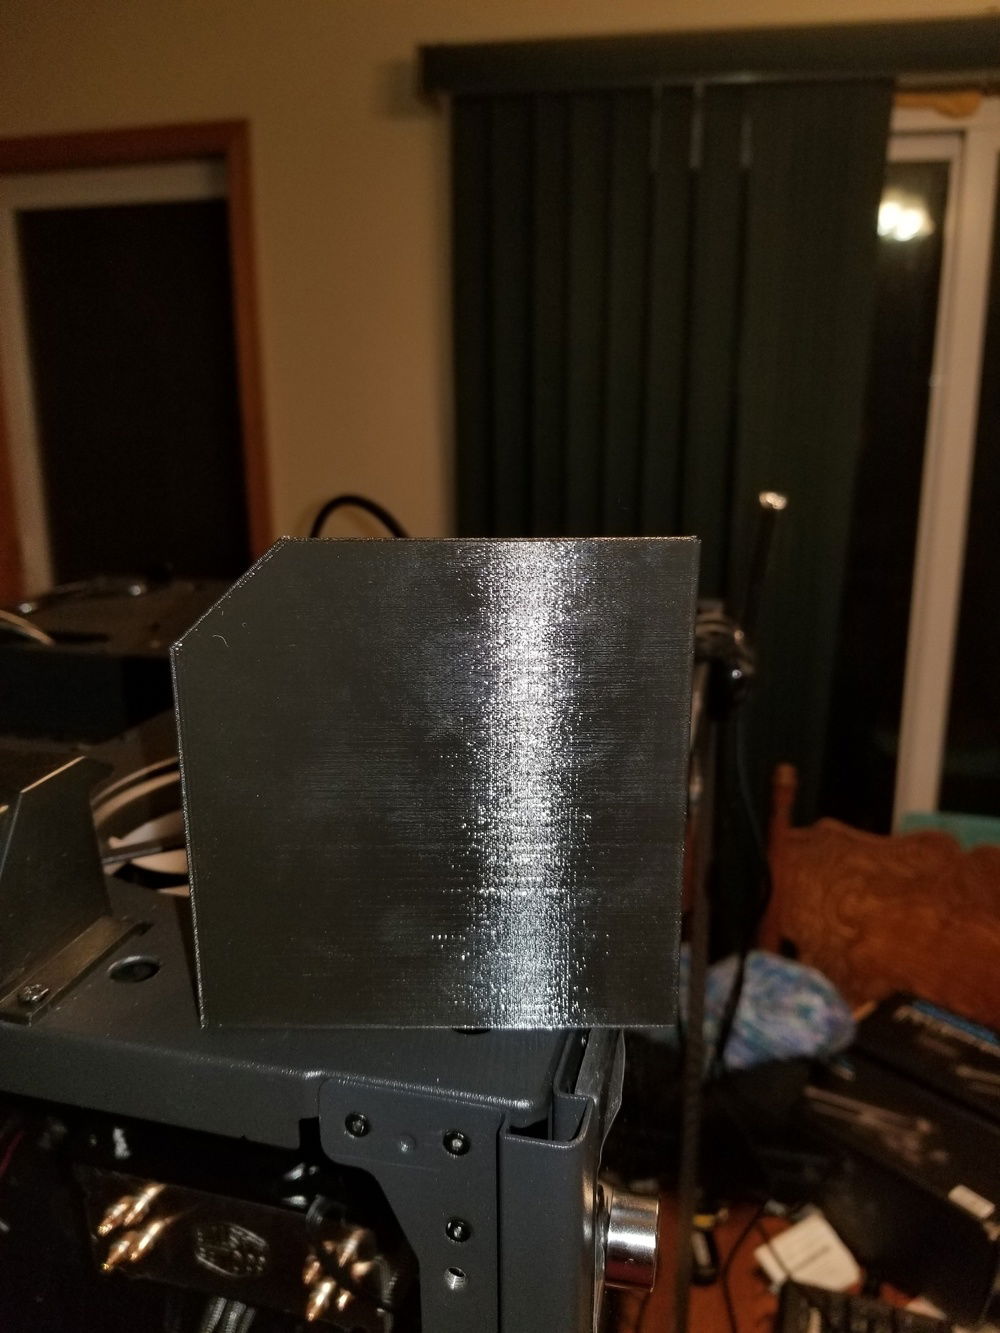
Angled on the front face to match the metal case trim.
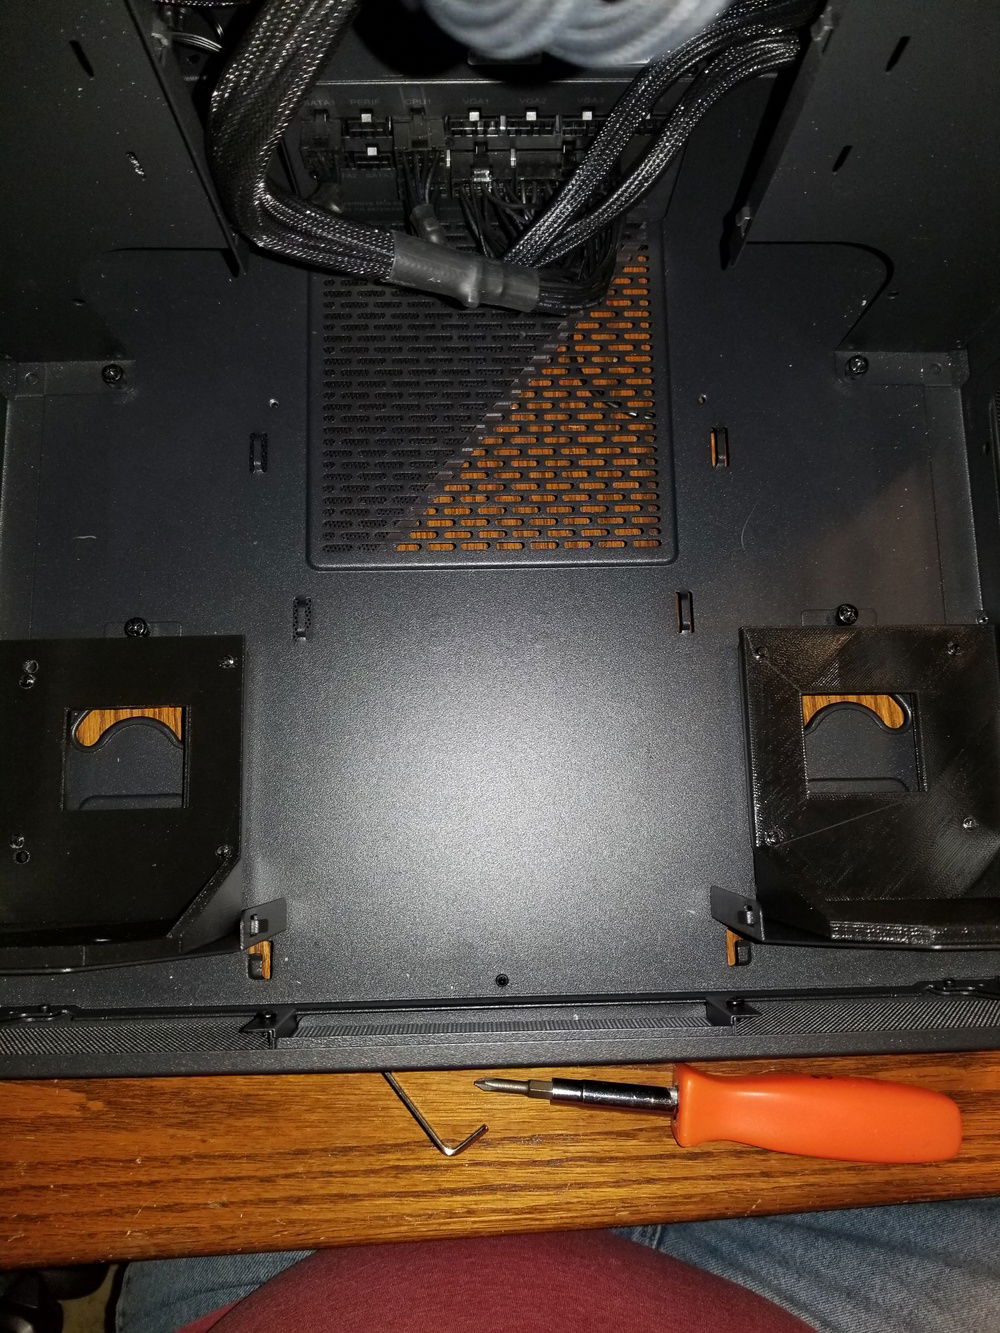
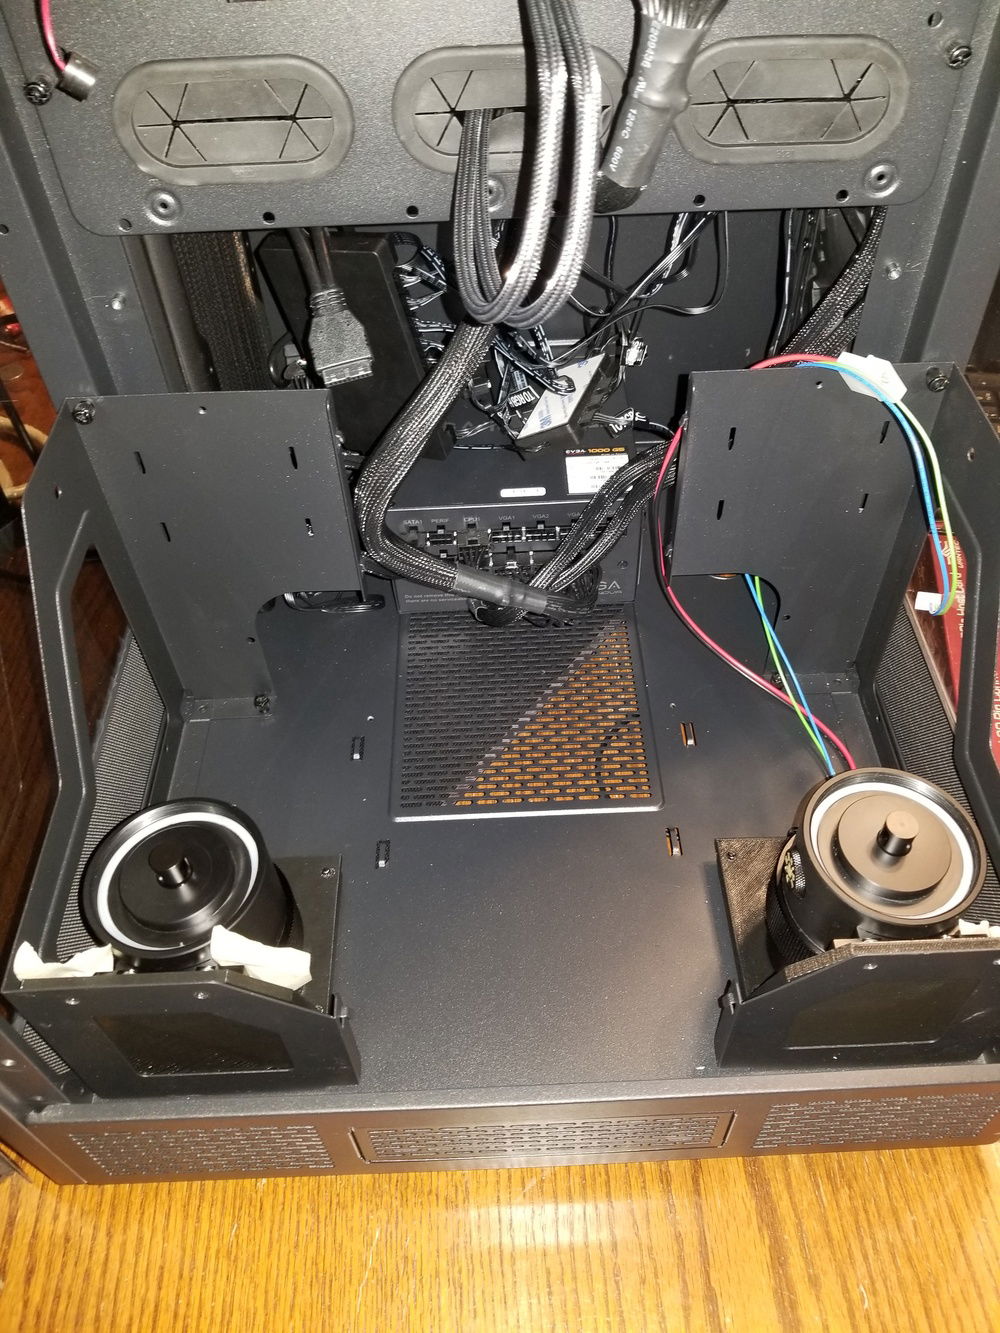
Both mounting blocks installed for a test fit. Utilizing the stock mounts that came with the case that are configured for Thermaltake's Pacific line of pump/reservoirs.
I decided to mount the pumps through the front metal trim to help tie everything together tightly. Here you can see the need for the angled front face on the mounting block.
Pumps installed for a test fit. I forgot to take pictures, but the pump cables were sleeved shortly after this.
Vinyl wrapping on the motherboard tray started now that initial component testing checked out.
And complete. Not too shabby for my first time ever working with vinyl wrap.
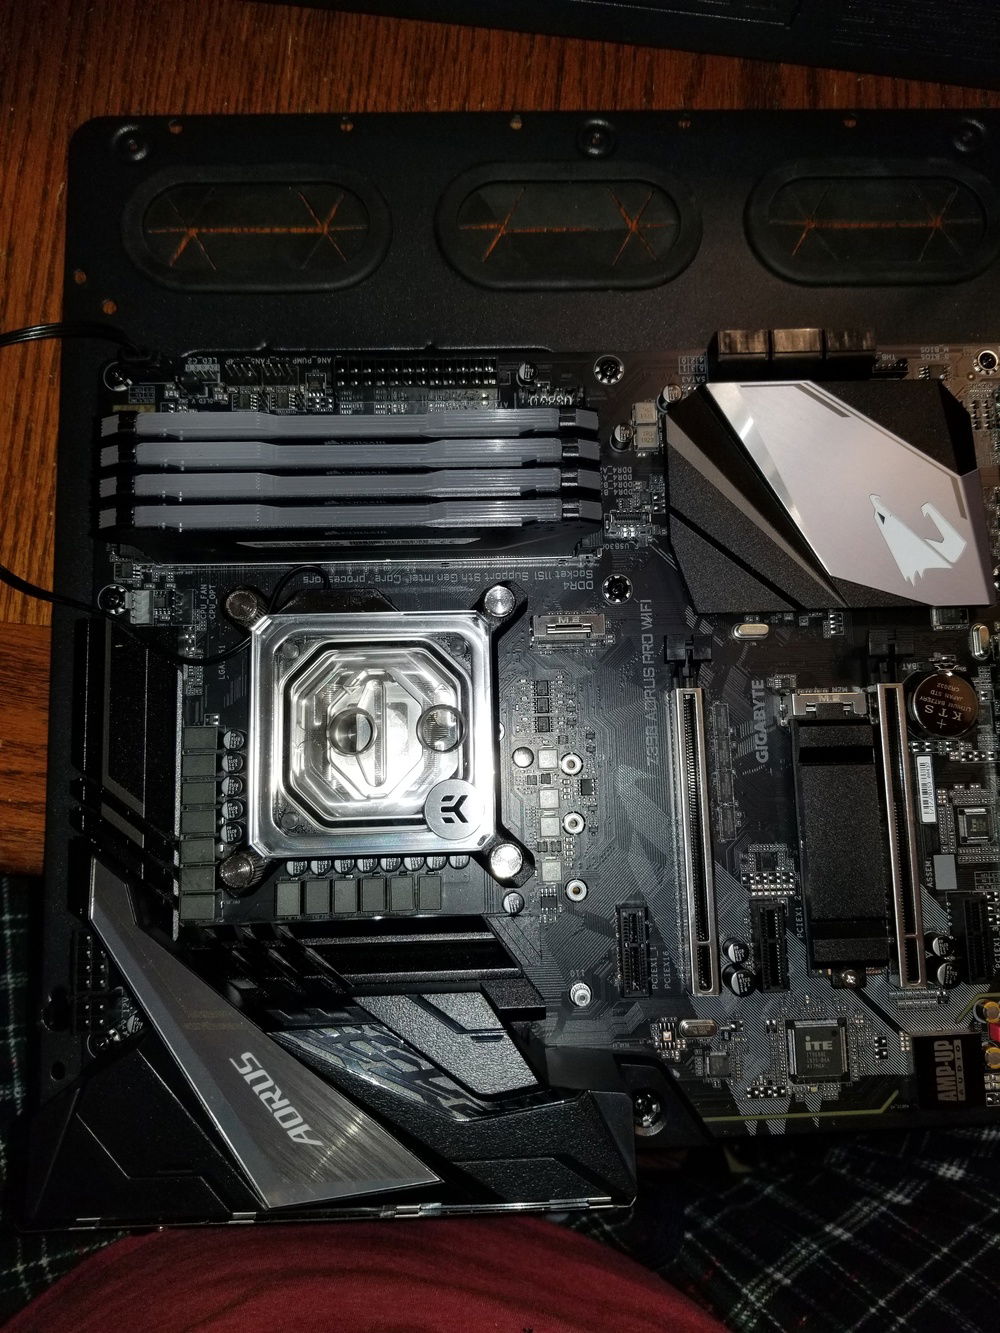
Motherboard reinstalled, this time with the EKWB Velocity D-RGB CPU block.
Little better look at the CPU block.
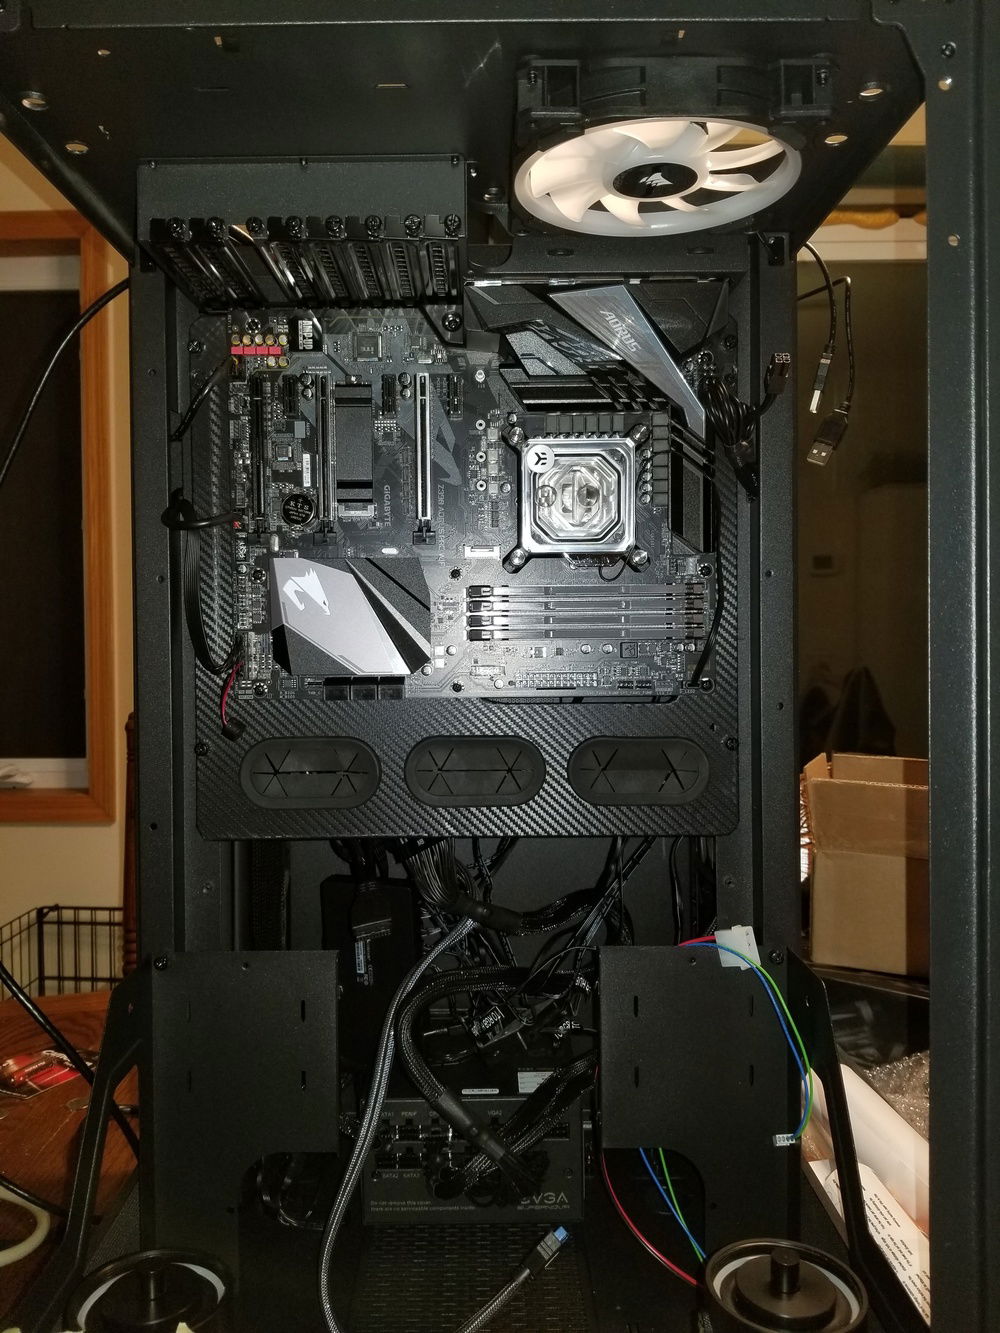
And reinstalled into the case.
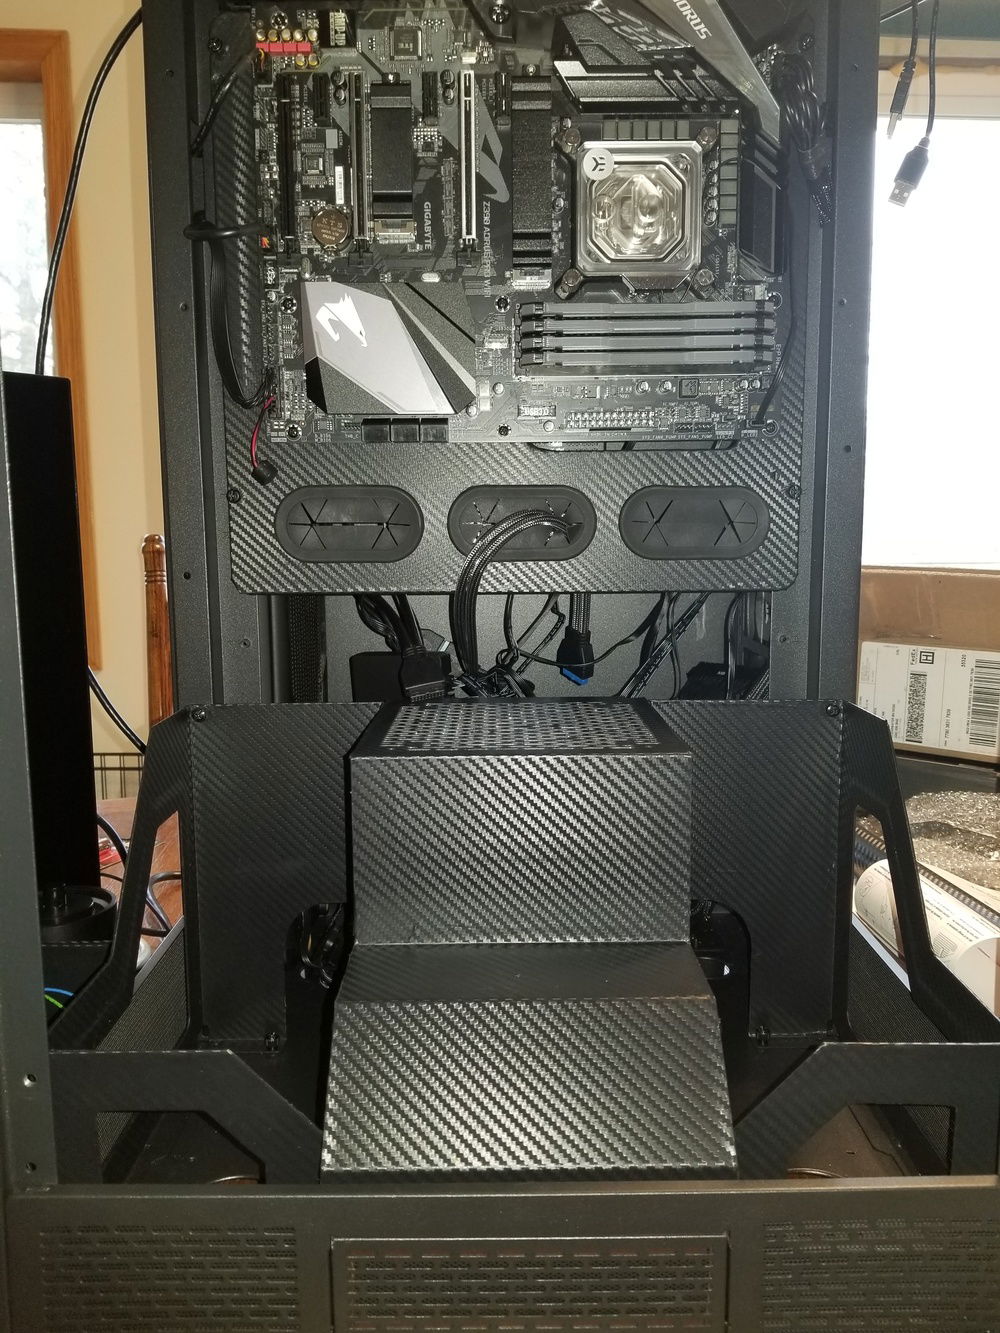
Pulled the hard drive mounts off the sides and the bay trays out of the front for wrapping.
Here you can see a little better where there is a pass-through for cabling on the bottom.
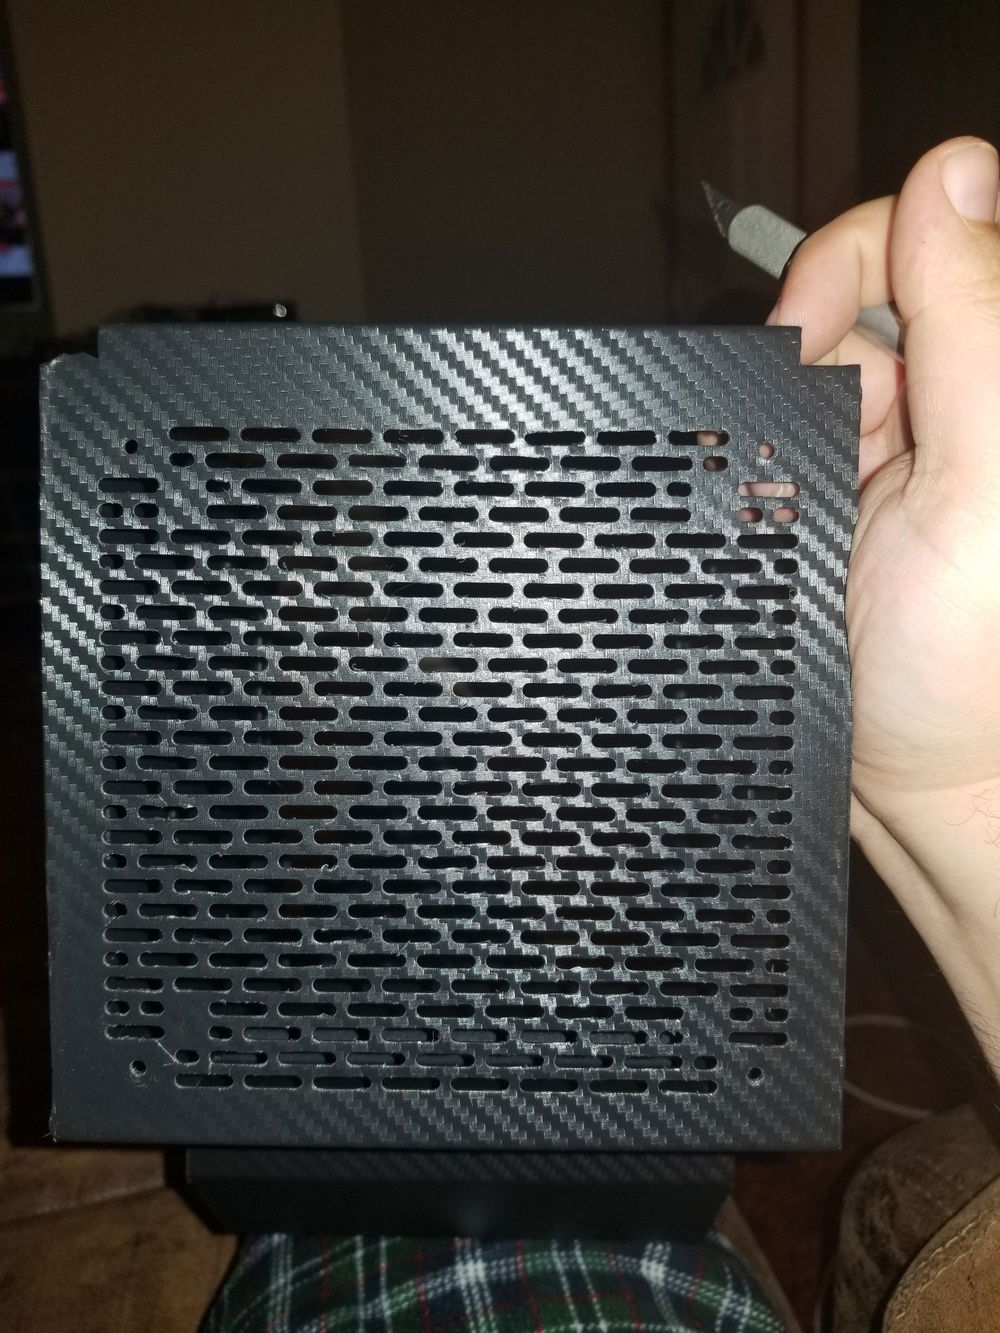
So many holes that need to cut in the top for the fan.........
So many holes. Took me just about 3 hours.
I opted to go with mounting the pumps just to the block and recessing the heads into the block. The mounts are rock solid by themselves, and it makes installation, and future removal, a little easier. Luckily I printed them thick enough. Just center screw mounted here, but I went with two screws on either side to prevent side to side twist.
Hard drive cage and side trims installed. Vinyl wrapping on the trim hides the holes I drilled for mounting the pump, so it worked out well. Here's hoping my calculations are correct and that by the time I get the pass-through for the water lines wrapped that the lines......line up.
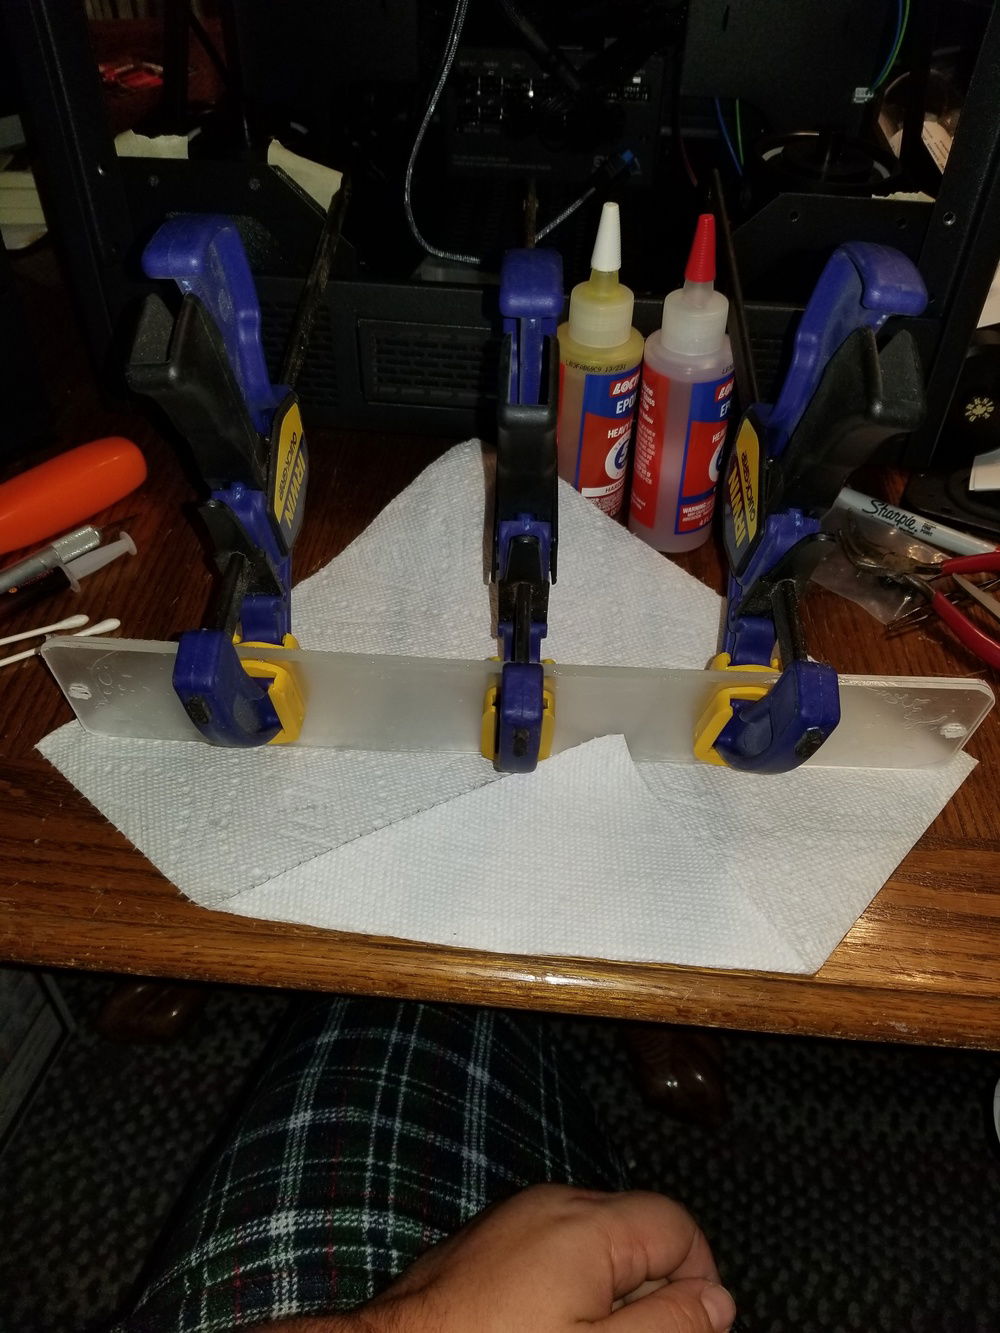
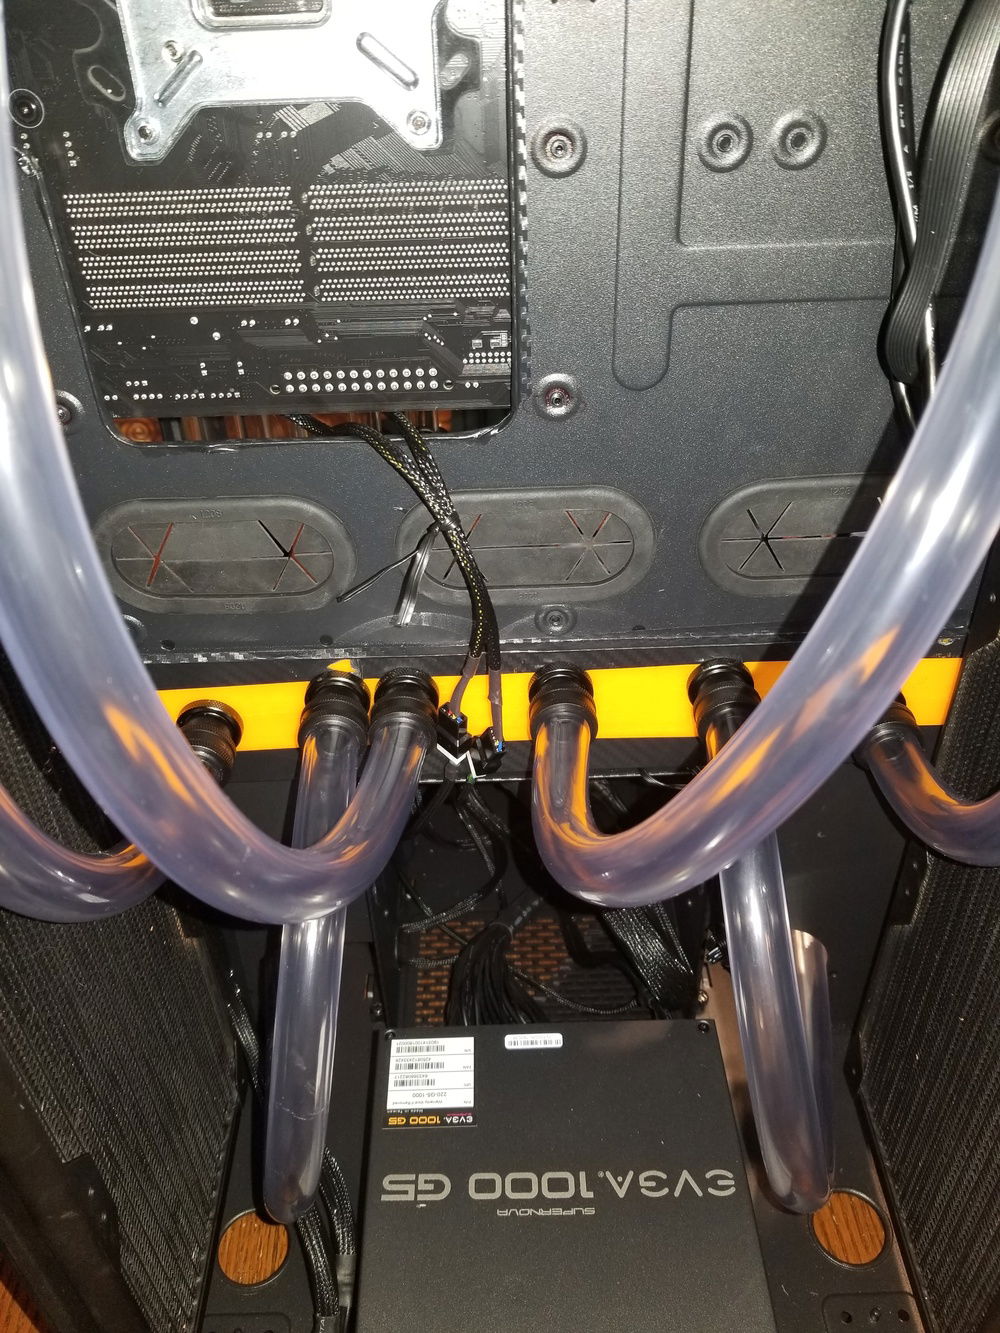
I decided to use bulkhead fittings mounted to a solid plate for a pass-through on the water lines. This will allow me to easily and cleanly transition from hard pipe in front for aesthetics, and soft tubing in the back for maintenance and ease of installation. I cut two pieces of plexiglass and used epoxy to weld them together. This is my first time working with plexiglass and it's a pain in the ass. Not sure about the rigidity on this, but we'll see how it works out.
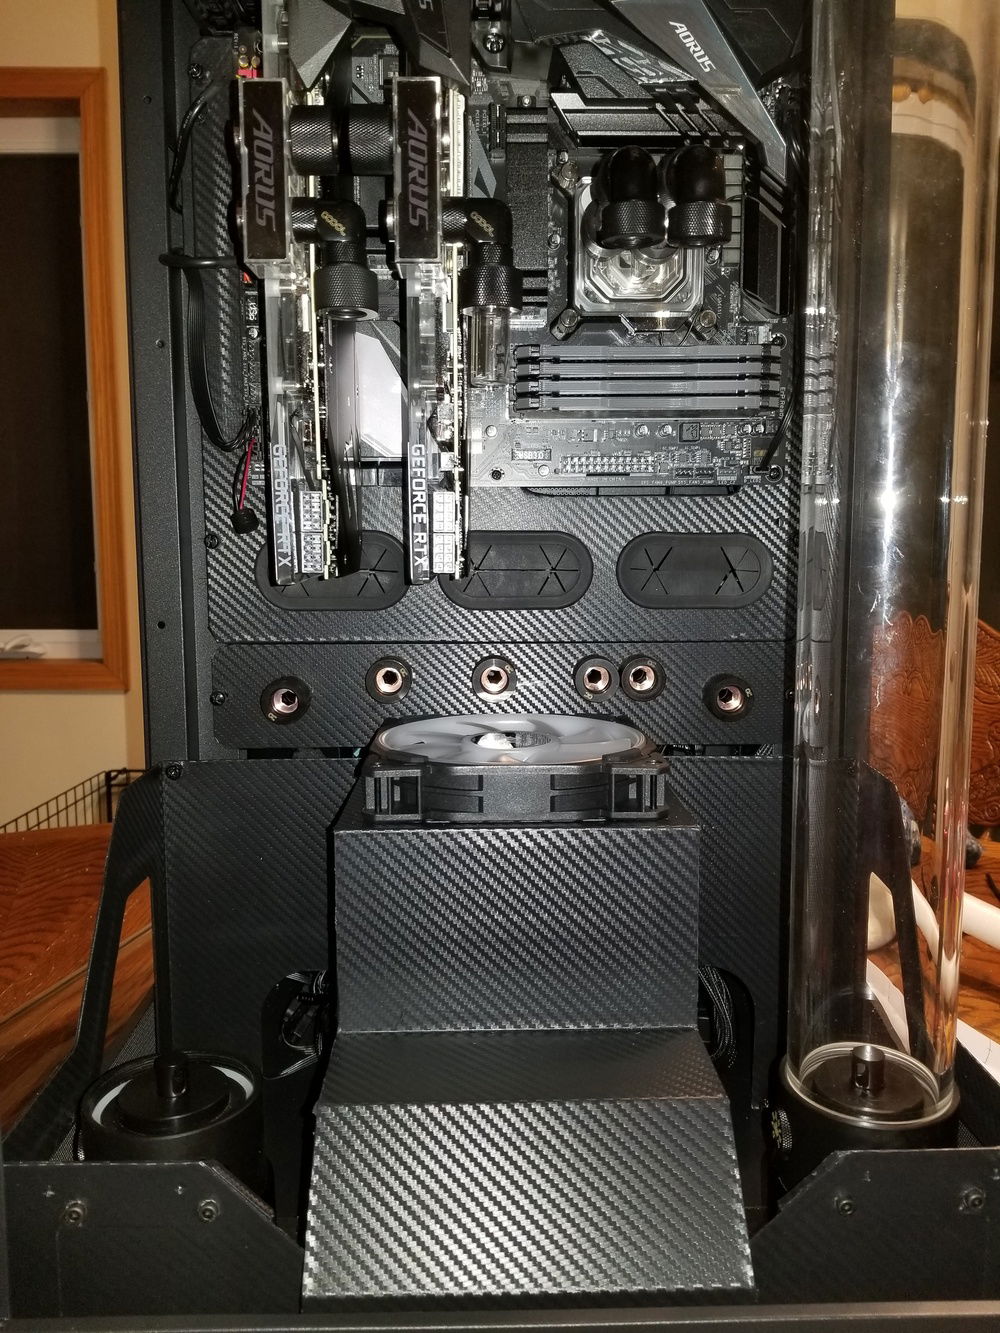
Some test layout lines for where the water lines will come through after several rounds of test fitting and fine tuning of the plate. I'm only going with one RTX 2080 for now, but want to make it easy on myself if I add a second in the future, so am adjusting my line configuration to accomodate that. Almost time to start building loops.
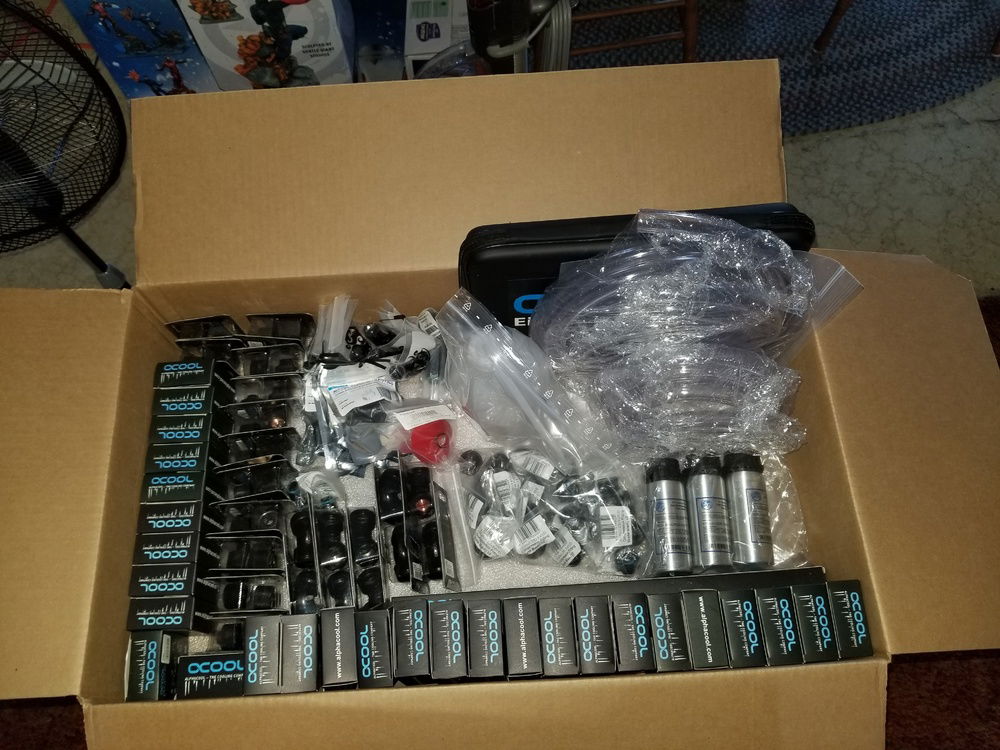
So many fittings.
I didn't get any pictures, but the first hole I tried to drill separated the two plates. The second hole I tried drilling cracked and then shattered them. Time for the 3D printer to save the day.
I forgot to get a picture of the printed plate by itself, but here it is, wrapped, with the bulkhead fittings installed, and installed in the case. This plates is so much more rigid than the acrylic sheet, with just a touch of flex if needed for installation. And the lines match up. Couldn't be happier.
Also, pulled the trigger on a second RTX 2080 when I saw a single, open-box 3-slot NVLink bridge on Amazon. 4-slots are available all day long, but apparently they only made about 5 total of the 3-slot. Seems like a massive oversight considering they made their motherboard with 3-slot spacing.
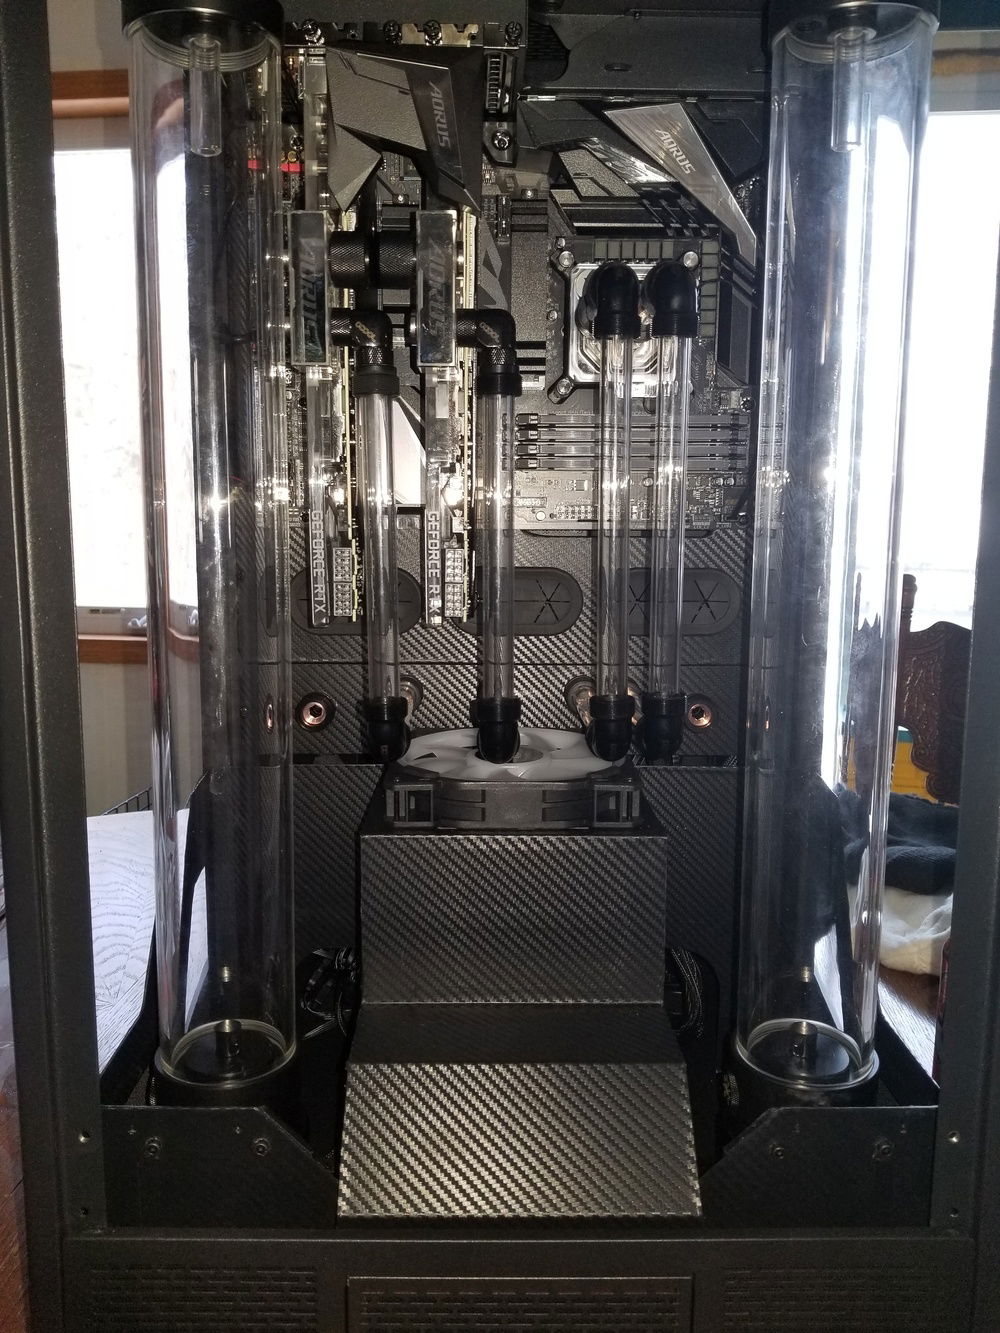
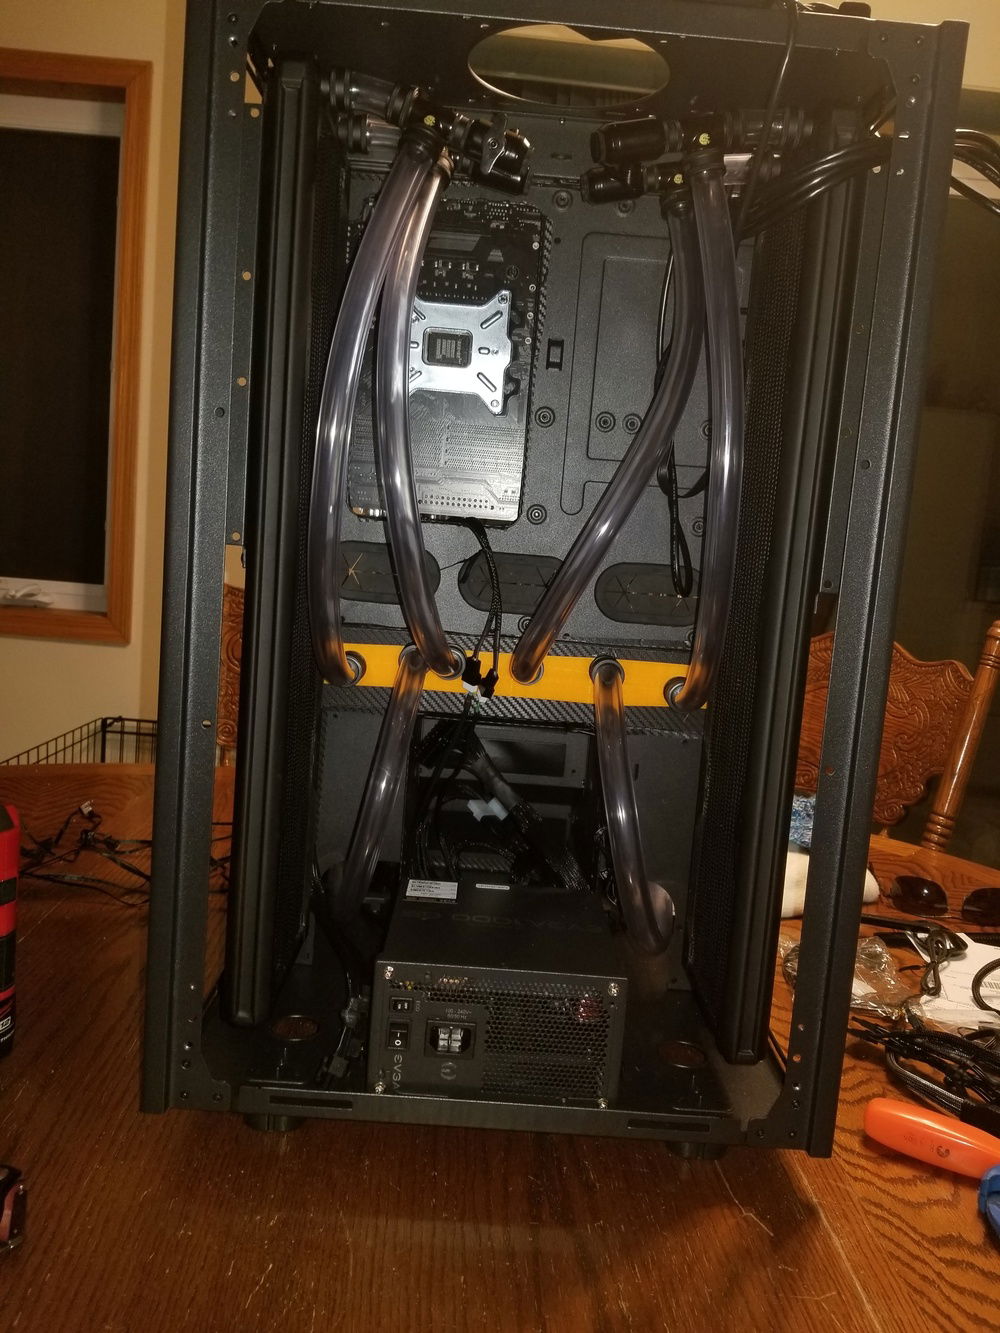
Starting to get the lines cut to size and test fit.
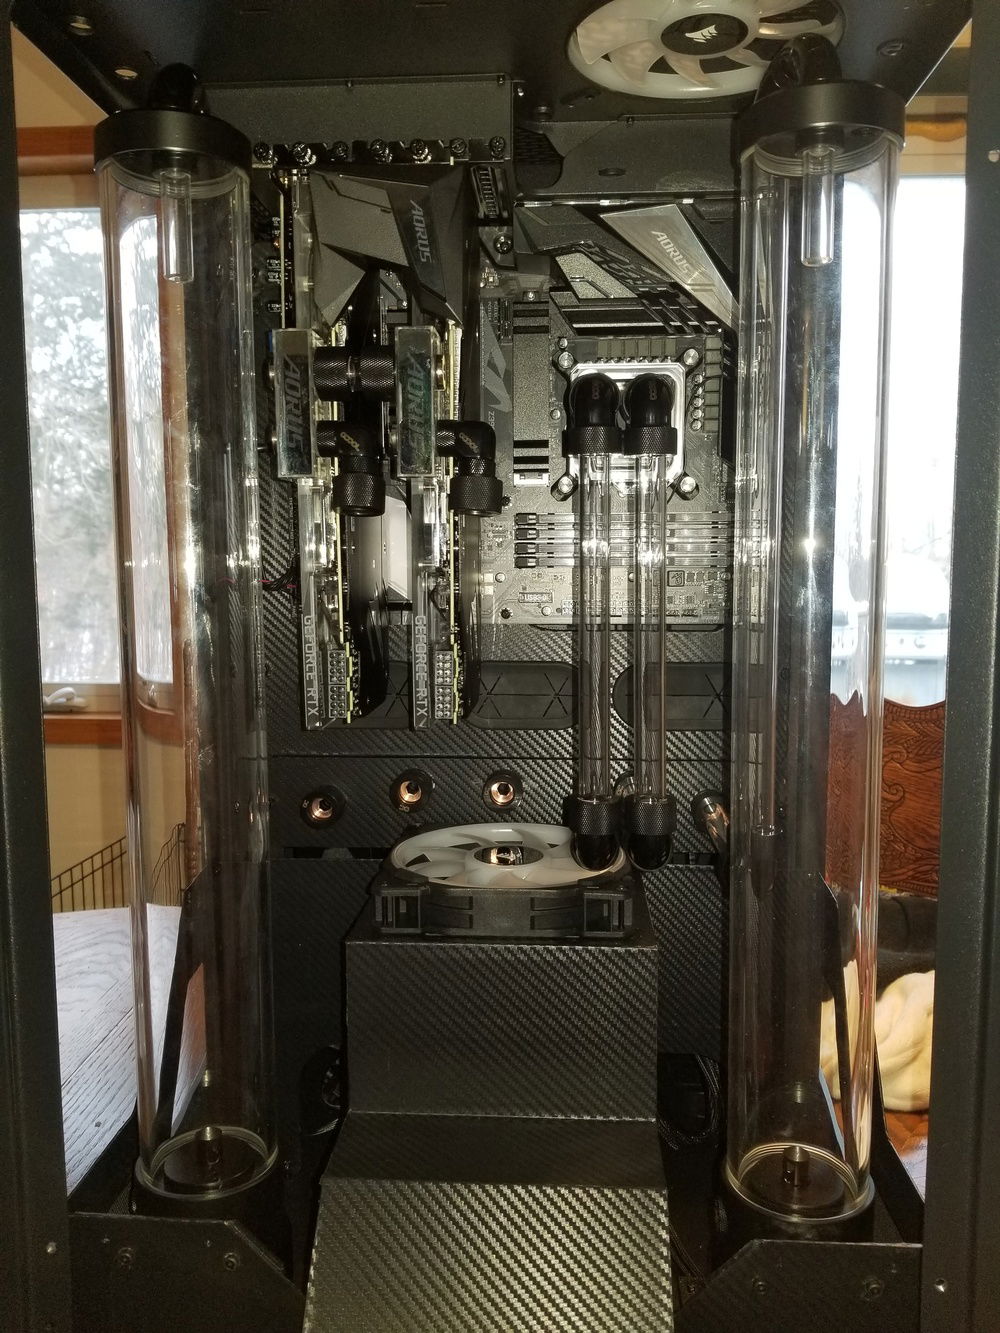
Finally starting to take shape.
Just enough clearance. It's amazing how quickly this case gets small.
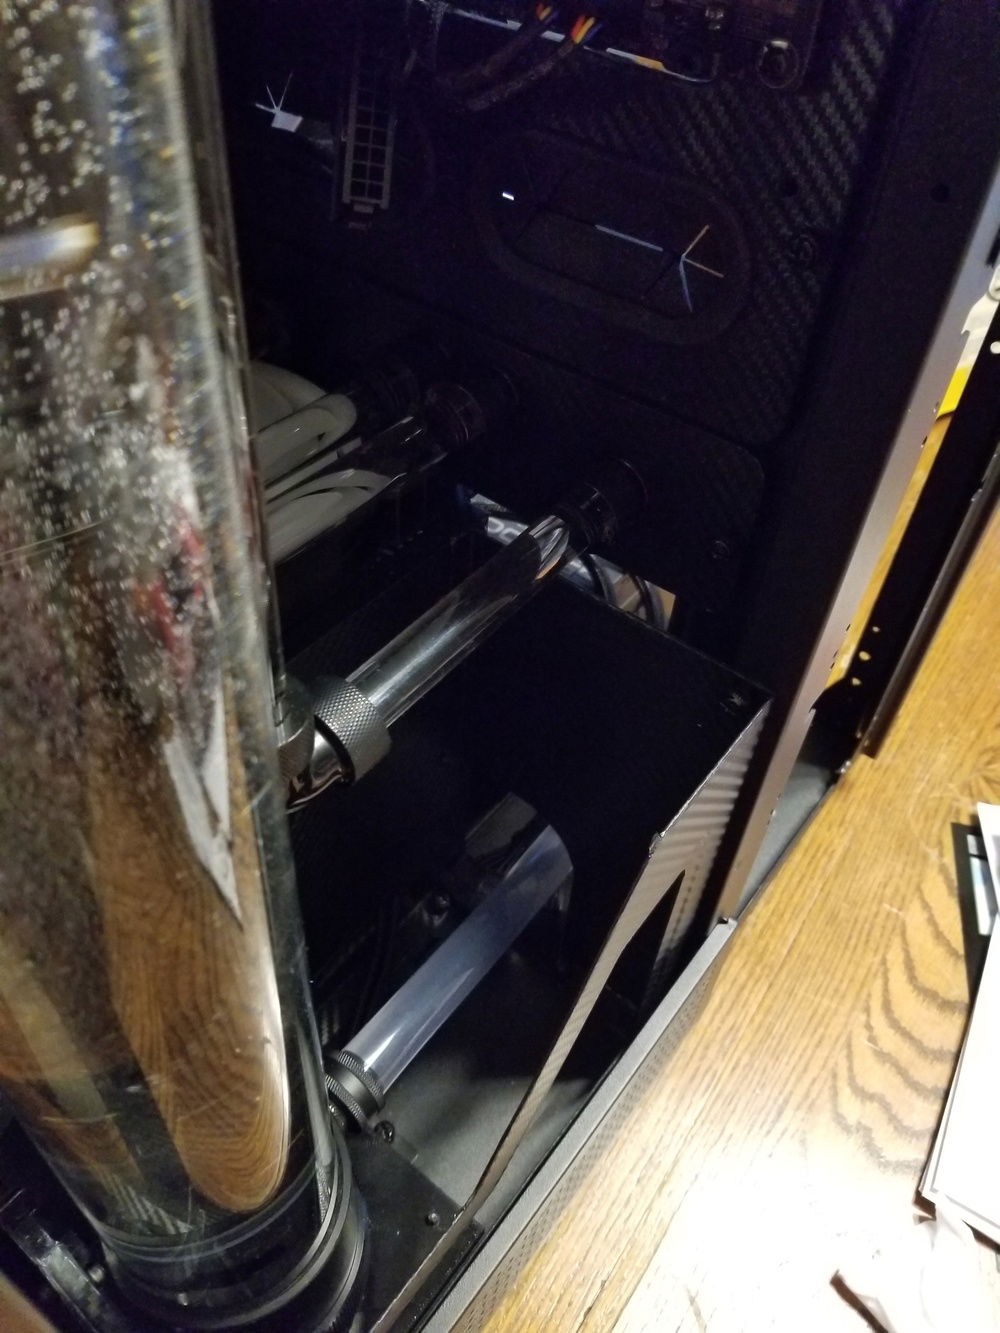
A look at the return line routing for the reservoirs.
Plenty of room on the CPU half, but those RTX 2080s leave almost no extra room.
Basically zero extra room. Nada. Zilch. Zip.
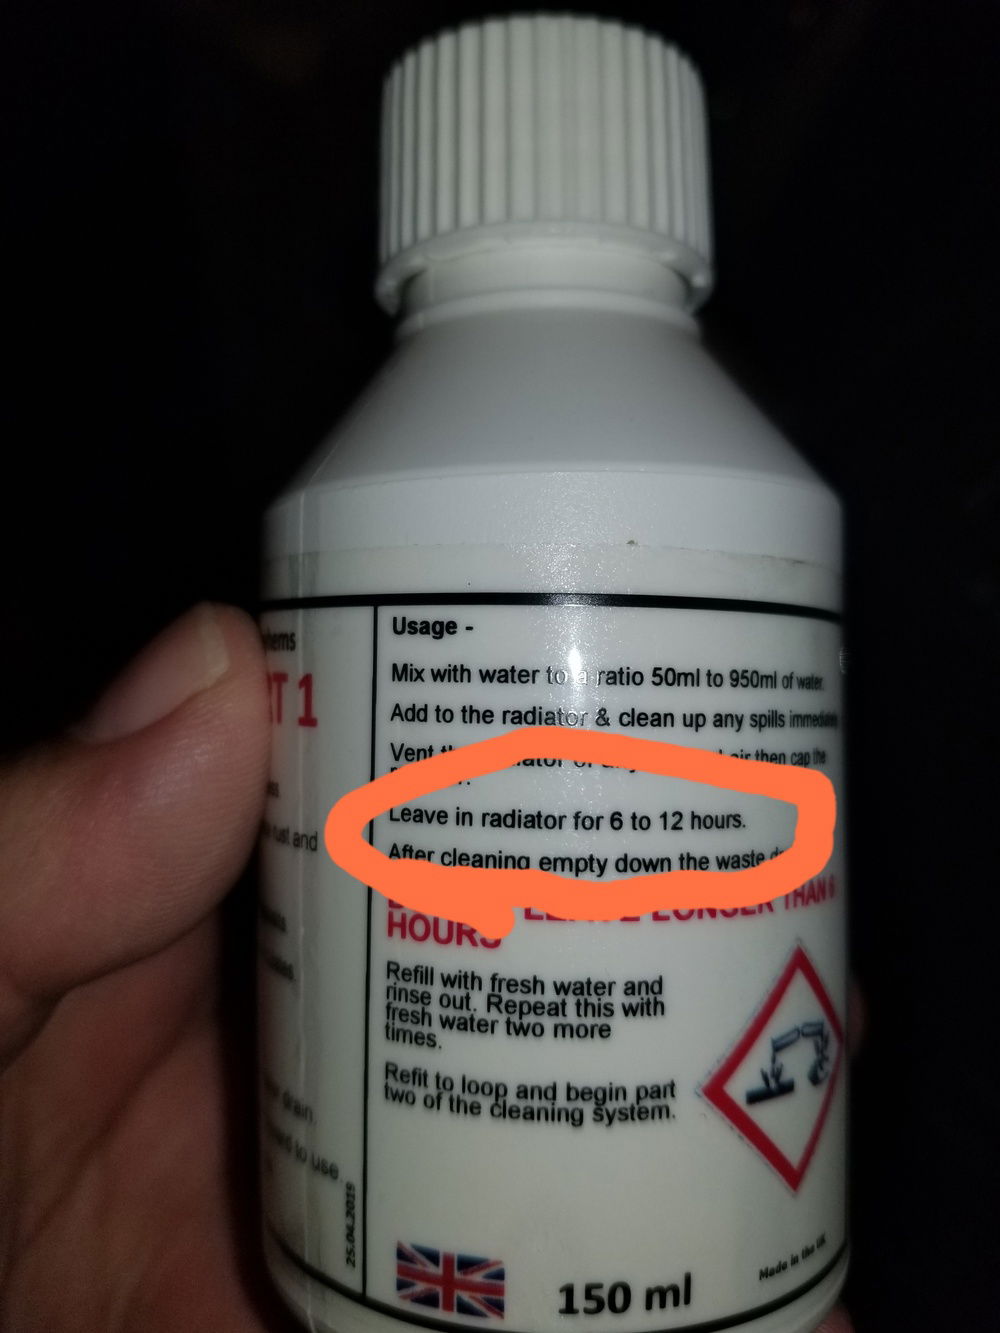
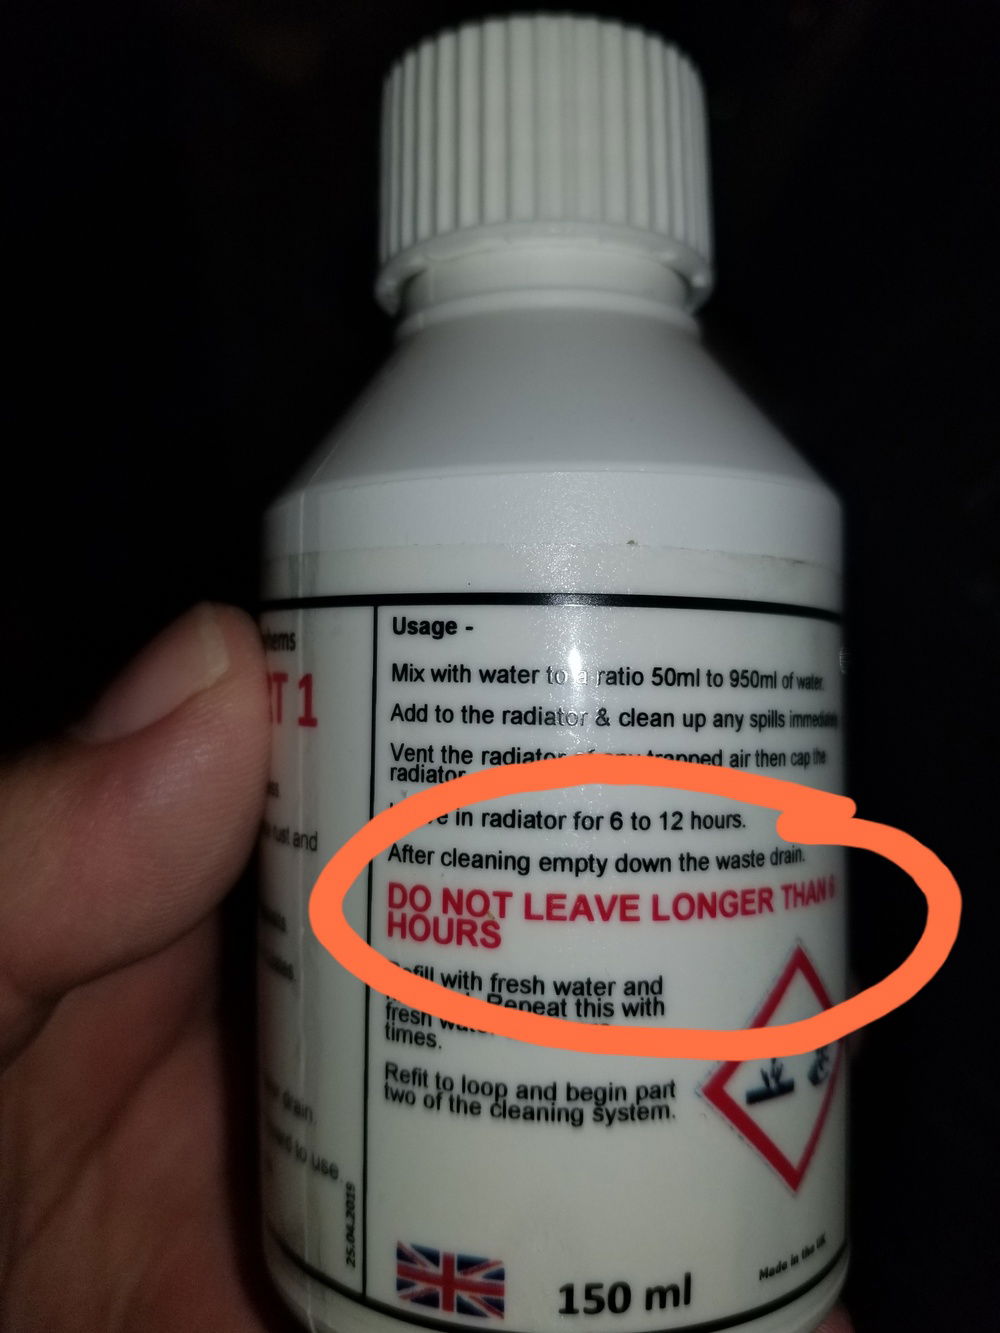
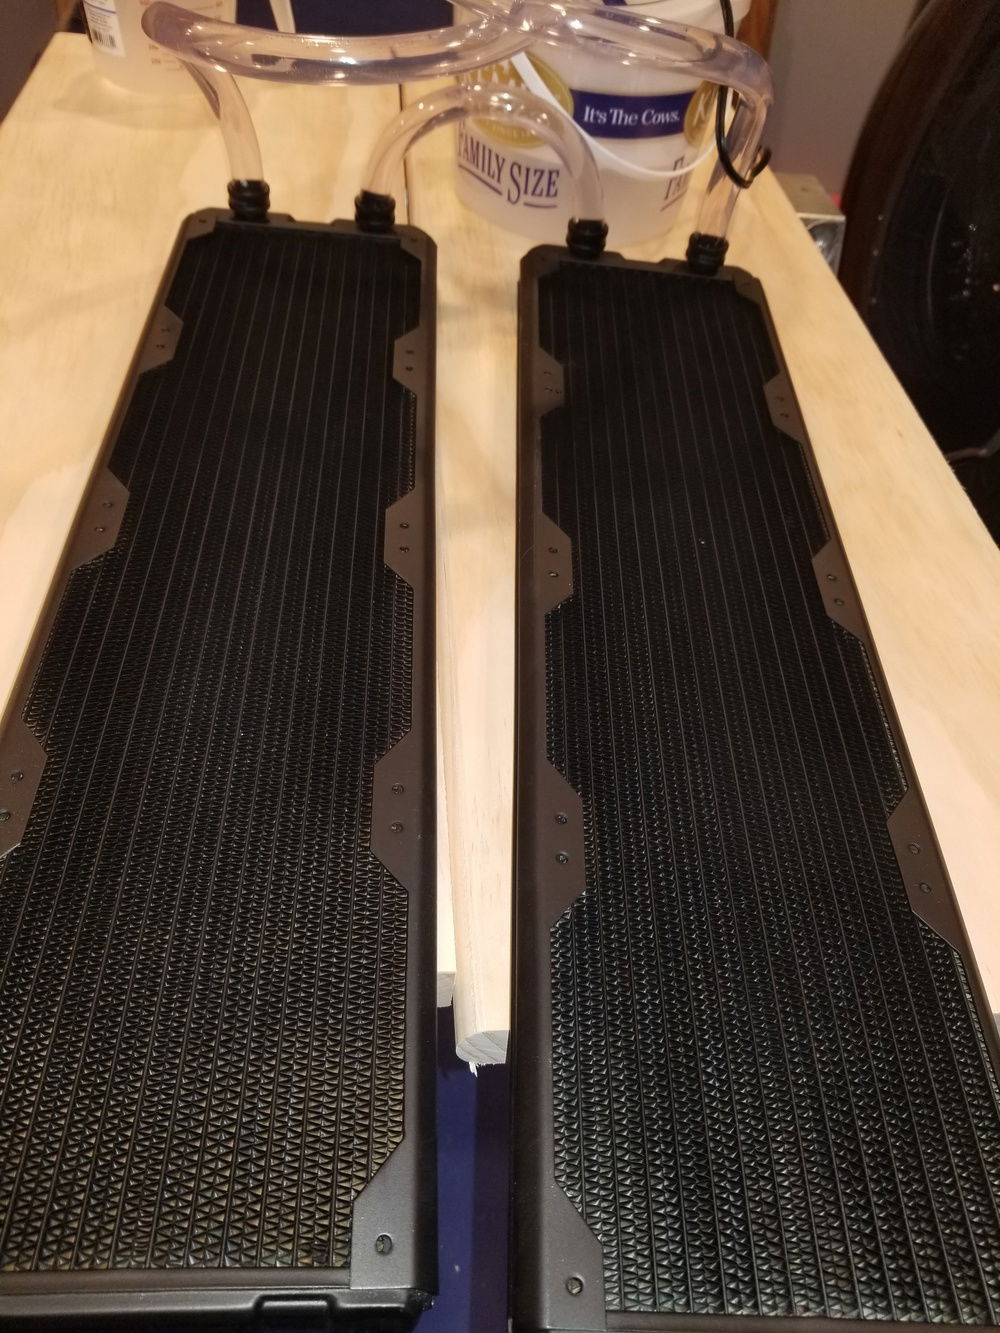
Time to clean the radiators. I'll be recirculating Mayhems Blitz part 1 instead of fill/cap/soak, but 6-12 hours. Seems simple enough.
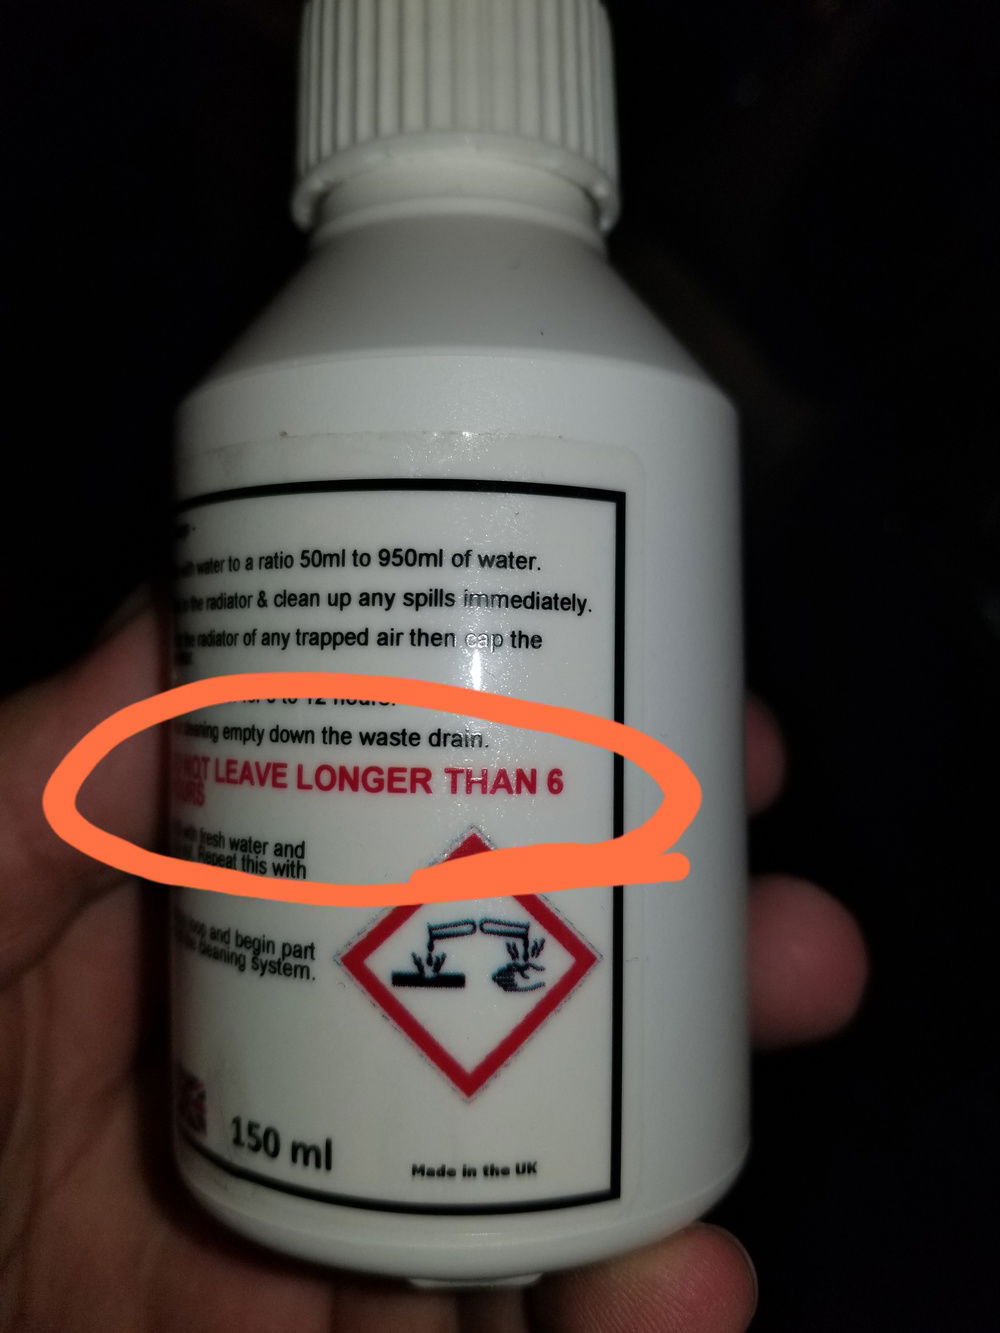
Well that's about as clear as mud.......
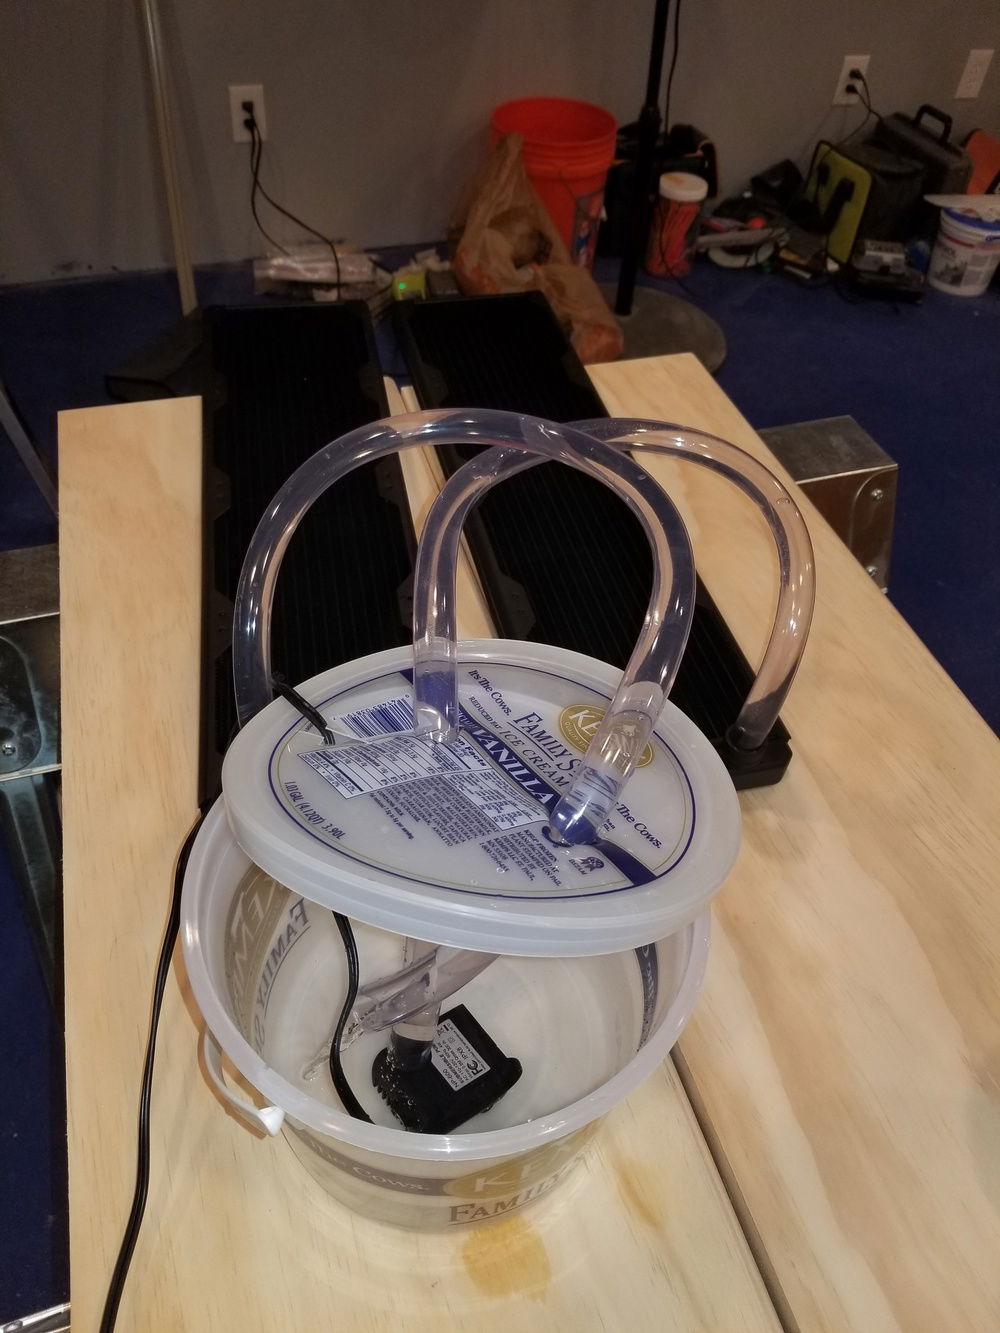
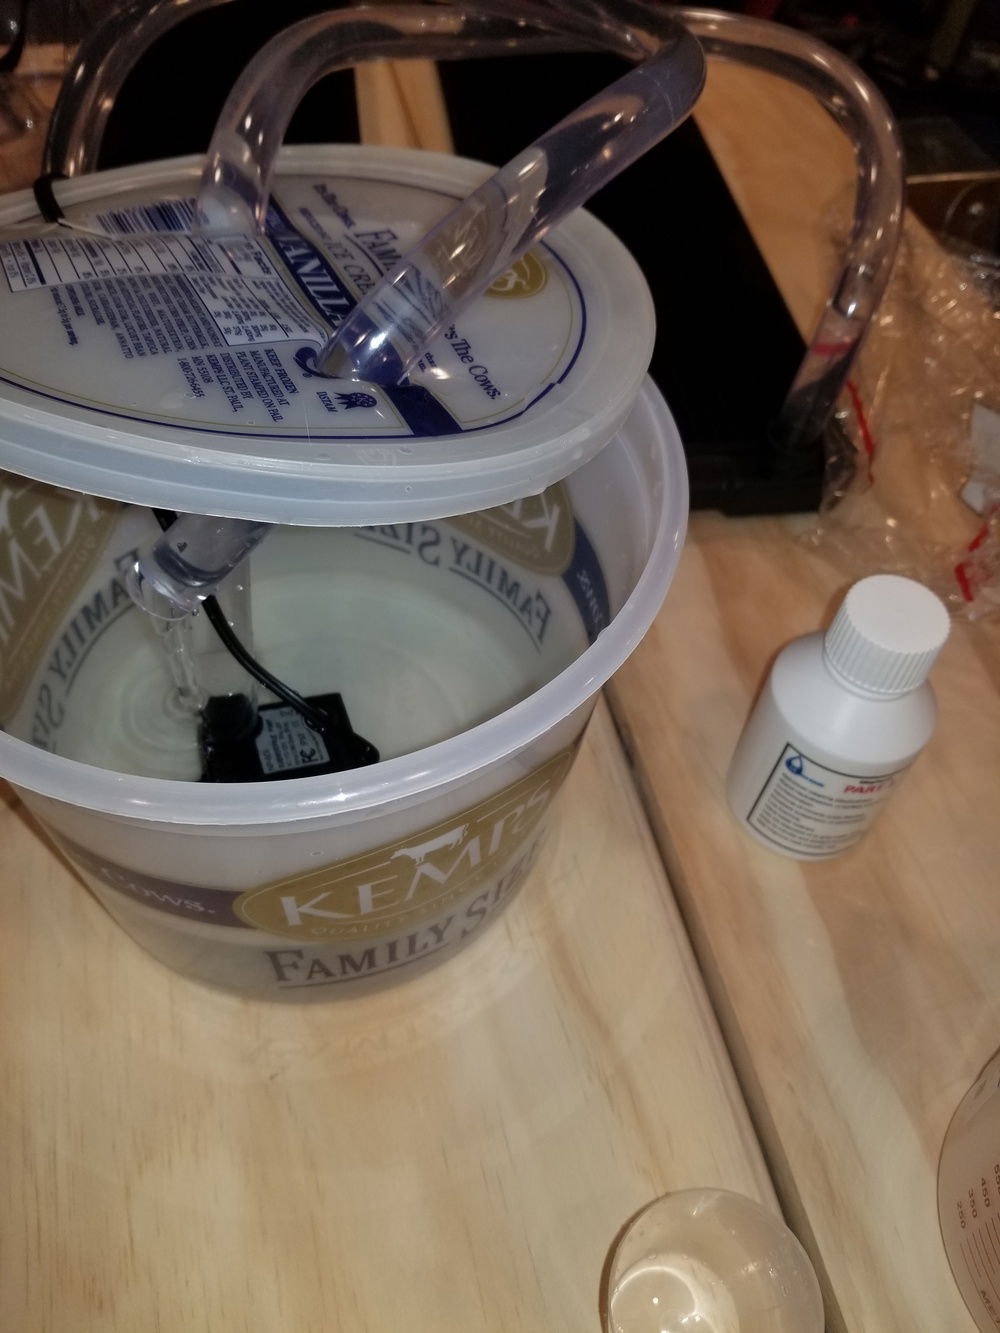
Time to clean the radiators. Mayhems Blitz part 1, constantly circulated through the radiators with a fountain pump.
A better view of the hose routing linking the radiators together.
The camera didn't pick up just how blue the water turned. So much crap cleaned out.
Radiators mounted in the case and soft tubing run. Took all of about 10 minutes to run the soft tubing, whereas the hard tubing took about 10 hours to get perfect.
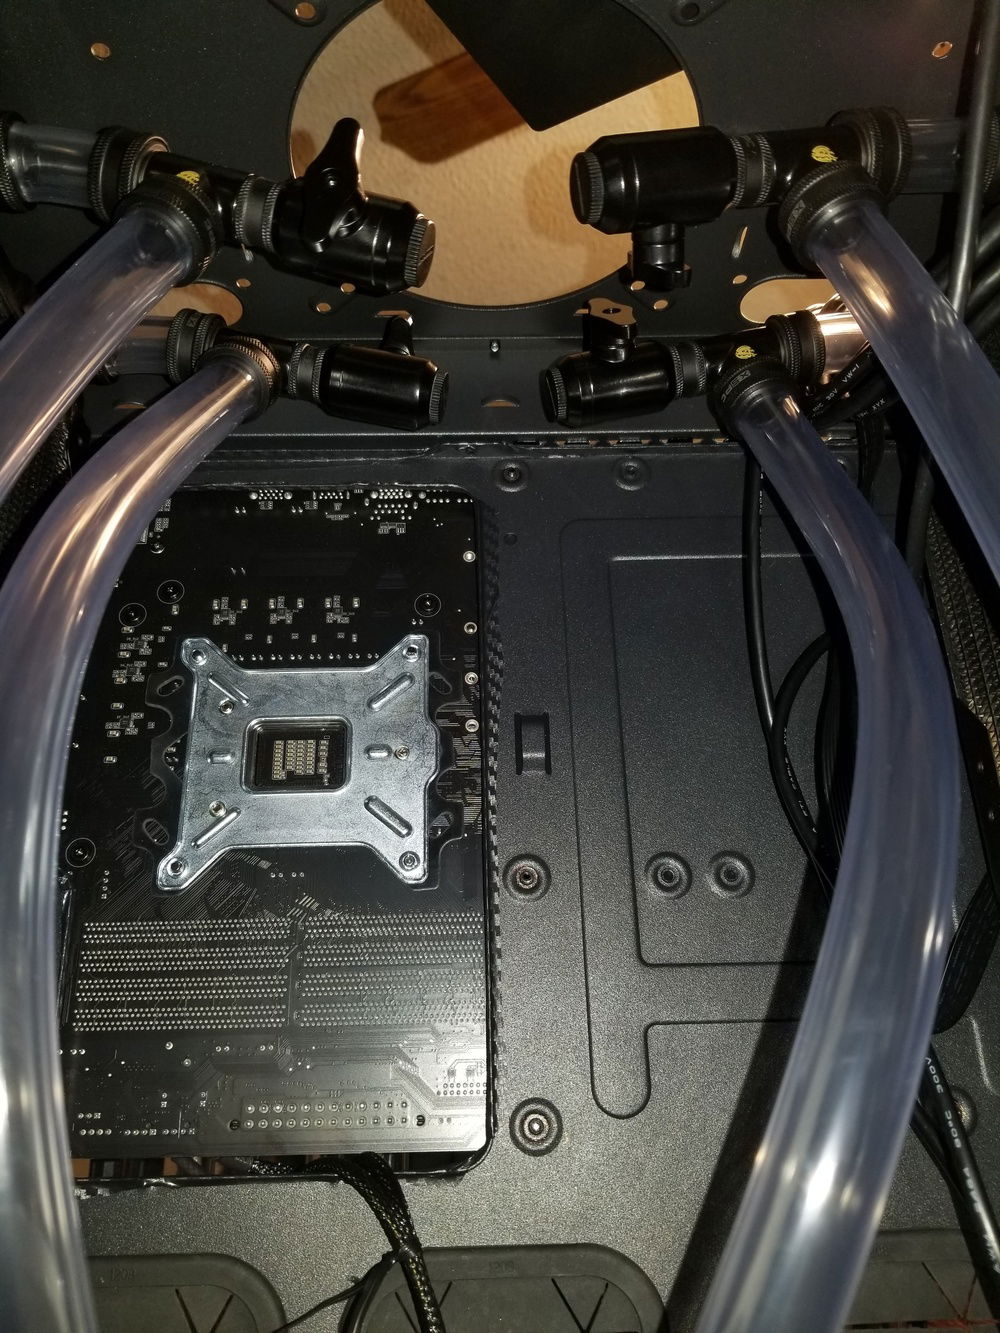
Drain valves at the top to give extra hose length for maintenance and because there is way more room there than at the bottom with the PSU installed. Double the valves that I need, but it should allow for better drainage when it comes time for fluid changes.
You can see how there isn't a ton of room at the bottom between the radiator and the PSU. Enough, but no extra.
Initial 24 hour leak test.
24 hours later, everything is bone dry. Not a single leak.
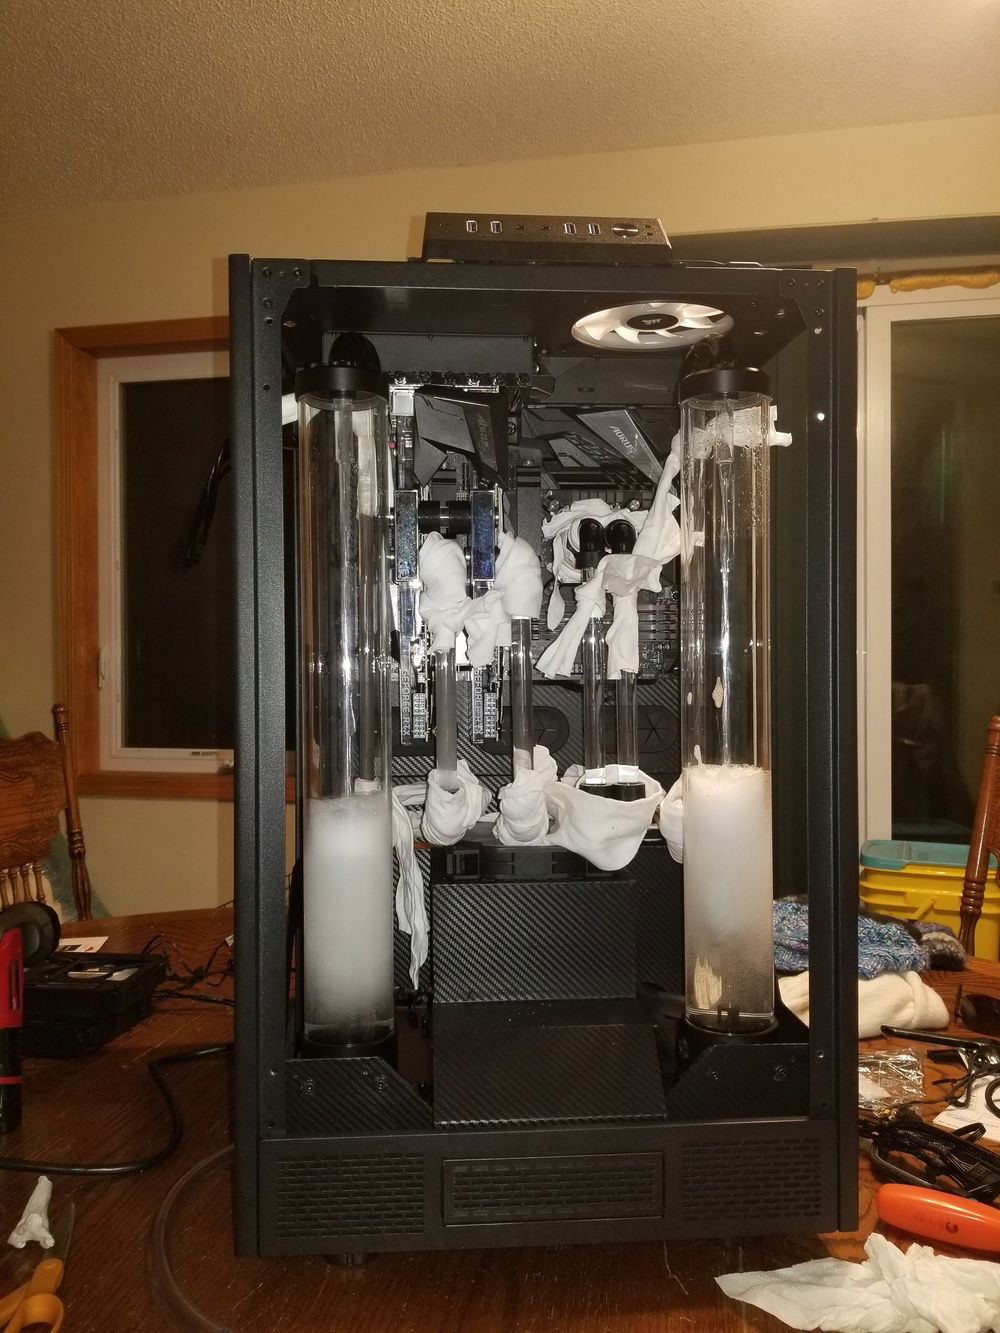
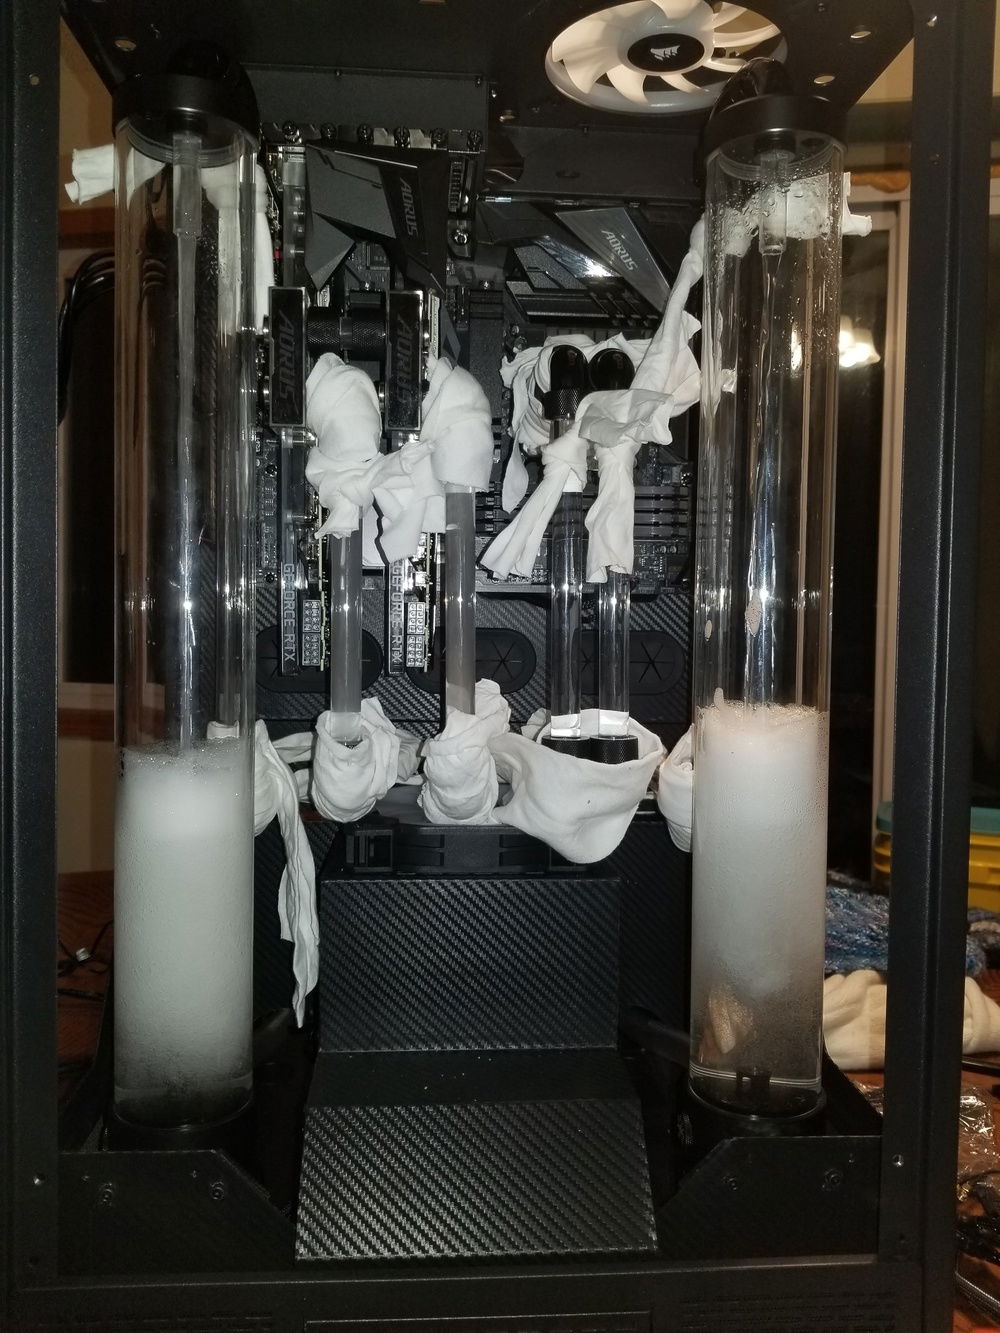
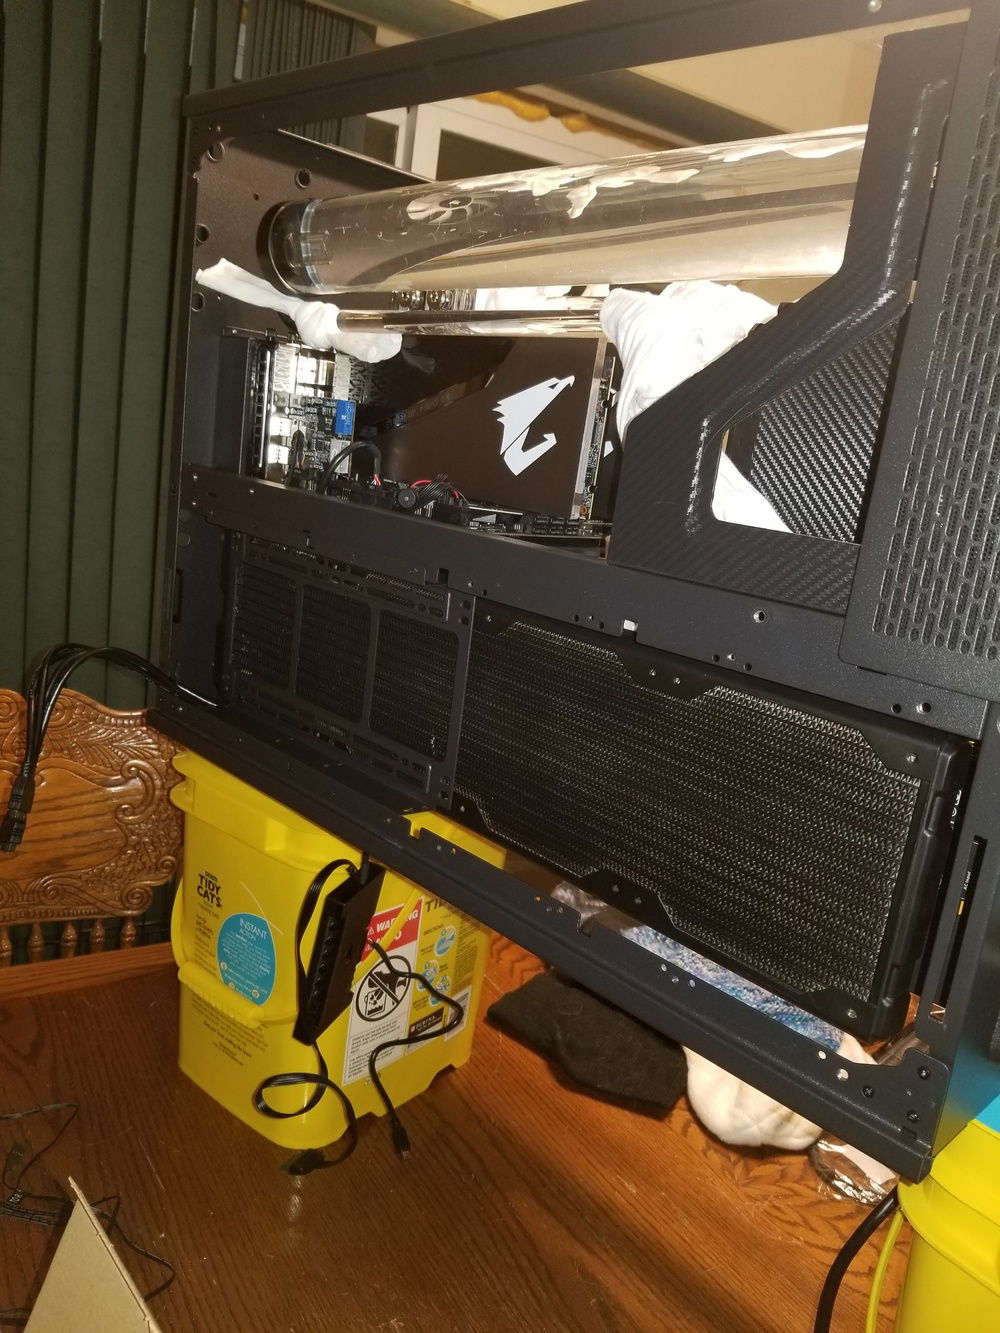
I left the rags on for the full system Blitz part 2 since I would be tilting the case all different ways to evacuate all the air. Laying it on it's back works well.
I was worried with the weight that the reservoirs twisting would be an issue, but those brackets are solid. Barely any deflection.
A view of all the ports on top.
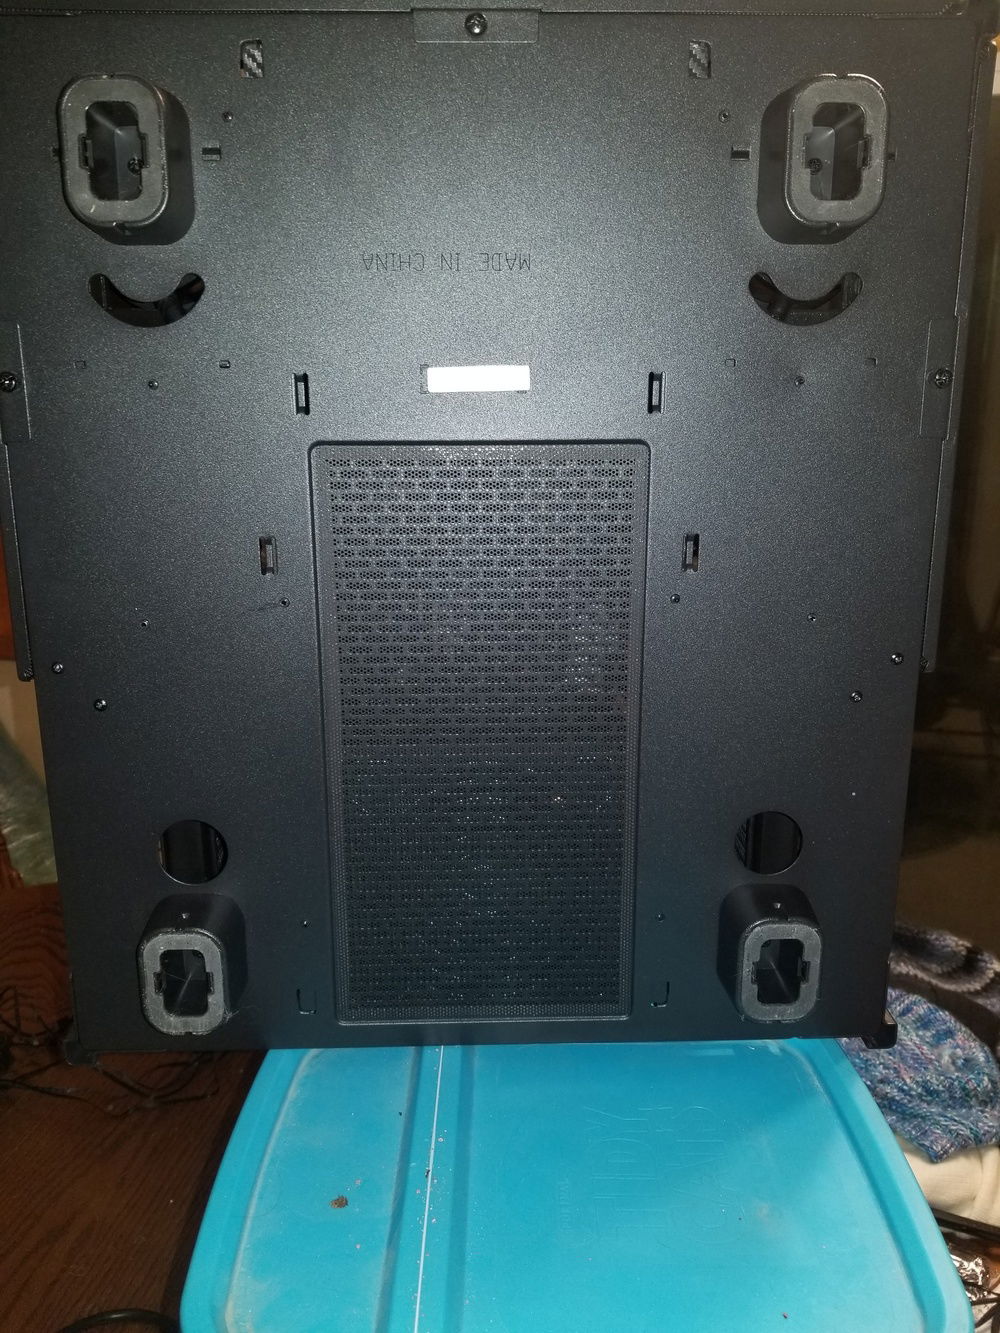
I discovered there is a dust screen on the bottom of the case for the PSU and front hard drive cage fans.
I ran soft tubing for the pump intake. It's in the bottom of the case where you can't really see it unless you look, and it's straight/rigid enough that it looks good.
24 hours with the system completely void of air and not a drop in sight.
Still no leaks after 24 hours of the Blitz part 2. Time for flushing.
Playing with system lighting while flushing.
More playing with system lighting while flushing.
The effects are a good bit more dramatic at night, but now it's time for coolant.
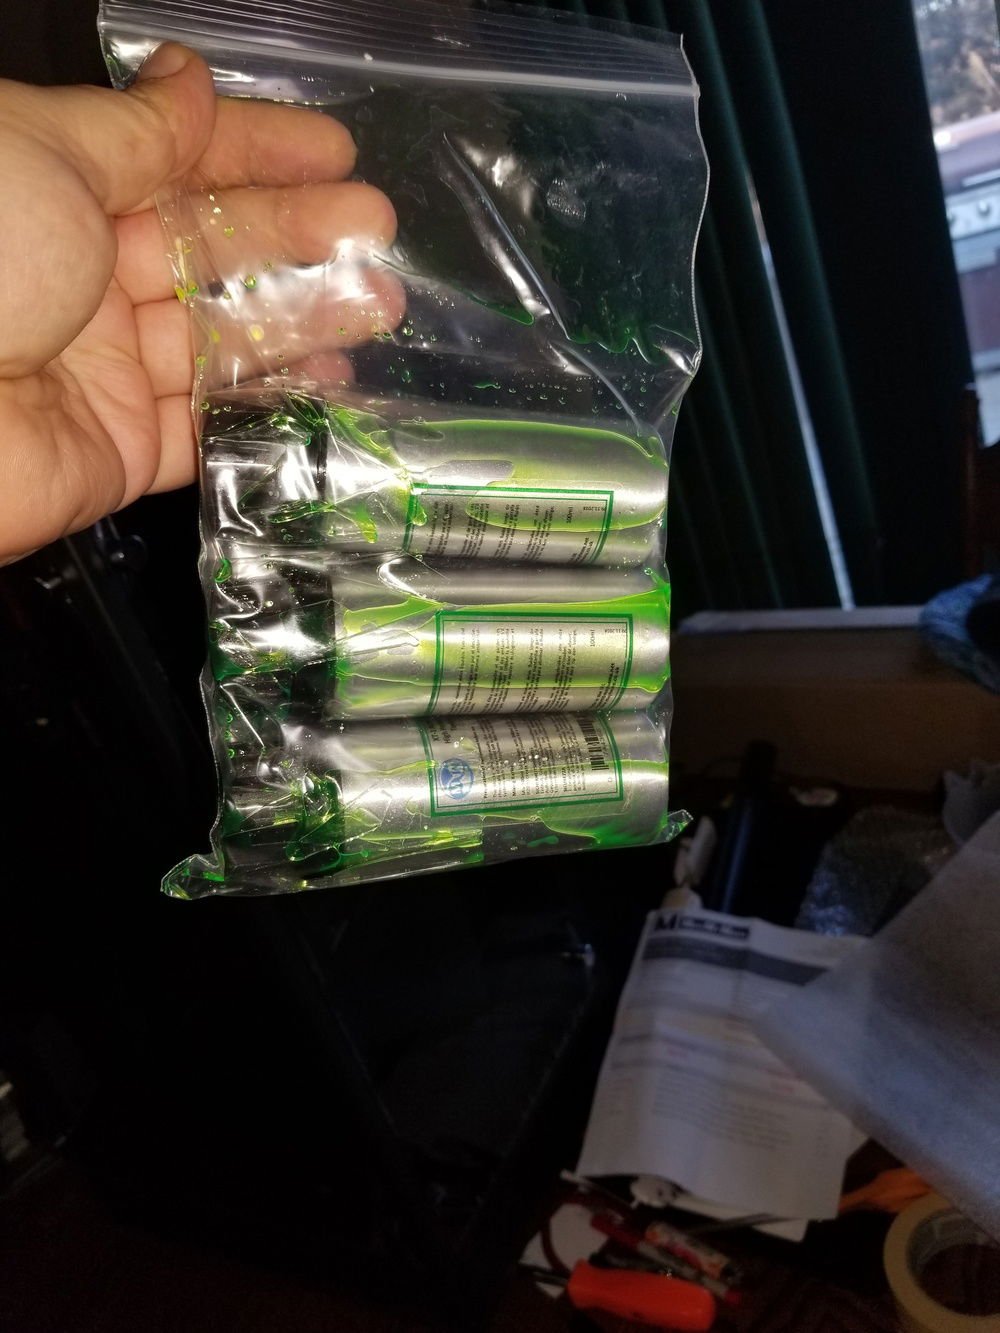
This does not bode well. Mayhems XT-1 Nuke. I'm not sure whether this is to blame on Mayhems, PerformancePCs.com, USPS, or all three, but between this and the crap directions on the Blitz part 1, I'm not super thrilled with my Mayhems experience thus far. Sure, their stuff cleaned everything super well, but they have some issues to work out.
Zero issues with the UV Blue that came from ModMyMods.com.
Definitely going to need some case lighting.
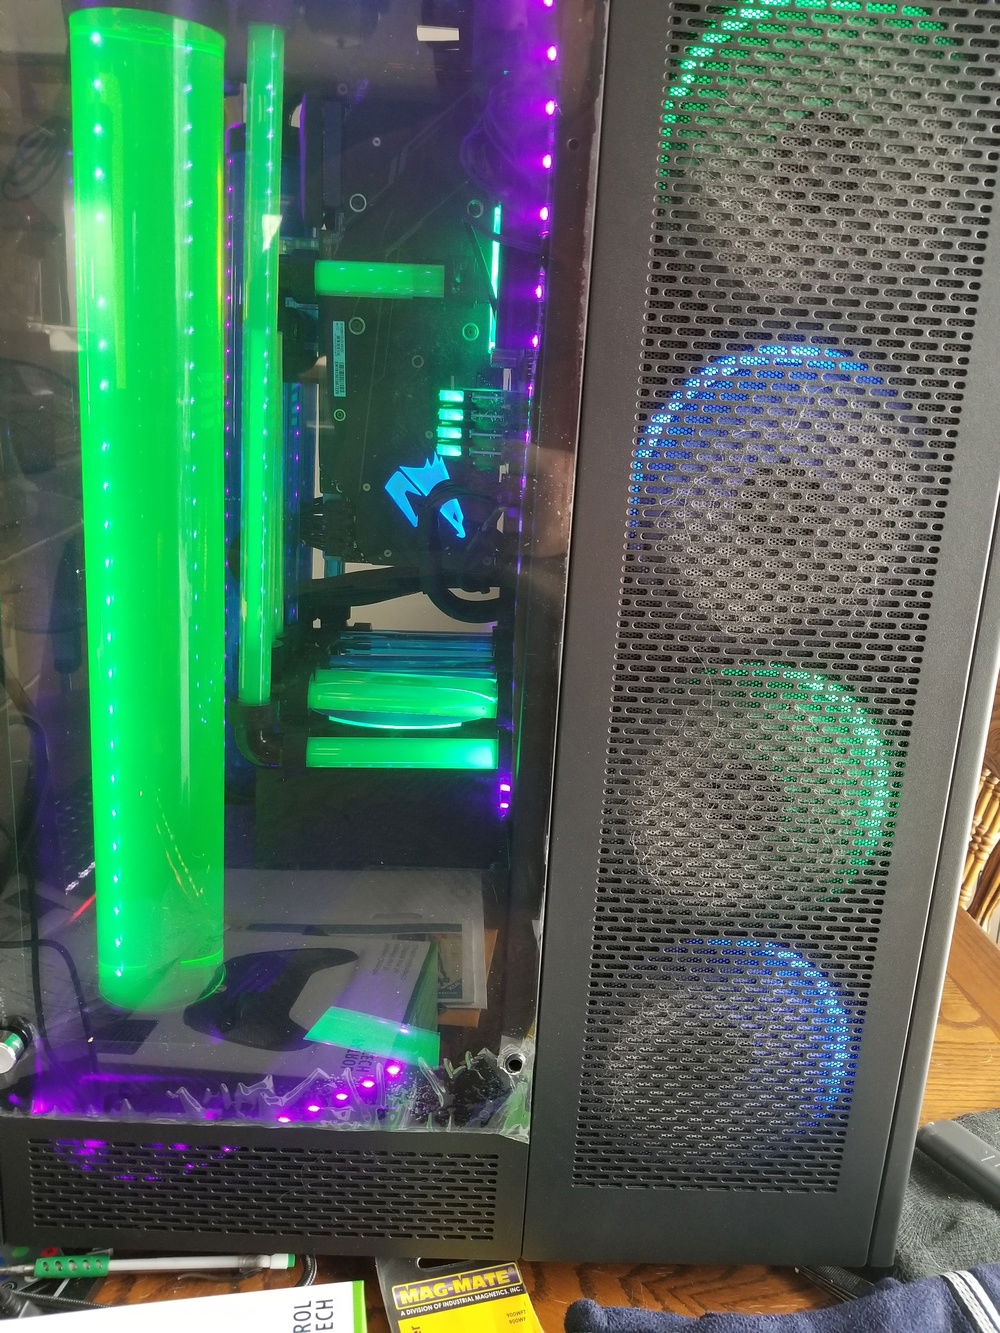
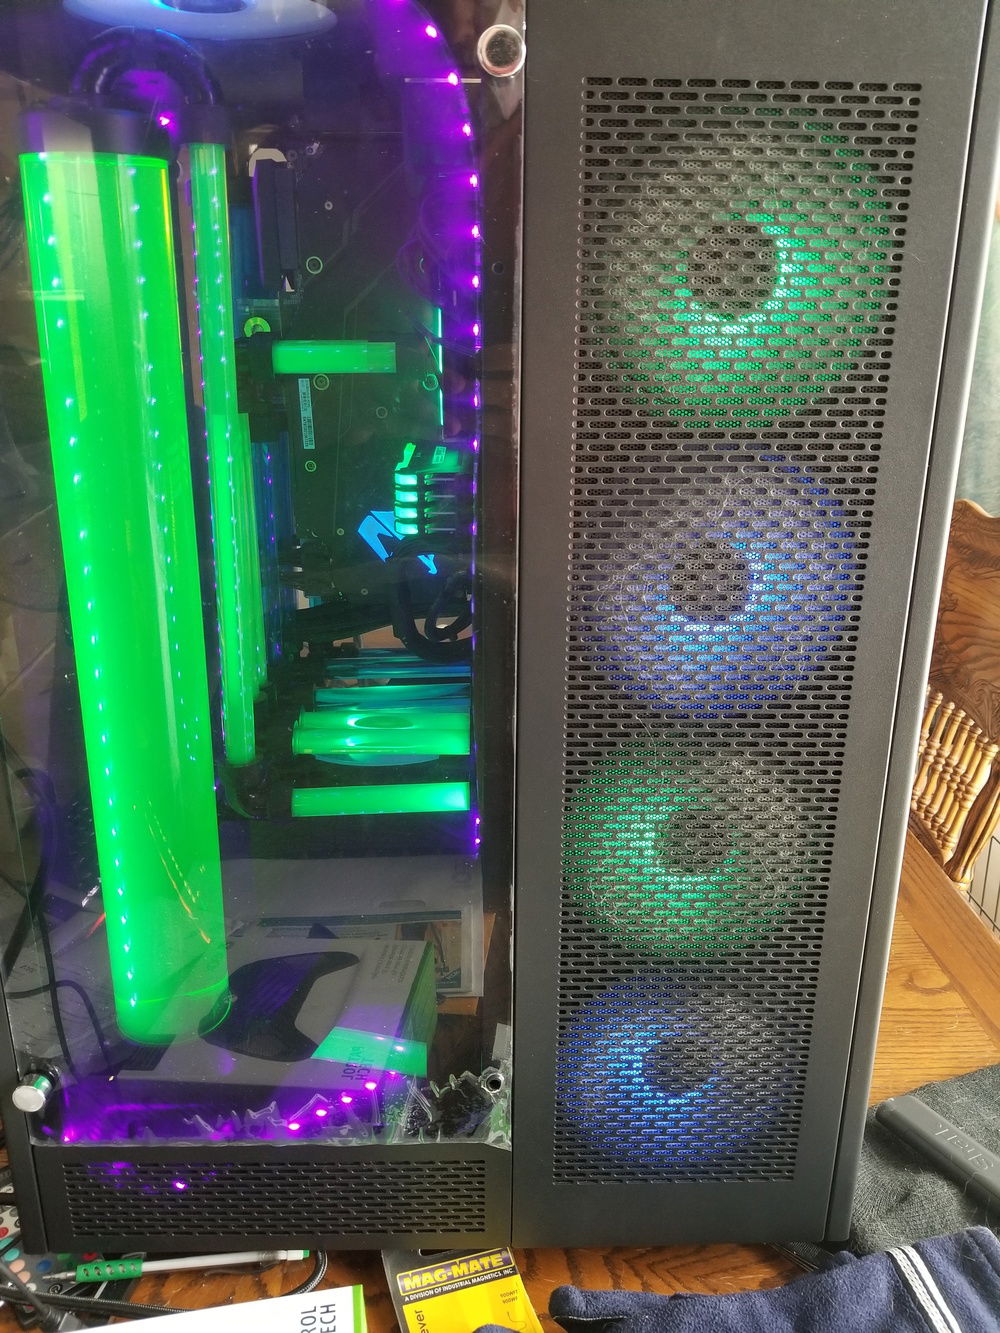
UV lighting installed. Even washed out in daylight, that UV Green looks fantastic. Though the UV Blue doesn't pop anywhere near as much as I thought it would.
Some white lighting with the UV to light up the case innards better.
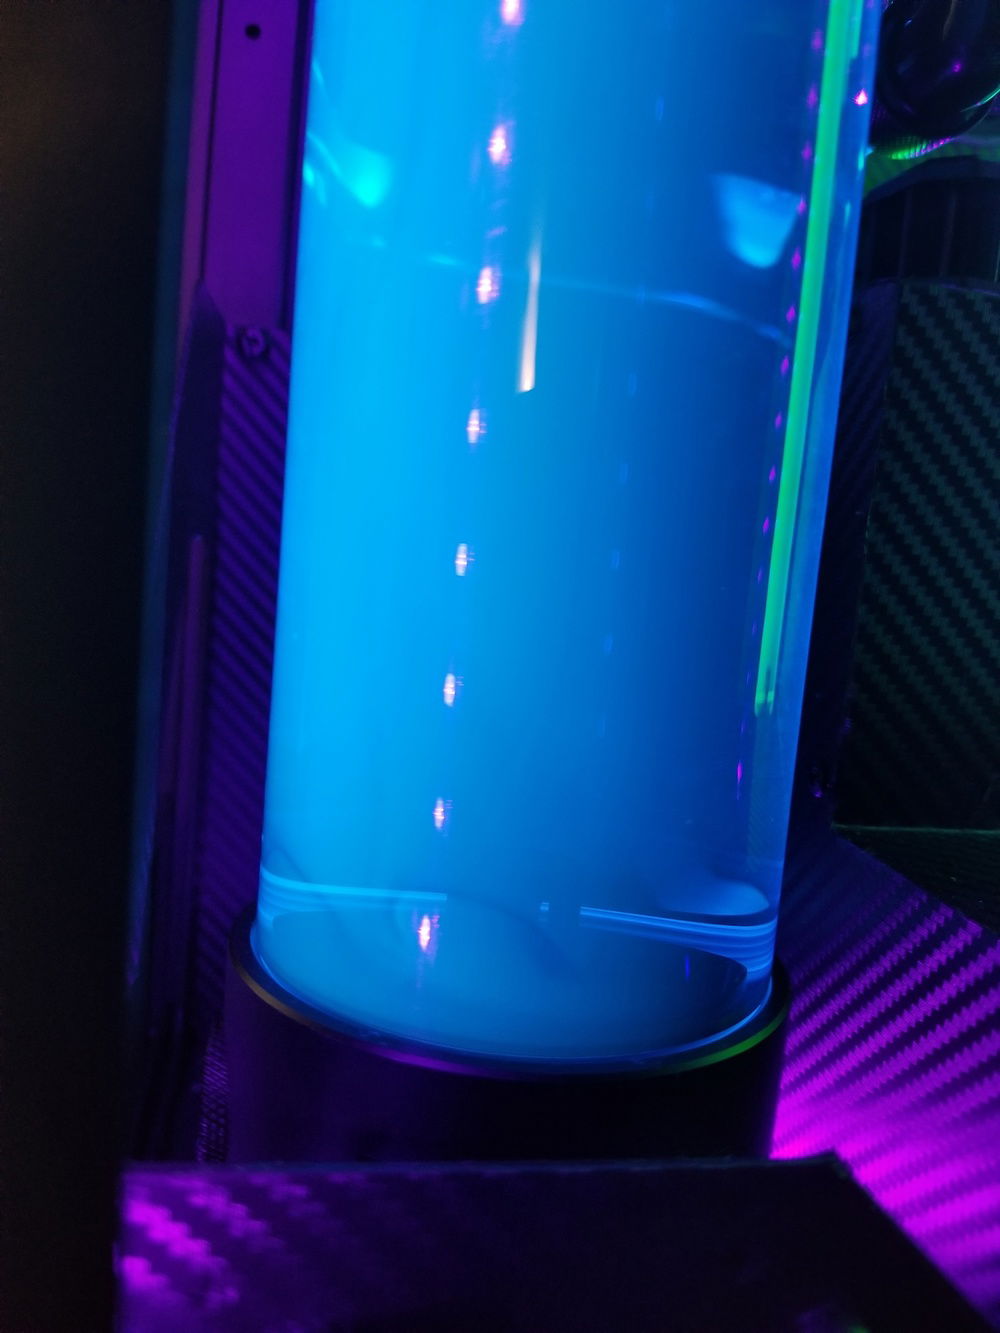
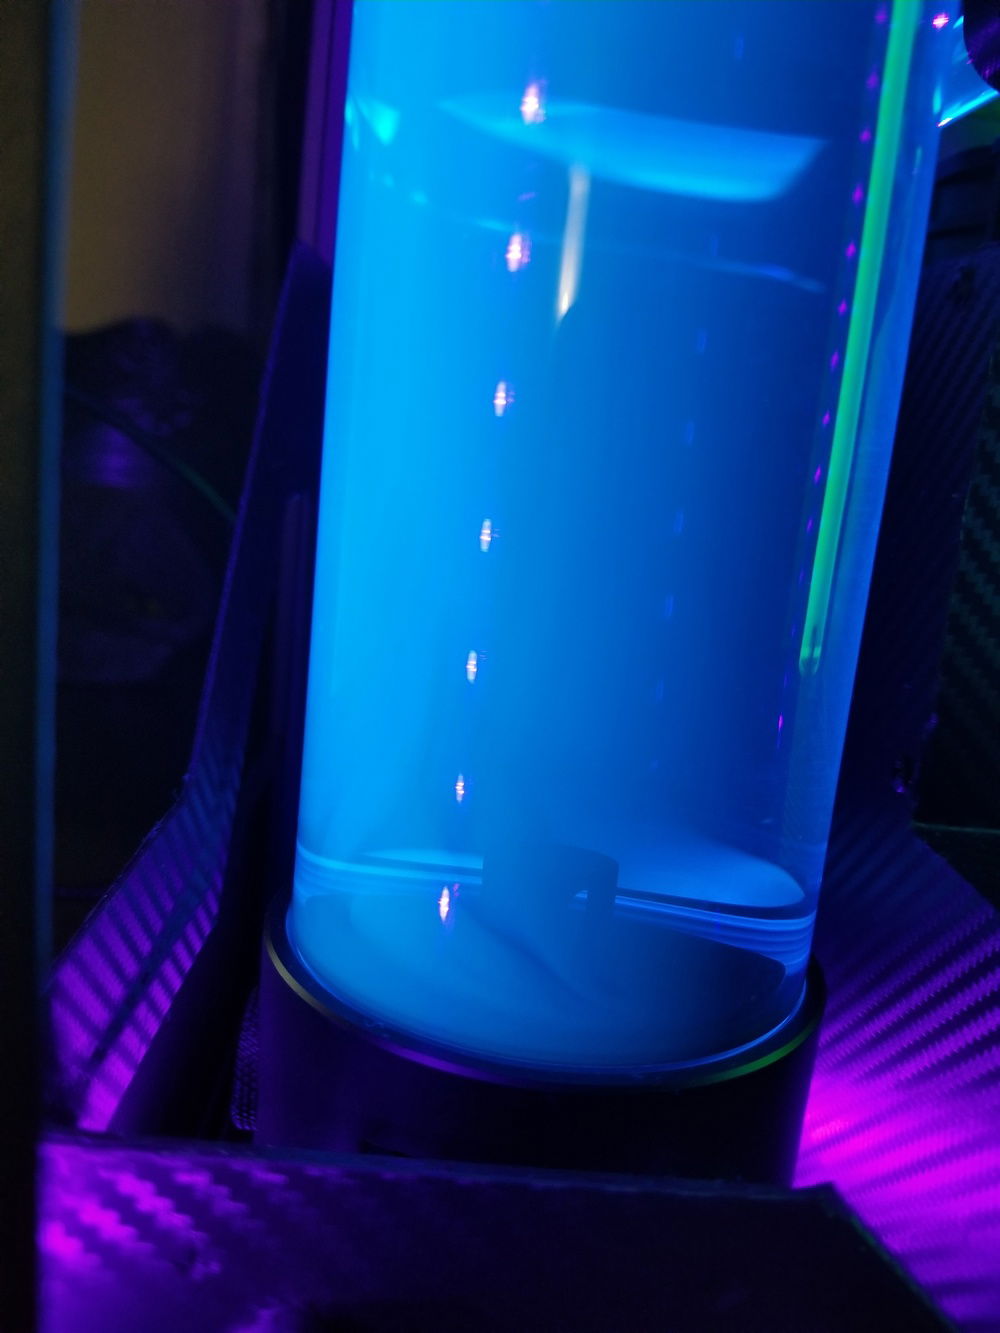
I'm not thrilled with the UV Blue. It almost looks like it has some opaque to it and the light isn't diffusing through it well at all. It's OK for now, but I won't go with it again.
Looks like I spoke too soon about there being no issues with the UV Blue. It's separating. You can see swirl around the pump inlet.
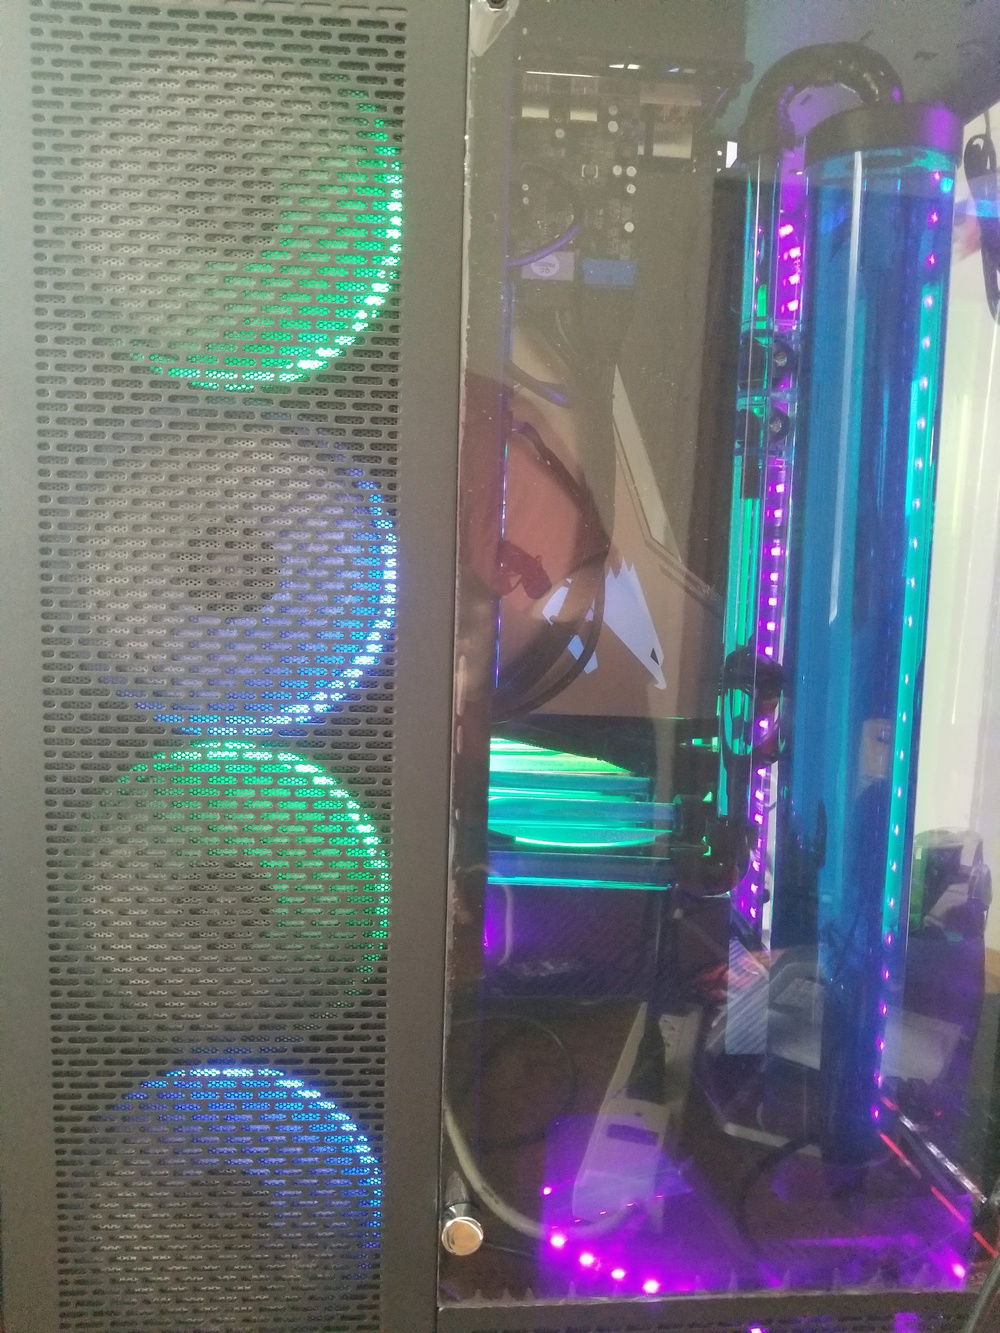
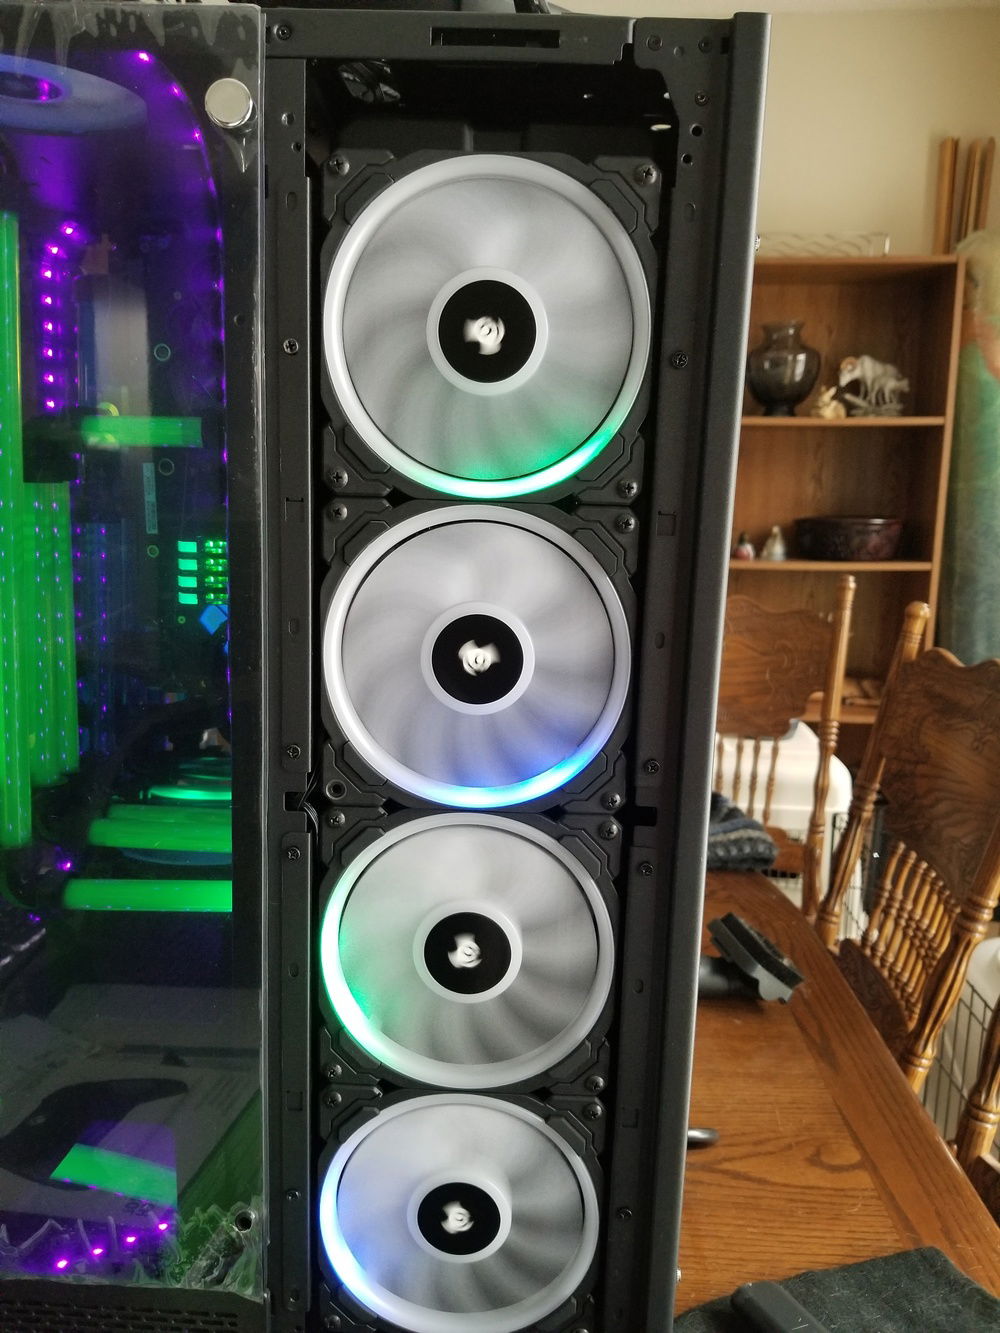
Side view with the RGB radiator fans.
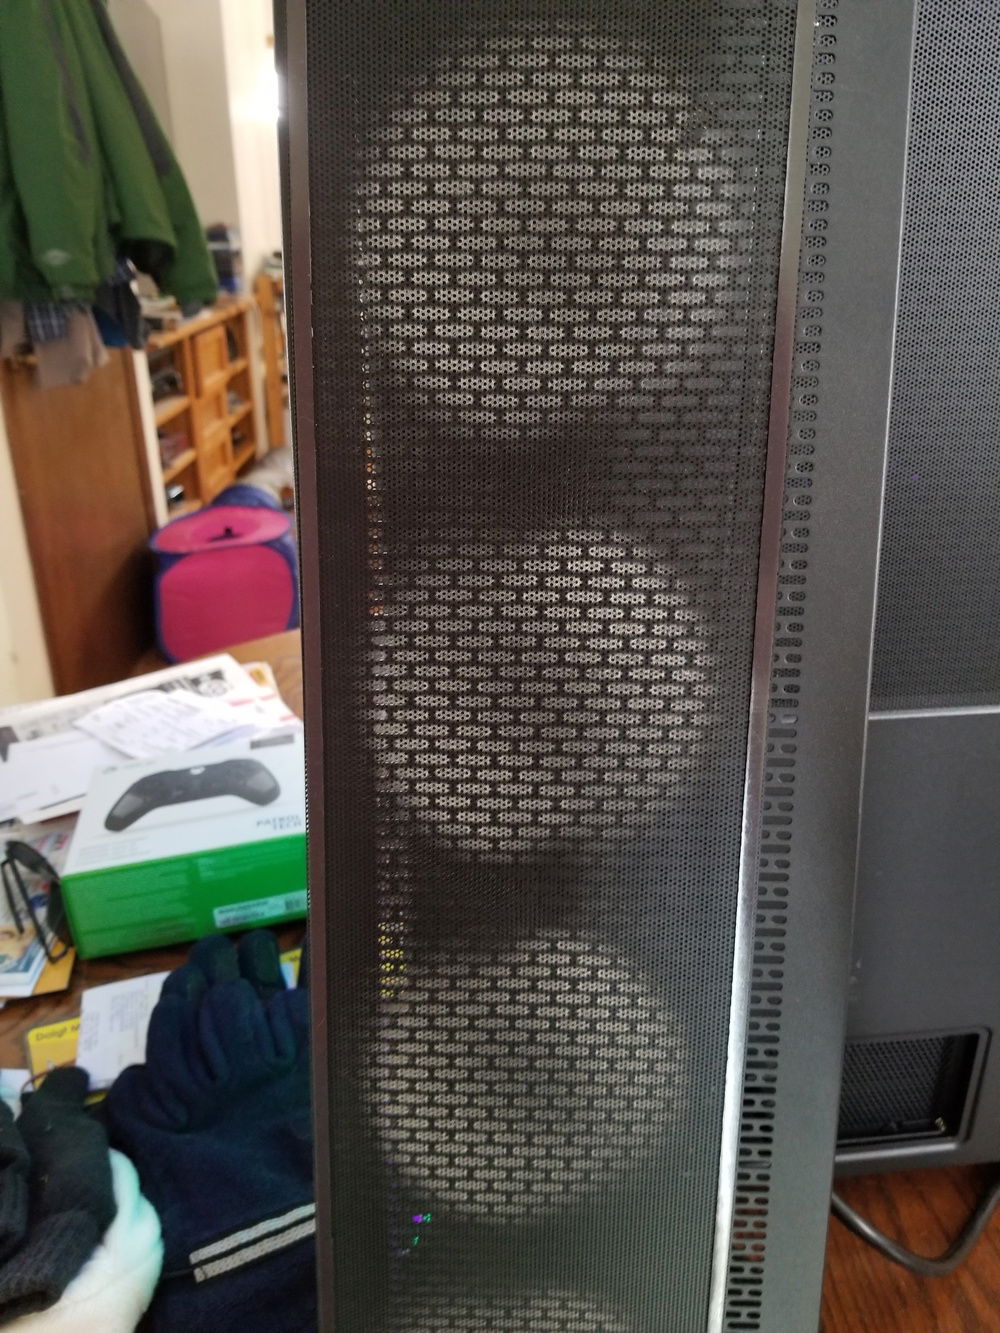
One of the side dust screens after about a month of moderate use. My house isn't crazy dusty or dirty, but with this much airflow, it's going to attract every bit it can. I'll never run a PC without dust screens again given the option.
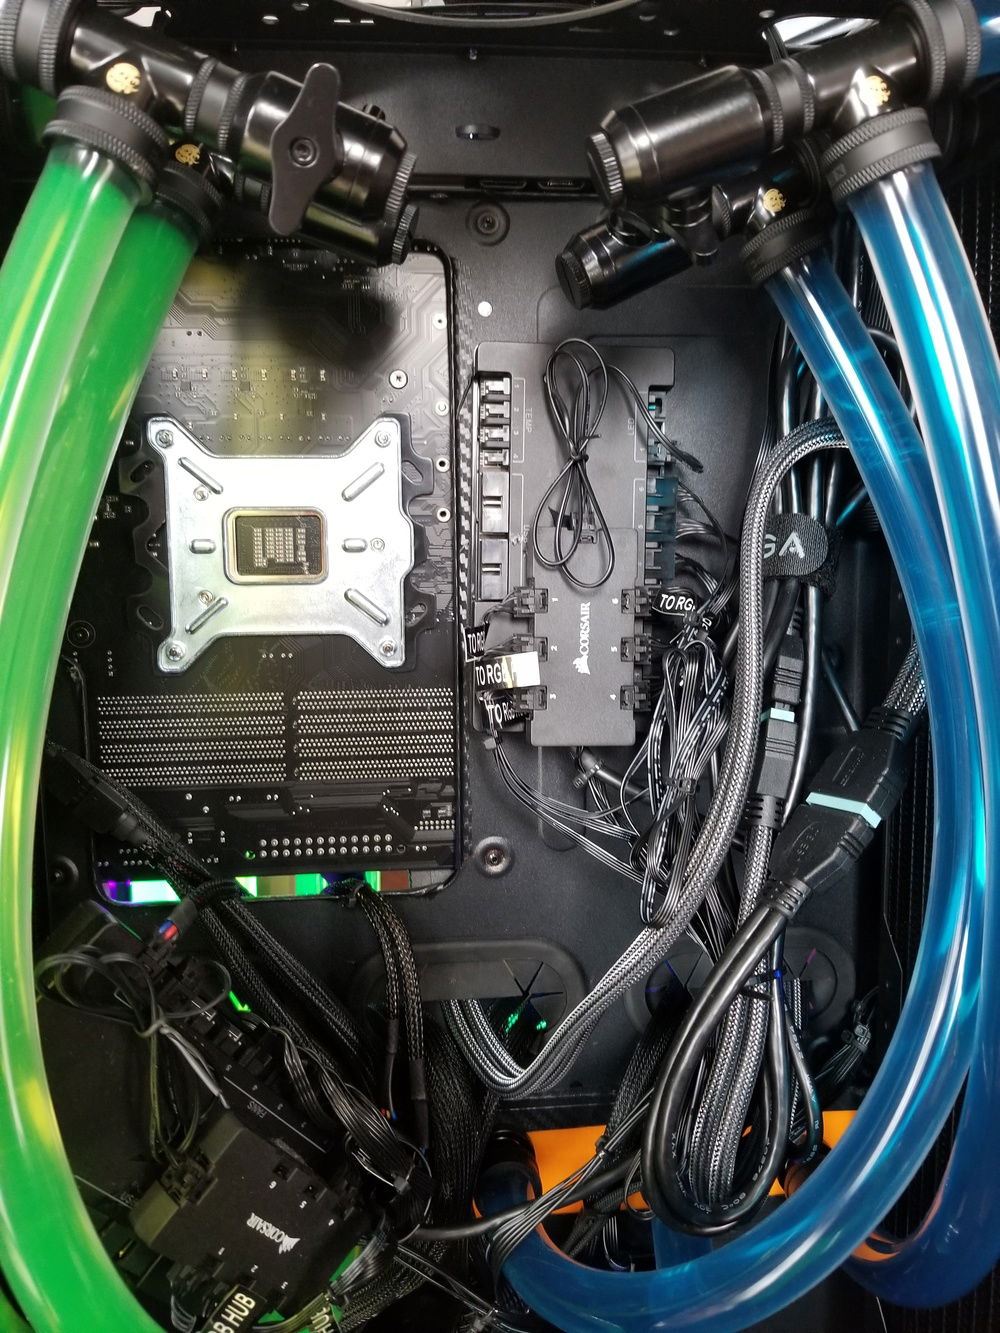
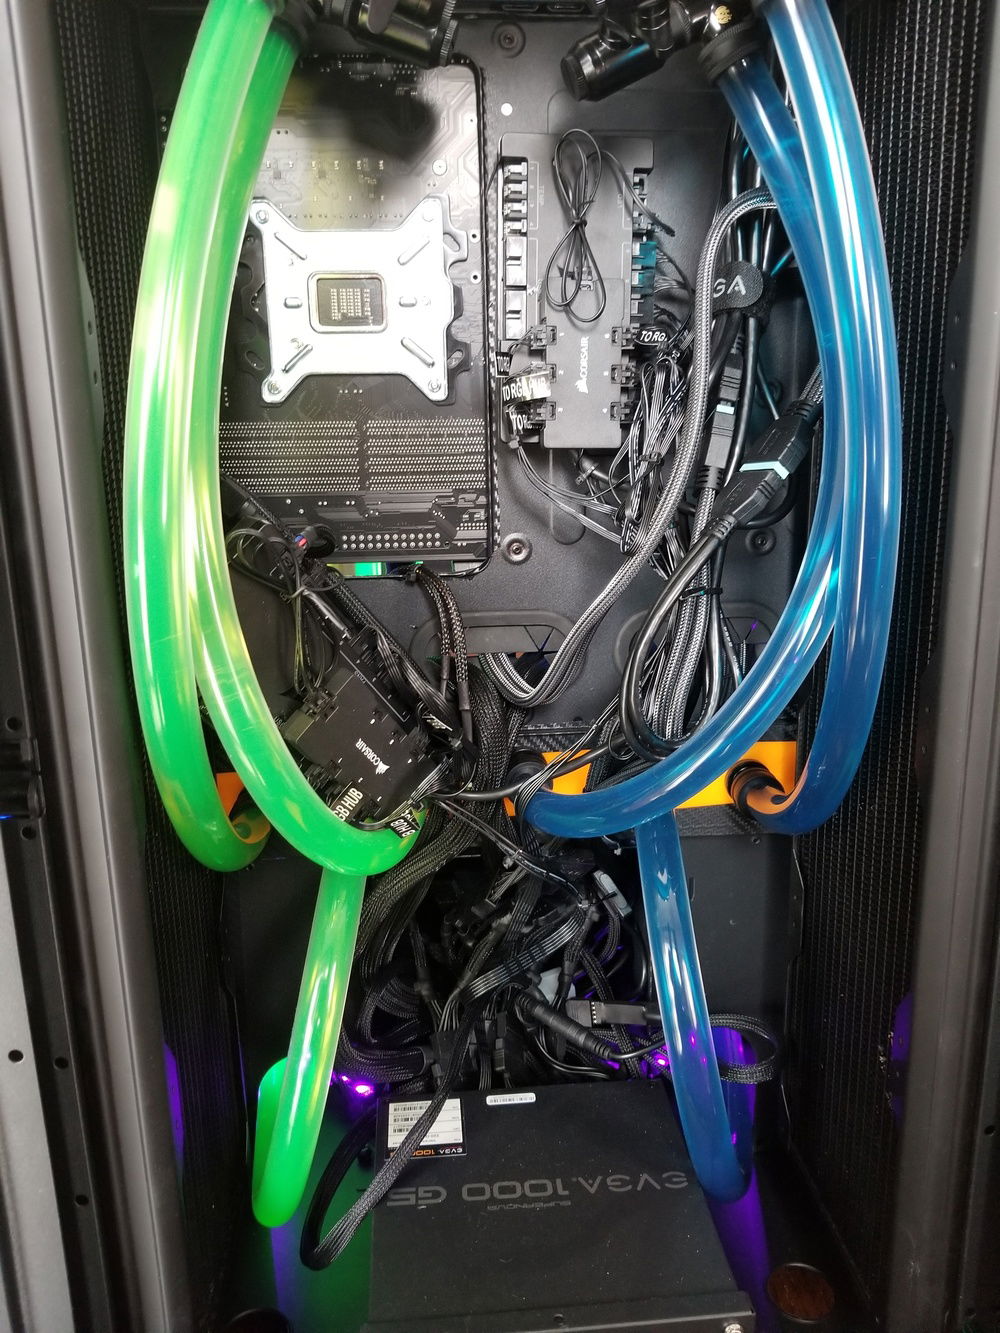
There's only so much you can do in terms of cable management when you have this many light strips, fans, pumps, and RGB. Short of customizing the lengths of every cable, there really isn't much room for improvement.
