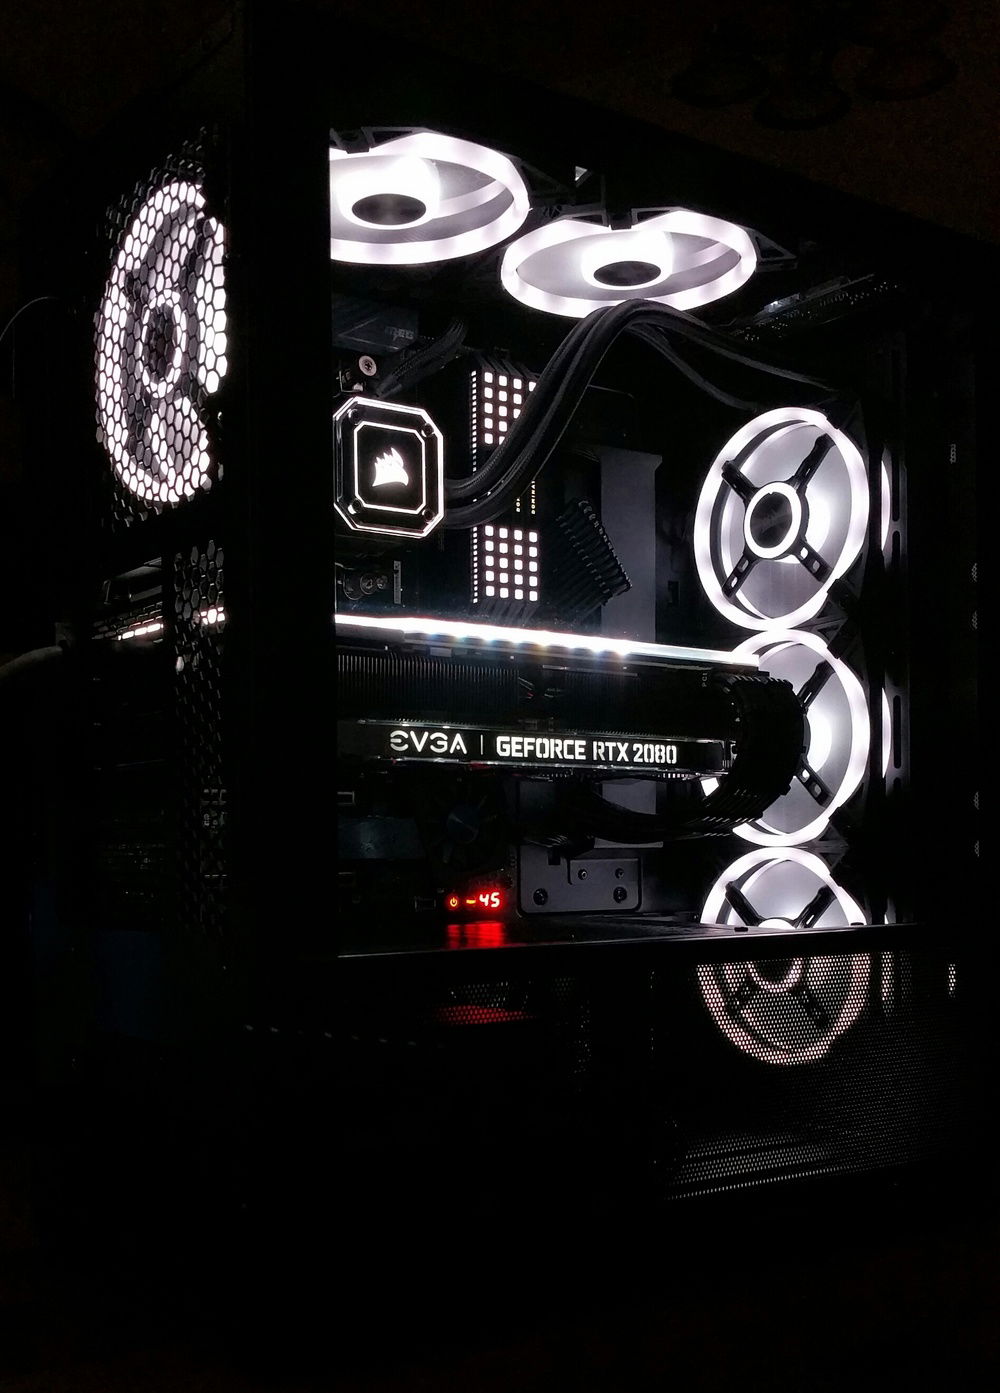
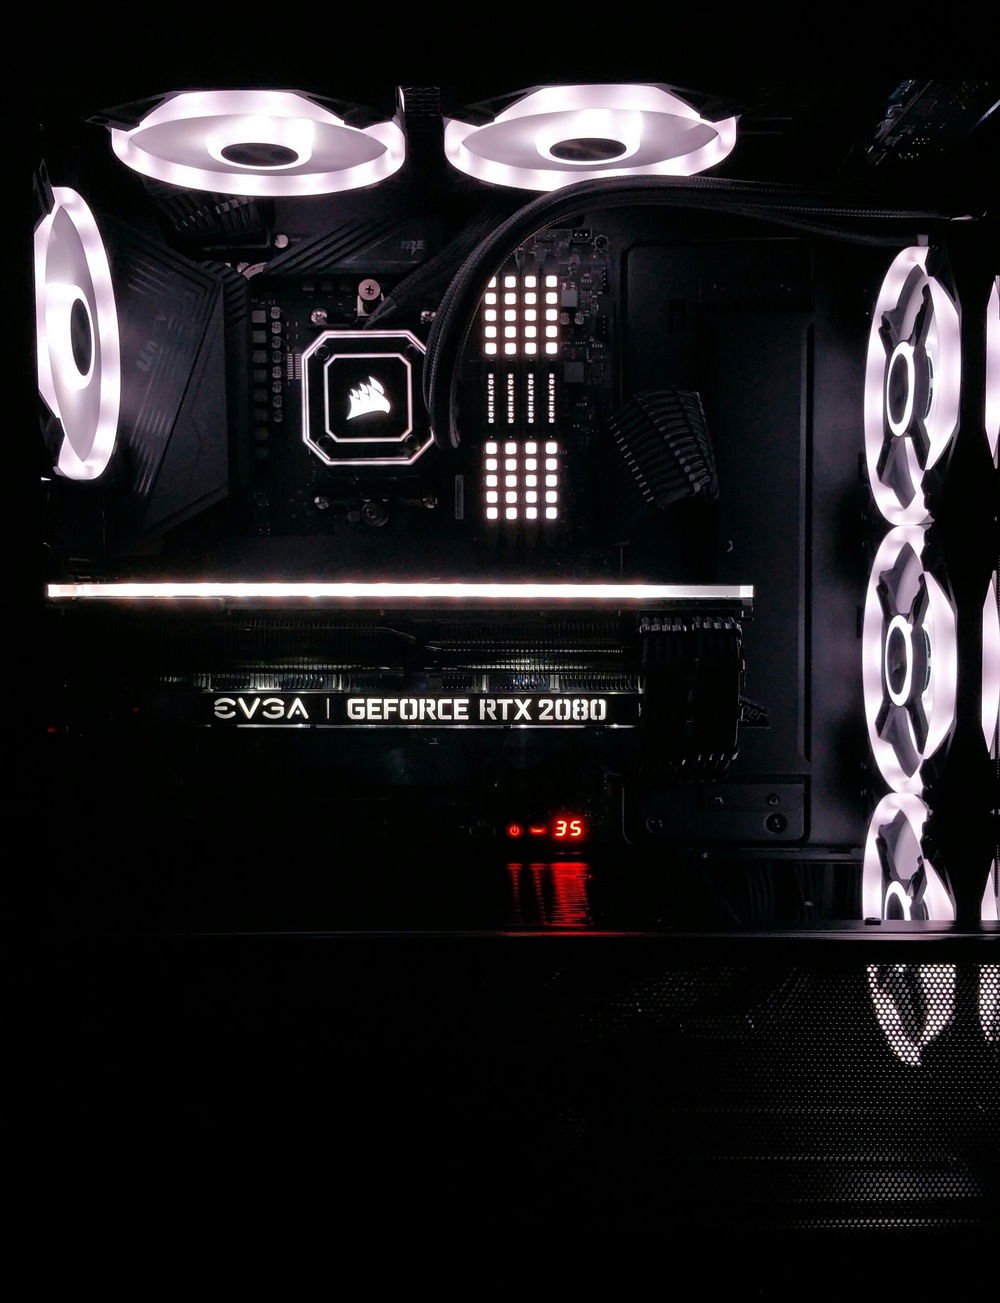
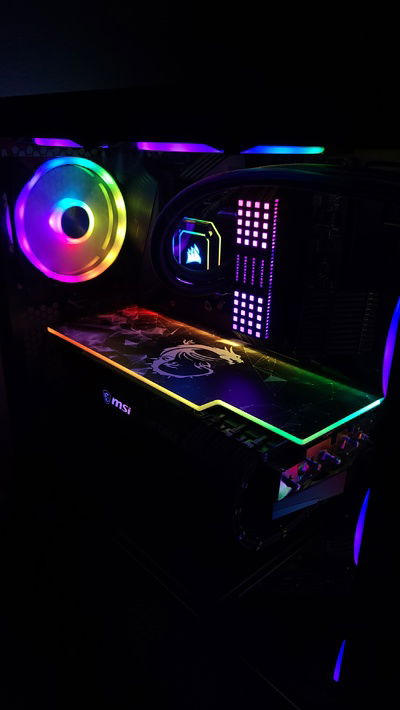
GPU from EVGA RTX 2080 Super to MSI Gaming Z Trio RTX 3080 12GB LHR
PSU from EVGA SuperNOVA 750 P2 to EVGA SuperNOVA 1000 T2
My experience building this system
I wanted to share a few things I learned while building this system.
I had some difficulty mounting the pump of the AIO cooler. The issue I experienced was, upon tightening up the mounting screws for the mounting mechanism, I could not keep the pump aligned squarely and centered over the CPU. Inevitably, I would end up with a well-mounted, but slightly crooked pump (no matter how evenly I tightened the screws for the mounting mechanism).
For the purposes of both proper heat transfer and aesthetics, I needed to find a way to mount the pump so that it would be centered (squarely) over the CPU. Fortunately, the motherboard I chose for this build has a relatively large metal heat sink over the rear I/O. This heat sink has a small 'step' in it that is aligned (squarely) with the CPU socket and the rest of the motherboard.
After several failed attempts, I gently placed the AIO pump on top of the CPU where I wanted it (prior to applying any thermal paste). Next, I measured, in millimeters, the distance between 'step' in the heat sink over the rear I/O and side of the AIO pump (closest to the rear I/O). The distance I measured was 37mm.
I cut a small piece of ½-inch MDF measuring approximately 3-inches long and, exactly, 37mm wide and placed it between the 'step' in the heat sink over the rear I/O and the side of the AIO pump (closest to the rear I/O). I re-applied thermal paste to the top of the CPU and centered the pump over the CPU. Next, I held the pump firmly against the edge of the small piece of MDF I cut and evenly tightened both screws for the mounting mechanism. This prevented the pump from twisting or sliding while I was tightening up the mounting screws. After the mounting screws were fully tightened, I held the AIO pump against the edge of the MDF for a few minutes to give the thermal paste time to settle a bit. This worked well and I wound up with a squarely aligned AIO pump centered over the CPU.
For this build, I also installed an RGB GPU back-plate. The LED's in the back-plate were not diffused (you can see them in a few of the build pictures).
To diffuse the LED light emitted from the RGB GPU back-plate, I used 400 grit sandpaper and lightly sanded the edges of the GPU back-plate in four directions (vertical, horizontal, and both 45-degree diagonals). This did a great job of diffusing the LED light emitted from the edges of the RGB GPU back-plate. I have added a ‘before & after’ picture to the end of the build gallery that illustrates the effect this had on the overall aesthetics of the RGB GPU back-plate.
After building up the rest of the system and loading the OS, I began to adjust the RGB elements that are part of this build. I used the RGB values in the RGB management software to tune each element as close to neutral white as possible. This took some time, but it was worth it and I was able to achieve the overall look that I wanted with this build.
I hope this information will help other folks with their builds.
Finally, I want to extend sincere thanks to builds.gg and to all of the creators, engineers, artists, manufacturers and hobbyists who make this community what it is. To be able to create machines that are both powerful and beautiful is a great joy! Please continue ALL of your amazing contributions.