Robot Aquarium
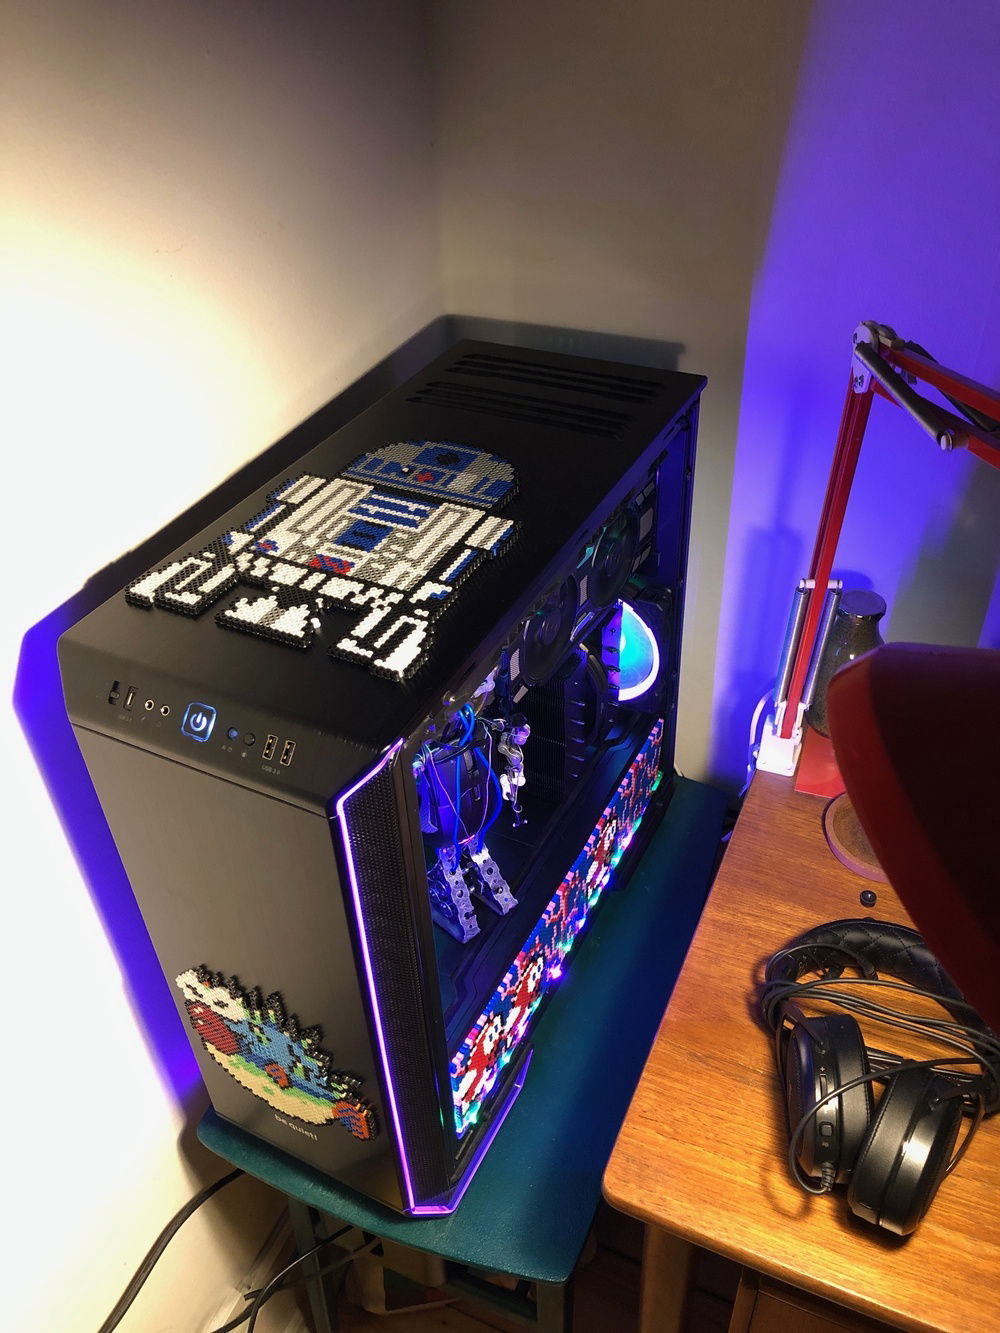
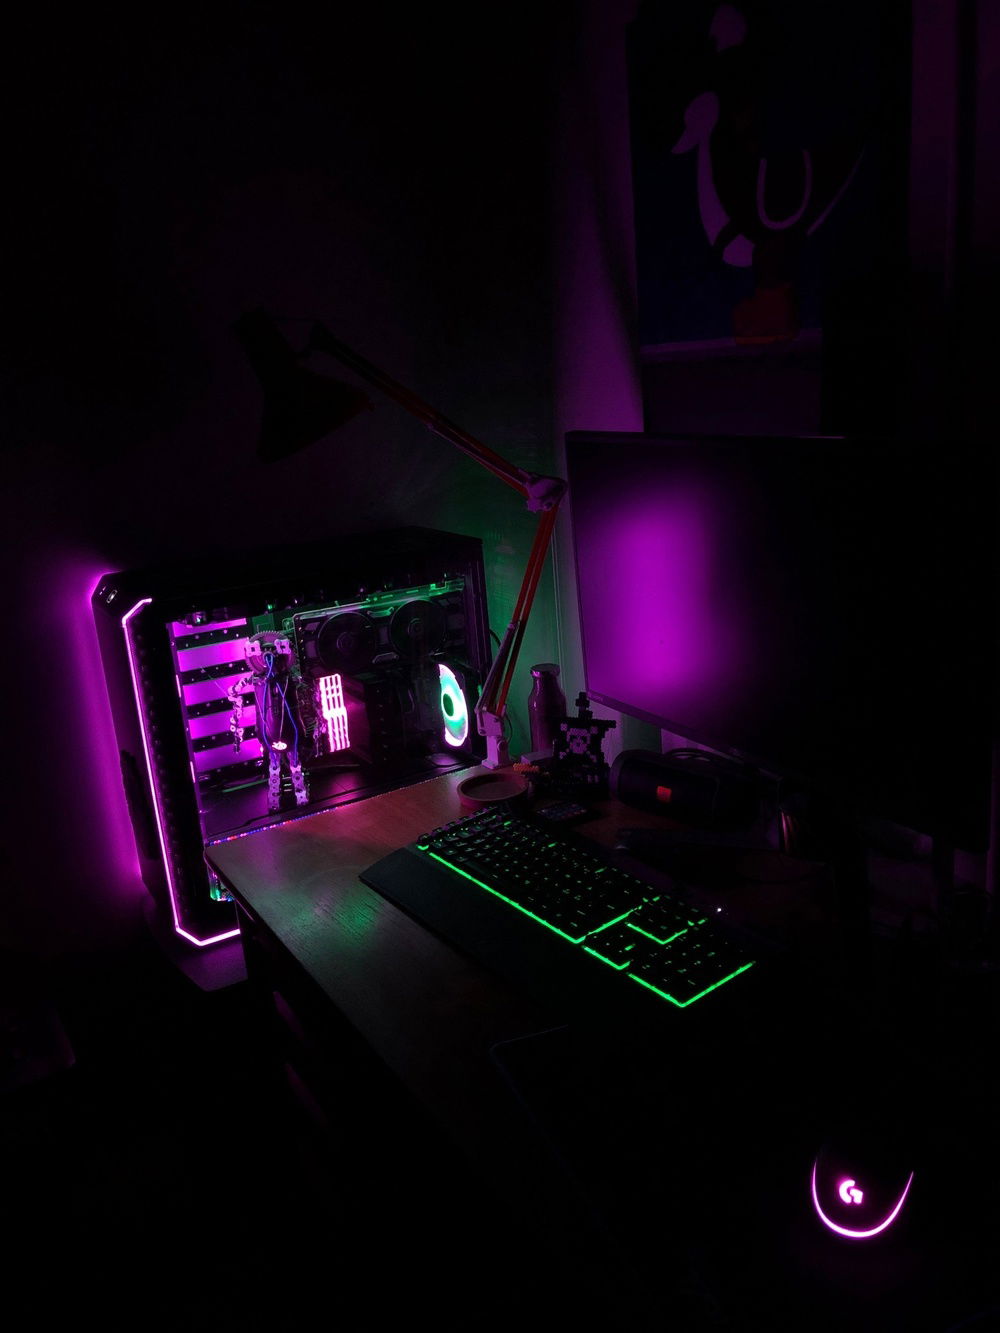
I dreamt of building a PC since I was a teenager, but never really had the funds or know-how up until a couple of years back. I wanted to see the components inside, so I went with a case that I could invert (I already knew in which corner of the room I was going to place it) and which had tempered glass.
Being a dad and a bike mechanic, I had all this stuff just lying around the flat (including the beads - I bought 60k beads when I was told that I pretty much couldn’t leave home for two months back in early March - a totally normal reaction). My mouse broke about six months back, I bought replacement switches online, tried replacing it, and fried the board... Turns out you shouldn’t give a soldering iron to someone who normally uses a torch... Anyways I somehow didn’t manage to wreck the RGB in the process.
My gpu sag has had me searching for some kind of support jack online. I’ve tried routing the cable in a way that would help raise my card but eventually the cable would slacken up a bit and the sag would return.
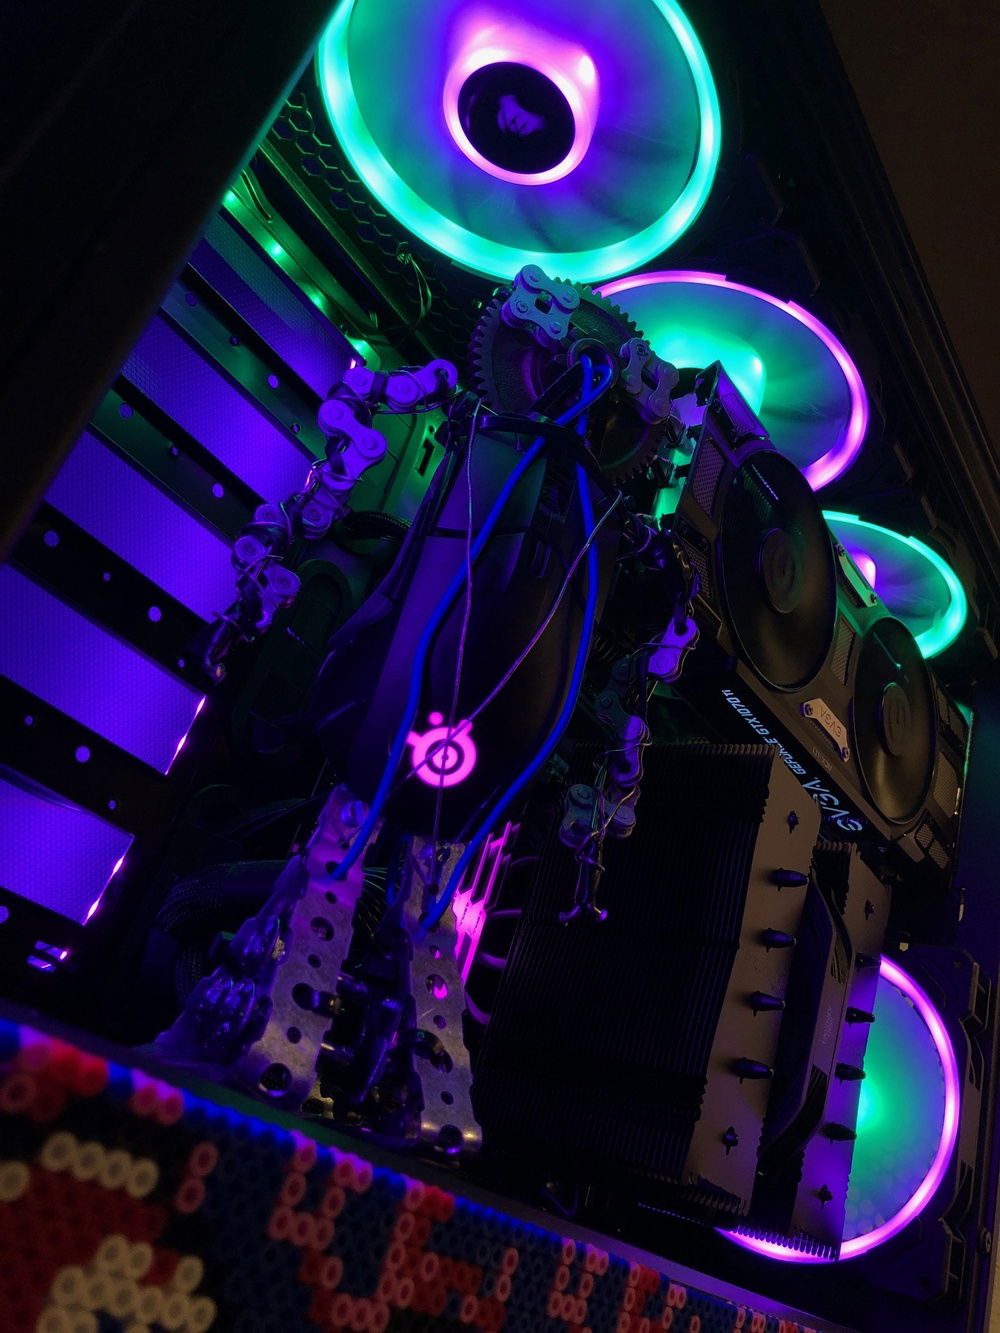
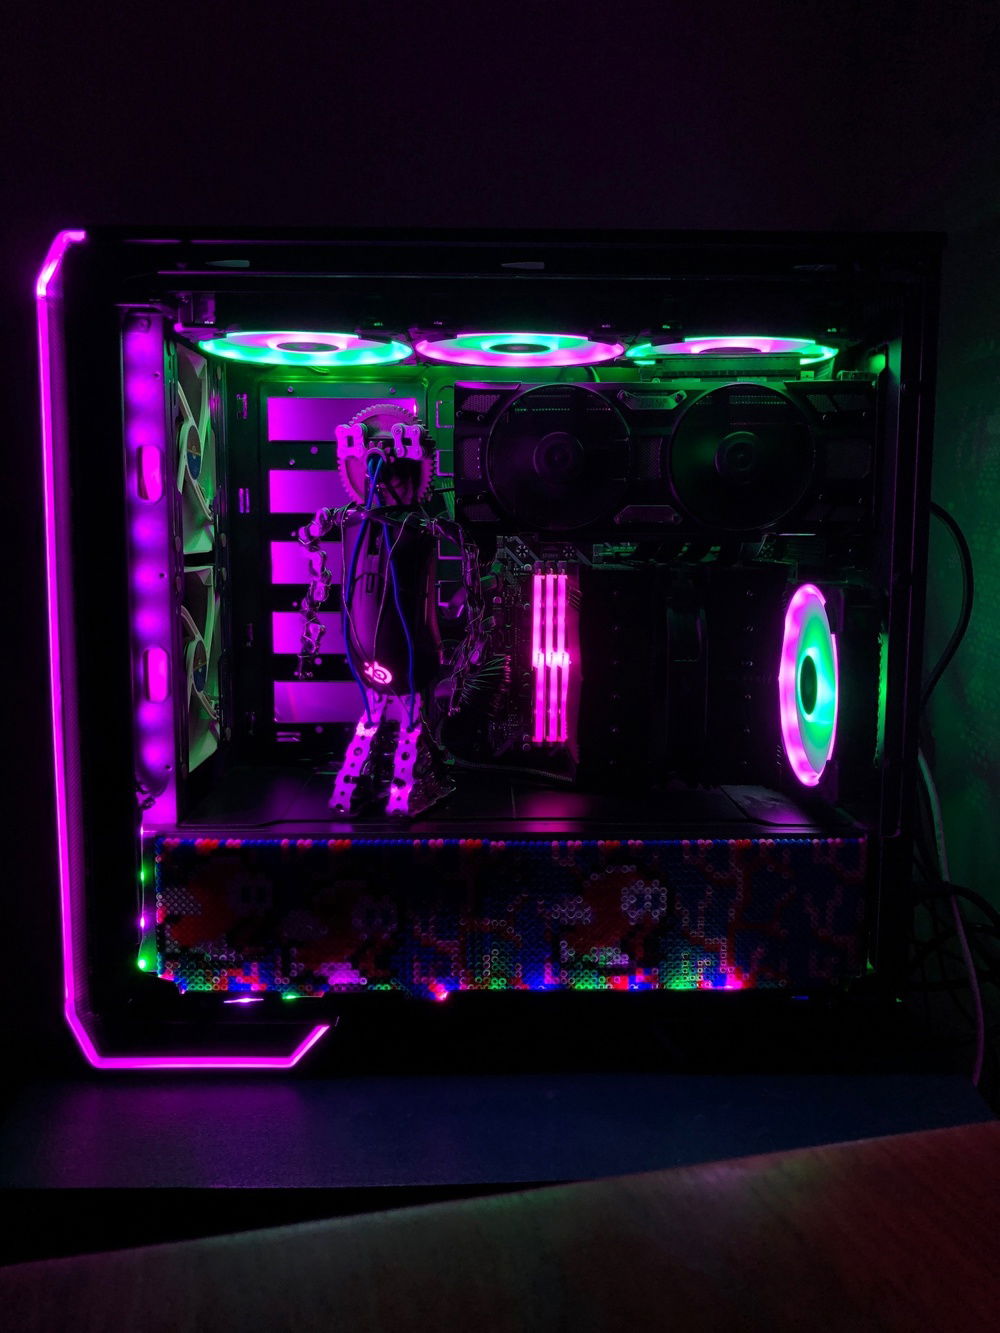
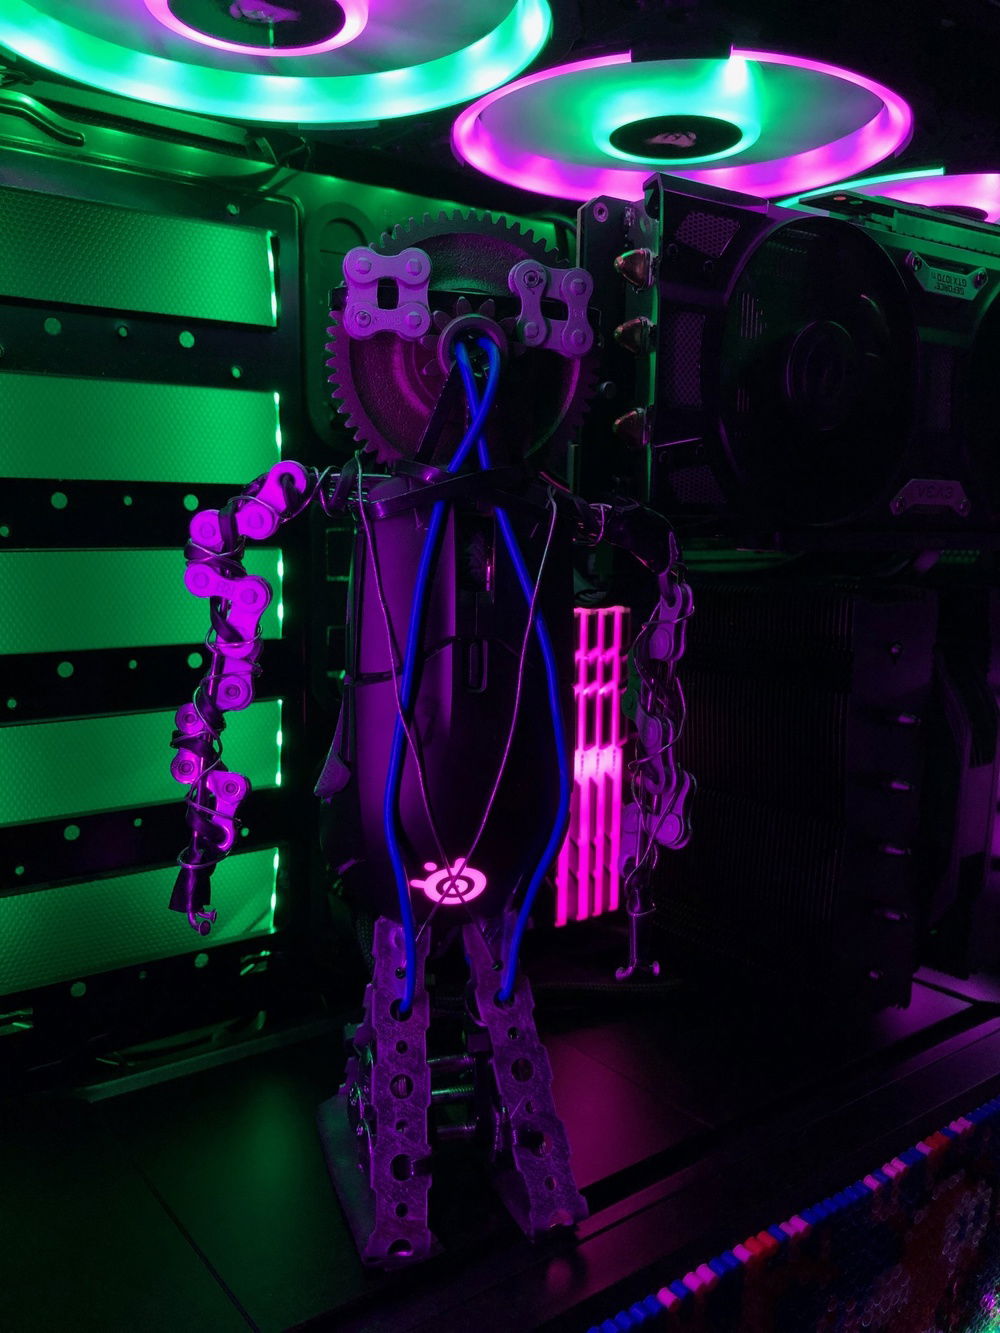
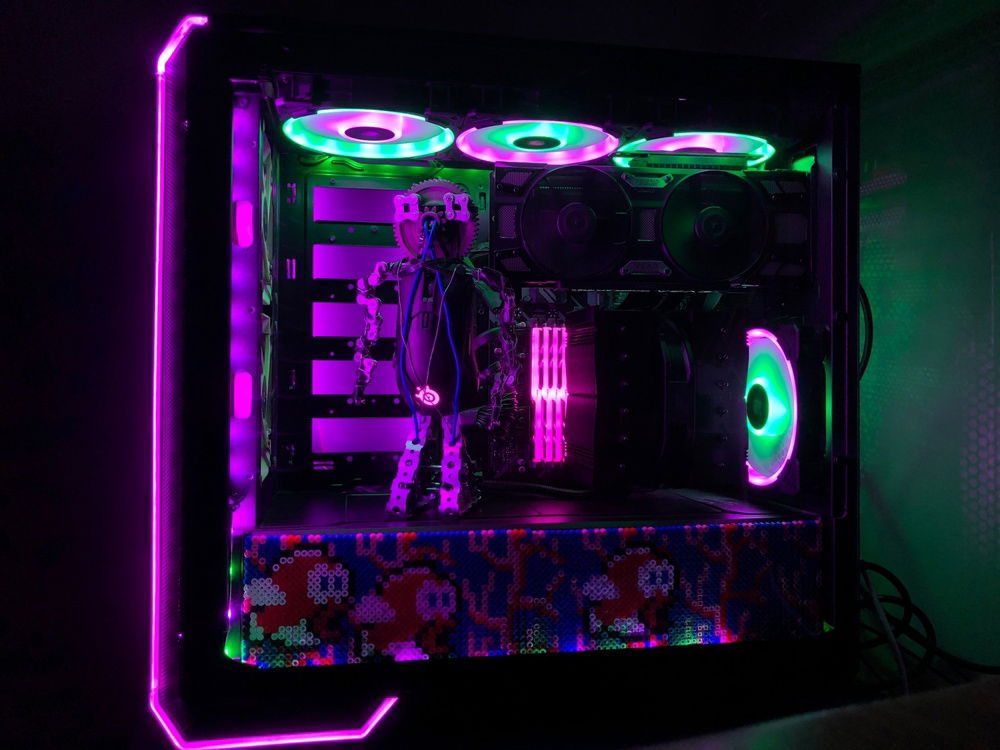
So the next logical thing to do was to make that mouse look like a robot and prop it under the GPU...
There was already a back panel with a hole drilled in it for some external rgb strips I was playing around with a while back... But the wifey wasn’t too happy about me turning the whole wall into a rainbow... So that was a short-lived experiment... I ran the mouse cable through that existing and unused hole from my previous attempt. Made some robot-looking thing with the mouse and stuff from our storage closet.
For the robot I used zip ties to hold a lot of it together. I started with the legs, I broke up off two even pieces of this metal bracket stuff that I could fit some bolts through, once they were looking somewhat similar in shape I loosened the screws on the bottom of the mouse until I had enough space to slide the tops of the legs into the mouse, then tightened up the mouse screws.
I used bike chain and wood bolts to fill the gaps in the legs and try to give it more of a tank like appearance and make them more stable.
Then I put the head on, I found an old cog laying around, in hindsight I think a bicycle cog would have looked cooler, but this one was just some scrap metal from an old motorcycle transmission (I think..). I used some zip ties and blue wire to attach the head. The blue wire was also useful in fastening the legs onto the mouse.
I wanted to use something rigid for the arms, so I took some bike spokes from an old wheel and used them as a frame. I eyed out where to bend them and fed two in from the left and the right. Once they looked even, I zip tied them in place. I used some bicycle chain to thicken up the arms and then wrapped them in soldering wire and some wire from some old broken head phones I had in my desk drawer.
I made the eyes out of bicycle chain and wrapped the body with a little bit of soldering wire. I used electric tape on the robot’s shoulder to soften up the spot where my graphics card would be resting. Last but not least I used an old punctured bike tube and some double-sided tape to help protect my case from the feet and prevent the robot from tipping over easily.
The fish I made with beads soon after this whole quarantine thing started and there used to be even more fish but I took those out a couple weeks back. All the fish are held on with double sided tape. The fish on the psu shroud have two rgb strips placed below them to help illuminate them at night.
I also have a massive R2 I made out of beads sitting on top of the case to prevent scratches from resting my headset there.
I took off one of the cpu cooler fans a while back to get a better view of the ram. I am not overclocking my 8600k, and most of the time the fans don’t even need to be on to keep it under 60c.
I really like the pink and green color combo, but it can be overwhelming with so much bright light. So I’ll switch it up to a less crazy dark blue and dark grey theme.
Anyways I give you, robot aquarium!
Color(s): Green Pink
RGB Lighting? Yes
Theme: none
Cooling: Air Cooling
Size: Micro-ATX
Type: General Build
Contests
This build participated in 1 contest.
| Rank | Contest | Date |
|---|---|---|
| #77 | Build of the Month - November 2020 | ended |
Hardware
CPU
$ 198.05
Memory
$ 338.68
Storage
$ 178.68
Storage
$ 74.85
PSU
$ 288.02
Case
$ 158.97
Case Fan
$ 319.92
Case Fan
$ 65.90
Estimated total value of this build:
$ 2,398.01
Approved by:
