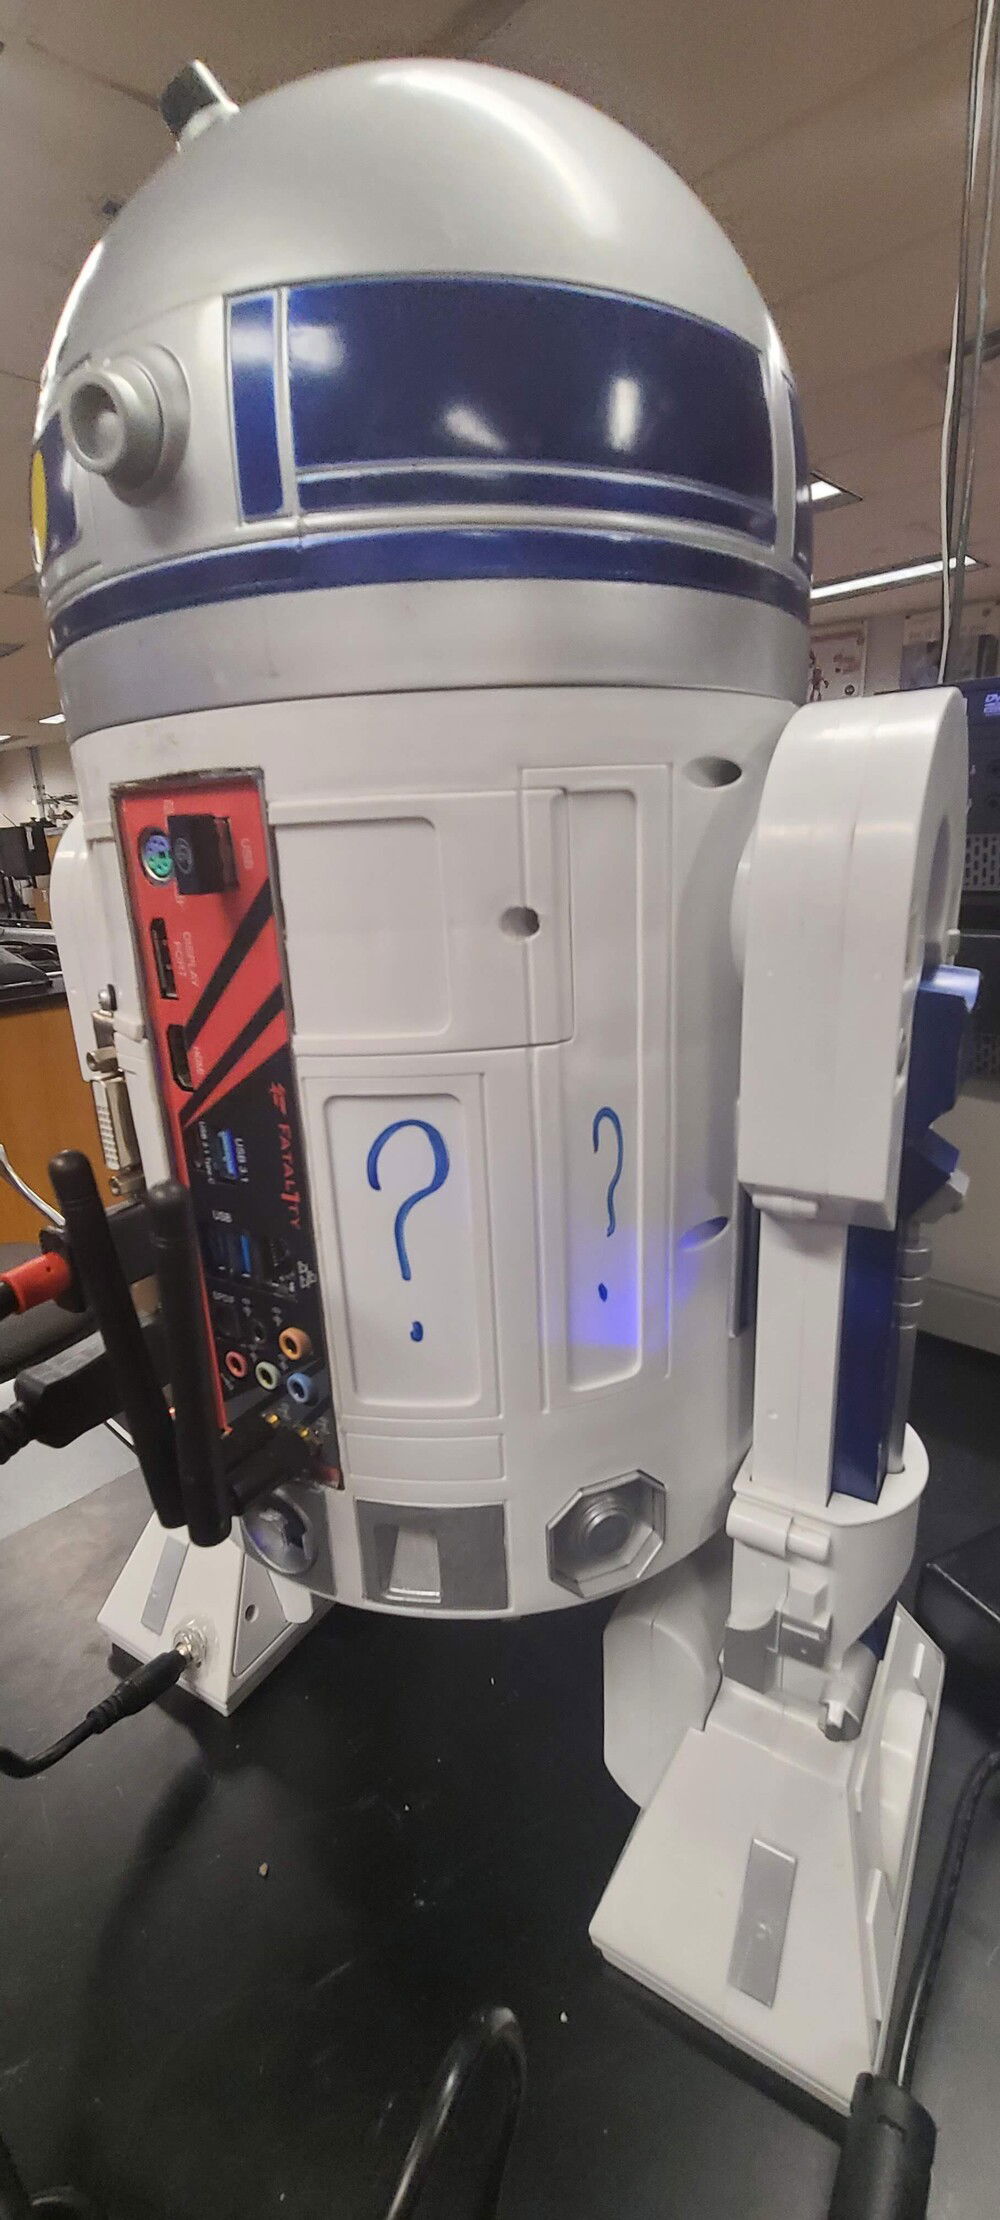
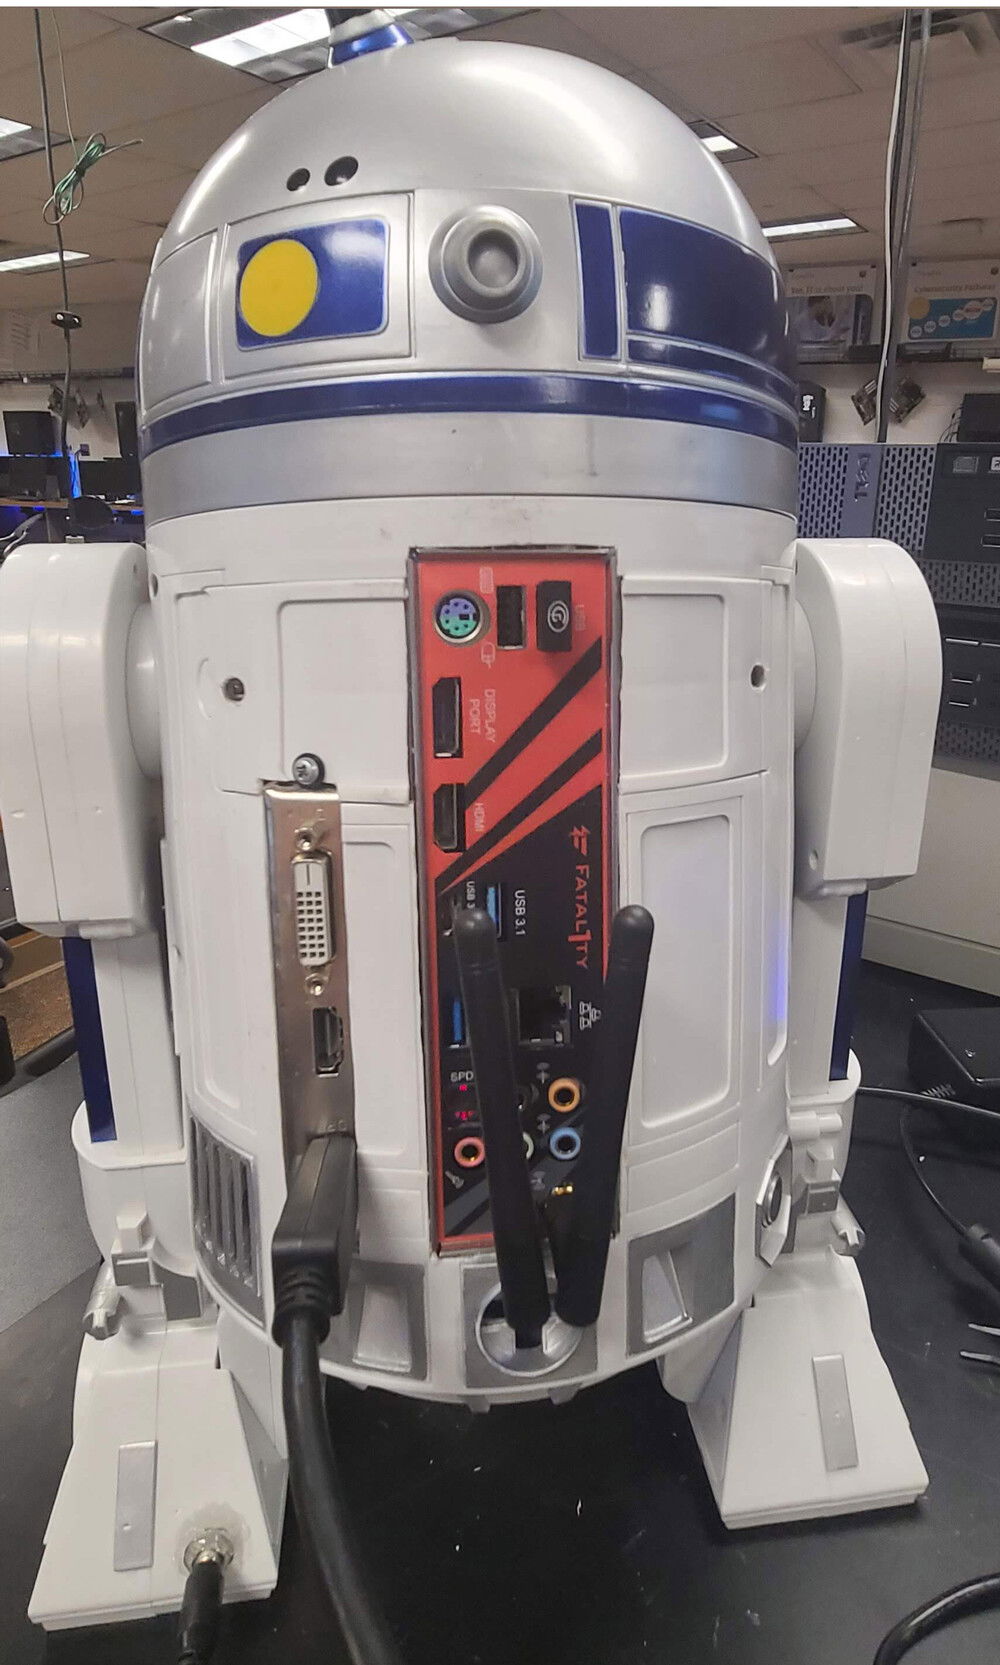
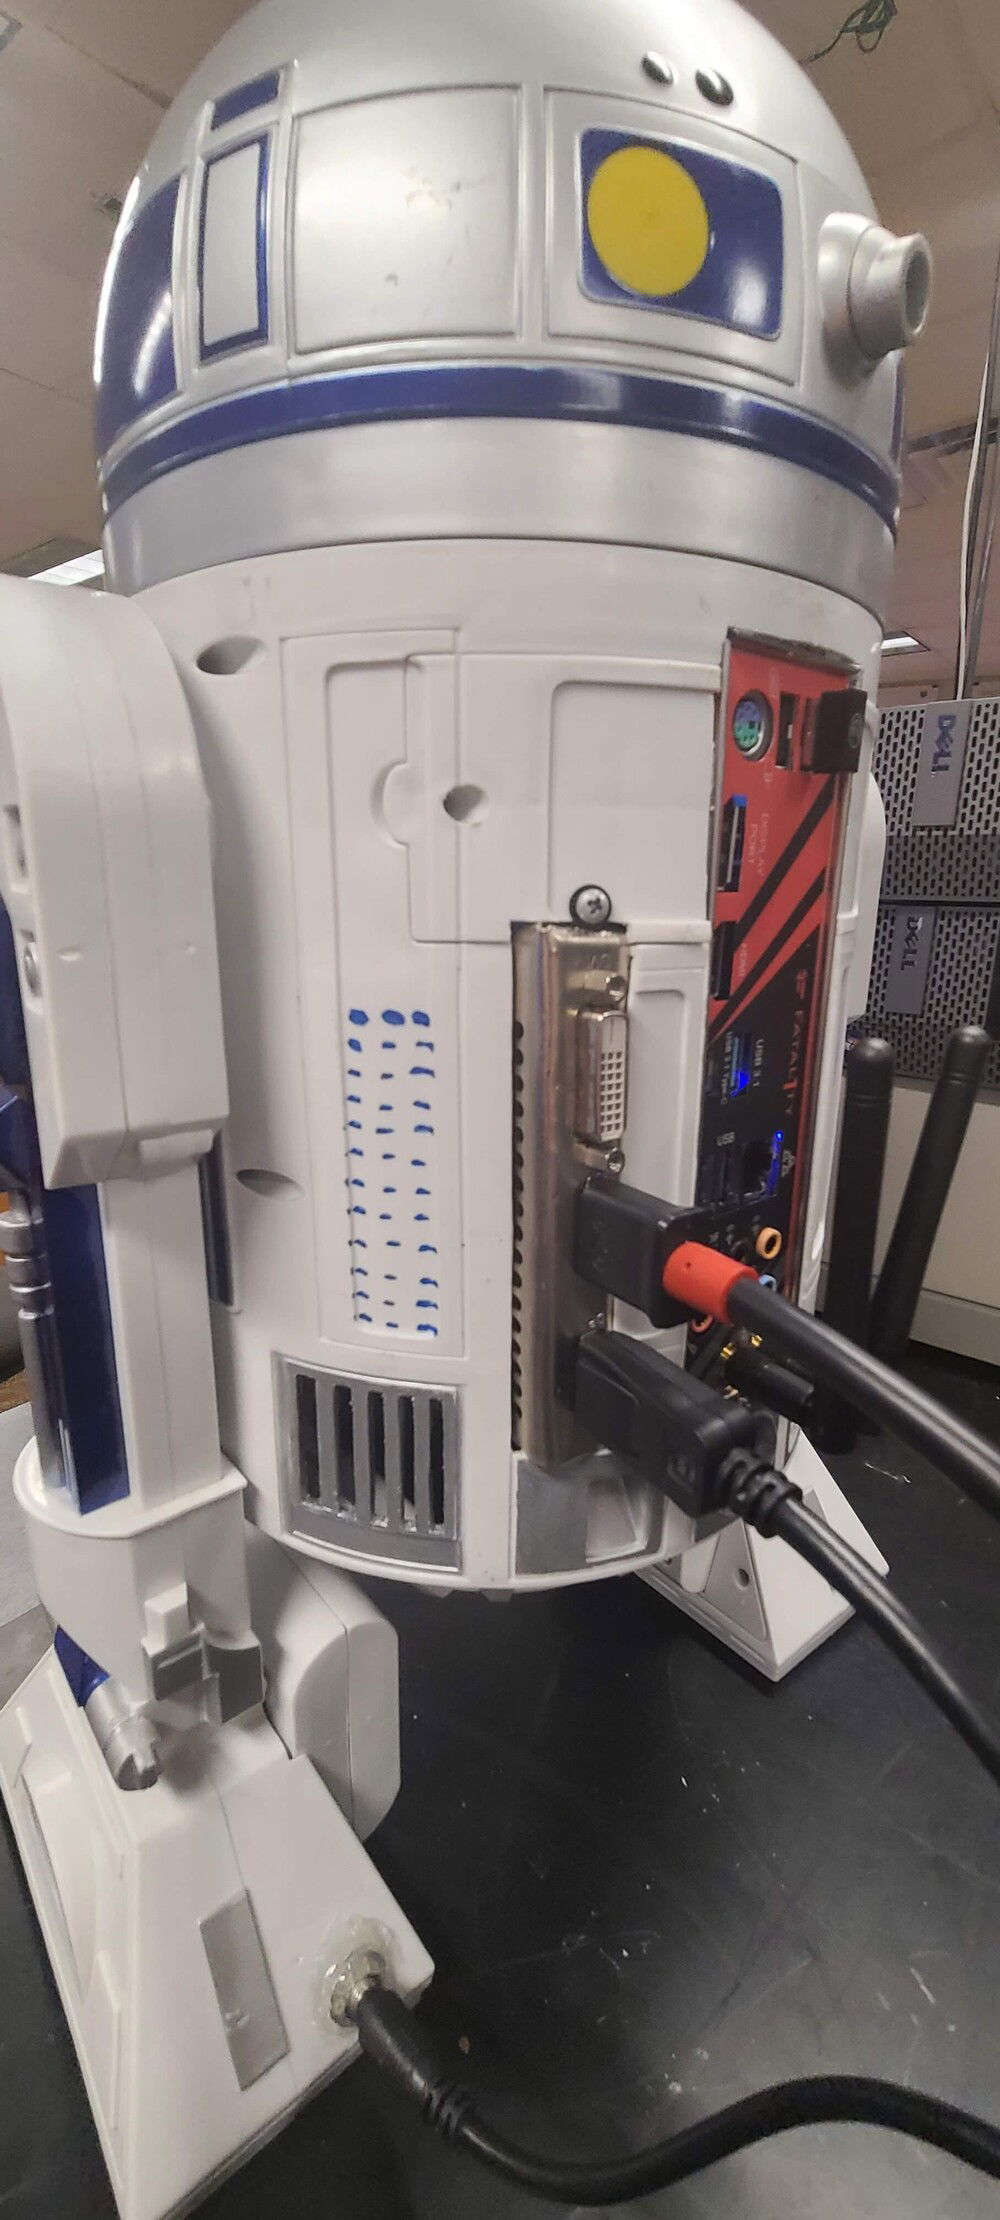
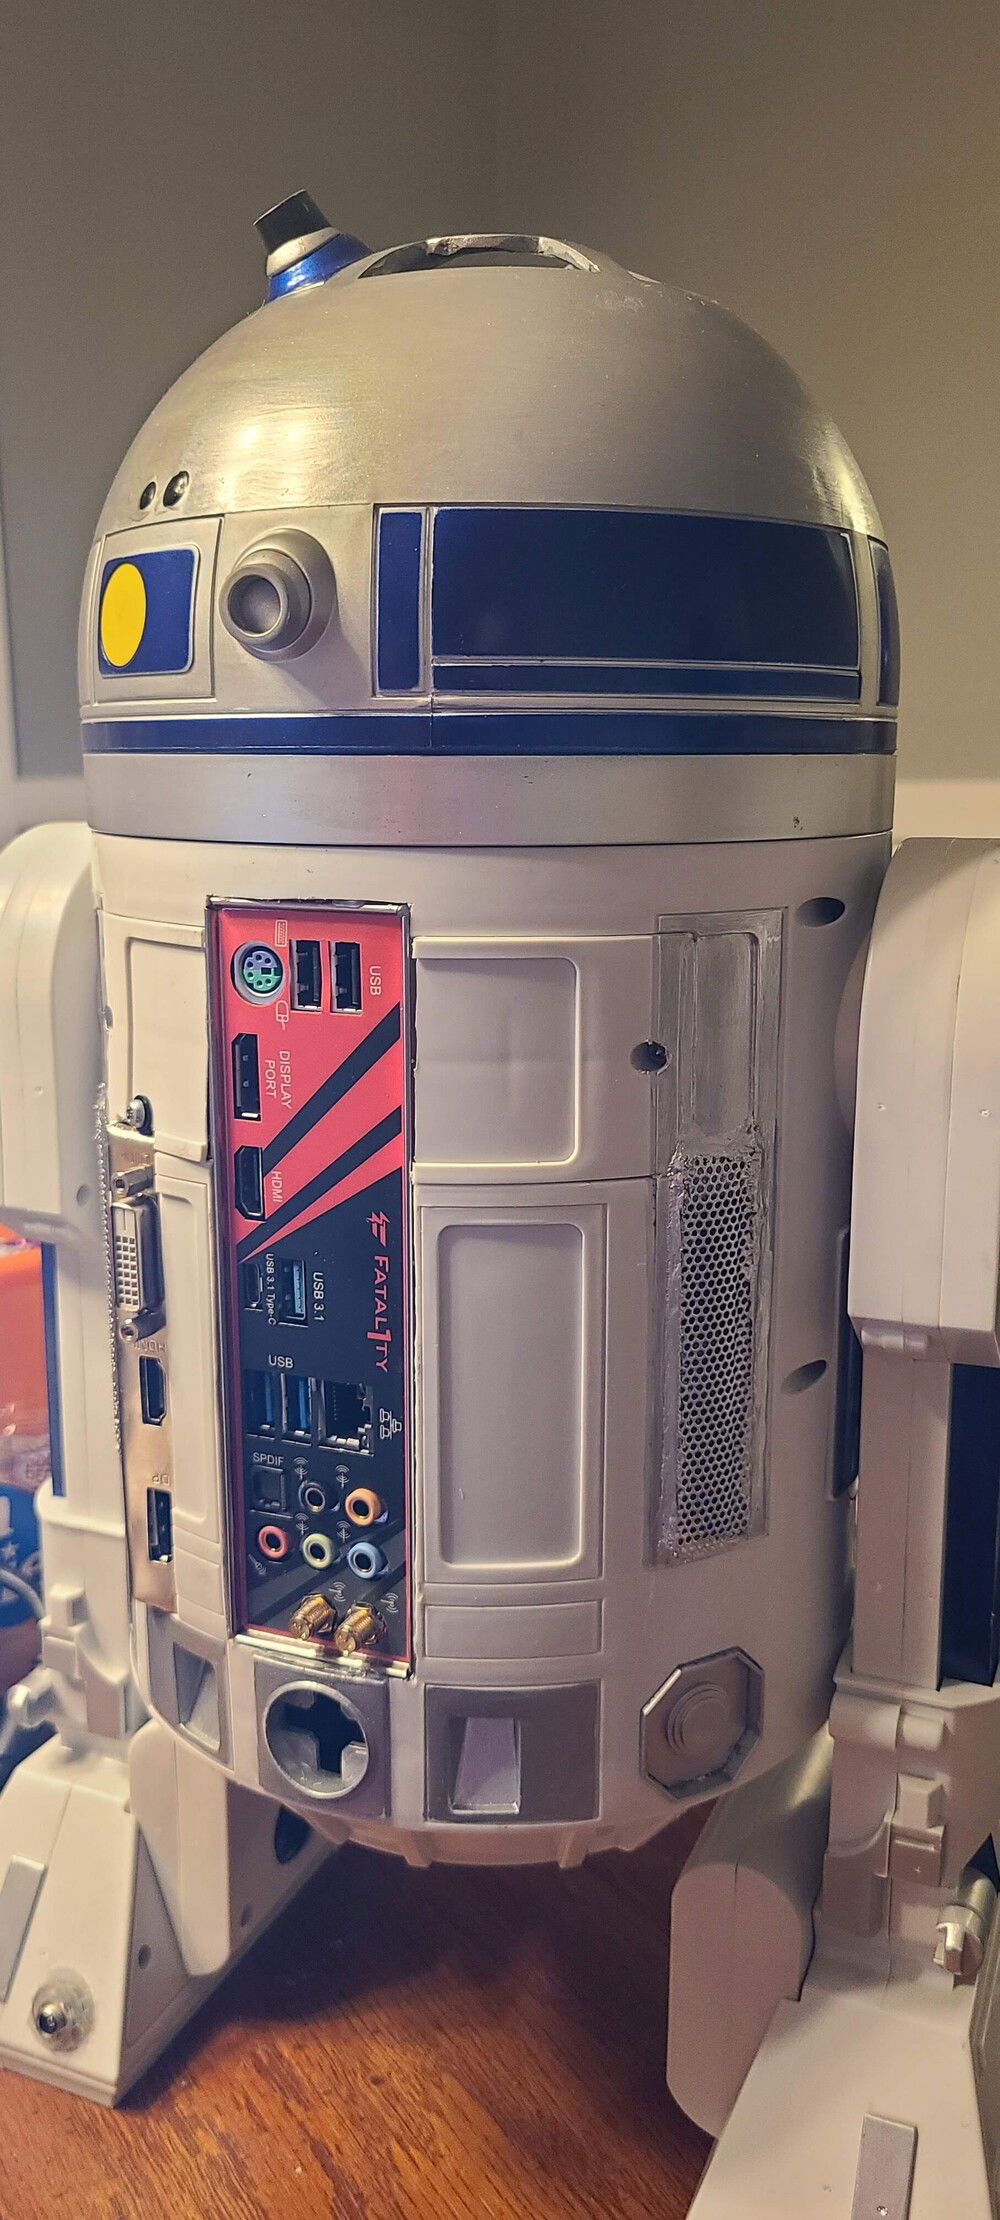
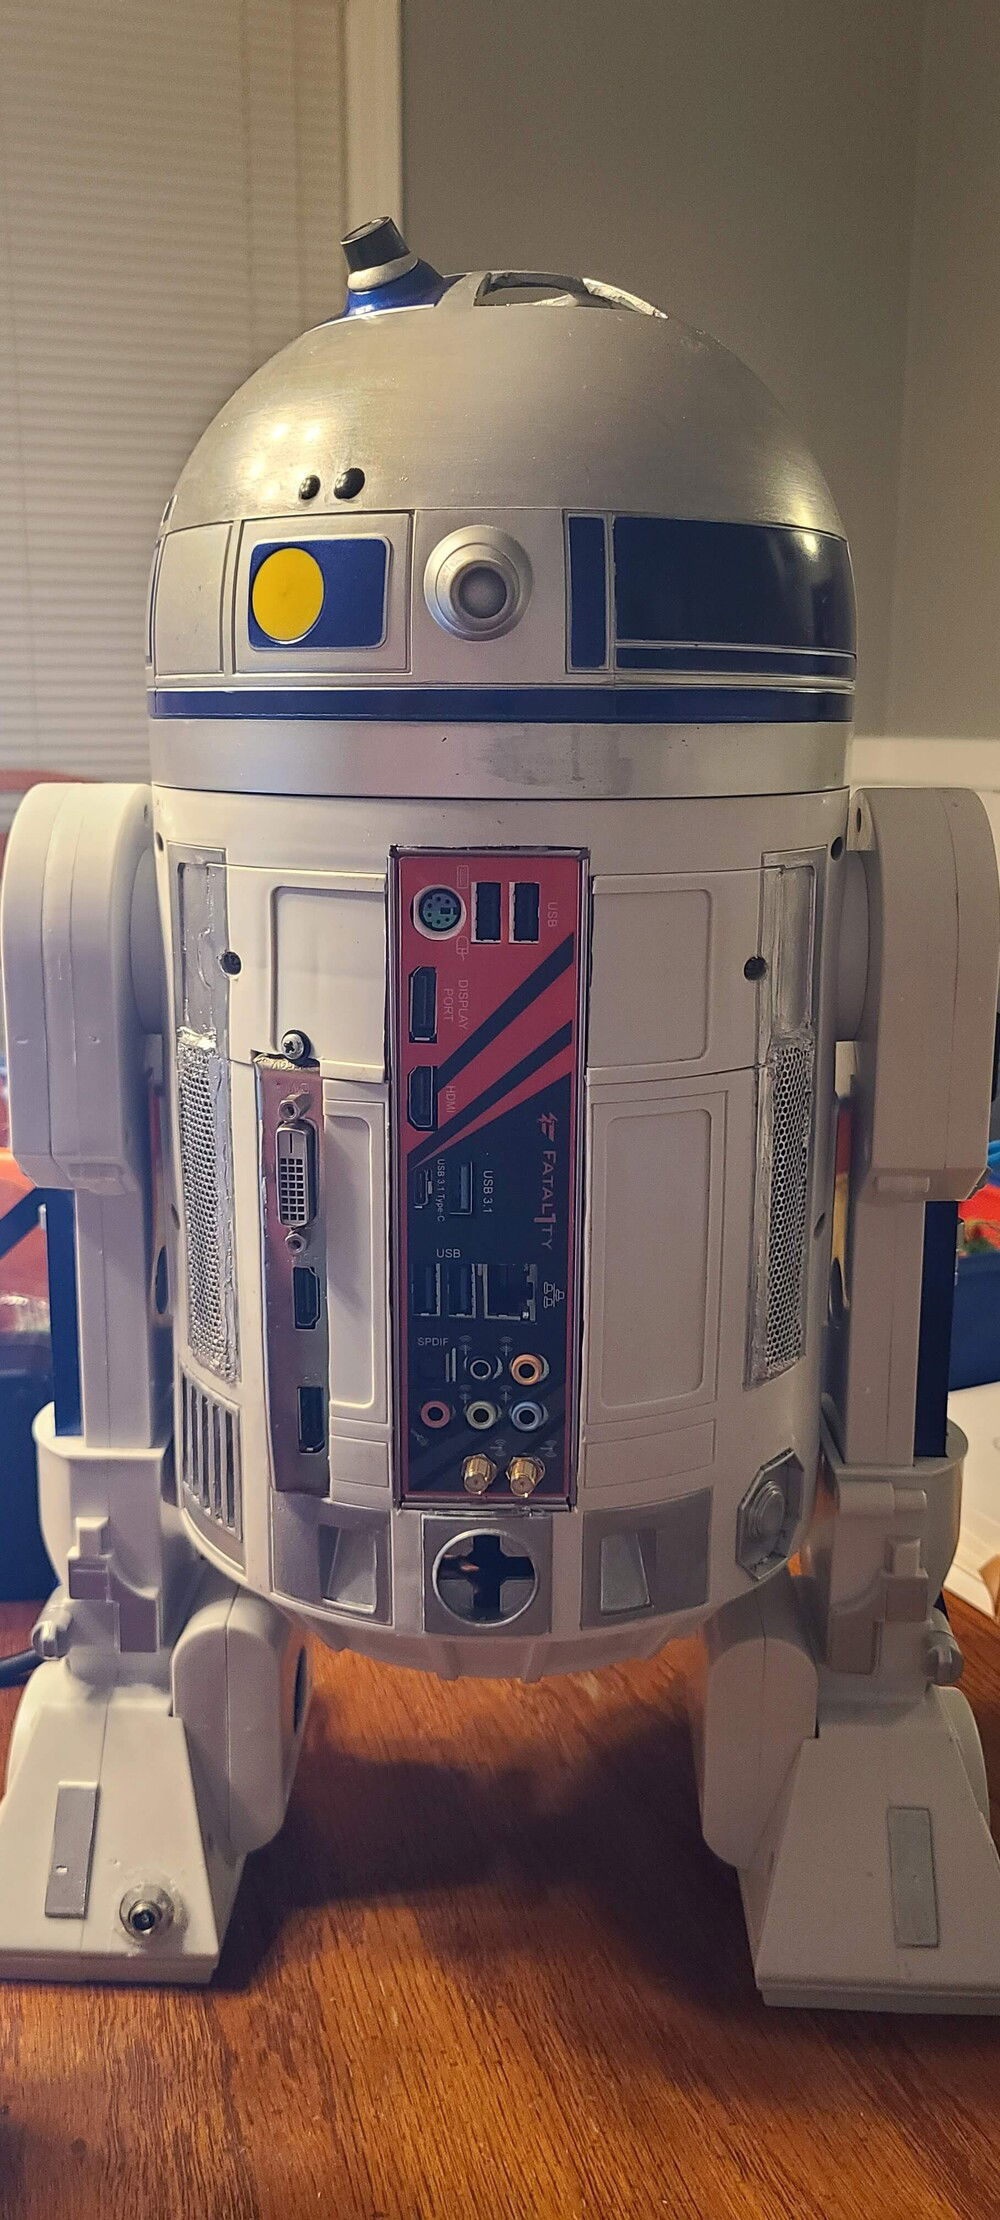
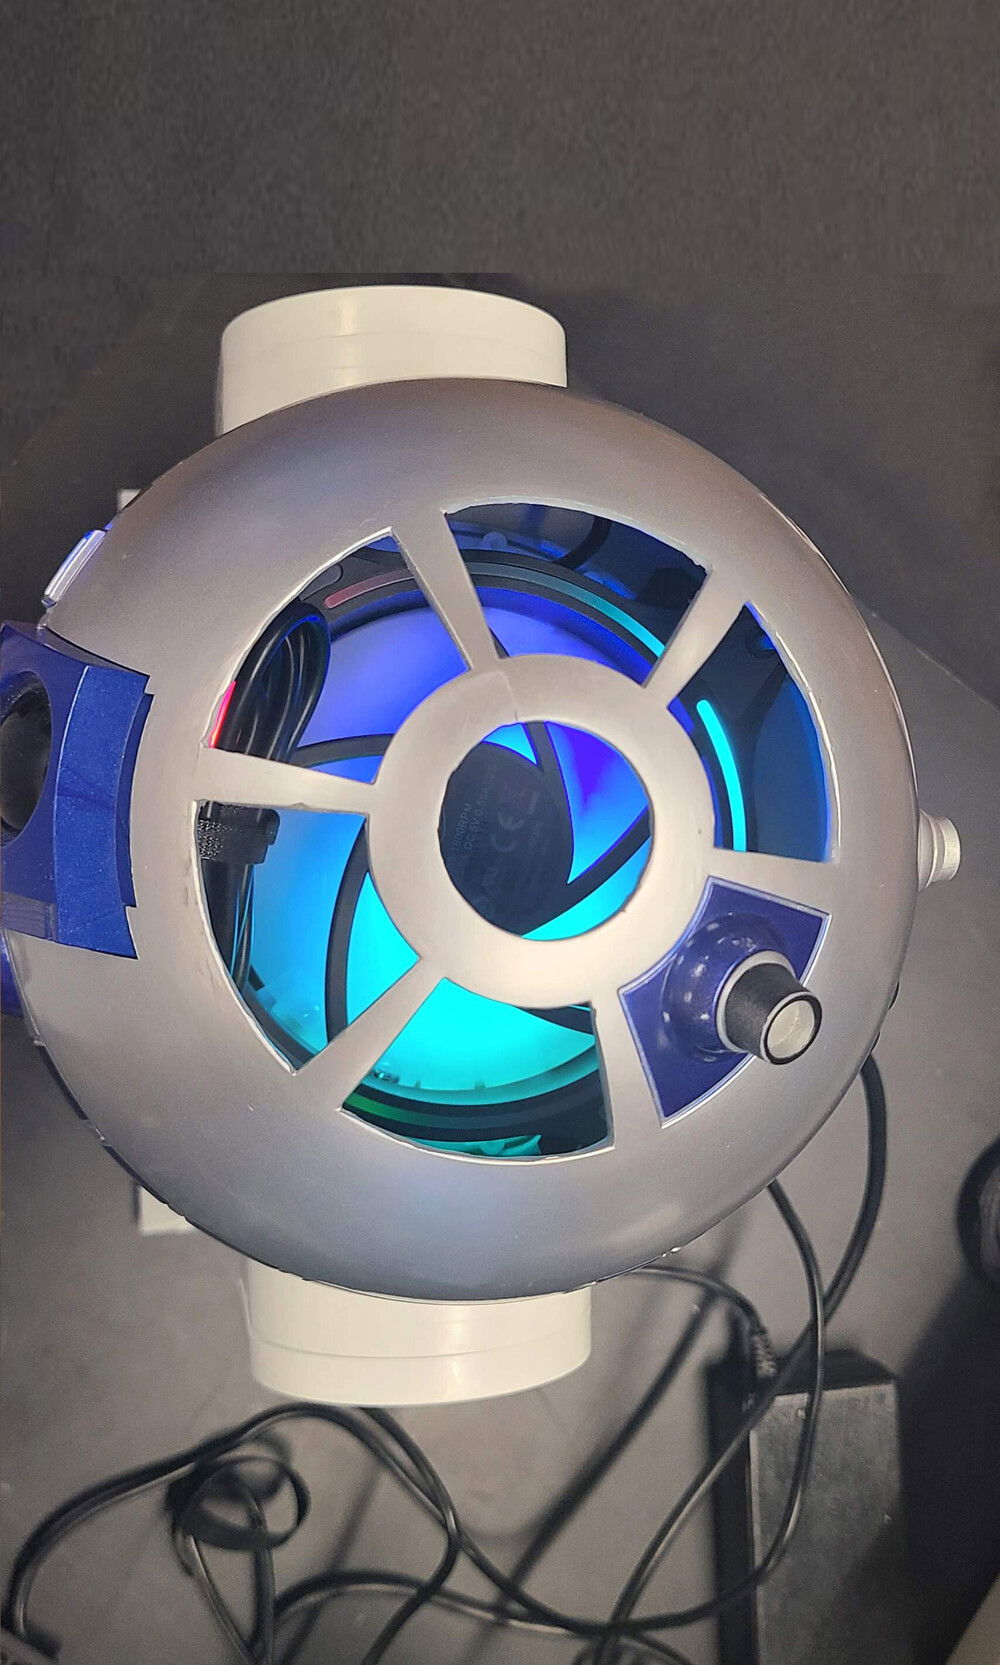
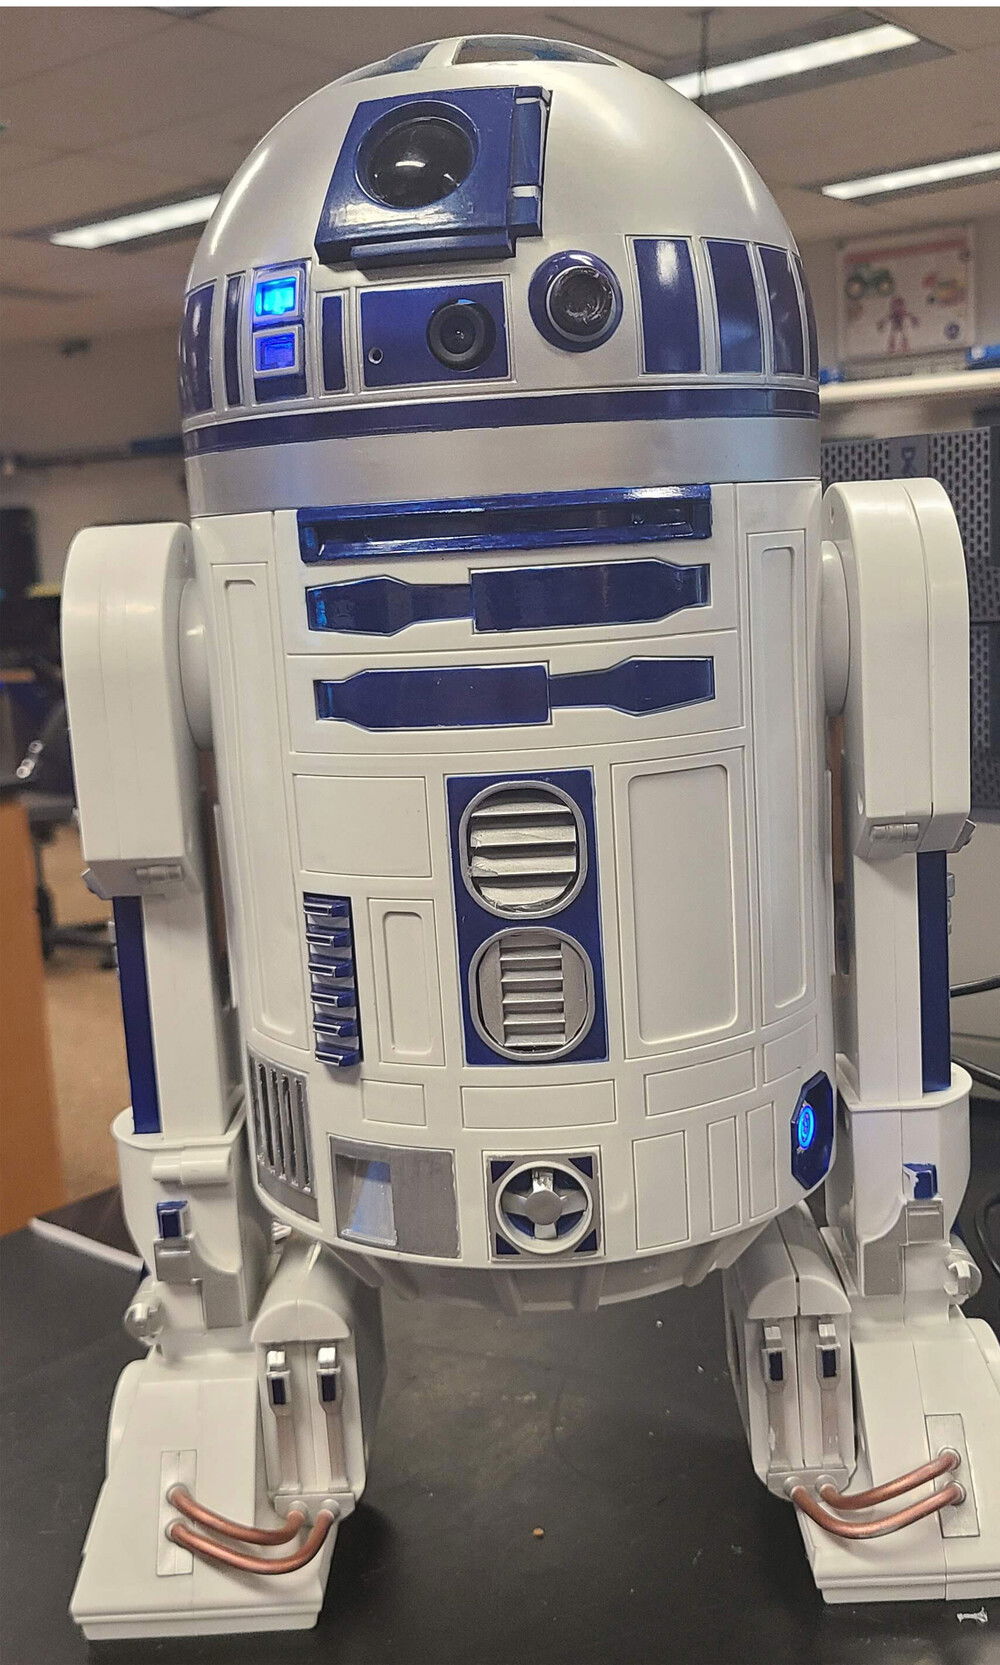
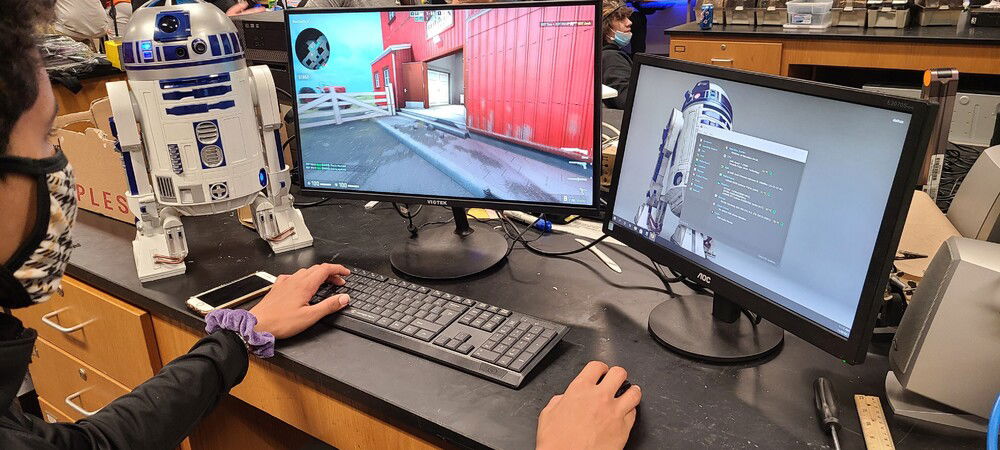
Main Components:
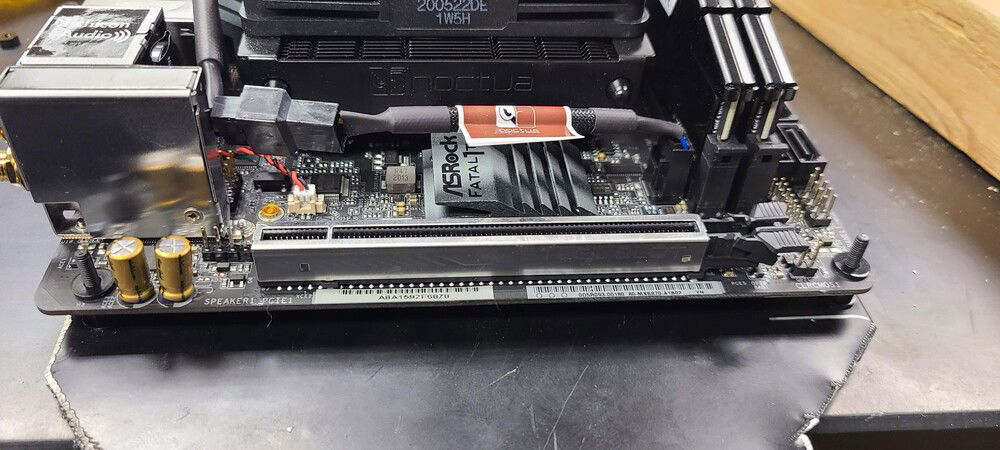
ASRock B450 Gaming-ITX Motherboard
AMD Ryzen 7 2700x CPU – 8 Core, 16 threads
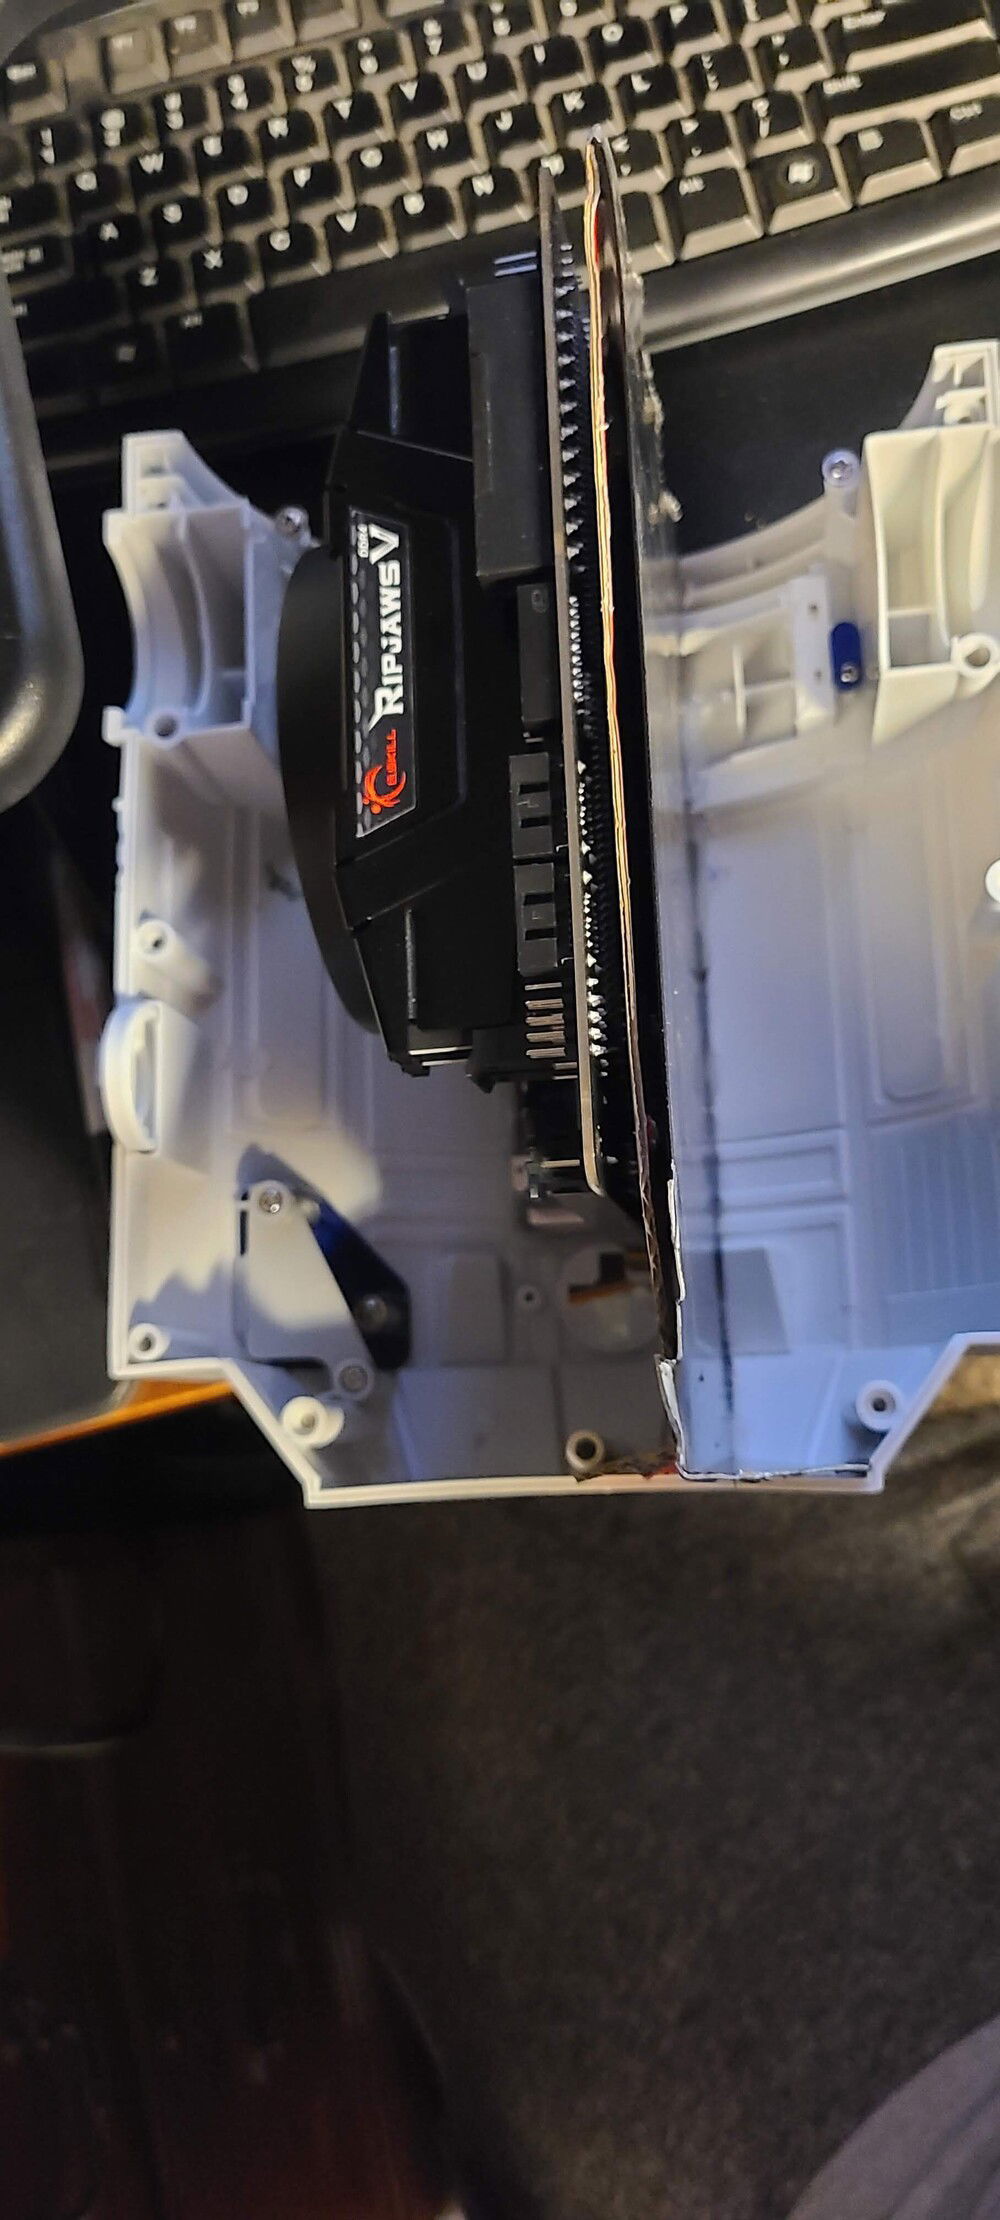
16GB of G.Skill Ripjaws V Series (2 x 8GB) 288-Pin SDRAM (PC4-25600) DDR4 3200
4GB ATI Radeon RX550 Graphic Card (Only Card I could afford that would fit in the space I had)
Custom Parts:
Power Button - NOYITO 16mm Chassis Switch Metal Button Switch with 22inchs Extension Cable Blue Switch Symbol
24 Pin Extender - StarTech.com 8in 24 Pin ATX 2.01 Power Extension Cable
Cast Fan - Cooler Master MasterFan MF120 Halo Duo-Ring ARGB Lighting Fan, 24 Independently LEDS, PWM Static Pressure Fan
Cast Fan Mounts - Noctua NA-SAV2 chromax.Blue, Silicone Anti-Vibration Fan Mount Set (20-Pack, Blue)
CPU Fan - Noctua NH-L9a-AM4 chromax.Black, Low-Profile CPU Cooler for AMD AM4 (Black)
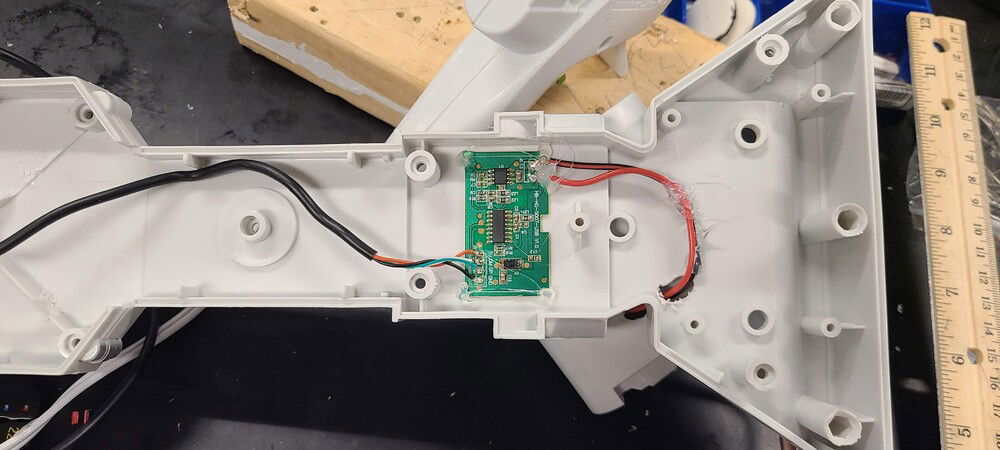
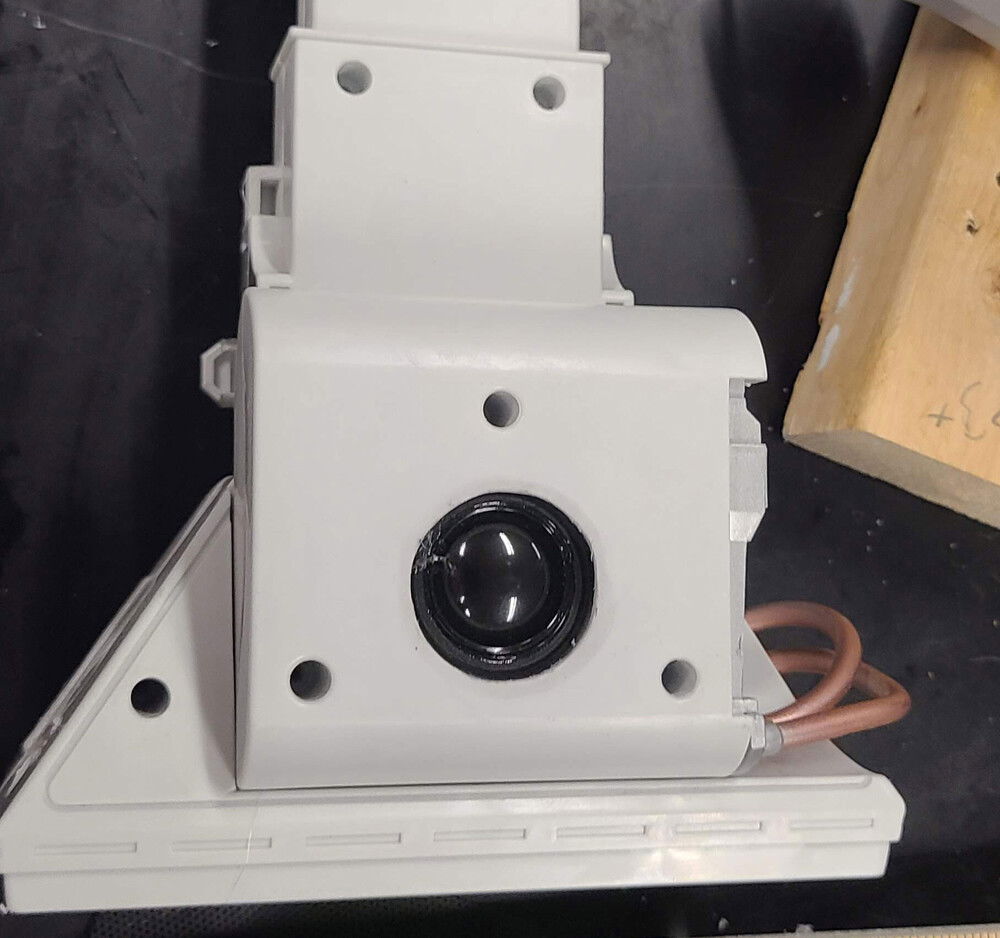
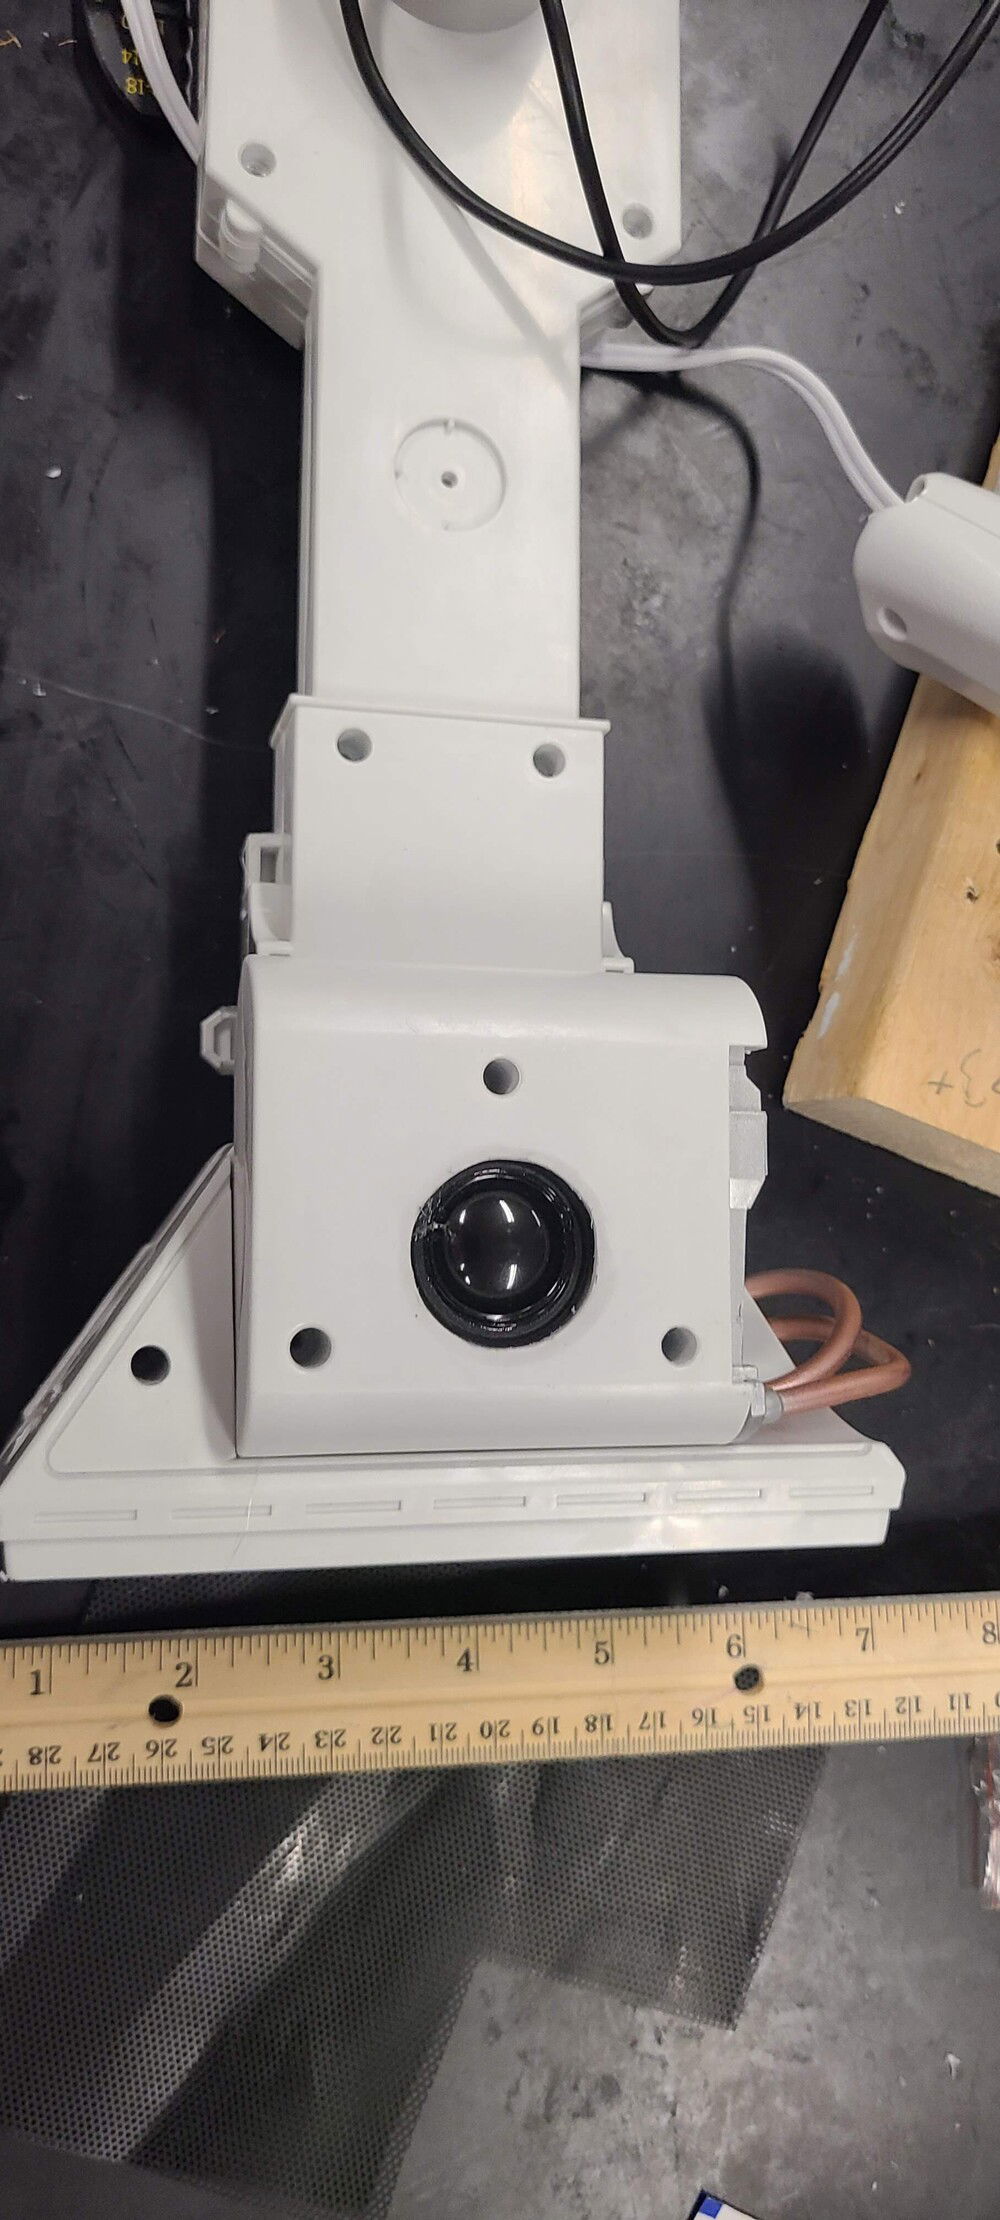
Speak in Foot - HONKYOB USB Mini Speaker Computer Speaker Powered Stereo Multimedia Speaker for Notebook Laptop PC(Black)
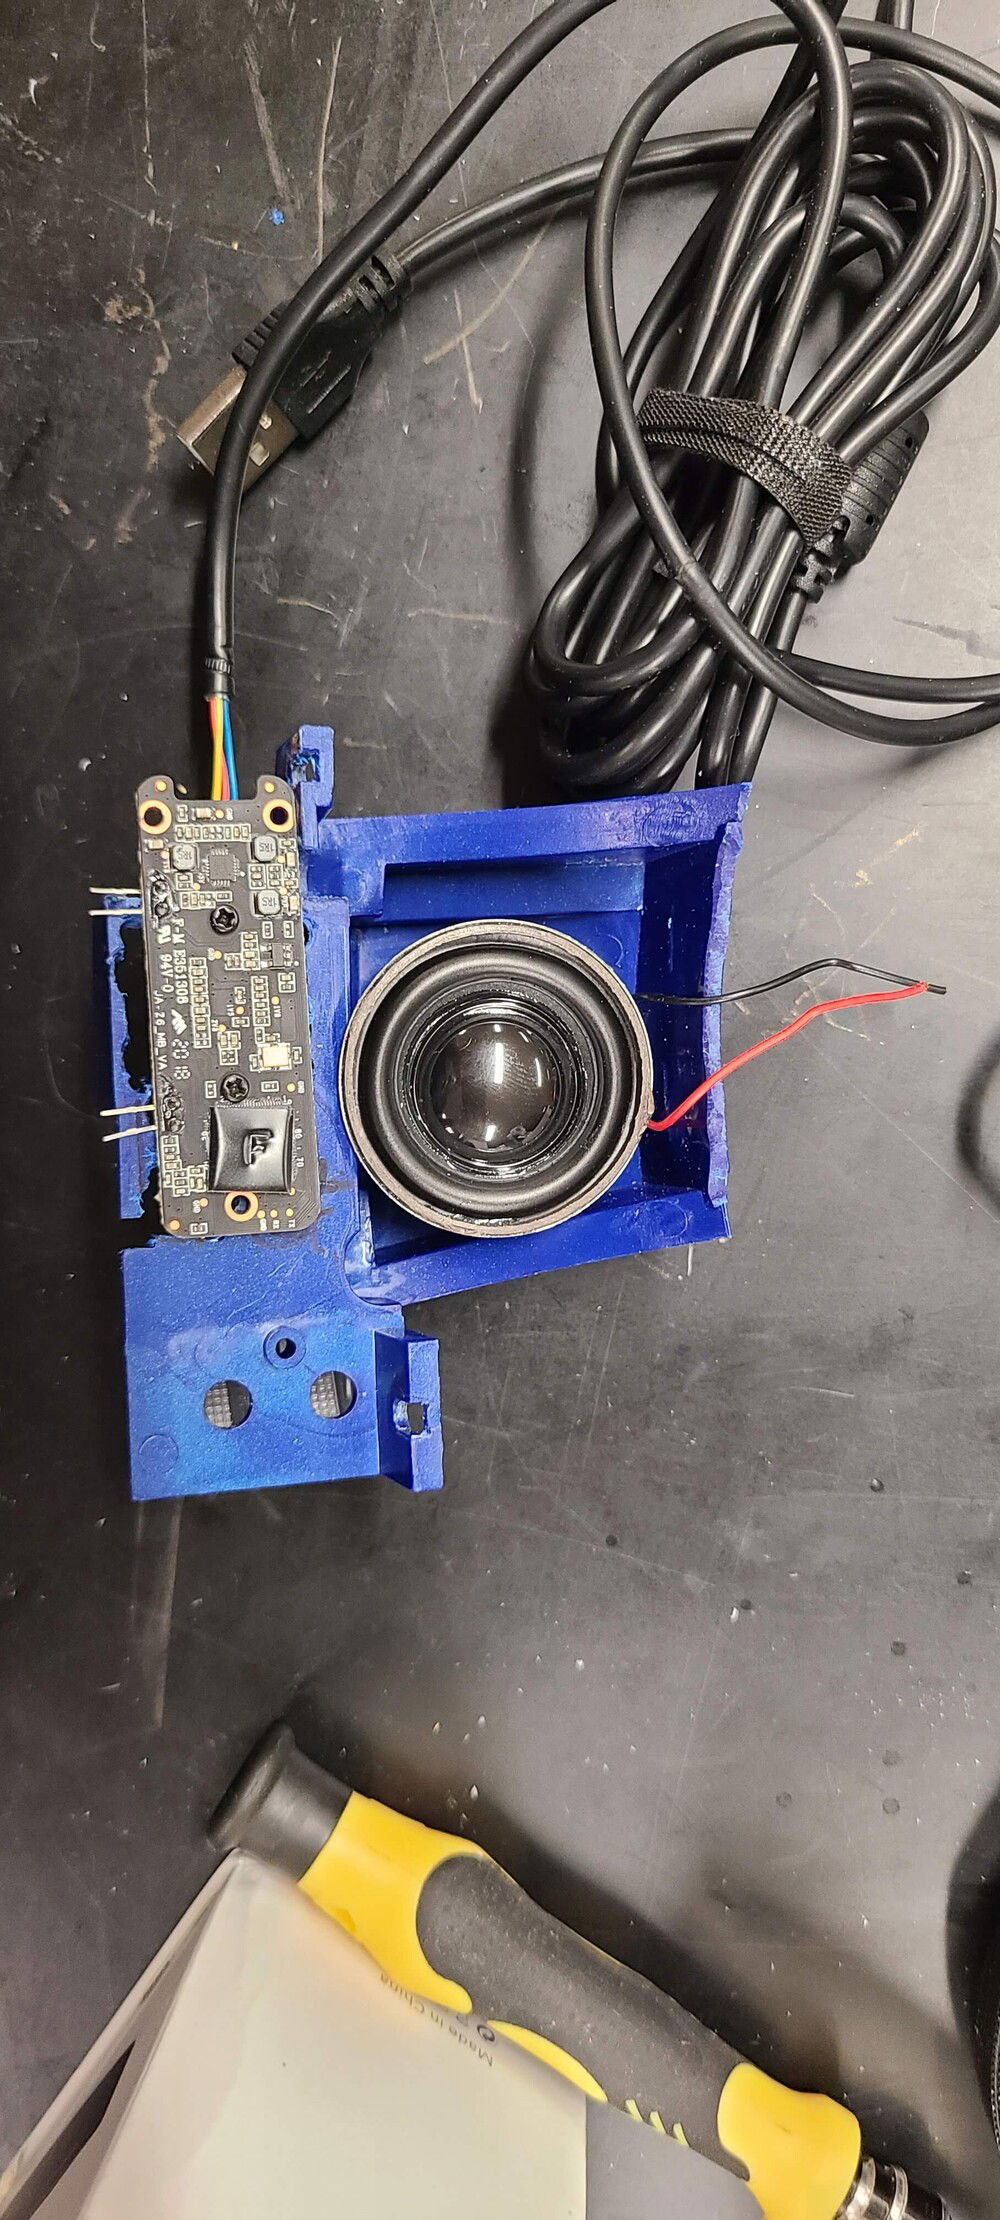
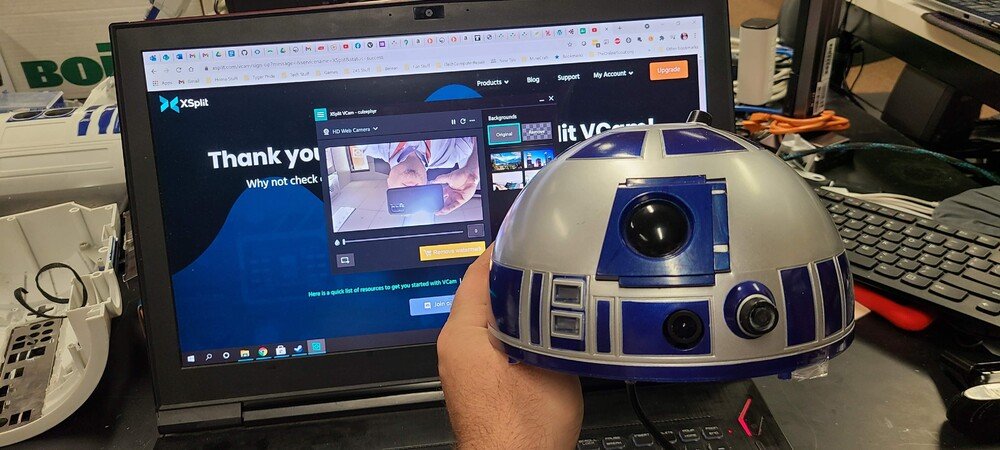
Webcam in R2's Head - 1080P Webcam with Microphone, HD Streaming USB Computer Webcam Adjustable Base
PCI Express 16 extension Cable - Funtin PCIe Riser Cable, 3.0 x16 PCI Express Riser Extender, Flexible High Speed 90 Degree GUP Riser Cable for Graphics Card Vertical Mount (15cm, 90°)
PICO Board for Power - RGEEK 24pin DC ATX PSU 12V DC Input 450W Peak Output Switch DC-DC ATX Pico PSU Mini ITX PC Power
PICO Power - LEDwholesalers 12V 20A 240W AC/DC Power Adapter with 5.5x2.5mm DC Plug and 2.1mm Adapter, Black, 3262-12V

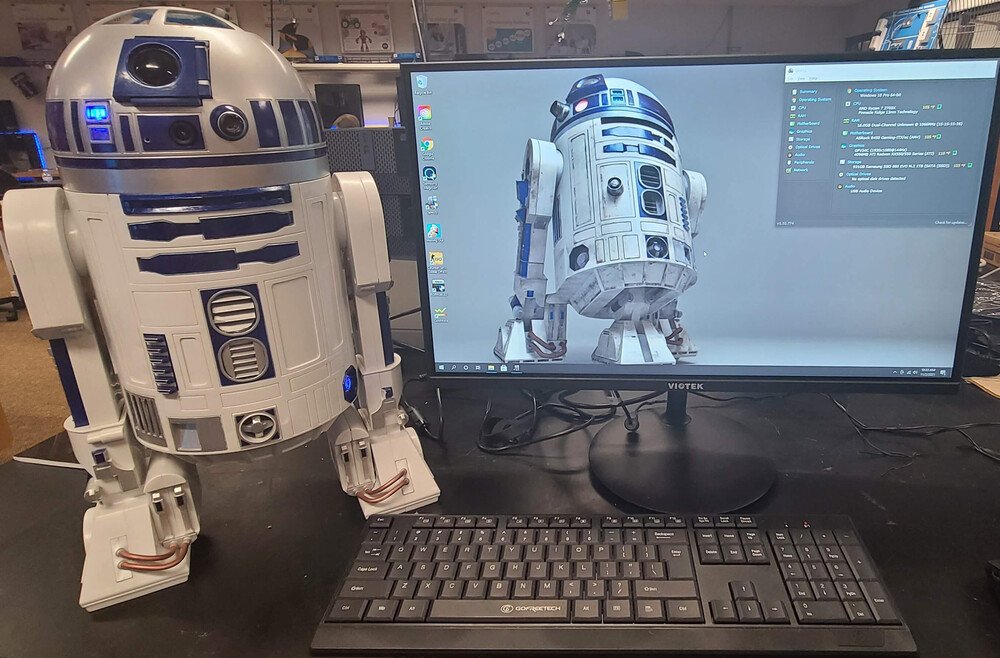
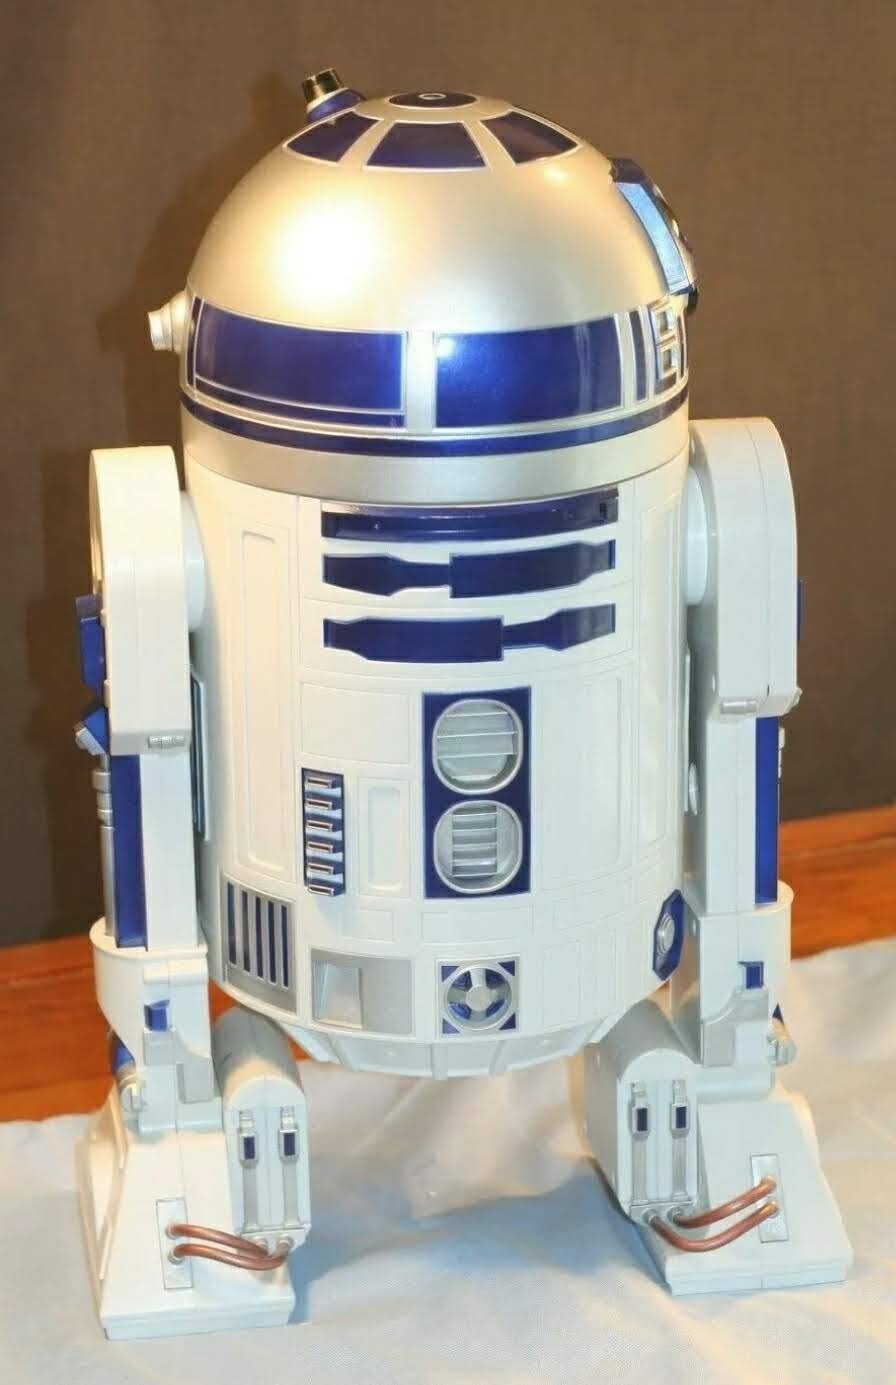
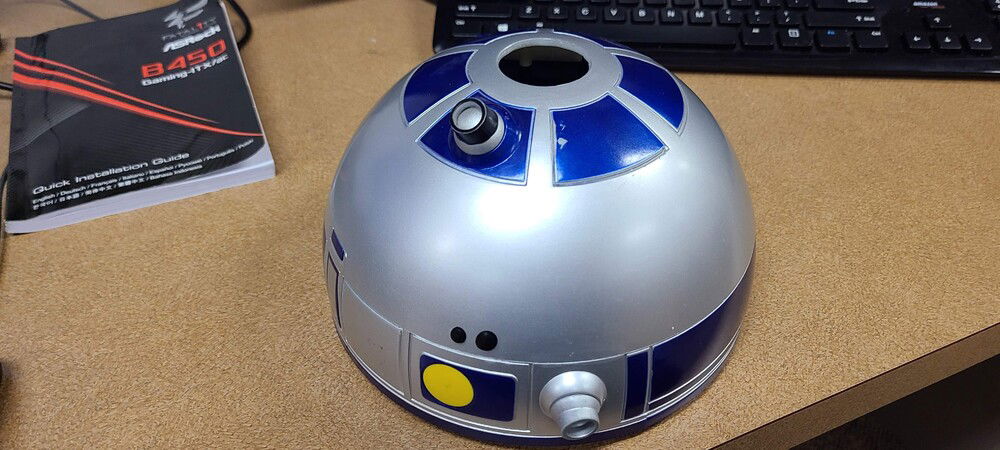
Pre Build Photo of R2D2

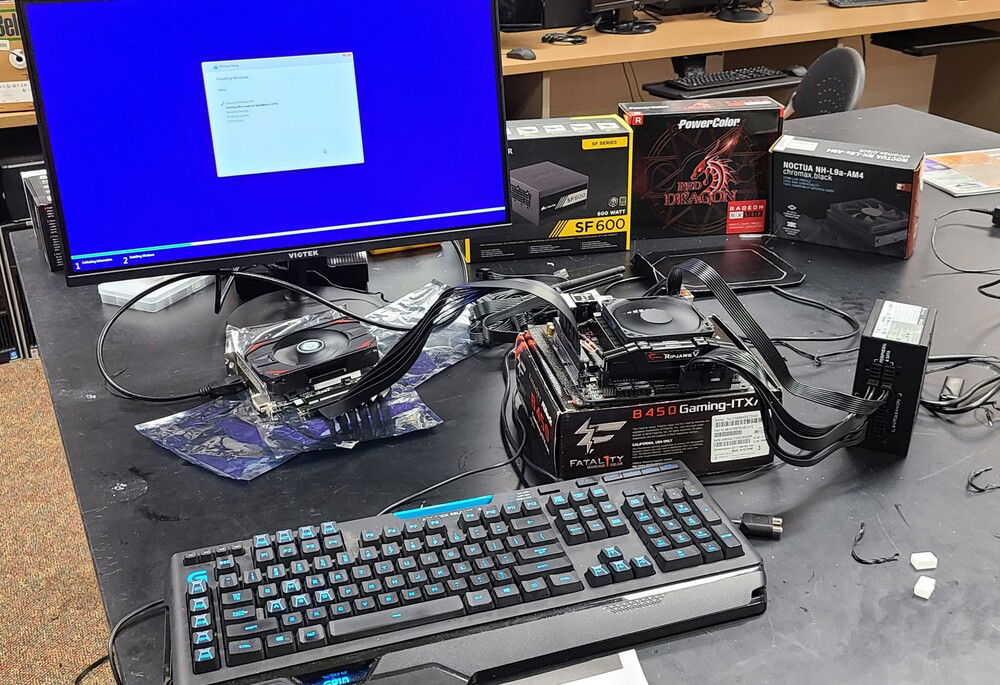
System/Bench Test before I switched to PICO power

Disassembled R2D2 Case

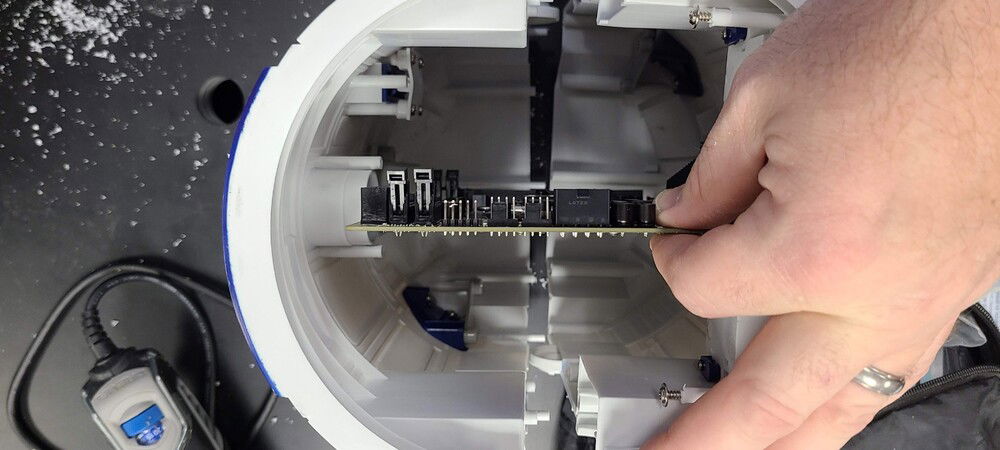
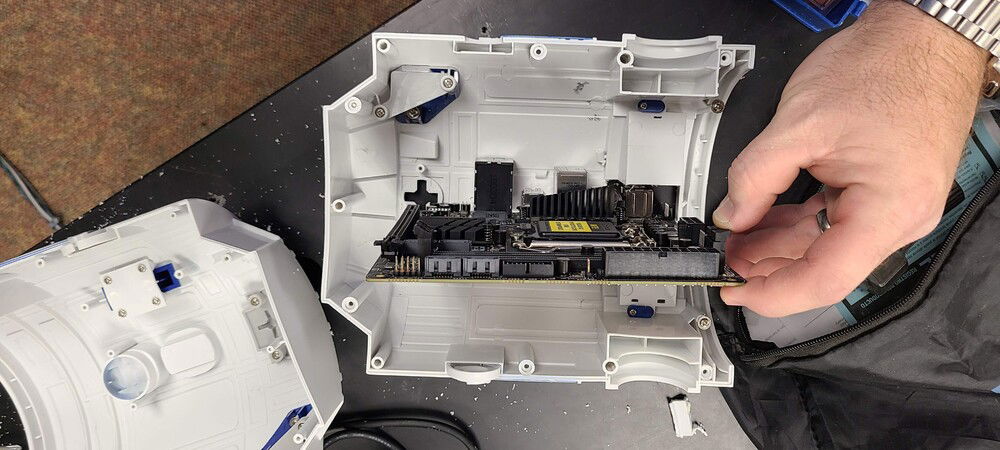
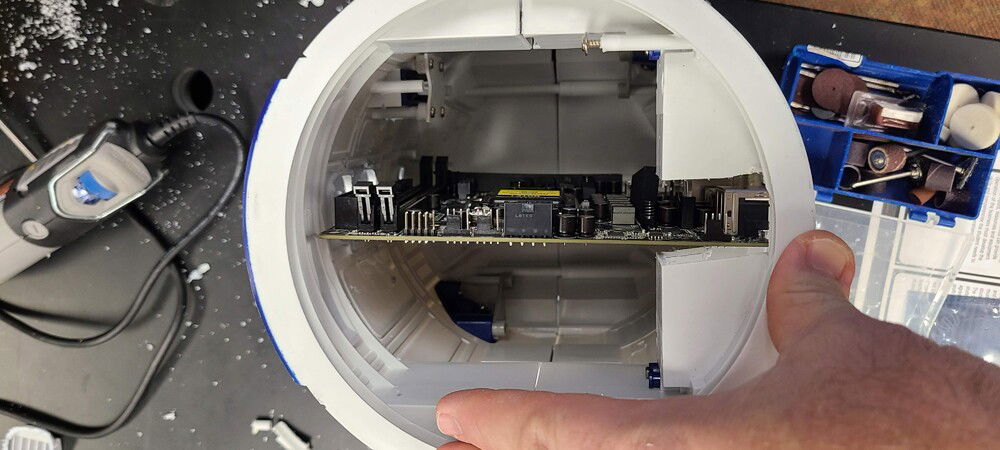
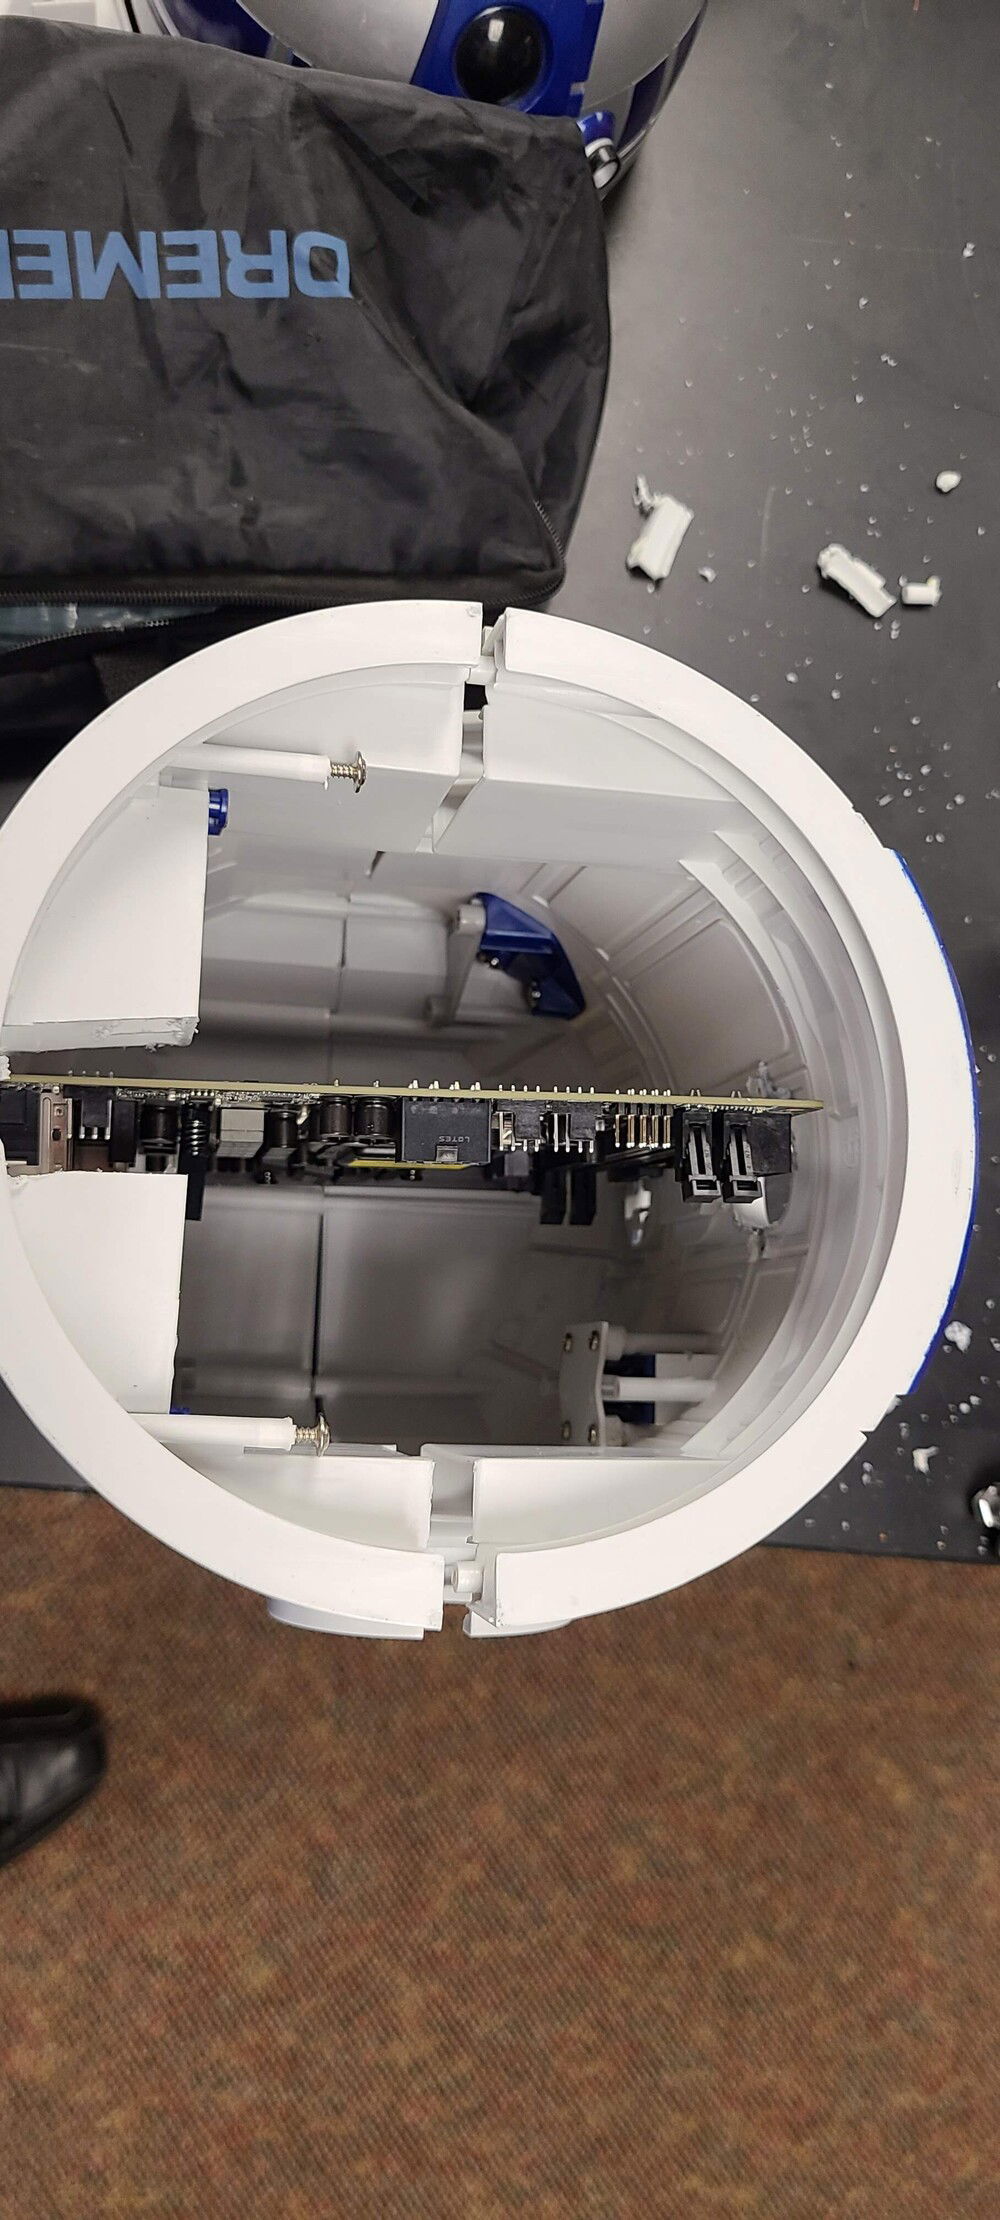
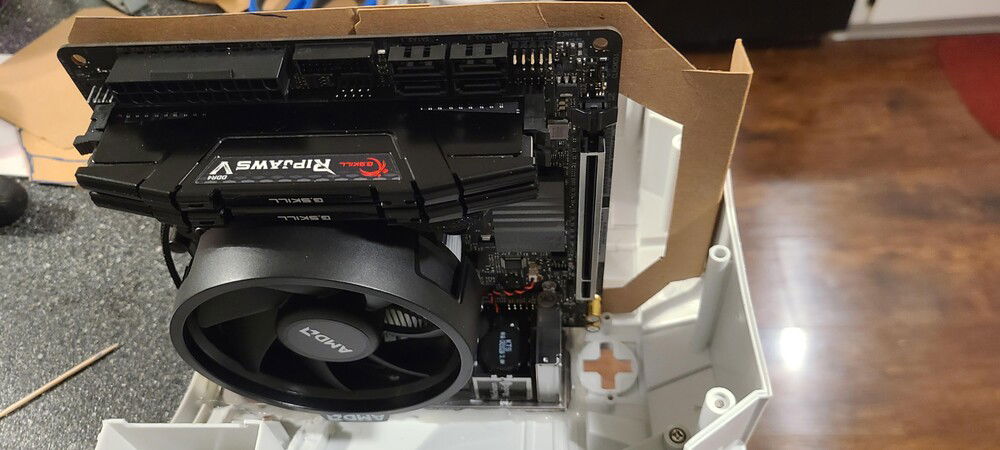
Test Fit MB in case

Won't Fit. Time to make some case adjustments.

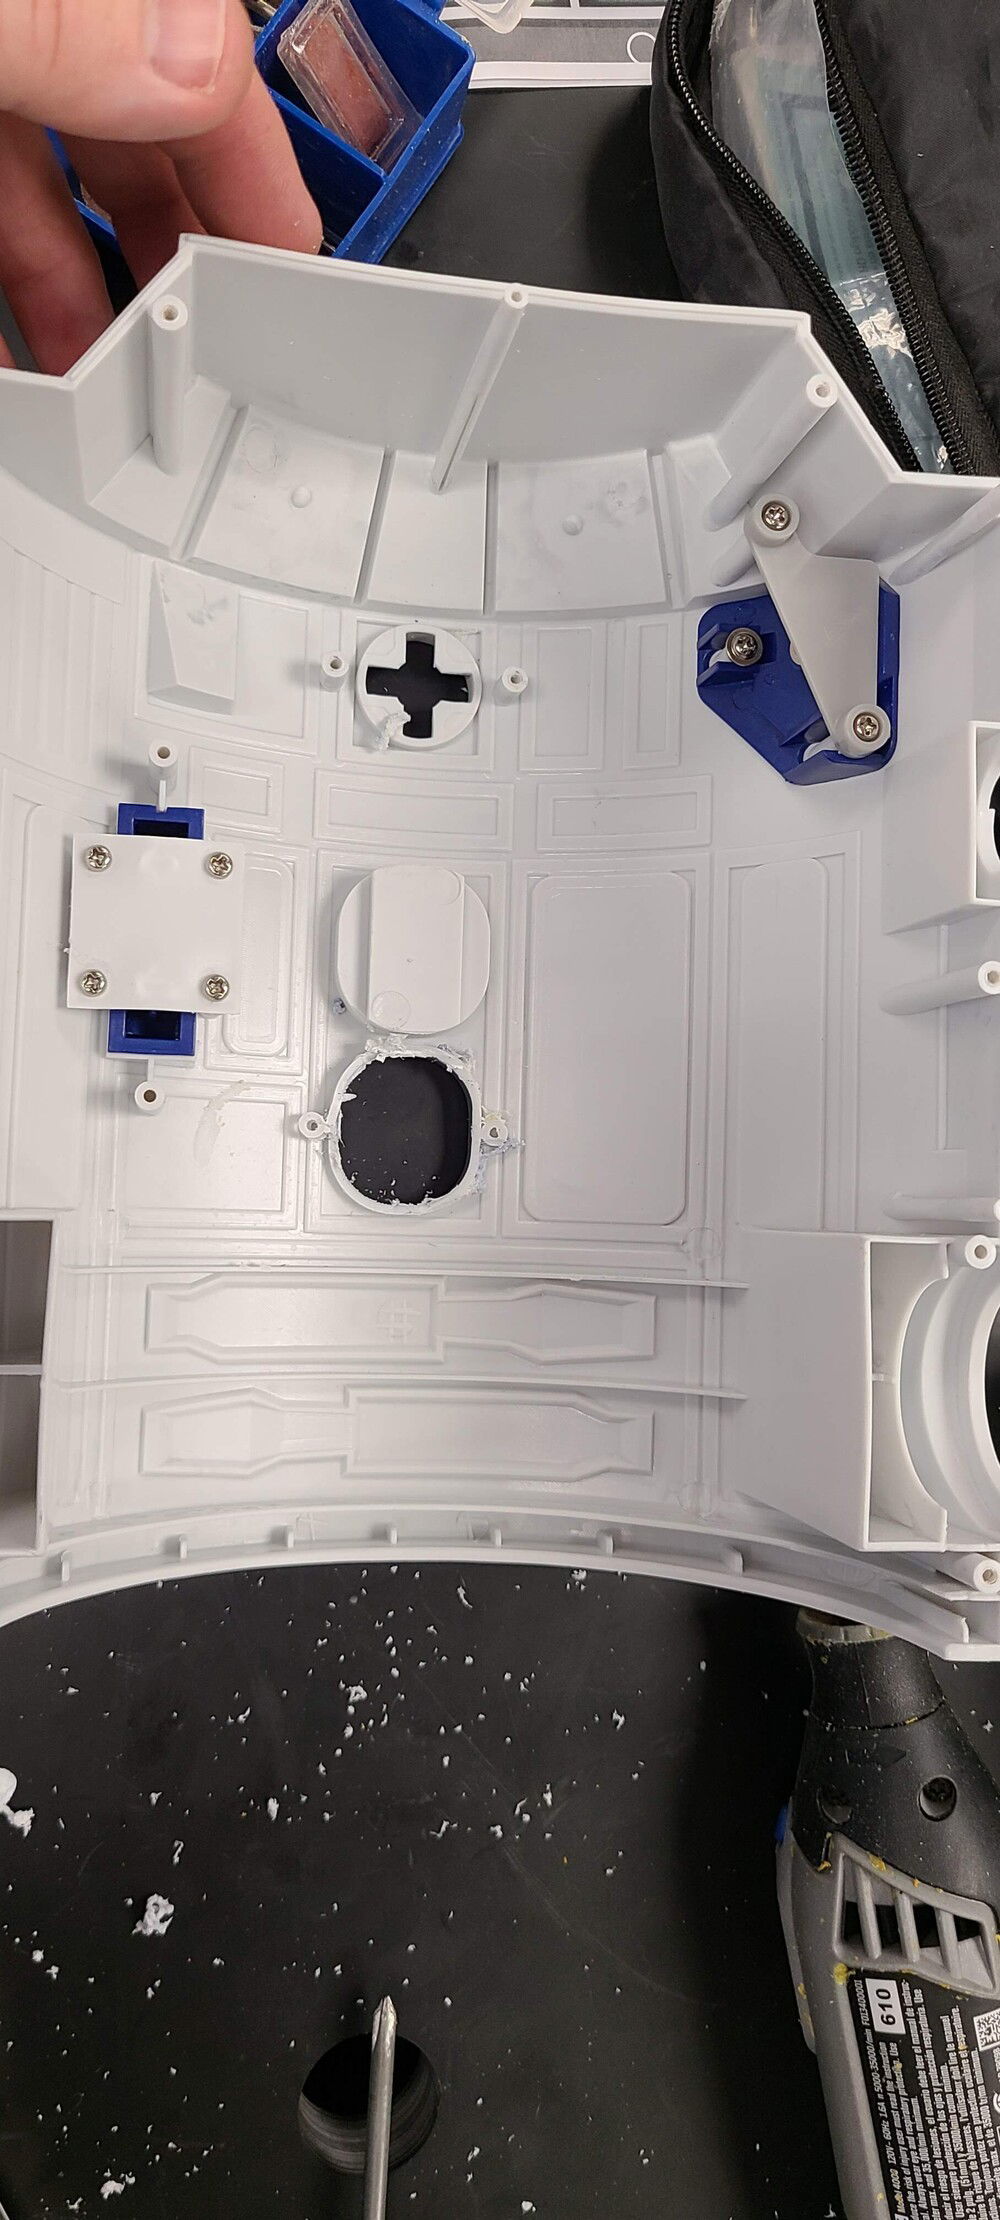
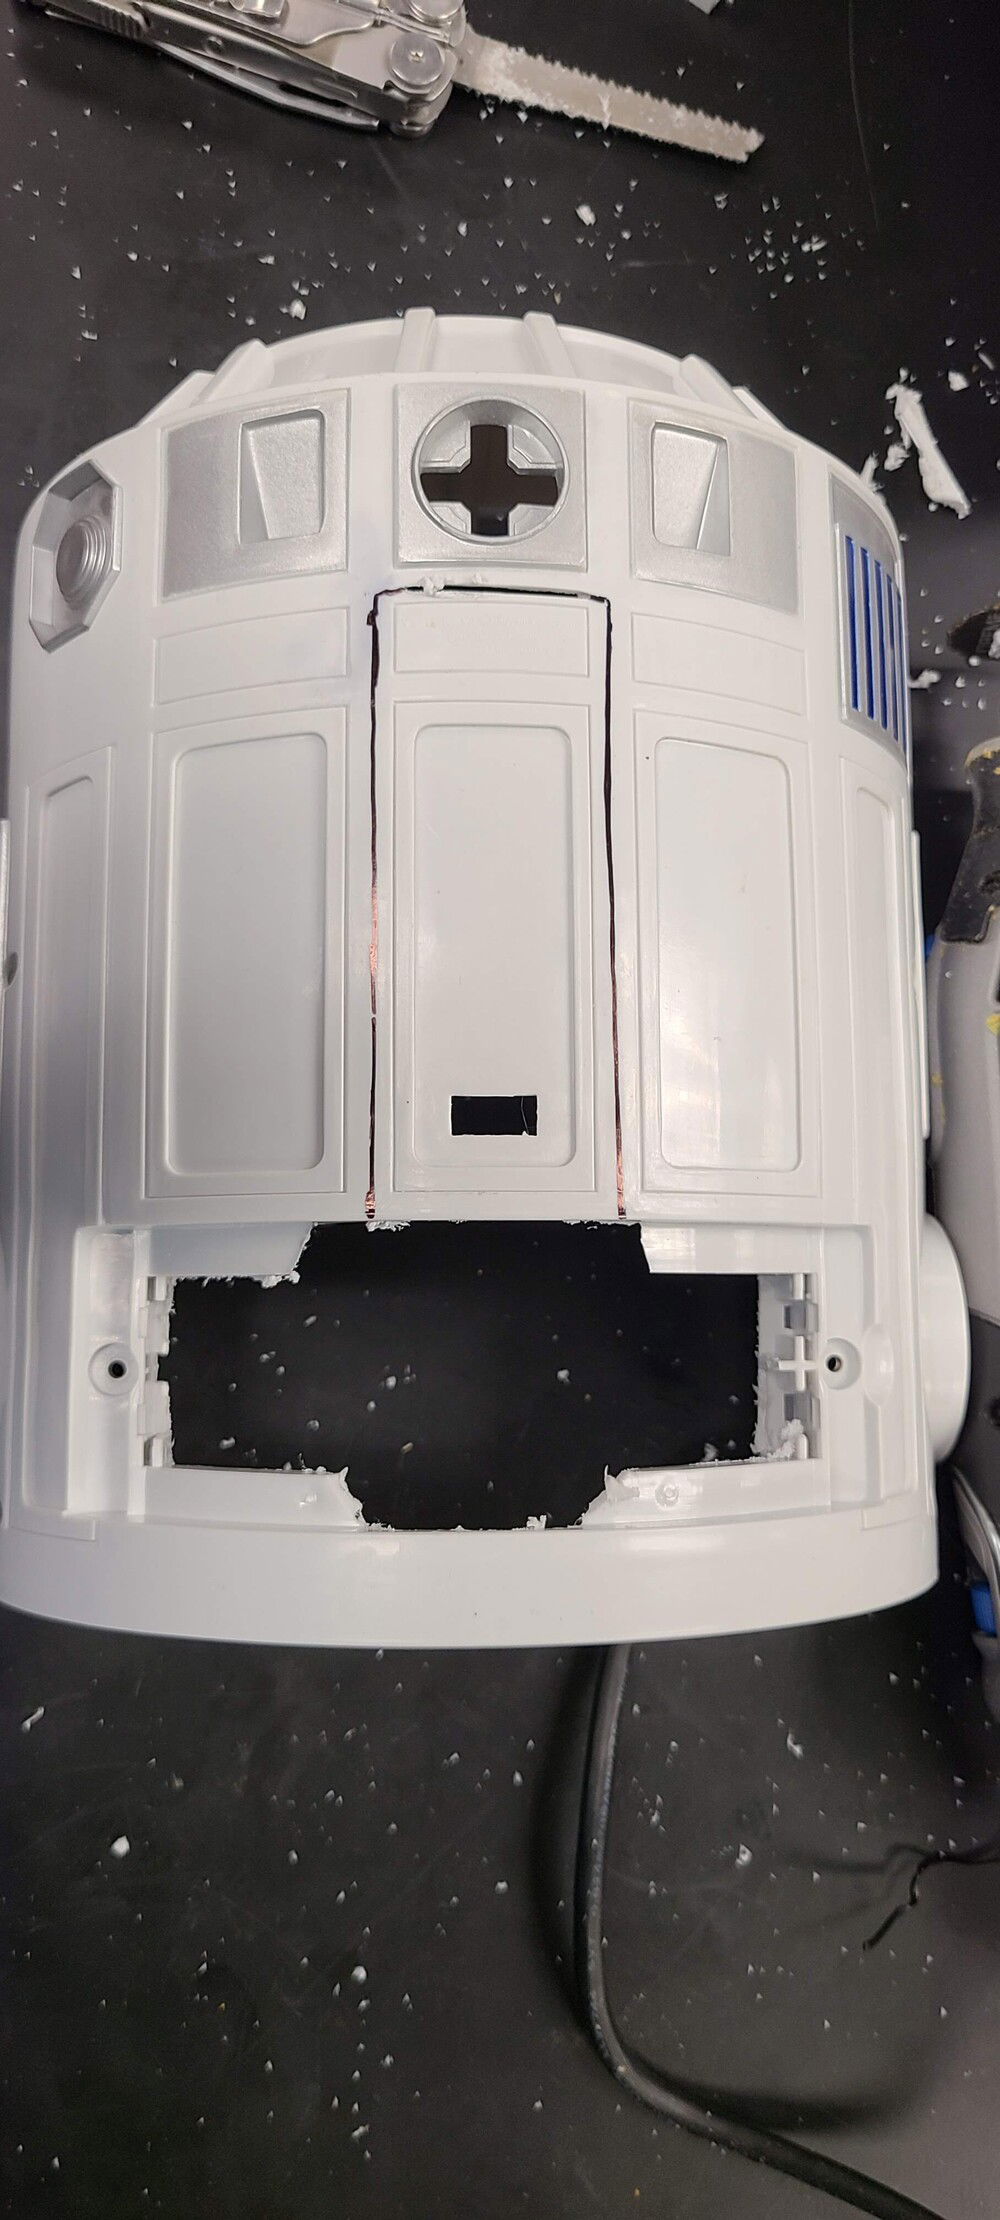
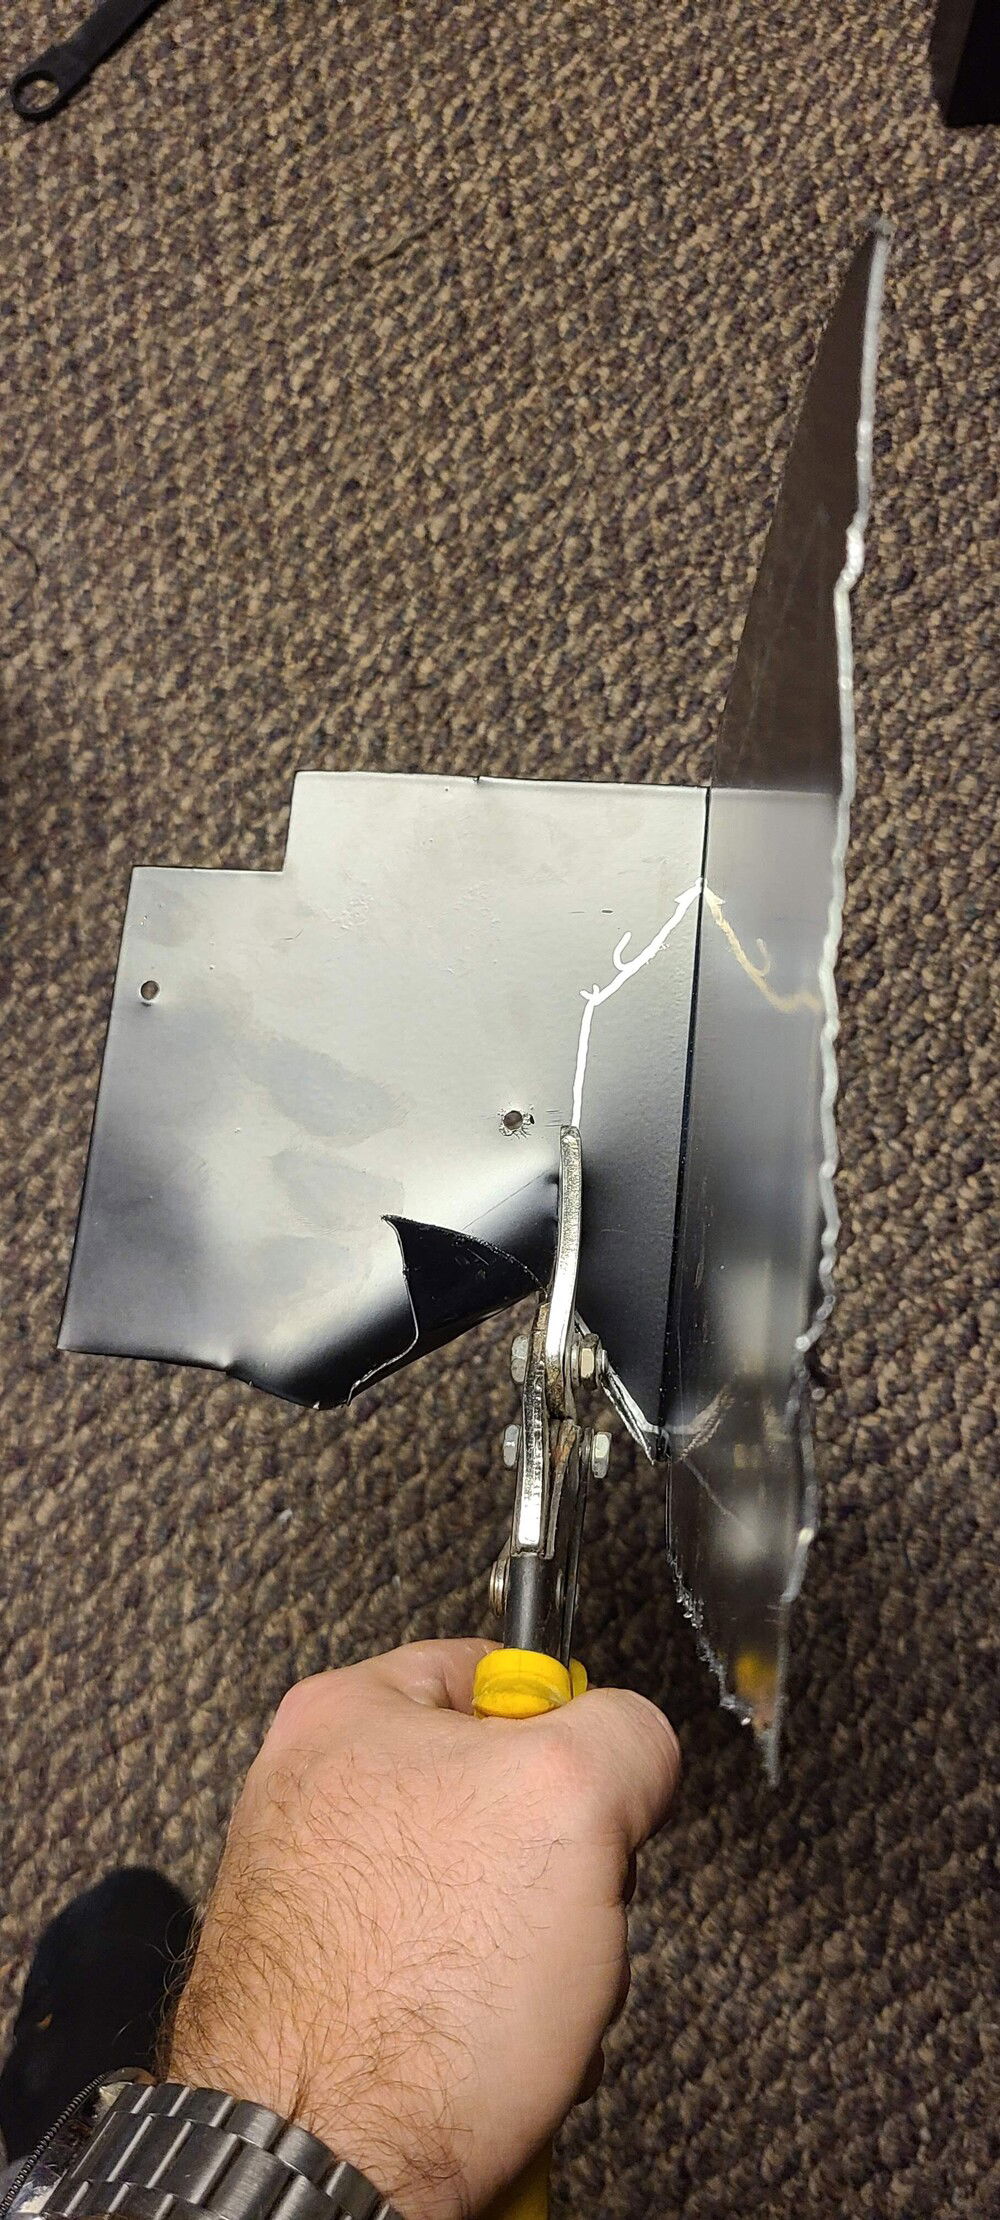
Case Modification 1

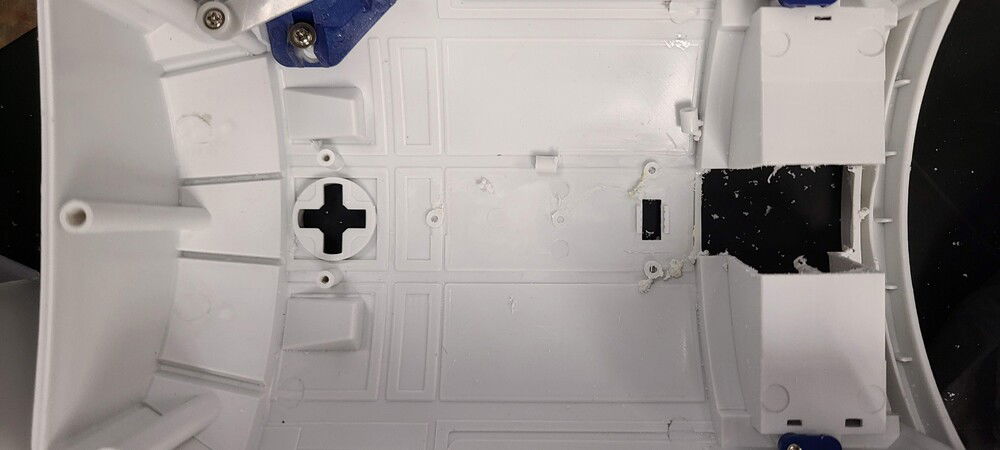
Case Modification 2

Case Modification 2 B

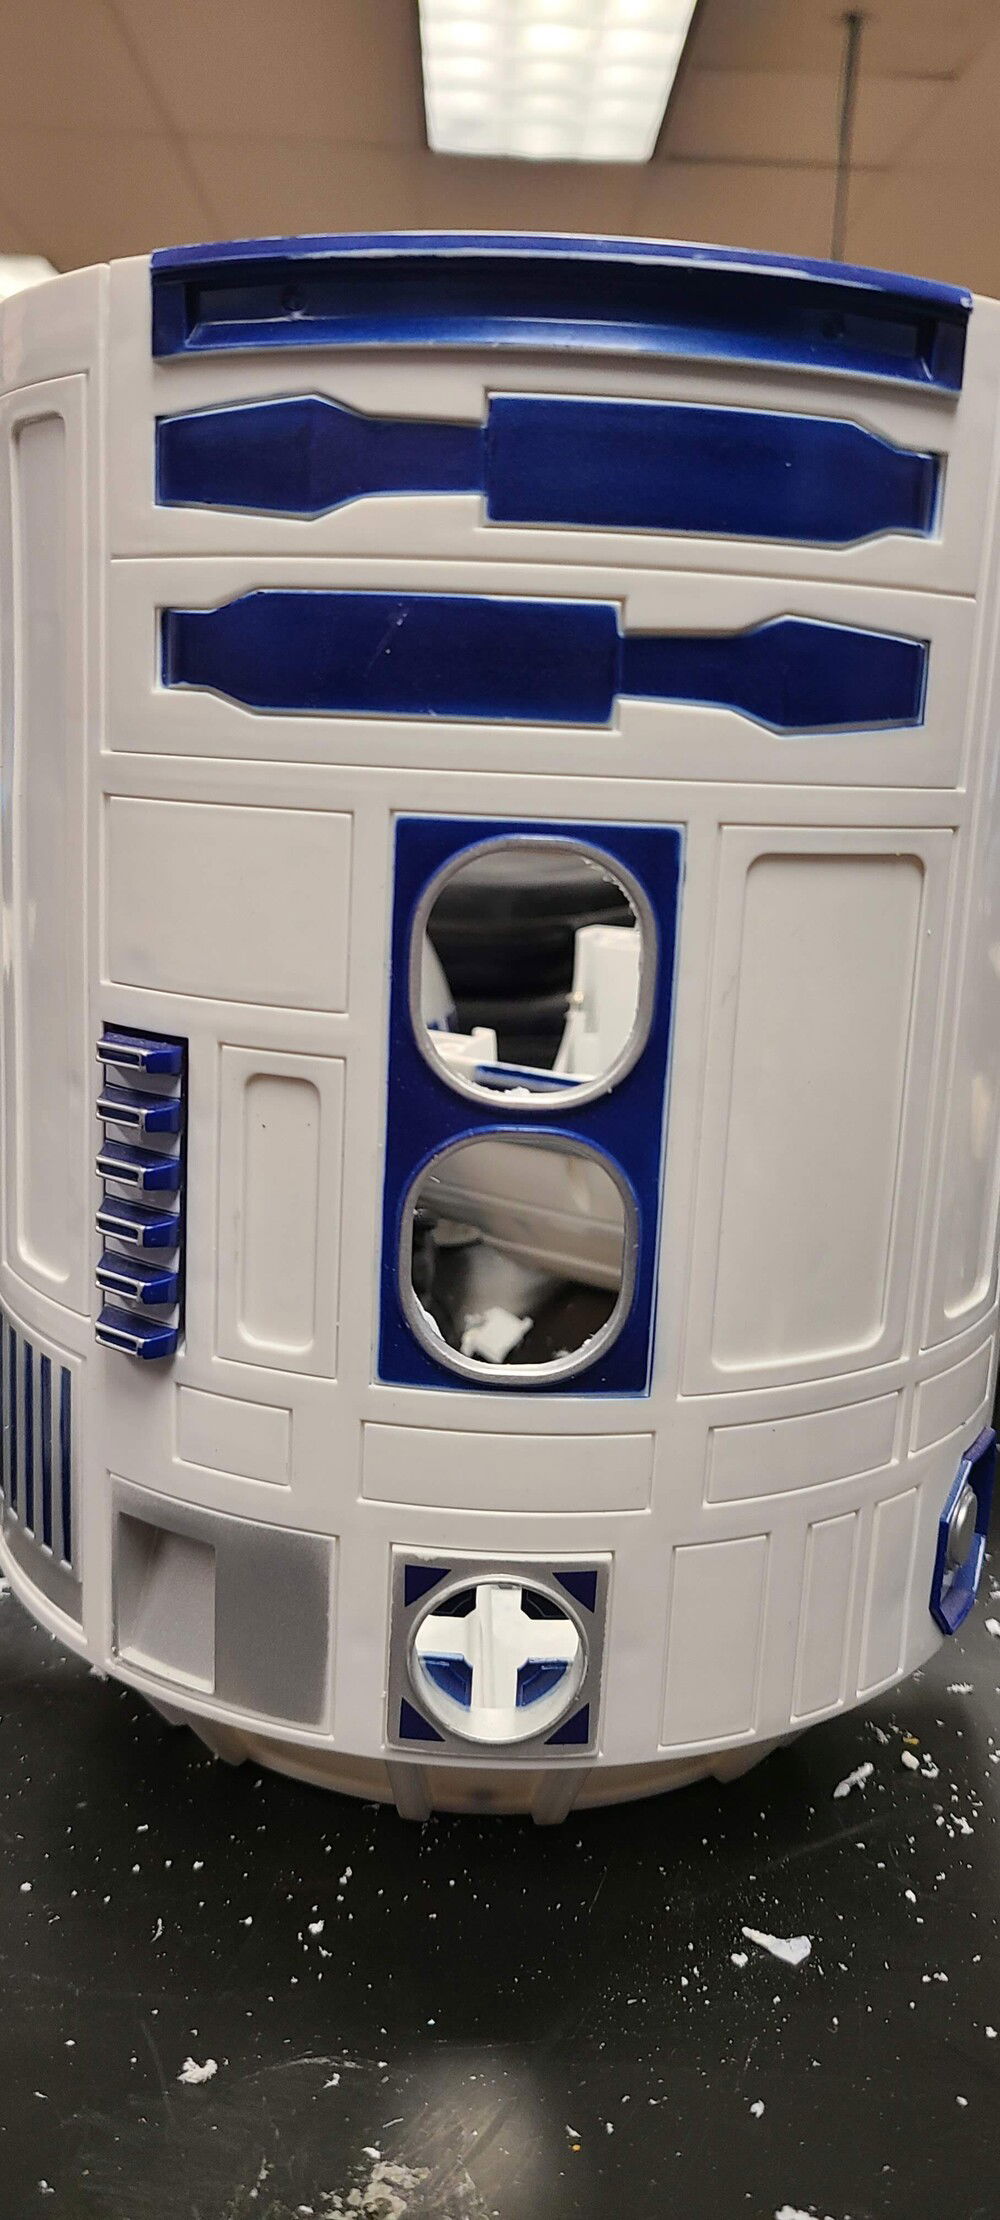
Case Modification Out Side View

It will fit!

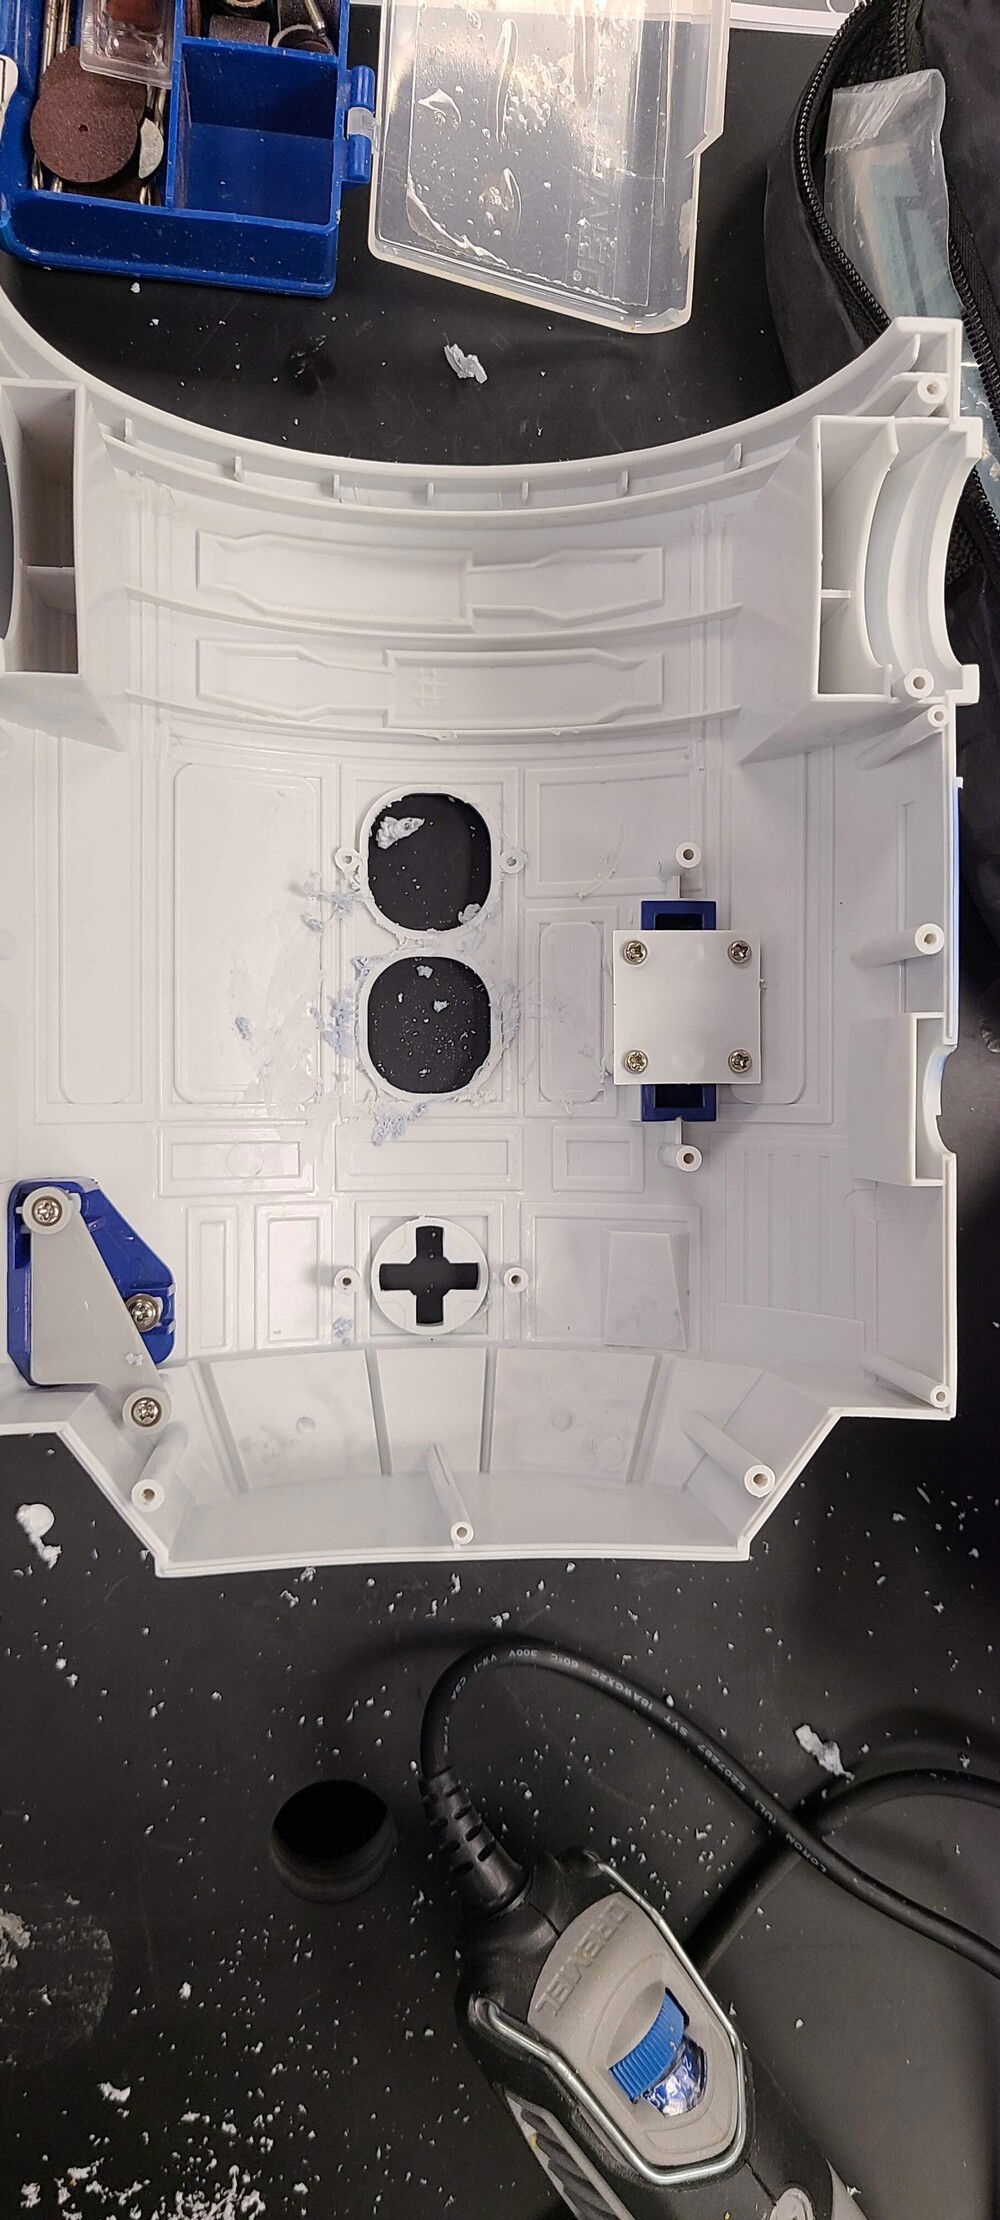
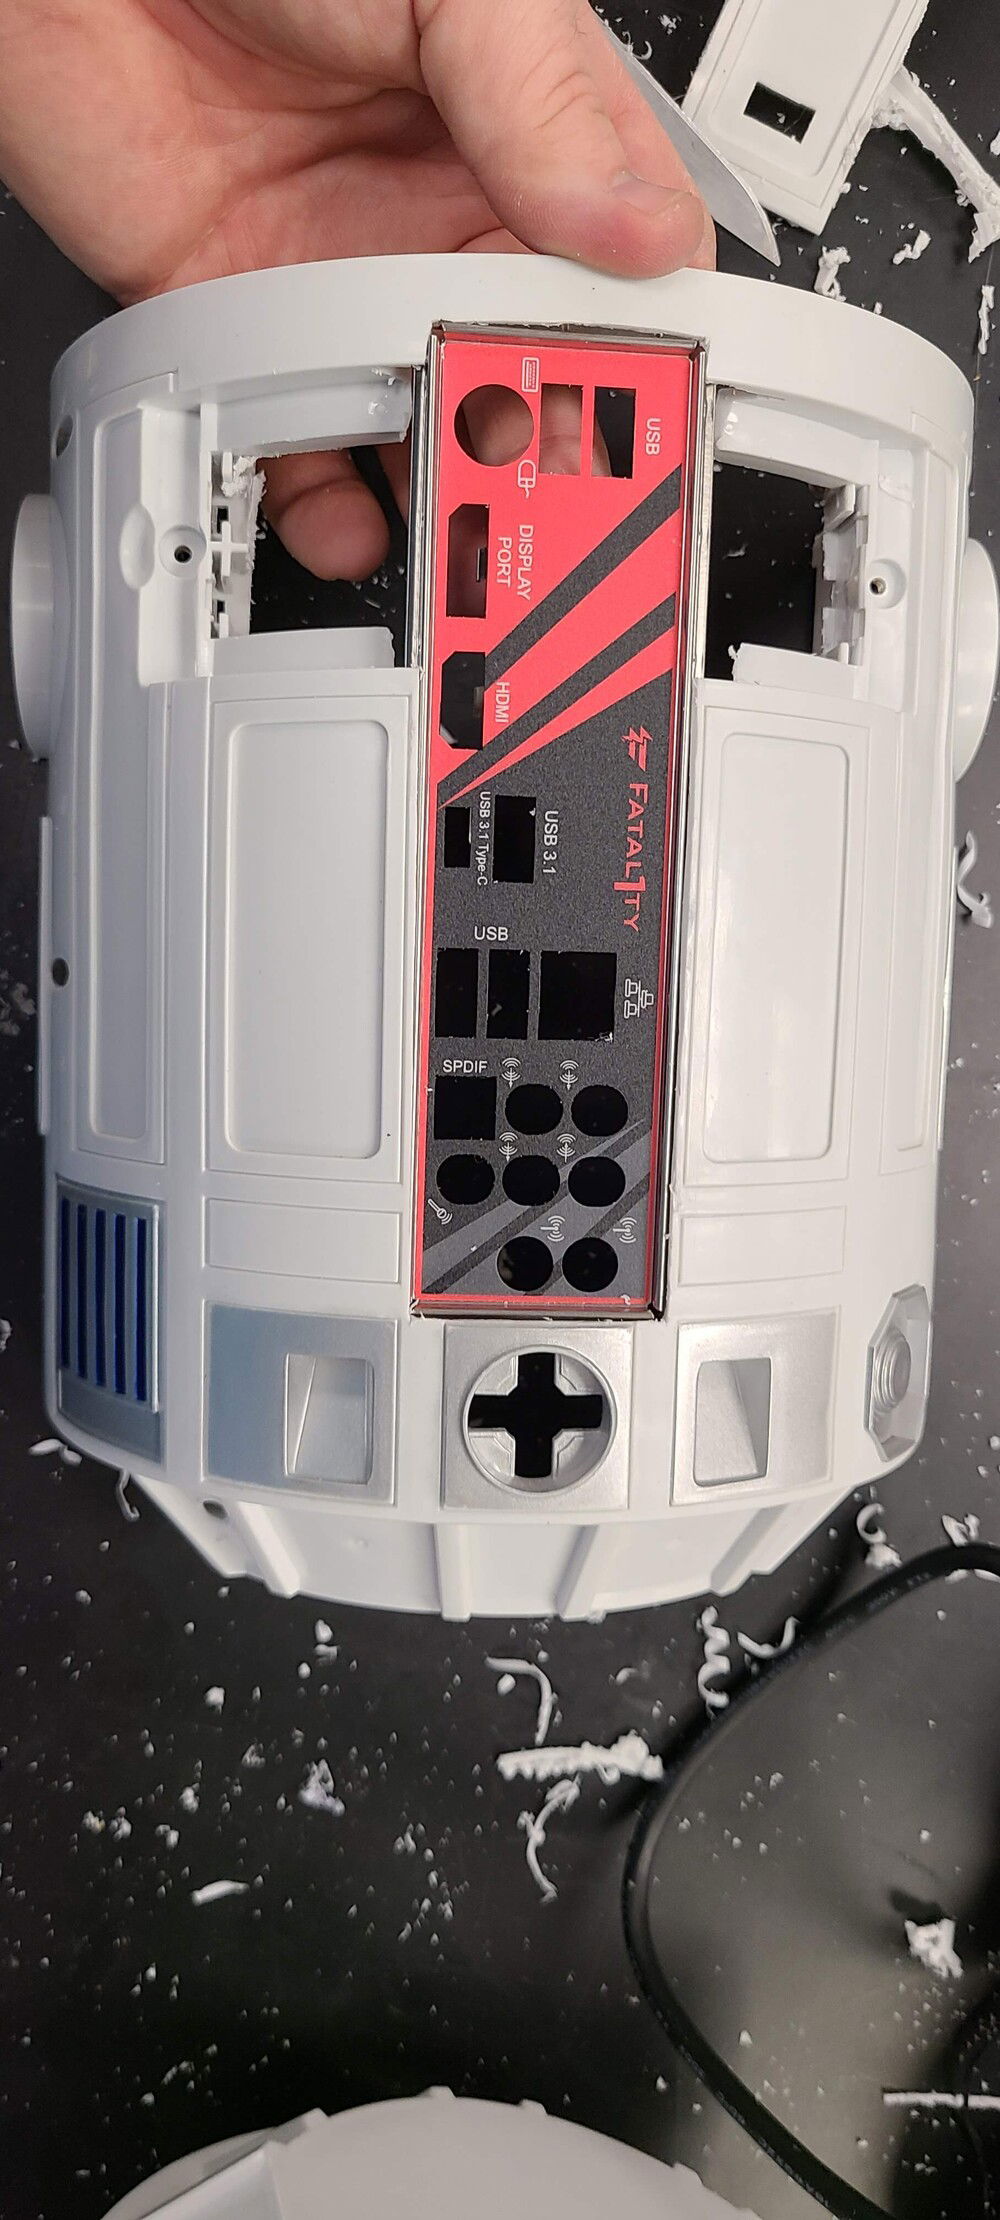
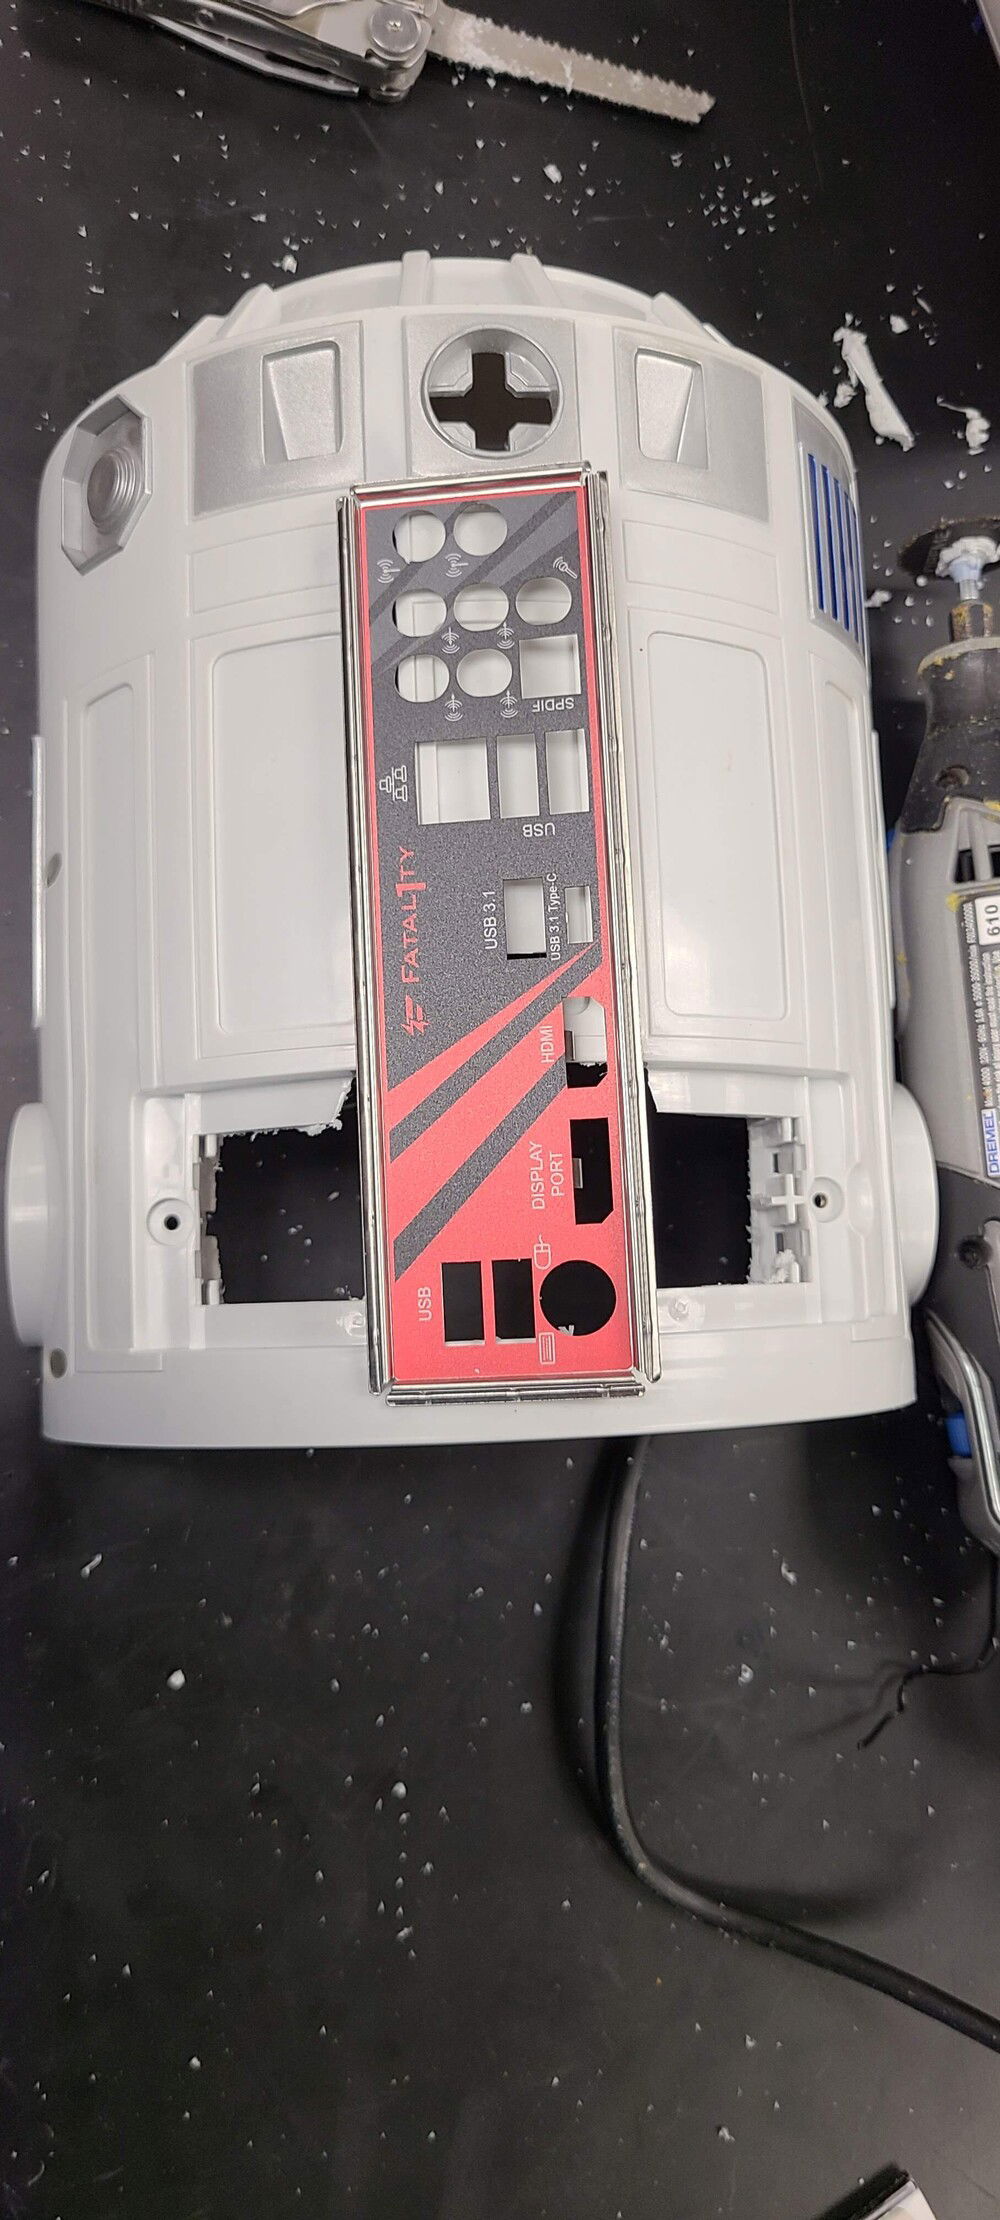
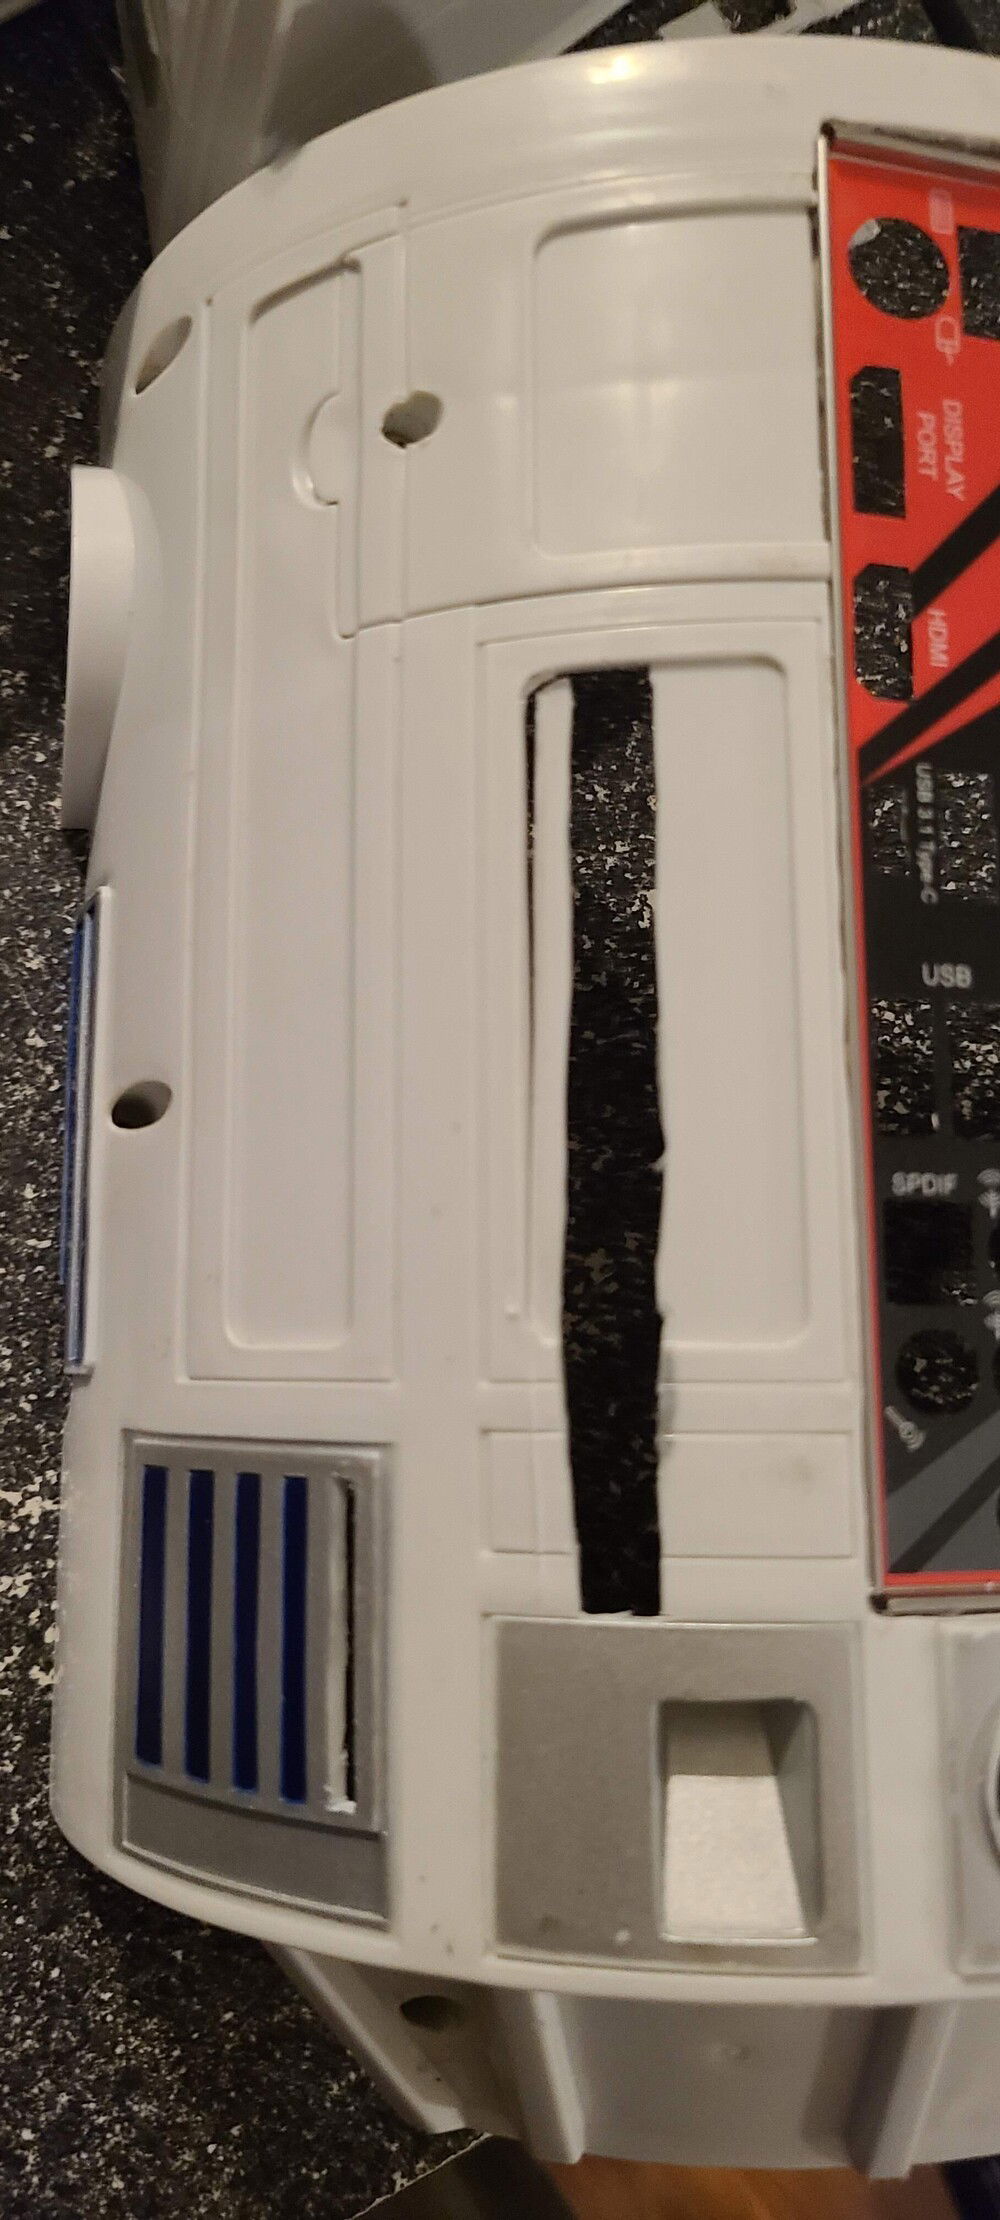
IO Plate Case Modification 1

IO Plate Case Modification 2

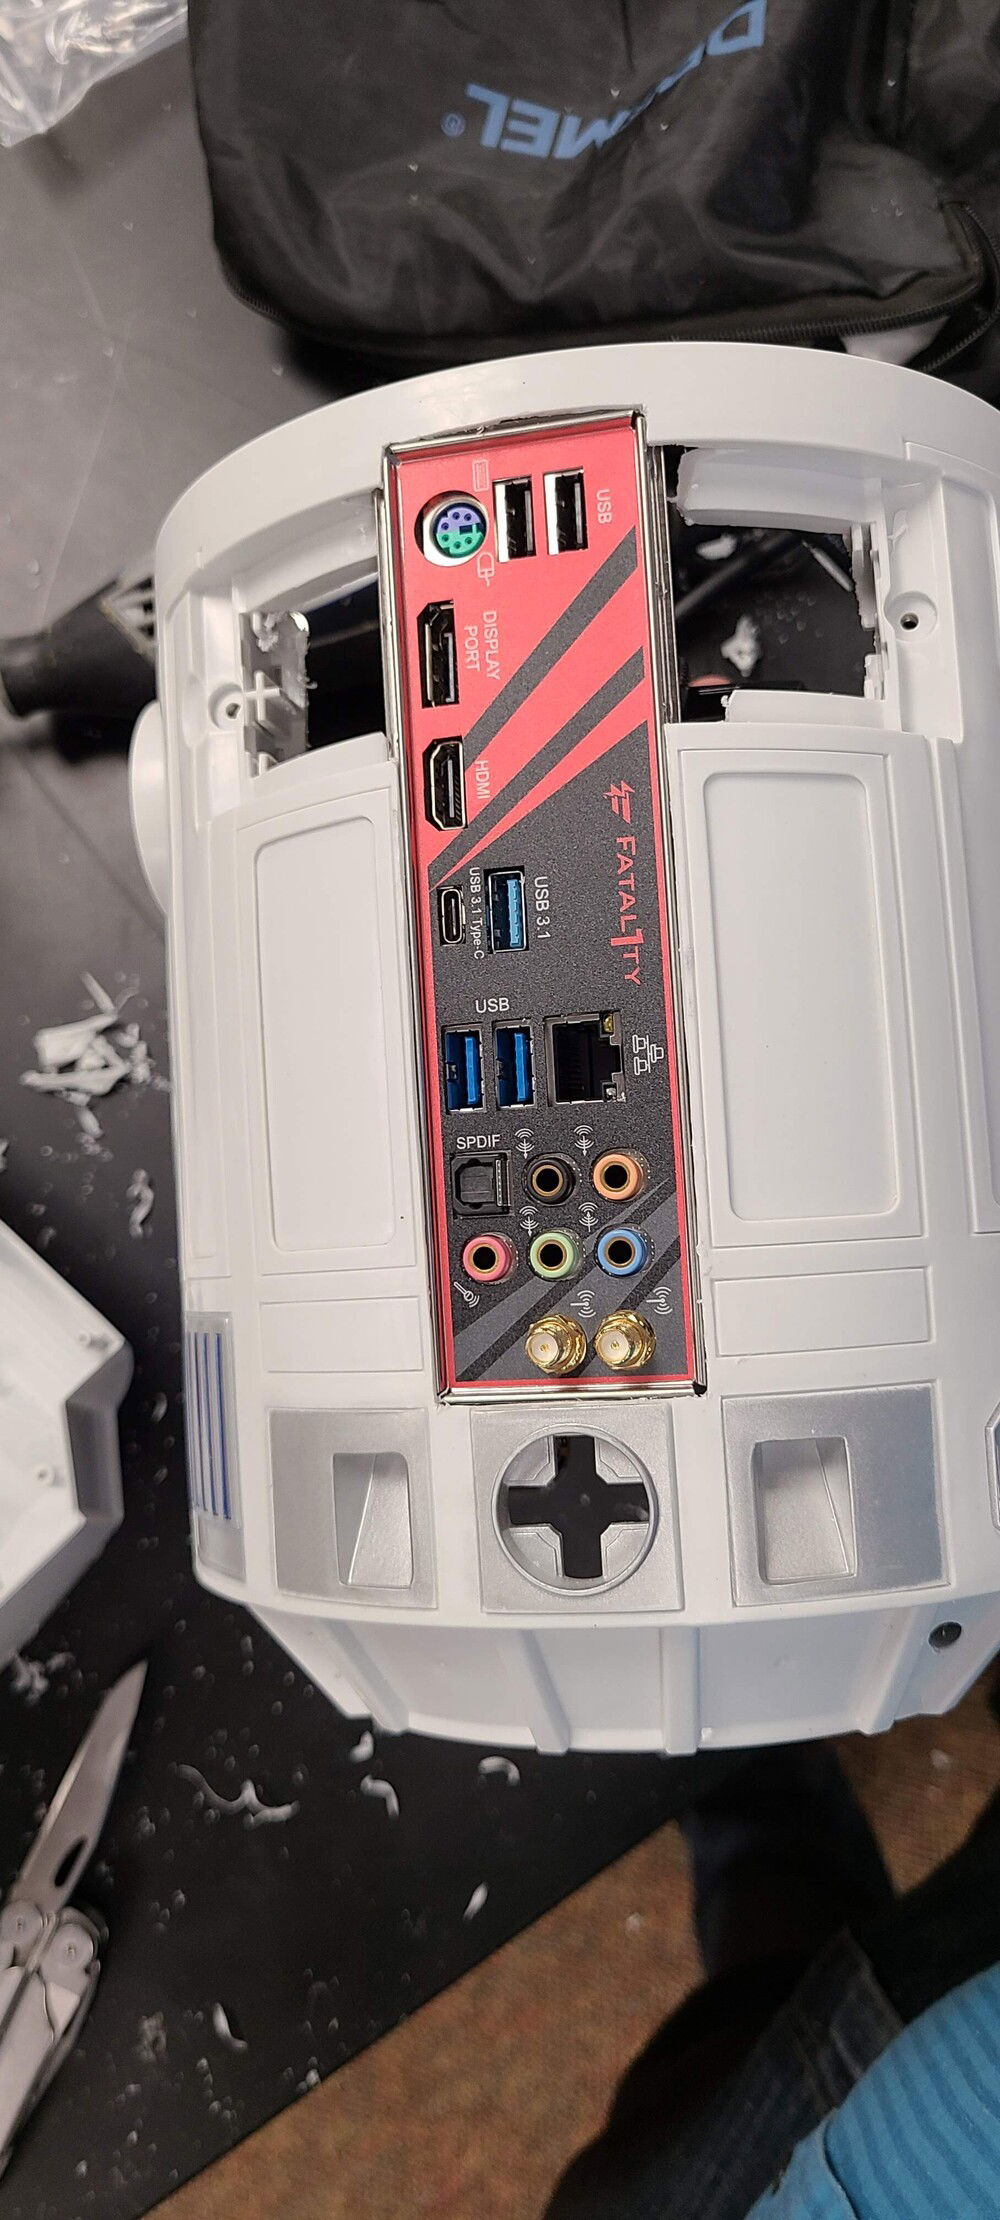
IO Plate Case Modification - Done

IO Plate Case Modification Motherboard Test Fit.

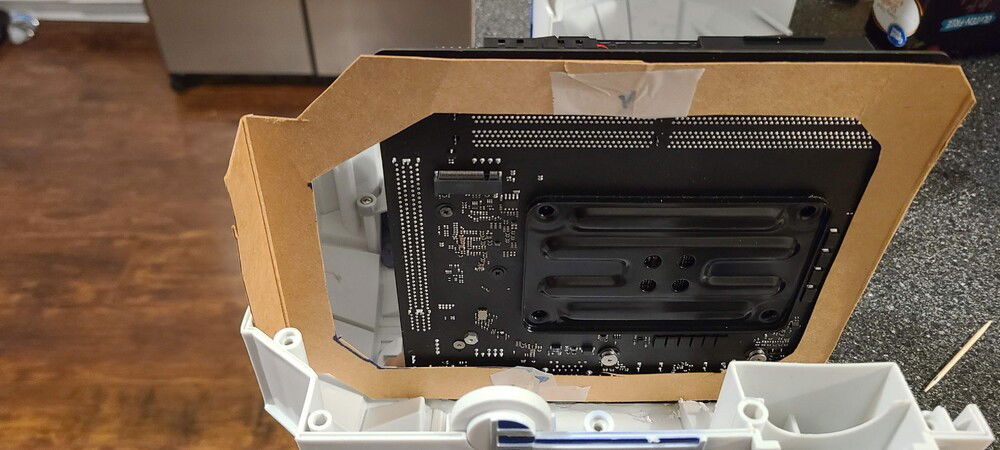
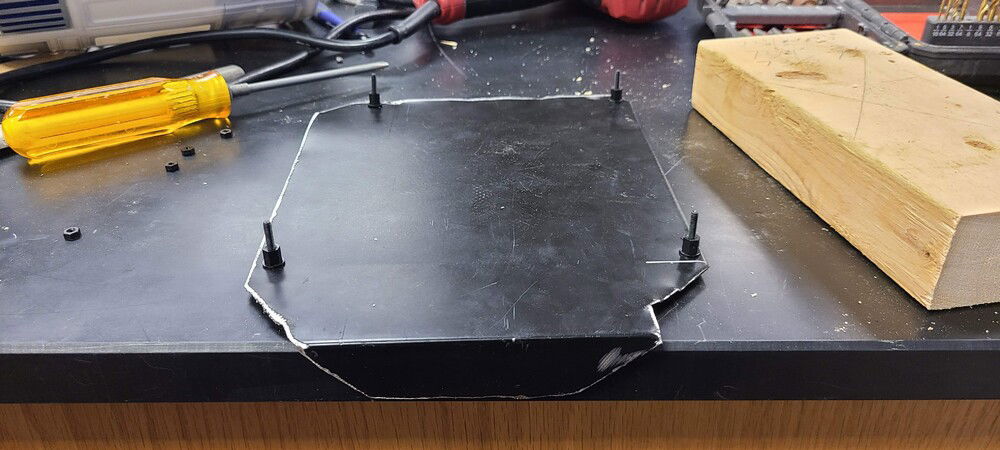
Creating a Custom Motherboard Mount Template

Creating a Custom Motherboard Mount Template

Creating a Custom Motherboard Mount Template

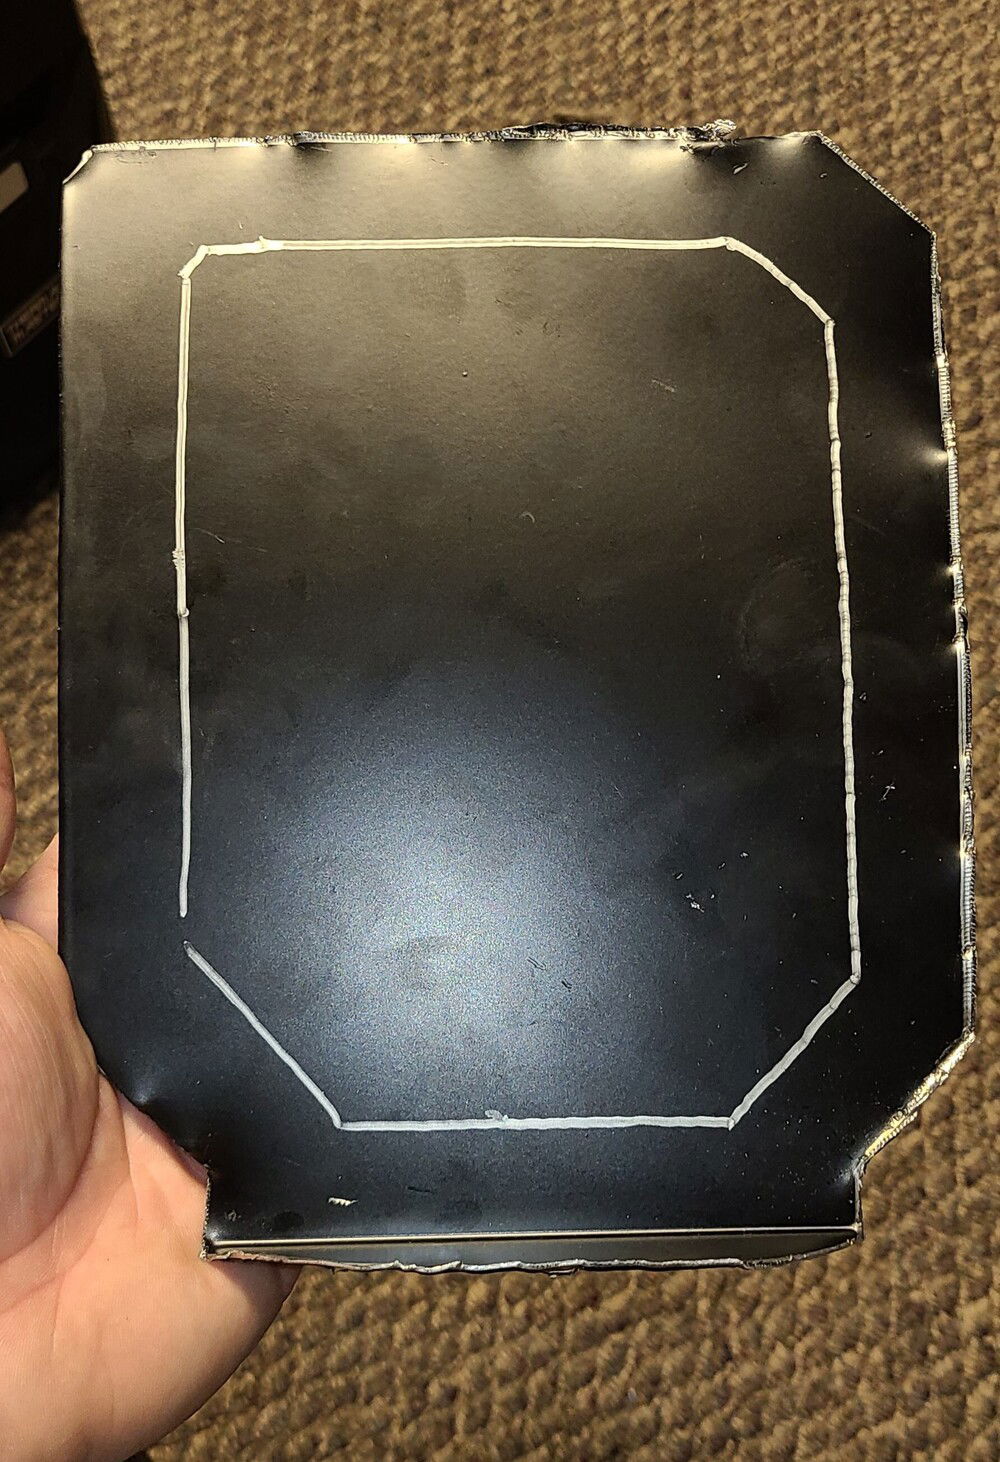
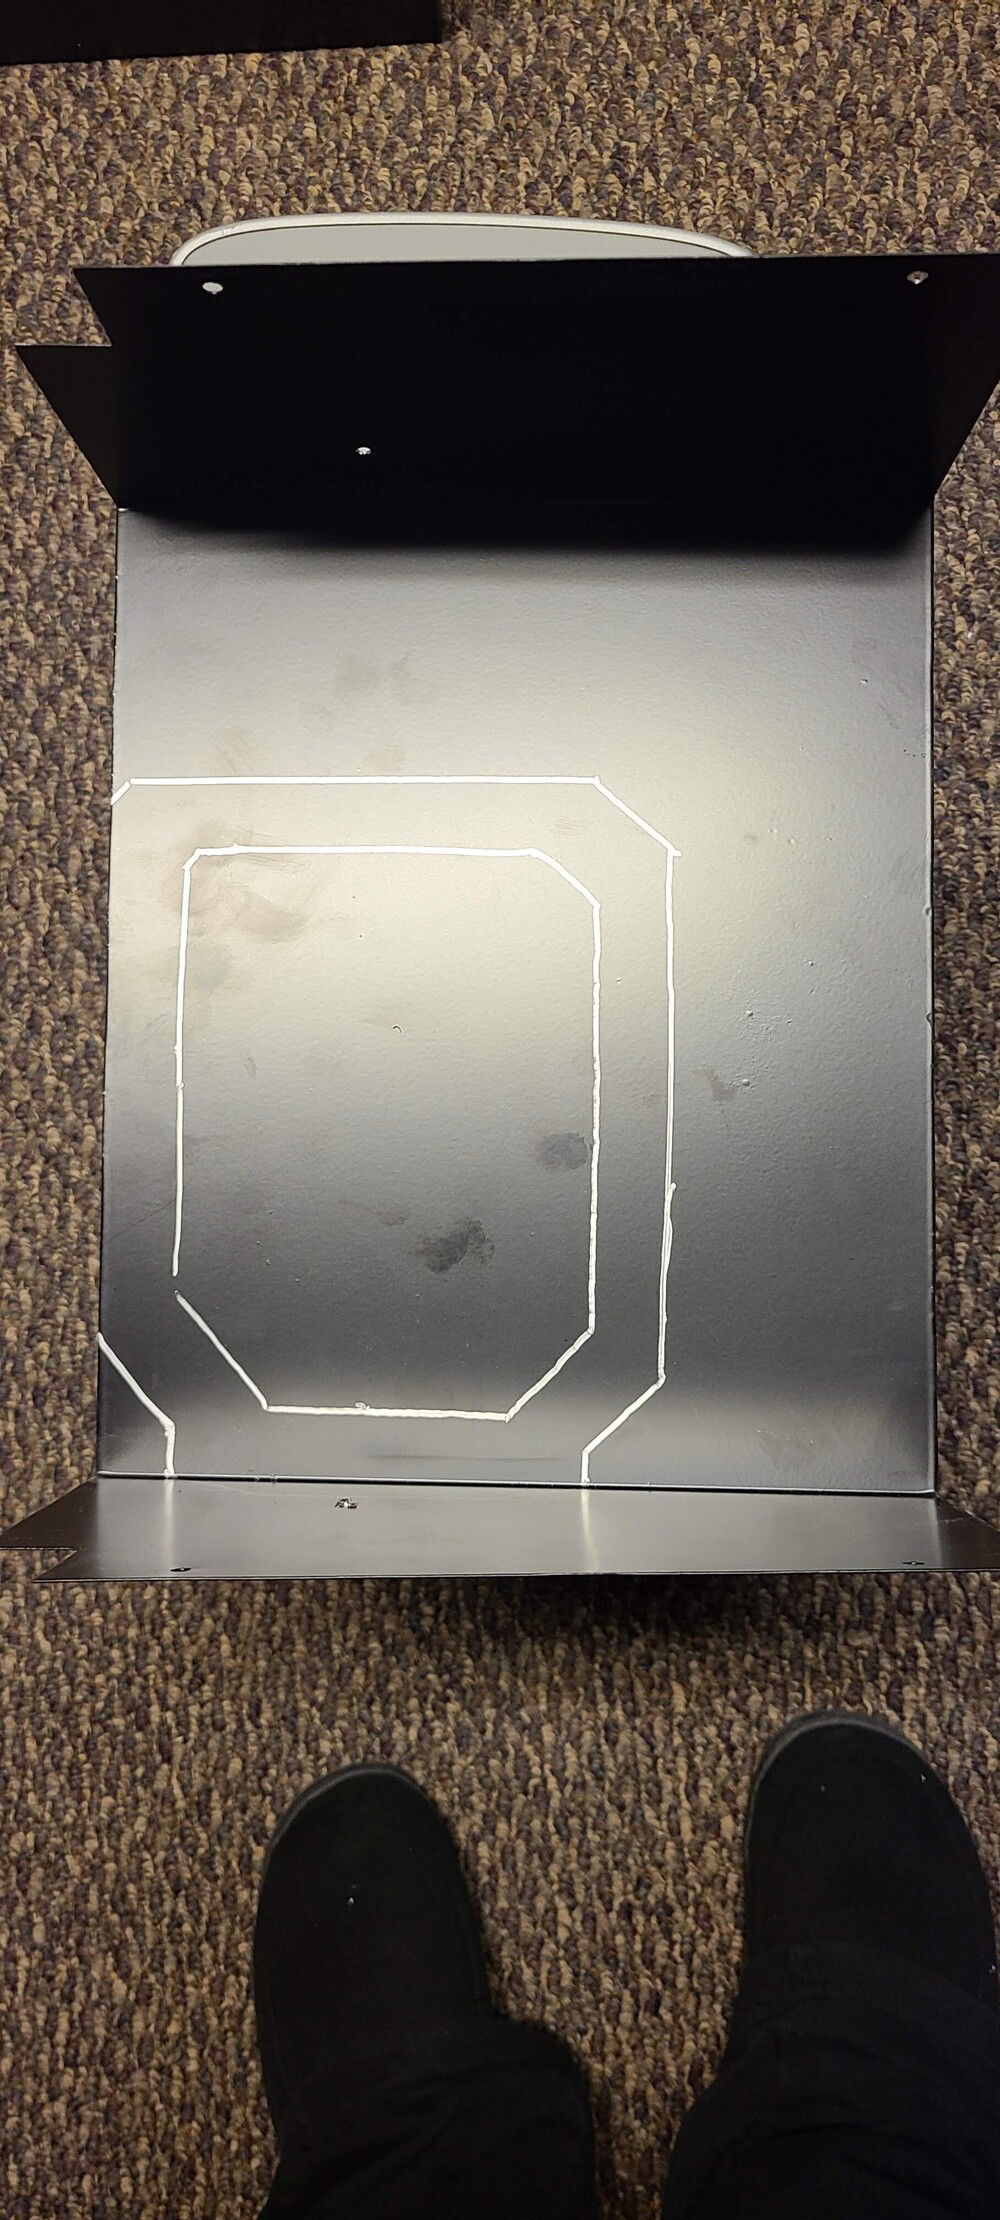
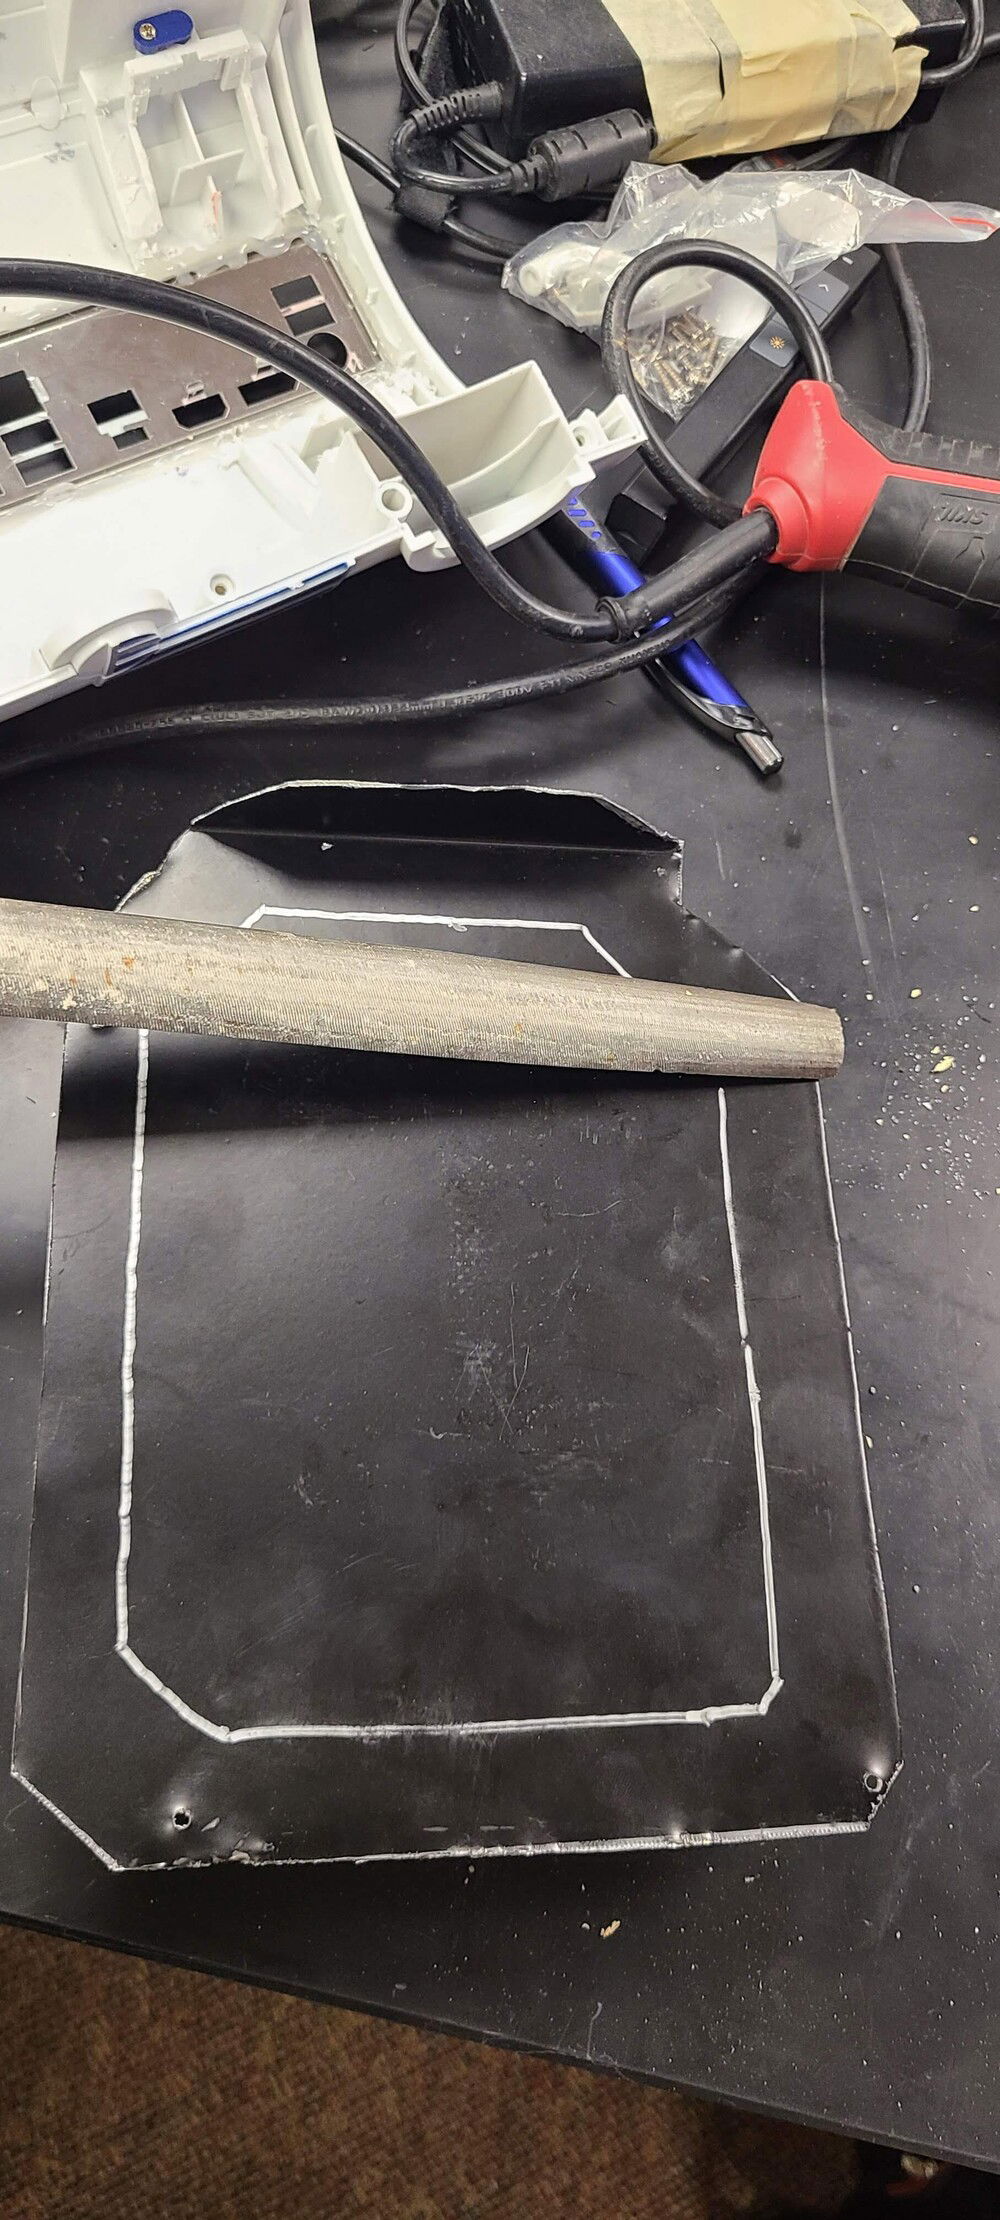
Motherboard Mount Traced Out

Cutting out the Motherboard Mount

Motherboard Mount Outside Cut Out

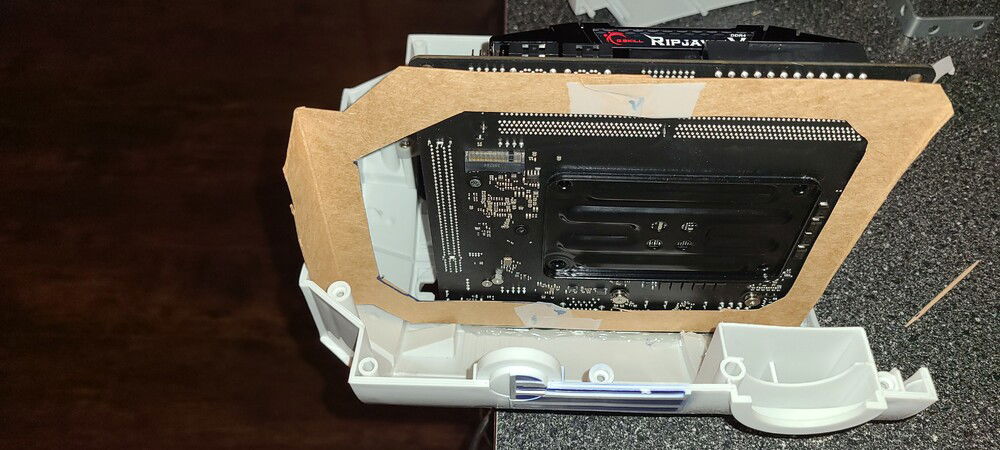
Motherboard Mount Test Fit

Motherboard Mount Test Fit

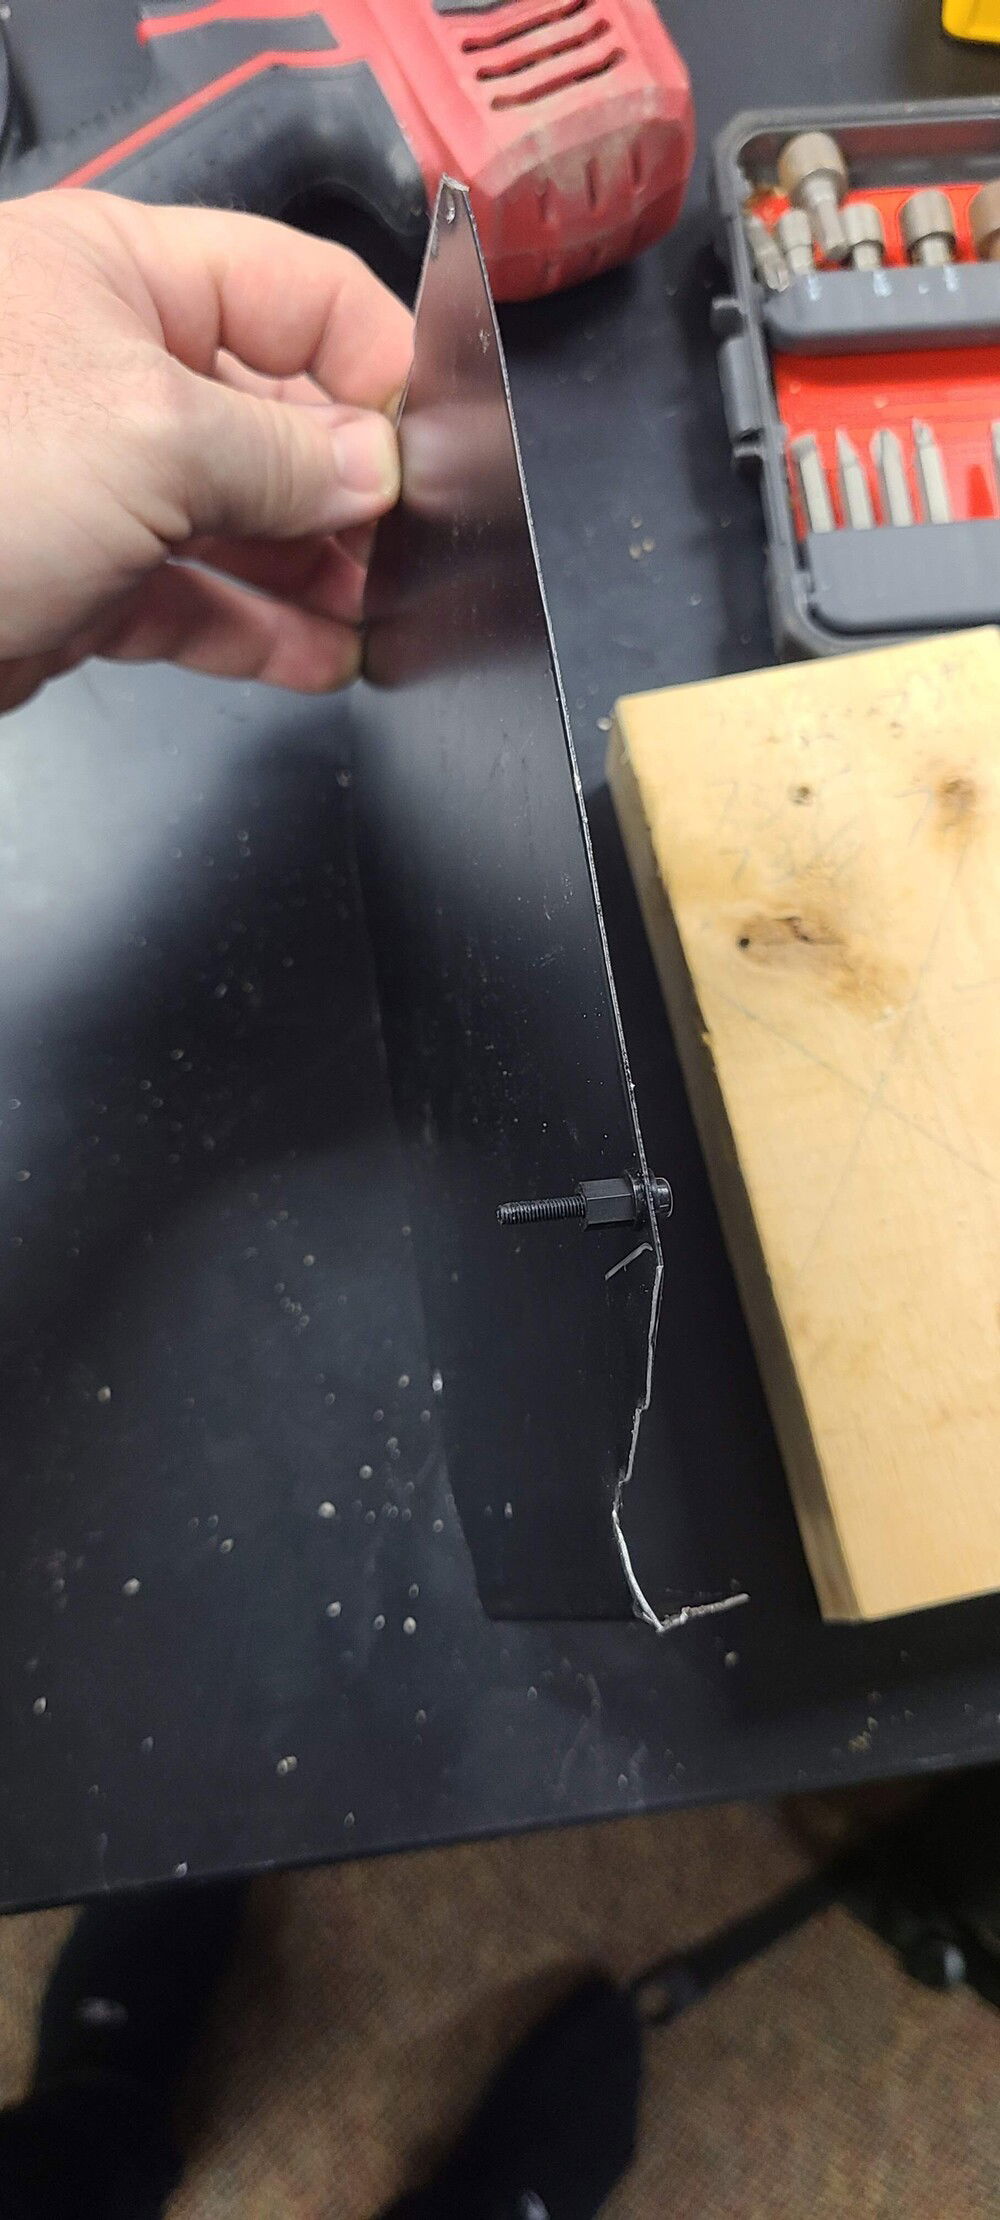
Time to add the Standoffs

Done

Test Fit

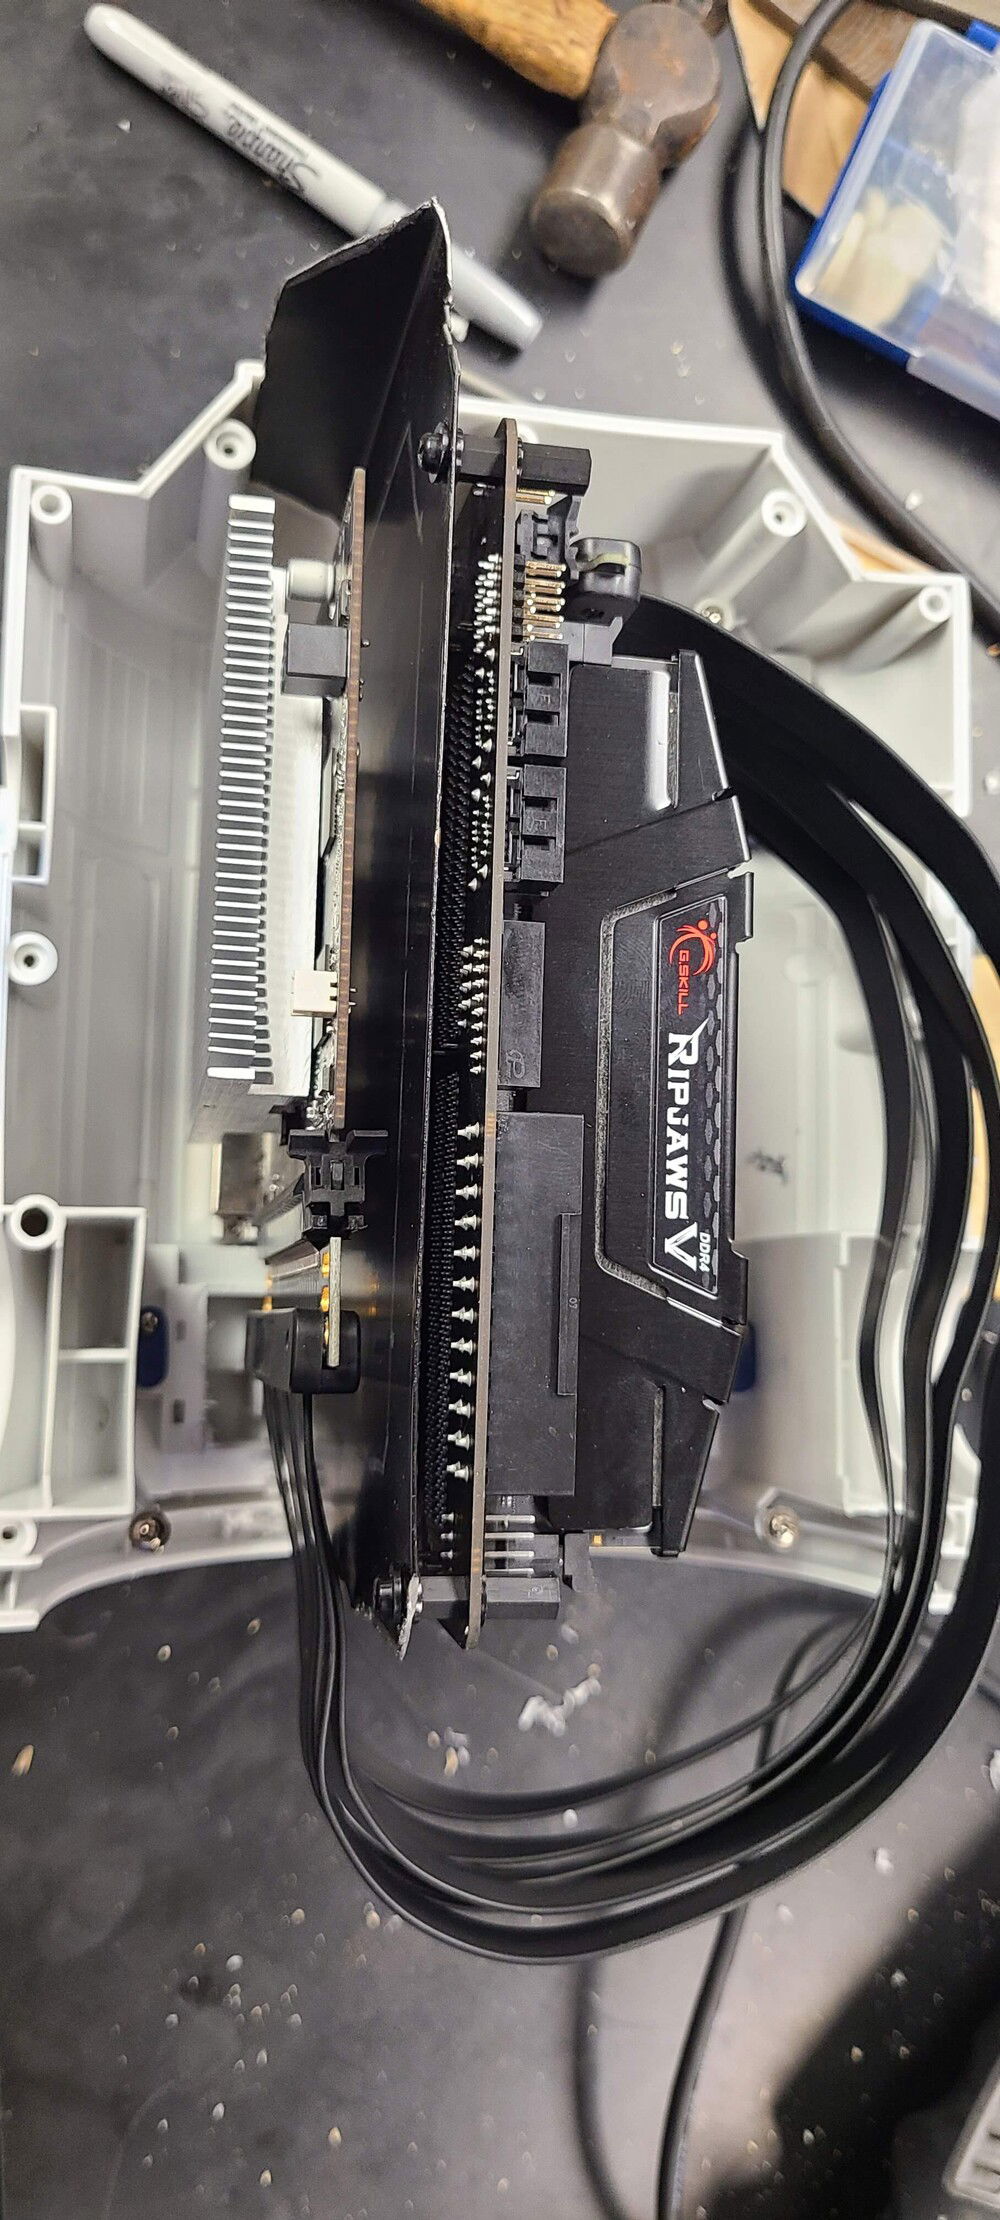
Test Fitting the Graphics Card. What way will fit in the case the best!

Test Fitting the Graphics Card. What way will fit in the case the best!

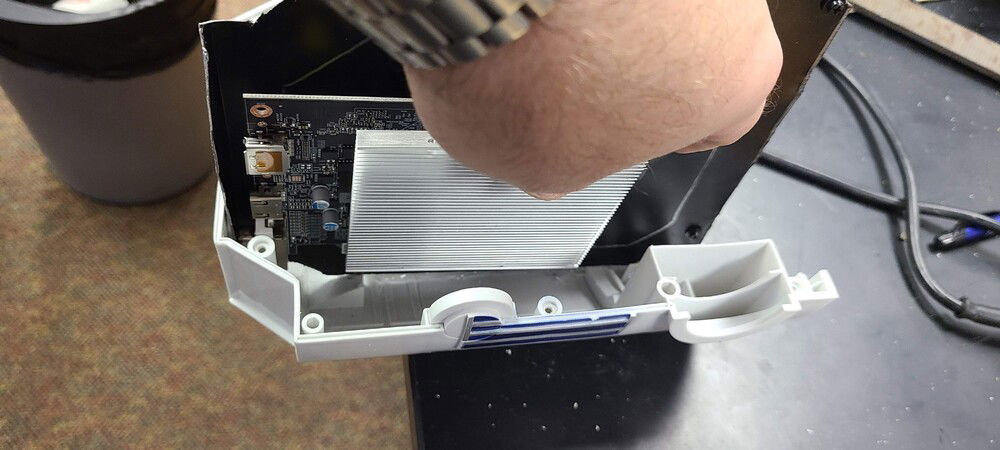
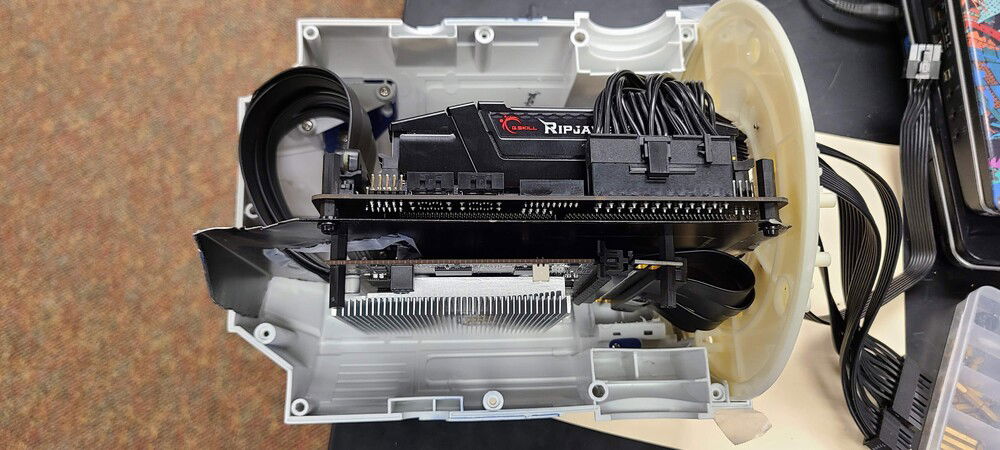
Upside down is the best!

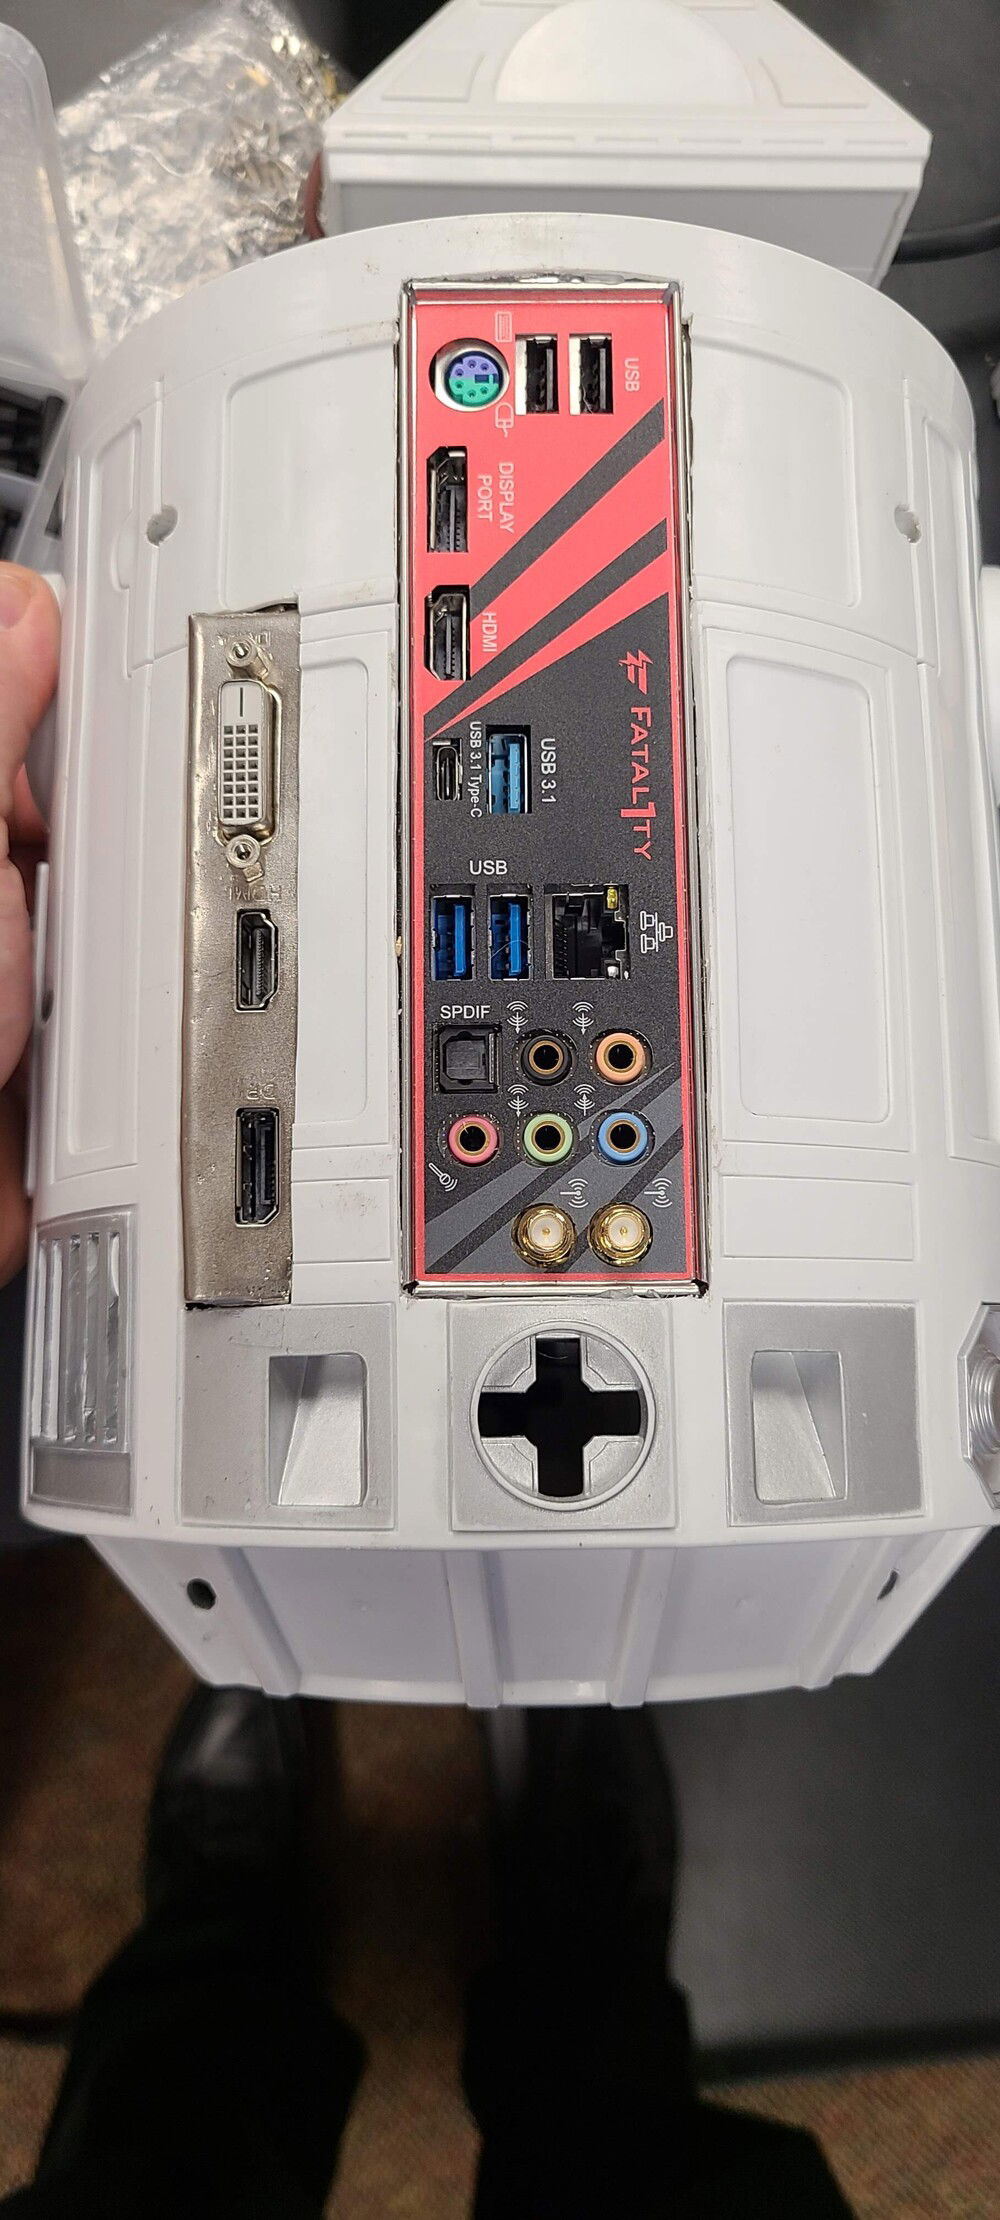
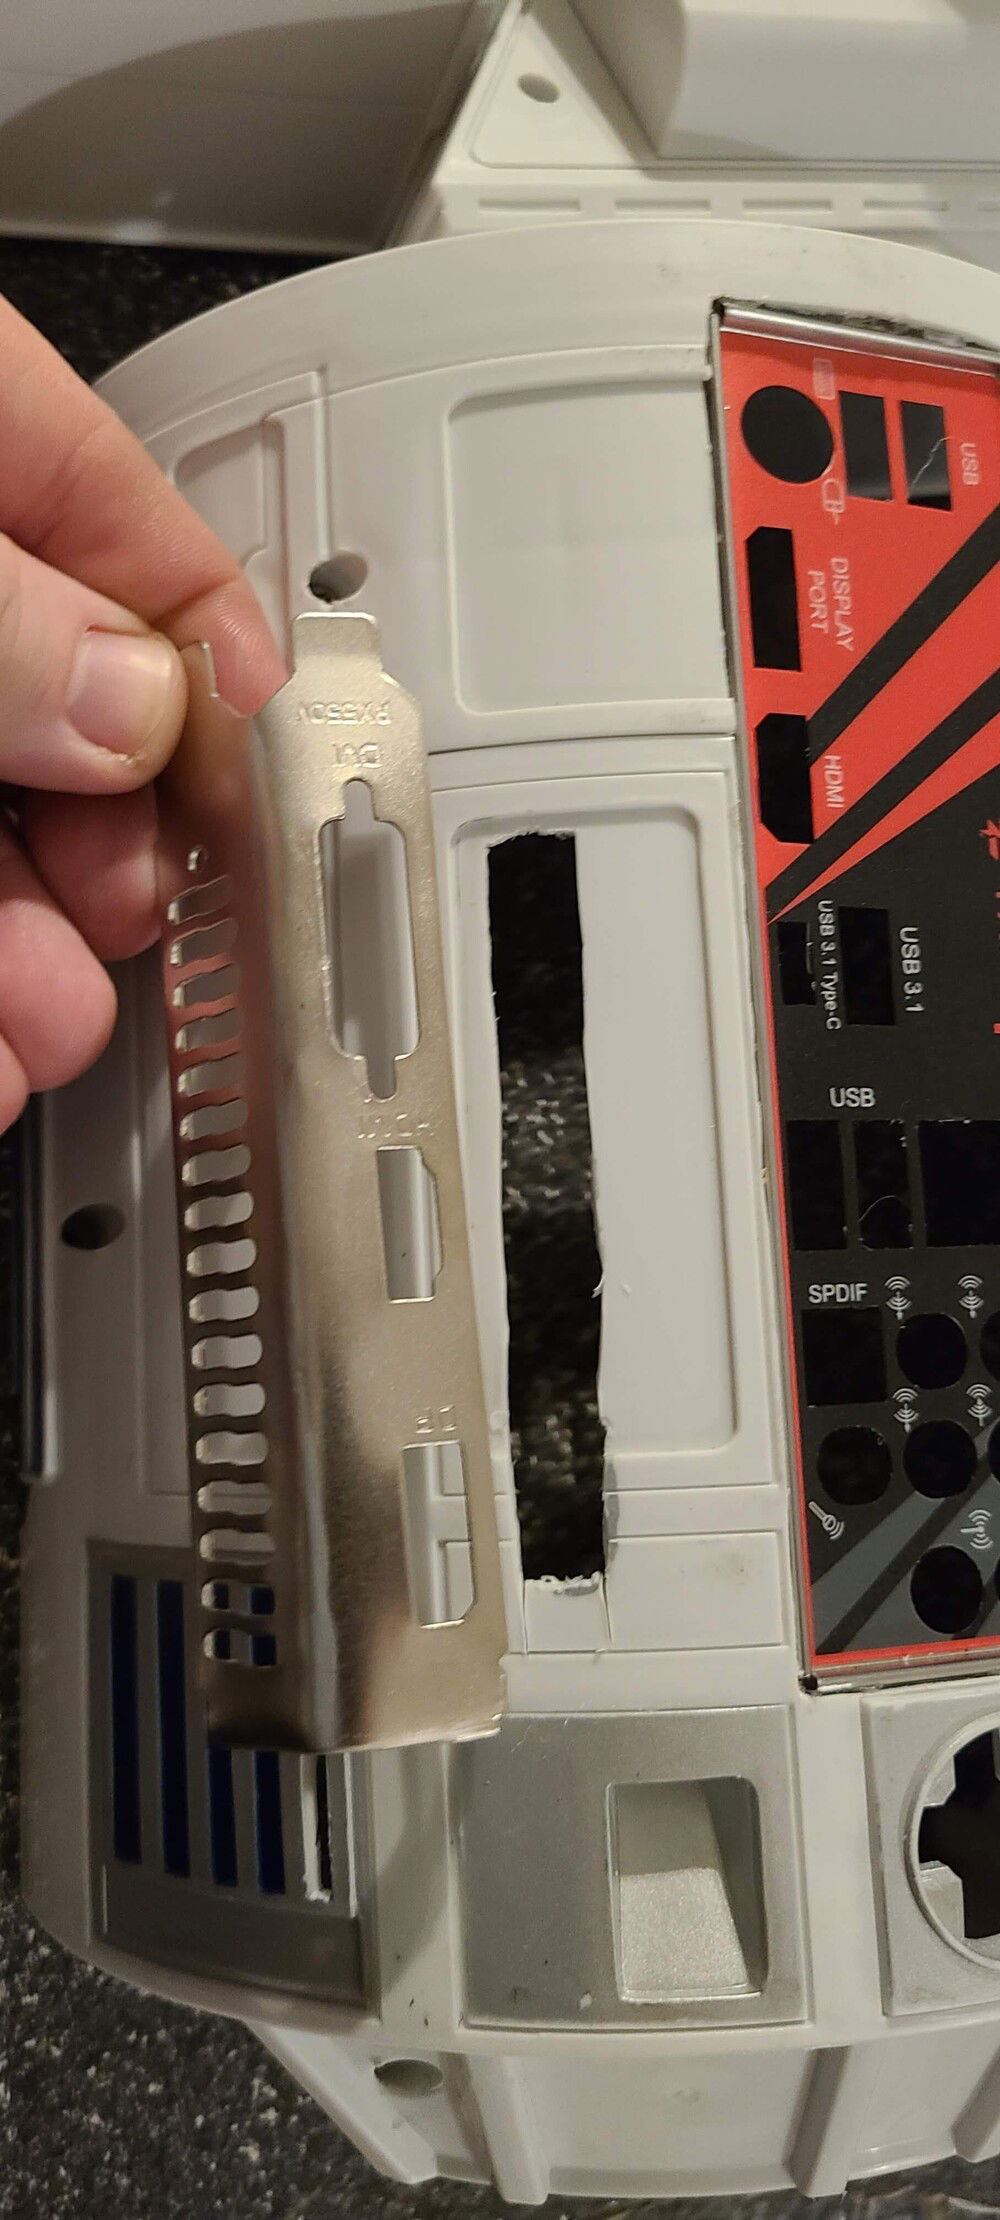
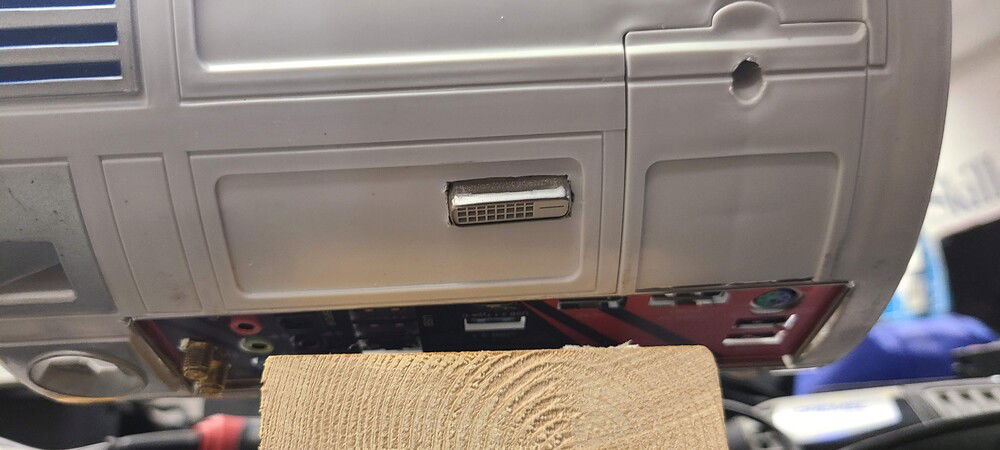
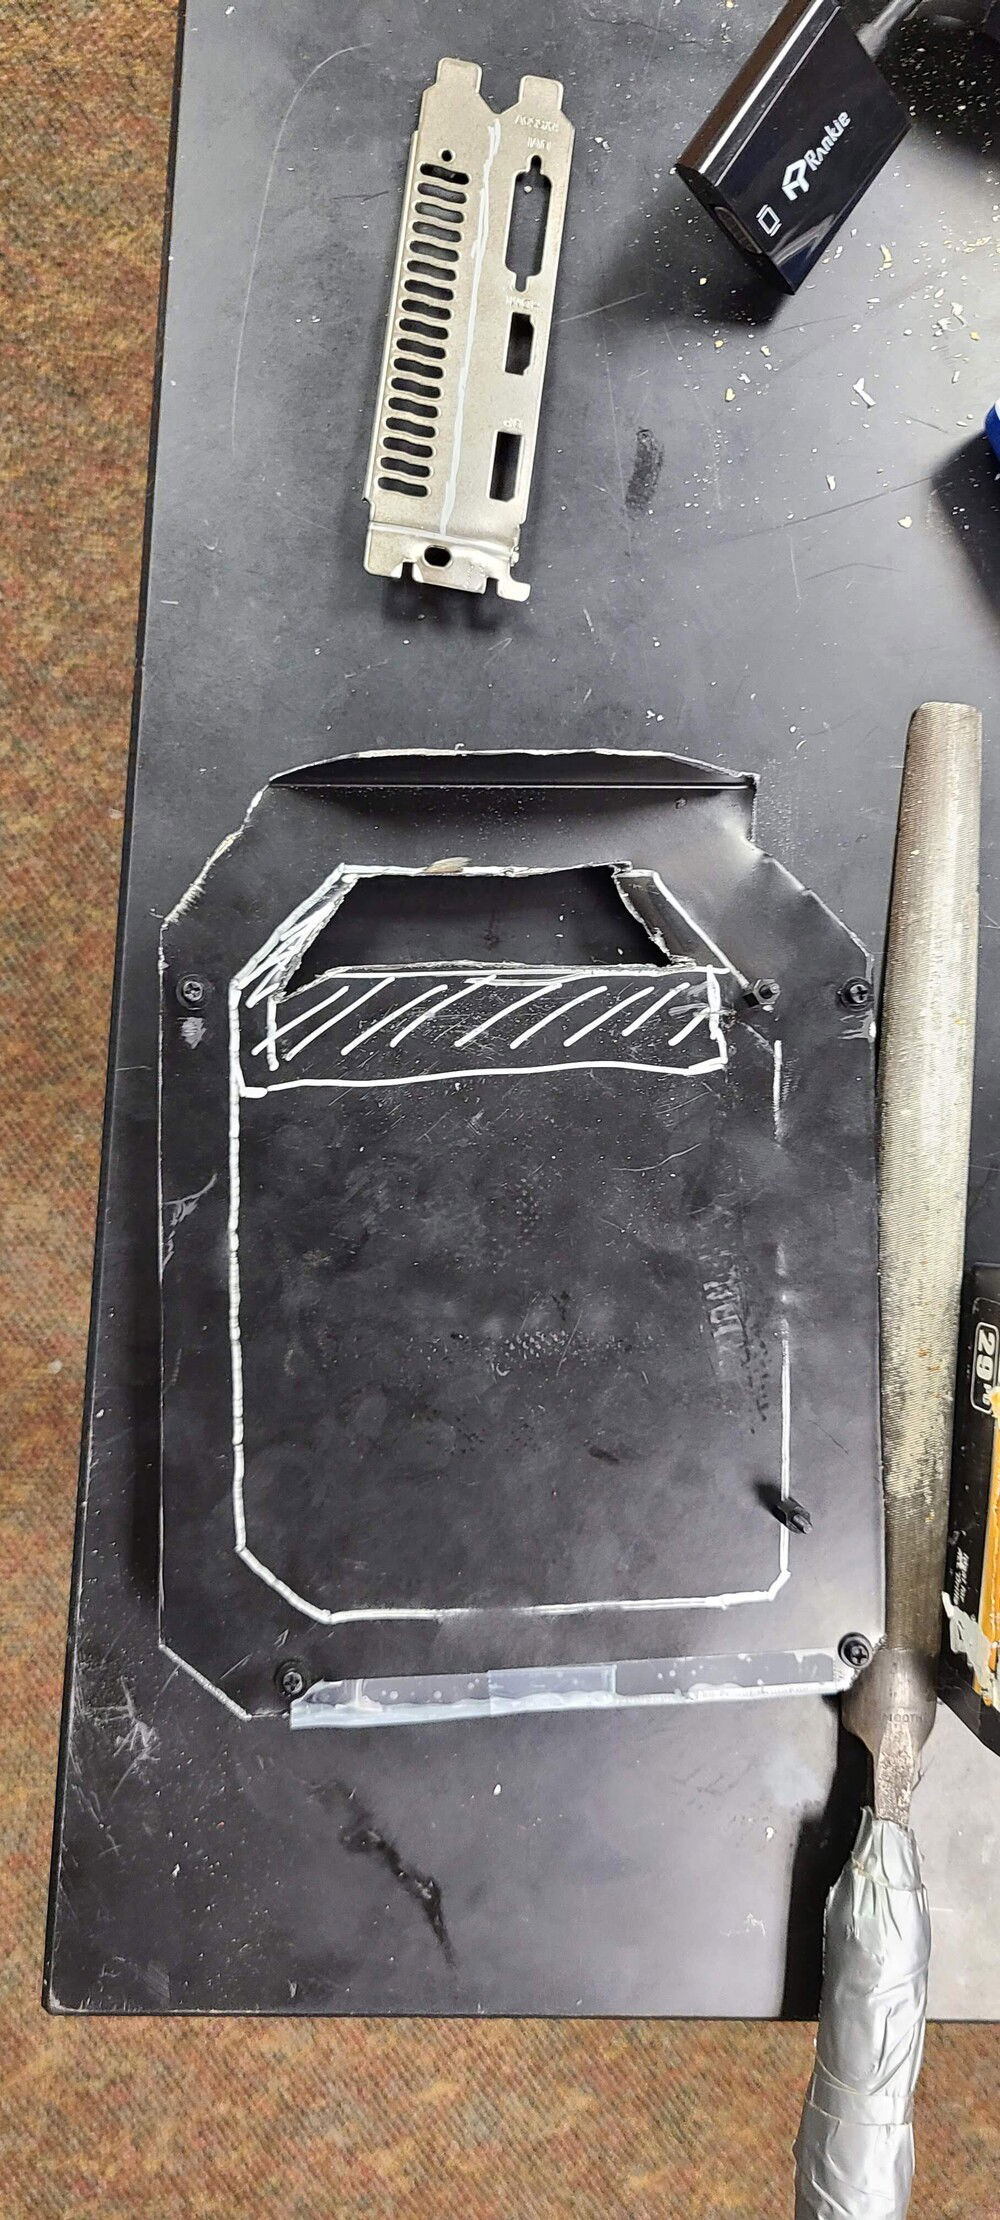
At first I was going to try cutting out just the ports for the Graphics Card, but that would be close to impossible to get perfectly lined up.

At first I was going to try cutting out just the ports for the Graphics Card, but that would be close to impossible to get perfectly lined up.

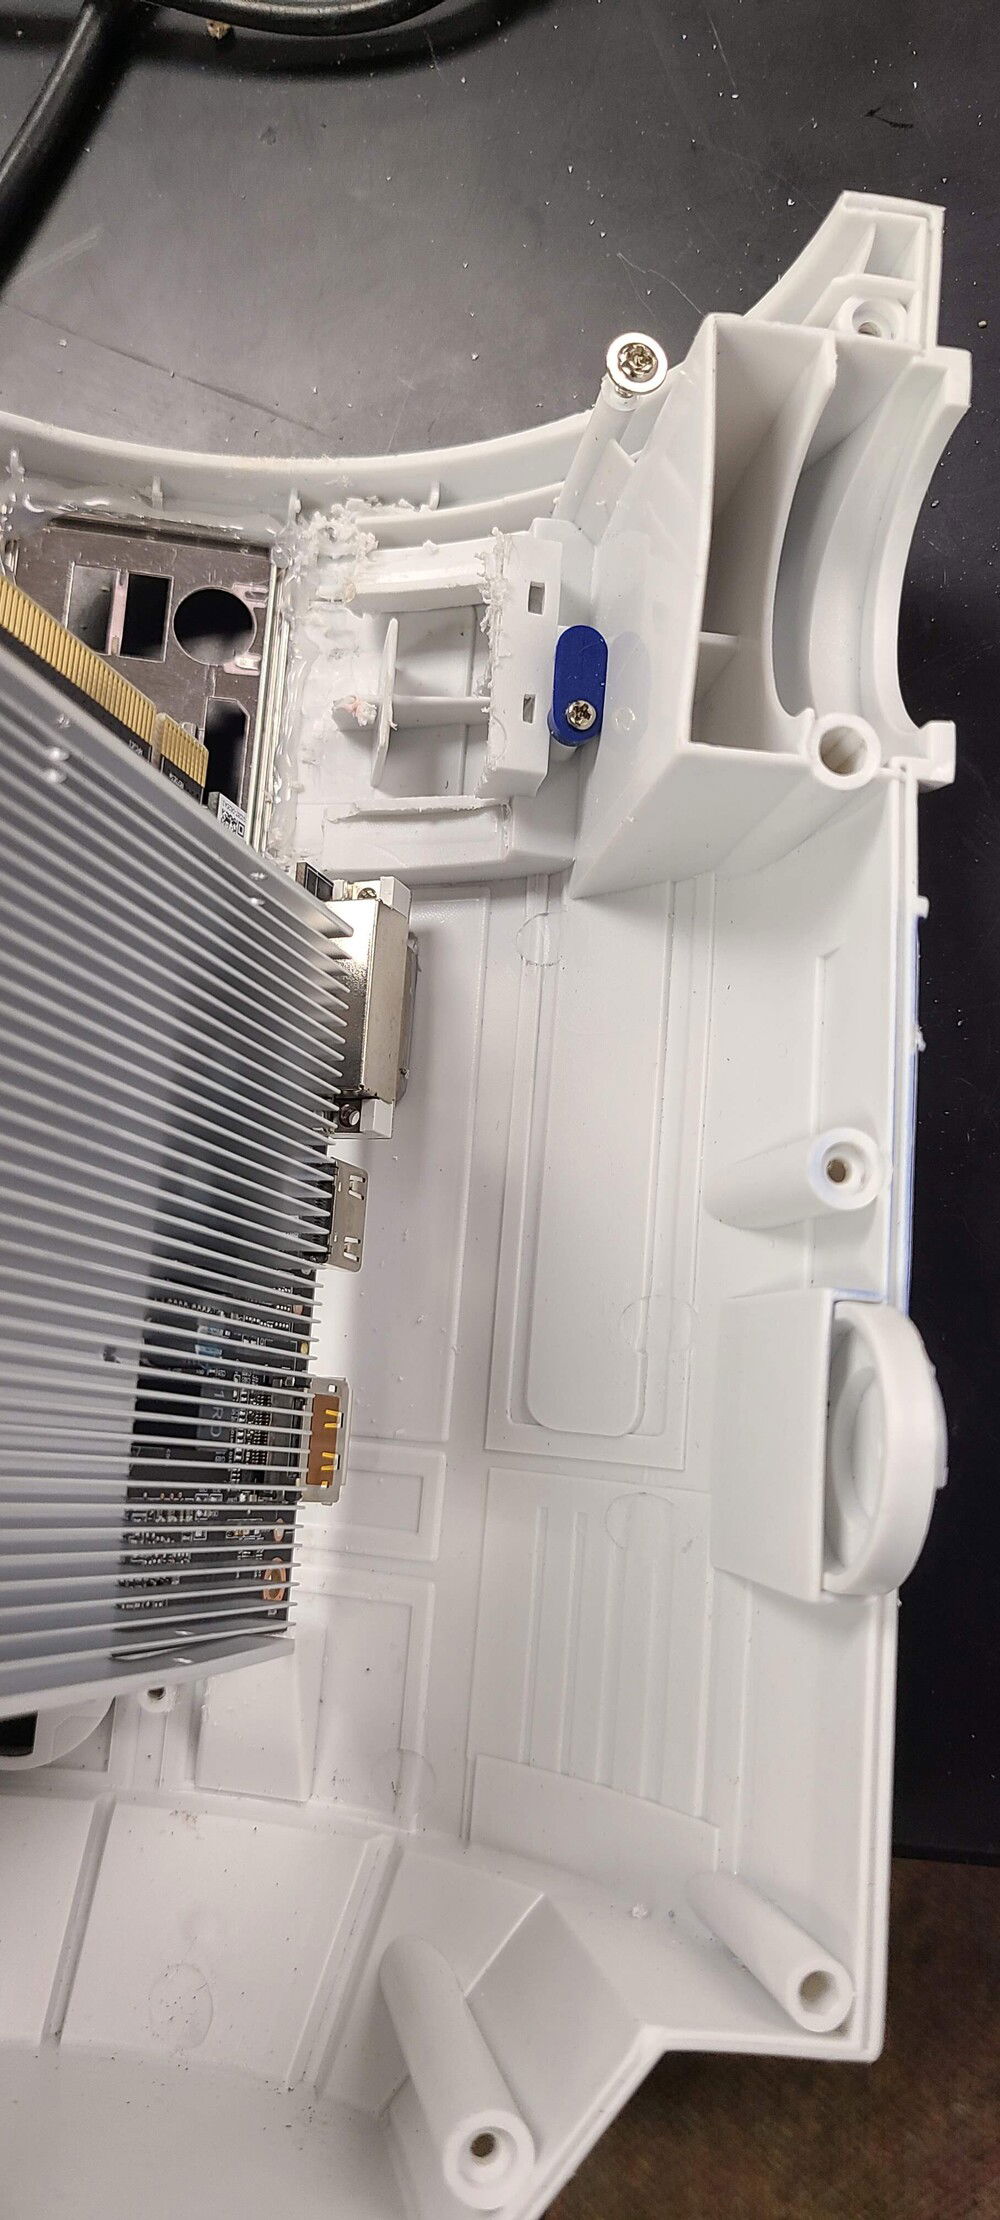
Cutting the whole area out for the Graphic Card Face Plate

Test Fit.

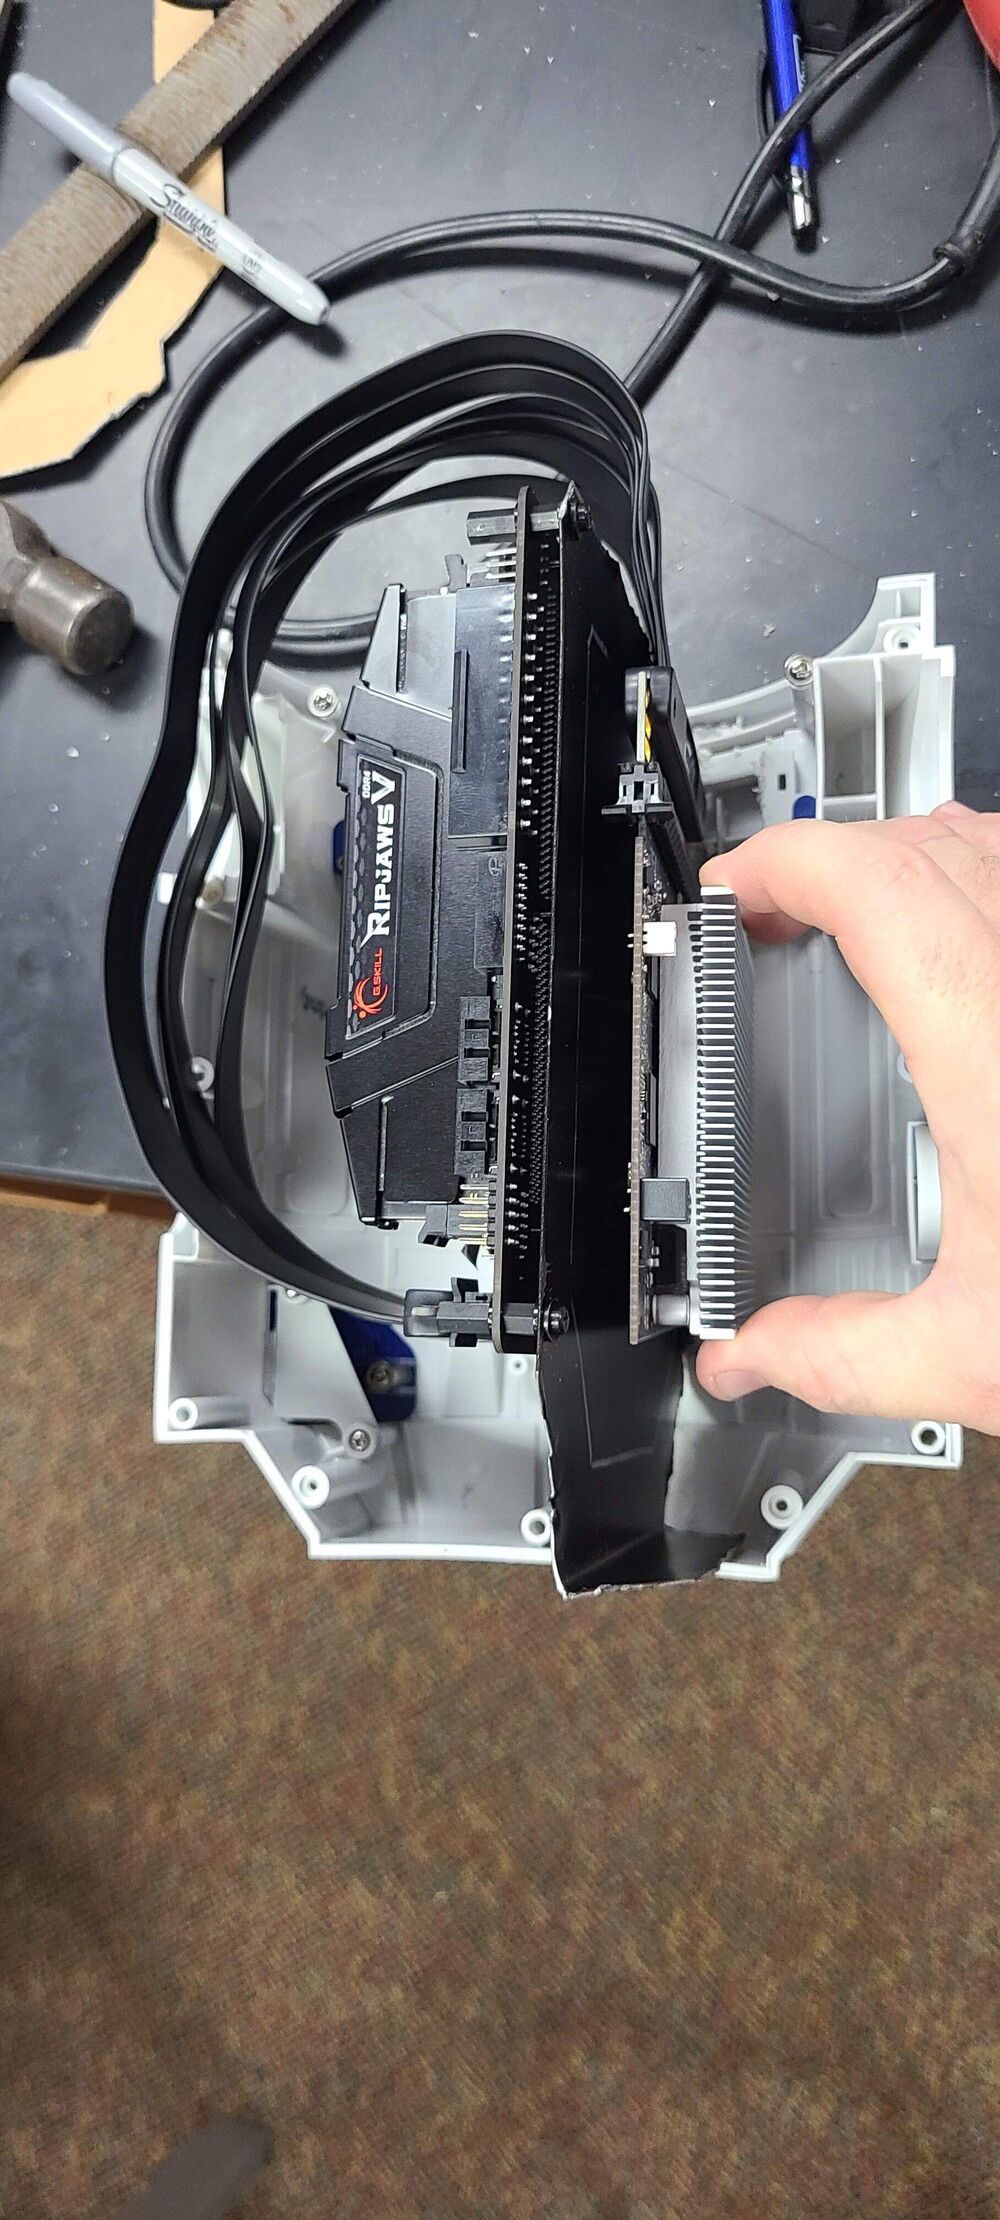
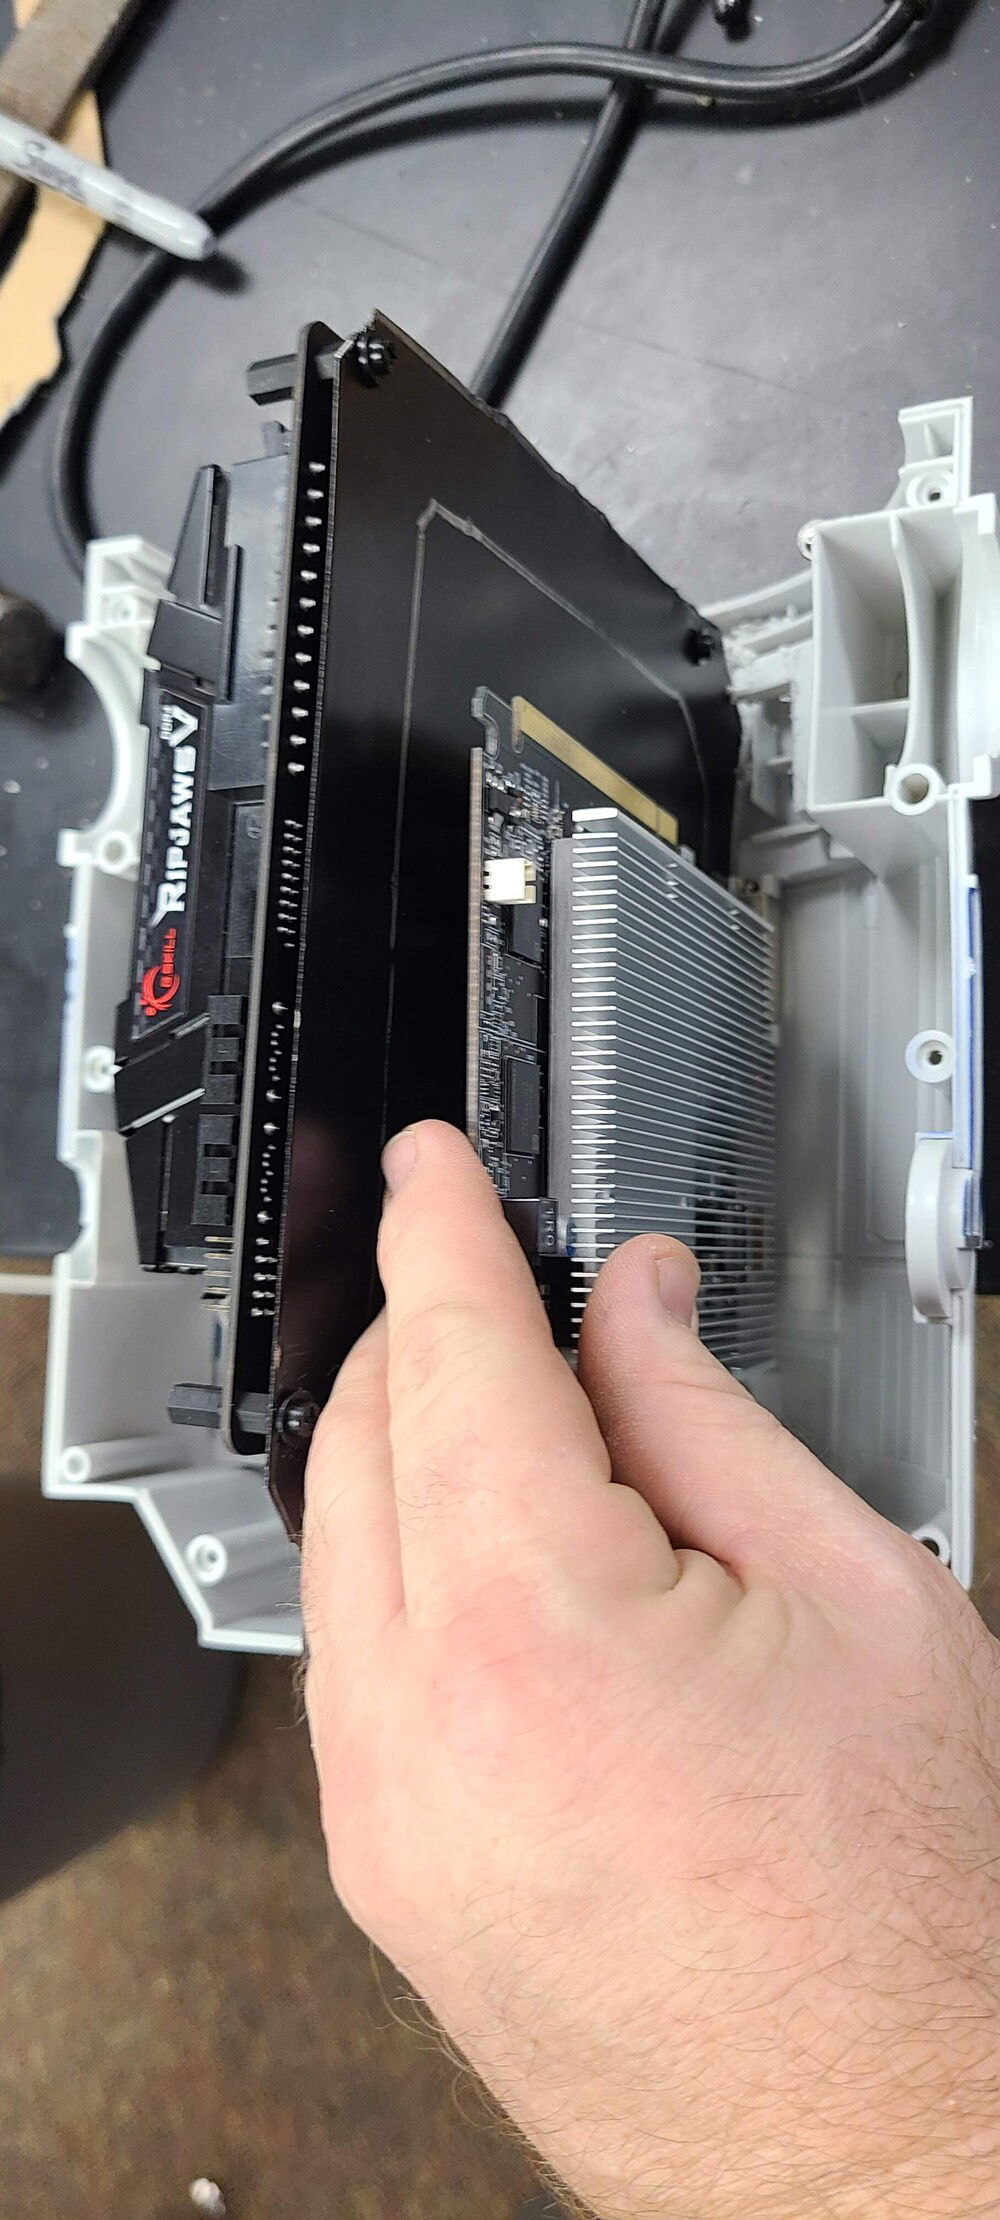
Looking Good. Now to attach the Graphics Card to the Motherboard Stand.

Had some issues cutting out the inside. I didn't have the right tools. So a small slot it is.

Graphic Card Attached and ready to go. Well not quite. Time to modify the Cooler and then we will be ready to go.

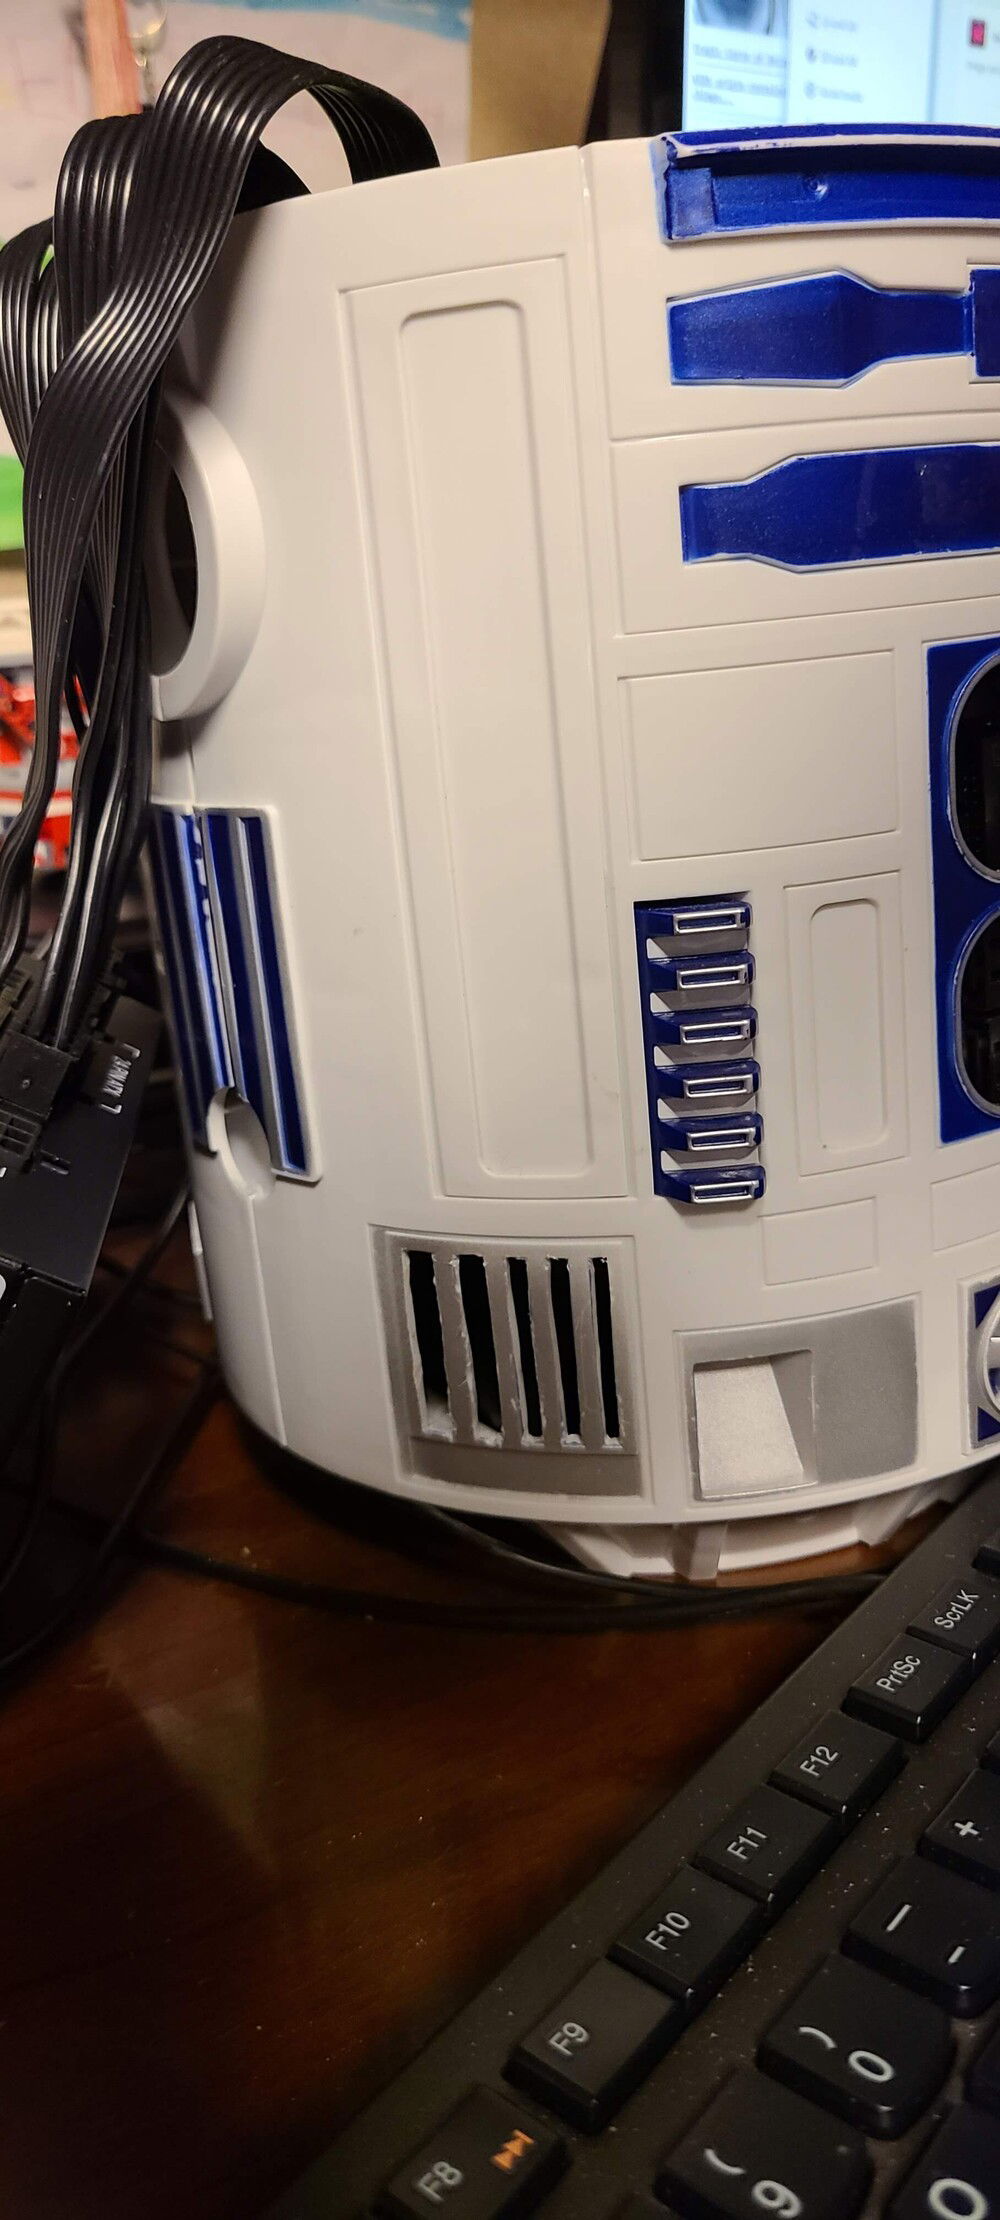
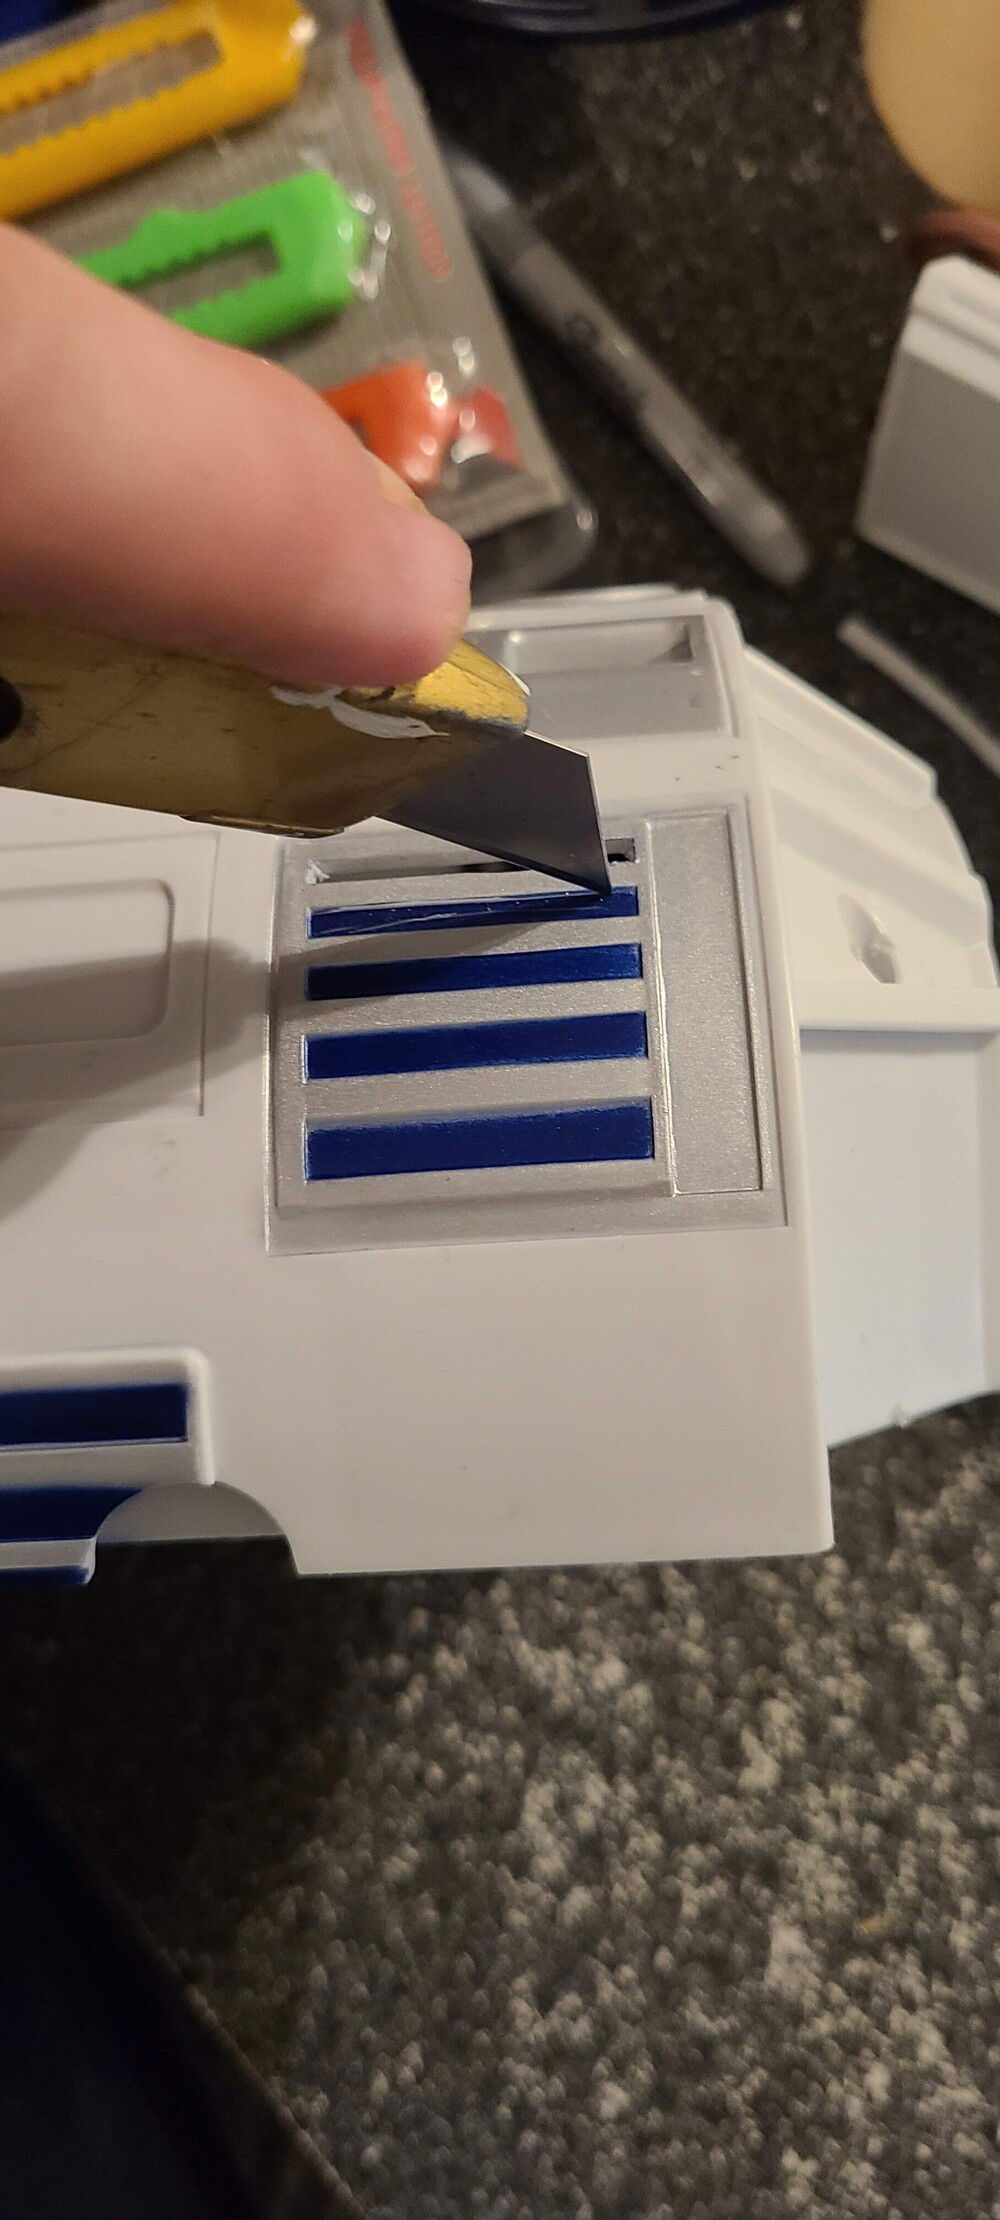
Time to make some are flow...

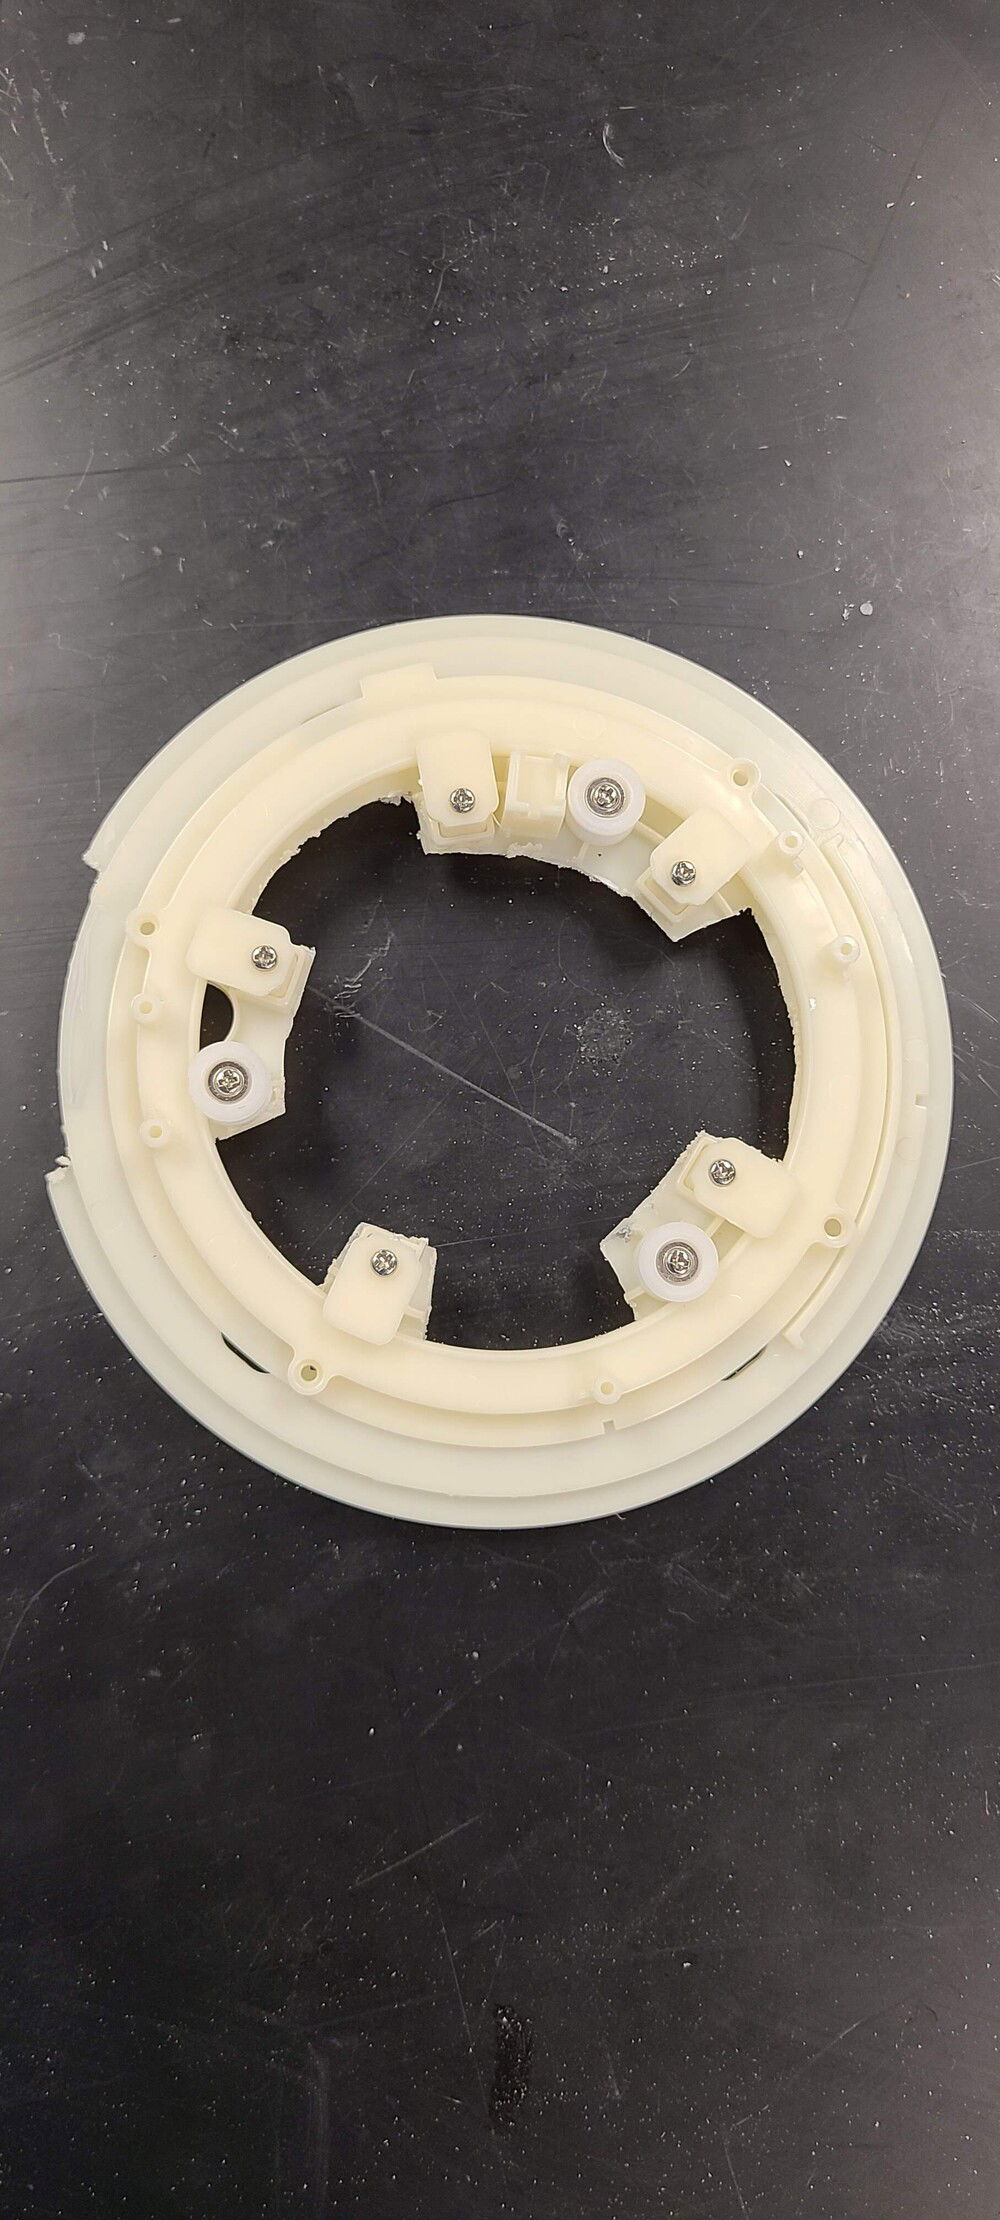
This is the piece that holds R2D2's head on. It had a tiny hole in it. Now I have room for cables and air flow.

Extra Air is needed....

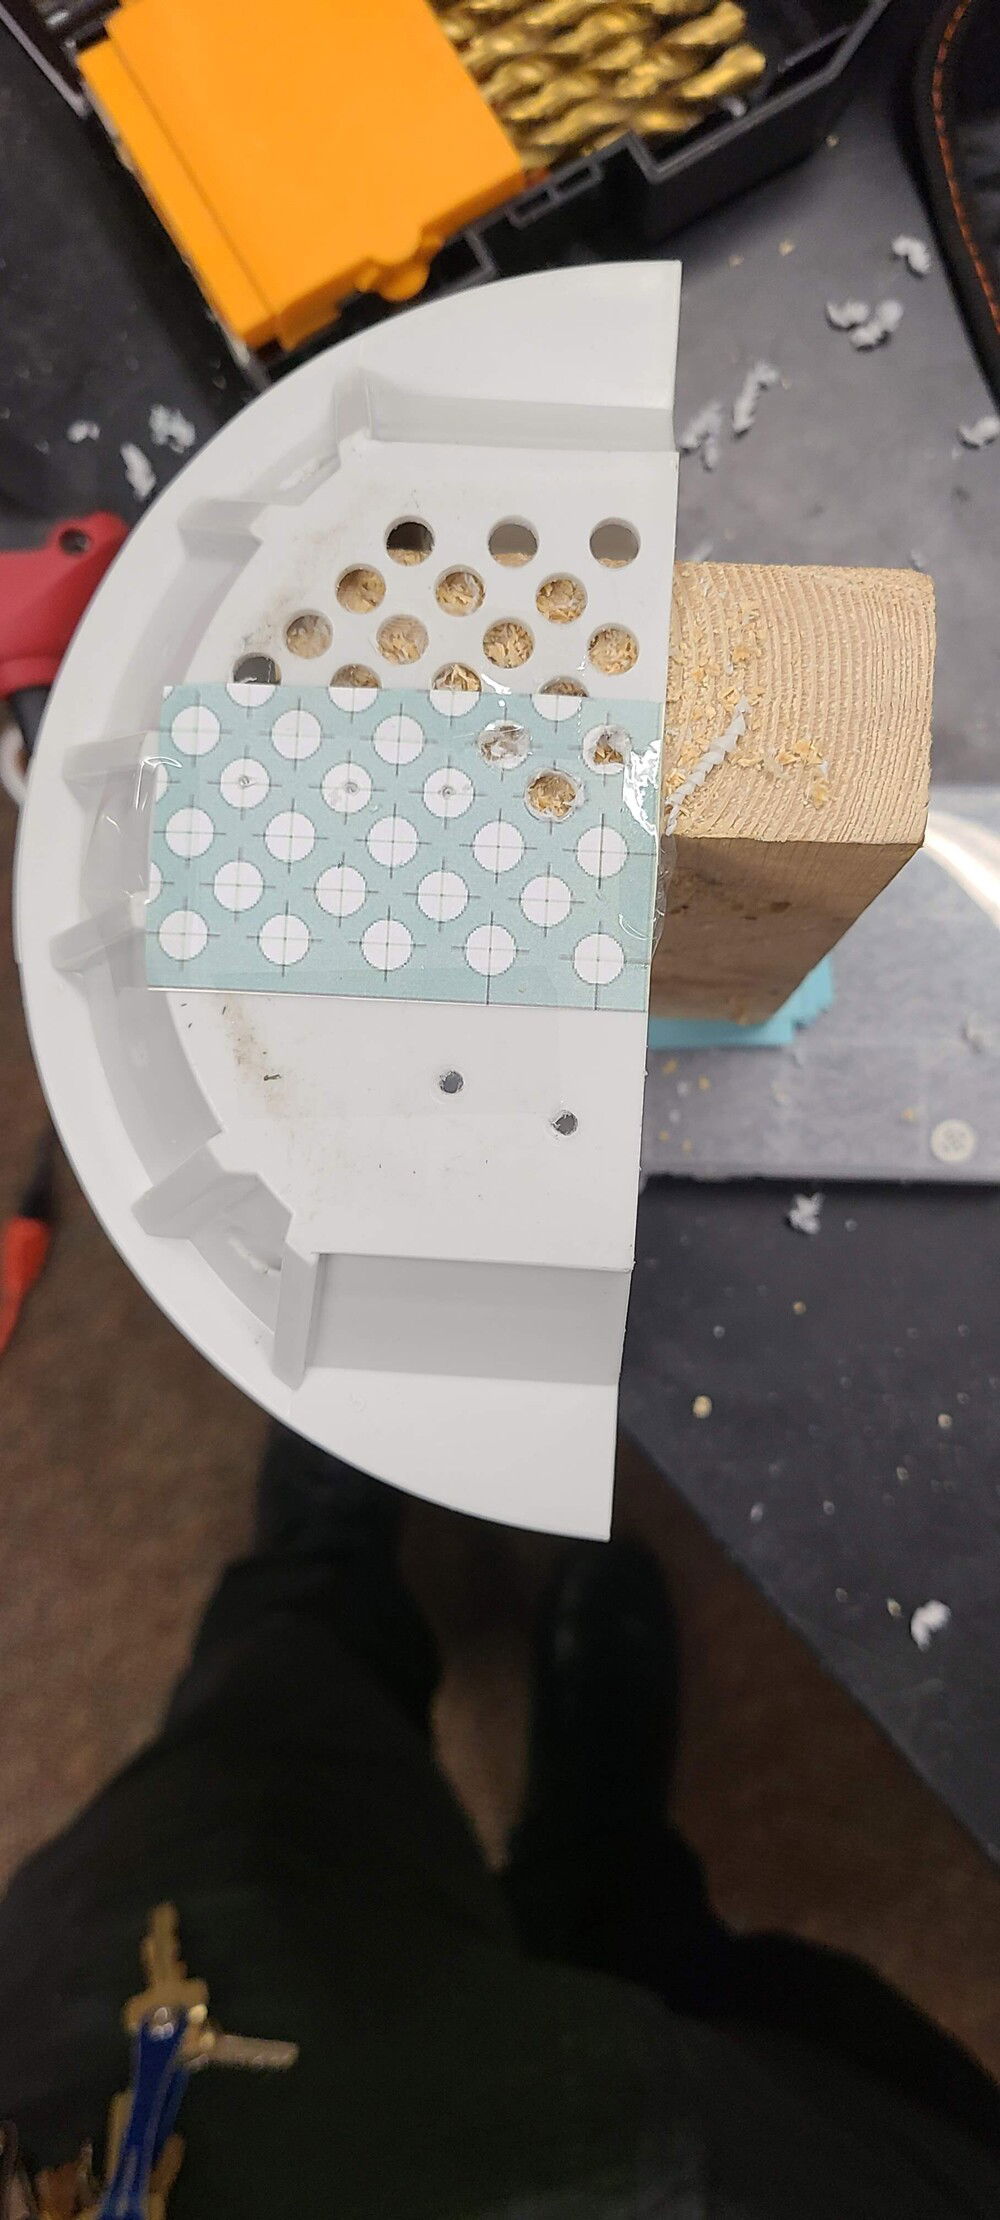
Additional Air Flow modifications.
Fan was first. But I needed more air flow. The right side has the Motherboard mount attached to it.

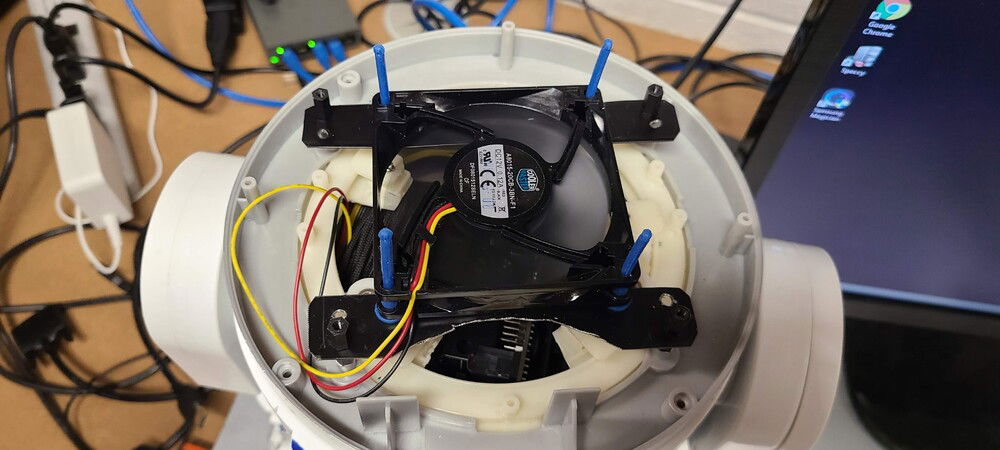
First attempt at adding a fan to the head to draw the air up and out.

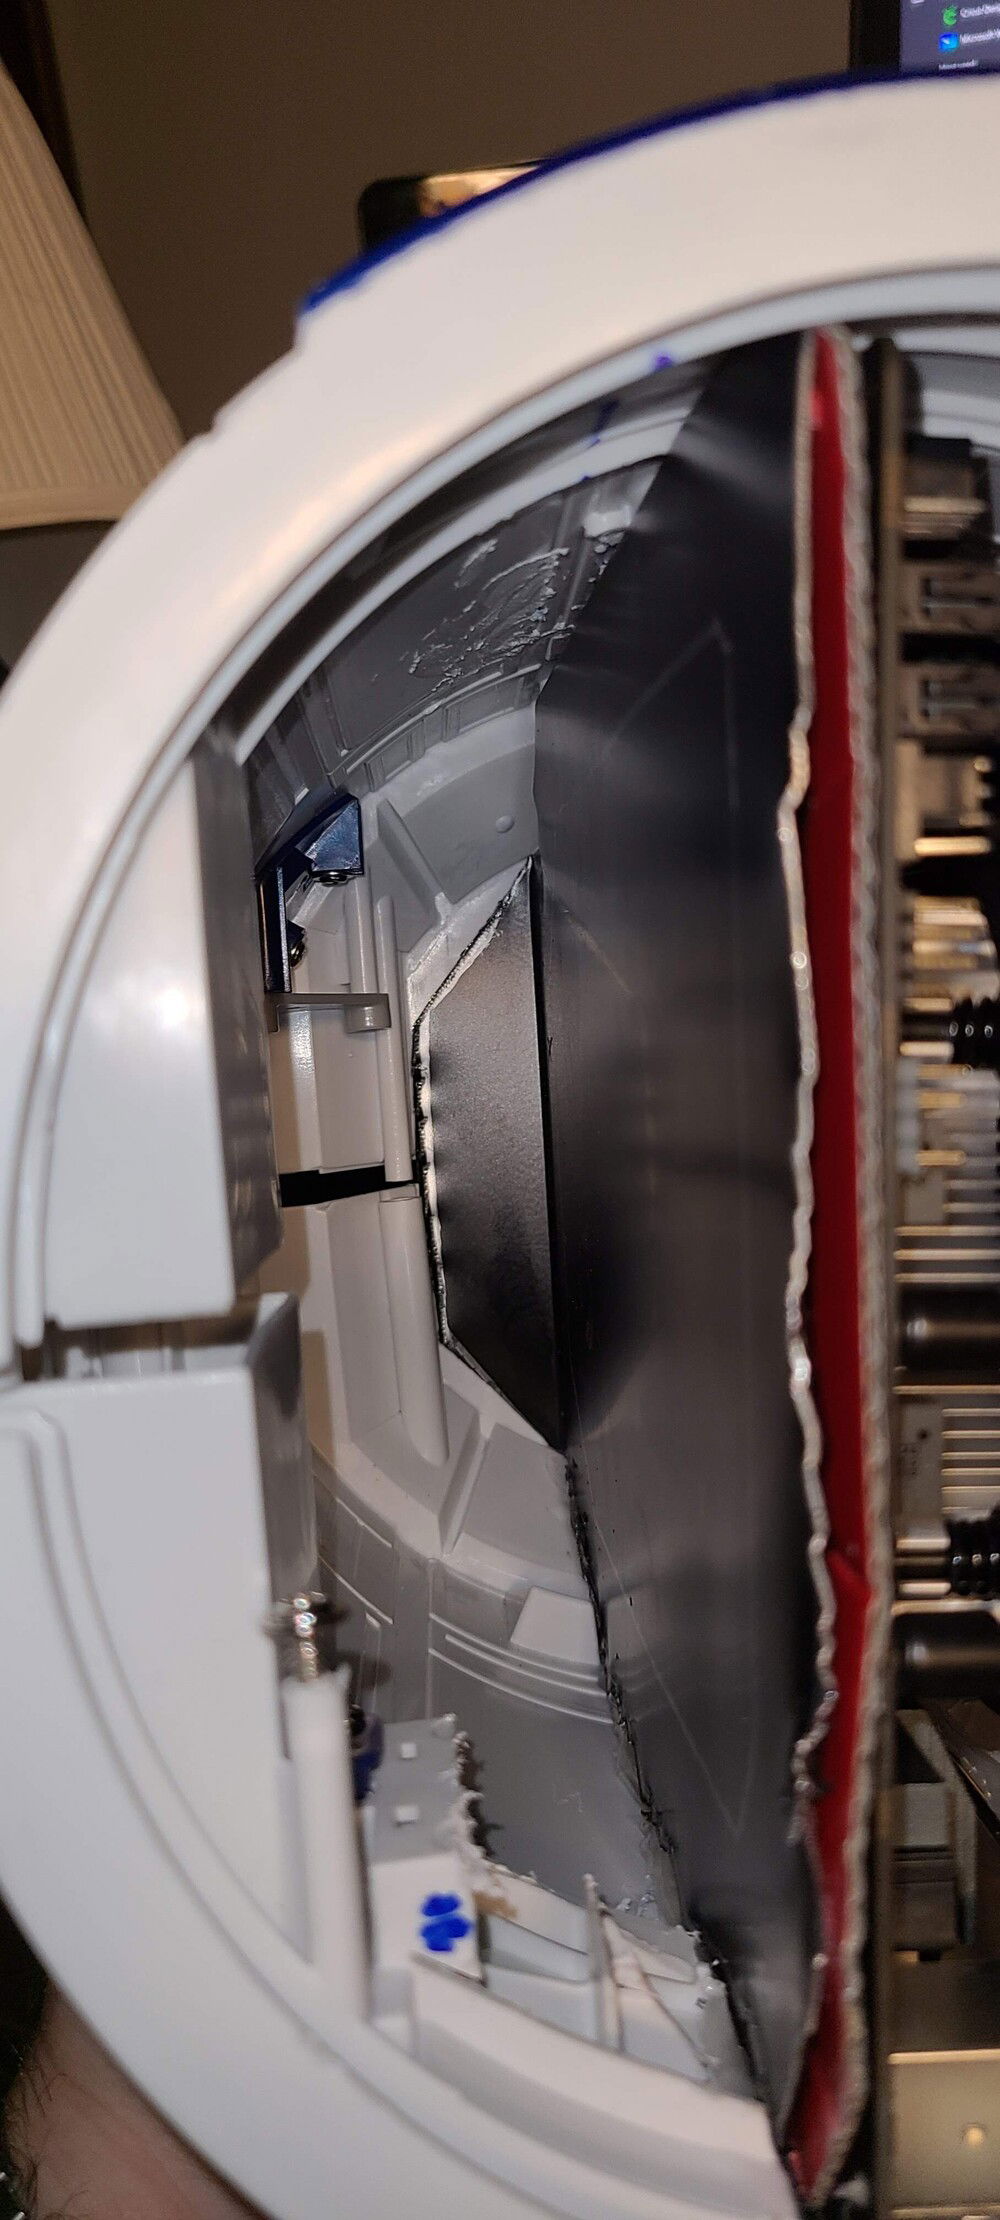
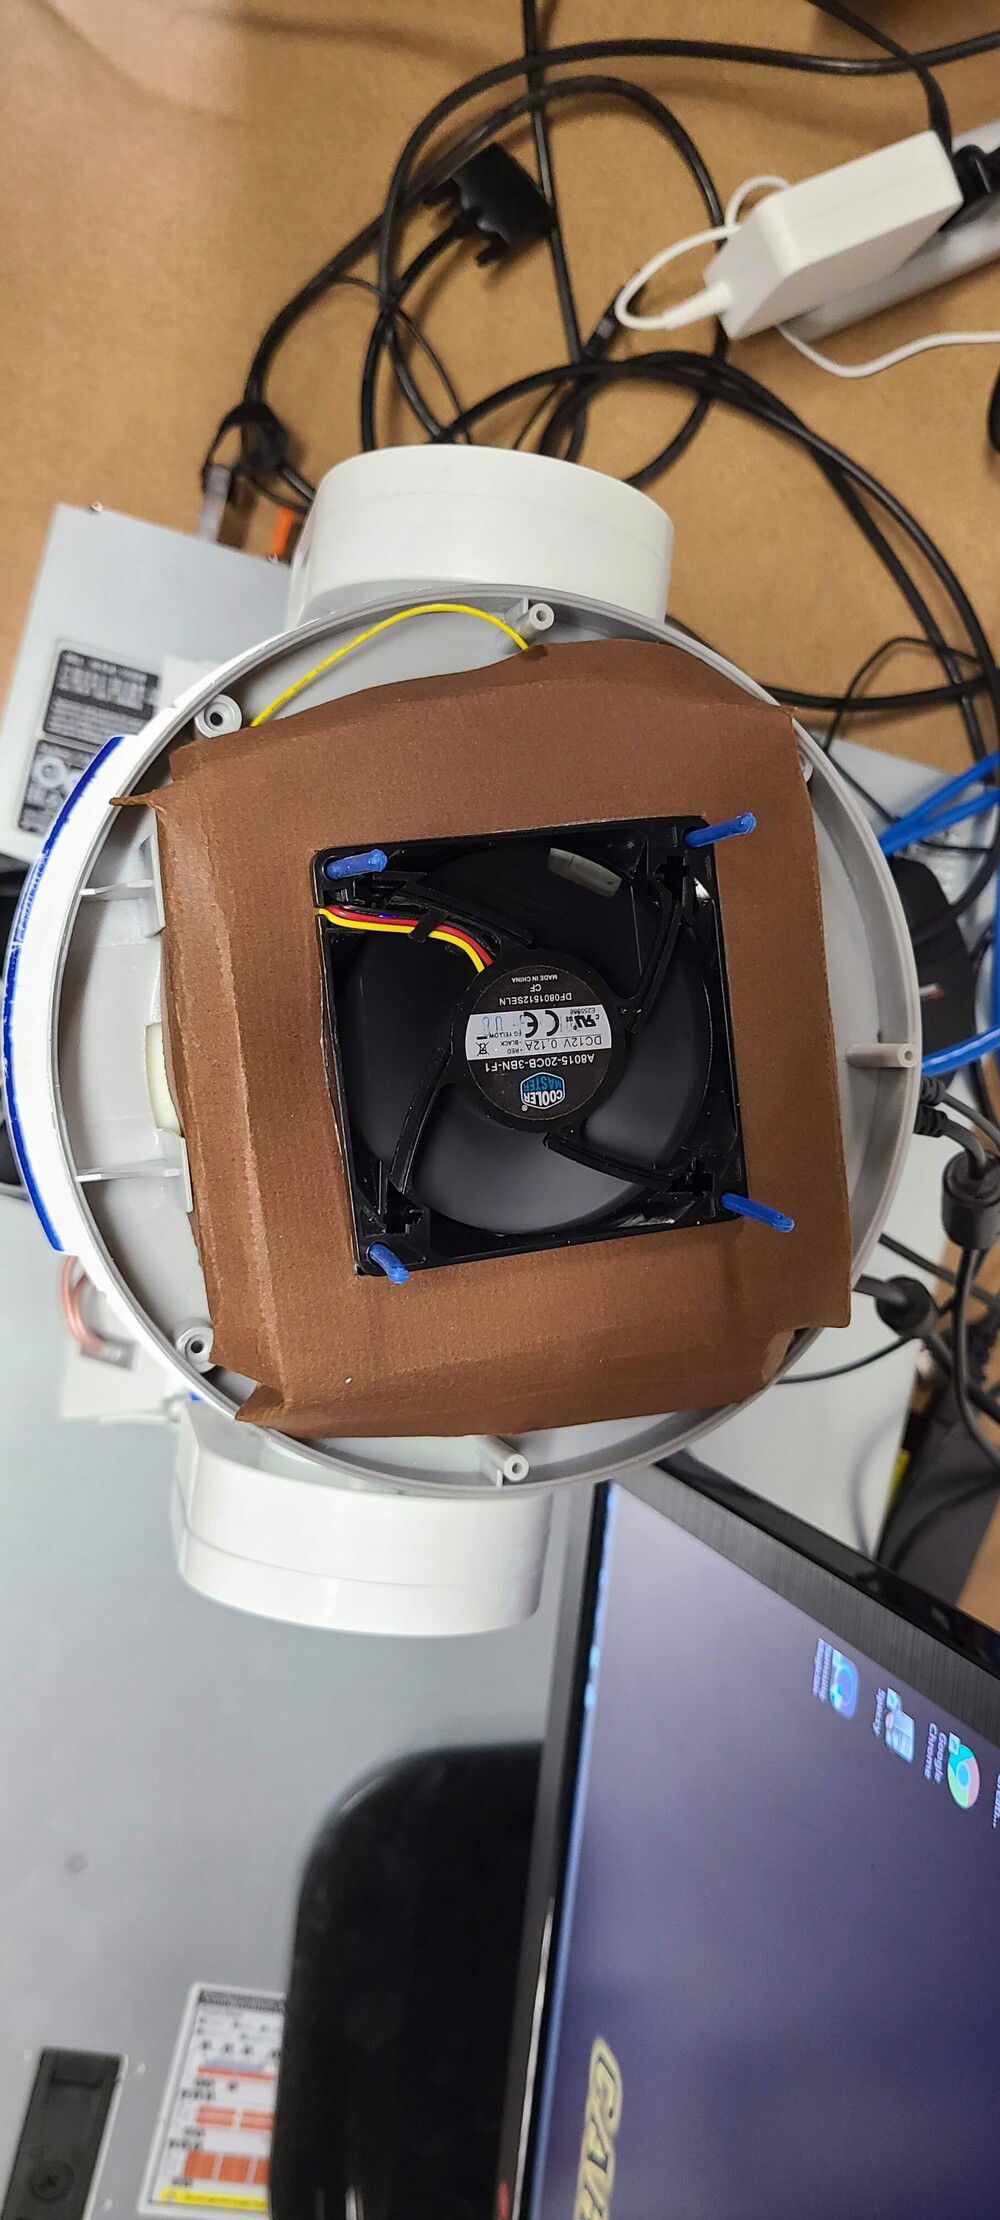
Shroud around Cast fan to help draw the air.

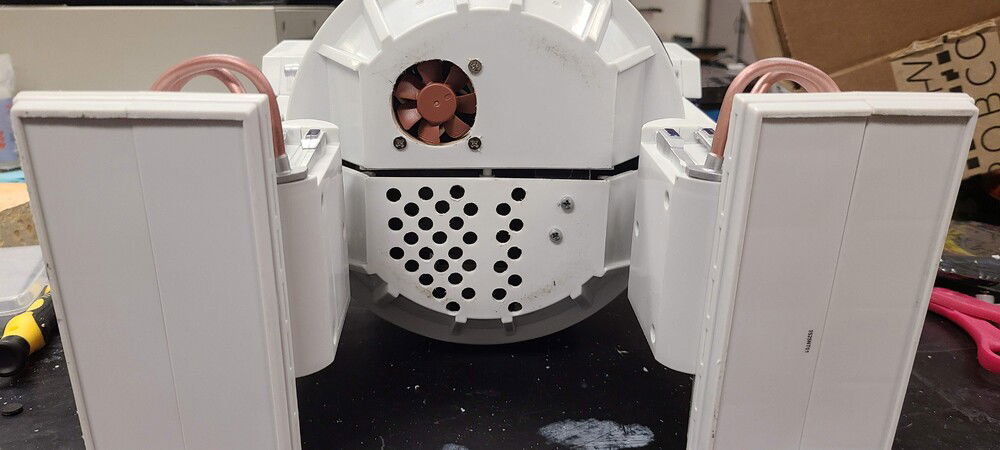
My little out air hole.

Ended going with the largest case fan I could find and cutting out as much of the head as I could.

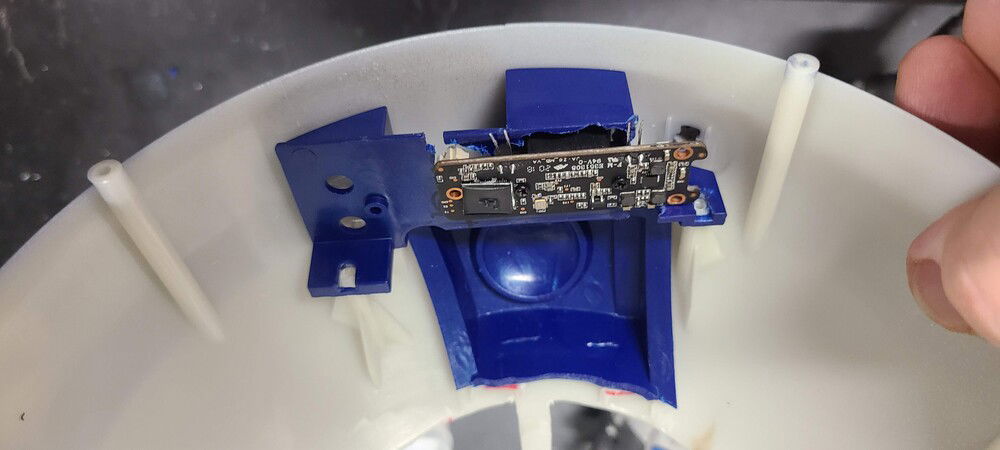
Original location for Webcam and Speaker

Test Fit

Equipment Test.

