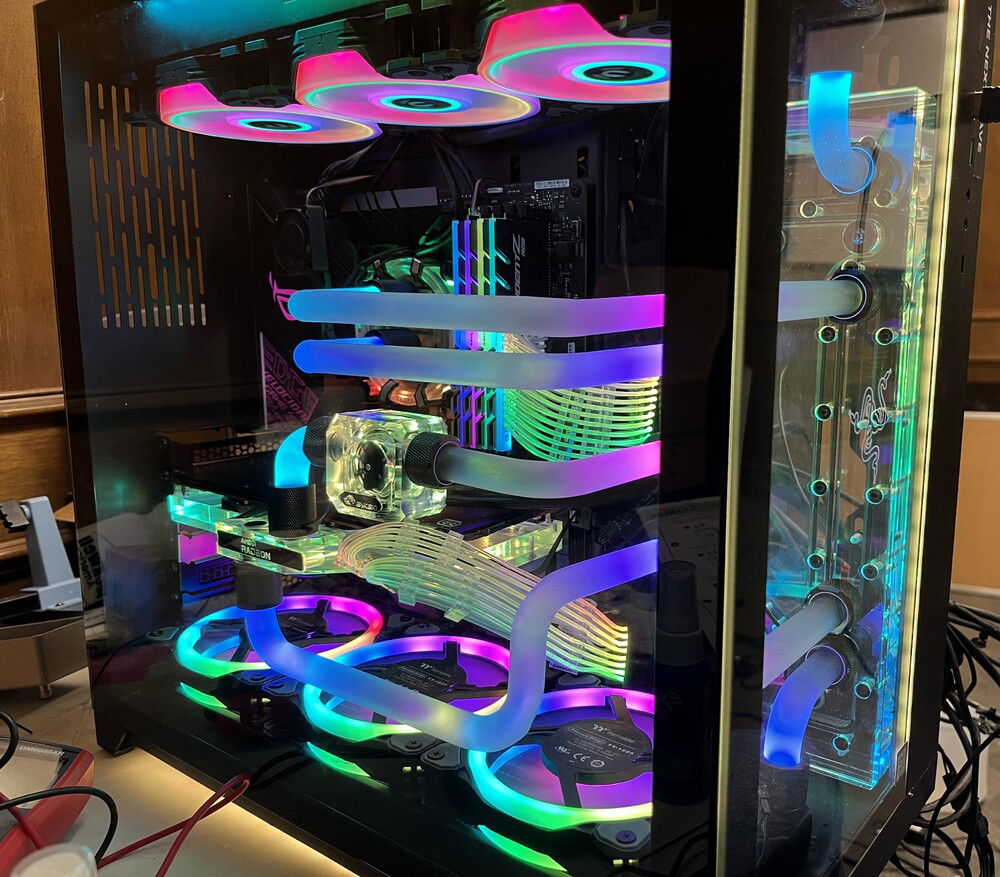
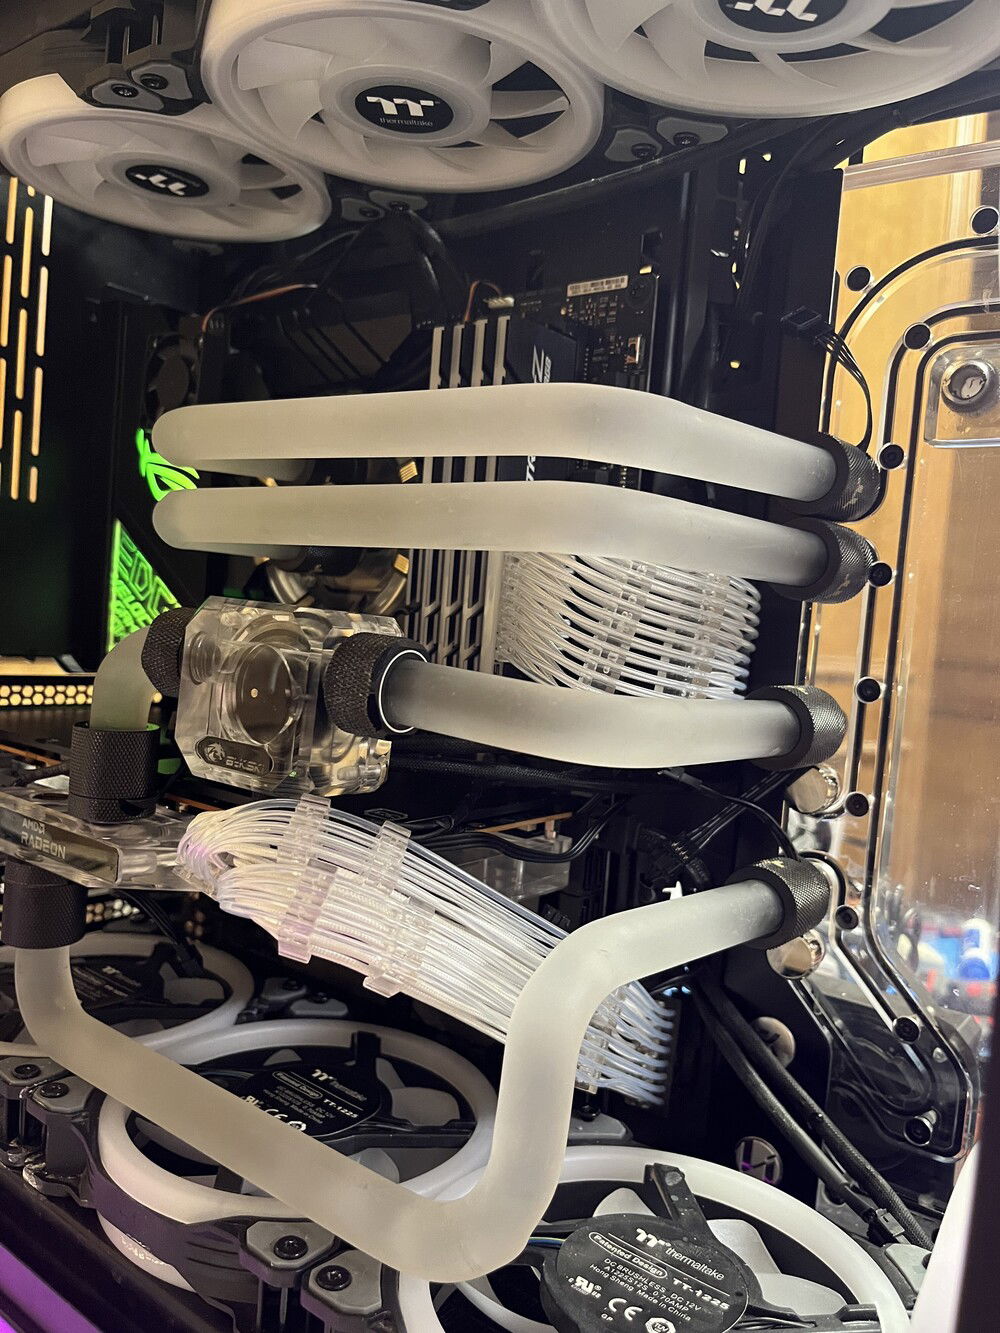
Project: Unicorn Vomit
Intel - i9 9900k Processor
ASUS - ROG Strix Z390-F Motherboard
G.Skill - Trident Z RGB 32GB 4 x 8GB DDR4 3200Mhz Desktop Memory Kit
AMD - Radeon RX6700XT Graphics
Thermaltake - PS-TPG-0850FPCGUS-R 850W Power Supply
Samsung - 960 EVO NVME m.2 SSD 500GB
Western Digital - WD Black Desktop 7200RPM SATA Internal HDD 4TB
Lian Li - O11 Dynamic Razer Edition Case
ASUS - PCE-AX58BT AX3000 Dual Band WiFi Adapter
NZXT - AC-IUSBH-M1 - 5 Port Internal USB 2.0 Hub
Lian Li - Strimer ARGB 24 Pin Extension Cable
Lian Li - Strimer ARGB 2x8 Pin Extension Cable
ASUS - ROG Addressable RGB LED Lighting Strip
Watercooling:
EKWB - O11D DISTRO-PLATE G1
Barrow - LTYKB-ARK Energy - CPU Waterblock
Alphacool - 11965 - Eisblock Aurora Acryl GPX-A Radeon RX6700XT Reference with Backplate GPU Waterblock
YaeMarine - Radiator 360mm
XSPC - EX360 Radiator 360mm
Thermaltake - CL-F072-PL12SW-A - Riing Trio 12 RGB Radiator Fan (x3)
Thermaltake - CL-F088-PL12SW-B - Riing Quad 12 RGB Radiator Fan (x3)
Bykski - CB-PMMAFR - Frosted PMMA Hard Tube OD16mm ID12mm 50cm Length Water Cooling Rigid Pipe (x5)
Thermal Grizzly Hydronaut High Performance Thermal Paste
Fittings:
Alphacool - 17254 - Eiszapfen extension G1/4 Outer Thread to G1/4 Inner Thread - 10mm Deep Black (x2)
EKWB - EK-Plug G1/4" Plug (x3)
EKWB - EK-Quantum Torque Micro Plug - Nickel (x2)
EKWB - EK-AF Ball Valve G1/4 10mm (Black)
Barrow - TBX2D-02 - 14mm 360° Rotary Male To Male Extender
Barrow - TCWD-V1 - 10K Temperature Sensor Stop Fitting
Bykski - B-FMpa-V3-X - Frosted Water Flow Meter
Thermaltake - CL-W214-CU00BL-B - Pacific Compression C-Pro (x6)
Thermaltake - CL-W185-CU00BL-A - Pacific RGB Plus TT Premium Edition G1/4 PETG Tube 16mm OD 12mm ID Fitting (x12)
Fluid:
EKWB - EK-CryoFuel (Clear)
Color(s): Black
RGB Lighting? Yes
Theme: none
Cooling: Custom Liquid Cooling
Size: ATX
Type: General Build
Build Updates
Build notes
Update 10/2023-02/2024: So the GPU died... some time ago.
Hardware
CPU
$ 449.00
Motherboard
$ 267.14
Memory
$ 455.98
Storage
$ 149.00
PSU
$ 189.00
Case
$ 125.00
Case Fan
$ 84.85
Case Fan
$ 94.98
Cooling
$ 270.00
Alphacool - Eisblock Aurora Acryl GPX-A Radeon RX 6700XT Reference with Backplate
Type: GPU Waterblock
Cooling
$ 17.50
Alphacool - Eiszapfen extension G1/4 Outer Thread to G1/4 Inner Thread - Deep Black (2x)
Type: Fittings
Cooling
$ 4.63
Cooling
$ 74.87
Cooling
$ 8.99
Cooling
$ 26.99
Cooling
$ 29.95
Cooling
$ 32.99
Cooling
$ 7.47
Cooling
$ 16.98
Cooling
$ 199.00
Cooling
$ 39.89
TBD/To Be Determined - YaeMarine
Type: Radiator
Size (WxHxD): 360 mm (3 x 120 mm)
Cooling
$ 114.00
Accessories
$ 61.55
Accessories
$ 25.88
Accessories
$ 394.95
Accessories
$ 24.99
Accessories
$ 253.14
Estimated total value of this build:
$ 3,308.74
Approved by:


