Project Supernova
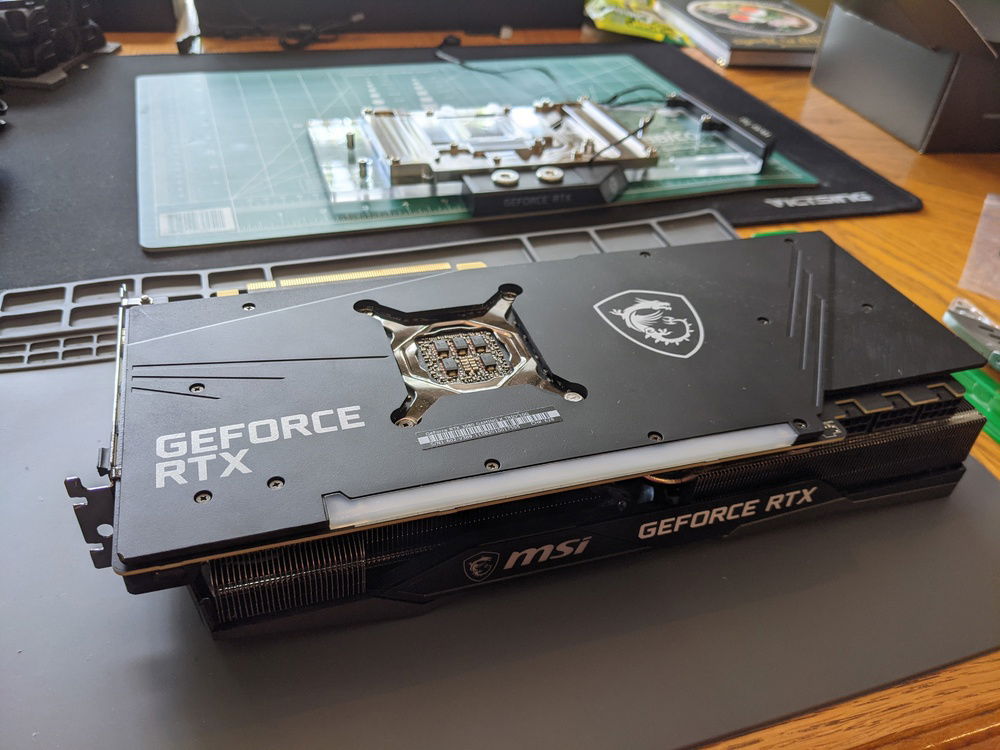
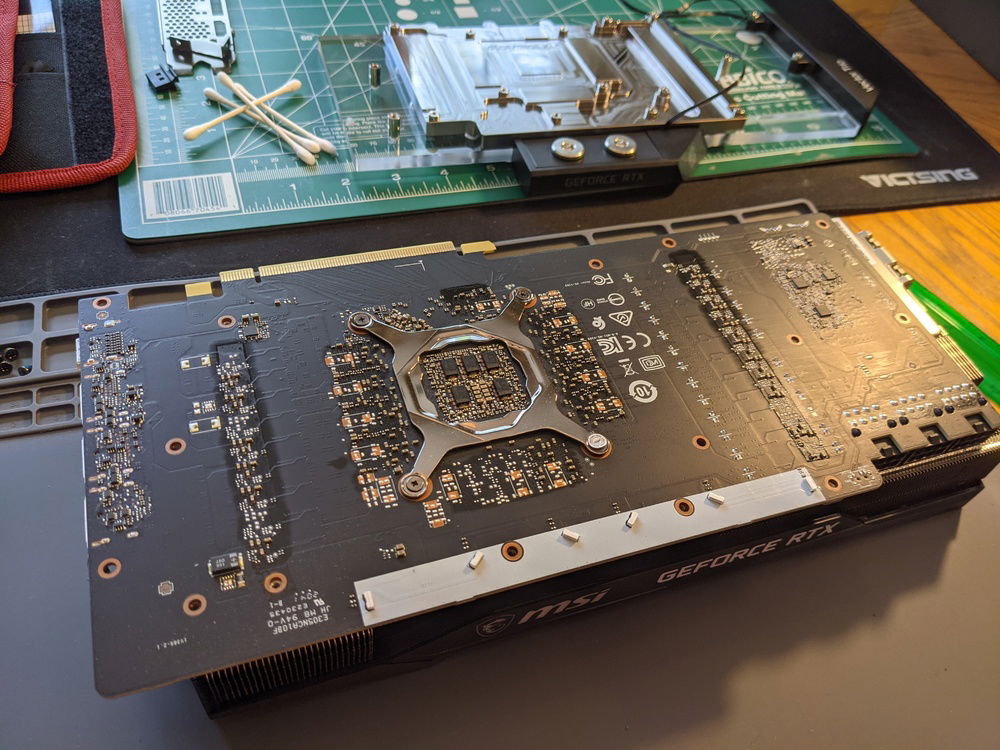
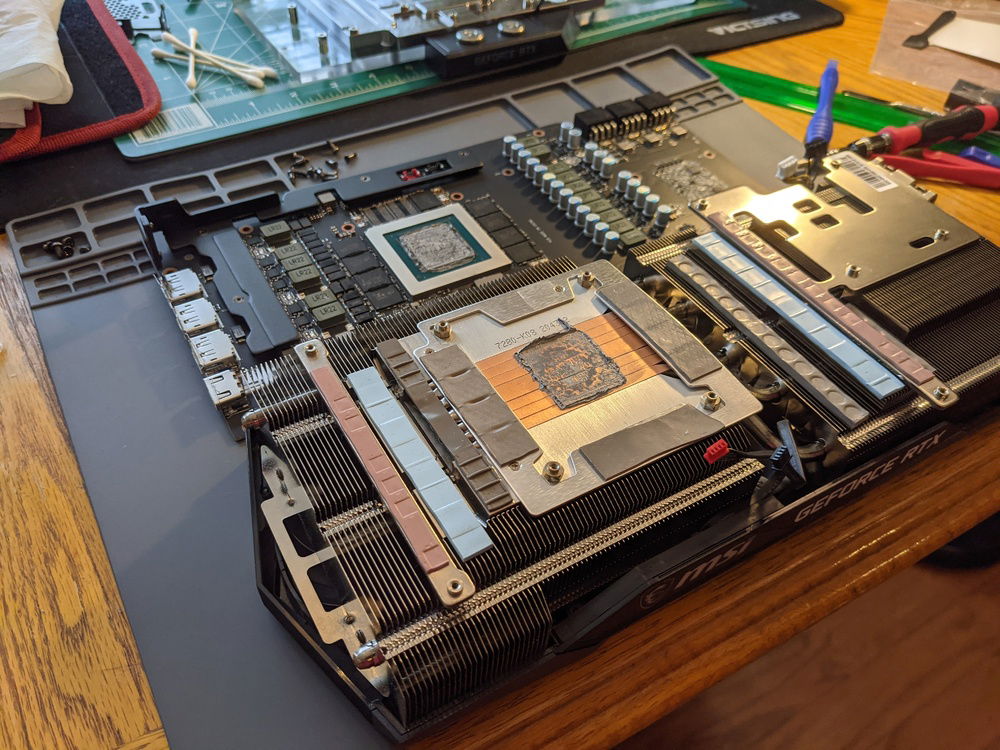
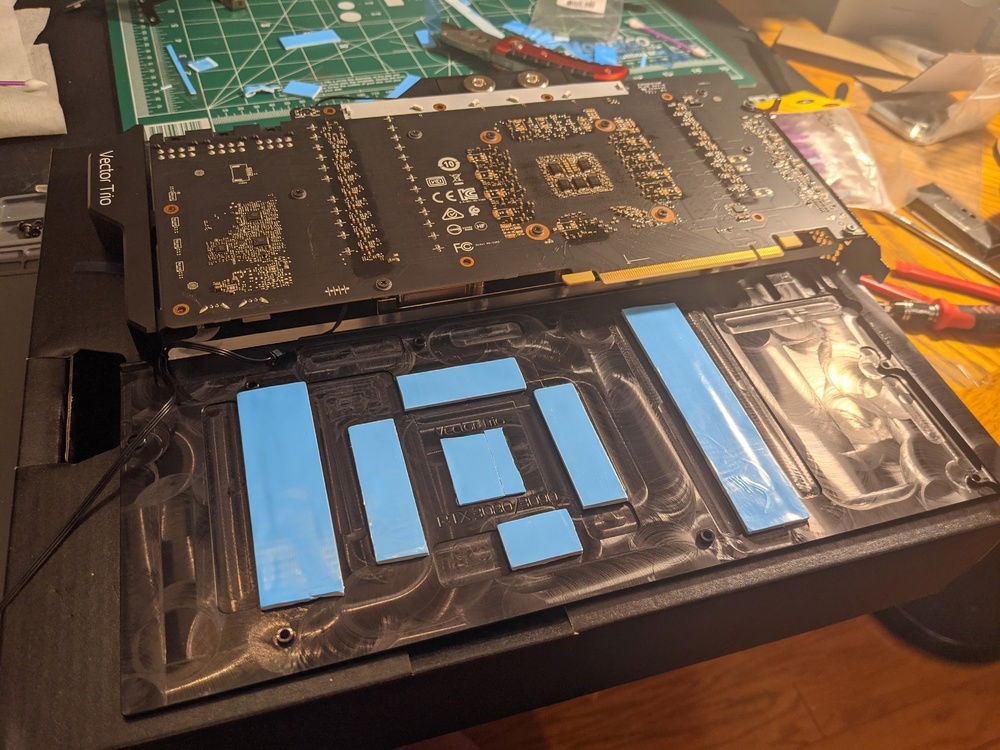
Building a new PC to replace my current one (Core i7-6850k). I was recently able to obtain a RTX 3080 (MSI Gaming X Trio), so I think now is a good time to bite the bullet and build out a system that will allow me to get the most out of that card. Going to be upgrading to one of the new Intel Rocket Lake-S processors that come out hopefully in March (decided on the Core i7-11700k), which should be perfect for me with its high overclocking potential and PCI-E 4.0 support.
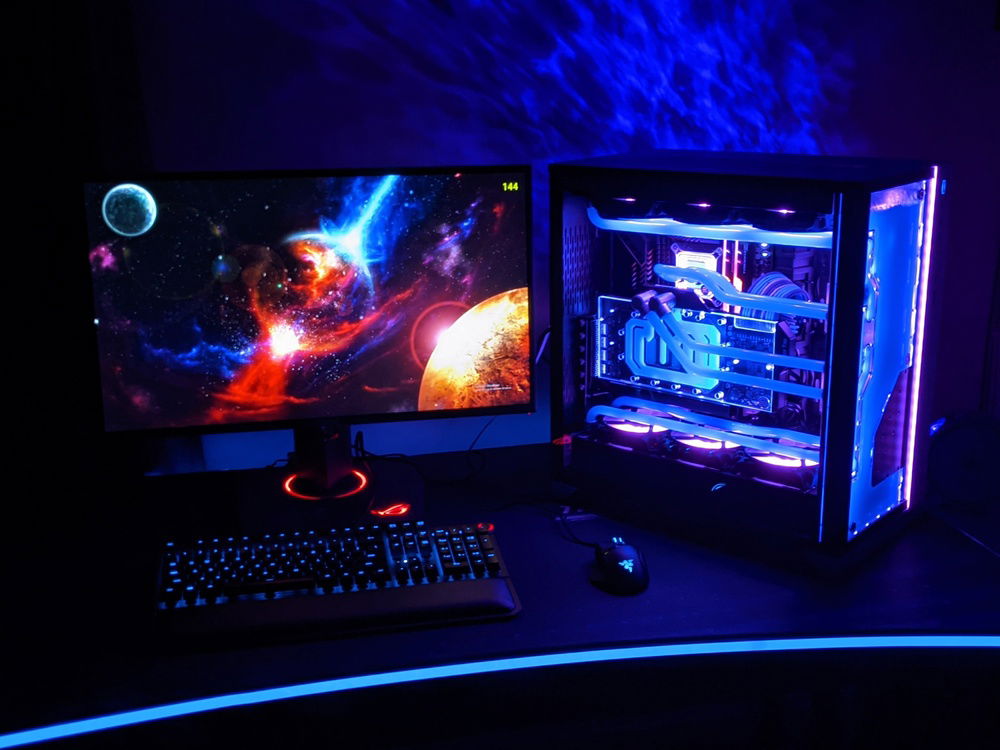
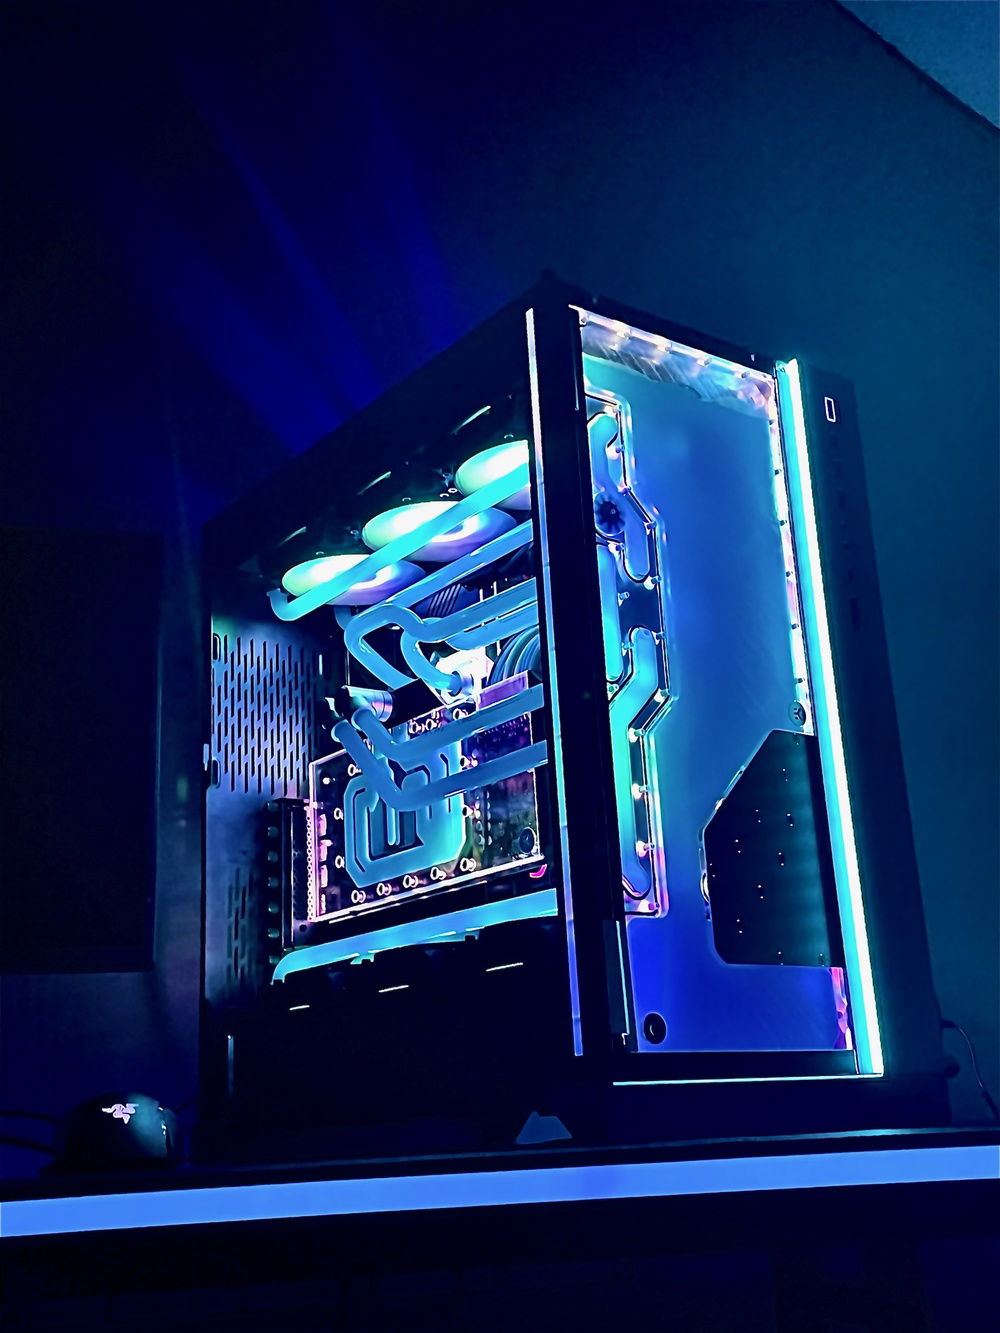
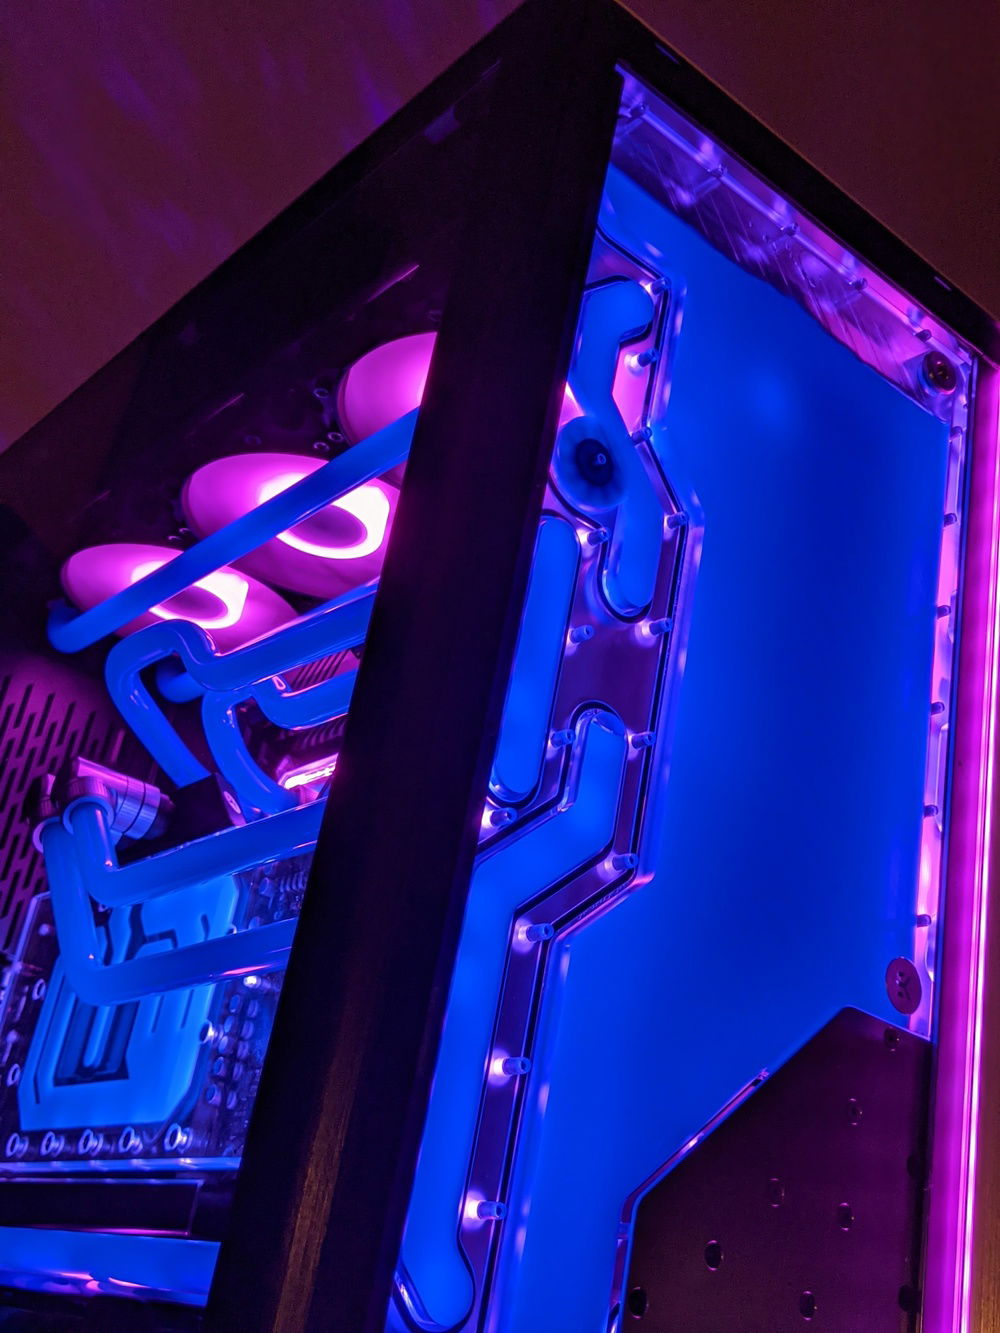
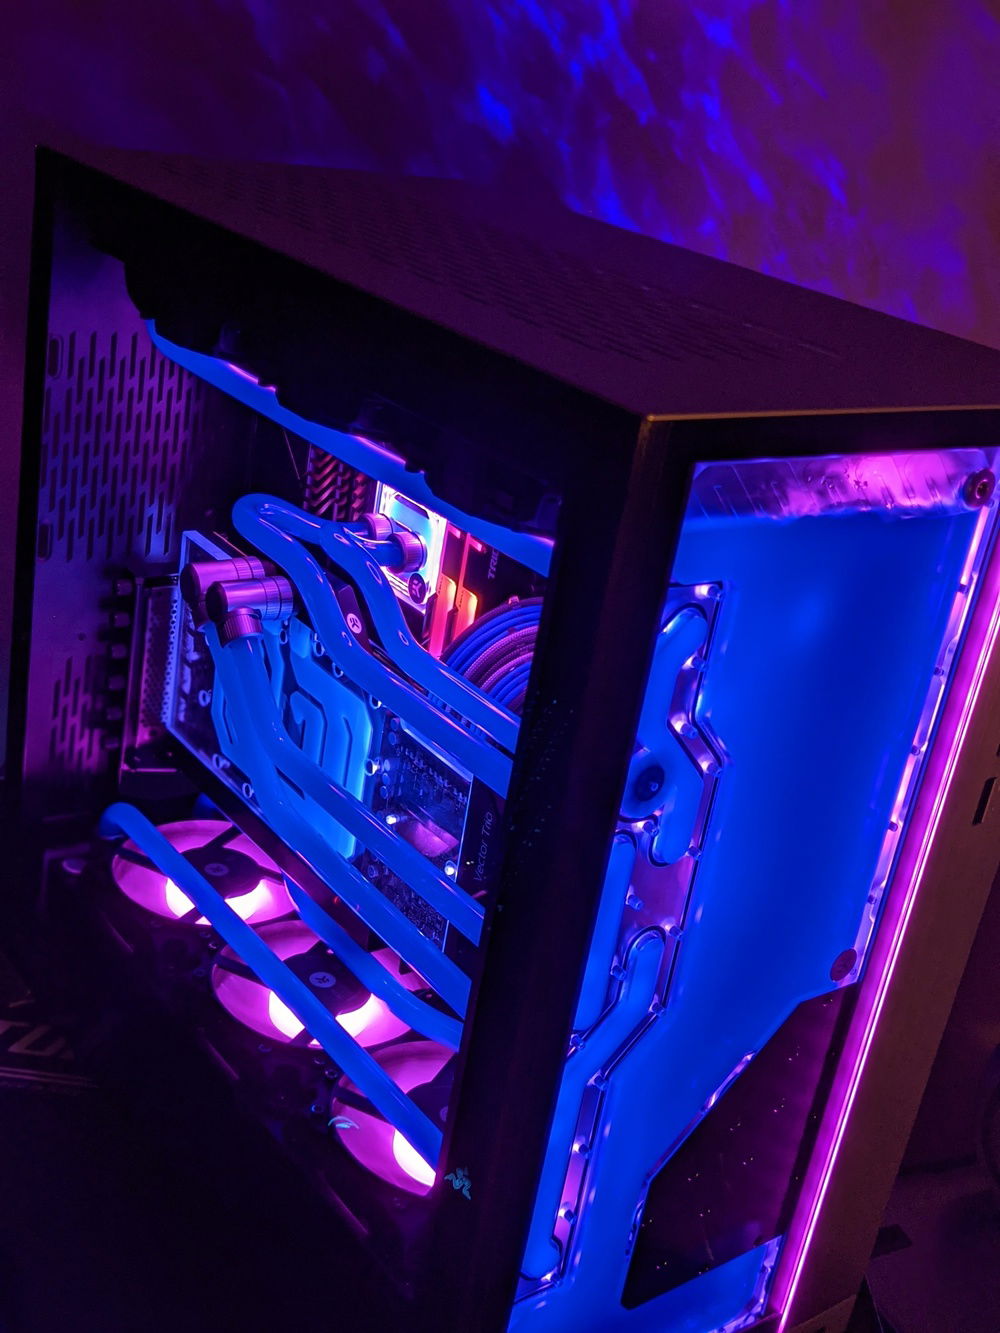
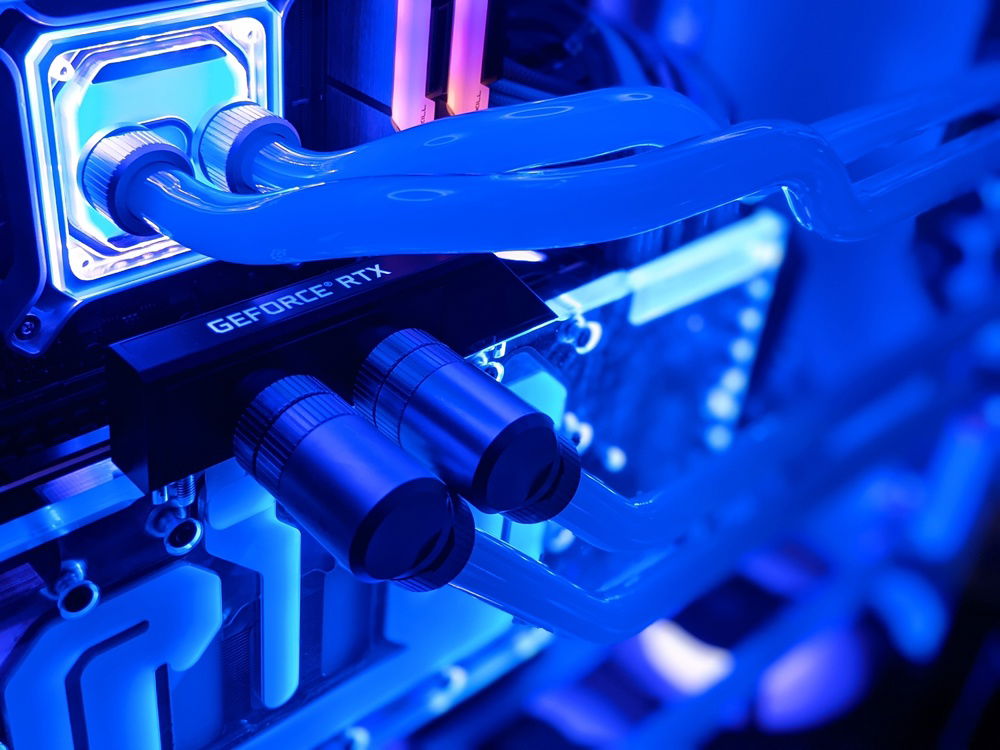
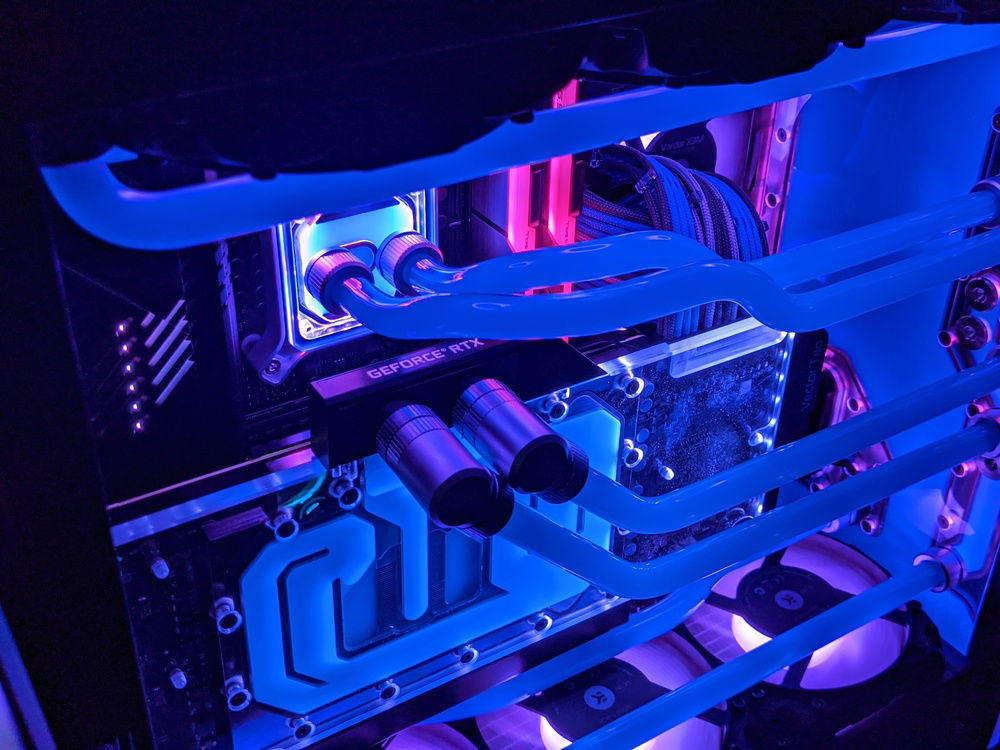
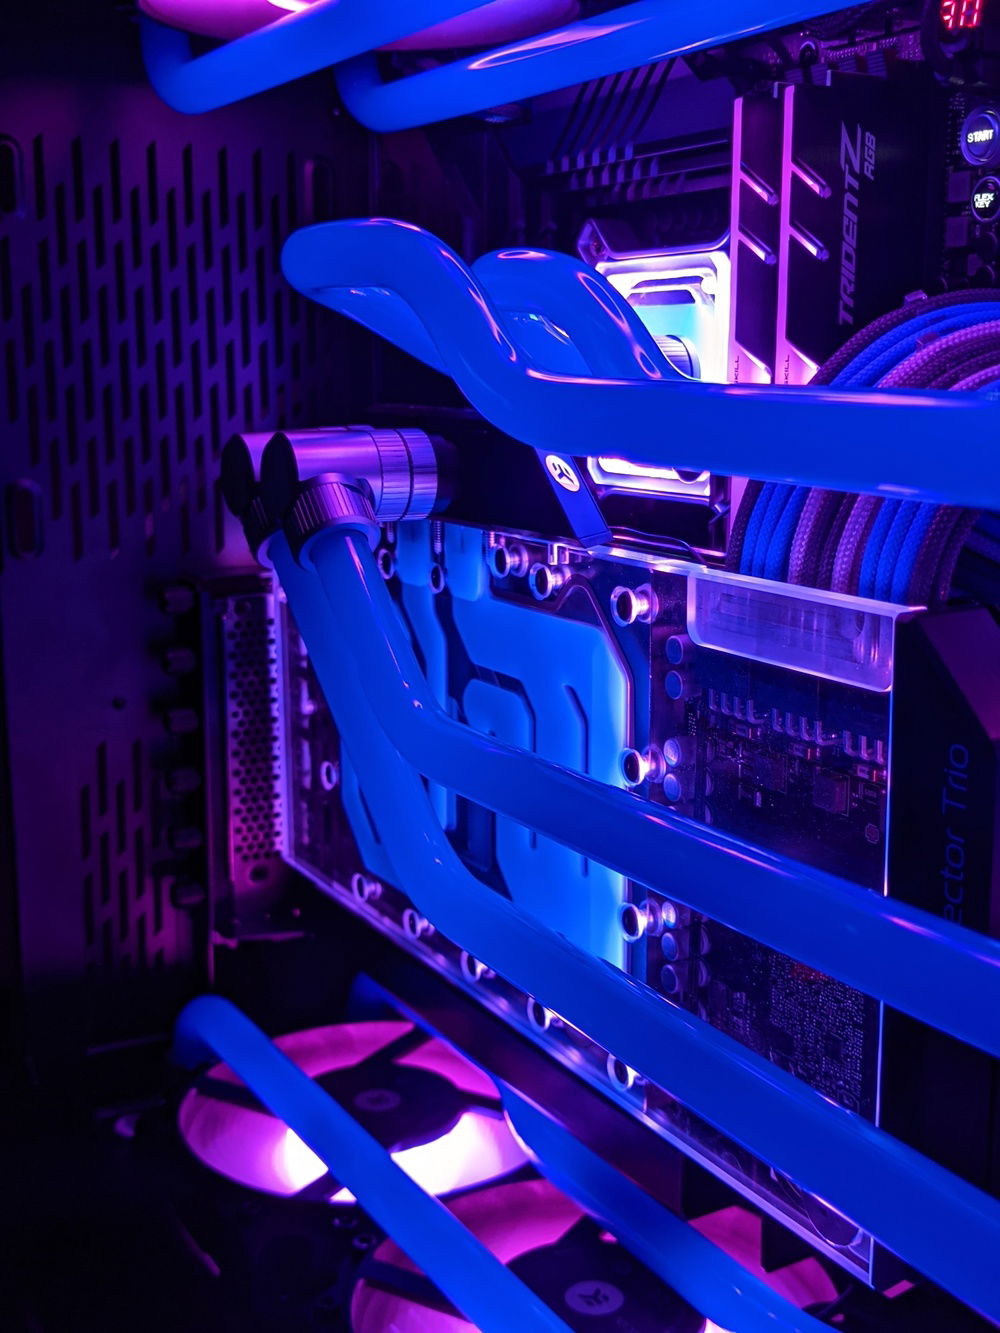
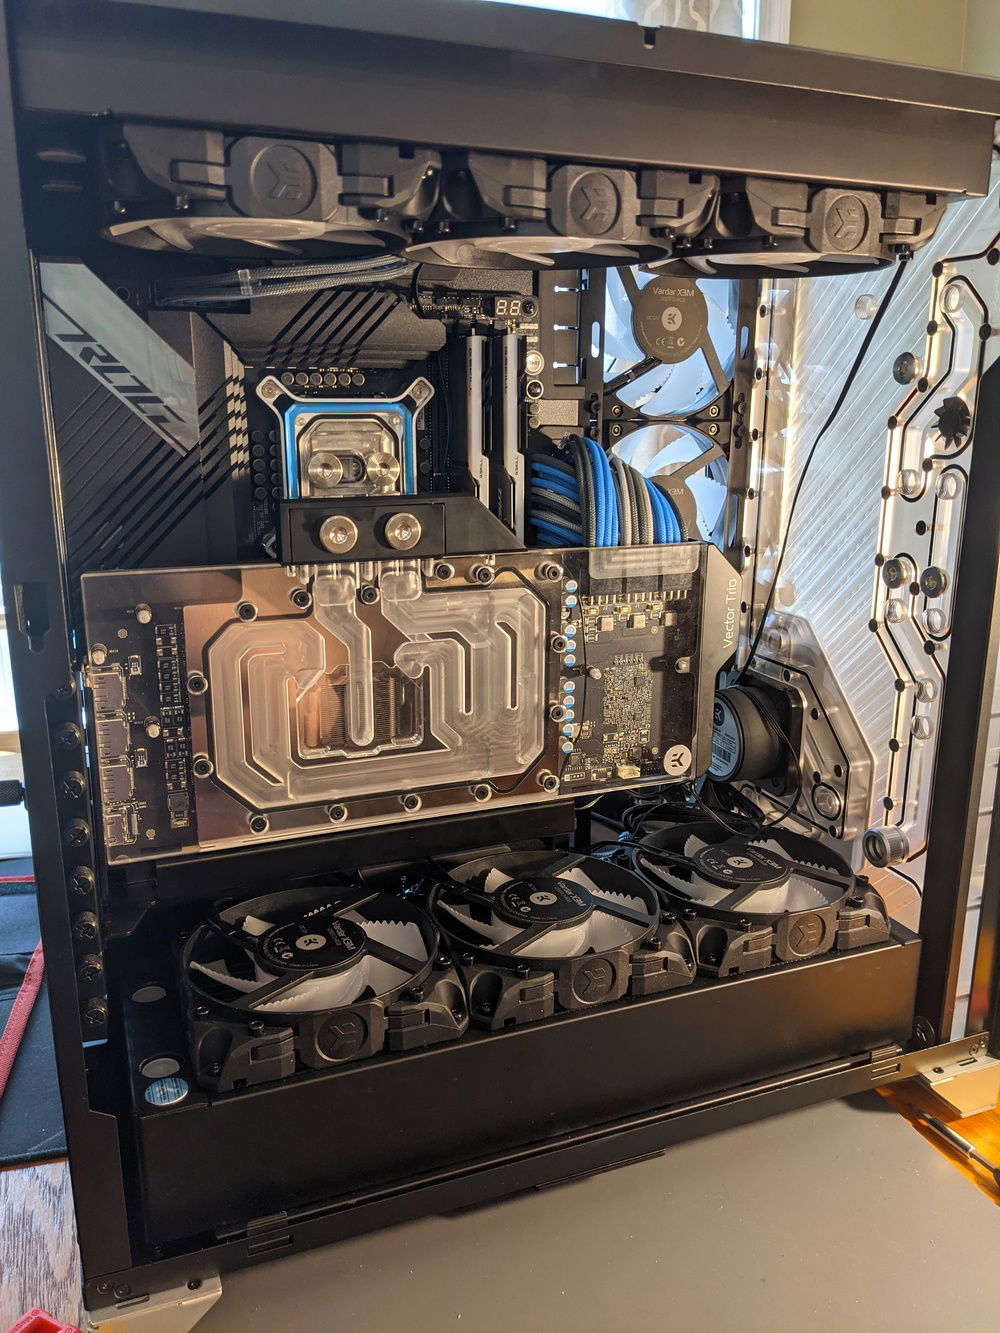
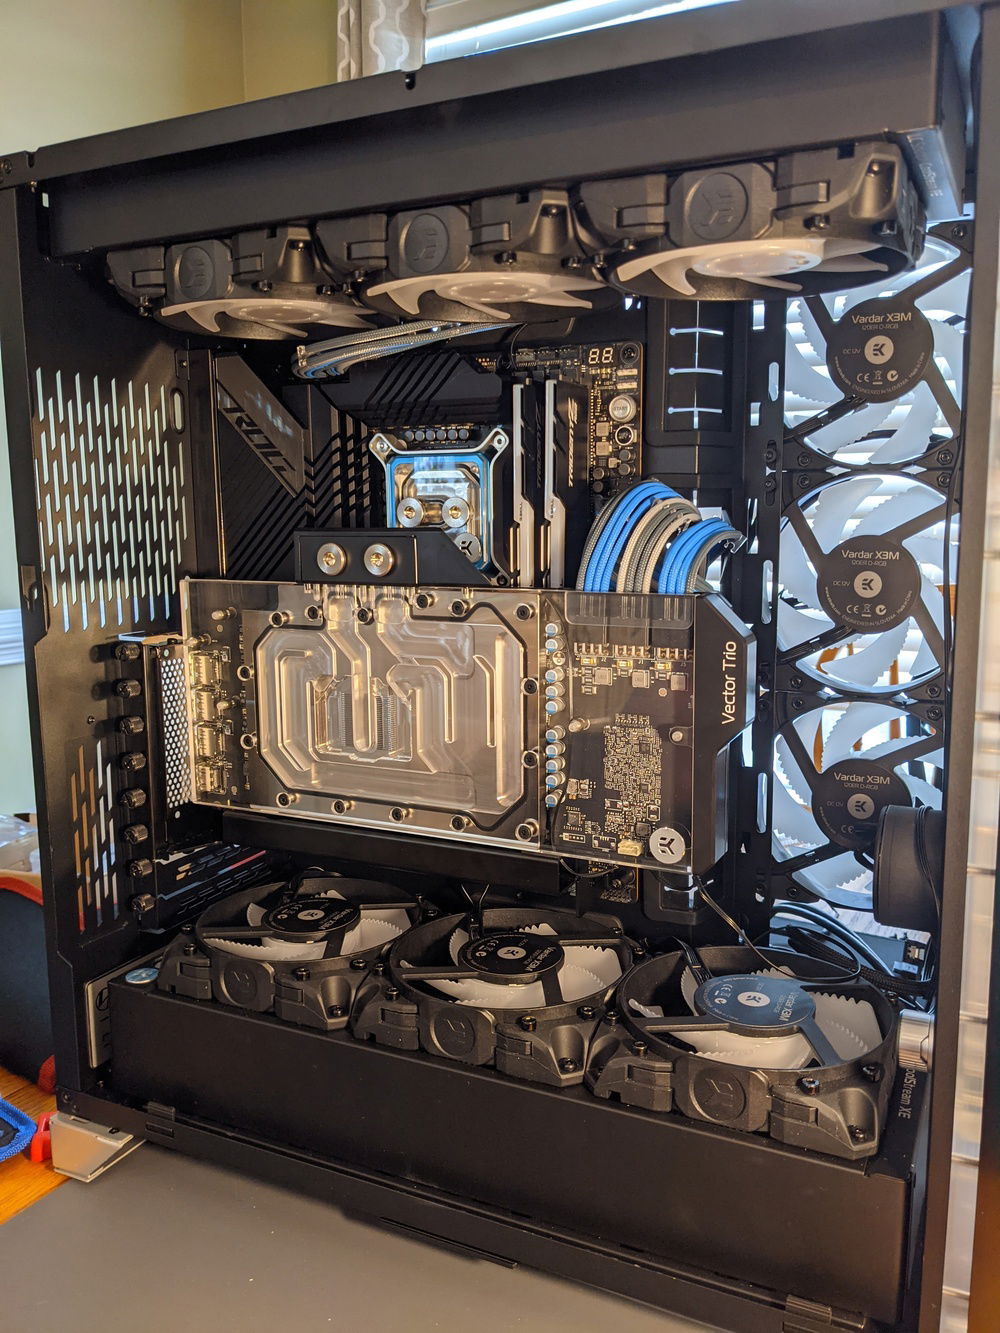
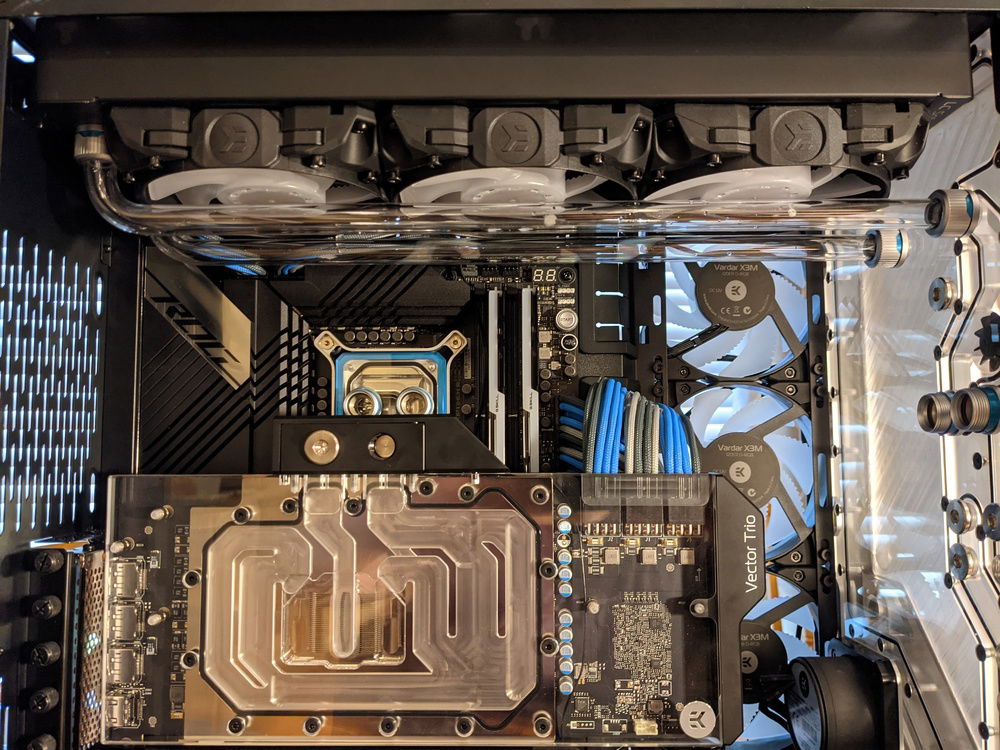
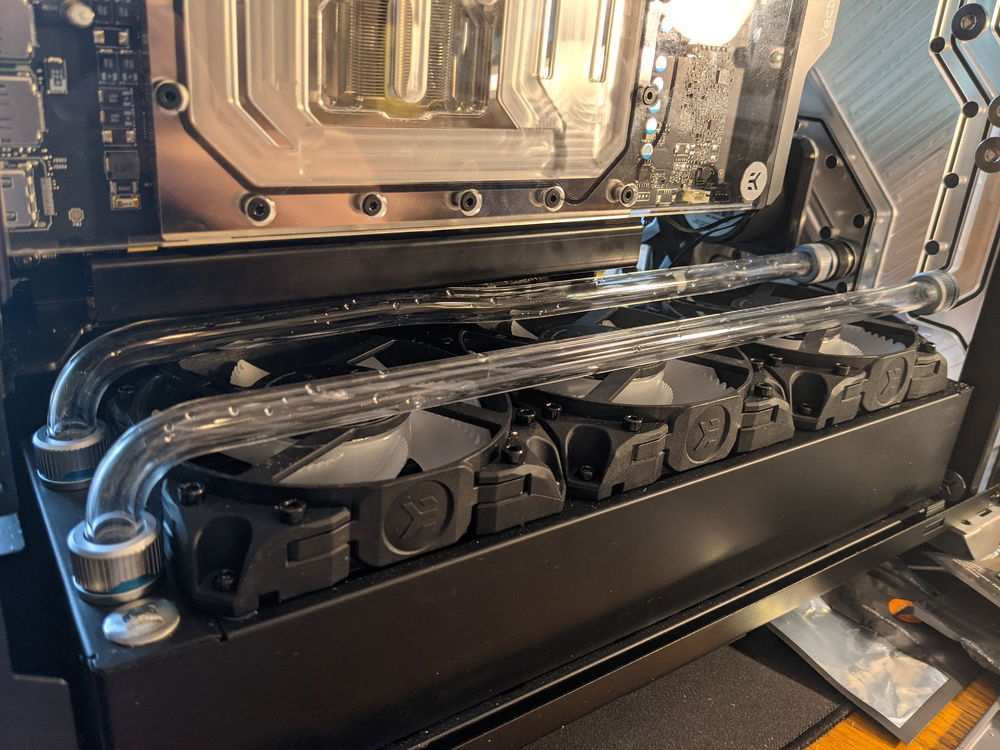
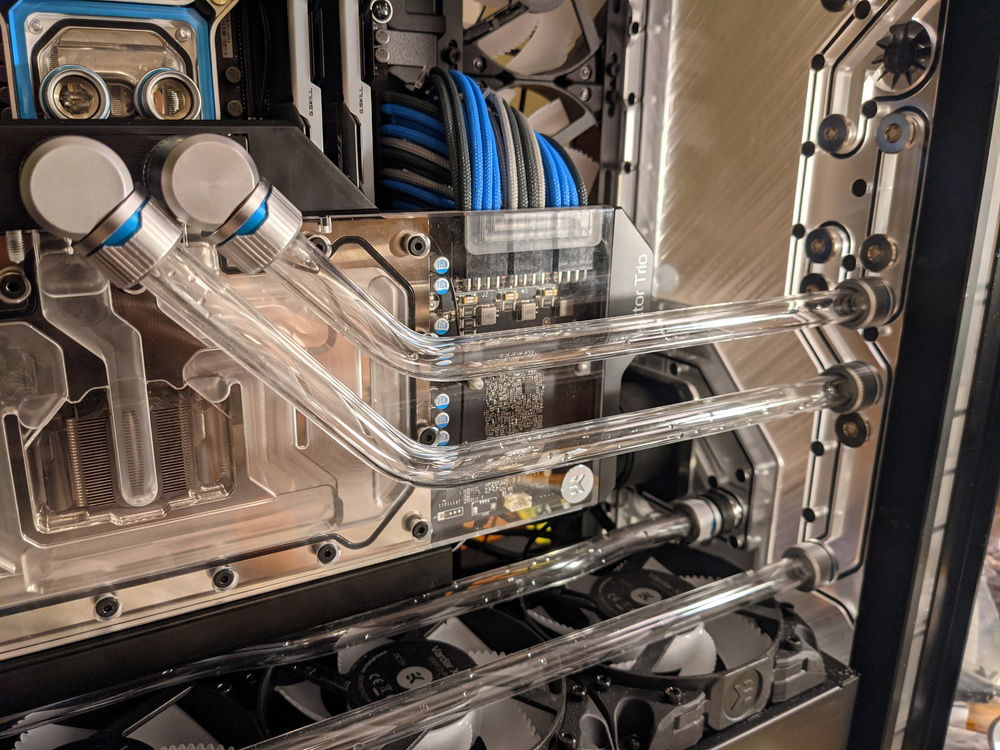
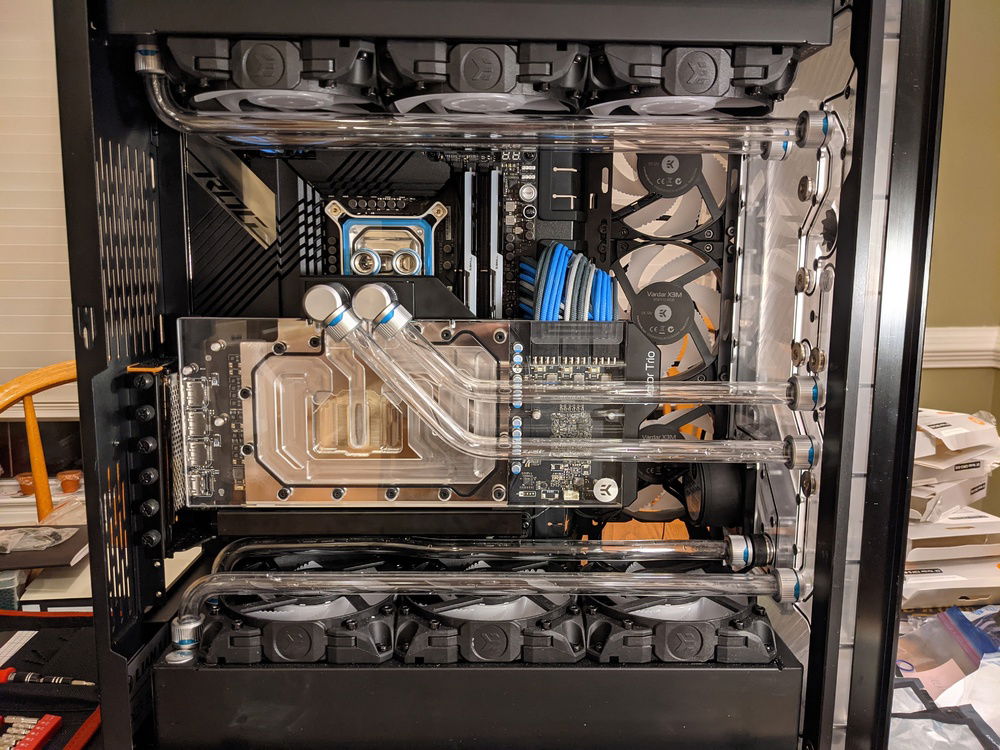
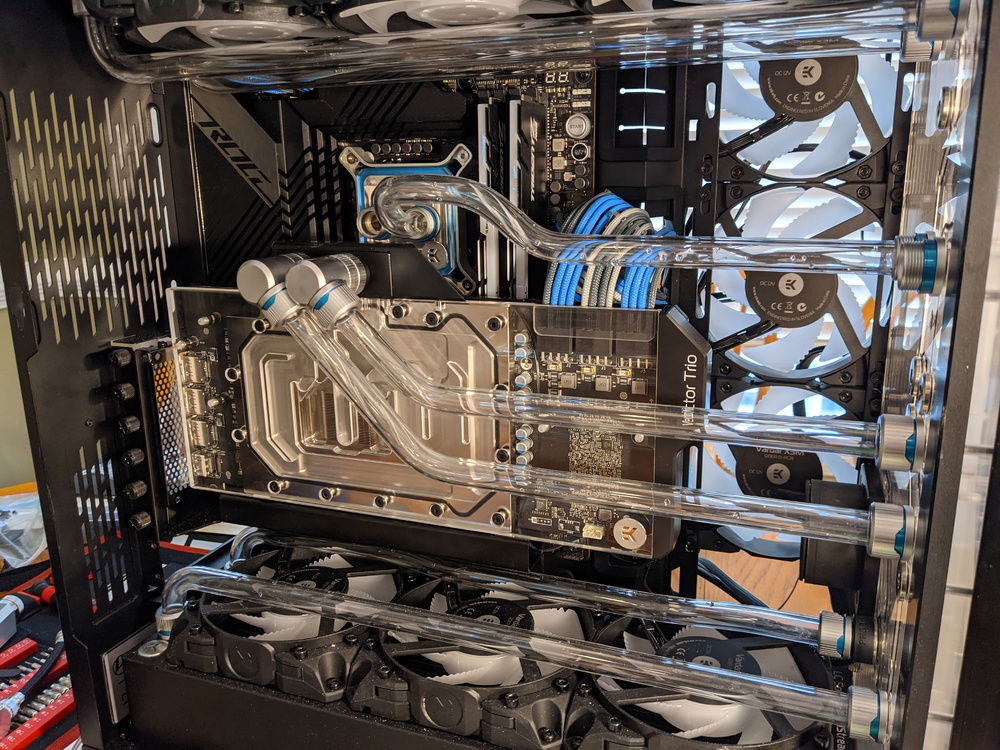
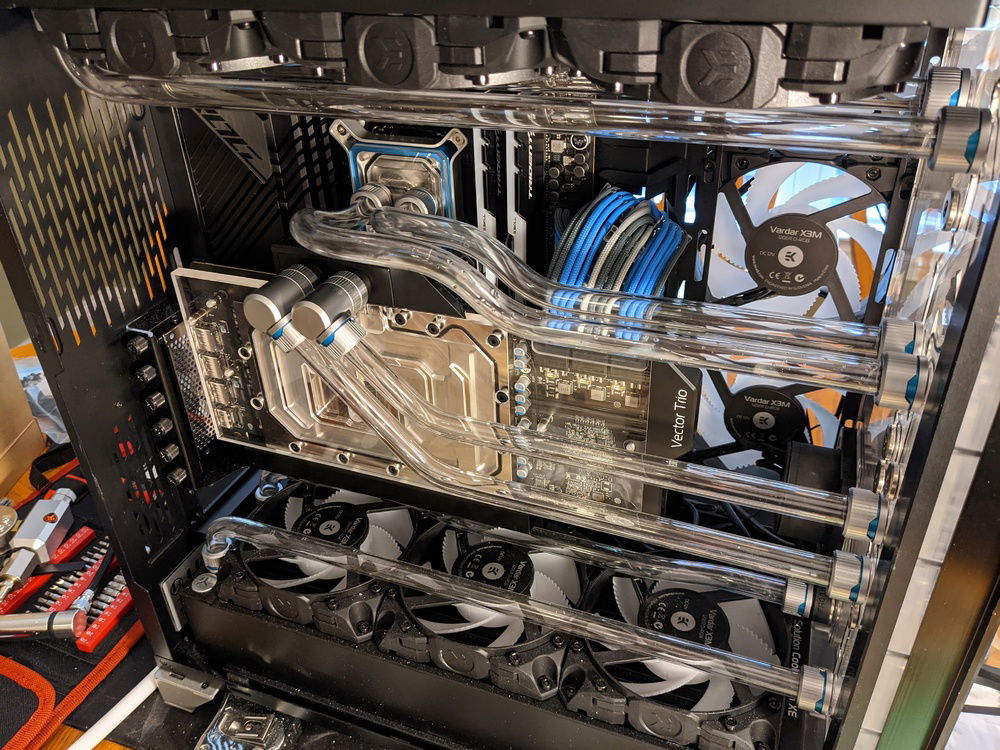
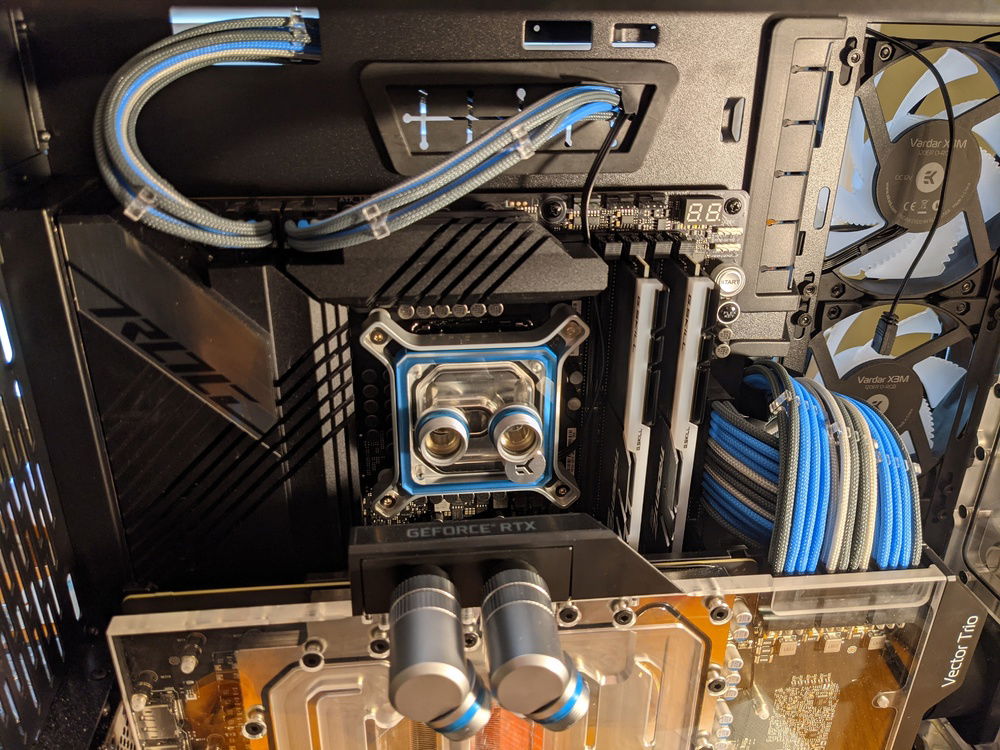
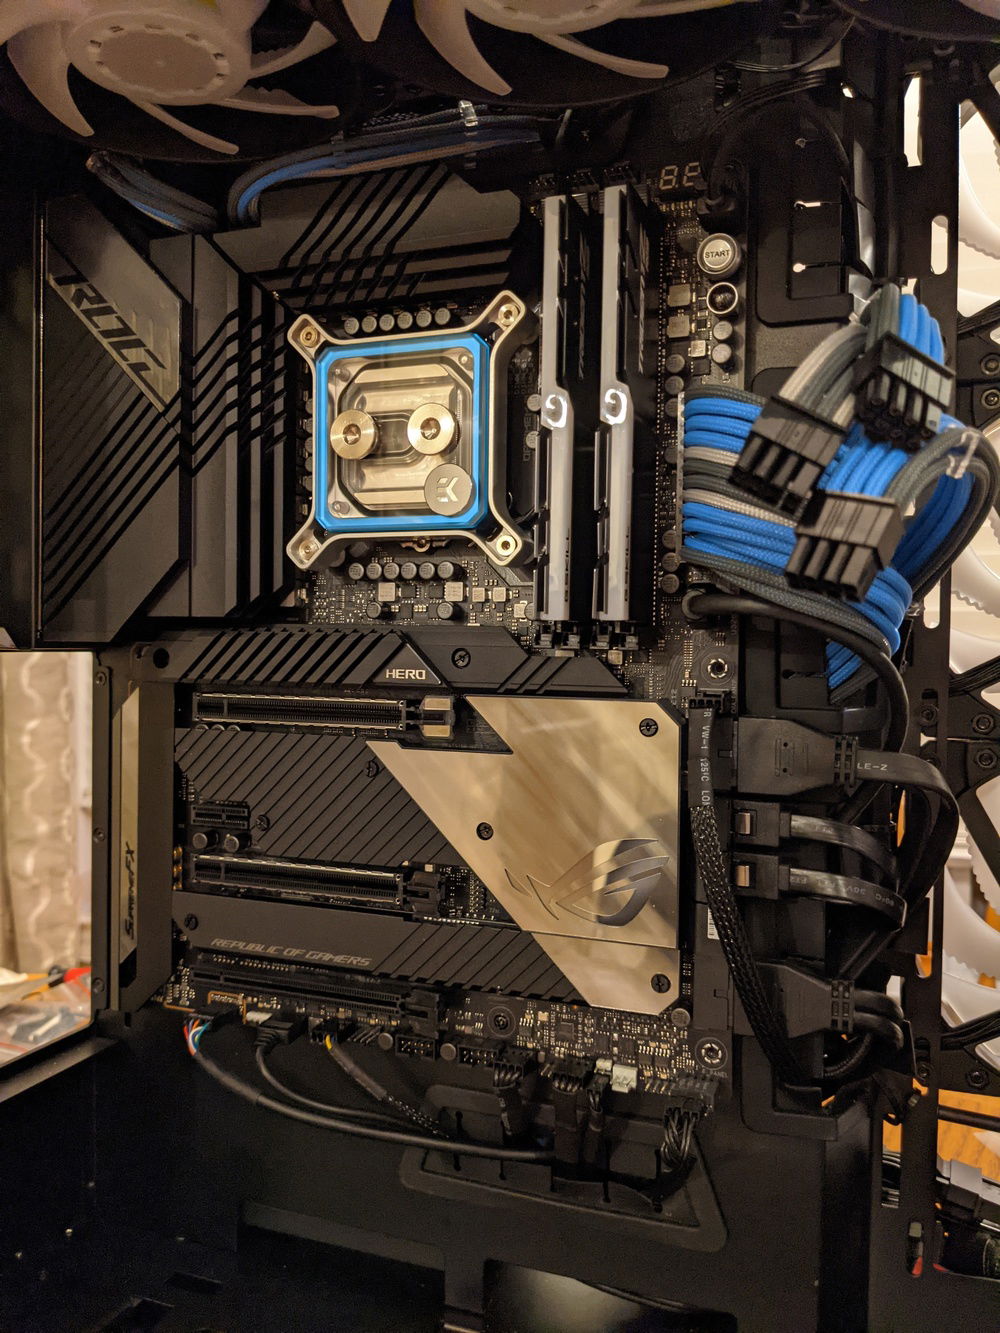
This build will be my first time attempting a full custom water cooling loop, so I figured I'd go all out and try to make it look nice and clean, while attempting to keep the components and lighting following a blue/gray/black/silver color scheme (may add another accent color in there too, we'll see). I spent a while searching for a case to inspire this build, and ended up landing on the silver version of the Lian Li O11 Dynamic XL. Funny enough, when I first discovered the case a couple of months ago while looking through some Gamers Nexus reviews, I had no idea just how popular it was (along with the regular O11 Dynamic); so while this build may not stand out as completely unique, it will still be a labor of love that I'm proud of :)
A couple other new things I'm trying with this build:
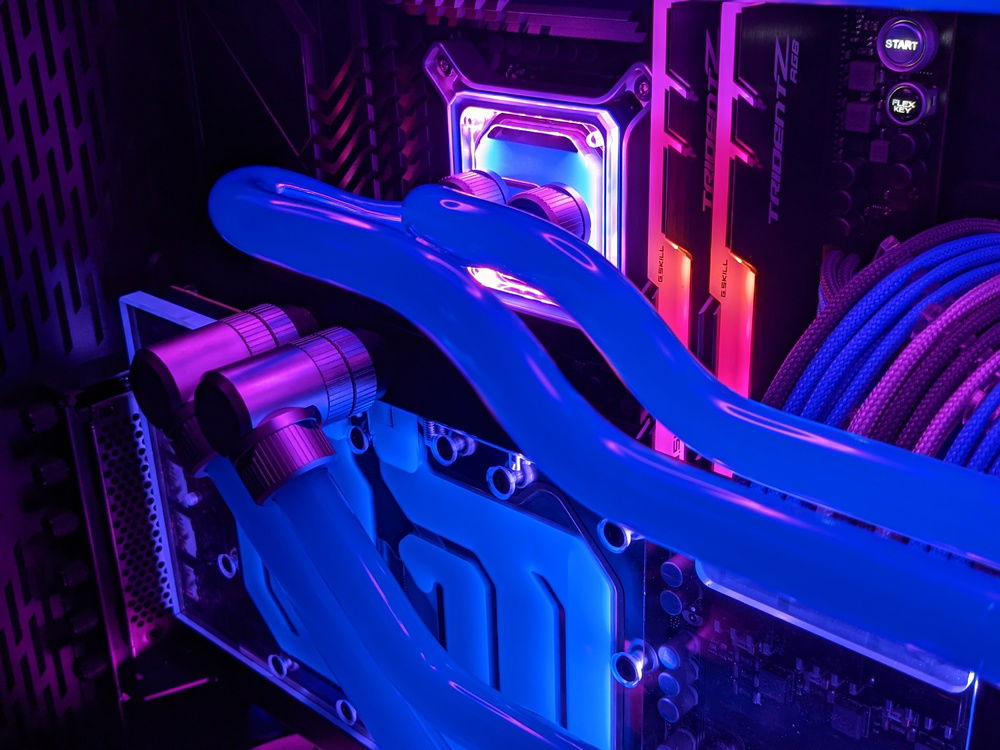
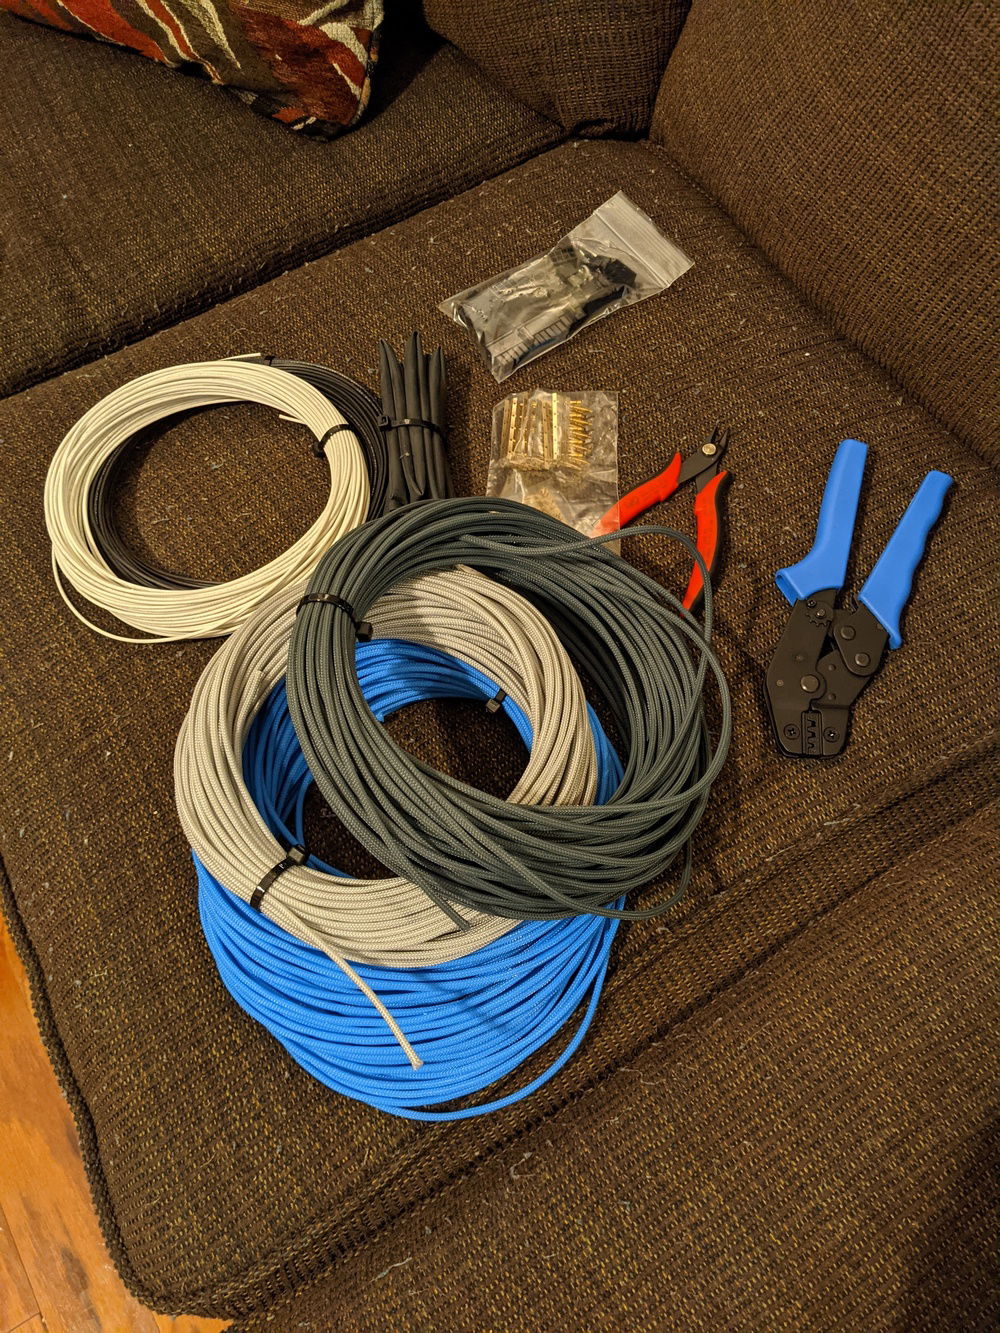
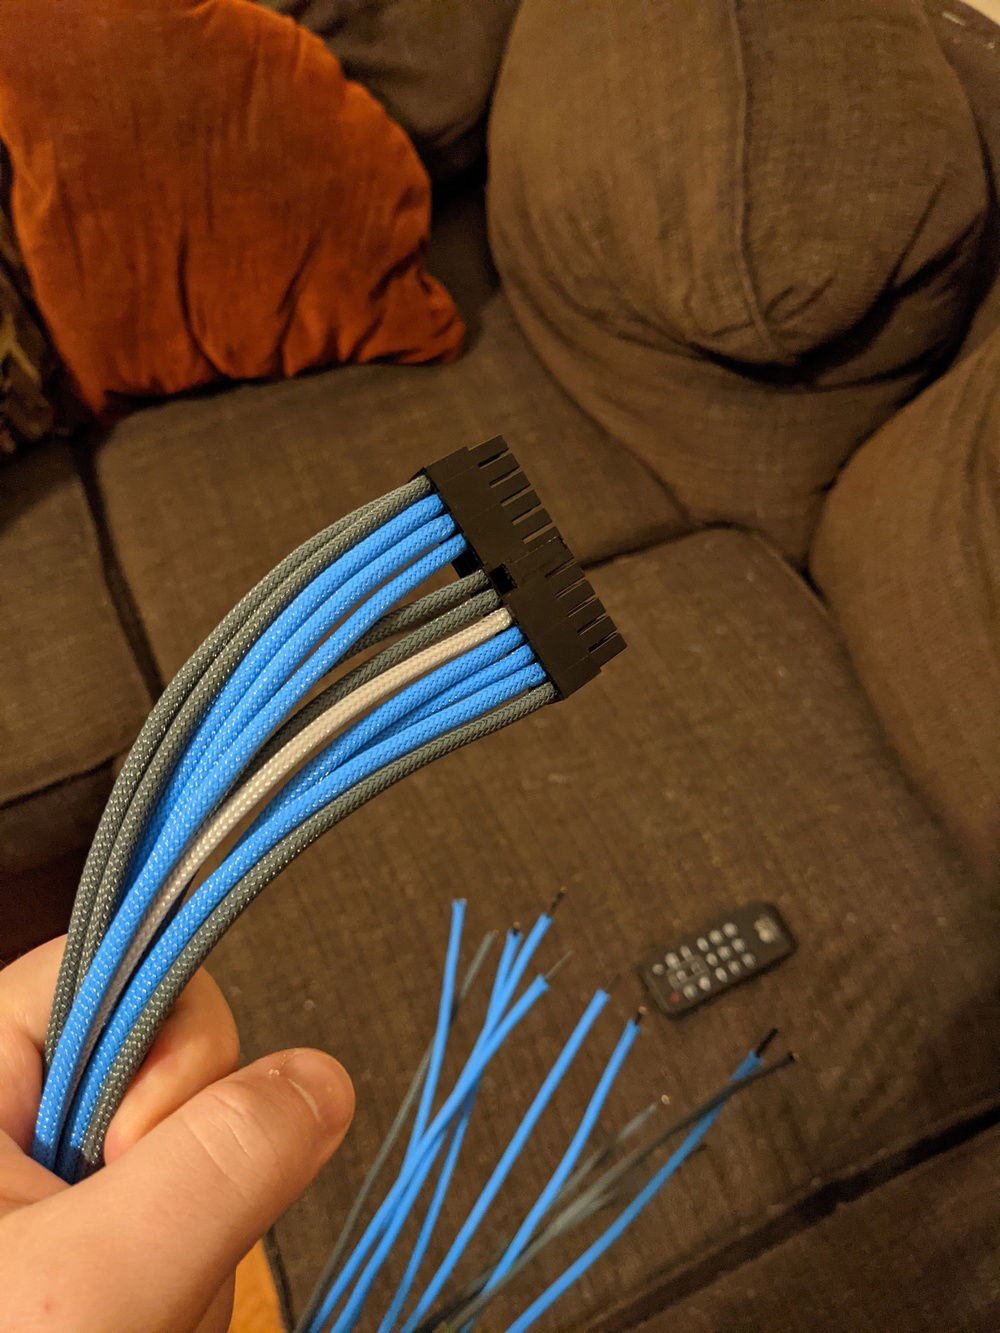
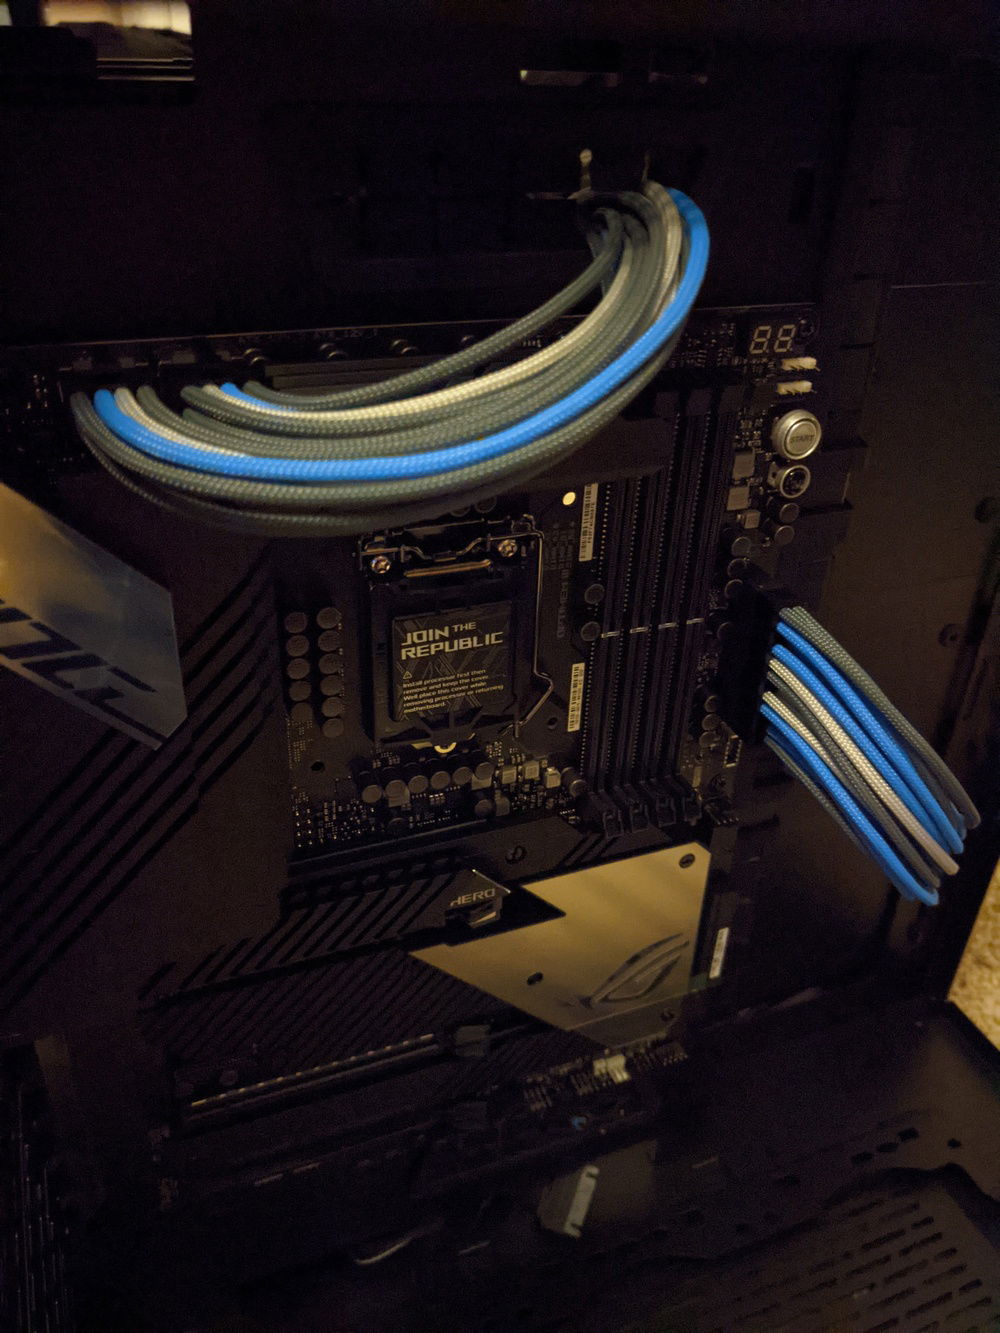
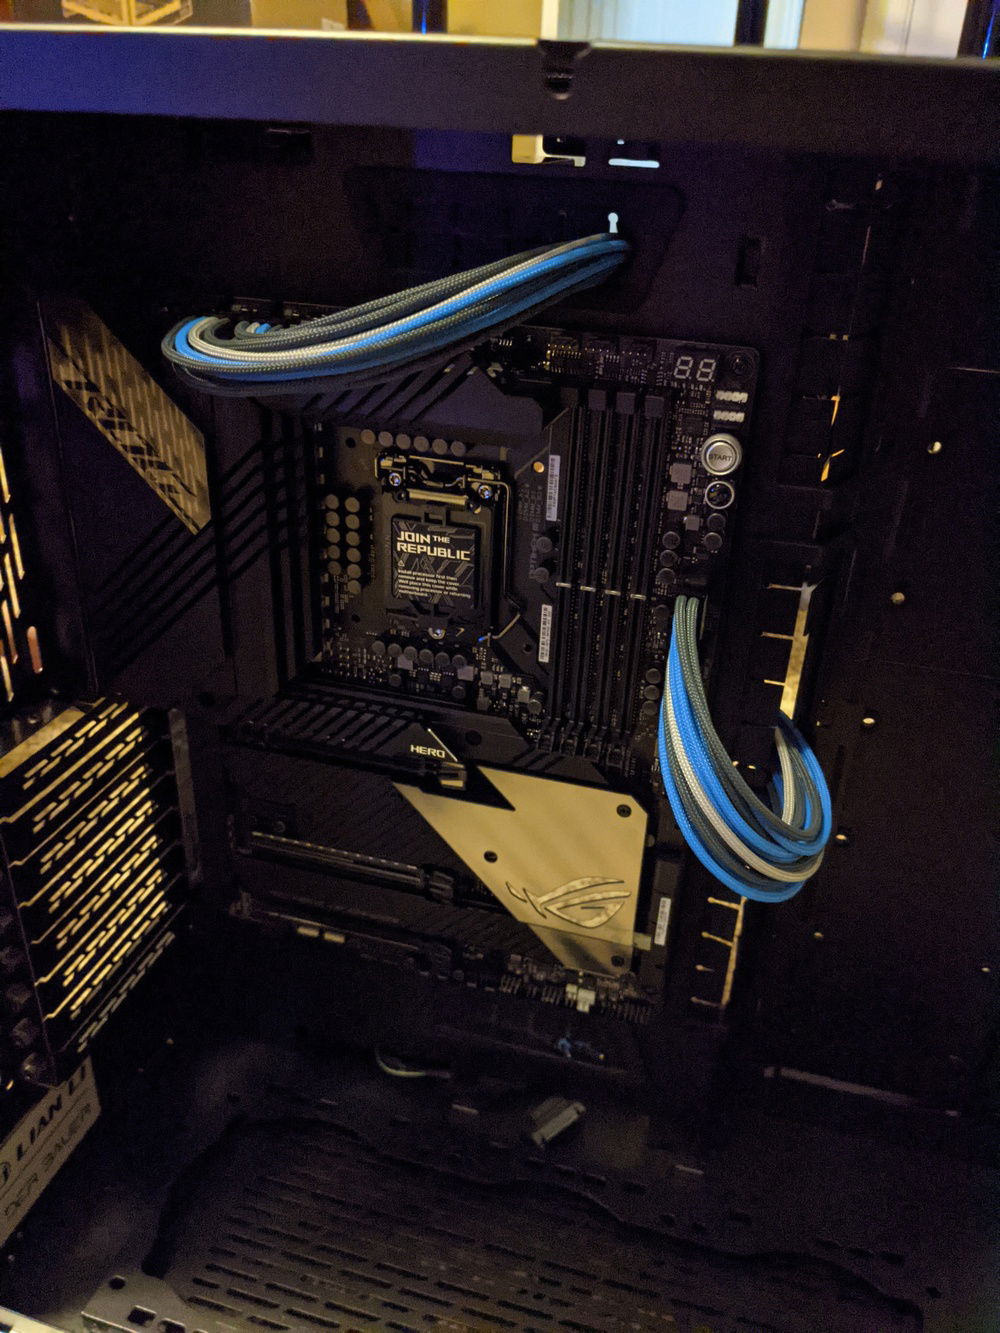
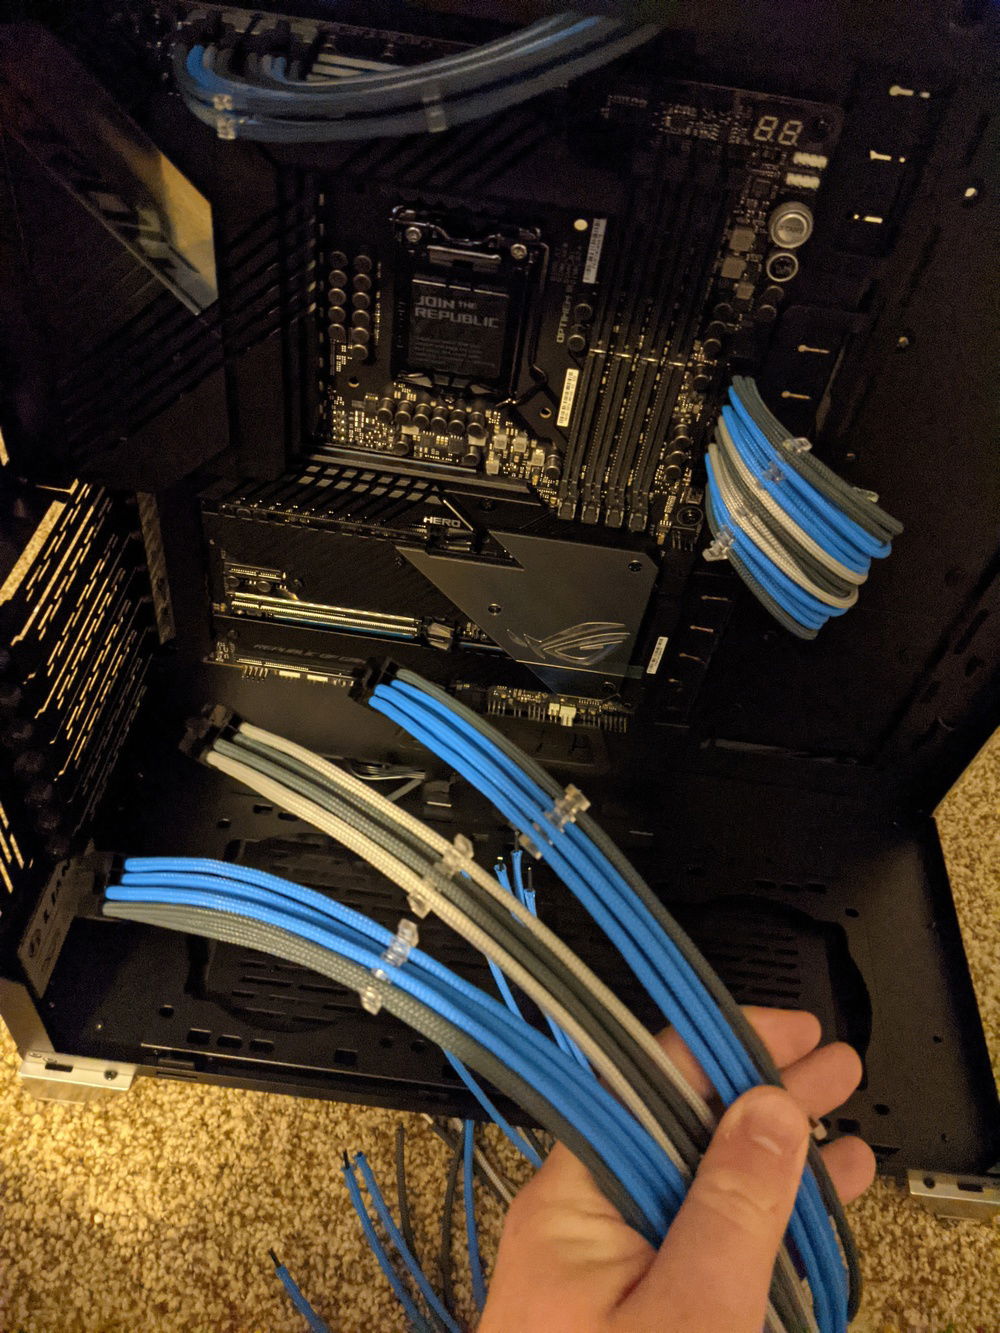
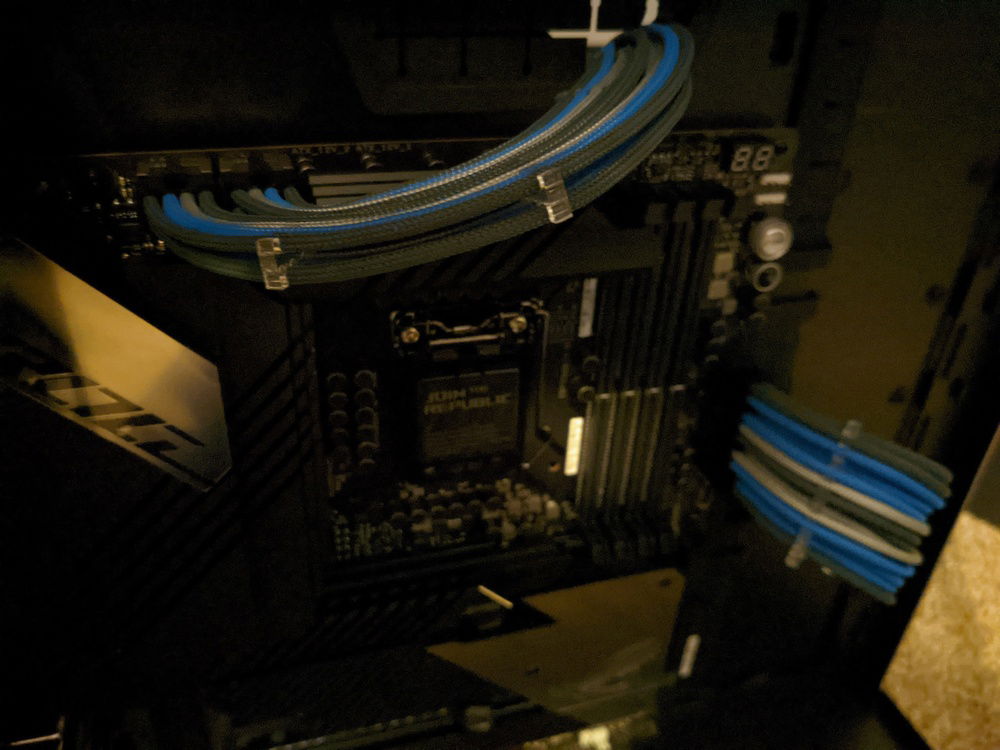
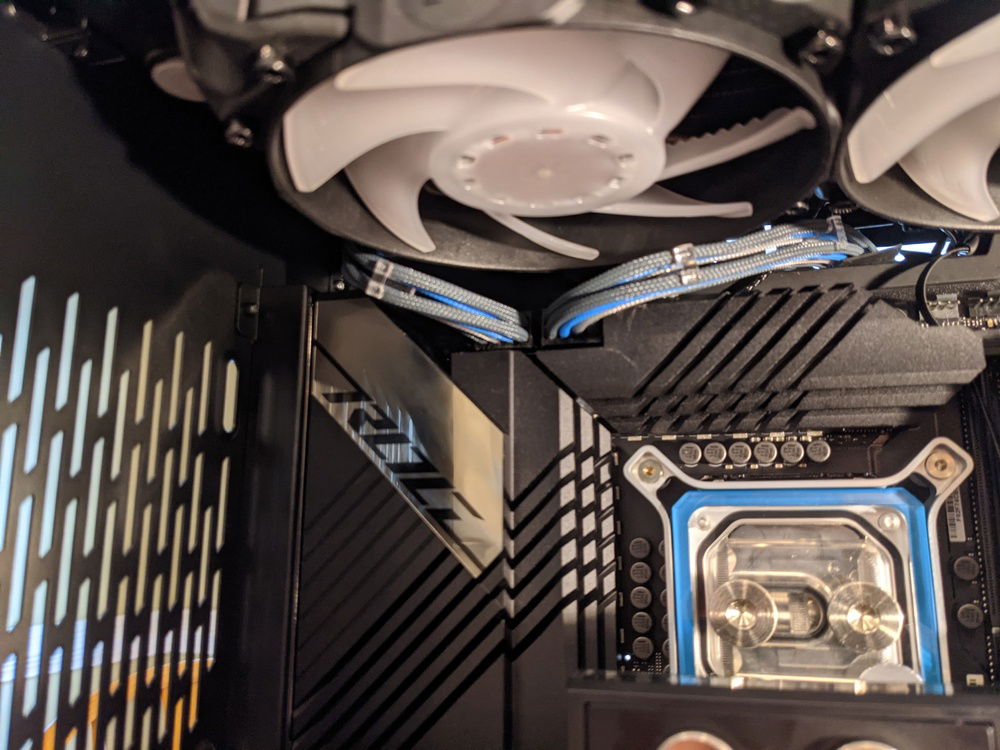
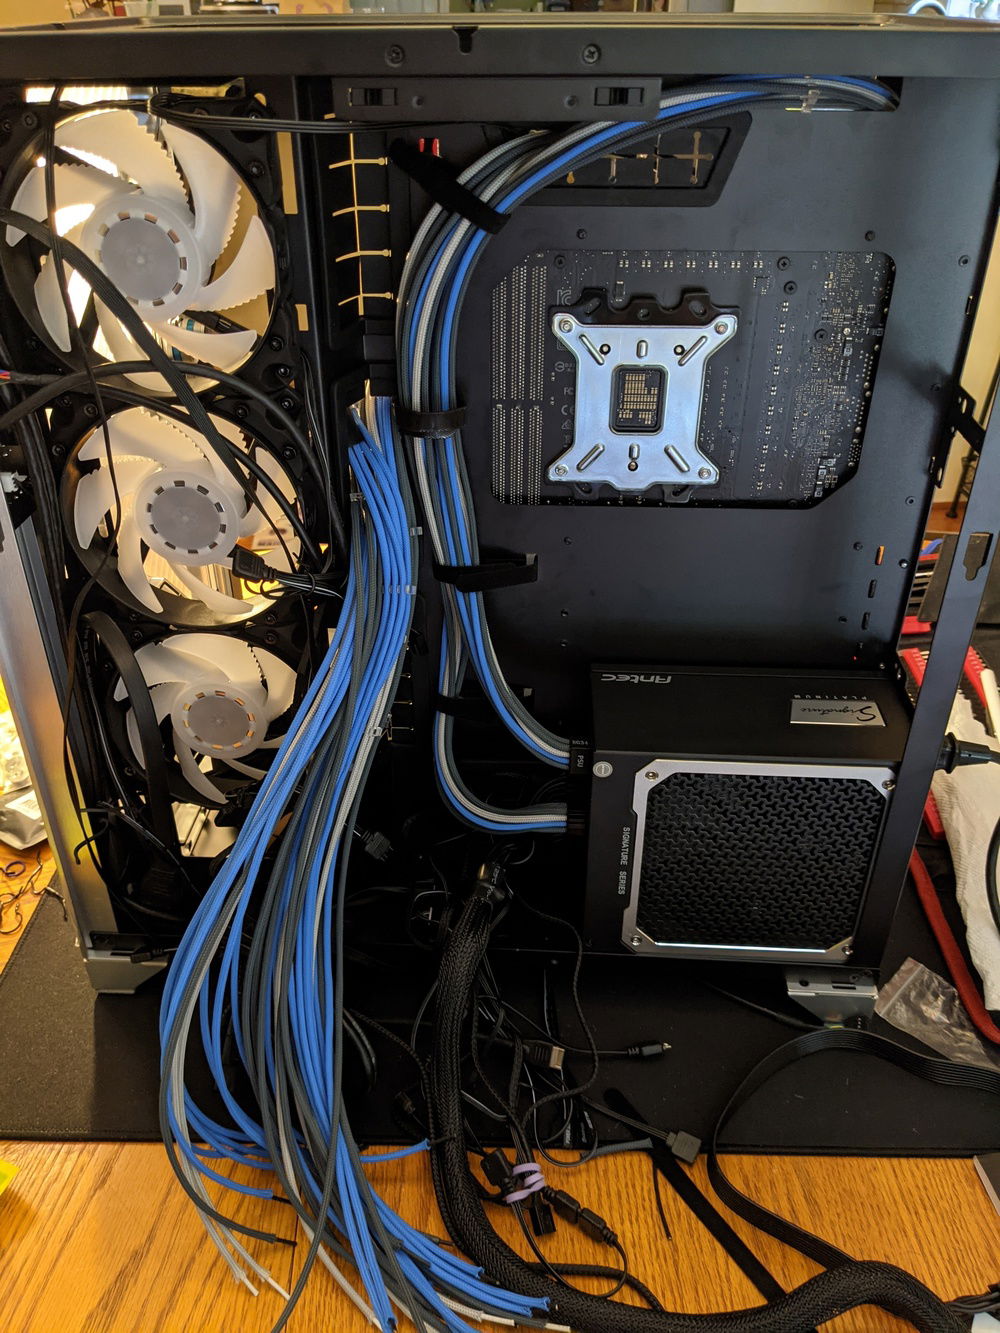
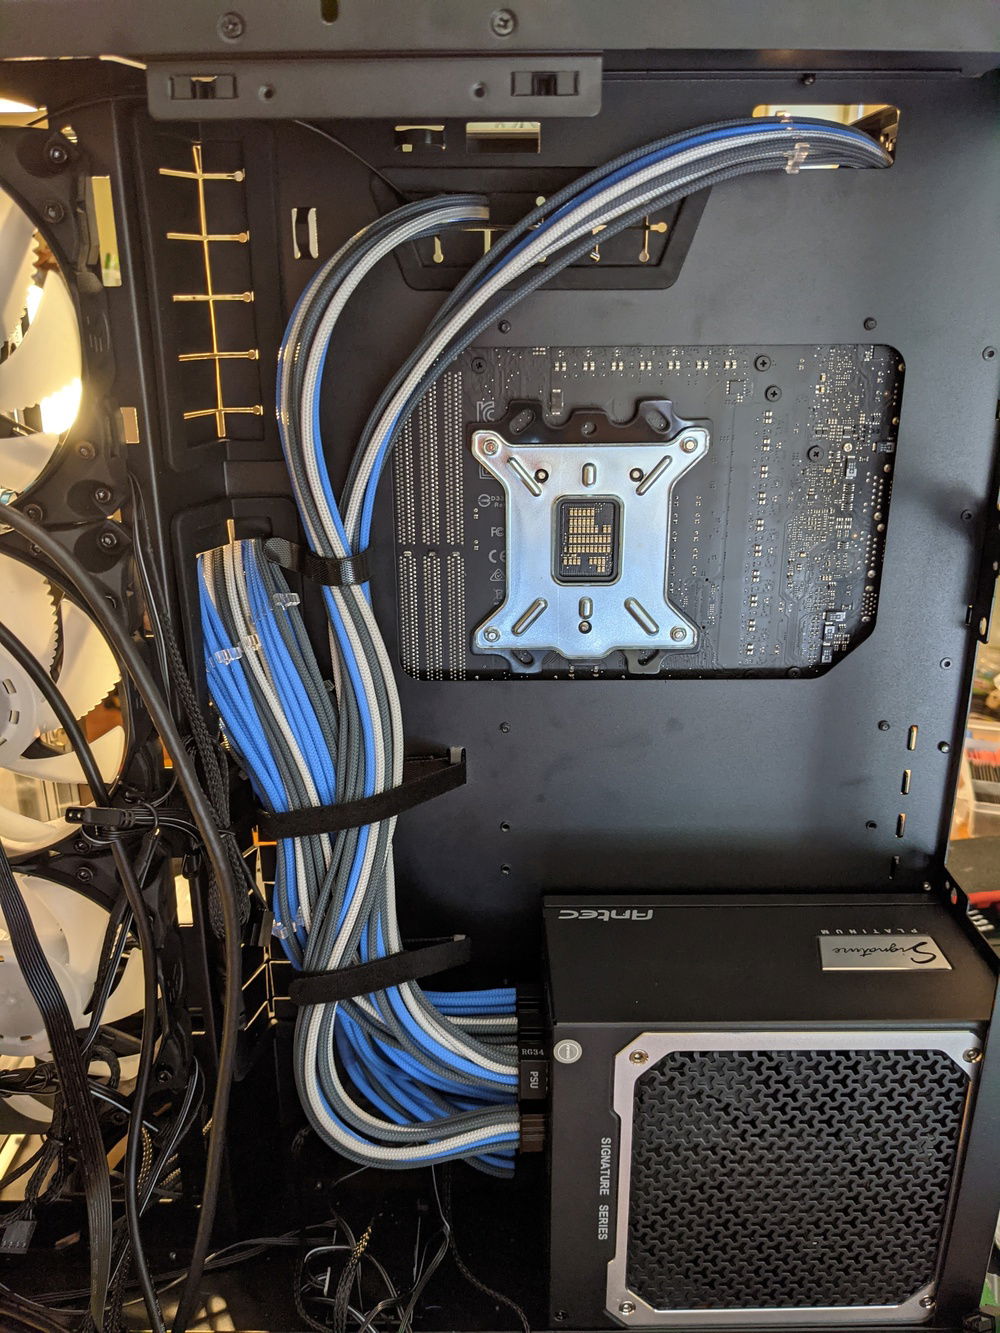
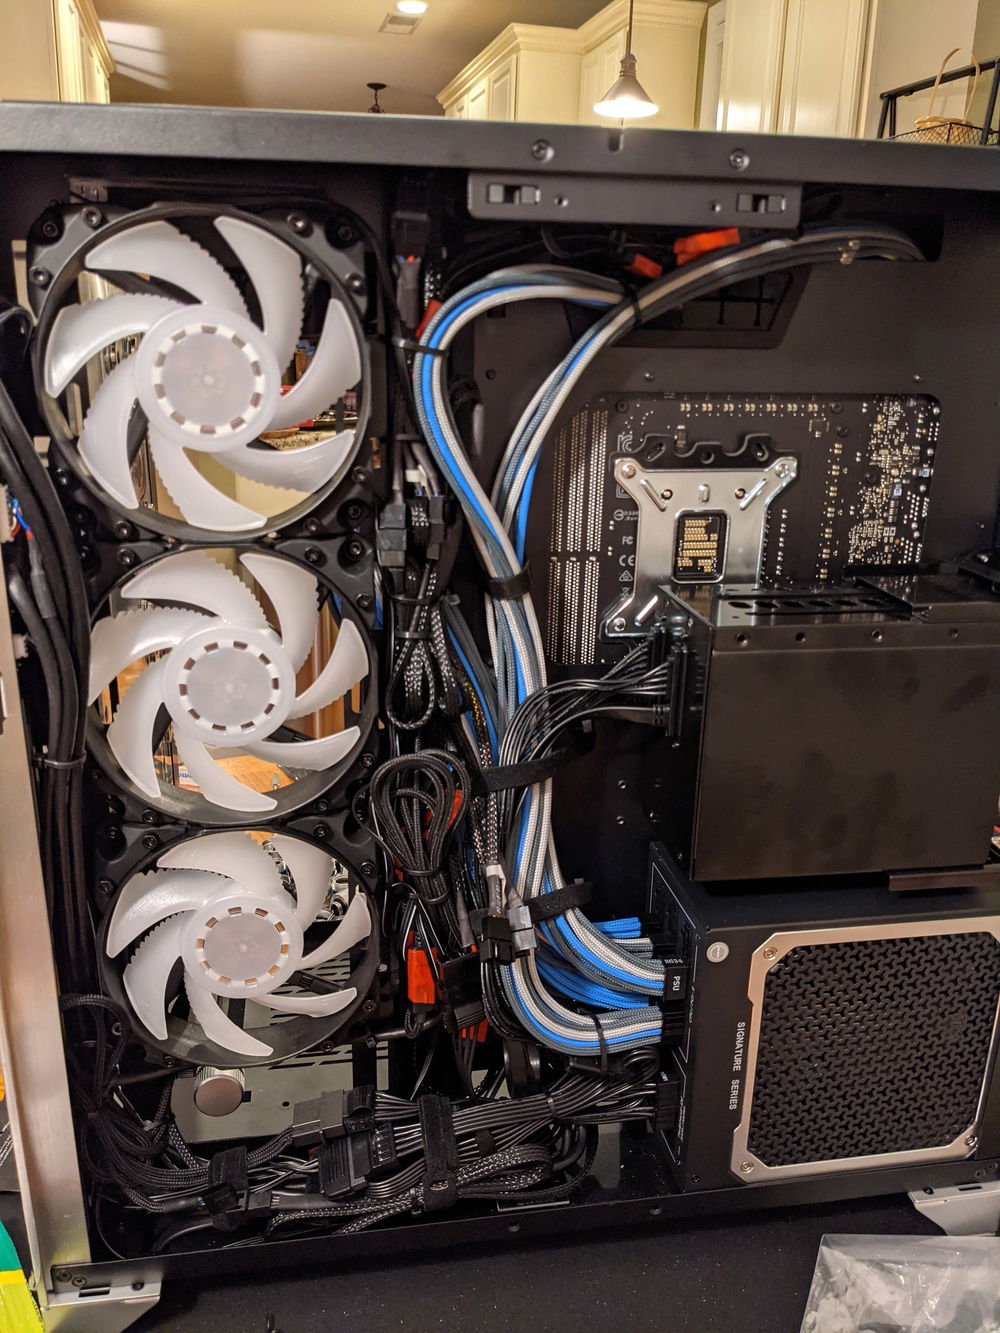
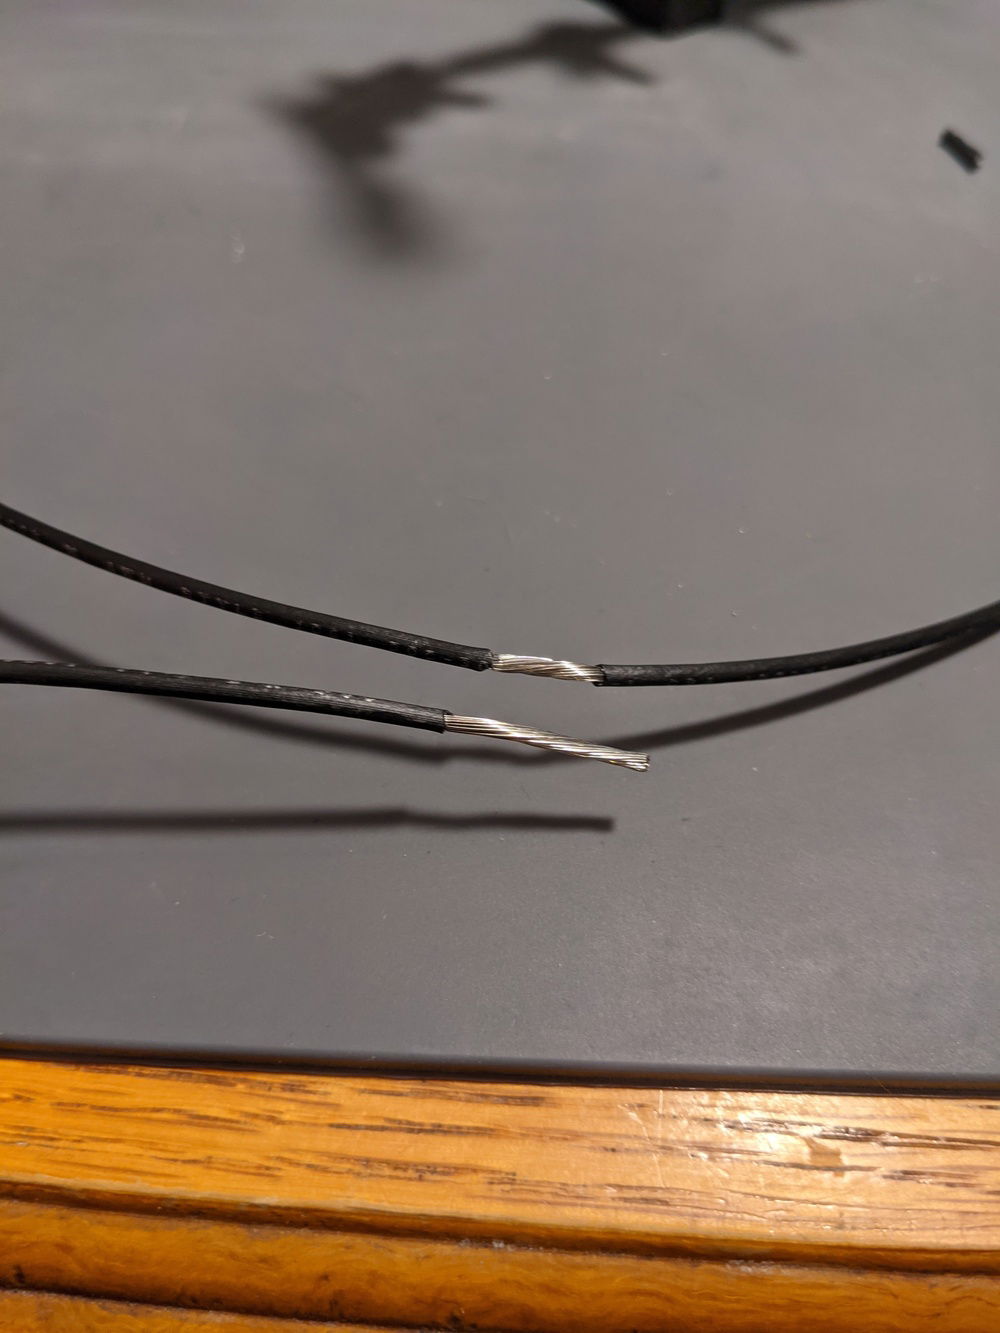
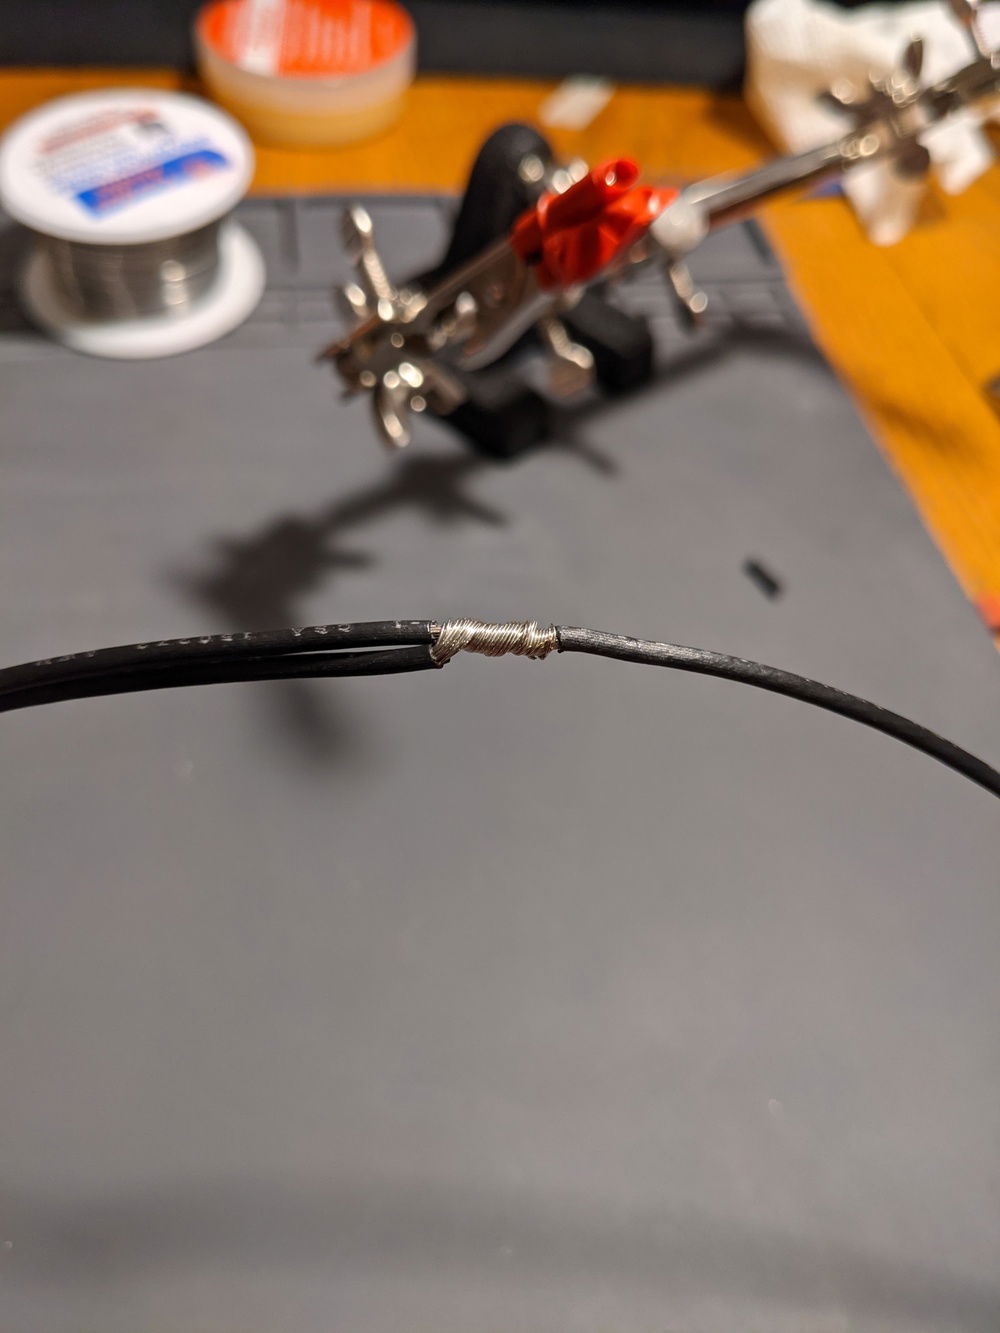
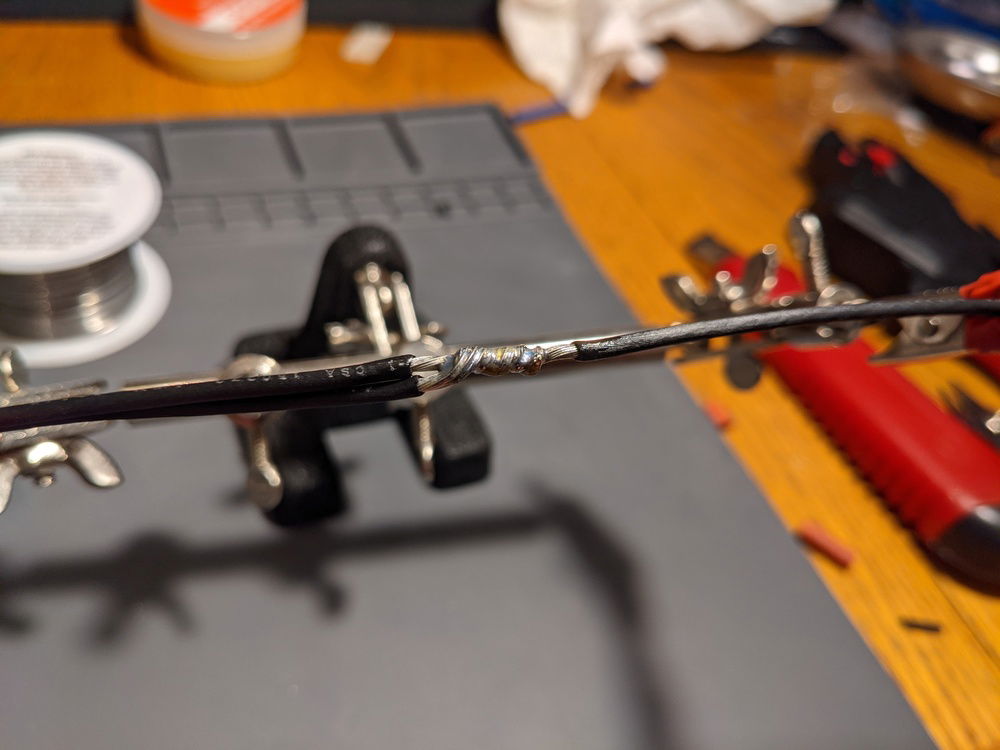
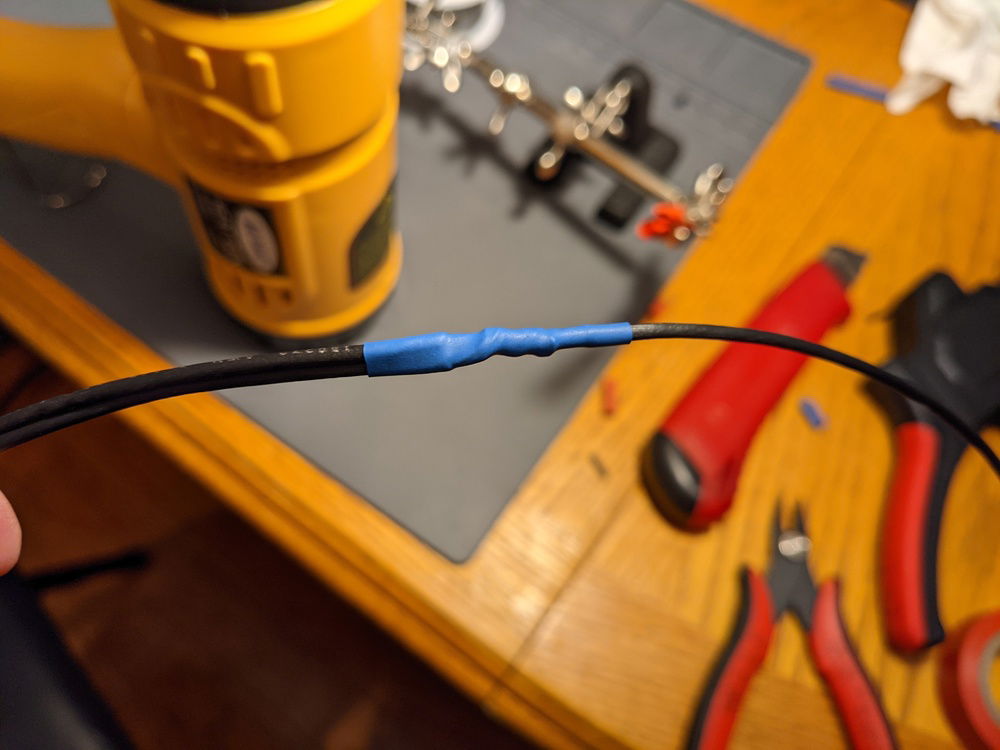
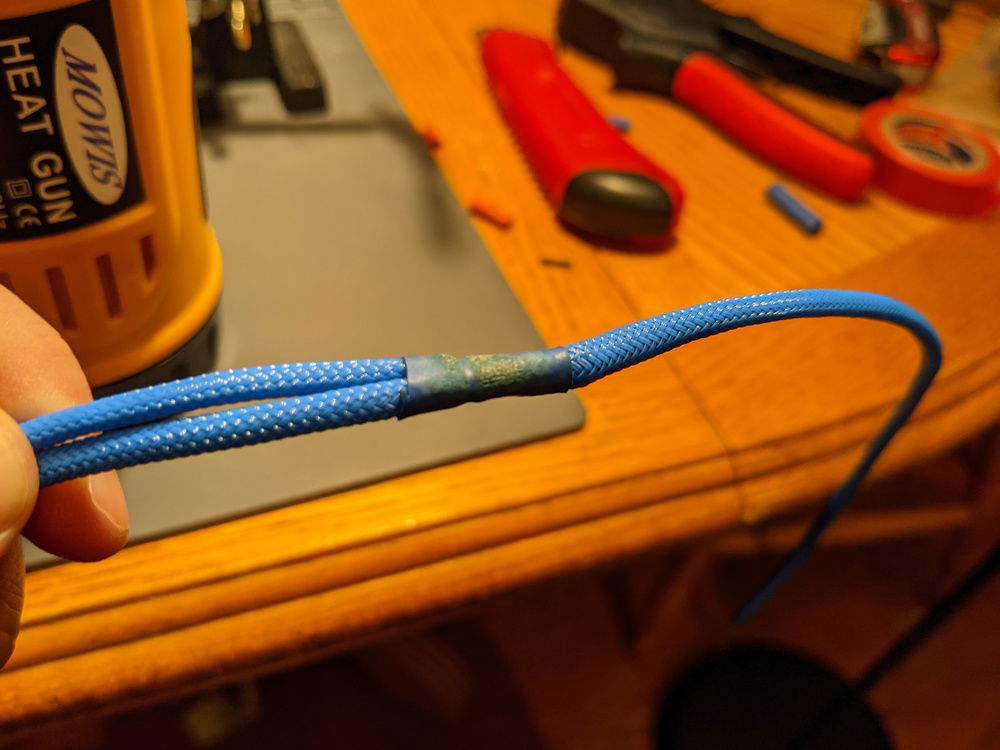
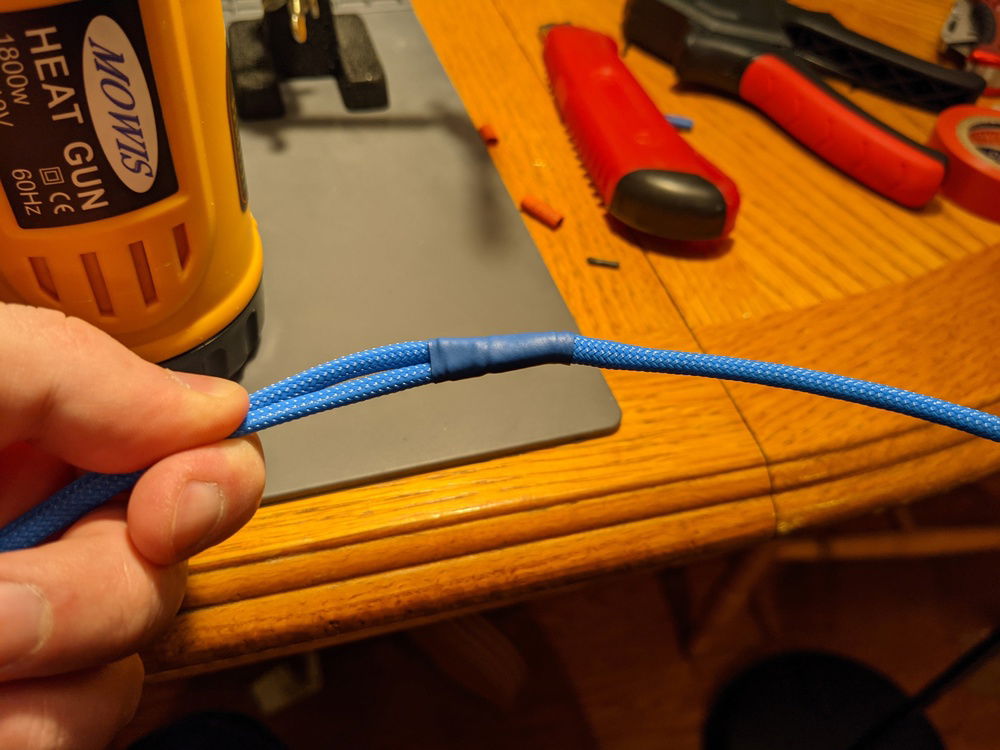
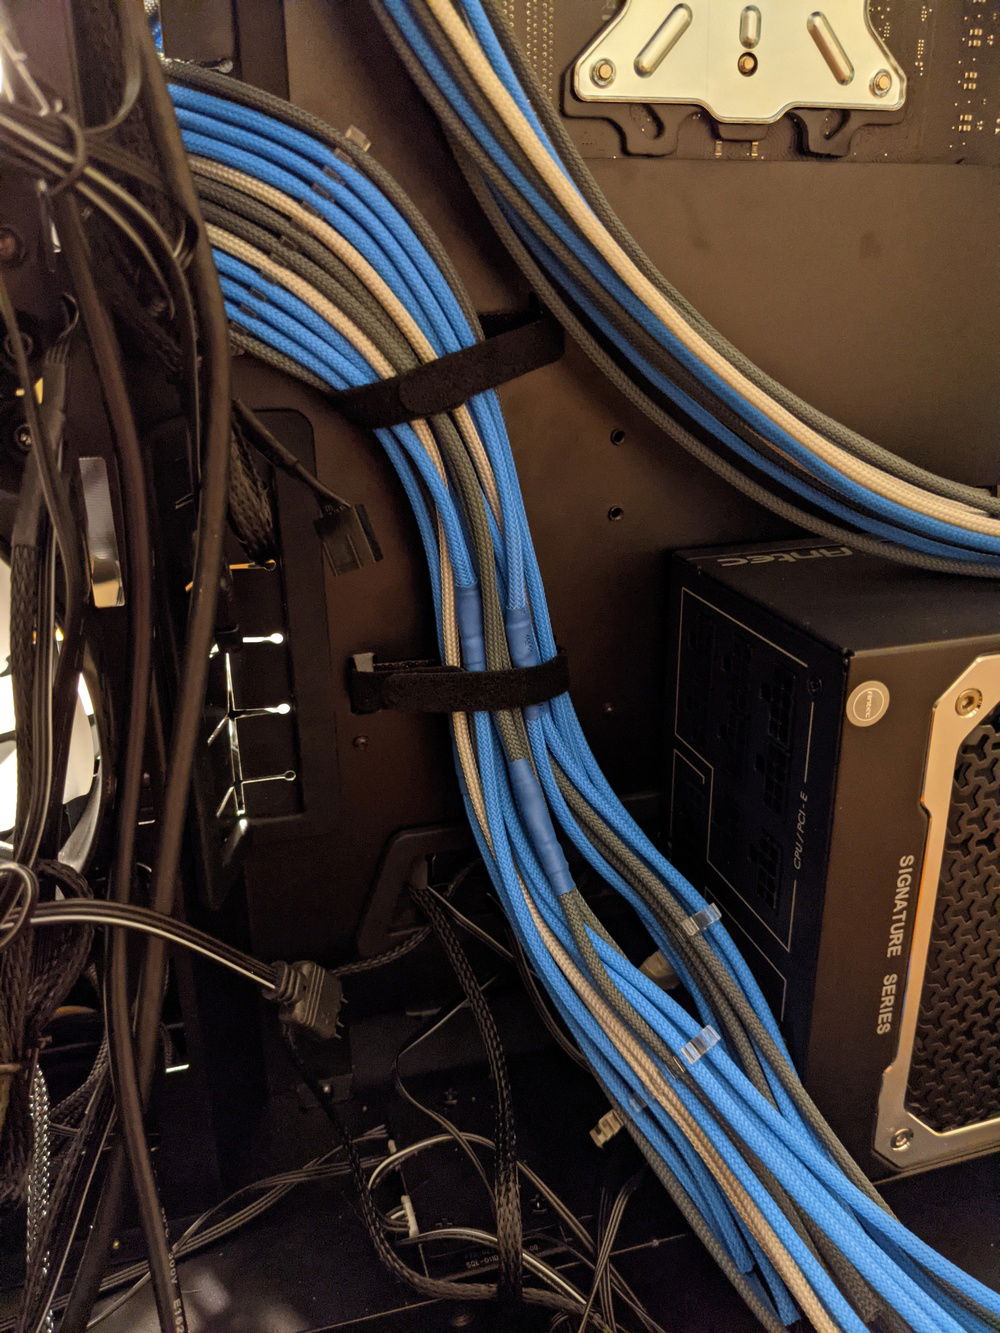
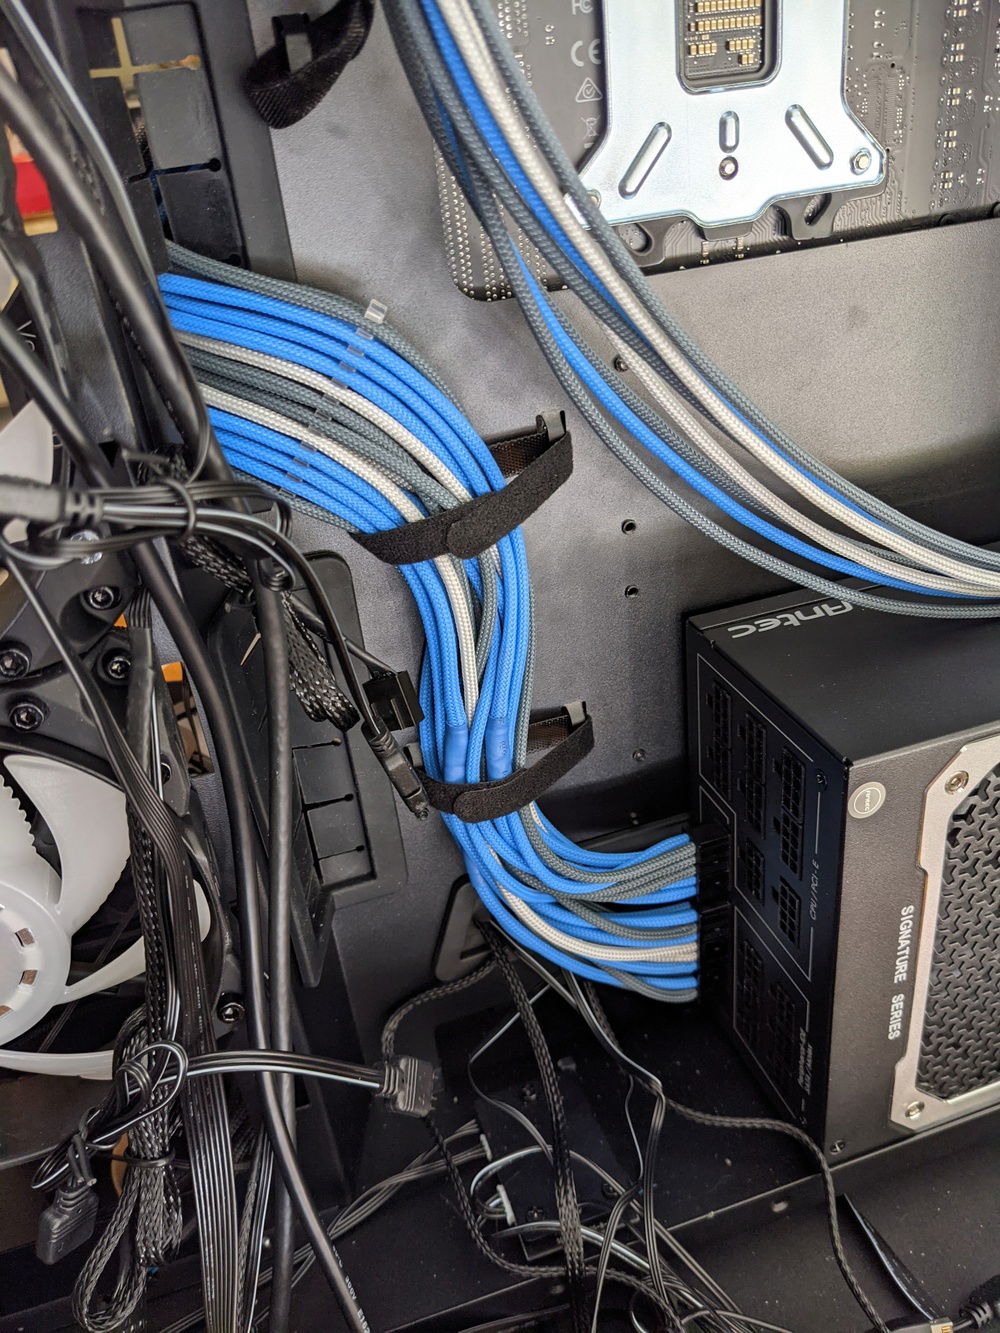
1. Custom PSU cable sleeving - I decided it would be fun/rewarding to try to sleeve my own PSU cables. Currently only planning on doing the 24-pin ATX, 2x8-pin EPS, and 3x8-pin PCI-E cables. Going with Teleios sleeving from MainFrame Customs.
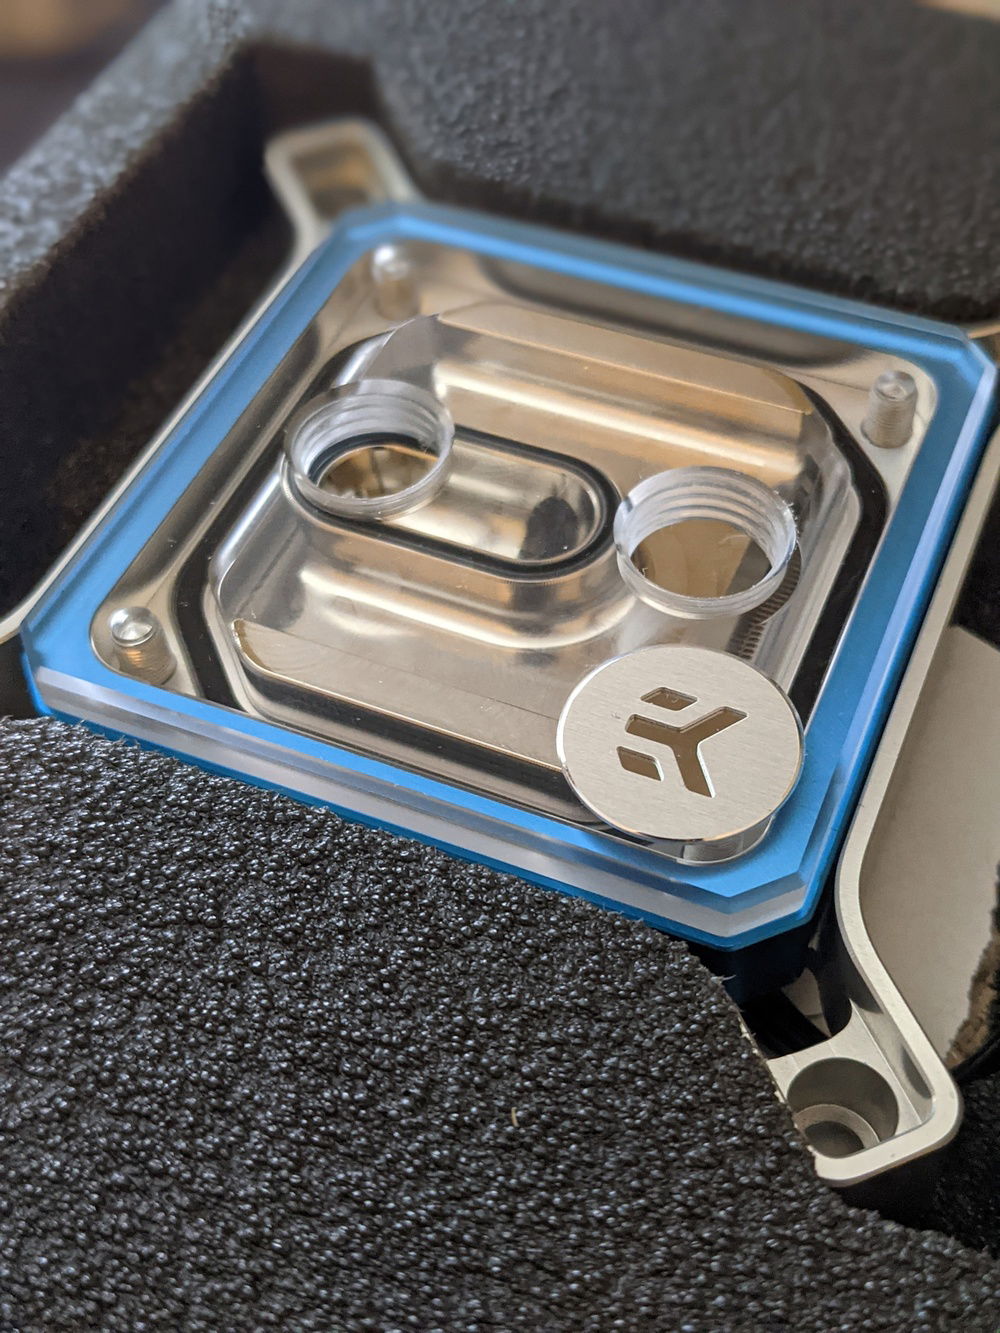
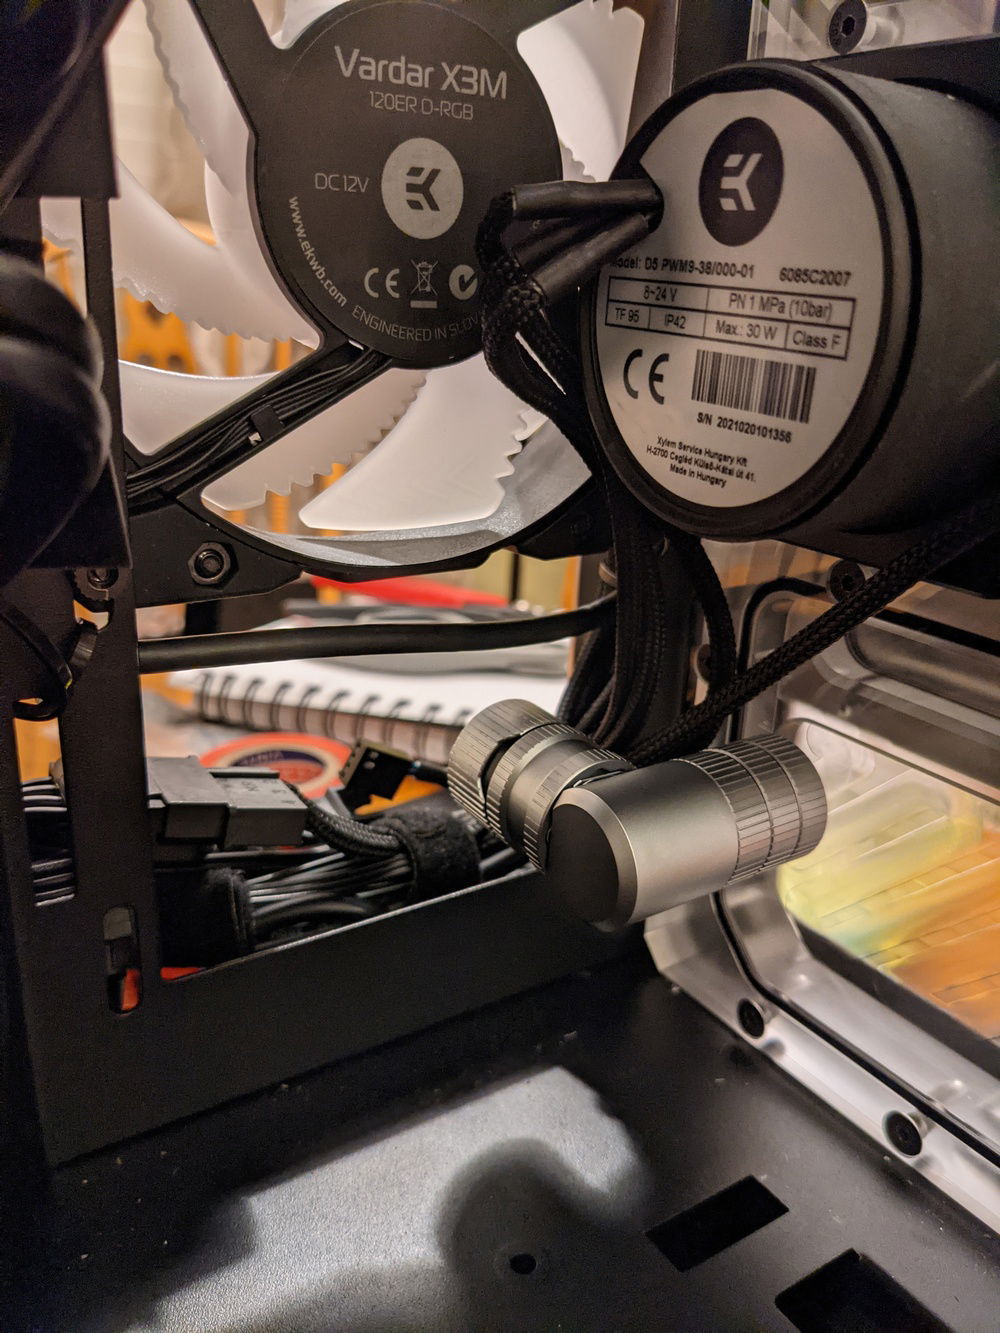
2. RGB - a lot of the components I'm using will have RGB (case, distro plate, CPU block, GPU block, 9 fans, RAM), so I want to try to set it up in a tasteful way that will create a good color balance and not be too overwhelming.
Color(s): Black Blue Gray Silver
RGB Lighting? Yes
Theme: Space
Cooling: Custom Liquid Cooling
Size: ATX
Type: General Build
Contests
This build participated in 1 contest.
| Rank | Contest | Date |
|---|---|---|
| #41 | Build of the Month - May 2021 | ended |
Build Updates
Starting PSU cable sleeving
More cable sleeving, and a lot of waiting
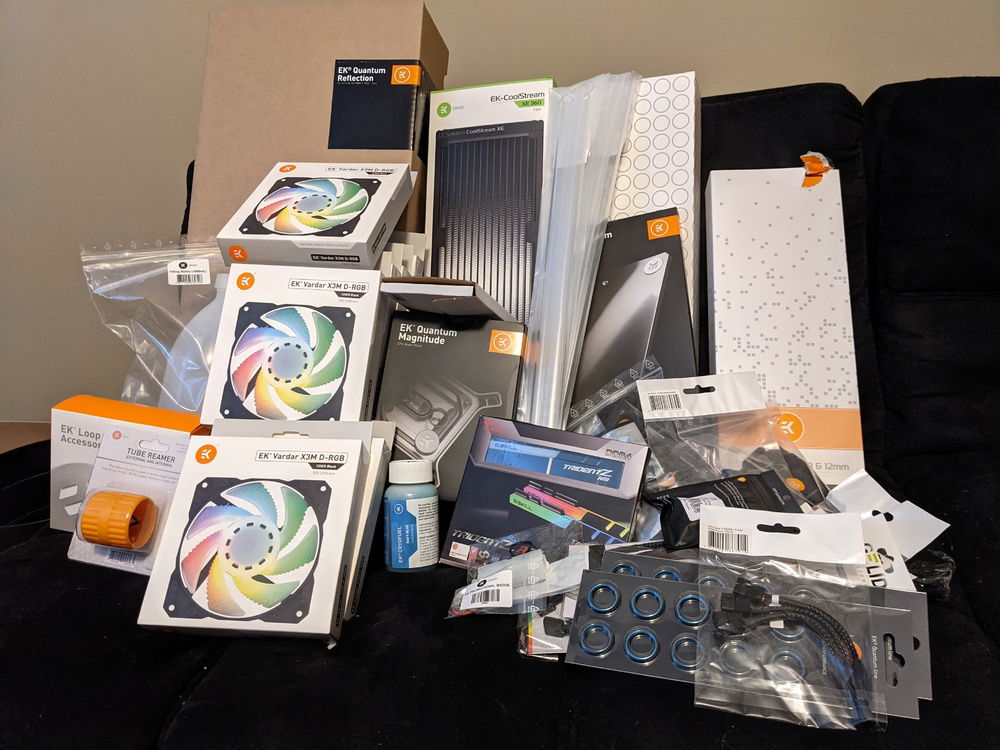
Shipment from EK has arrived, and other updates
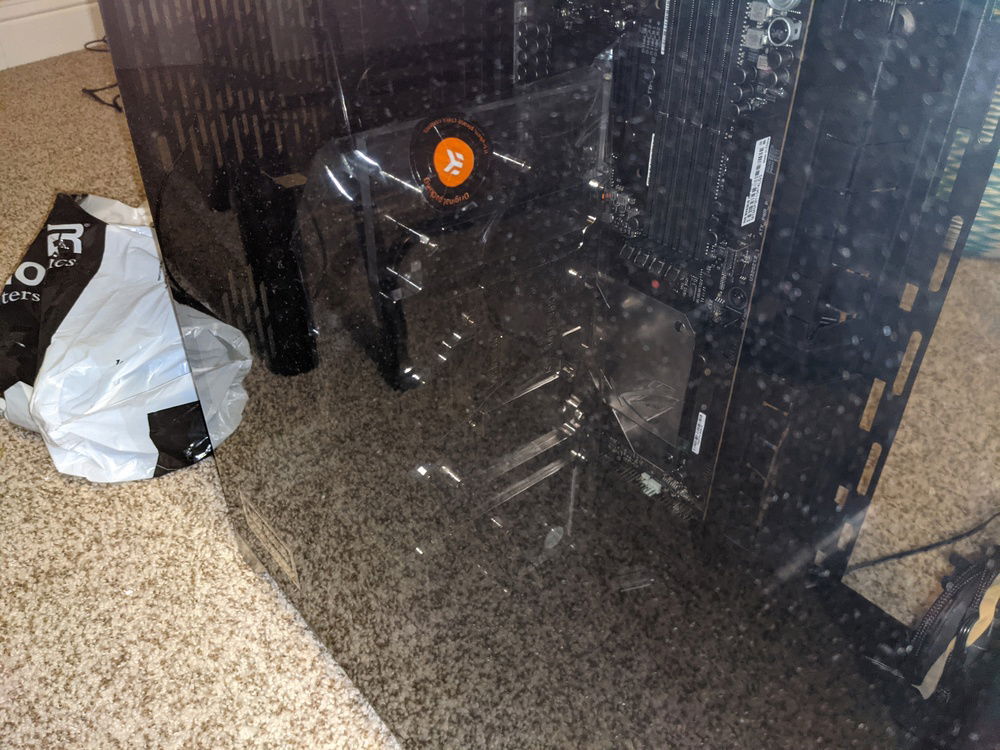
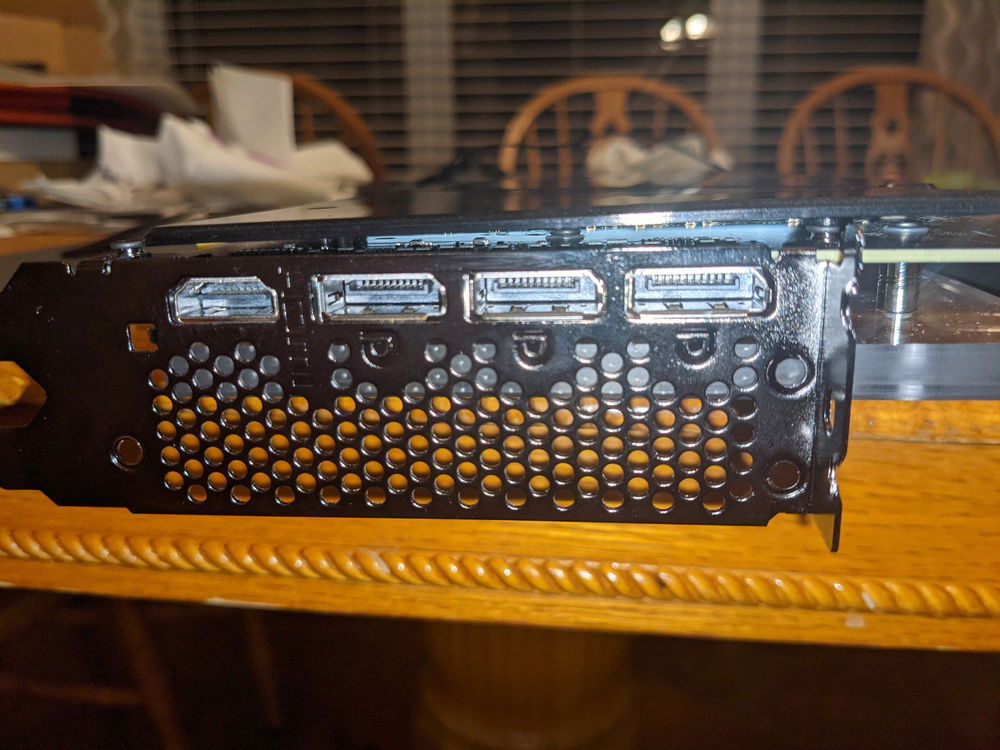
Potential GPU block clearance issue
CPU change, starting build this week
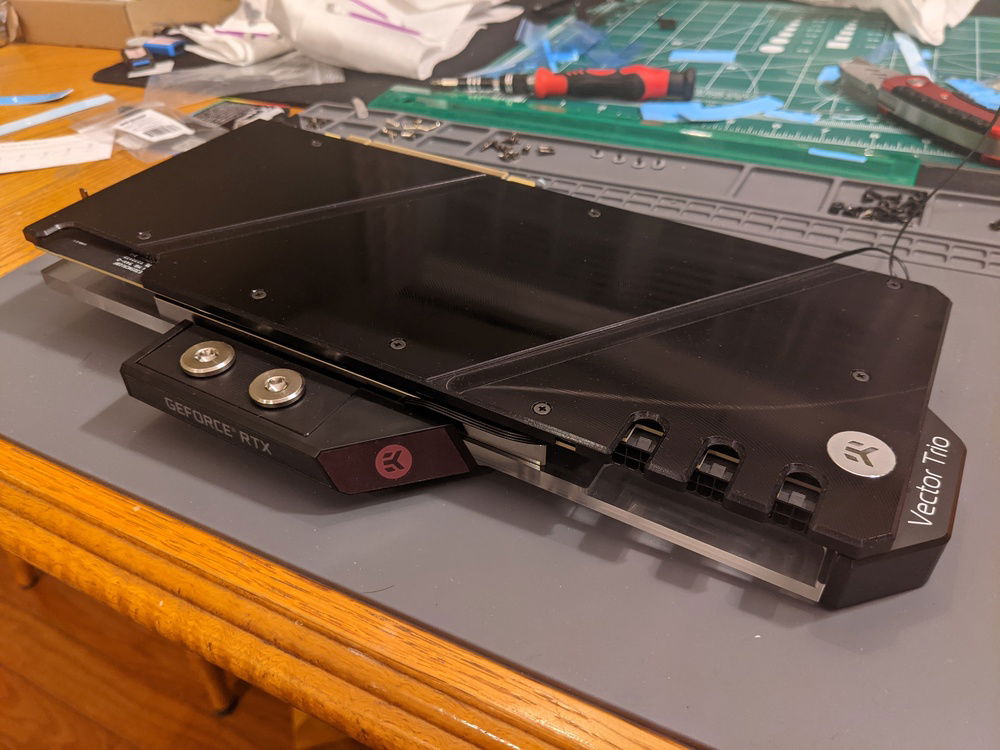
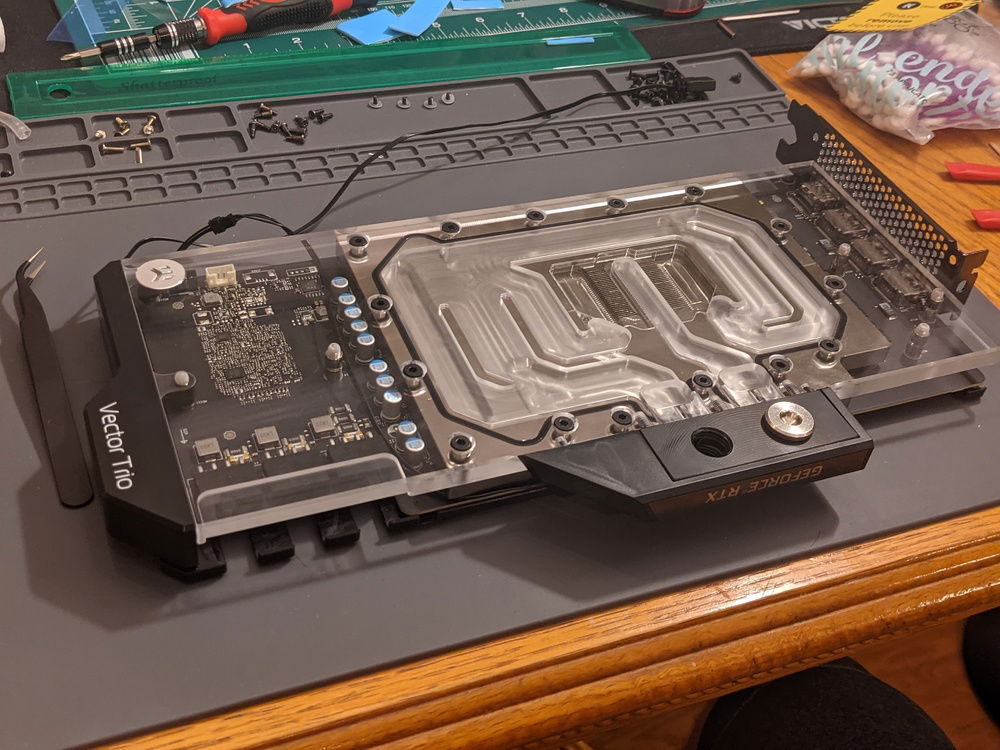
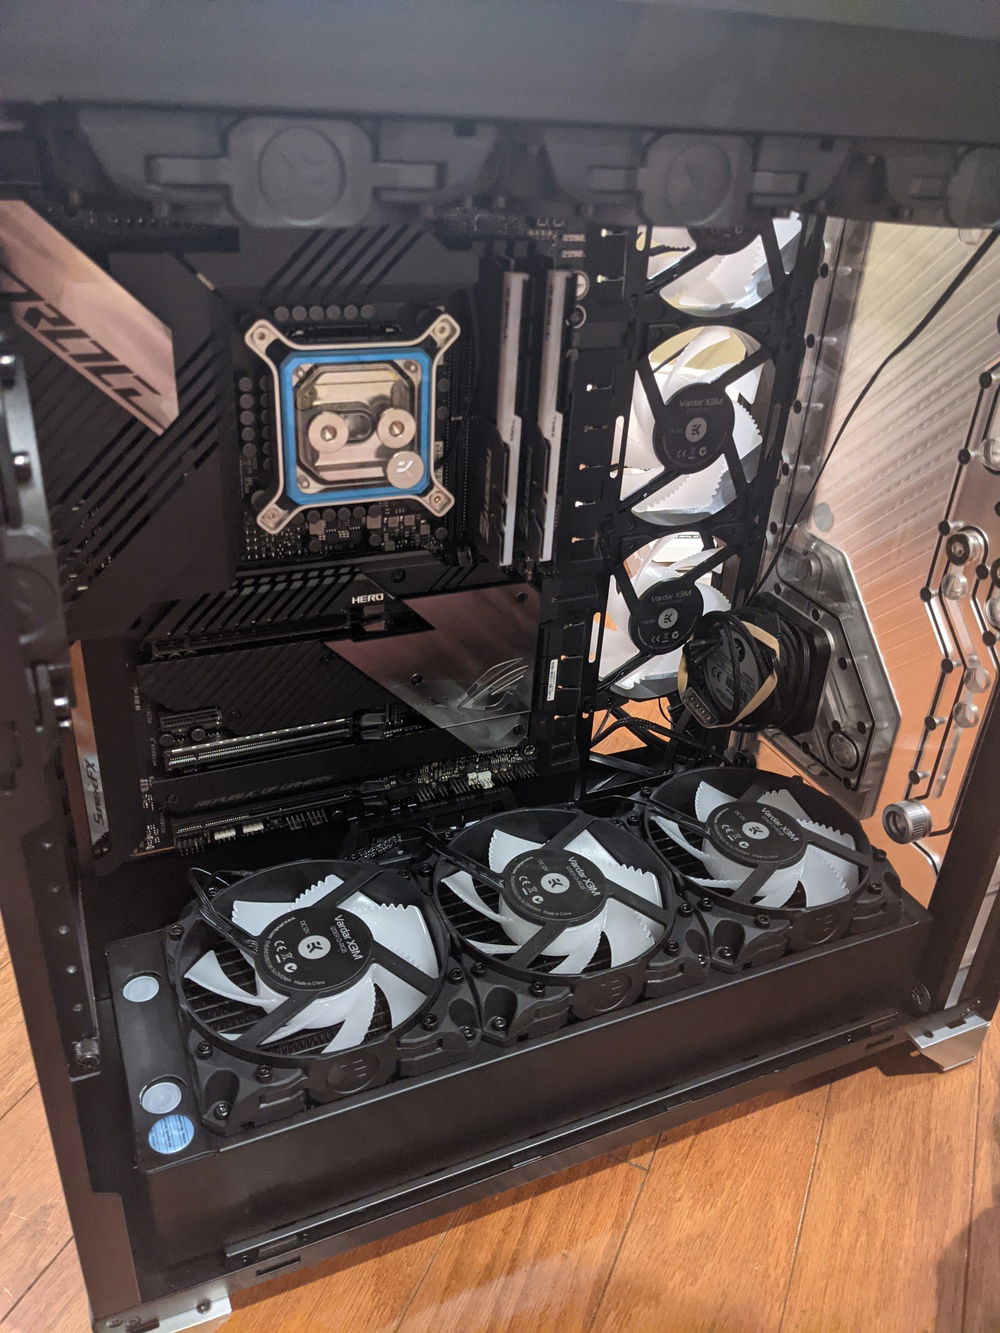
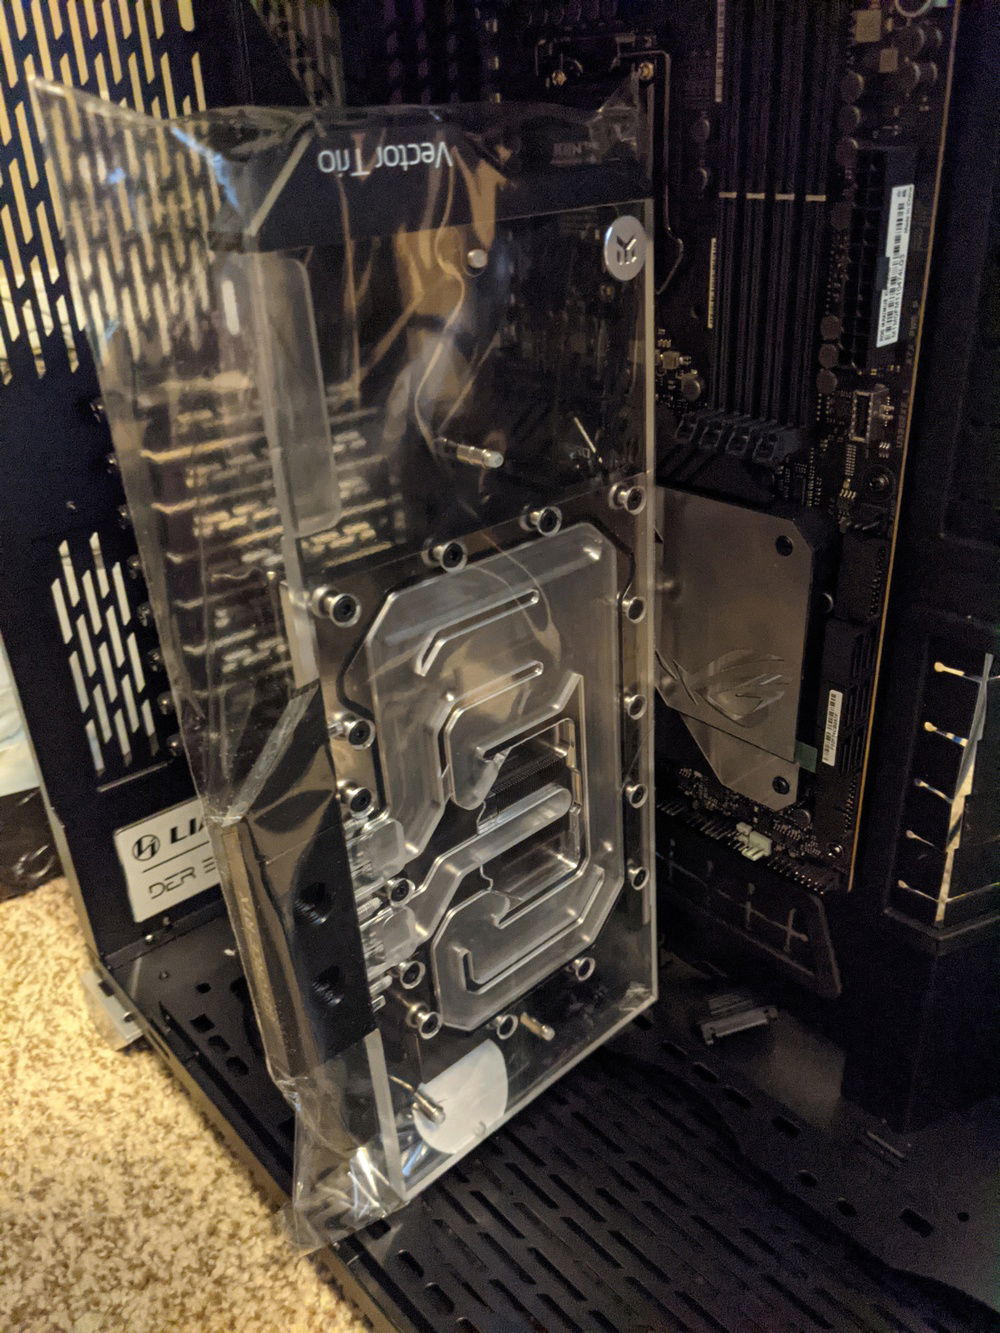
Installed GPU/CPU water blocks, radiators, and fans
Test fit before finishing sleeving and tubing
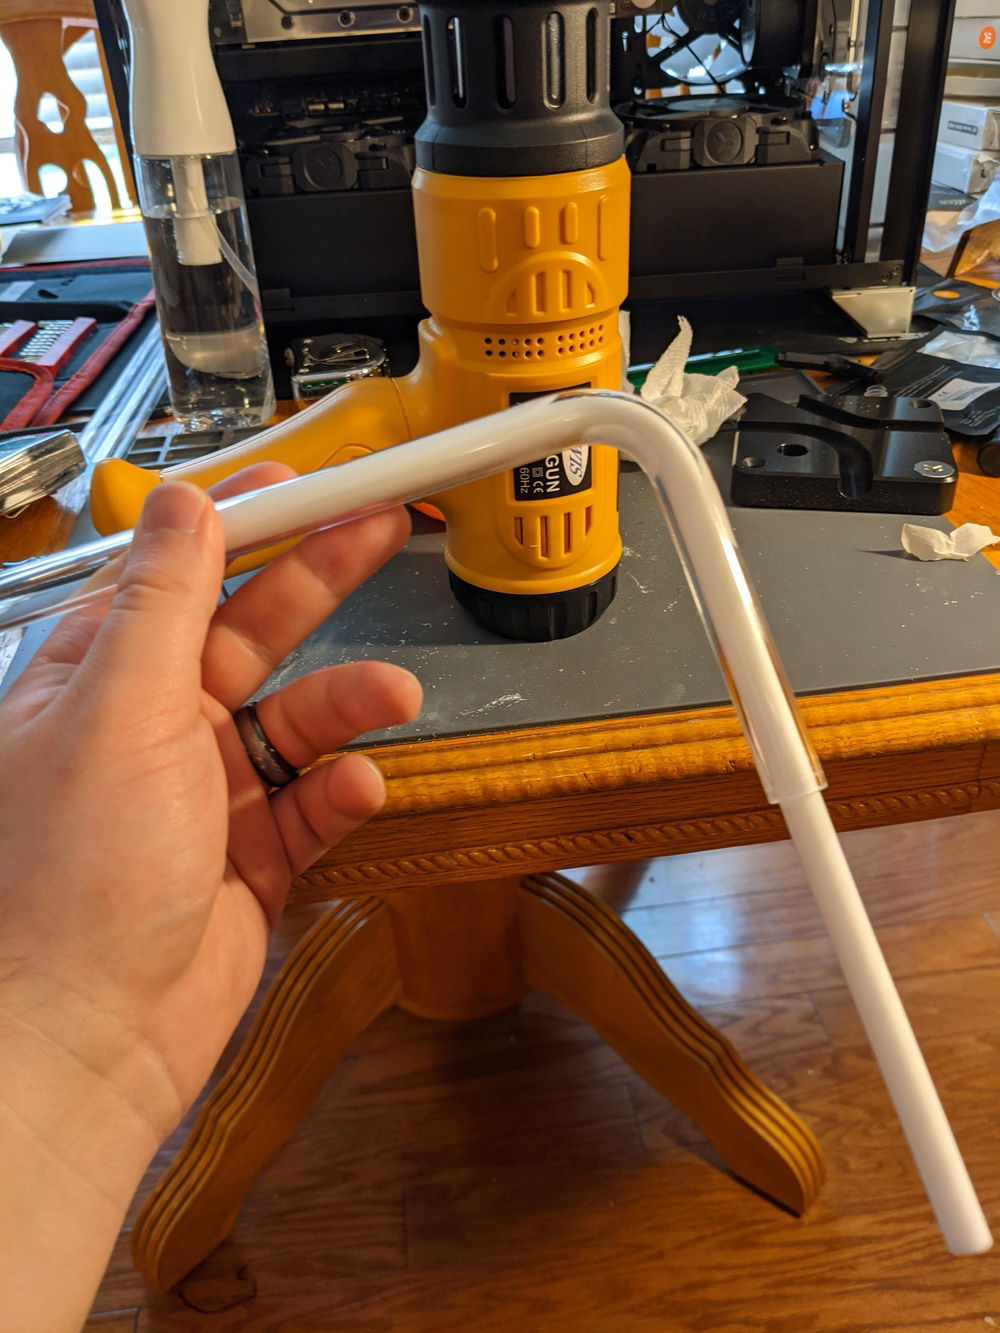
First tubes bent and Installed!
More tube bending fun
Halfway done with complex CPU tube runs
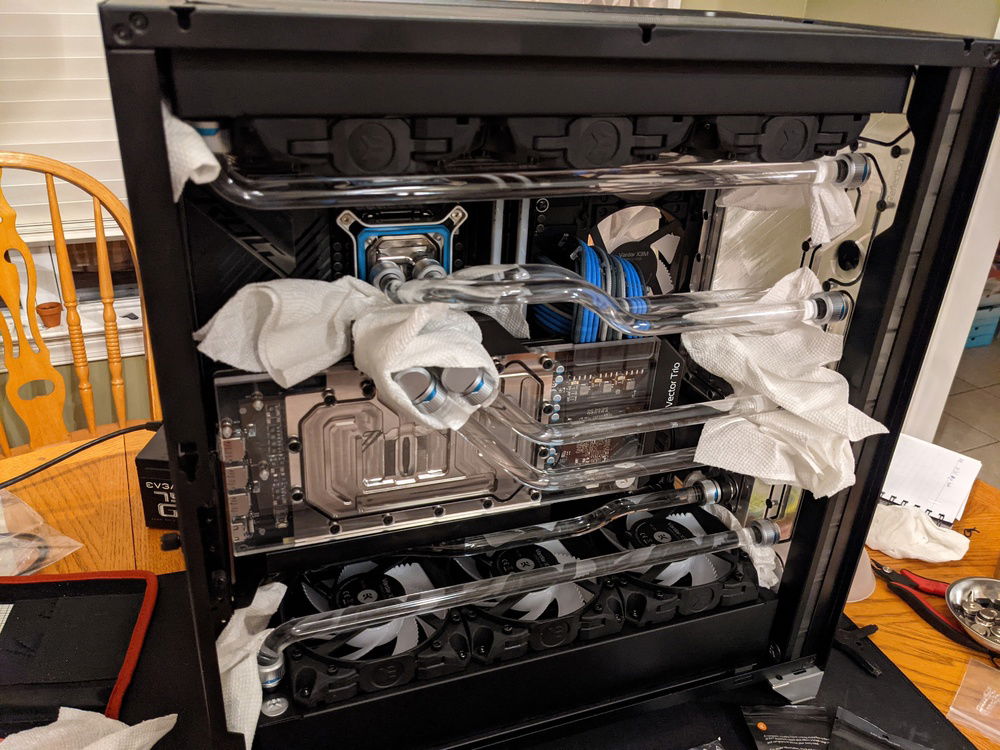
CPU loop complete, tracking down leaks
Custom sleeved EPS cables complete!
All custom cables complete; leak update
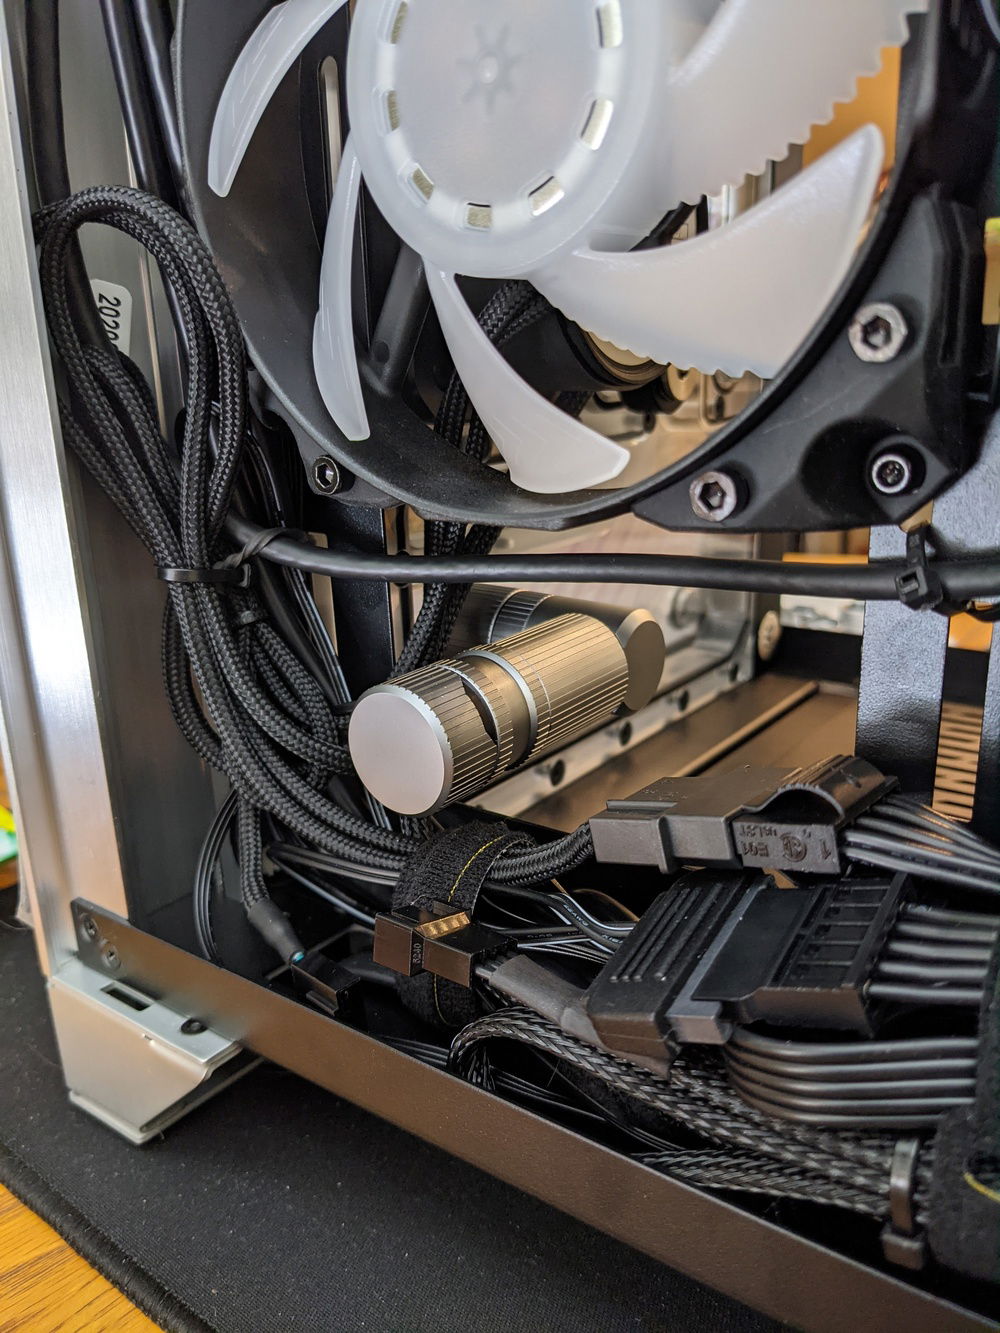
Cable management, and prepping for final assembly
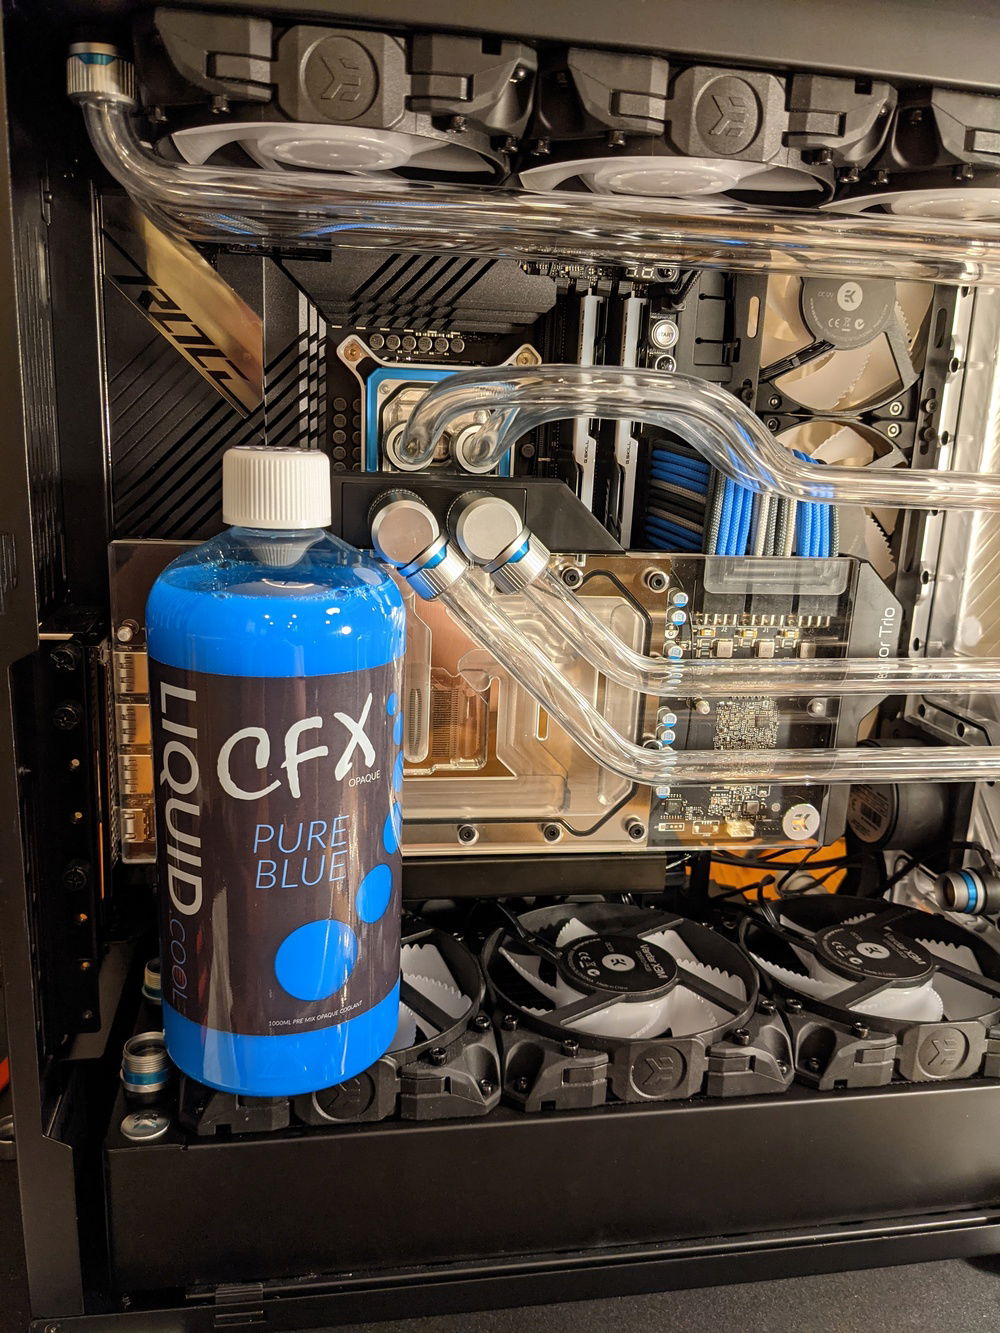
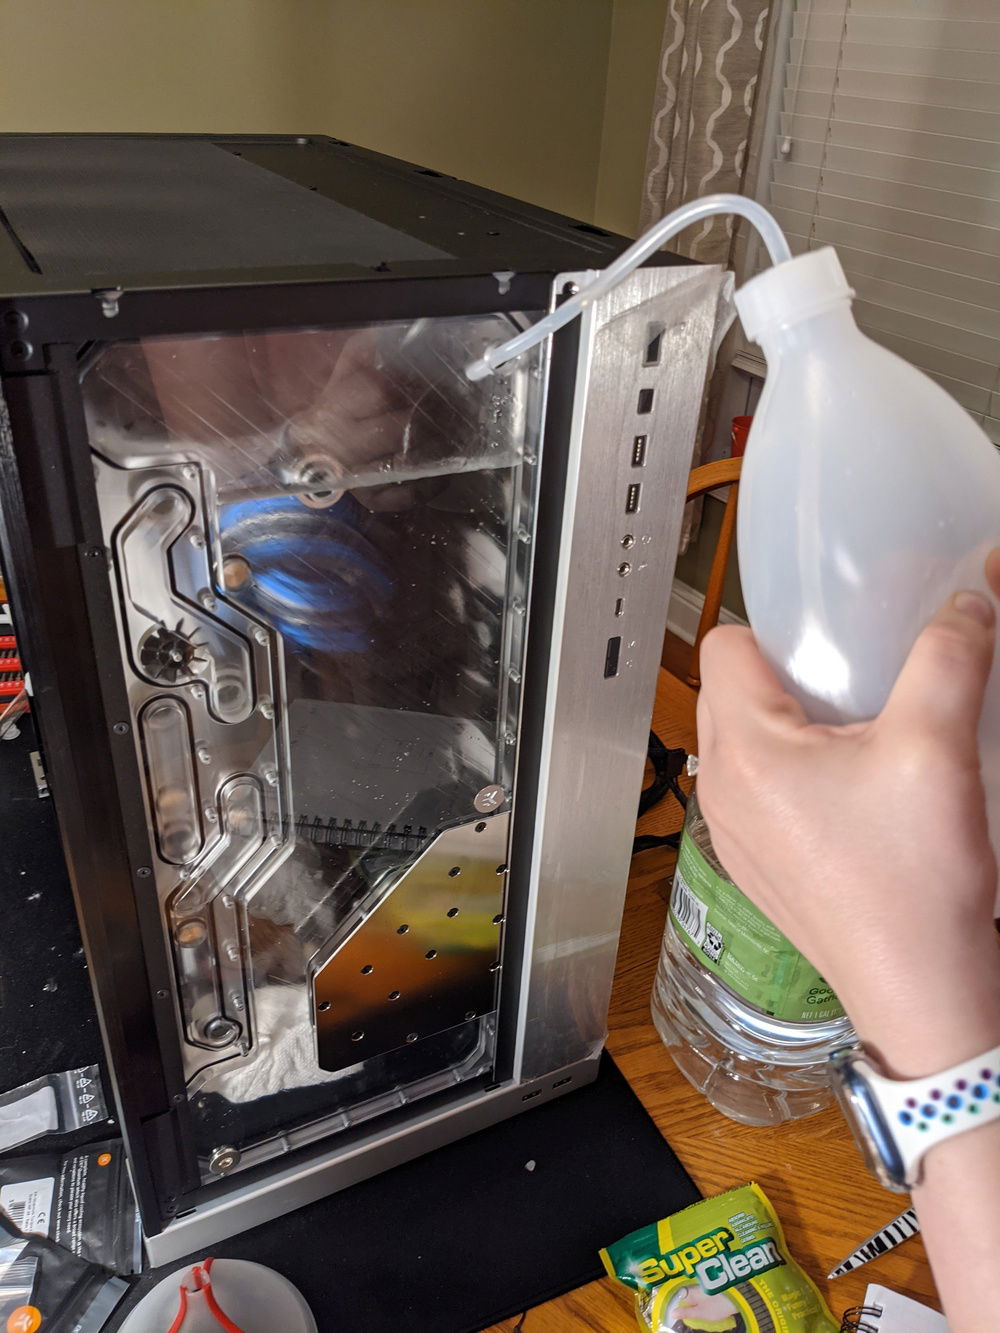
First leak test with water!
Leak test results, and plans for this week
Build complete? SSD issue, but it runs!
Hardware
CPU
$ 395.00
Motherboard
$ 499.99
Memory
$ 338.68
Graphics
$ 759.00
Storage
$ 389.99
Case
$ 209.00
Case Fan
$ 877.50
Cooling
$ 209.06
Cooling
$ 118.95
Cooling
$ 9.98
Cooling
$ 43.96
Cooling
$ 250.66
Cooling
$ 485.60
Cooling
$ 56.53
Cooling
$ 31.99
Cooling
$ 16.99
Cooling
$ 29.98
Cooling
$ 127.84
Cooling
$ 32.97
Cooling
$ 45.99
Cooling
$ 184.99
Cooling
$ 49.98
Cooling
$ 27.75
Accessories
$ 17.99
Accessories
$ 15.05
Accessories
$ 91.99
Accessories
$ 10.52
Monitor
$ 667.13
Keyboard
$ 151.48
Razer - BlackWidow Elite (Orange Switch)
Interface: Wired
Key Switch Type: Cherry MX Black
Type: Full Size
Desk
$ 499.99
Estimated total value of this build:
$ 5,313.56
Approved by:
