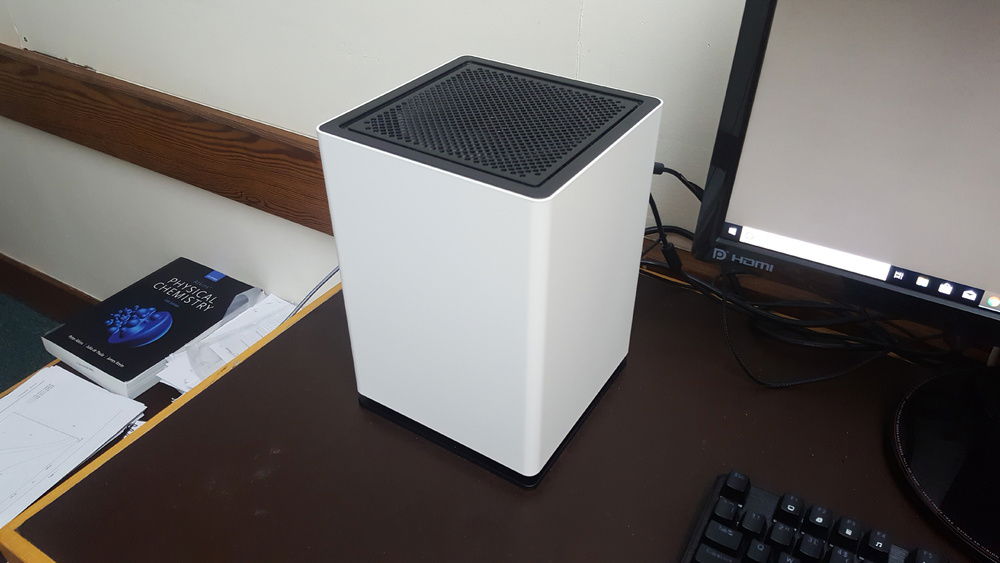
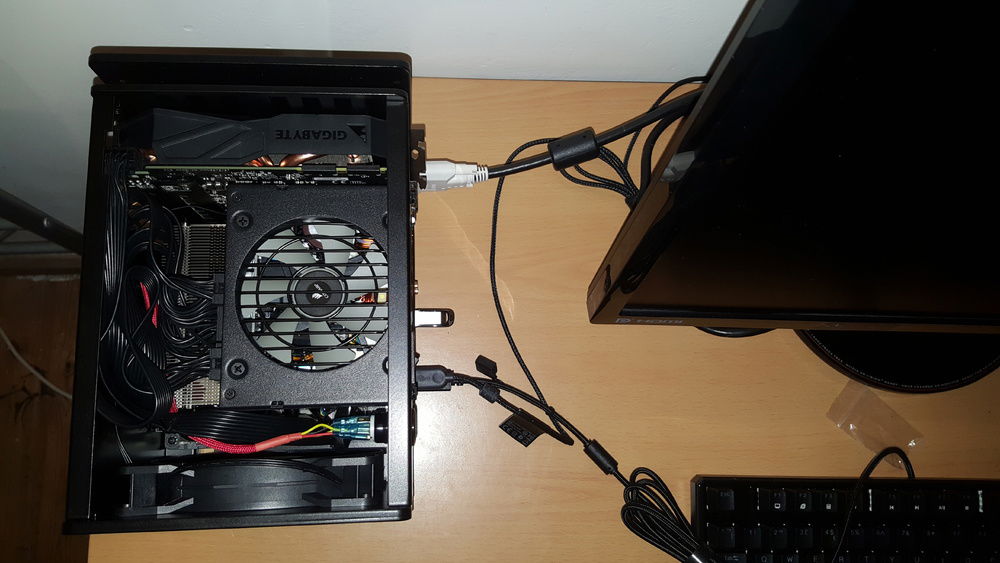
The finished PC. As beautiful as it looks, it was an absolute nightmare to assemble, especially as a first build. I spent 12 hours straight on this due to having to reassemble it multiple times, partly due to the lack of guidance and partly due to my inexperience. This 8.1L monster comes with a plethora of problems and I wouldn't recommend the case to any sane person. With the fully enclosed aluminium shell, the thermals aren't all too great, even with vents on the top, bottom, and back. Here I've recorded all the the blunders and mistakes of my first build, so read at your own risk!
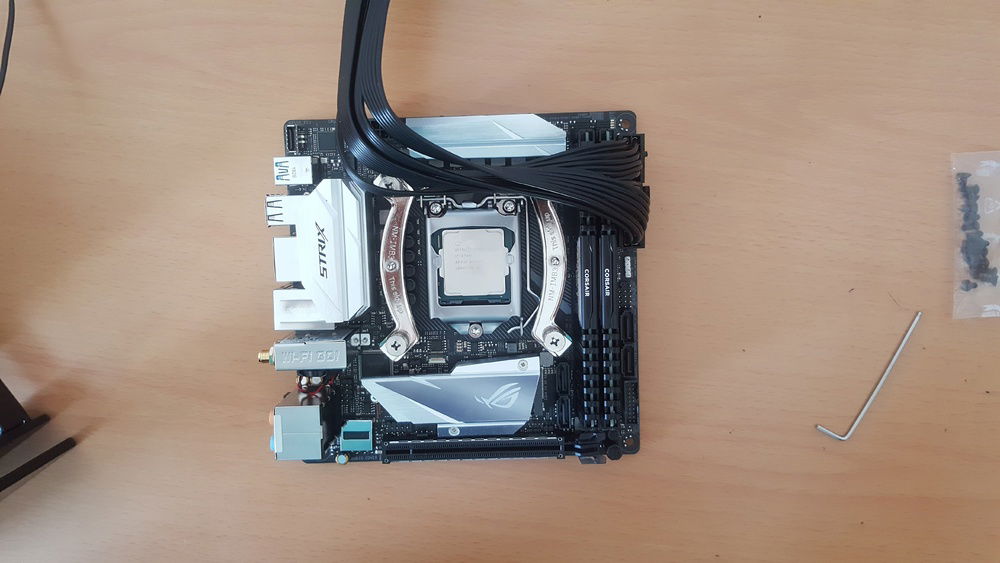
Tried to use the plastic CPU install from the Z370-I motherboard but was scared something might break while pressing down on the plastic so decided to just install it normally. Installed the 2 sticks of RAM and 2 M.2 SSDs
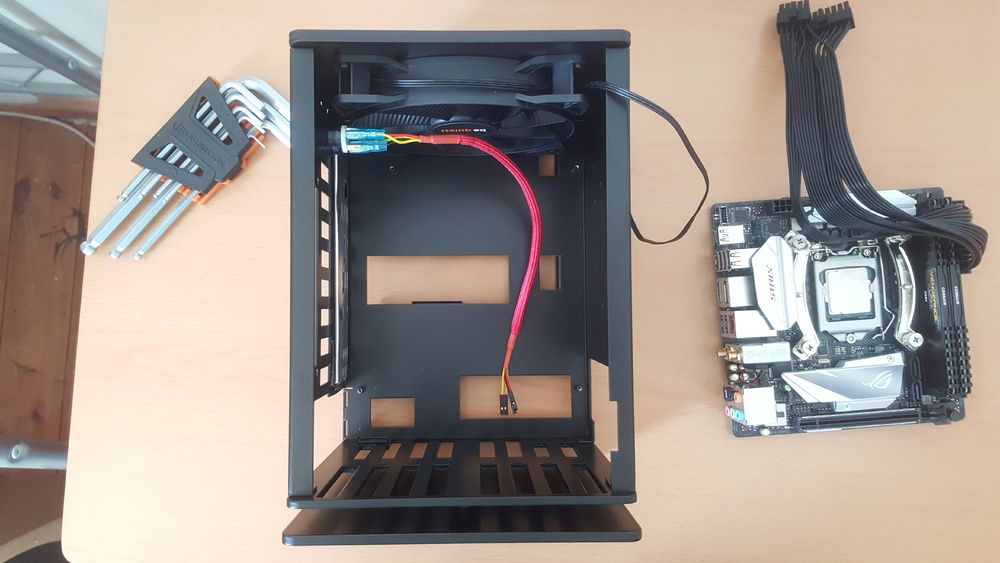
Here is the full aluminium case chassis, with the be quiet! fan pre-installed. The motherboard side I/O side was slightly bent/deformed which was annoying, but not a big deal when everything is fitted in. I had to rush out and buy a set of ball tip hex screwdrivers since I was not warned about hex screws before the purchase. Ball tip drivers are vital since there are many awkward screw holes.
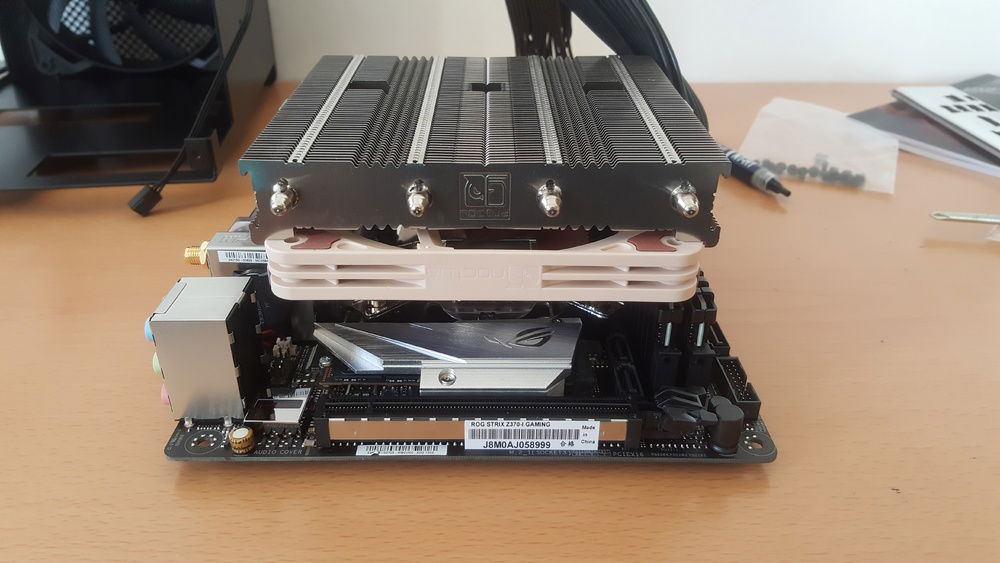
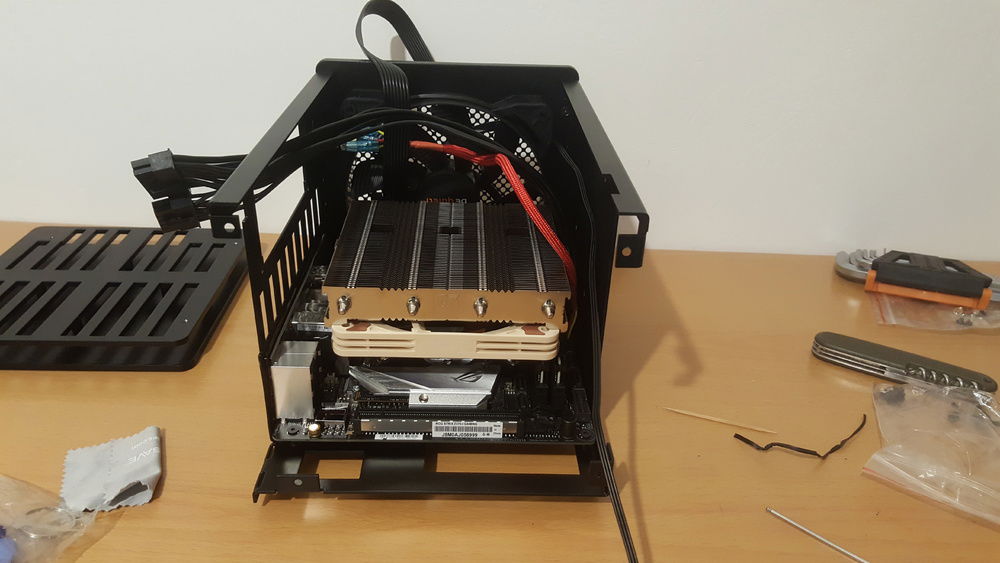
CPU cooler installed. Had to refit it twice because I was unhappy/messed up with the thermal paste application the first 2 times.
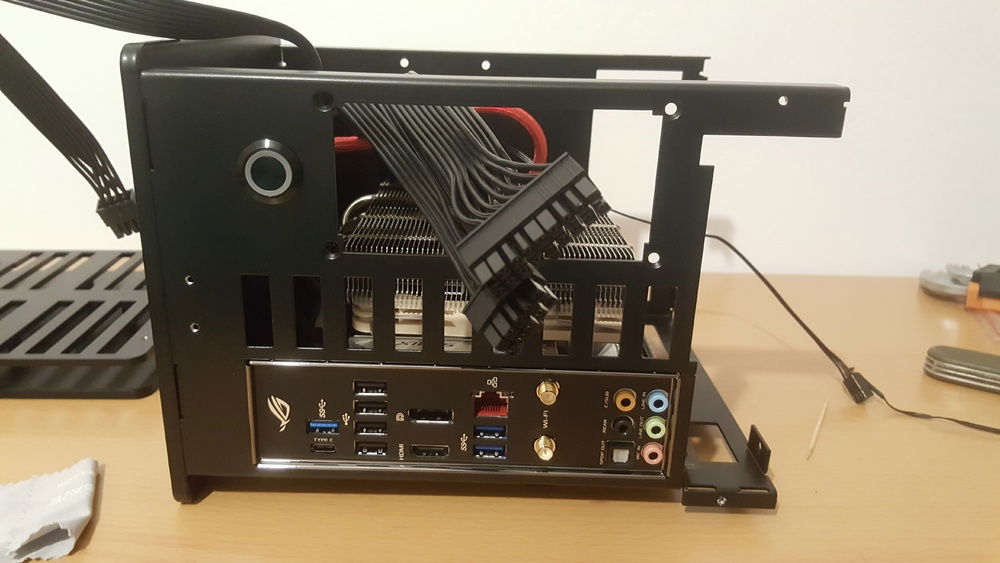
Fitting the motherboard into the frame. It was so tight I was concerned I might snap or break parts while fitting it in. The 24 pin cable protruded from edge of the motherboard and had to be sanded down slightly, even after that, it was still a major issue but I went ahead and fitted it anyways. After the first time I finished this step, I realised that the grounding flaps on the I/O was stuck inside the USB 3.0 port, making it unusable, so I had to go through the painful process of taking everything out again. This was after I had installed, screwed, and cabled the GPU and PSU. Unsurprising, my morale was at an all time low.
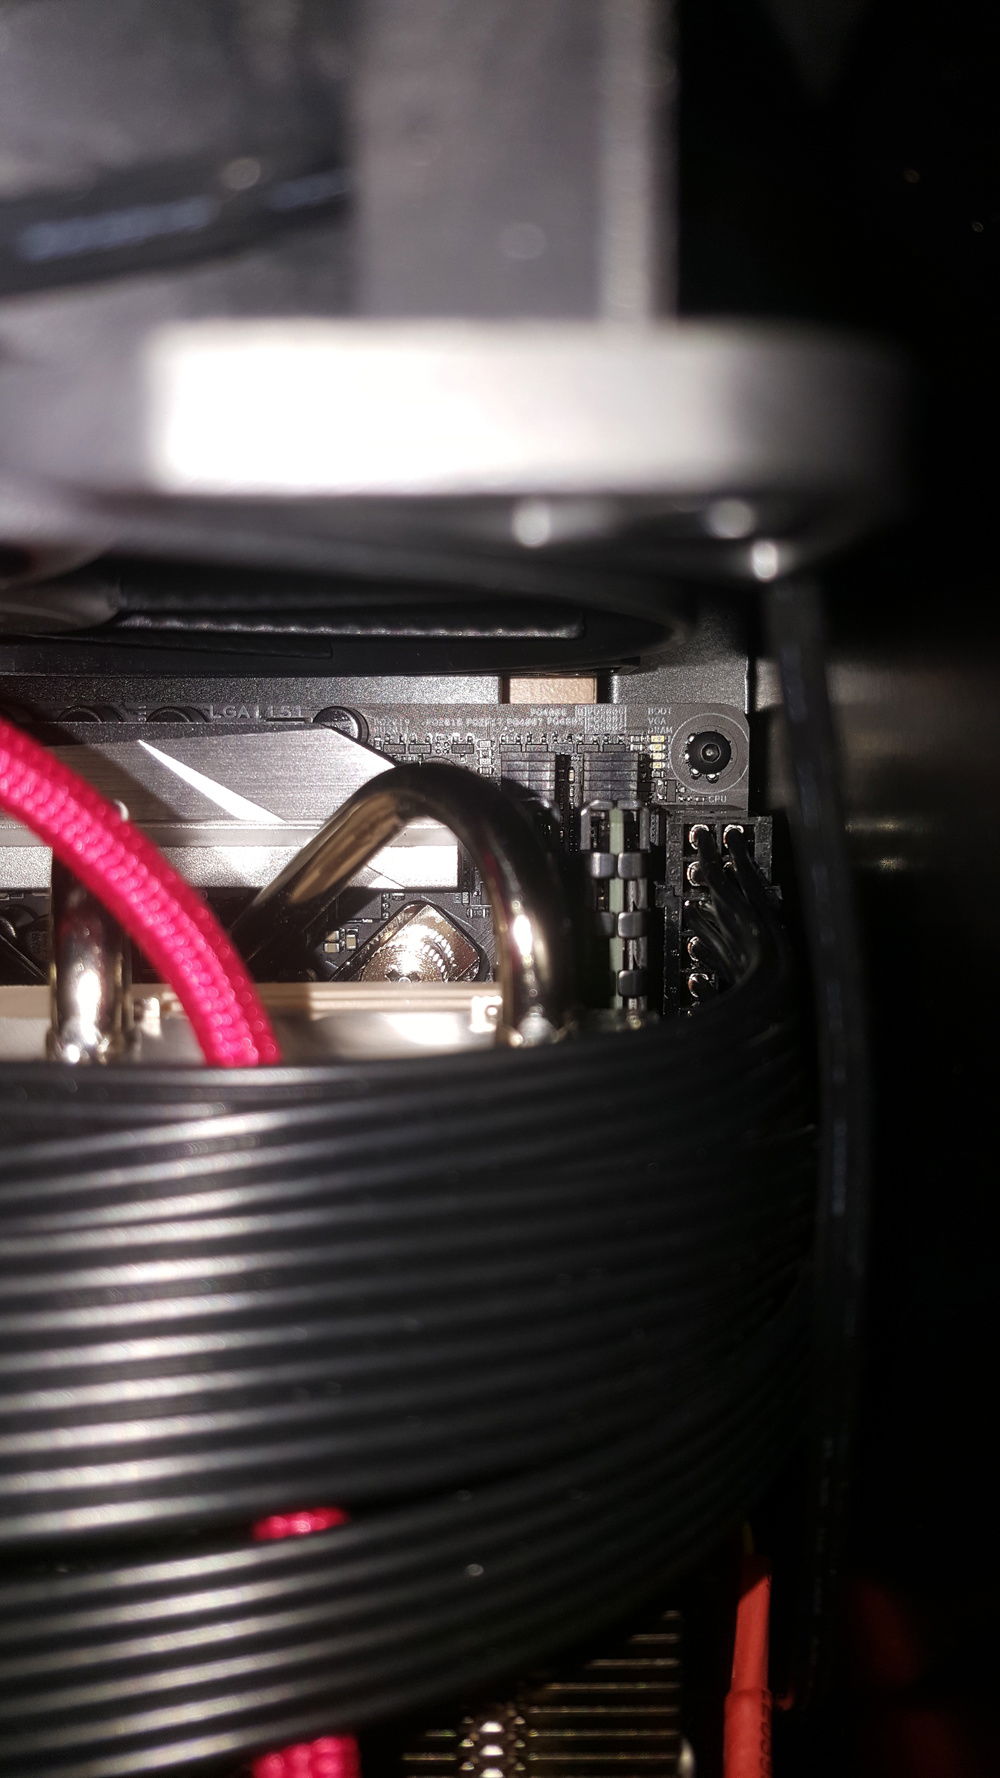
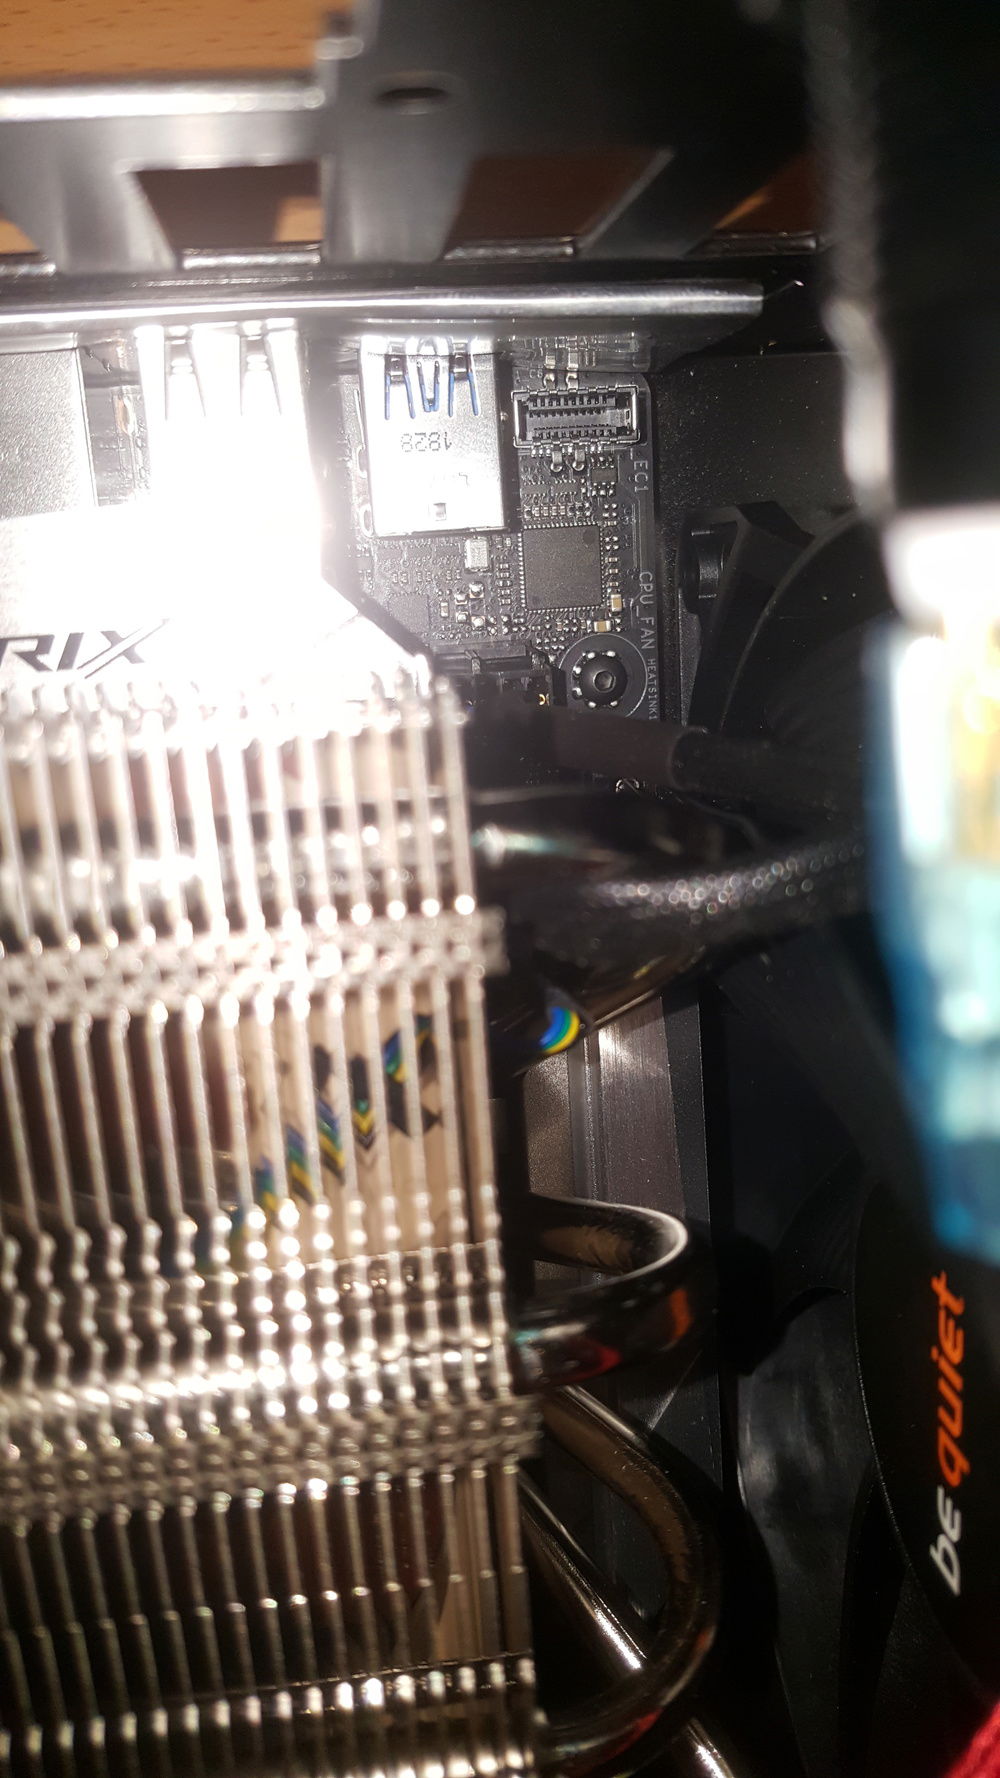
Here are some of the screws I had to reach to secure the motherboard in place. My hex drivers weren't long enough so I had to improvise and bind it to the shaft of a long screw driver with electrical tape. It was a pretty frustrating experience.
Another awkward screw, there are about 6 of these pain-in-the-ass screws in this case.
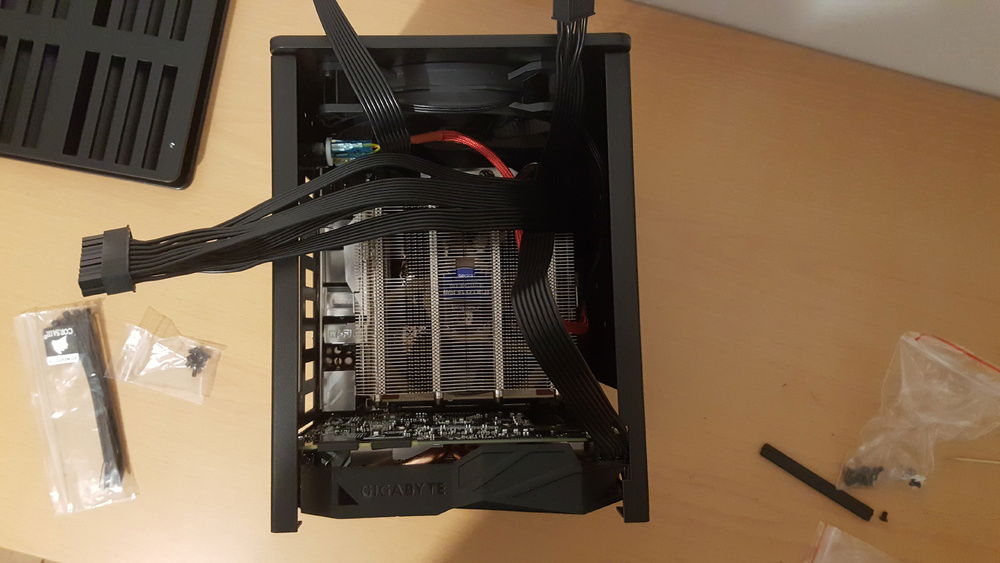
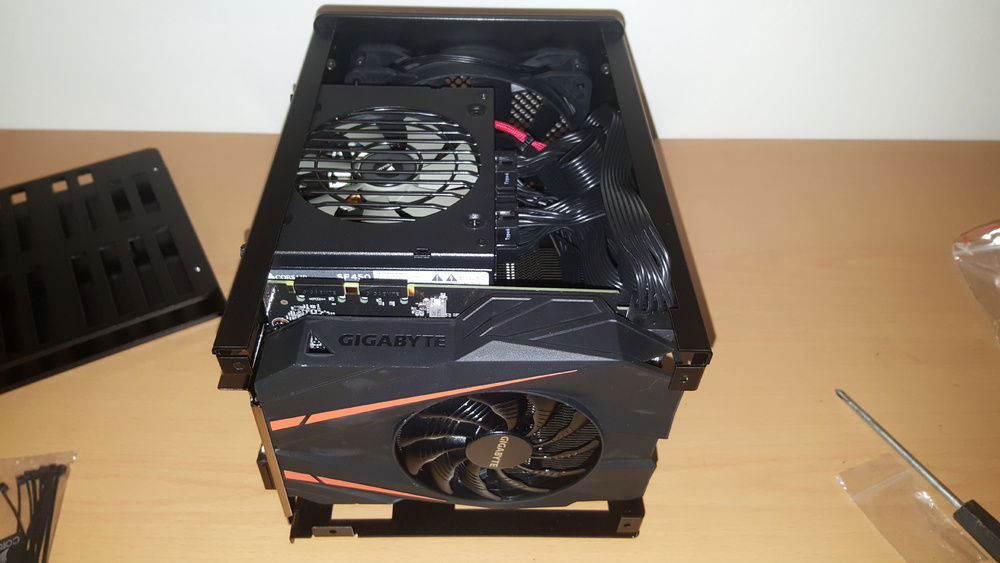
I wanted to get the maximum size CPU cooler for this case, and it ended up being this one with 0mm of space between the heat-sink and PSU. Hoping this won't be too detrimental to thermals.
As compact as it gets with these components. There are a couple mm of space between either side of the frame and the exterior shell, which gives room for 1 ODD and 2 x 2.5" Drive Bay internal, both of which not included. One more warning, since most PSUs come with big protruding screws, I had to purchase 6-32 UNC countersunk screws for it to sit flush against the frame. I tried sliding the exterior shell over the original screws at the start and that only served to scratch the shit outta the inside of the shell.
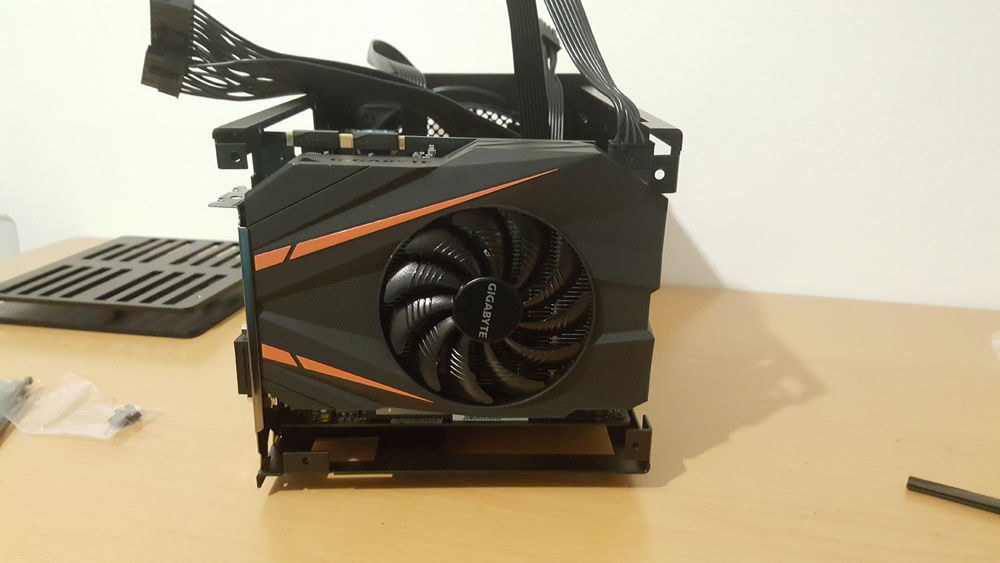
Bottom of the case had to be taken off to install the GPU. And those 4 little bastard screws involved in the process will ruin your day.
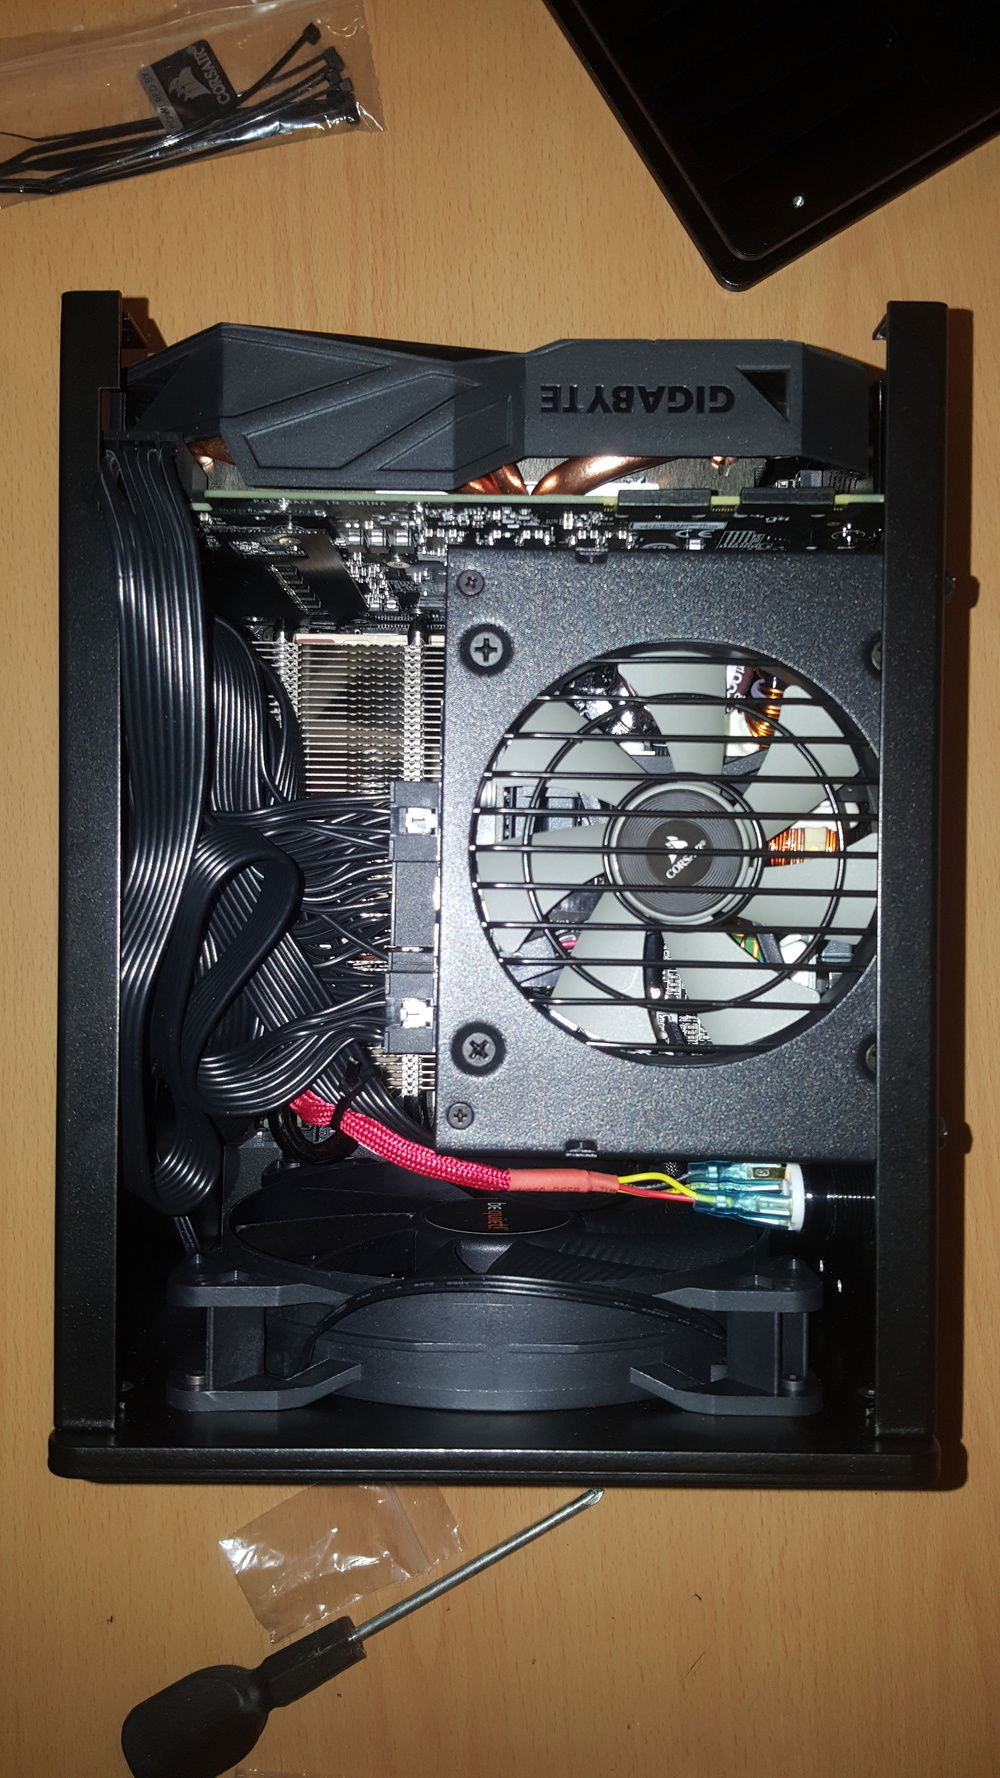
GPU and PSU fitted, cable space is very tight. Both the PSU and the bundle of cables are crammed directly above the CPU heat-sink which may affect thermals. Had to have several attempts at fitting the GPU in correctly because the tab wasn't perfectly aligned with the slot in the frame, in the end I just used a little force and hopefully the aluminium has enough give to not damage anything.
Did I mention I had to take everything apart and reassemble this one more time again? I forgot to attached the power button cable and there simply wasn't enough space to access the power switch and LED pins. Then I went ahead and plugged them in wrong due to my ignorance of cable colours (there were no other indication of + - N, only colours). But managed to use a thin plastic tool to push the cables into place down the small gap in the side of the case, zip ties were used to keep the cable heads together.
Since the case came with 0 instructions and nothing labelled, I came to the realisation that the 4 screws securing the motherboard to the frame were all of different sizes, 2 long and 2 short. I tried so hard to convince myself it wasn't worth the effort to take everything apart again. But this was my first PC build, and it will be nothing short of perfection! So I went ahead and reassembled the whole damn thing again. Oh well, it was a fantastic learning experience putting this bitch together and it gives me a solid foundation in PC building for the future.
