My Niece's Simple Graphic Design PC
*A note about pictures: all pictures shown are from my cell phone. At the time, I couldn't take better pictures because after I finished streaming the benchmarking process on Twitch with my Panasonic G7, it decided it didn't want to work anymore. As much as I hate that some of them are portrait, there's nothing I can do about it at this point since I'm in Ohio and the PC is in North Carolina.
I had been listening to my mom and sister down in North Carolina talk about how they really wanted a better PC, especially since my niece was starting to get really involved with graphic arts. I had some extra money at the time and decided to do something about it.
Coming off of my first custom-loop, I wanted to keep things simple for them. If the cooling broke in this build, I wanted them to just be able to buy a fan and replace it, not have to troubleshoot a pump or deal with any leaks. I hadn't done an air-cooled system to this point, so it figured to be an interesting and fun experience. I also decided that this was the perfect chance to look at AMD's Ryzen platform as it would offer great value and performance for what she was doing.
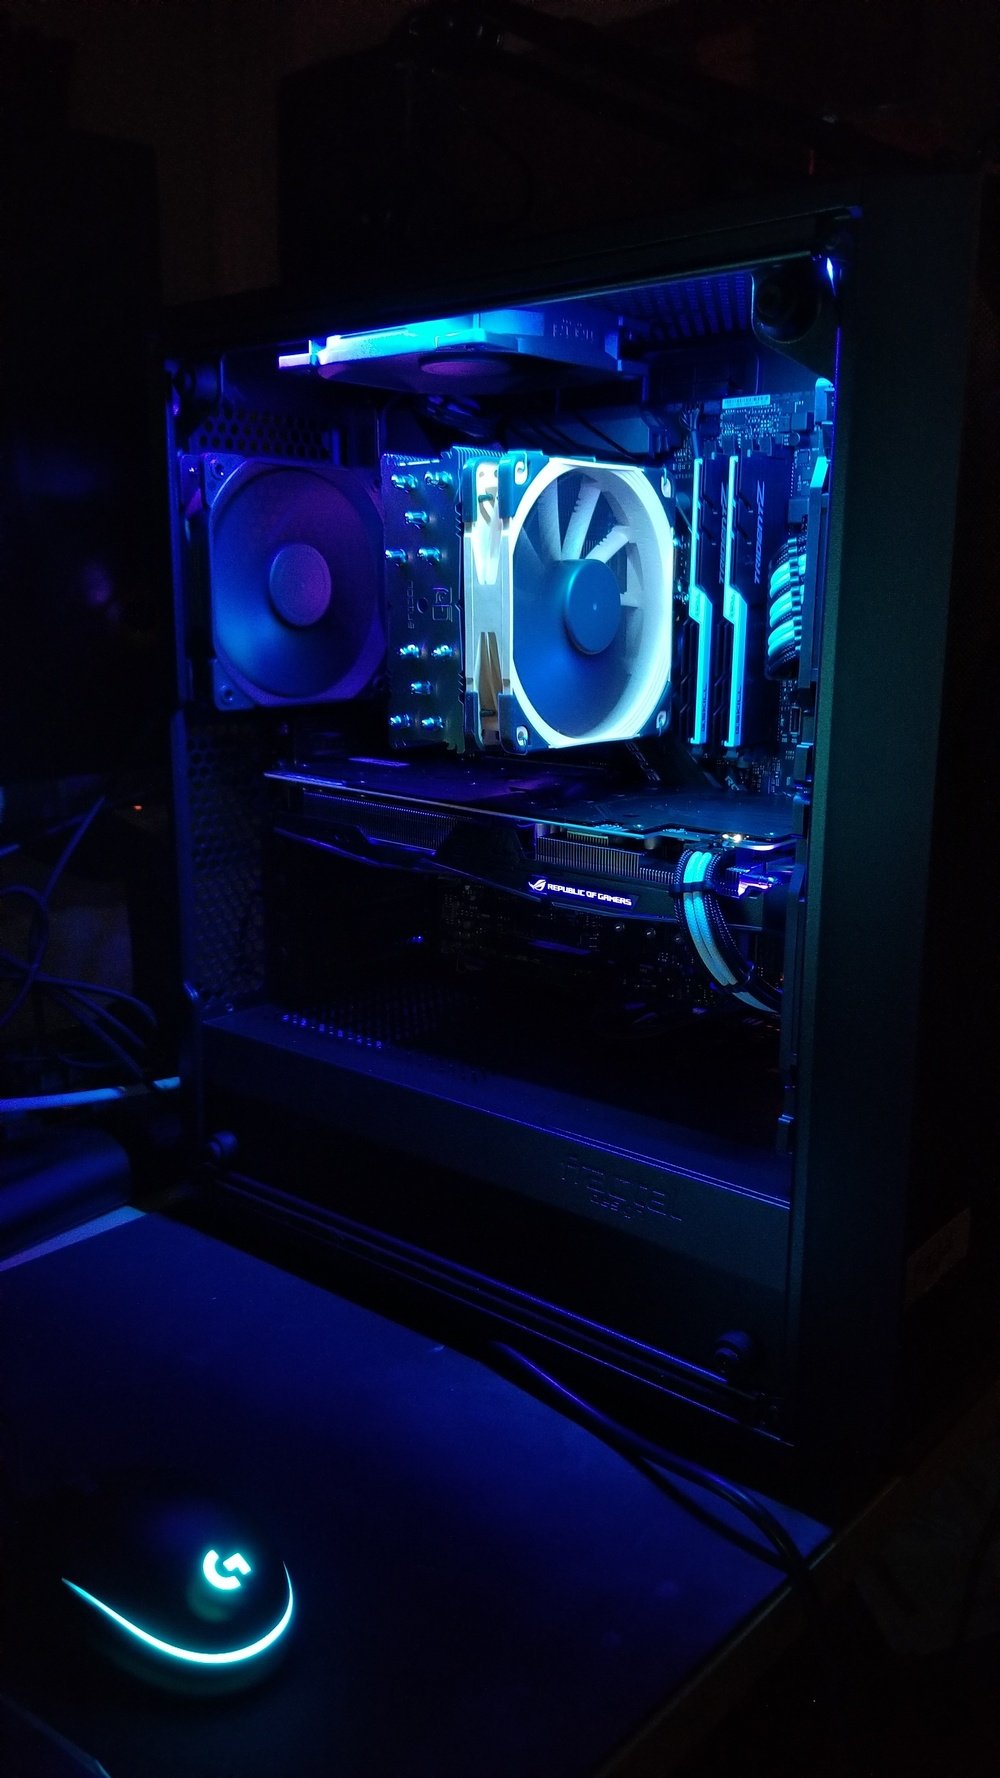
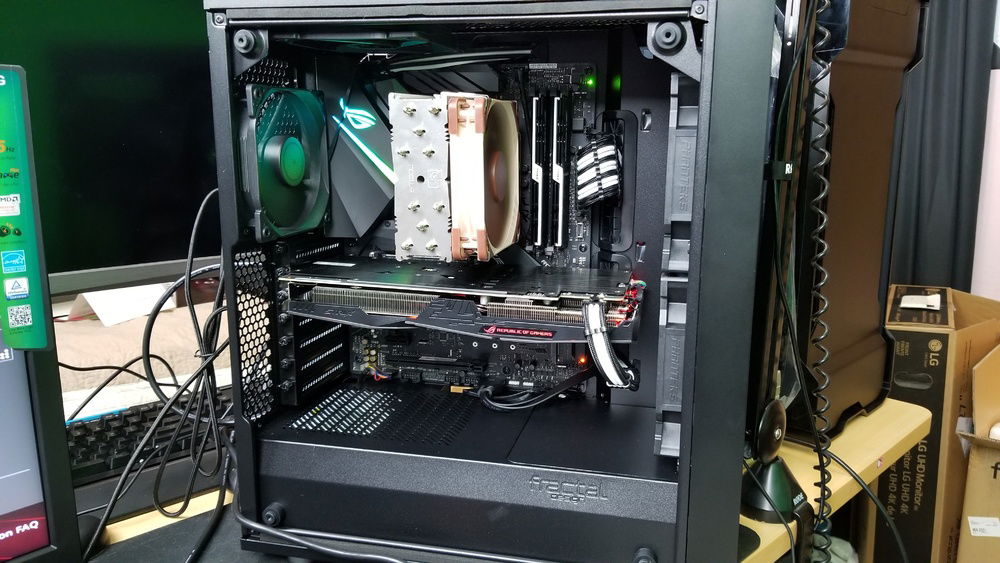
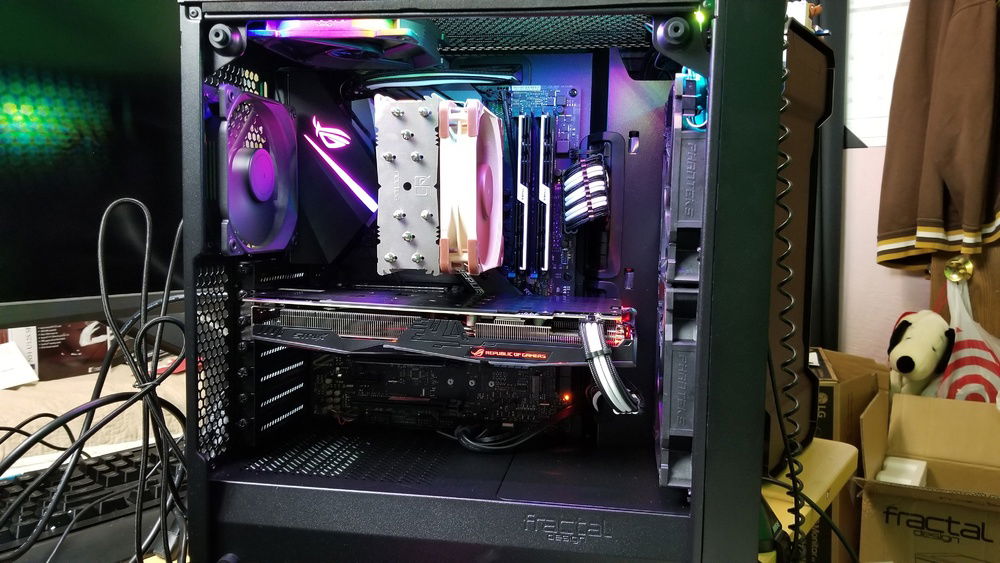
The end result turned out pretty well. I know not everyone is a fan of the Noctua color scheme, but I knew they wouldn't care and the performance was great (although it is nice they have their Chromax lineup out now).
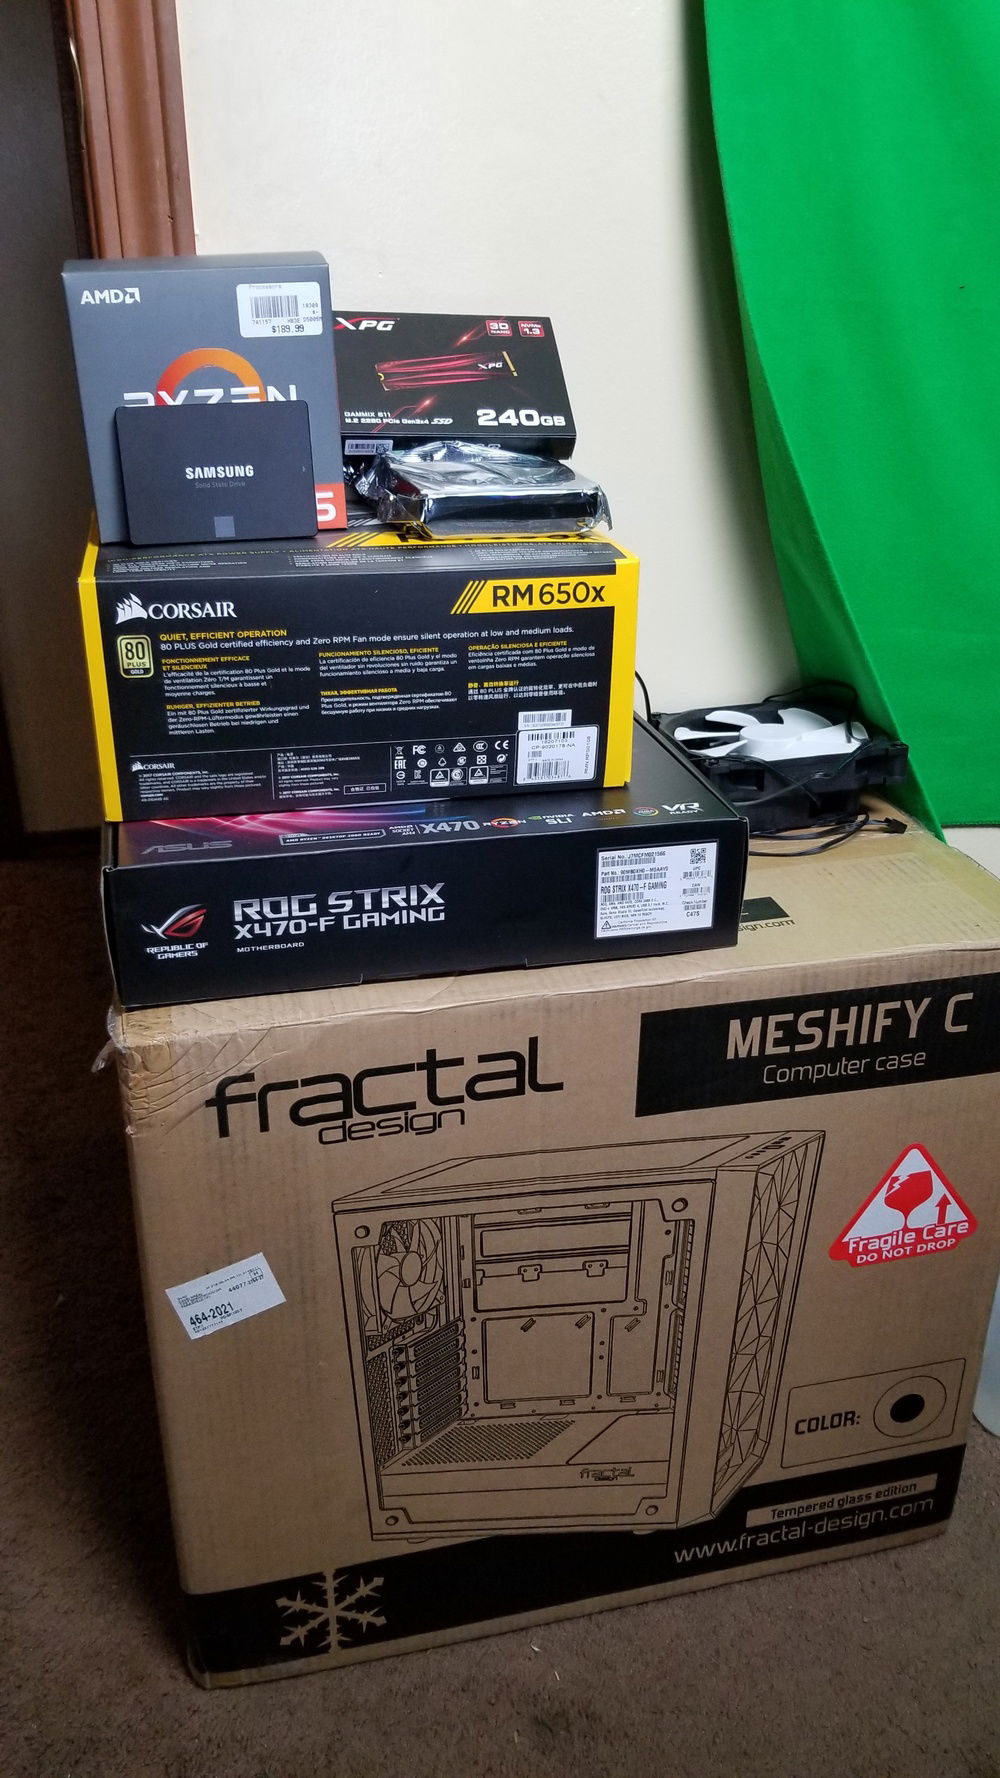
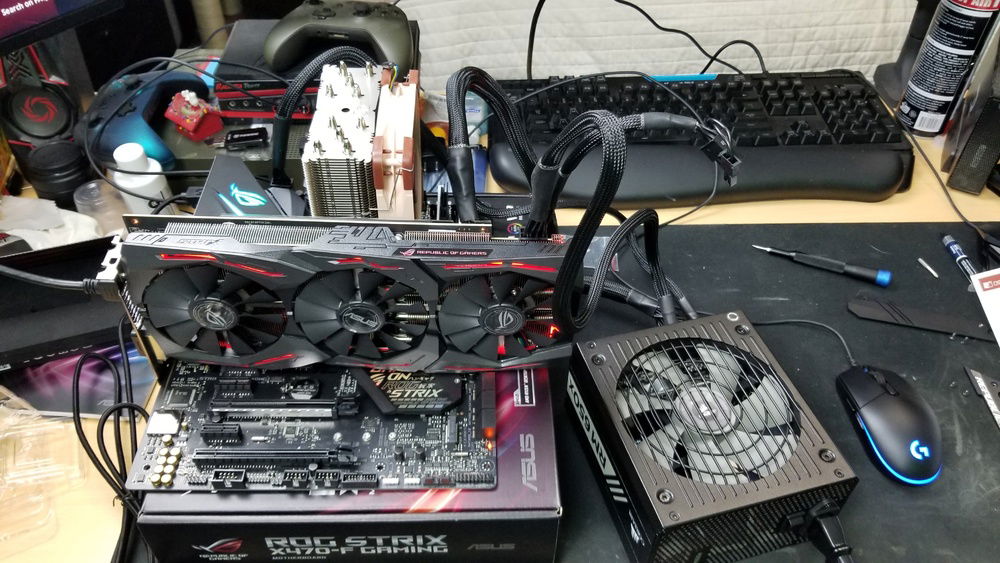
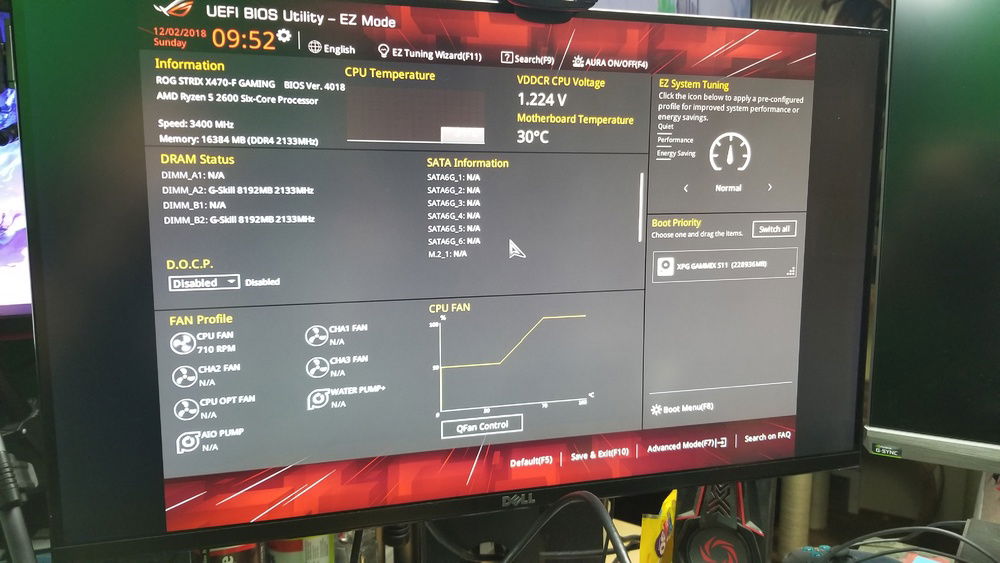
For our CPU, I chose the Ryzen R5 2600. It was cheaper than the X version and I knew I was going to give overclocking a try. I paired the CPU with an ASUS ROG Strix X470. I was comfortable with ASUS and they didn't need anything high-end, so it seemed like a good pairing. To cool the CPU, I chose the Noctua NH-U12S SE-AM4. It wasn't as beefy as the best Noctua fans, but certainly seemed capable of doing the job.
For memory, I rolled with 16GB of the G. Skill Trident Z black and white 3200Mhz kit. It was simple, relatively cheap, and would work well with the 2600.
For drives, I went with an Adata XPG Gammix S11 240GB M.2 NVMe drive. I had heard decent things about these drives and for the price, it was hard to beat. For additional storage, I included a 500GB Samsung 850 Evo and a 2TB Seagate Barracuda.
The power supply ended up being a Corsair RM650x. I was going to originally use a 550x, but this ended up being $4 more, so I said the heck with it. I coupled that with a set of custom-sleeved Cablemod Pro series cables in black and white.
For the GPU, I ended up going with an ASUS ROG Strix GTX 1060. This would give them decent 1080p performance and keep the RGB ecosystem simple.
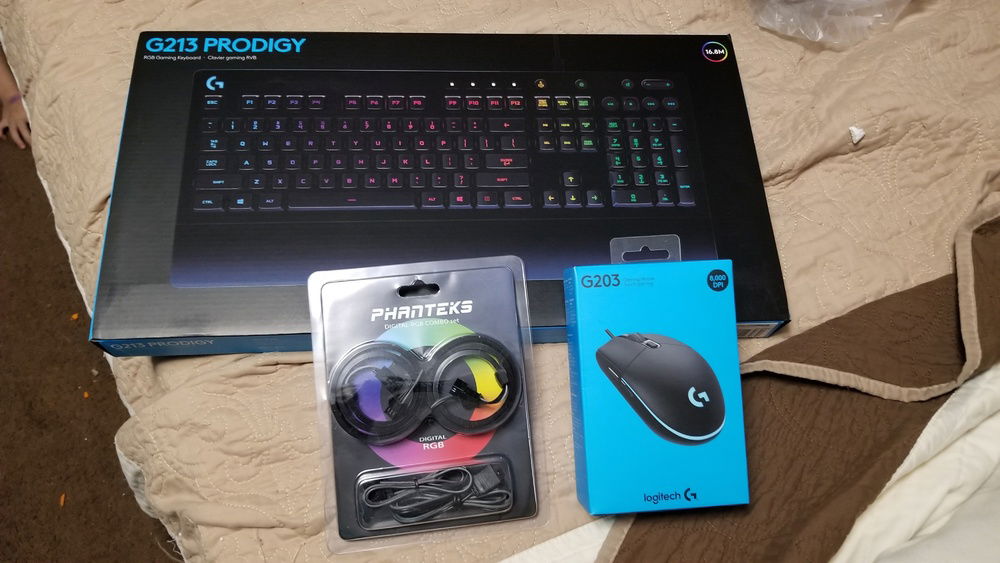
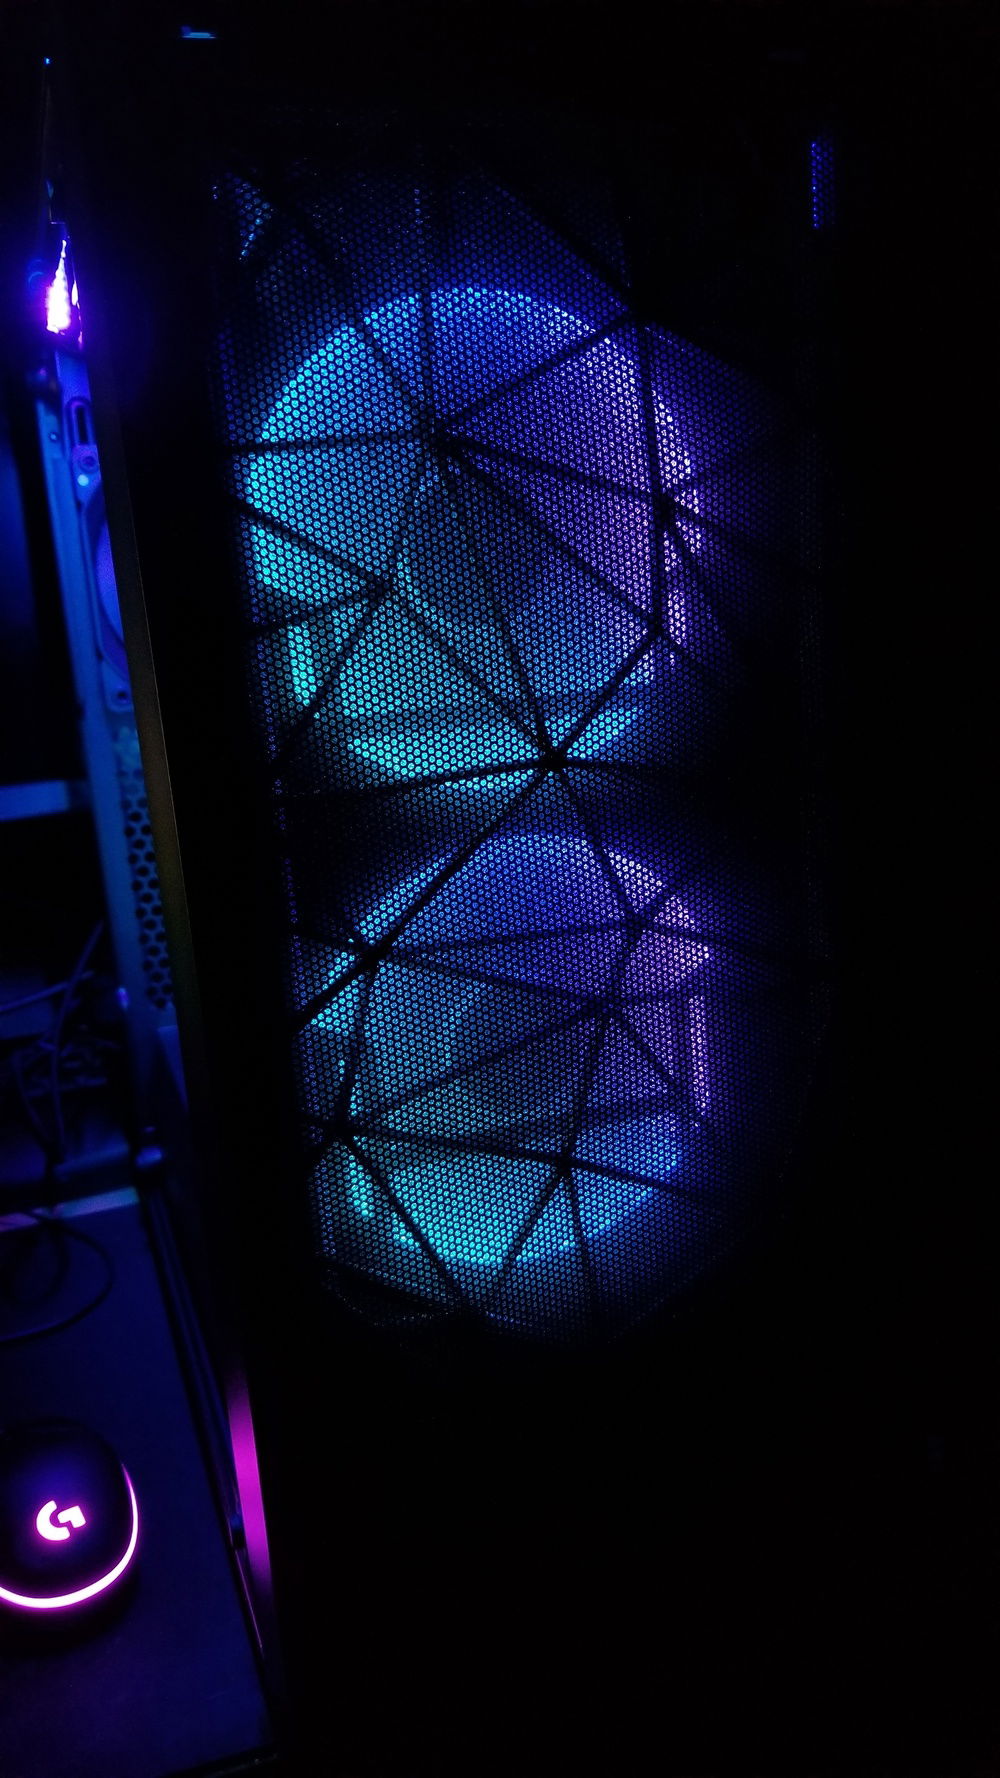
I added a few cosmetic touches, such as a digital LED strip and a pair of digital Halos Lux fan frames for the front intake fans (which ended up being the previous case fans from one of my previous Phanteks cases).
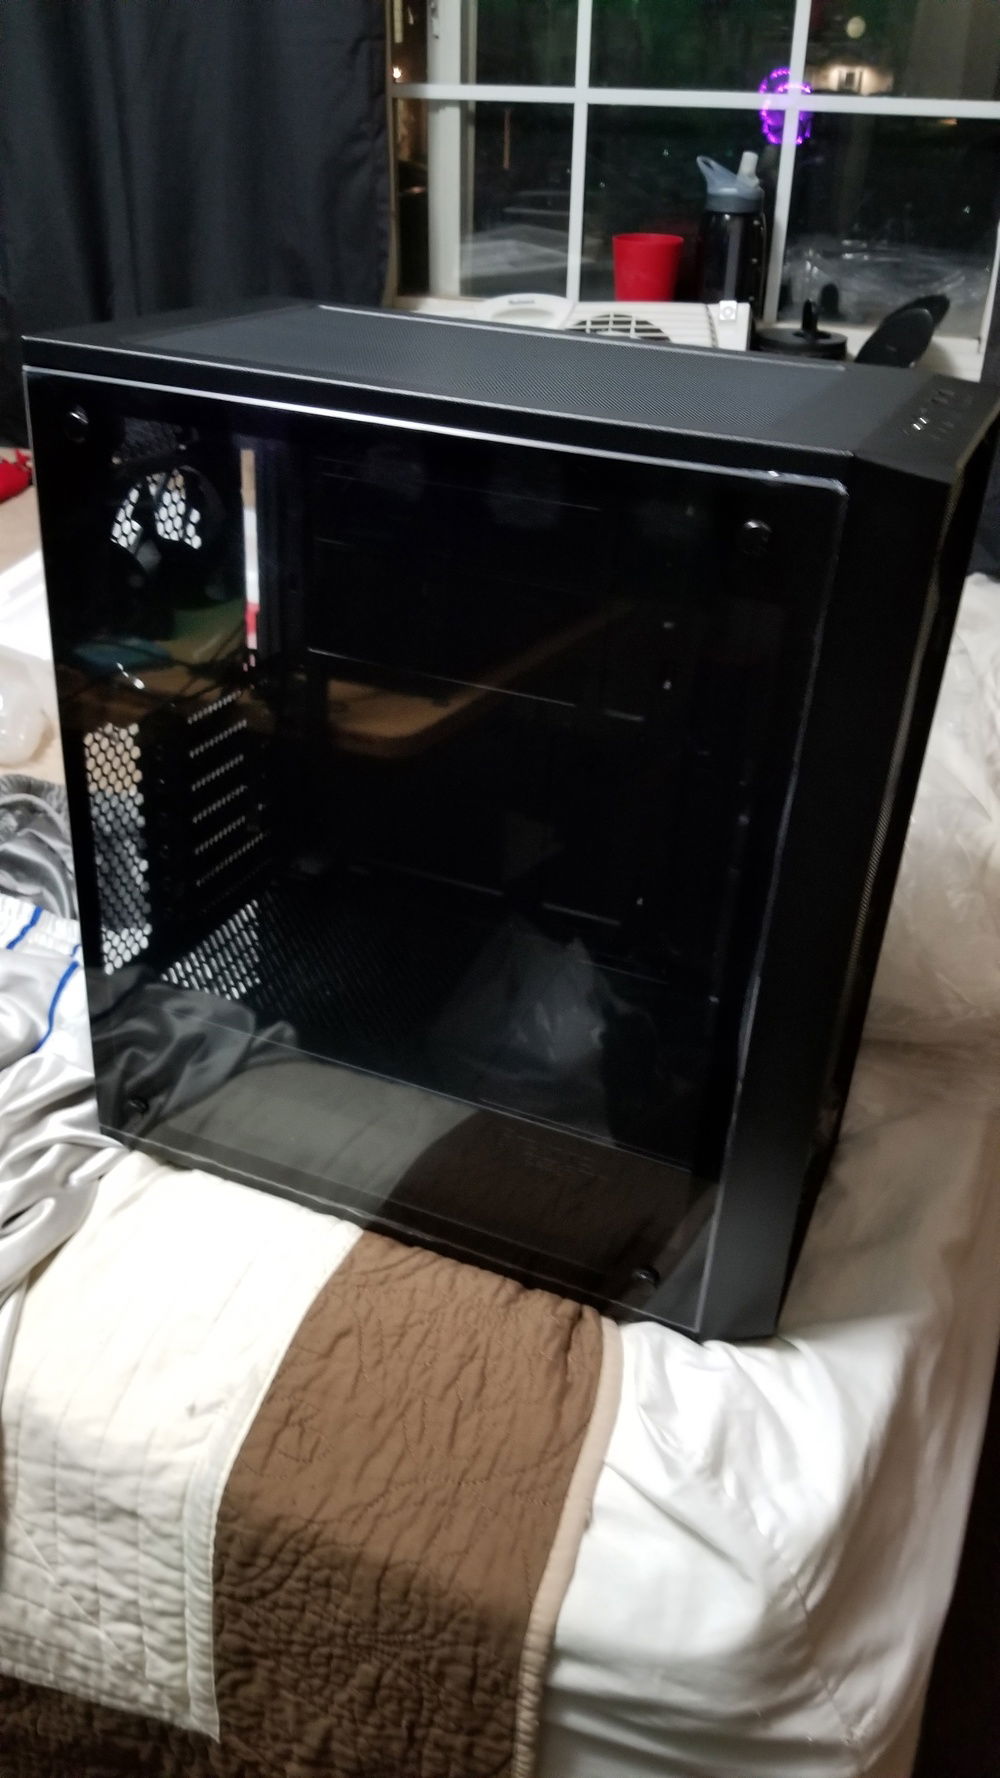
I put all of this into the Fractal Design Meshify C. I had wanted to go with something that was more airflow focused for them and I had wanted to work with a Fractal Design case for some time at this point.
In the end, the build was a success. I was able to get the 2600 to 4.1ghz at a reasonable voltage. Unfortunately, I don't exactly remember what the voltage is at this point, but I do know that all attempts to get 4.2 stable failed and temperature wasn't not an issue, I just had an unlucky chip. Everything else came together just fine and the build was a lot of fun. Air cooling is certainly much more simple, but the build was pretty silent, even under a load, which was expected given the quality of Noctua cooling solutions. The 2600 was a great performer too, which I figured would help my niece be more efficient in her graphic design endeavors. For the most part, the CPU stayed under 60C under any type of load, while idling at 33-35C.
The only issue I encountered was one of the USB 3.0 headers failed to work on the case. This was a minor issue and they didn't seem bothered by it once they received the build.
I added a Logitech G213 keyboard and a Logitech G203 mouse, as well as a basic ASUS 1080p monitor with a 75hz refresh rate. They really liked the build and my niece was definitely putting it to good use last time I visited them in August 2019.
Color(s): Black White
RGB Lighting? Yes
Theme: none
Cooling: Air Cooling
Size: ATX
Type: General Build
Build Updates
The build
Hardware
CPU
$ 99.99
Motherboard
$ 301.00
Memory
$ 425.00
Graphics
$ 533.29
Storage
Storage
$ 84.00
Case
$ 128.83
Cooling
$ 74.95
CableMod
$ 138.23
Accessories
$ 84.72
Accessories
$ 19.99
Approved by:
