Most Recent Build
Best Build
Ludicrous
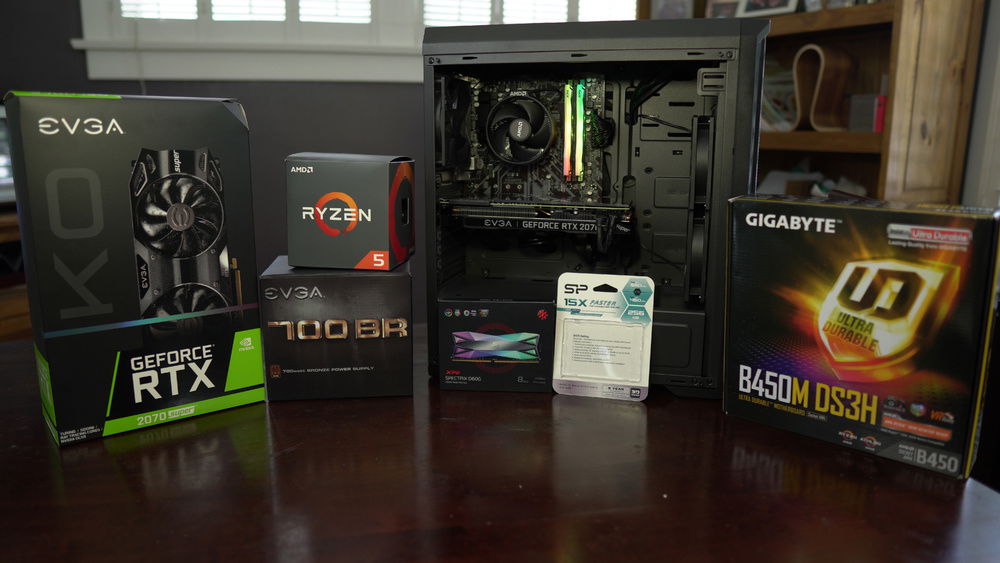
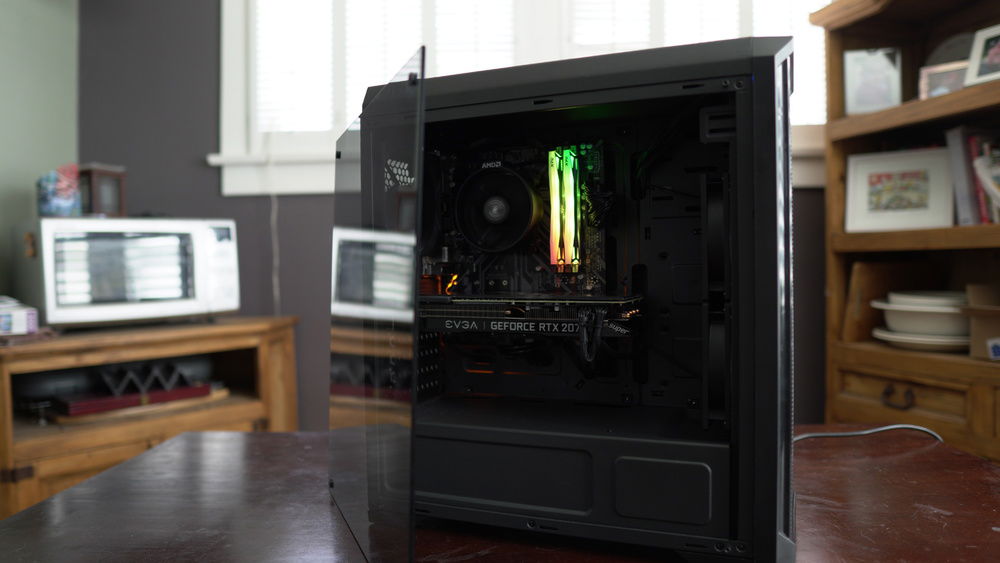
This is the Ludicrous build, so named because it should be able to play games at 1440p while being priced under $1,000 (before shipping and taxes).
Back in the first week of June, 2020 I went to part and price out a new build but nearly every mid-range or upper, mid-range part was unavailable, so I said screw it. Instead I parted out a 1440p gaming machine with the required price of being under a thousand bucks. The challenge was getting there.
I knew I’d have to make sacrifices on many components, such as the motherboard, while having to settle what was available at the time, like the power supply. The result is the parts list and build you see before you.
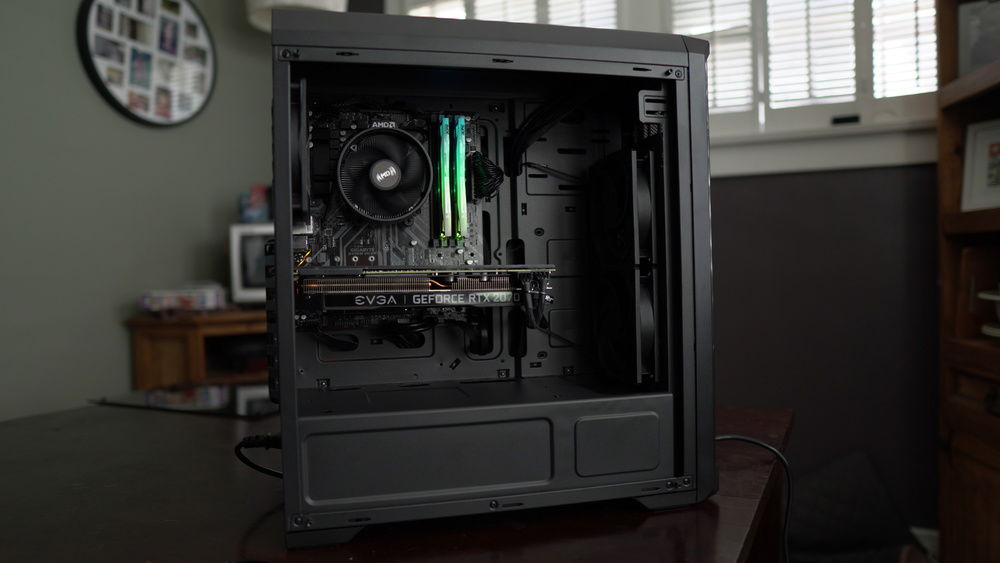
The end result is a build with a GPU that costs over 50% of the total budget but can also play games at 1440p or 1080p max settings. The caveat of course is sacrificing on the motherboard, not having an NVMe boot drive, and also going with one of the cheapest cases out there that still has a tempered glass side panel.
Check out the videos I made about the case, motherboard, and GPU:
Why I chose specific components:
CPU
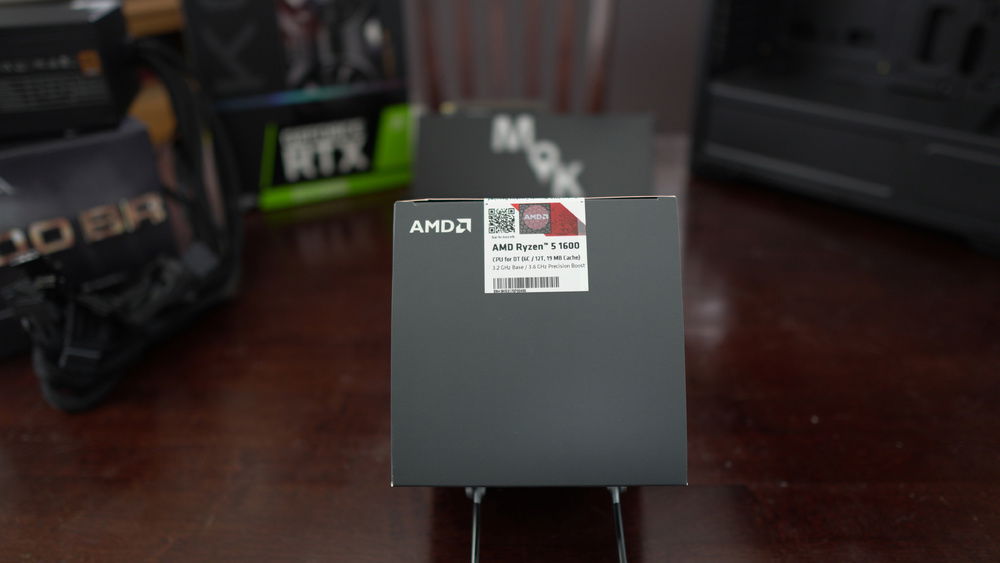
I’ve been wanting to use the 1600AF for a while. Unfortunately, I missed my chance when it was available for the staggeringly low price of $85.00. After a few months, it was back in stock at the tolerable price of $104.99, so I pounced. I would have preferred to have gotten the 3300X for only $15 more. This 4-core/8-thread CPU performs on par with, and in some cases better than, the 1600AF but it has been out of stock pretty much since its release.
The 1600AF is equivalent to a slightly slower 2600, so getting a 6 core, 12 thread CPU for $105 is amazing and I’d recommend that to anyone. However, as 2020 is the year of the upside down, you can buy the 2600 for less than the 1600AF (as of July 29, 2020 at least). As such, I’d recommend avoiding this once amazingly priced CPU—unless you can find it priced at $105 or less.
So why did I get the 1600AF? 1. It performs well enough and has loads of cores and threads. 2. It’s cheap. 3. It was available—a super high bar I know . . .
Motherboard
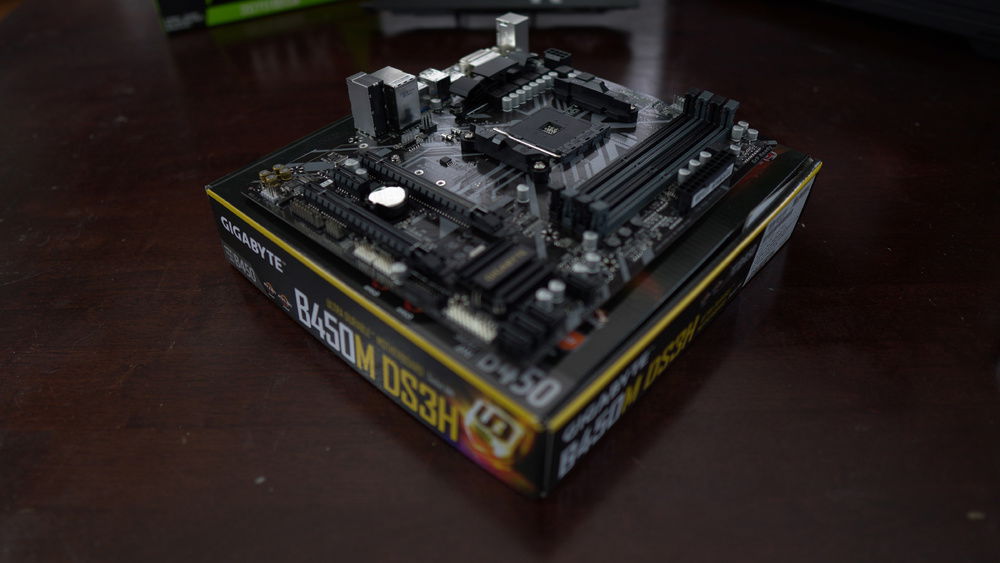
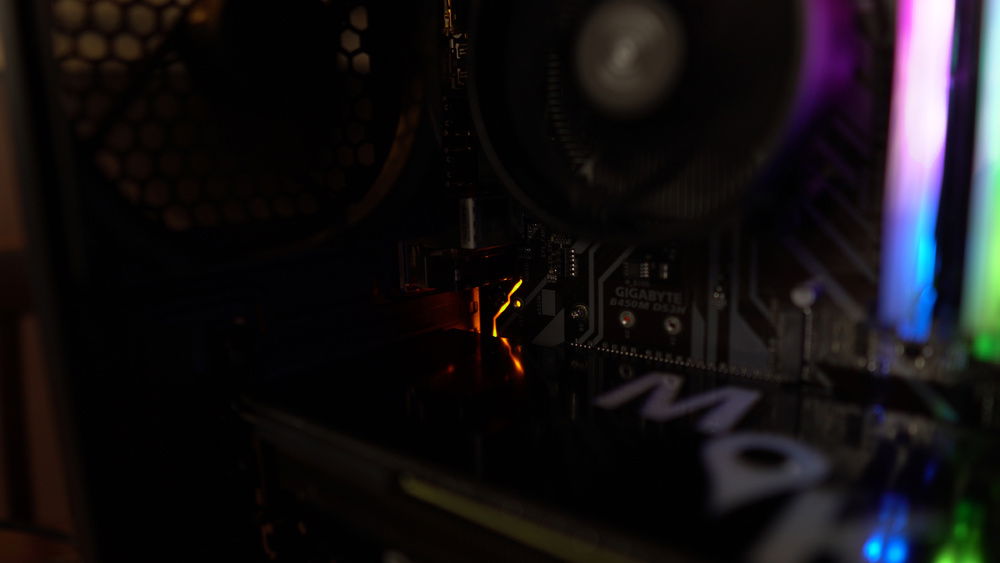
I’m going to start by saying I probably shouldn’t have bought Gigabyte’s B450M DS3H, but it was the cheapest B450 option out there with 4 DIMM slots and multiple PCI slots. This makes a rather lackluster motherboard at least have some expansion options, so if you do buy it but then upgrade later on, you can repurpose it for a less intensive assignment like an HTPC for an email machine for a kid or someone who doesn’t need anything powerful.
While cost is not enough of a reason to buy anything—remember you get what you pay for—this build needed to stay cheap and the DS3H helped achieve that goal. Check out my video overviewing it and where I provide reasons why you should or shouldn’t buy it. For me, the reason to get it was to be able to sacrifice cost on a part and spend that money elsewhere.
RAM
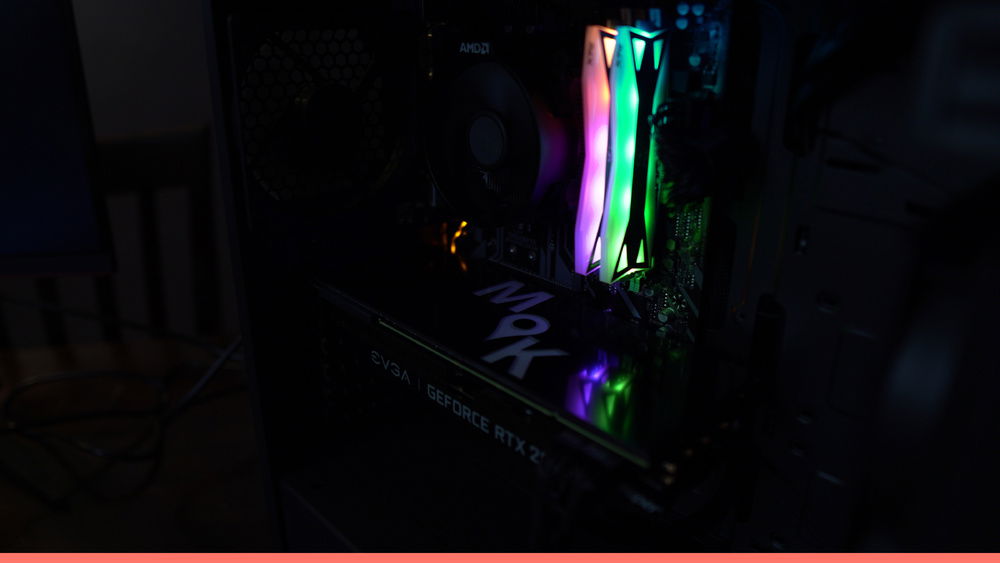
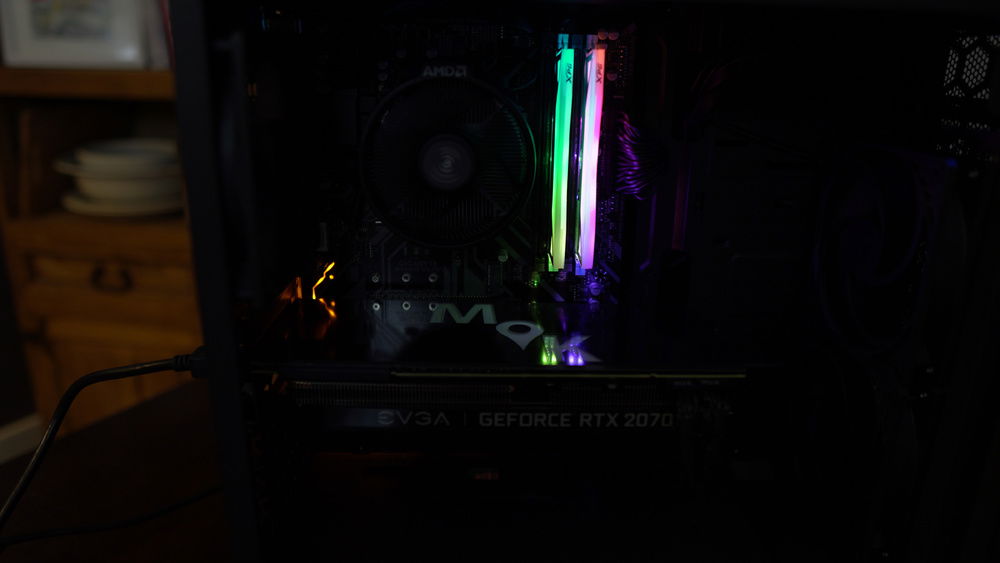
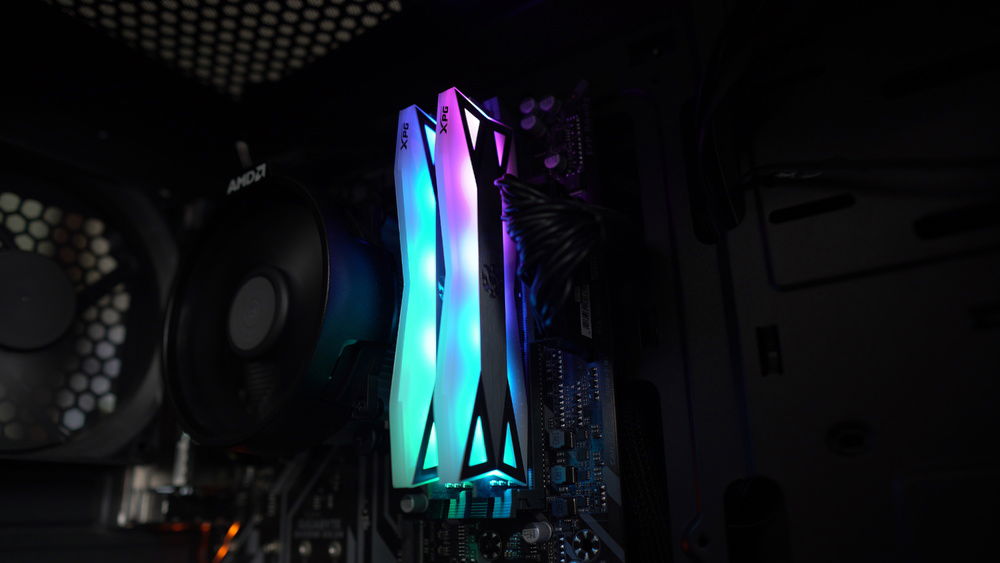
I bought the XPG DDR4 3200 16GB kit b/c it was on sale for $79.99. RGB components usually come with a hefty price bump, ranging anywhere from $10-25. The XPG kit is well-regarded by users, is supported by the DS3H, and will work great with the 1600AF. If you want to save $20 or more on a good RAM kit, forego the RGB.
Storage
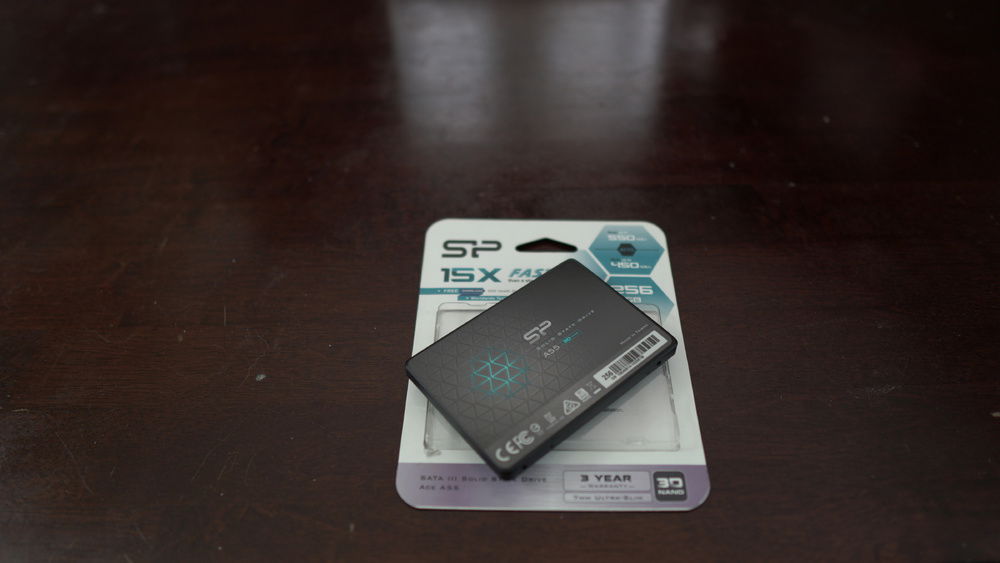
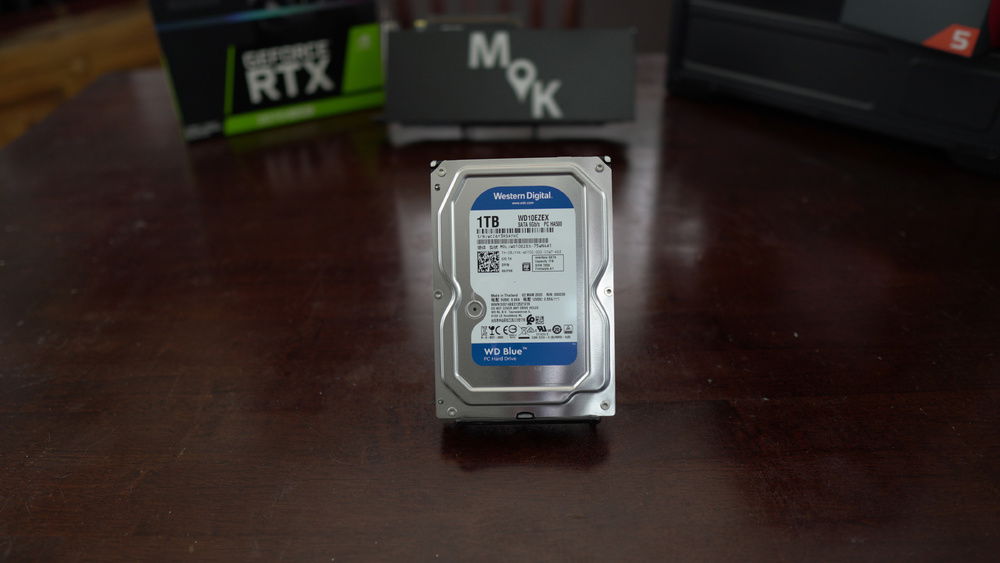
For storage, I knew I wanted to maintain a fast boot drive and larger mass storage drive. I couldn’t fit an NVMe SSD into the budget for the OS and frequently used programs while also buying a mass storage hard drive, so I opted for a SATA SSD. I chose the Silicon Power Ace A55 SSD. It’s well reviewed, supports TRIM, and has a SLC Cache, which should help with any kind of slow-down from extended use/tasks. For mass storage, I once again bought the Western Digital 1TB 7200RPM drive. It’s snappy and inexpensive. For 5-10 dollars more you can double your storage capacity with the Seagate Barracuda 2TB. I’ve used that drive as well and have been happy with it.
Case
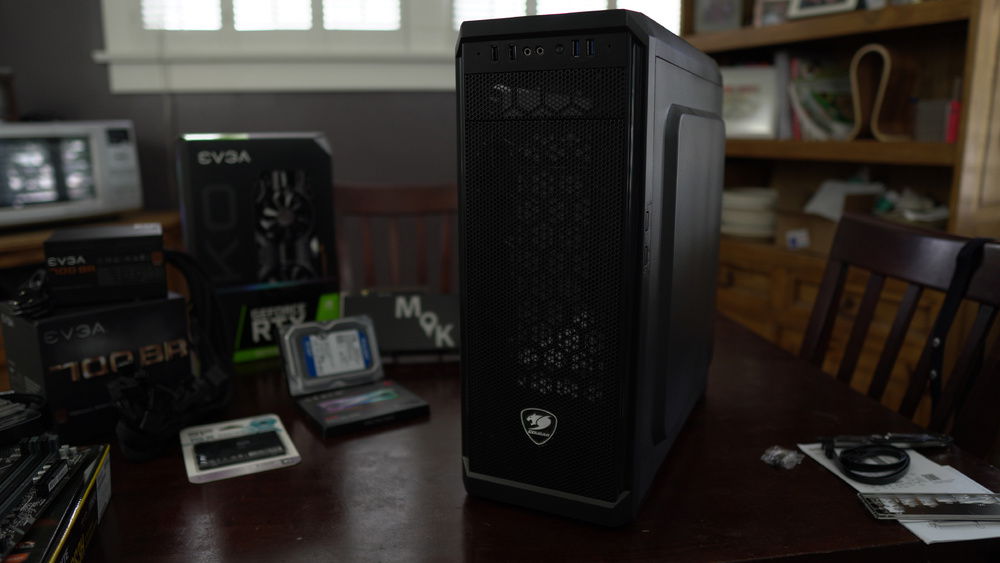
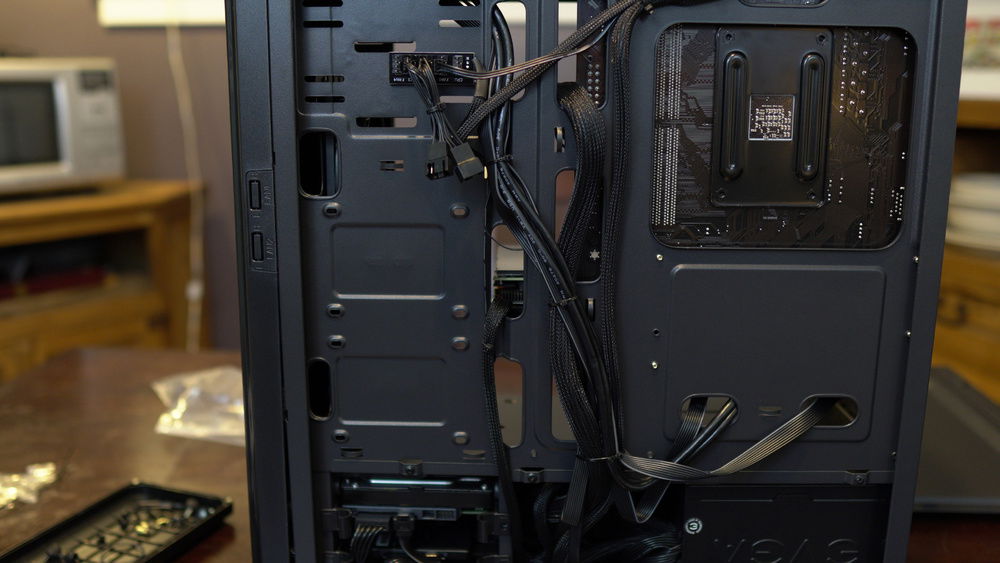
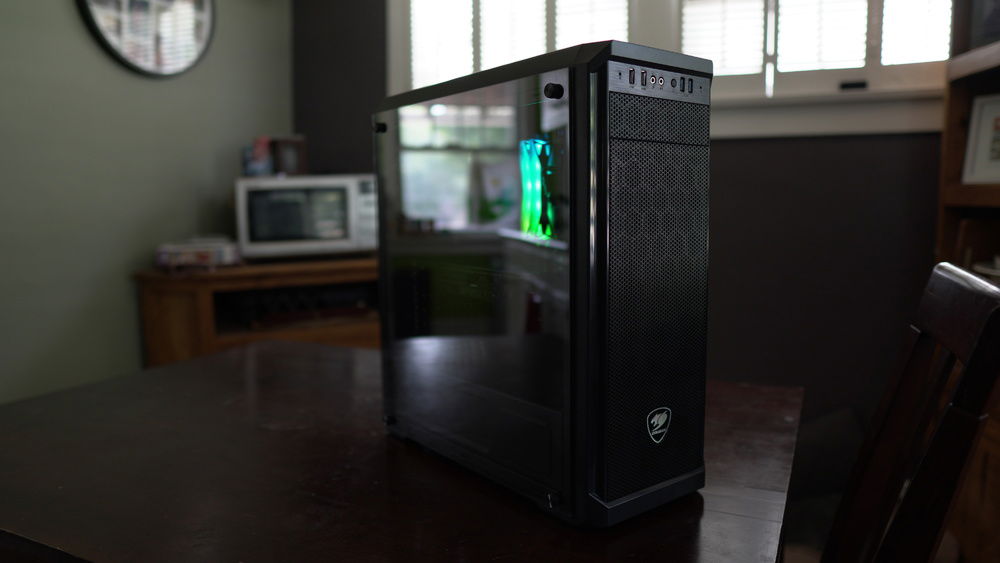
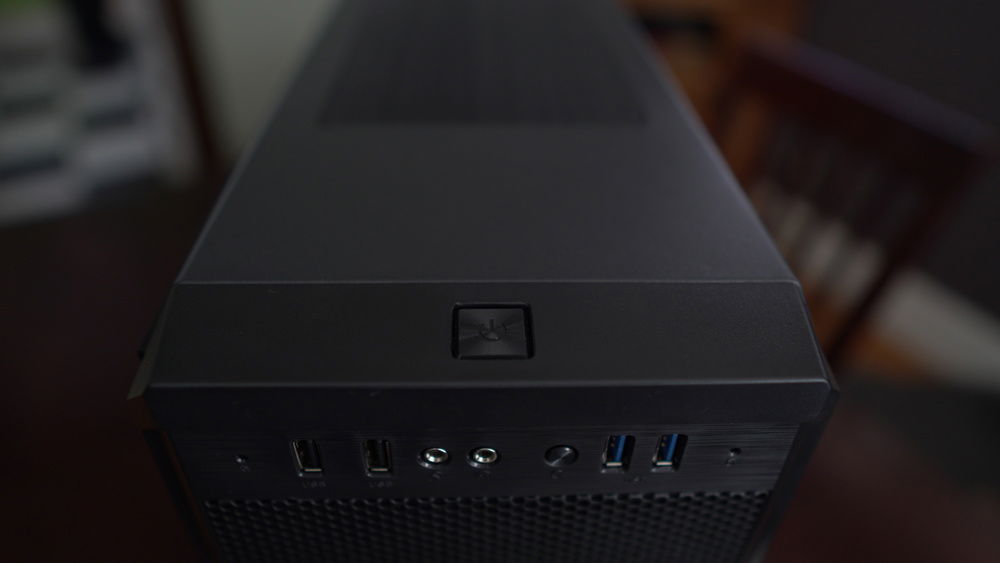
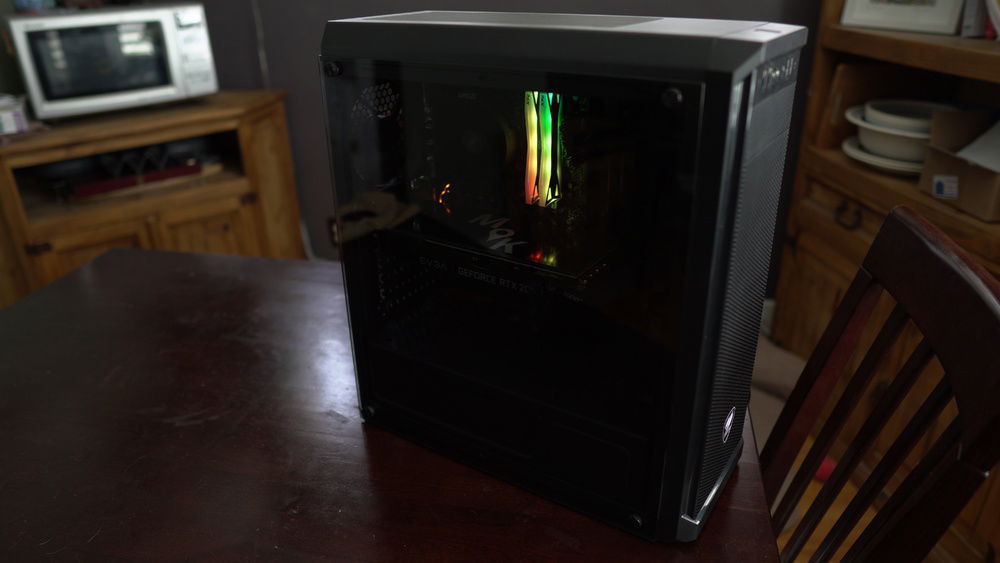
I wanted to find the cheapest case I could that still had a tempered glass panel. Enter Cougar’s MX330-G. This is a mid-tower case that comes with only one fan. It has a narrow footprint, and can hold up to 4 drives. It’s sturdy enough and isn’t an eyesore as well. Did I mention it only cost $44.99 at time of purchase? However, what I save in the case, I have to spend on additional fans. It’s the same with the motherboard, due to a lack of fan headers I had to buy a fan hub, and I’ll address that further on.
PSU
2020 has been terrible for many reasons and you can add a lack of supply of PSUs to that list. After searching and searching, I found the EVGA 700BR 700 watt PSU in stock and at a decent price. I would have rather gotten a 600, or 650, watt PSU but those were all either out of stock or the same price as the EVGA 700BR. At least this PSU is 80+ Bronze. I tried looking at semi-modular PSUs and also 80+ Gold certified, but the price increase for either of those features is very drastic. PSUs are a very important component and you don’t want to be too cheap when choosing this component. Pay attention to what you can afford, and I’d say prioritize a higher efficiency rating before modularity.
GPU
Because the GPU is the centerpiece to this build, I wanted to save it for last (well near last—we still have accessories to cover). After giving up on a more reasonable well-rounded build due to lack of available parts, I decided to go crazy and see what I could put together with 1440p gaming in mind (I always try to keep purpose in mind as well as budget when coming up with a PC Build—they more or less inform each other. Purpose helps set what I should get and Budget sets what I can get).
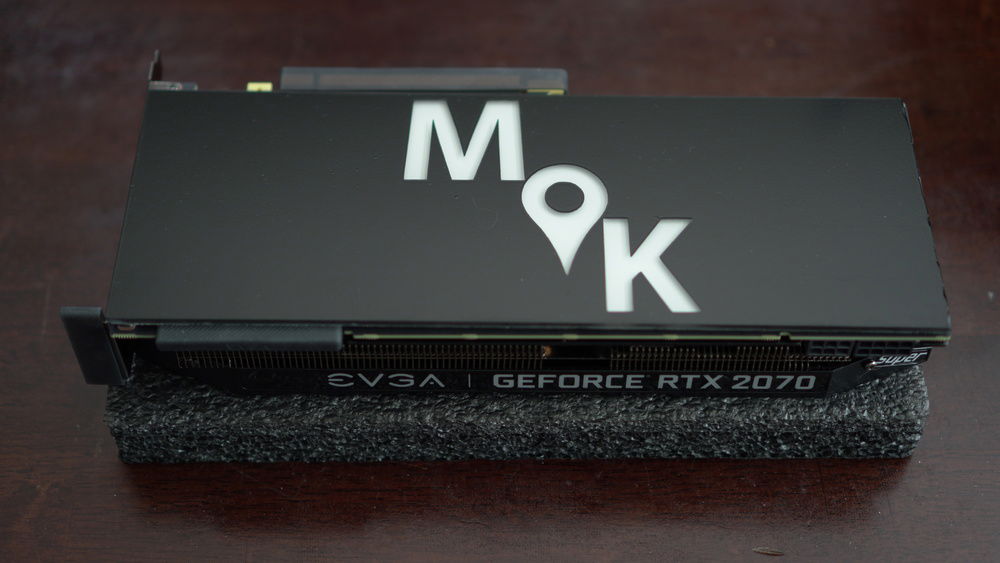
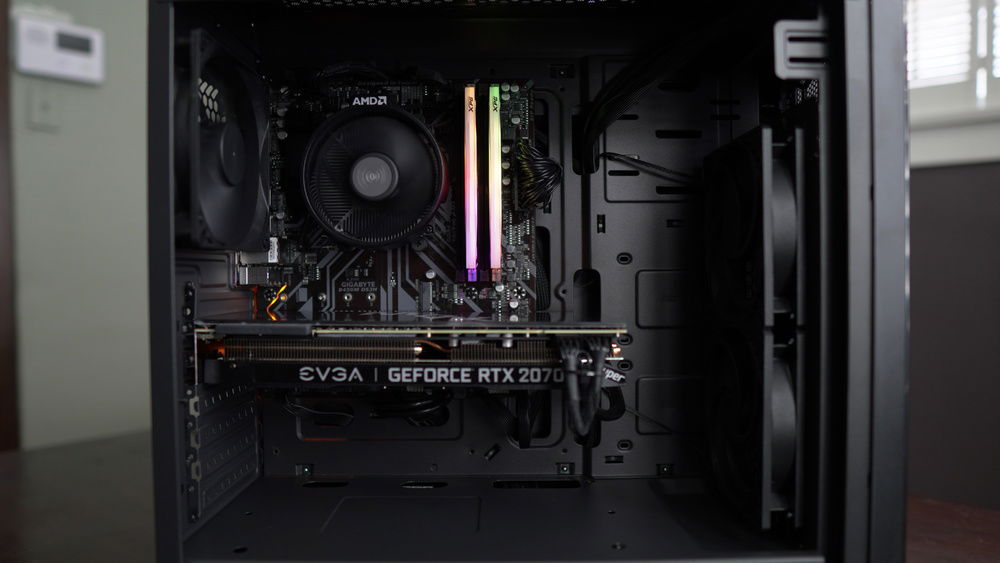
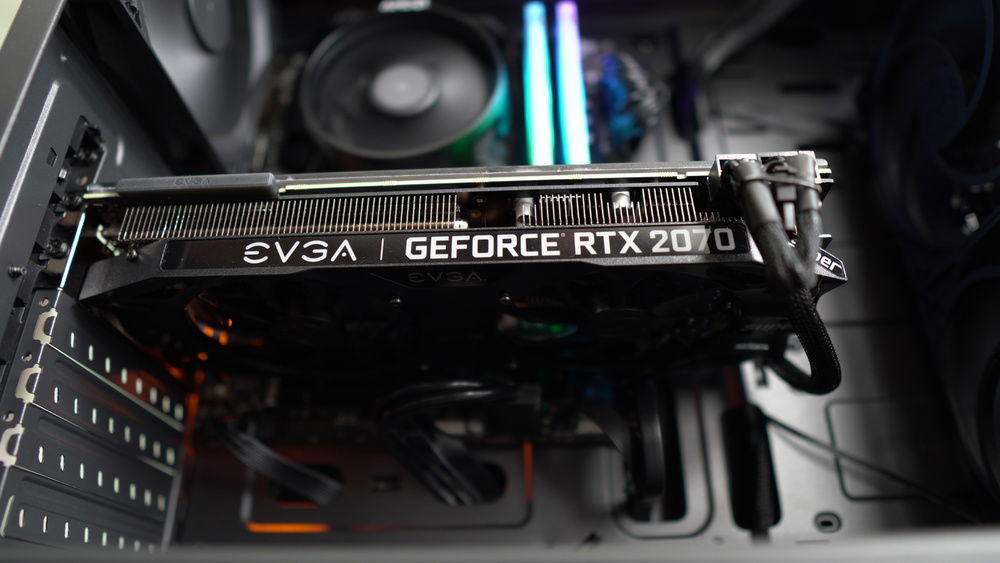
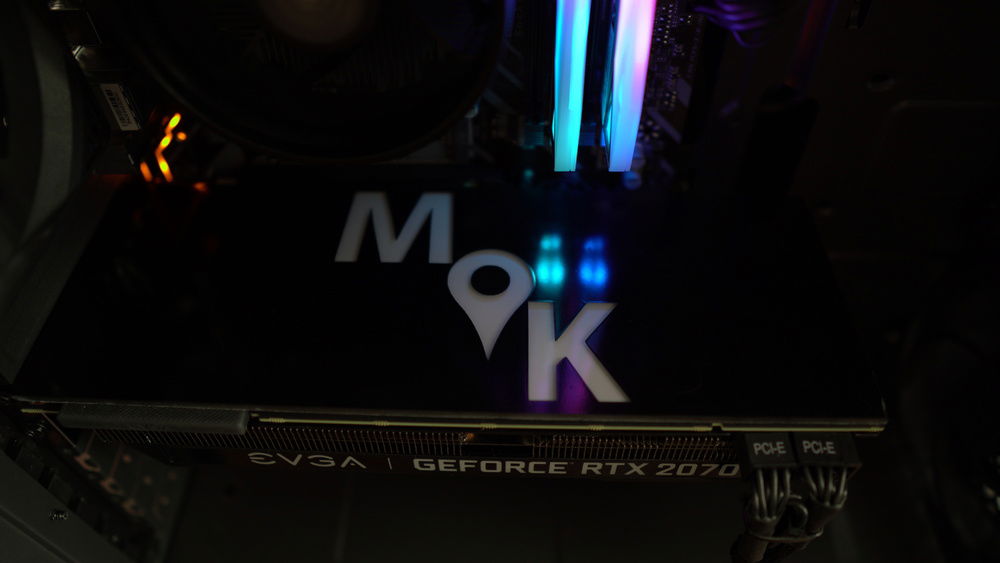
Because 1440p was the resolution I wanted to achieve, I needed a GPU that could match. Enter the 2070 Super. Unfortunately, when I purchased the GPU my first and second choices were unavailable: Nvidia’s 2070 Super founder’s edition and the Gigabyte Windforce OC 3X. Both those cards were, and still are at the time of writing this, priced at the $499.99 MSRP. My next available option was EVGA’s 2070 Super KO Gaming GPU. I have used EVGA in the past and they are well regarded as having quality components and good customer service. Seeing as the GPU was also priced at $506.99, I went for it. It’s base and boost clock are the same as Nvidia’s card, so it’s probably using a reference board as well. One aspect I’m not pleased with is the lack of a backplate, so I made my own. Be sure to check out the video I did on it.
Accessories
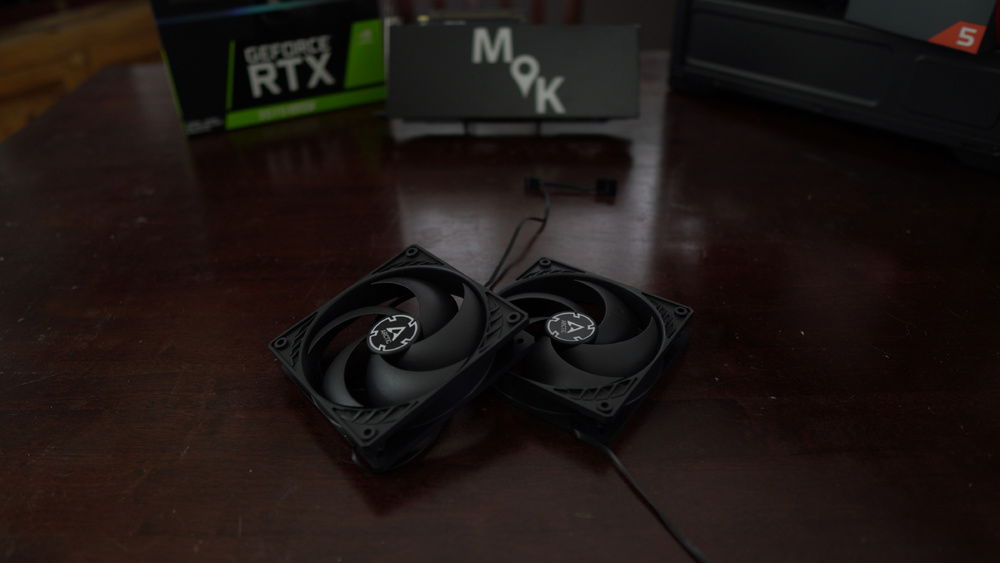
Because the MX330-G only has one fan and because the Gigabyte B450M DS3H only has two fan headers, one reserved for the CPU cooler, I bought 2 additional fans and a fan hub. I bought two Arctic 120mm ACFAN00133A fans. Individually you can buy these for $9.99 or you can buy a five-pack for $27.99 lowering the per fan price to around $5.60. These are 4-pin, PWM, static pressure fans and are well reviewed and quiet. I’ve used these in a previous build and they push a lot of air while not being loud.
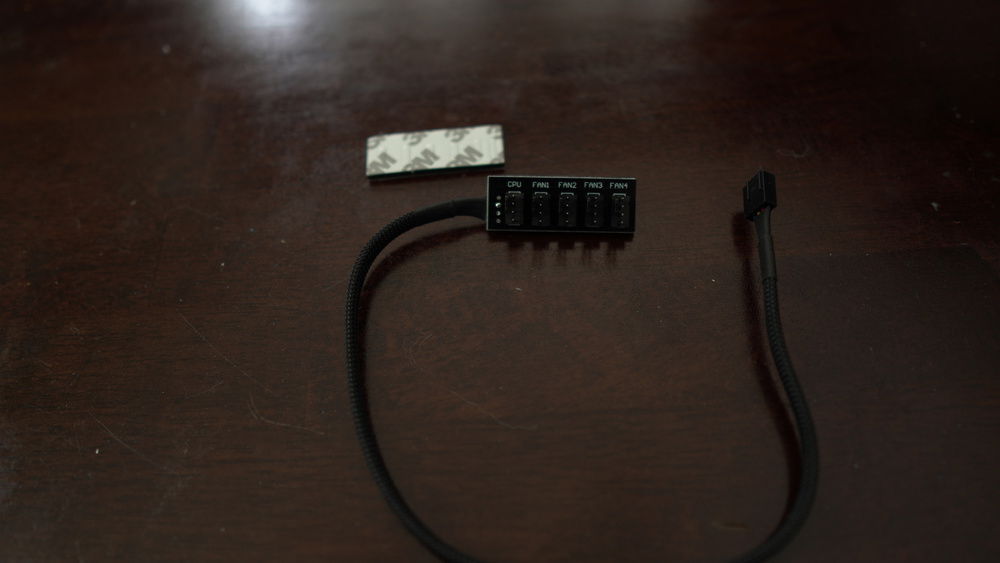
I also bought a 5-port PWM fan hub. It was only $6, and again well reviewed by customers. Hopefully the low cost doesn’t indicate a low life expectancy or low quality. I’ll may plug the hub into the second fan header even though you can plug it into the CPU header and then plug the CPU cooler into it. This way if the hub fails the CPU cooler will still have power as it will be plugged directly into the motherboard.
And that’s the Ludicrous build. It’s not ludicrous in how much I spent, but rather how much I didn’t spend and how cheap I went to achieve the goal of 1440p. After taxes and shipping, I spent $1078 and some change.
What are your thoughts on this build? You can definitely make this build for less than when I put it all together at the beginning of June 2020.
As always, your support is greatly appreciated.
Back in the first week of June, 2020 I went to part and price out a new build but nearly every mid-range or upper, mid-range part was unavailable, so I said screw it. Instead I parted out a 1440p gaming machine with the required price of being under a thousand bucks. The challenge was getting there.
I knew I’d have to make sacrifices on many components, such as the motherboard, while having to settle what was available at the time, like the power supply. The result is the parts list and build you see before you.
The end result is a build with a GPU that costs over 50% of the total budget but can also play games at 1440p or 1080p max settings. The caveat of course is sacrificing on the motherboard, not having an NVMe boot drive, and also going with one of the cheapest cases out there that still has a tempered glass side panel.
Check out the videos I made about the case, motherboard, and GPU:
- Cougar MX330-G: https://youtu.be/UjCI6W7OdsU
- Gigabyte B40M DS3H: https://youtu.be/eGvT_K9Wy5E
- EVGA 2070 Super KO Gaming: https://youtu.be/K_73Yslg9Gk
- PC parts overview, build timelapse, build impressions, and fps performance: https://youtu.be/IxFj8kB24As
Why I chose specific components:
CPU
I’ve been wanting to use the 1600AF for a while. Unfortunately, I missed my chance when it was available for the staggeringly low price of $85.00. After a few months, it was back in stock at the tolerable price of $104.99, so I pounced. I would have preferred to have gotten the 3300X for only $15 more. This 4-core/8-thread CPU performs on par with, and in some cases better than, the 1600AF but it has been out of stock pretty much since its release.
The 1600AF is equivalent to a slightly slower 2600, so getting a 6 core, 12 thread CPU for $105 is amazing and I’d recommend that to anyone. However, as 2020 is the year of the upside down, you can buy the 2600 for less than the 1600AF (as of July 29, 2020 at least). As such, I’d recommend avoiding this once amazingly priced CPU—unless you can find it priced at $105 or less.
So why did I get the 1600AF? 1. It performs well enough and has loads of cores and threads. 2. It’s cheap. 3. It was available—a super high bar I know . . .
Motherboard
I’m going to start by saying I probably shouldn’t have bought Gigabyte’s B450M DS3H, but it was the cheapest B450 option out there with 4 DIMM slots and multiple PCI slots. This makes a rather lackluster motherboard at least have some expansion options, so if you do buy it but then upgrade later on, you can repurpose it for a less intensive assignment like an HTPC for an email machine for a kid or someone who doesn’t need anything powerful.
While cost is not enough of a reason to buy anything—remember you get what you pay for—this build needed to stay cheap and the DS3H helped achieve that goal. Check out my video overviewing it and where I provide reasons why you should or shouldn’t buy it. For me, the reason to get it was to be able to sacrifice cost on a part and spend that money elsewhere.
RAM
I bought the XPG DDR4 3200 16GB kit b/c it was on sale for $79.99. RGB components usually come with a hefty price bump, ranging anywhere from $10-25. The XPG kit is well-regarded by users, is supported by the DS3H, and will work great with the 1600AF. If you want to save $20 or more on a good RAM kit, forego the RGB.
Storage
For storage, I knew I wanted to maintain a fast boot drive and larger mass storage drive. I couldn’t fit an NVMe SSD into the budget for the OS and frequently used programs while also buying a mass storage hard drive, so I opted for a SATA SSD. I chose the Silicon Power Ace A55 SSD. It’s well reviewed, supports TRIM, and has a SLC Cache, which should help with any kind of slow-down from extended use/tasks. For mass storage, I once again bought the Western Digital 1TB 7200RPM drive. It’s snappy and inexpensive. For 5-10 dollars more you can double your storage capacity with the Seagate Barracuda 2TB. I’ve used that drive as well and have been happy with it.
Case
I wanted to find the cheapest case I could that still had a tempered glass panel. Enter Cougar’s MX330-G. This is a mid-tower case that comes with only one fan. It has a narrow footprint, and can hold up to 4 drives. It’s sturdy enough and isn’t an eyesore as well. Did I mention it only cost $44.99 at time of purchase? However, what I save in the case, I have to spend on additional fans. It’s the same with the motherboard, due to a lack of fan headers I had to buy a fan hub, and I’ll address that further on.
PSU
2020 has been terrible for many reasons and you can add a lack of supply of PSUs to that list. After searching and searching, I found the EVGA 700BR 700 watt PSU in stock and at a decent price. I would have rather gotten a 600, or 650, watt PSU but those were all either out of stock or the same price as the EVGA 700BR. At least this PSU is 80+ Bronze. I tried looking at semi-modular PSUs and also 80+ Gold certified, but the price increase for either of those features is very drastic. PSUs are a very important component and you don’t want to be too cheap when choosing this component. Pay attention to what you can afford, and I’d say prioritize a higher efficiency rating before modularity.
GPU
Because the GPU is the centerpiece to this build, I wanted to save it for last (well near last—we still have accessories to cover). After giving up on a more reasonable well-rounded build due to lack of available parts, I decided to go crazy and see what I could put together with 1440p gaming in mind (I always try to keep purpose in mind as well as budget when coming up with a PC Build—they more or less inform each other. Purpose helps set what I should get and Budget sets what I can get).
Because 1440p was the resolution I wanted to achieve, I needed a GPU that could match. Enter the 2070 Super. Unfortunately, when I purchased the GPU my first and second choices were unavailable: Nvidia’s 2070 Super founder’s edition and the Gigabyte Windforce OC 3X. Both those cards were, and still are at the time of writing this, priced at the $499.99 MSRP. My next available option was EVGA’s 2070 Super KO Gaming GPU. I have used EVGA in the past and they are well regarded as having quality components and good customer service. Seeing as the GPU was also priced at $506.99, I went for it. It’s base and boost clock are the same as Nvidia’s card, so it’s probably using a reference board as well. One aspect I’m not pleased with is the lack of a backplate, so I made my own. Be sure to check out the video I did on it.
Accessories
Because the MX330-G only has one fan and because the Gigabyte B450M DS3H only has two fan headers, one reserved for the CPU cooler, I bought 2 additional fans and a fan hub. I bought two Arctic 120mm ACFAN00133A fans. Individually you can buy these for $9.99 or you can buy a five-pack for $27.99 lowering the per fan price to around $5.60. These are 4-pin, PWM, static pressure fans and are well reviewed and quiet. I’ve used these in a previous build and they push a lot of air while not being loud.
I also bought a 5-port PWM fan hub. It was only $6, and again well reviewed by customers. Hopefully the low cost doesn’t indicate a low life expectancy or low quality. I’ll may plug the hub into the second fan header even though you can plug it into the CPU header and then plug the CPU cooler into it. This way if the hub fails the CPU cooler will still have power as it will be plugged directly into the motherboard.
And that’s the Ludicrous build. It’s not ludicrous in how much I spent, but rather how much I didn’t spend and how cheap I went to achieve the goal of 1440p. After taxes and shipping, I spent $1078 and some change.
What are your thoughts on this build? You can definitely make this build for less than when I put it all together at the beginning of June 2020.
As always, your support is greatly appreciated.
Color(s): Black
RGB Lighting? No
Theme: none
Cooling: Air Cooling
Size: ATX
Type: General Build
Build Updates
Added more pictures
Hardware
CPU
$ 78.44
Motherboard
$ 149.99
Memory
$ 118.00
Graphics
$ 480.00
Storage
$ 42.99
Western Digital - WD Blue Desktop (WD10EZEX)
Form Factor: 3.5 Inch
Interface: SATA 6 Gb/s
Capacity: 1 TB
PSU
$ 78.34
Case Fan
$ 23.78
Estimated total value of this build:
$ 1,058.66
Approved by:

