
Hyrule Warrior
AD:
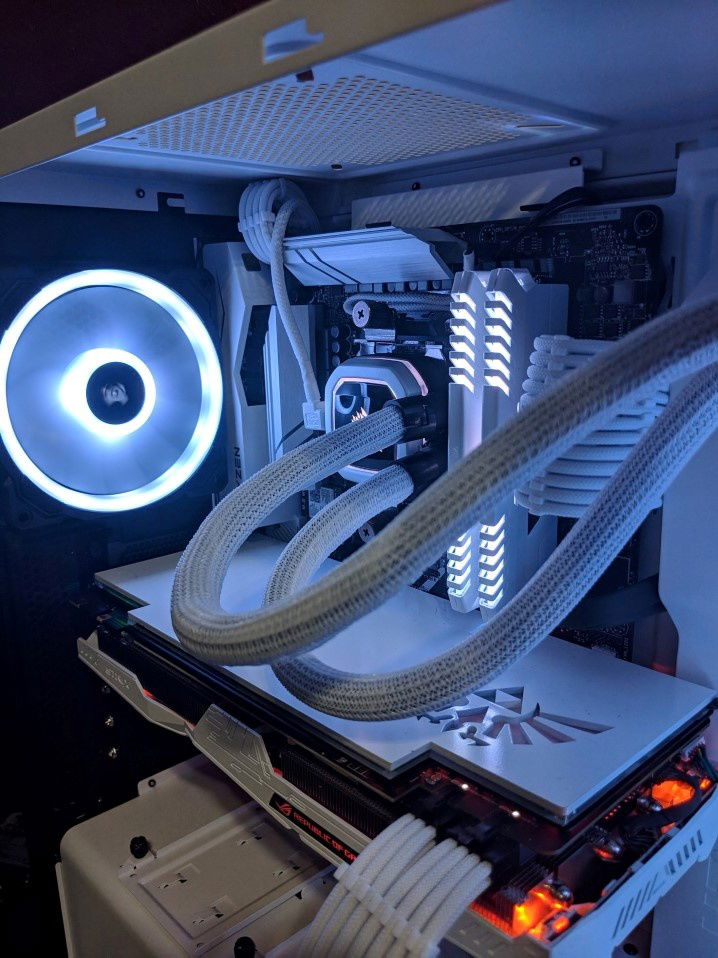
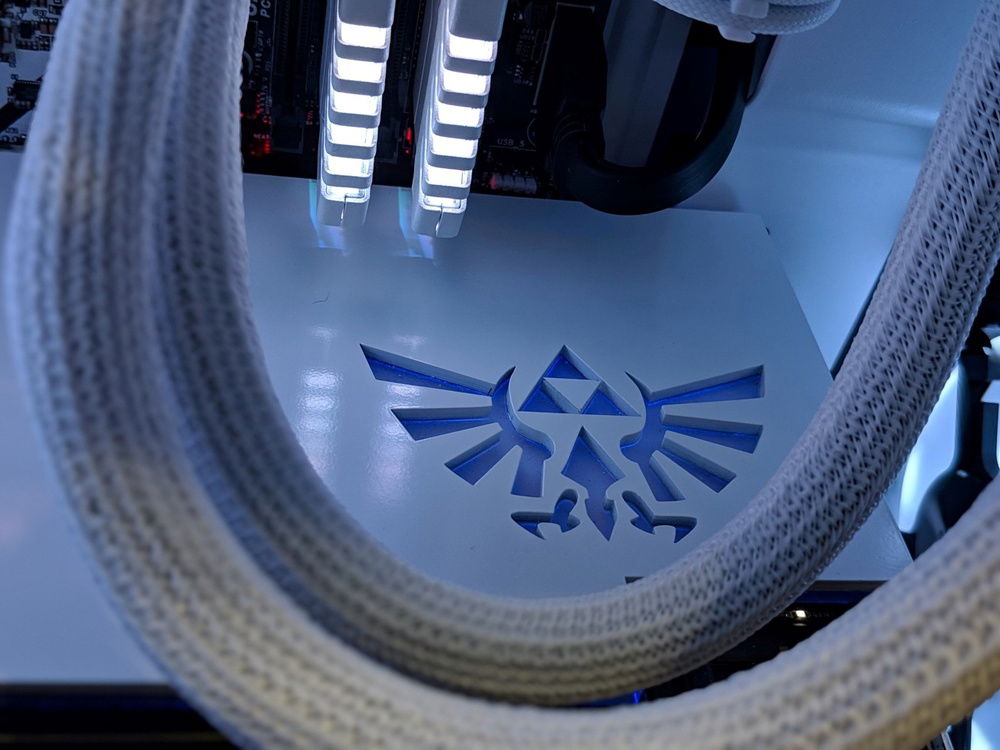
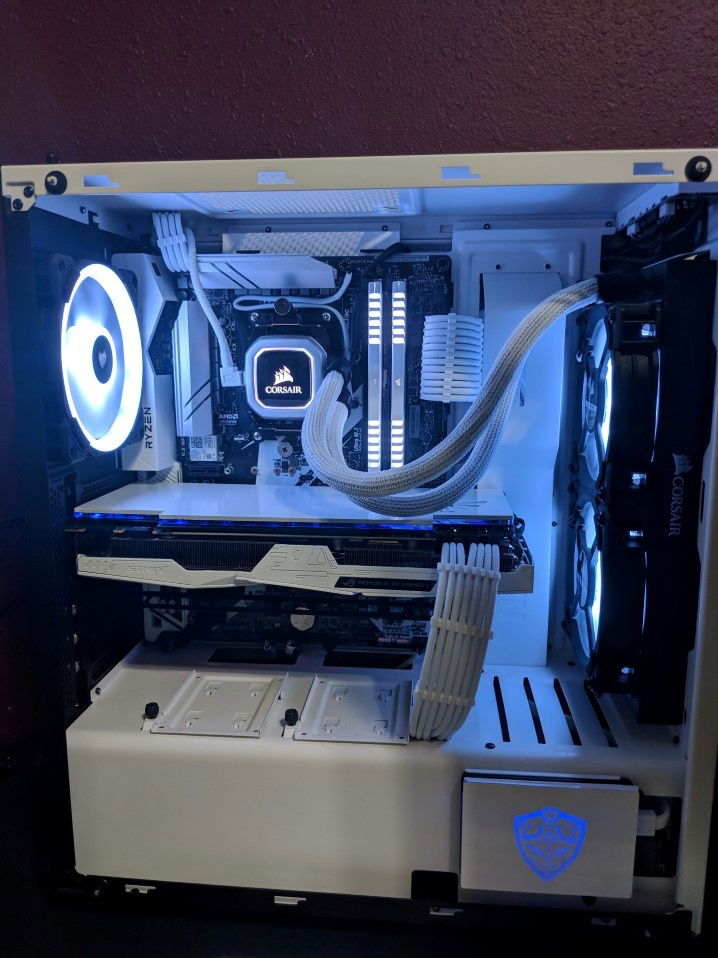
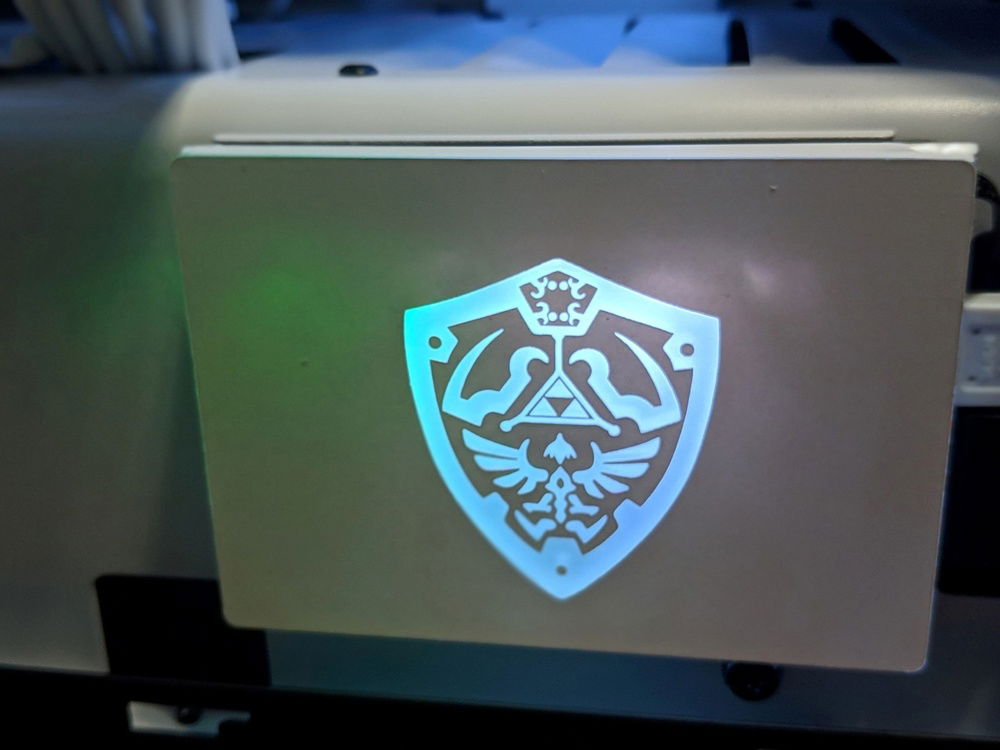
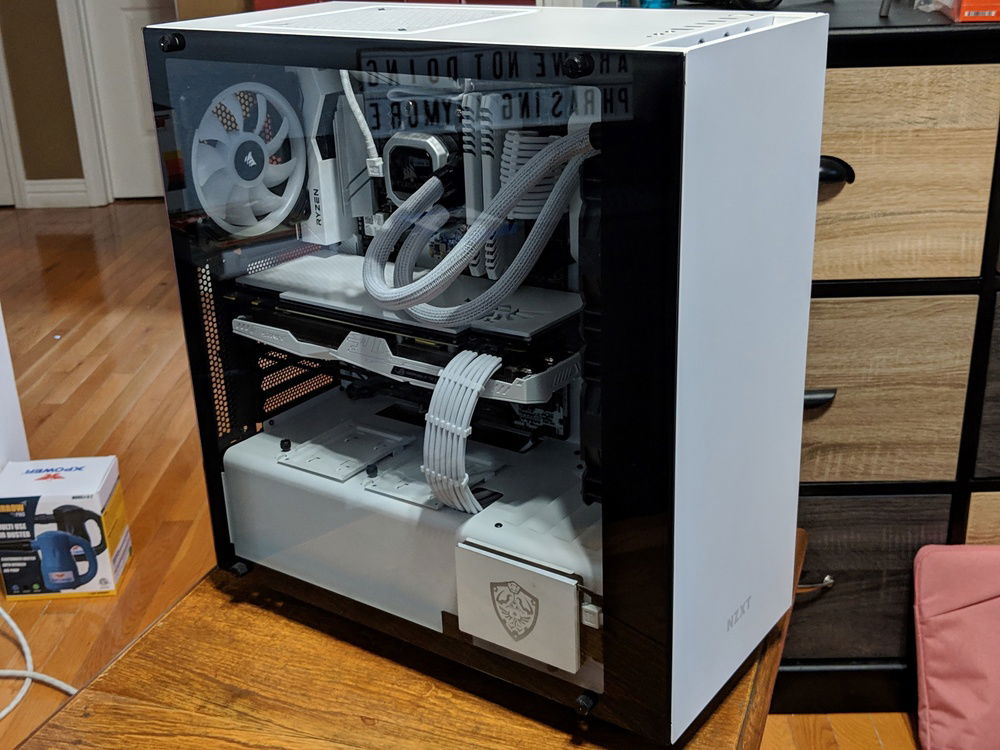
I wanted to build the absolute best system I could for my budget at thew time, and since I was going to put high-end hardware (for it's time) in it, I wanted to take the time and effort to go slow and pay attention to the details. So here it is, the Hyrule Warrior. I've always been a massive Zelda fan and the influences can be seen all over my office slash game room. I wanted to take that theme and build something dedicated to it.
There's just something I love about white builds. They're clean, elegant, and have just a simple look to them that's uncluttered when done right.
Rather than break down the individual components and explain why I chose those specific ones, I figured it talk a little bit about the build process itself. Most of the users here are far more knowledgeable and skilled than I am, so they're very familiar with the hardware and why someone would pick a particular part. For me the interesting parts are in the little details regarding the build itself.
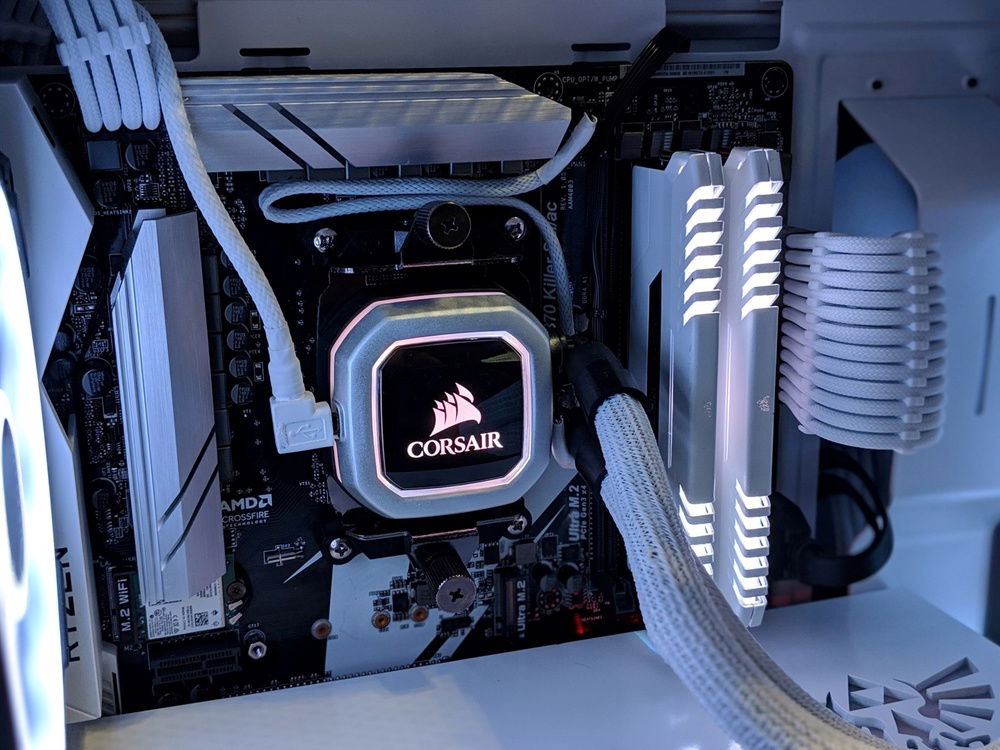
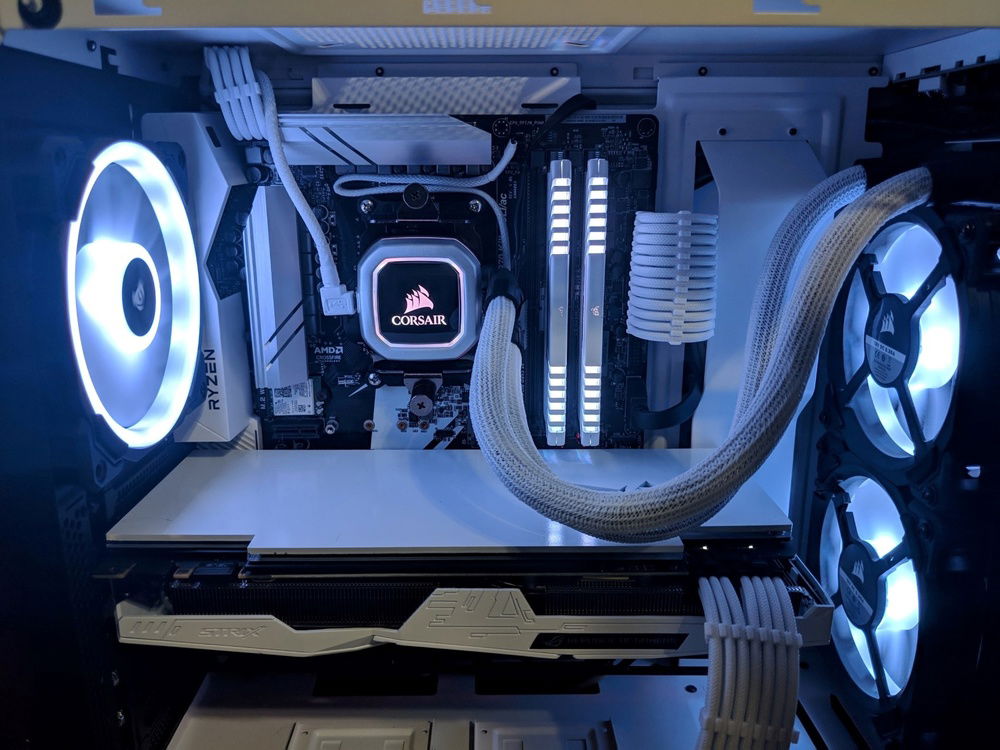
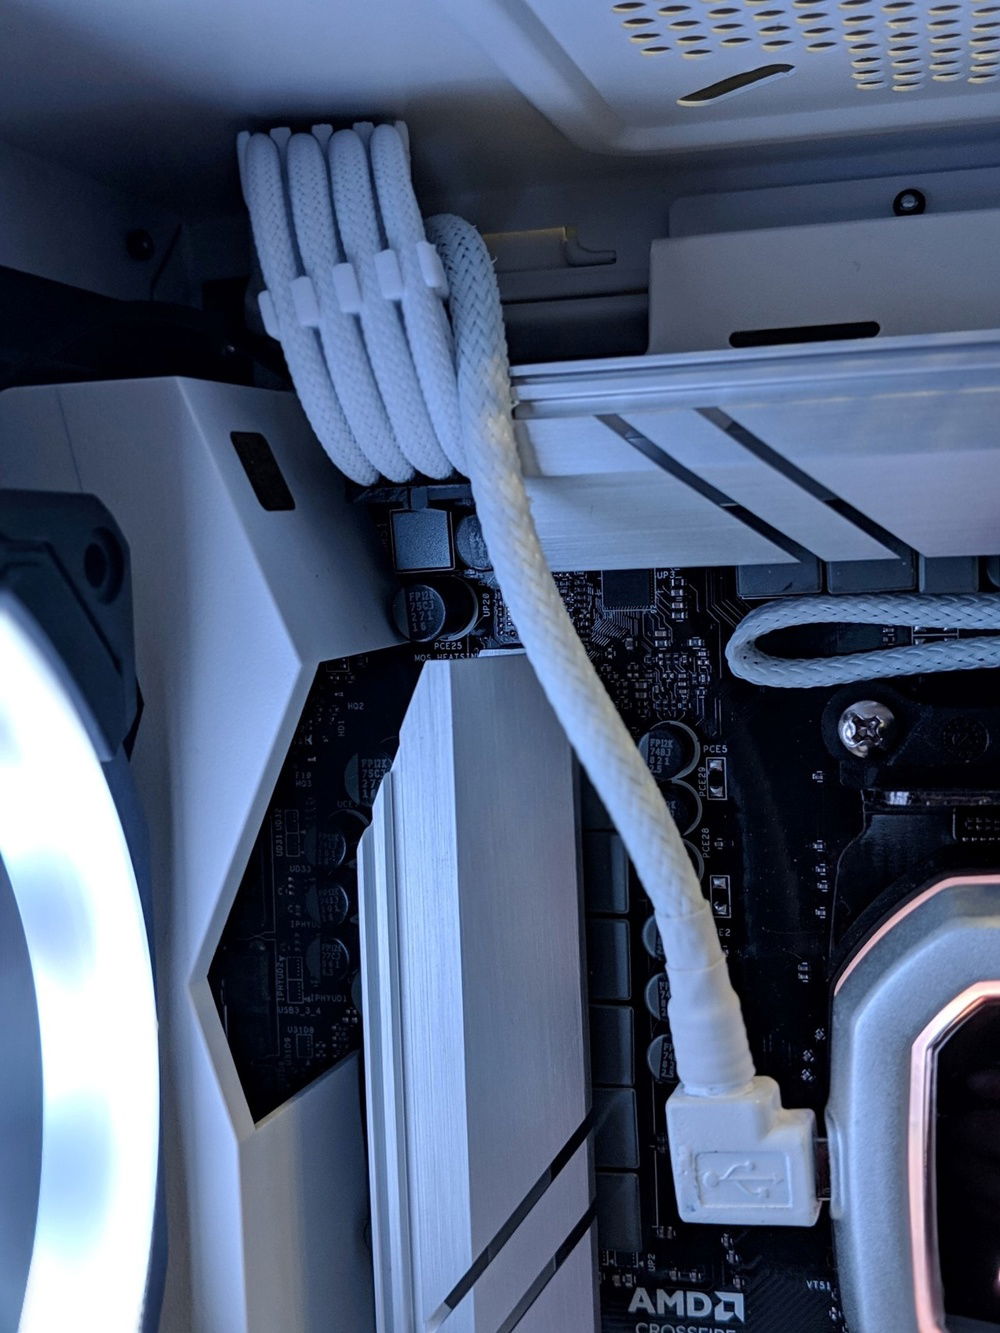
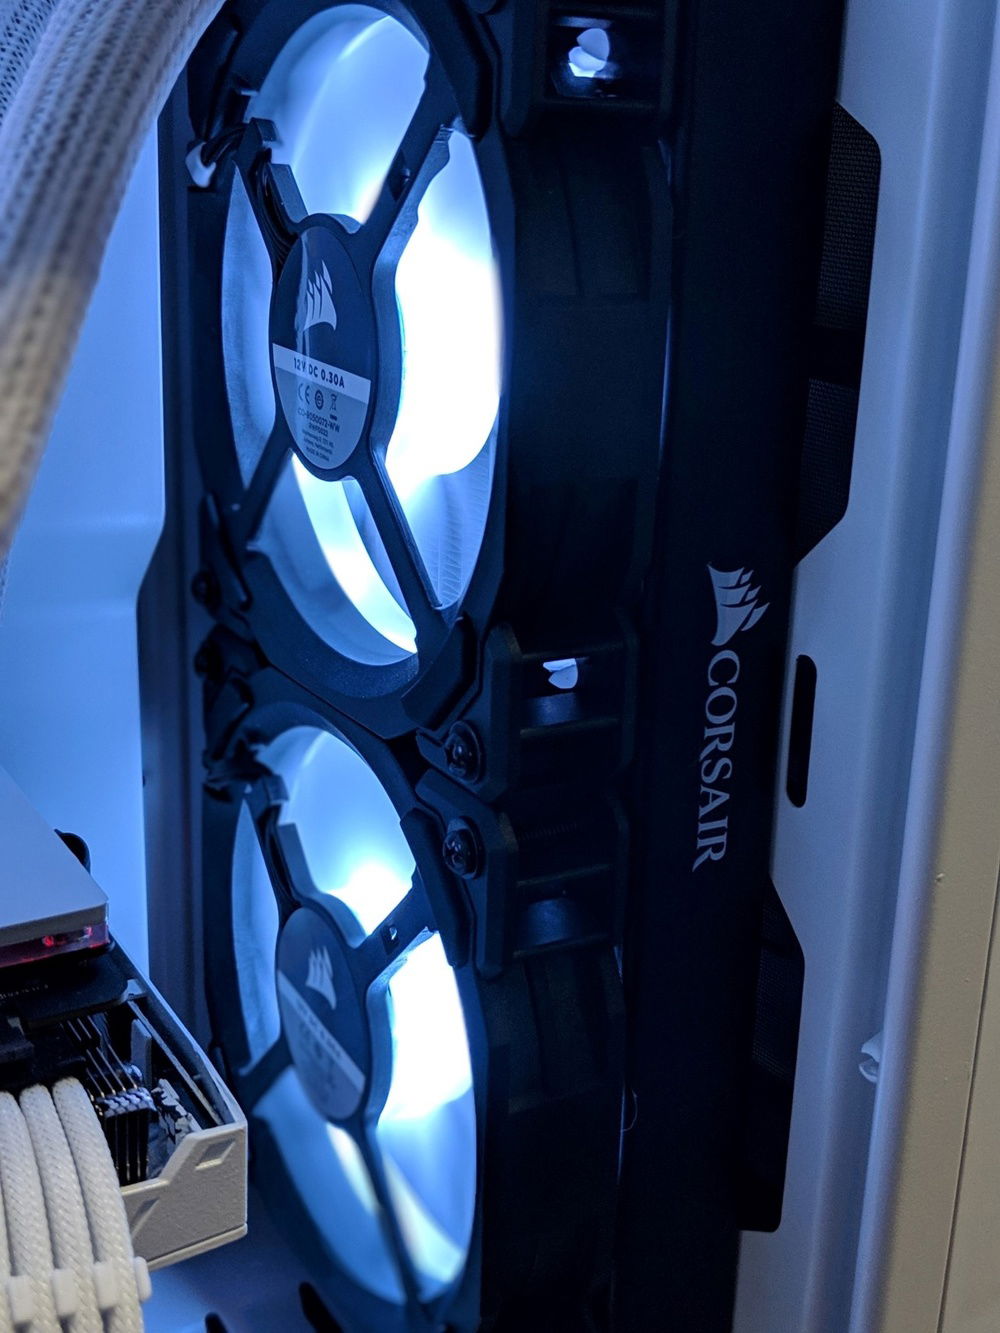
I wanted to keep this is clean as possible, so in the process of planning it out, I thought to myself that I wanted to custom sheath as much of the cabling as I possibly could to give it a really clean look. I've never put sheathing and shrink wrap on anything before so this was an entirely new process for me. I even went so far as to sheathe all the cables for my fans, and then go figure, when they're put into the system you don't see a single part of the cables. Go figure, all that work, and no one gets to see it. I had a set of Vengeance RGB Ram that I really like, but they were black. So I stripped them down sanded them and used some engine enamel paint to give them the white treatment.
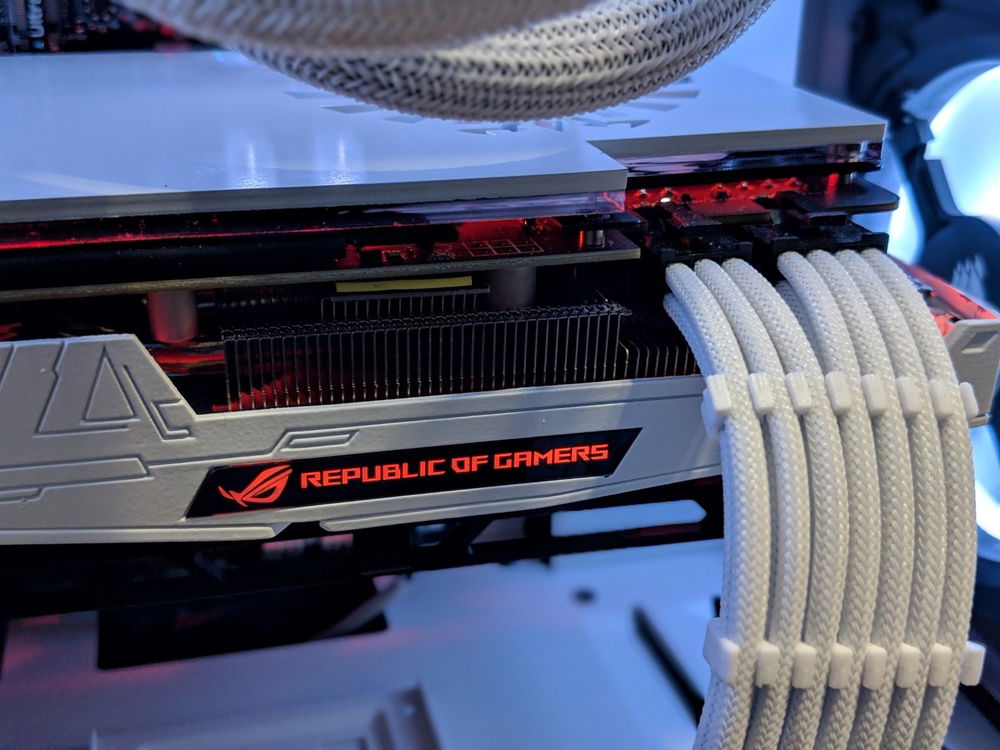
The GPU was the part I was worried the most about messing up. Since I'm not made of money, if I screwed it up I wouldn't be able to easily replace it. Add to that the fact that I am terrible at painting anything and anything I've ever painted in my life is ended up with big Globs or drips on it. But I watched a few YouTube tutorials, and read some build breakdowns here on the web, and the general consensus was to make every coat light, give it time to dry, and come back and add another coat. Just don't rush it. So doing the GPU shroud took me about 15 coats, but I think it came out really well for being as inexperienced as I am.
There's just something I love about white builds. They're clean, elegant, and have just a simple look to them that's uncluttered when done right.
Rather than break down the individual components and explain why I chose those specific ones, I figured it talk a little bit about the build process itself. Most of the users here are far more knowledgeable and skilled than I am, so they're very familiar with the hardware and why someone would pick a particular part. For me the interesting parts are in the little details regarding the build itself.
I wanted to keep this is clean as possible, so in the process of planning it out, I thought to myself that I wanted to custom sheath as much of the cabling as I possibly could to give it a really clean look. I've never put sheathing and shrink wrap on anything before so this was an entirely new process for me. I even went so far as to sheathe all the cables for my fans, and then go figure, when they're put into the system you don't see a single part of the cables. Go figure, all that work, and no one gets to see it. I had a set of Vengeance RGB Ram that I really like, but they were black. So I stripped them down sanded them and used some engine enamel paint to give them the white treatment.
The GPU was the part I was worried the most about messing up. Since I'm not made of money, if I screwed it up I wouldn't be able to easily replace it. Add to that the fact that I am terrible at painting anything and anything I've ever painted in my life is ended up with big Globs or drips on it. But I watched a few YouTube tutorials, and read some build breakdowns here on the web, and the general consensus was to make every coat light, give it time to dry, and come back and add another coat. Just don't rush it. So doing the GPU shroud took me about 15 coats, but I think it came out really well for being as inexperienced as I am.
Color(s): Black White
RGB Lighting? No
Theme: Video Game
Cooling: AIO Cooling
Size: ATX
Type: General Build
Hardware
CPU
$ 106.27
PSU
$ 279.99
Case
Case Fan
$ 39.61
Case Fan
$ 39.61
Case Fan
$ 39.61
Cooling
$ 108.00
CableMod
$ 19.90
CableMod
Approved by: