Apex
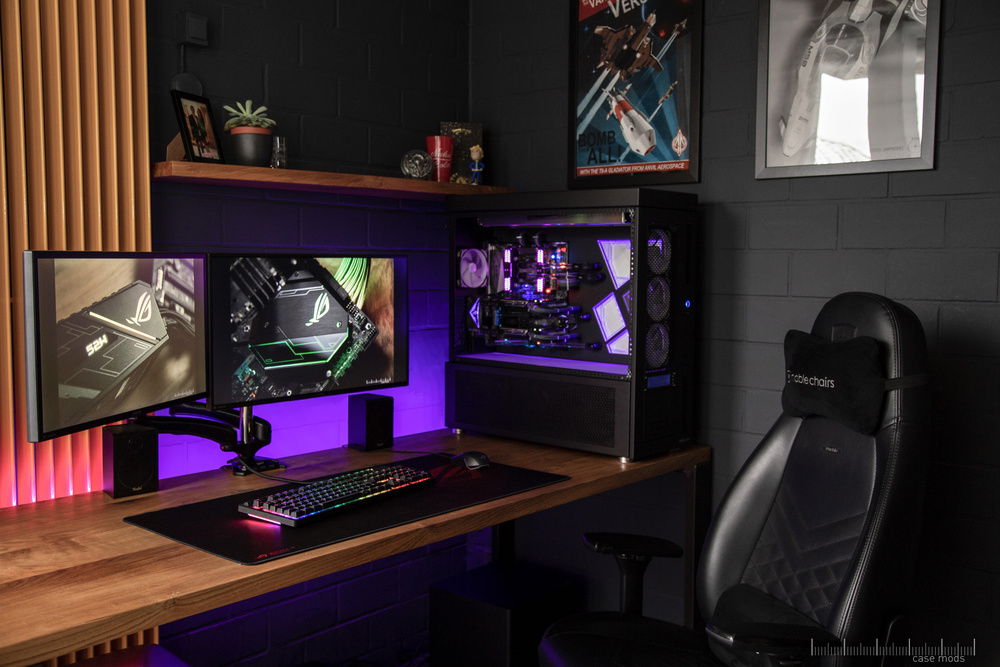
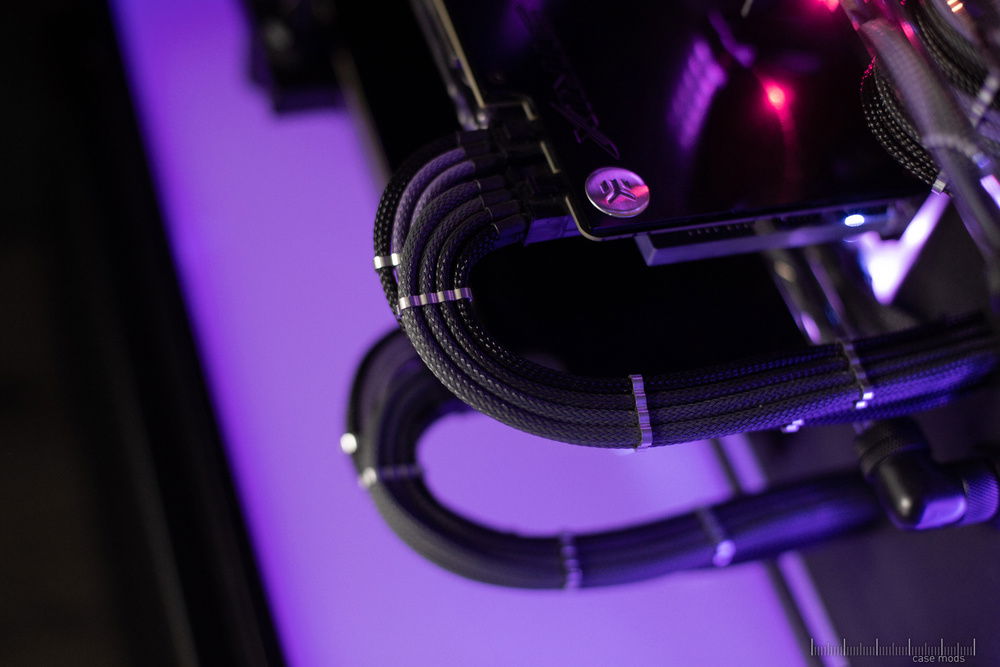
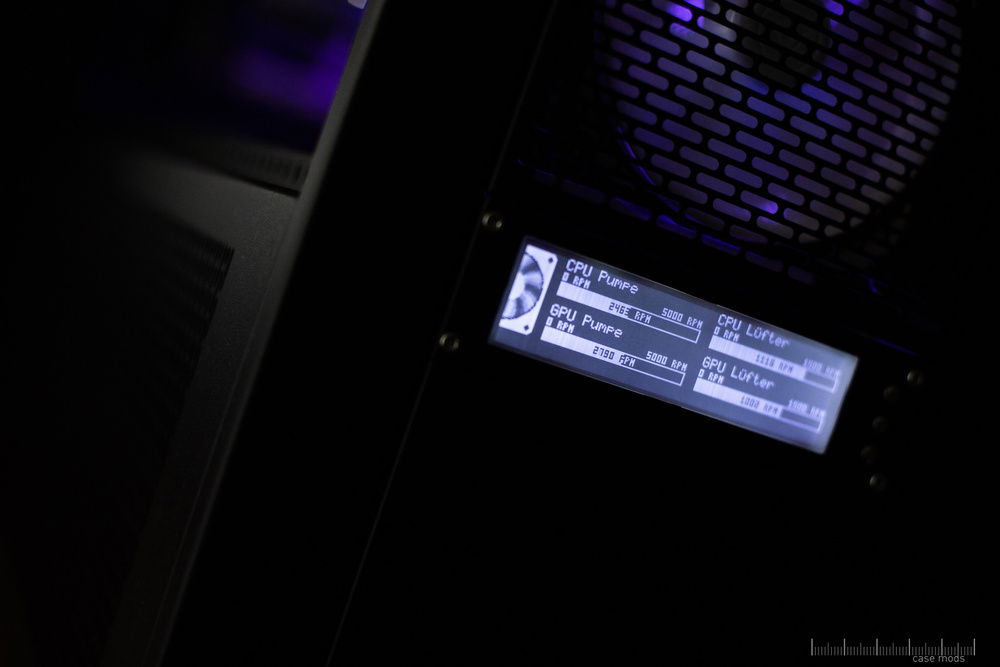
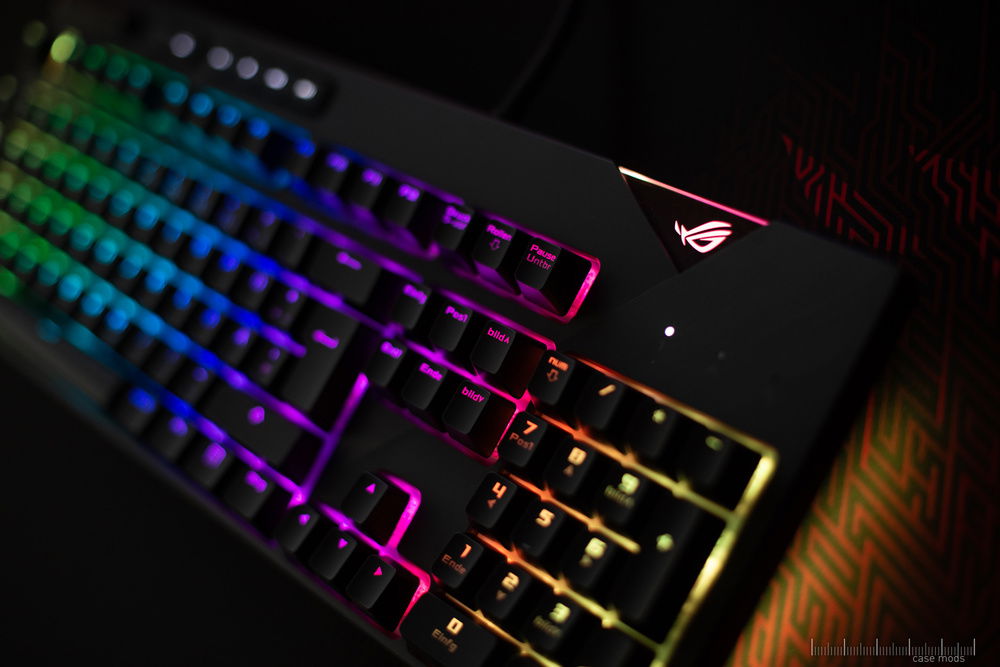
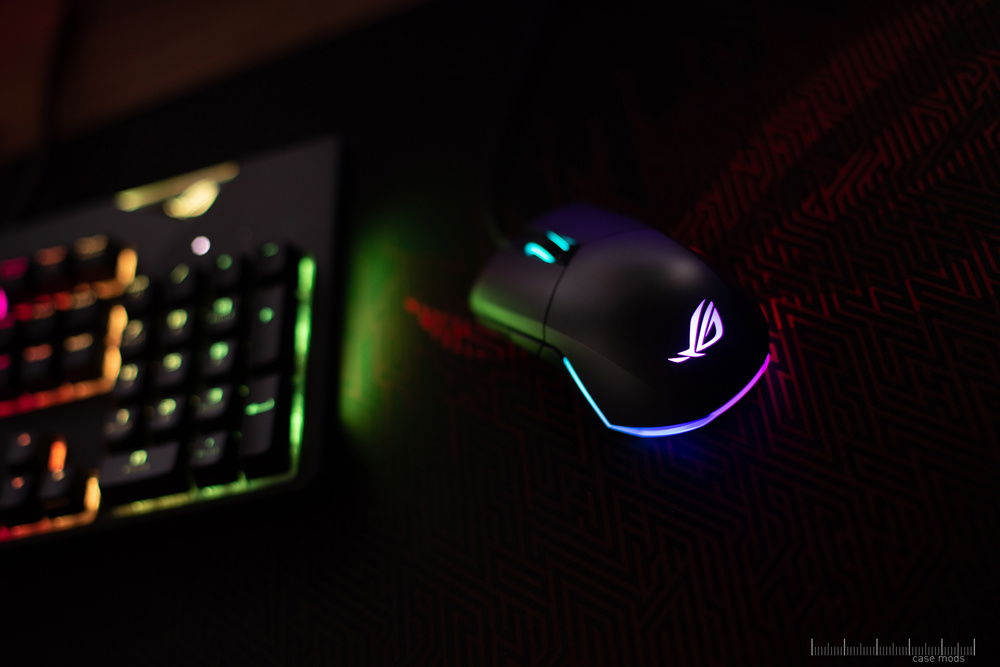
This is my current system that i'm using for everything from designing new mods, editing my photos and some videos and of course gaming. It's actually the second build i did in this case and i'm really happy i ever got hands on one. I finished this build last year but just found time to take some proper photos to share it with you.
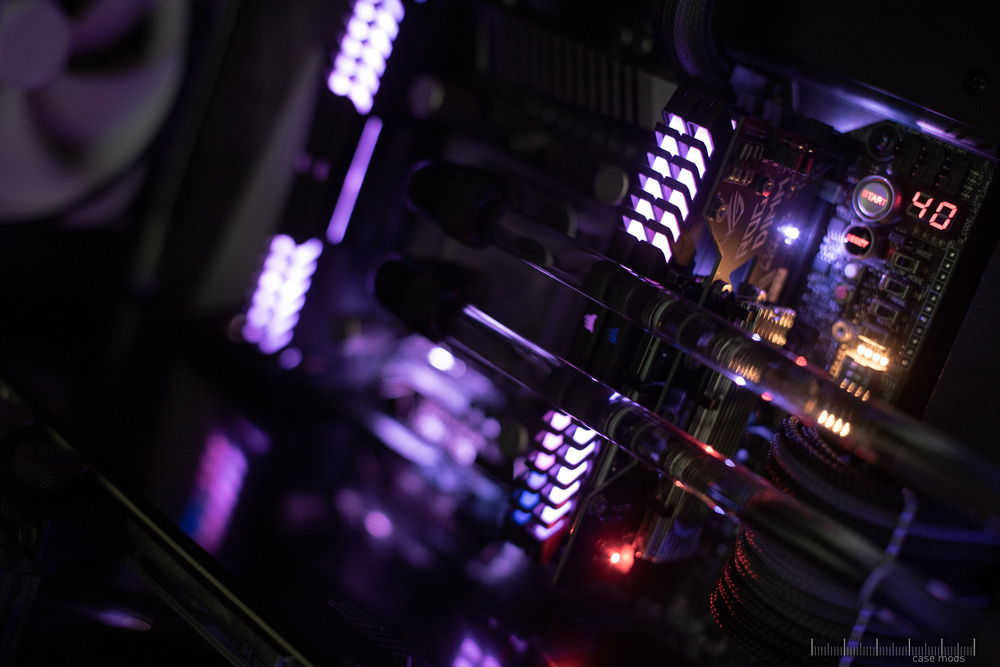
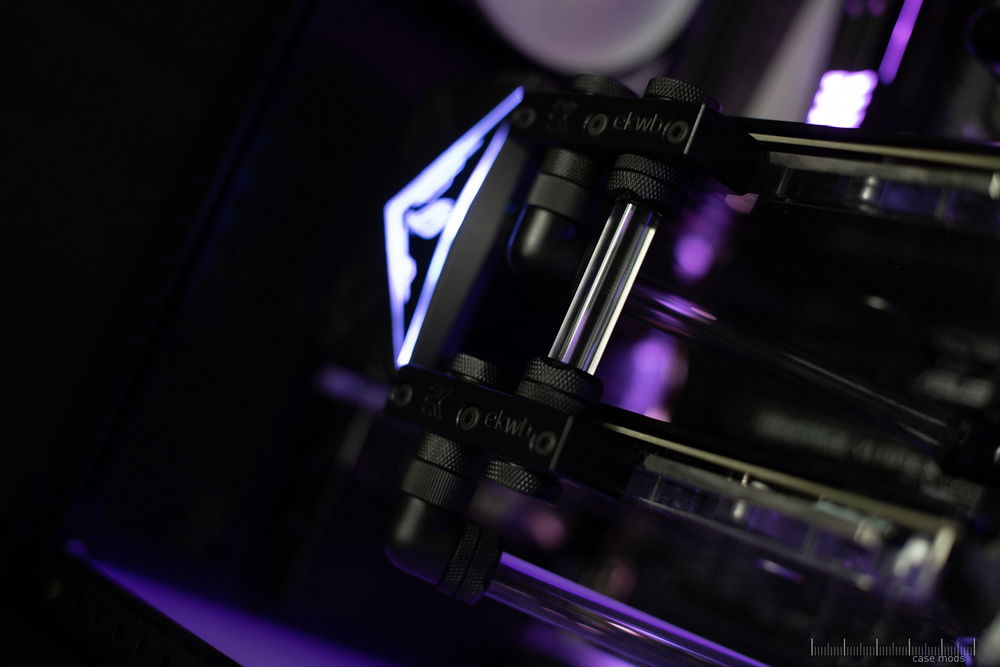
With such a big case that offers so much space you're definitely going to watercool it. I decided to go with a dual loop setup to seperate the GPU and CPU cooling from each other. I used two pump/res combos placed next to the motherboard which was the obvious solution for this case offering so much room. Hardware was an X99 Setup with dual freshly released GTX 1080 Strix, the perfect fit for this massive build. Last year i talked to the guys from ASUS ROG Germany and we decided to do a refresh of this build and make a video about it. If you understand German you can watch it here: https://www.youtube.com/watch?v=RM7KmlJxub8
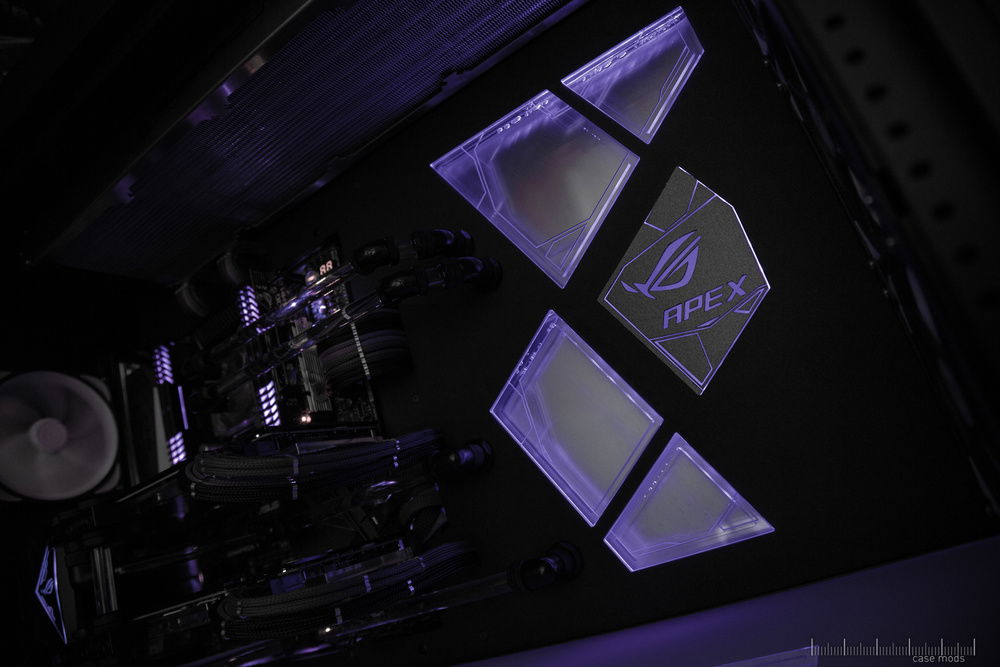
So, what was the plan for this refresh? Obviously i wanted to make this build more unique since the first one wasn't really a mod. It still was unique in it's way but i didn't do major modifications to the case because i was a little bit scared to ruin it. But this time i wanted to get my saw out and cut out big pieces and be really rough with it. Designing a complete new chassis divider including a one-of-a-kind water cooling reservoir took me literally days if not weeks. But it was worth it!
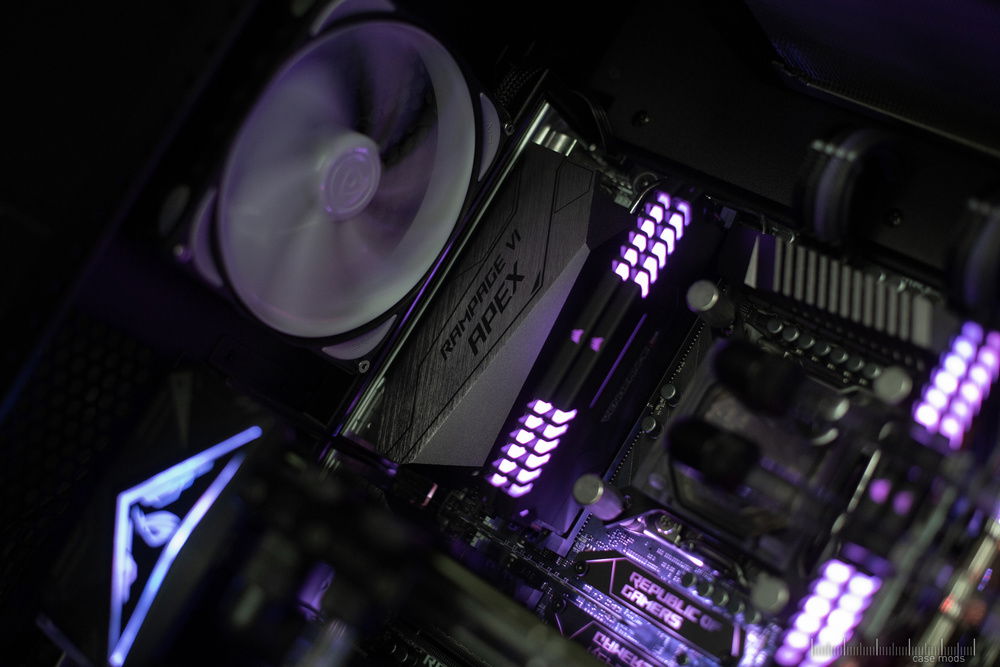
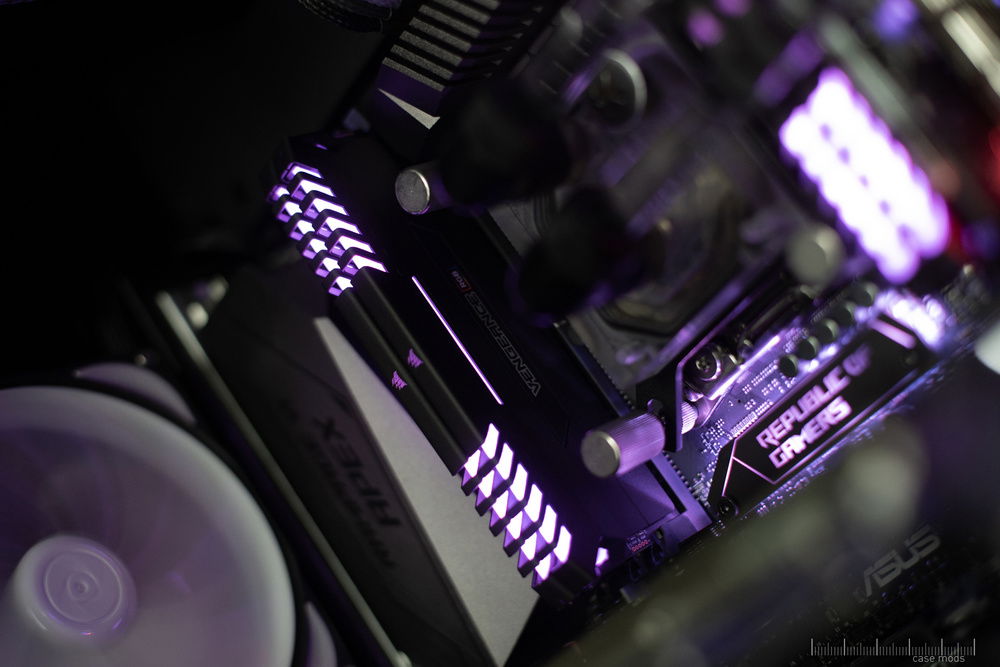
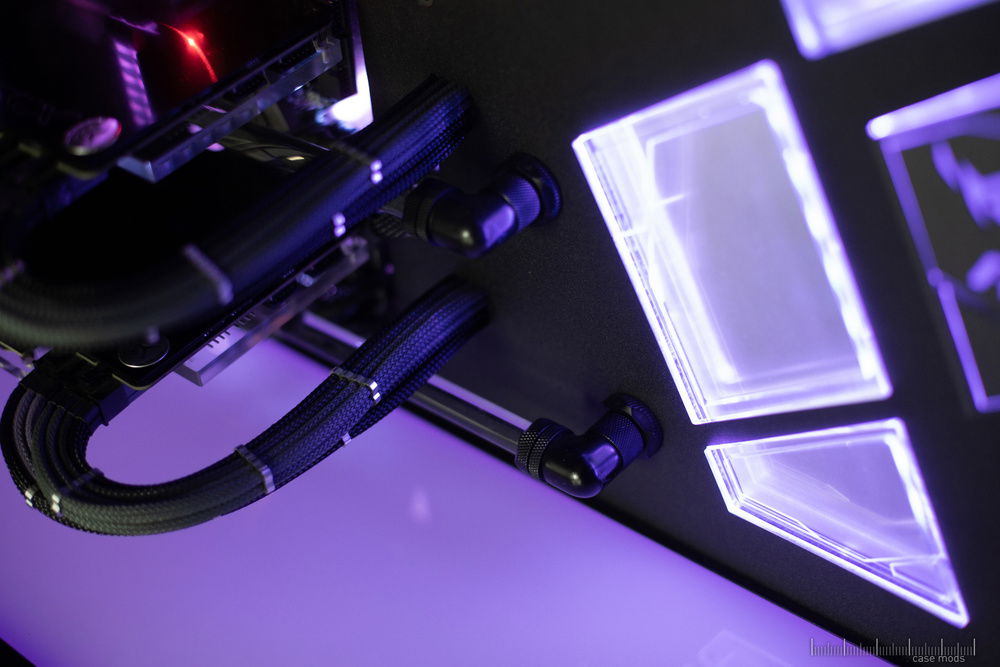
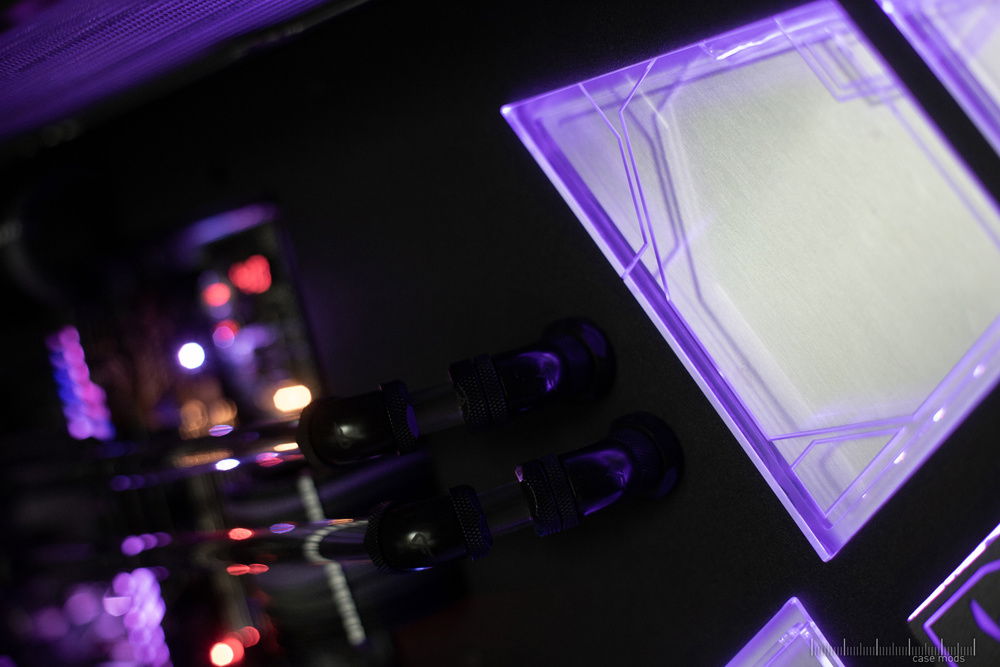
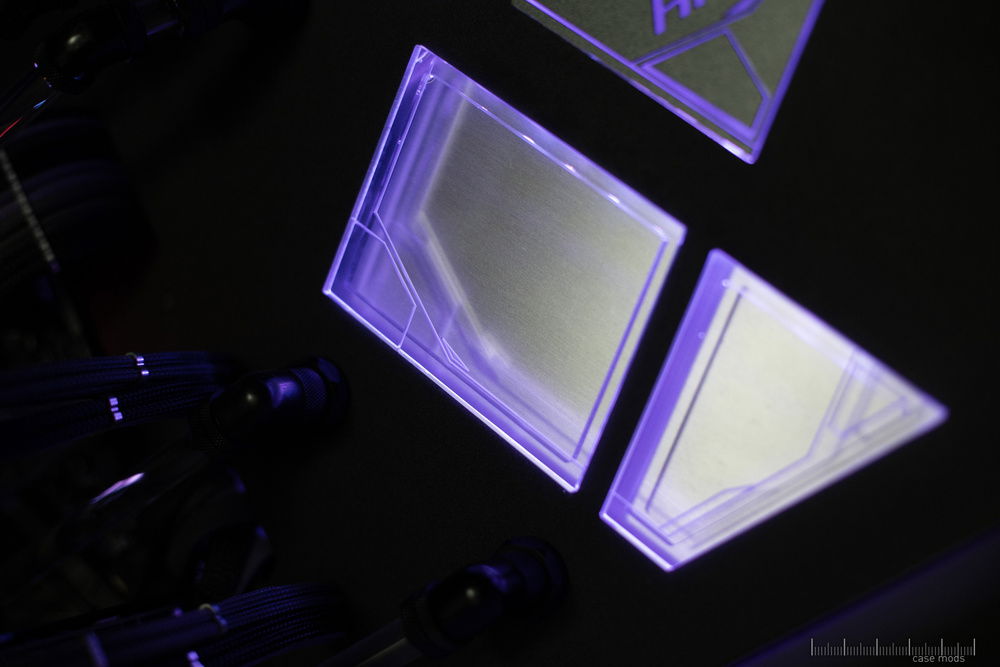
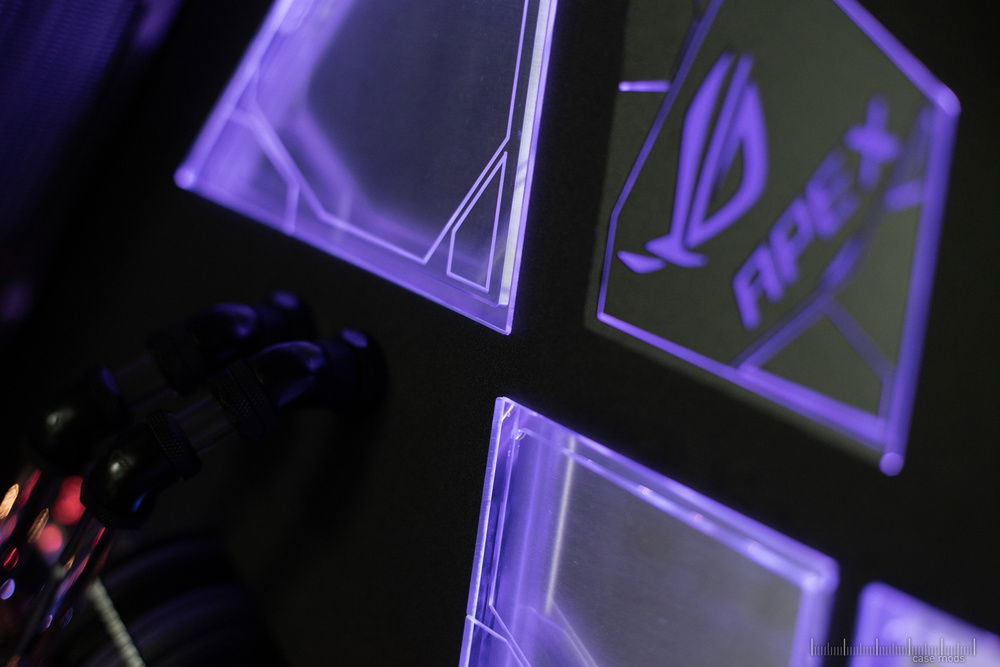
I based the whole design on the shape and features of the motherboard i would use. To upgrade this build ASUS sent me their X299 Rampage VI Apex Board which is still one of the best looking boards out there if you ask me. You know, i love custom reservoirs and distro-plates, all the screws and gaskets between the channels is just pure awesomeness. But for this build i aimed for a clean look and it was quite challenging to hide all this stuff but keep this awesomeness. So i started to sketch and design a cover for the whole chassis divider that creates a clean look, hides the structure of the custom reservoir without even making itself noticable. It had to be large, in one piece, without many screws and in the same color as the case. The first points are easy, the color matching was harder. Luckily i know someone who does powdercoating and after a few days he found a very similar coating.
A few weeks of planning, designing, waiting for parts to be milled and powdercoated passed and i finally had all parts together. Now came the scary part, getting my saw out to cut a big whole into the original parts. If you ever owned a Caselabs chassis, you know what your room looks like. Panels EVERYWHERE! Top, bottom, middle plates, radiator mounts... The best part, every piece i designed fitted perfectly. I couldn't think of anything worse to spend so much time and money on it, just to find out i took a wrong measure. After i did a test build, i took everything apart again and headed to ASUS to shoot the video.
Even months later i still catch myself just looking at this machine. I'm so in love with the looks of it and wish that i will never have to take it apart again. I really hope you like it as much as i do. Enjoy!
Color(s): Purple
RGB Lighting? No
Theme: Color
Cooling: Custom Liquid Cooling
Size: E-ATX
Type: General Build
Contests
This build participated in 1 contest.
| Rank | Contest | Date |
|---|---|---|
| #186 | The builds.gg 10K Challenge | ended |
Hardware
CPU
$ 265.00
Motherboard
$ 280.00
Graphics
$ 689.00
Storage
$ 46.17
PSU
Case Fan
Case Fan
$ 35.08
Cooling
Cooling
$ 99.99
Cooling
Accessories
$ 251.11
Monitor
$ 667.13
Keyboard
$ 168.88
Approved by:
