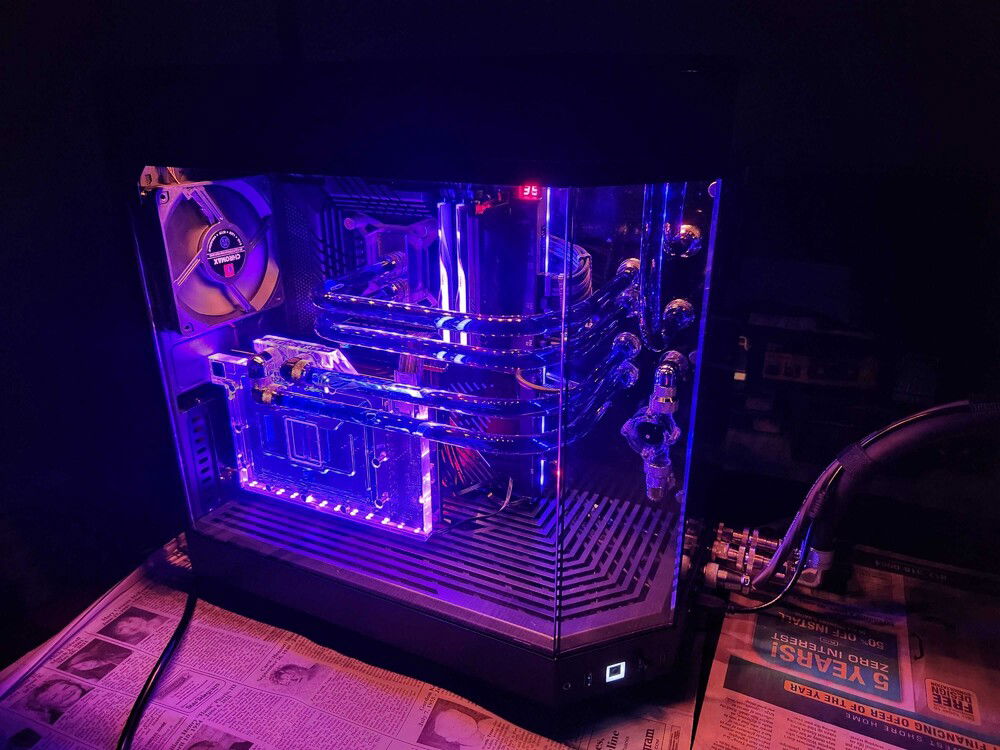
Indigo
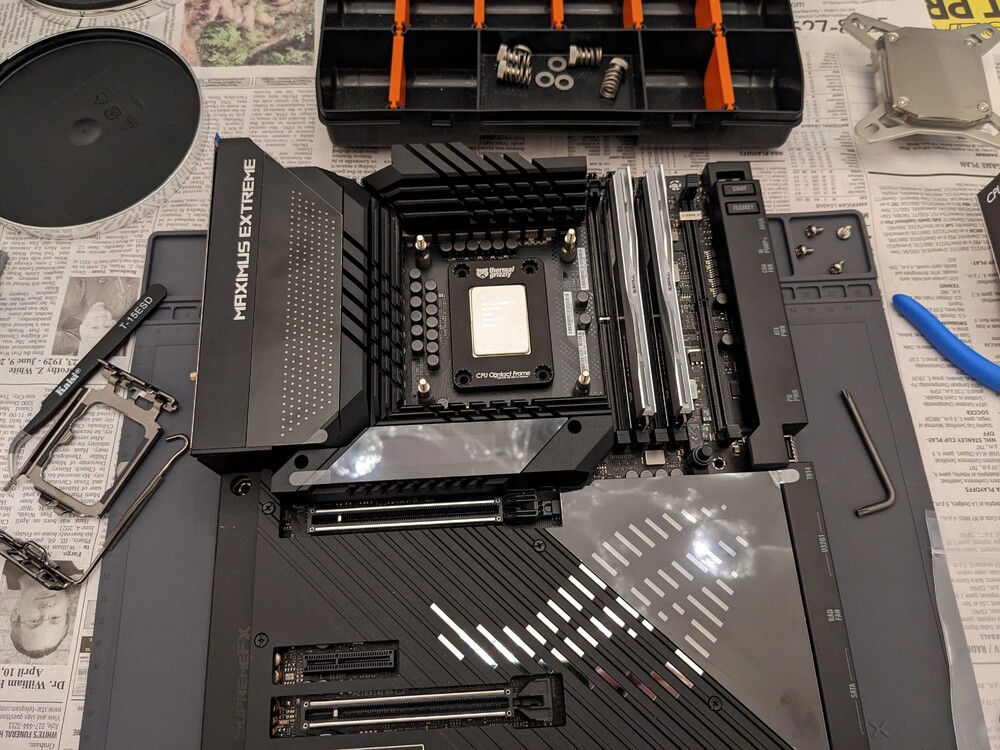
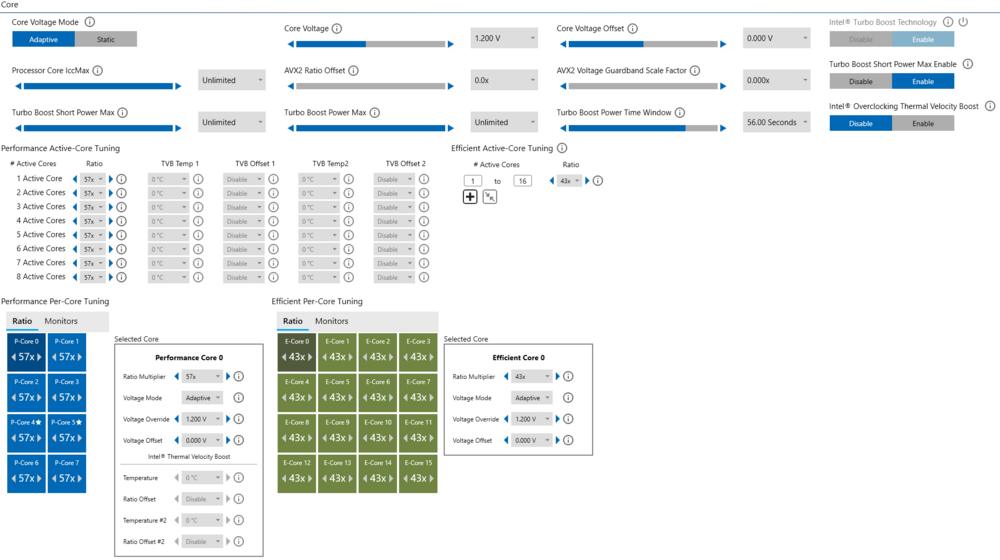
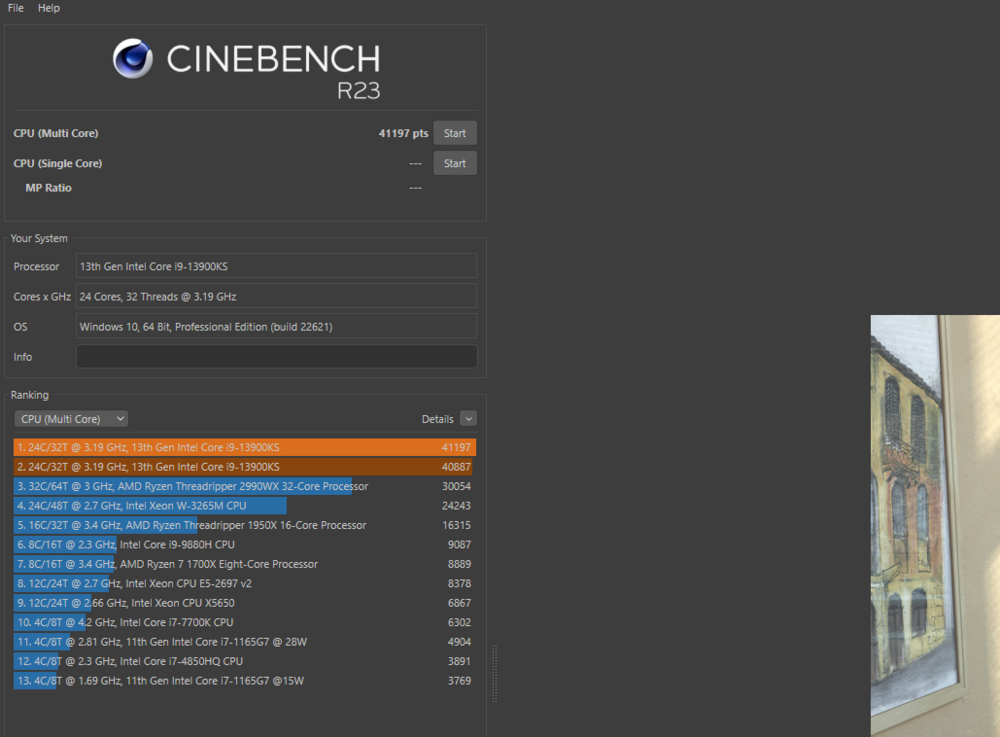
CPU: Intel i9-13900KS
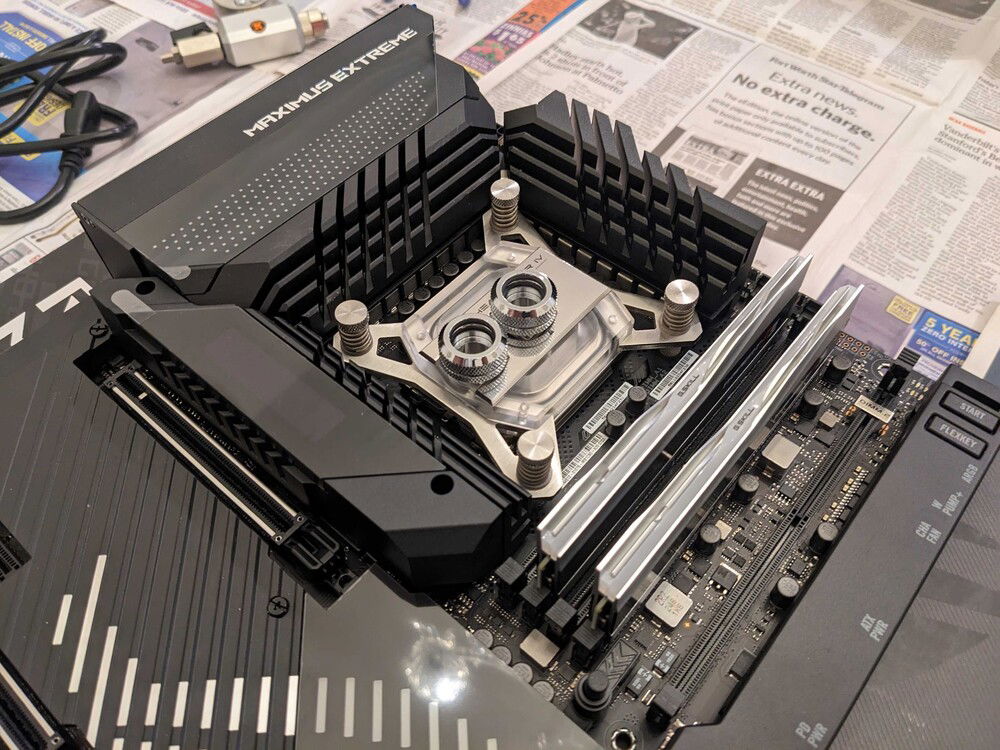
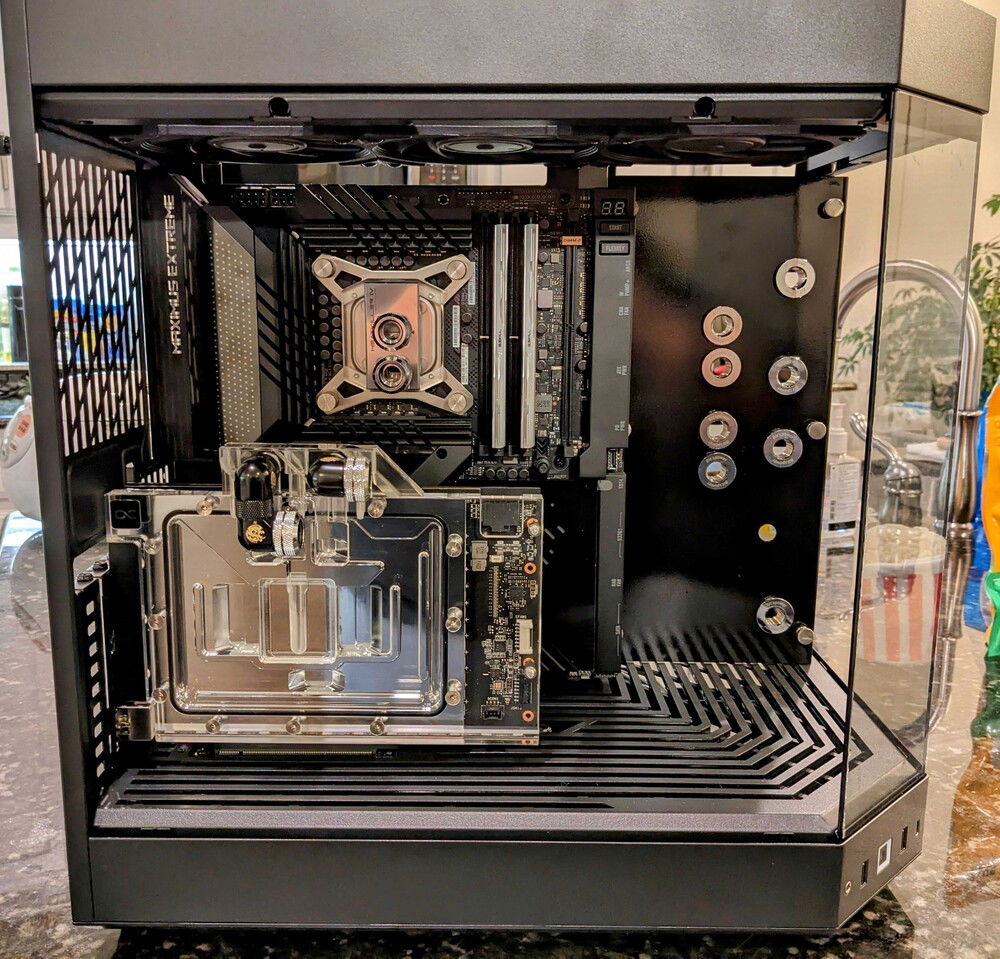
Motherboard: ASUS ROG Maximus Z790 Extreme
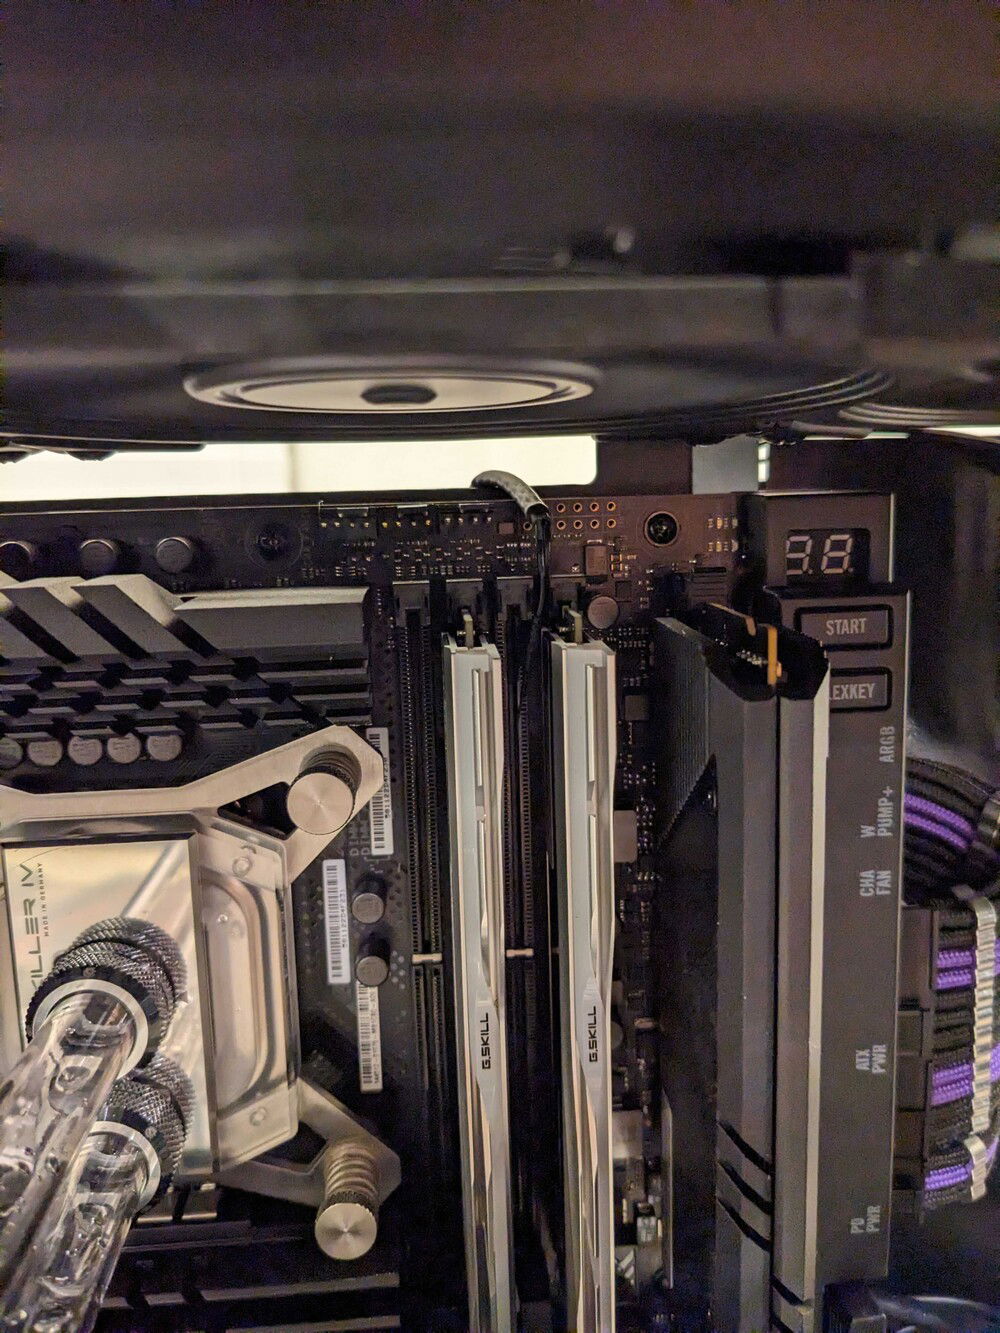
Memory: 2x32 GB G.Skill DDR5 6400 CL32-39-39-102 (F5-6400J3239G32GX2-TZ5RS)
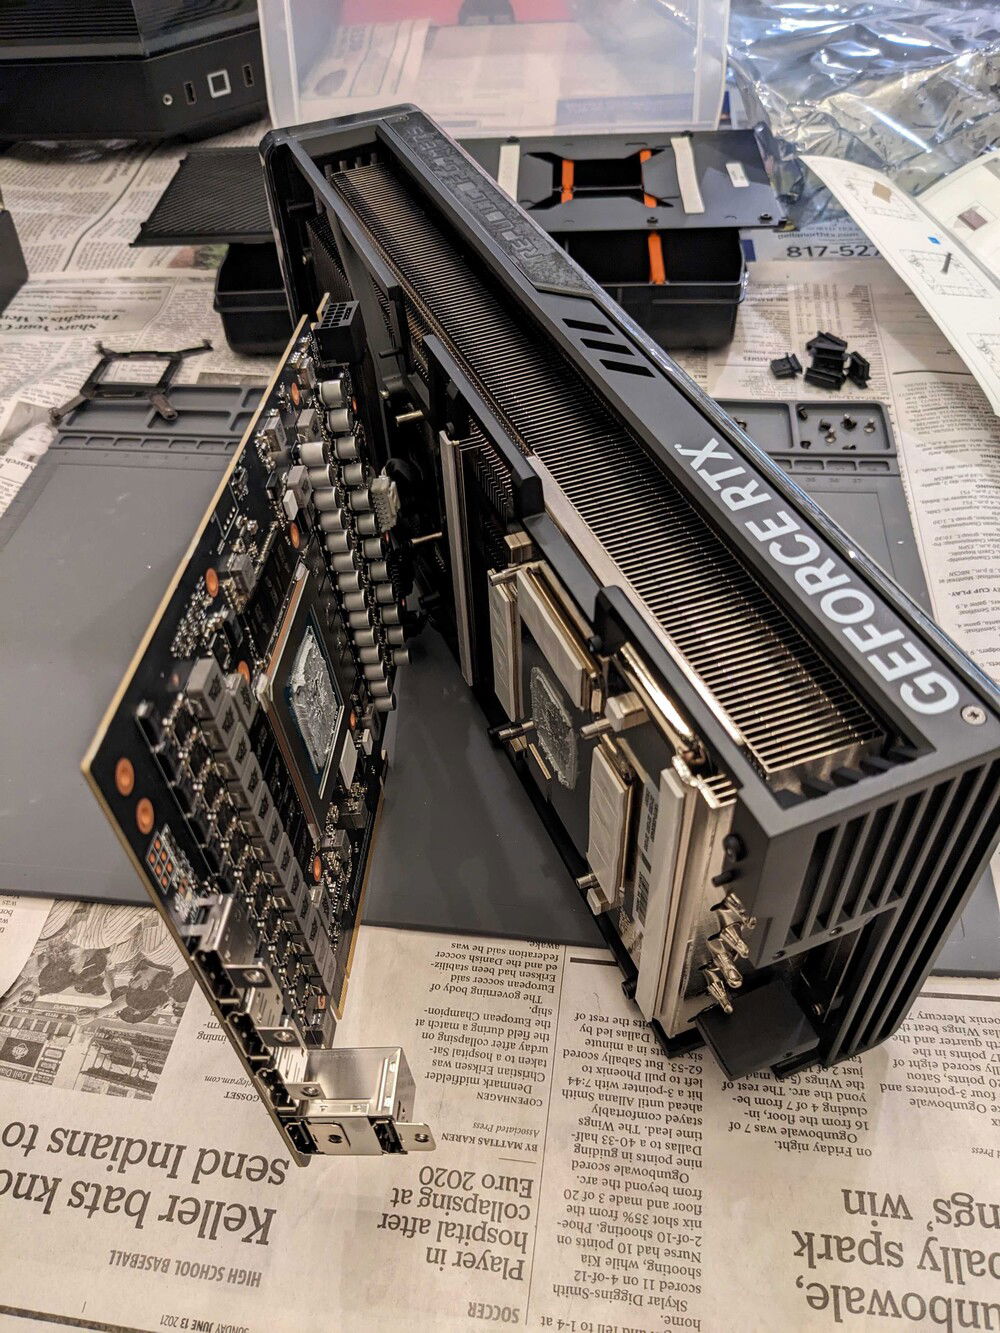
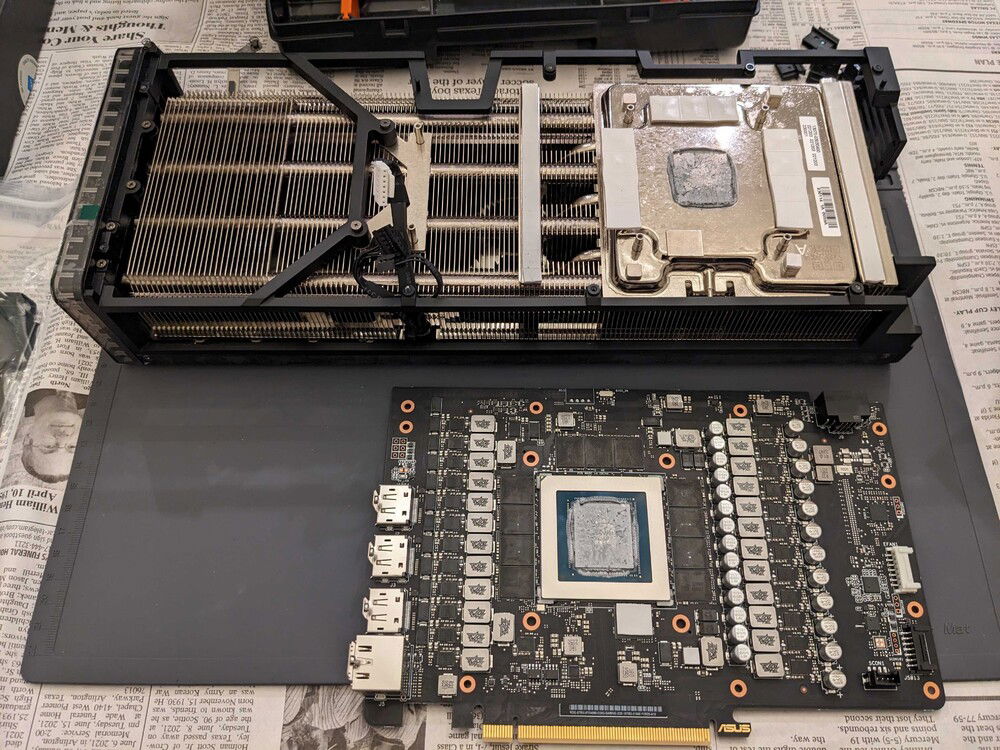
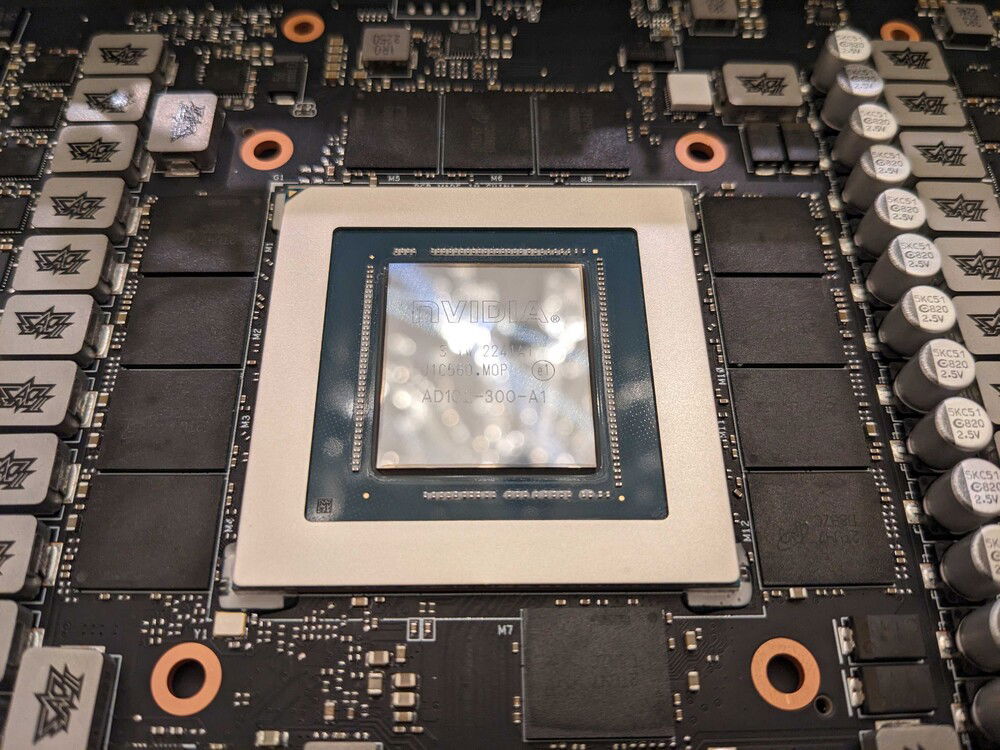
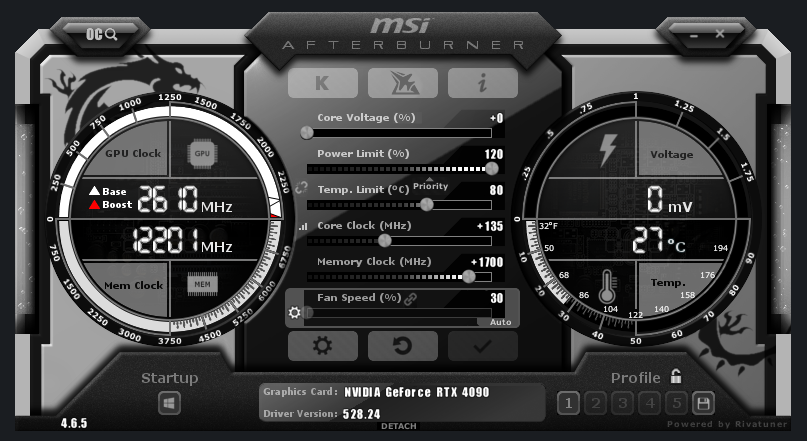
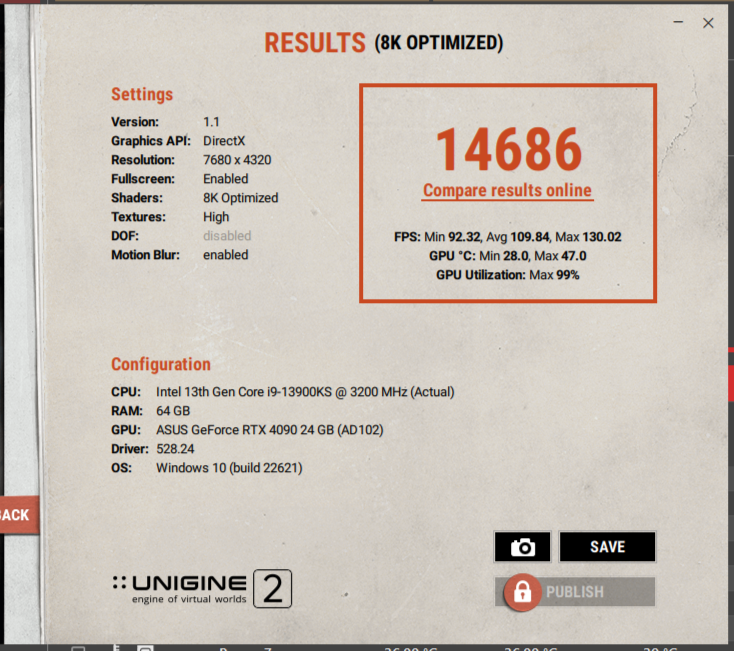
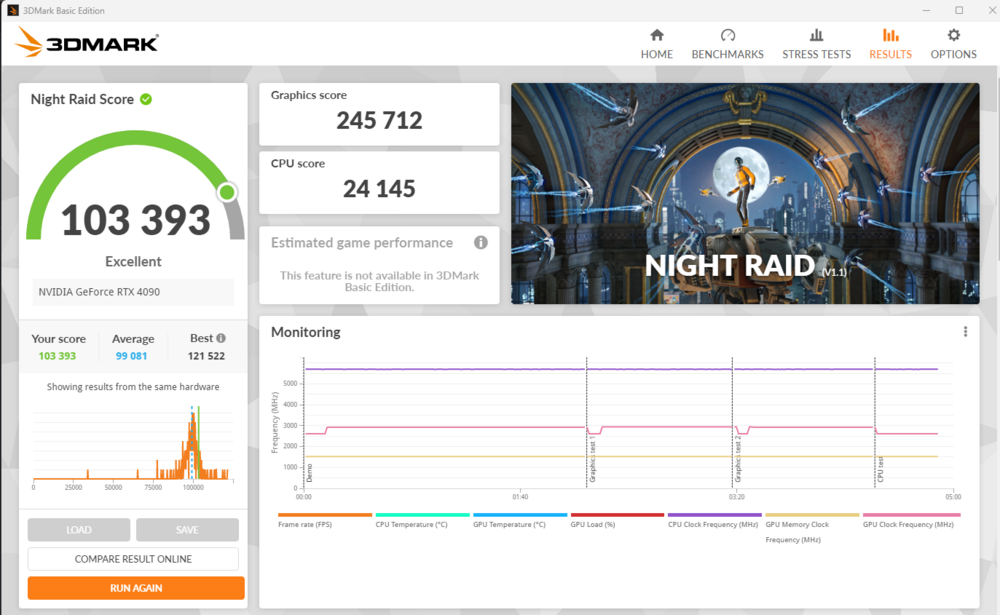
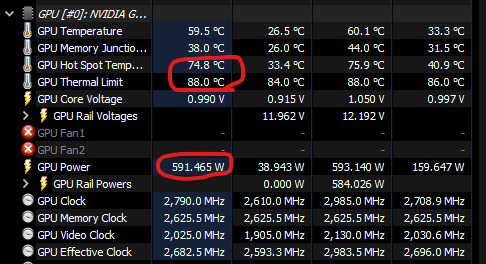
GPU: ASUS ROG Strix GeForce RTX 4090 OC Edition 24GB GDDR6X
The last time I did Watercooling, it was in the early 2000s. I bought my blocks from Dangerden, my fittings and tubes from Home Depot, and my radiator was a Chevy heater core from Pep Boys. It had a T-Line with a AA battery for a stop fitting. I went back to air after that as watercooling was hard to maintain and crazy high maintenance. And frankly I was a kid with no budget.
Times have changed. The watercooling industry has grown and has great products and support. There are hard and soft tube options that don't leech plasticizer. All of my past PC tinkering has led to a good career in IT and spending money to go with it. I'm going to fulfill a longstanding commitment I made to 13 year-old me to build something good when I had the funds to do so.
My current PC is a build I made in 2011/2012 for Battlefield 3 and upgraded to a Sandy Bridge 5820k in 2014. It has held up admirably with a stable 4.4 Ghz overclock, but the CPU is my bottleneck now and it's time to move on for the primary rig. I intend to overhaul the Sandy Bridge machine into a new carriable or console case with refreshed parts and use it for emulation, media, and other portable fun.
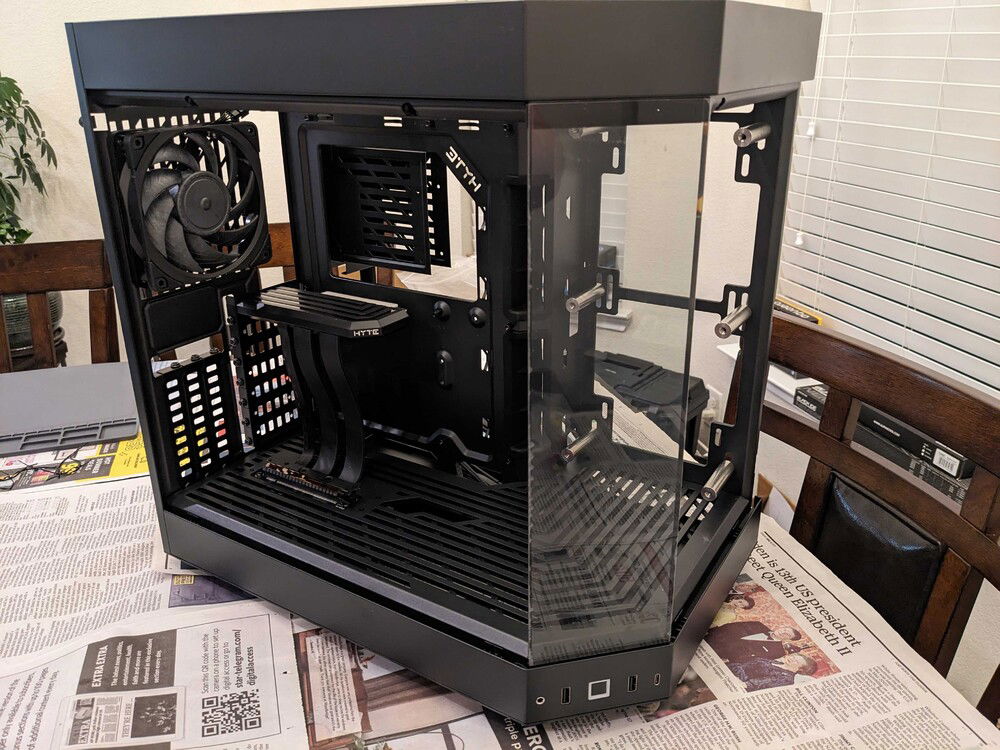
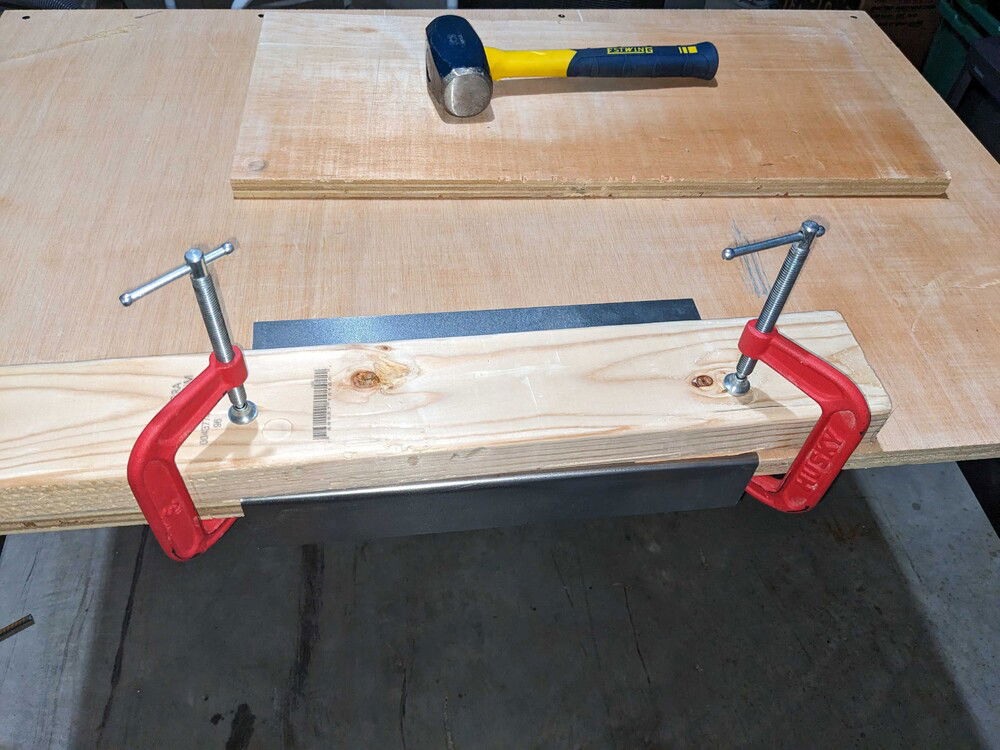
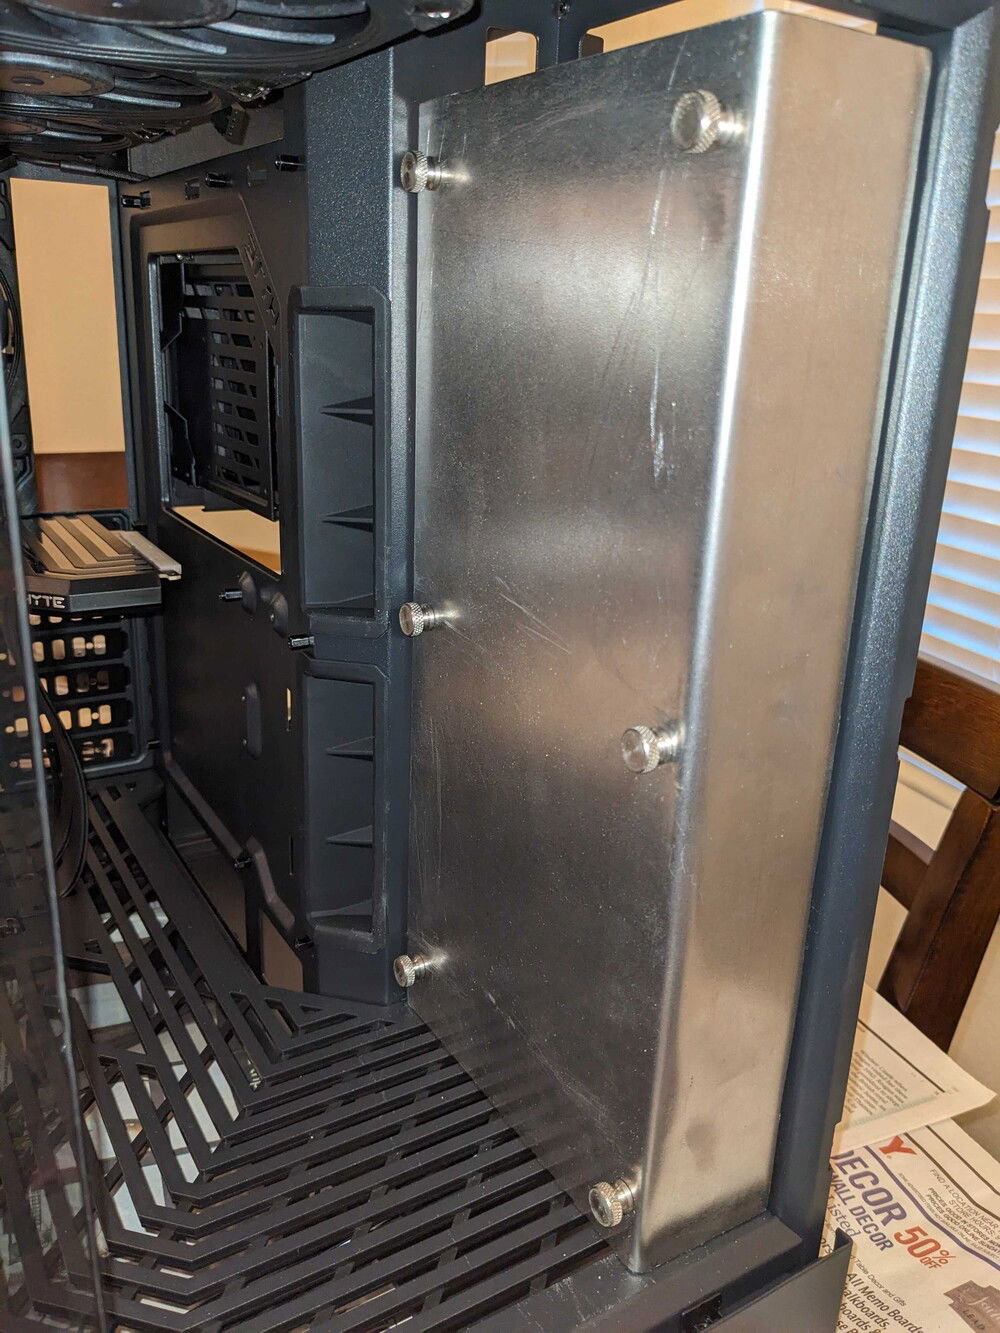
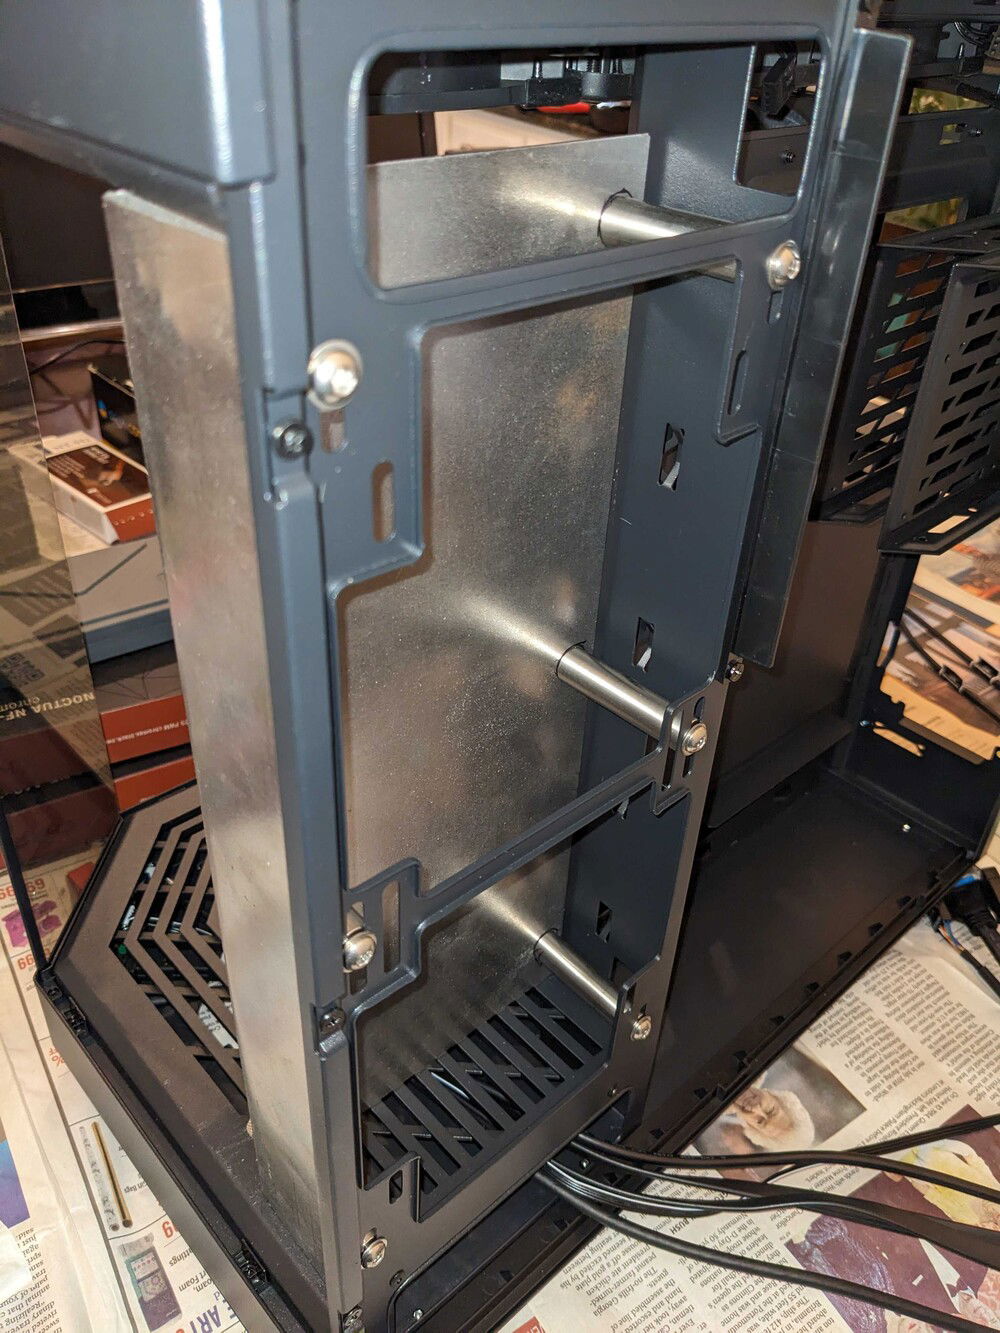
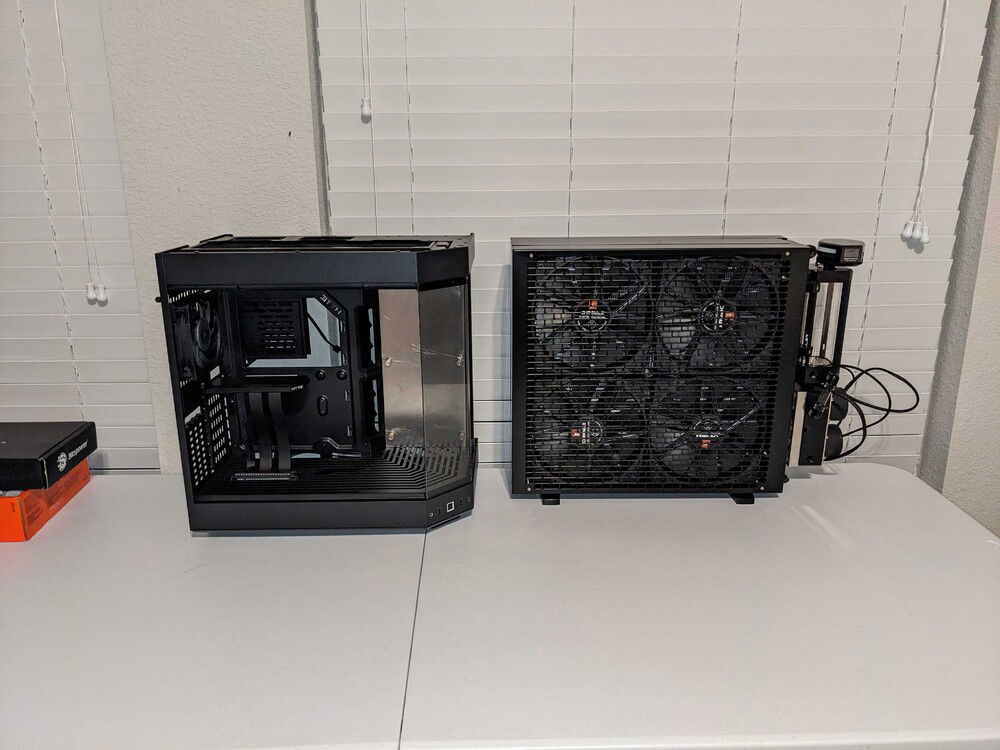
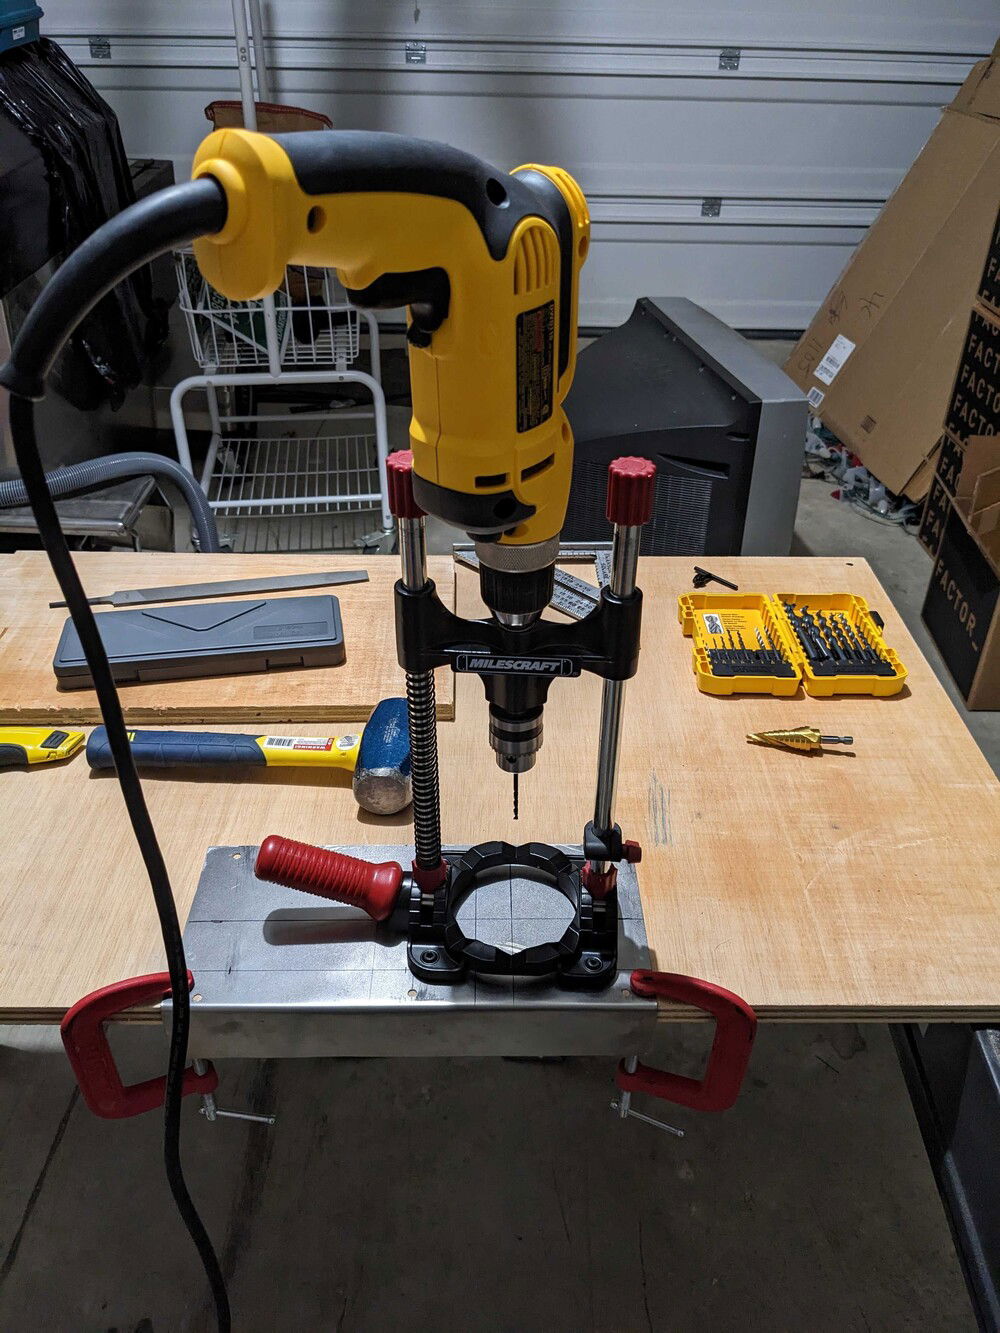
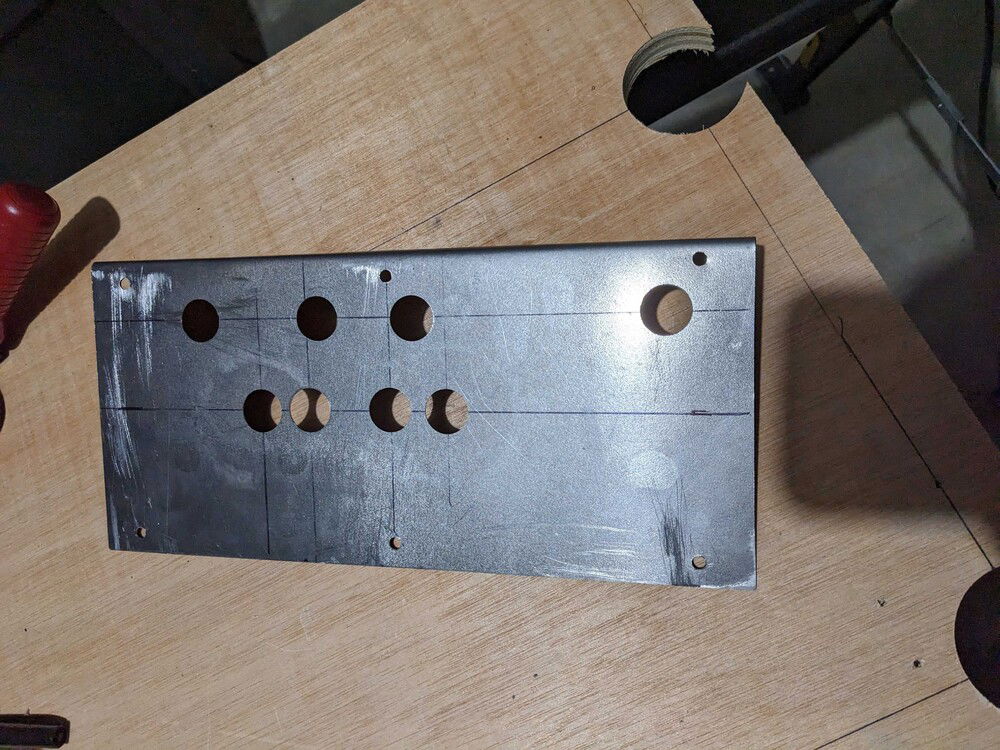
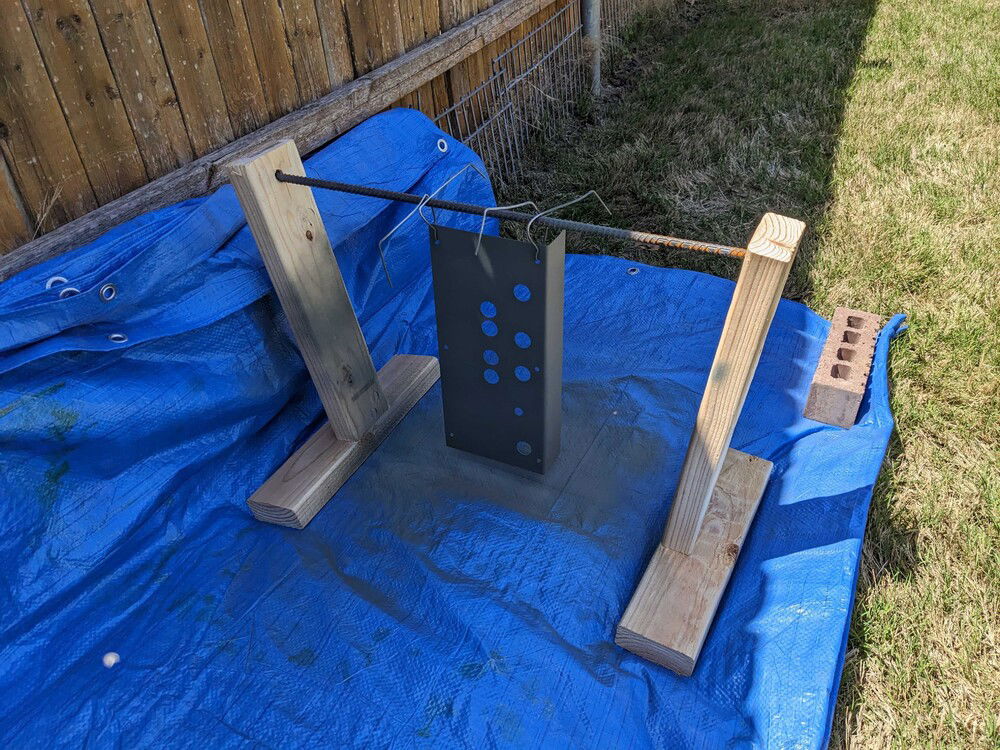
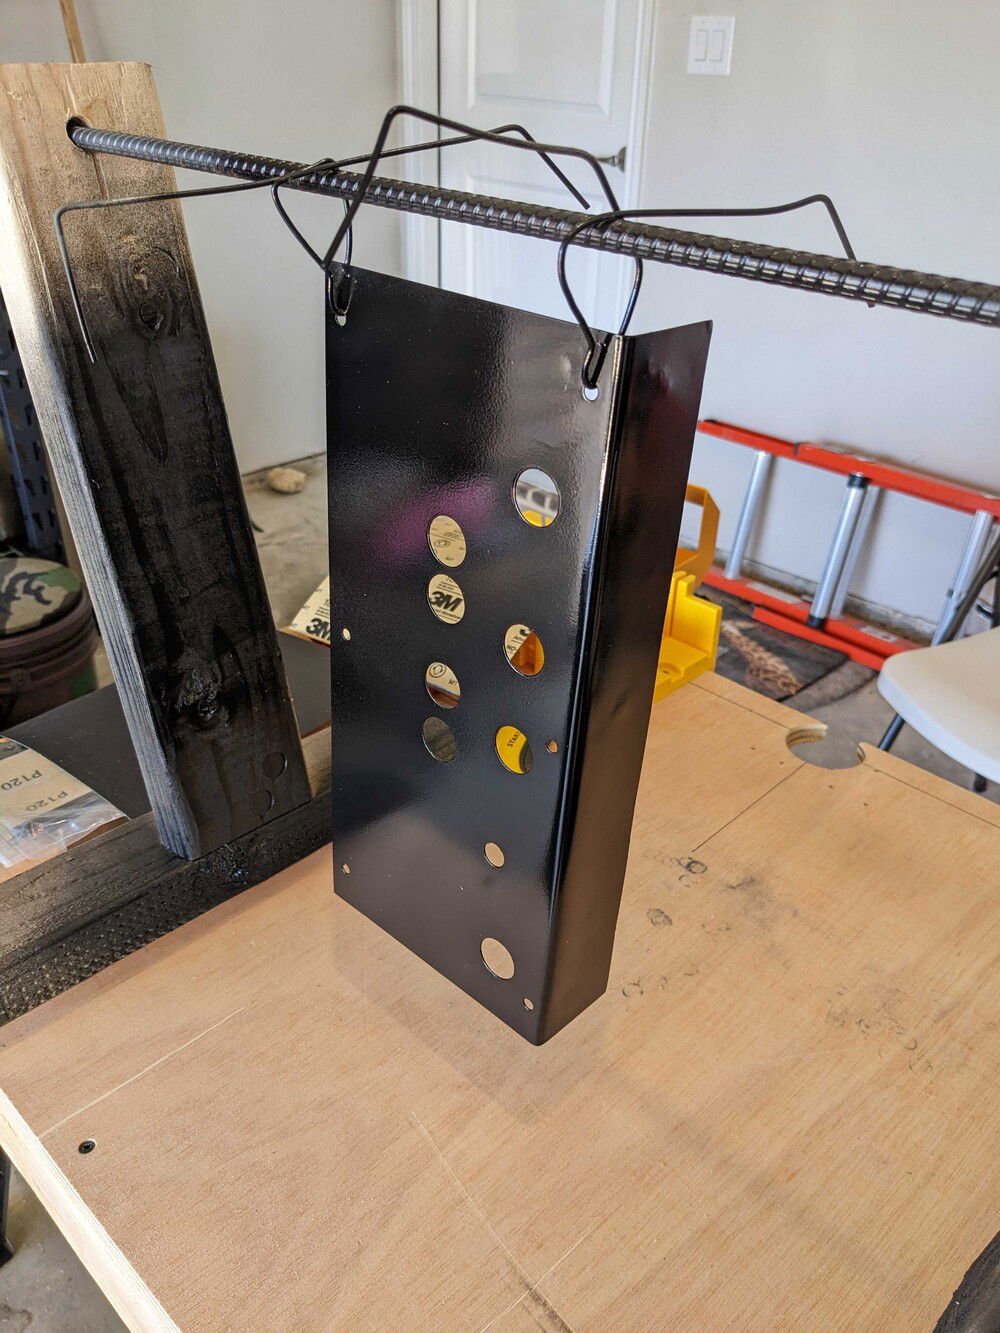
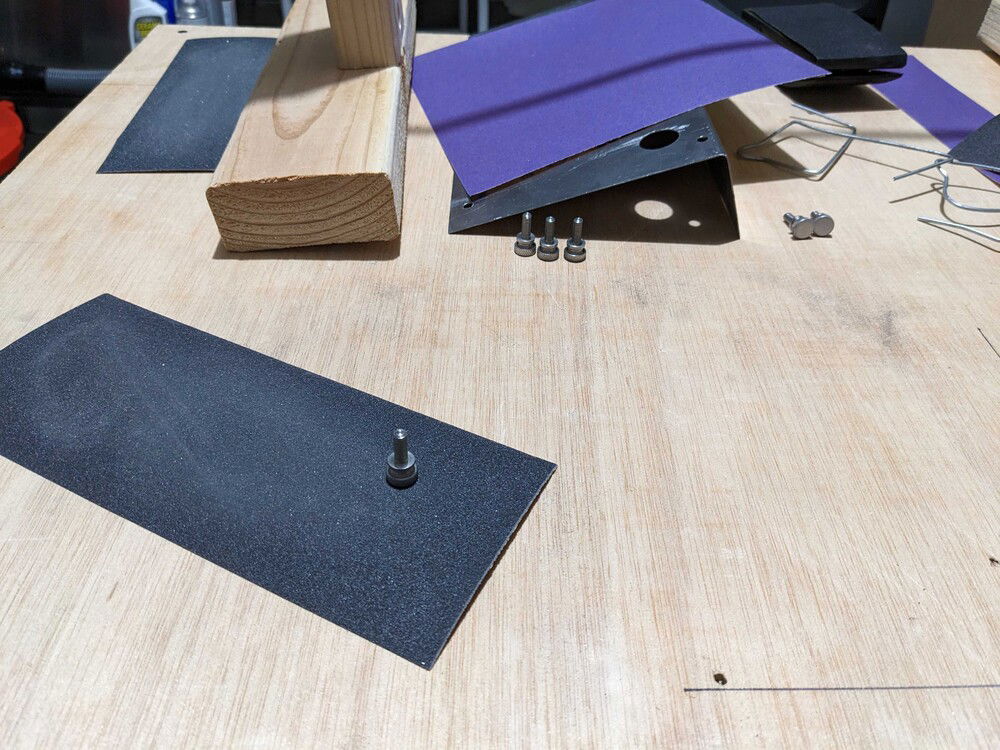
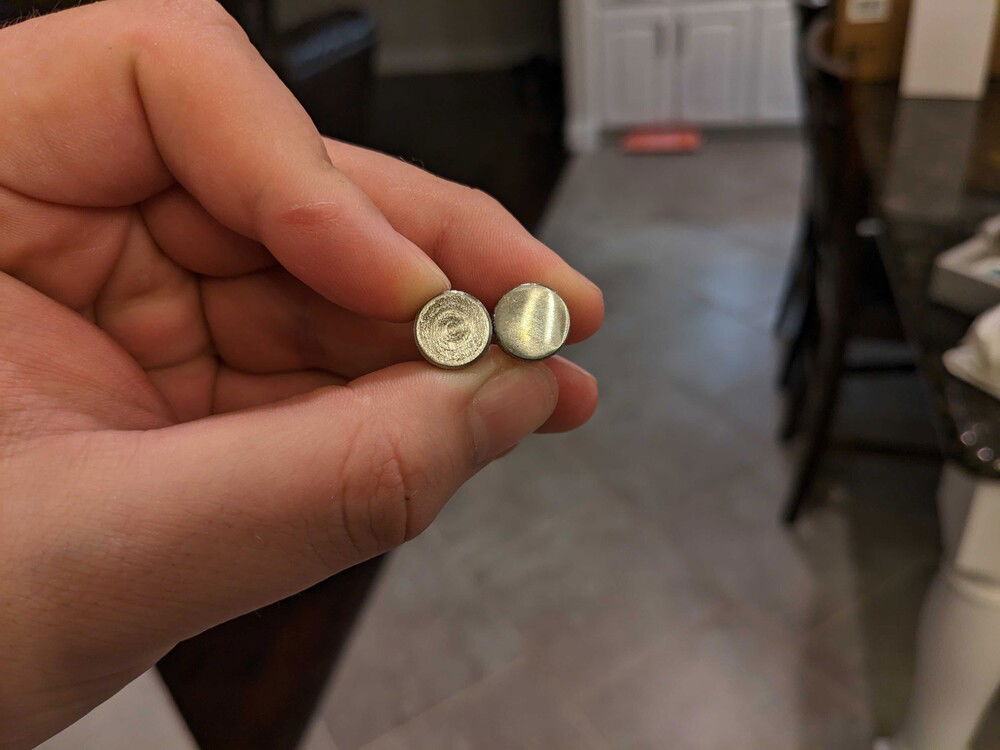
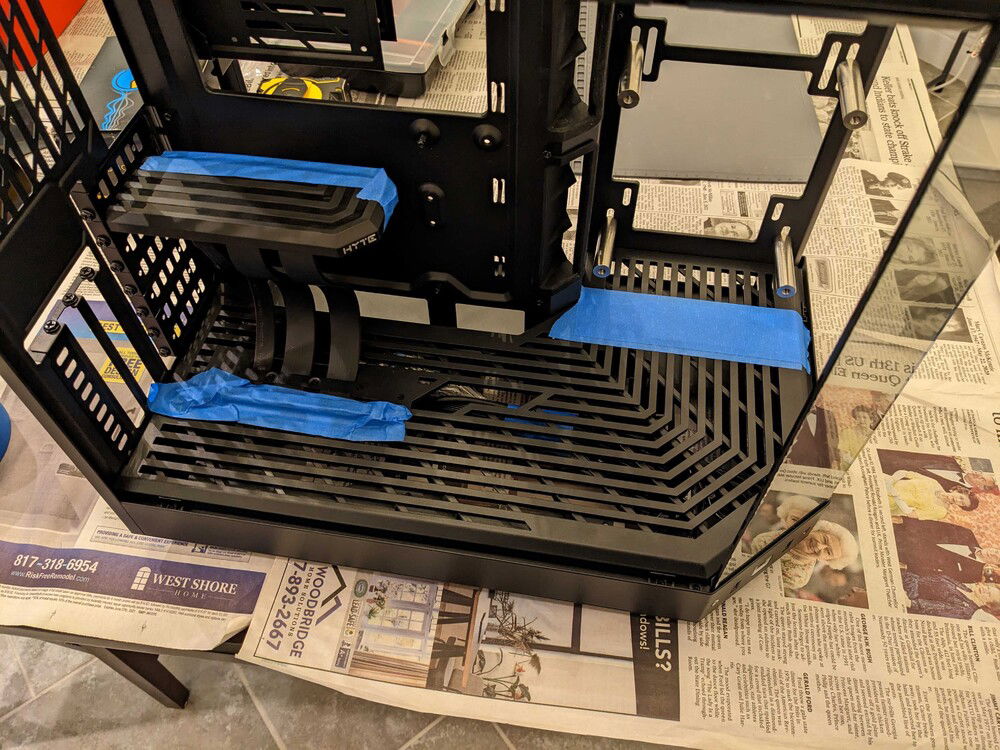
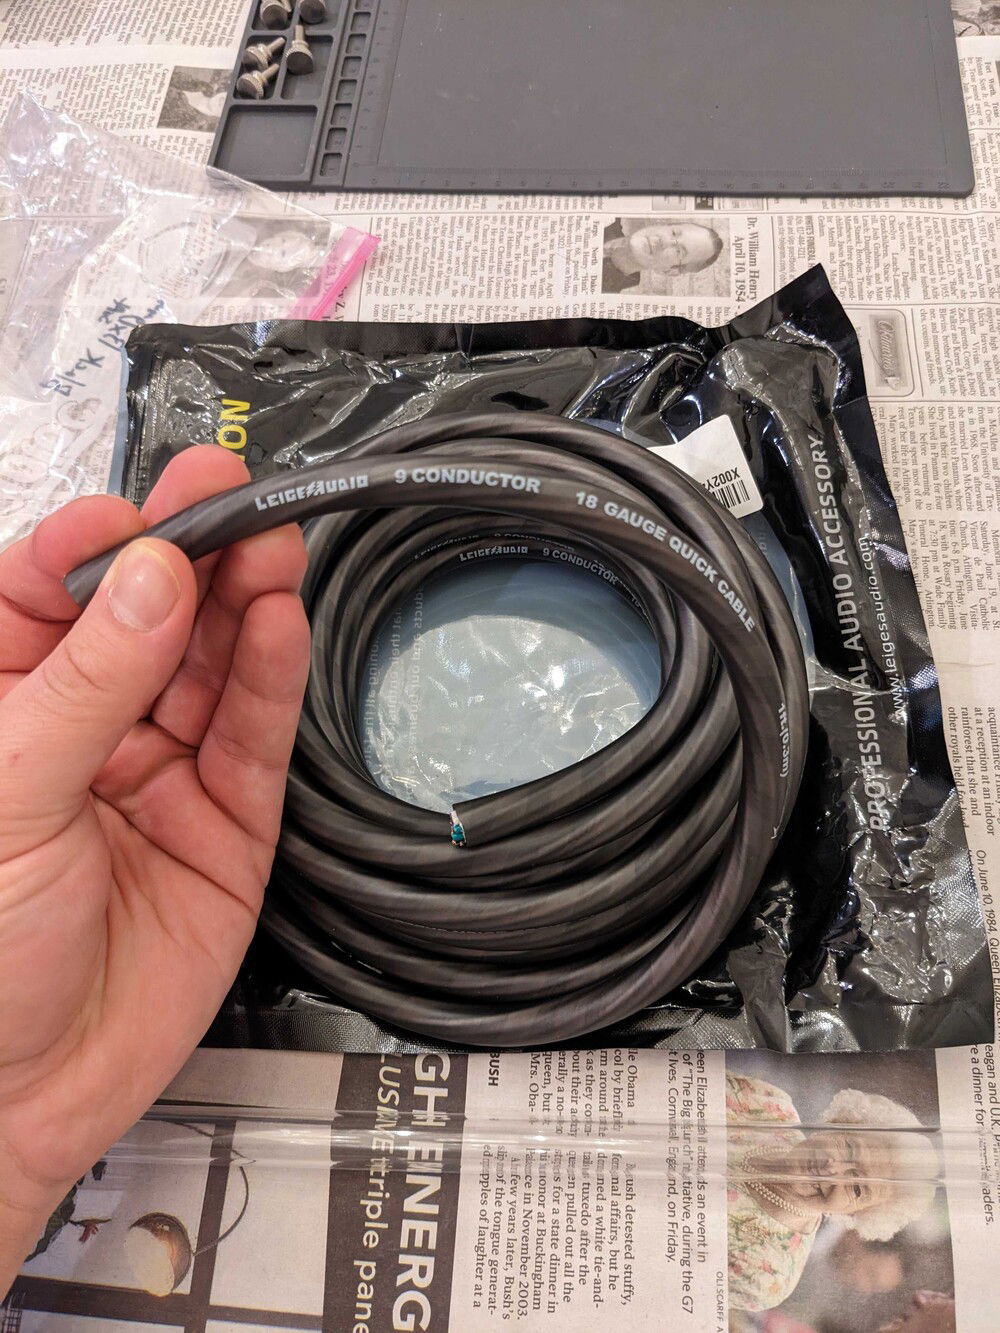
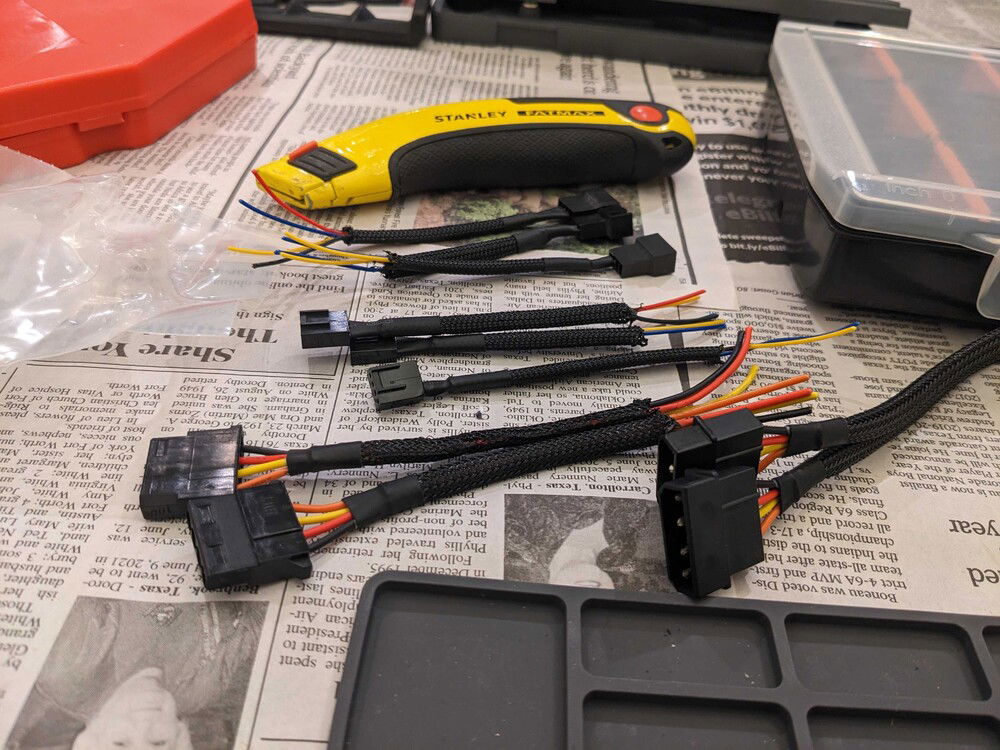
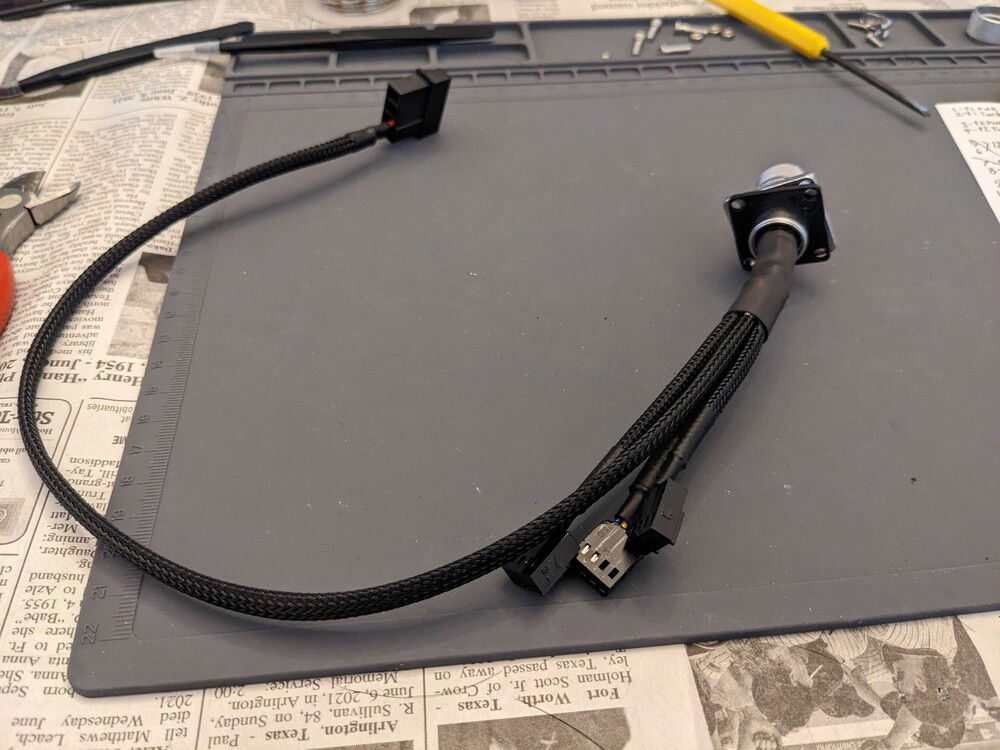
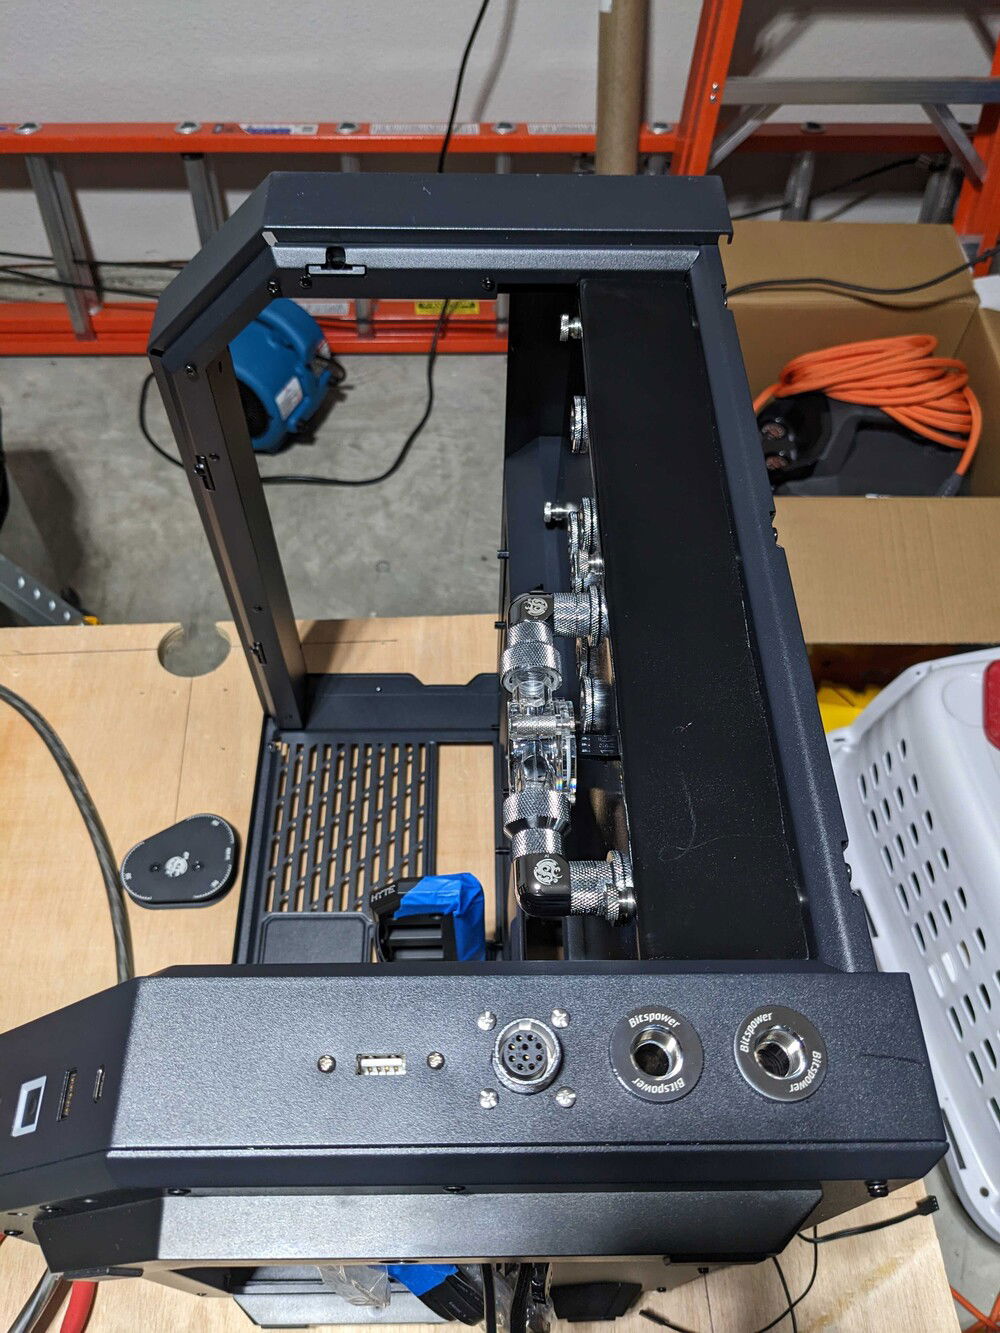
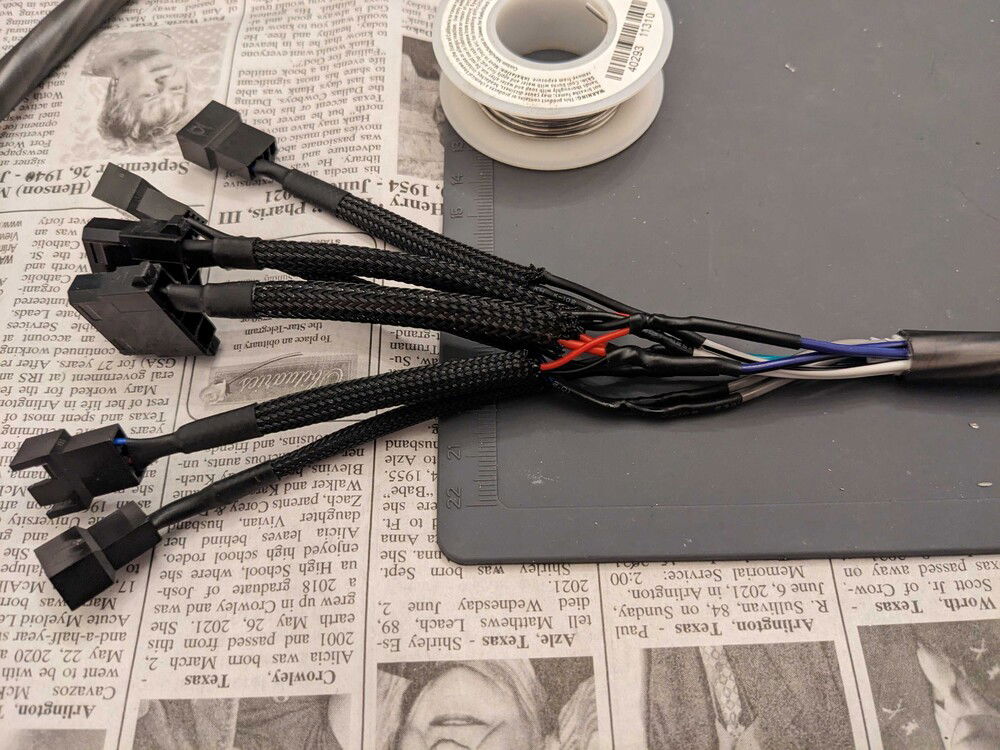
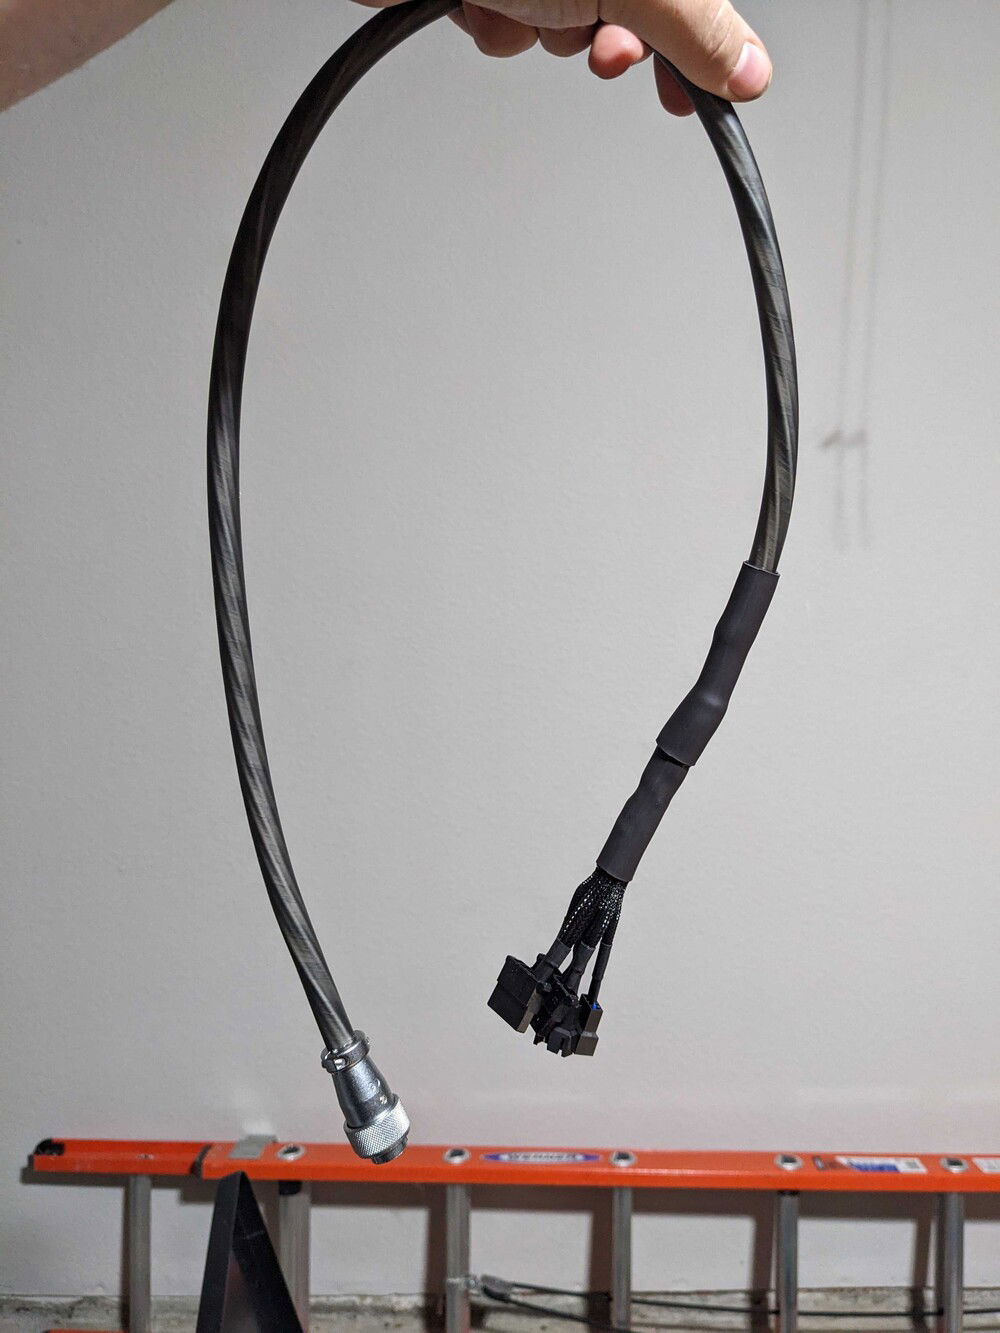
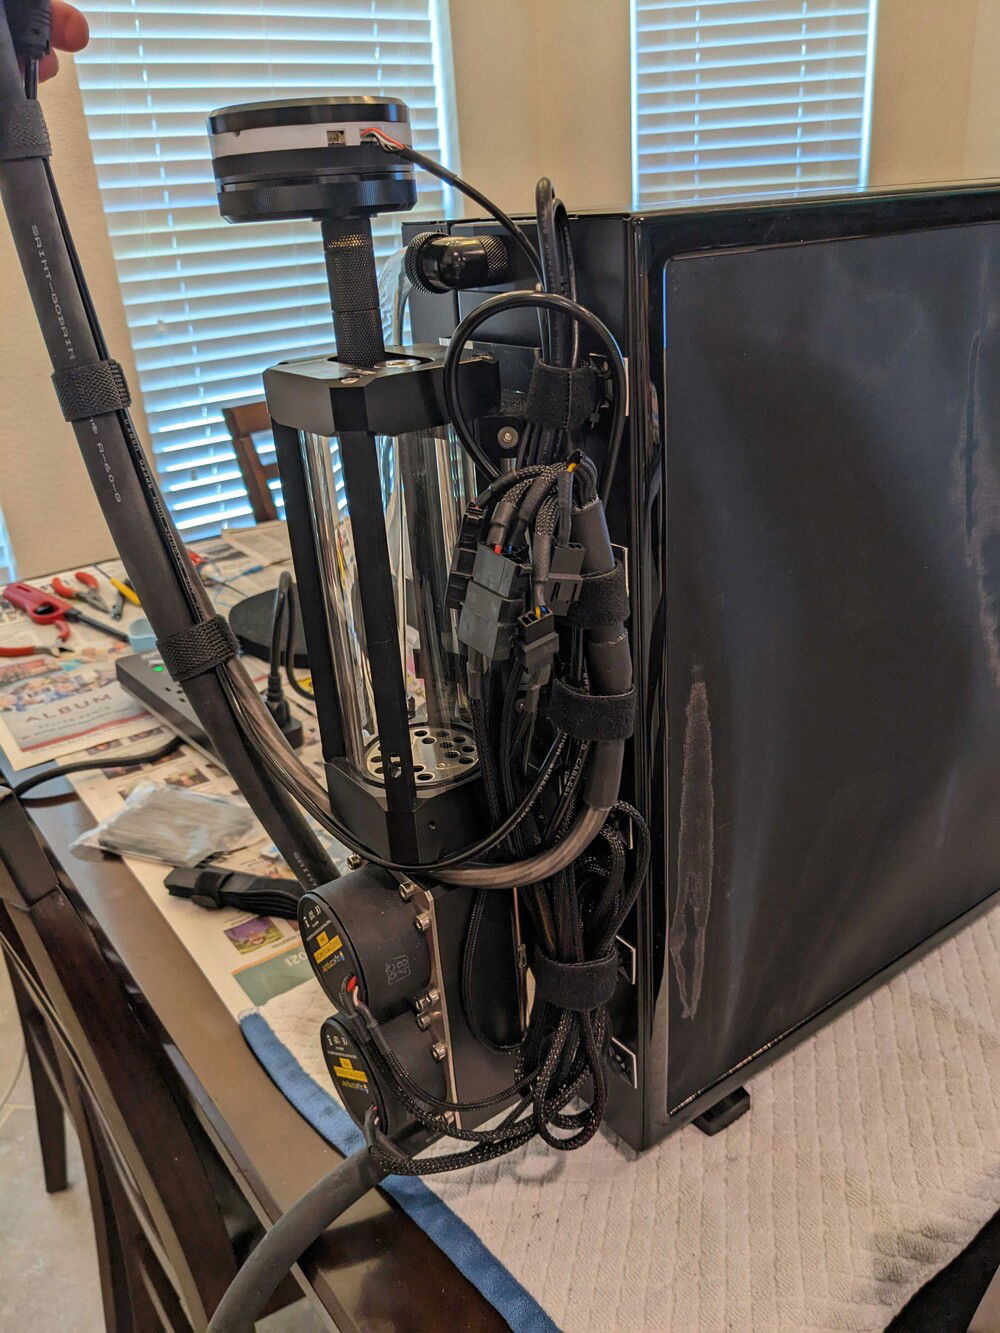
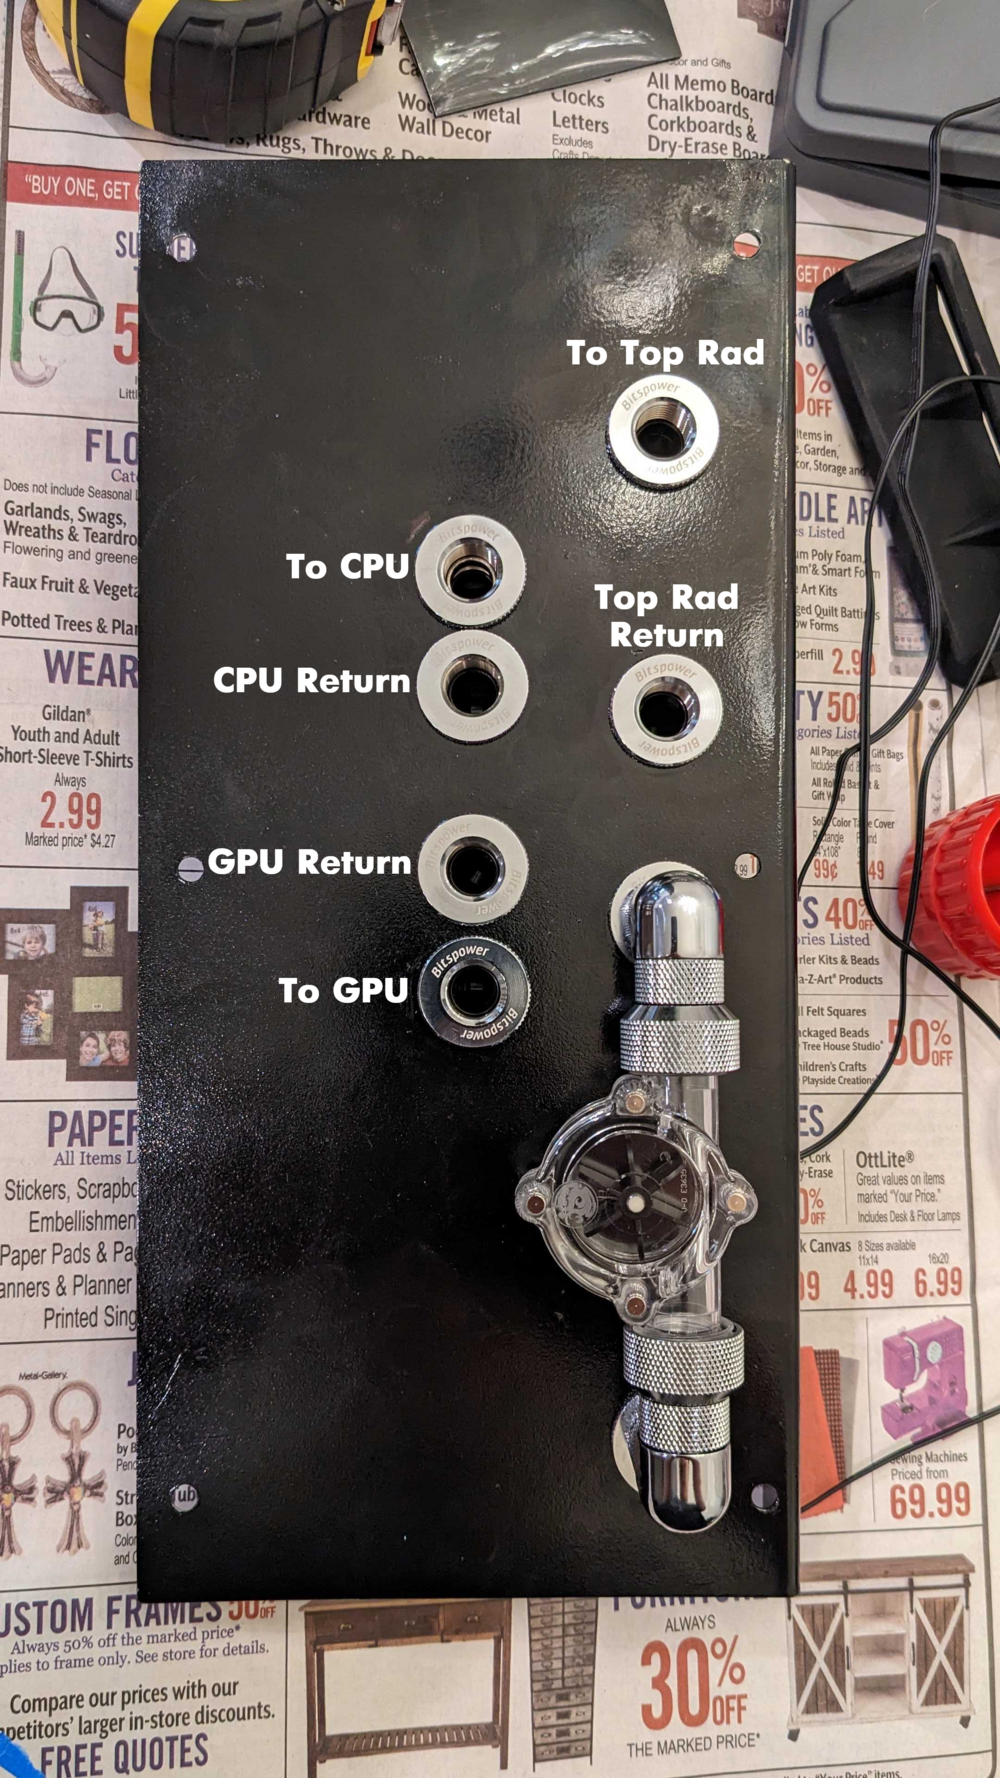
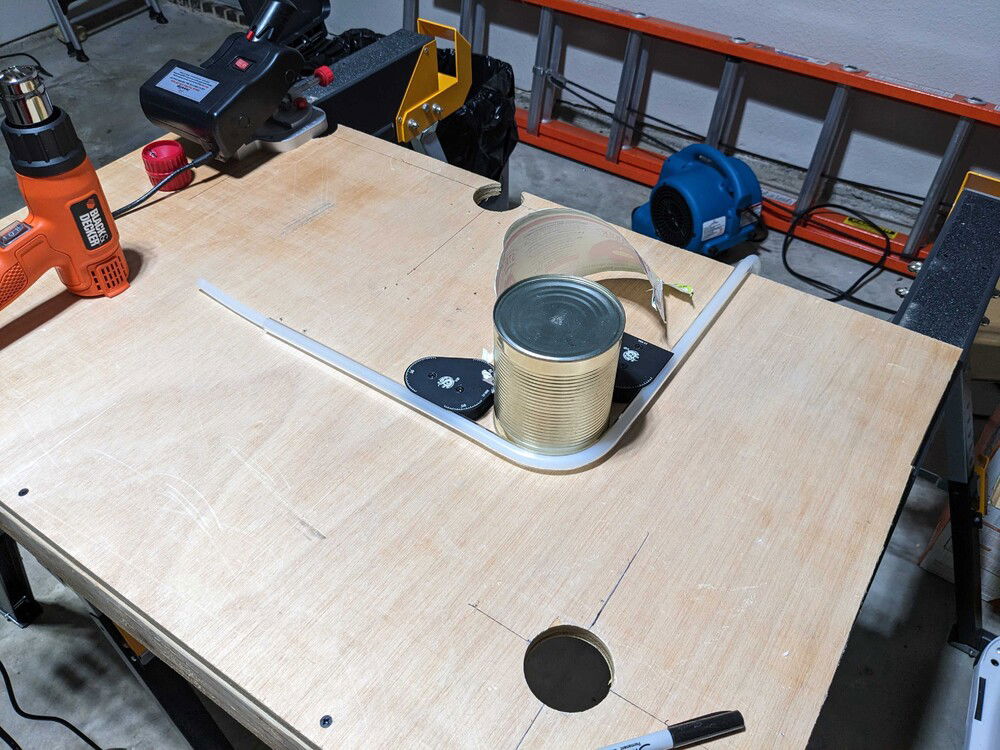
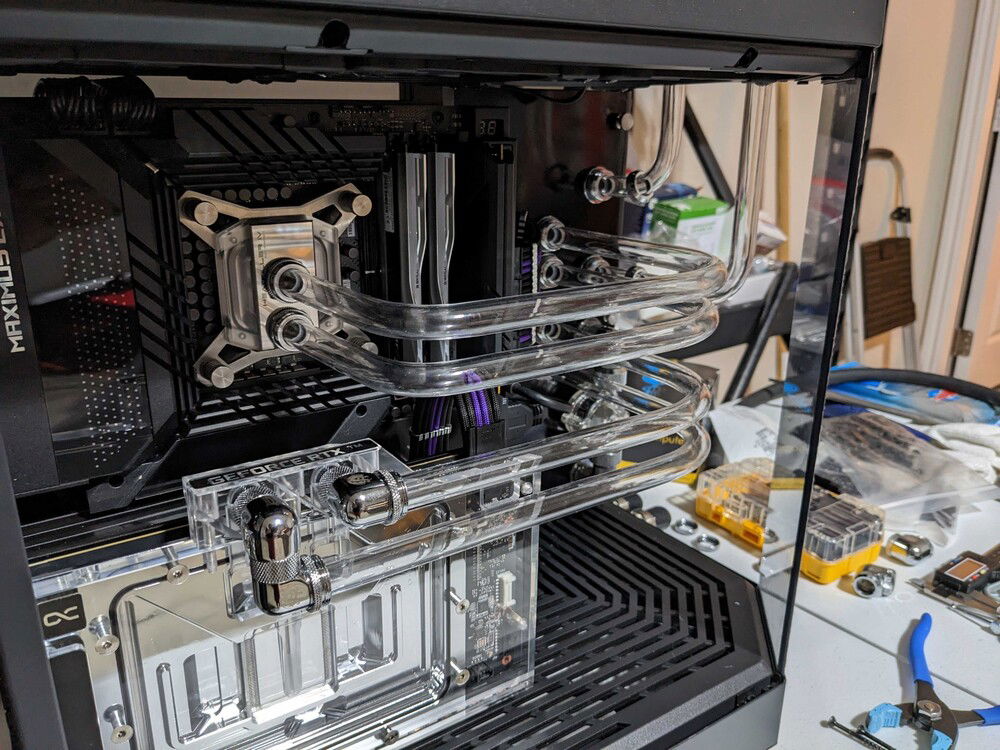
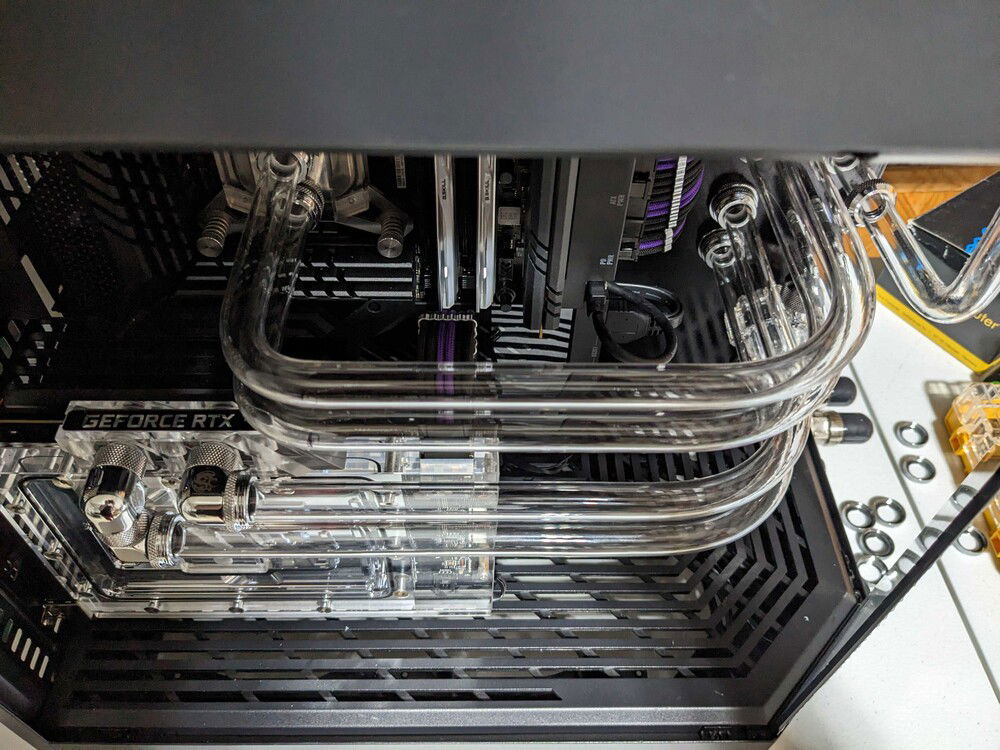
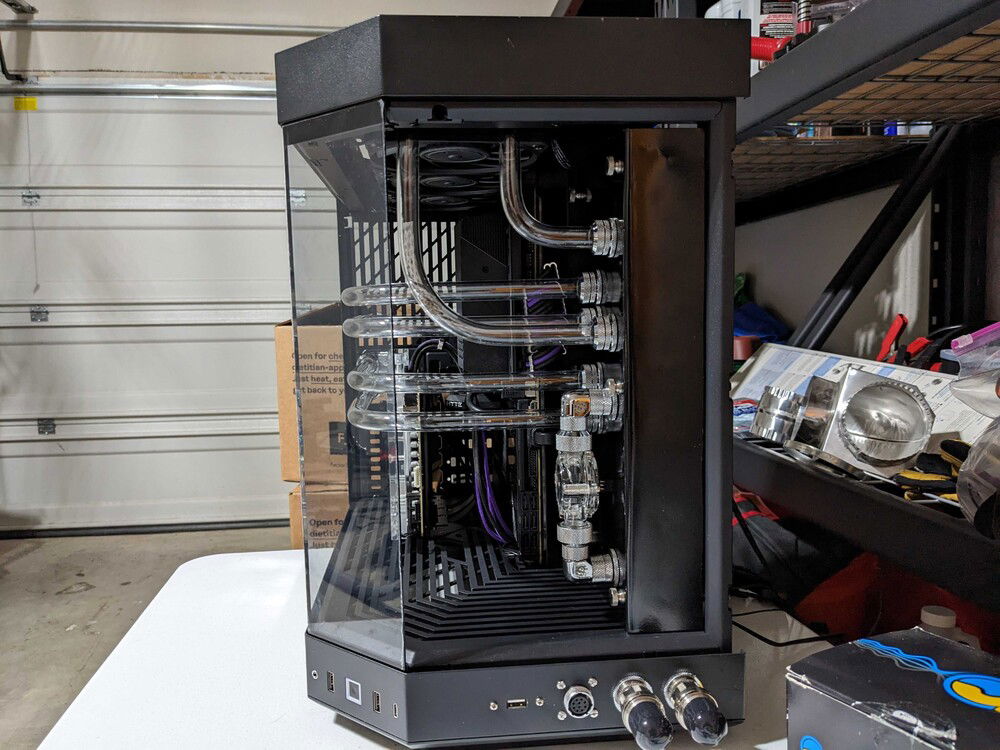
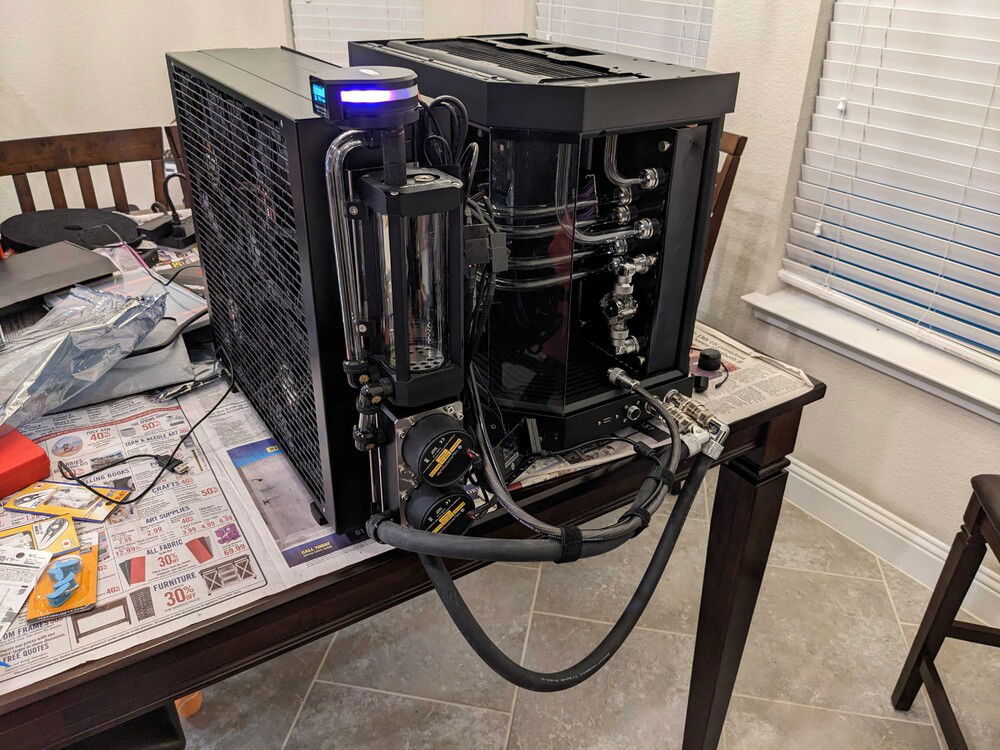
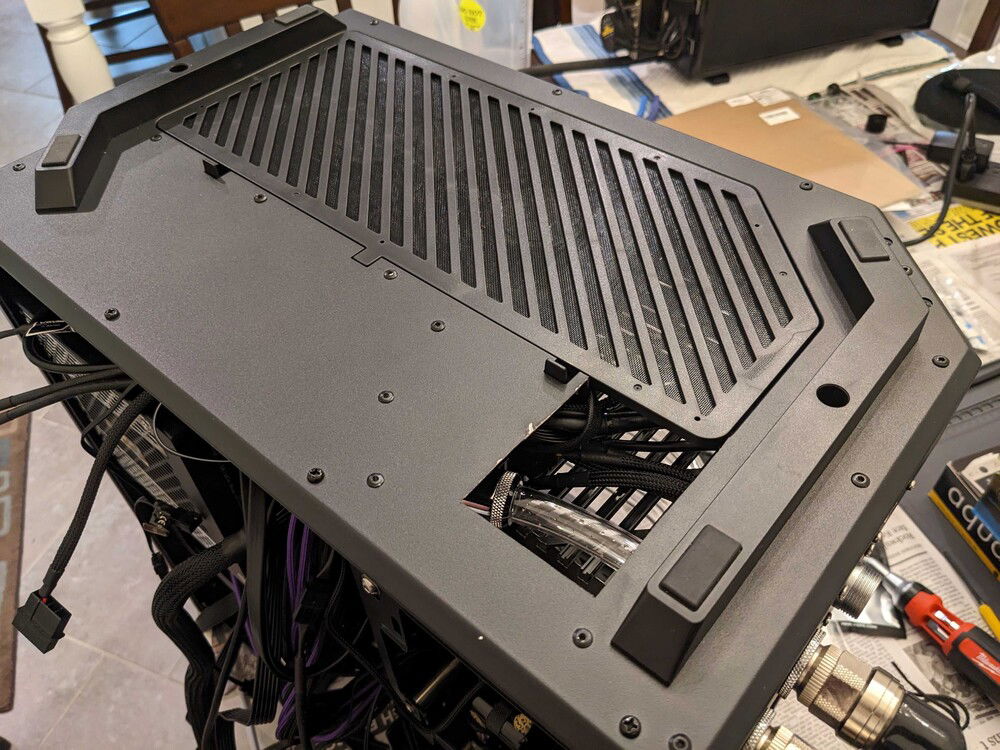
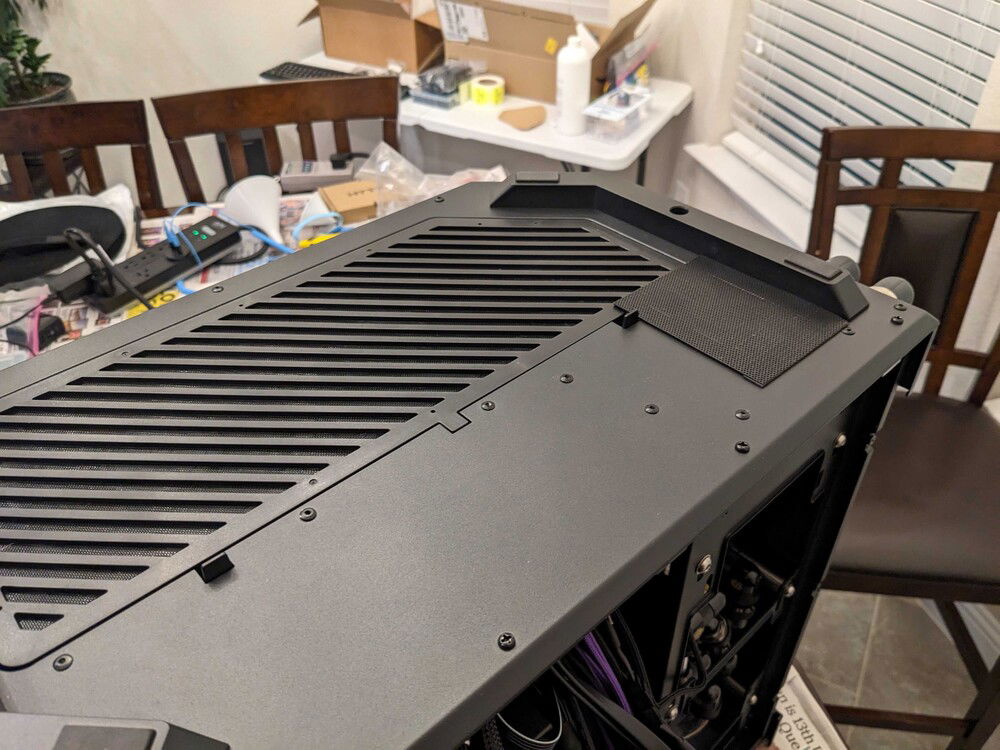
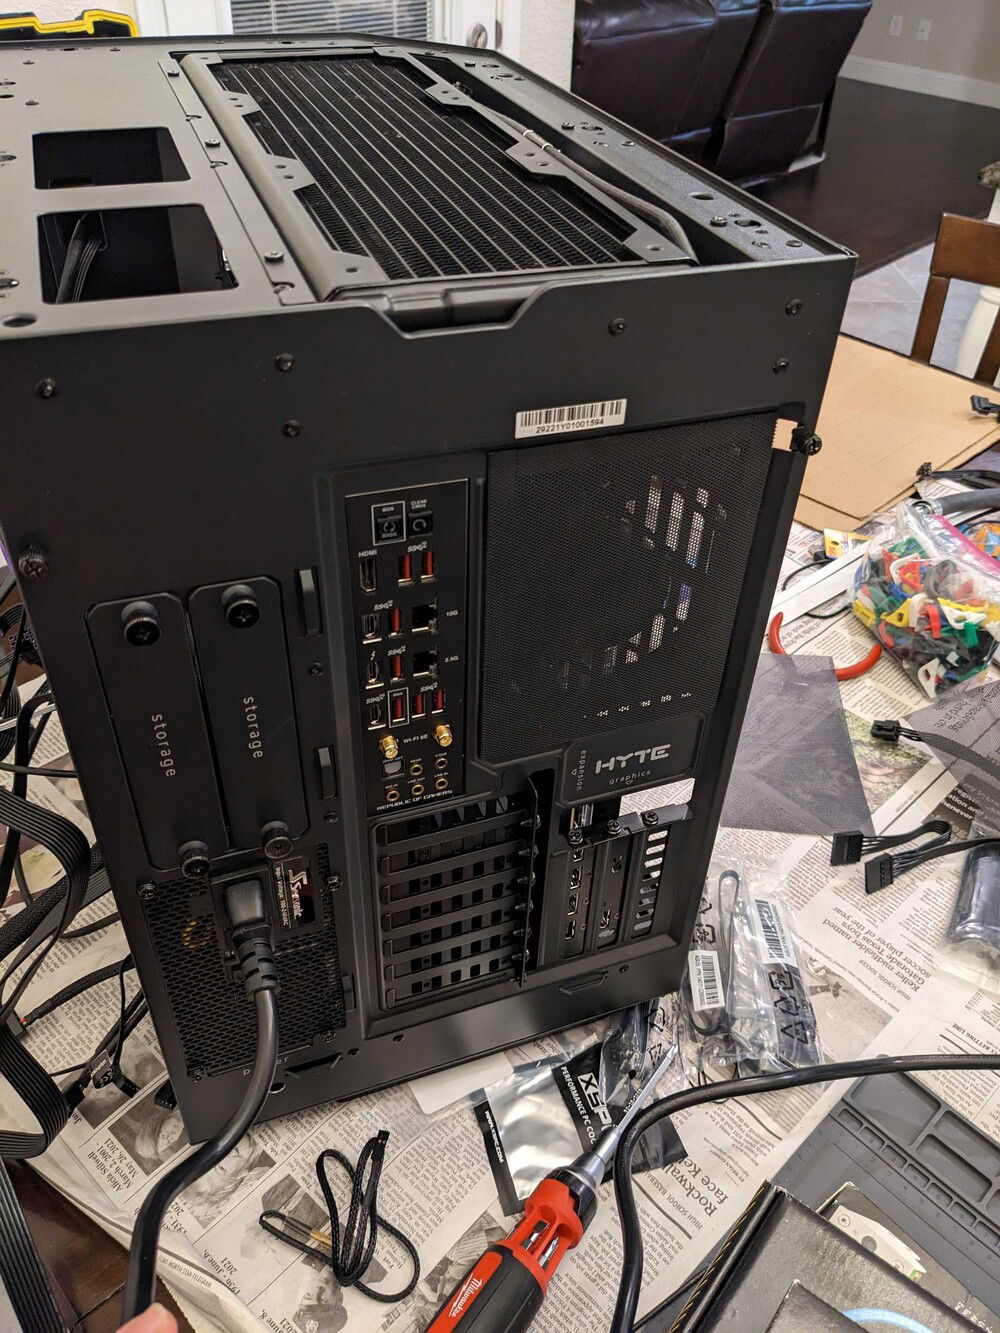
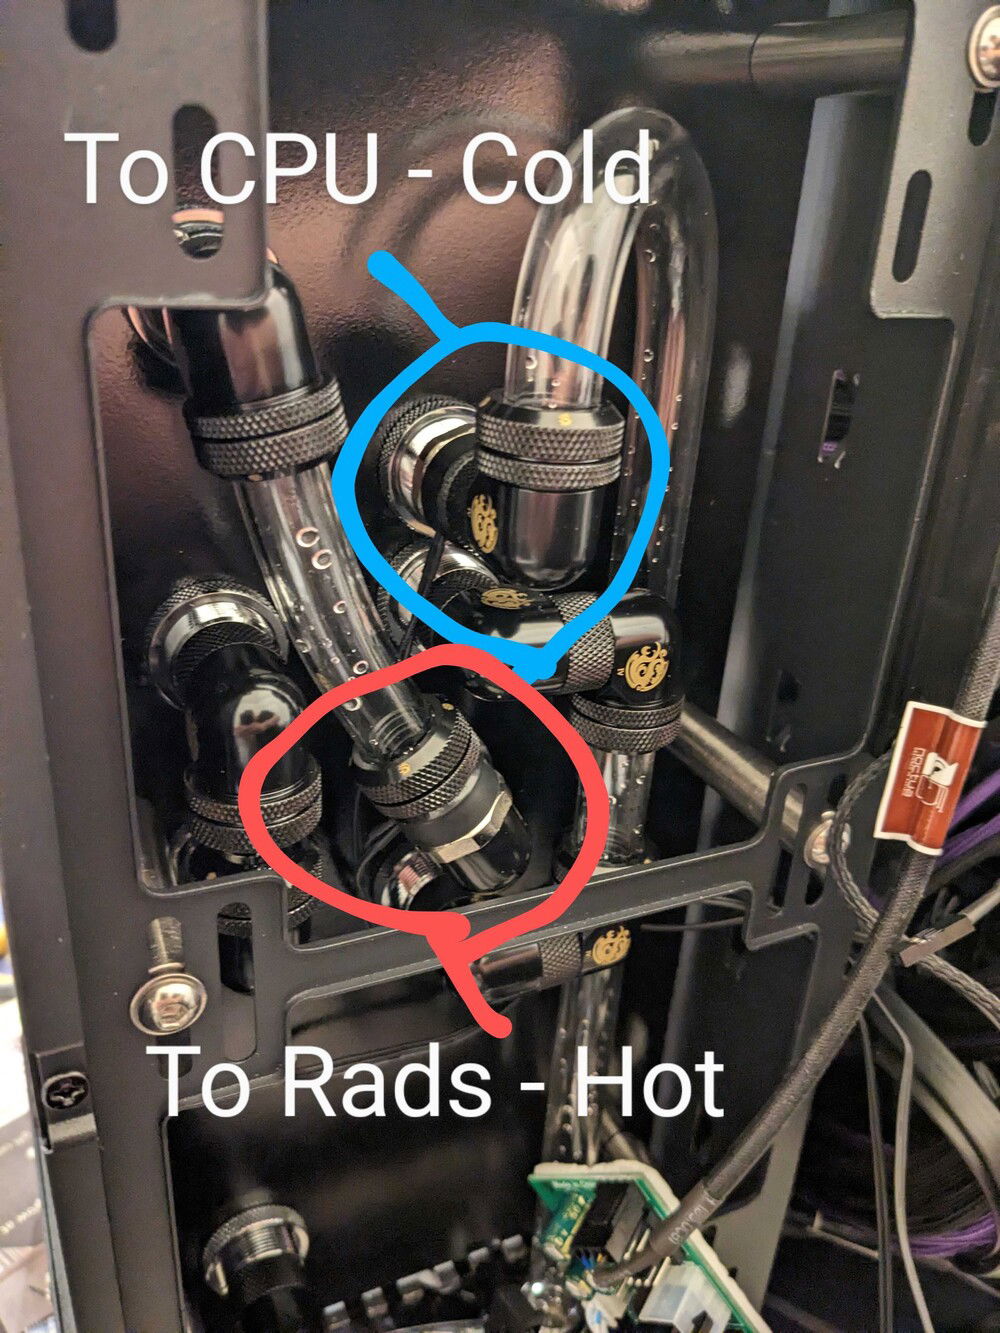
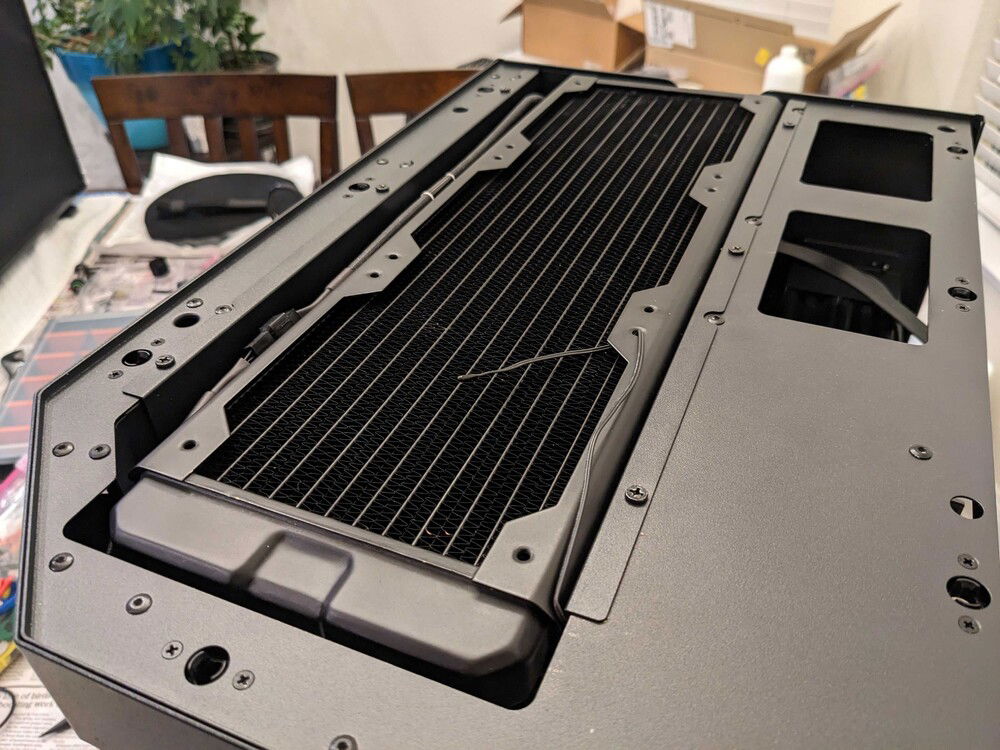
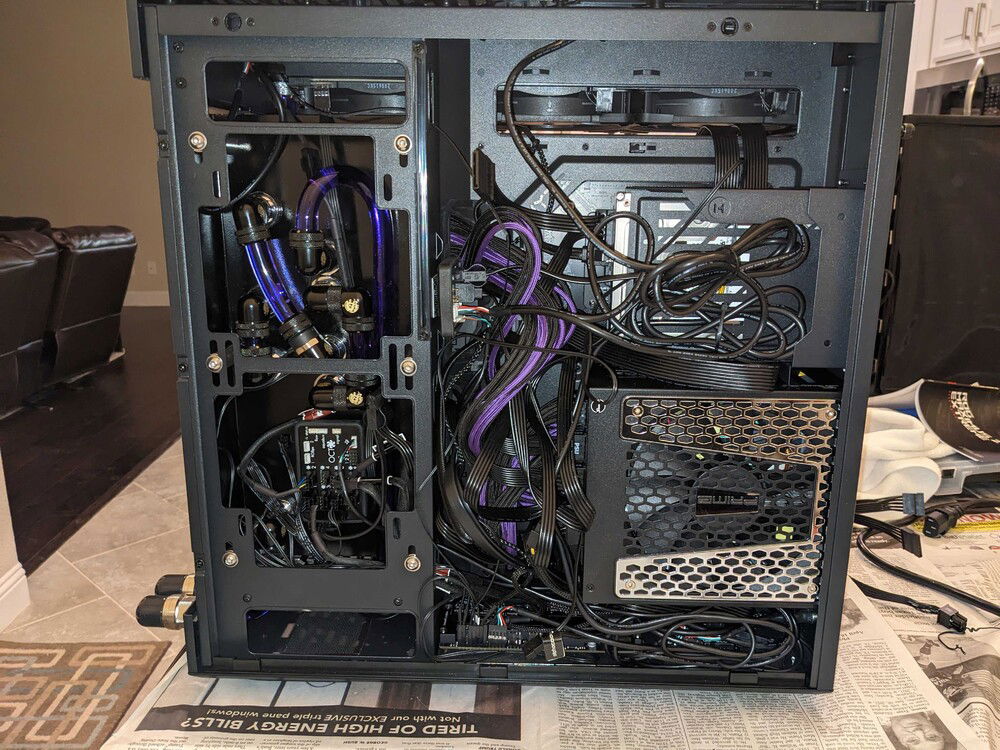
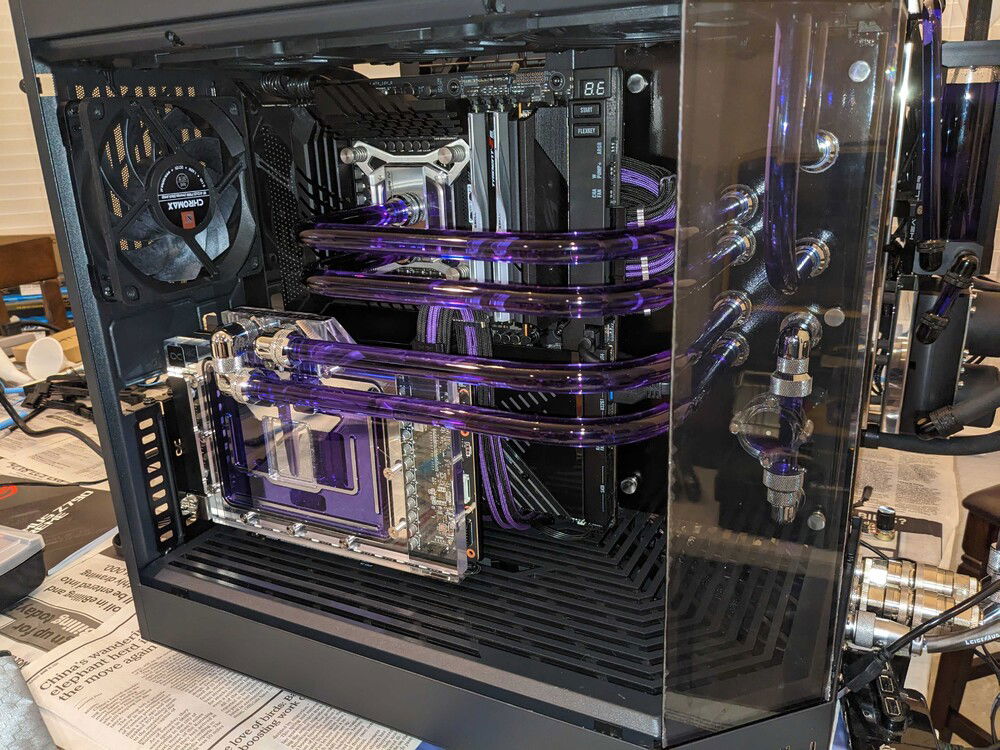
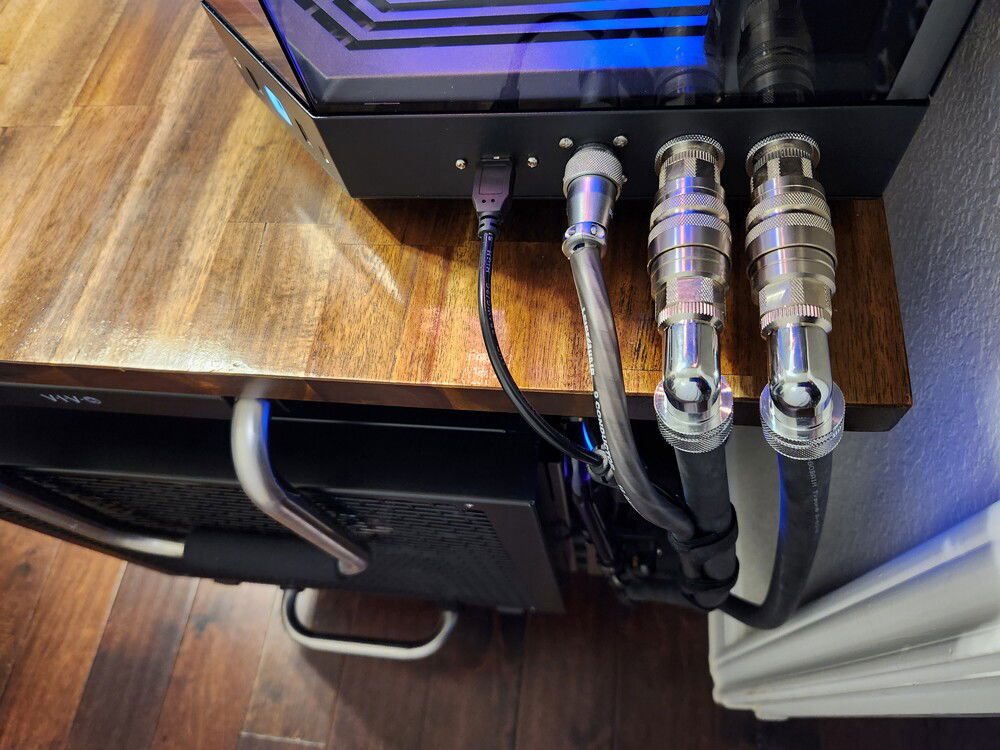
This new build is the first complete PC build I've done as a working adult and I'm making it completely how I want and sparing no expense. This is a project computer I plan to work on over several months and will involve case mods and custom soldered cables. Target usage is fueling my various hobbies and work requirements: gaming, virtualization, video editing, music creation, and programming. This is my first hard-tube build.
Color(s): Black Purple Silver
RGB Lighting? Yes
Theme: none
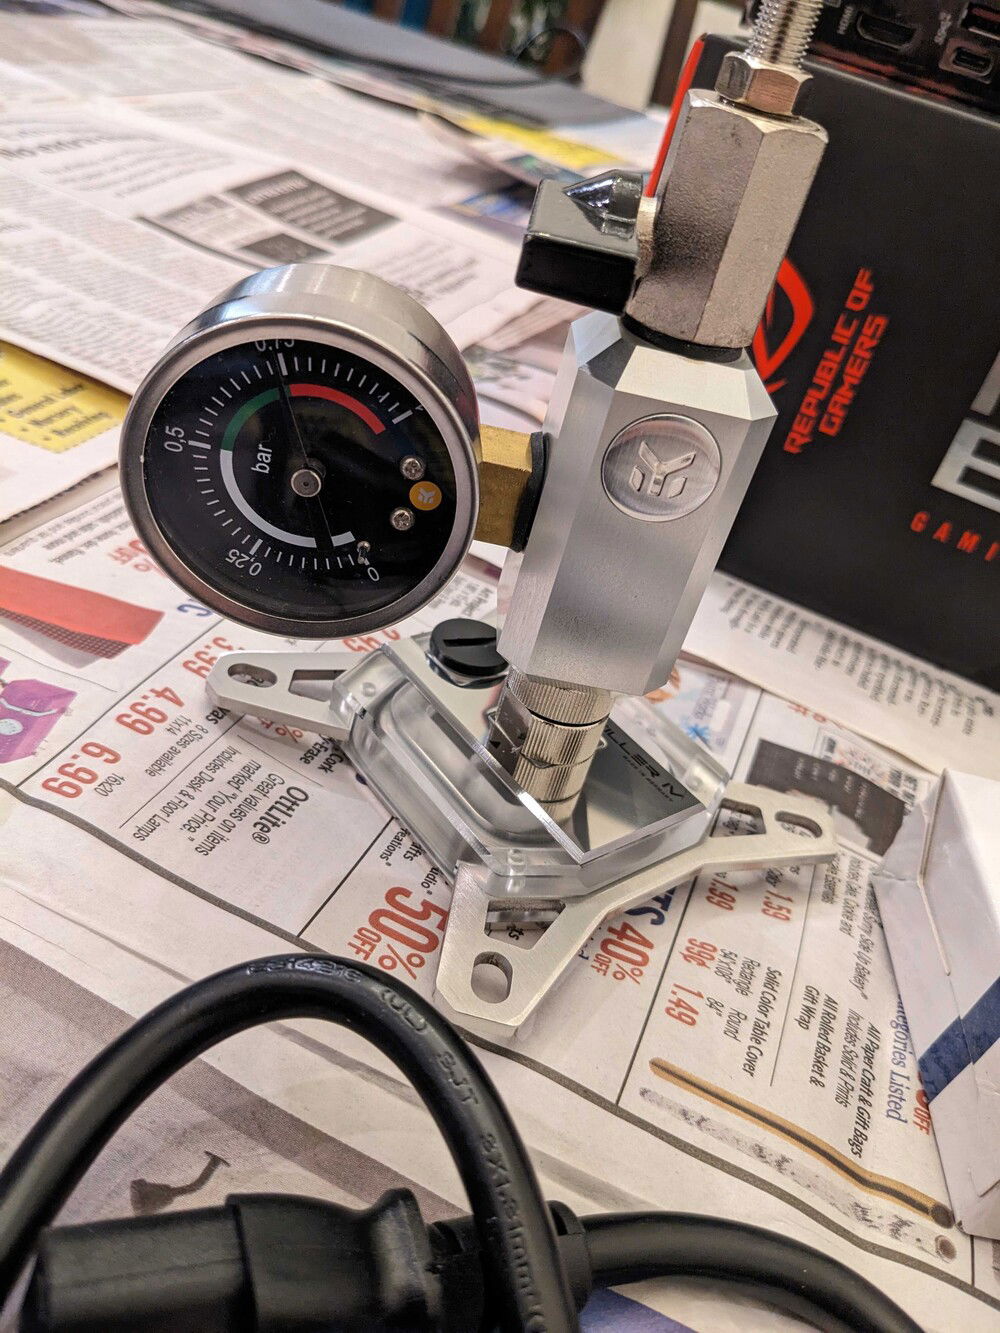
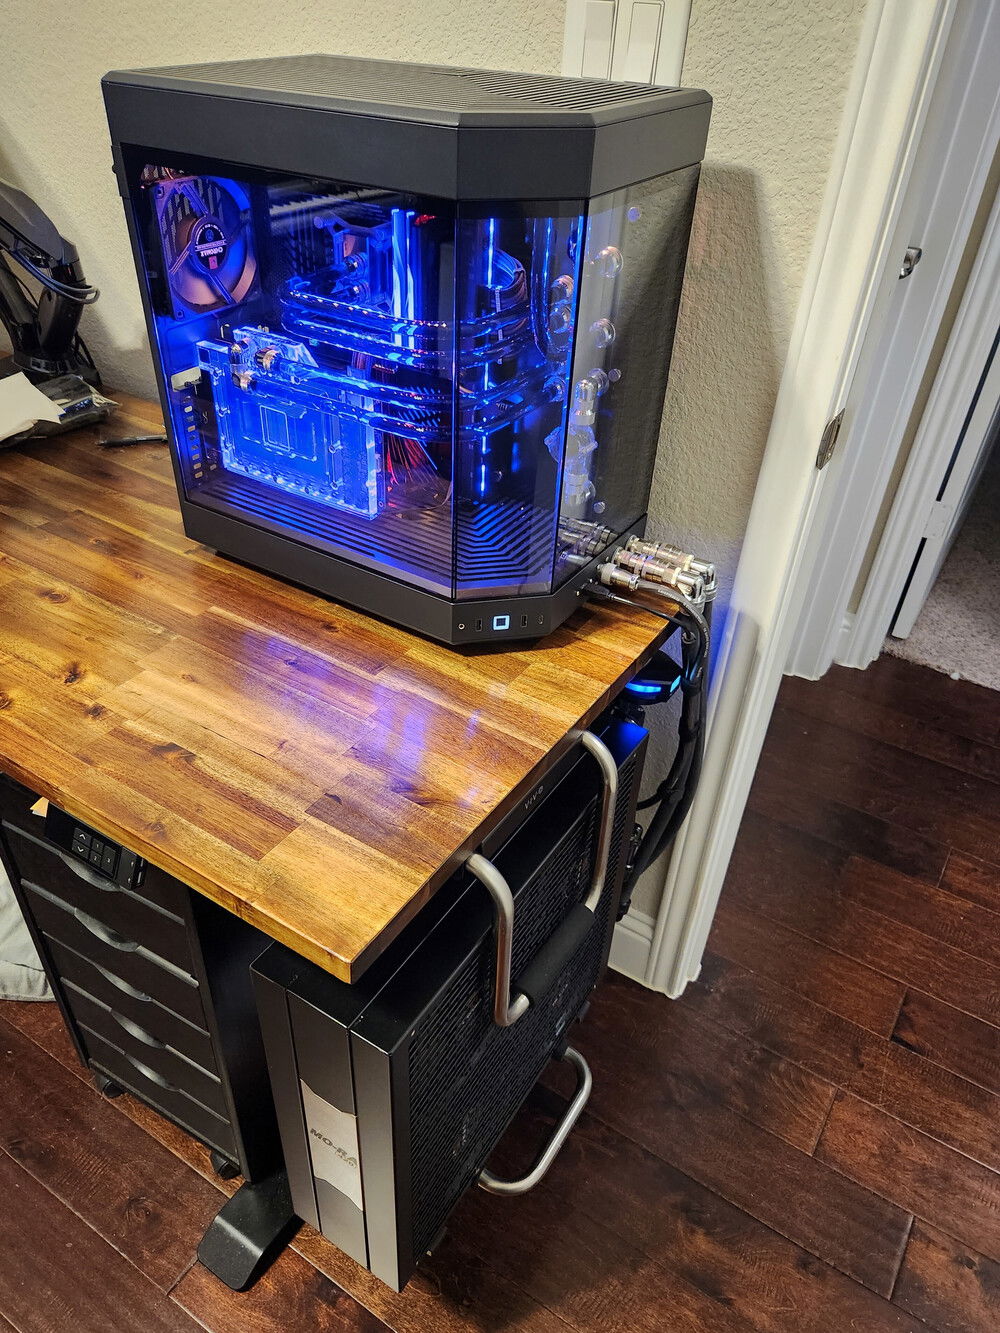
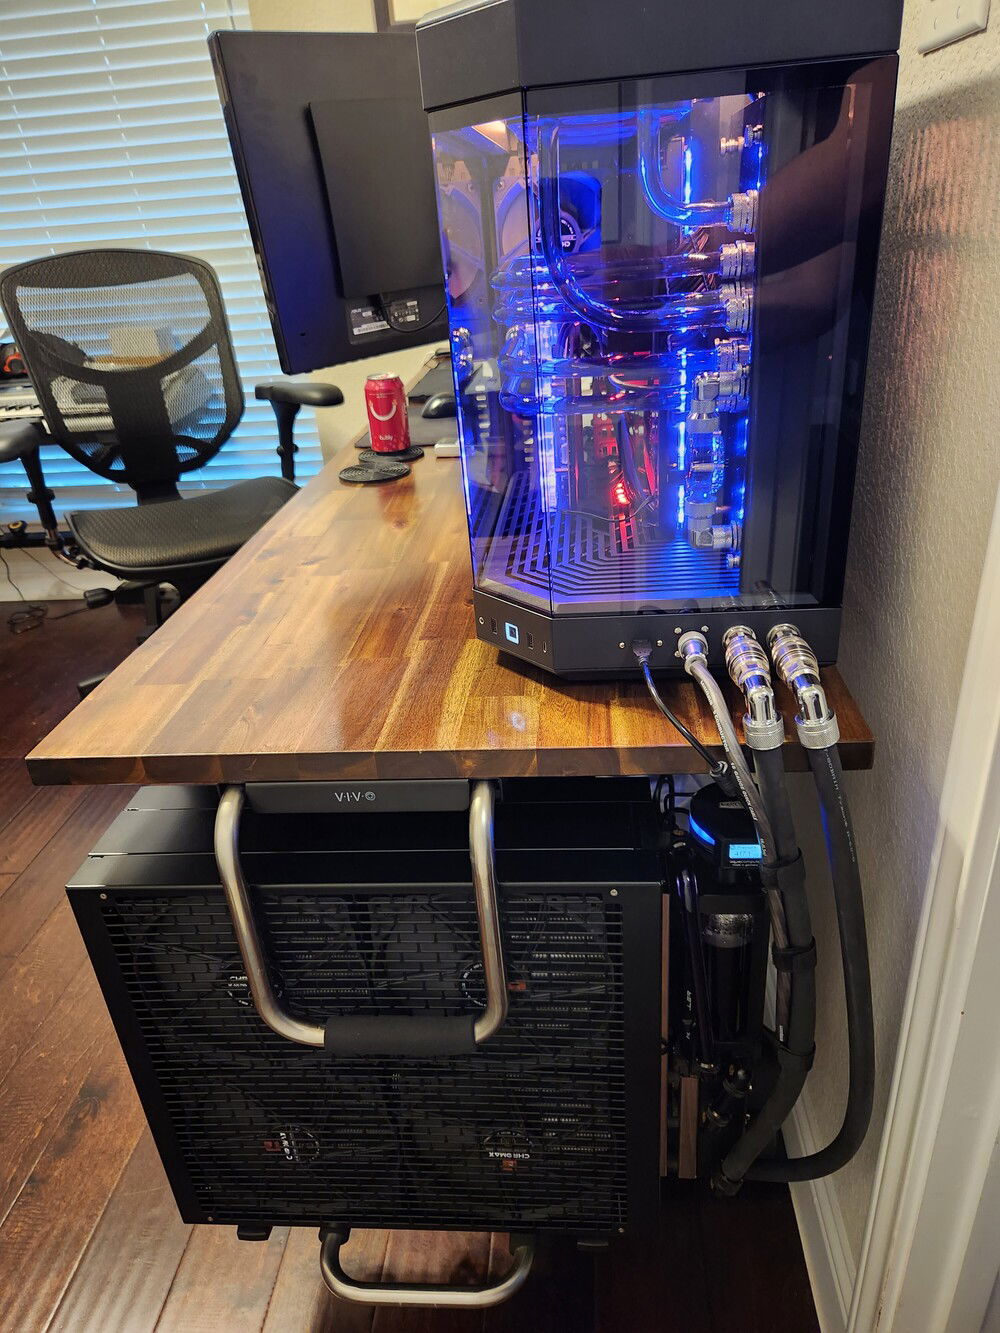
Cooling: Custom Liquid Cooling
Size: E-ATX
Type: General Build
Hardware
CPU
$ 539.99
Motherboard
Memory
$ 879.98
Graphics
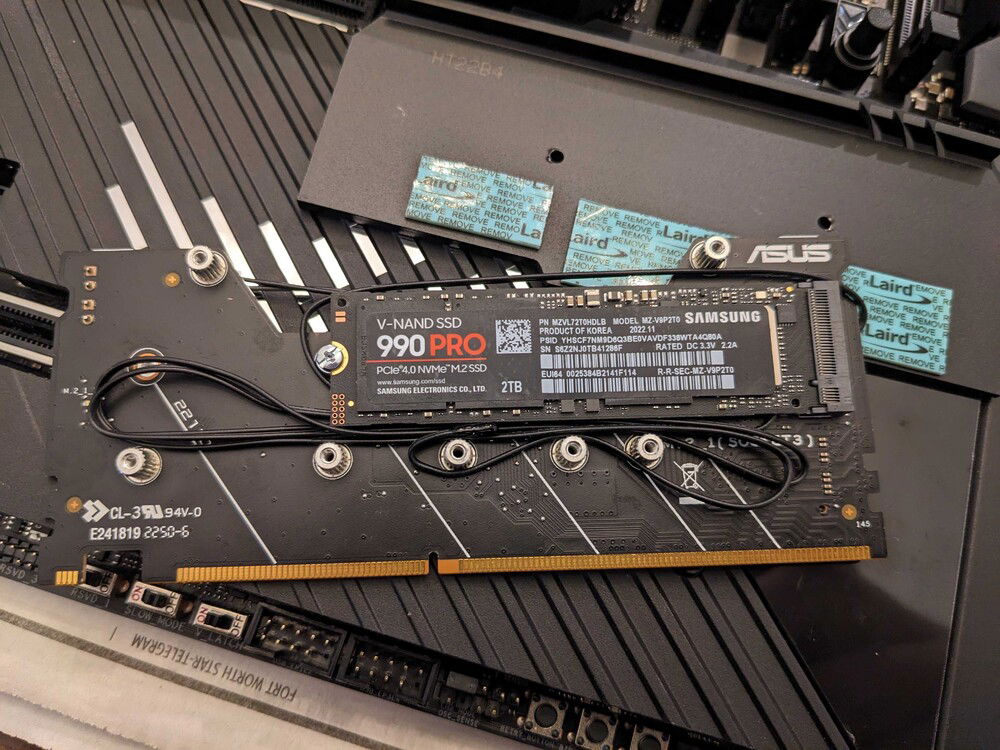
Storage
$ 219.99
PSU
Case Fan
$ 227.70
Case Fan
$ 319.60
Cooling
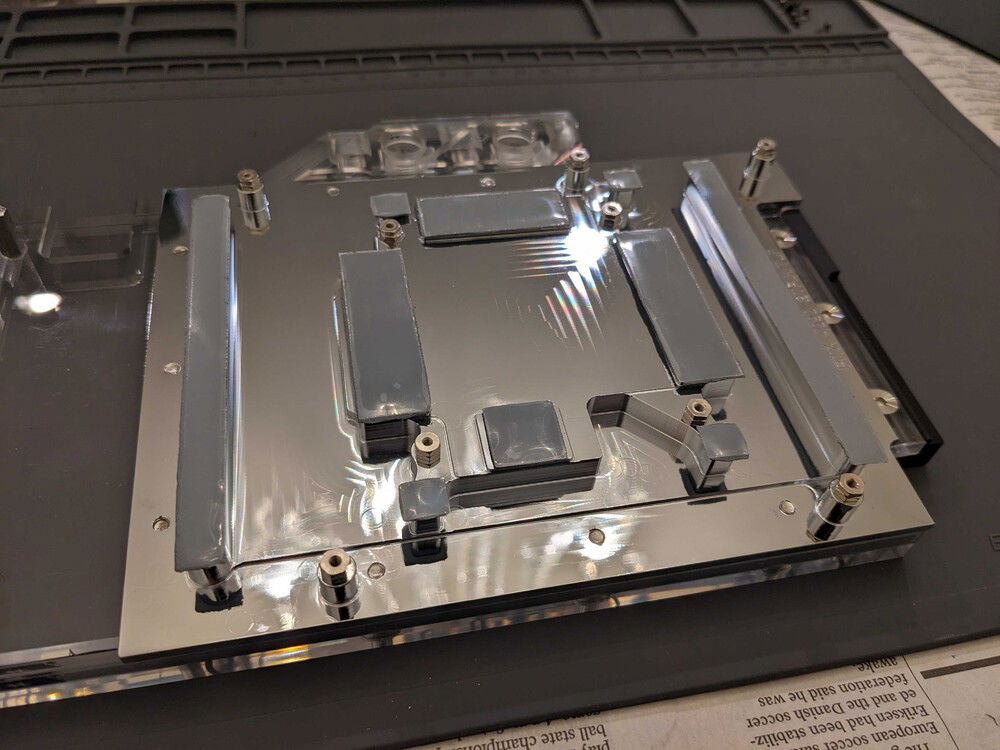
Alphacool - Eisblock Aurora Geforce RTX 4090 Strix + TUF mit Backplate
Type: GPU Waterblock
Size (WxHxD): 240 mm
Cooling
Cooling
Cooling
Cooling
Cooling
Cooling
$ 314.24
Accessories
$ 211.50
Accessories
$ 63.99
Accessories
Accessories
$ 84.50
Approved by:
