Promotional banner of the project
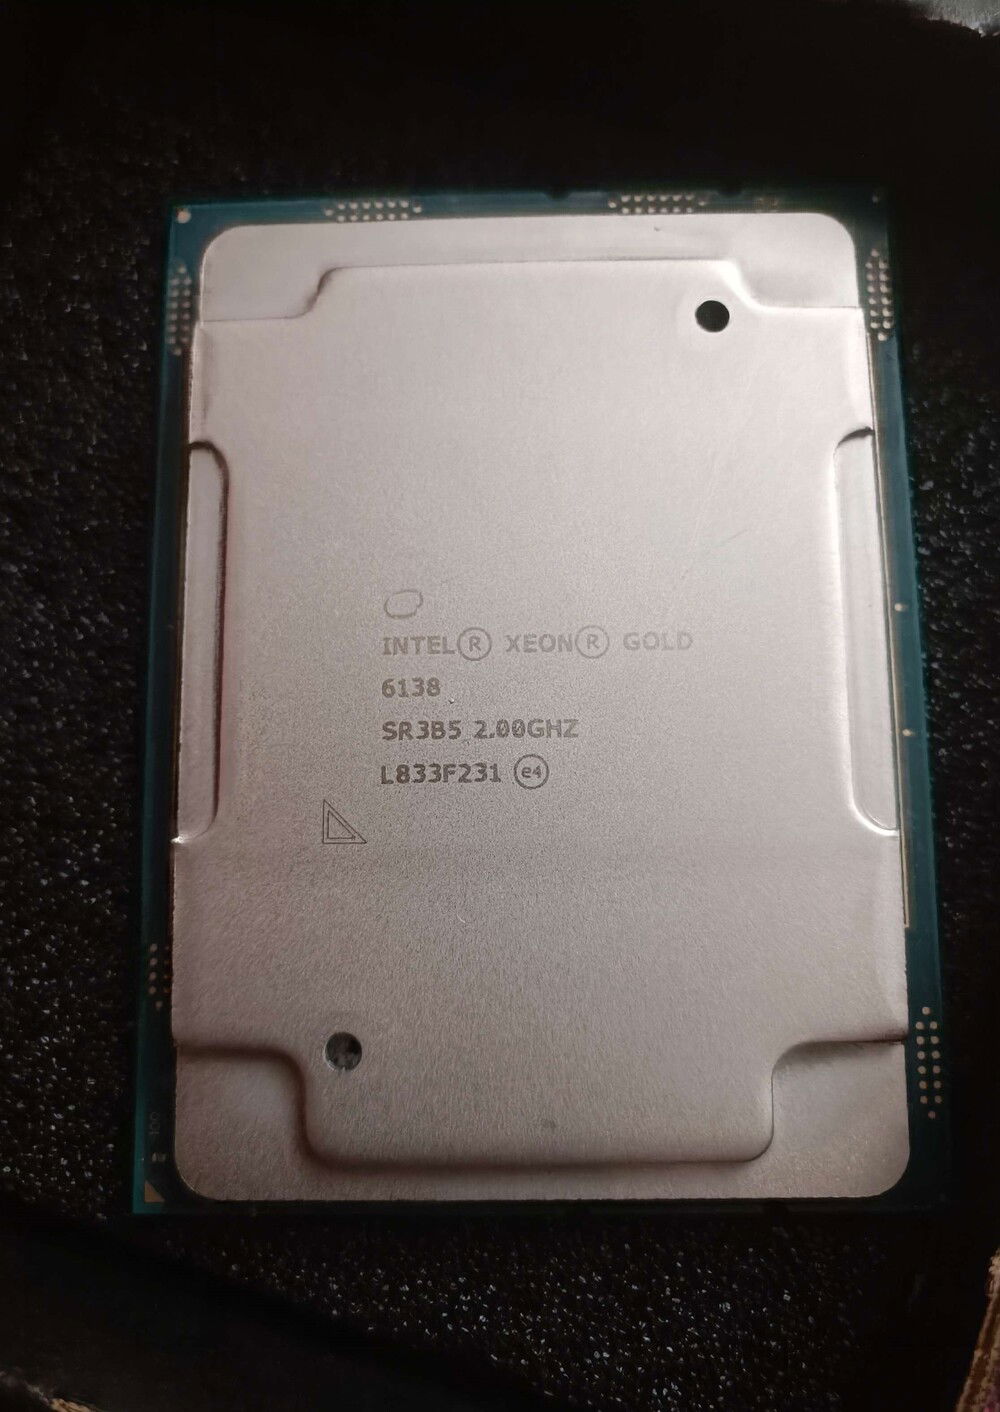
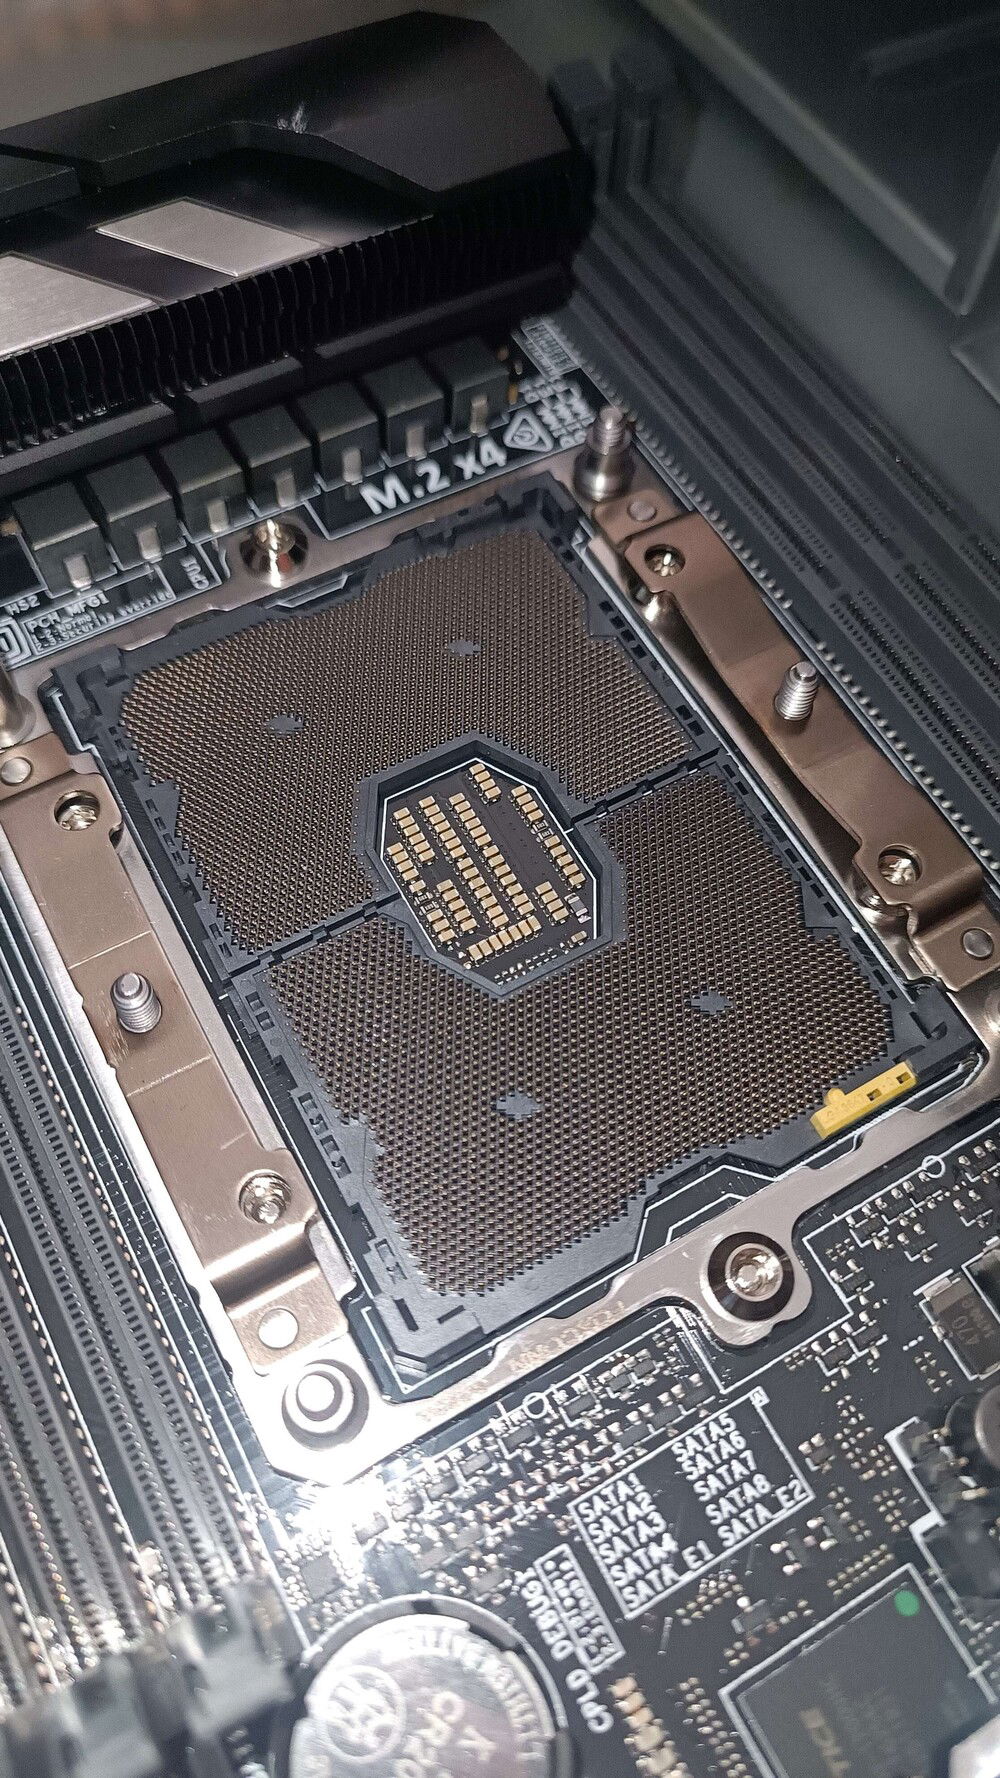
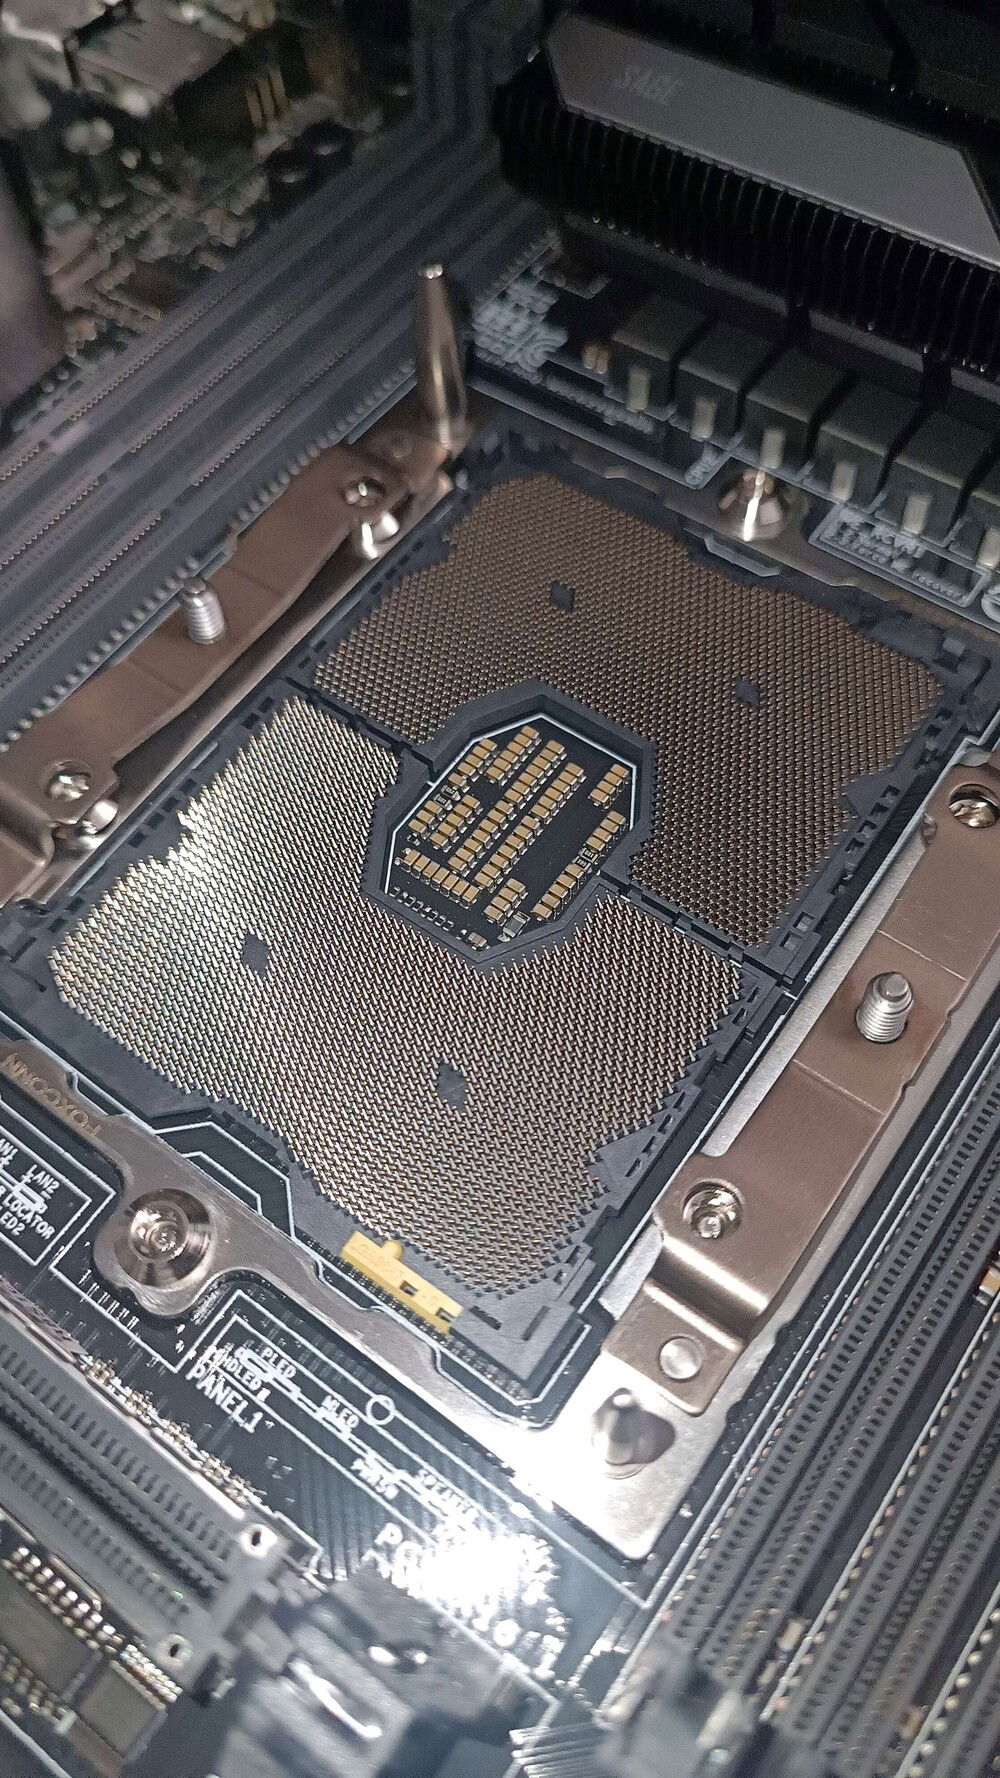
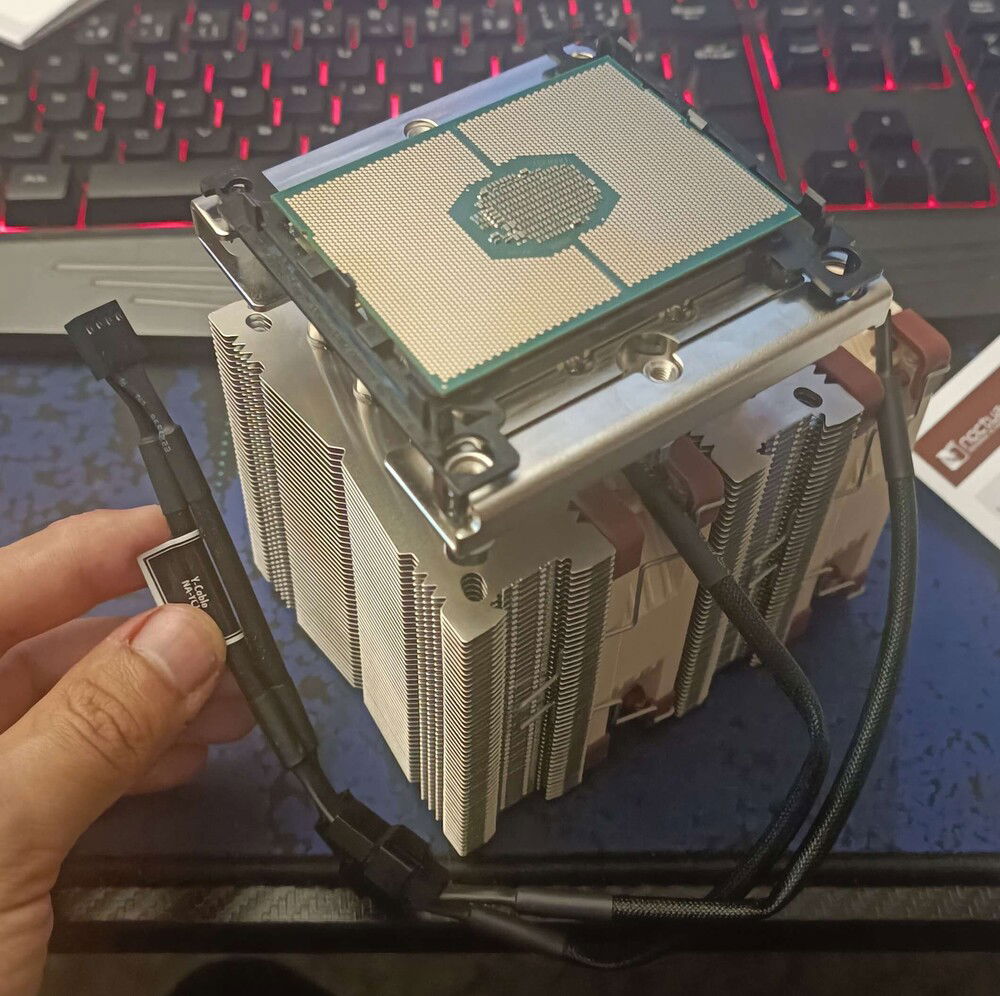
First CPU came in, this is a 1st gen Xeon Scalable Gold 6138, for LGA3647 sockets
This massive thing hauls 20 cores but only clocks at 2.00GHz, although it should be more than enough for first experiments with my machine (once I have all the parts to finally build it)
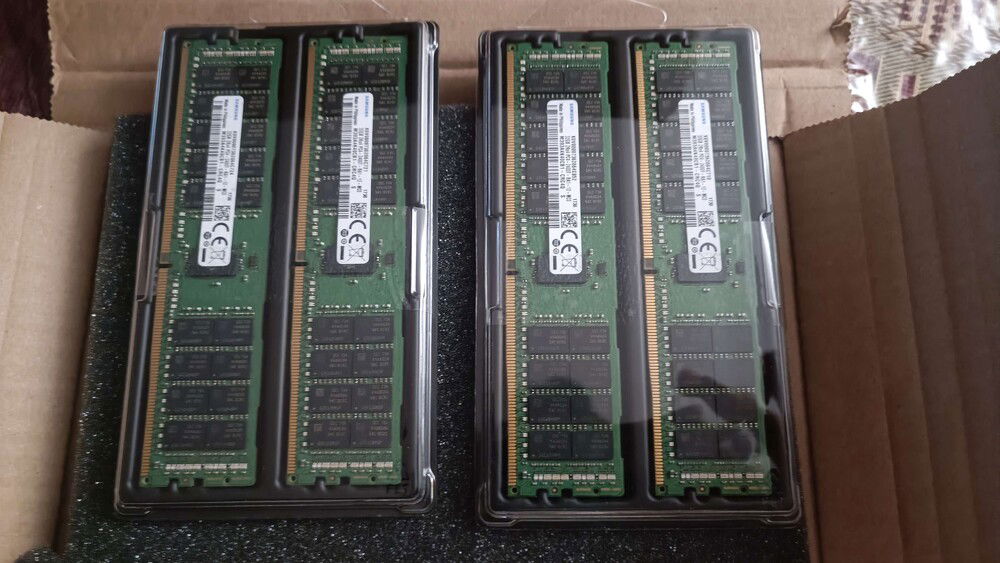
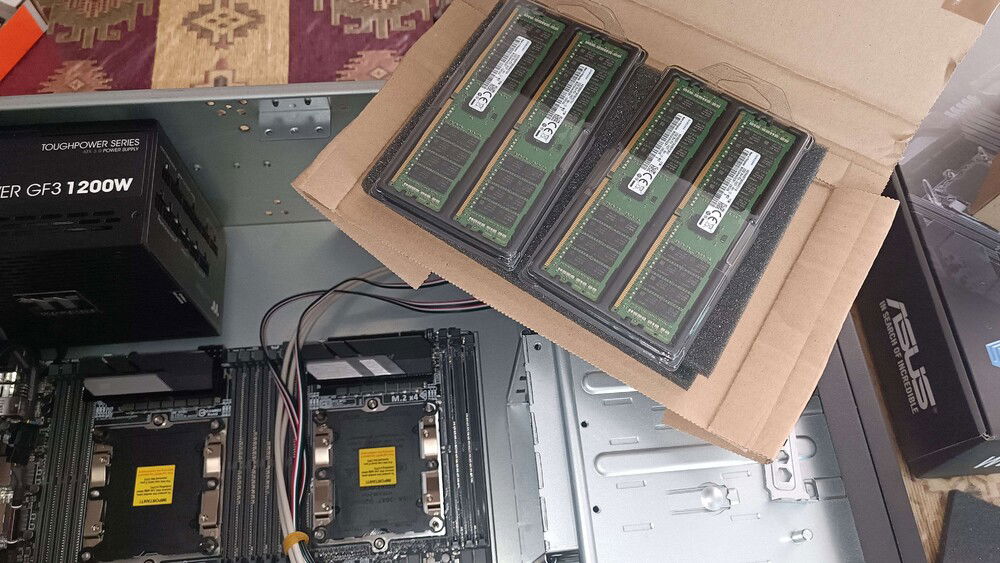
4x32GB DDR4 ECC REG RAM kit, 1st out of three (planned) kits to fill in all 12 slots of my dual socket, hexachannel motherboard, 128GB should be a nice start, much overhead for the initial project Tier
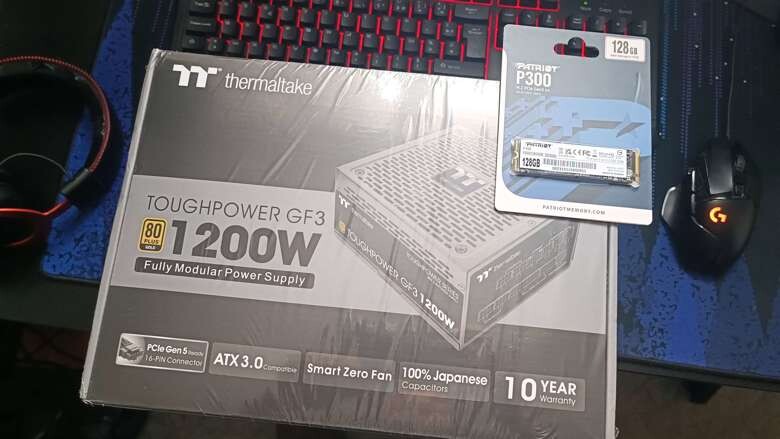
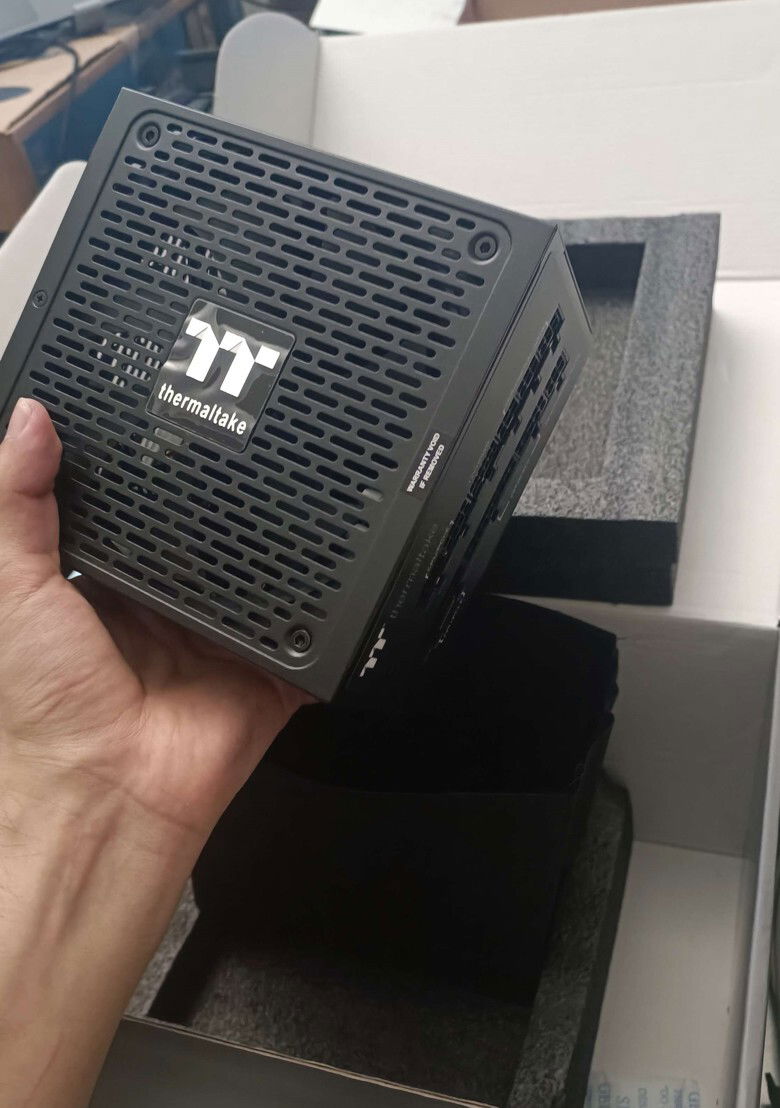
Apr 7th, received PSU and NVMe !
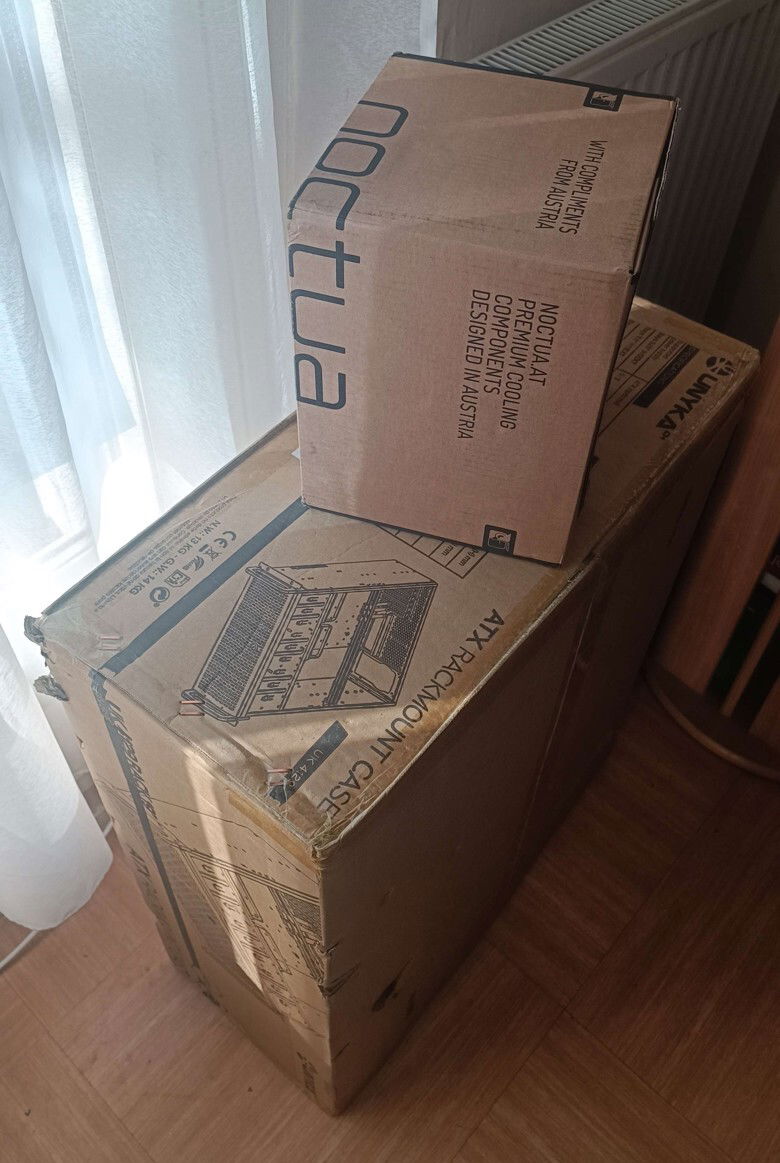
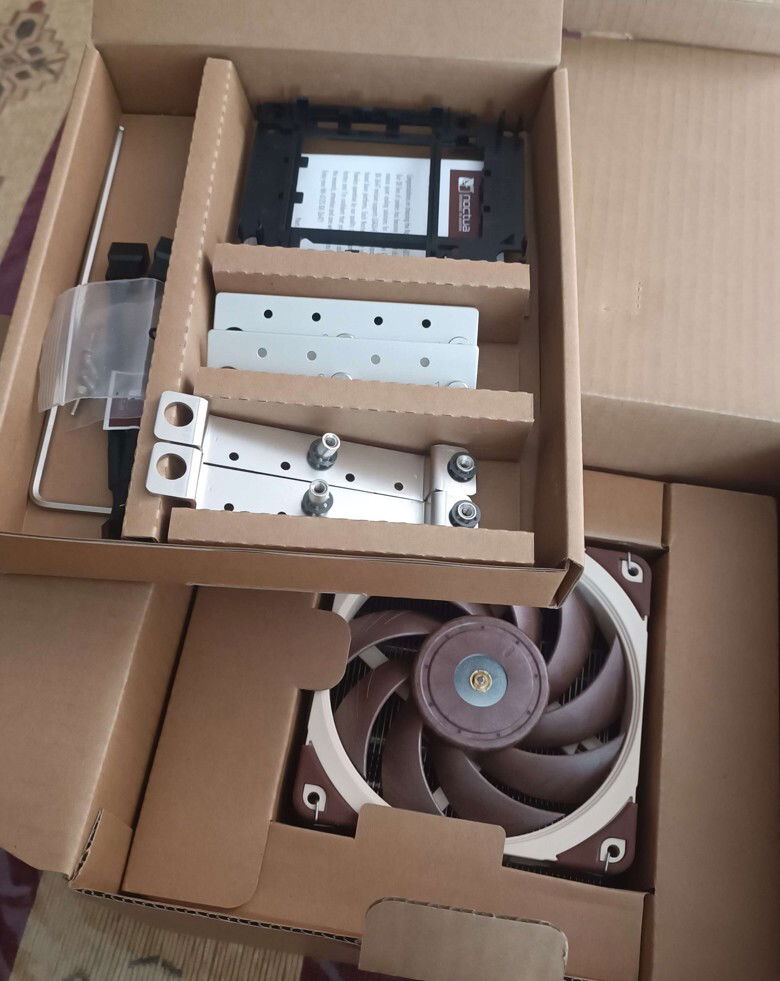
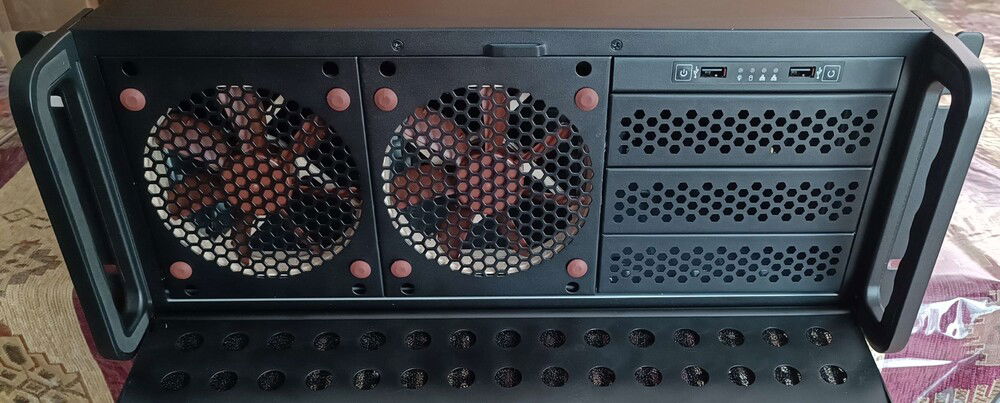
Apr 8th, received the case and cooler !
I got this NH-U12S DX-3647 because that was the only realistic option at the time but I might change it for either the (sadly and strangely much more expensive) 4U compatible version so I can close the case or, if it comes down to it, a homebrew cooler made out of spare parts
1200W in such a small package, power supply technologies really have come a long way
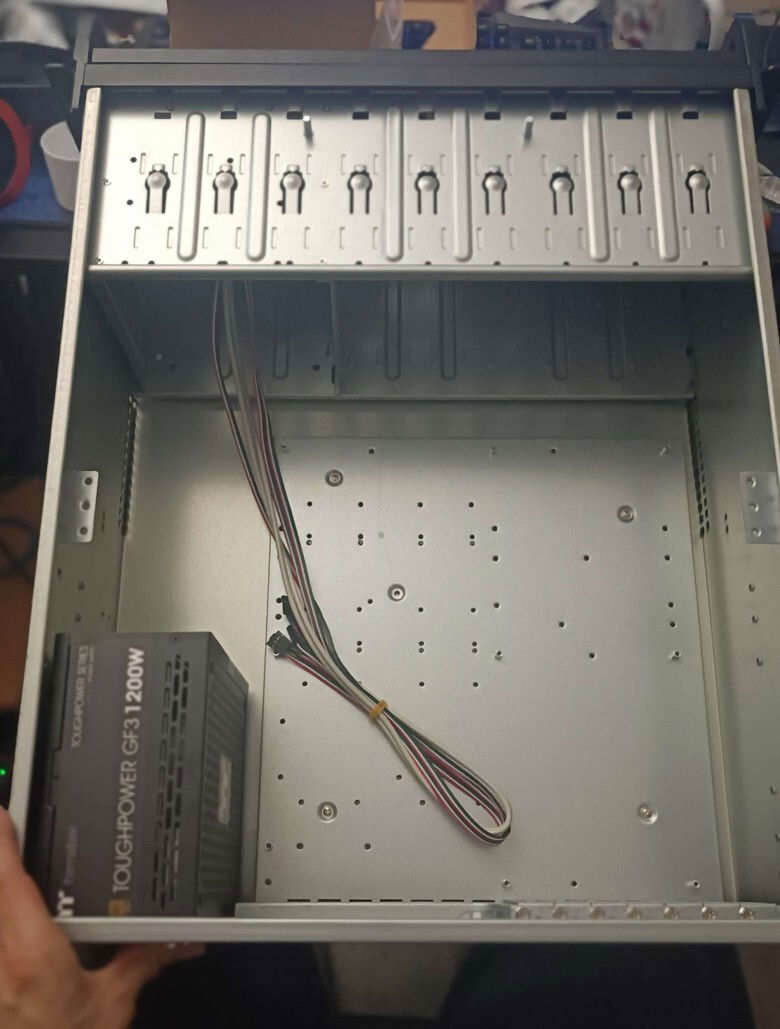
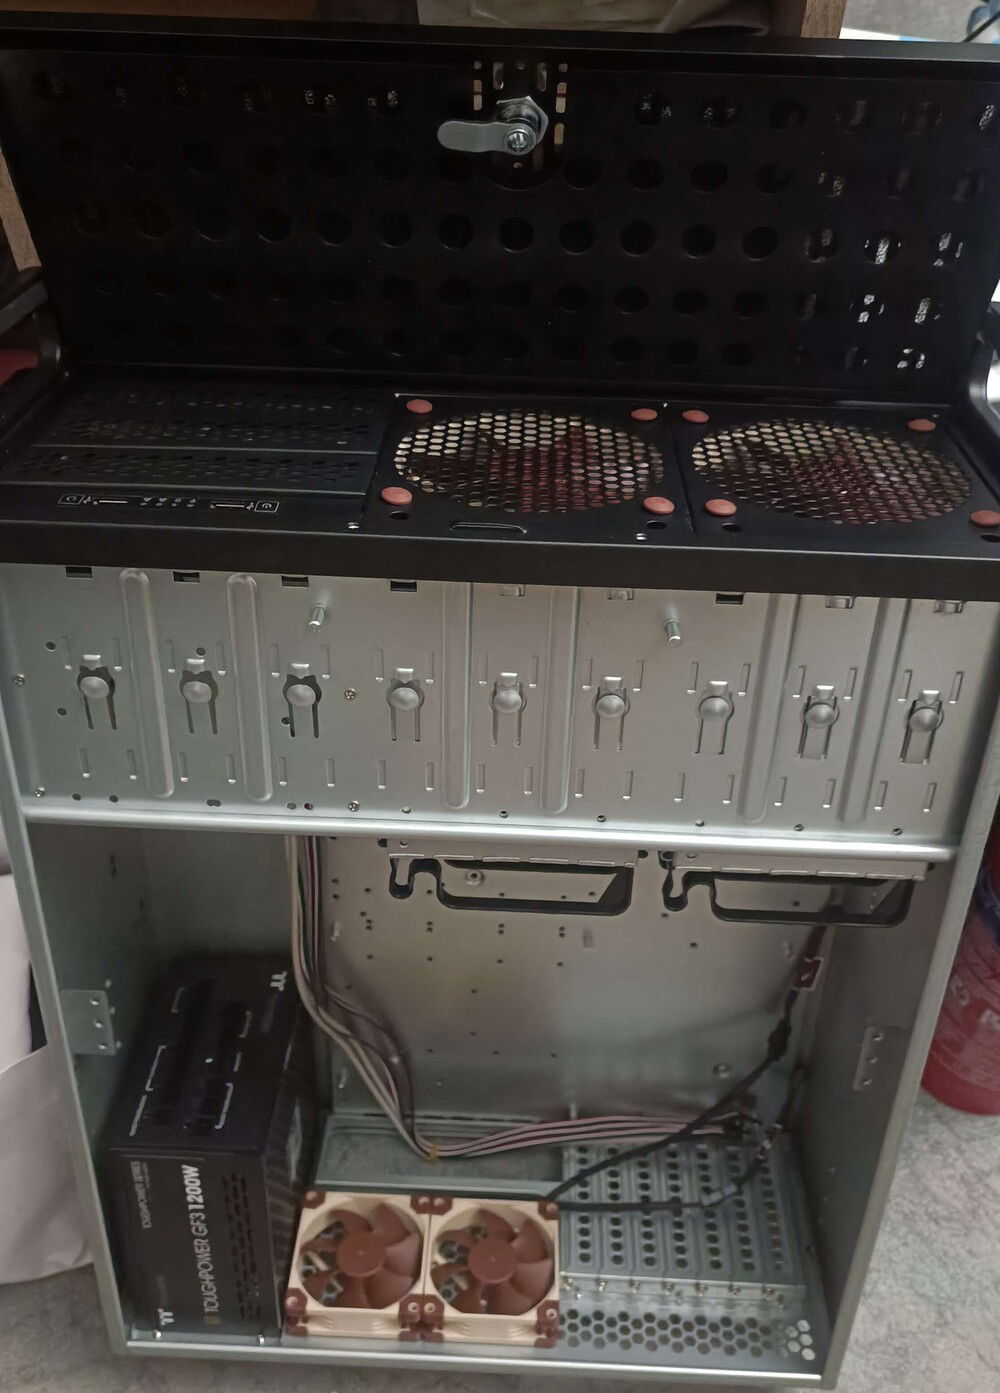
so much real estate behind this PSU, that's amazing
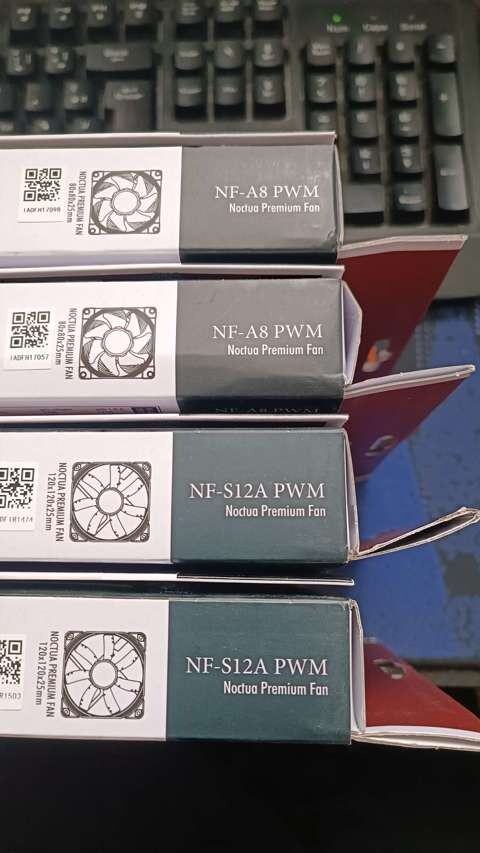
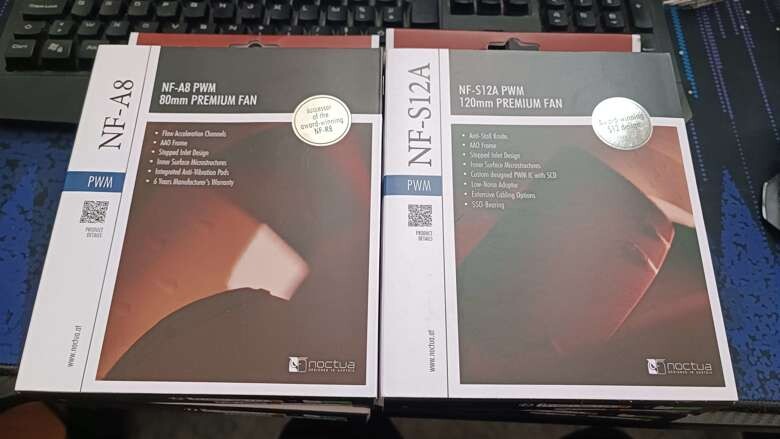
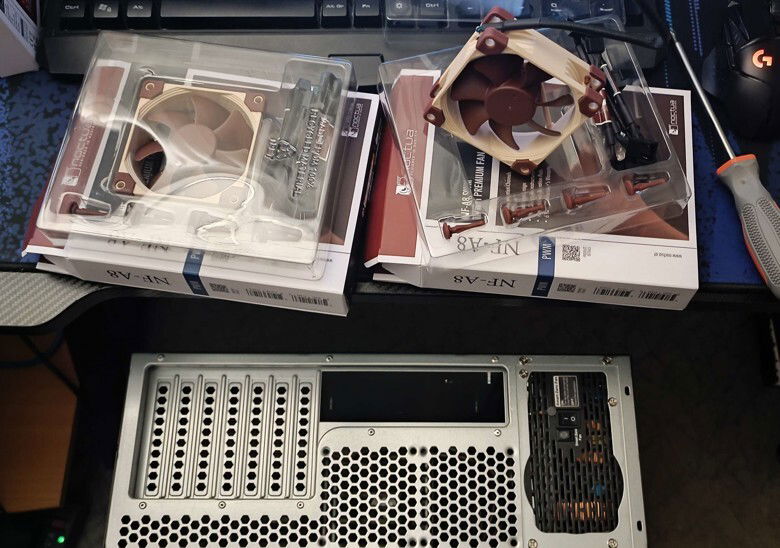
Apr 10th, received the case fans !
spent a fair bit of time comparing benchmarks and looking a technical specifications, decided to go for Noctuas as they seemed worth the premium on the longer term
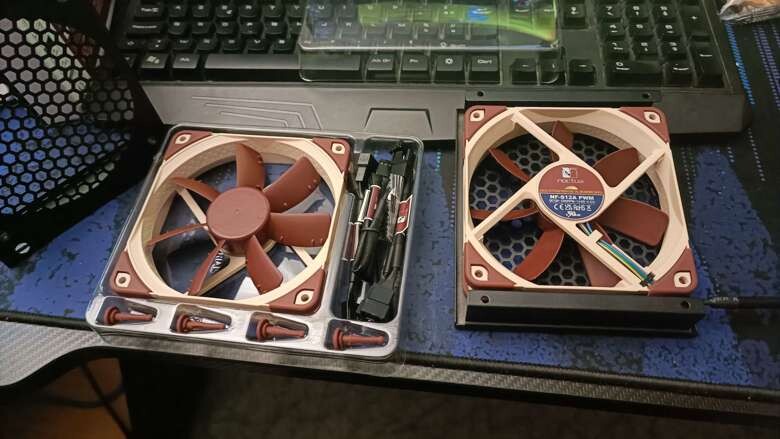
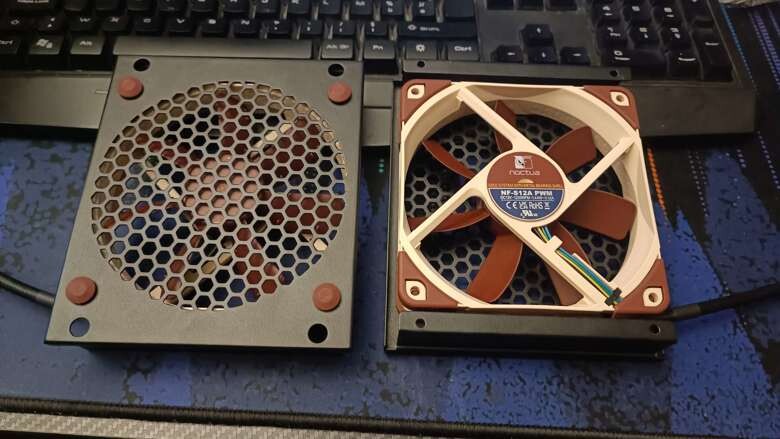
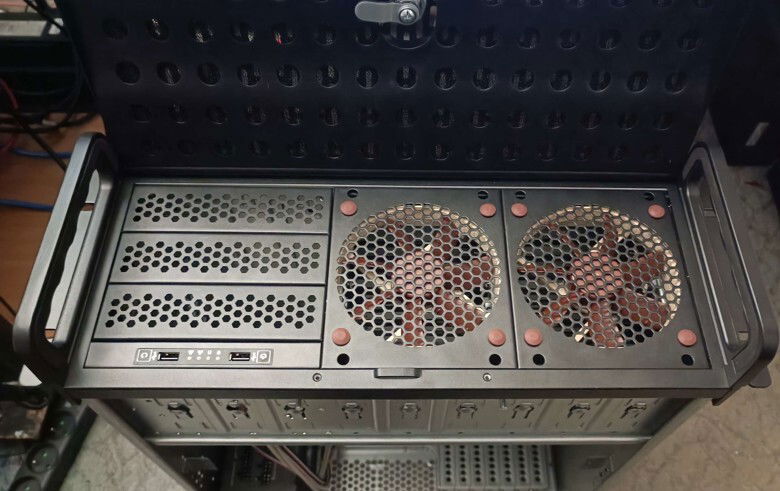
Unpacked the S12As, removed the fan mounts from the case, figured out how they should go in there
front and rear of the fans joined to the mounts
fan carriers slotted back in and screwed in
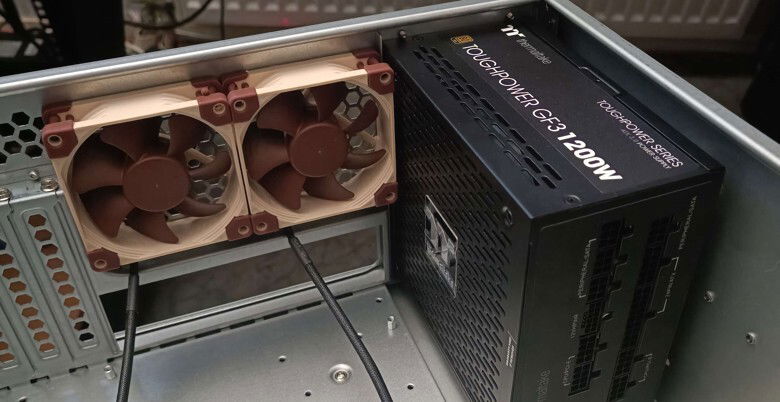
dealing with the rear face now
that one required a blood sacrifice because there's a bend in the rear's steel sheet that gave me a hard time picking on the anti-vibration fixtures to tug them in position, easier to deal without the PSU in the way
motherboard delivery pending...
BEZOOOOOOS
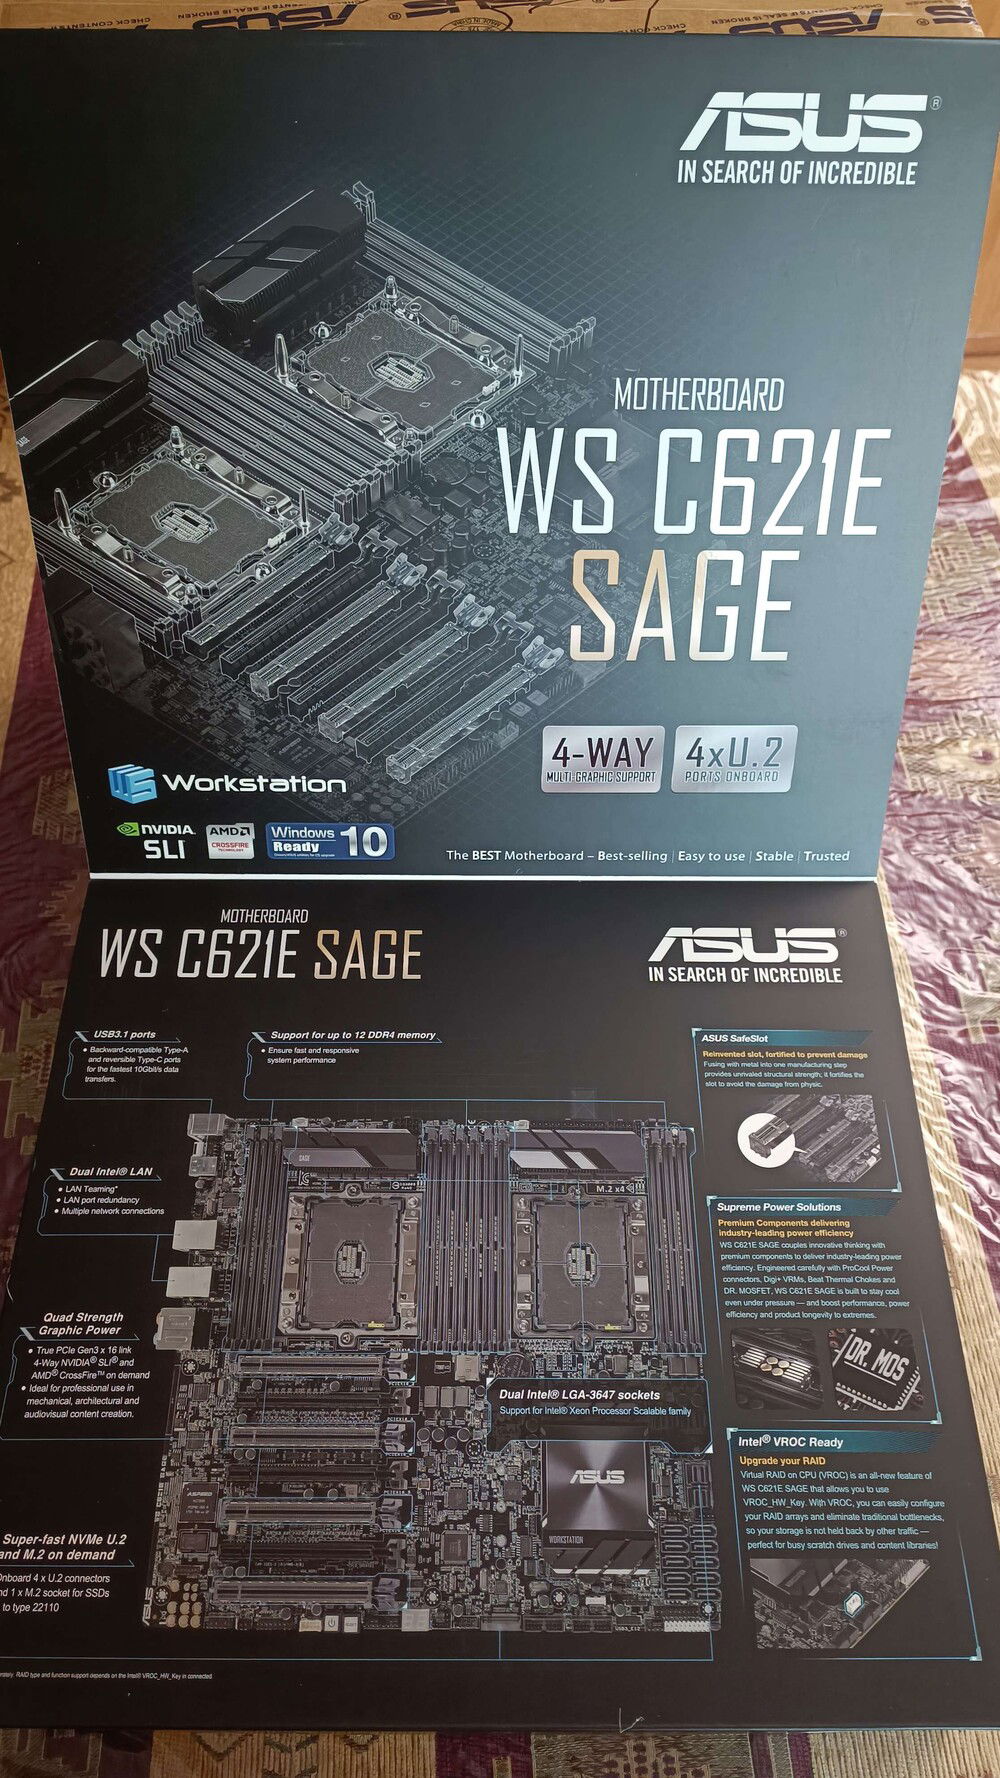
MY MOTHERBOARD
WHERE IS ITTTTTTTT
New update : Apr 13th, Delivery of the skeleton of it all, the mo-board !
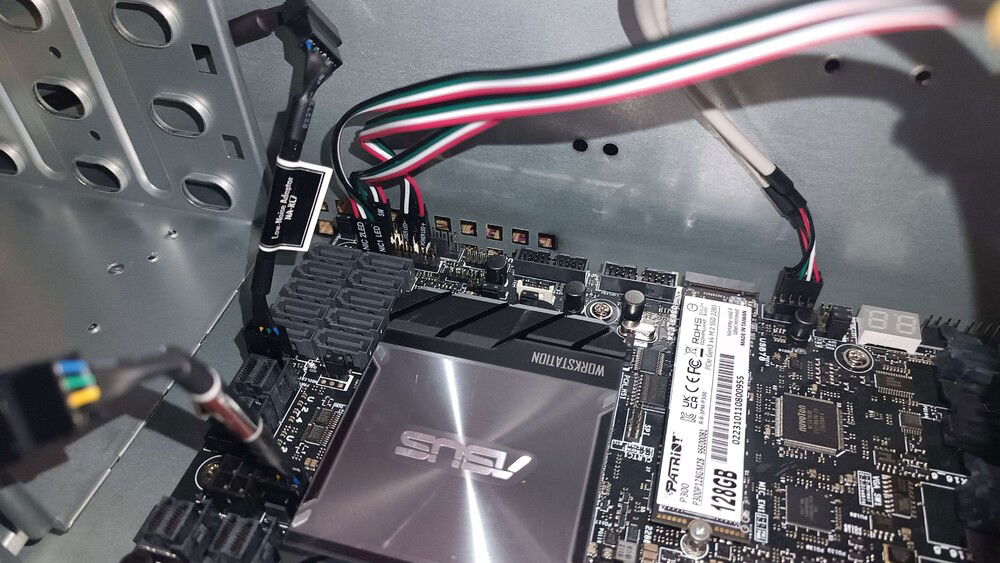
NVMe slotted in, fans plugged, front I/O pinned !
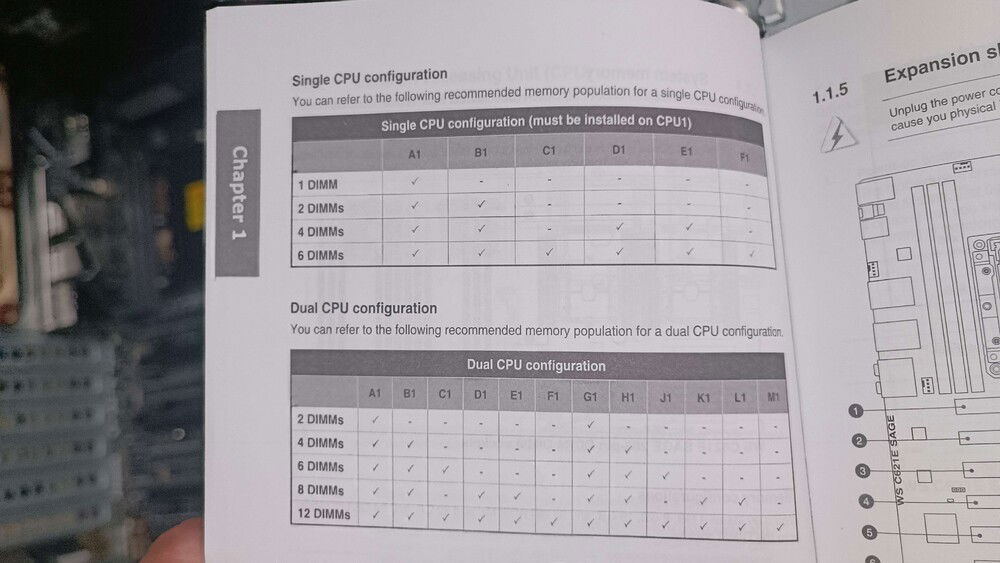
hmmmmm, yadda yadda, closest slots to socket, yadda yadda
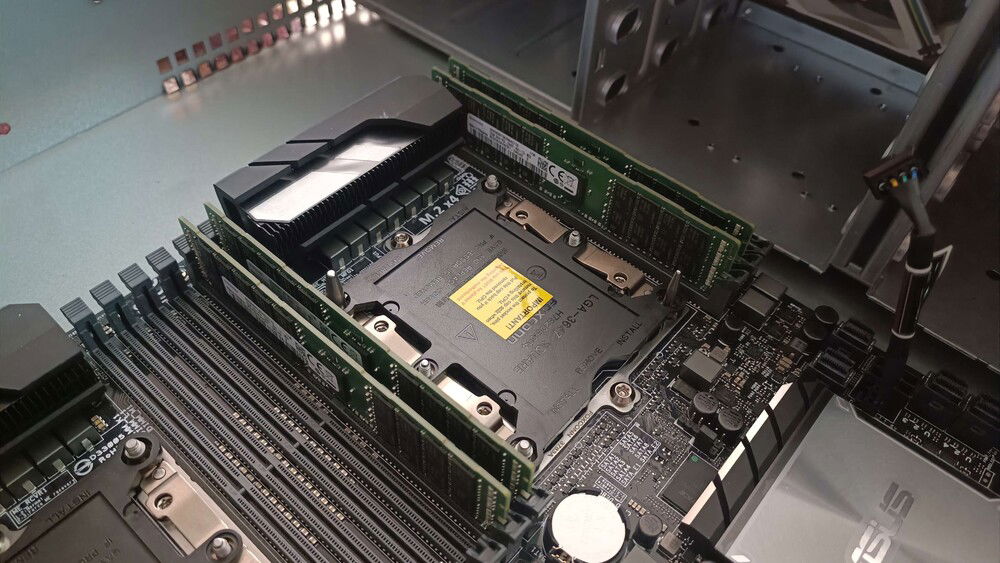
Never handled more than 32GB at once, jumping up all the way to 128GB is something else !
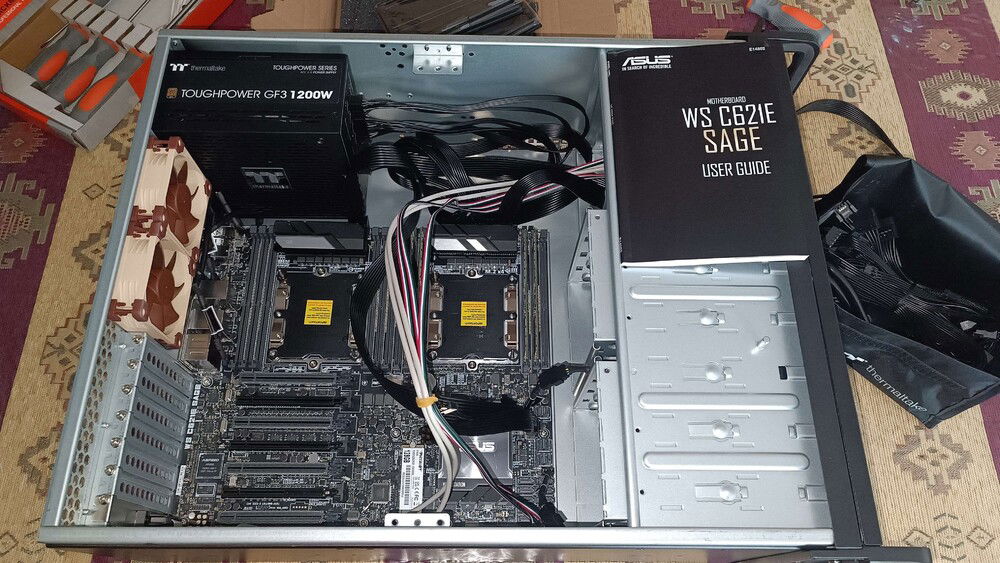
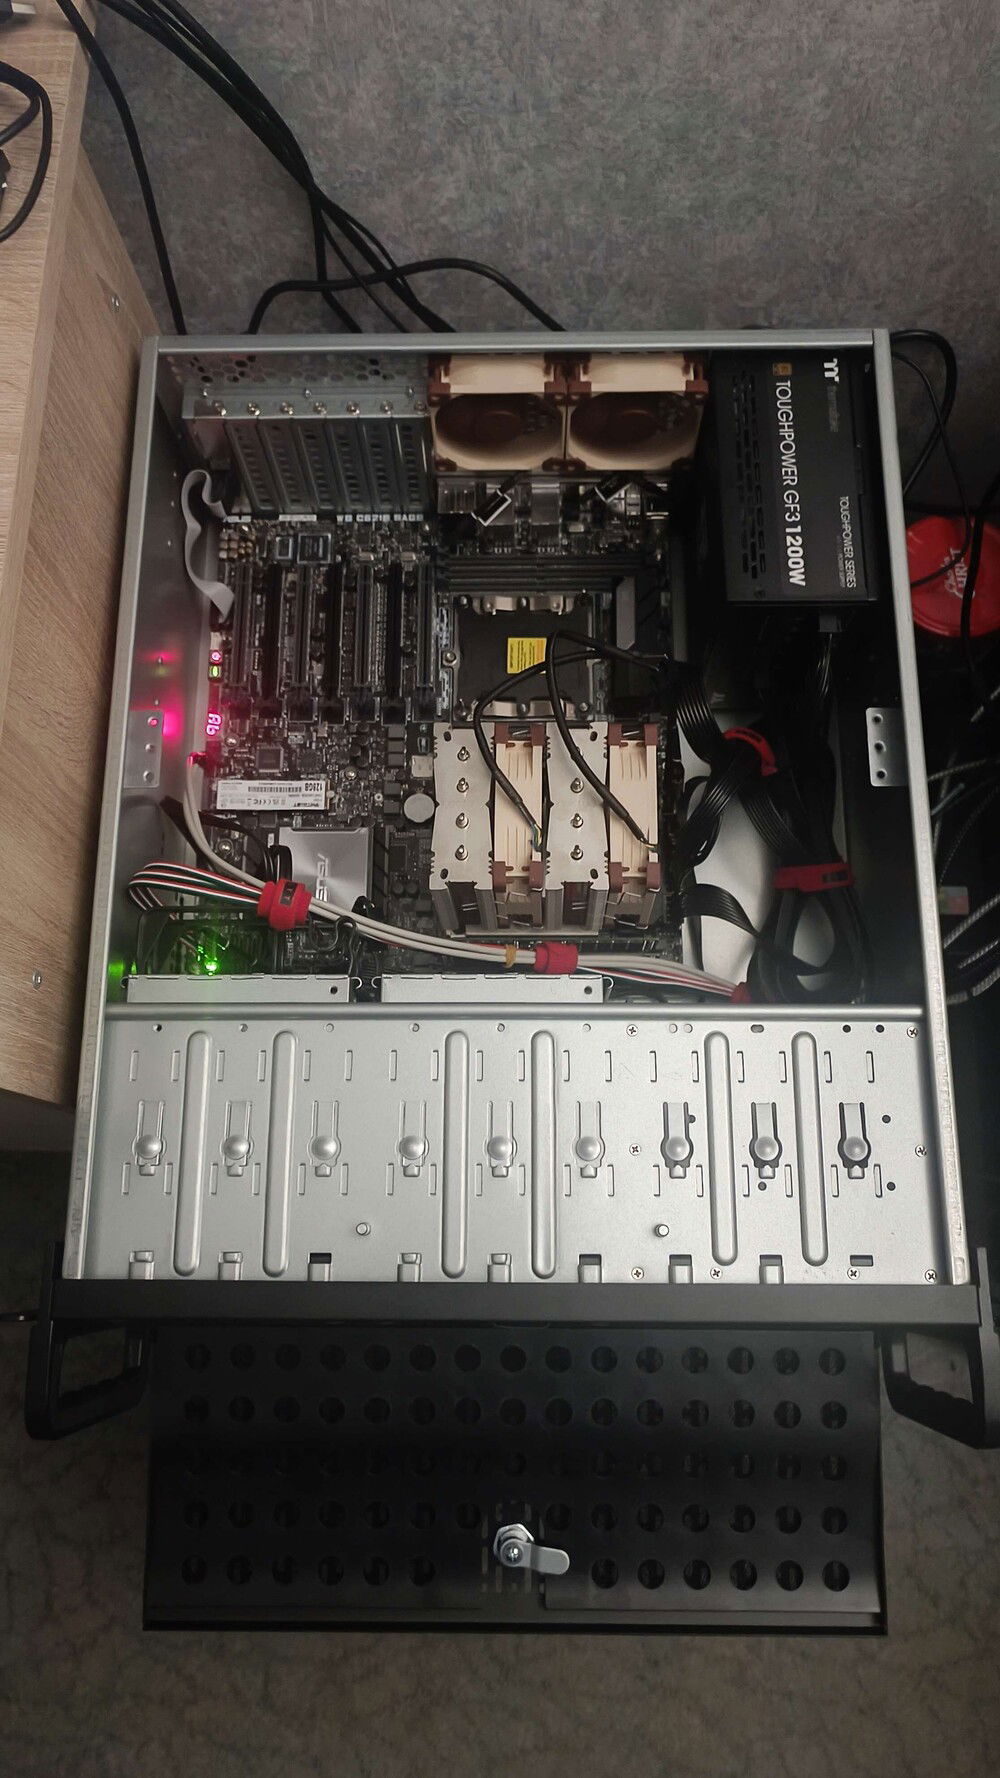
Taking shape very nicely !
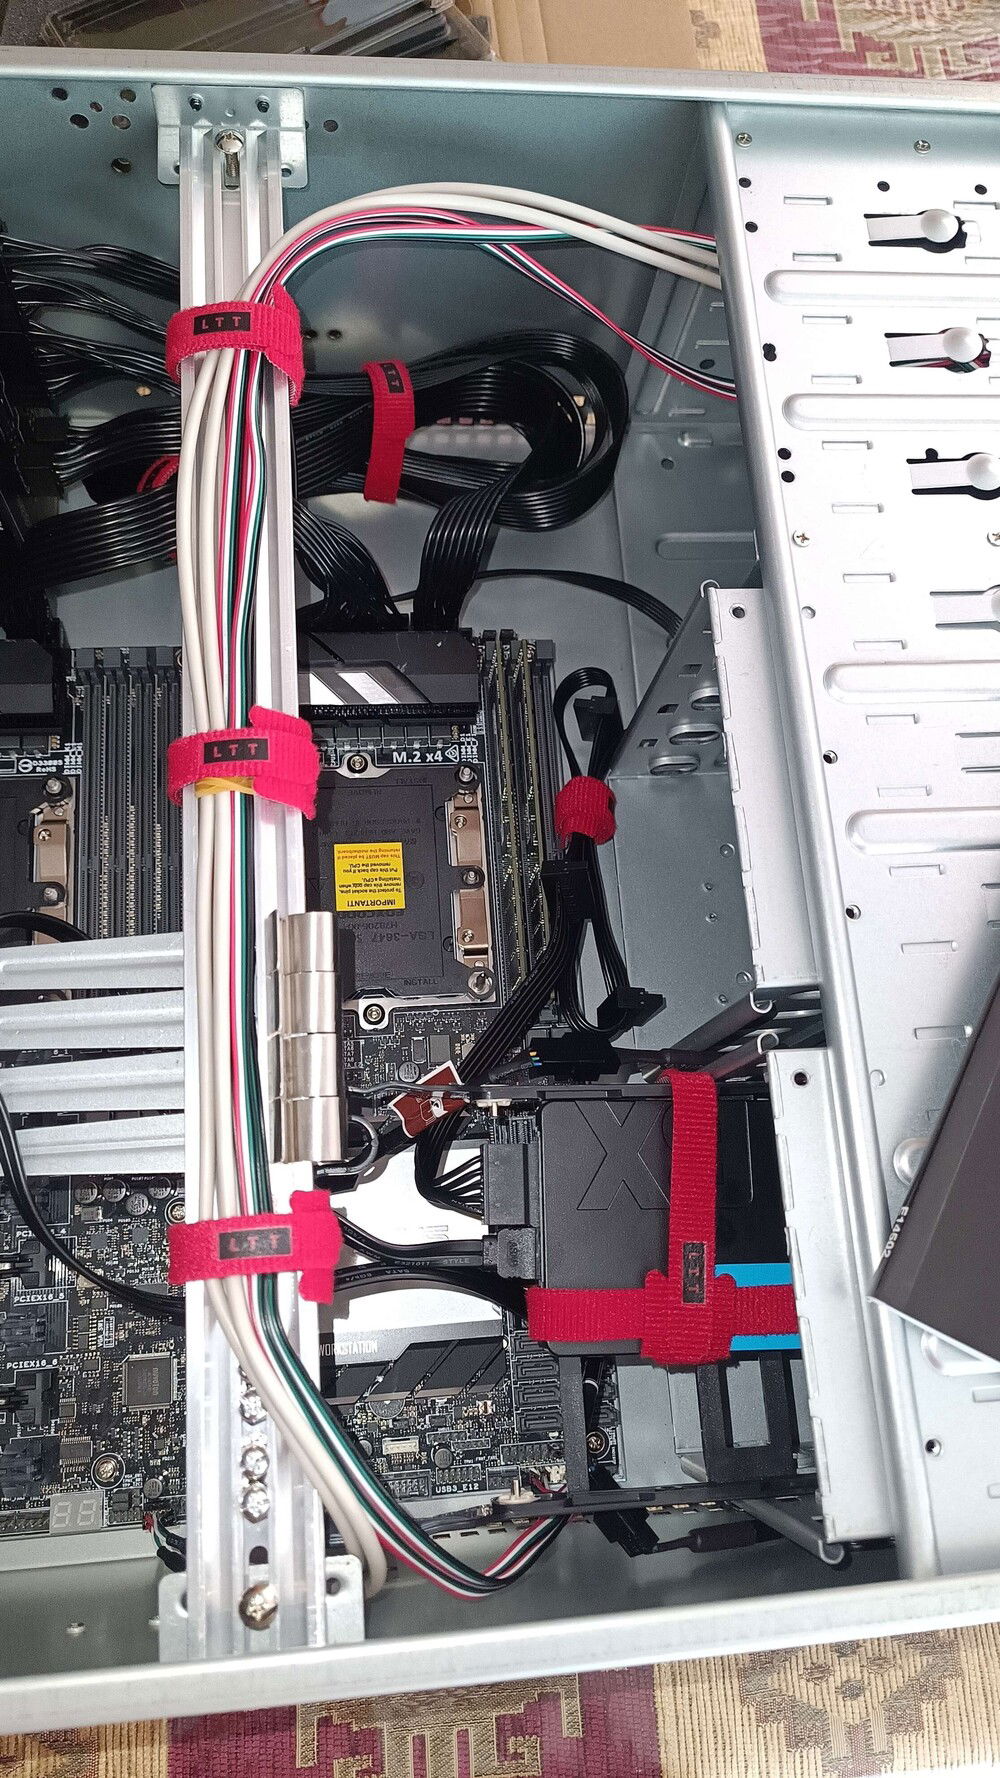
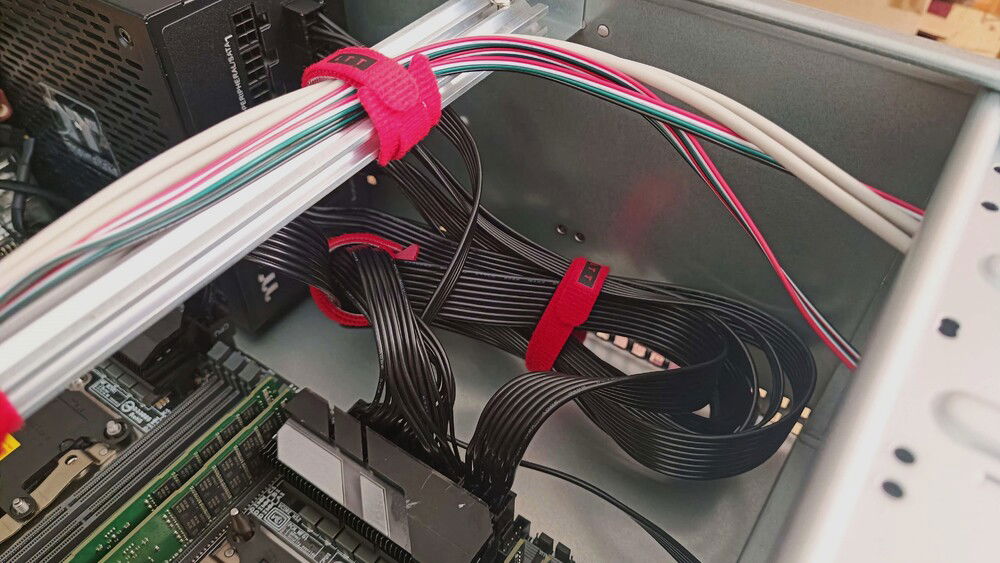
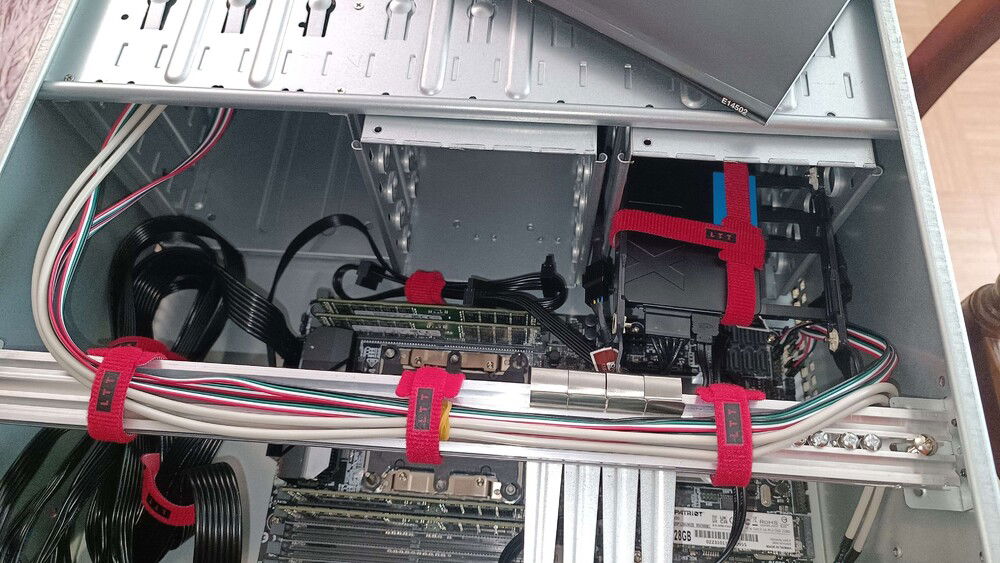
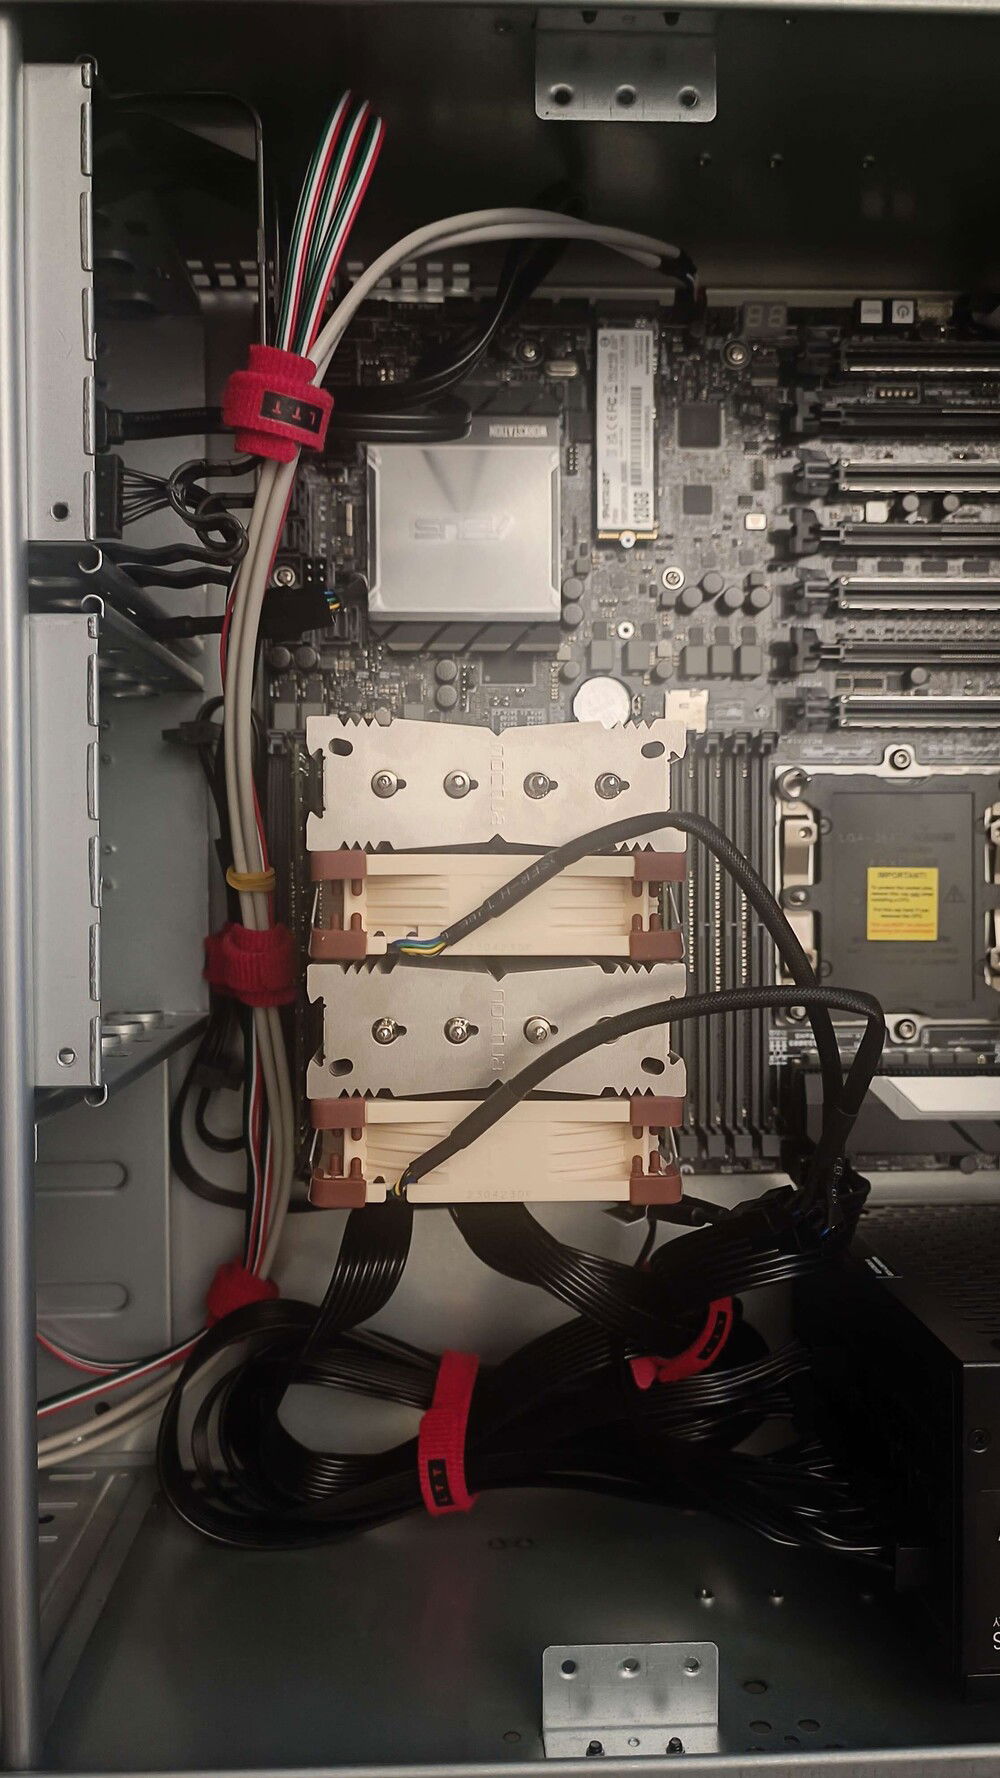
Management of cables has been achieved.
Yes, it's ugly but it's practical ! Can easily spot where there isn't enough fixing on the cables this way !
Don't worry guys, didn't tighten the cables too much, just enough to bundle them neatly !
How neat it would be to have the PoV of an ant in there, hearing the electrical noises of the parts, feeling the ambient heat being dissipated and seeing the fans whipping air through to cool it all down...
This case's caddies being 3.5" exclusive with no fixations for 2.5", 3 cables ties later and I janked something up to fix that SSD in place, doesn't appear to be budging when being tugged around, good enough for me !
All the RGB on this build will be the activity LEDs of the front panel !
Boot up time is stomping my way, can't wait to see those magnificent brown/beige fans spin up !
New update : Apr 19th, CPU cooler received, went straight away to finish the build !
Cleared some space for a first boot and expecting to have to do some troubleshooting...
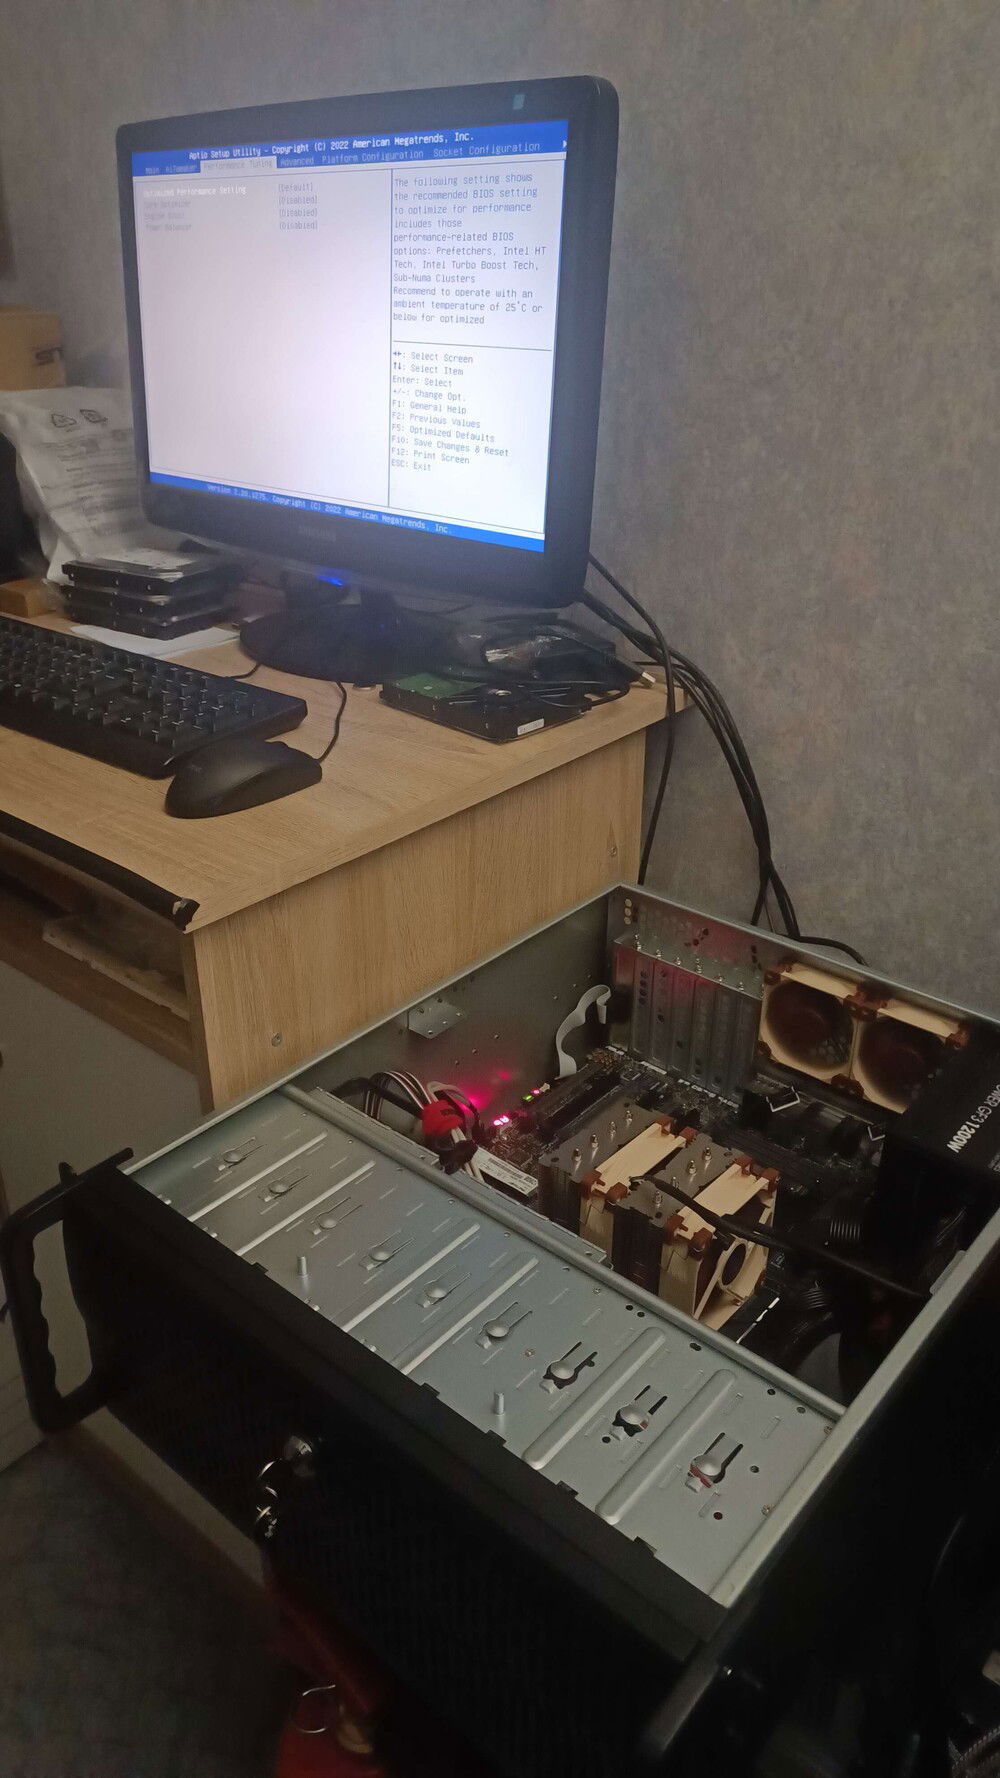
drum roll... we have power... we have POST...
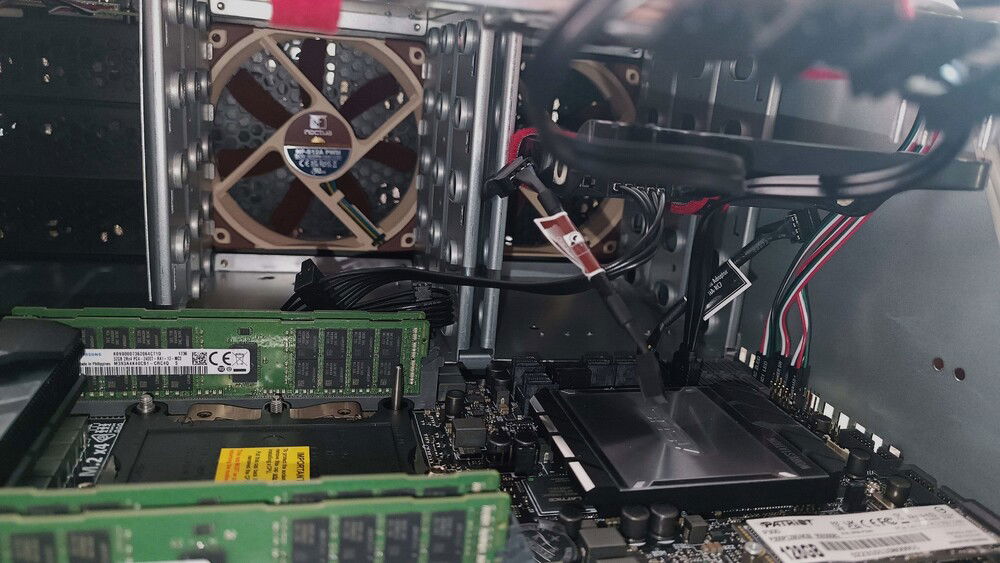
Fans pushing air from the big empty space into the power cables
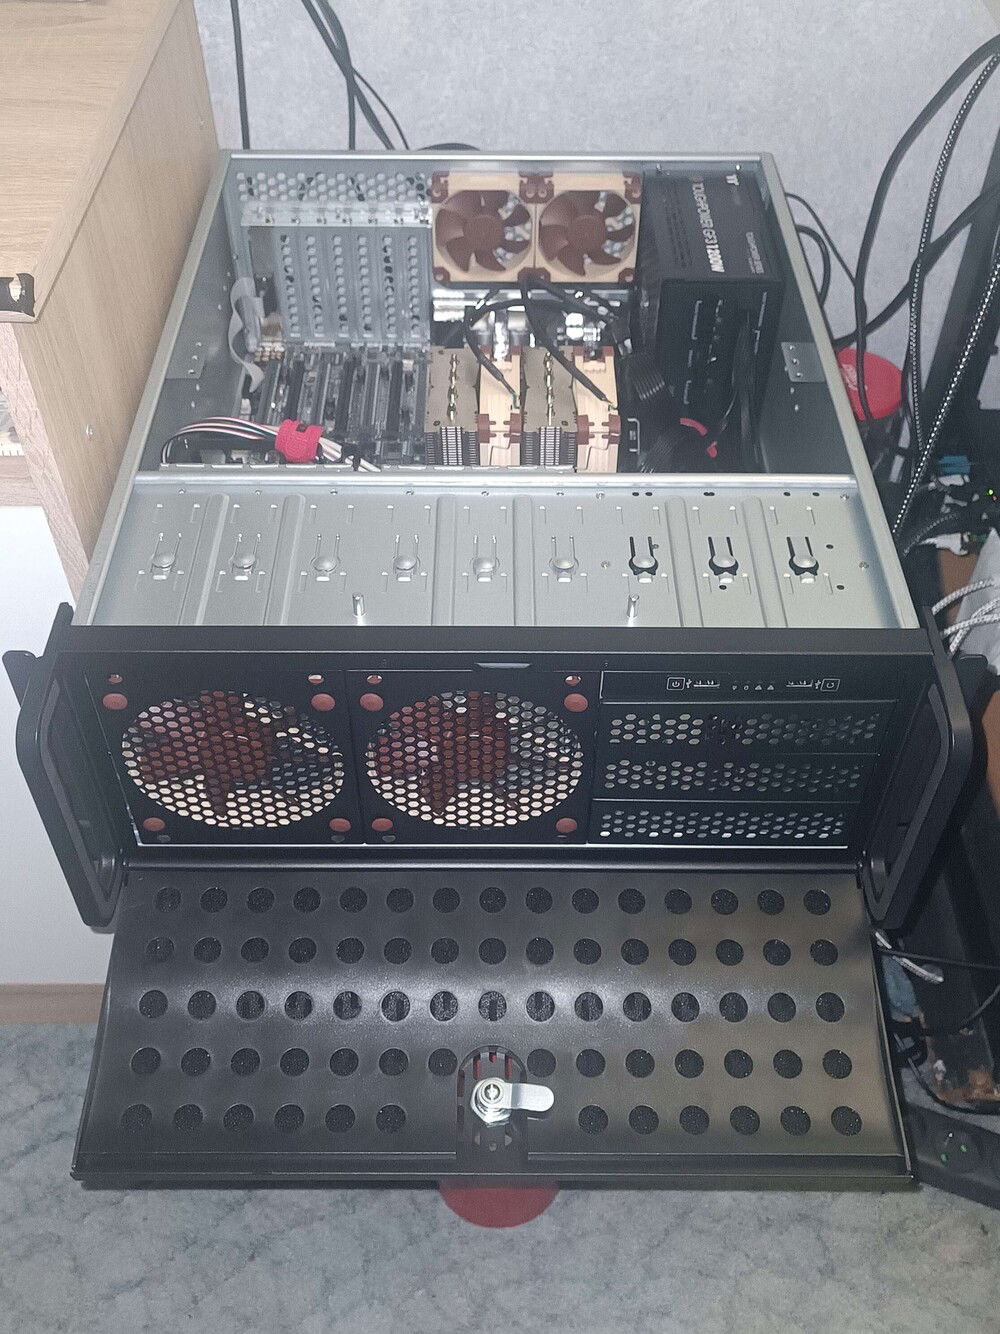
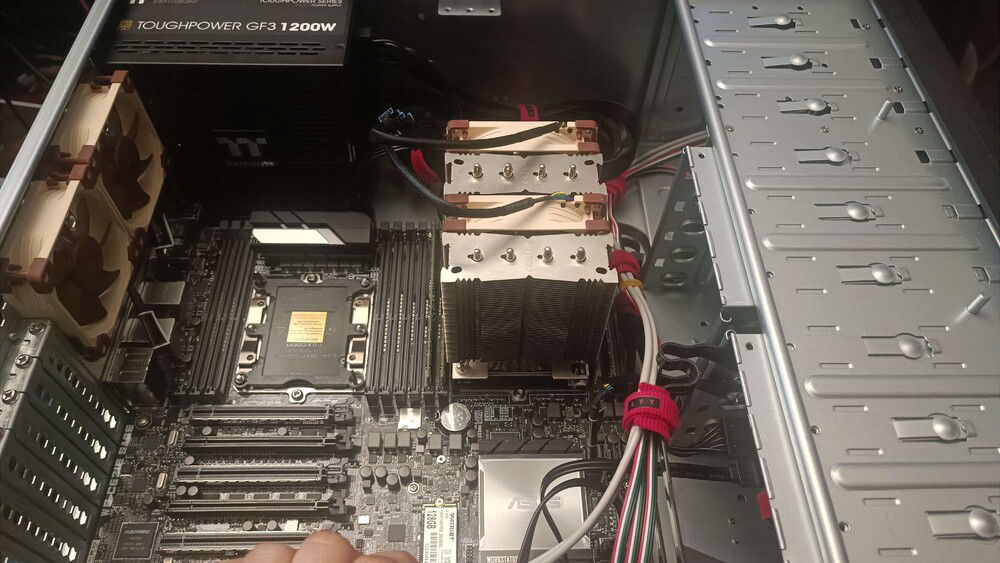
Likely uncommon and/or unorthodox BUT you can observe from the previous post that the front fans of the case are within the drive bays and that the space on the right does not have a fan (considering to jerry rig a mount for a third fan with cable ties or go all the way and 3D print one)
that blocky cooler is sliiightly too tall and forbids installing the transversal bar that is included for GPU support purposes (I used it as a fixation for managing the cable bundle as previously picture too)
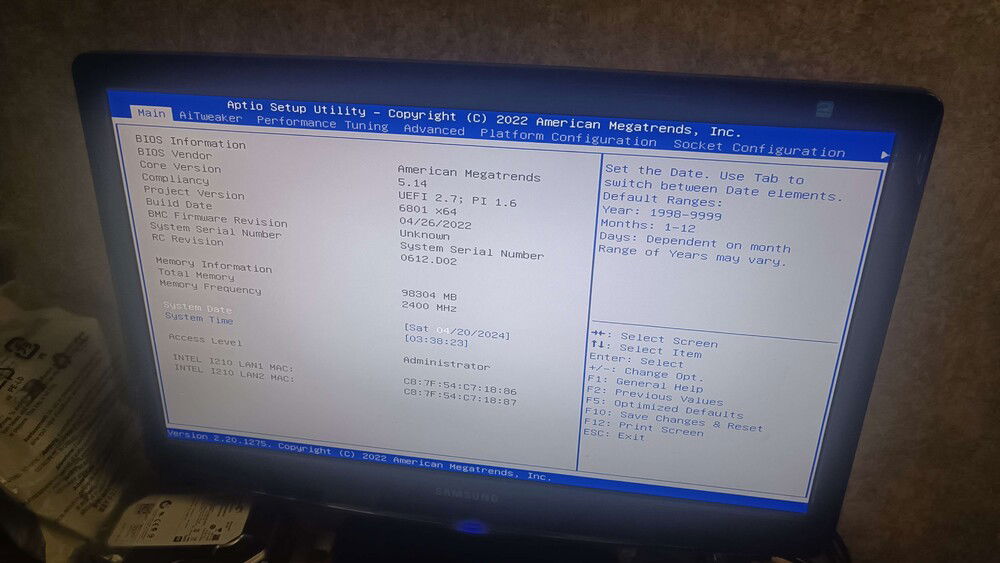
Small hitch along the way, one of the RAM sticks was detected by displayed 0GB of memory, thankfully that was easily resolved by swapping two sticks around and after a reboot and retrain, all of the memory showed up !
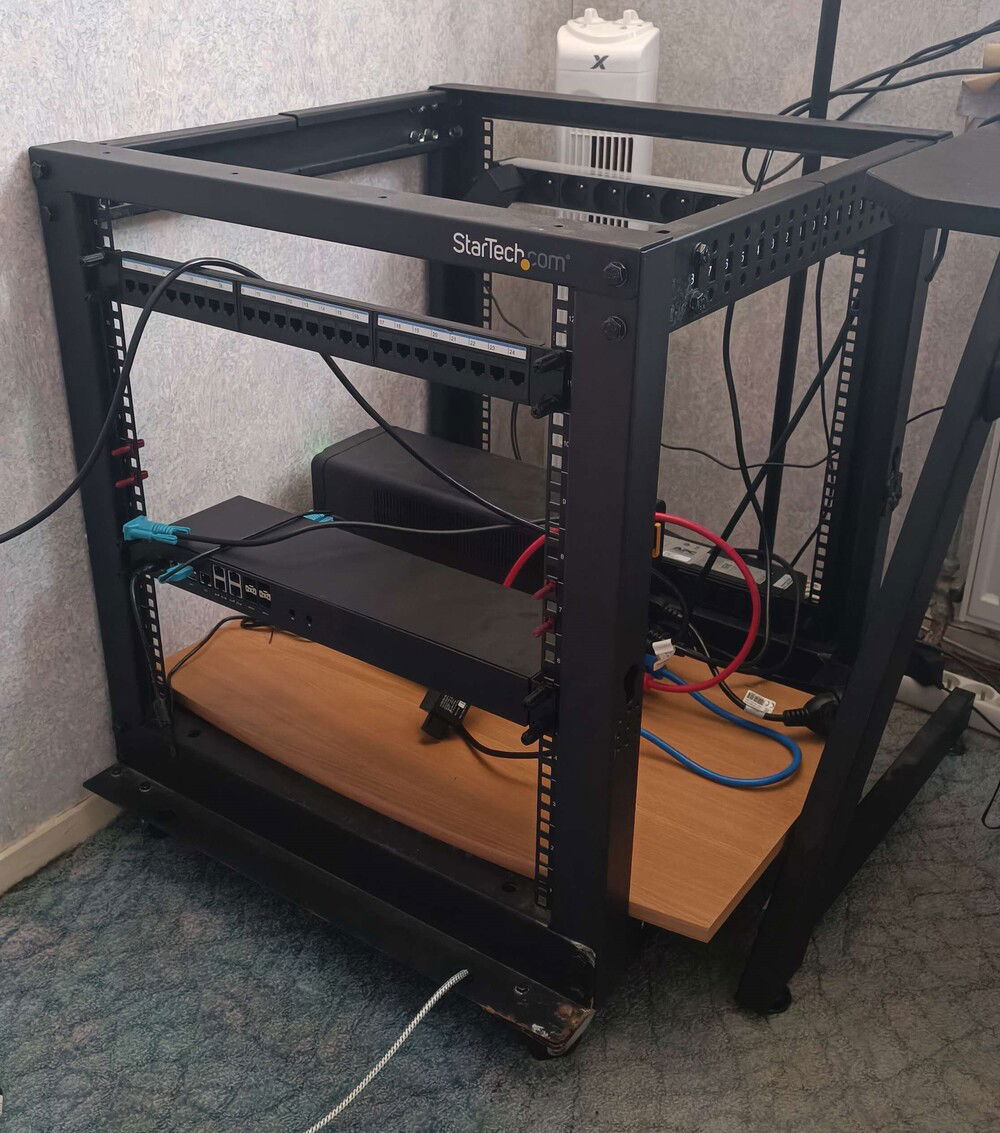
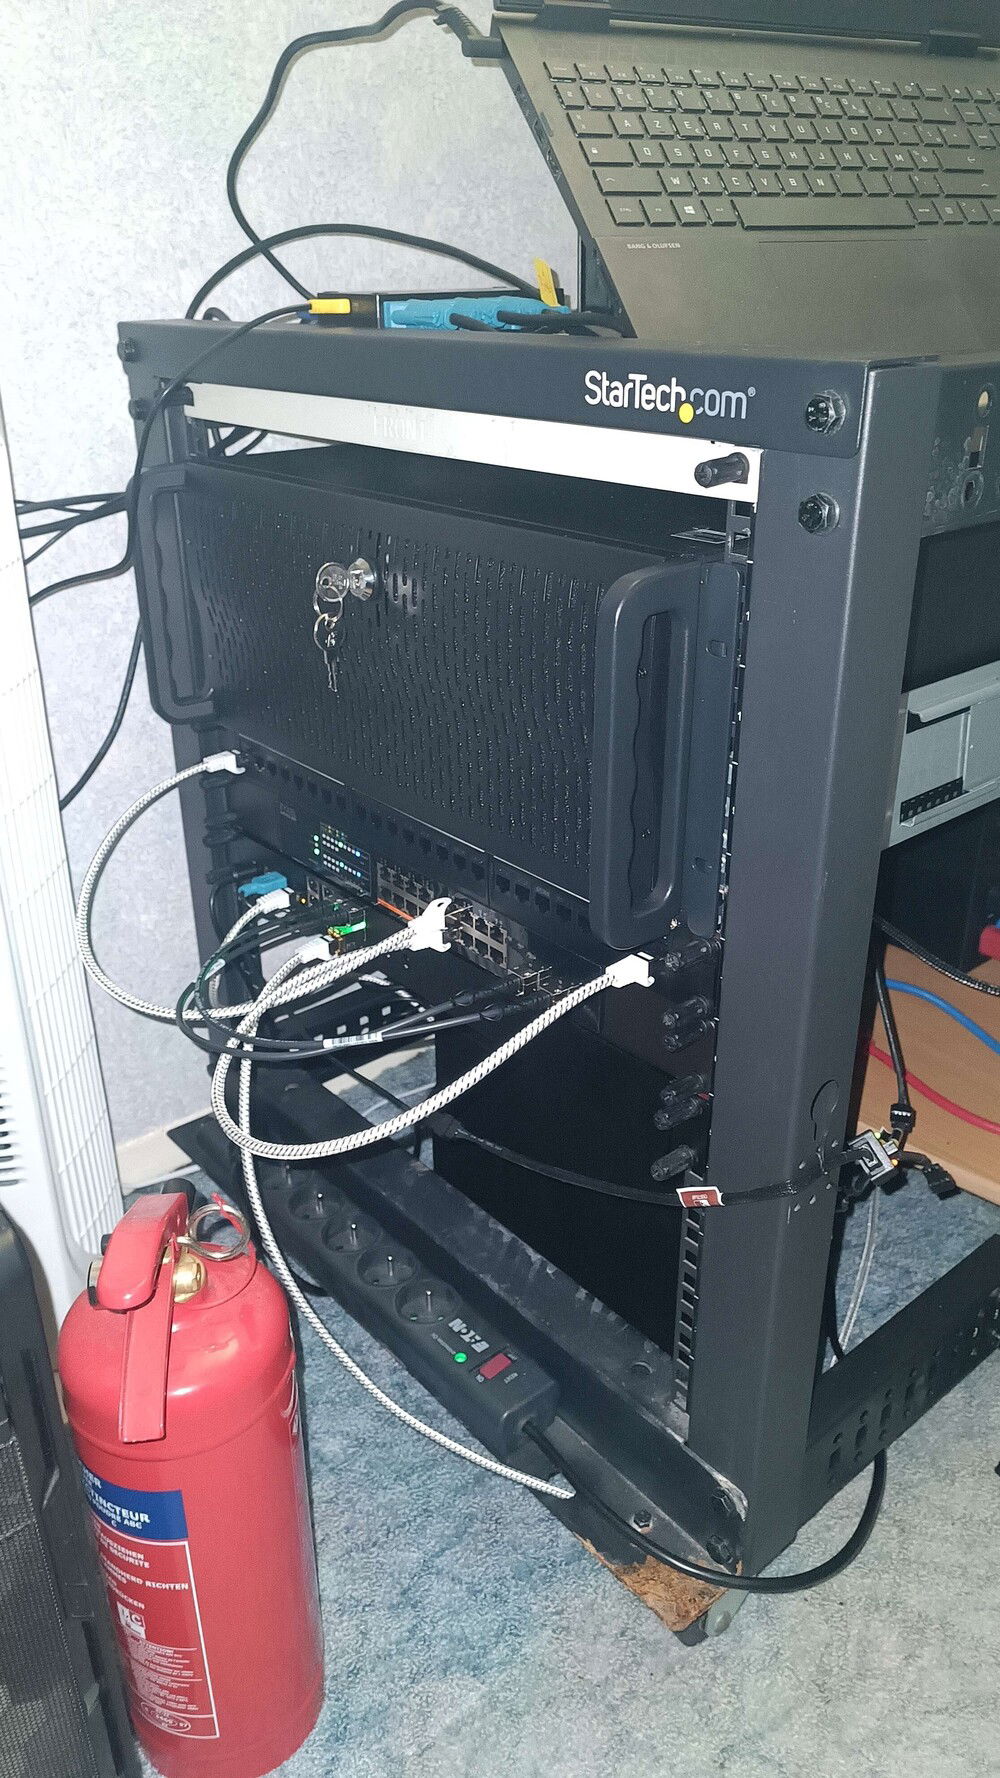
I emptied my server rack from the few things I had already installed on it
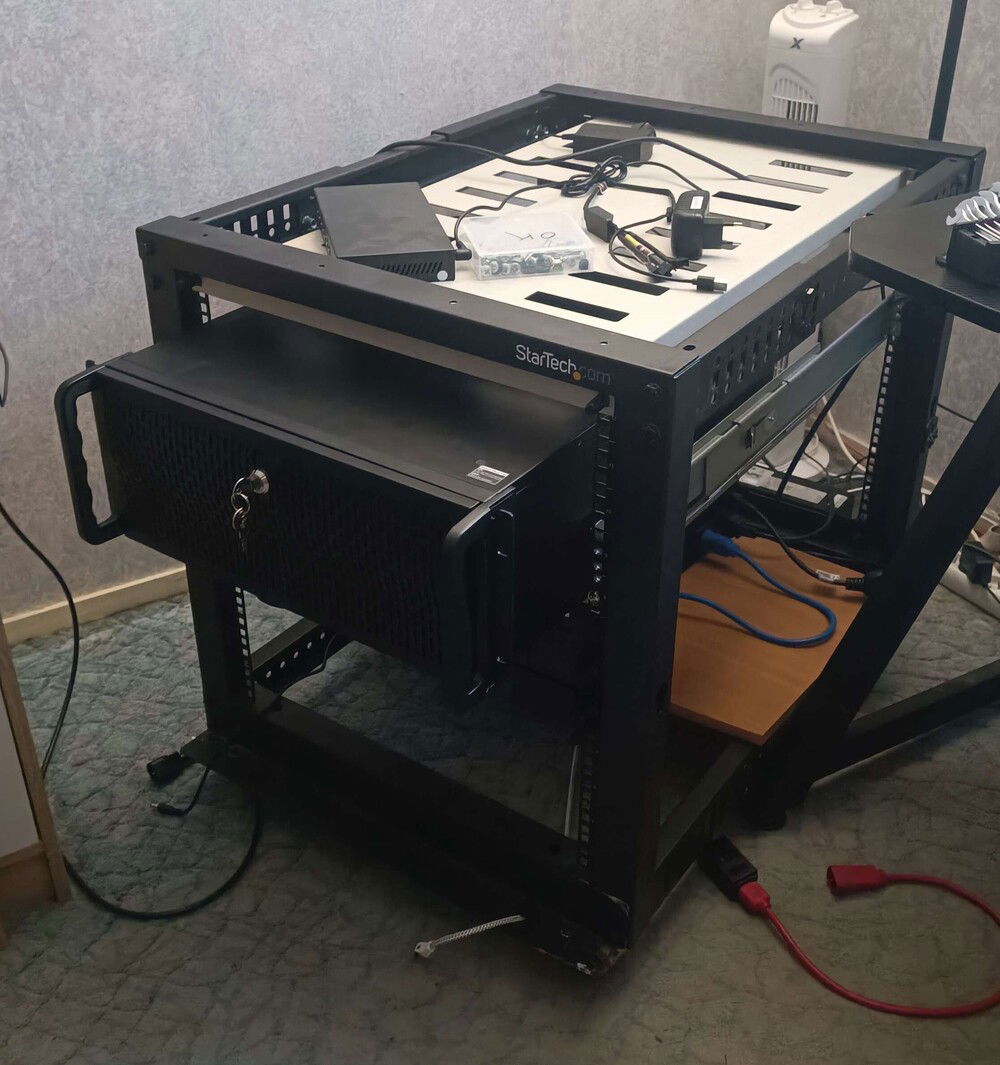
then thanks to a few "dumpster dives", I managed to snag for myself a server shelf and slide rails for the server (as well as a couple of cable passthrough panels that are unnecessary for now :) )
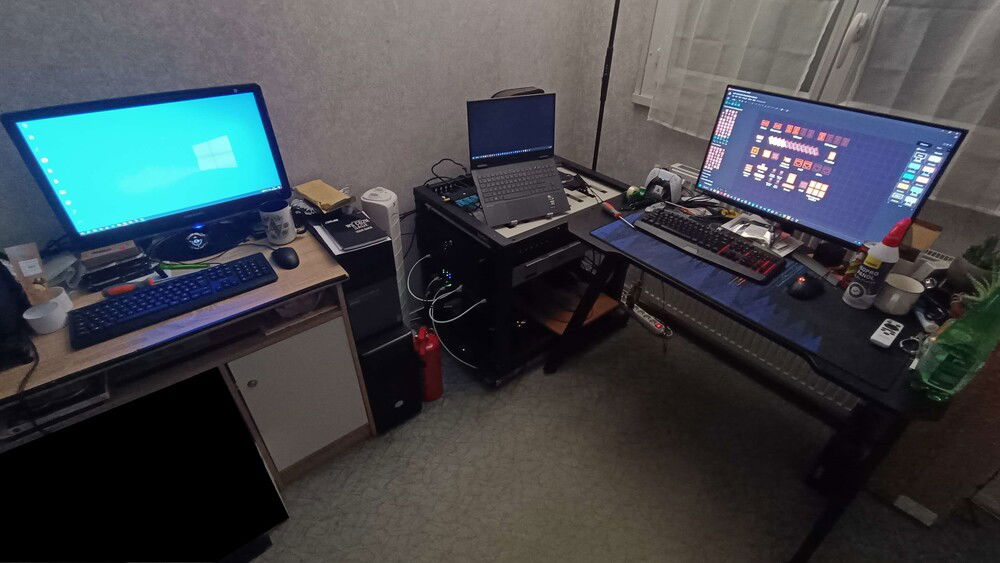
After a full evening of work, bolting off and down things, cable management and clean up, the GeekStation™ is finally really for operations !
Left is the network terminal, right is the all purpose desk with the "pièce de resistance" in the corner !
I'm really proud of the job done here and I can't wait to get to the next part !
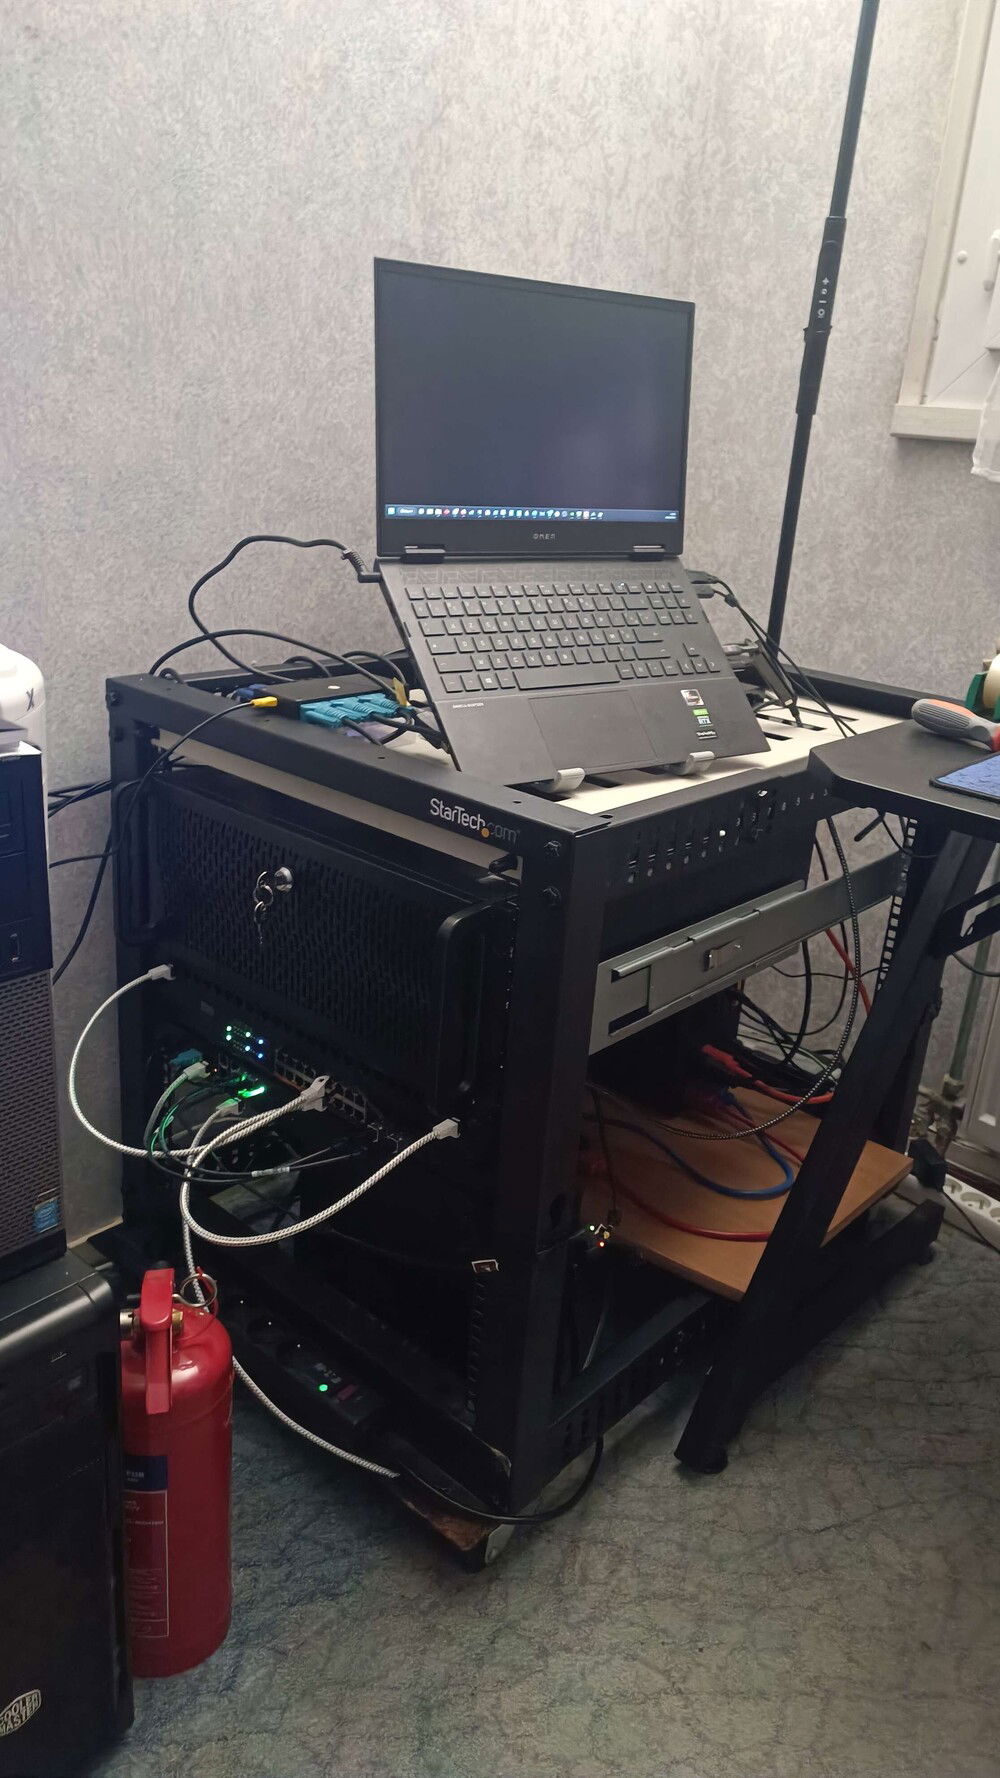
Closer shot to the network stack's appliances with a full detailed list coming soon along with more details on the progress of the project !
