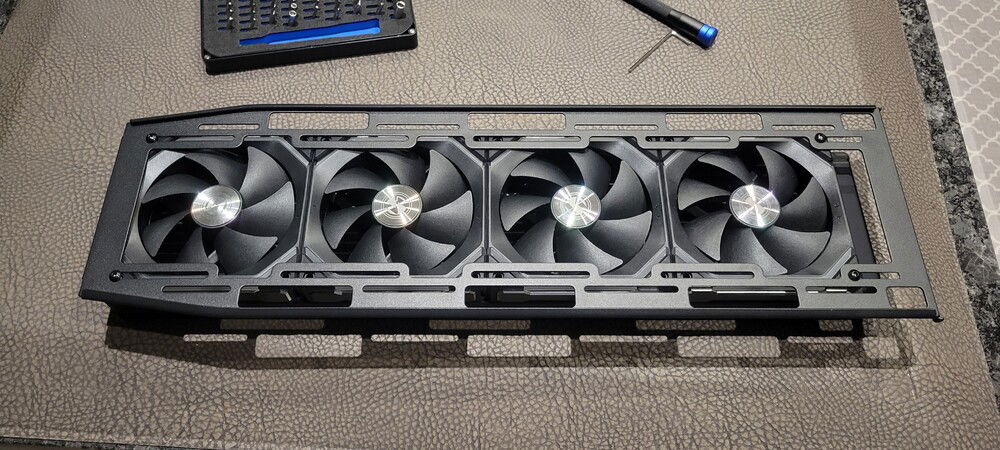
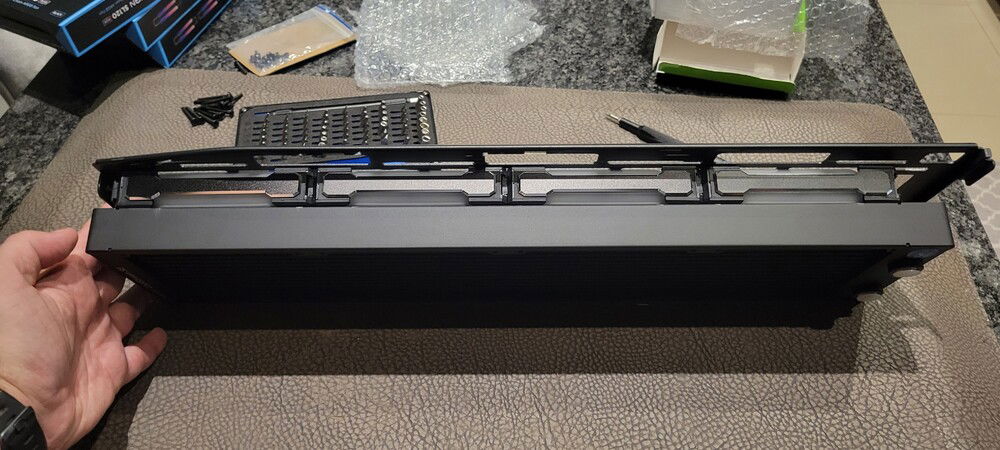
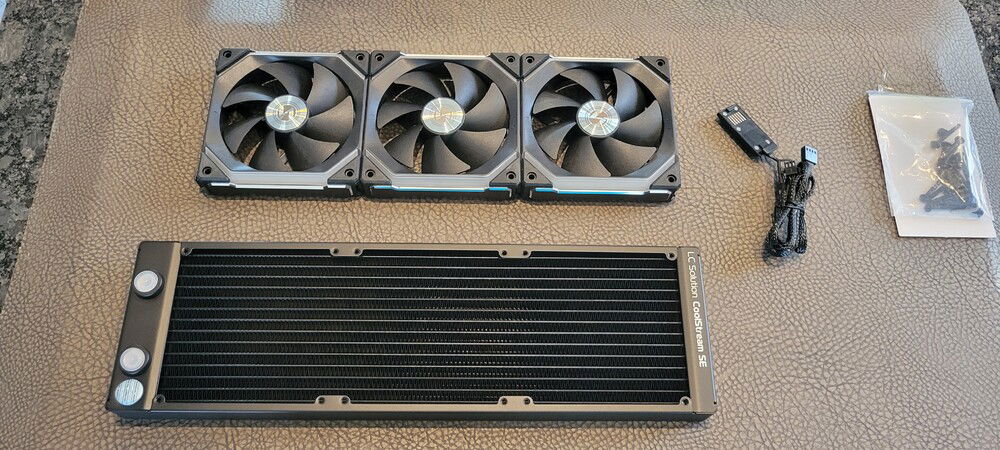
Mounting the fans and 480mm rad to the front tray.
Mounting the fans and 480mm rad to the front tray.
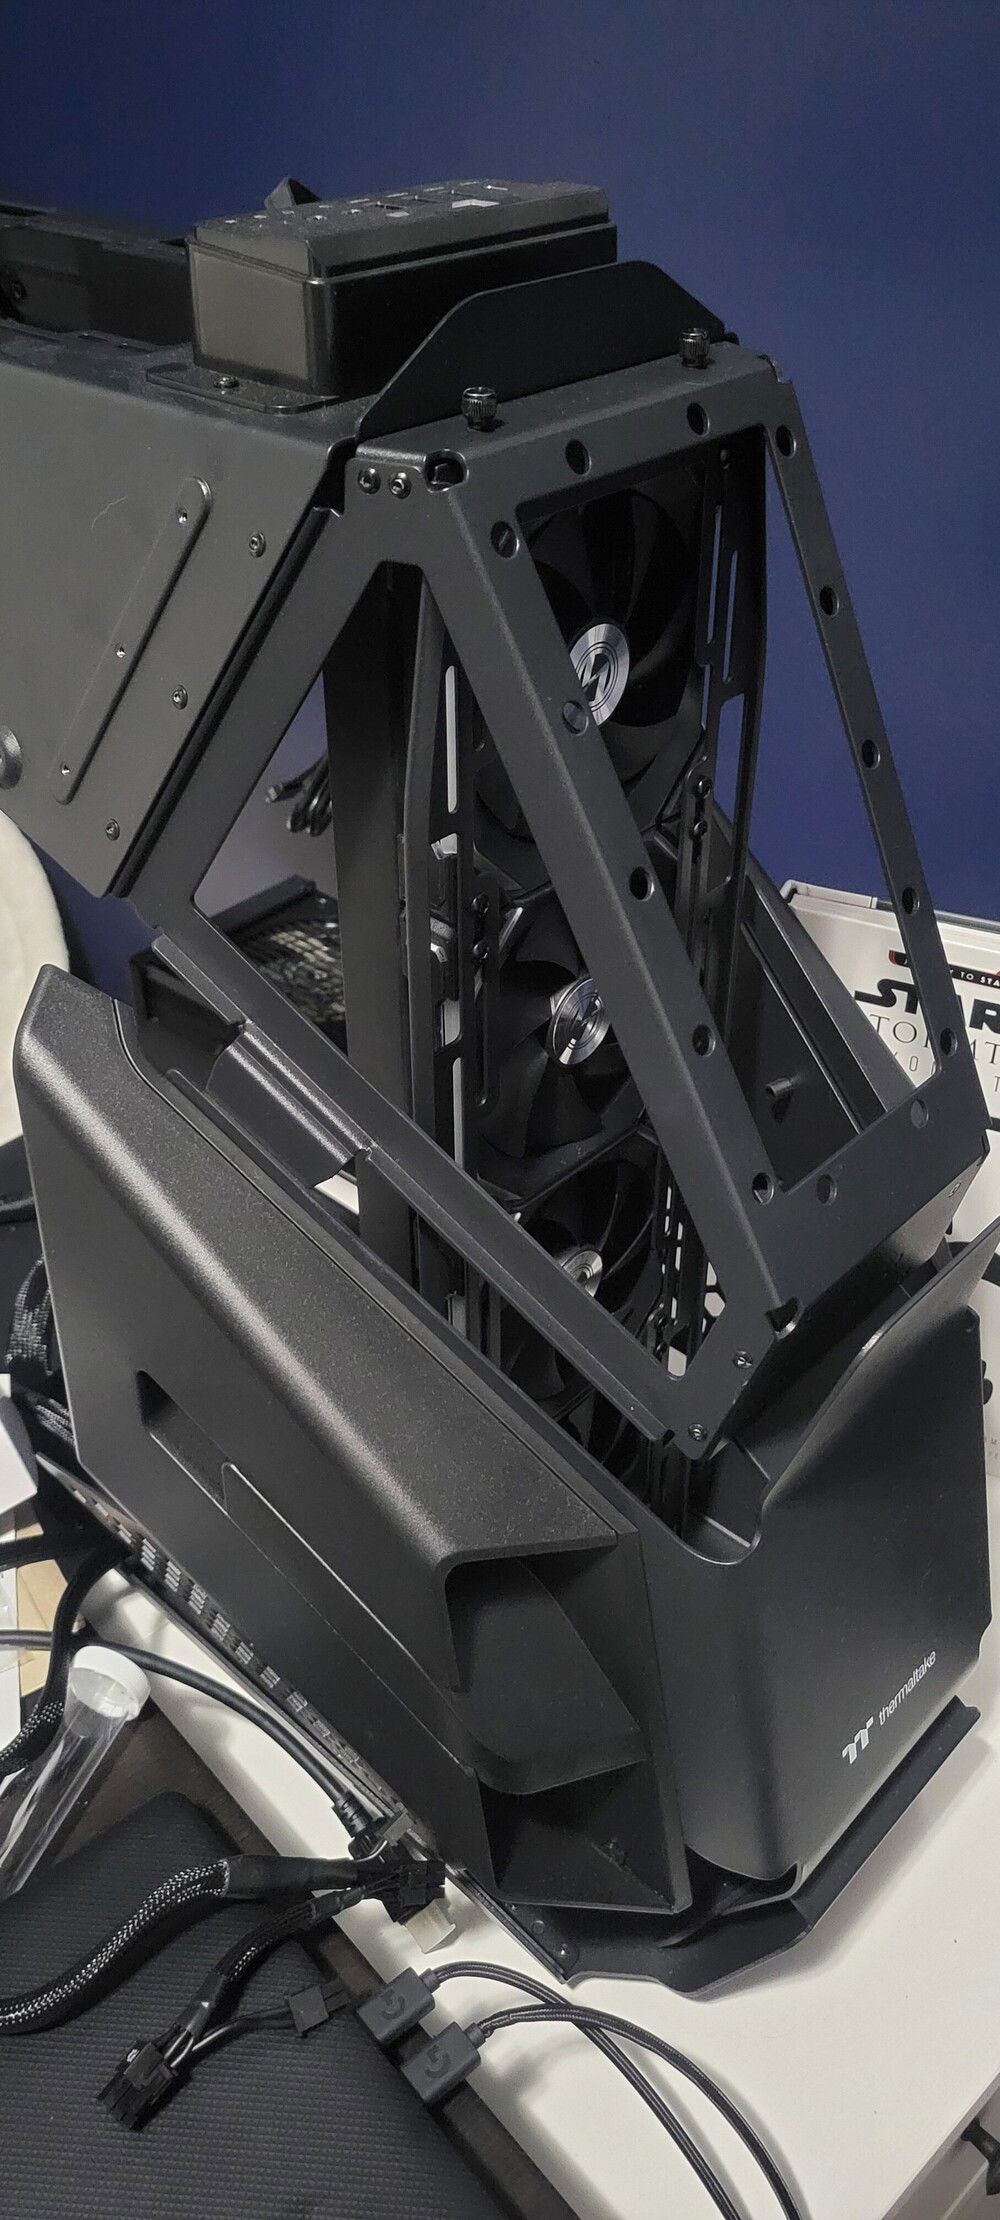
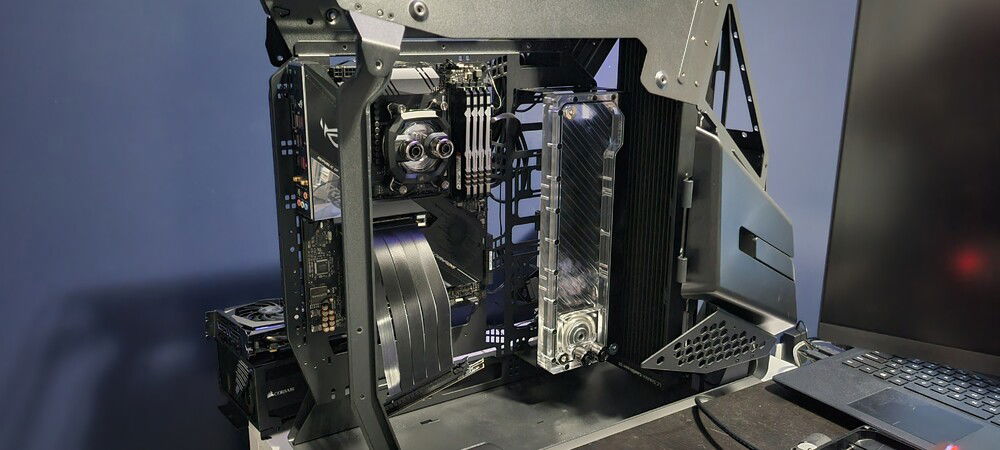
Test fitting the front tray.
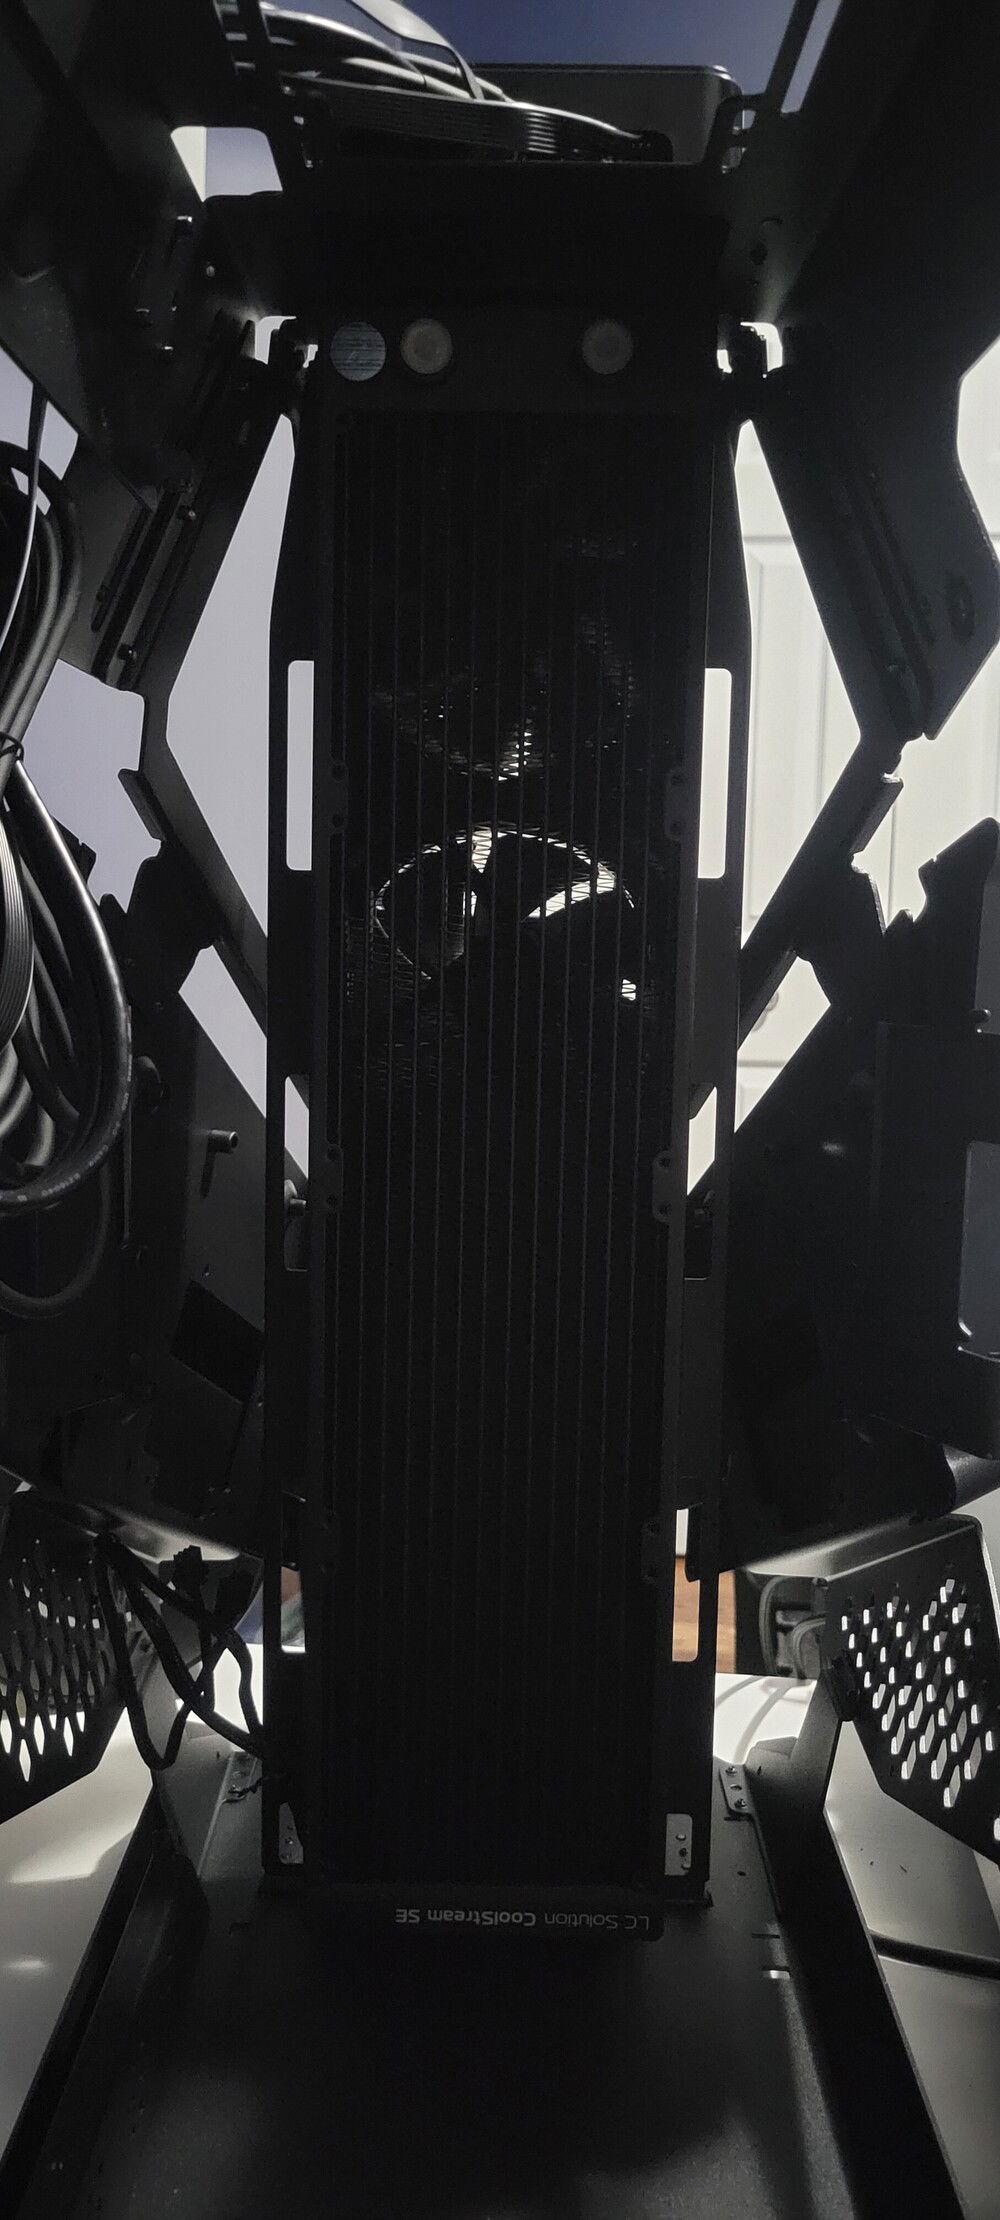
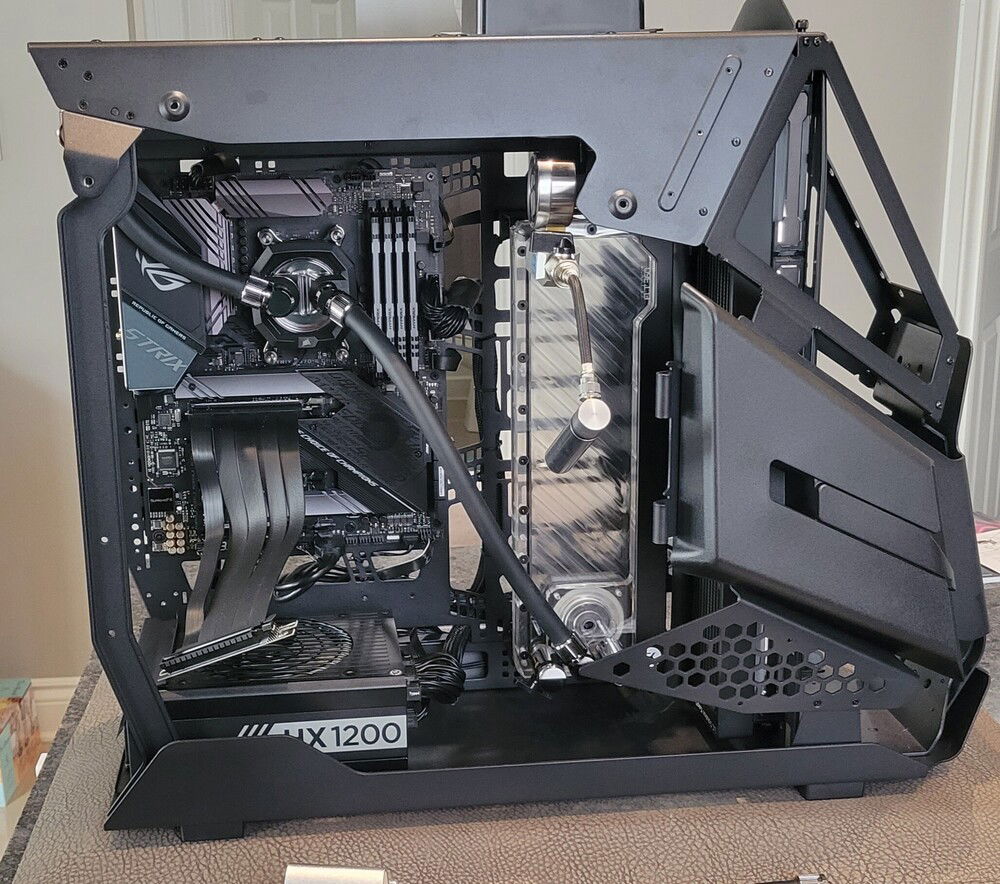
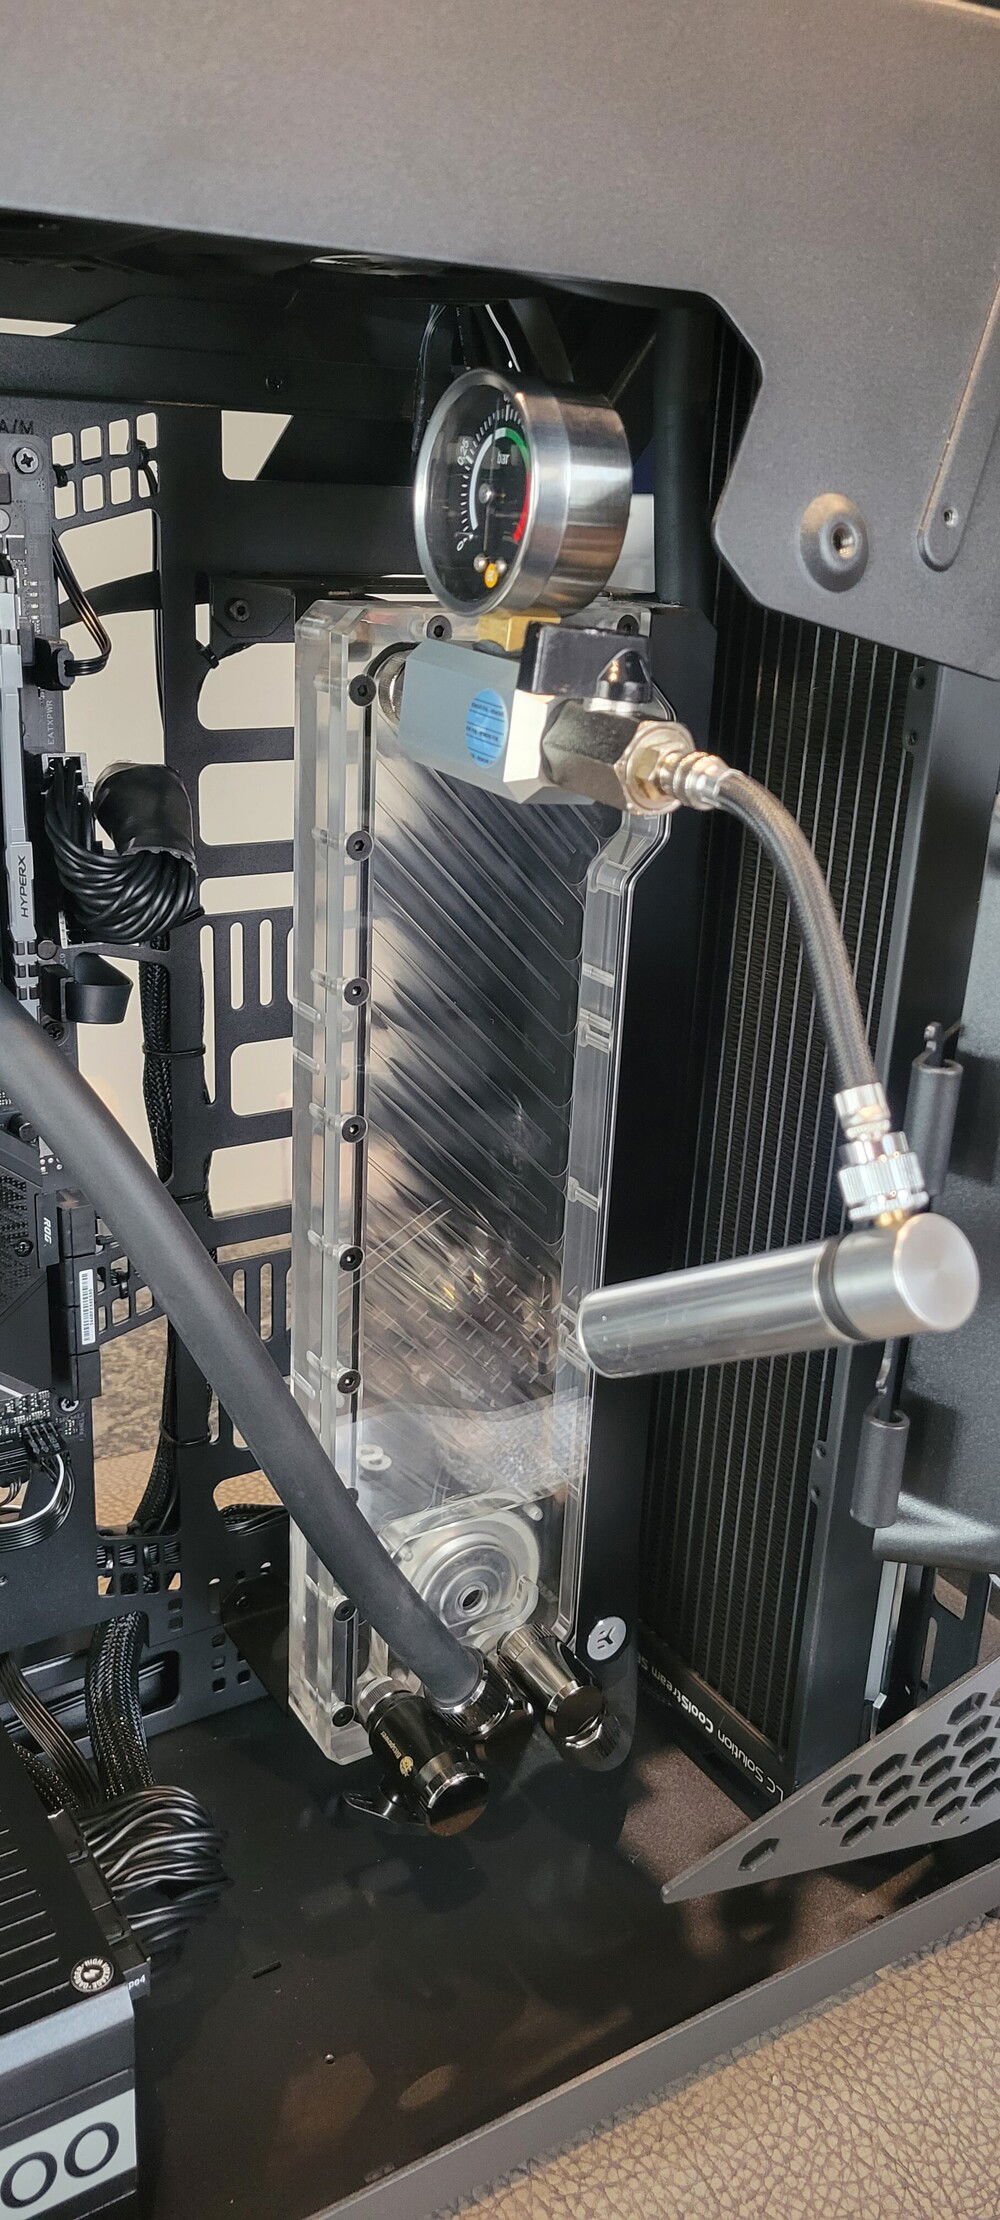
Interior view after I realized I had the fittings at the bottom of the rad and rotated it.
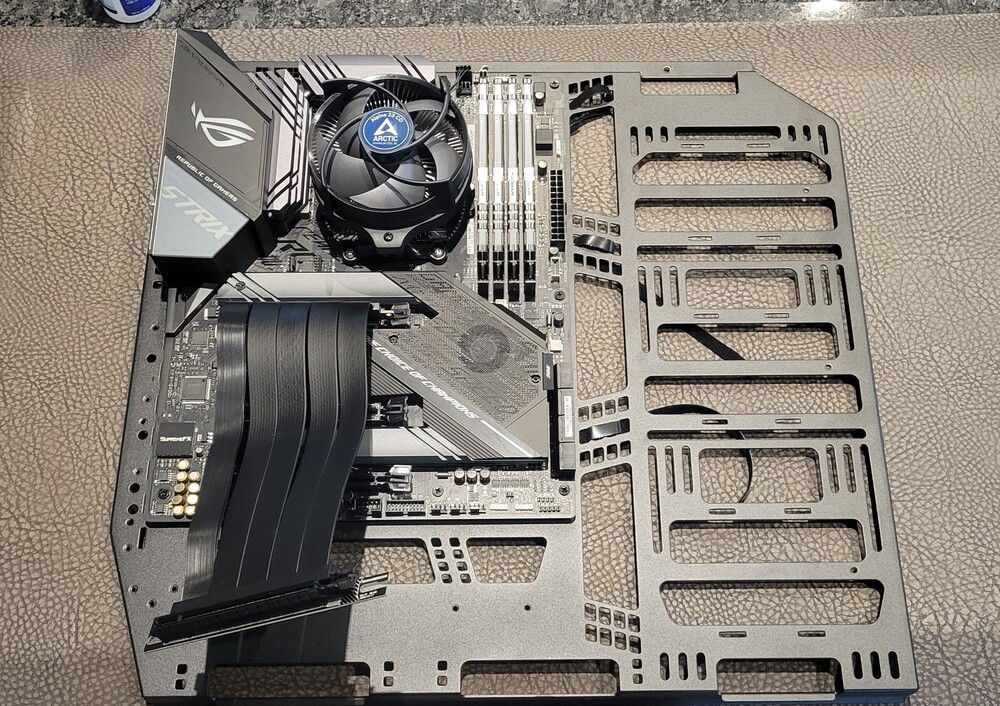
I used a $15 air cooler so I could make sure everything would POST.
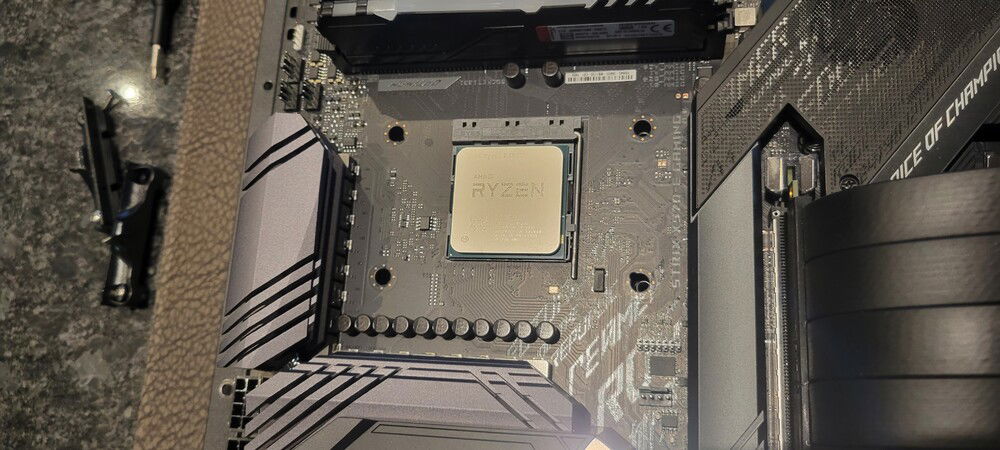
Cleaned up the thermal paste and removed the clip retainers.
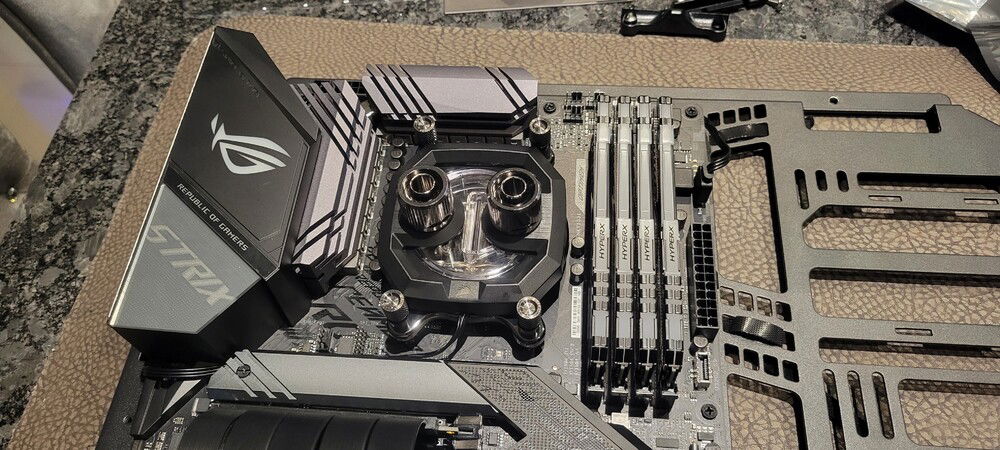
Installed the water block and fittings.
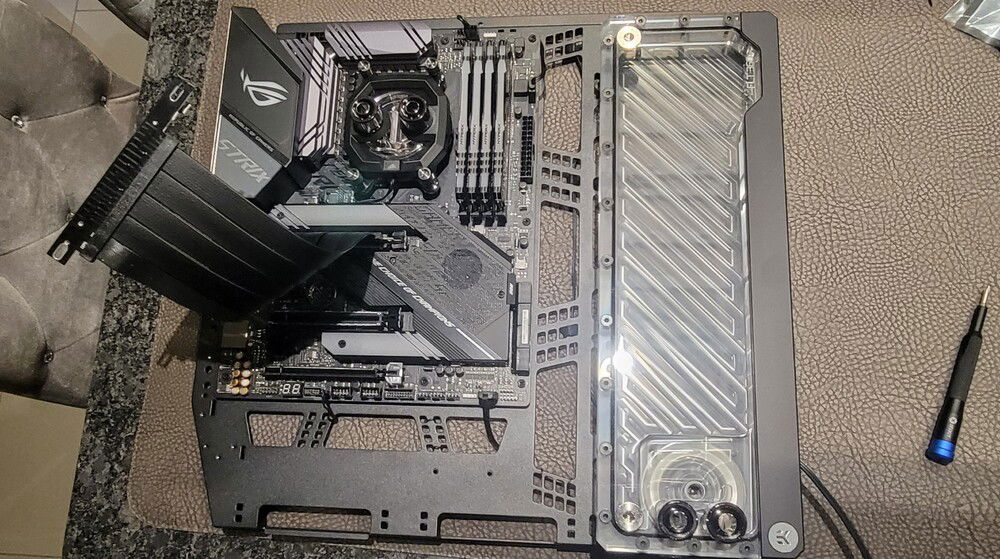
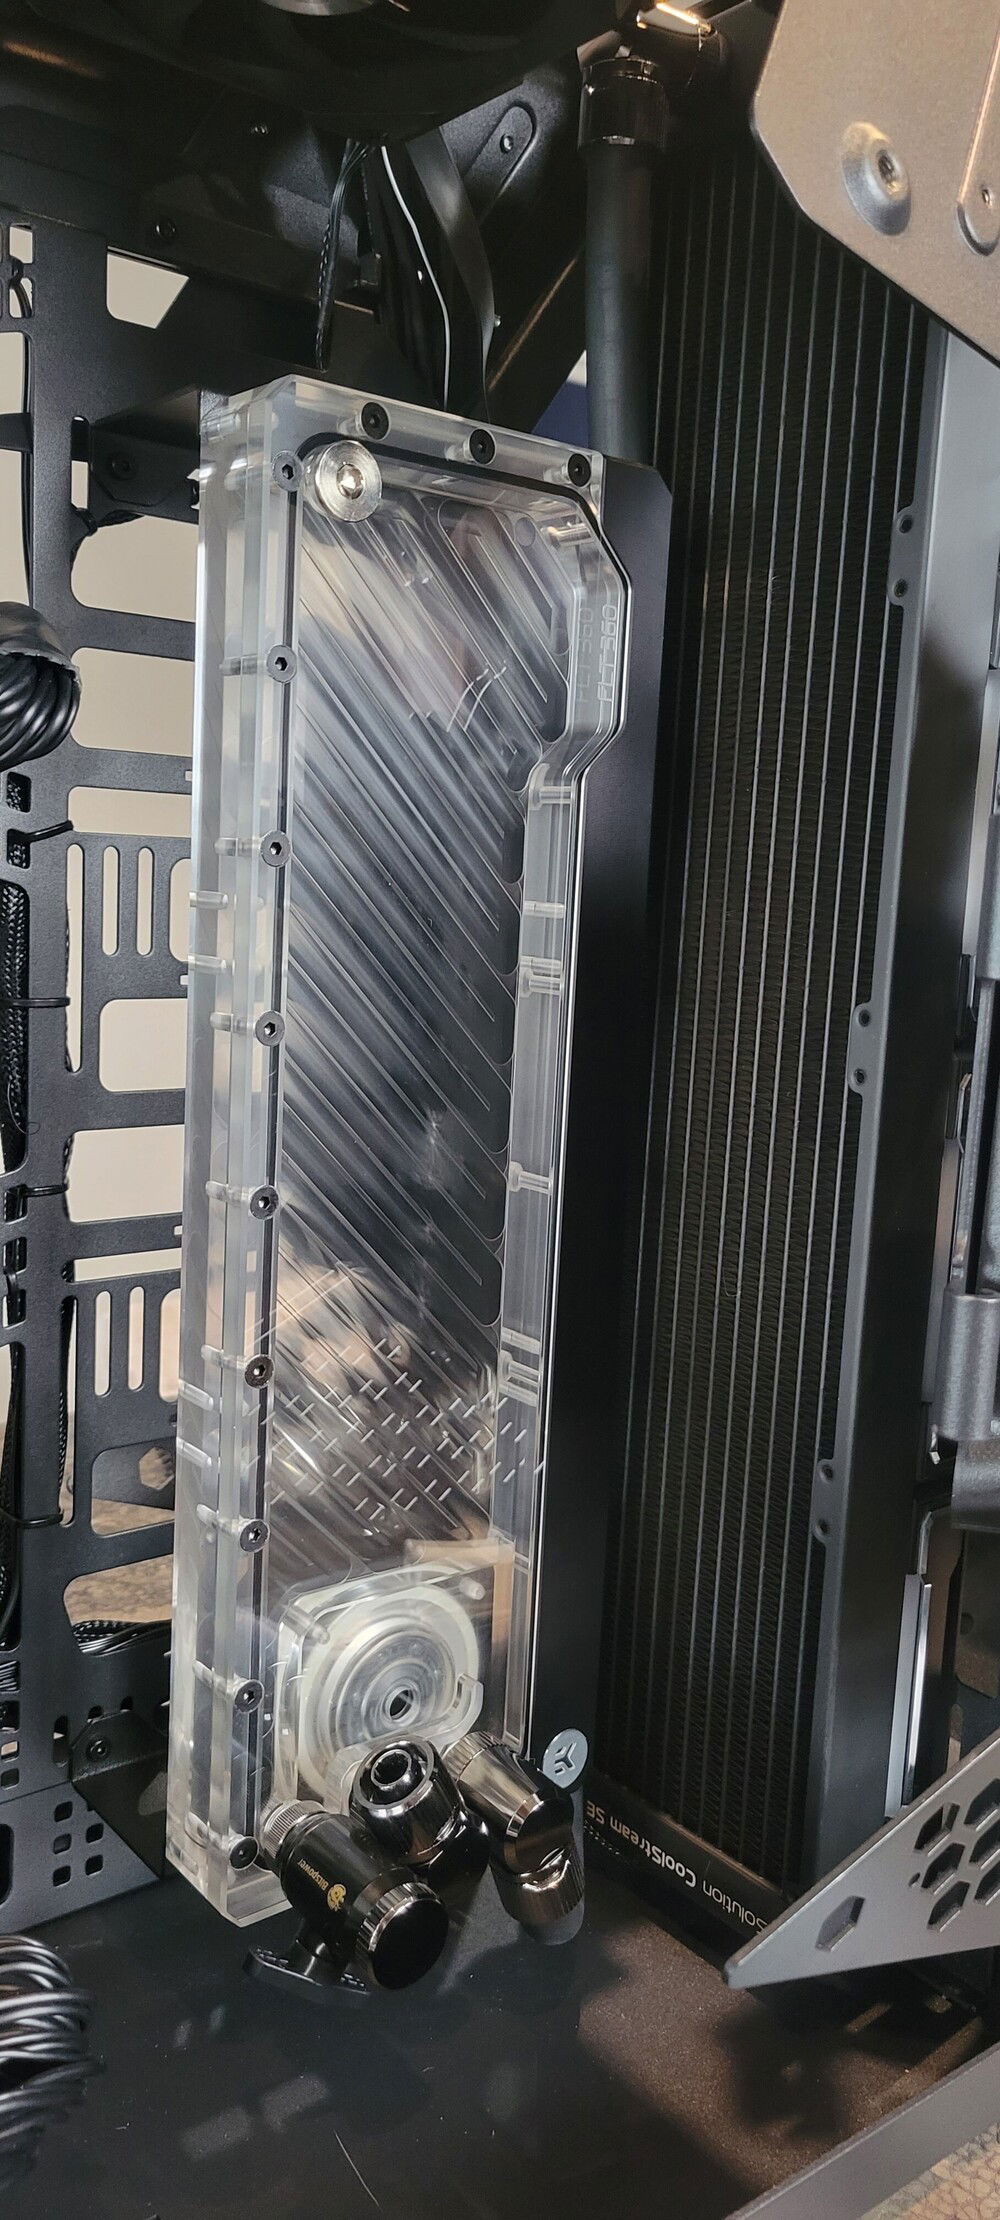
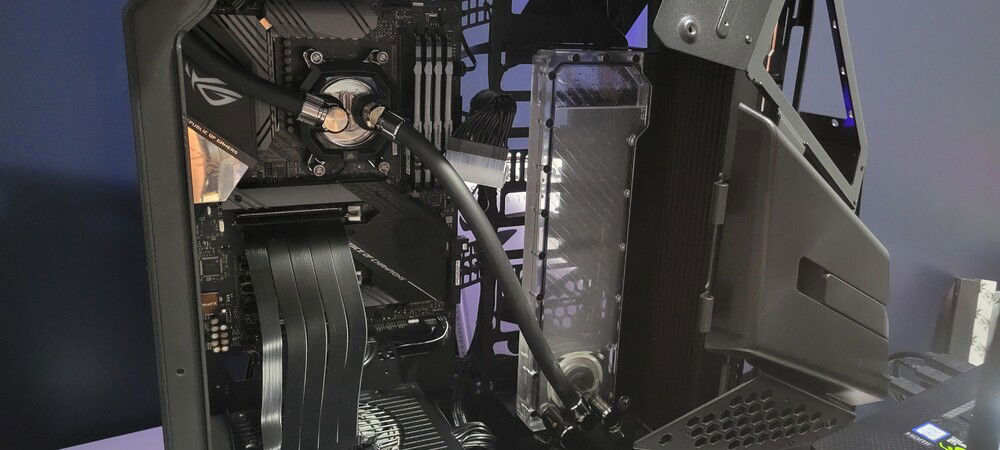
Mounted the pump/res combo to the motherboard tray. I've used twist ties to temporarily hold the cables until I can figure out where everything needs to go.
Motherboard tray test fit.
Mounting the fans on my 360mm rad.
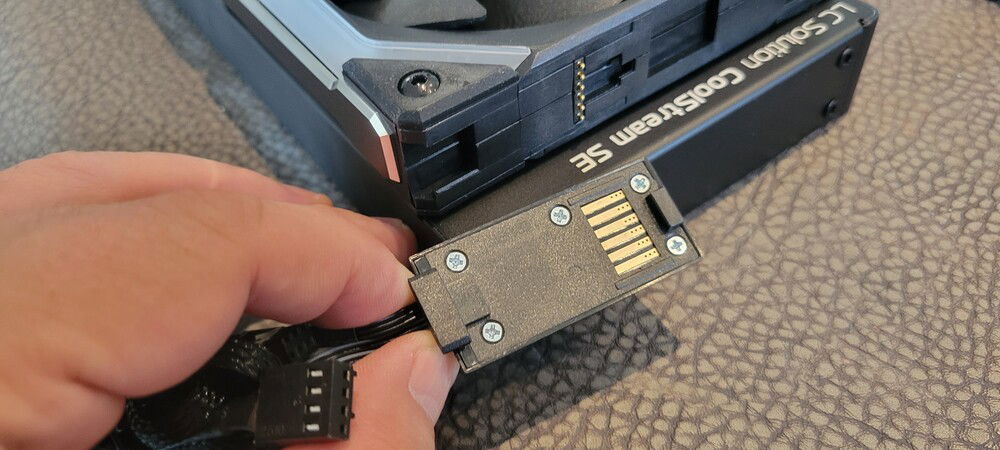
I love the fact the SL 120s connect to each other so I only have two wires to deal with for each set of fans (up to four).
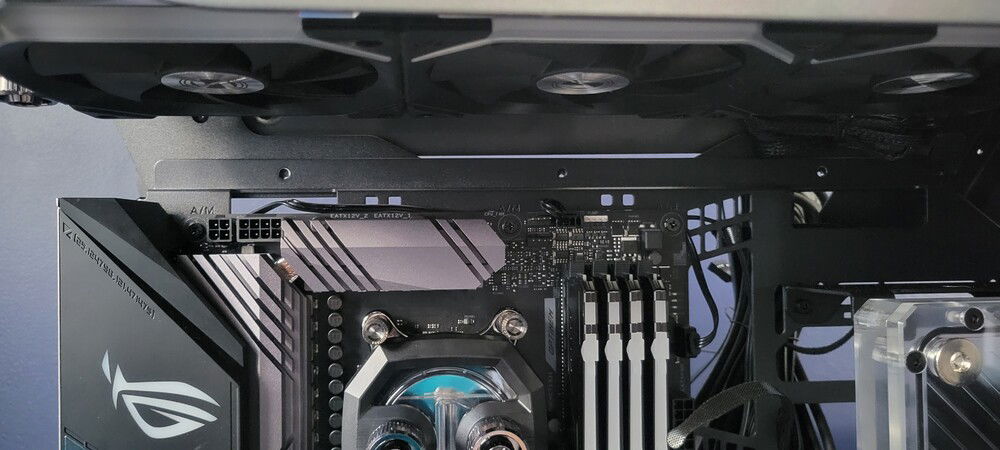
Mounted the rad to the top of the case and have tons of clearance for the motherboard tray.
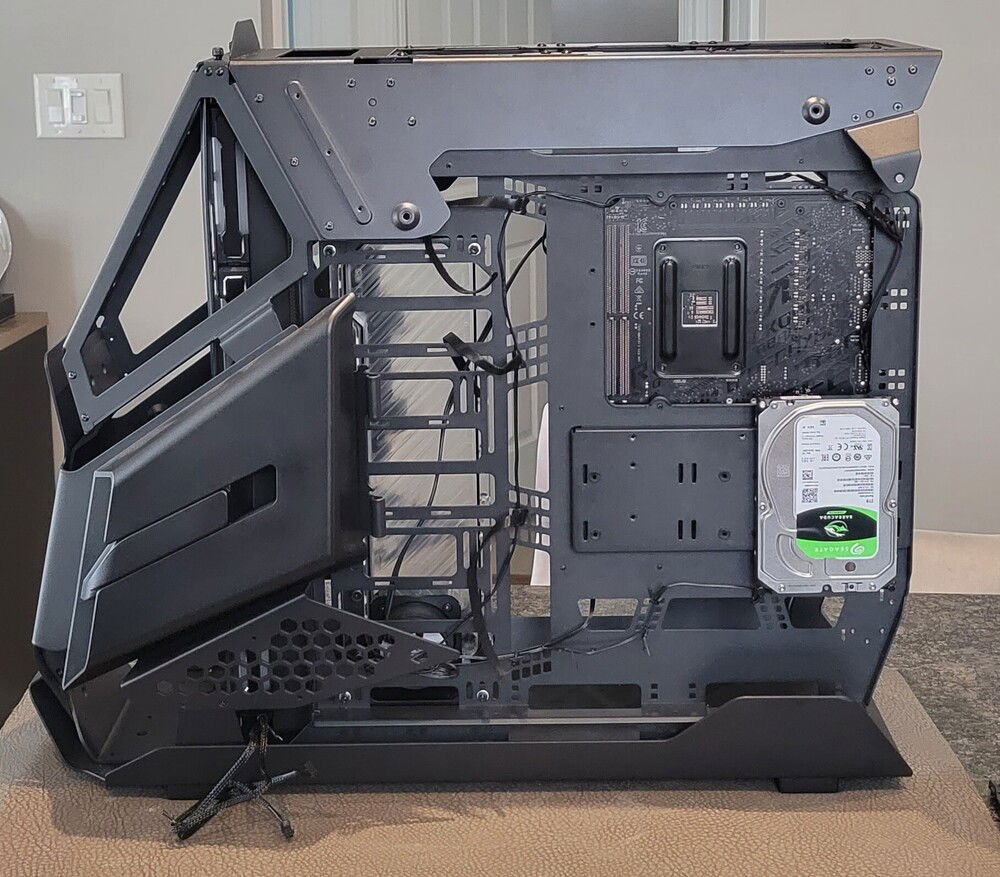
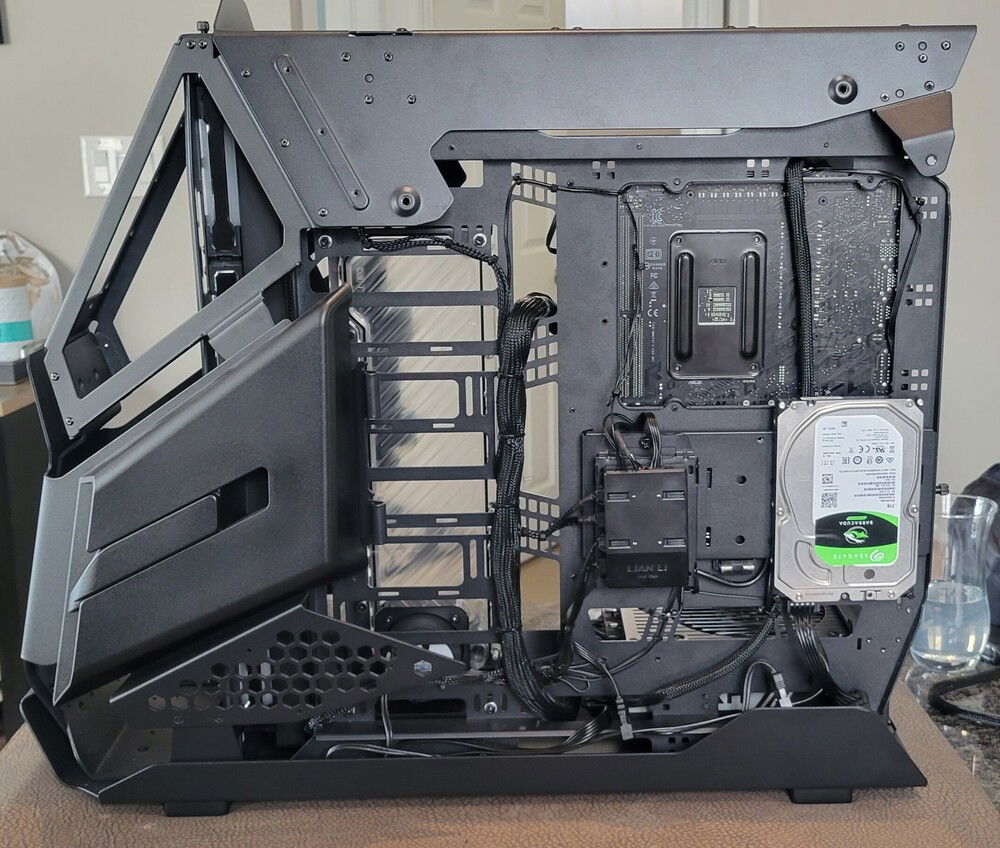
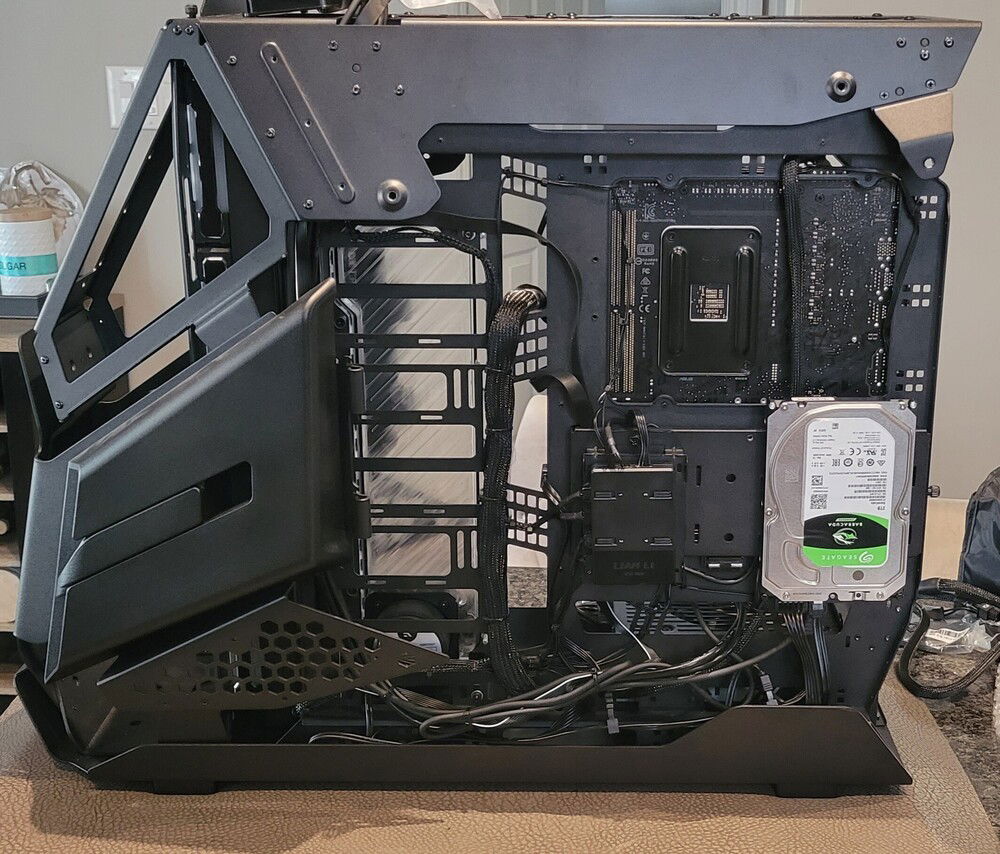
A few more components to add today before working on the cables. These are going to be on the back of the motherboard tray so this work will be done with the chassis on the counter. This is a steel chassis so moving it is a workout (22kg or 48.5 lbs)
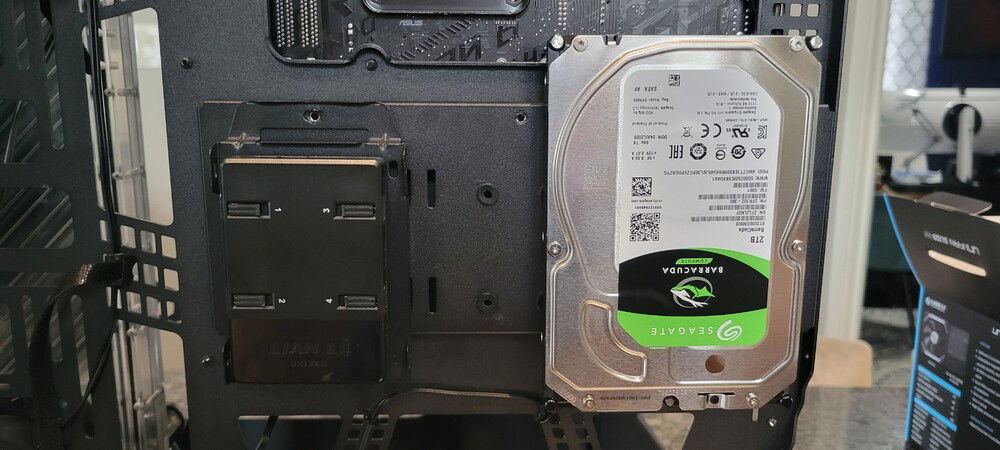
I tried to mound the drive behind the pump/res but the tracks were wider than the shaft of the screws and I couldn't tighten them enough to keep the drive secure. Not sure I'm keen on that much silver being visible so I might need to get some vinyl and cover it.
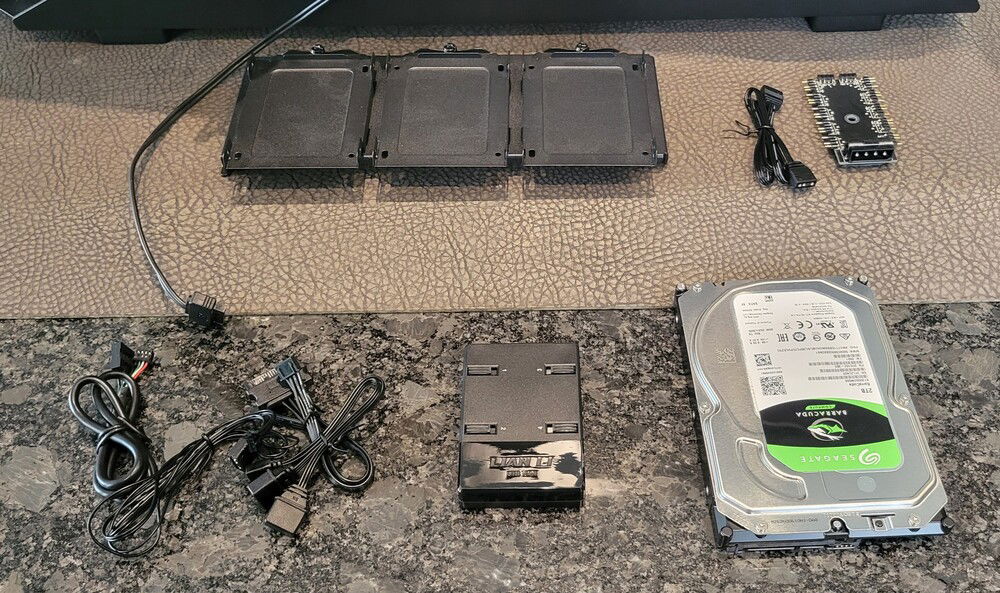
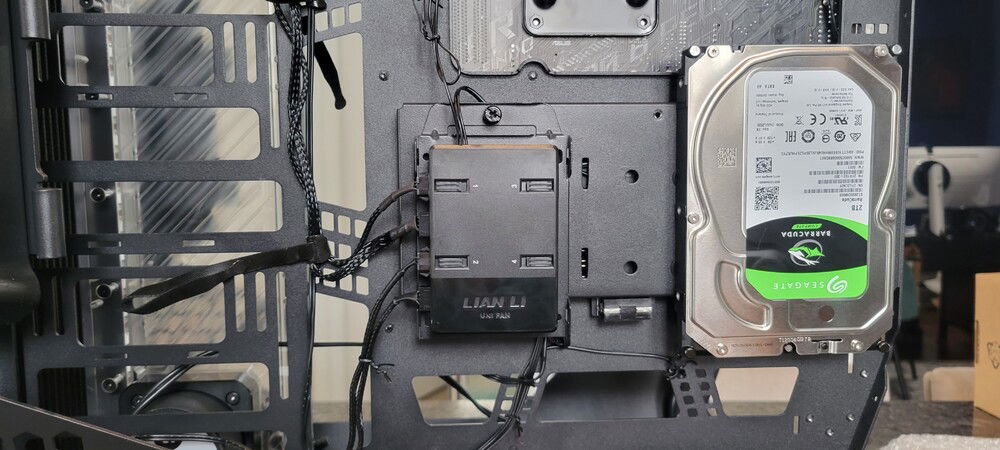
The fan controller comes with double-sided adhesive pads so I stuck it to a drive sled.
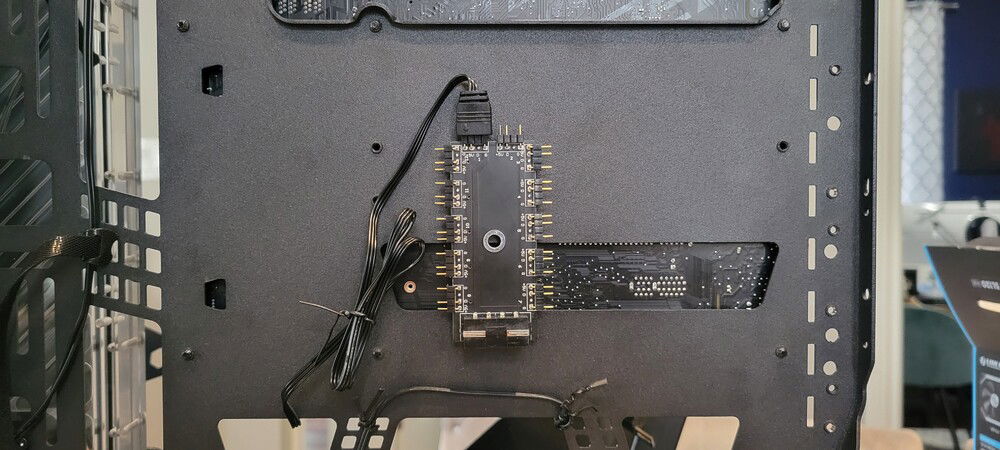
I needed three ARGB headers and the motherboard had two. I didn't want to get a normal splitter and have extra wires to deal with so for $3 CDN more I was able to find this 12-way adapter. It turns one mobo header into 11. I mounted this behind the panel that holds the drive sleds.
Here you can see the ARGB splitter between the drive and fan controller (the part sticking down is the molex connector for optional power). You can also see the fan controller connected to all seven fans through two power and two RGB wires.
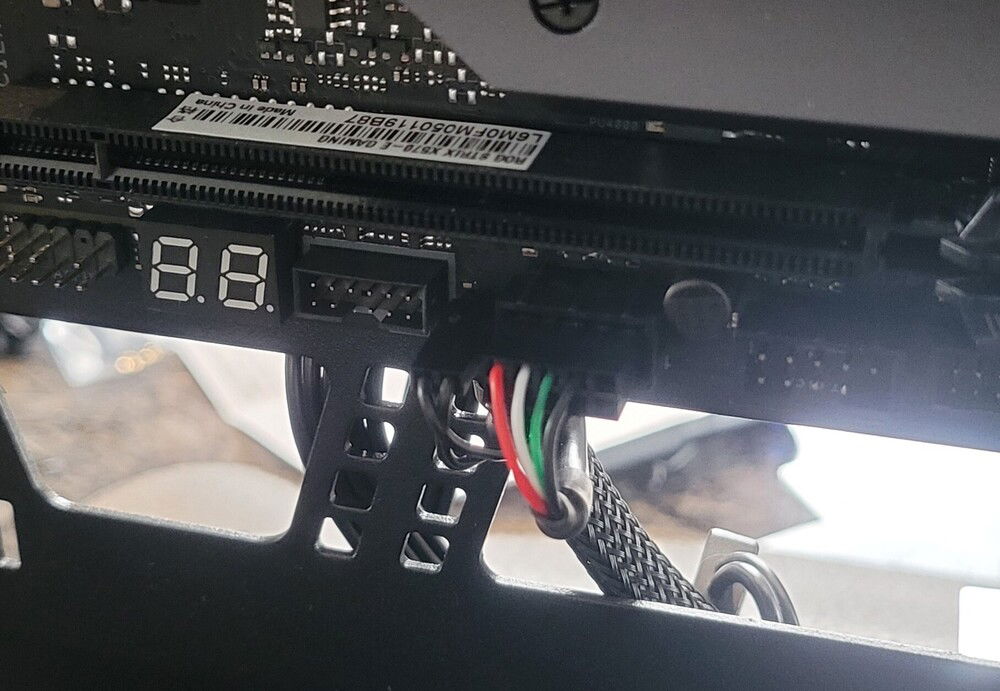
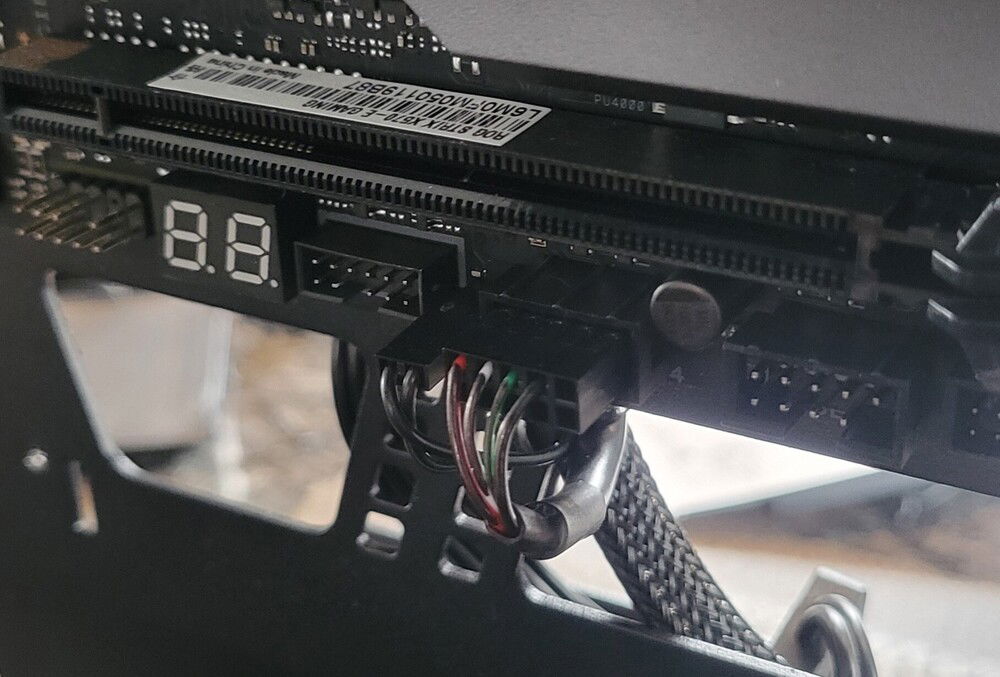
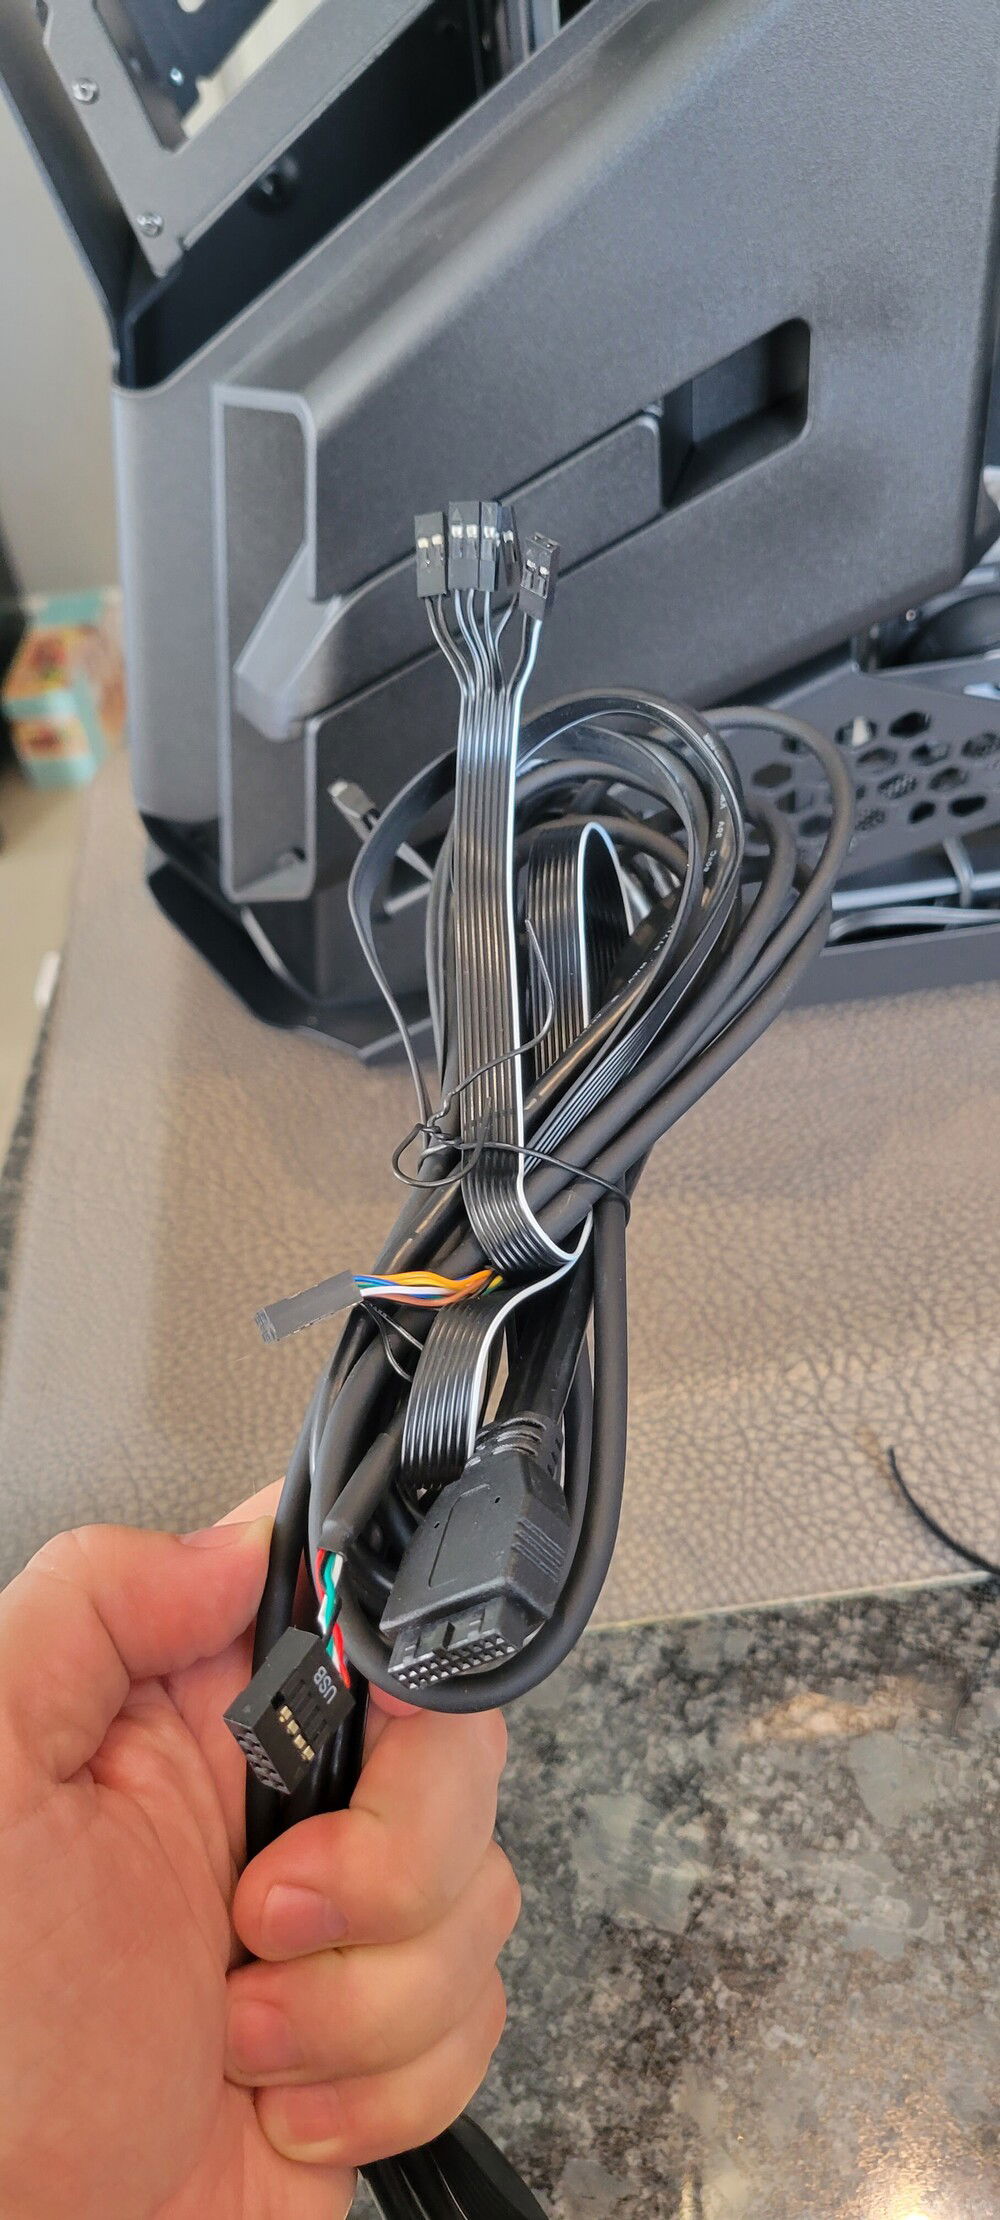
Ketchup and mustard USB wires......
A million zip ties later.
At this point you gotta ask if front panel connectors are really necessary. I'm good with jumping the pins with a screwdriver.
Alright, I caved and connected the front panel wires. Added a bit to the rat's nest but I had issues finding a good spot for the SATA power cable.
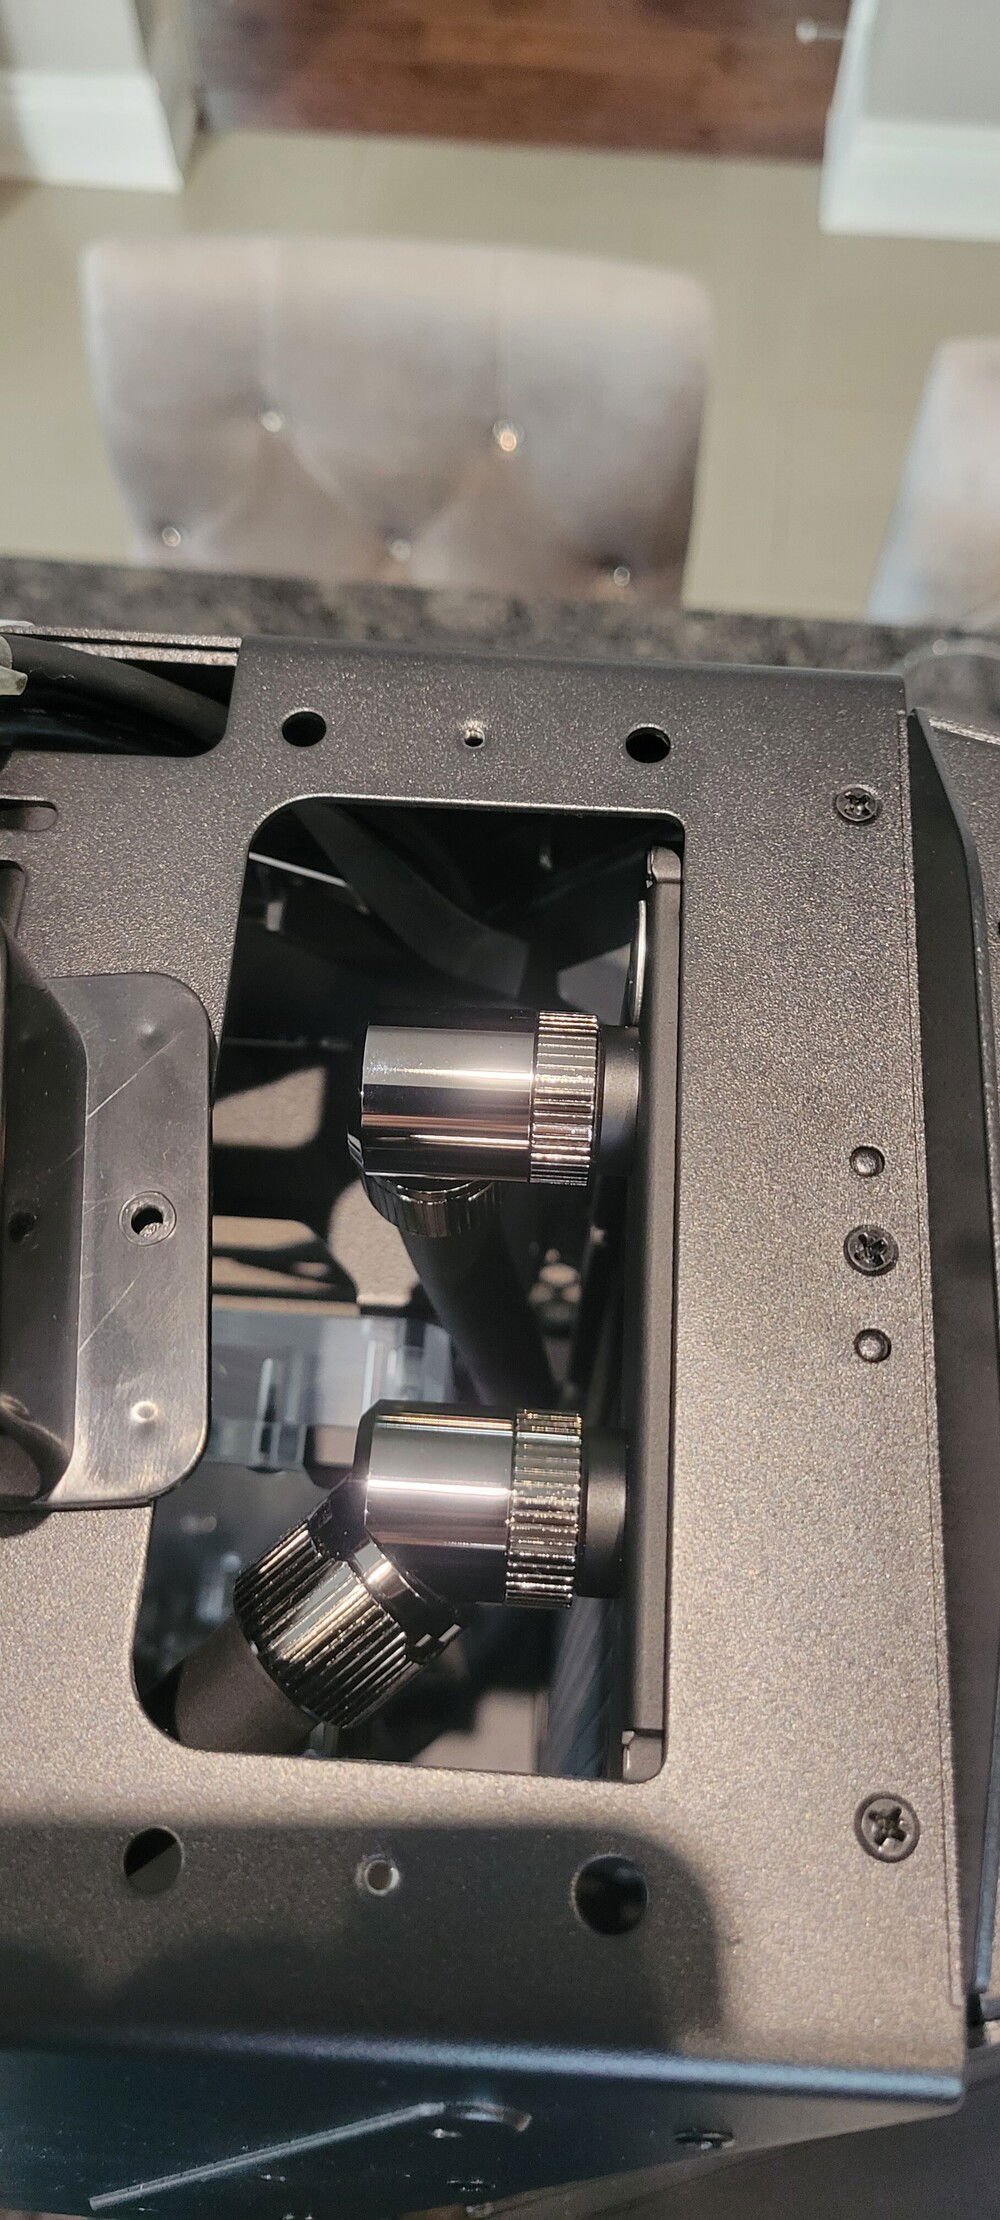
Front panel is removable so I had easy access to the fittings.
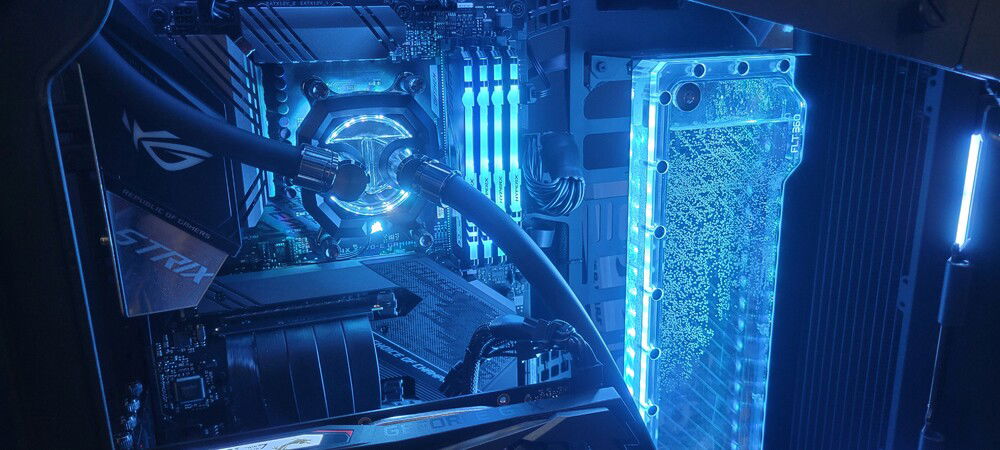
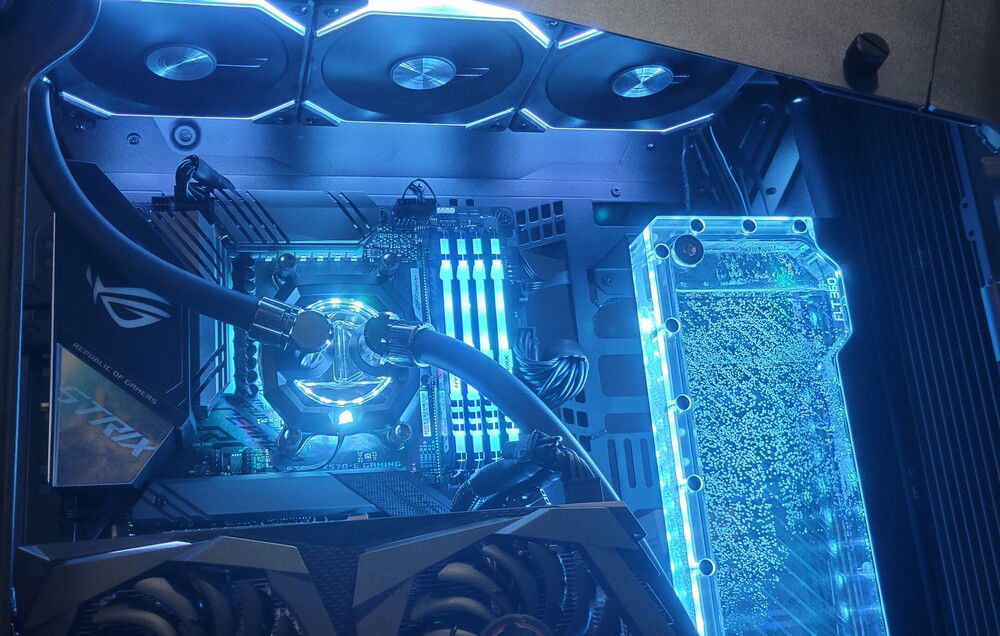
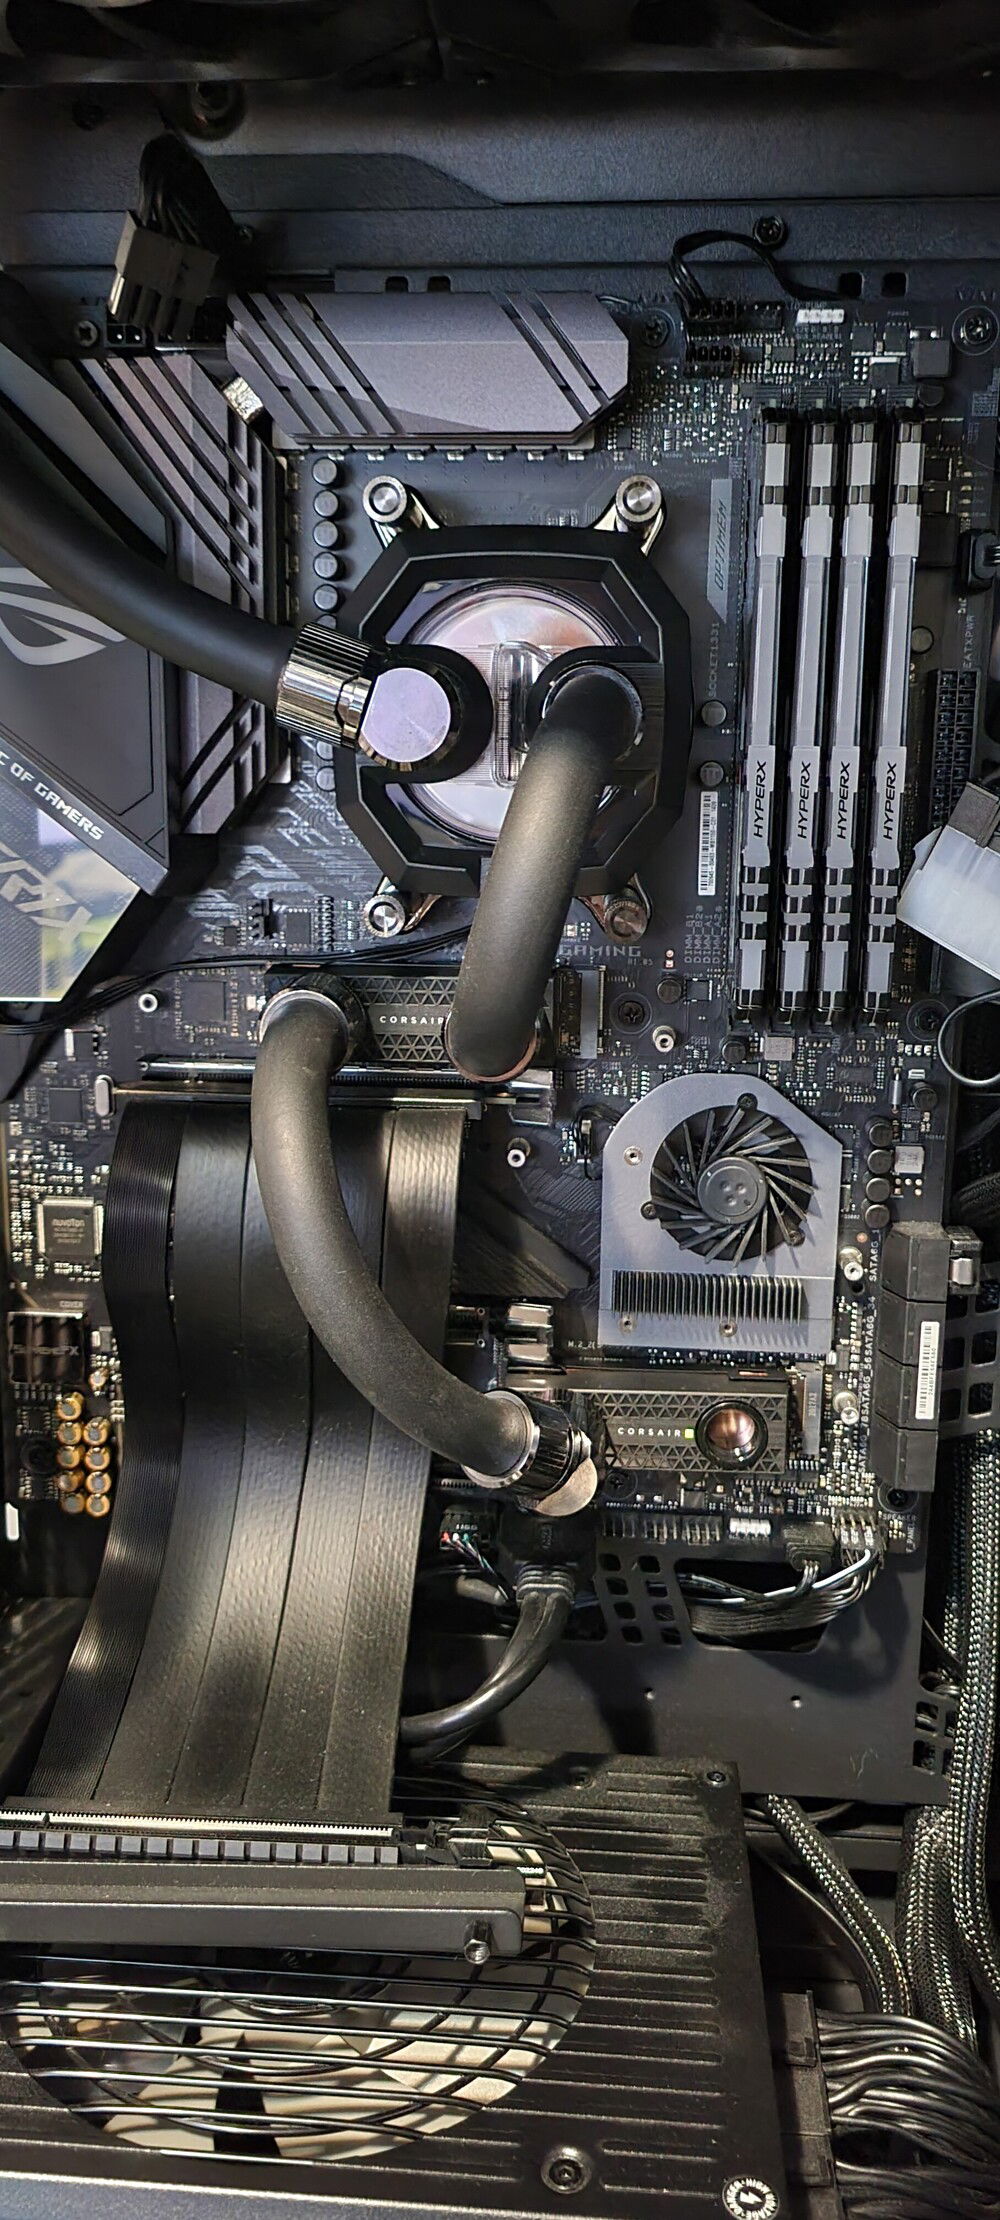
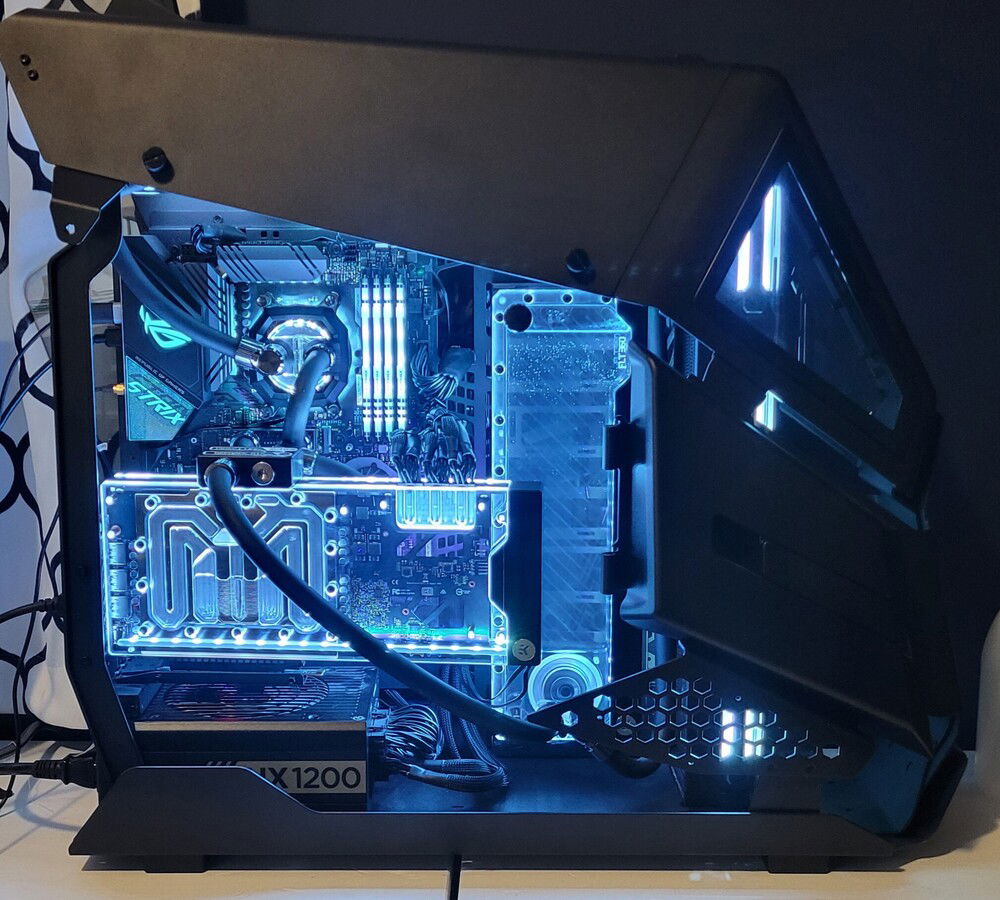
Might not be for everyone but I'm loving the look of the black tubes.
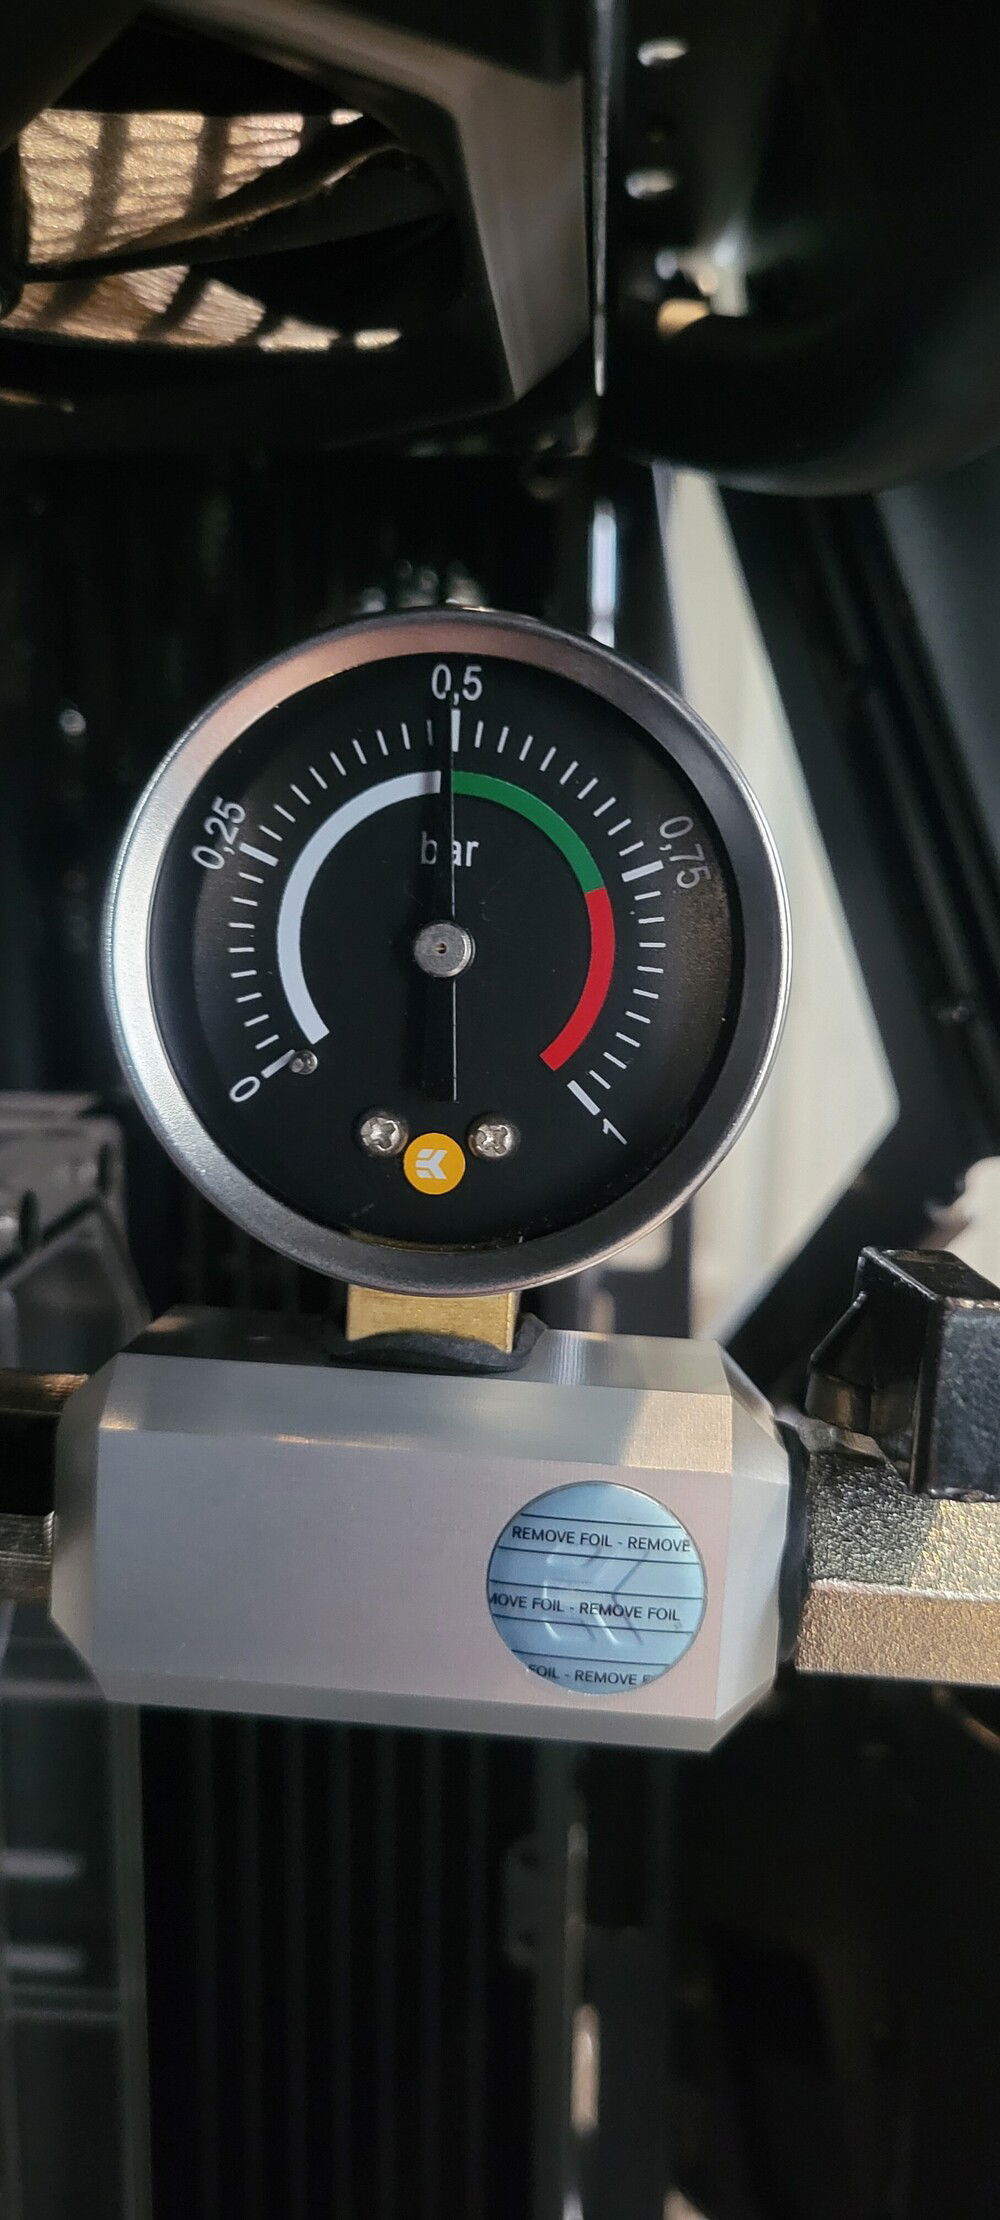
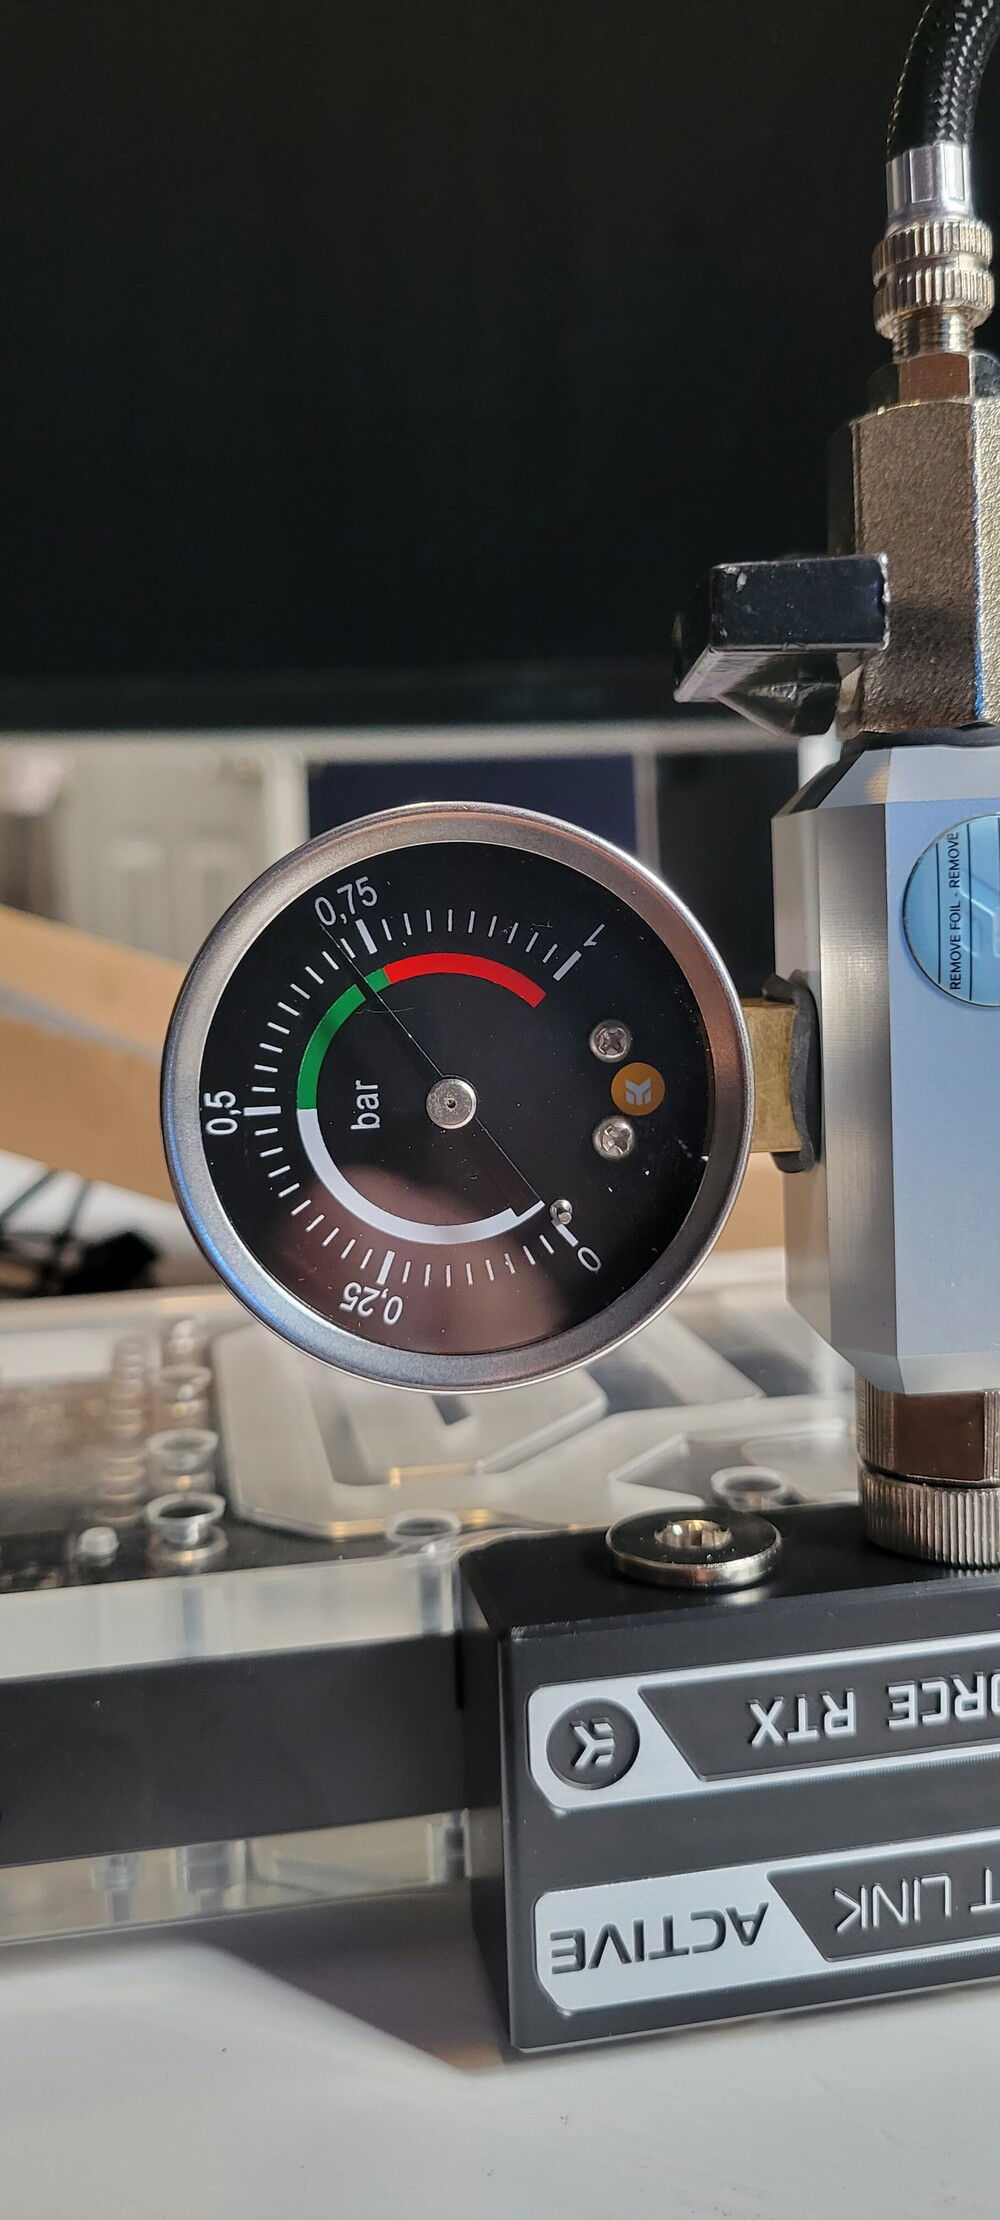
Since this is my first build using water cooling I opted to do a pressure test before adding water.
30 minutes later and the needle hadn't moved at all.
Mixed my coolant and am currently leak testing for real.
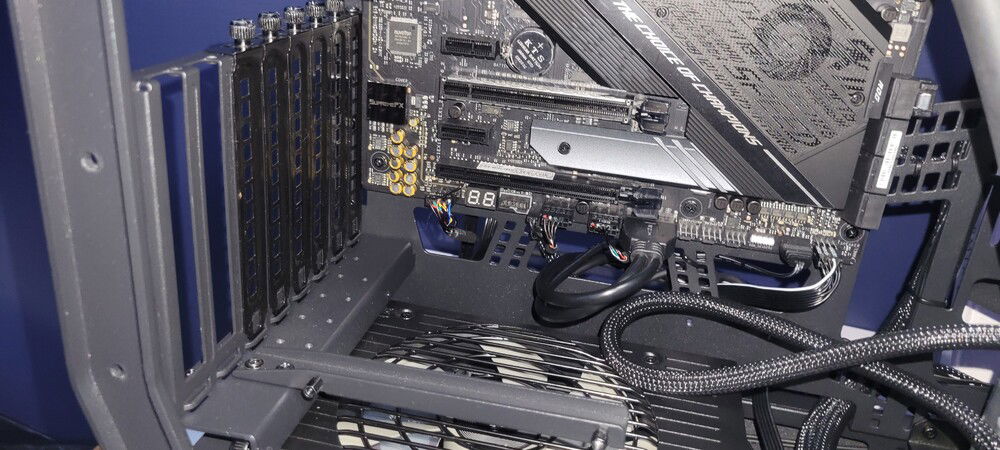
Installed the vertical mount for the GPU.
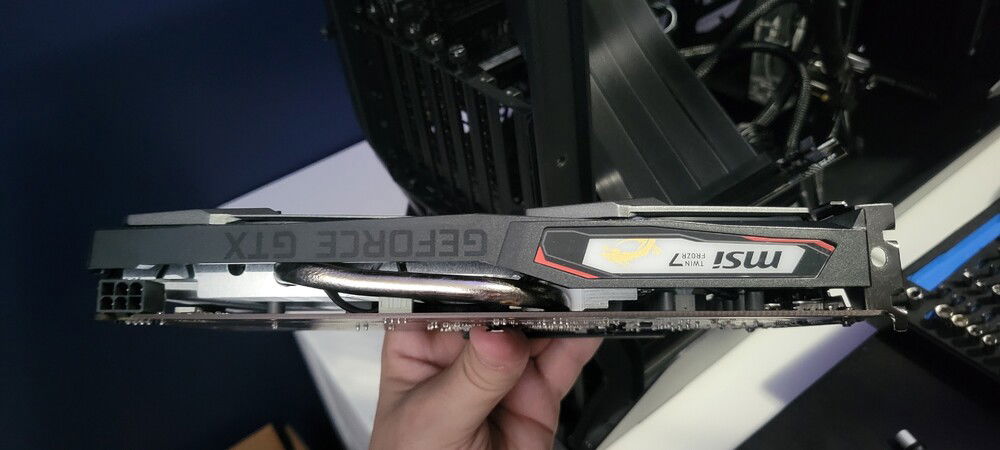
Took a Sharpie to the edge of the PCB.
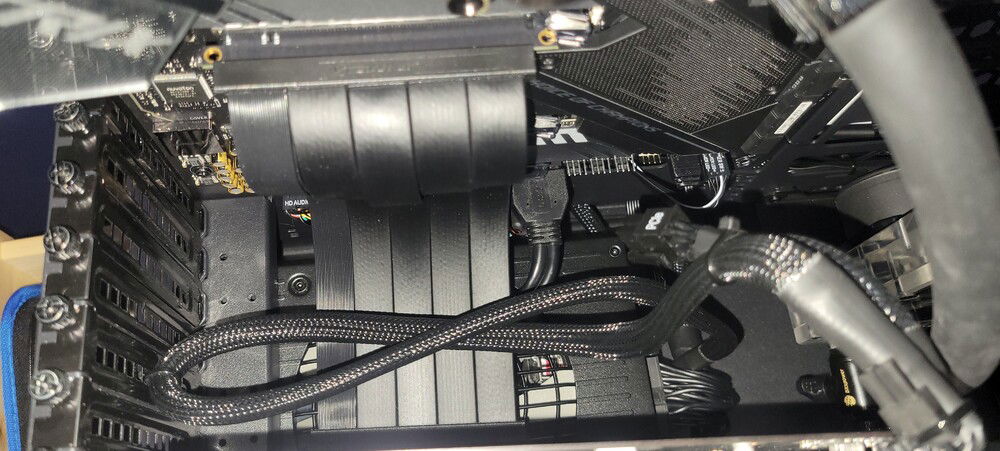
Couldn't figure out a better way to manage the cable for the GPU so I zip tied it to the frame so it isn't visible behind the GPU.
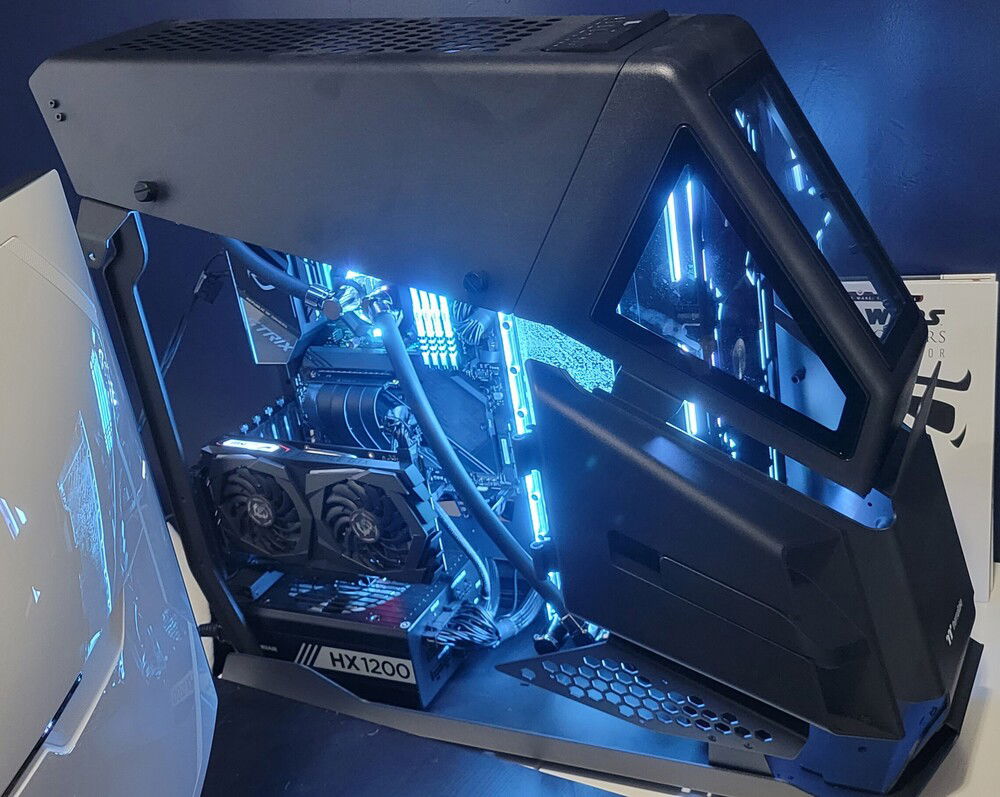
Put the top covers on and fired it up!
I love the down-fire lighting from the CPU block.
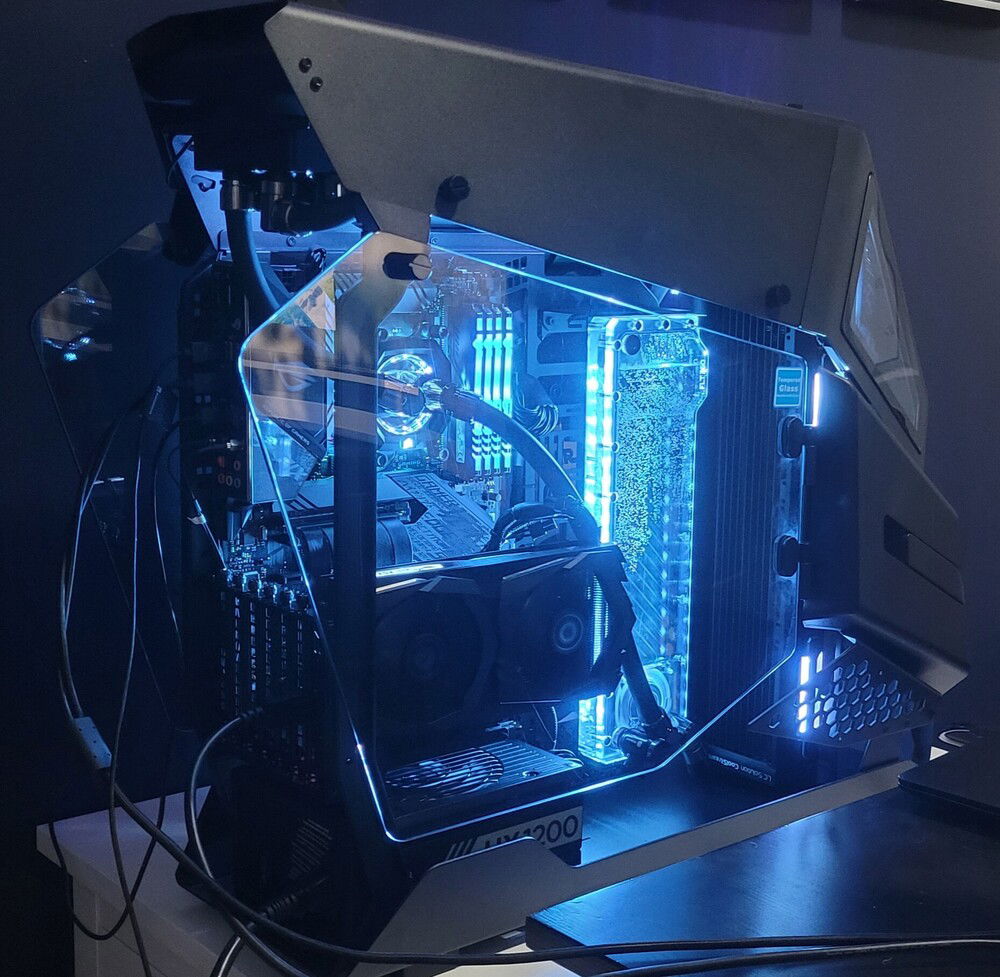
Finally put the tempered glass back on the sides.
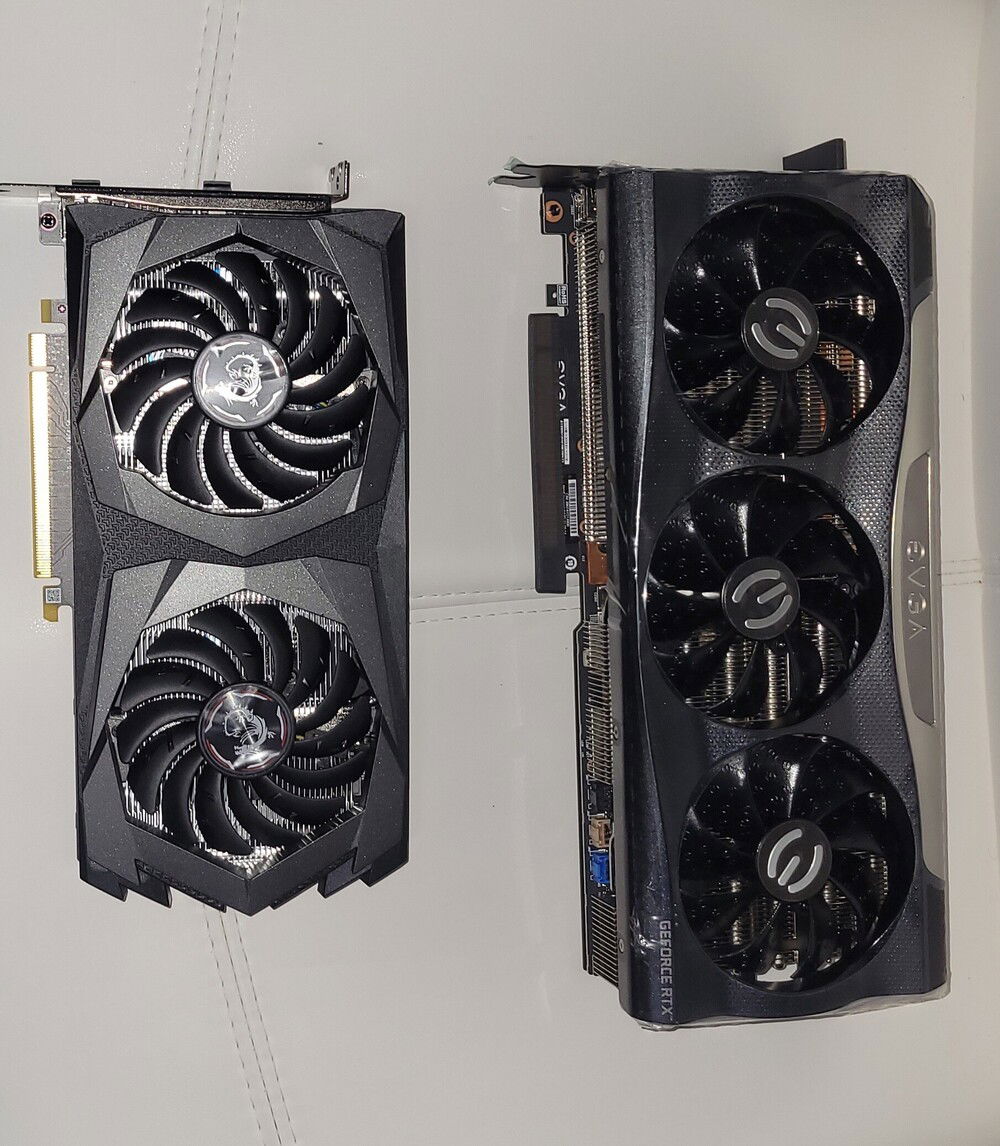
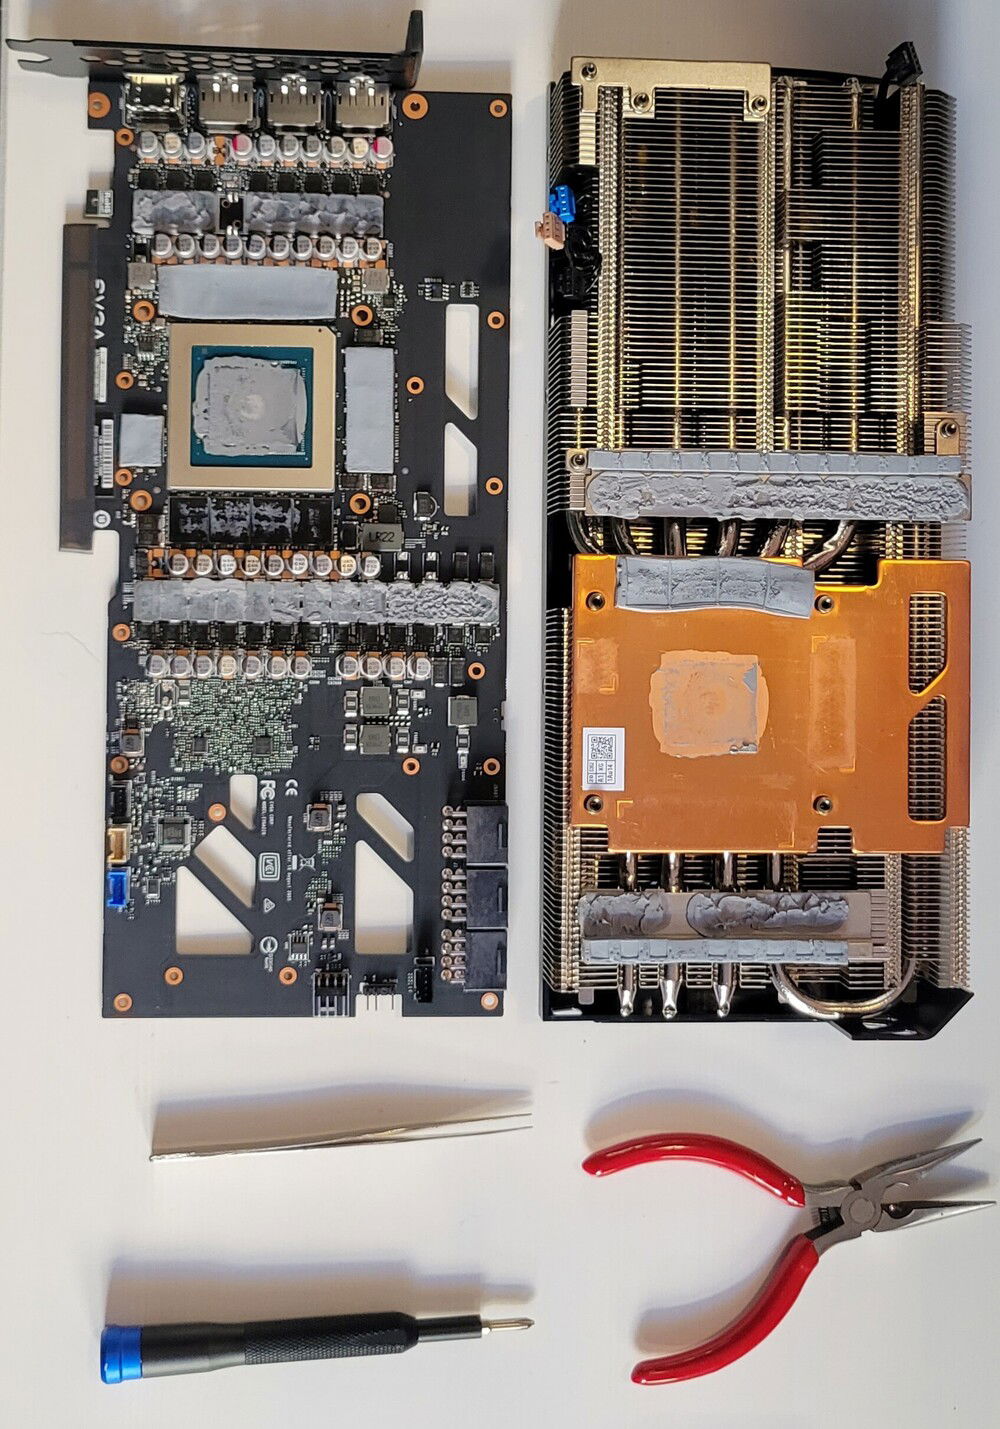
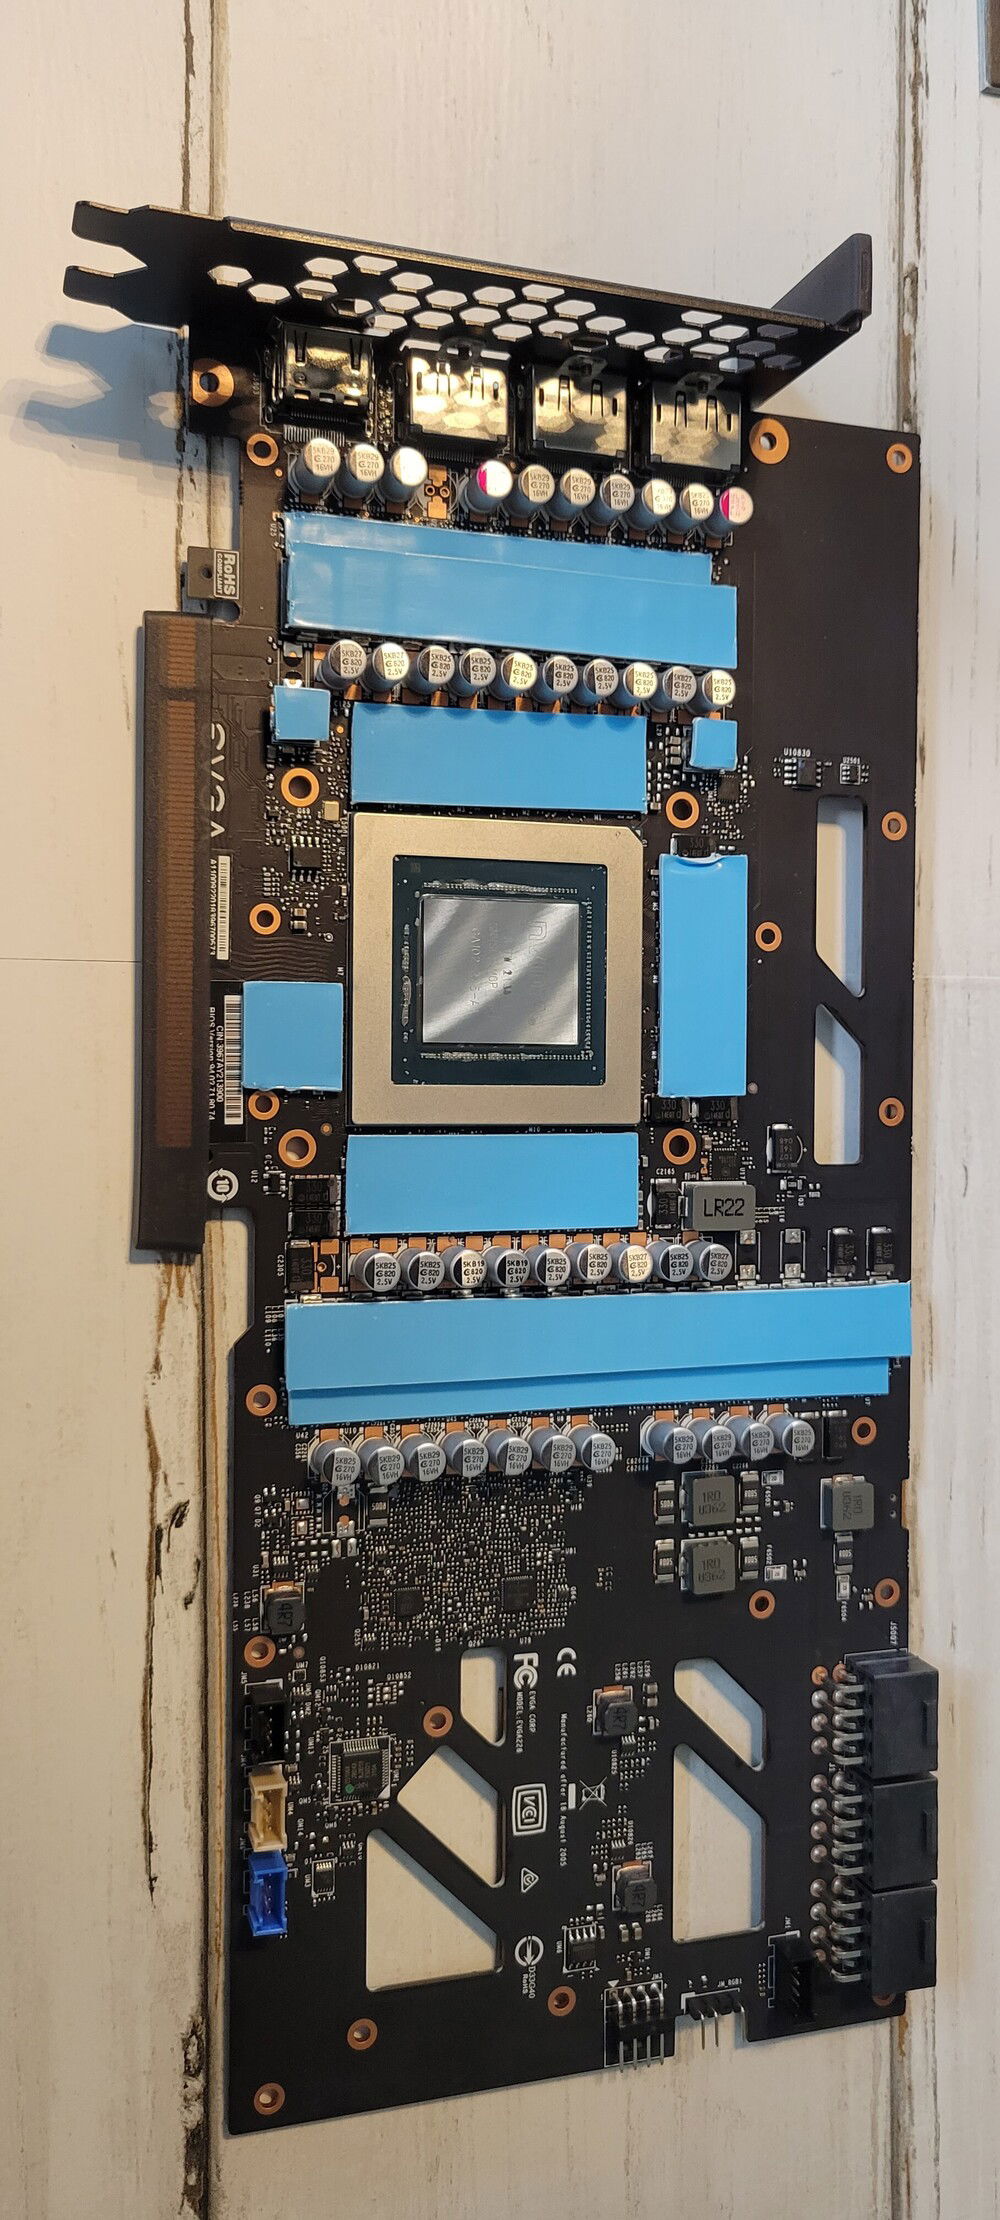
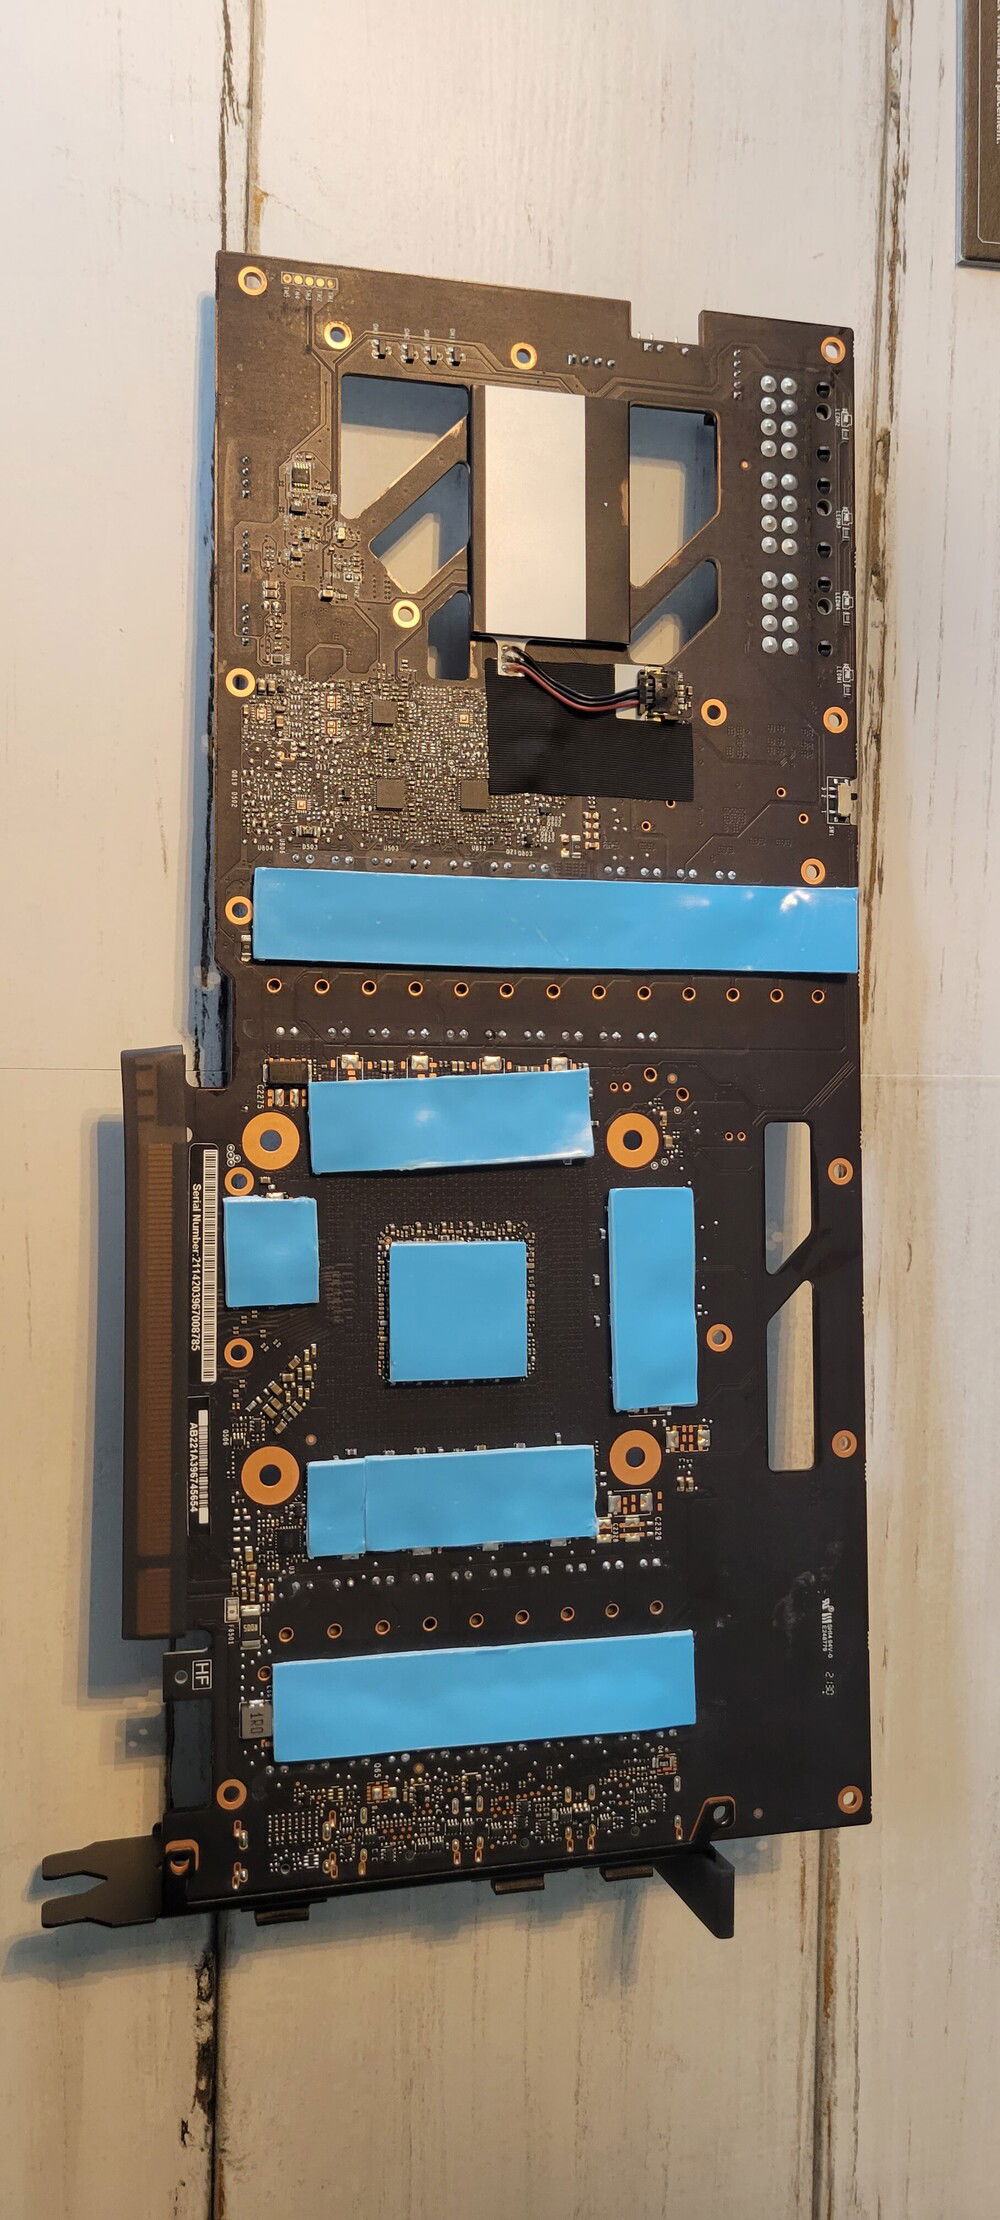
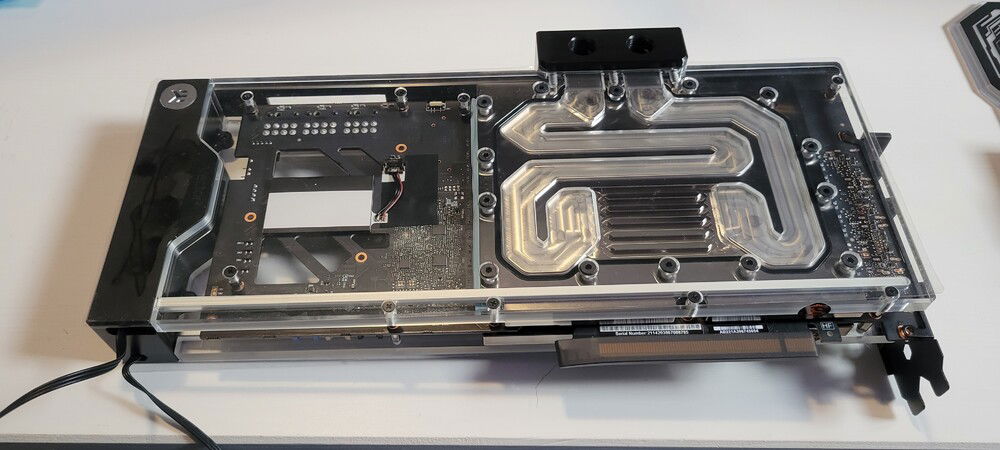
Most stressful 15 minutes of my life were taking the stock cooler off the most expensive GPU I've ever owned.
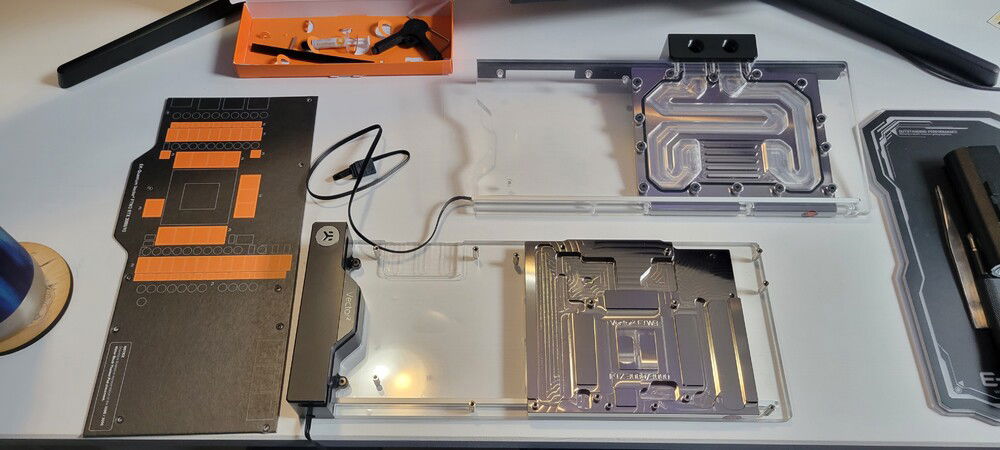
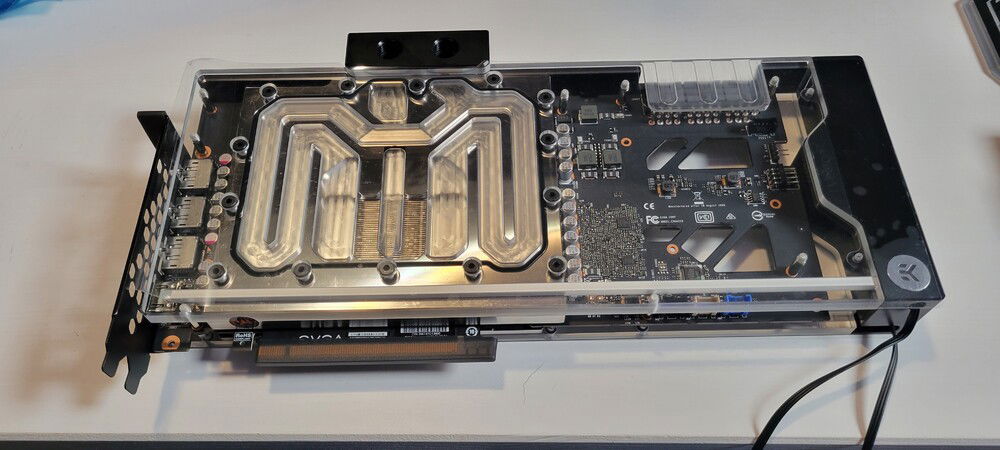
What you get in the box for the ABP version of the GPU block.
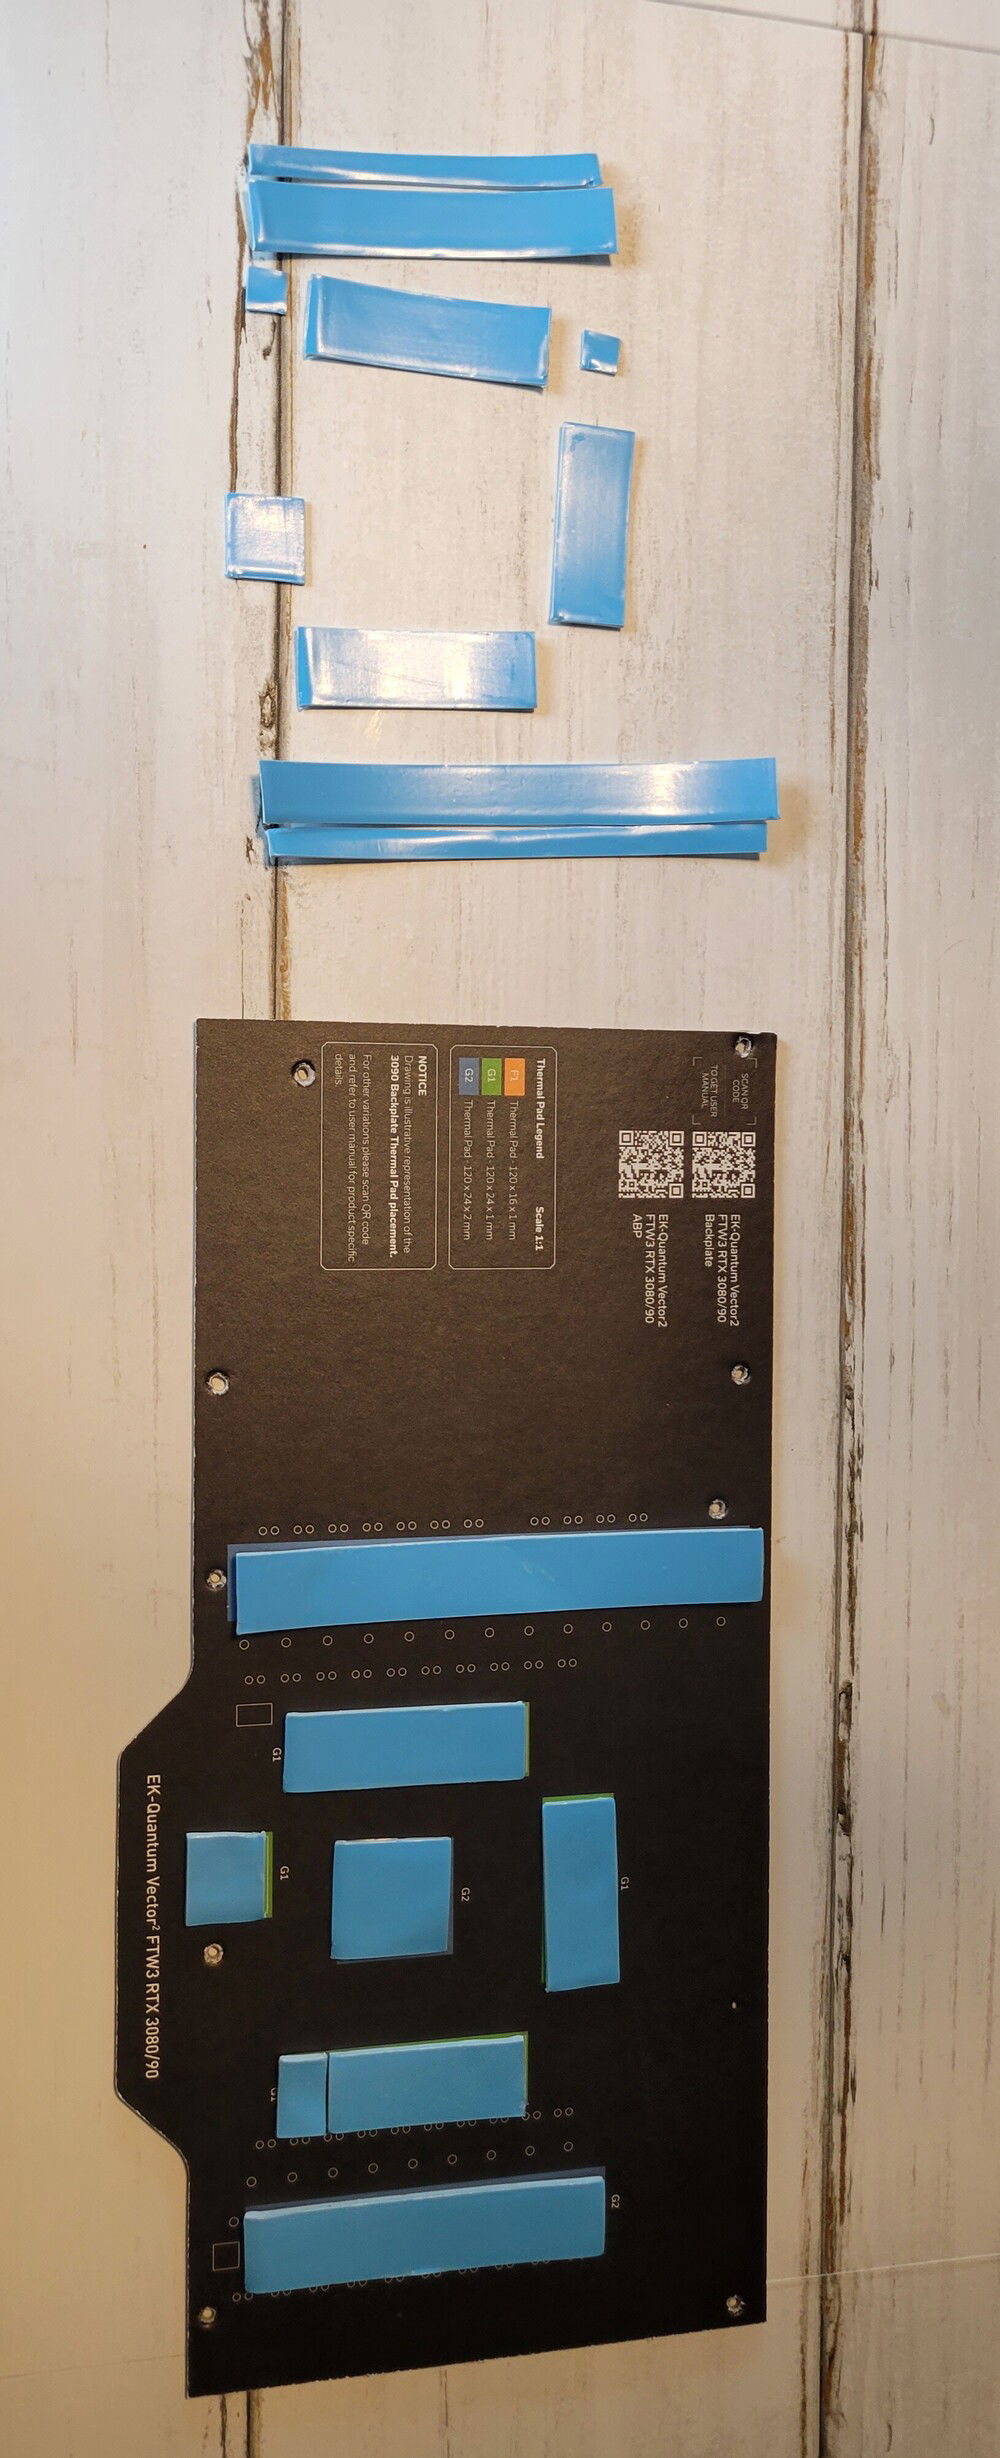
The GPU water block comes with these handy templates for size and placement of the thermal pads.
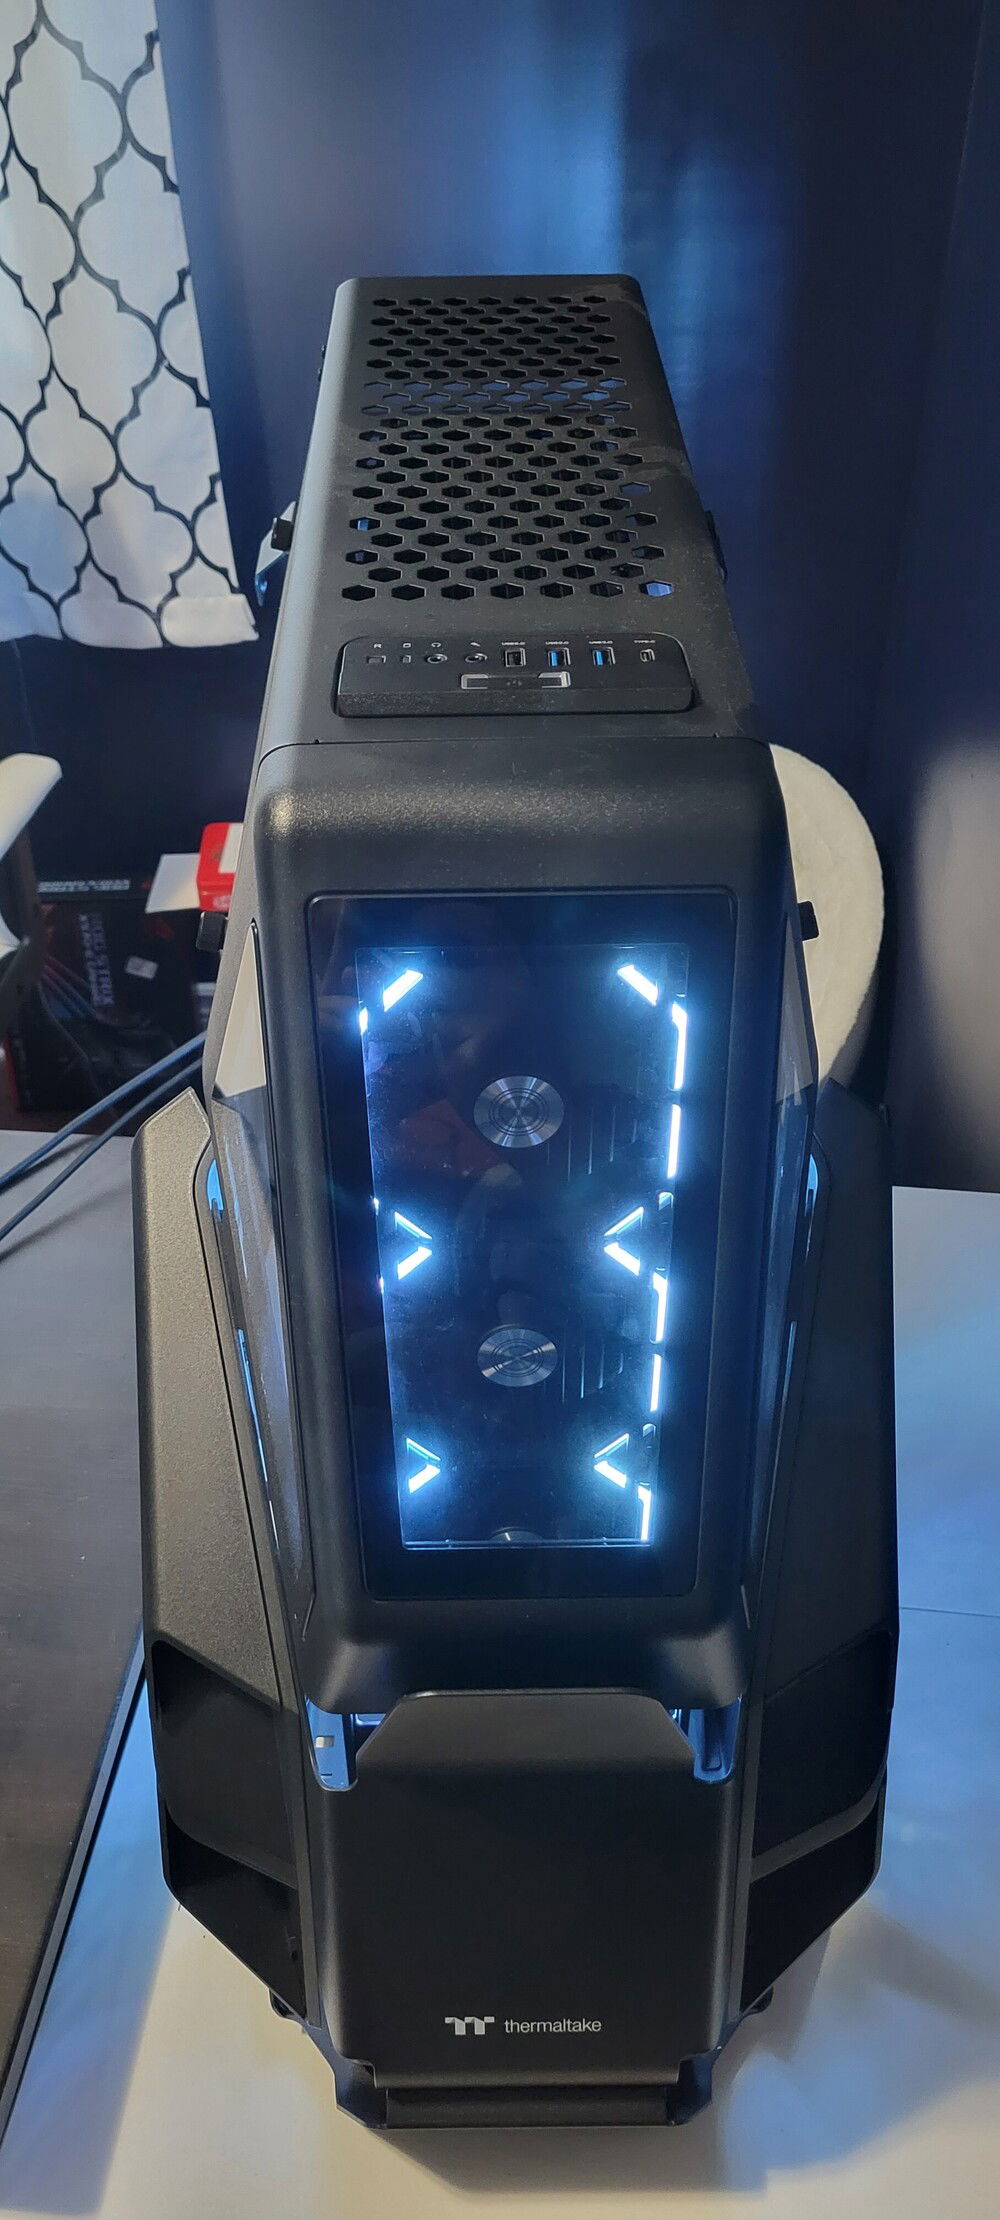
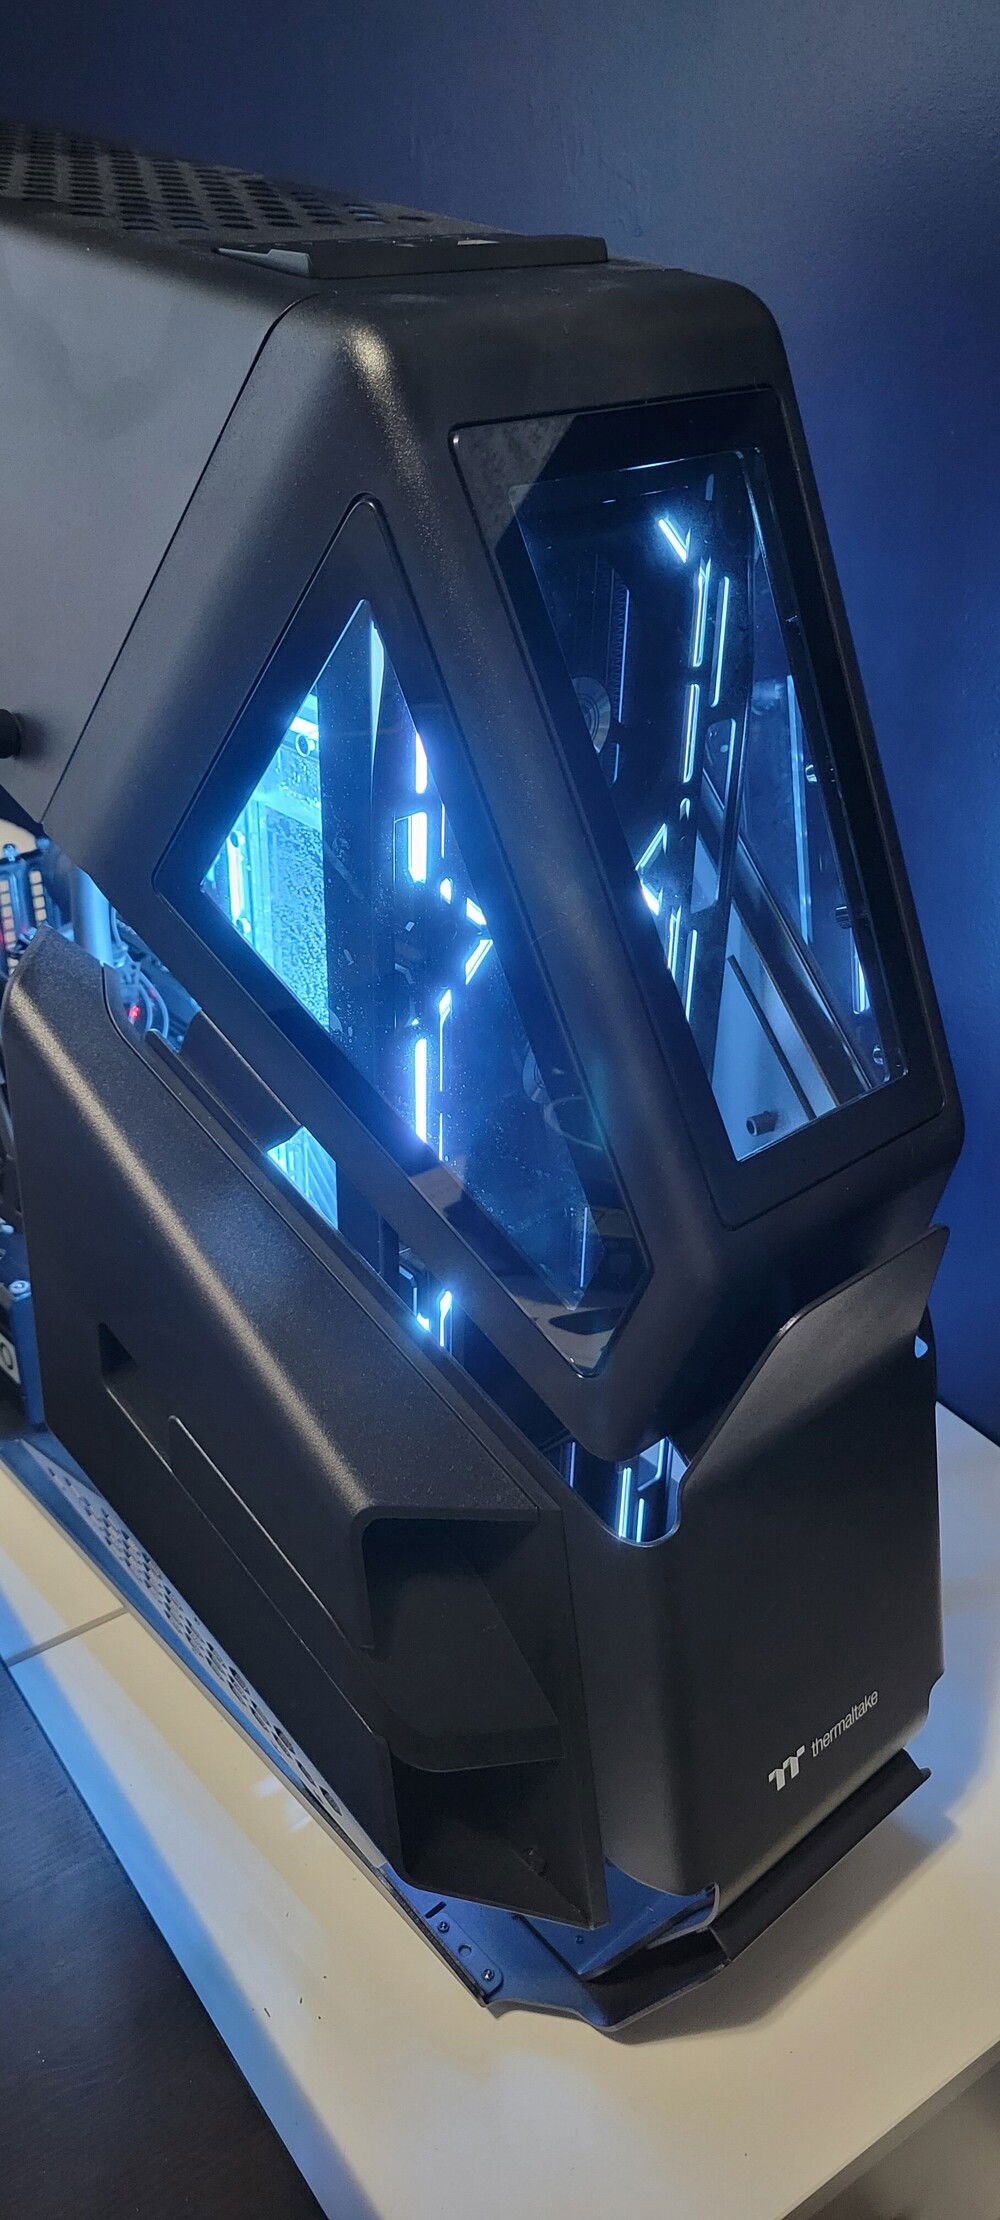
Front view fully assembled.
I put the plugs in to test the seals between the front plate, transfer block and back plate before installing it.
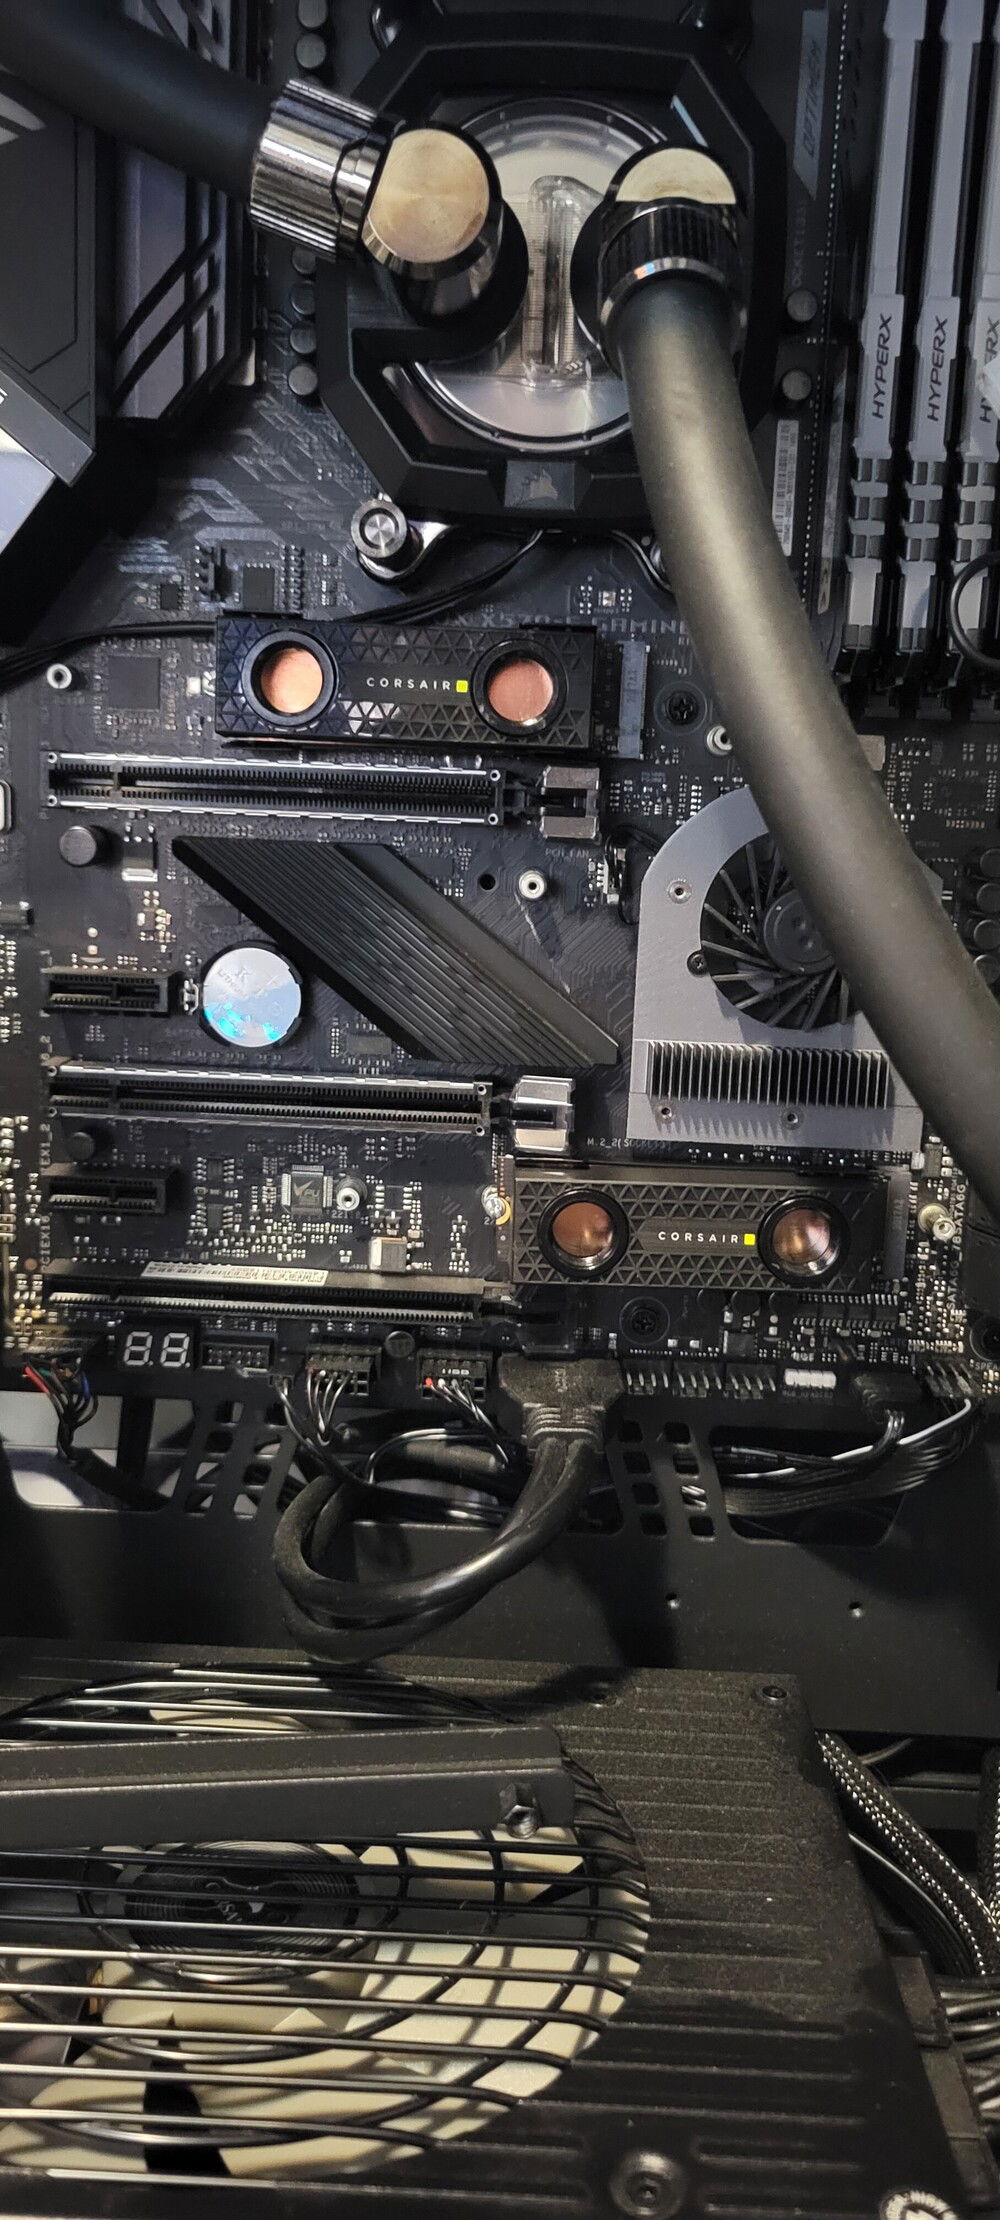
I added water blocks to both my M.2 drives. I know, I know.... but I was aiming for over the top.
Still on soft tubing for now. I will probably try moving to hard tube down the road but I still like how the black looks.
All filled and ready for the glass to be put back on.
