PROJECT RED – КРАСНЫЙ
PROJECT RED – КРАСНЫЙ
General Design Outline
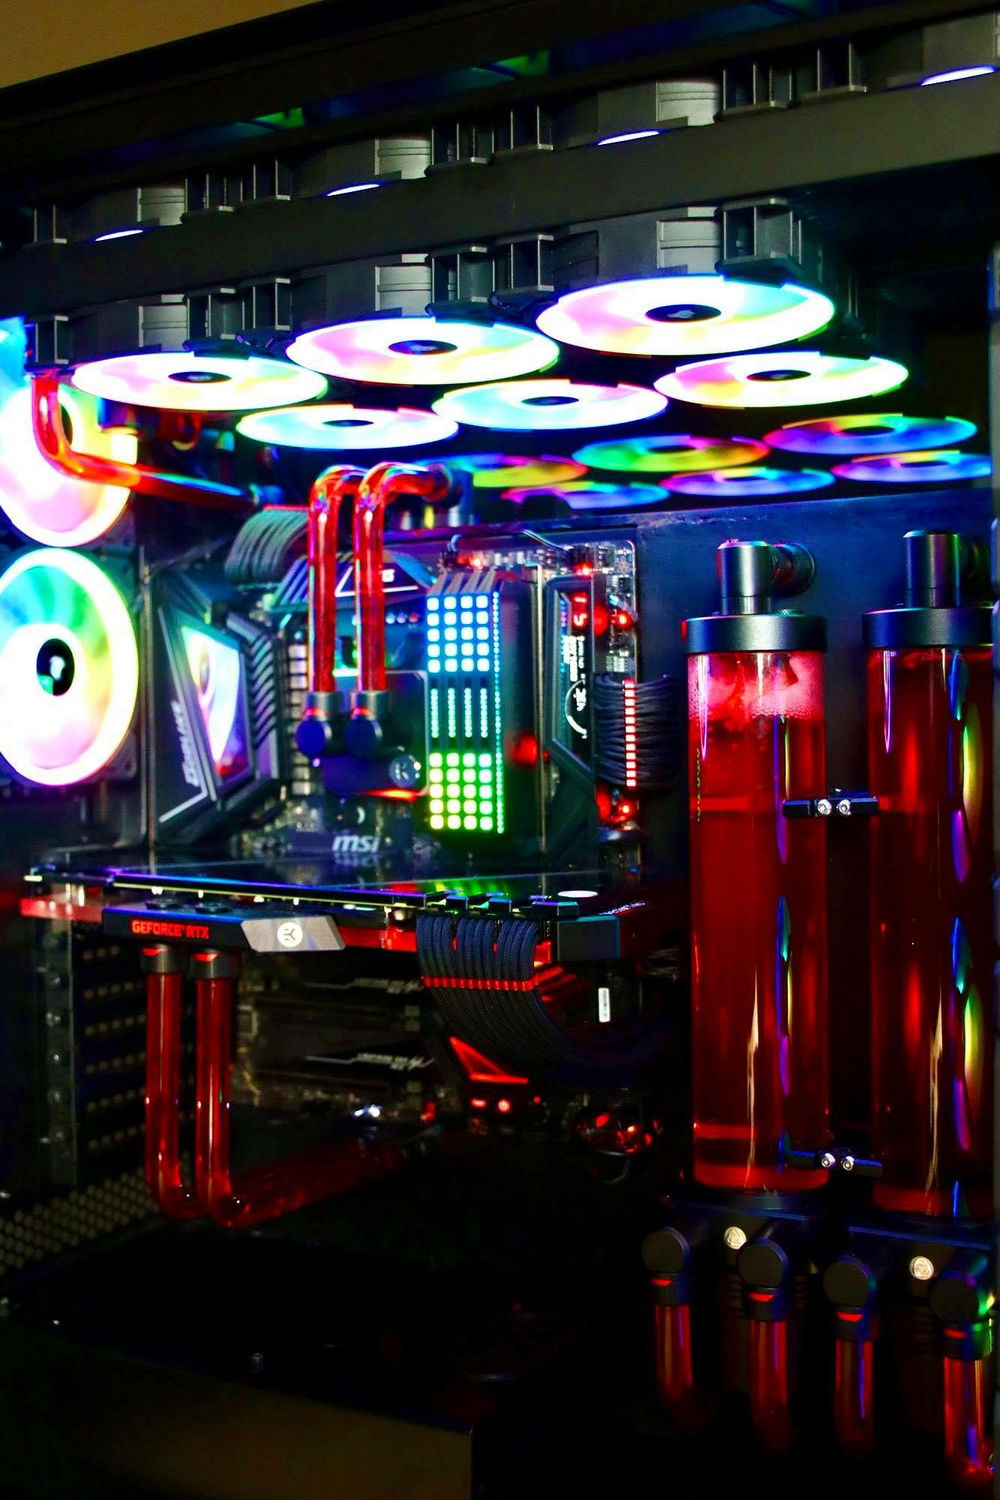
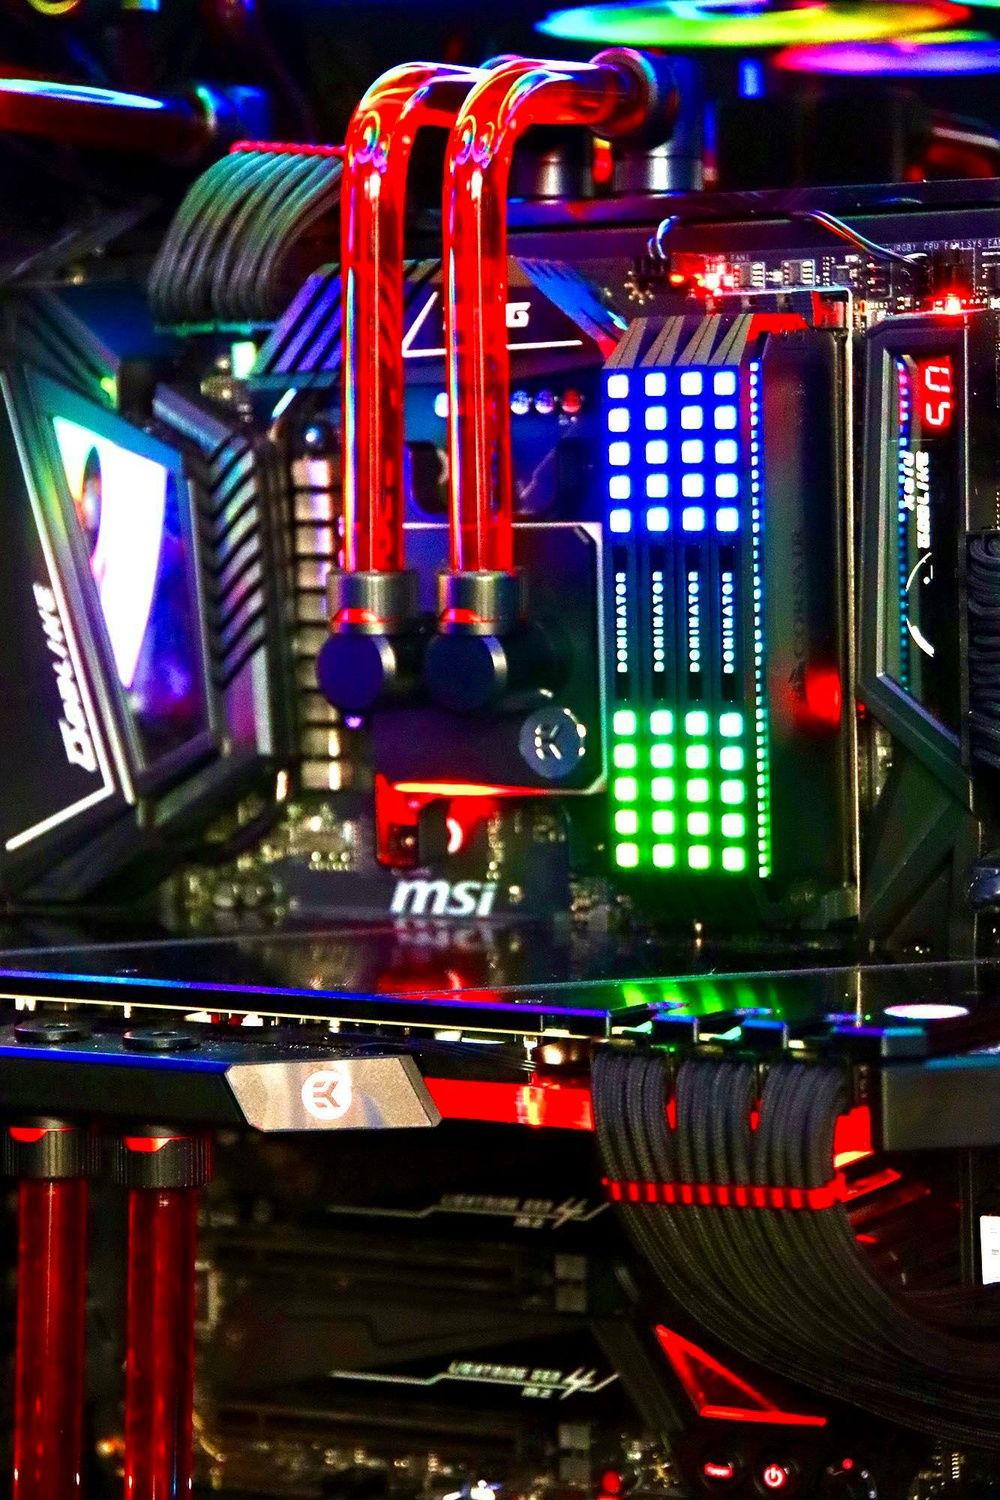
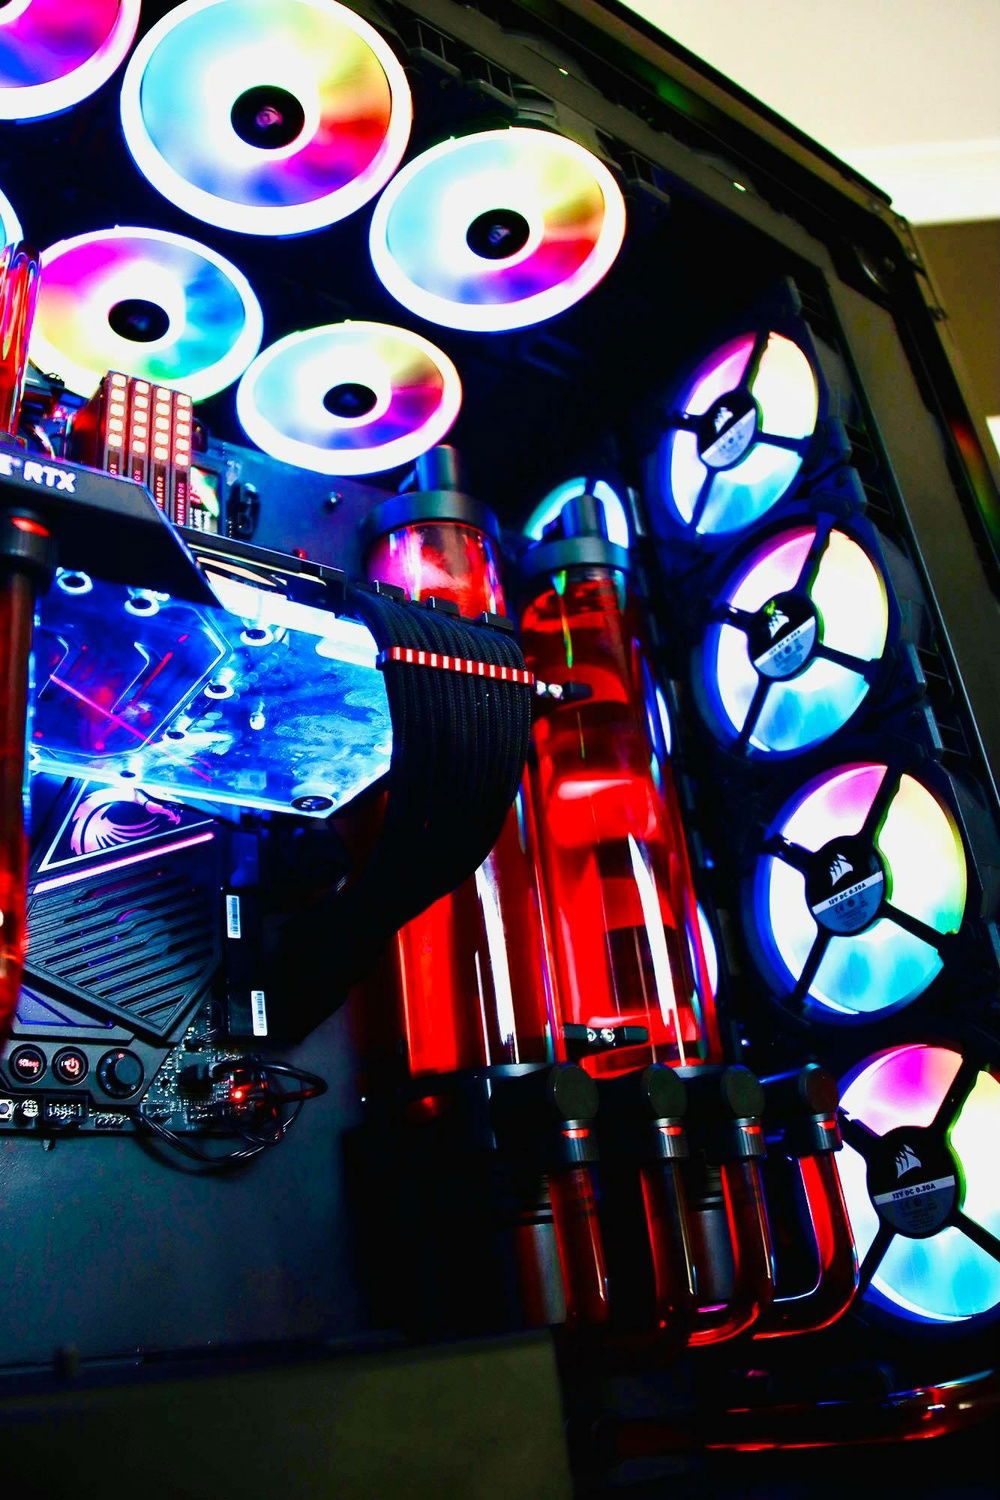
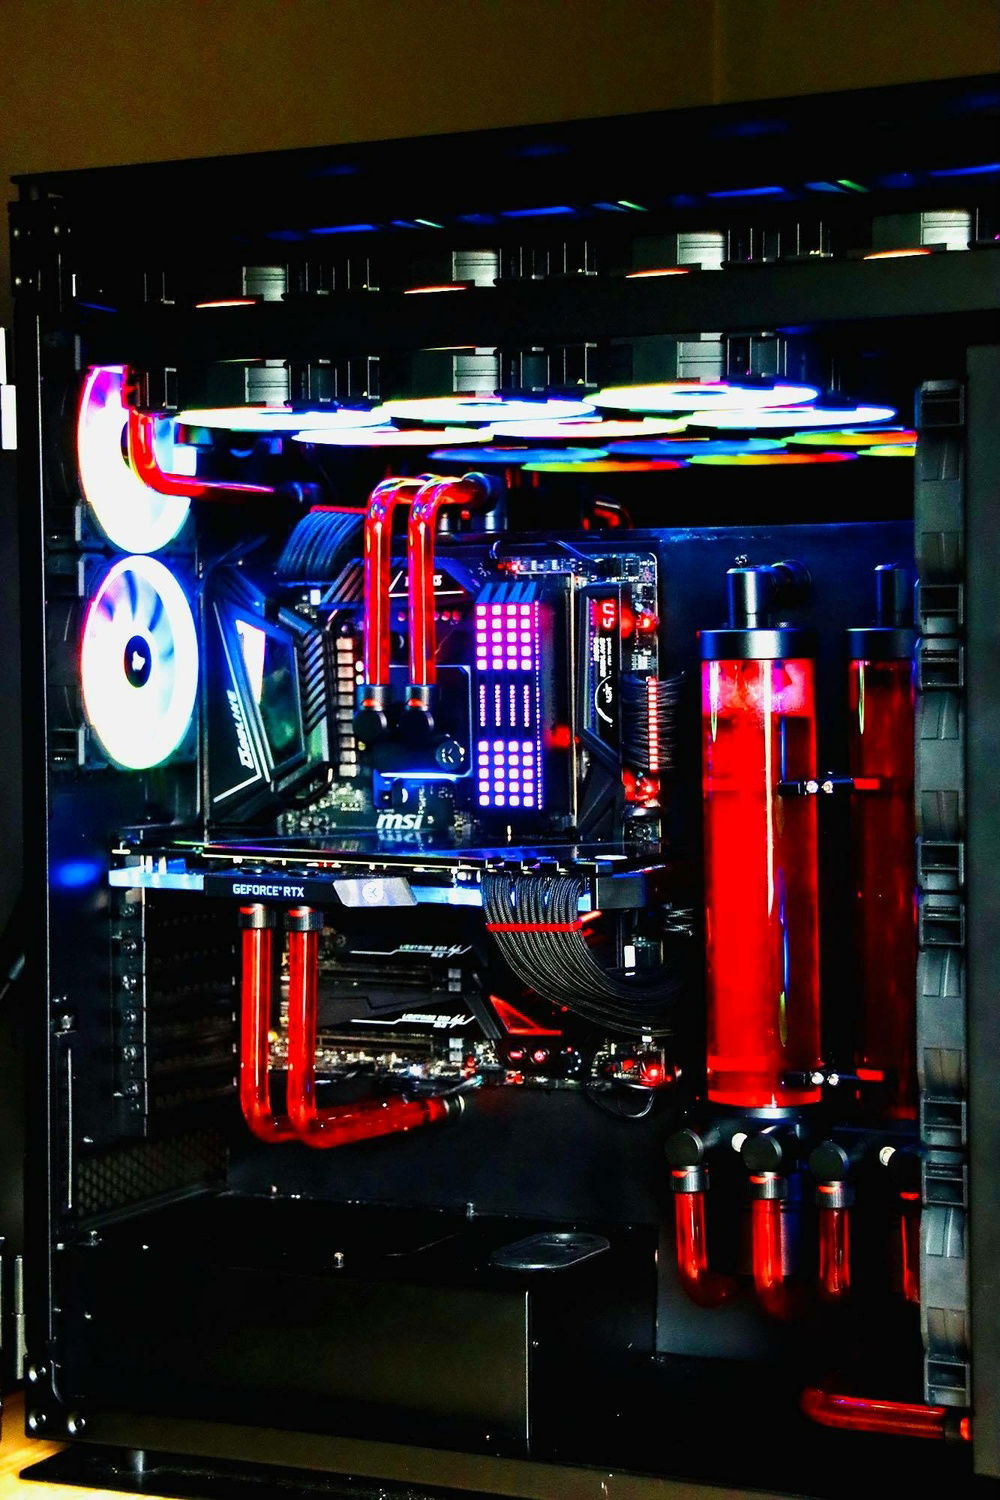
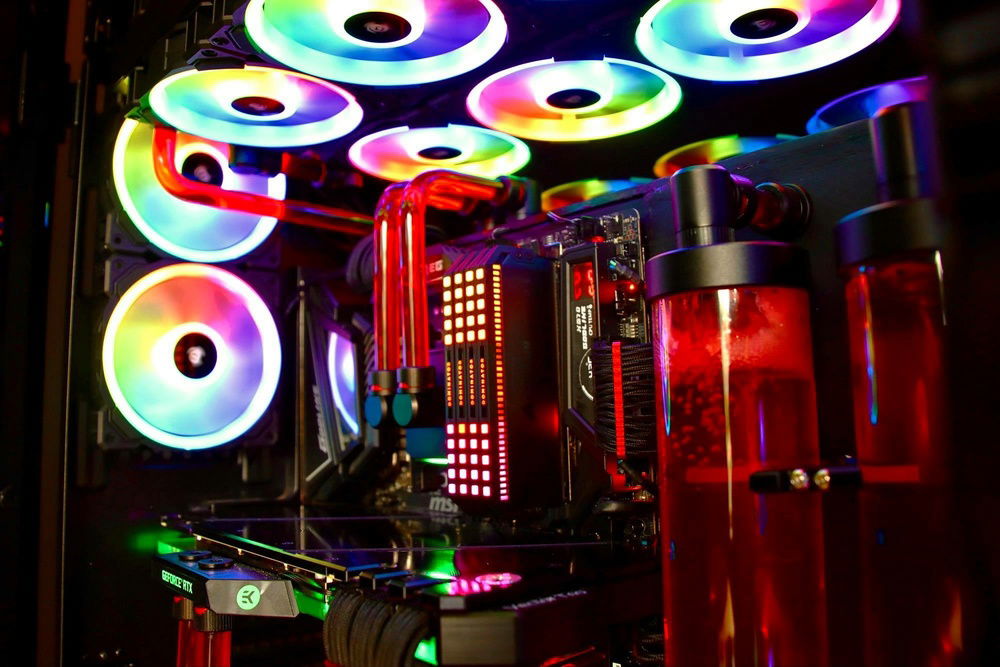
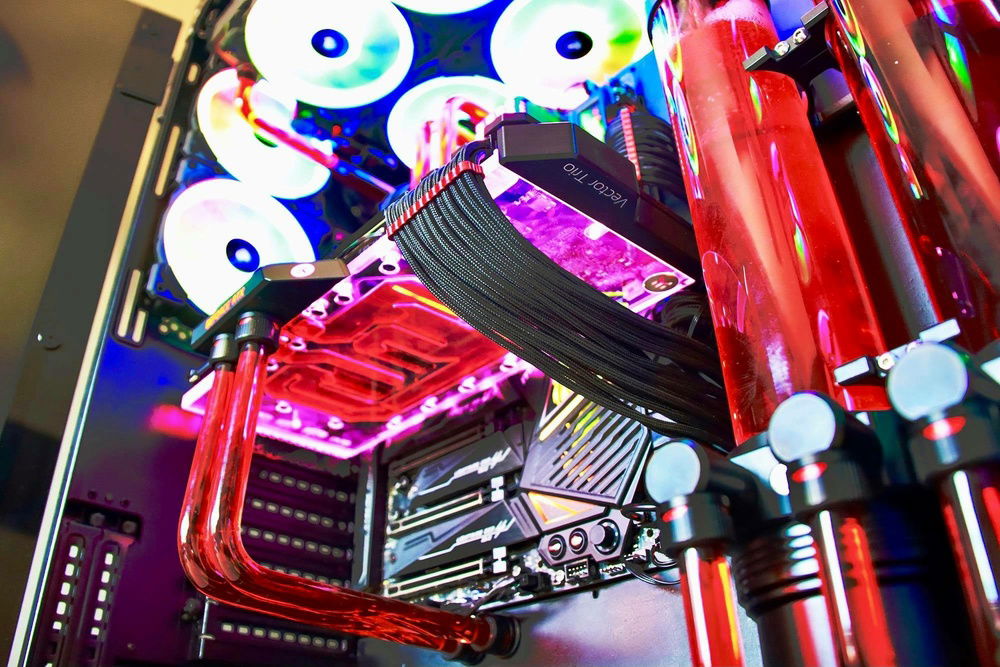
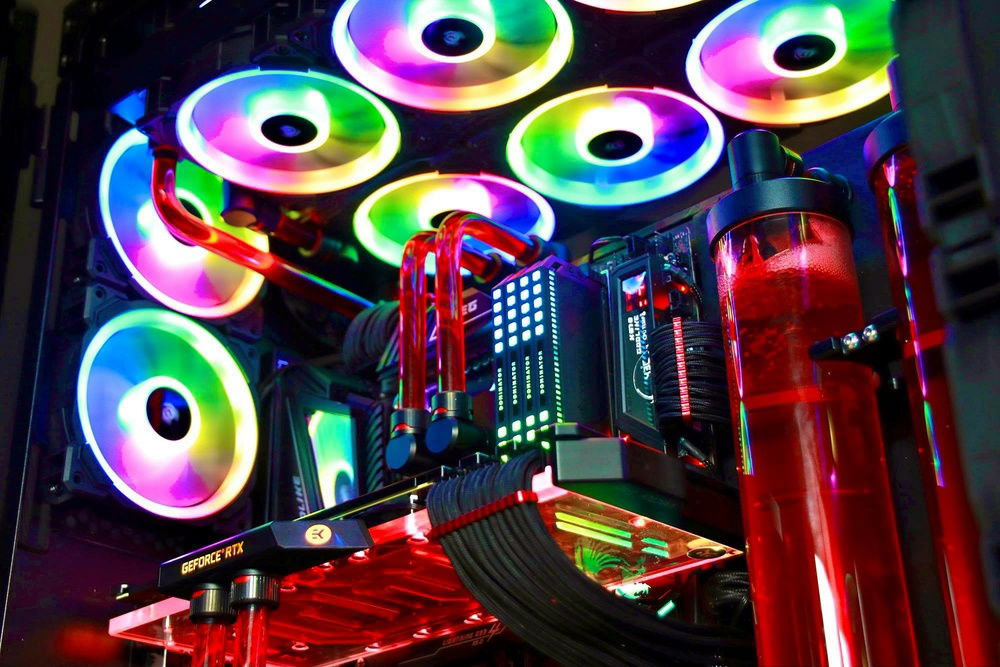
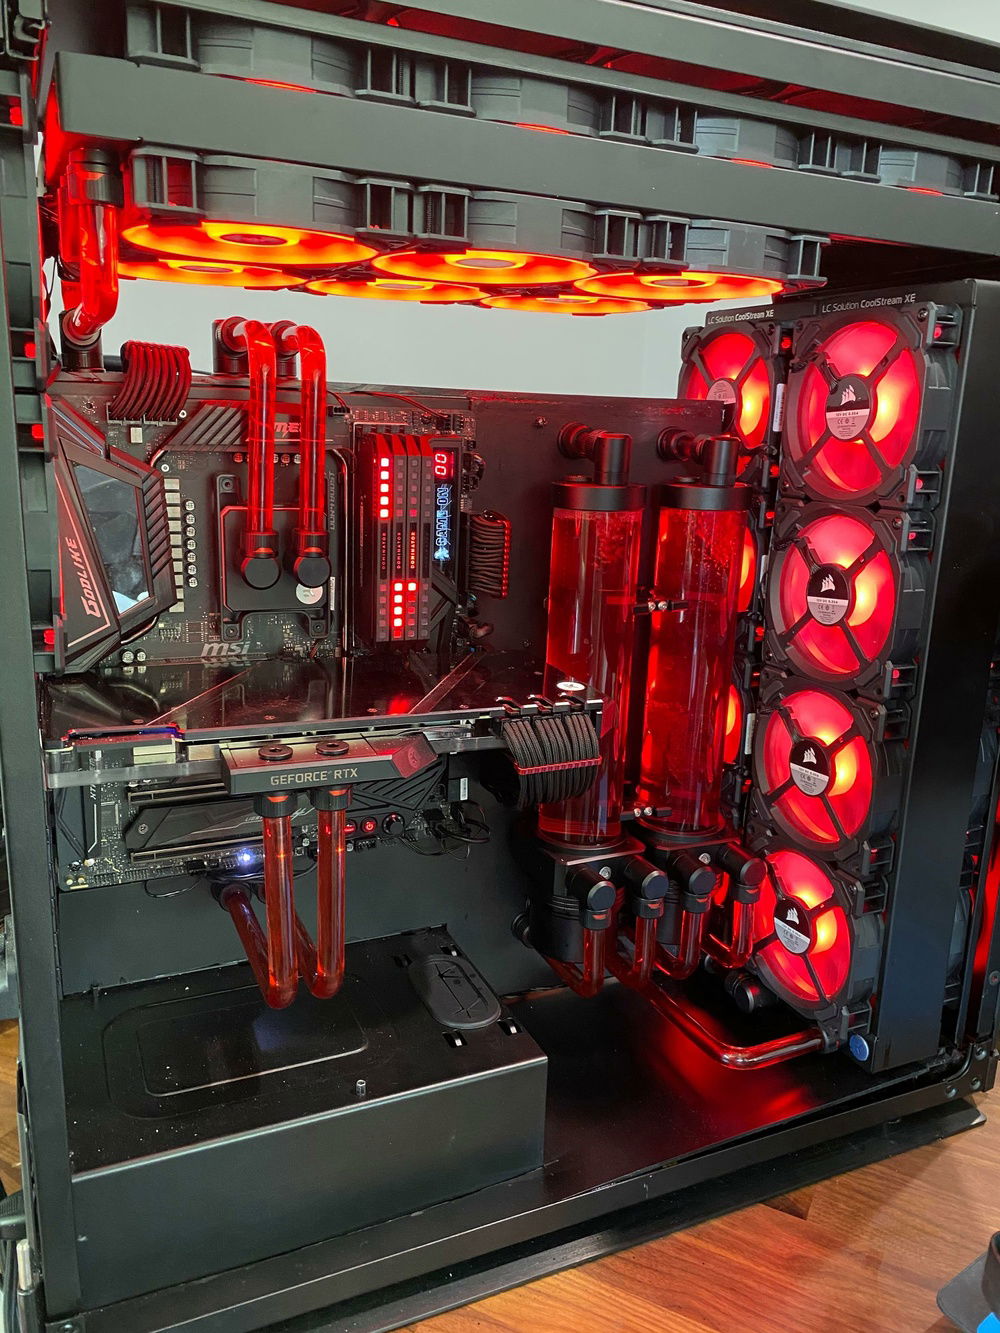
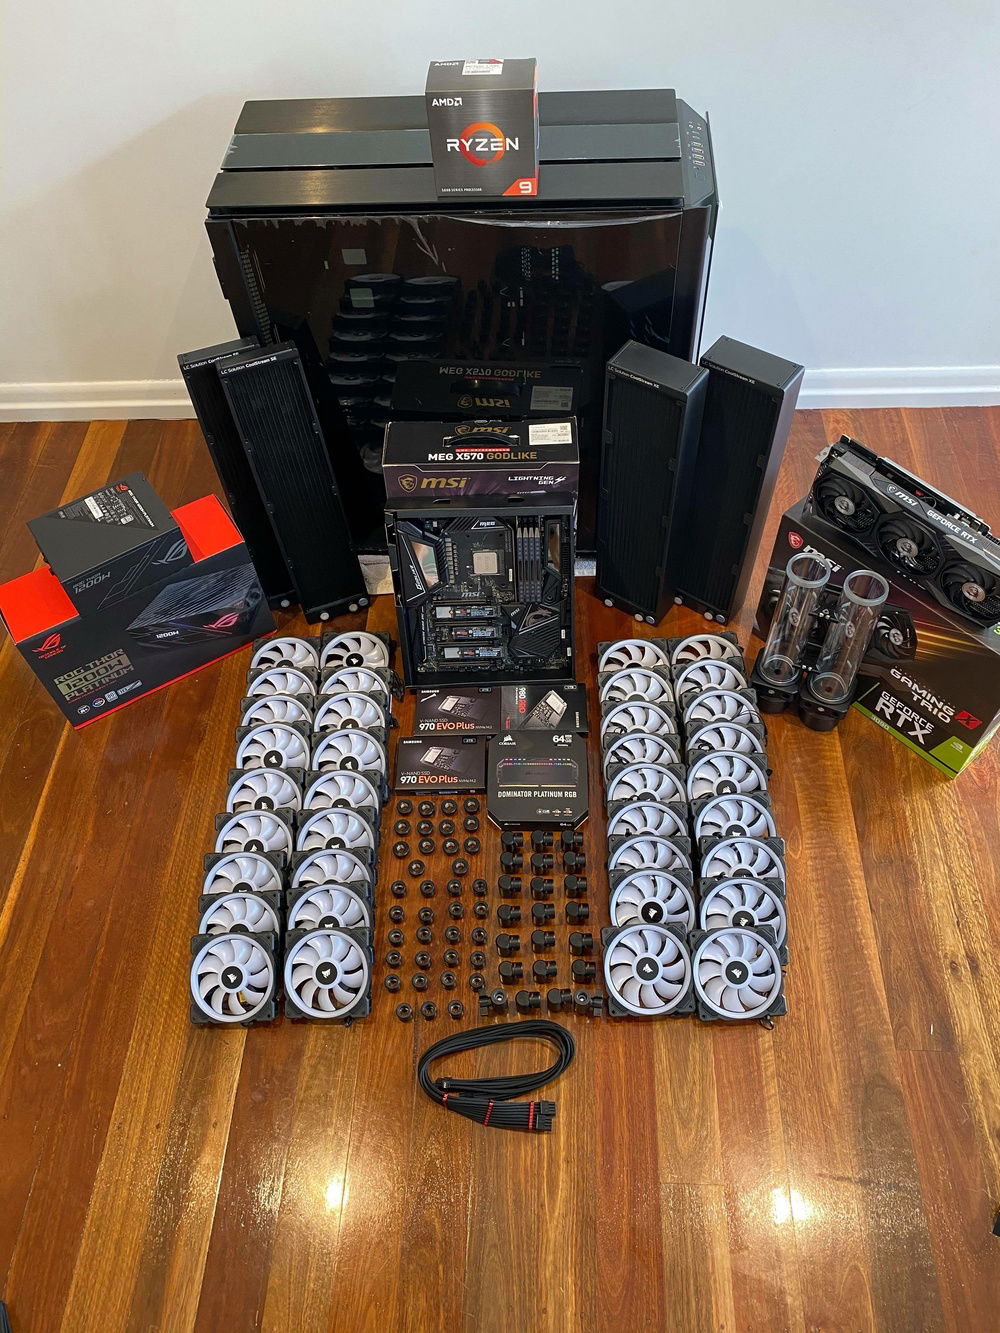
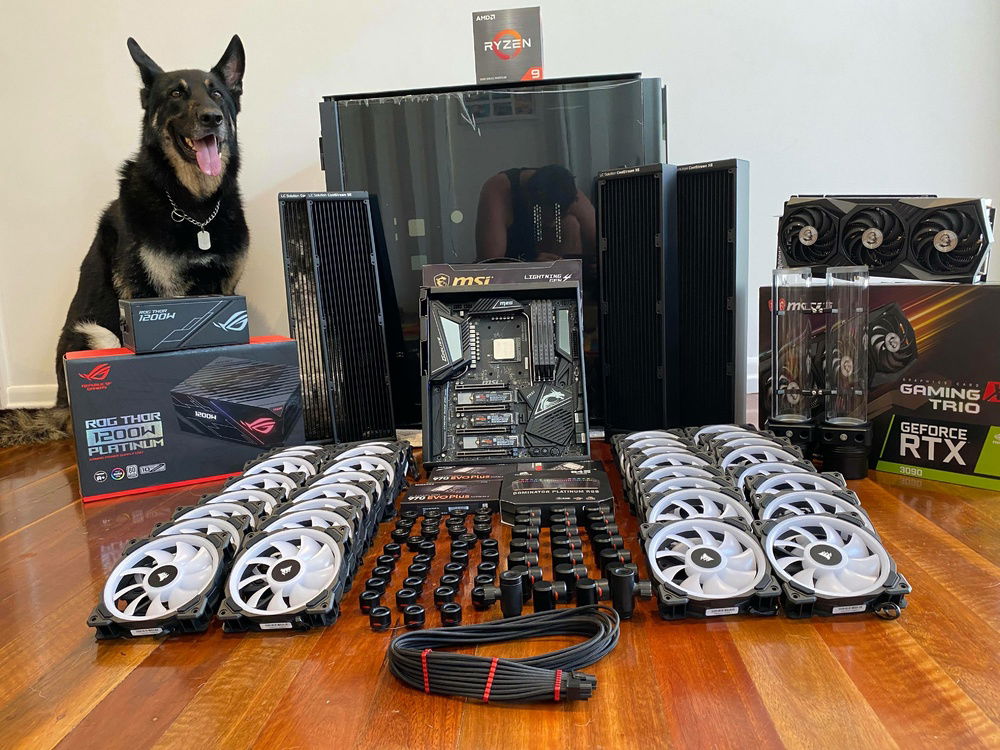
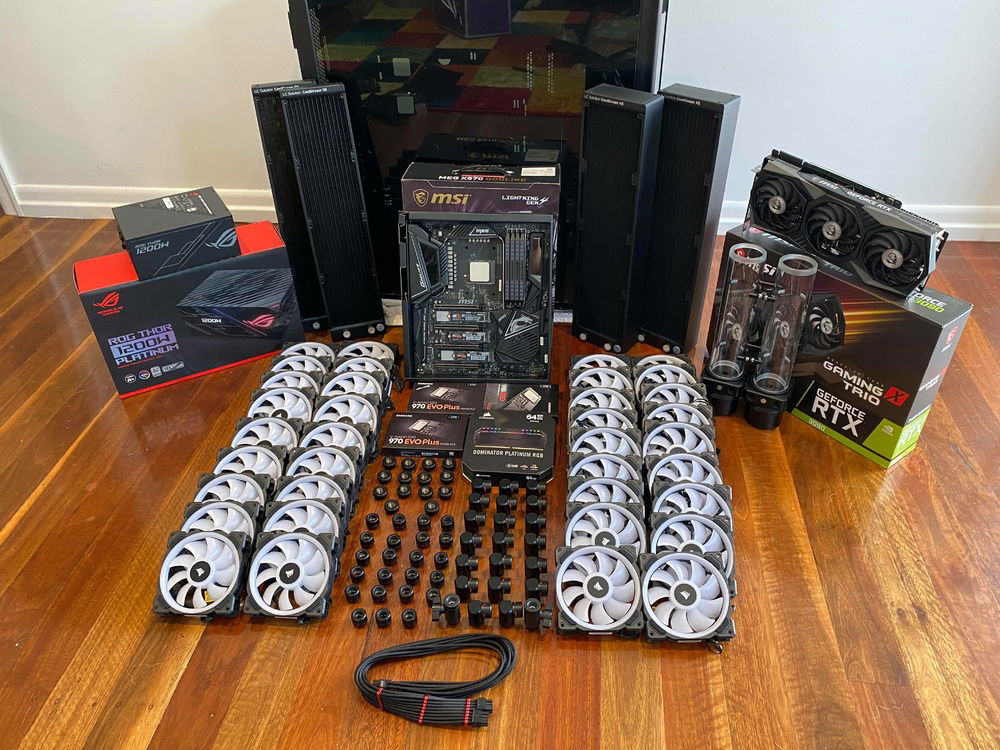
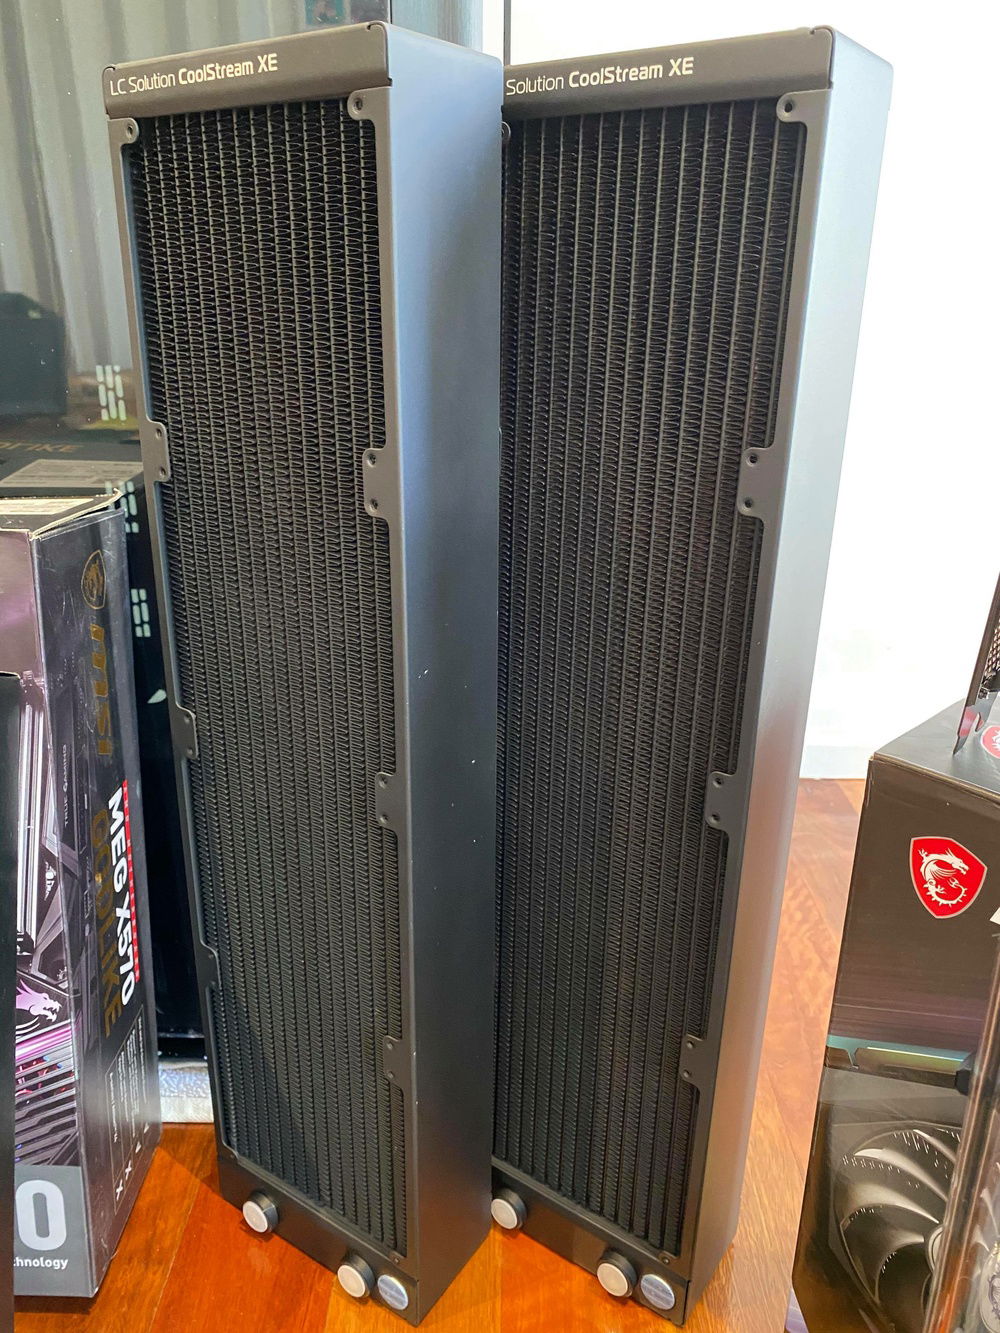
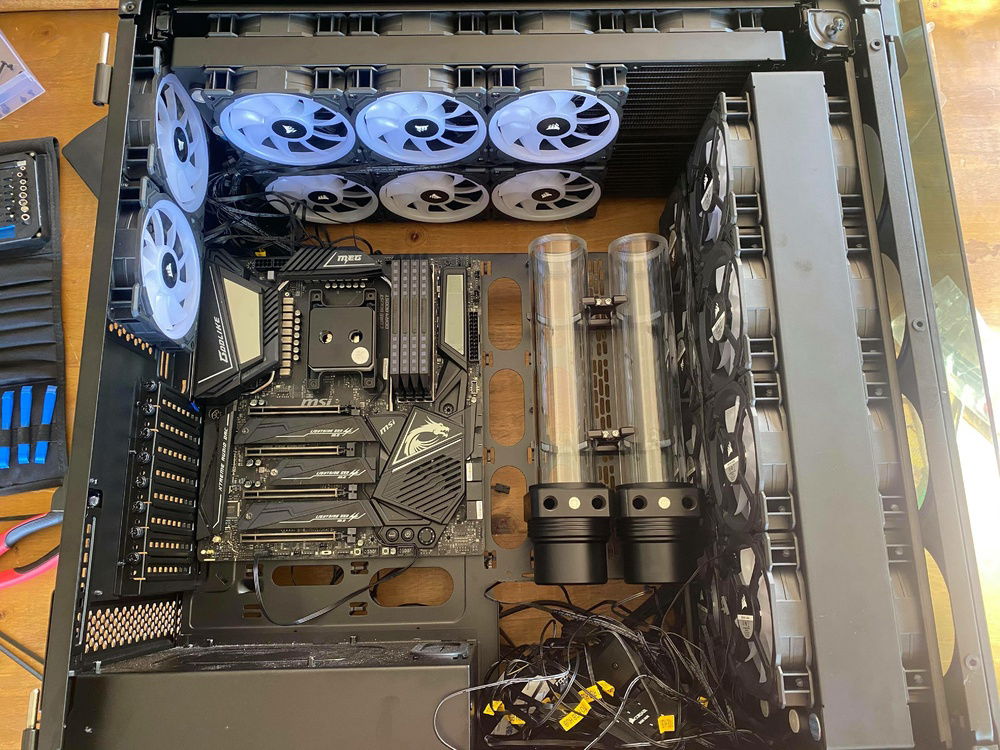
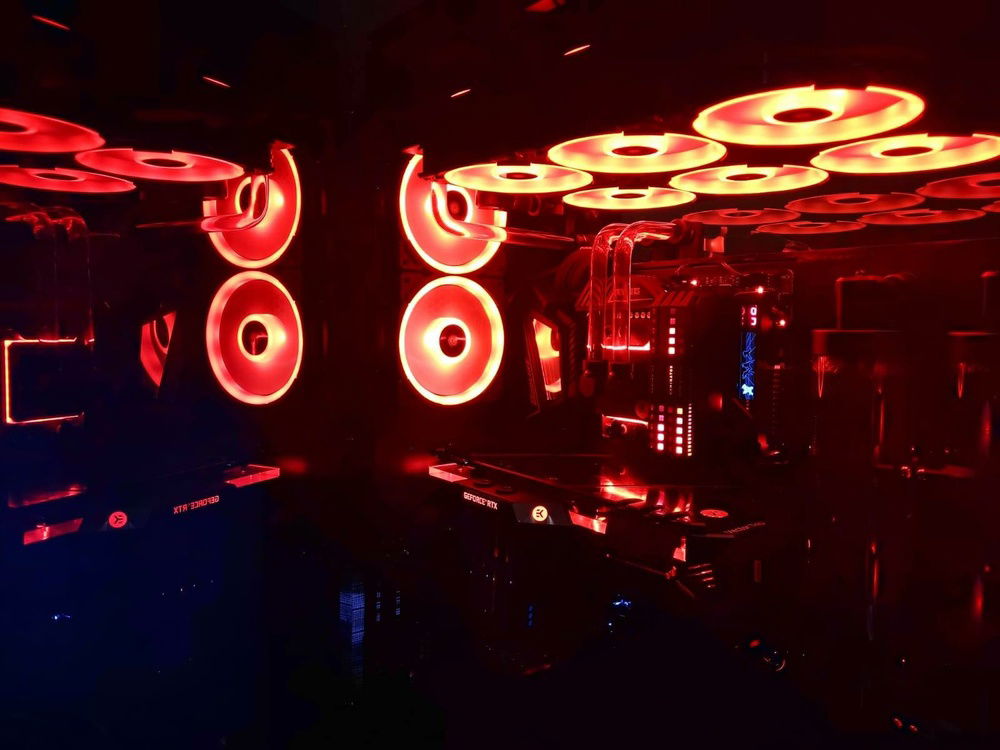
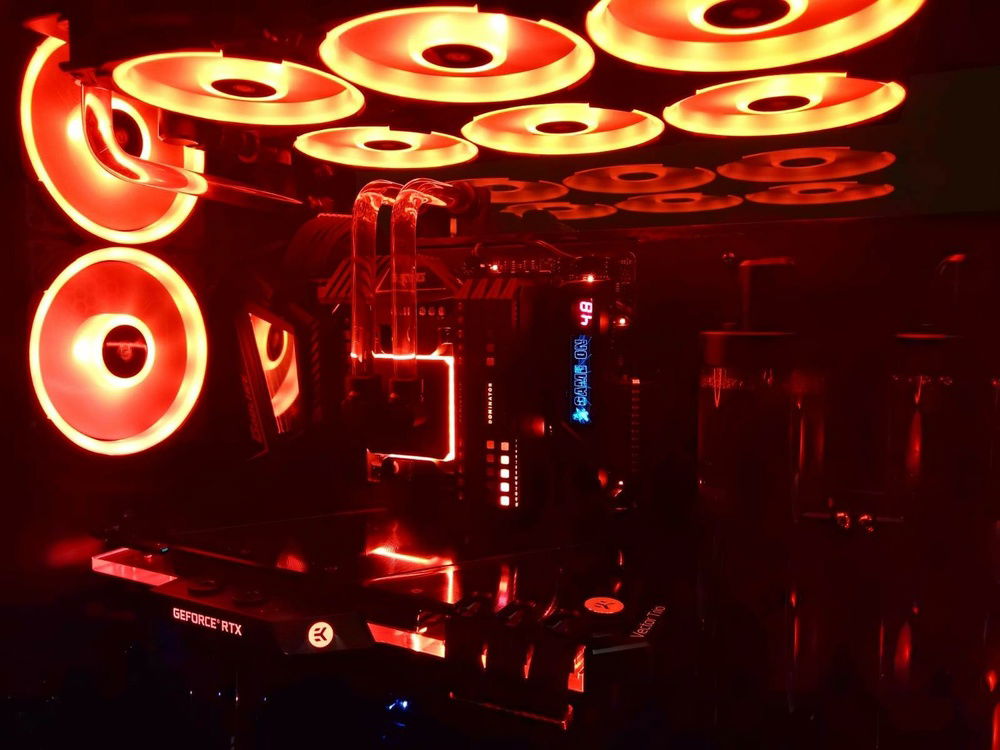
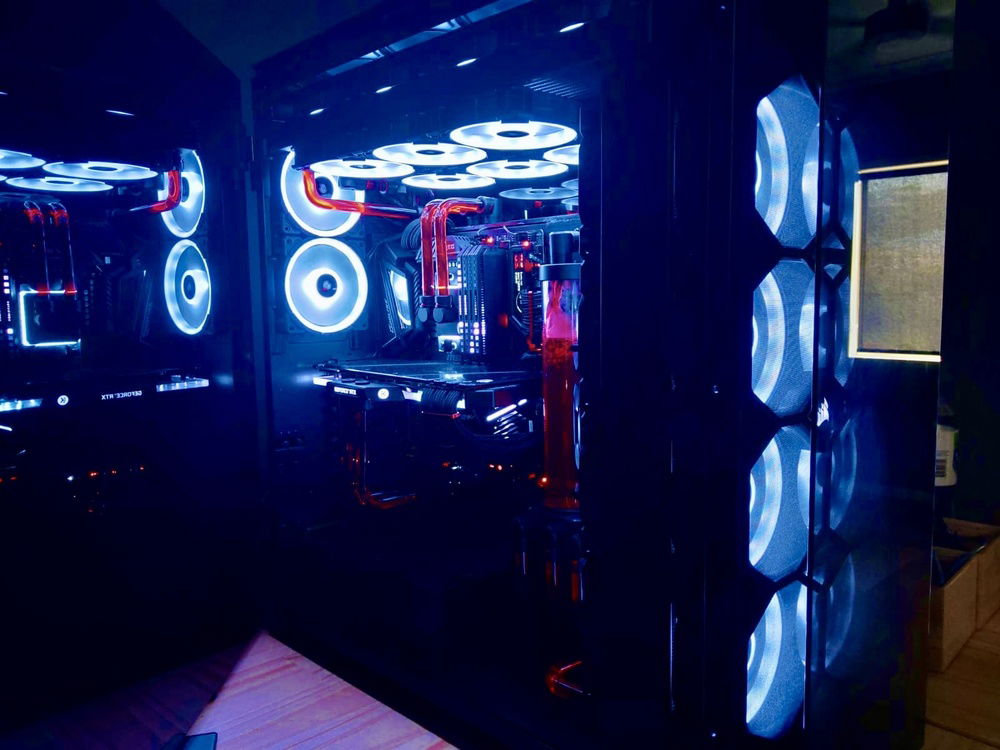
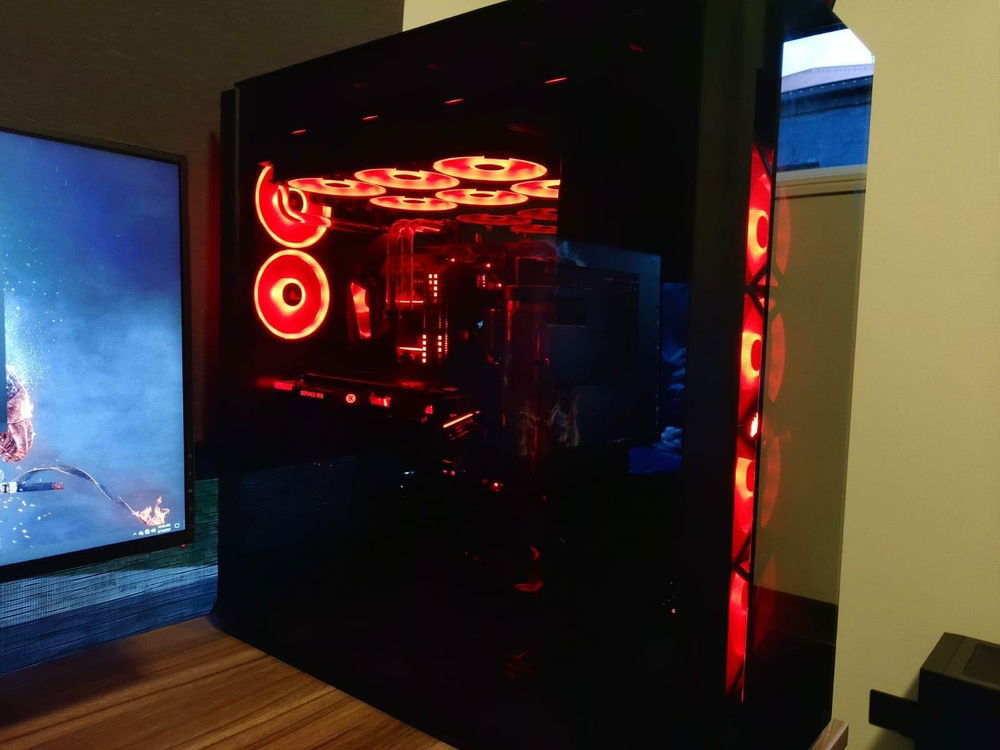
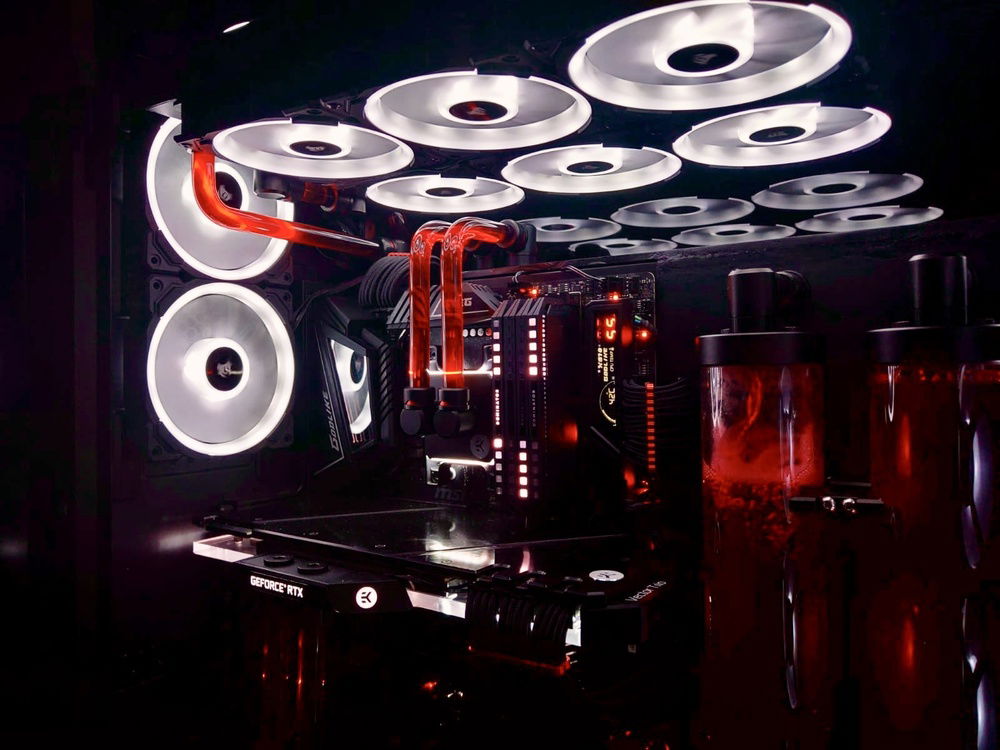
Project RED was an opportunity to build in a tower that I have wanted to build in for a long time, the Obsidian 1000D. The concept of the build was to deliver a system for a graphic designer/ video editor that would allow him to generate high grade product with little downtime and system stress. To do this the system would be running at times, 24 hours a day to render and produce this product. The colour scheme was chosen by the client, as well as specific request for MSI and Corsair products. Additionally, he requested four 480mm radiators with a push-pull configuration and a dual loop configuration to allow for overclocks on both CPU, Ryzen 9 5950x and GPU, MSI RTX 3090 Gaming X Trio. The final request was for a one-of-a-kind design that moved outside of the normal constraints of the case.
Case Modifications:
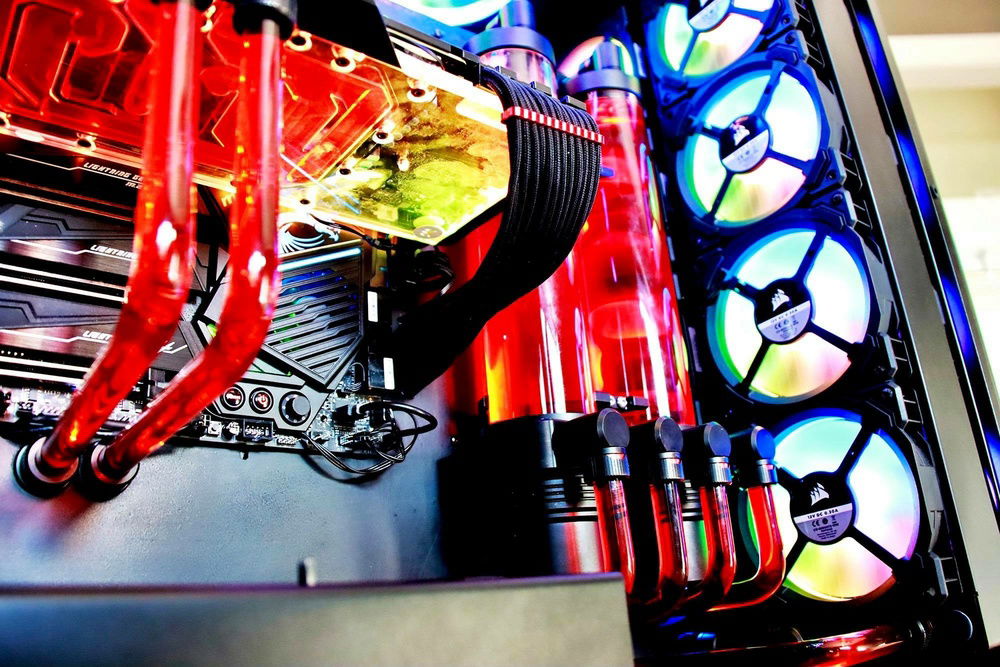
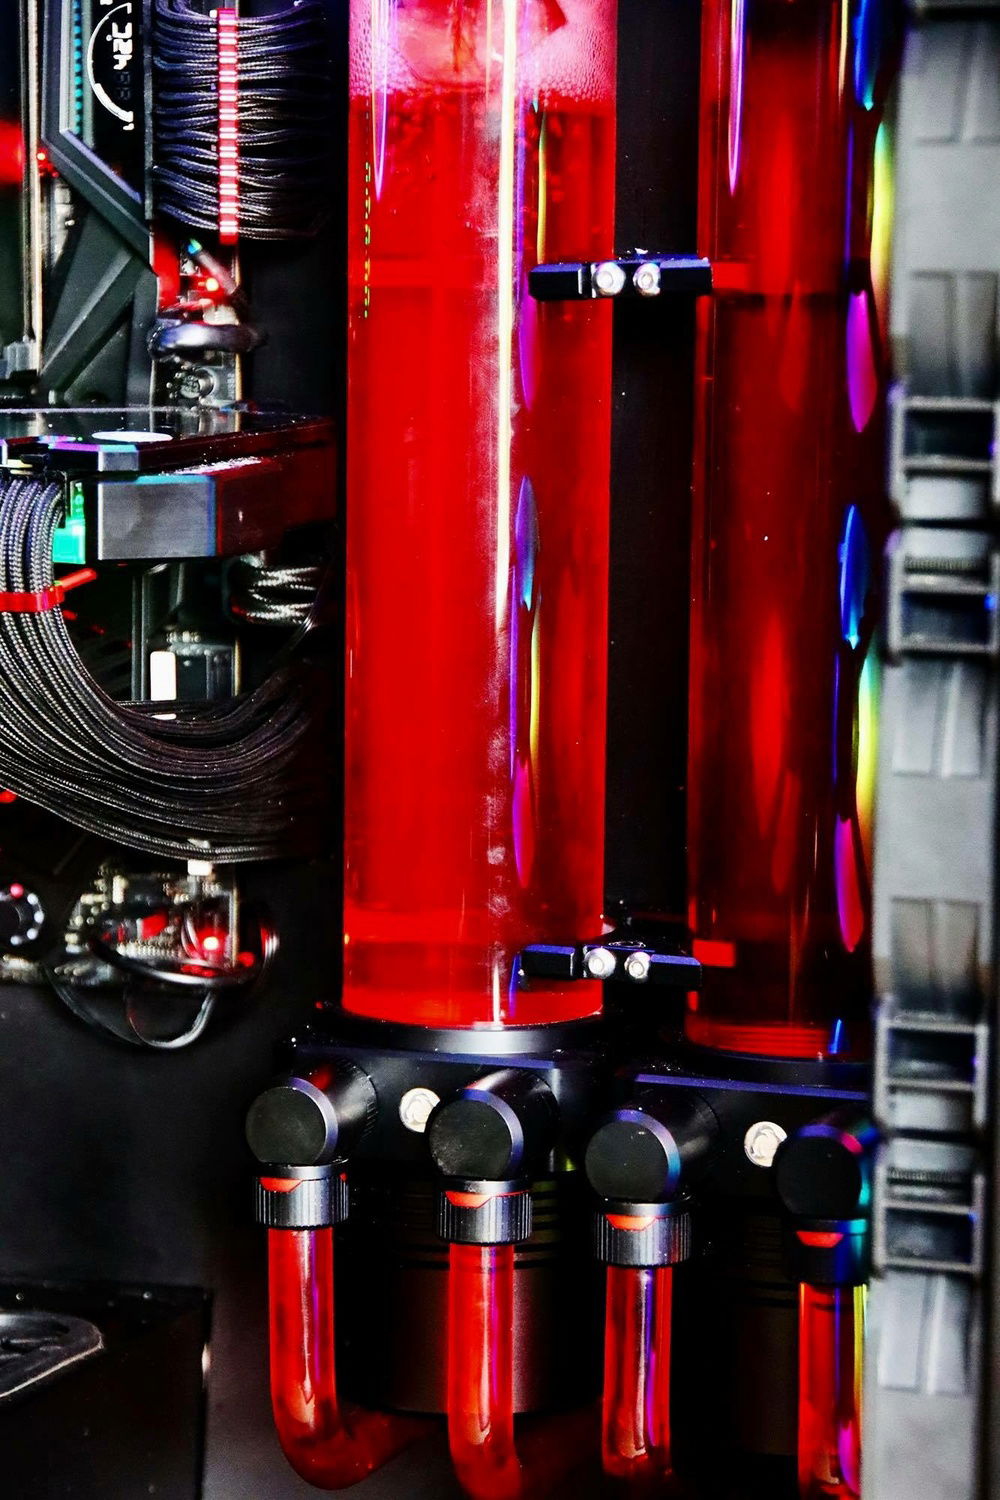
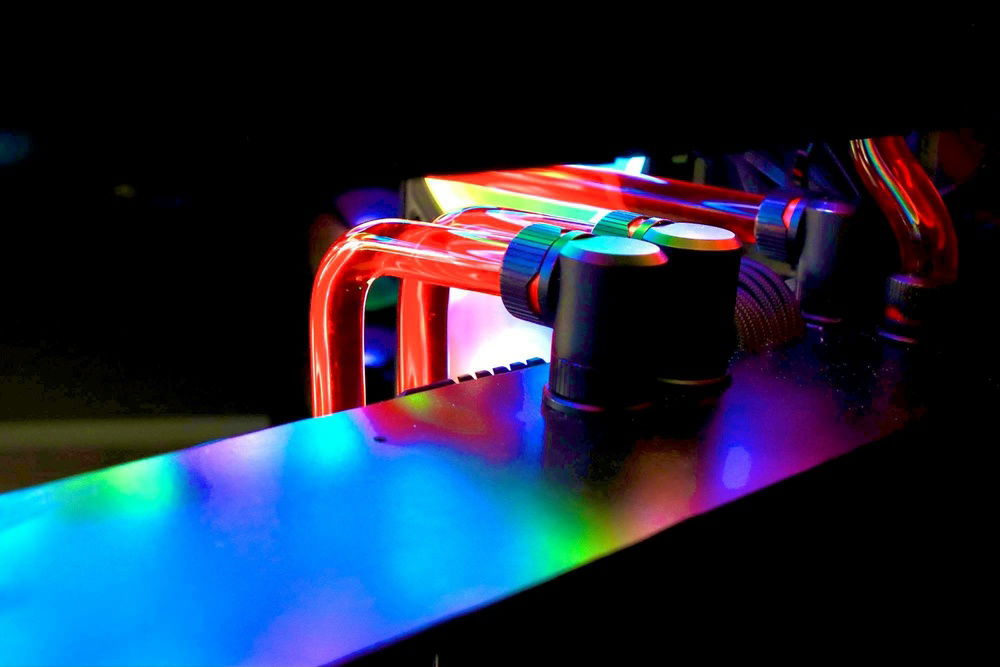
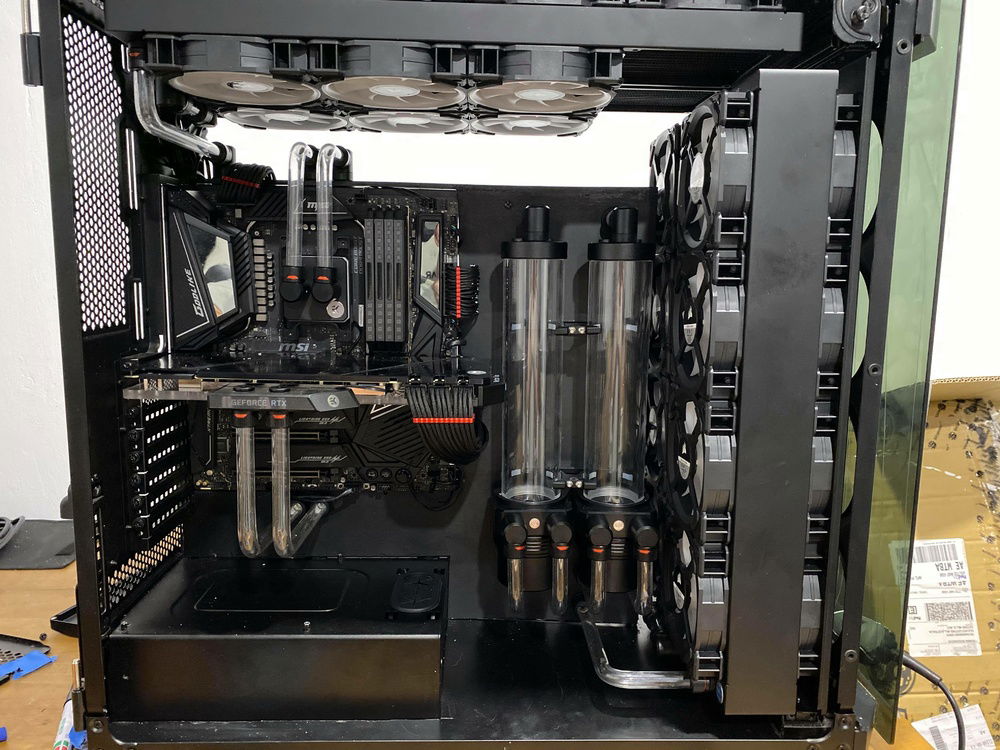
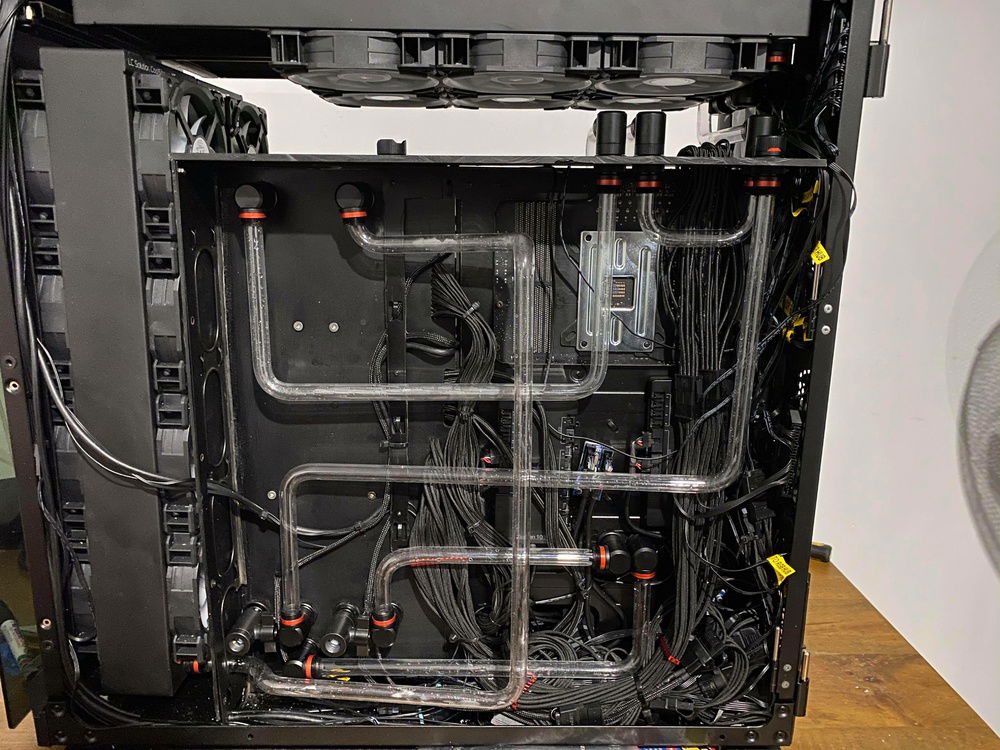
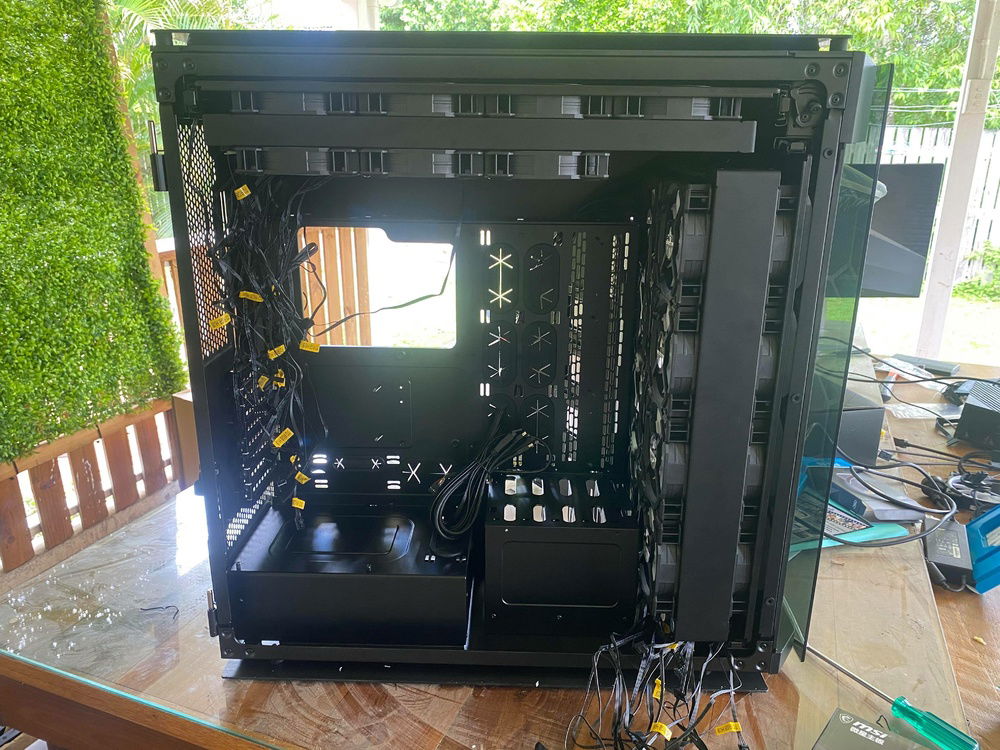
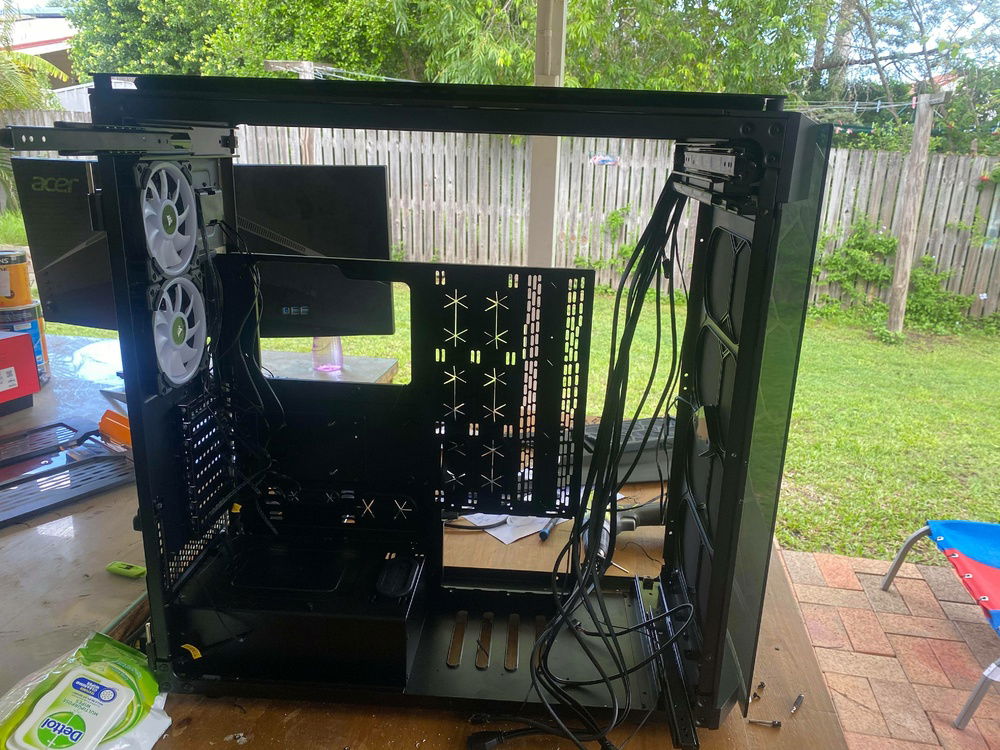
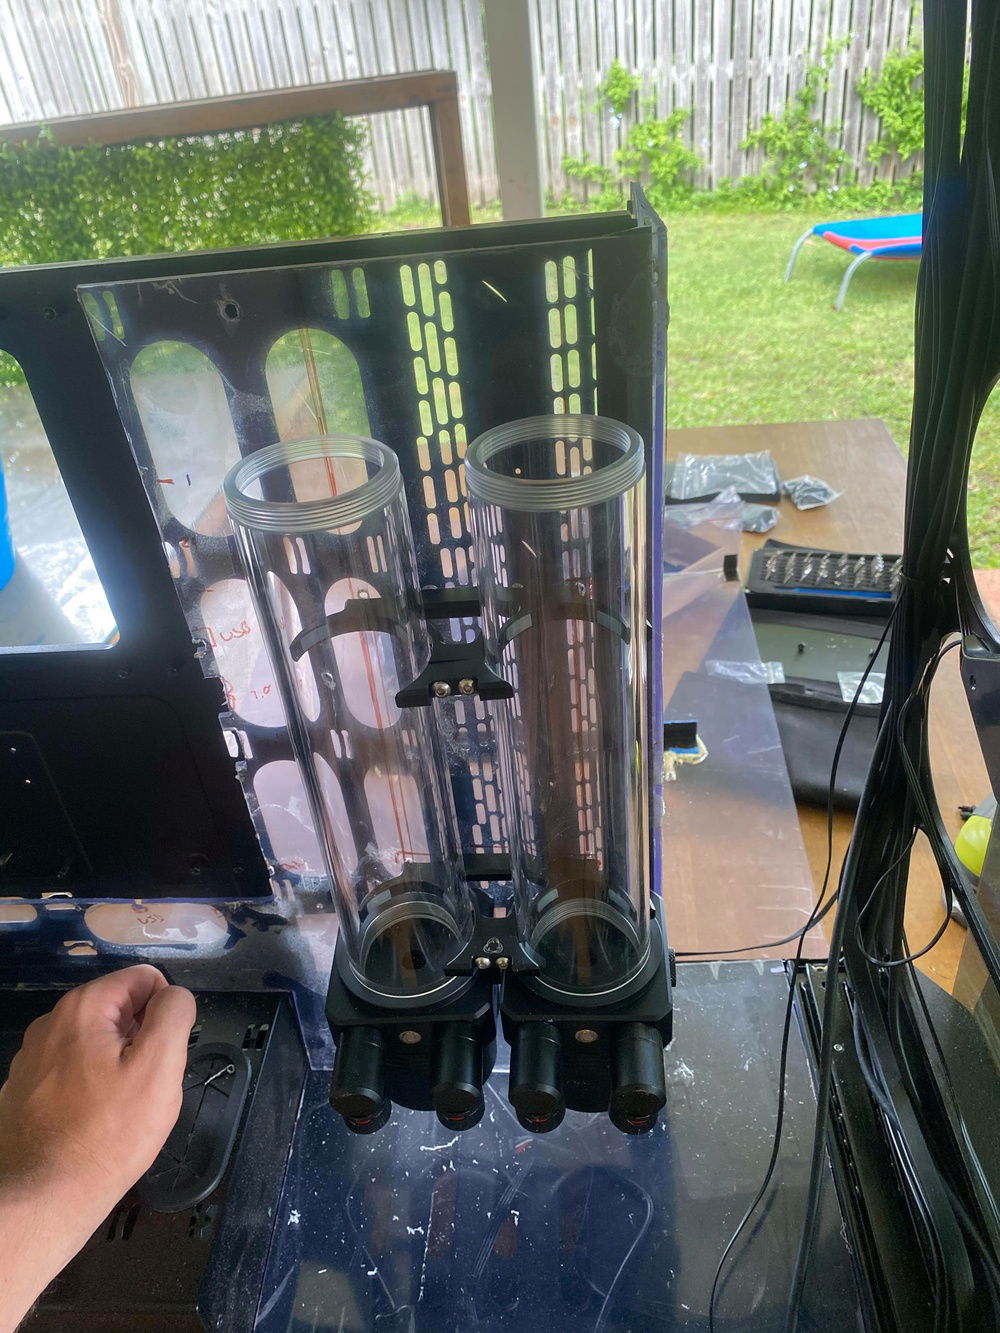
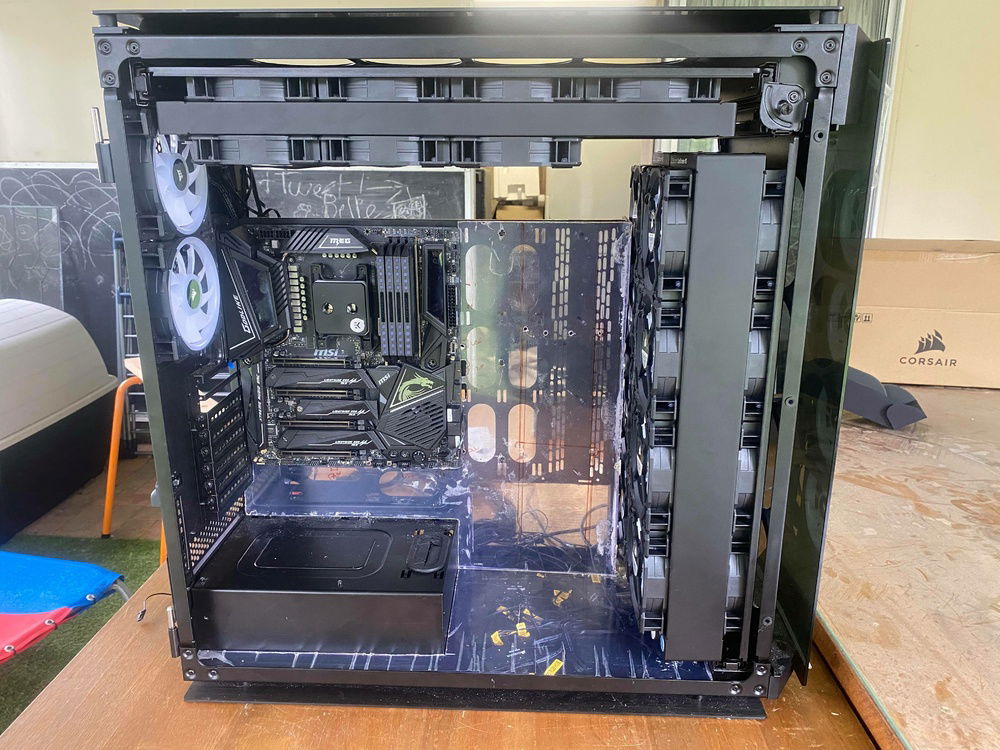
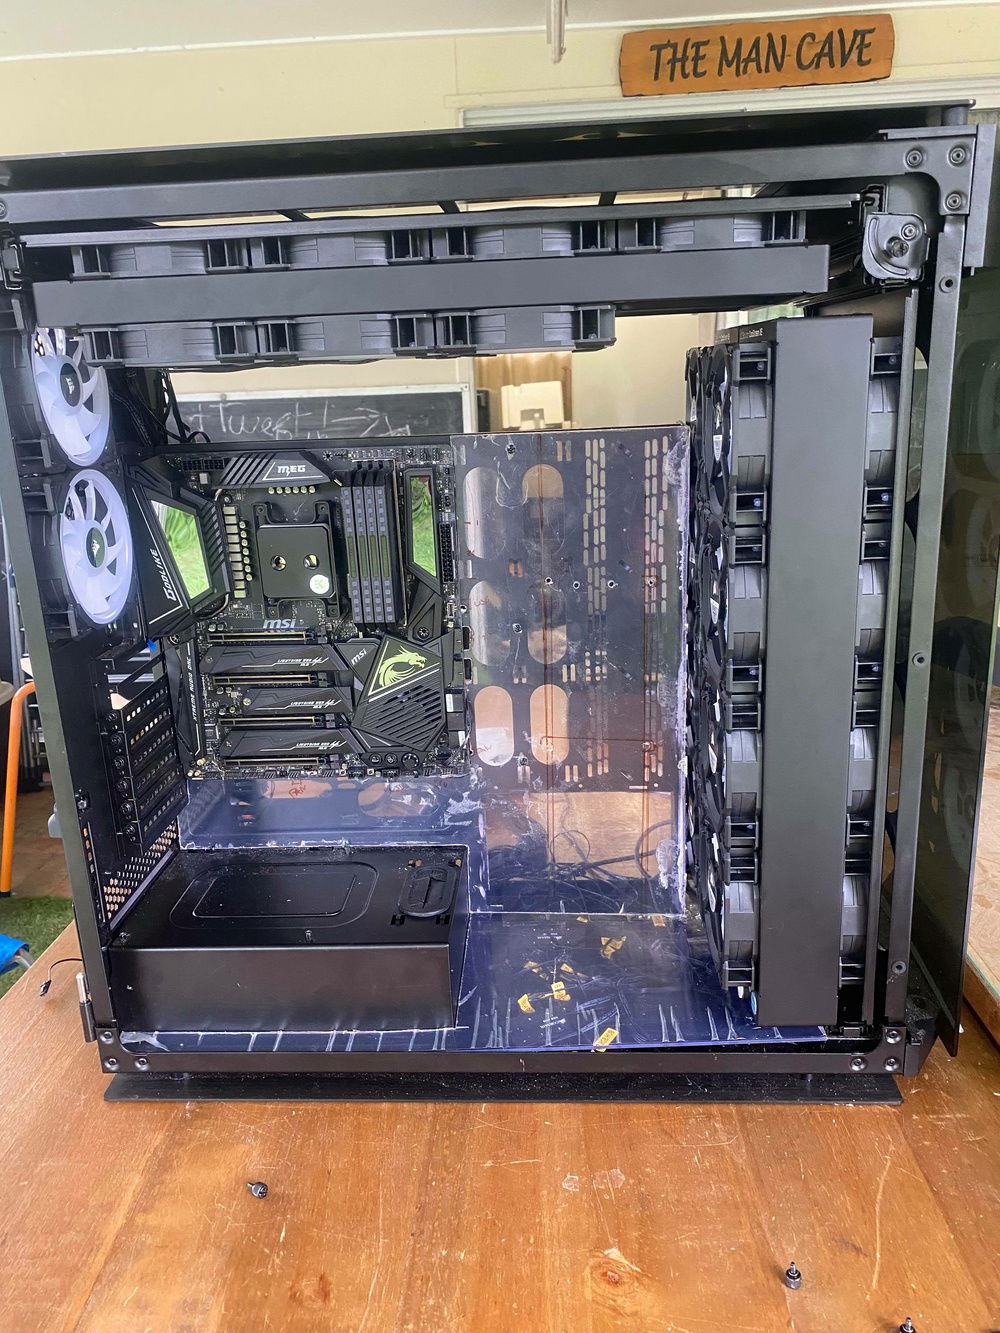
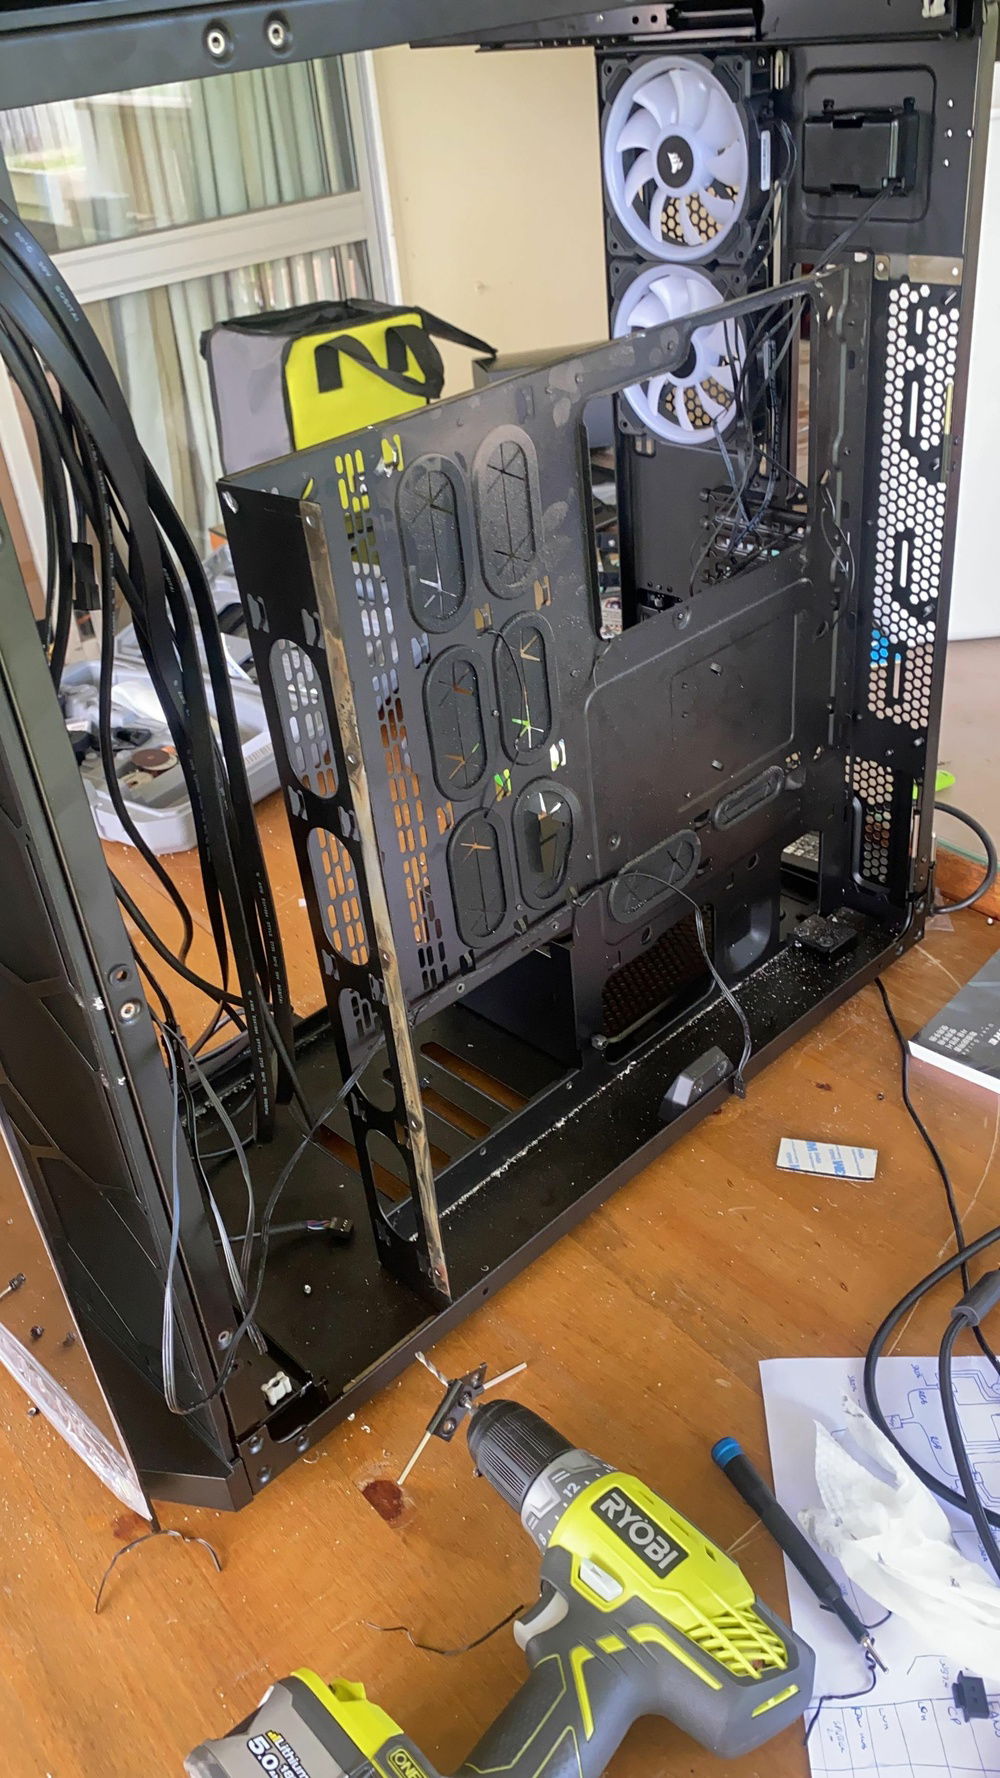
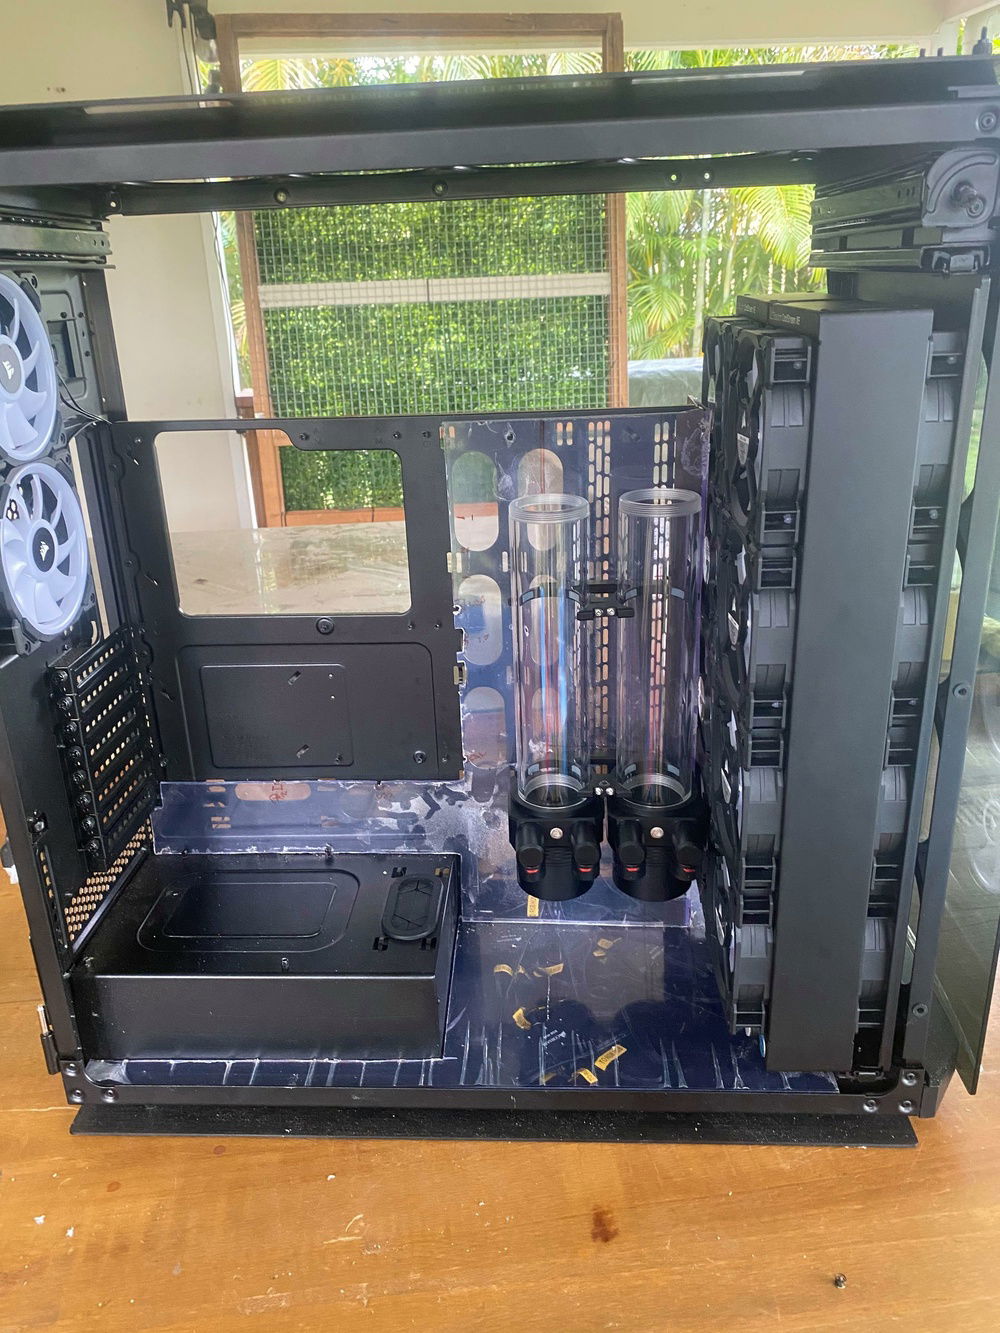
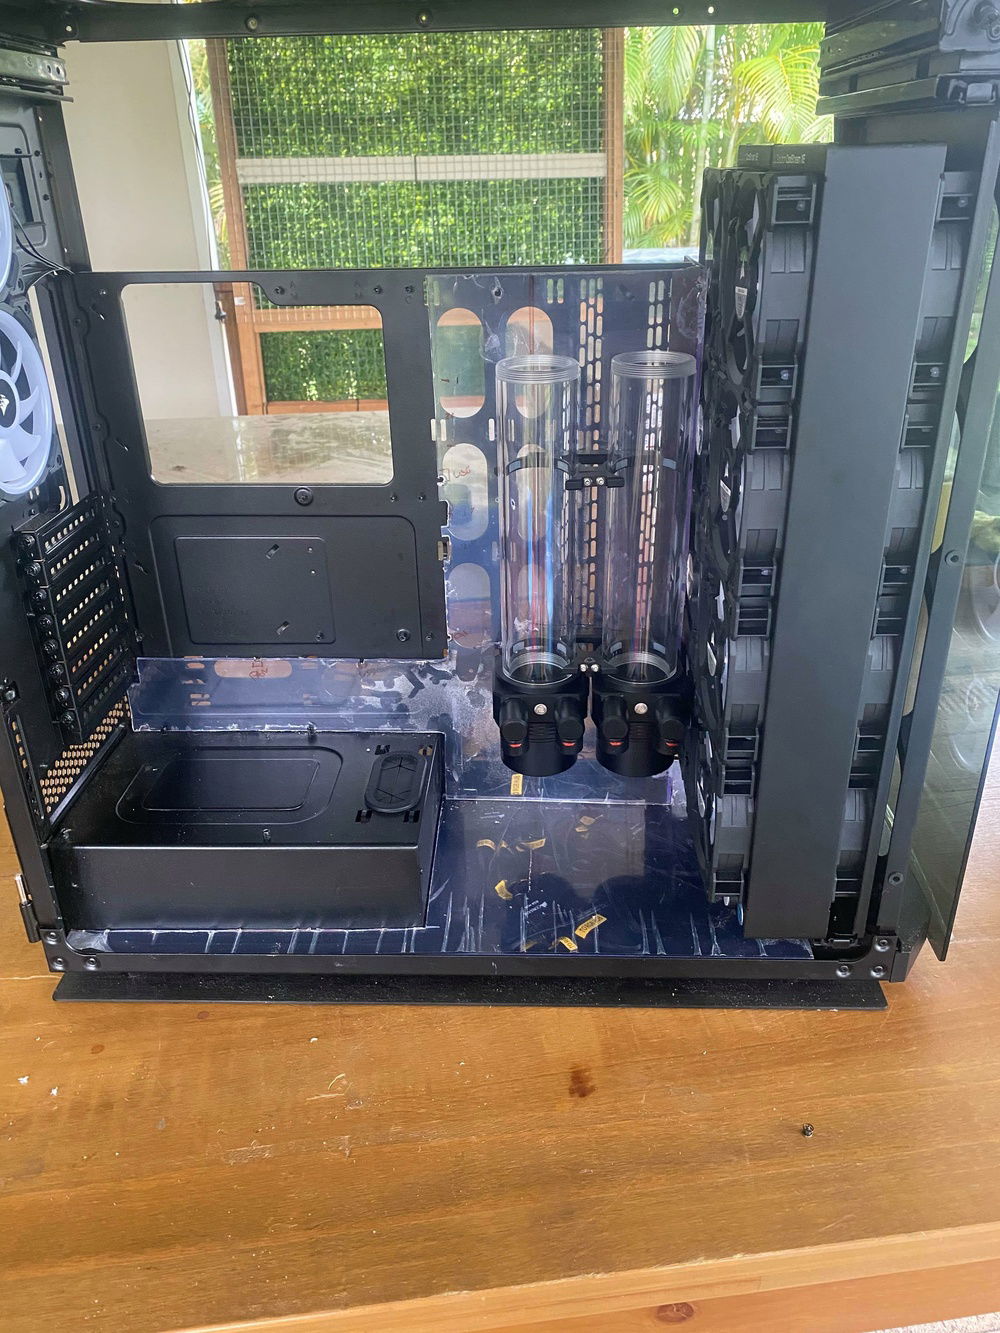
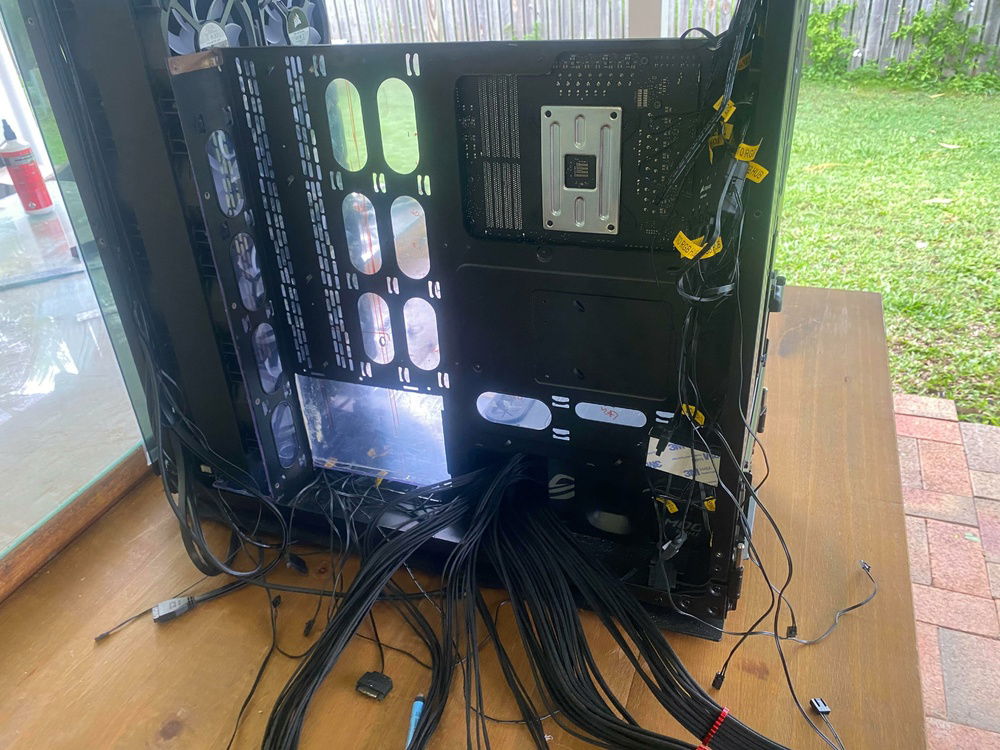
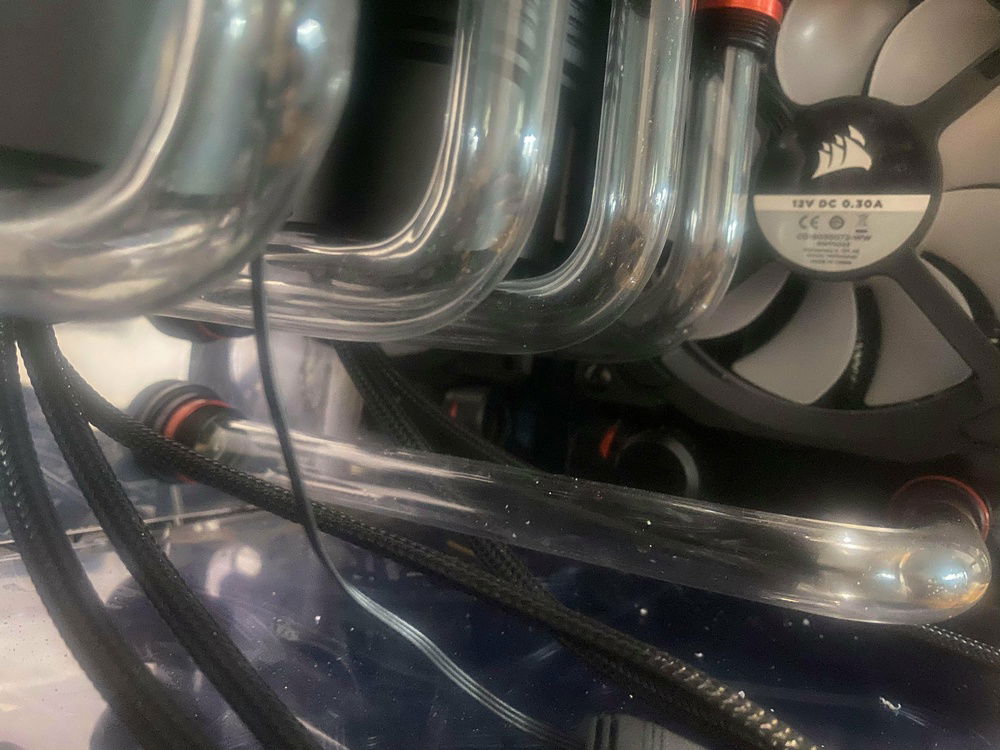
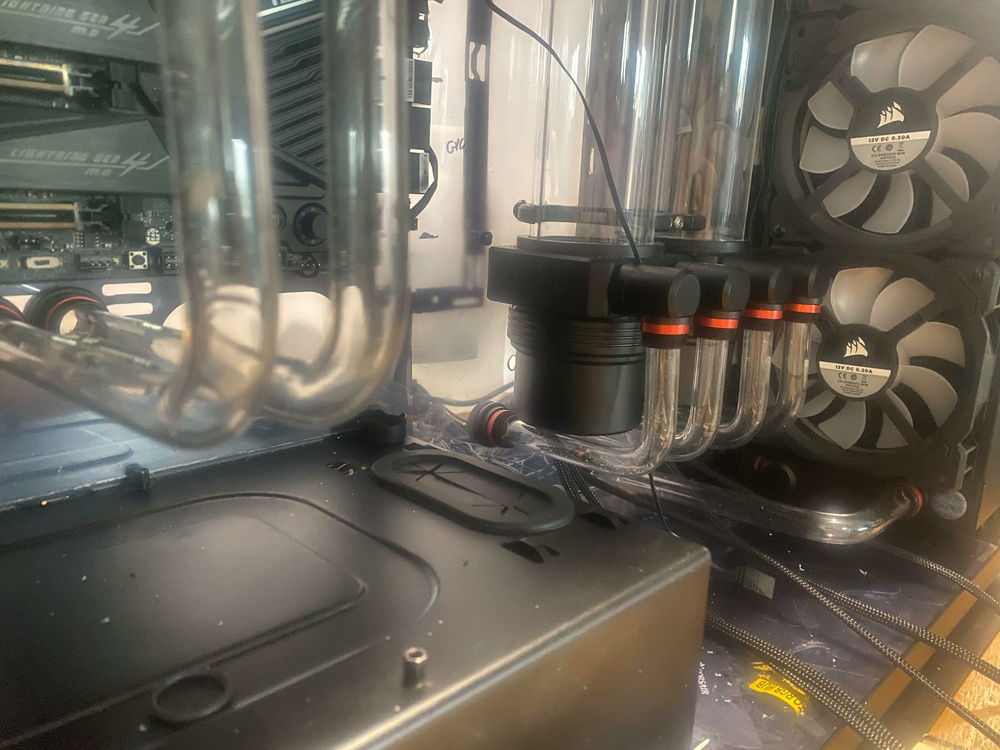
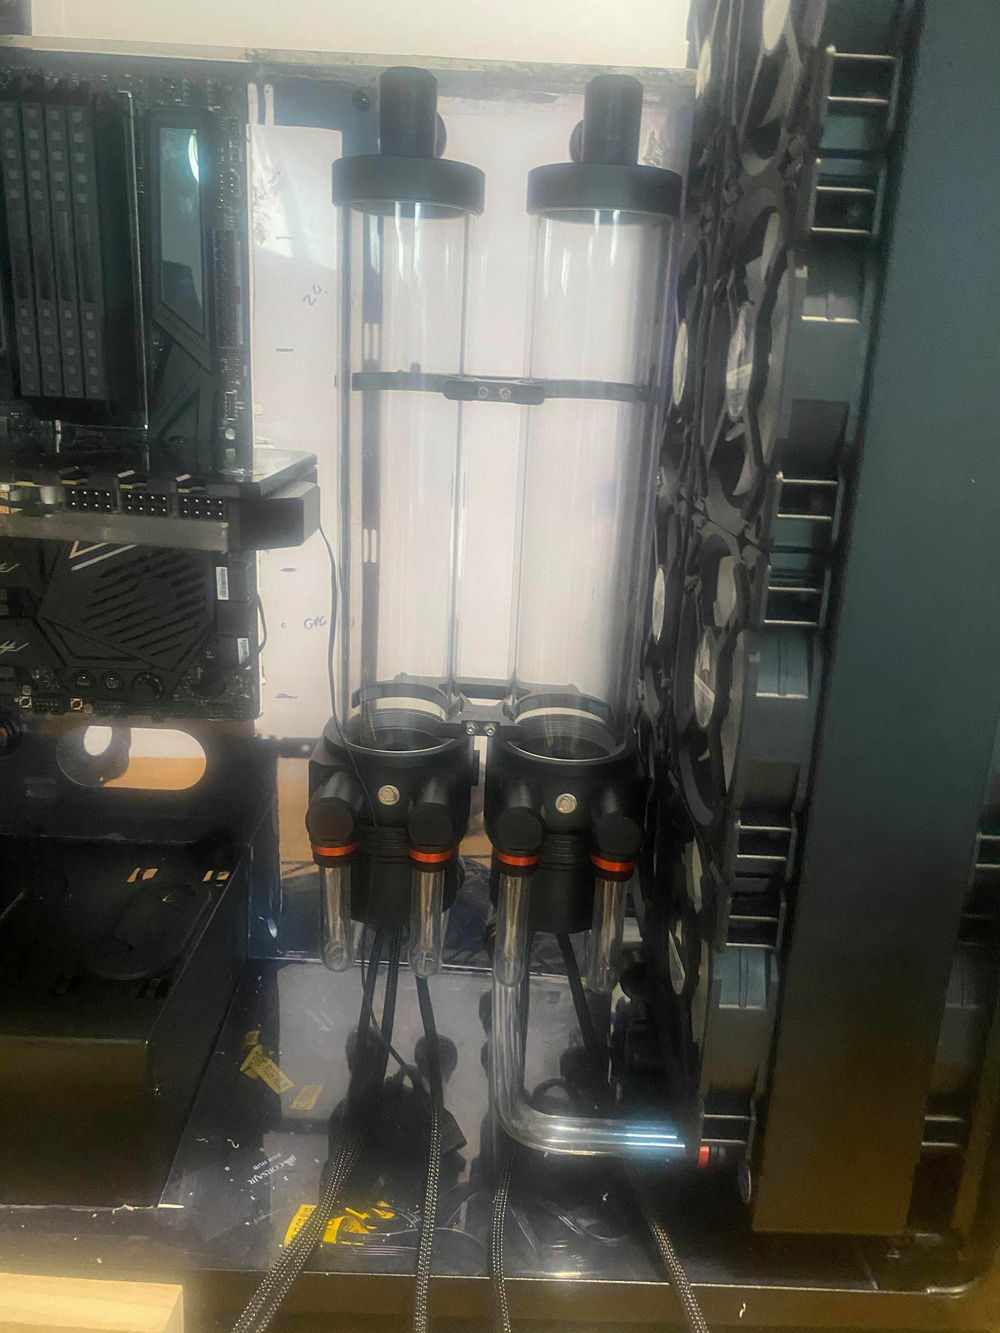
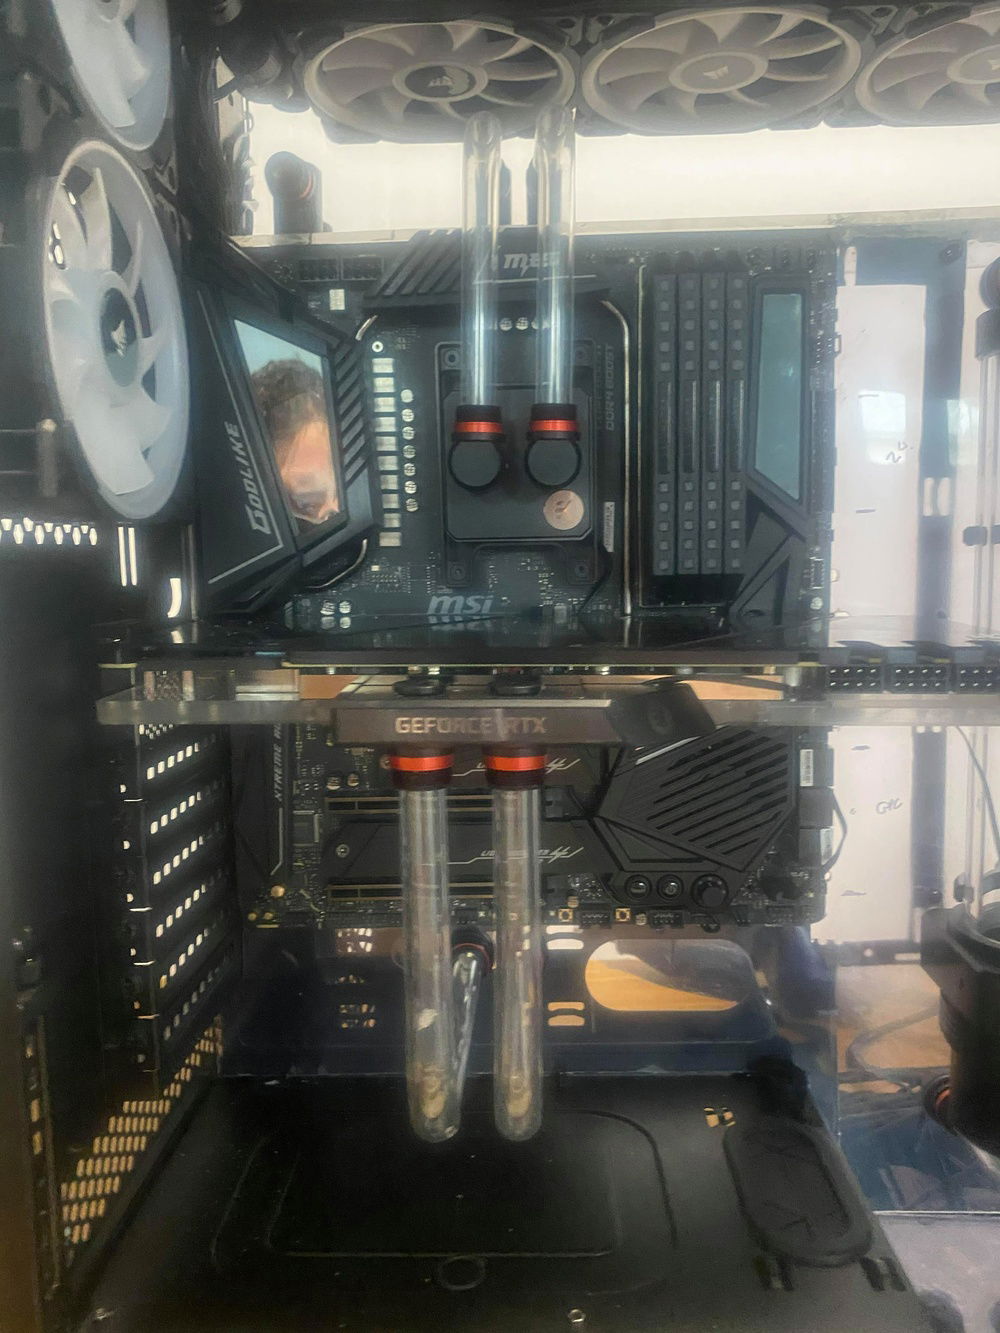
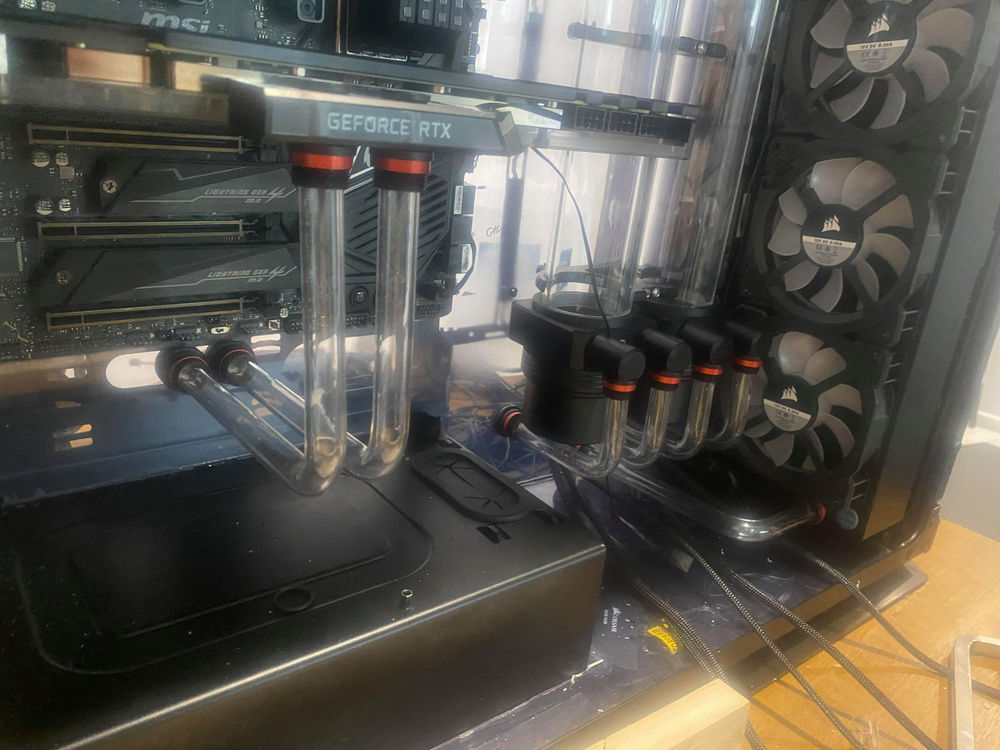
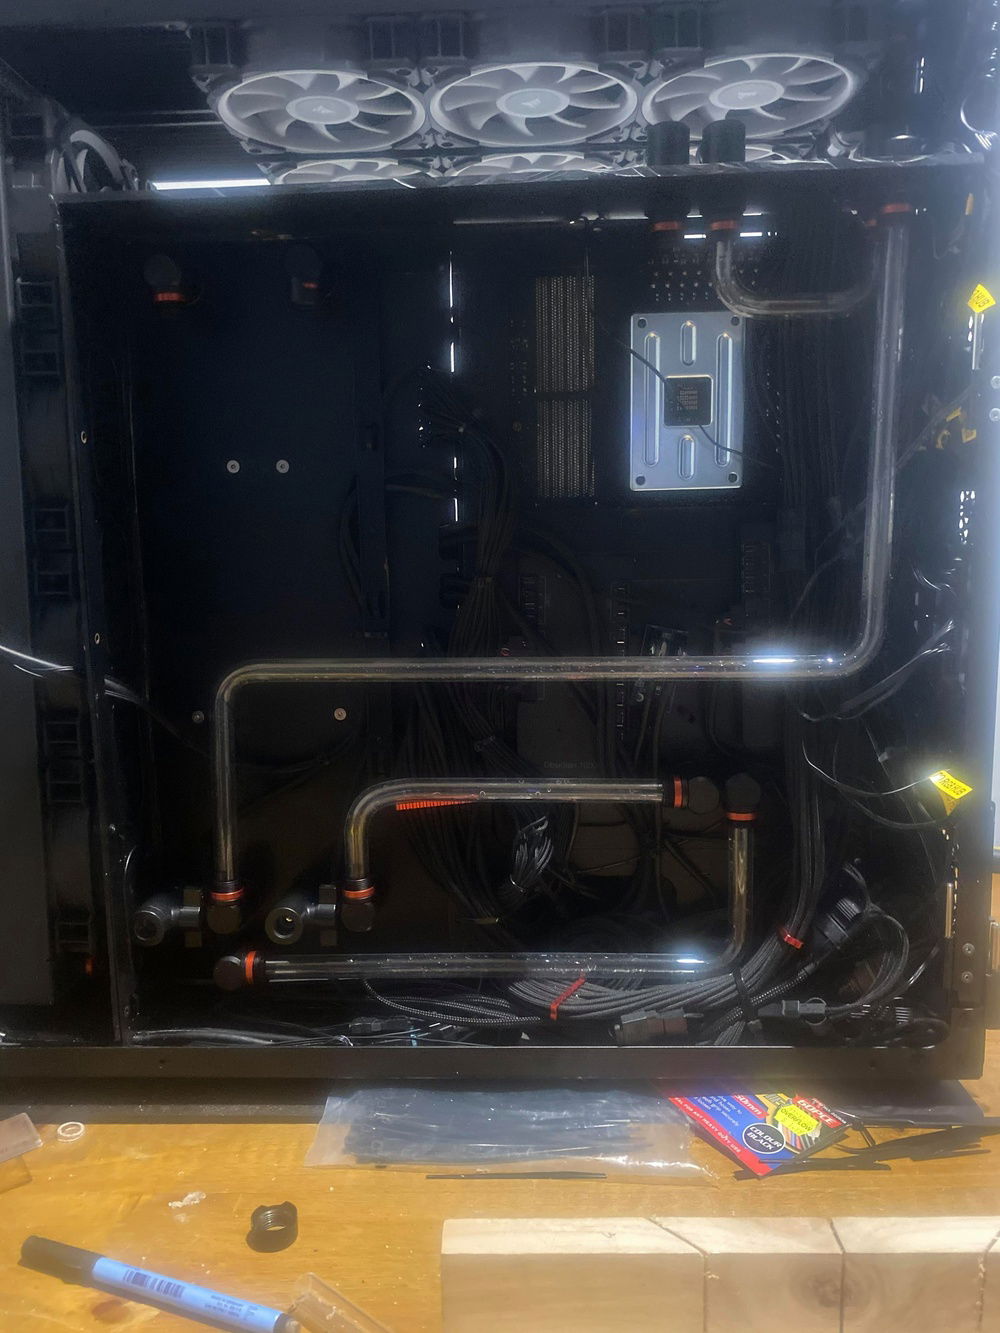
The case modifications were significant and can be seen in the photos in the build log. I completely removed the back panels and made the case hollow, except for a cut down motherboard tray. This allowed for acrylic panels to be constructed and more mounting options for the dual Singularity Computers pump and reservoirs. The ability to run pass through fittings wherever required gave creative licence to create the one-of-a-kind build.
Acrylic Floor:
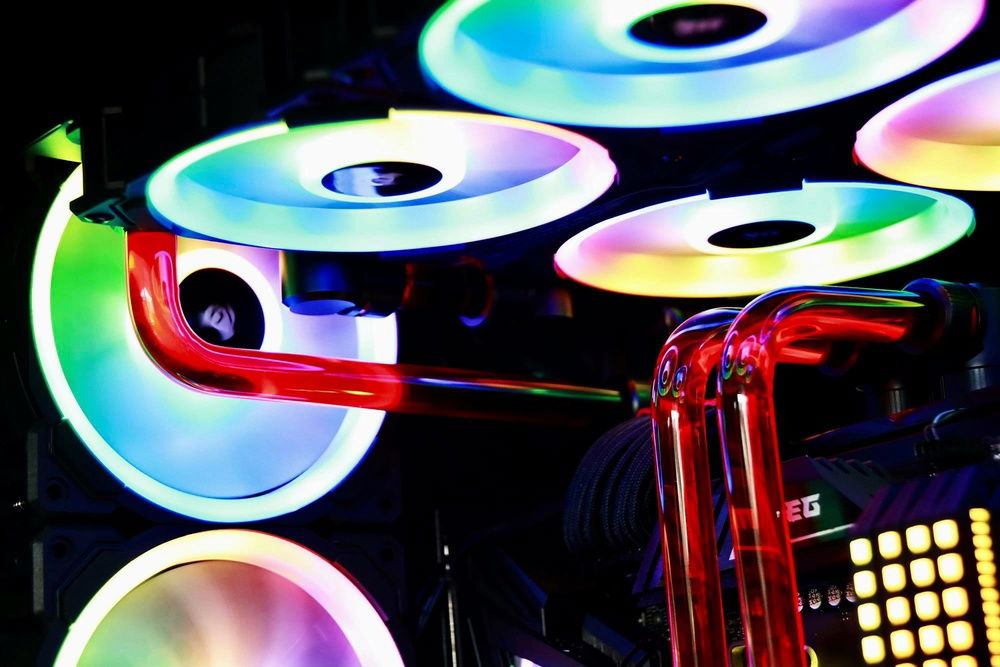
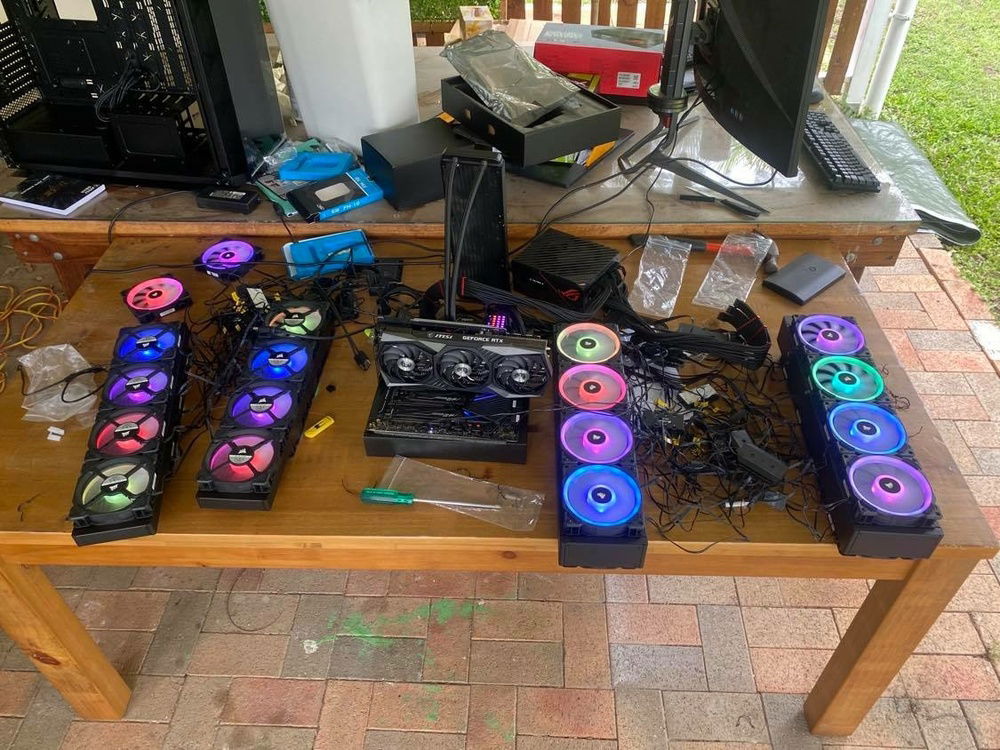
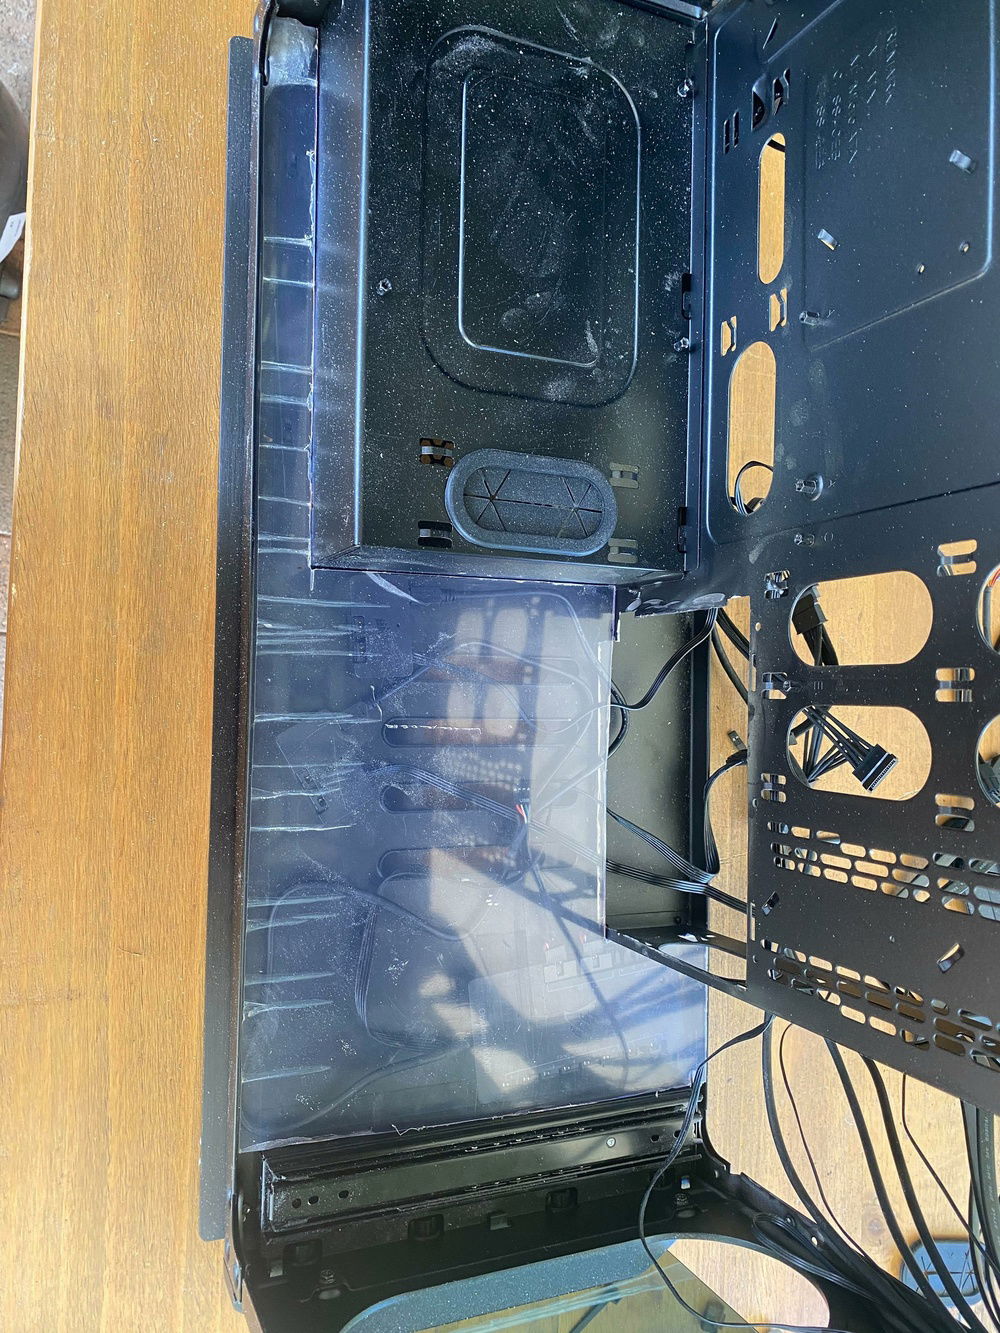
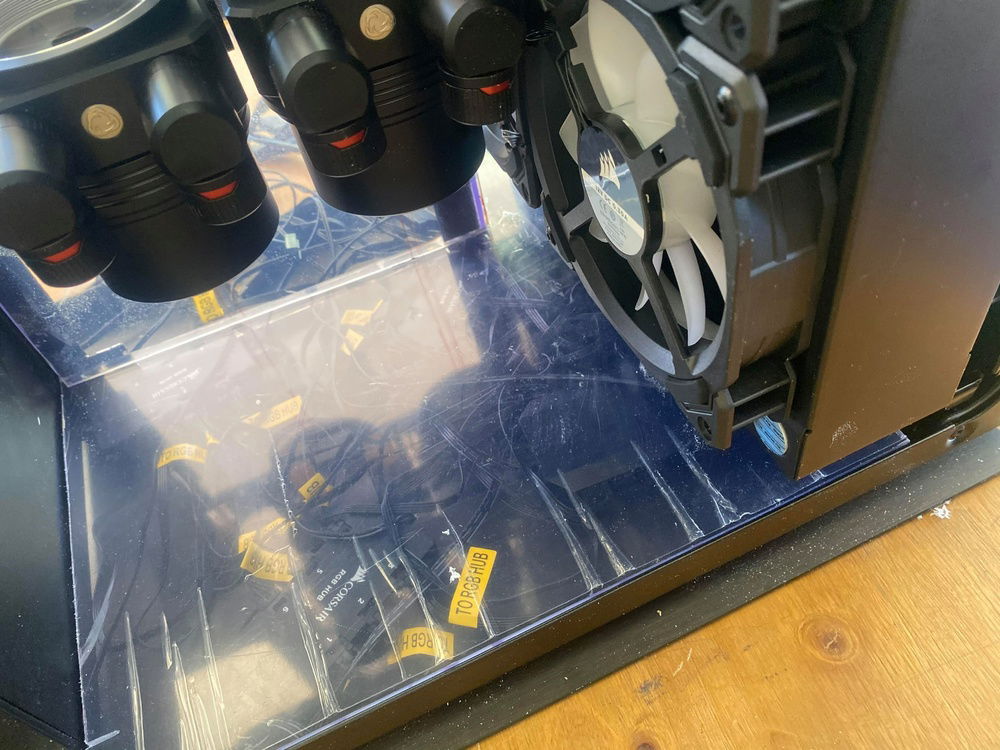
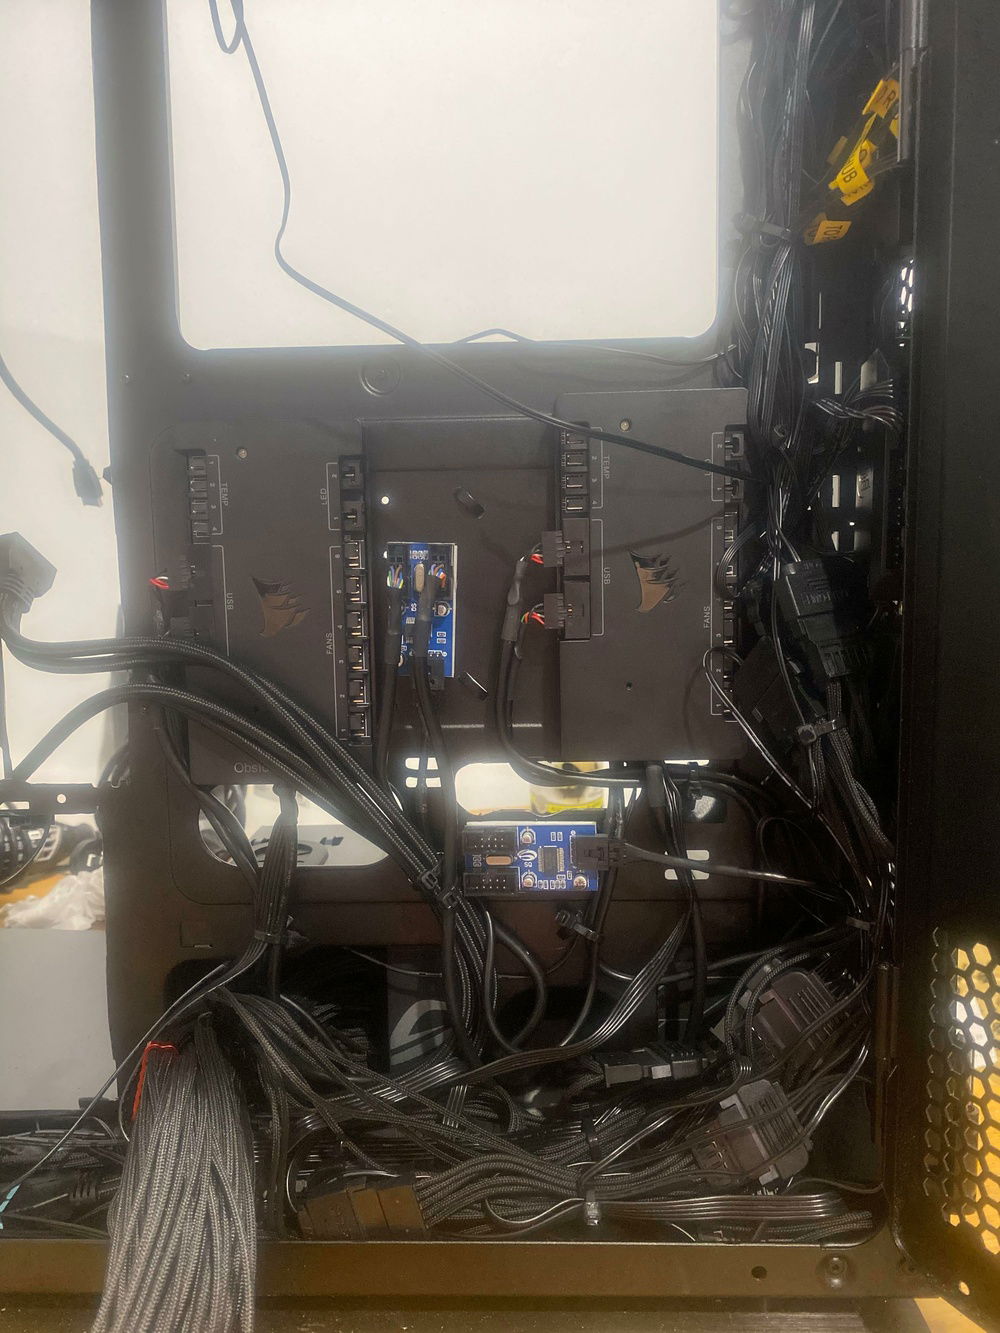
For those who have not used Corsair Fans, they have a unique lighting and fan control configuration that requires research prior to using more than six. There are 16 fans on the front two radiators which mean two fan control hubs (deepcool 10-port fan controllers I highly recommend), three RGB controllers, two lighting nodes and this went into a Corsair Commander Pro. The requirement of this many lighting and fan elements needs significant cable management and to hide this I created am acrylic floor. This floor sat over the top of the cables running along the case floor and moved up behind the motherboard which kept them concealed from the front.
Pros:
Case:
The Obsidian 1000D is an incredibly well-built case. Even when 90% of the internal structure was removed there was zero case flex in the main chassis. The two tempered glass windows are very thick and have strong hinges that swing freely and are easy to remove when needed. The magnets in the case frame are strong enough to hold the large windows closed without issues. I installed the 2x 480mm radiator bracket in the roof of the case with no issues and these are excellent aids to remove when installing the radiators and fans. The case has plenty of cable tiedown points and depth behind the motherboard tray provides plenty of room for cable management, and in my case, tubing runs.
EK fittings:
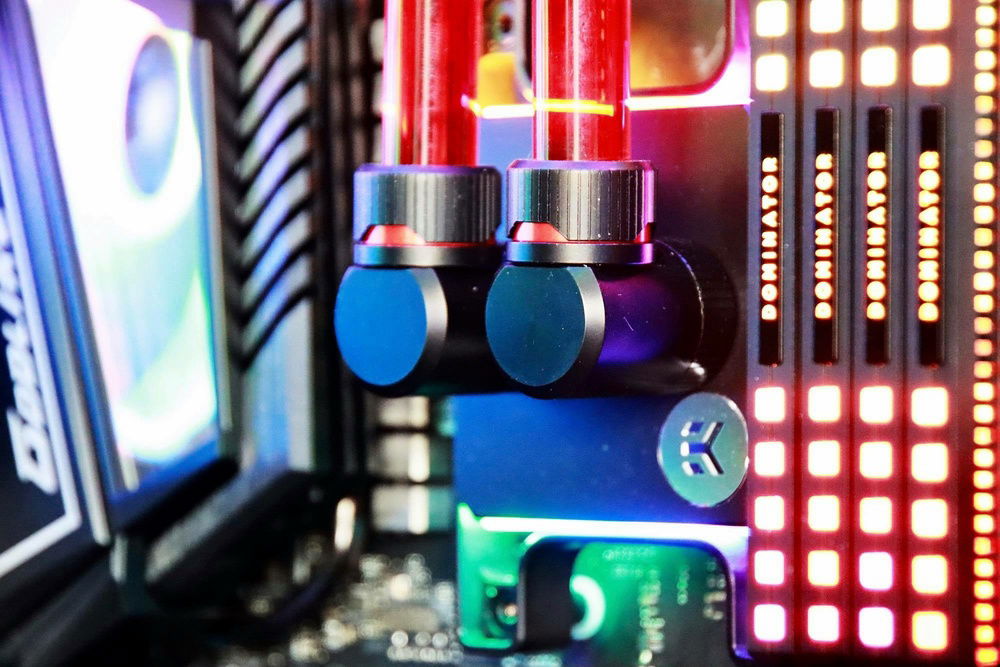
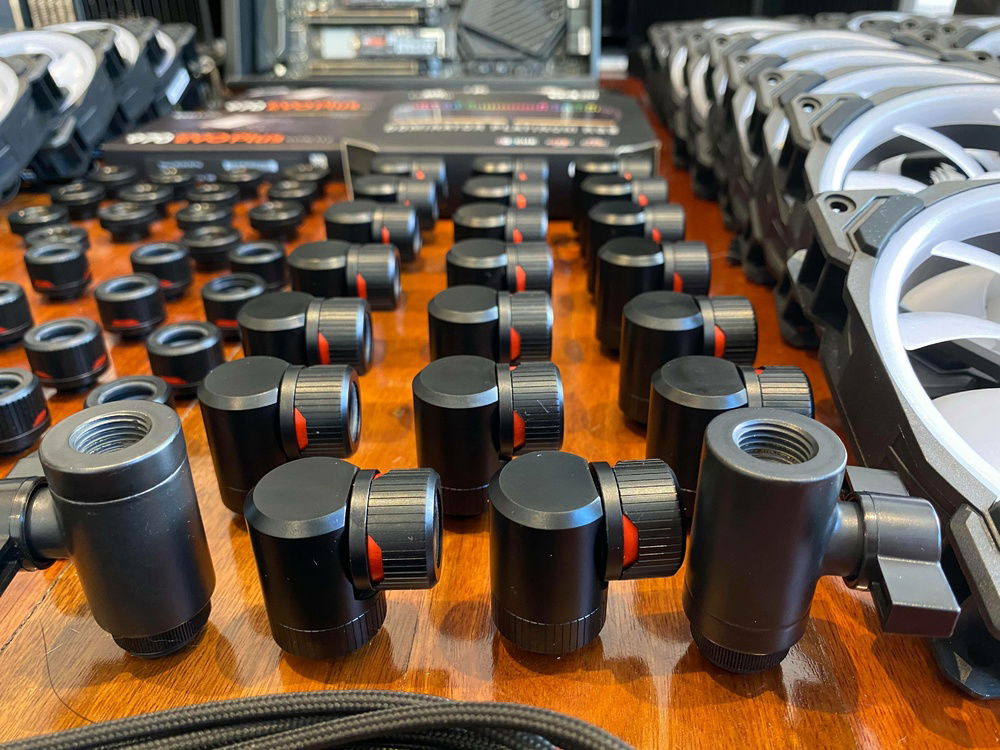
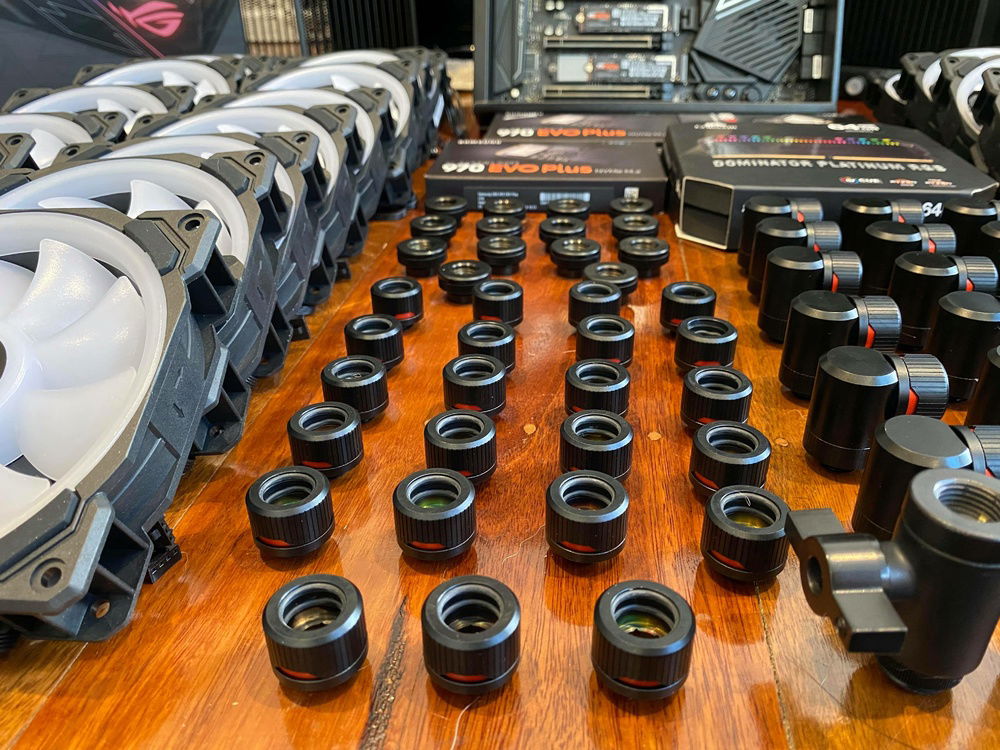
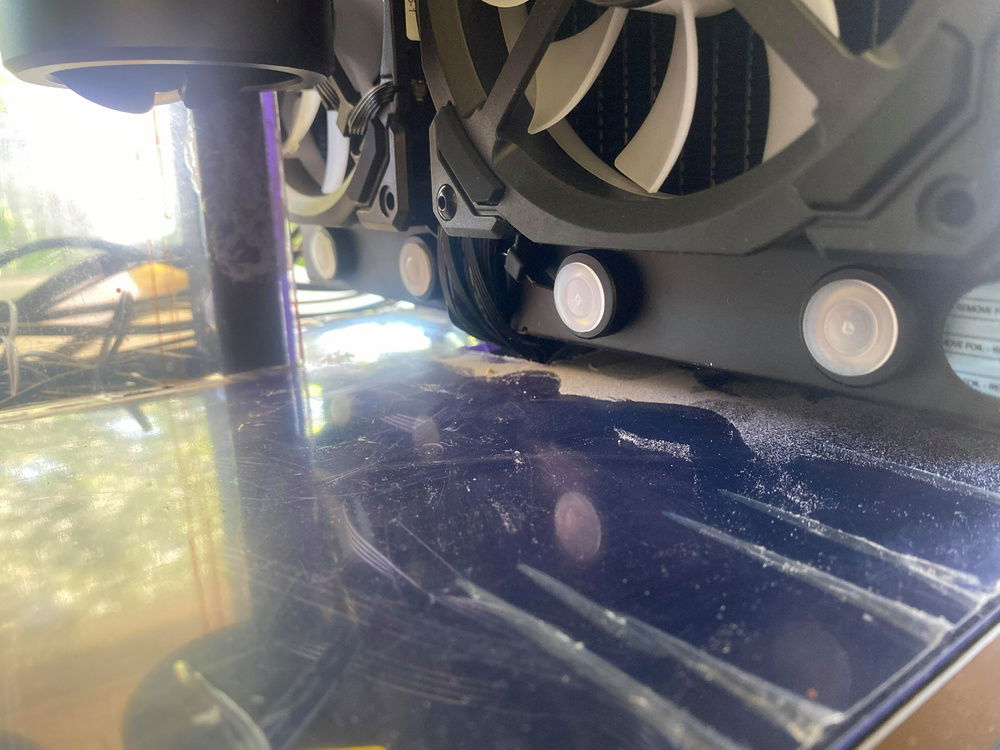
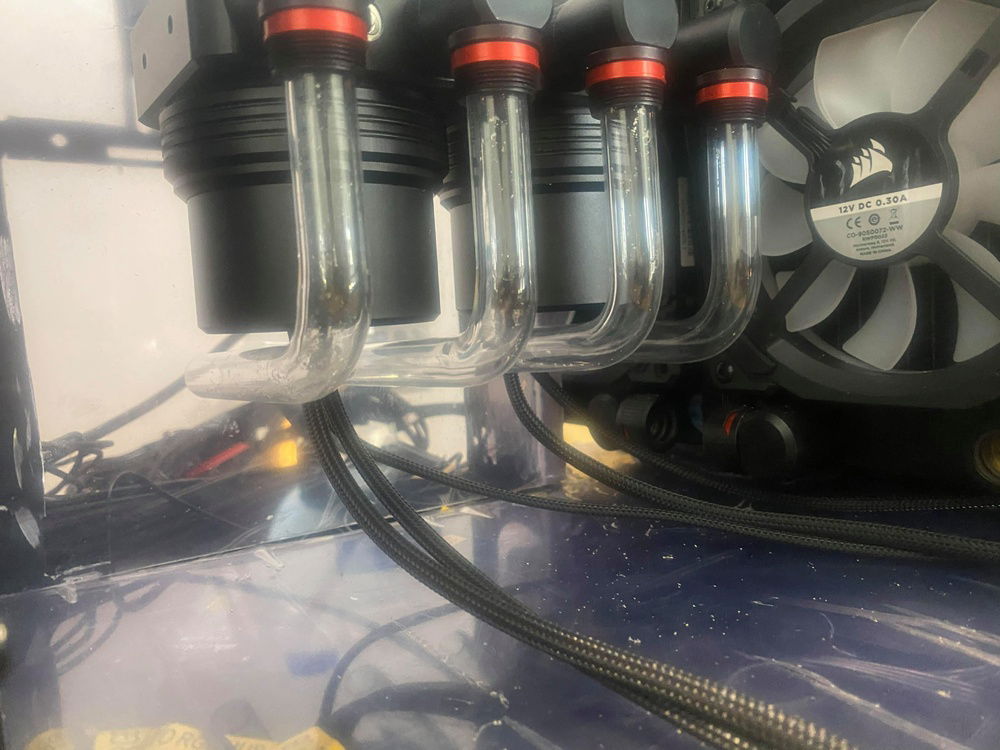
These fittings are very well made and have a dual O-ring design. NOTE: the case pass through’s only have threading on the top third of the fitting so be aware of the thickness of the case/ acrylic so they can still tighten.
Singularity Computers:
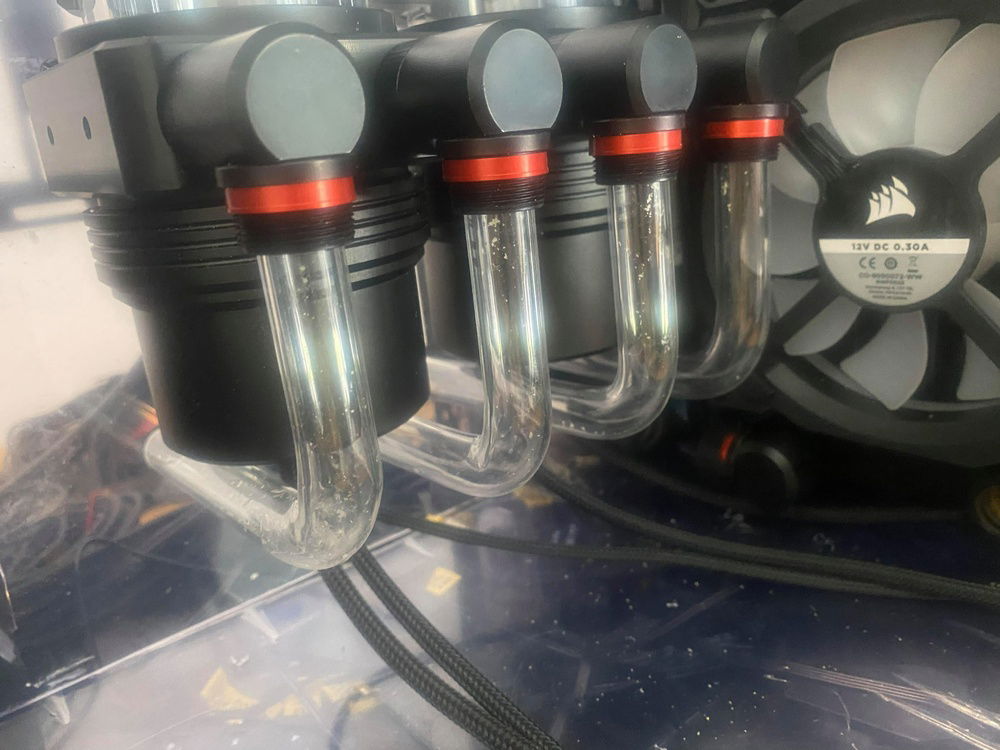
The SC protium Pump reservoirs are excellent pieces of watercooling equipment. They are expertly machined, well designed, and robust in construction. The dual protium mount are perfectly measured to allow for the closest possible mounting of a dual reservoir system. I highly recommend their components to aspiring watercoolers.
Temperatures and noise:
During the testing of the system, I ran Timespy Extreme, and Cinebench on loop for 2 hours and the components did not raise above 50 degrees (30 degrees ambient temperature). This was whilst running a moderate overclock on both GPU and CPU. Fan speeds would never rise above 50% due to the push-pull configuration on the radiators. The noise signature as a result of this was barely audible without headphones and completely inaudible with them. Though if you were playing anything through your speakers this eliminated the sound completely.
Cons:
Resistance of the loops:
I knew there would be significant resistance (notably the GPU that ran through front radiators) and as such the minimum speed I could run the pumps at were 55%. Though I know this is still slower, it was the minimum to still move the coolant without putting undue stress on the pumps to ensure they did not fail.
Cablemod:. The 24-pin power cable was made so badly that I needed to use the original that came with the ASUS Thor power supply. When I depinned the Cablemod 24-pin the cable sleeving was not fastened into crimped pins (and did not have heatshrink) came loose. Additionally, the splits for the dual cable pins were located on the 24-pin housing and not further down the cable towards the PSU. This meant that the 24-pin was very untidy and unusable due to this more design. This is the second time this has occurred and I will not be using them again.
Overall comments:
I was very happy with how the build turned out. It is by far the biggest build that I have ever created but achieved all the client’s requirements. I highly recommend the components used in this build to anyone. The system is a perfect balance of low temperatures, incredibly powerful hardware and low noise. I have taken many notes on the build and points to improve into the future.
As always,
I hope you enjoy the build photos and the log above. If you have any questions, please ask.
Australian Custom PCs.
Color(s): Black Red
RGB Lighting? Yes
Theme: none
Cooling: Custom Liquid Cooling
Size: ATX
Type: General Build
Contests
This build participated in 1 contest.
| Rank | Contest | Date |
|---|---|---|
| #64 | Build of the Month - March 2021 | ended |
Hardware
CPU
Motherboard
$ 1,099.00
Memory
$ 379.98
Graphics
$ 1,958.00
Storage
$ 539.90
Case
$ 524.99
Case Fan
$ 1,267.52
Cooling
$ 398.00
Cooling
$ 287.90
Cooling
$ 21.88
Cooling
Cooling
Approved by:
