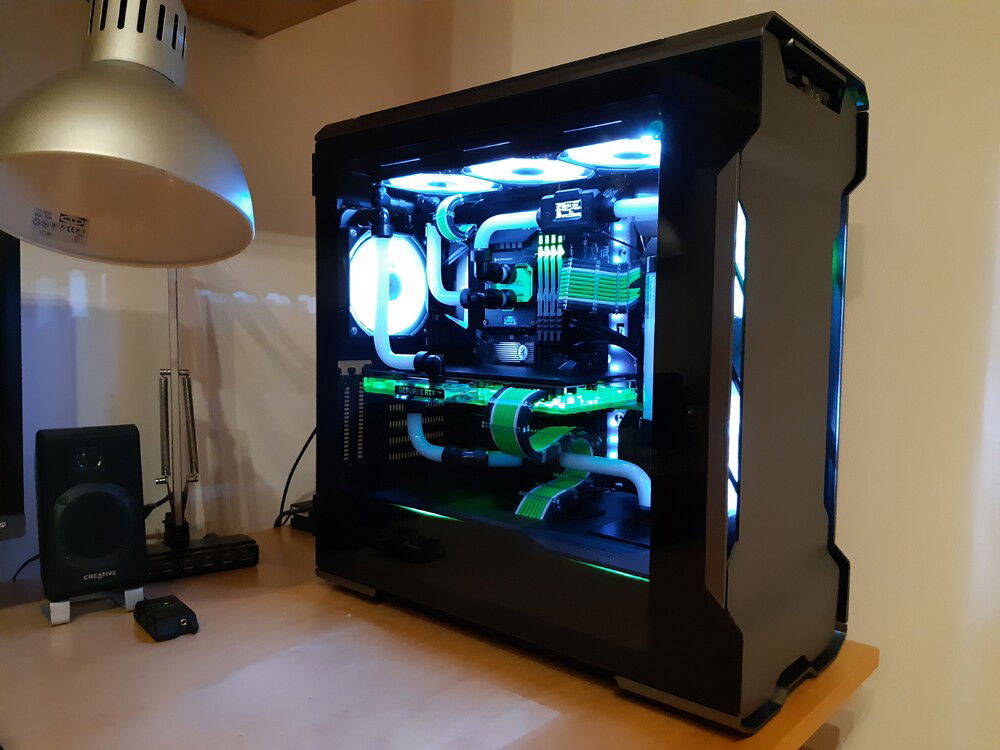
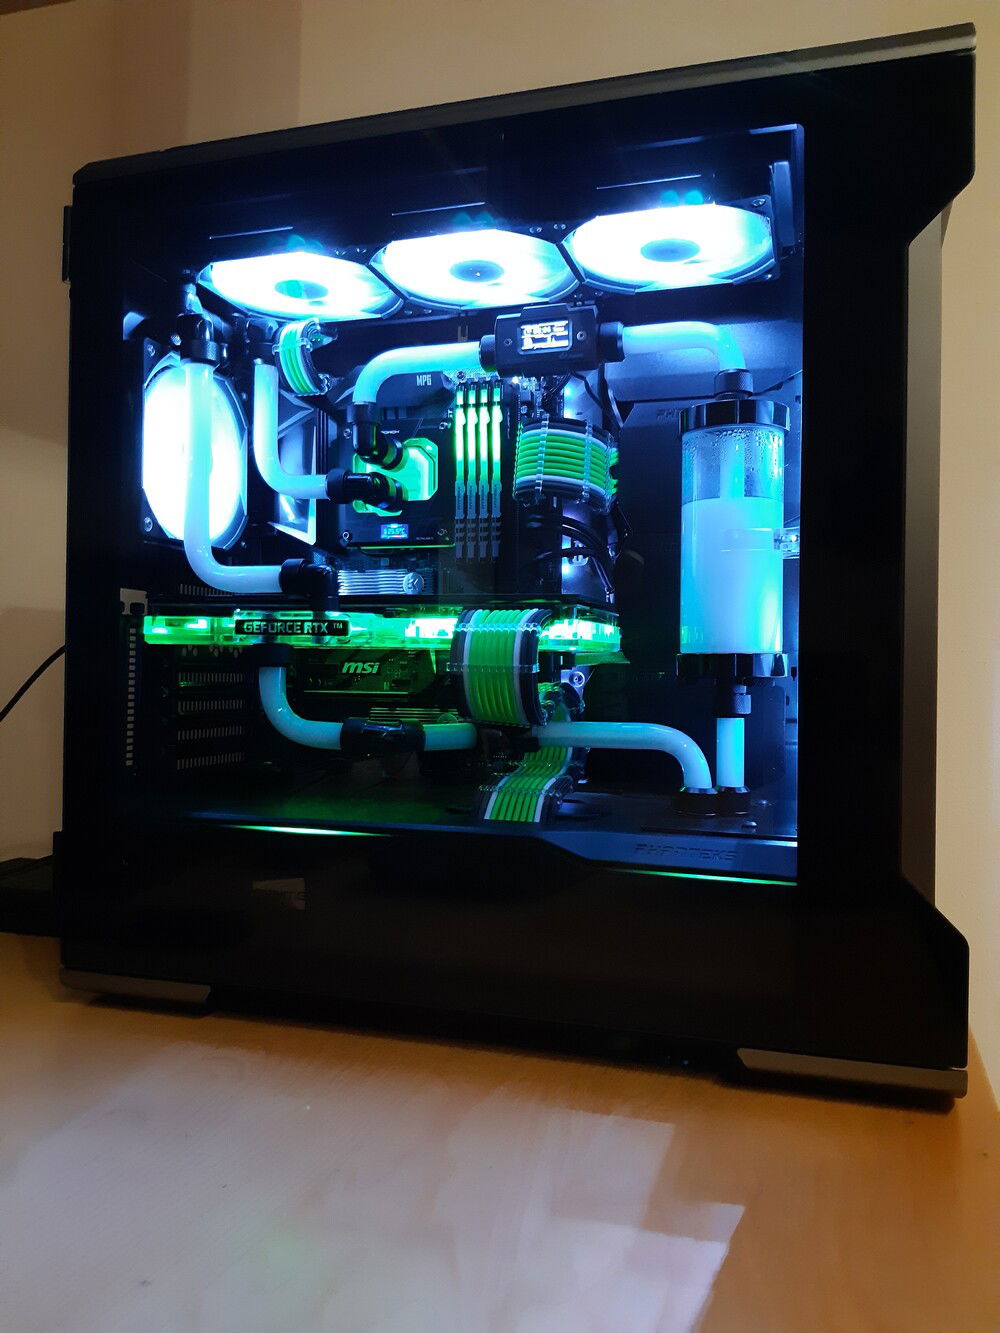
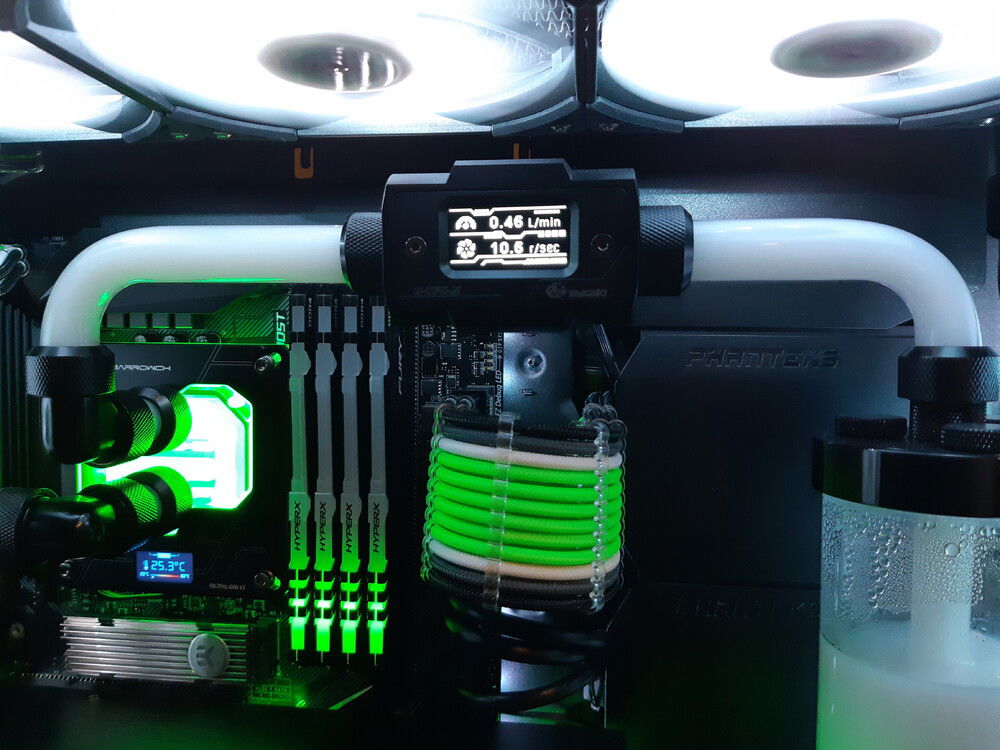
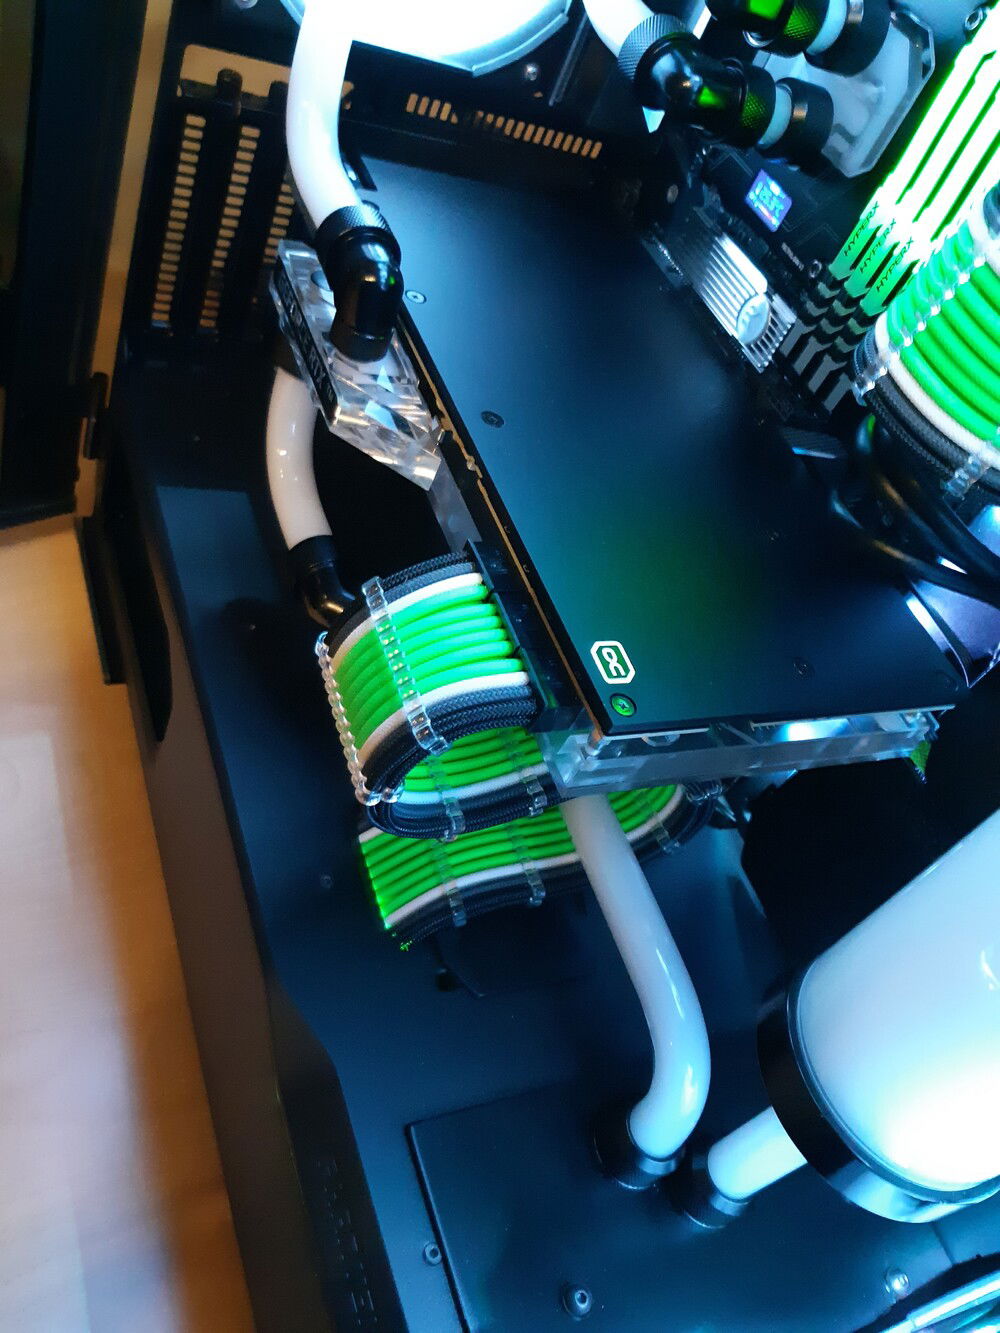
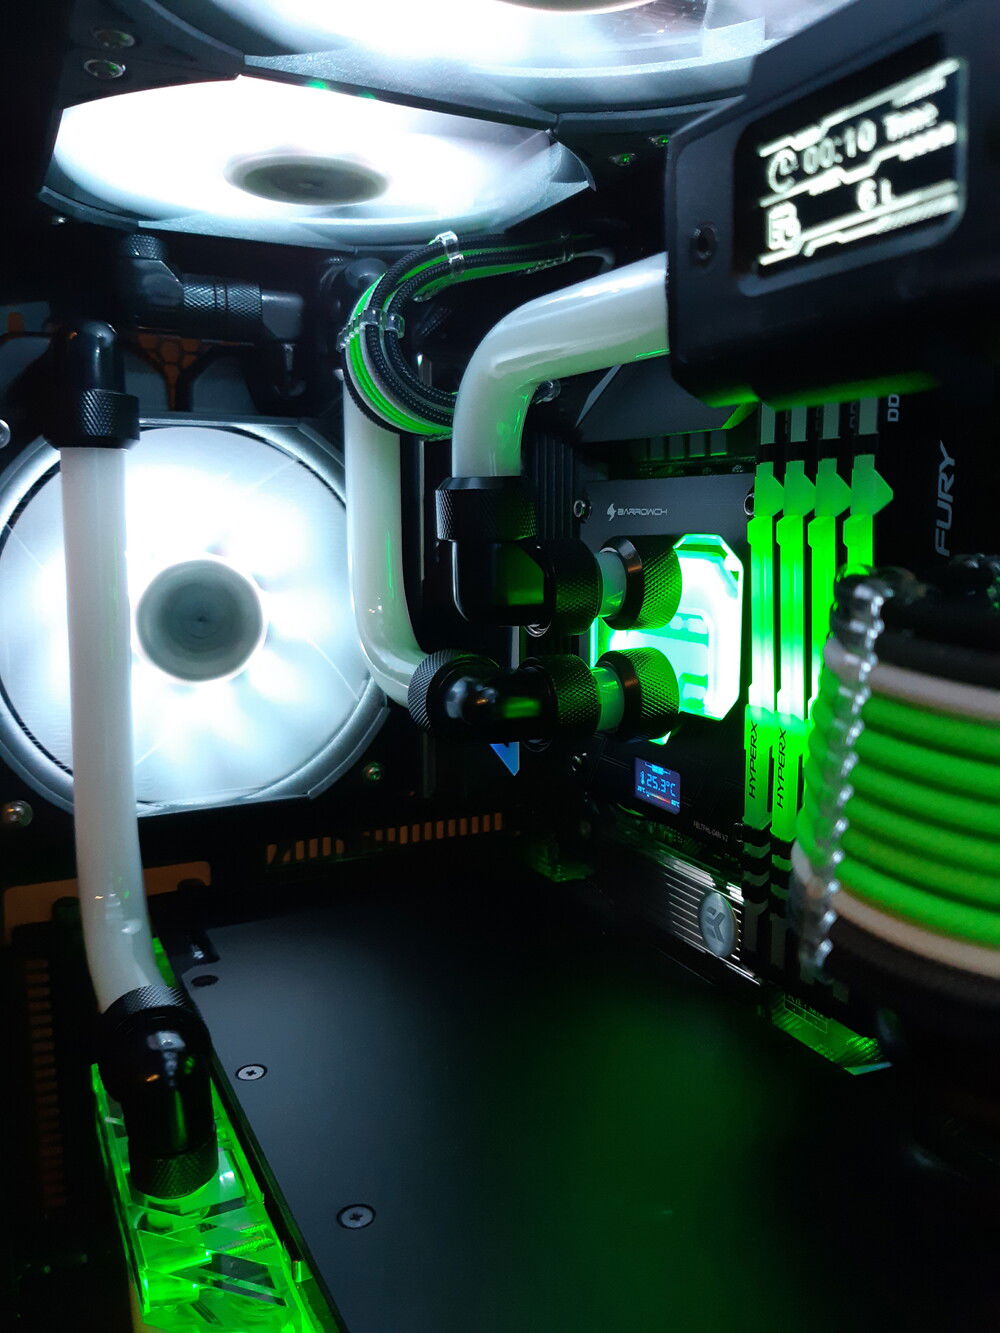
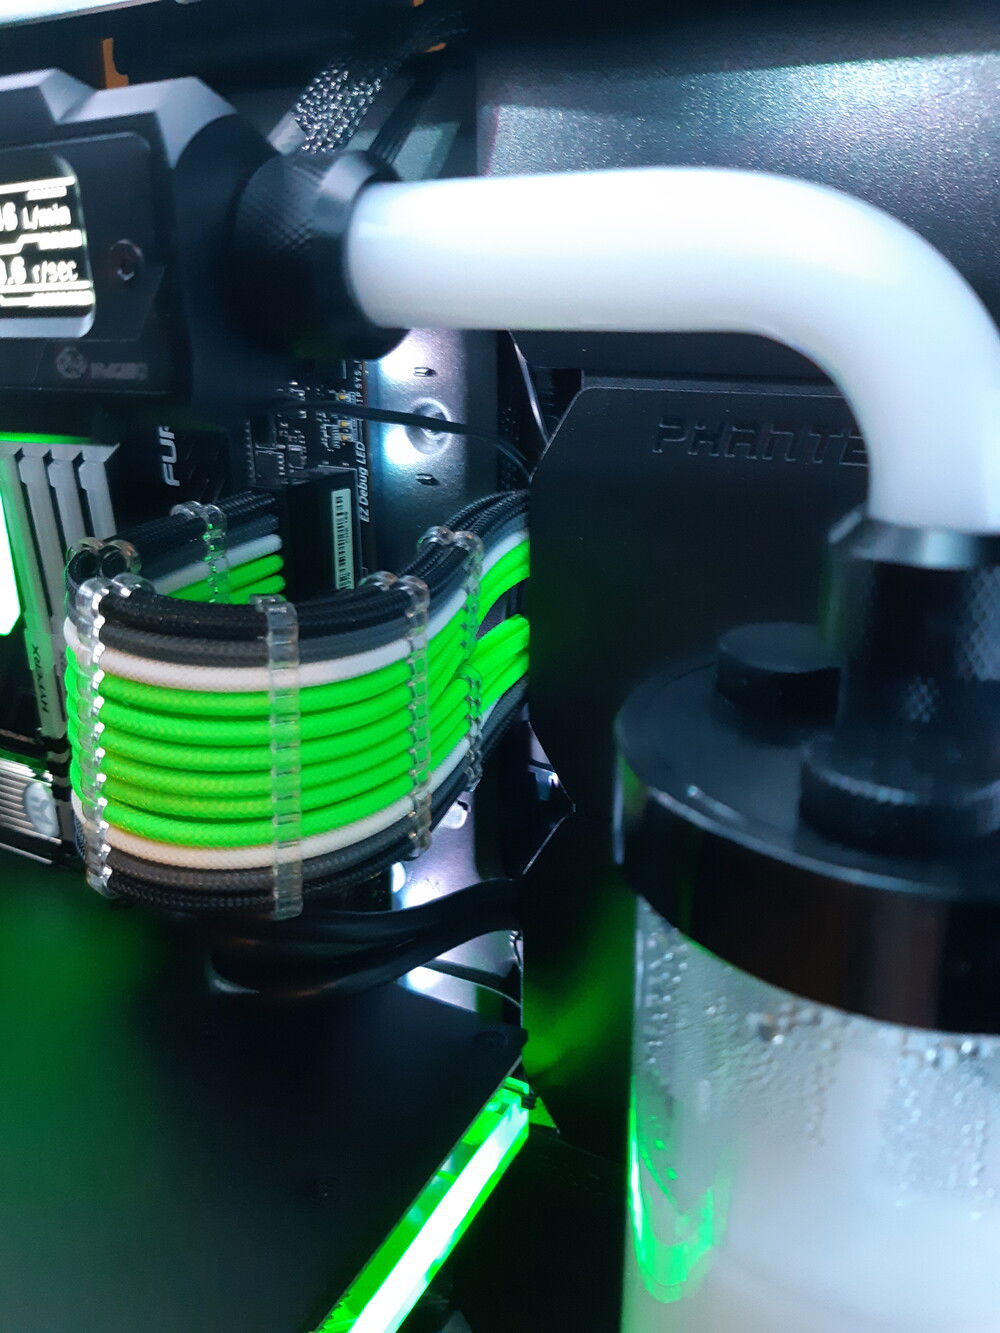
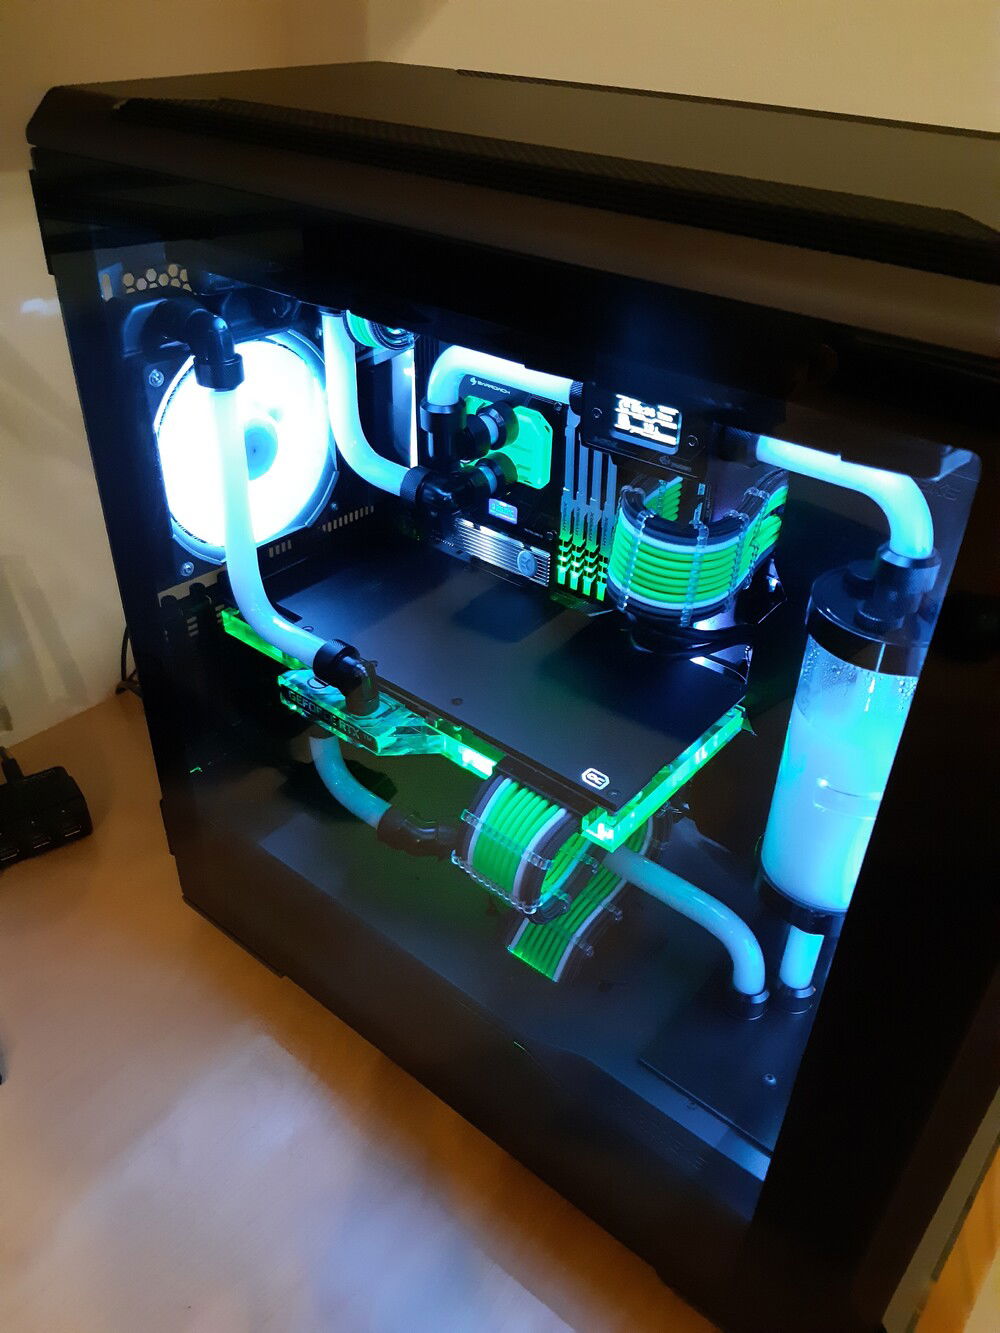
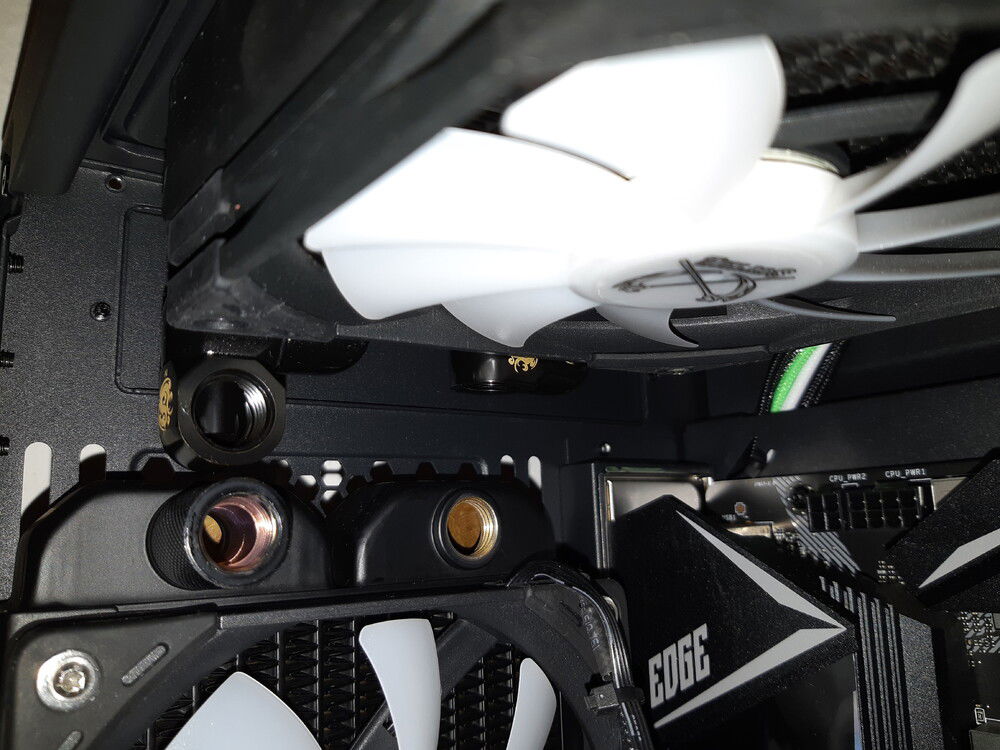
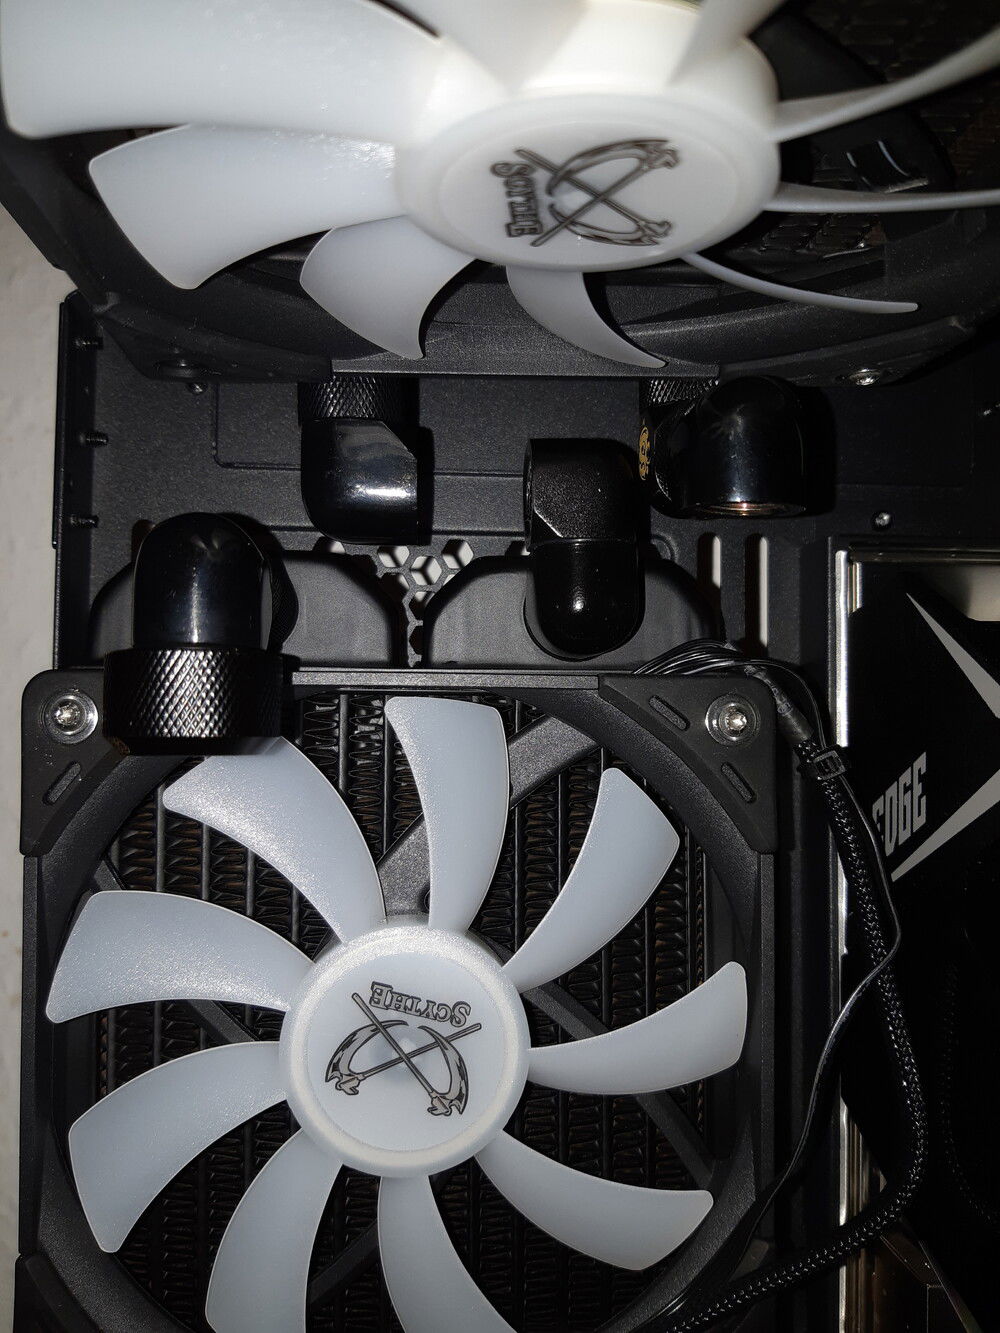
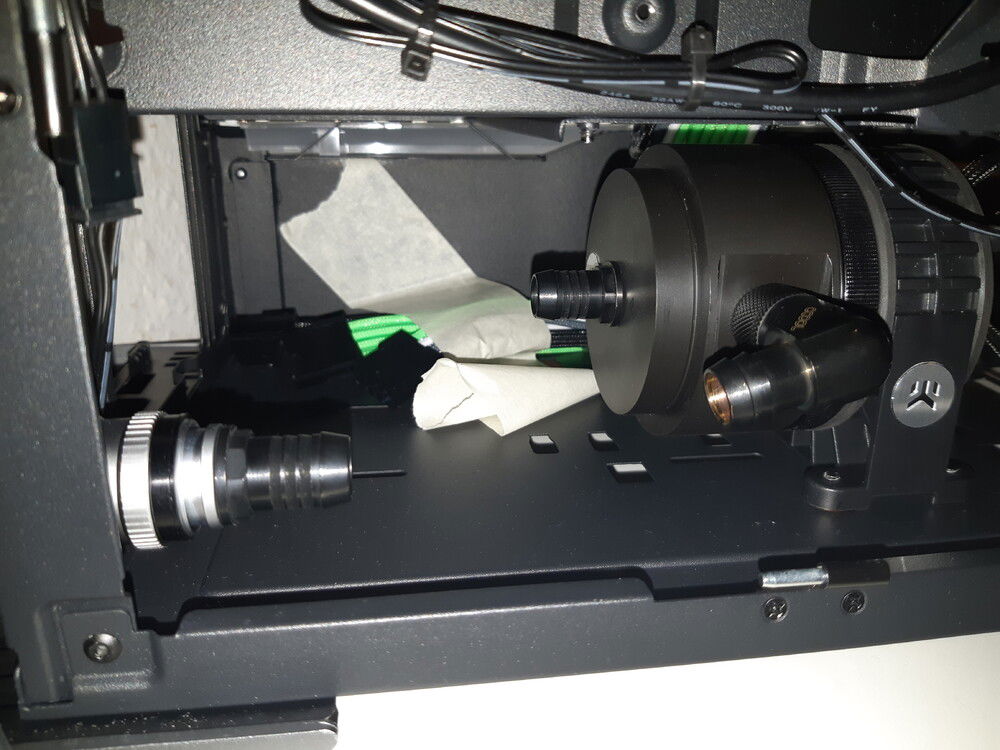
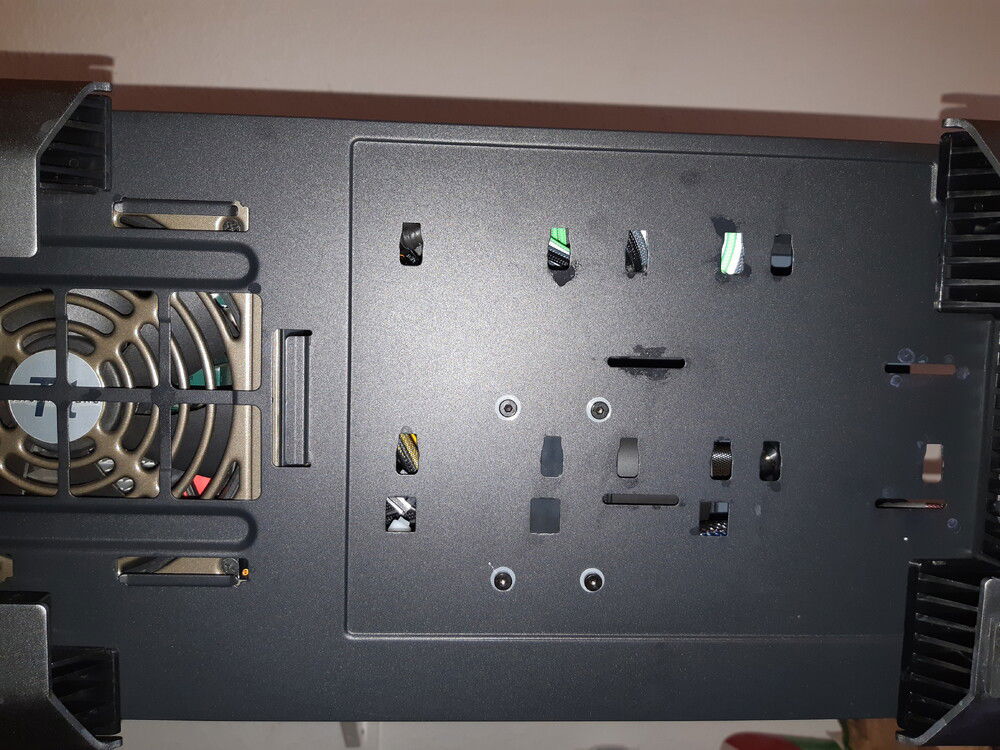
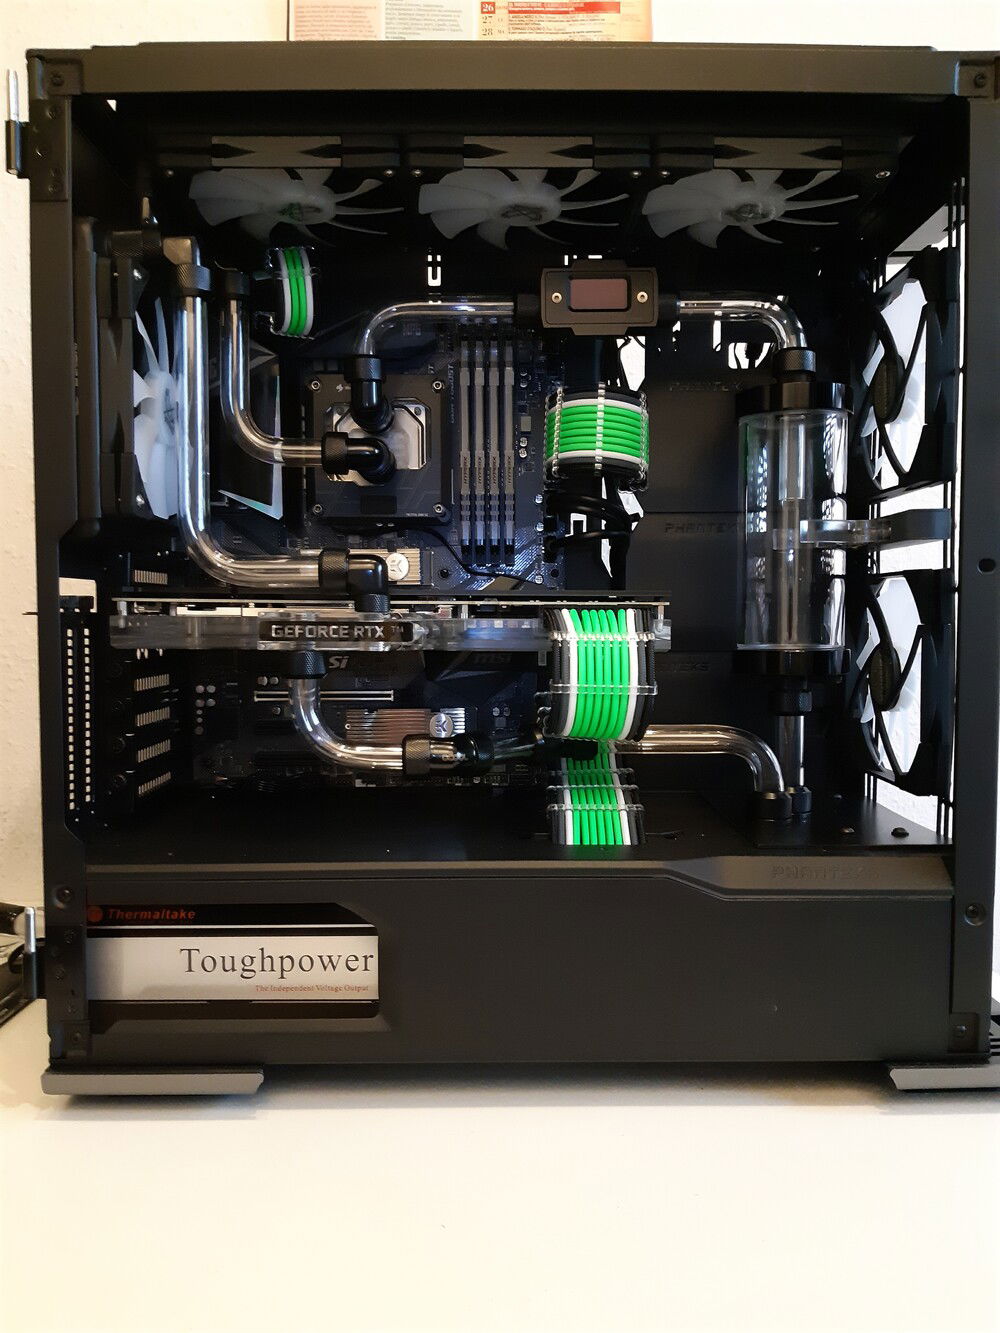
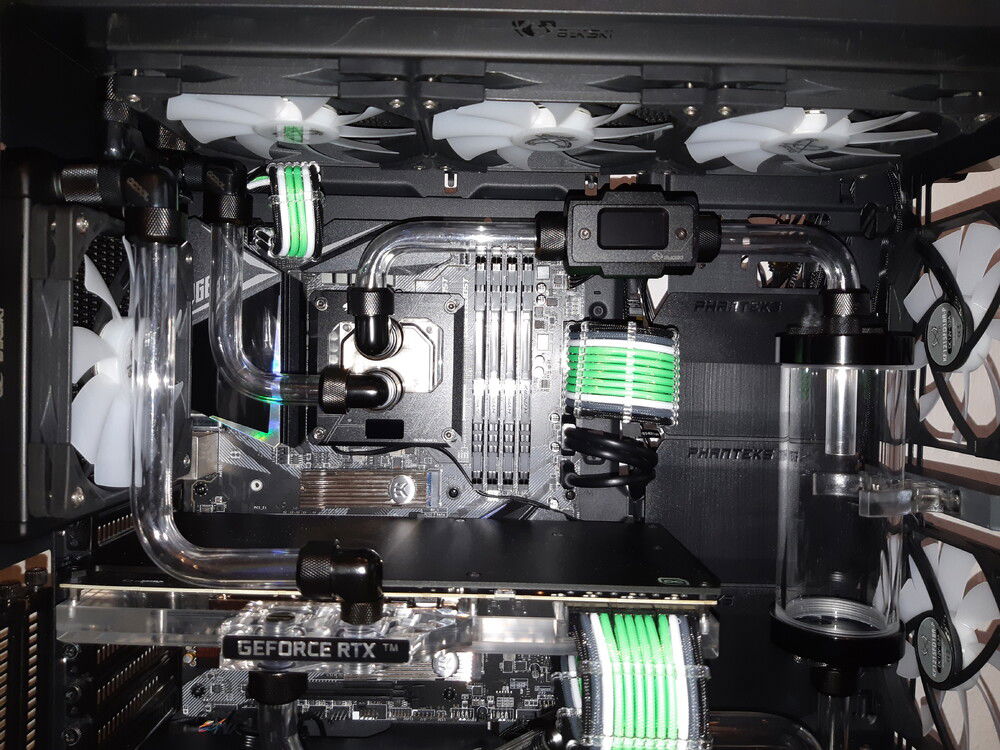
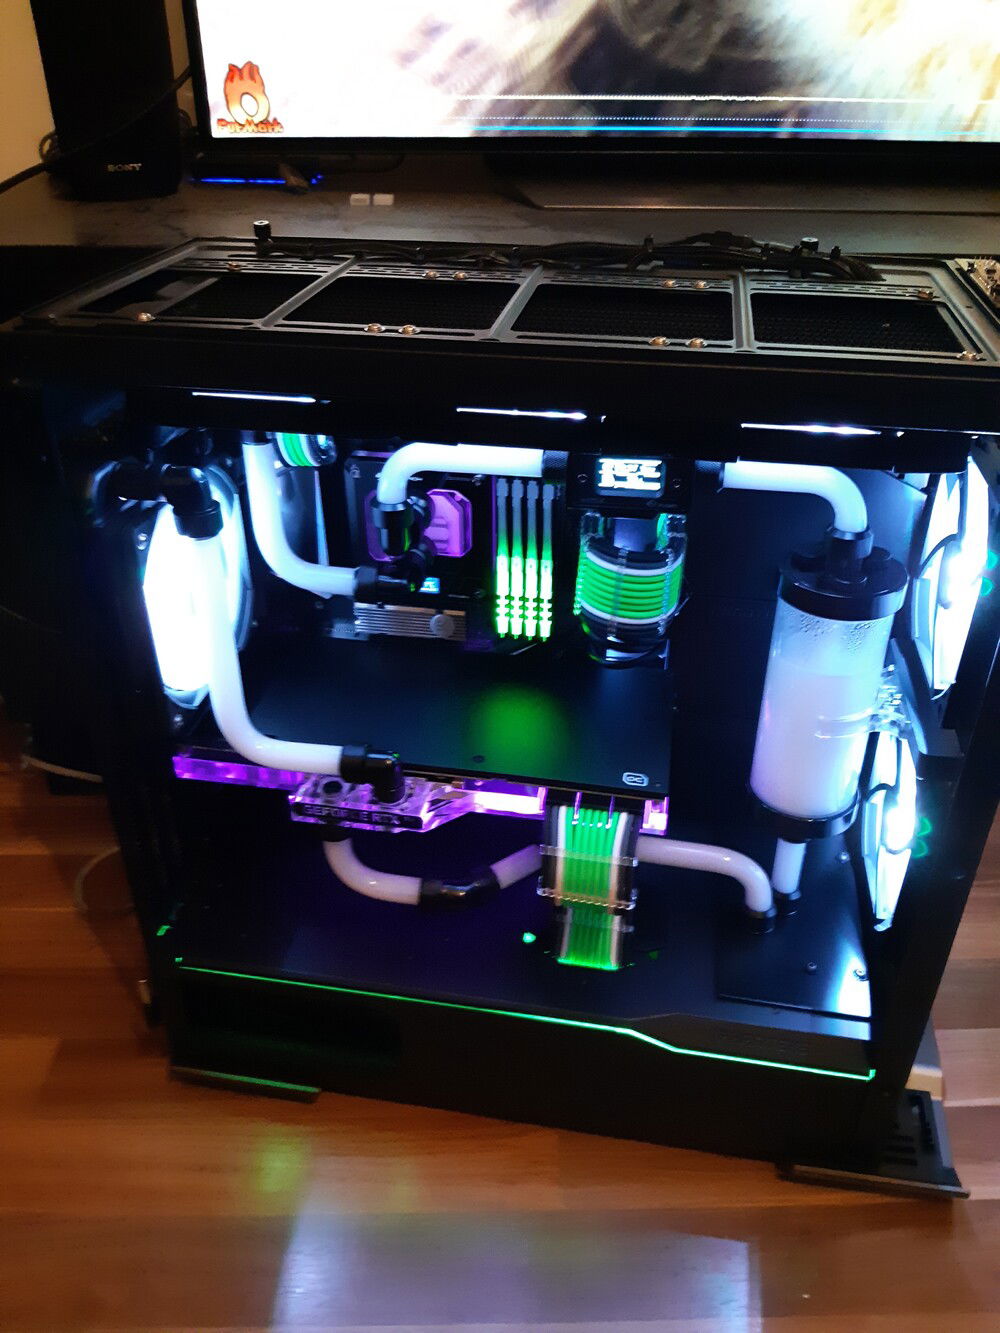
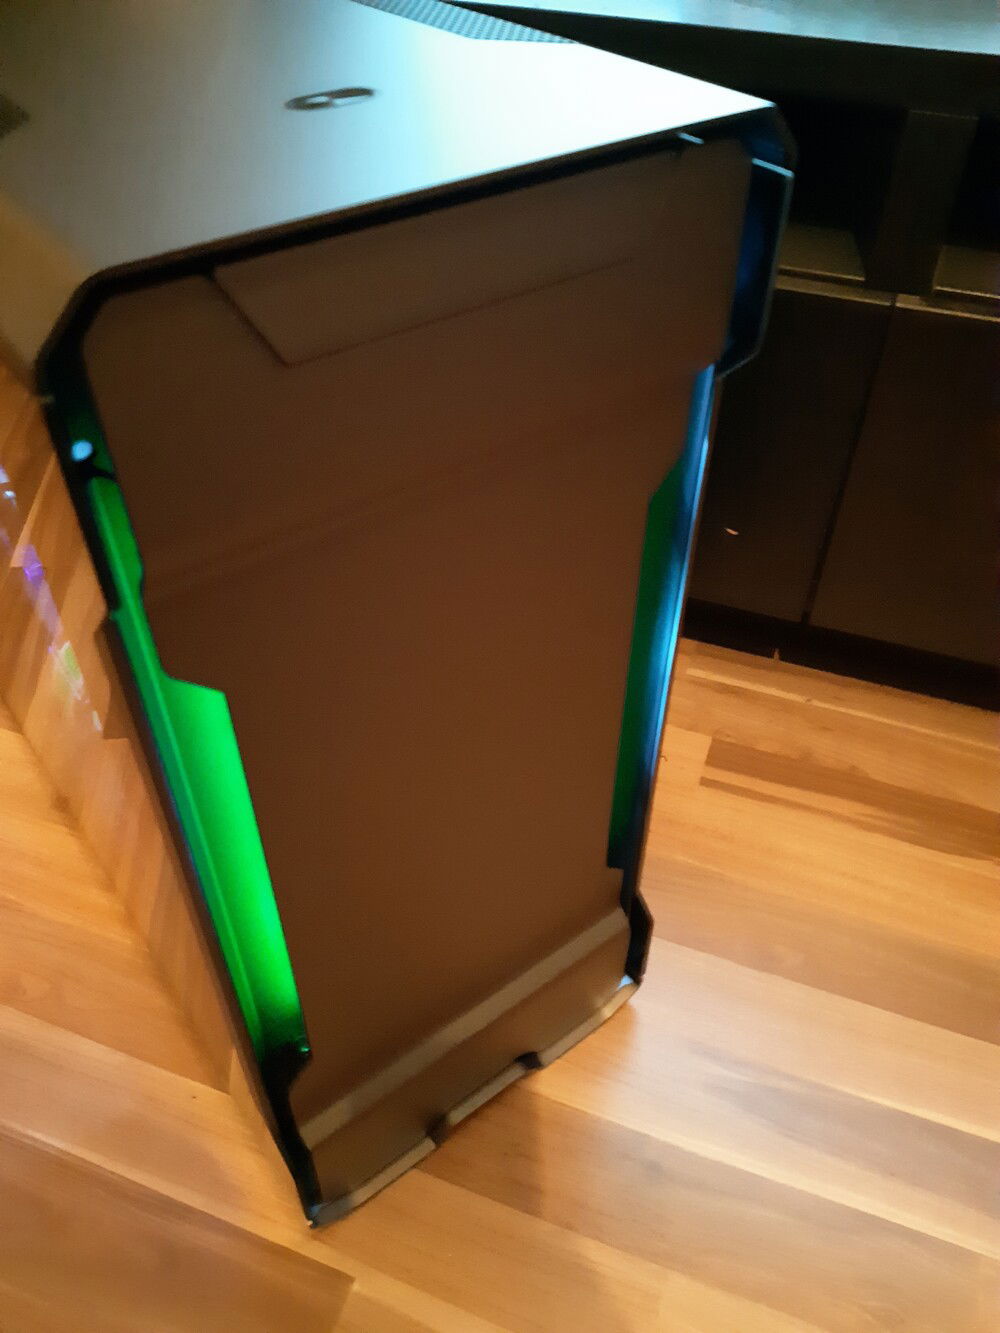
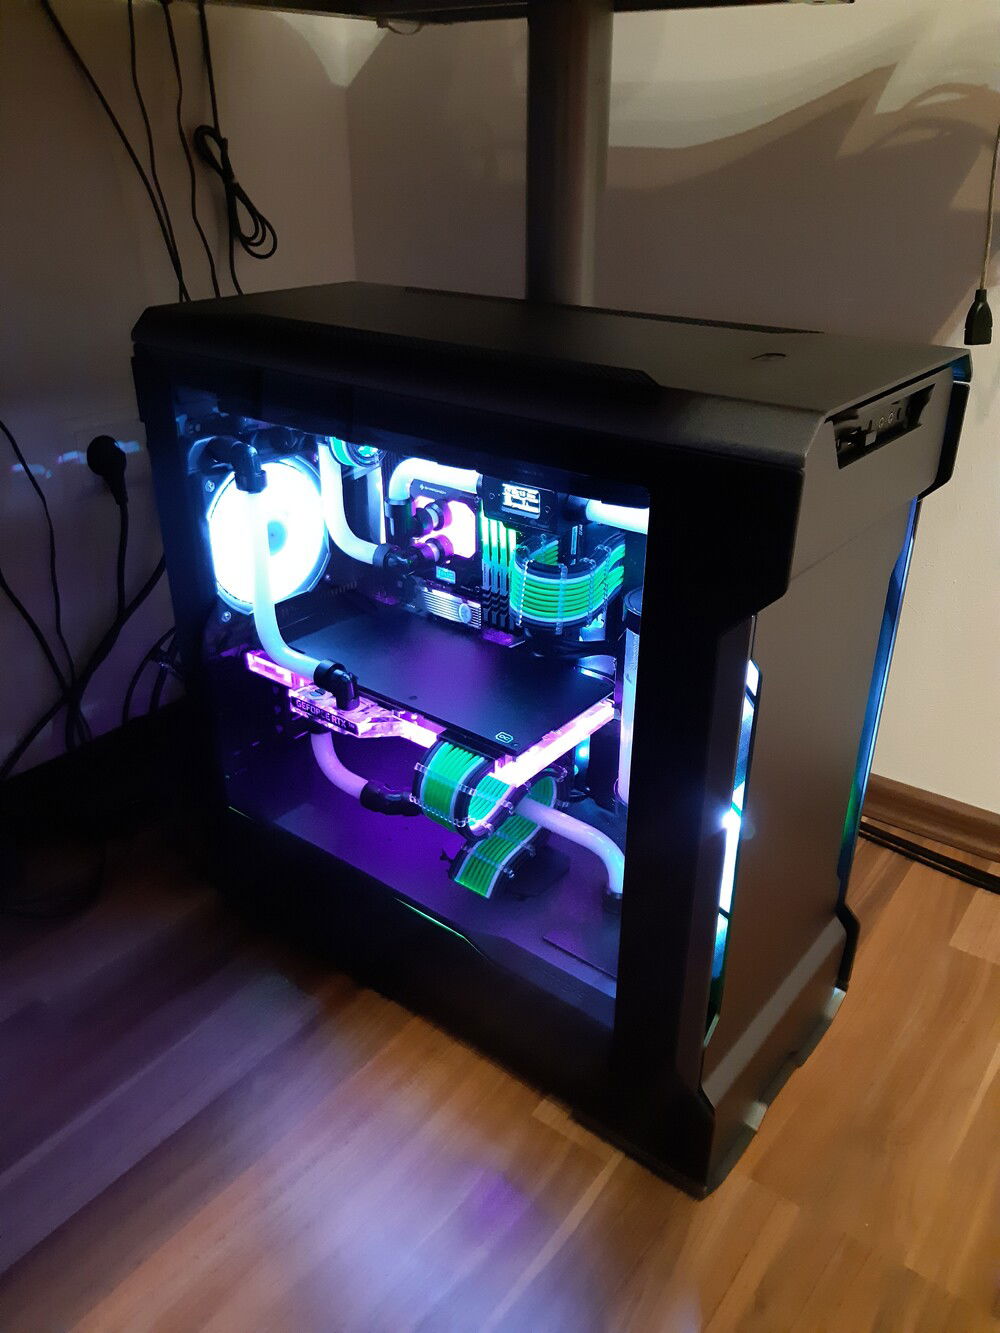
Insane Monster 2
This PC has risen from the ashes of my old "Insame Monster I", my very first liquid cooled PC I built using two MSI 8800 GTX cards in SLI, at the time when this card was at the top on the market! At that time I used a 10/8 mm flexible tubing, EK waterblocks, a Laing DDC 12 V pump and a 360 mm radiator outside of the case. A very big mess, but in the end it was working great! ![Emoji]() Then, sadly, my ASUS MB died and since then I put aside this hobby for a while.
Then, sadly, my ASUS MB died and since then I put aside this hobby for a while.
Soon or later the time had to come for me to restart building a new rig, so finally, during the Covid lockdown in 2020, I put a lot of ideas together, tryinig to figure out a new design, this time looking a bit more professional....
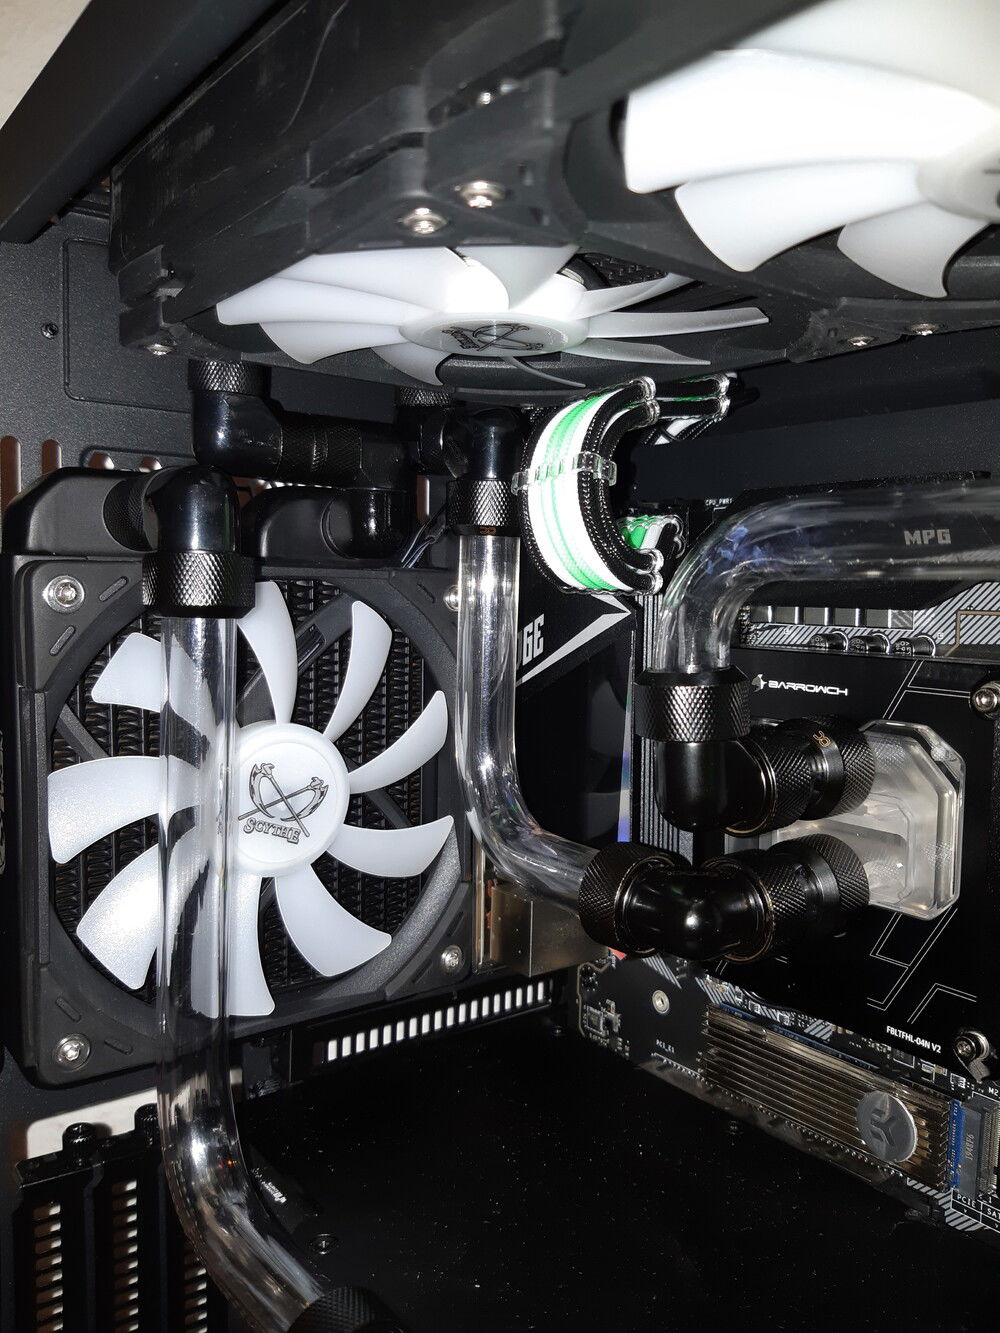
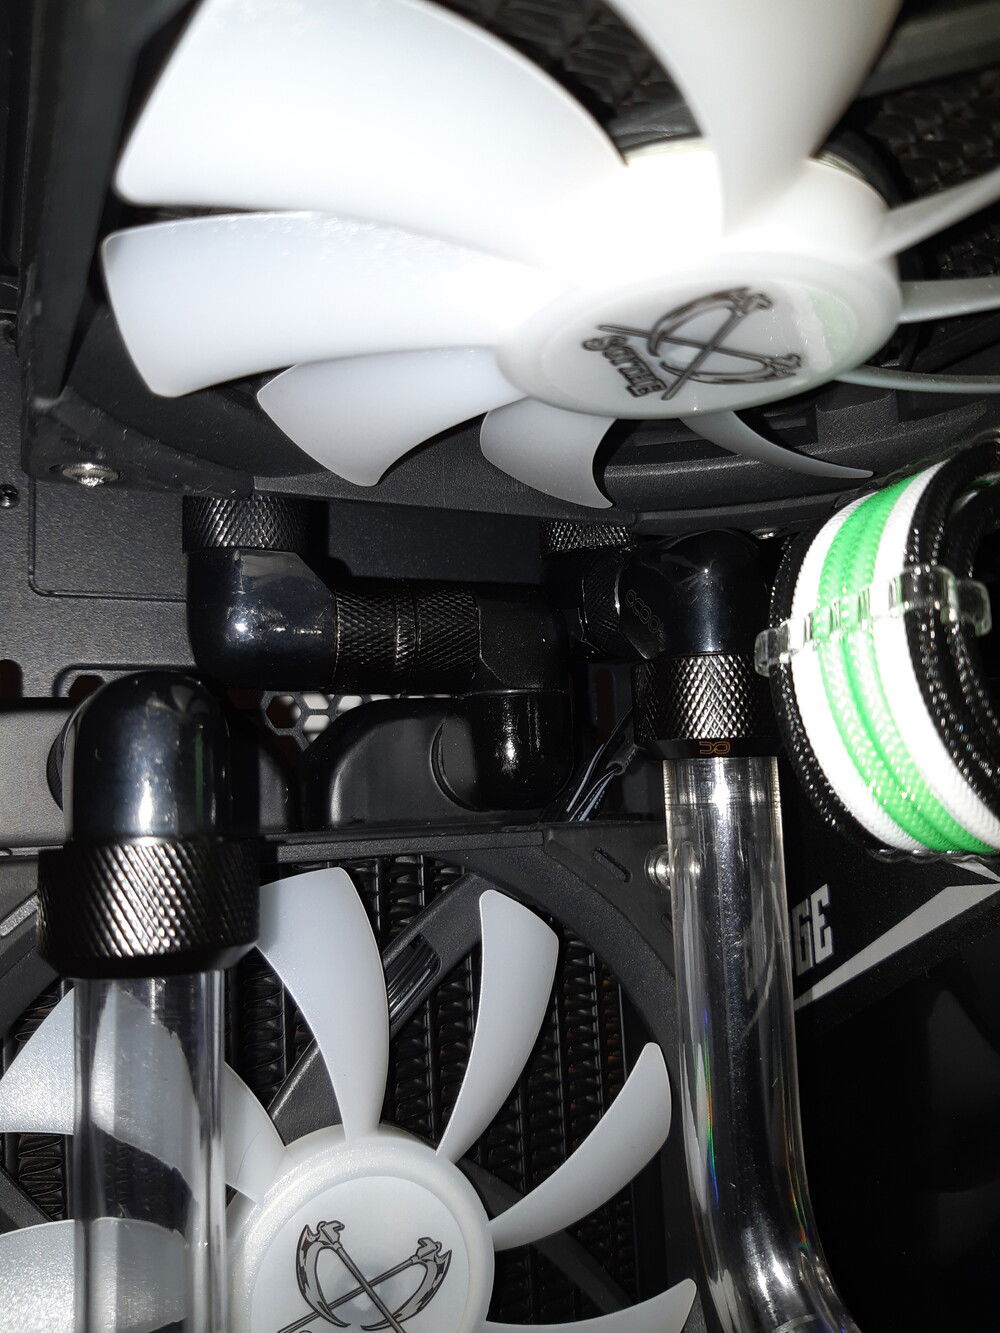
This build took me almost one year of thoughts, including drastic changes in the hardware used, that led me to dramatically change the loop design, the cables used and all these things...
Tried to recycle some old pieces from my previous Moster, I still kept in my cellar, but ended up buying everything new, especially because some of these old components led me to big failures at just few steps from completing the work...
But nevermind! It was much harder that expected, but now I can finally say I succeded in my project, and I'm happy to share it with you.
I hope that what you will see here could be helpful for other people to get inspired, or to sort out common problems usually arising in this hobby.
Enjoy and stay tuned for further updates!
Bye.
Antonio
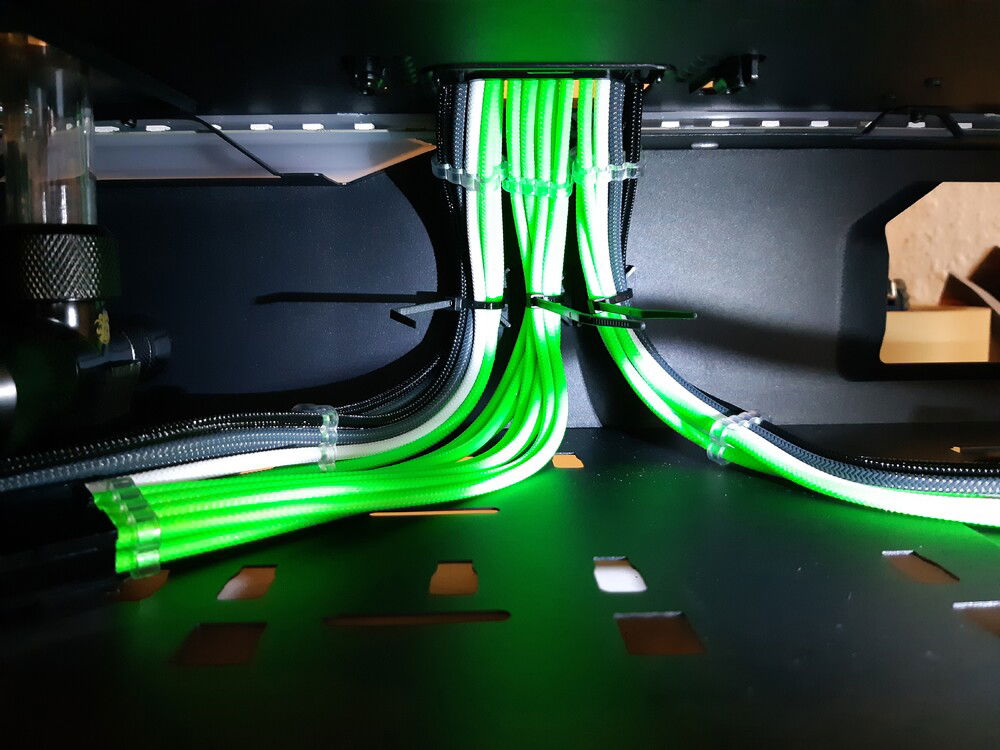
Color(s): Black Carbon Green White
RGB Lighting? Yes
Theme: Technology
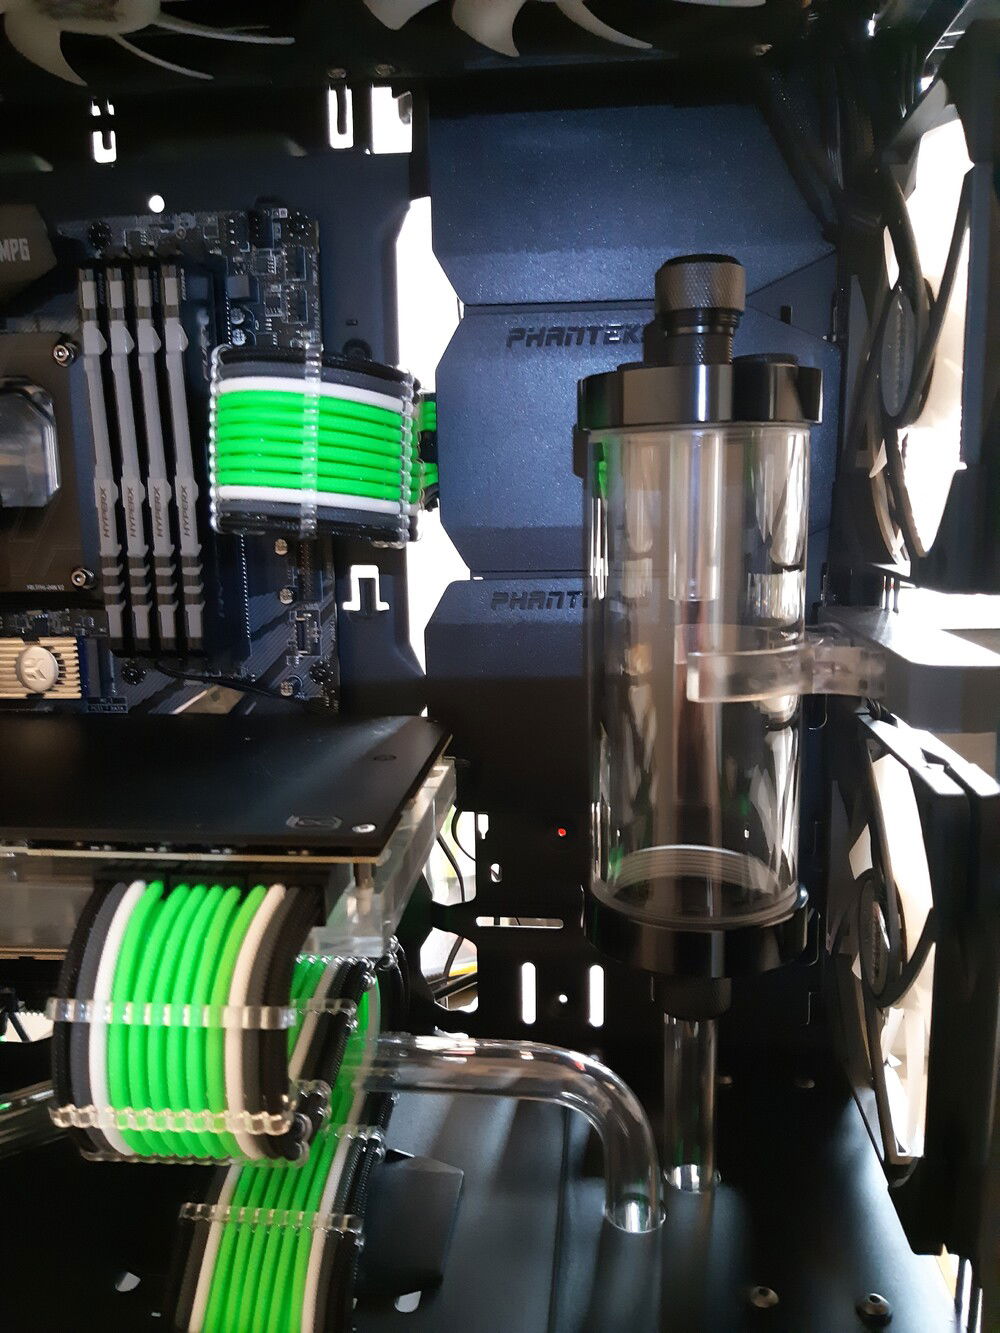
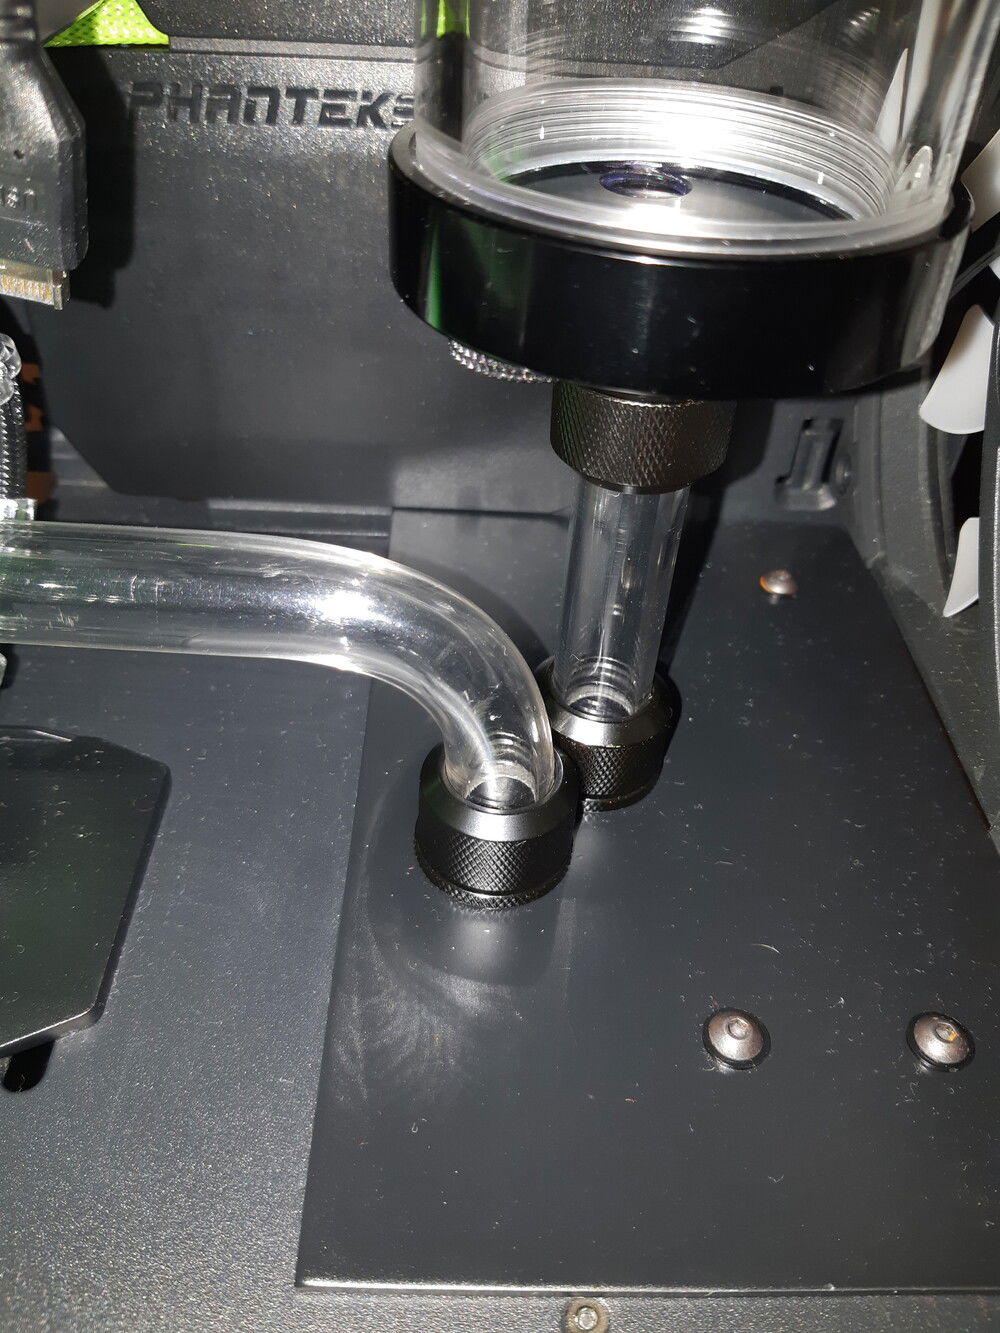
Cooling: Custom Liquid Cooling
Size: ATX
Type: General Build
Hardware
CPU
$ 201.99
Motherboard
$ 199.99
Memory
$ 281.72
Graphics
$ 999.95
PSU
$ 280.00
Case
$ 259.63
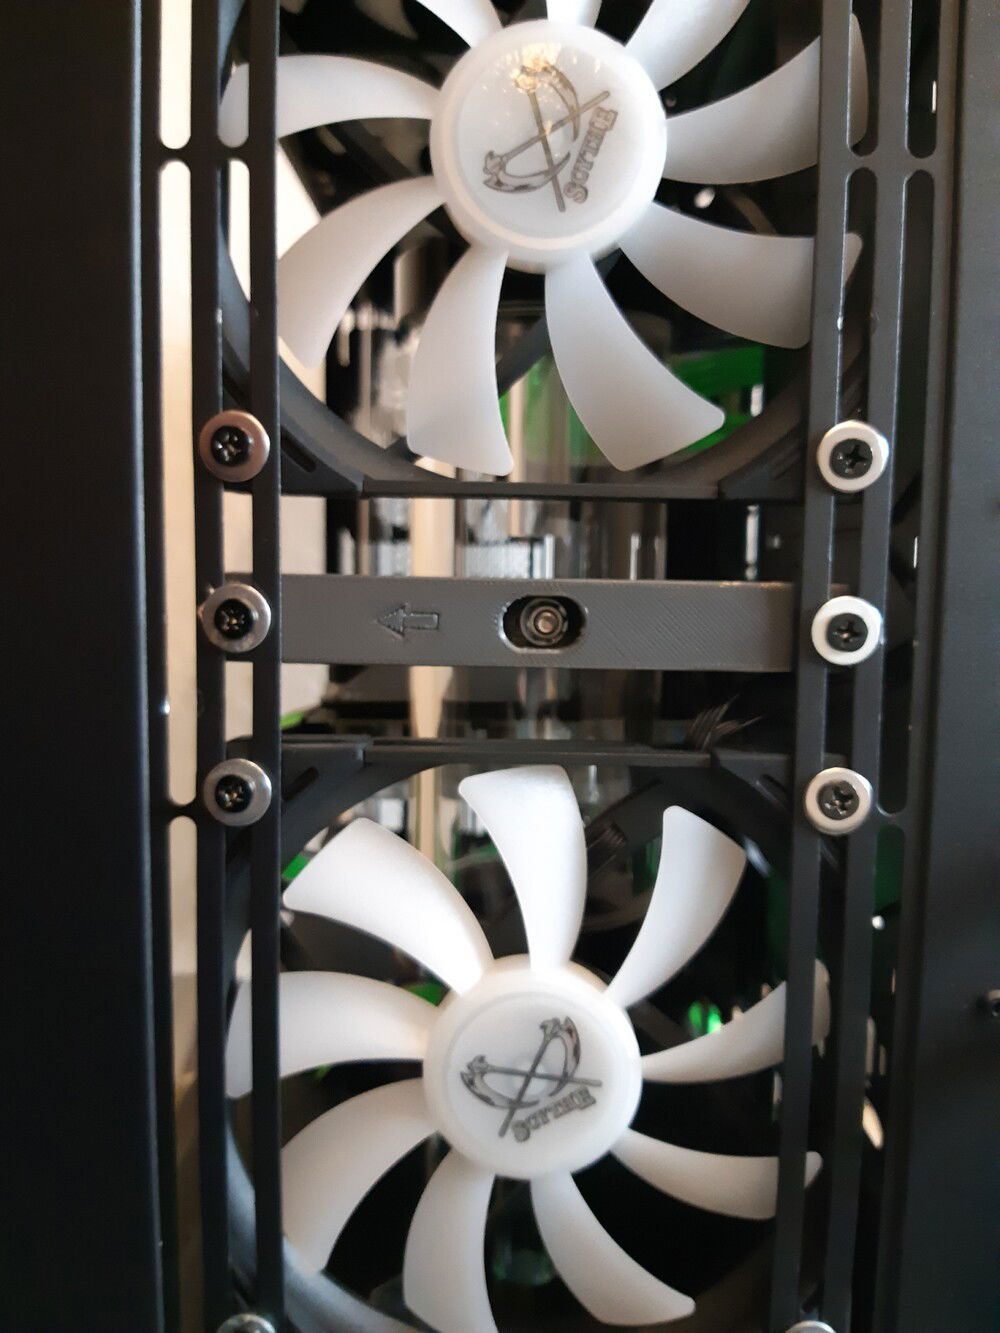
Case Fan
$ 70.00
Cooling
$ 170.00
Cooling
$ 97.00
Cooling
$ 34.00
Cooling
$ 158.00
CableMod
$ 158.00
Accessories
$ 50.00
Estimated total value of this build:
$ 4,057.80
Approved by:
