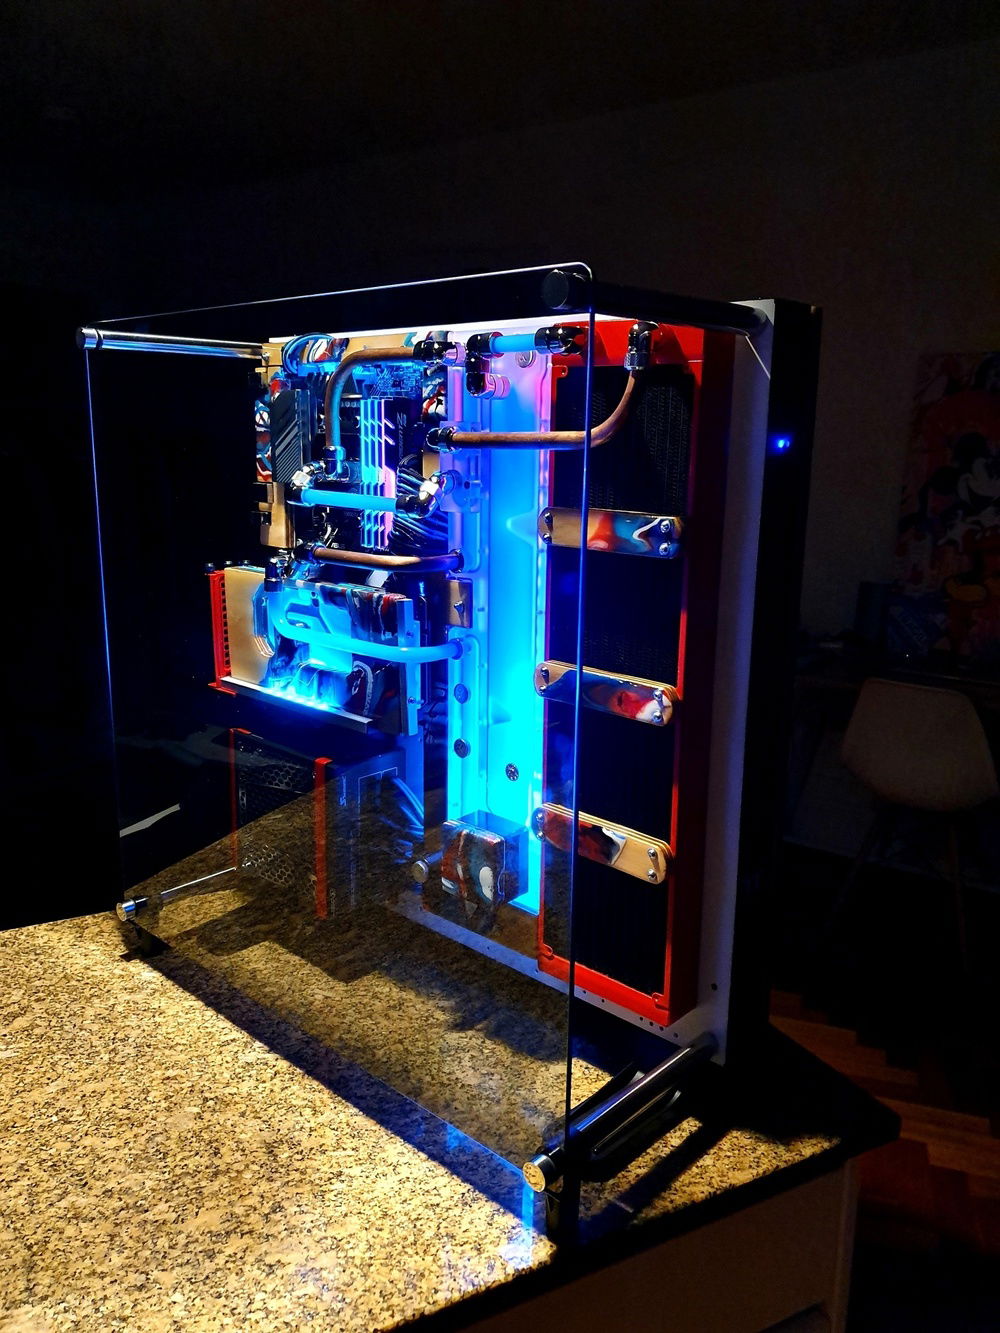
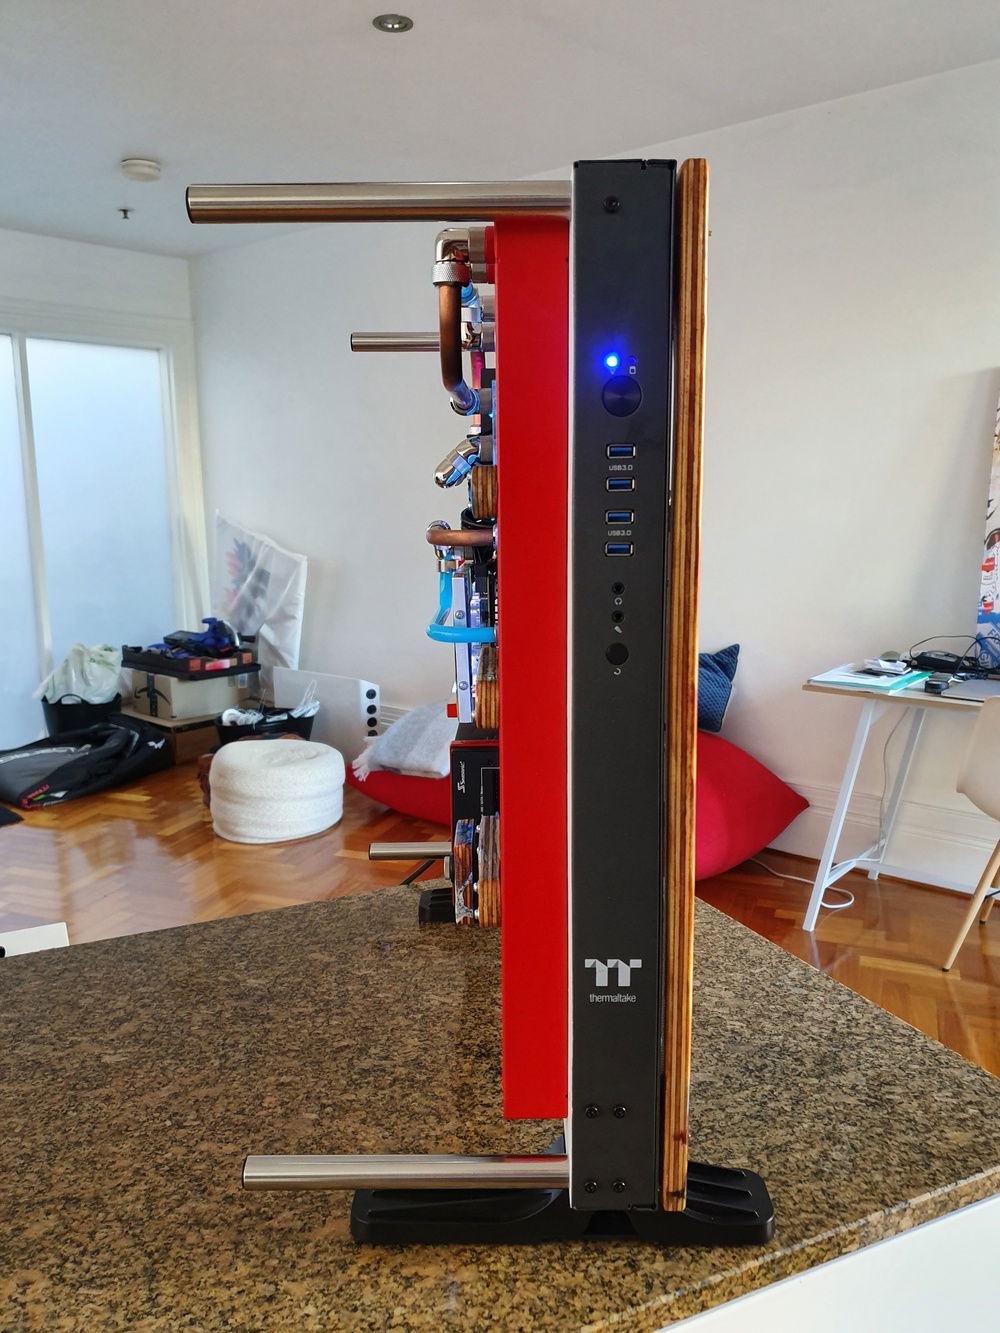
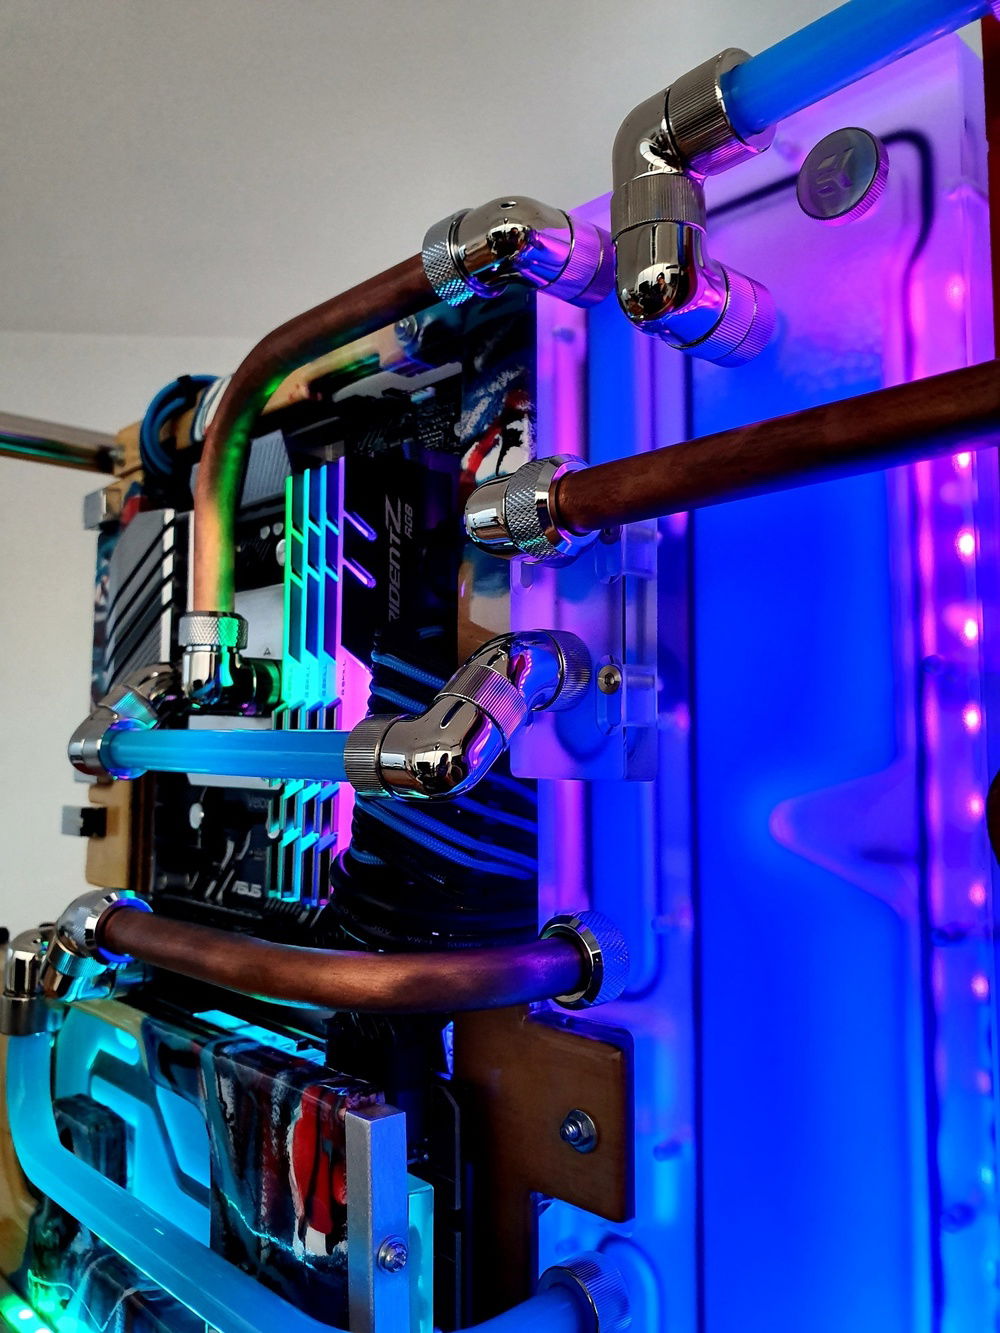
Side/Front view - very slim build once you remove the glass panel.


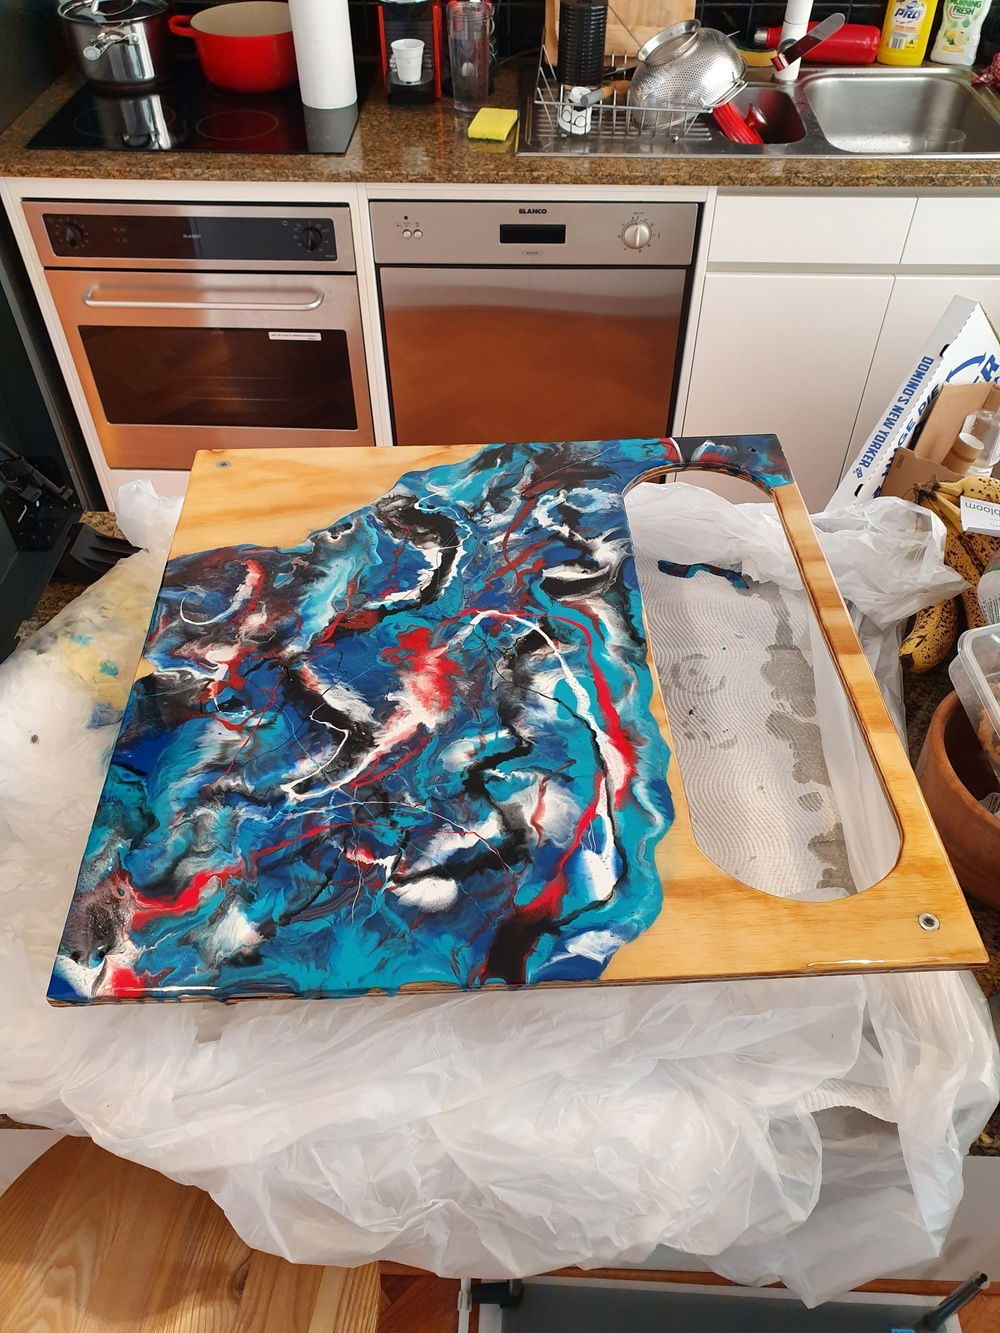
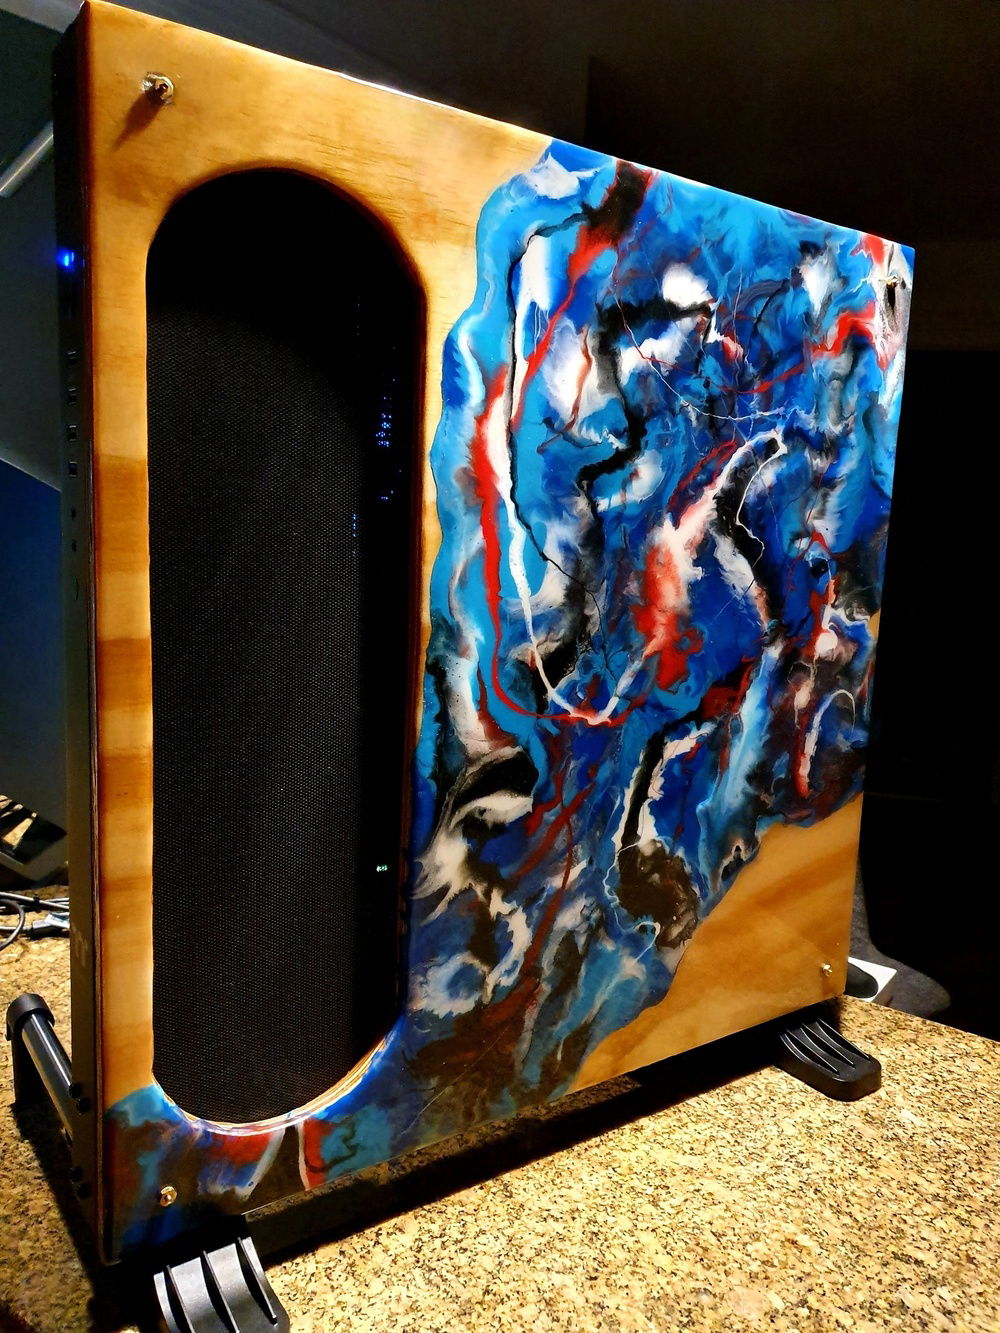
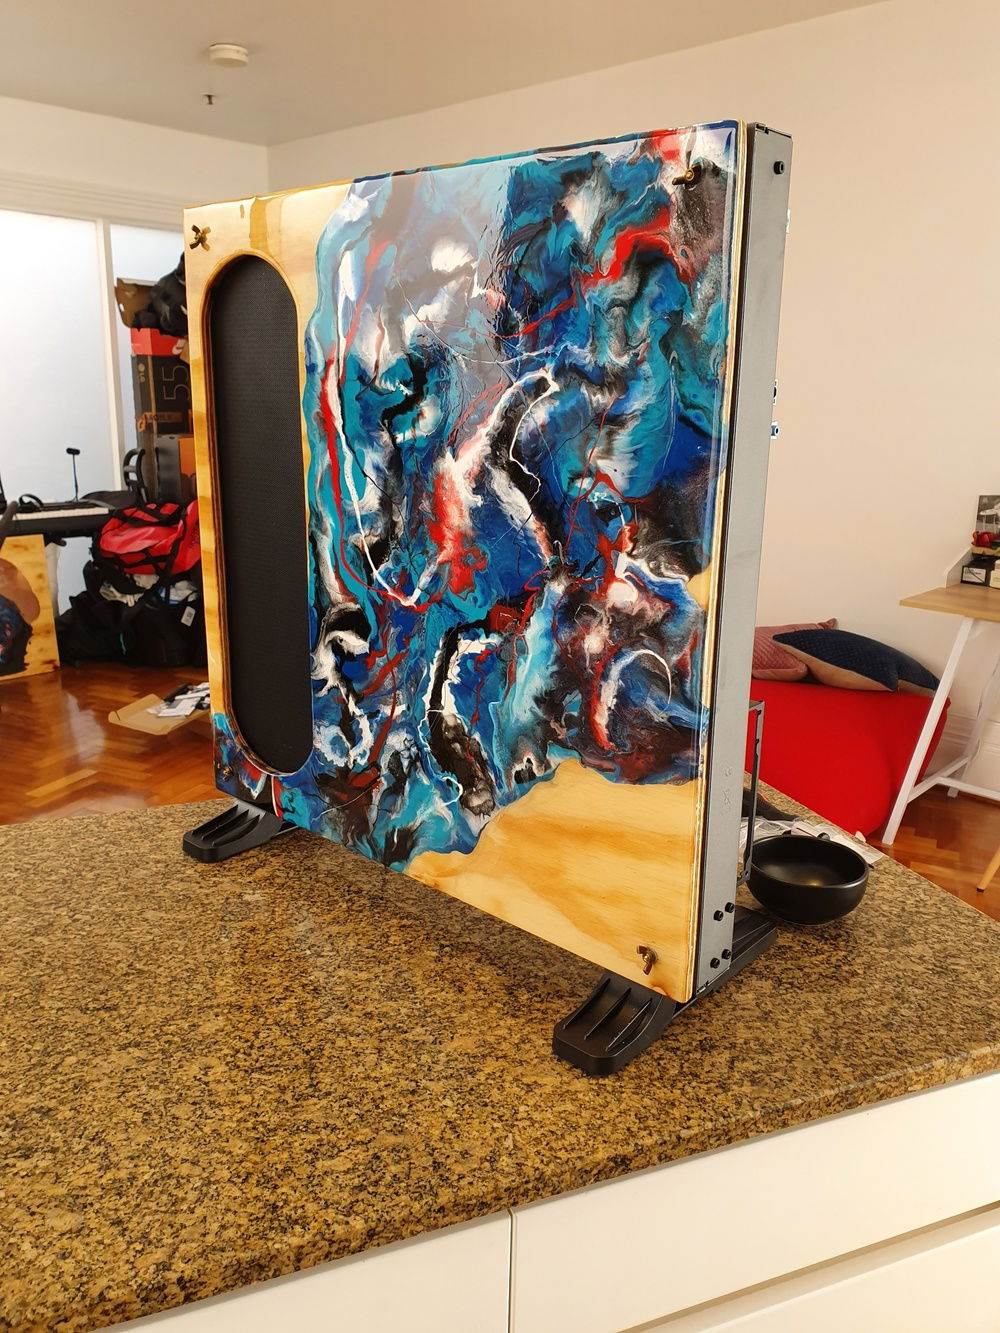
Finished back cover after second coating with clear Epoxy

Inside of the case - fans and corsair commander pro
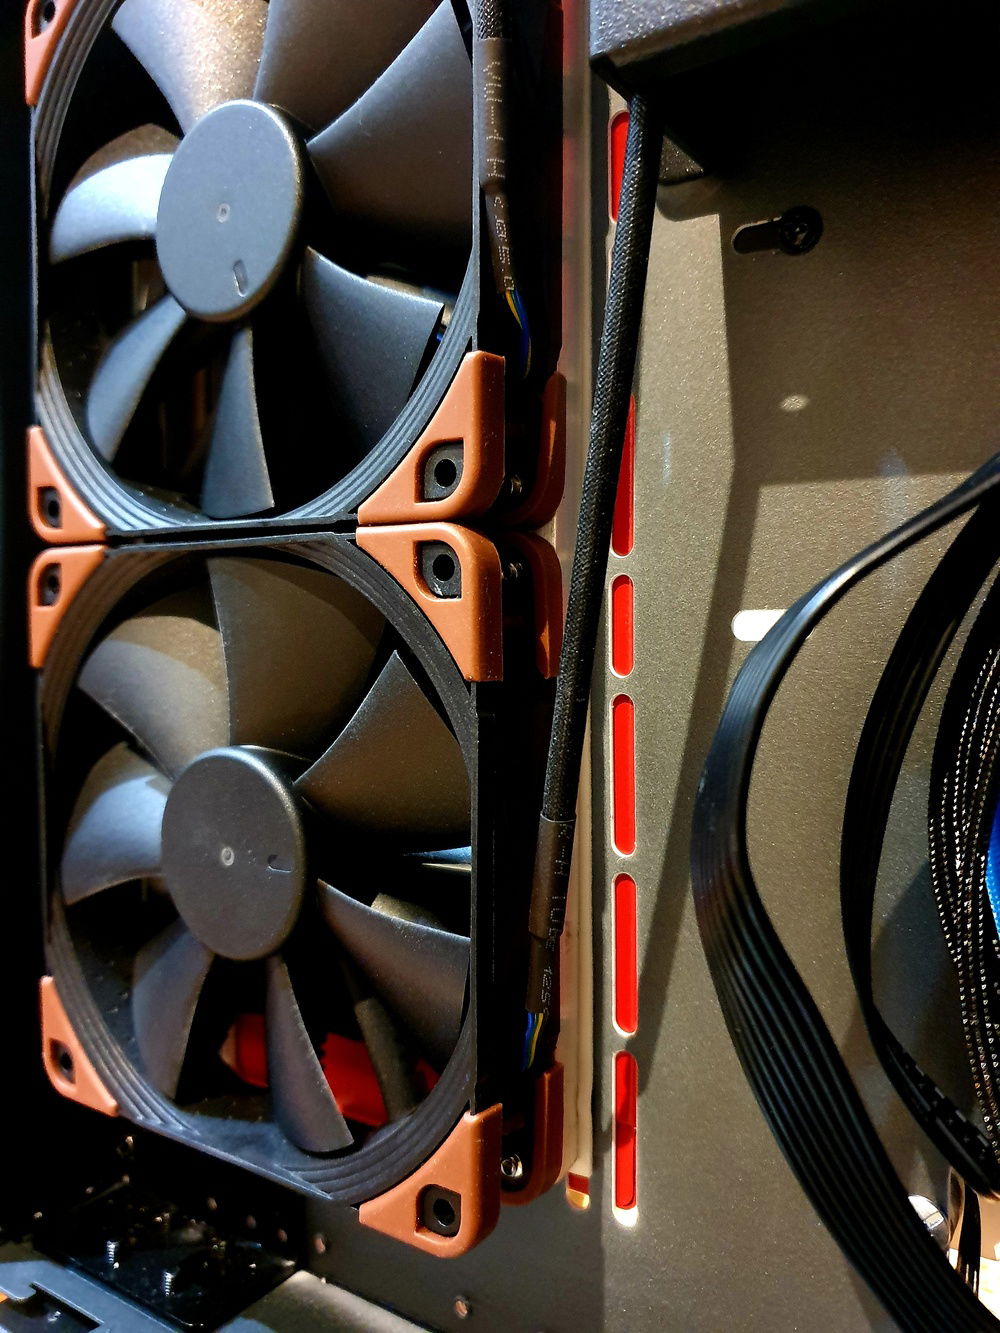
Close up of the fans screwed to custom brackets which are attached to the case with 2 sided adhesive tape
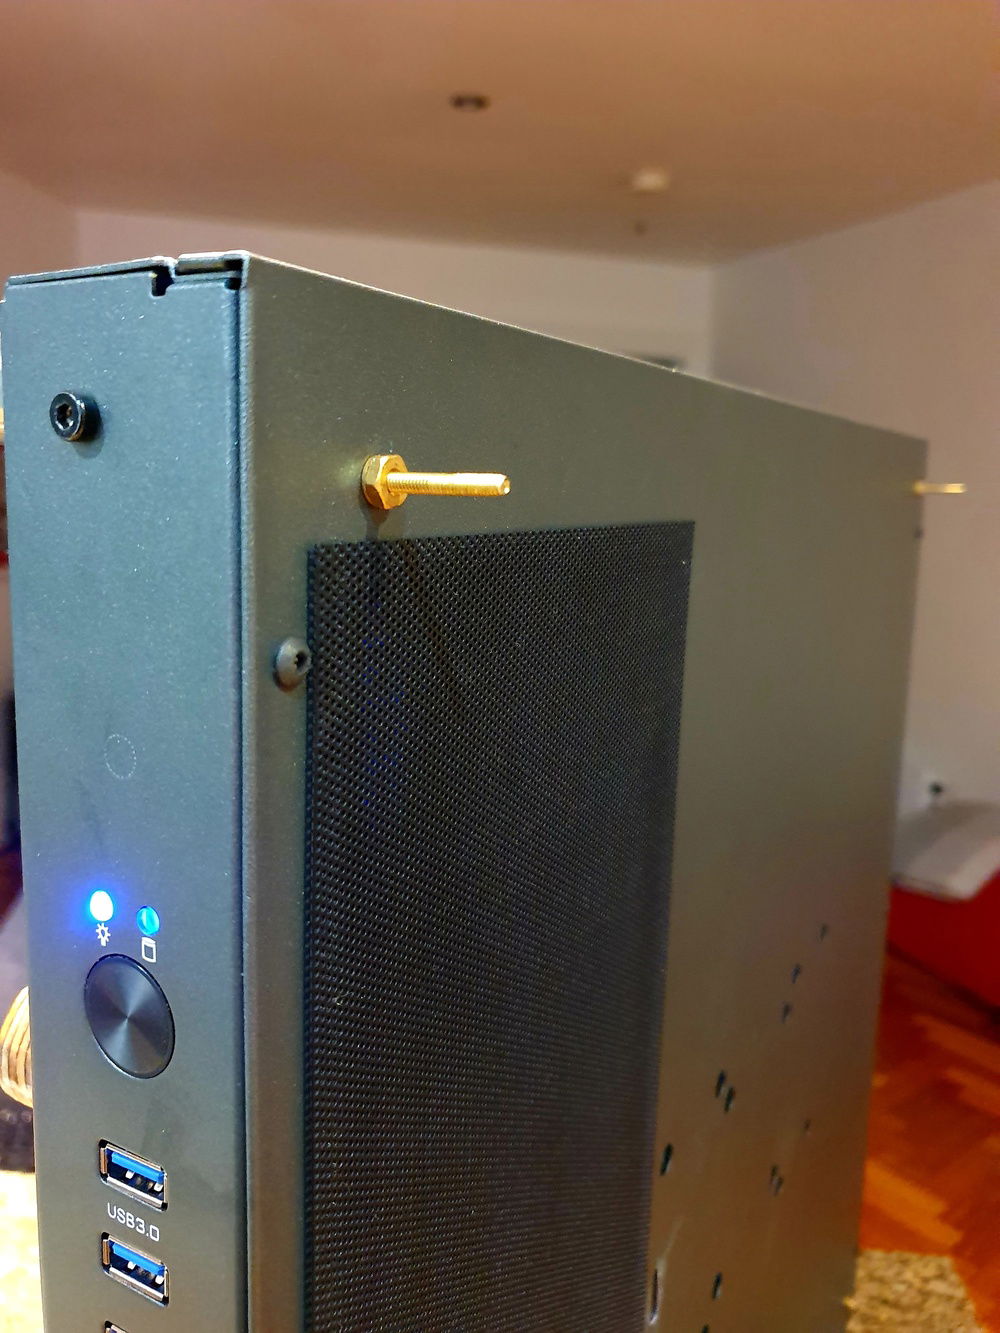
One of the 4 screws the wooden back cover slides onto.
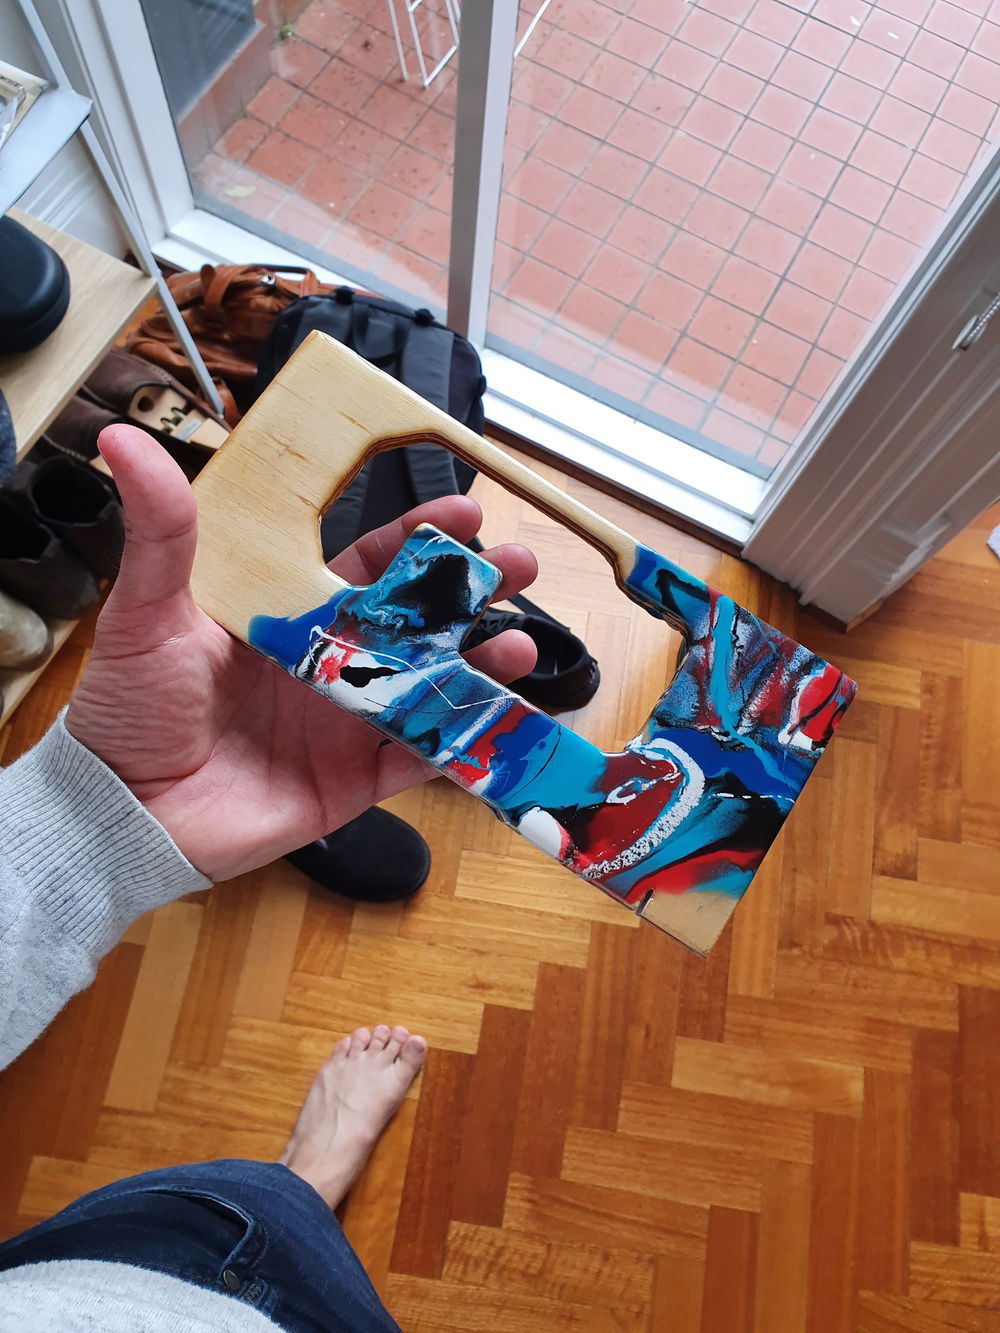
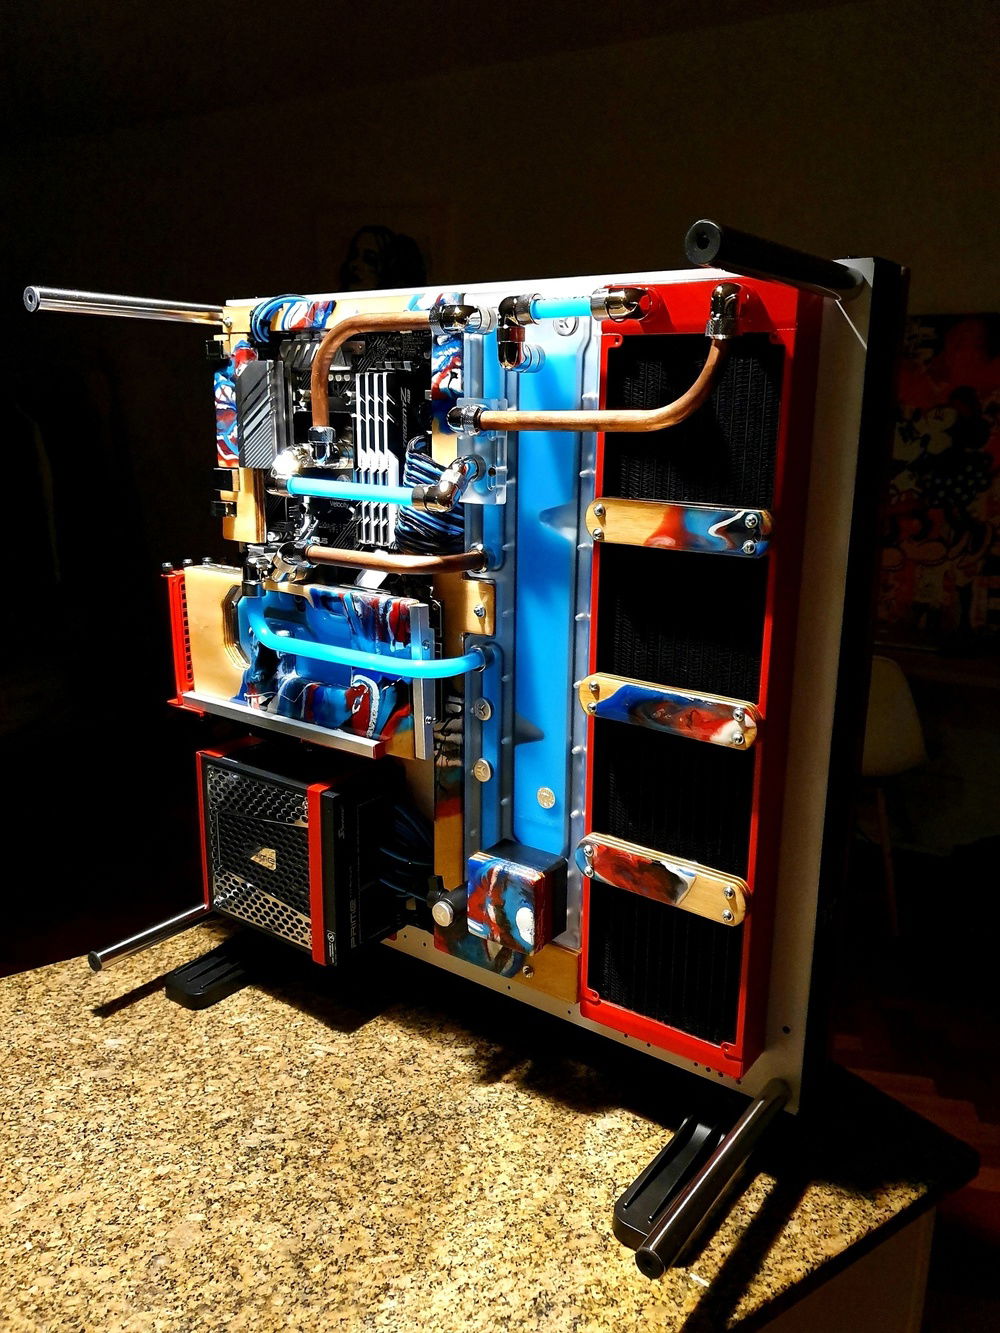
Finished GPU cover.
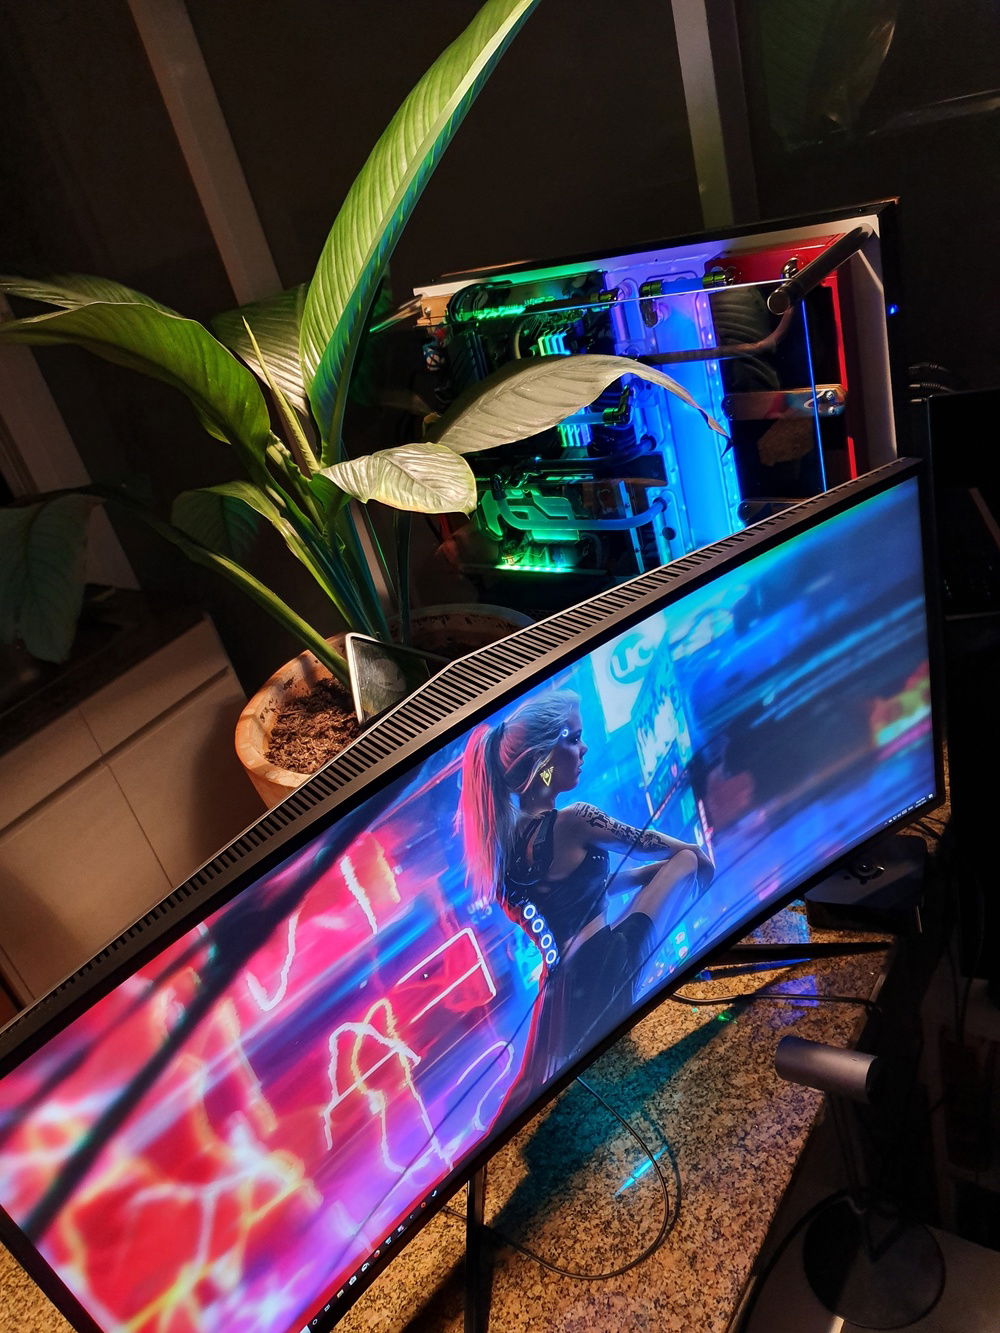
Identity Crisis
AD:
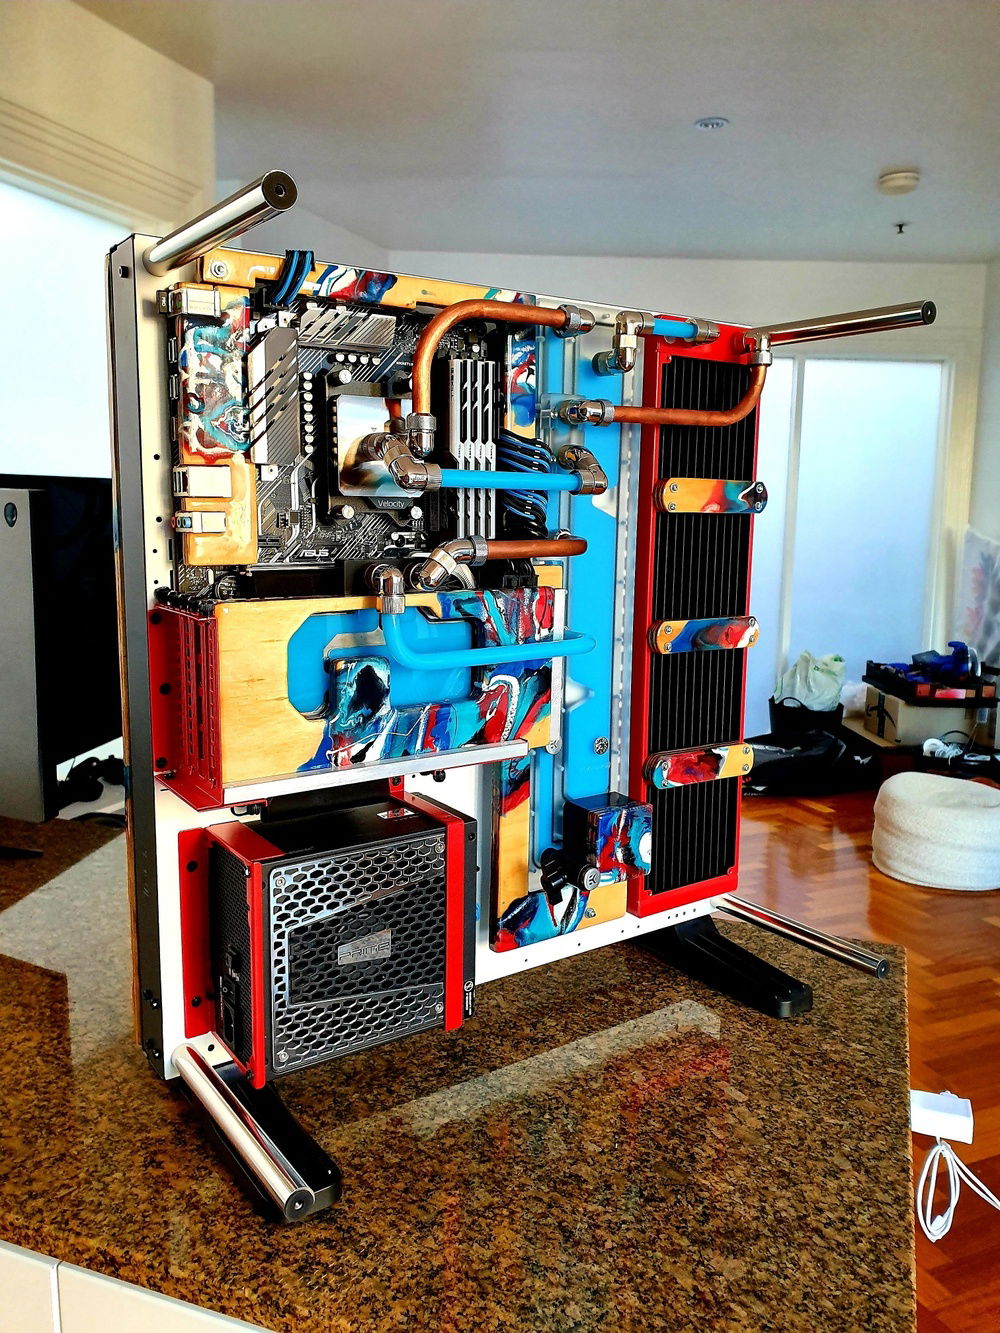
This build in the Thermaltake Core P5 took me a month and a half to complete.
I'm quite artistic and after some research and upon seeing the Thermaltake Core P5 I realised a lot could be done to customise it.
From the get go I wanted to construct a computer that would pass as an artpiece without screaming "Gamer" and that would not stick out like a sore thumb in a luminous modern living room.
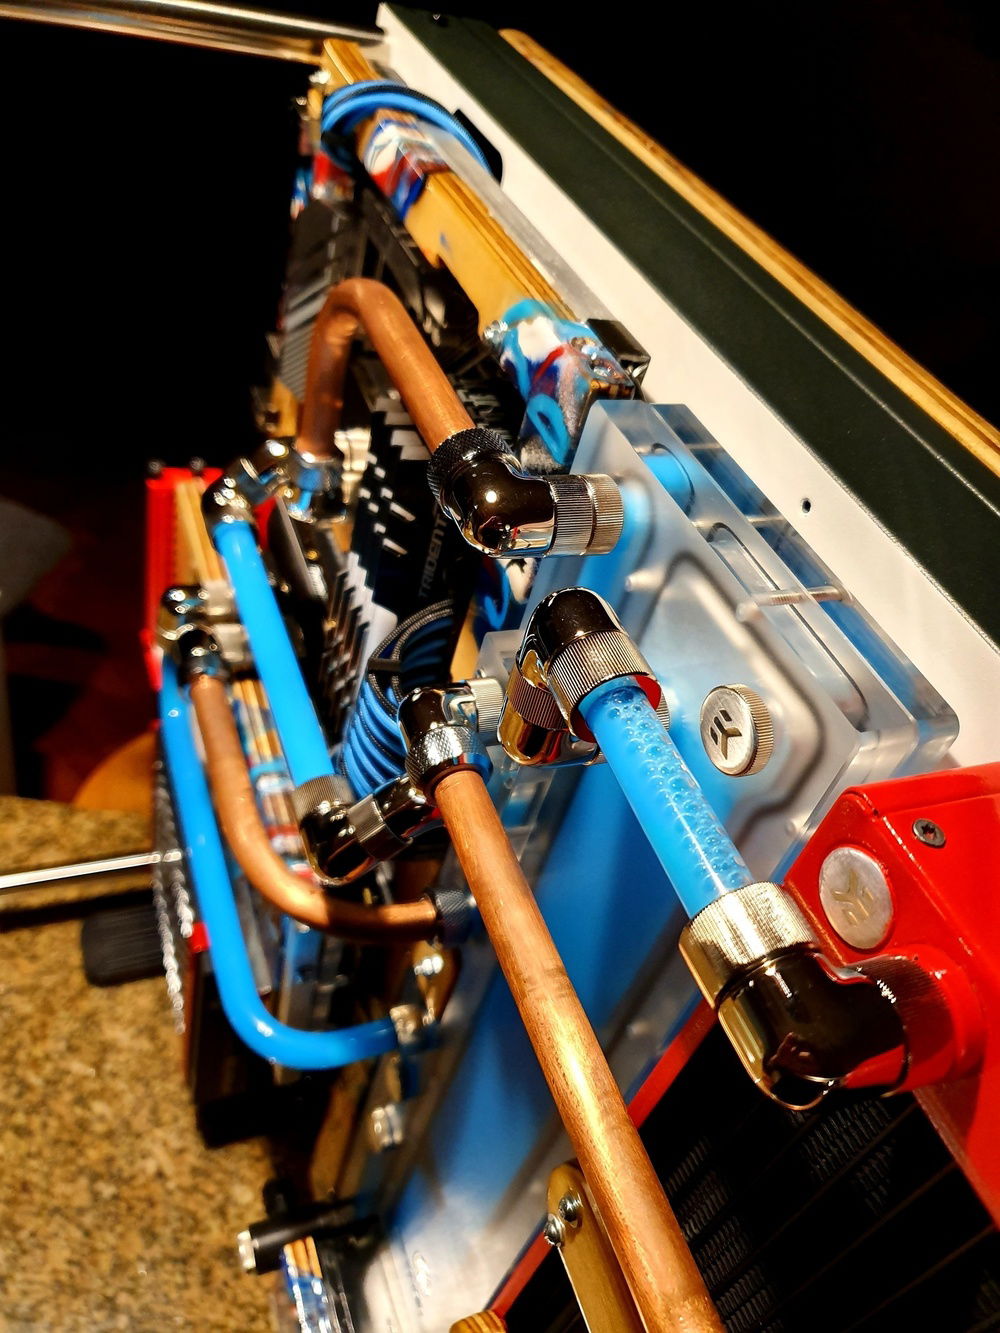
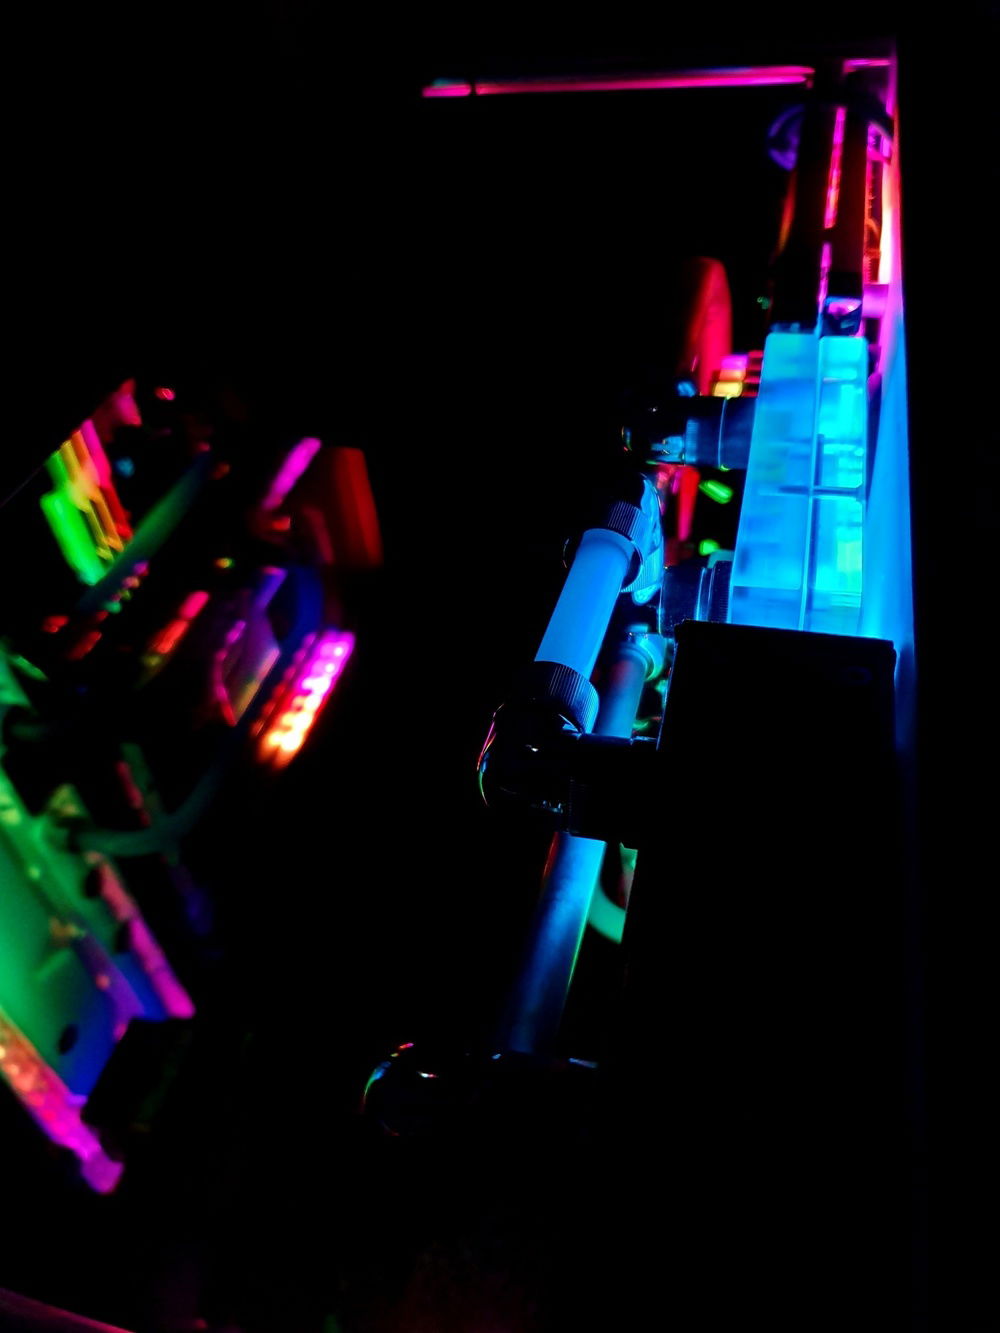
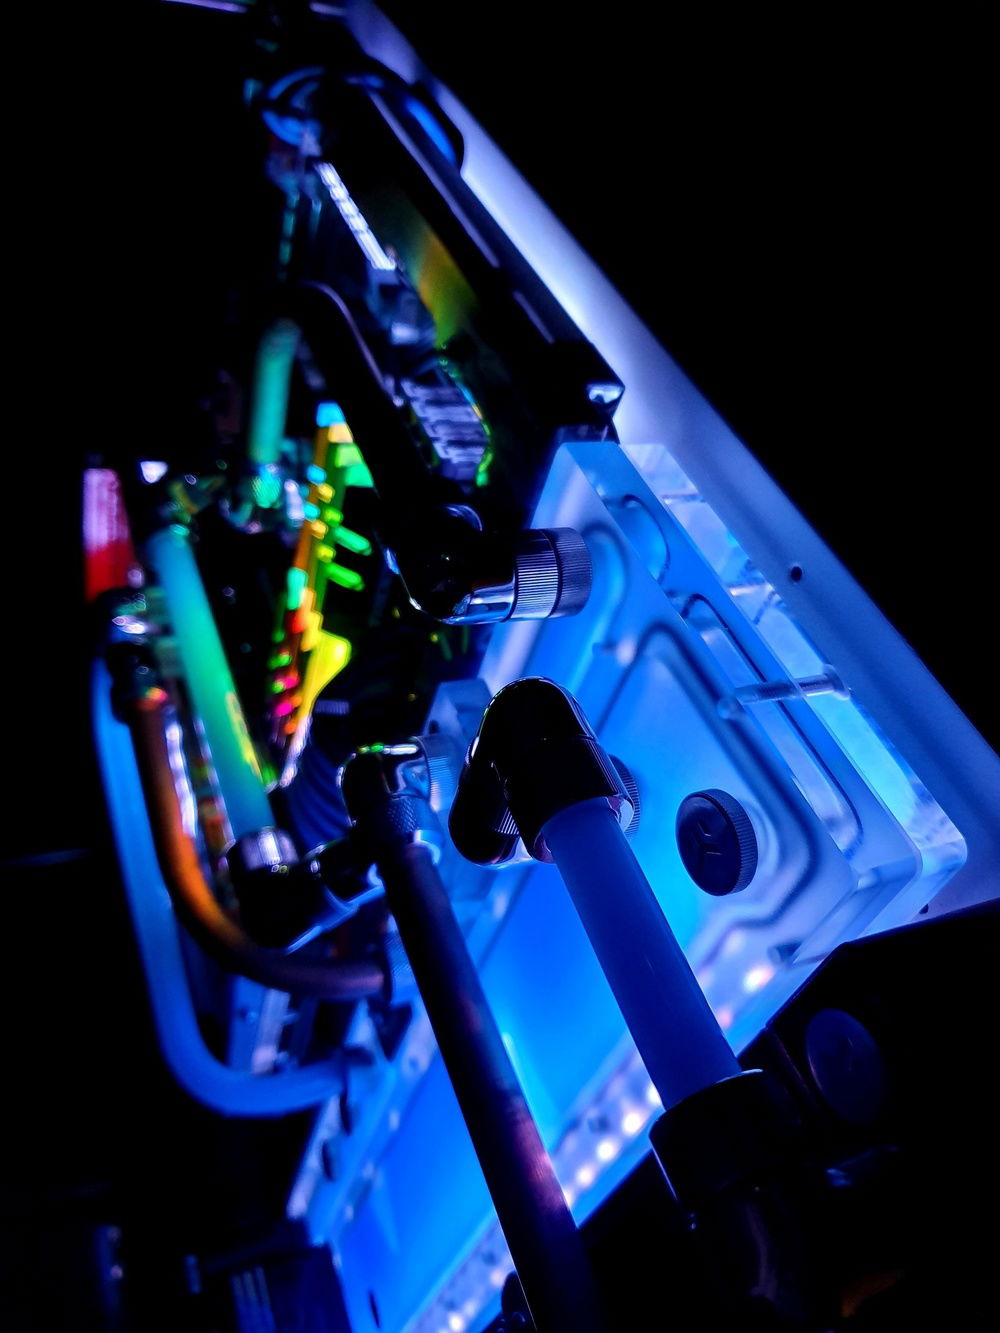
I love water, bright colours and industrial looking modern apartments. I decided that would be the theme for my build. A friend had recently completed a very clean build and he introduced me to the wonders of distribution boards. Sure I'd seen them before but I had never considered them for my systems. I found Bykski made a distribution board for the Core P5 and I decided to go ahead and include one in my build. The idea of a central and slim reservoir appealed to me a lot. I also set my mind on the colour of the liquid I would use - Azure blue (EK).
From there, the build design happened rapidly but a fair amount of work was required:
I think that does it! Hope you like it as much as I do! A labour of love!
Let me know if you are looking at building in this case and have any questions.
Cheers,
Mike
I'm quite artistic and after some research and upon seeing the Thermaltake Core P5 I realised a lot could be done to customise it.
From the get go I wanted to construct a computer that would pass as an artpiece without screaming "Gamer" and that would not stick out like a sore thumb in a luminous modern living room.
I love water, bright colours and industrial looking modern apartments. I decided that would be the theme for my build. A friend had recently completed a very clean build and he introduced me to the wonders of distribution boards. Sure I'd seen them before but I had never considered them for my systems. I found Bykski made a distribution board for the Core P5 and I decided to go ahead and include one in my build. The idea of a central and slim reservoir appealed to me a lot. I also set my mind on the colour of the liquid I would use - Azure blue (EK).
From there, the build design happened rapidly but a fair amount of work was required:
I think that does it! Hope you like it as much as I do! A labour of love!
Let me know if you are looking at building in this case and have any questions.
Cheers,
Mike
Color(s): Black Blue Copper Red White
RGB Lighting? Yes
Theme: Art
Cooling: Custom Liquid Cooling
Size: ATX
Type: General Build
Hardware
CPU
$ 278.99
Motherboard
$ 290.99
Memory
$ 338.68
Graphics
$ 1,446.00
Case
$ 1,018.82
Case Fan
$ 29.00
Cooling
Cooling
$ 199.00
Cooling
$ 168.14
Cooling
Accessories
$ 74.29
Approved by: