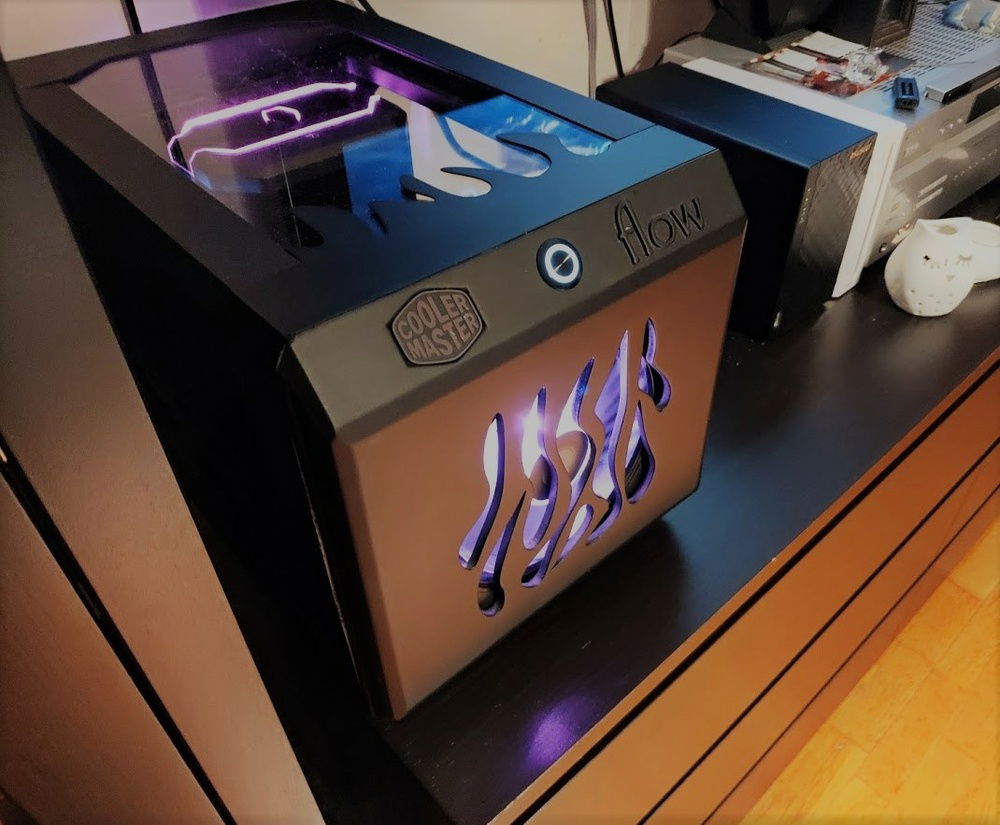
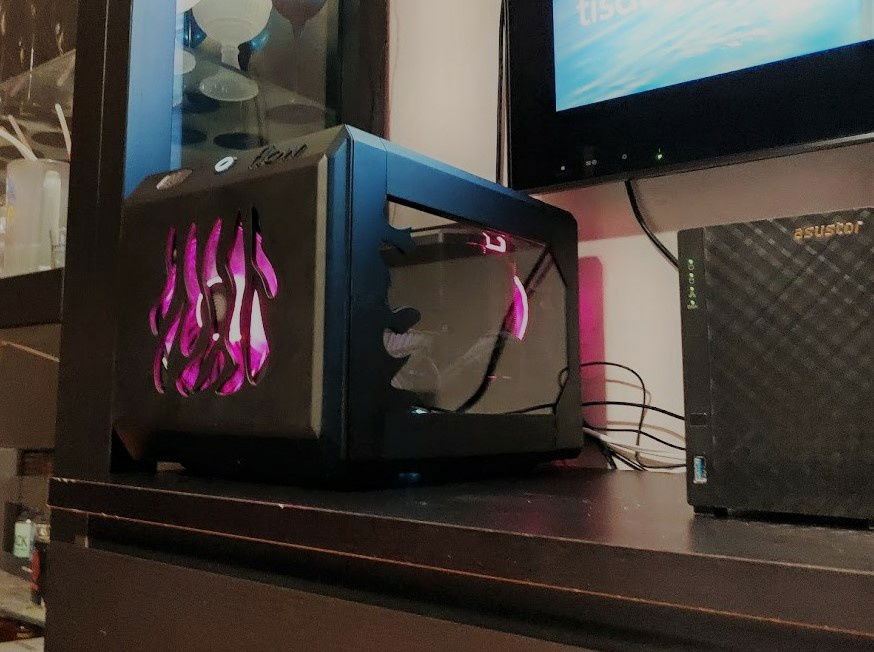
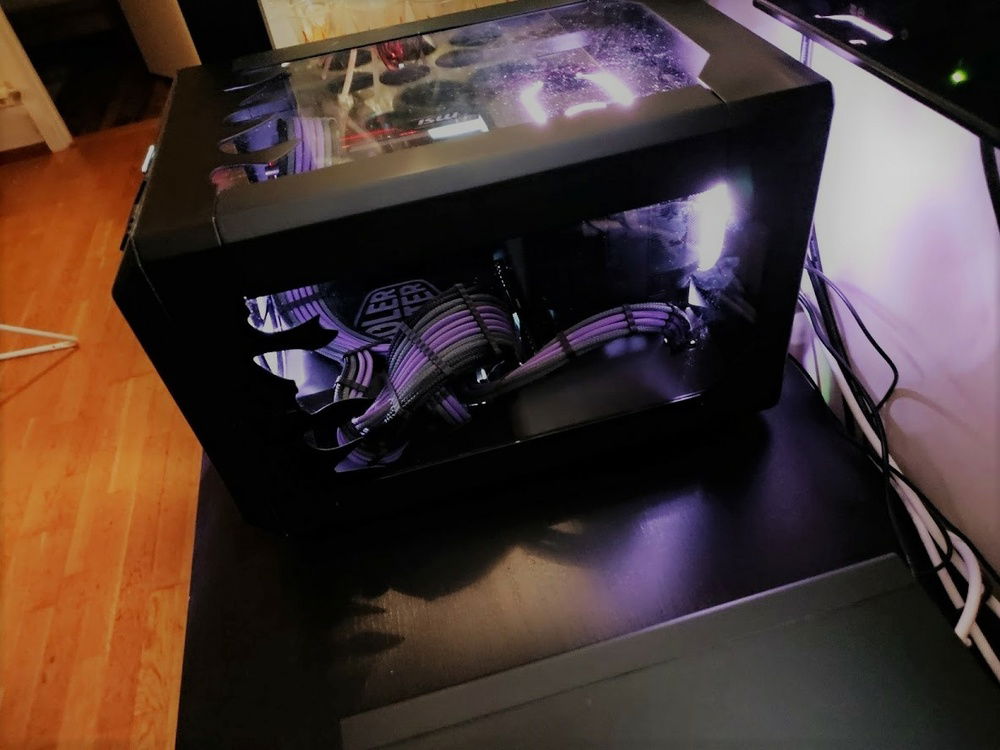
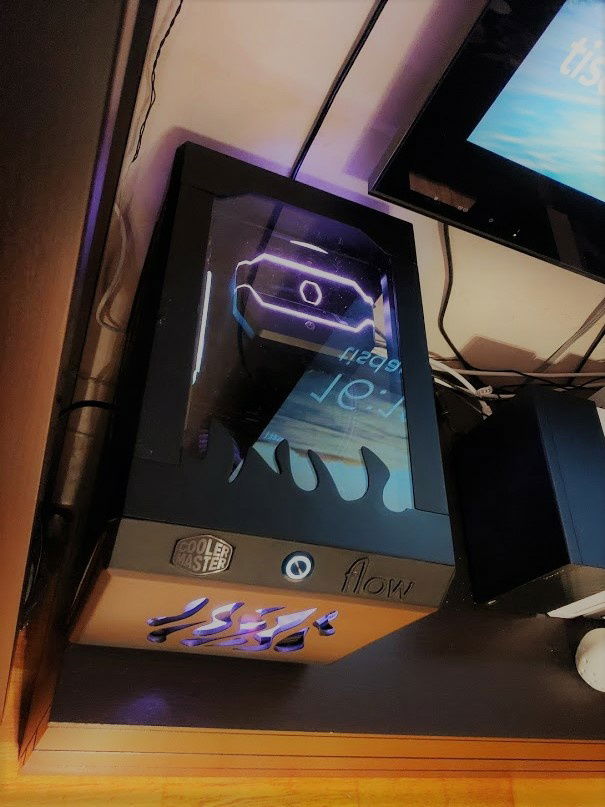
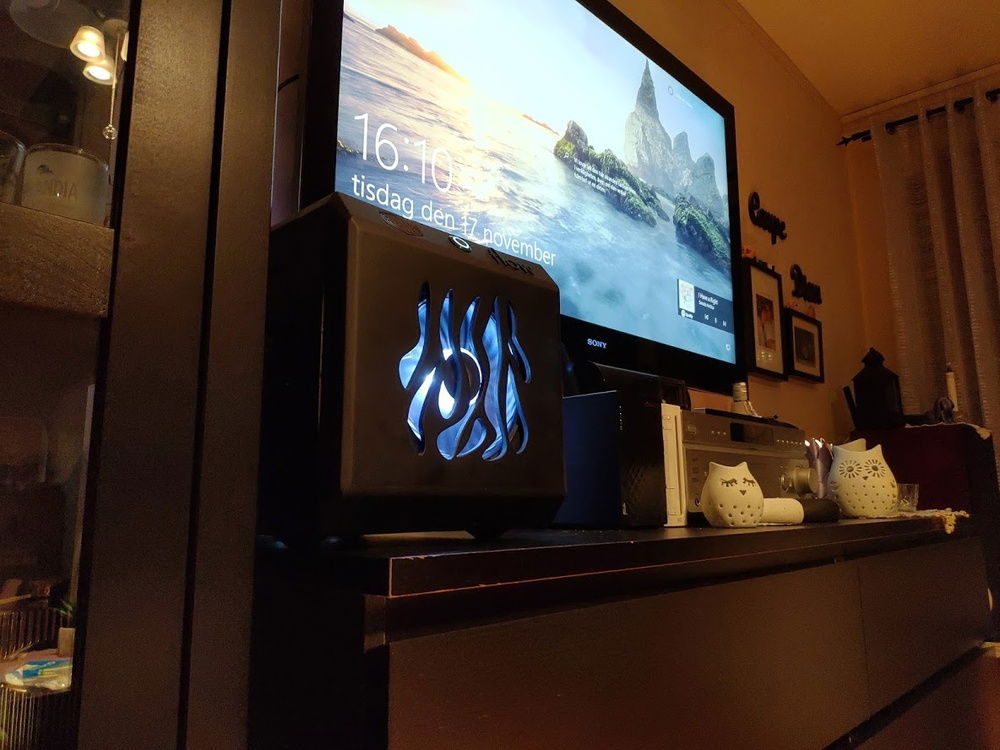
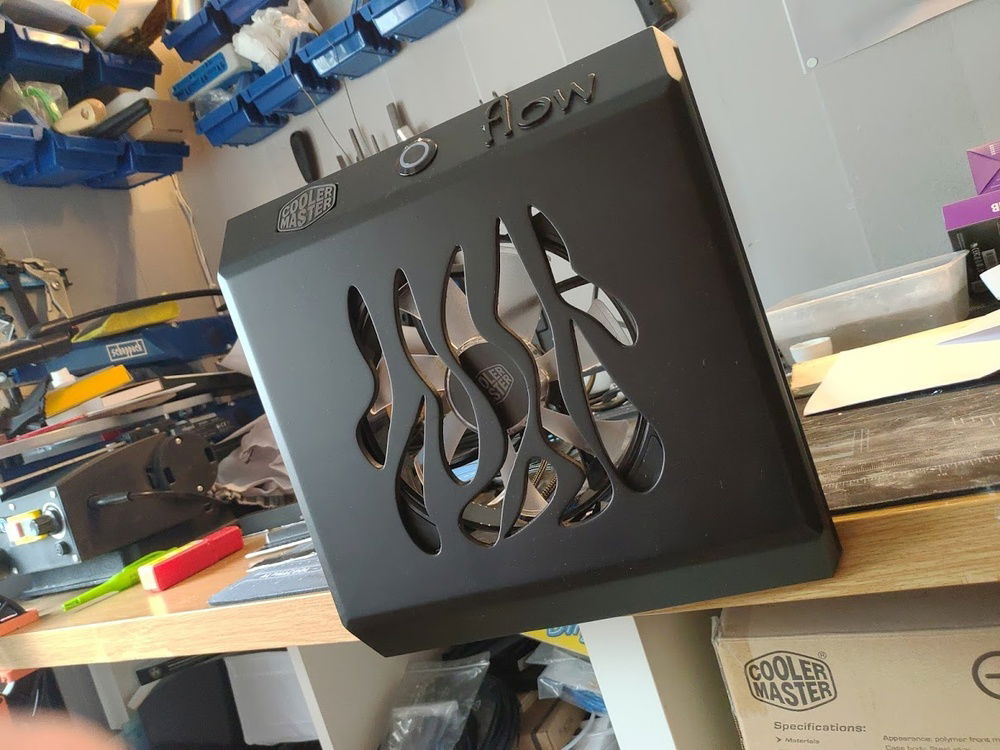
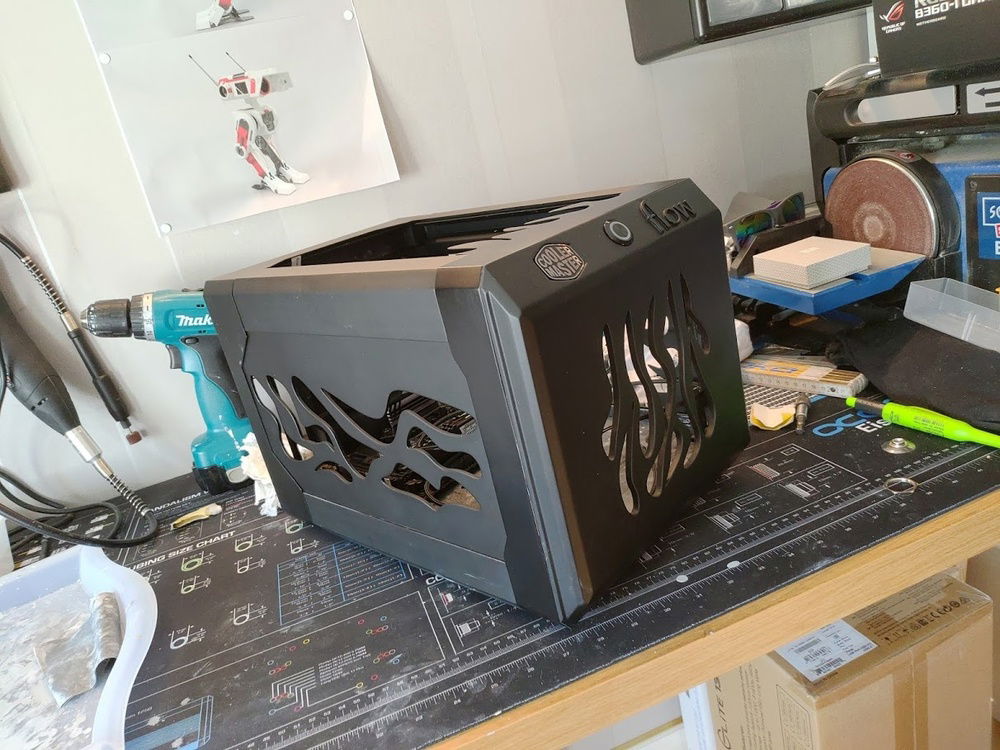
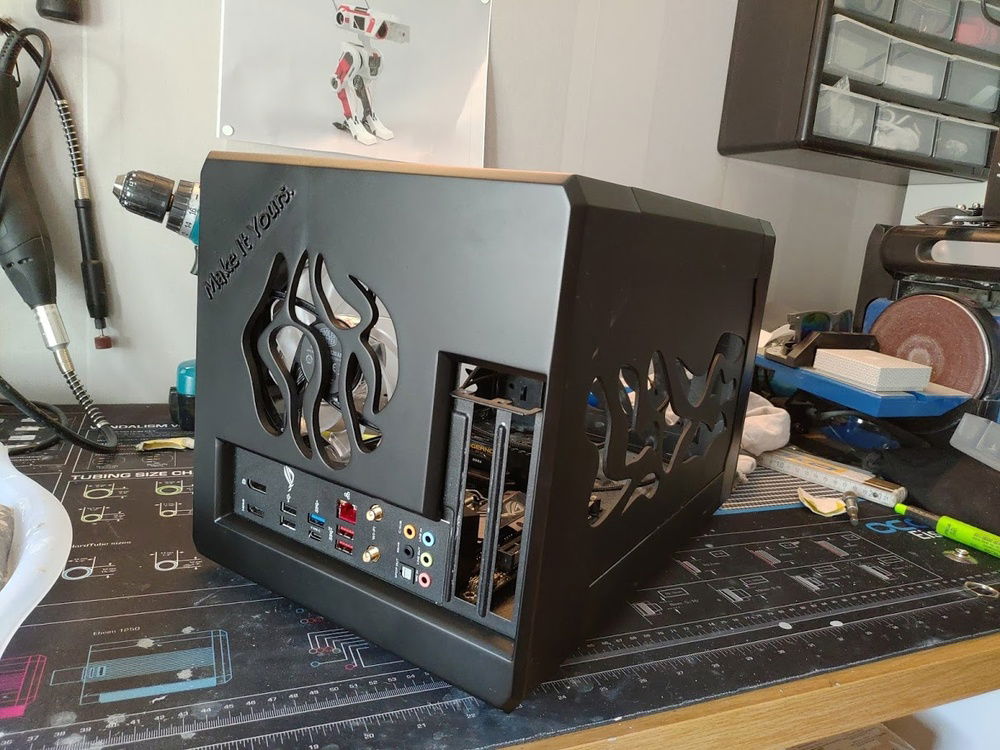
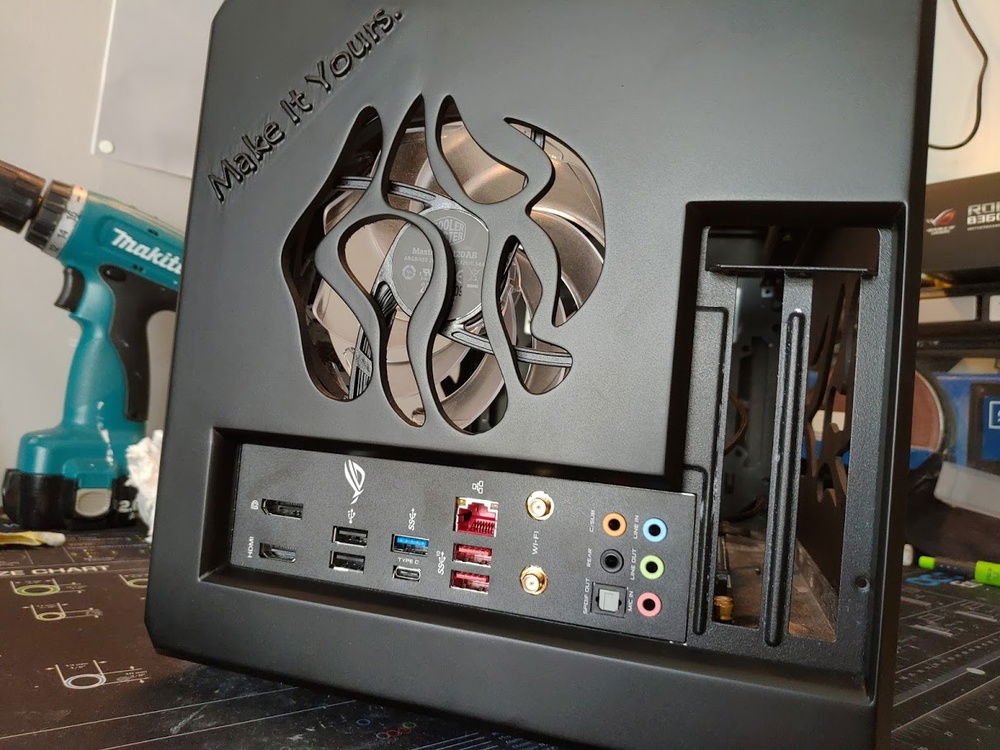
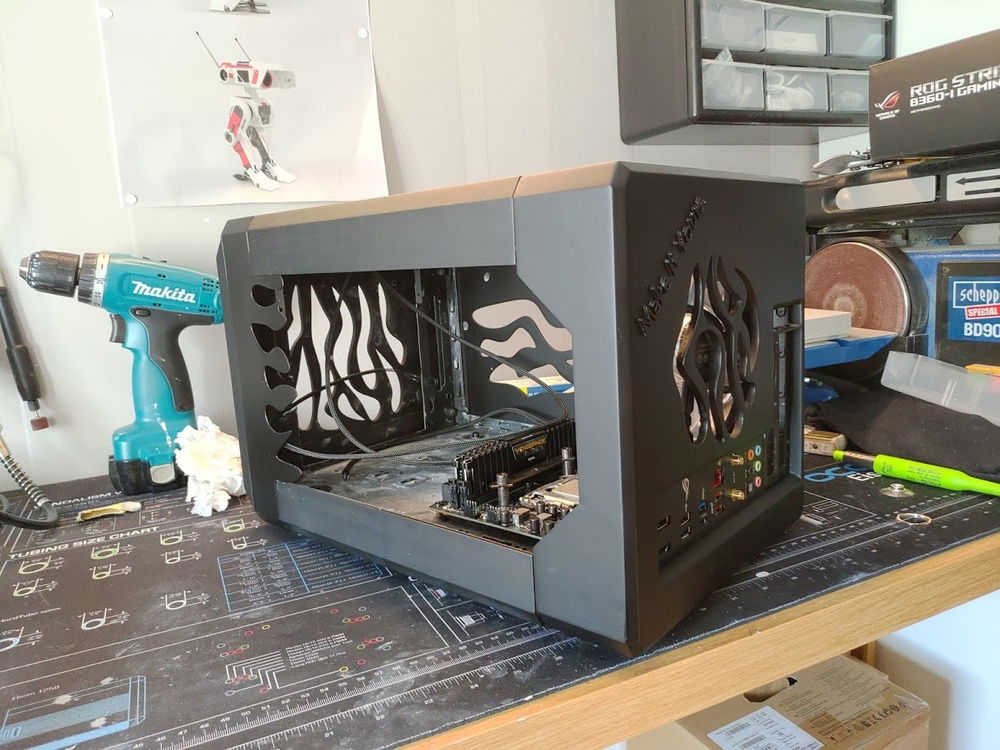
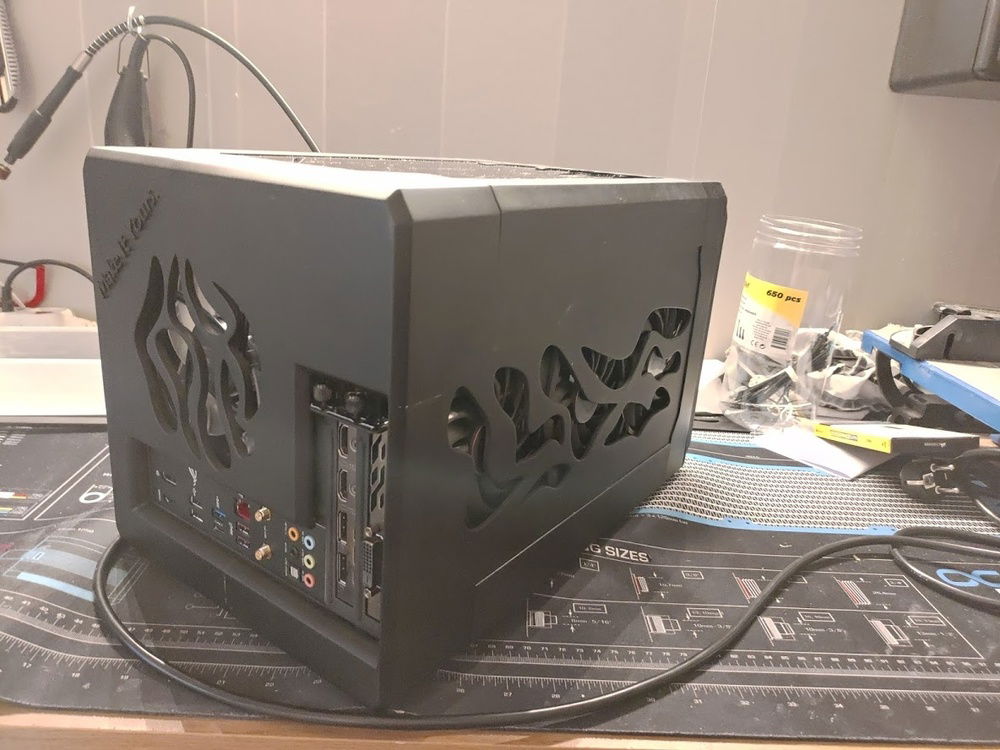
Sits perfect on the livingroom TV bench
I promise better pictures will come. In a hurry to get it up and just test it
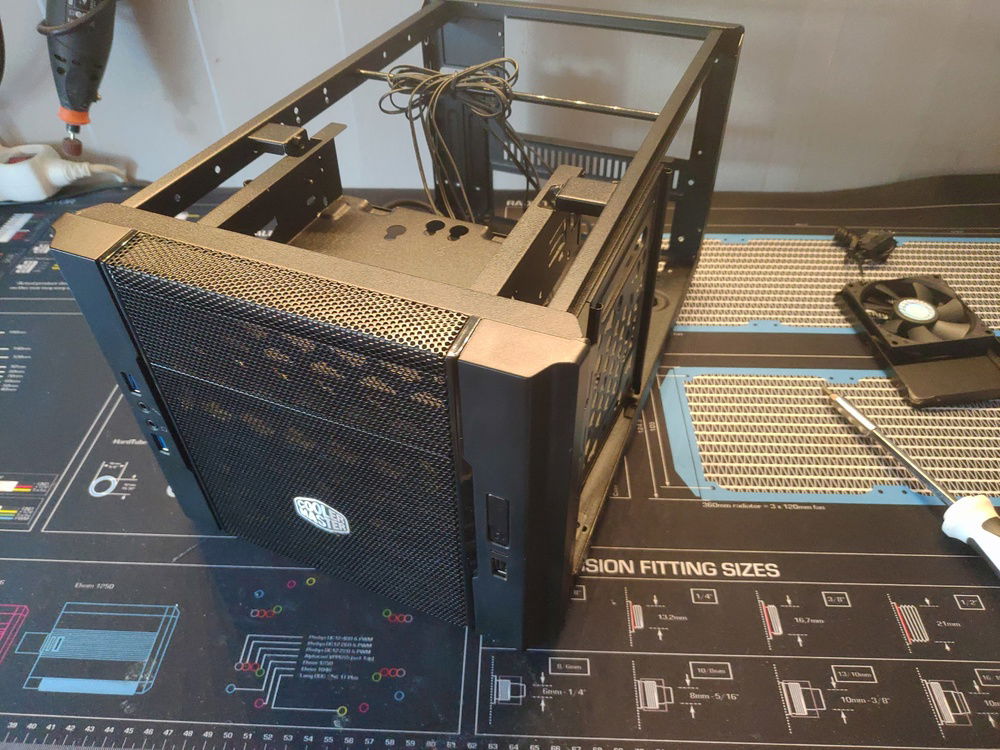
Here it is, the victim of my evil plans, the Cooler Master Elite 130.
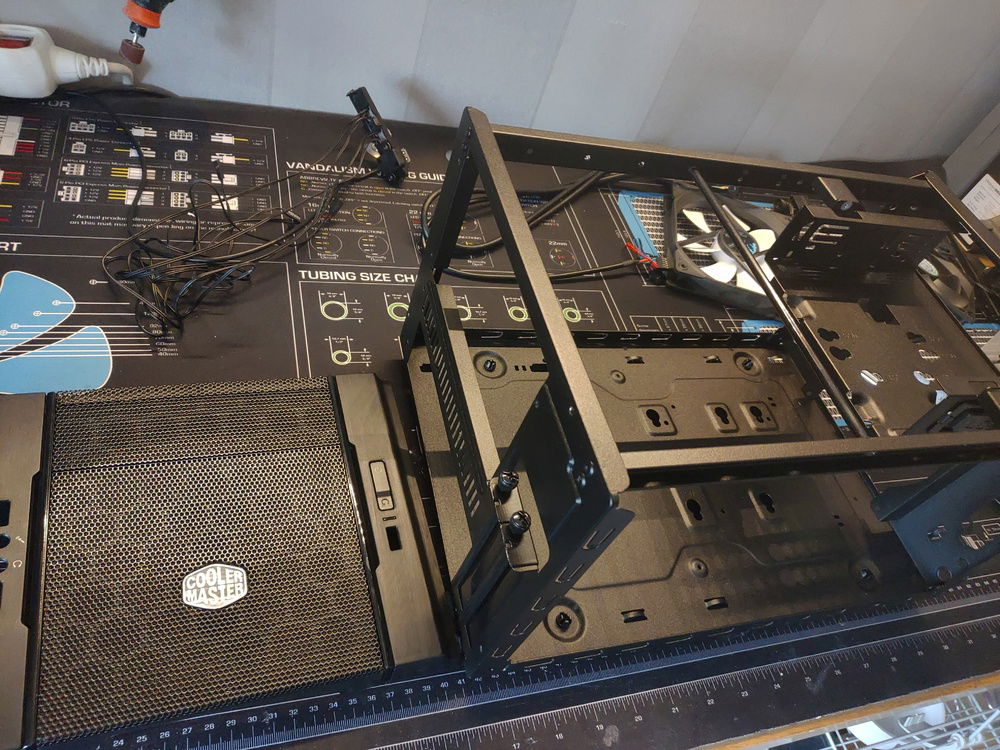
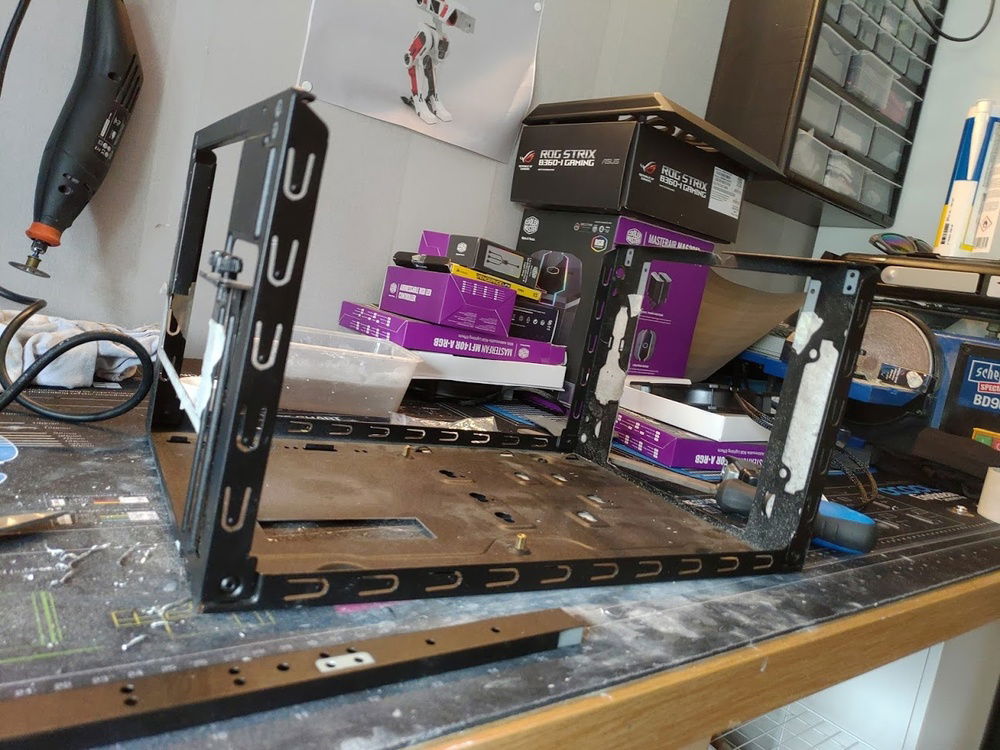
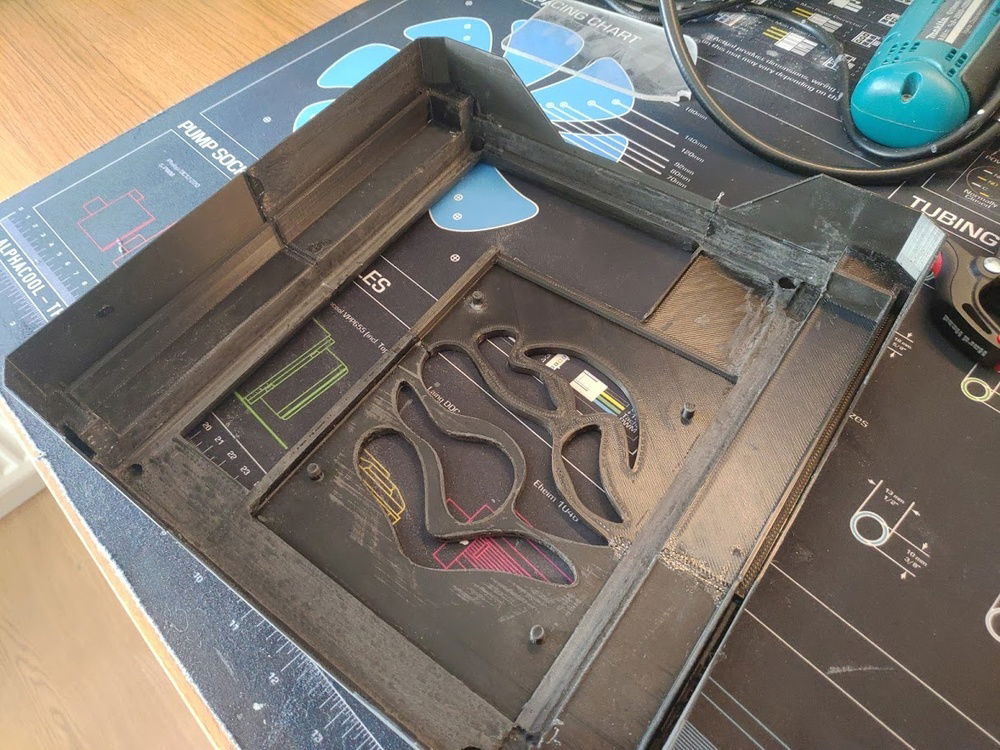
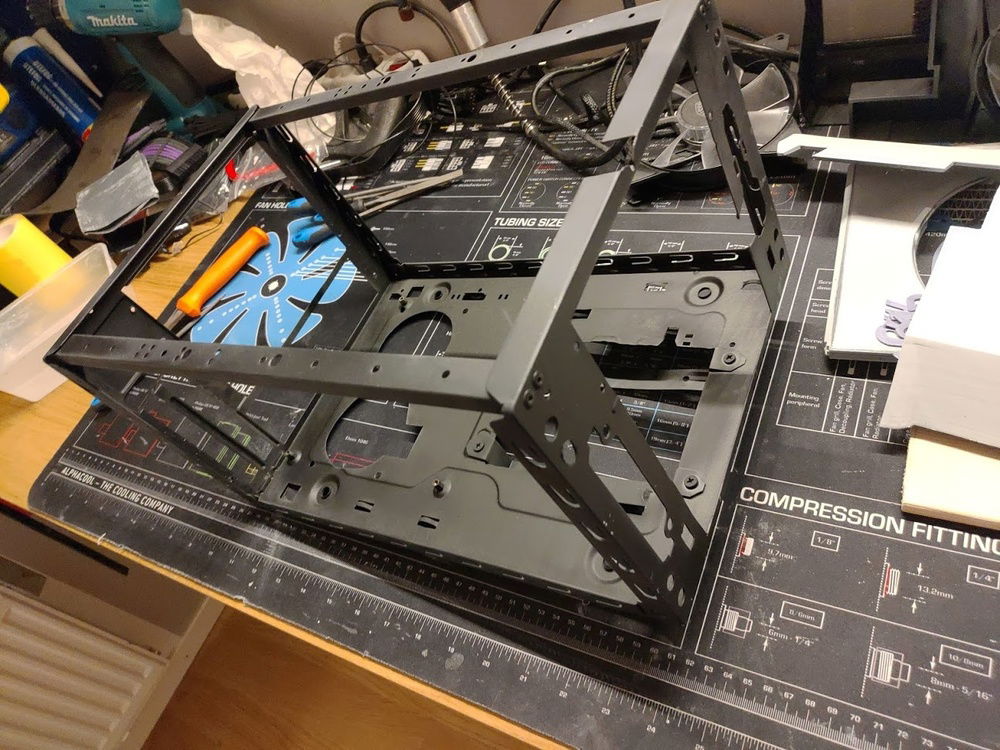
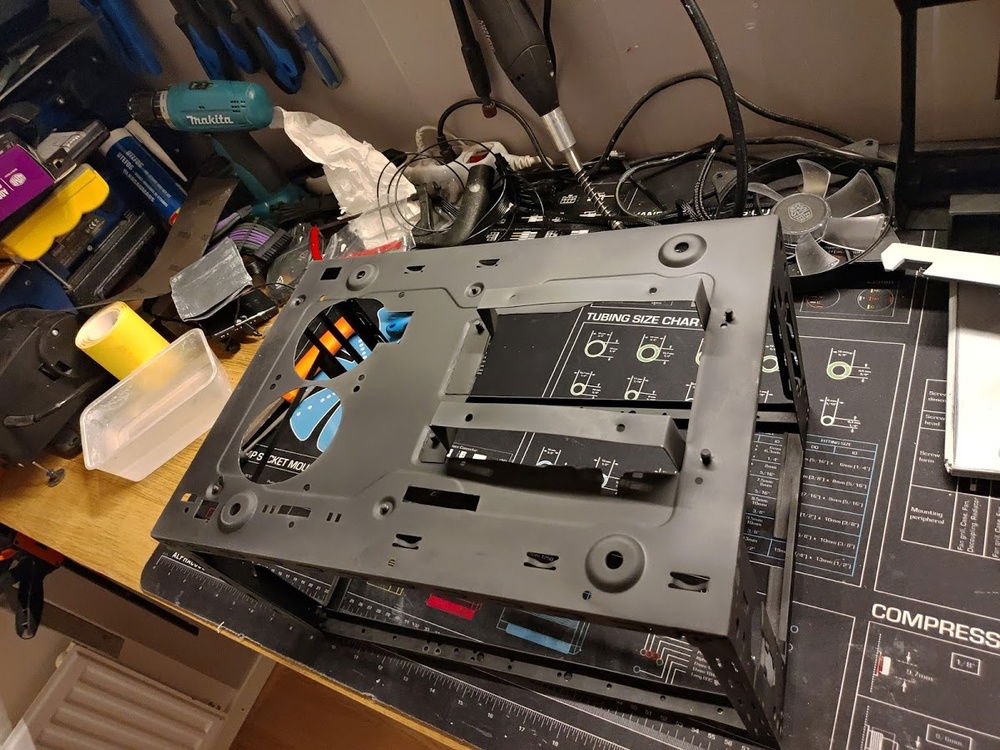
Stripping it down to investigate the frame, which I´m mainly interested in.
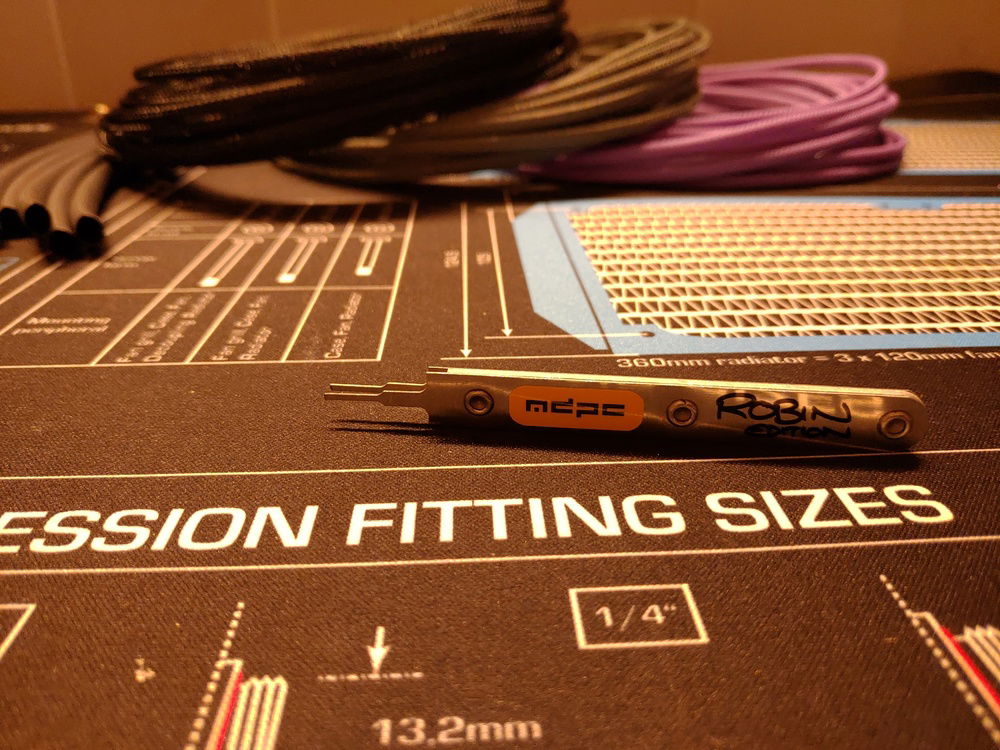
Making my own cables for this one and decided to get a new Molex pin exctractor. The nice guys over at MDPC sent over my very own extractor :)
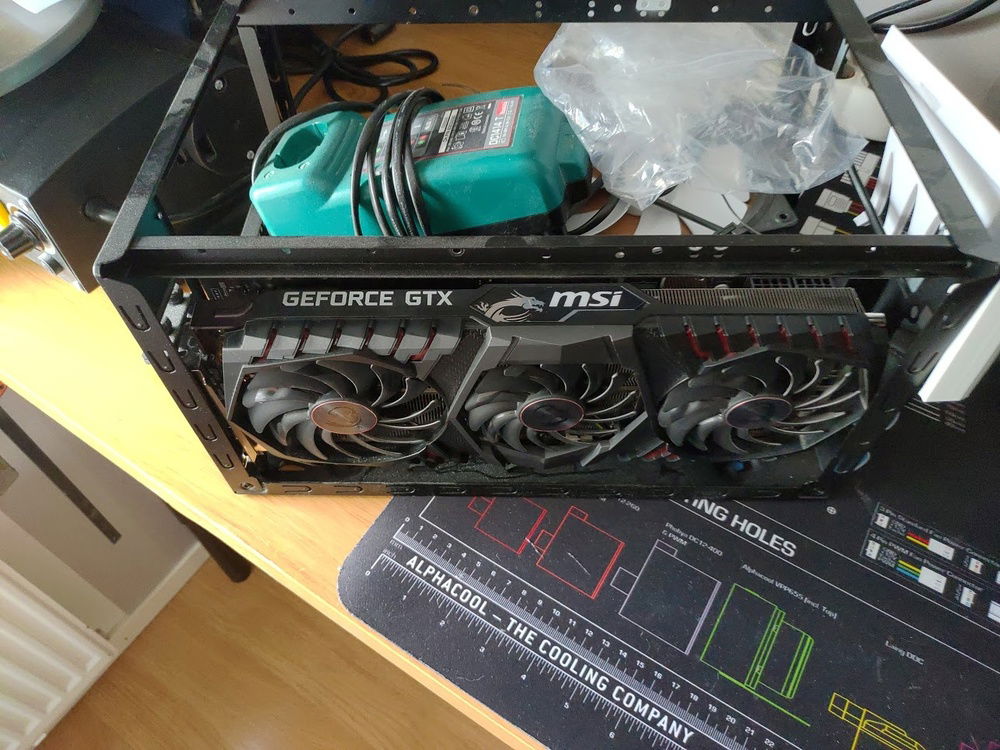
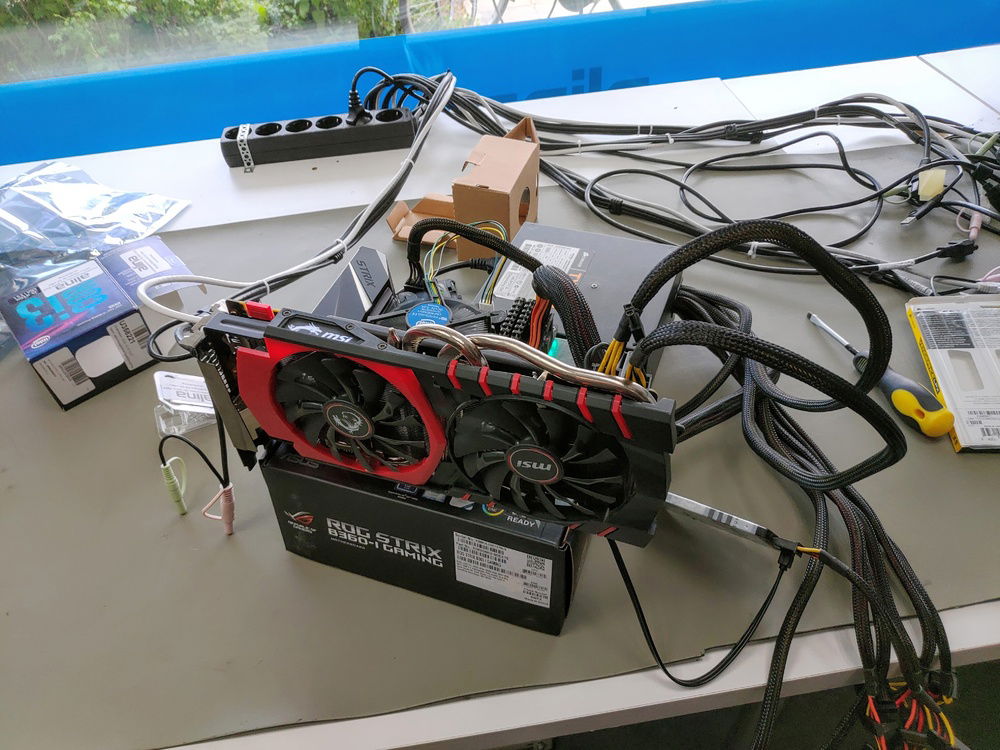
Testrun of the components, was first planning on using the MSI GTX 970 GPU.
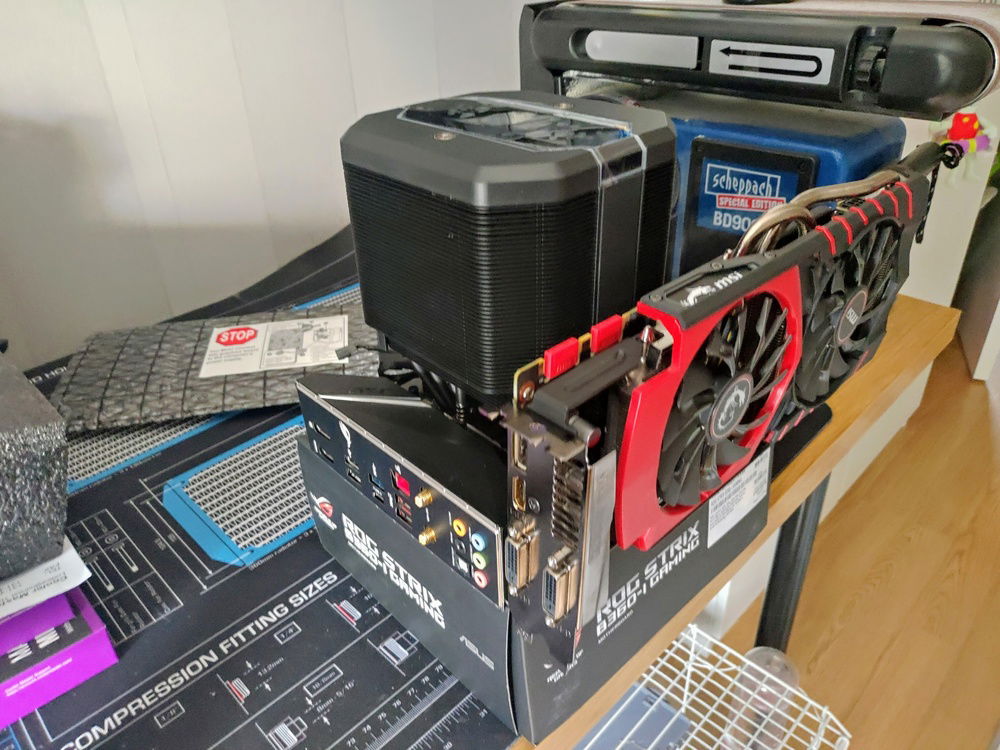
Yes this will be interesting to see how it´ll fit in an ITX case
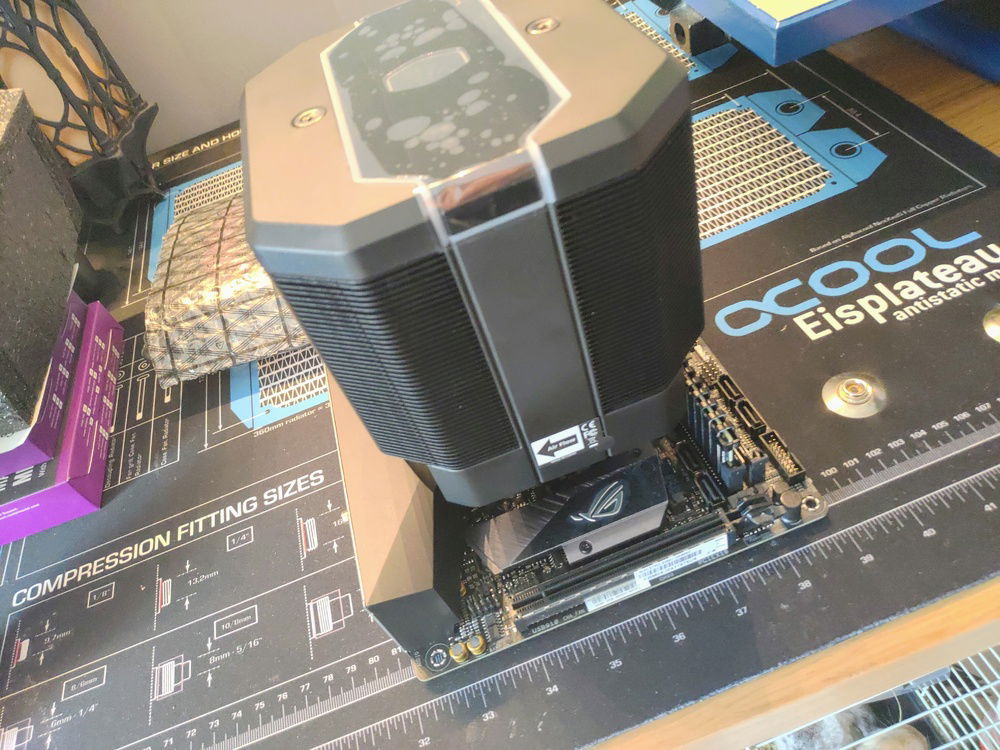
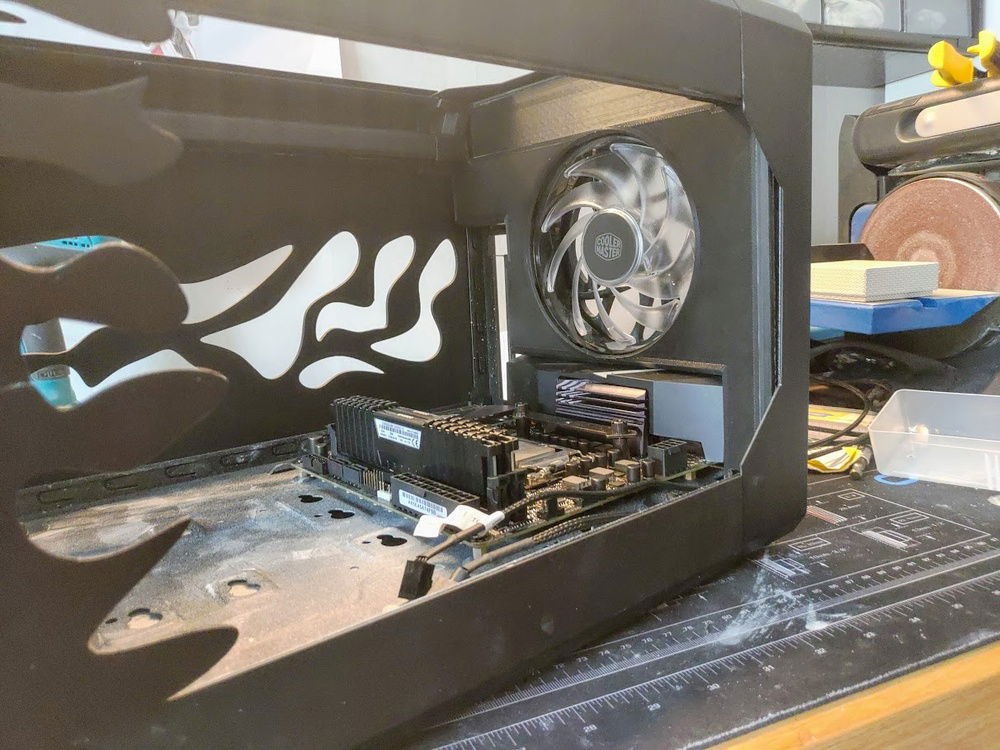
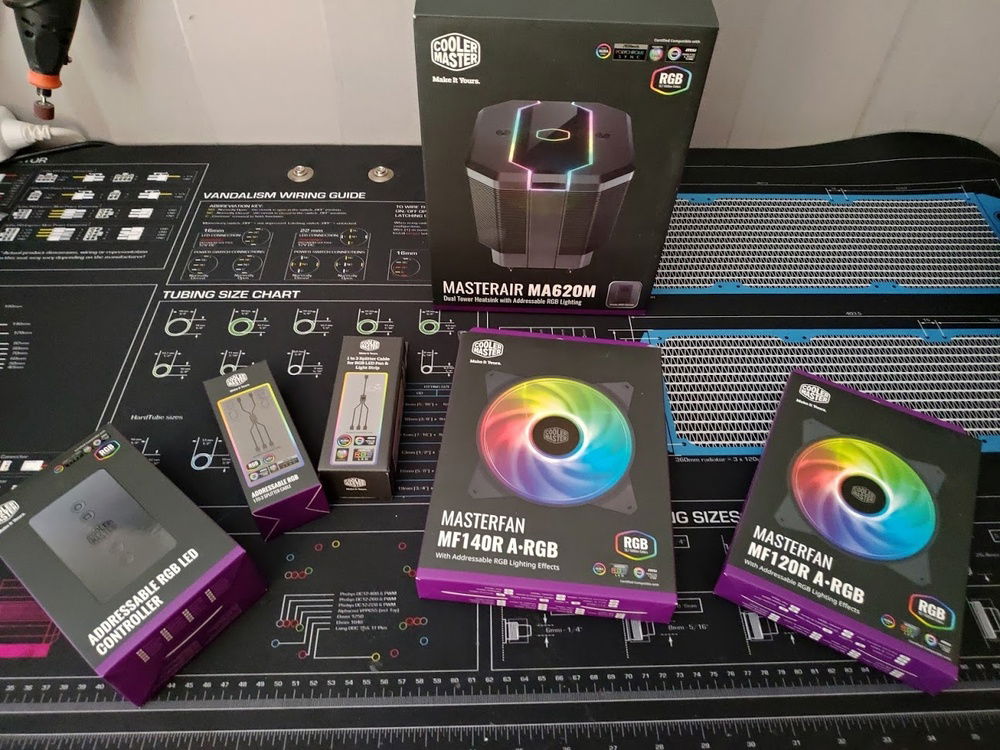
Big cooler on a small board
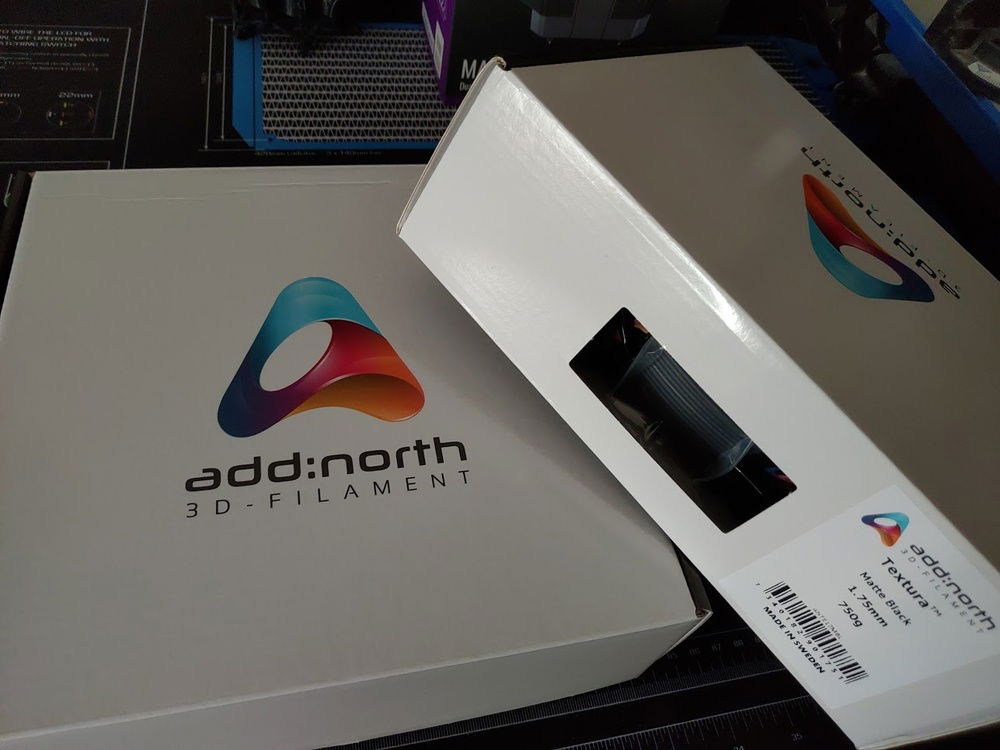
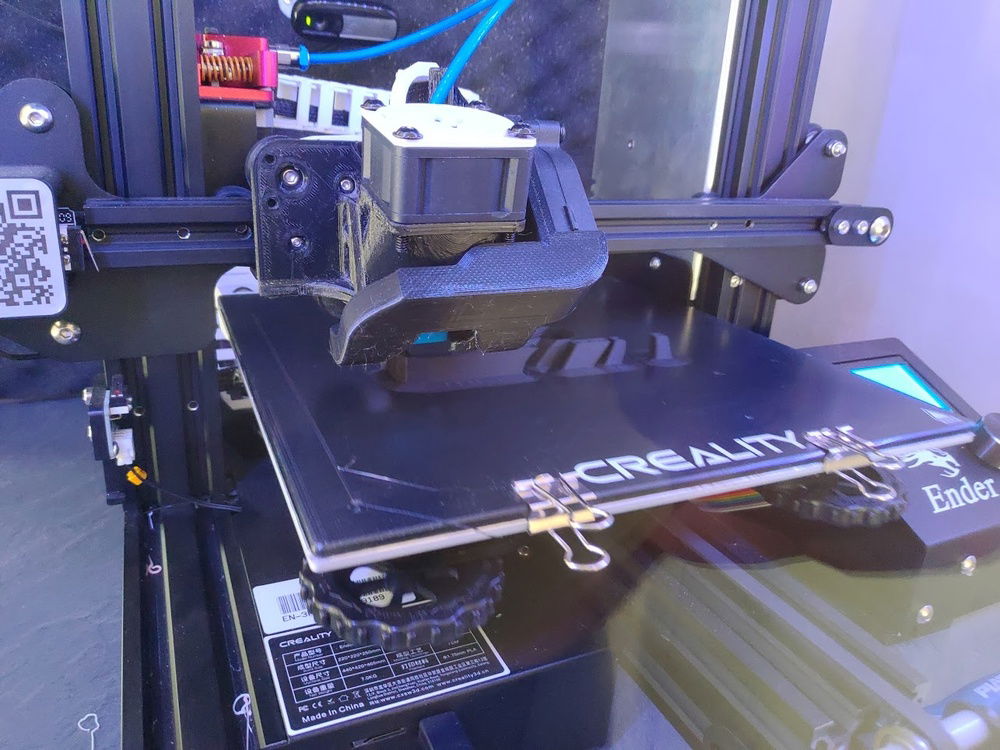
To create stuff I need plastic, a lot of plastic
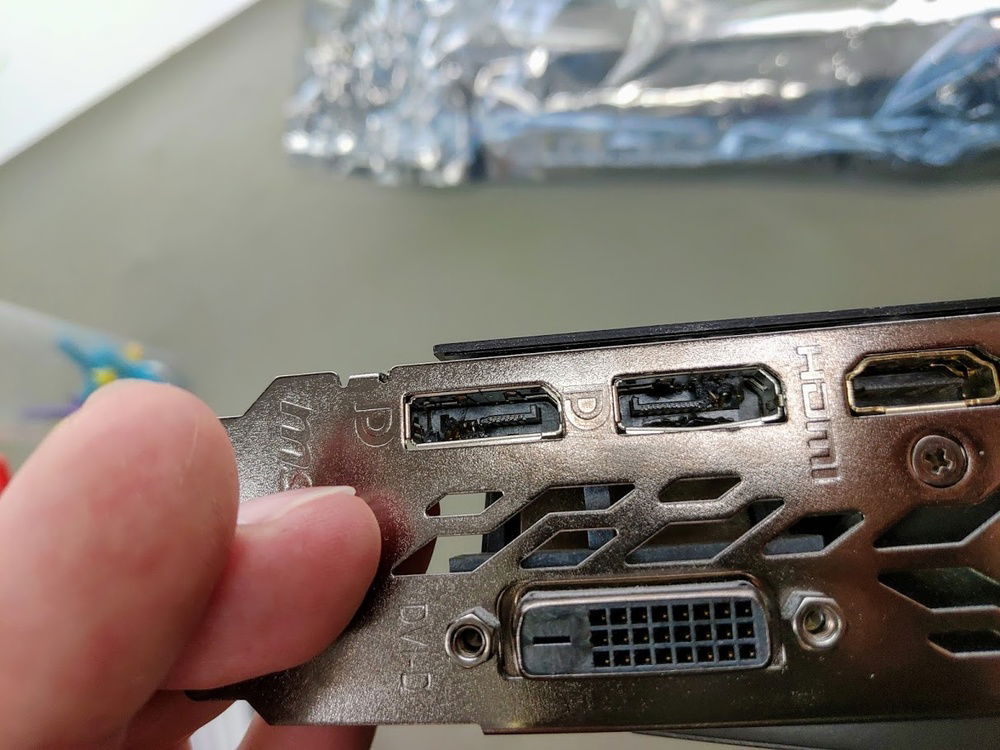
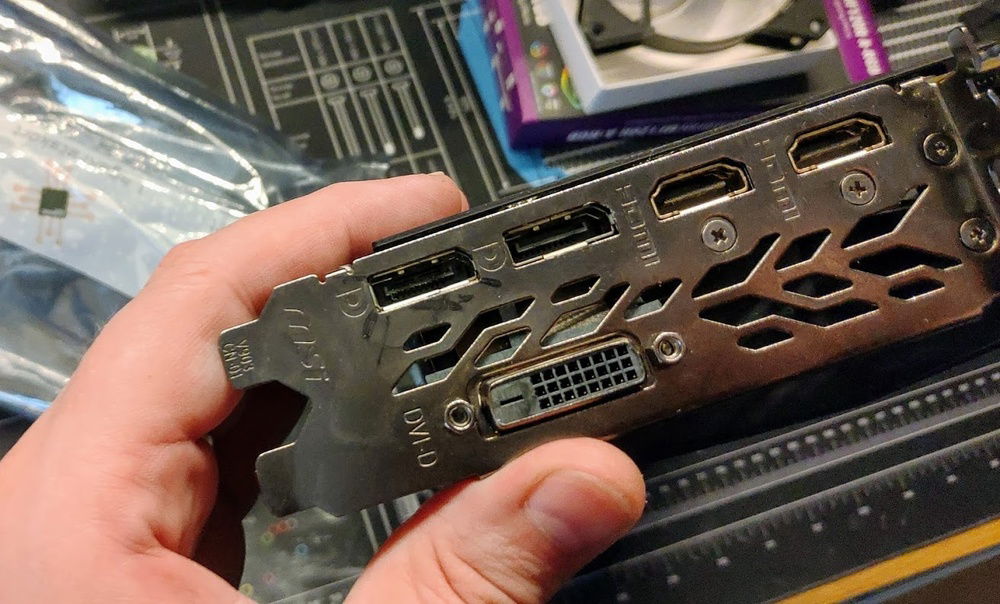
A bit of luck and I got to be the owner of a GTX 1080Ti GPU with damaged displayports
Printing a part of the front to make sure it fits as intended
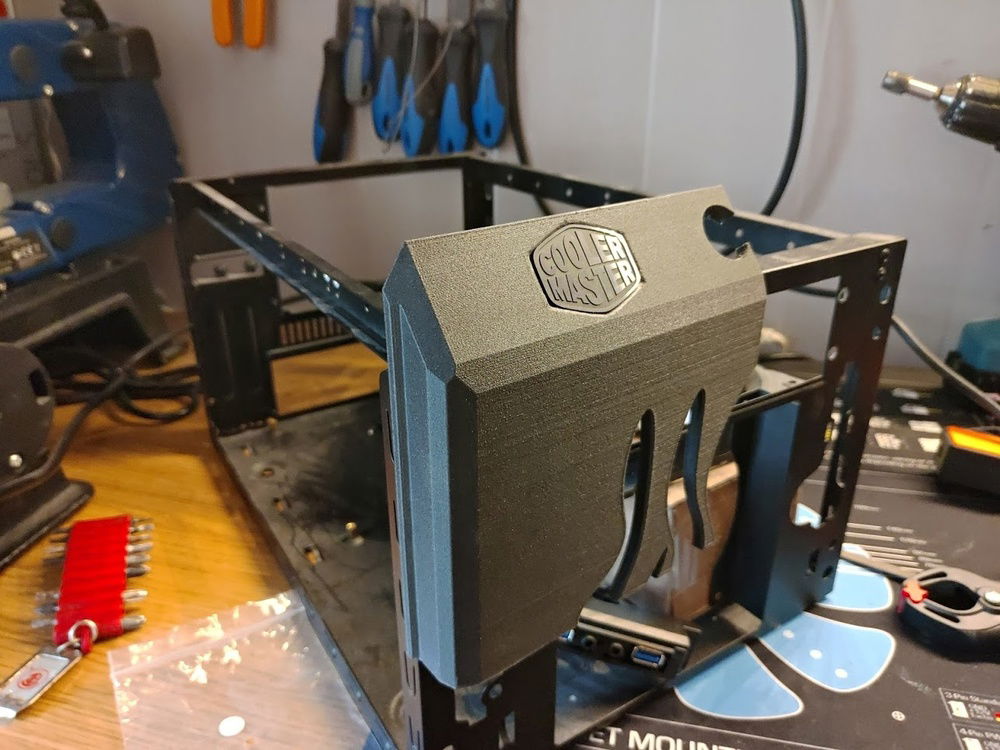
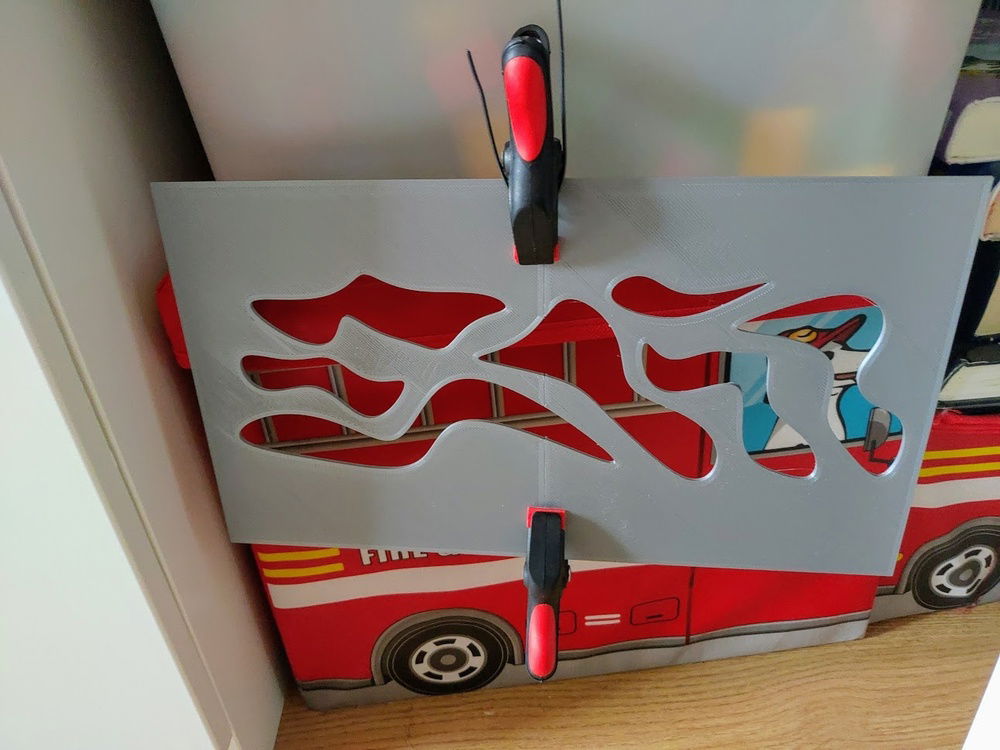
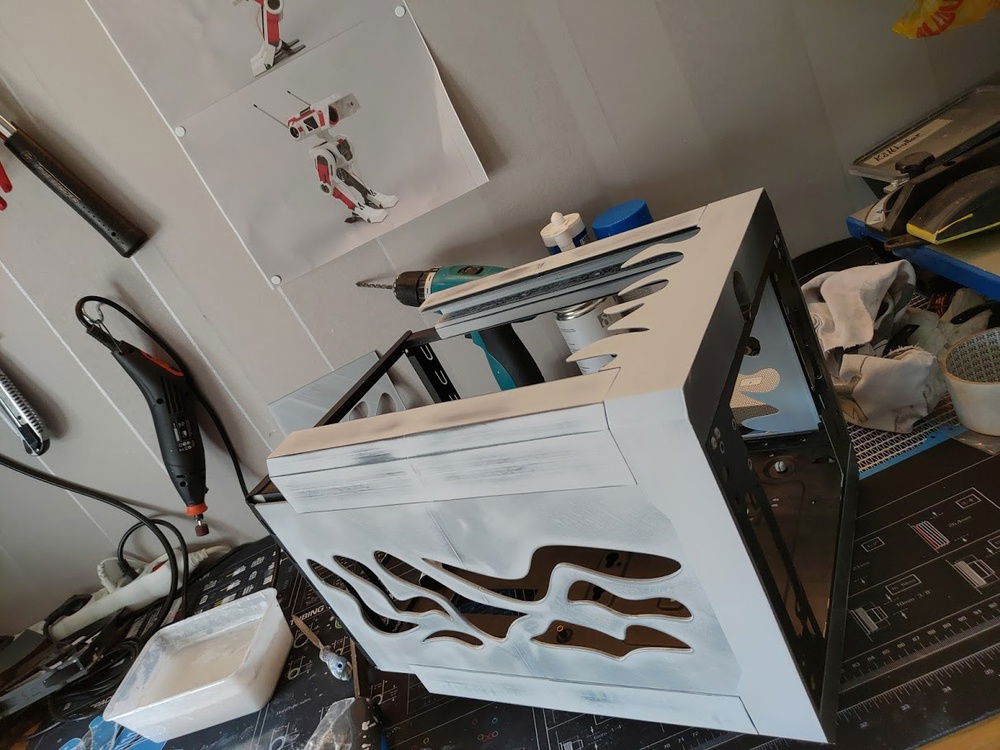
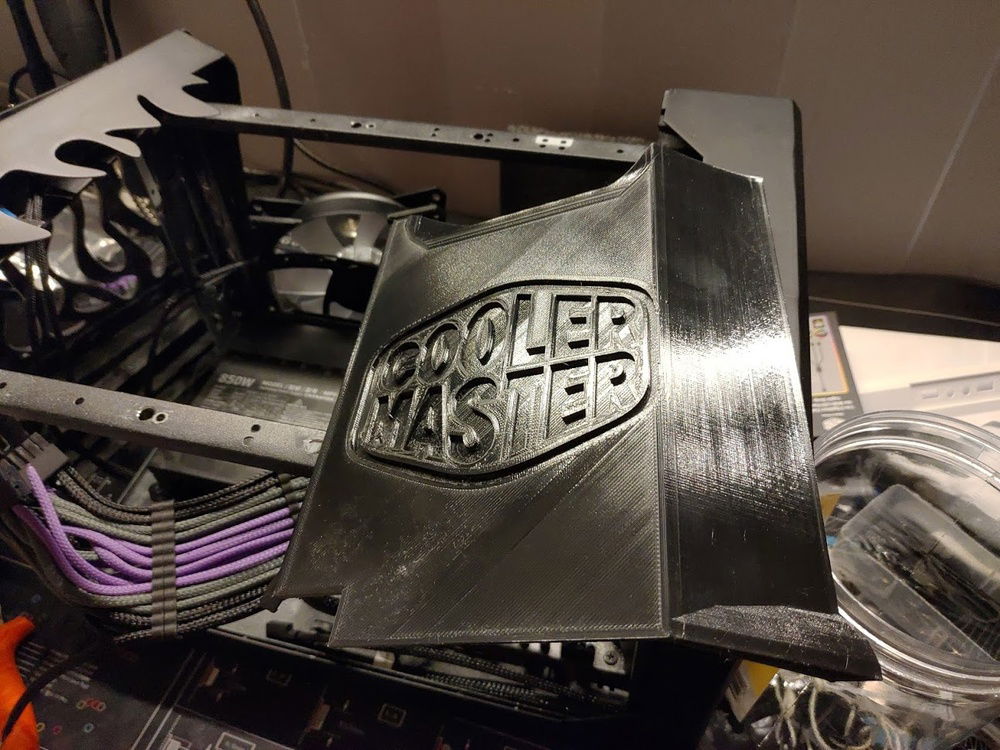
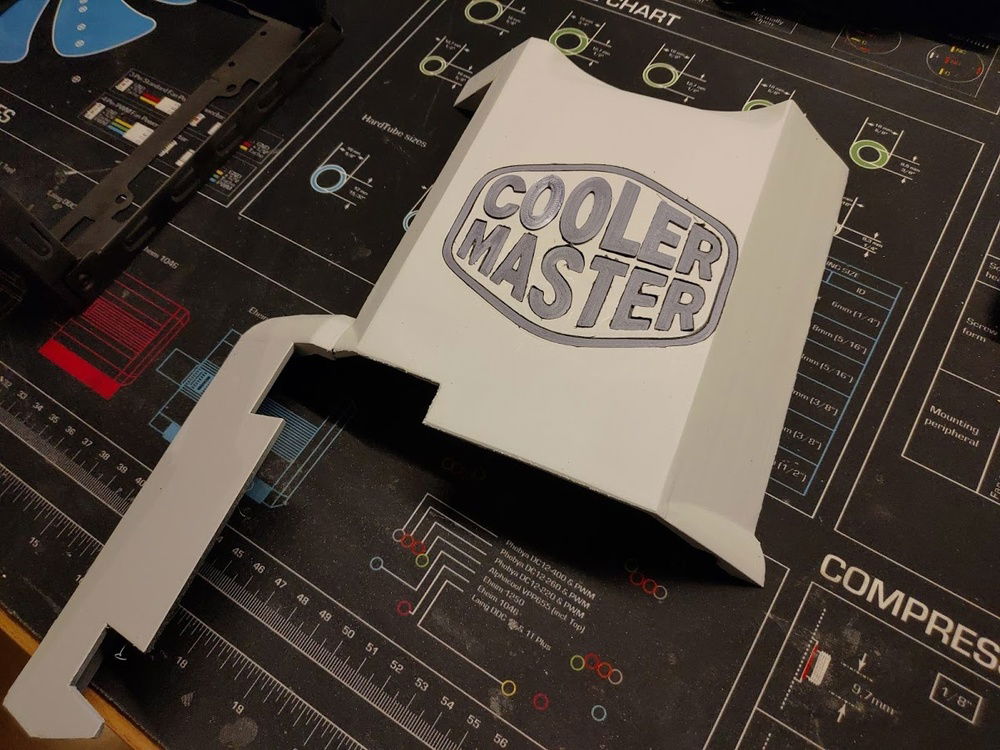
Need to show of the heritage of the case right?
Font panel printed and glued
Some unwanted stripes from the printer made me change my initial plans on leaving the parts unpainted
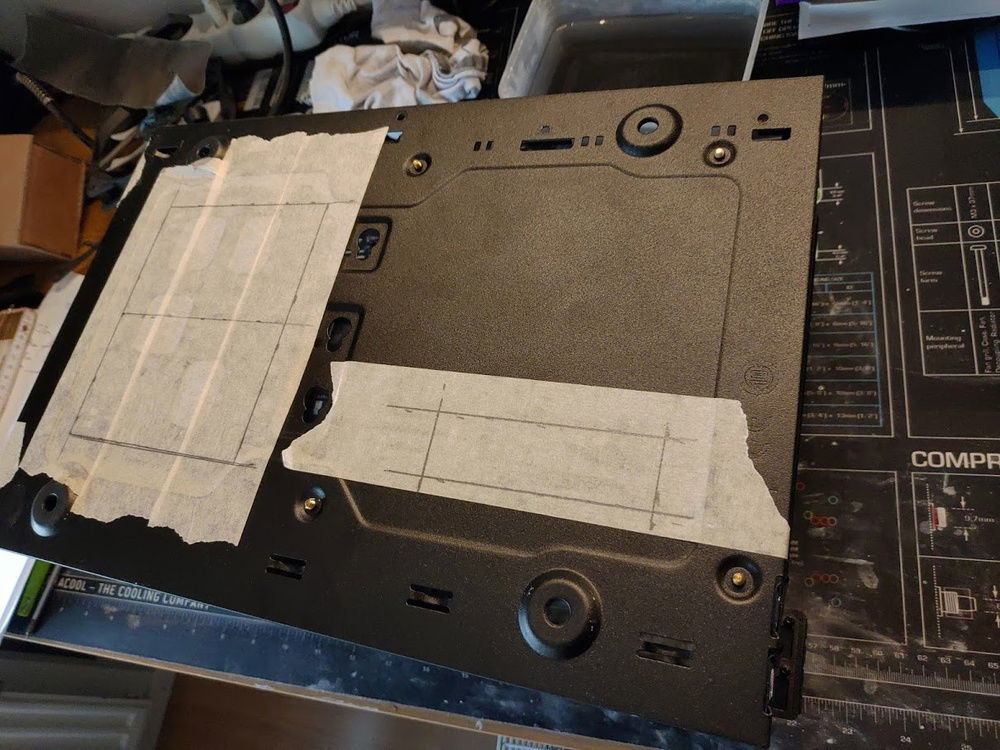
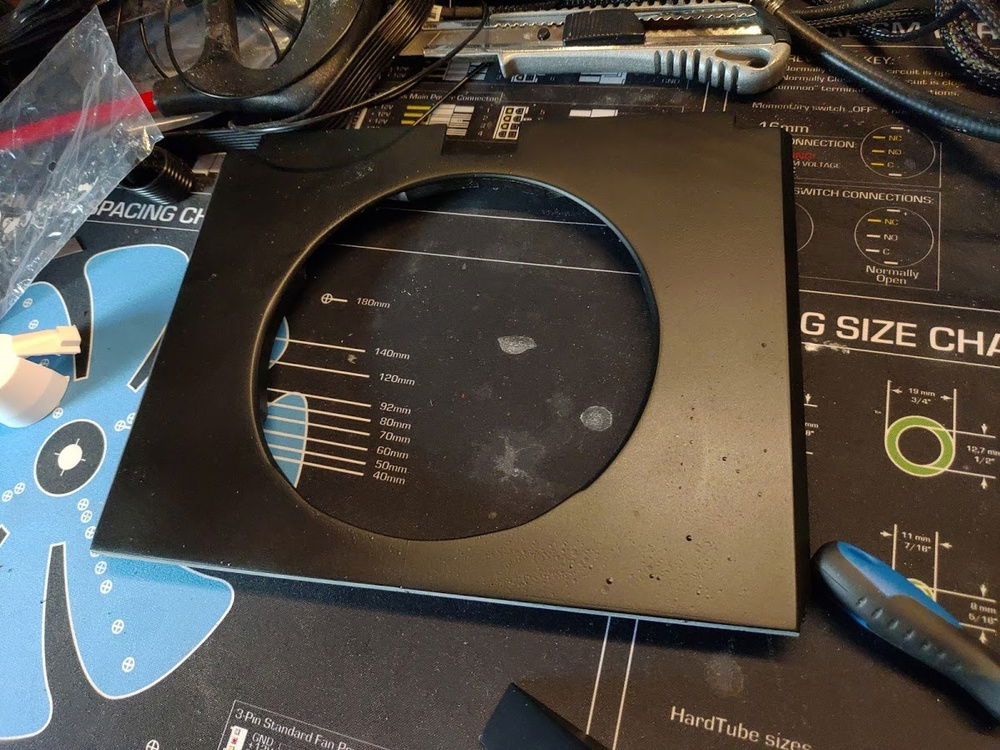
Time to prepare room for the 140mm fan in the front
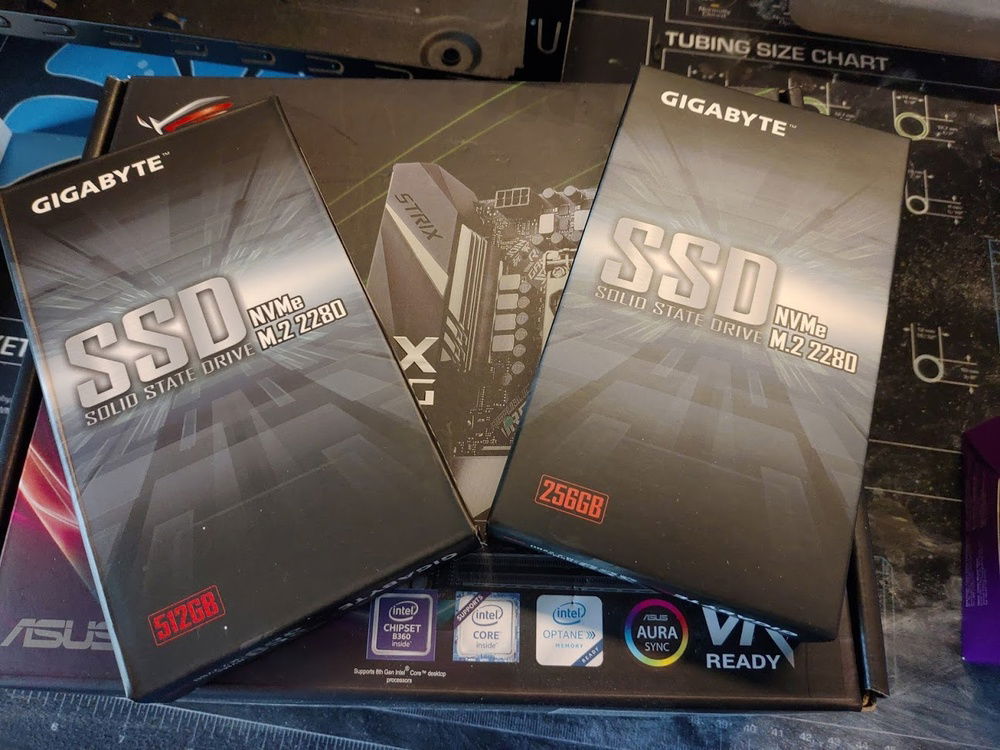
Got my hands on a couple Gigabyte gen 3 m.2 disks. They are really affordable
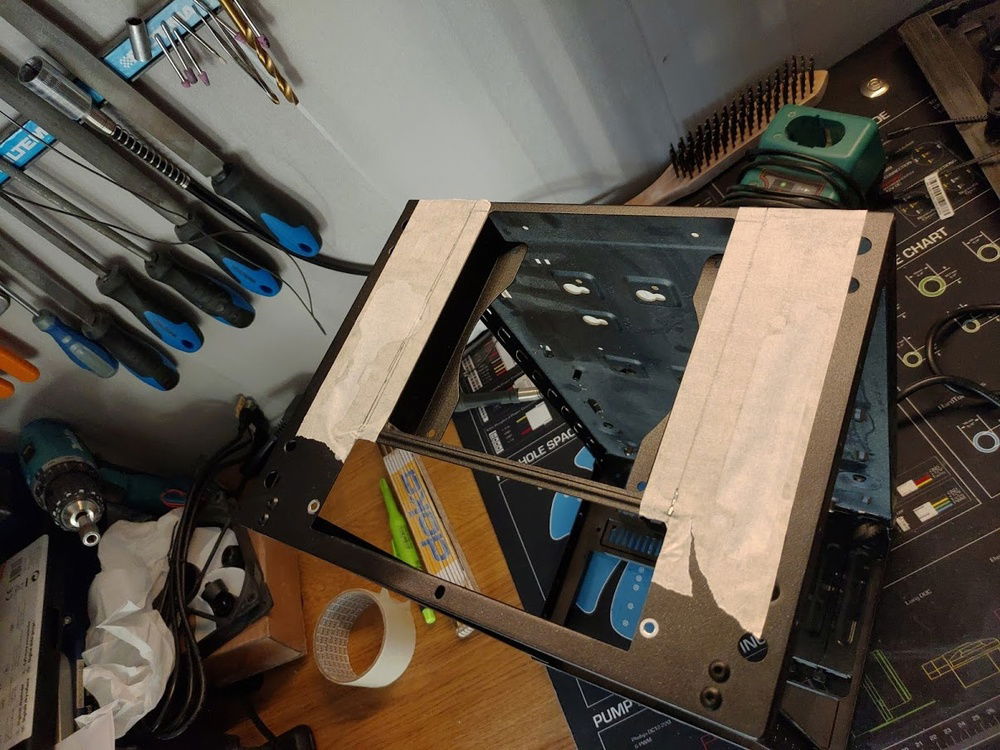
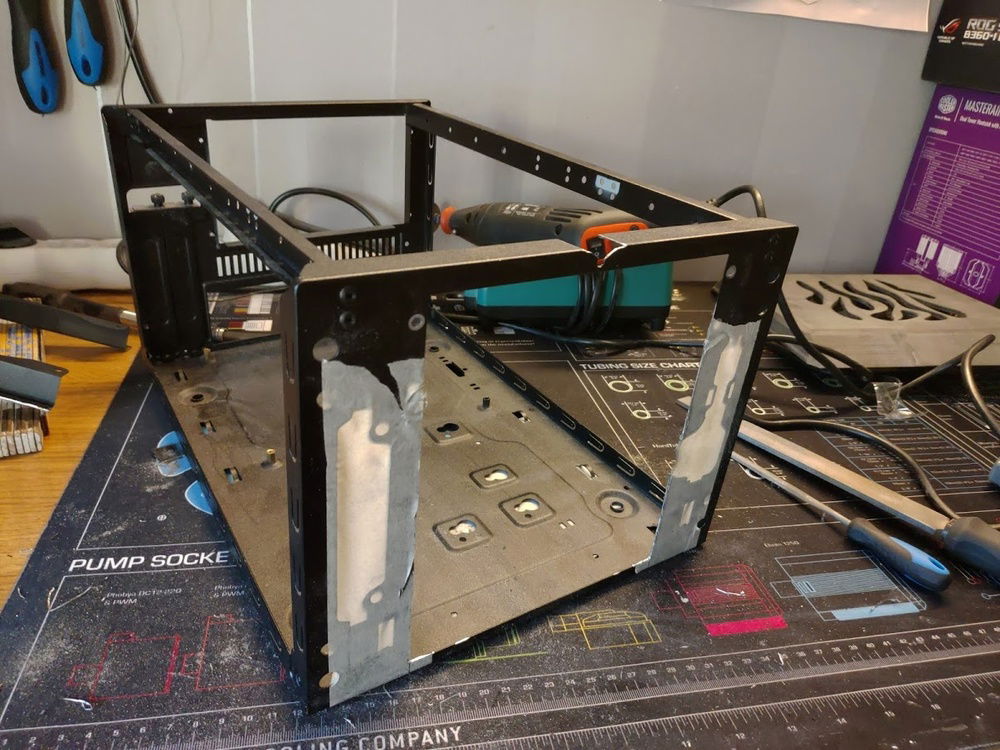
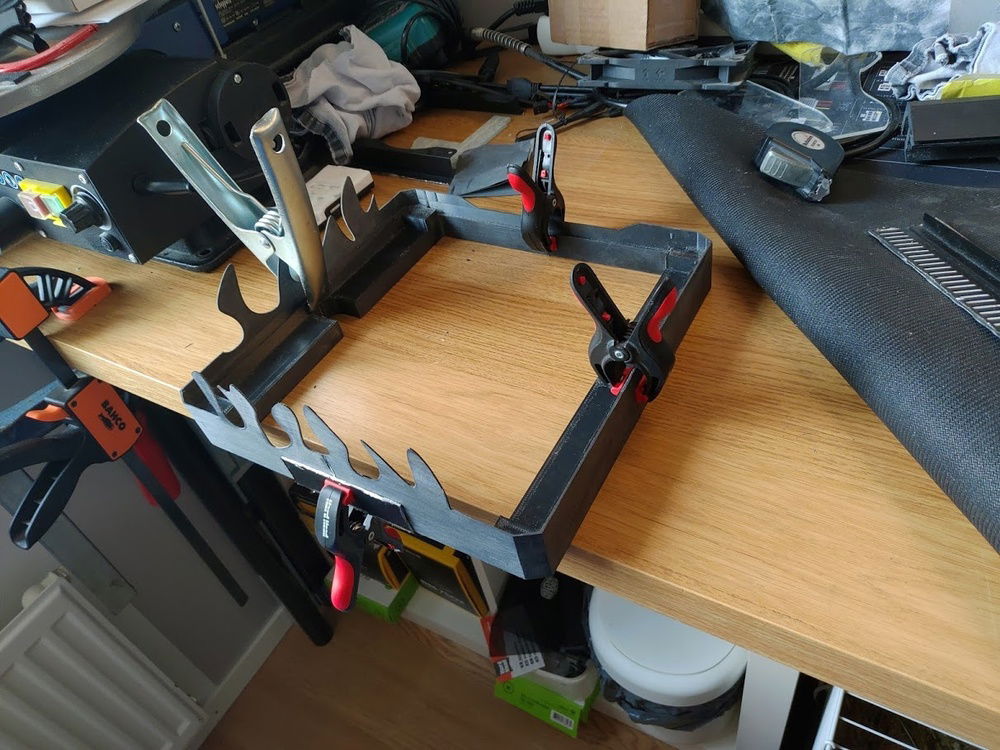
Not much left. Needed to change a few things to the frame.
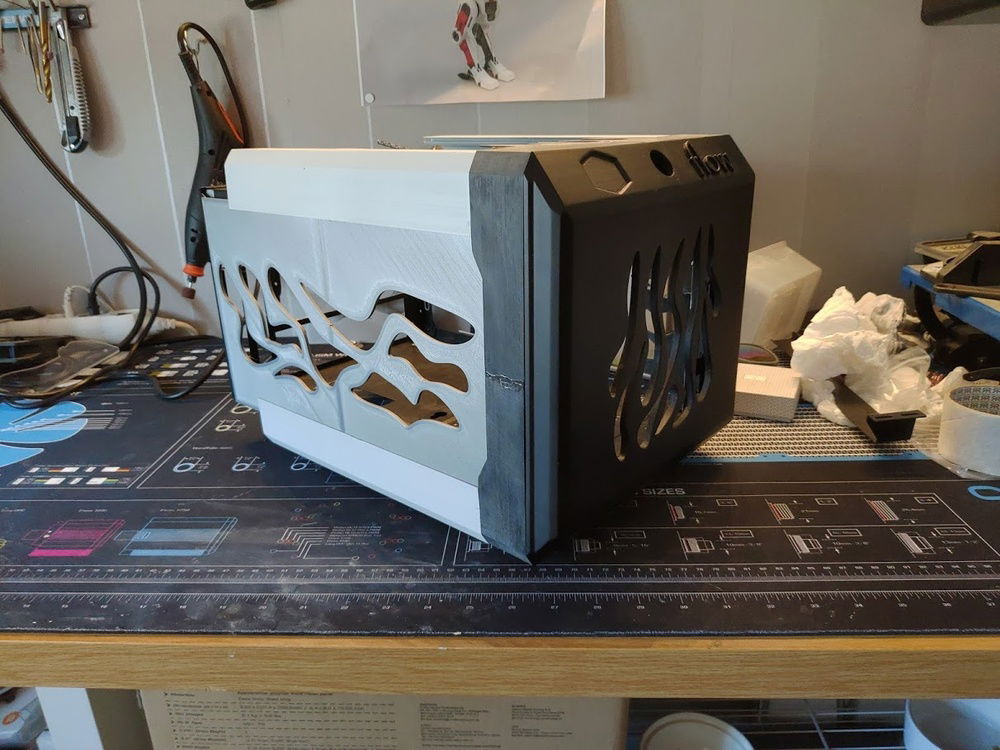
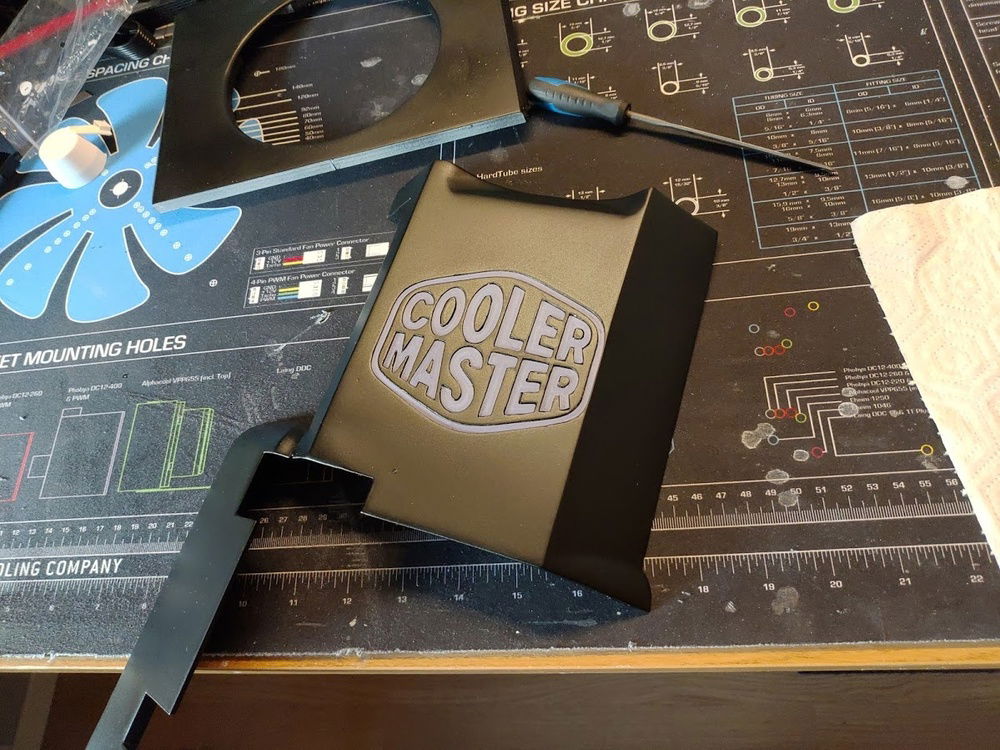
Front panel all painted, what do you think?
Good thing I work with people who knows how to solder new displayports into place
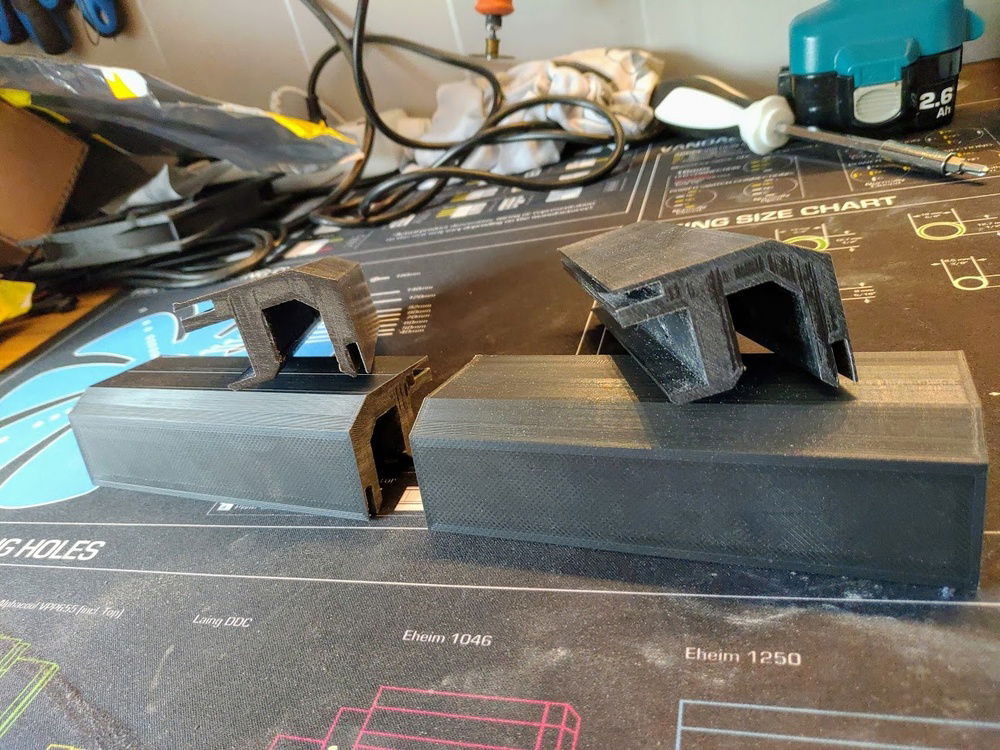
Designed my own brackets for the side and top panels
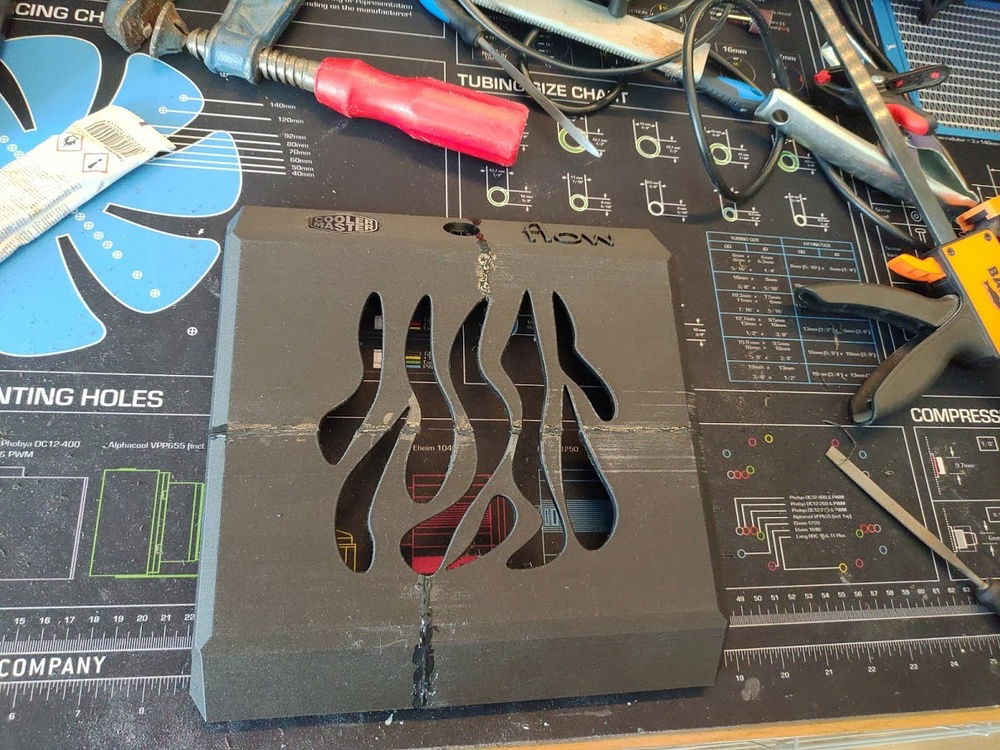
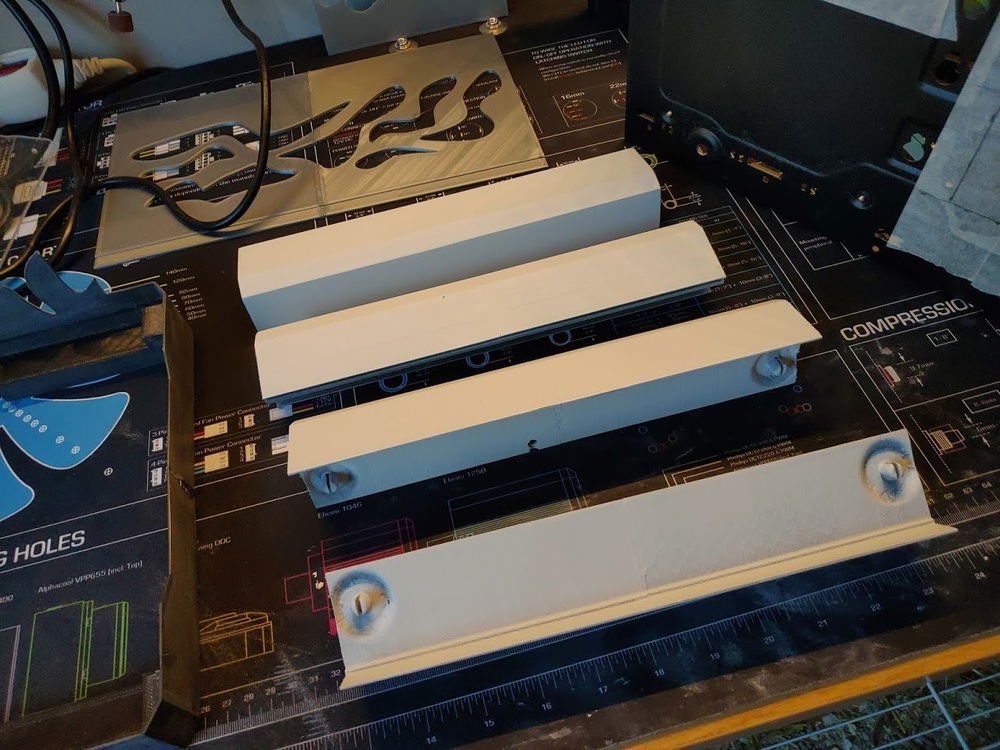
Another bracket is curing. The downside of a bit too small 3D printer is that you have to cut your panels into smaller pieces
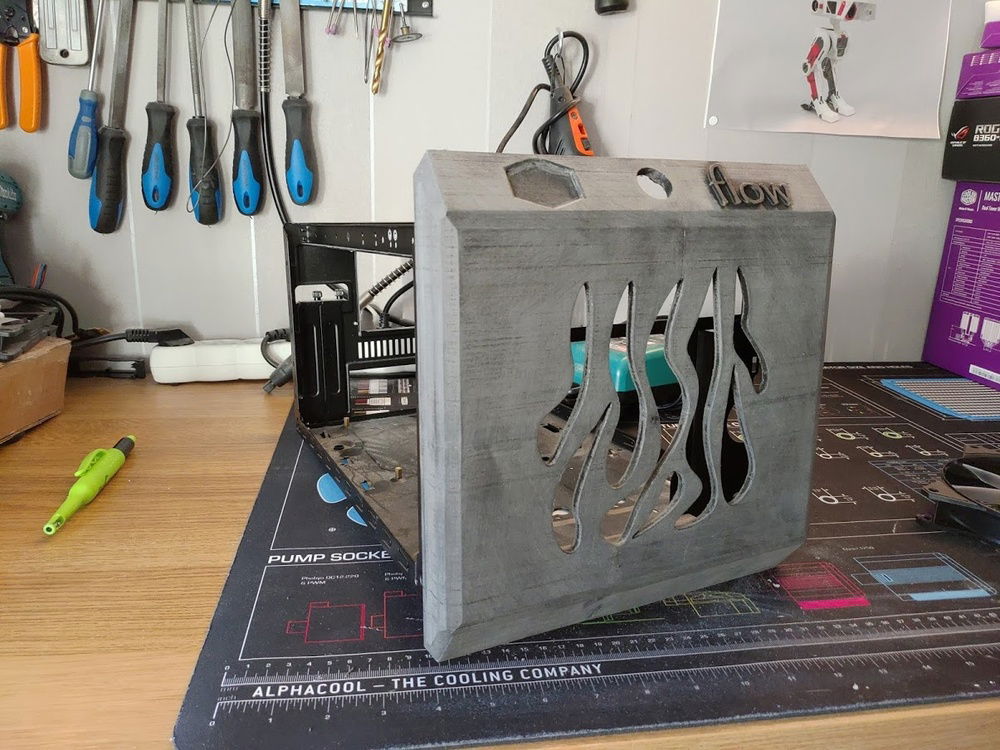
Panel for the GPU side, need to let that thing breath
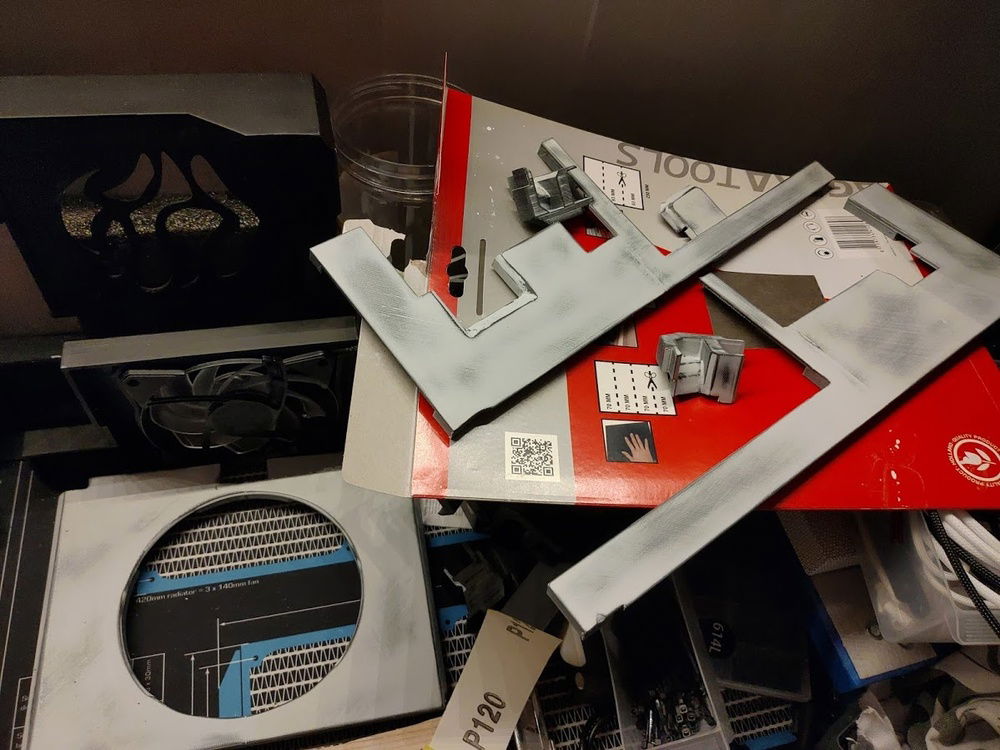
Prepping the brackets for paint
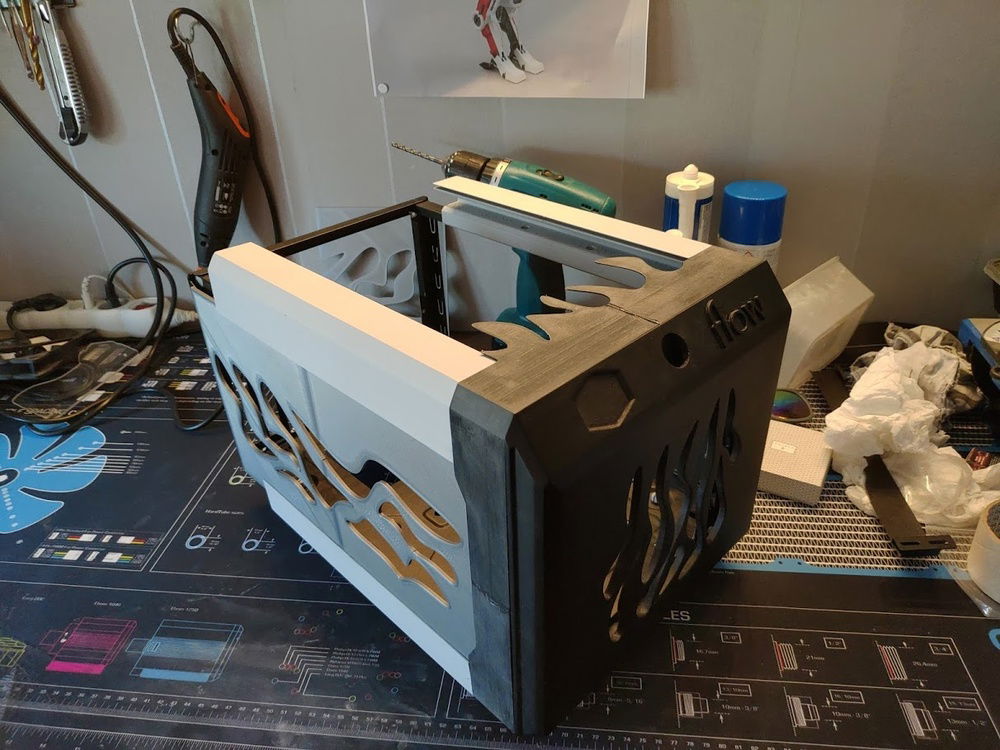
Testfitting of the panels
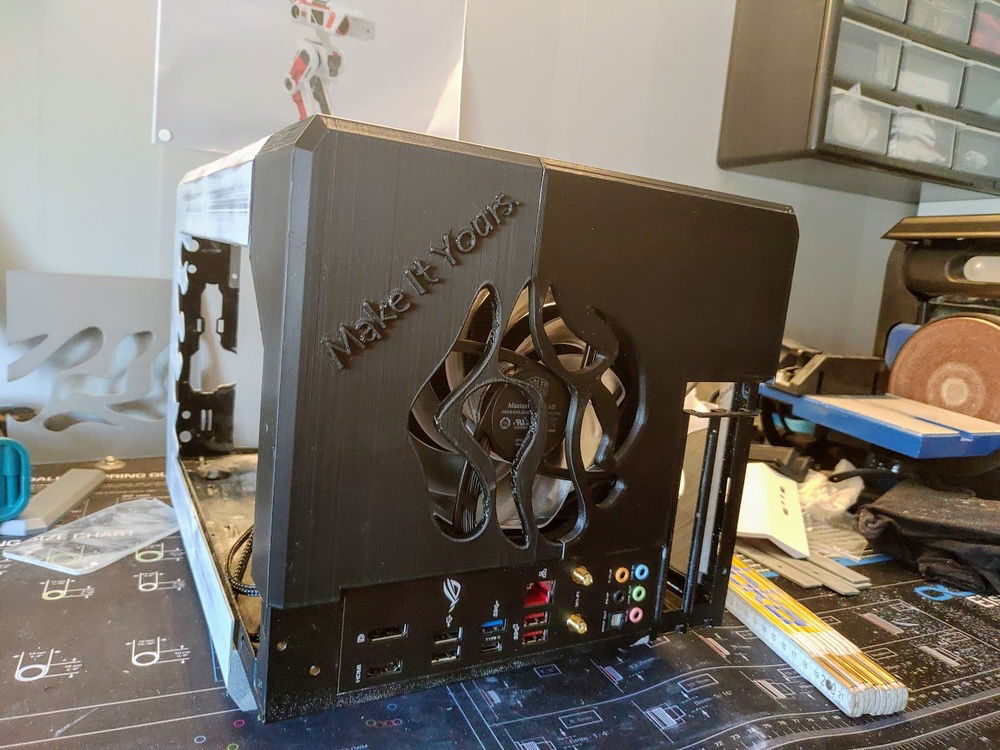
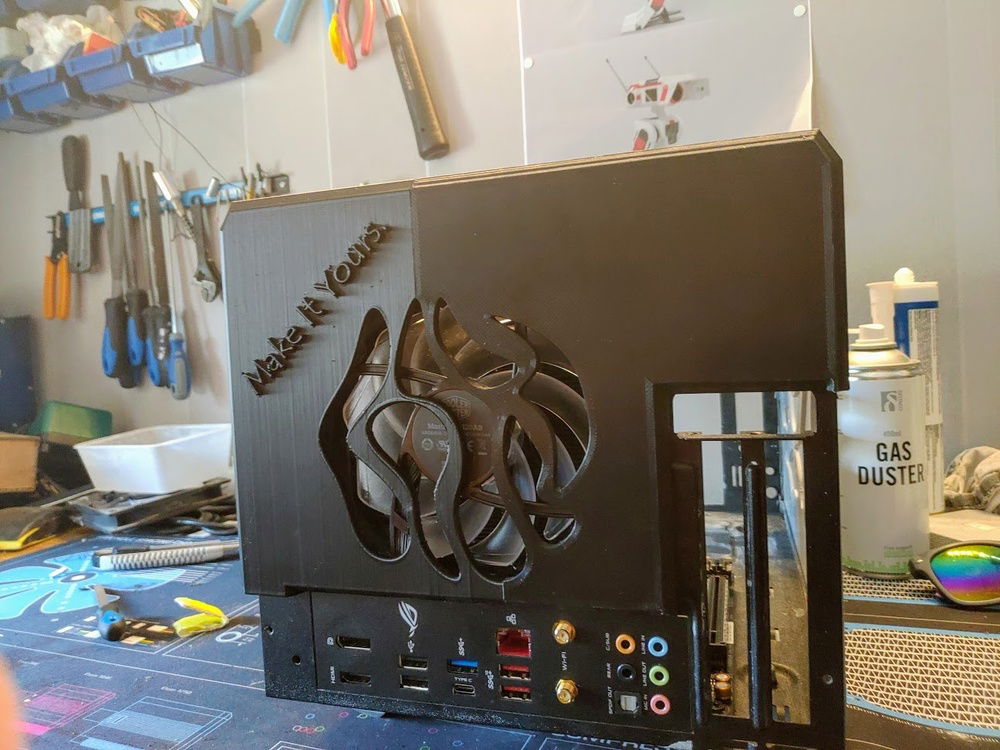
Well I needed a backside too. The PSU are originally placed in the back
So I´ll just put a fan there instead
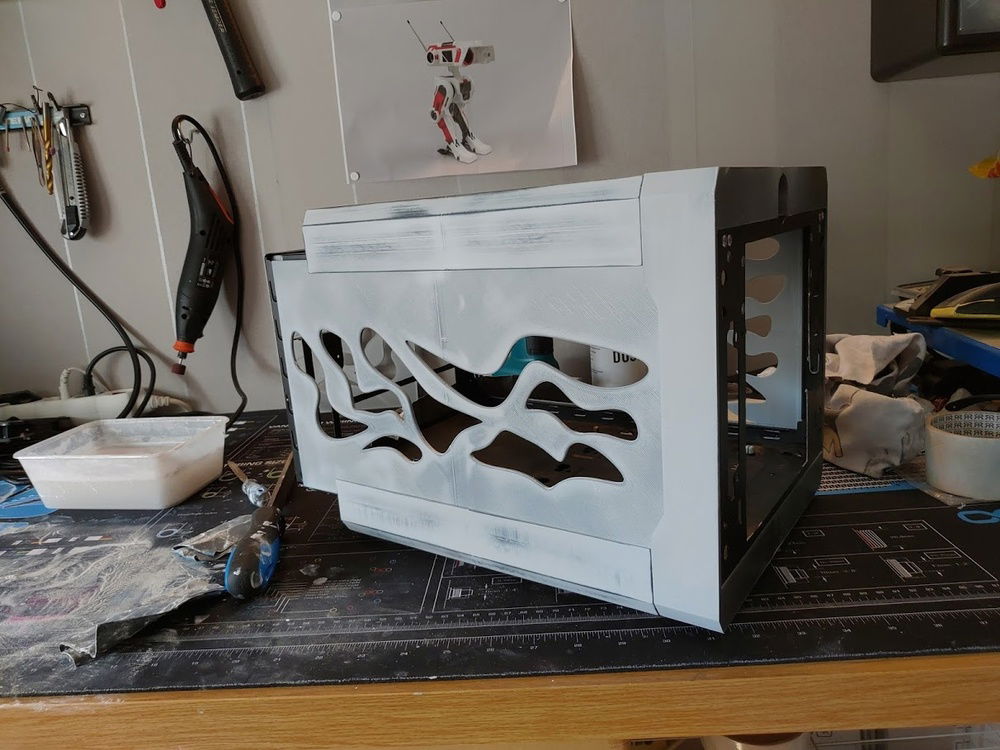
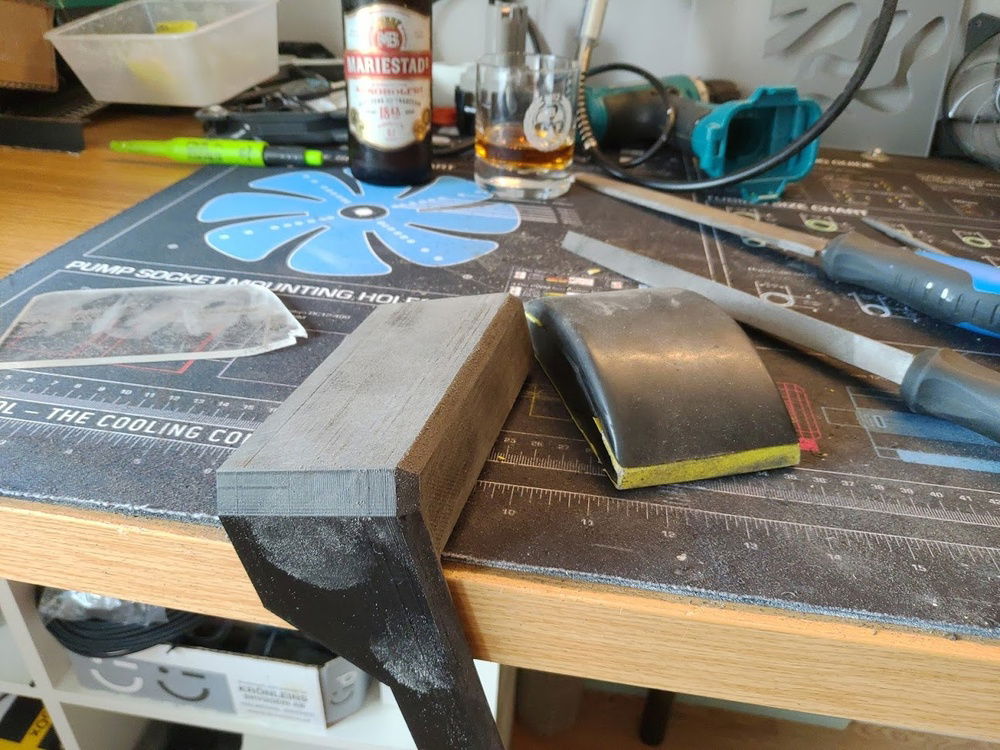
and everyone likes sanding right?
Man so much time of sanding ughh
Inside of the back cover. a bit tricky to design this when you´re not that good with CAD
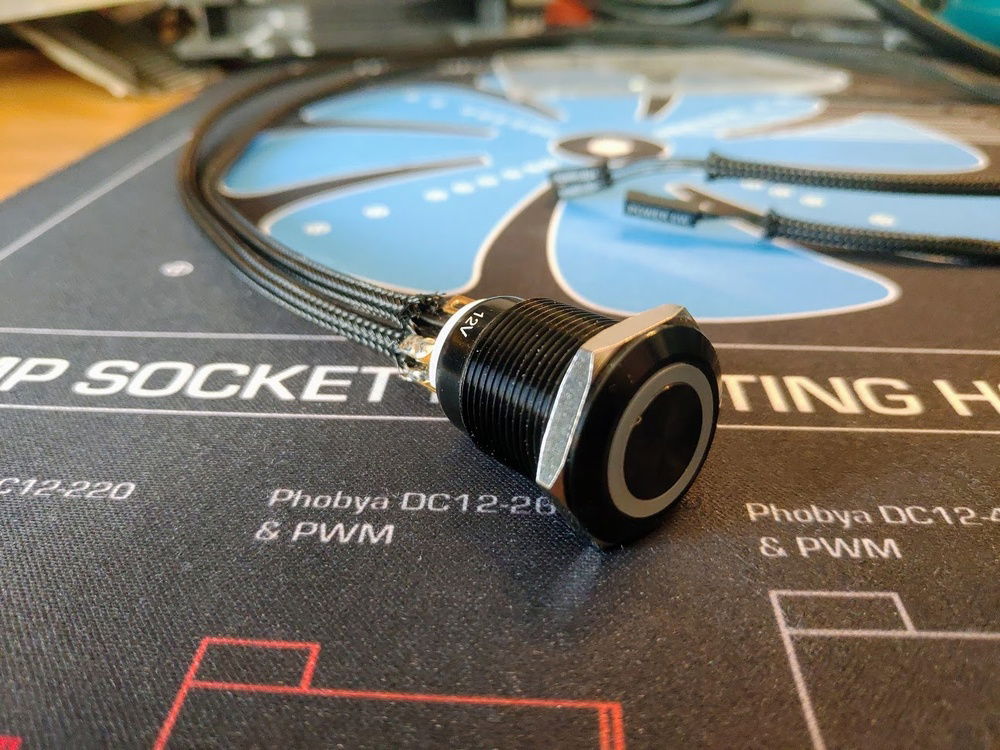
The build going to need a powerbutton as well
Panels painted and almost done now
Another shot at the backside
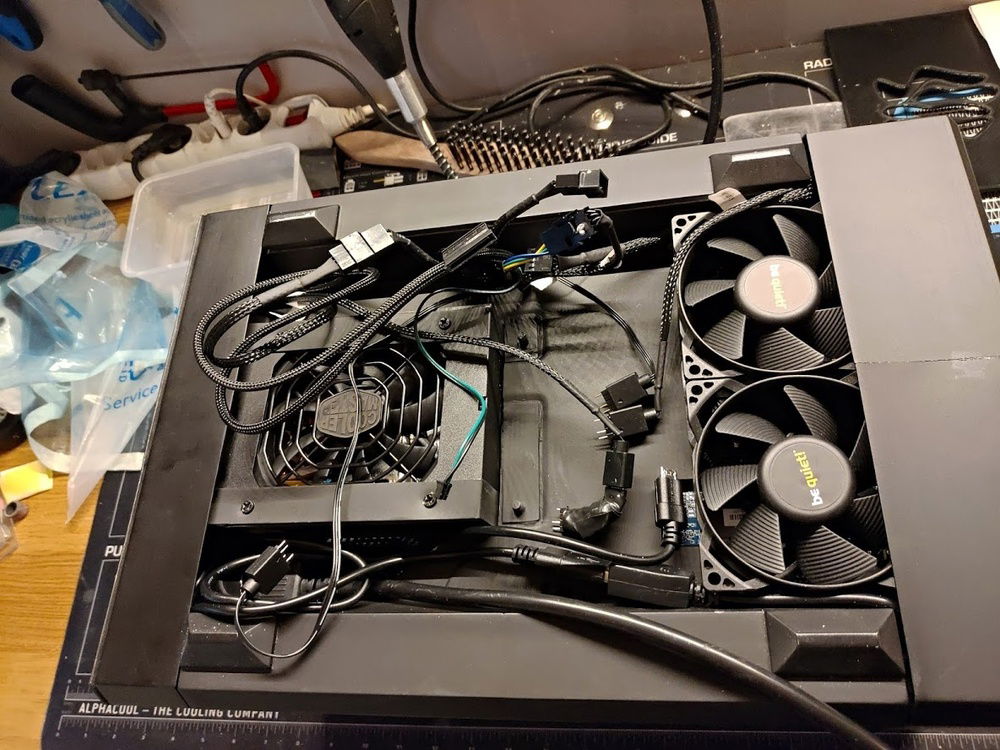
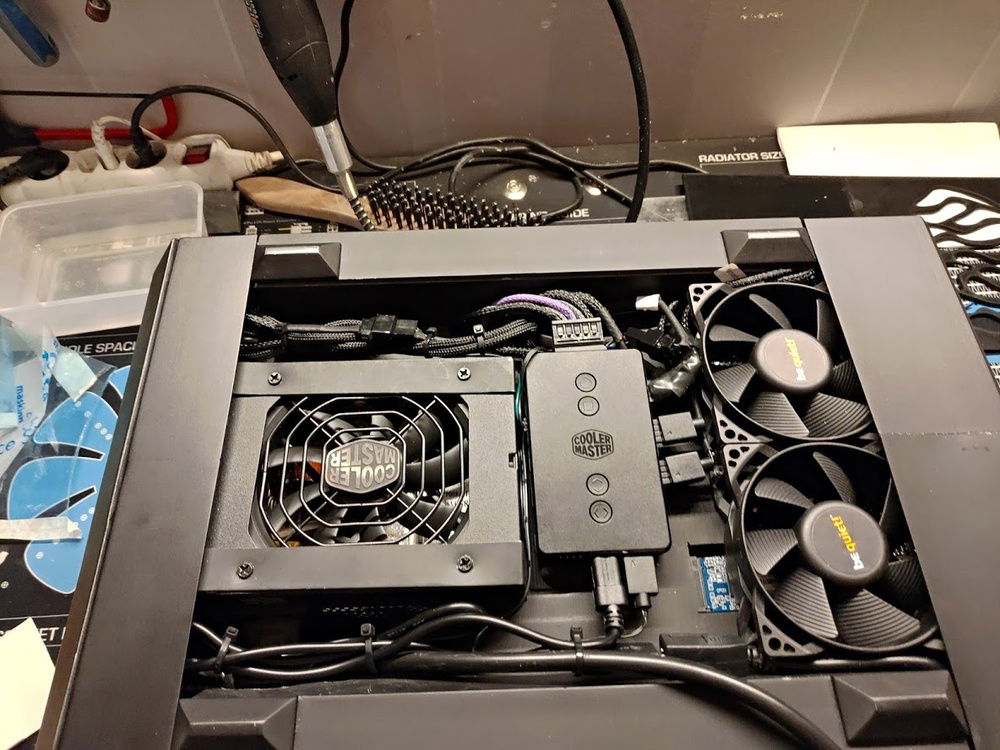
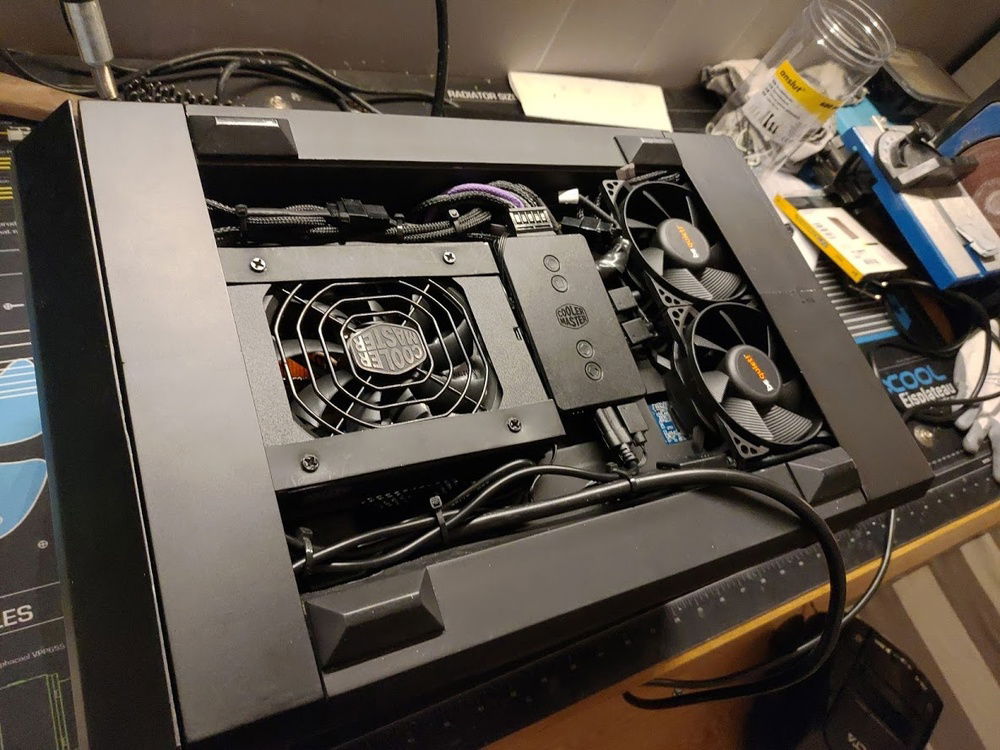
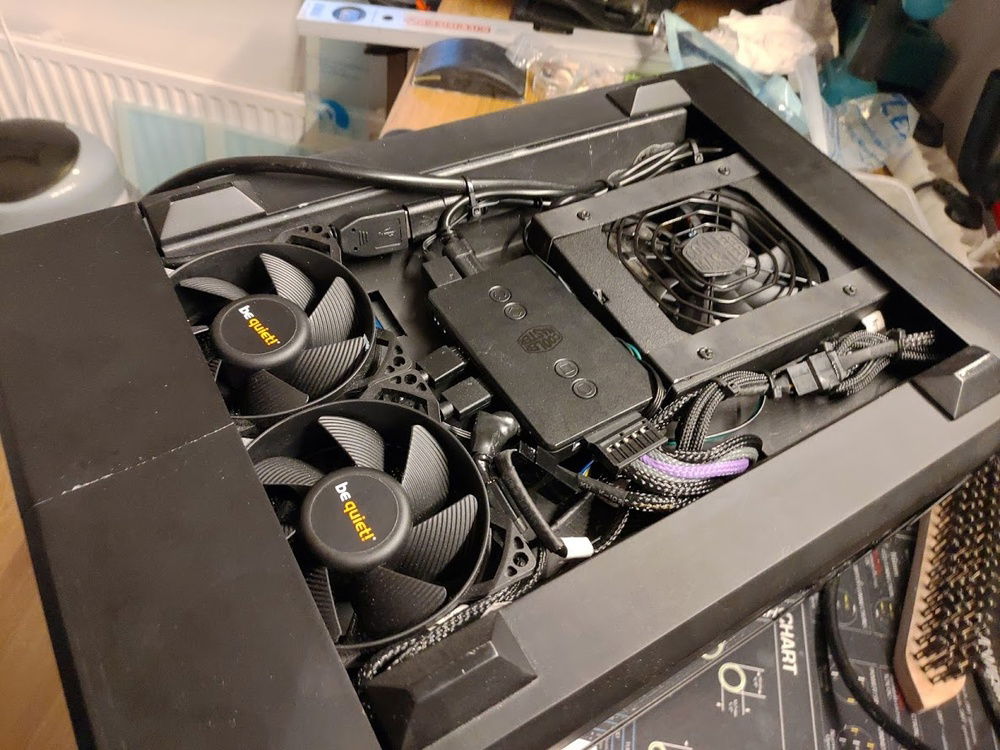
My current job now is to start working on the interior, building on the back fan.
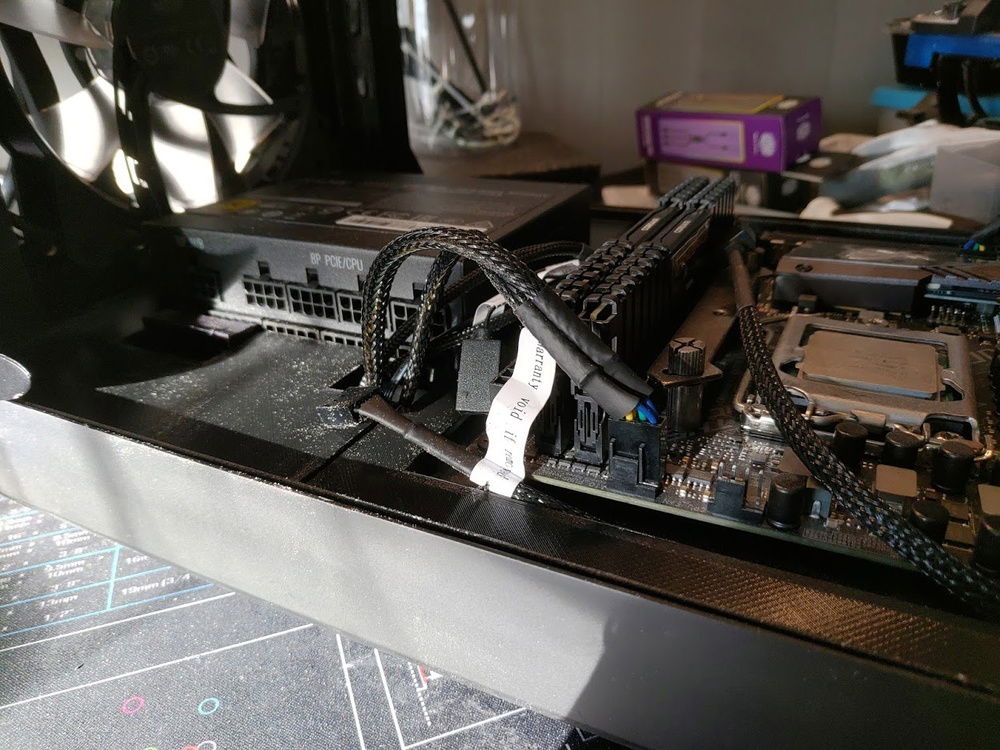
As I said earlier this spot was originally where the PUS was supposed to be.
Well that´s it for now.
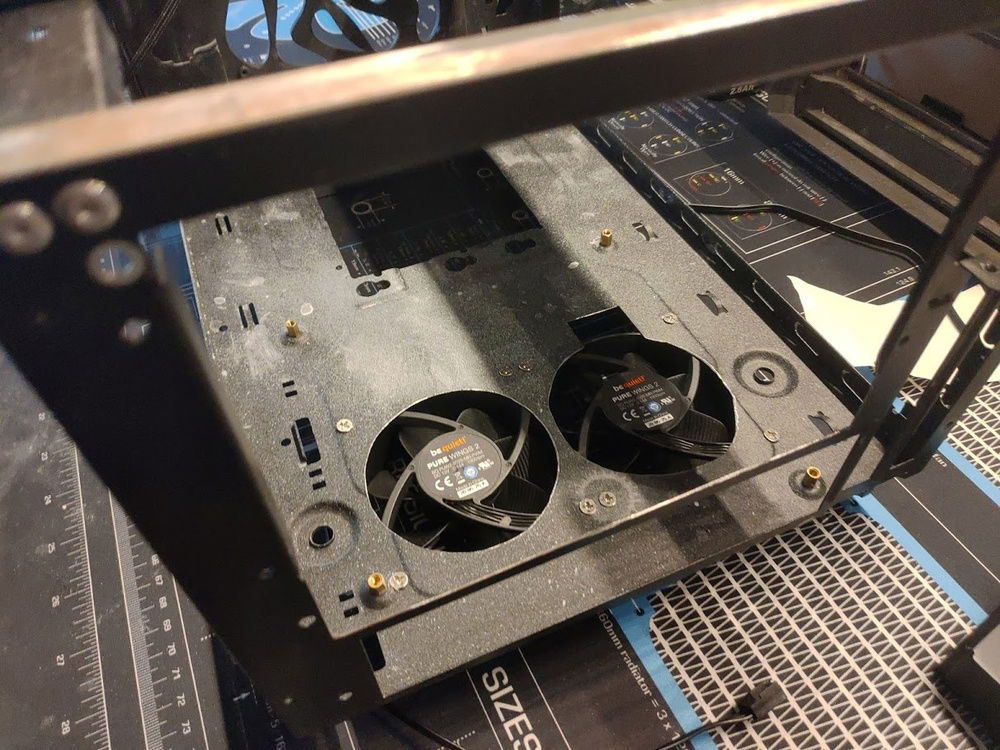
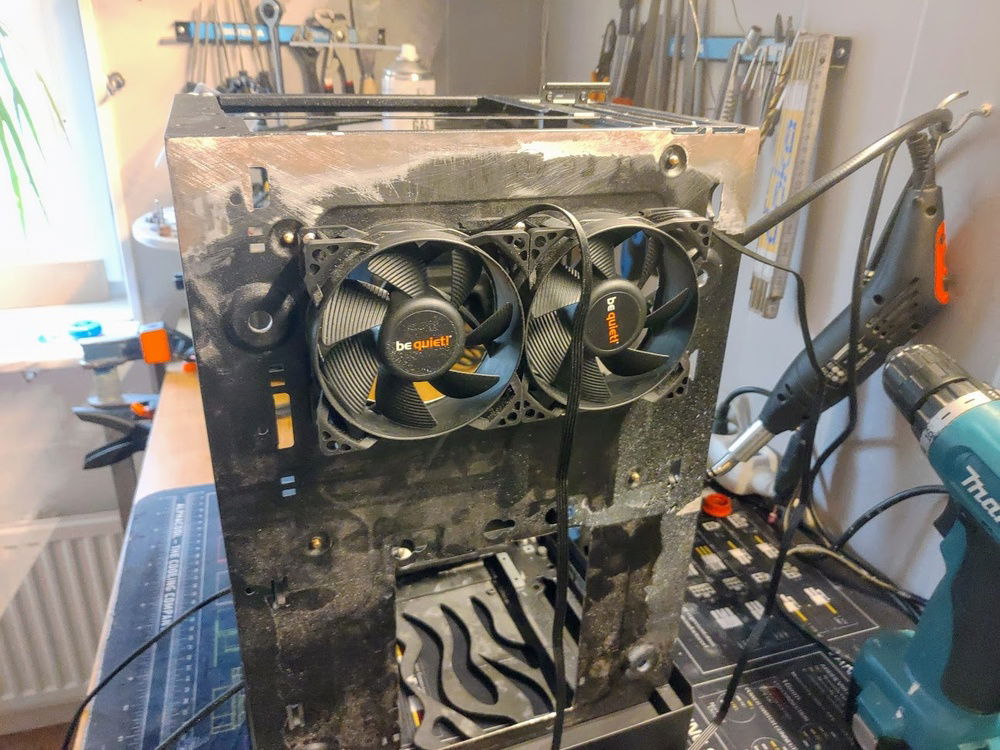
Need to keep the system nice and cool
Double up on the Be Quiet 80mm fans
Starting to get a bit crowded with everything adding up.
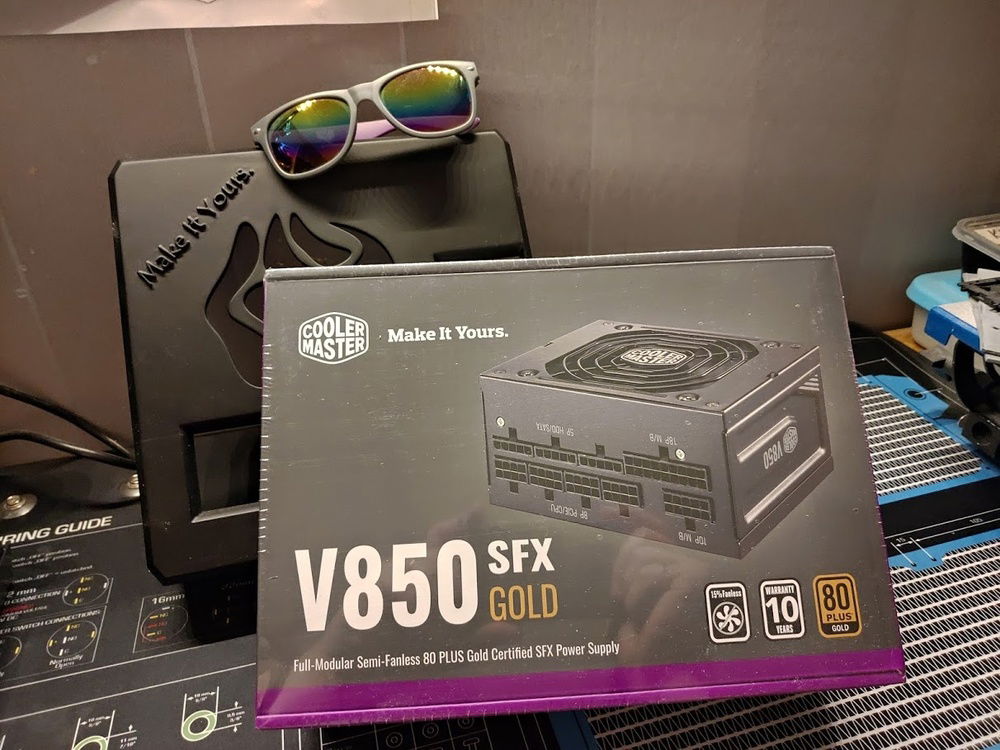
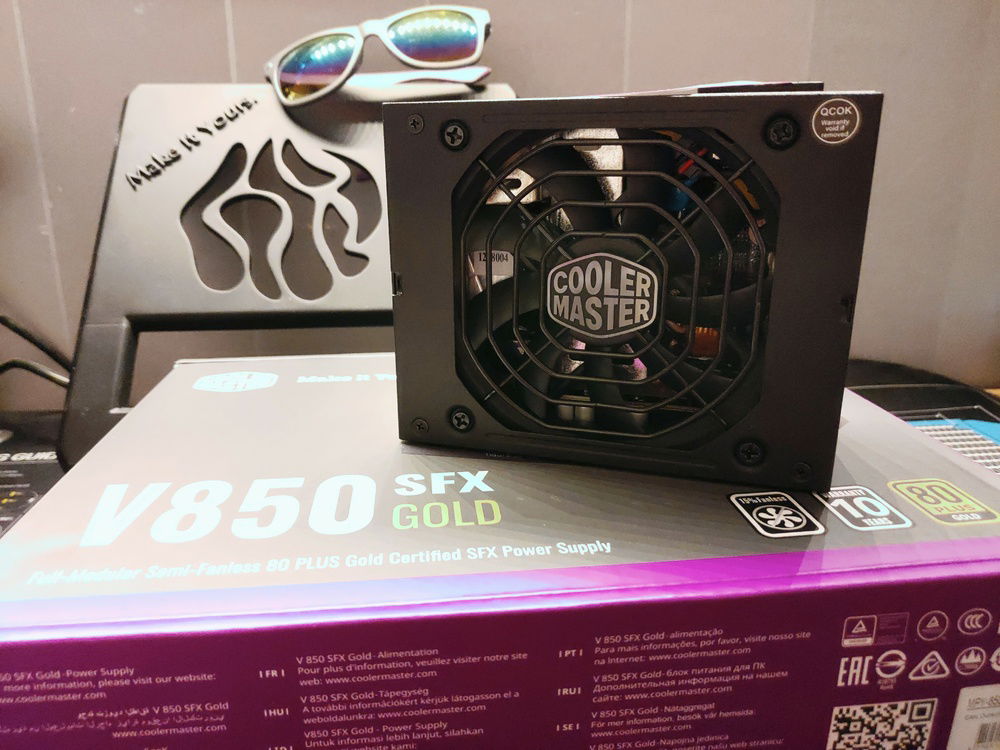
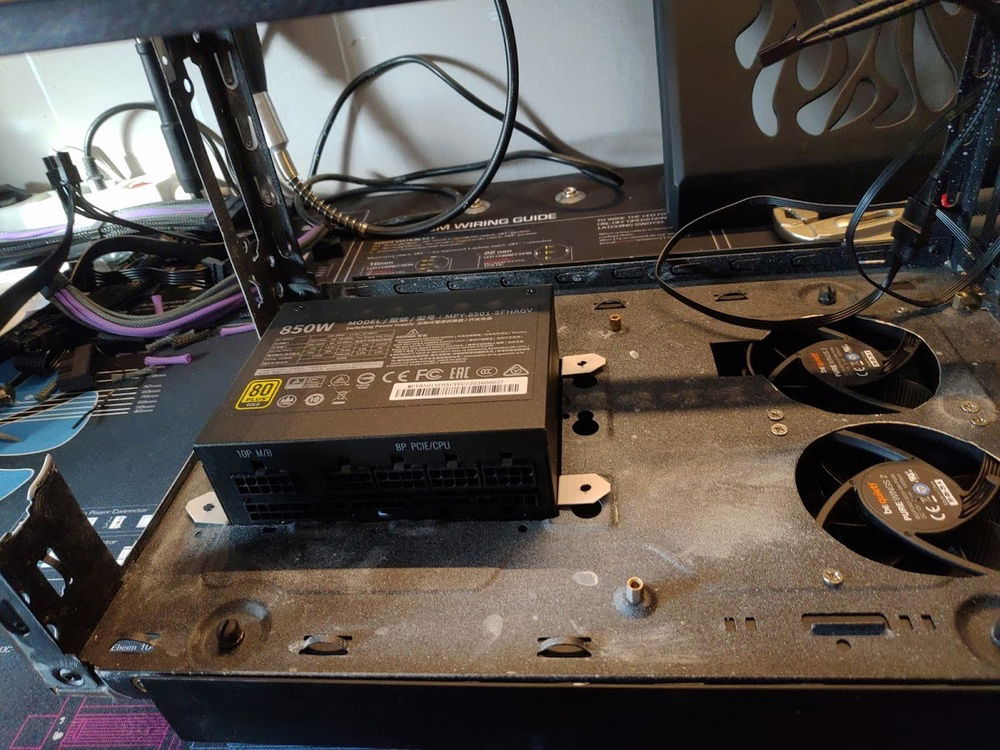
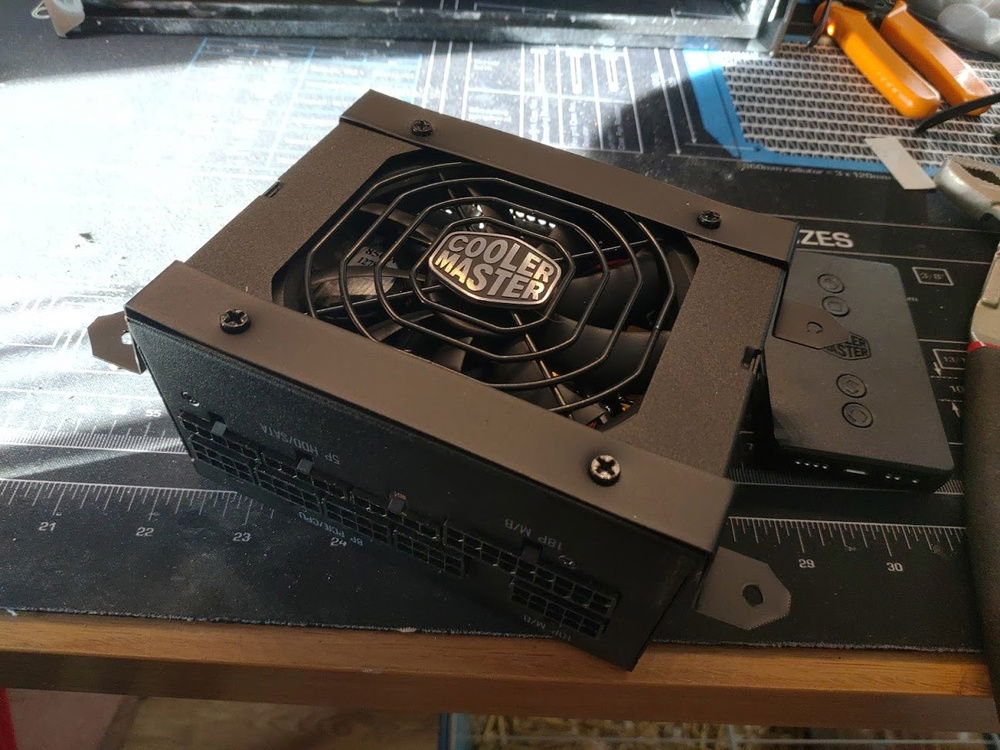
Finally recieved the brand new PSU from Cooler Master, cudos to CM though for delivering this bad boy to me.
850W in this little powerhouse, can you believe it?
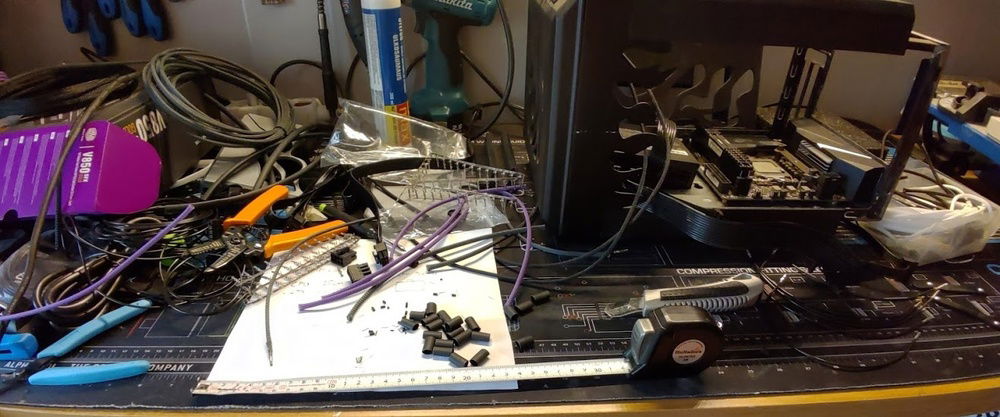
When in a hurry to start a new thing it´ll easily get a bit crowded on the workbench.
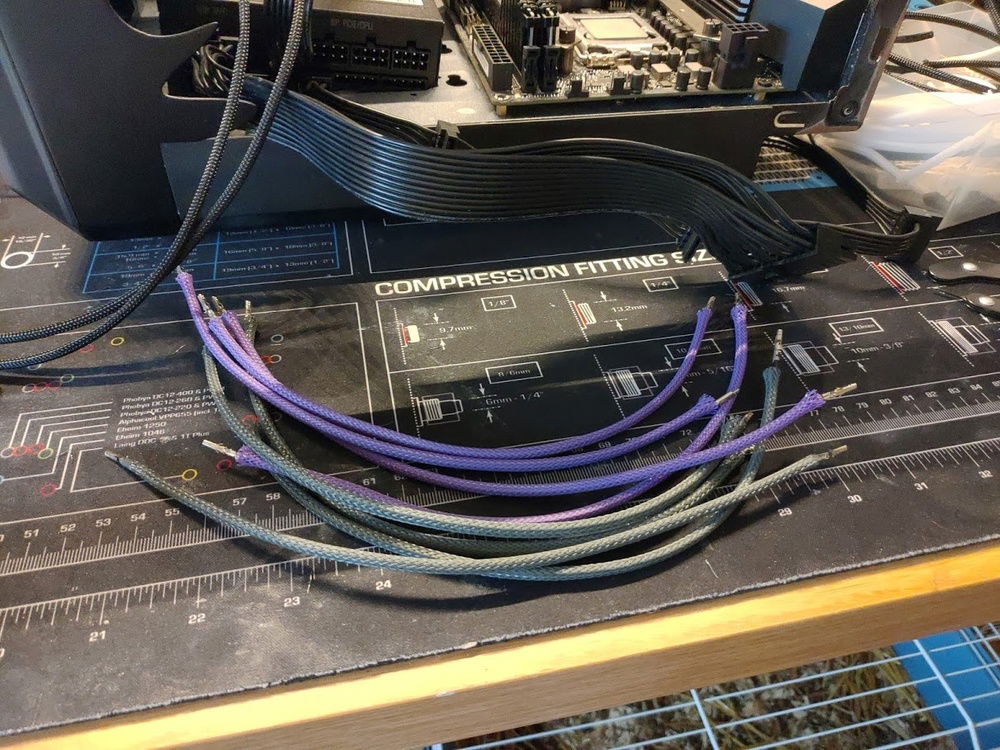
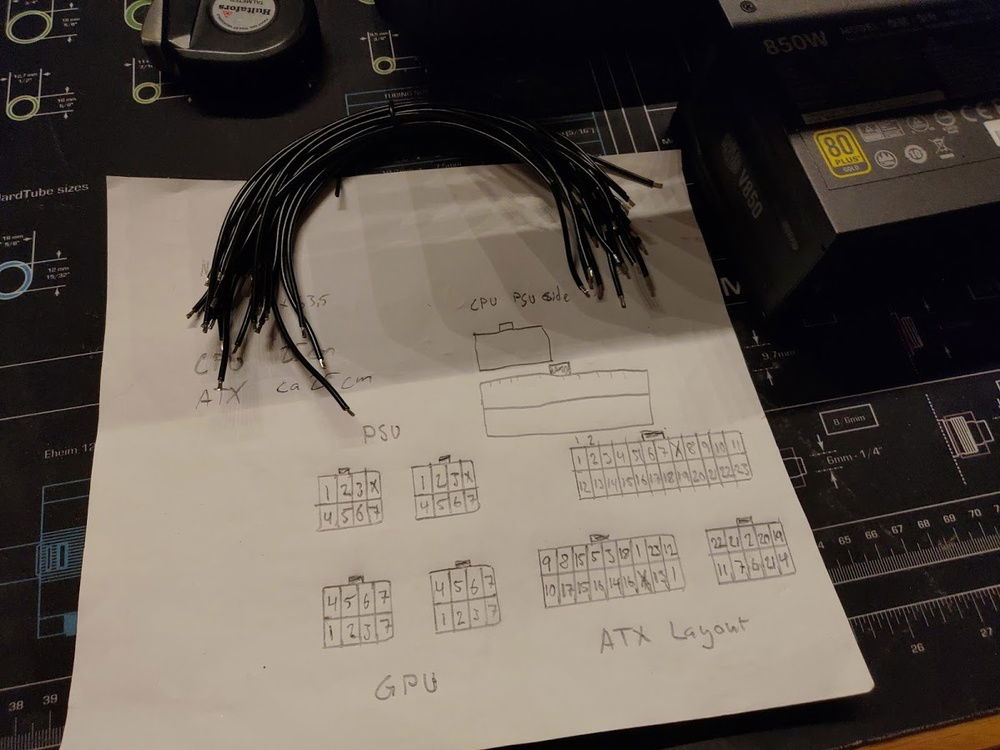
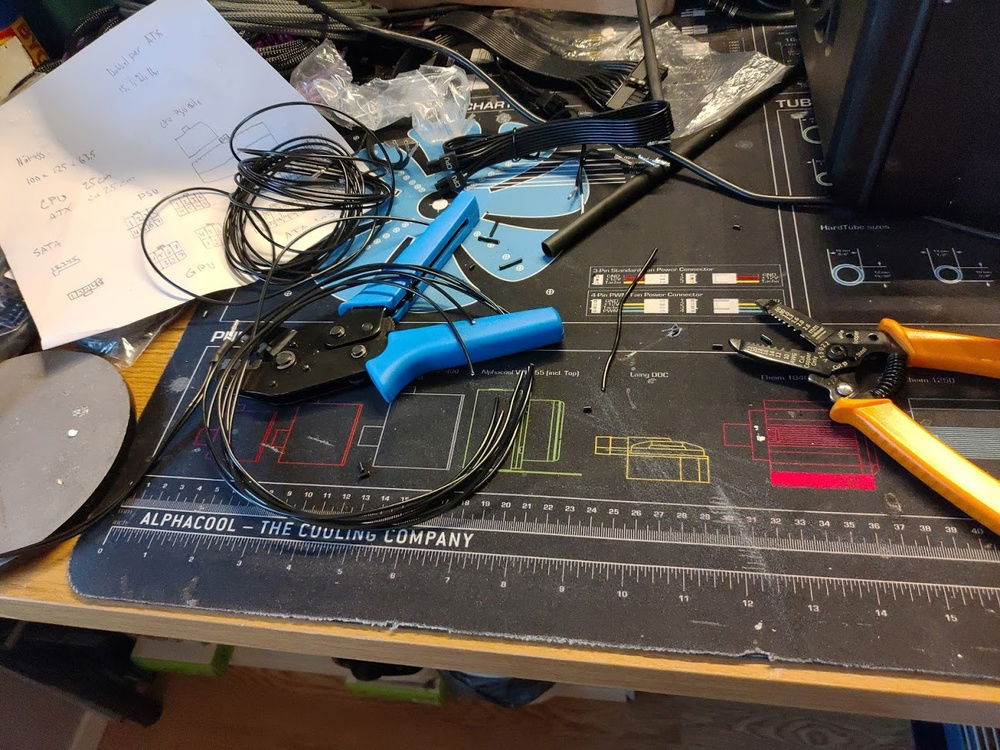
Custom lenght cables in the making
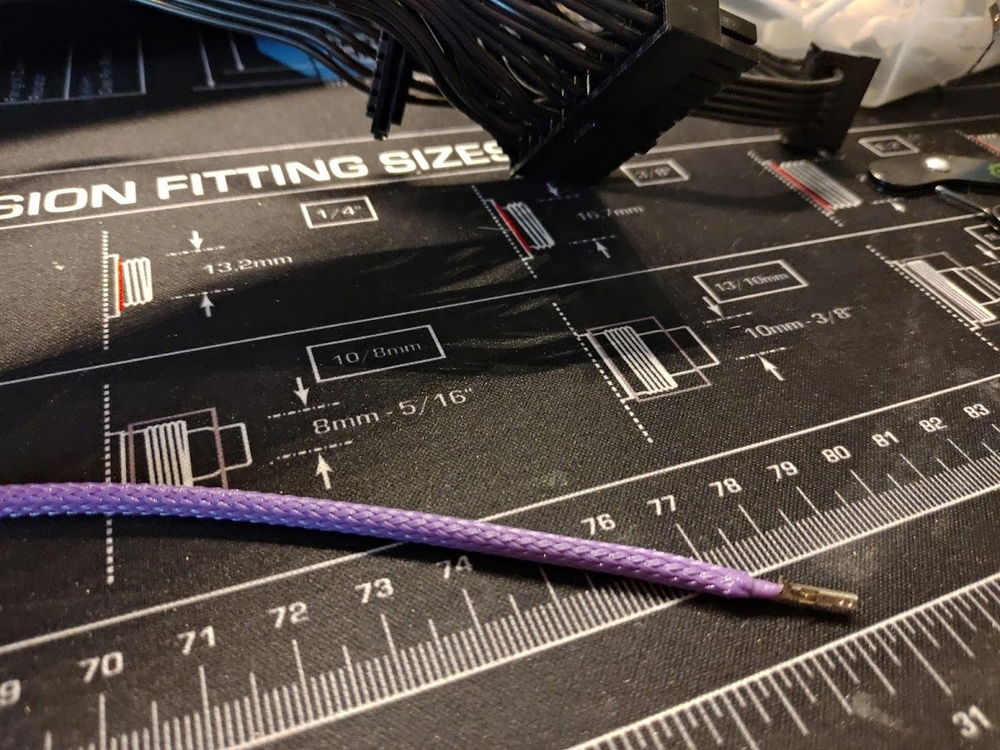
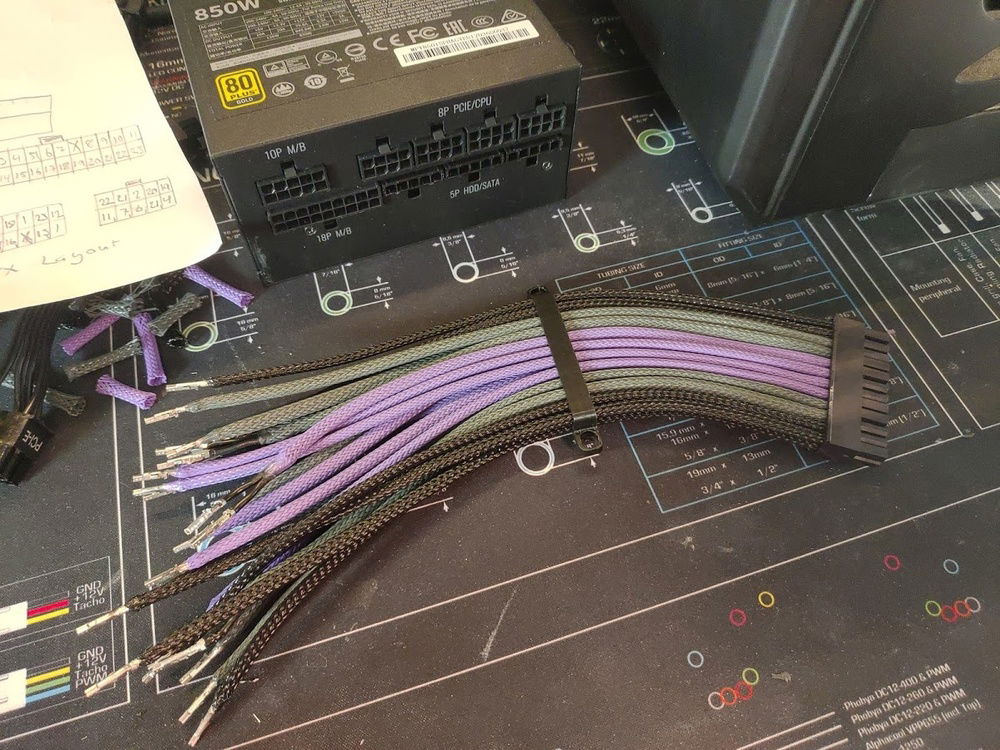
SHrinkless sleeving, only way to go
ATX cable needs a god schedlue so you don´t accidentaly shortsircuit your motherboard
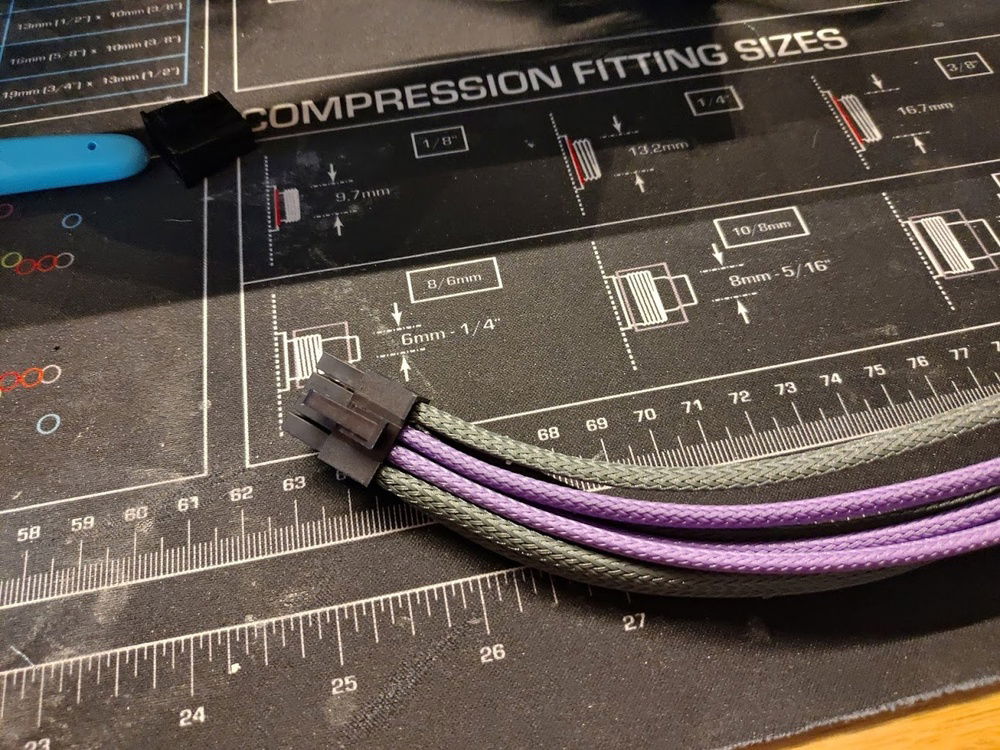
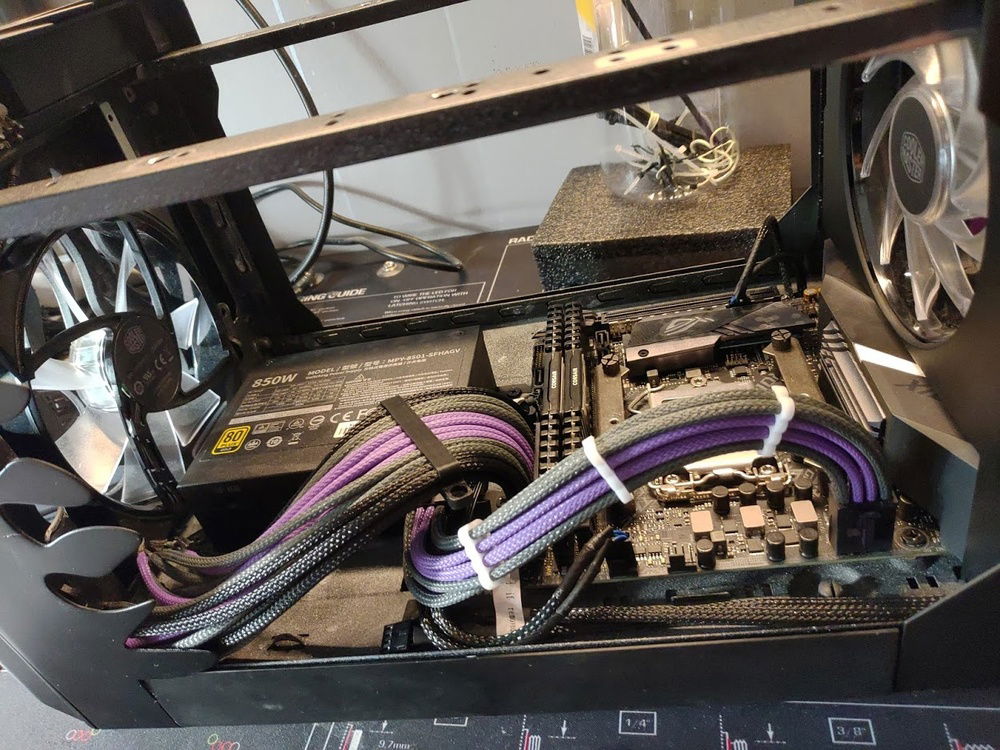
All cut and sleeved, now I just need to create a neat cableroute for this bad boy.
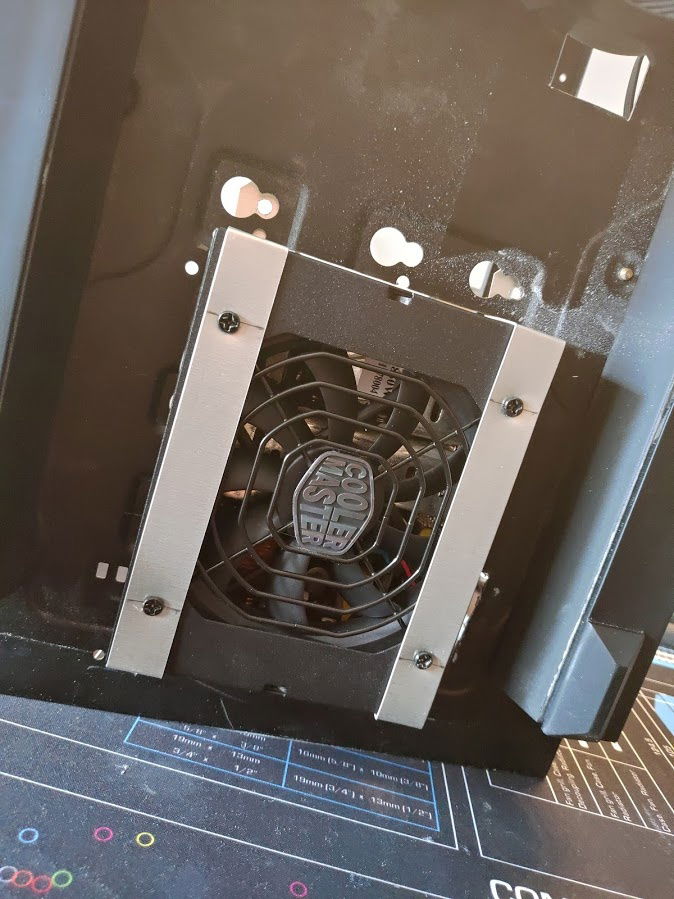
Creating super simple PSU brackets
And a bit of paint it looks pretty good. Going to be covered up mostly but atleast I know it will look good "under the hood" so to speak.
Did some more planning on how the cables should go
A new floor is printed and testfitted
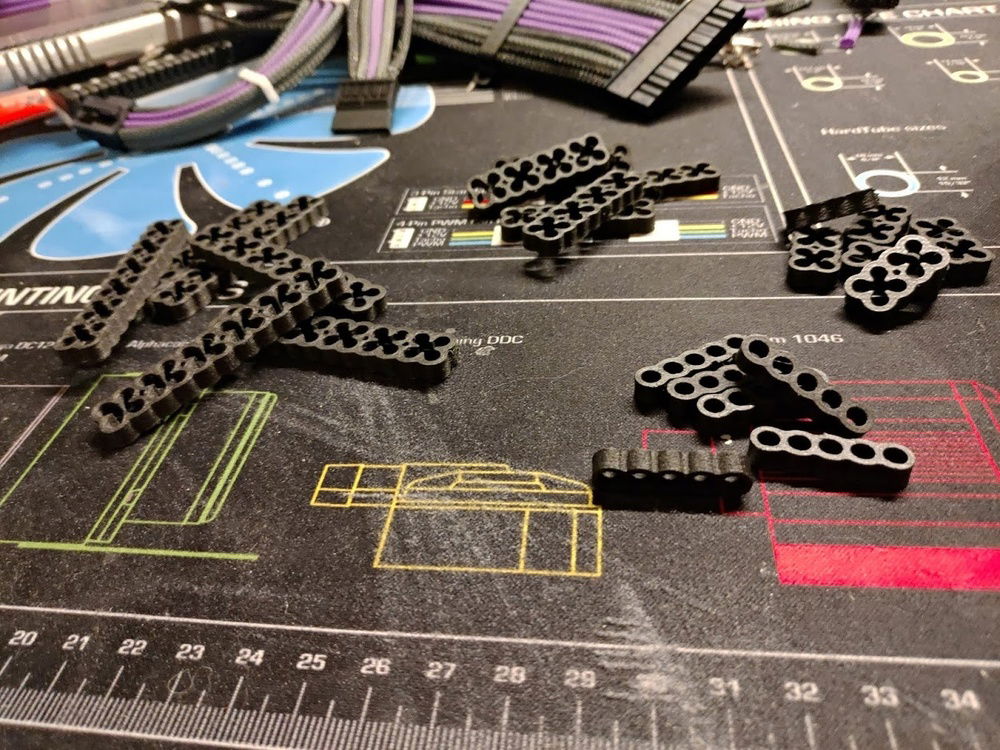
Ahh yea created these cablecombs that will be used with the cables.
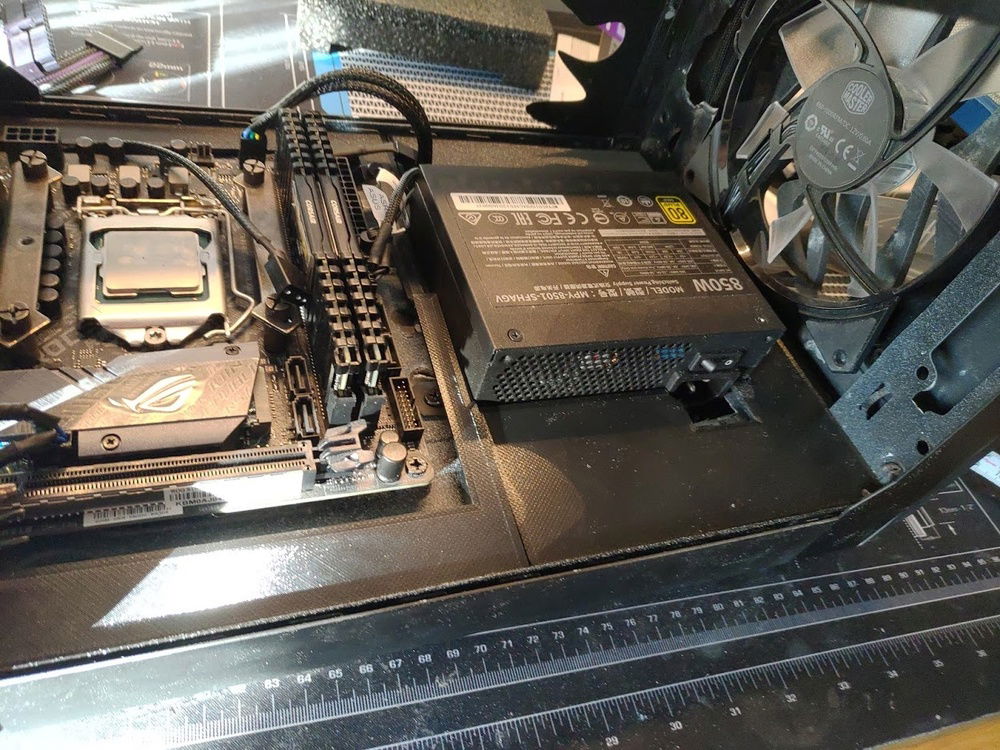
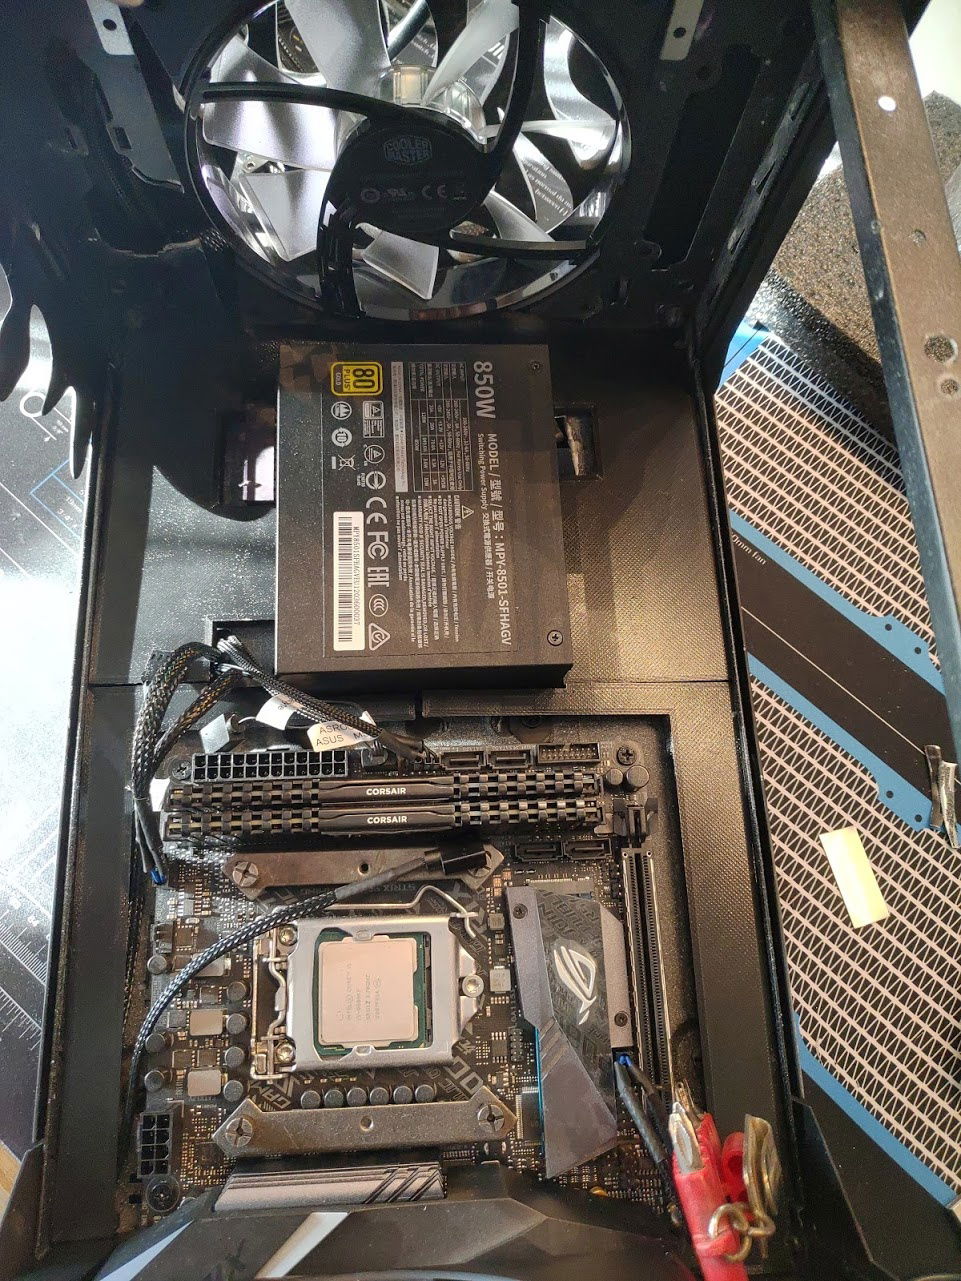
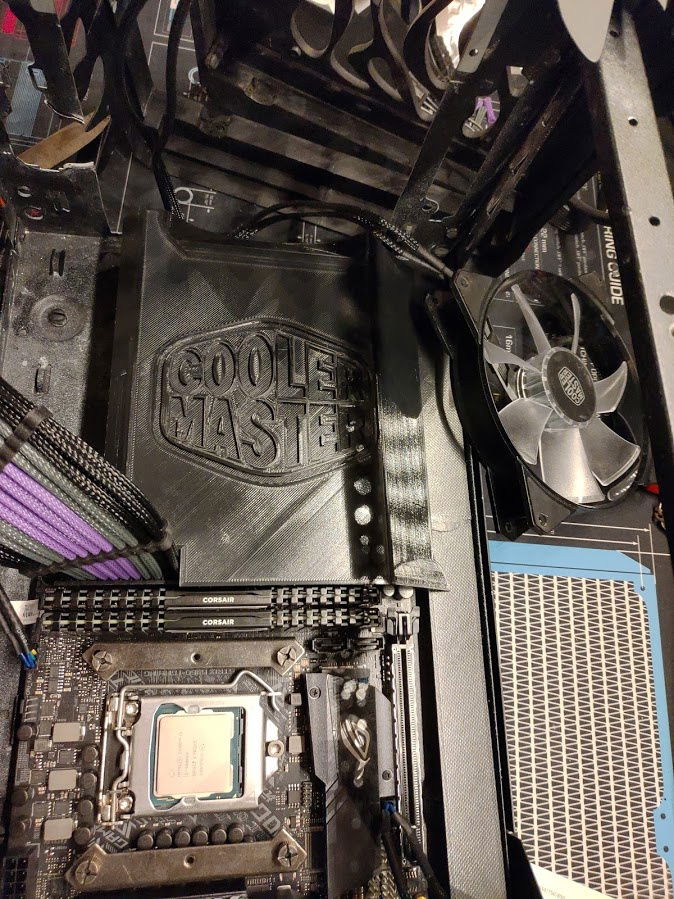
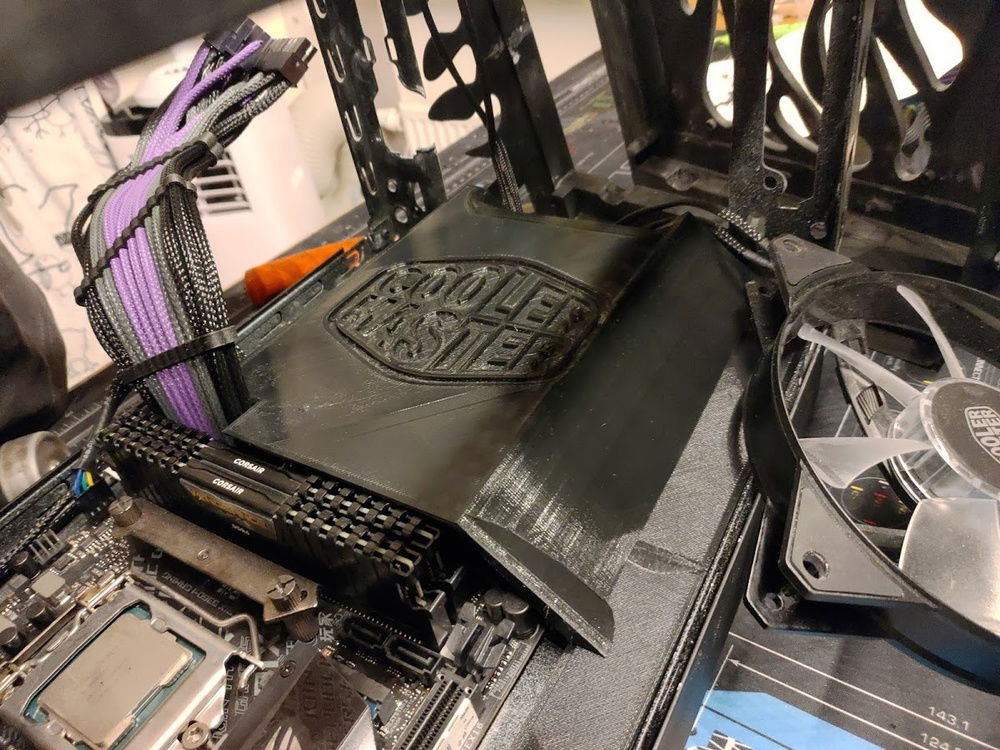
Little bit of a mess. Testfit of the PSU cover
Also using the PSU cover for covering up those less attractive headers on the motherboard.
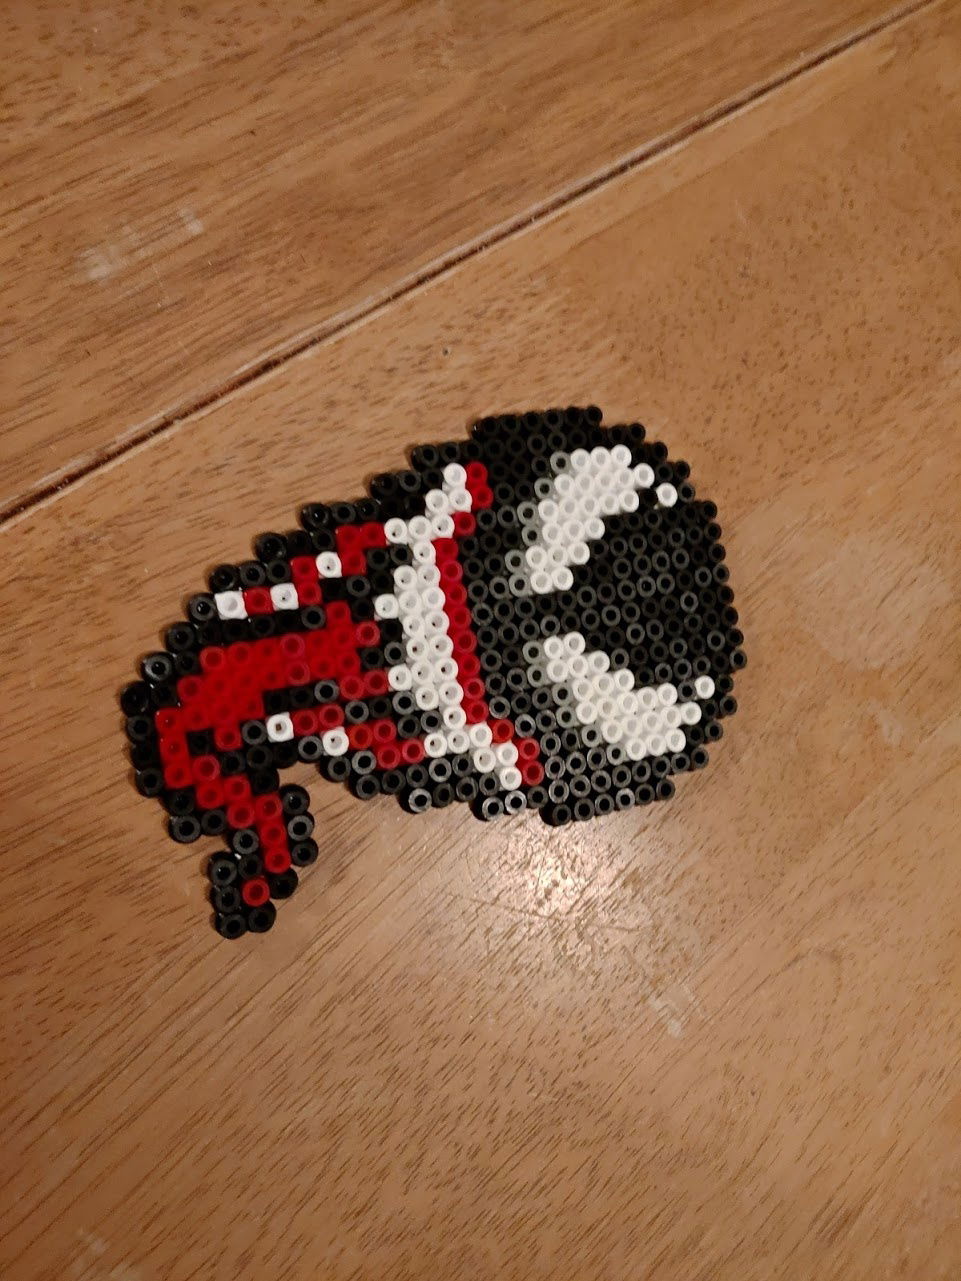
A break from everything and the kids was sitting and doing some perler beads, why not do a Venom head I thought :P
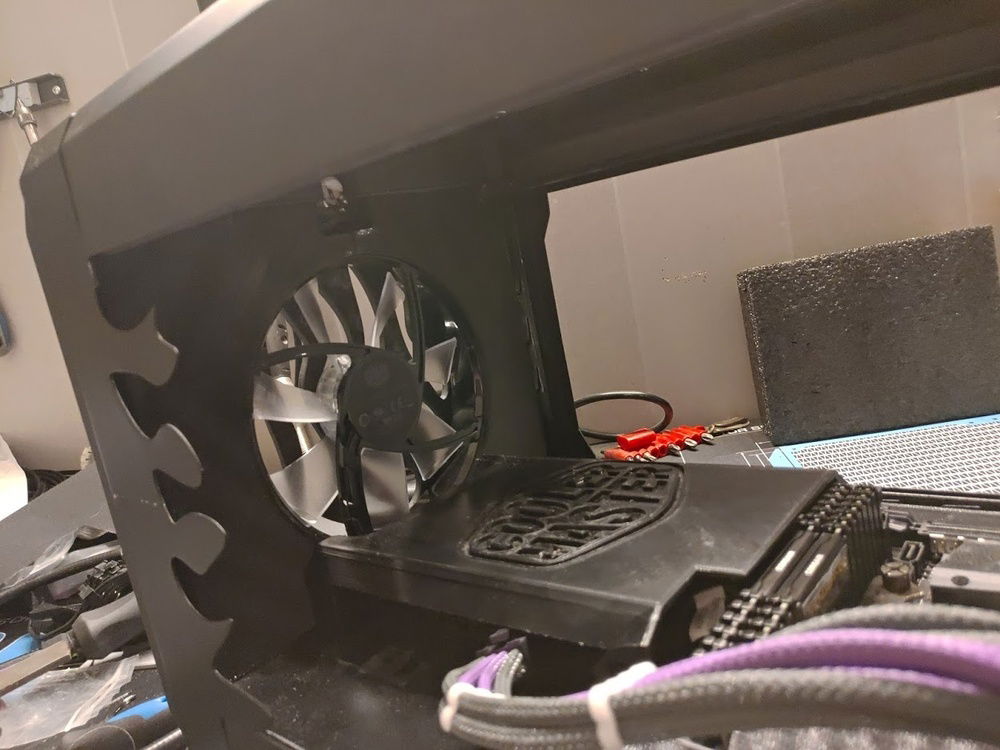
And the cover for the front fan is being tested.
Cutting in the frame all done. A paintjob done even if it´ll not show when all the panels are mounted on the case.
Atleast I know it´ll look supper nice underneath :)
Inlays yay or nay?
I think it looks pretty good and going to contribute with some sublte touches.
Sanded down the filler and some parts are ready for some matte black paint.
I do like how the PSU cover turned out in the end
Some parts, like this one, I had a hard ime getting the paint stick to it.
Timeconsuming getting it right.
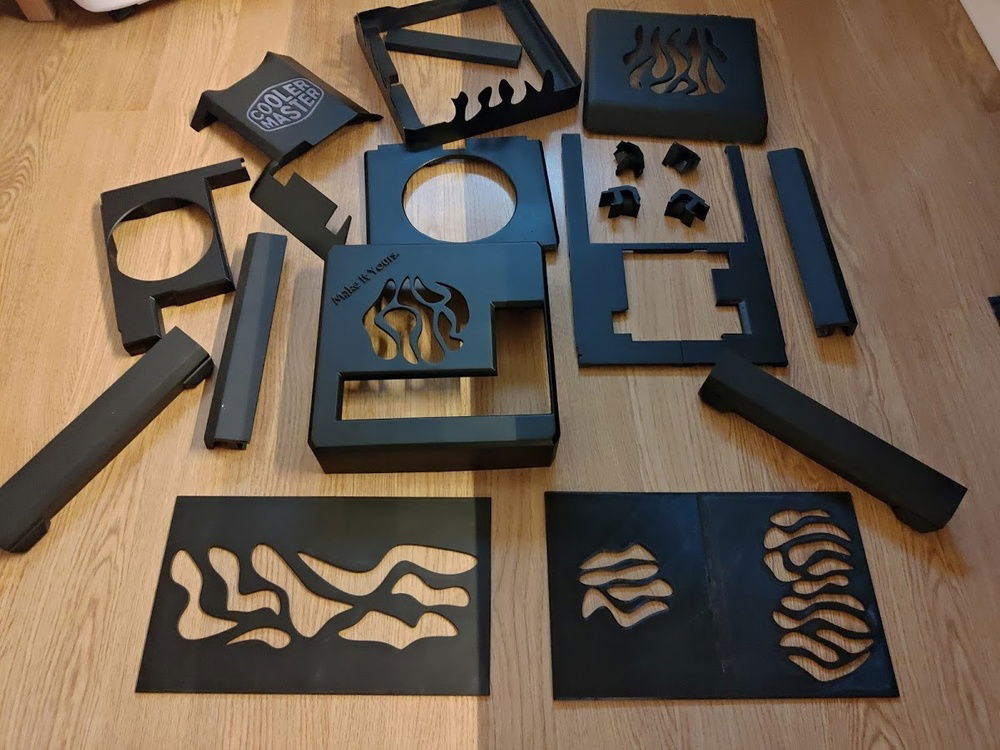
All parts printed now and most of them have had their final paint on them. Turned out to be a few bits and pieces in the end.
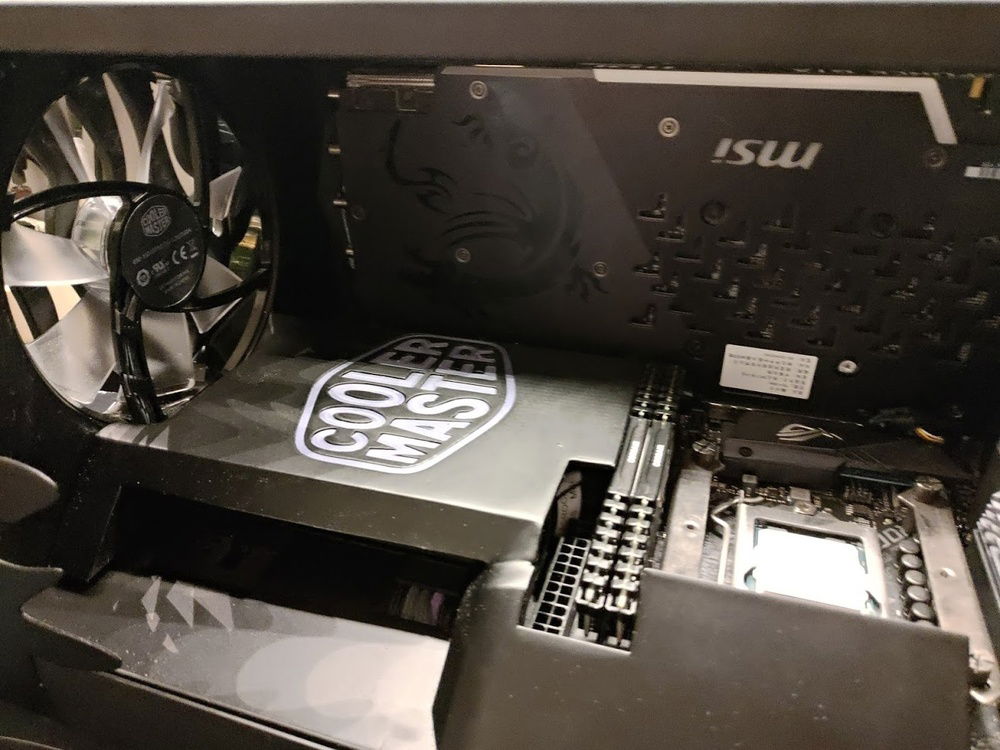
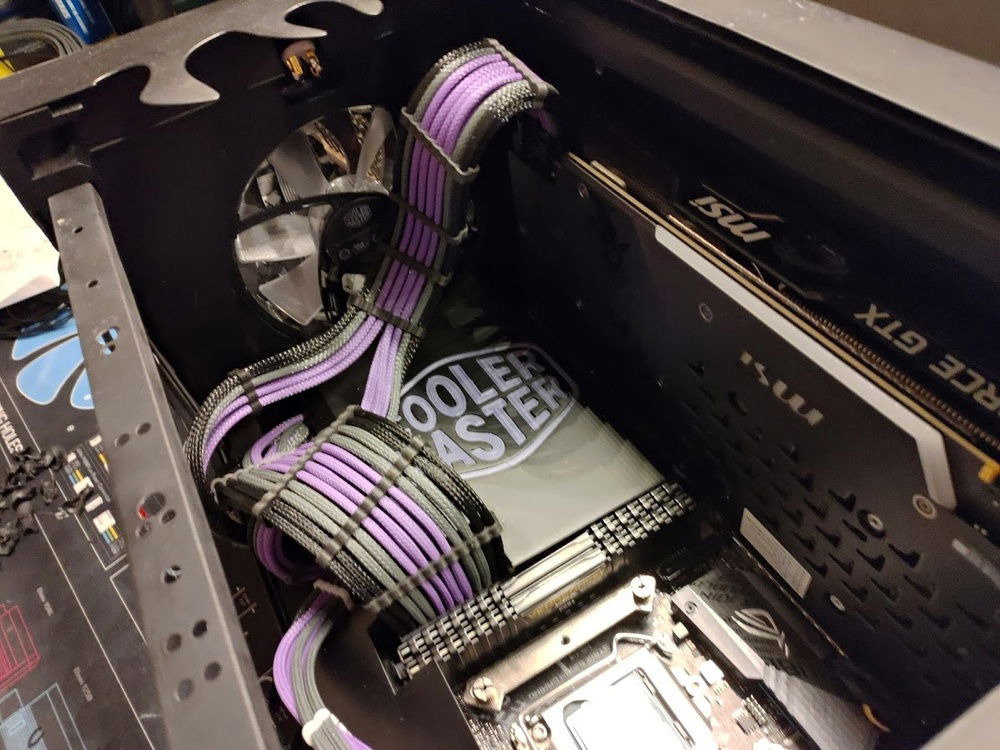
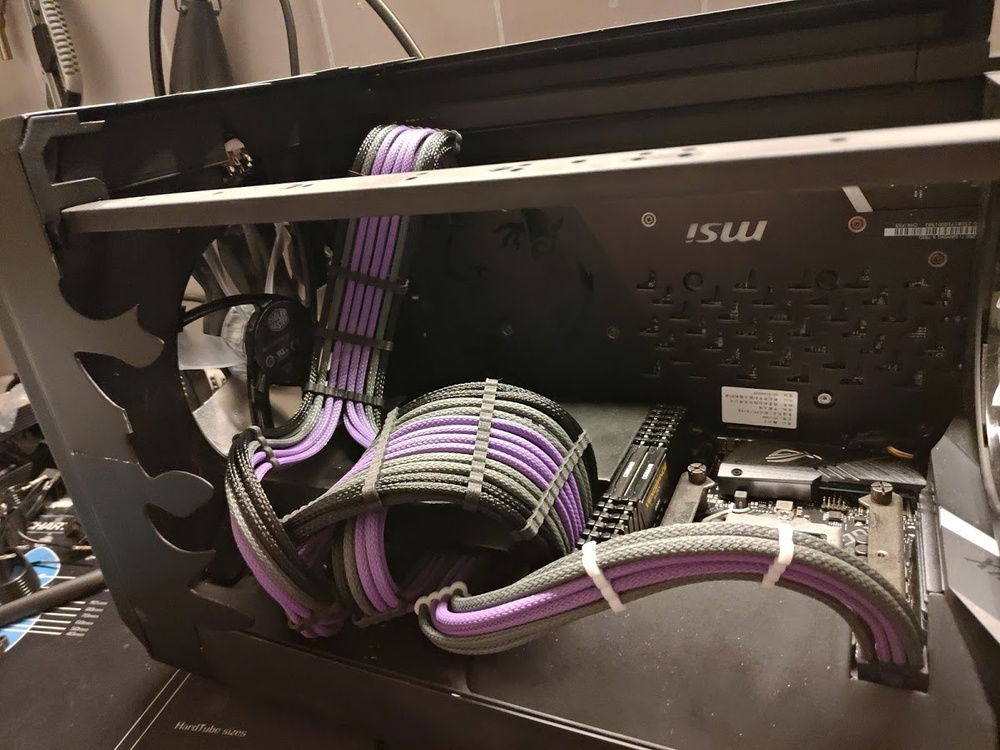
Not much space left when the GPU is mounted.
Still had a few cables to sleeve. GPU cables to be more exact. Good thing I have my workbench in order haha.
Planning how I picture all the showing cables should be routed. I like it.
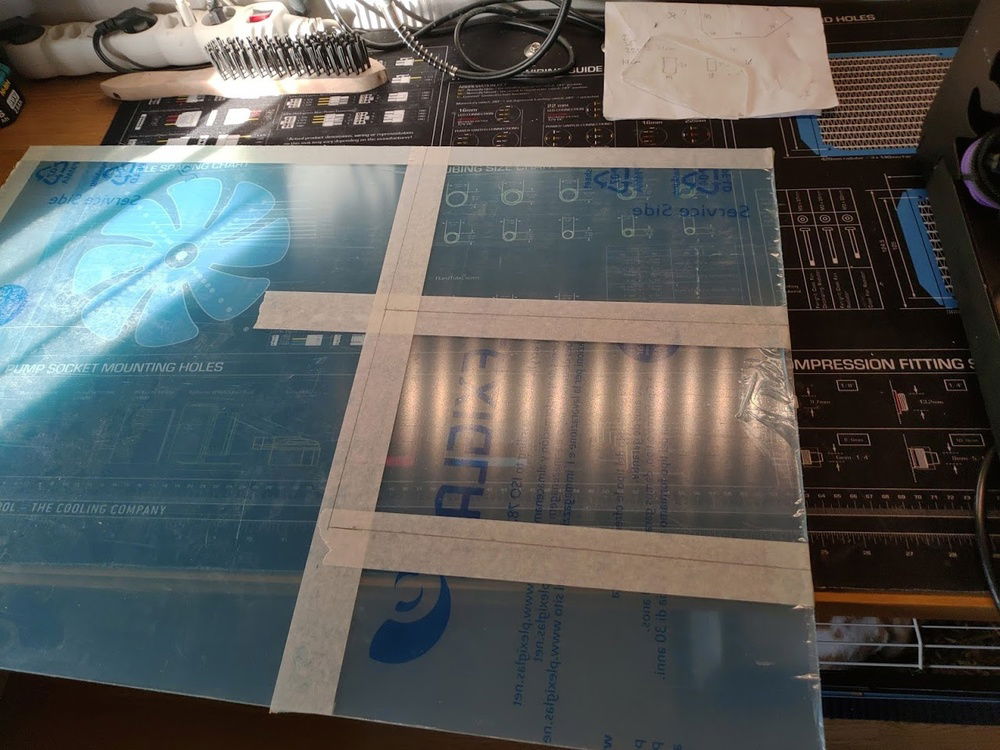
Still had the acrylic windows to do
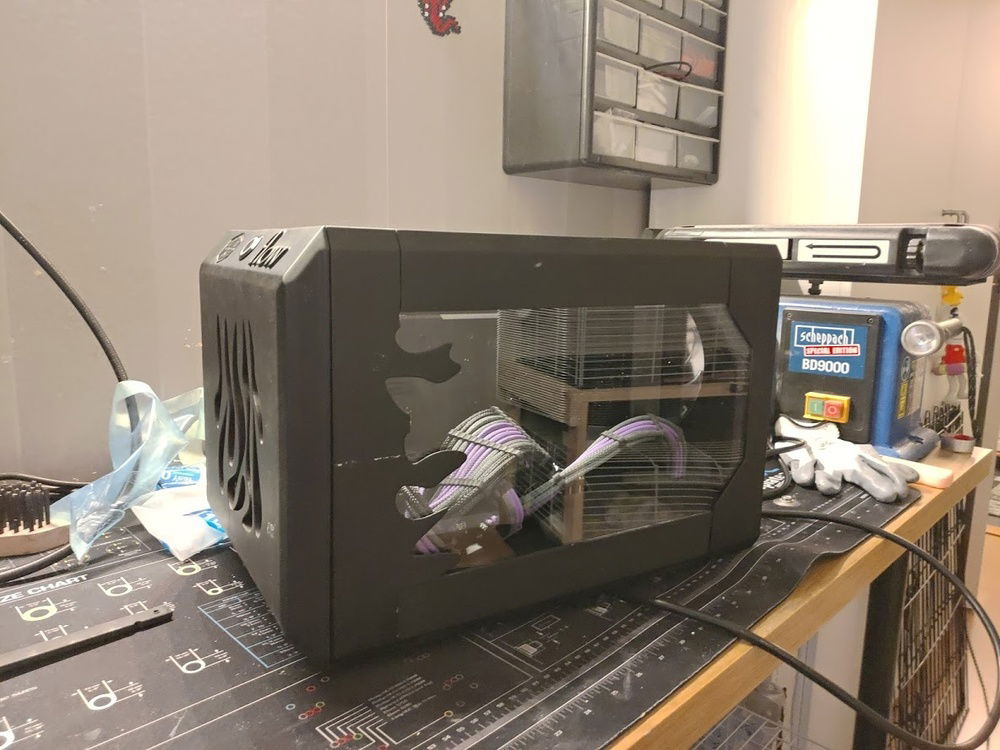
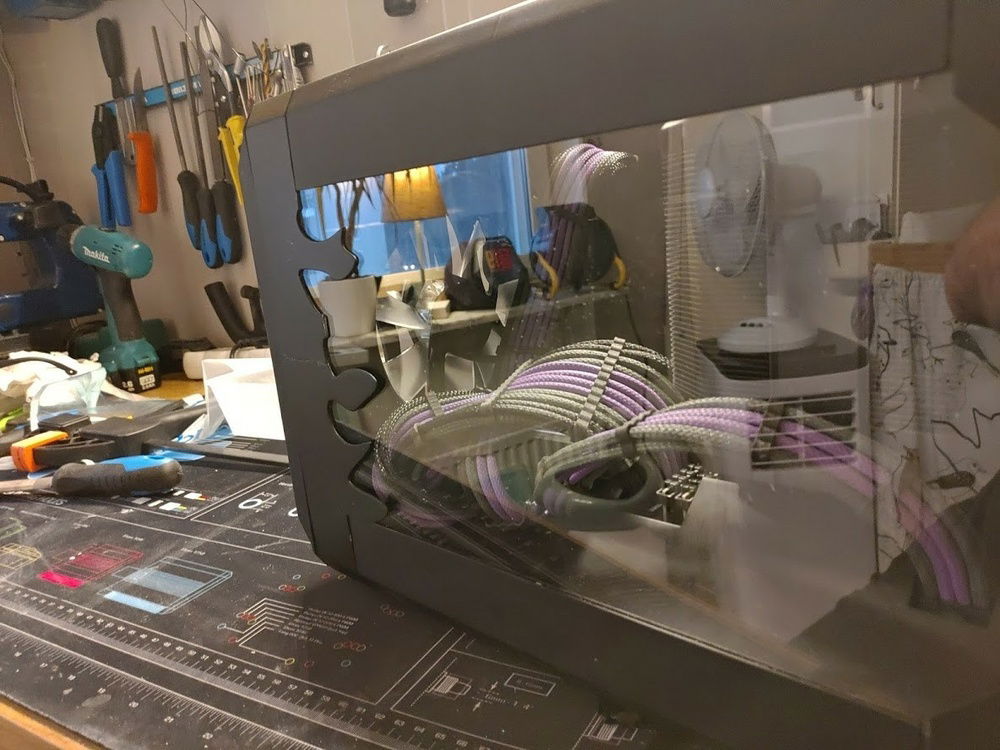
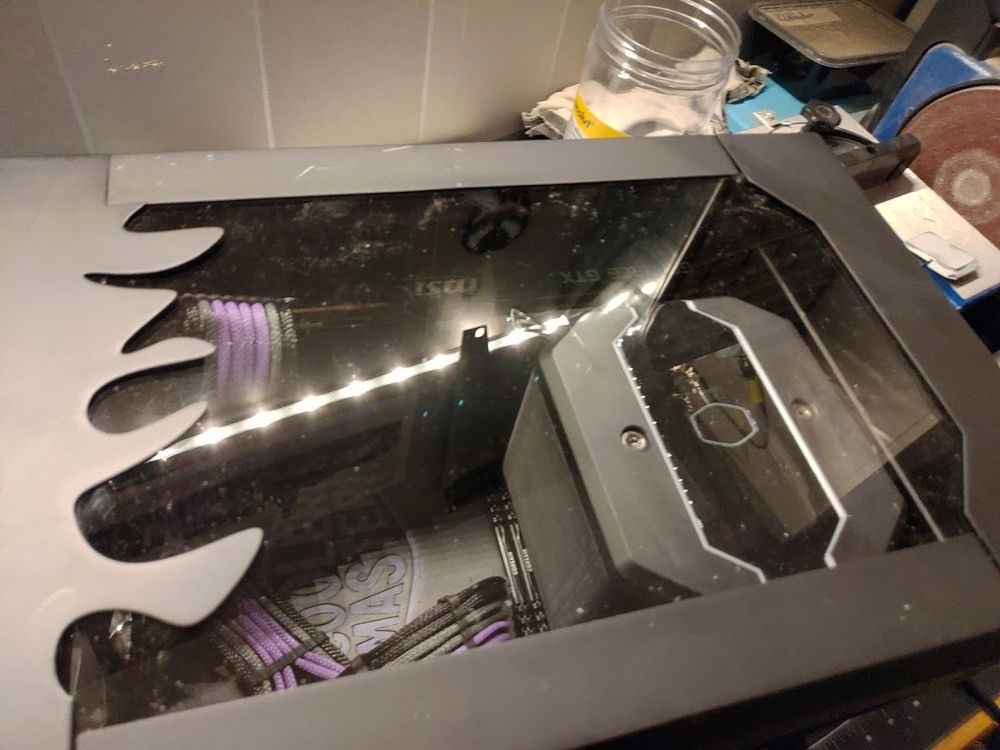
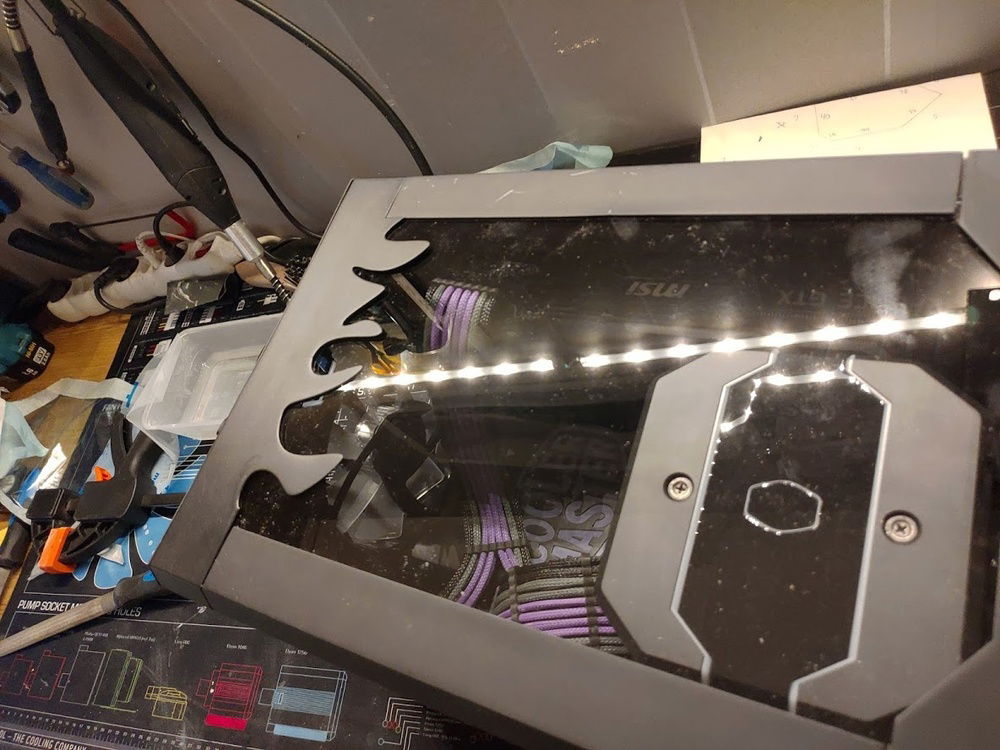
Looking pretty good when the acrylic panels are in place
A big cooler in a small case, just ahd to rebuild the entire case to make it fit
GPU side should let in enough air for the GPU
SOme cables had to be arranged underneath the case
A few stripes and it is done
