Ignitros
Mike Rodgers
Member since
Aviation Maintenance Technician, Quality Control
Spokane Valley, United States
Most Recent Build
Best Build
Fallout Nuka Cola theme
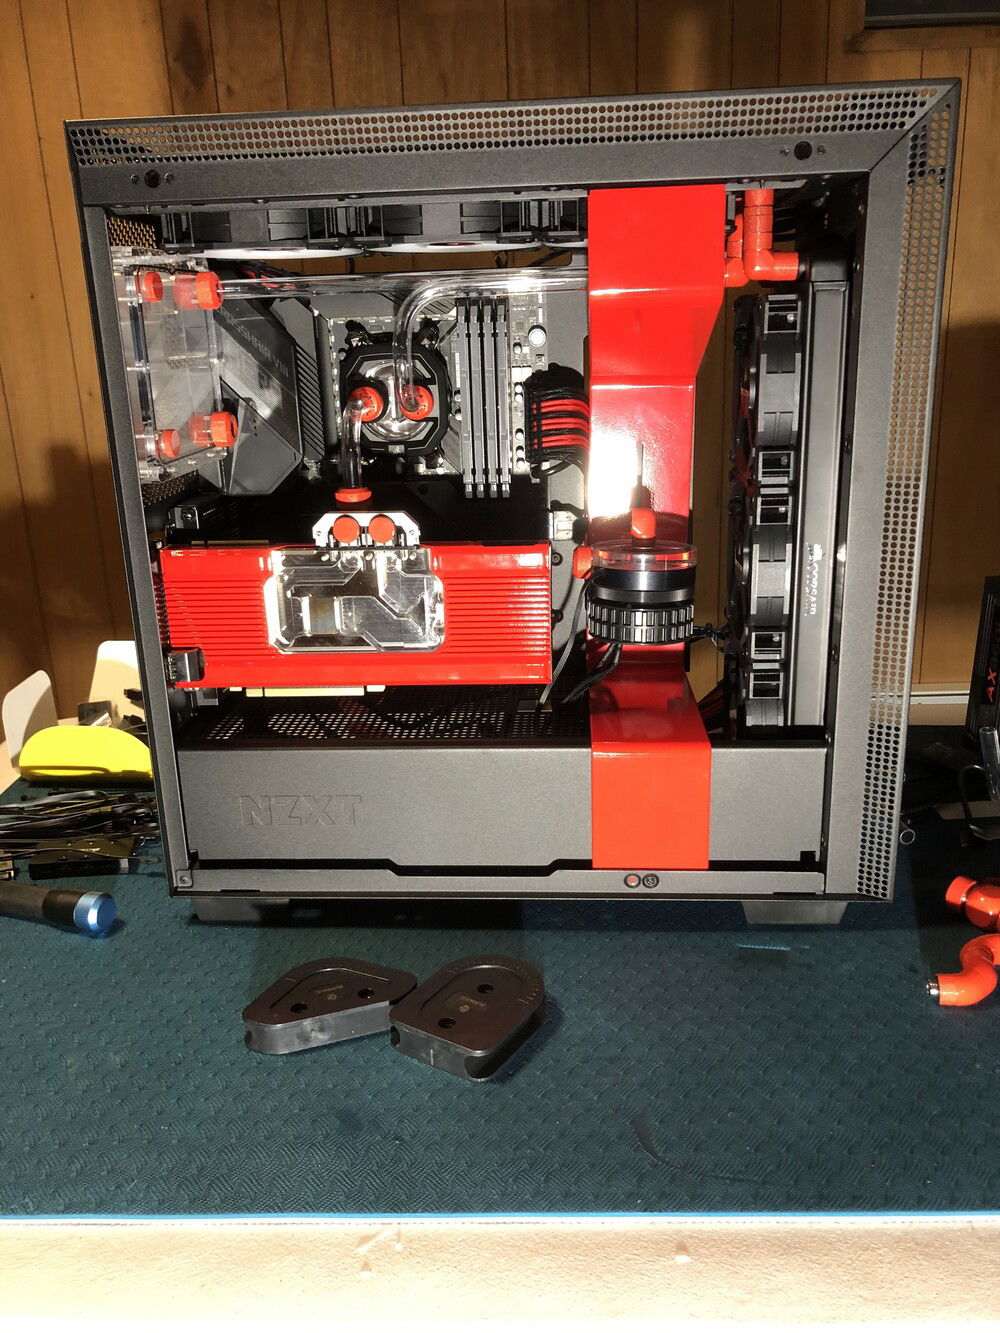
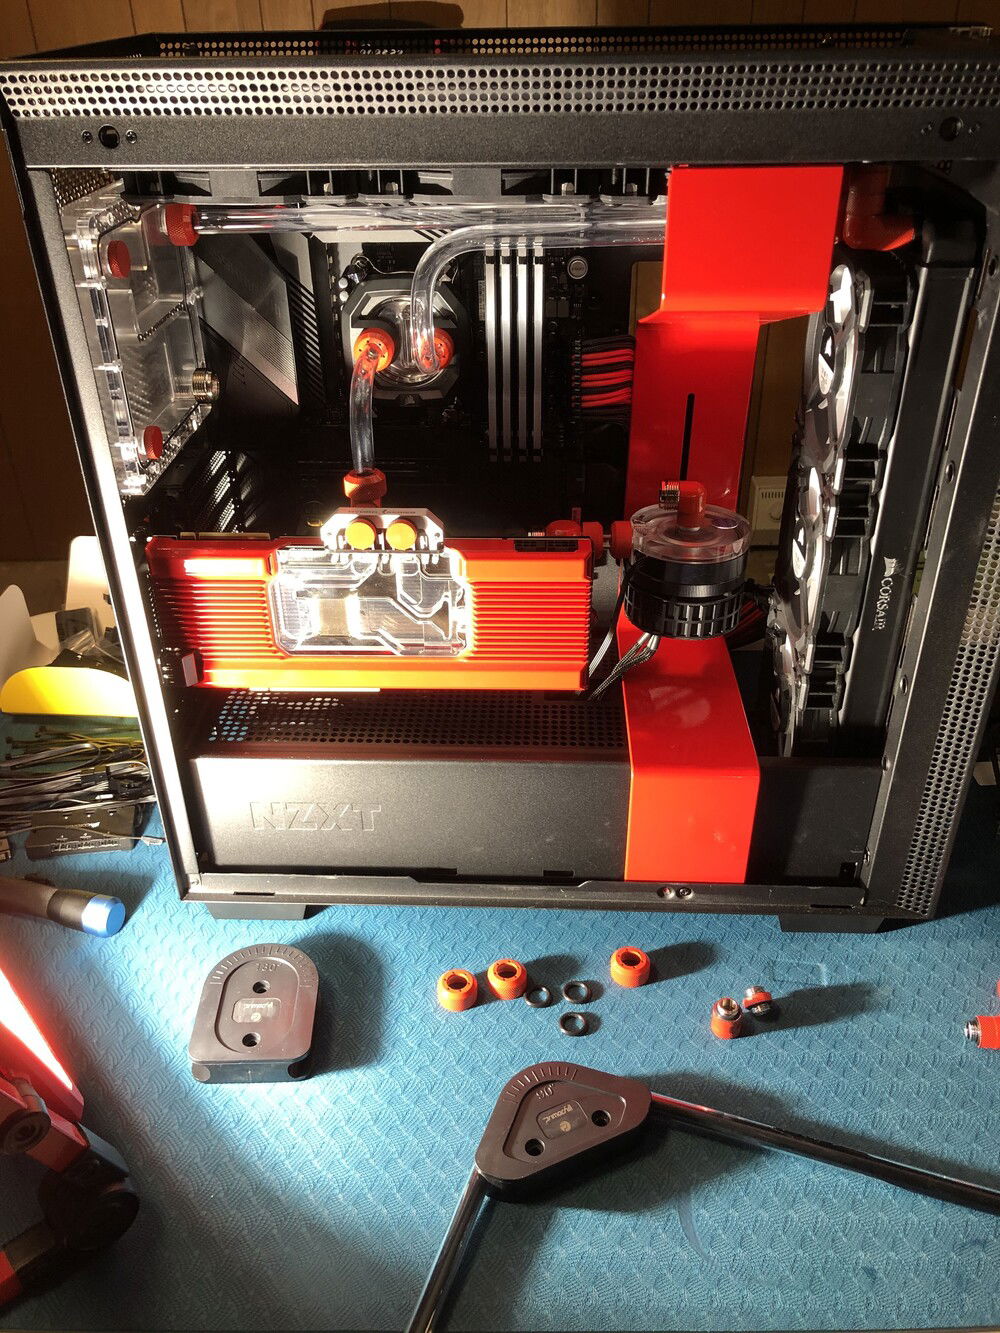
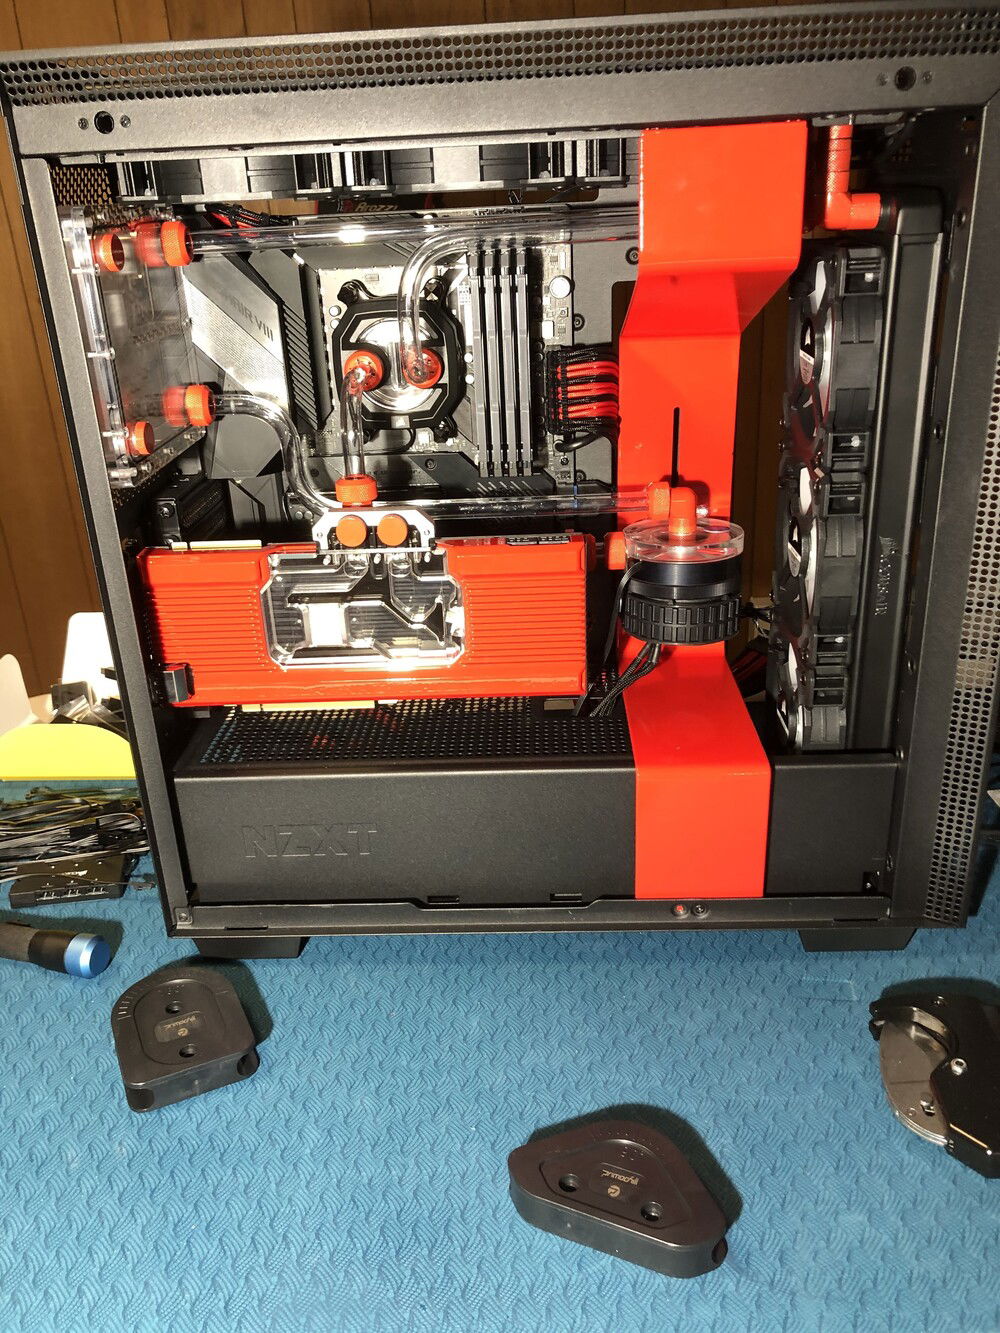
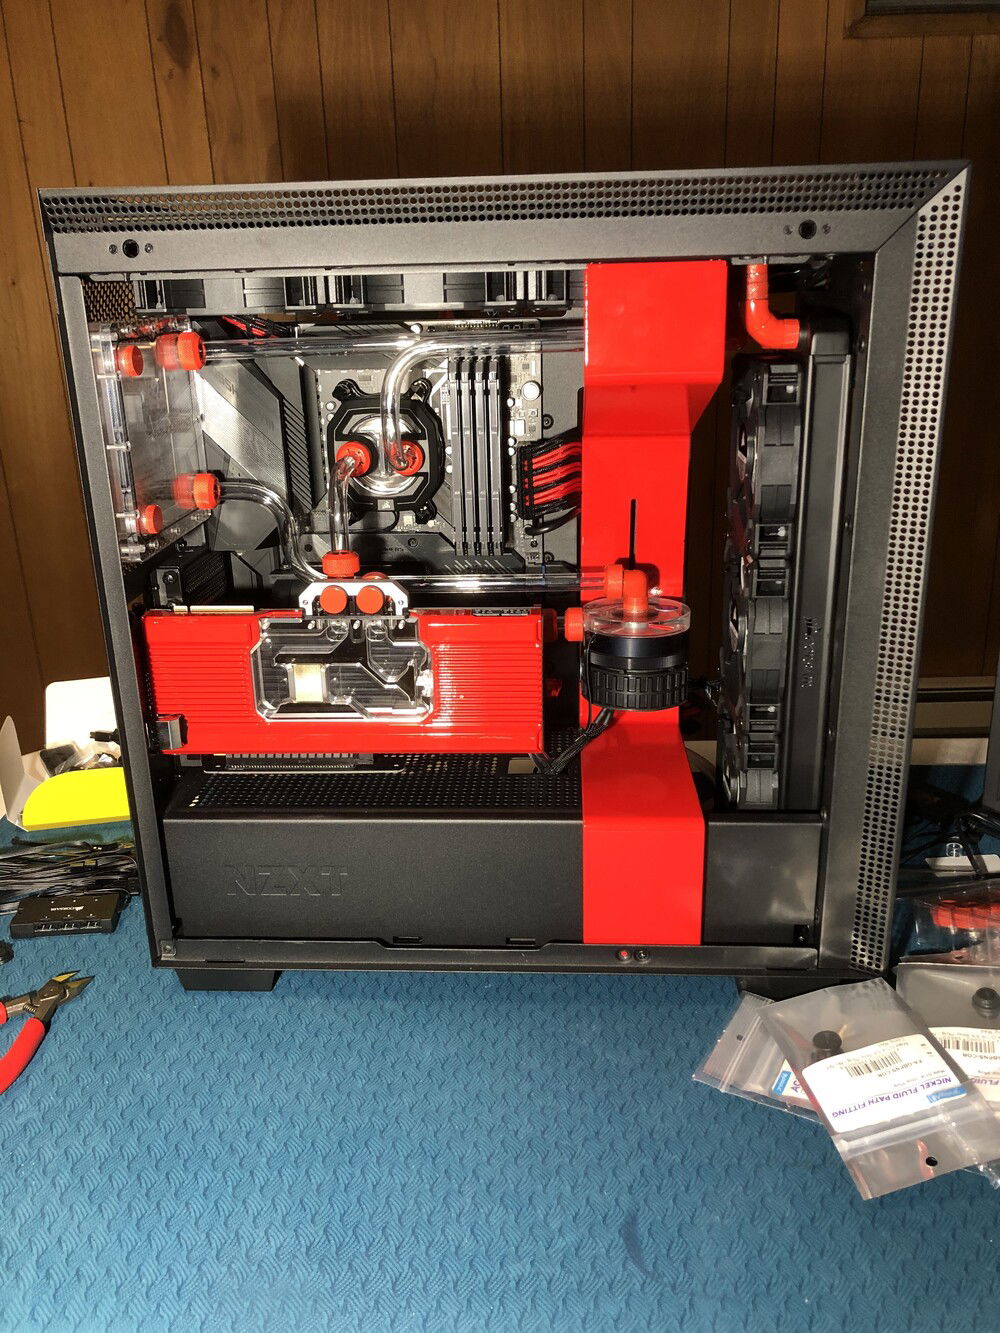
My son, daughter and I talked about buying a new gaming PC for awhile and finally decided to take the plunge. Rather than just spend a bunch of money on a pre-built we thought we would build it from the ground up. After a lot of discussion about what we would build and how we wanted it to look and perform we started to make a plan. We talked about the theme being Blood Borne but settled on Fallout Nuka Cola. With our parts list ready and theme imagined we started to plan everything else out.
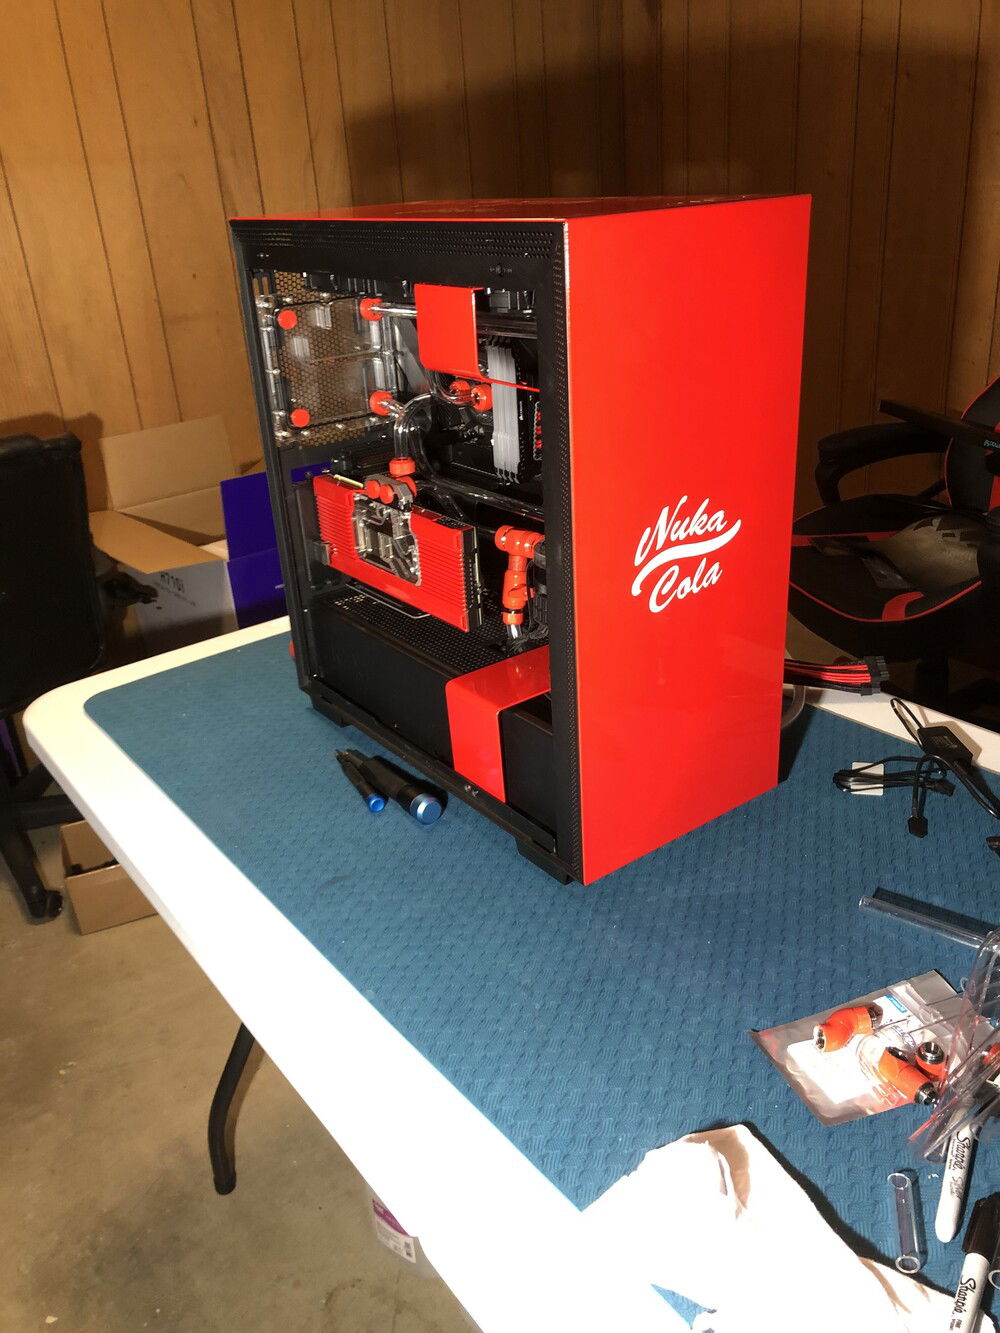
We could have just purchase the Nuka Cola case and motherboard that NZXT pre-built but we wanted a brand new look, the vertical GPU mount, we didn't like the motherboard features and the fact that it was only available for Intel CPU's as well as the cost involved.
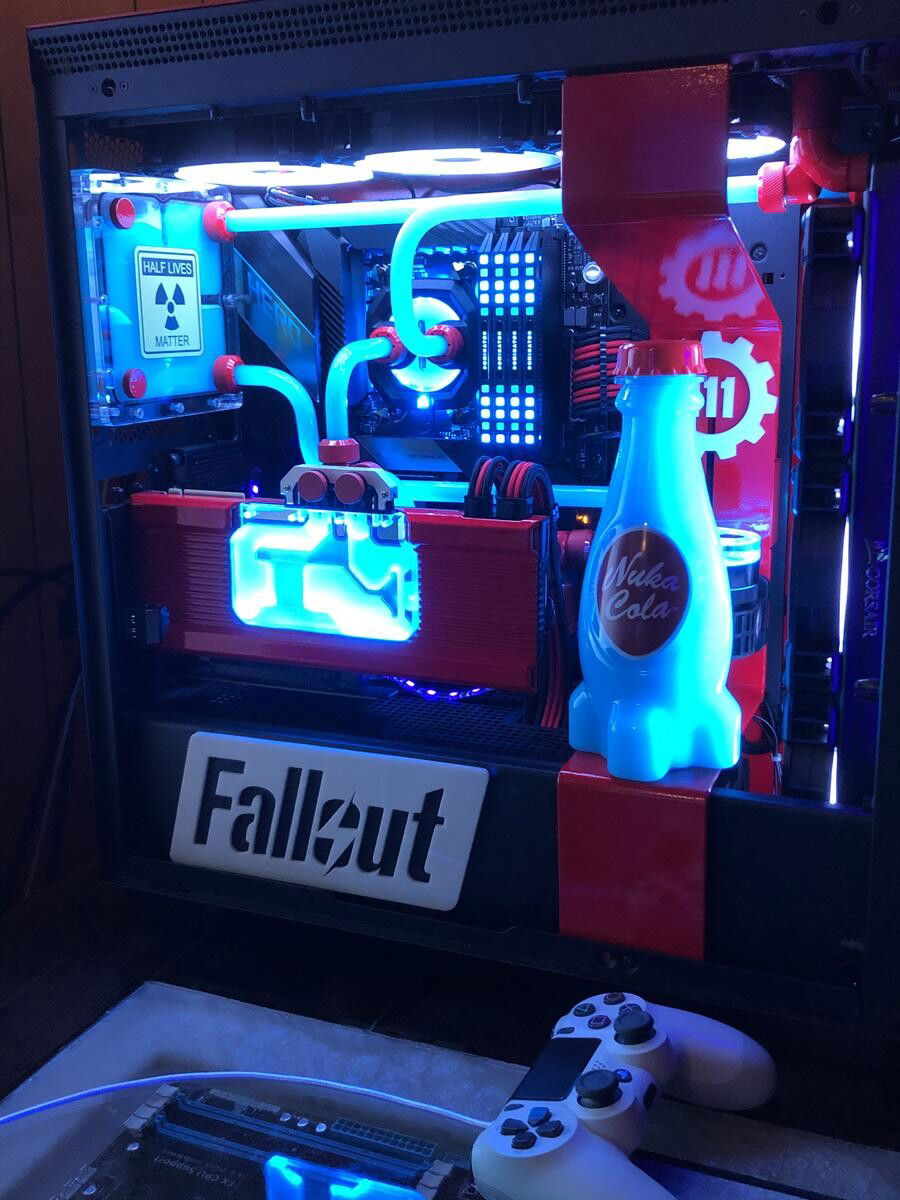
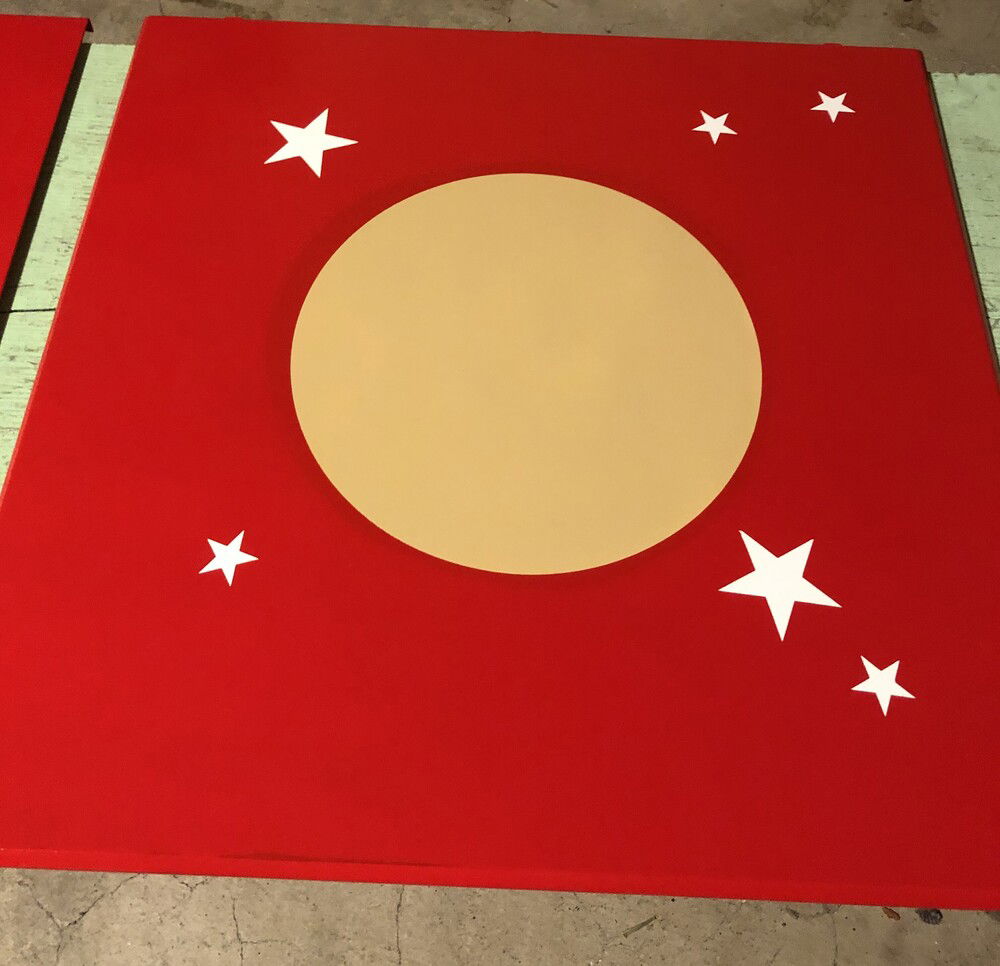
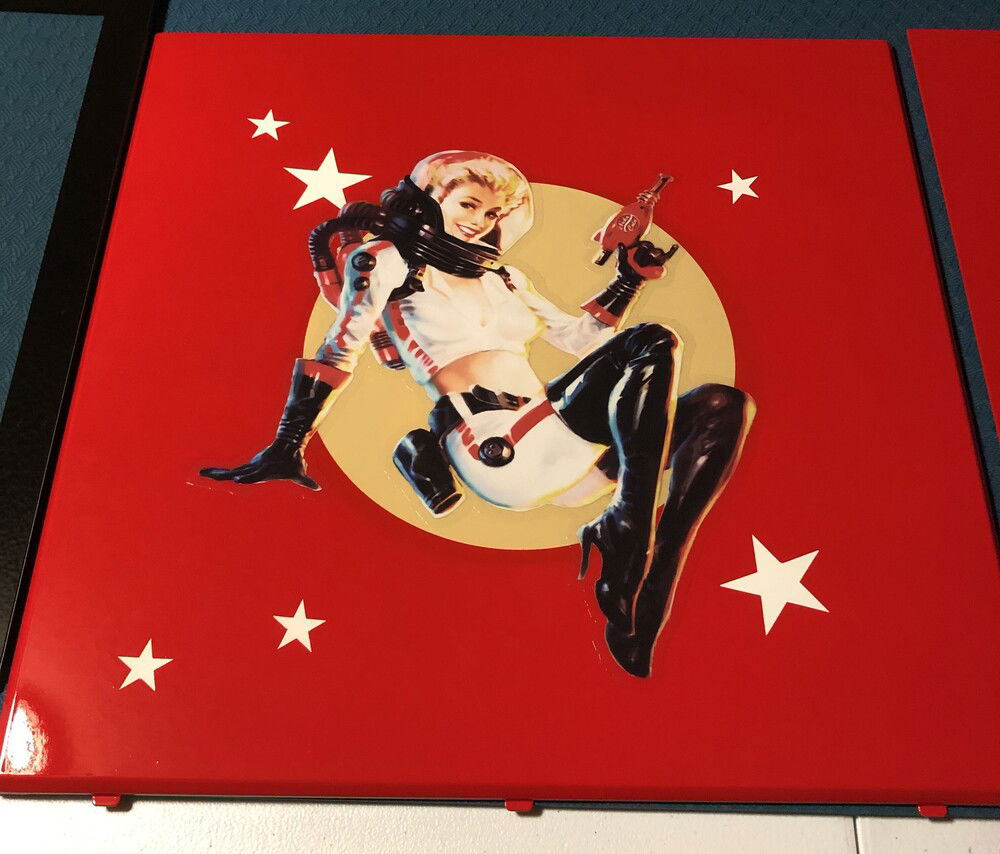
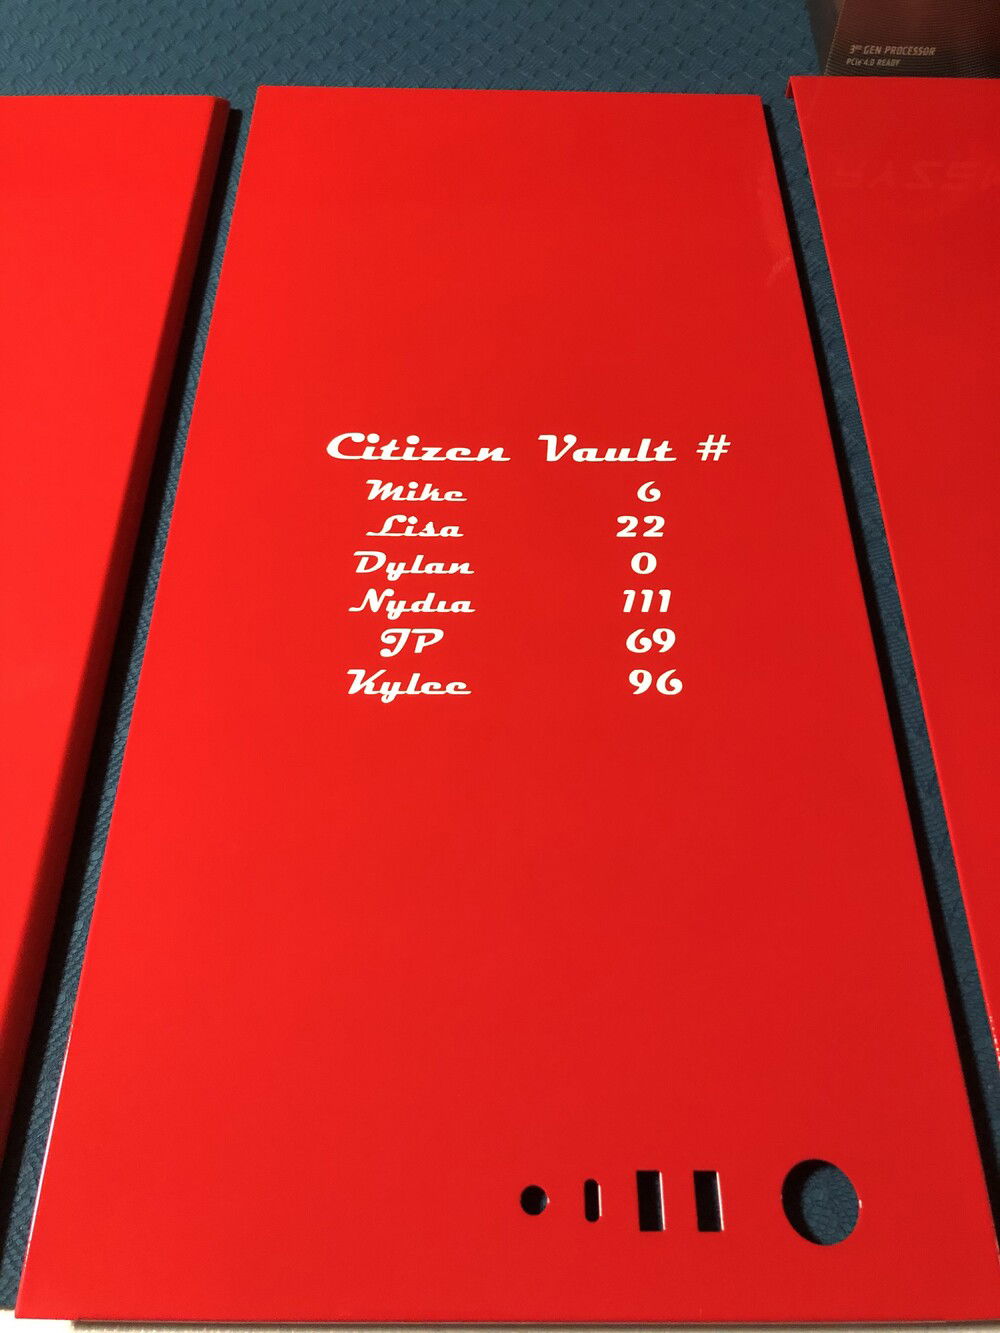
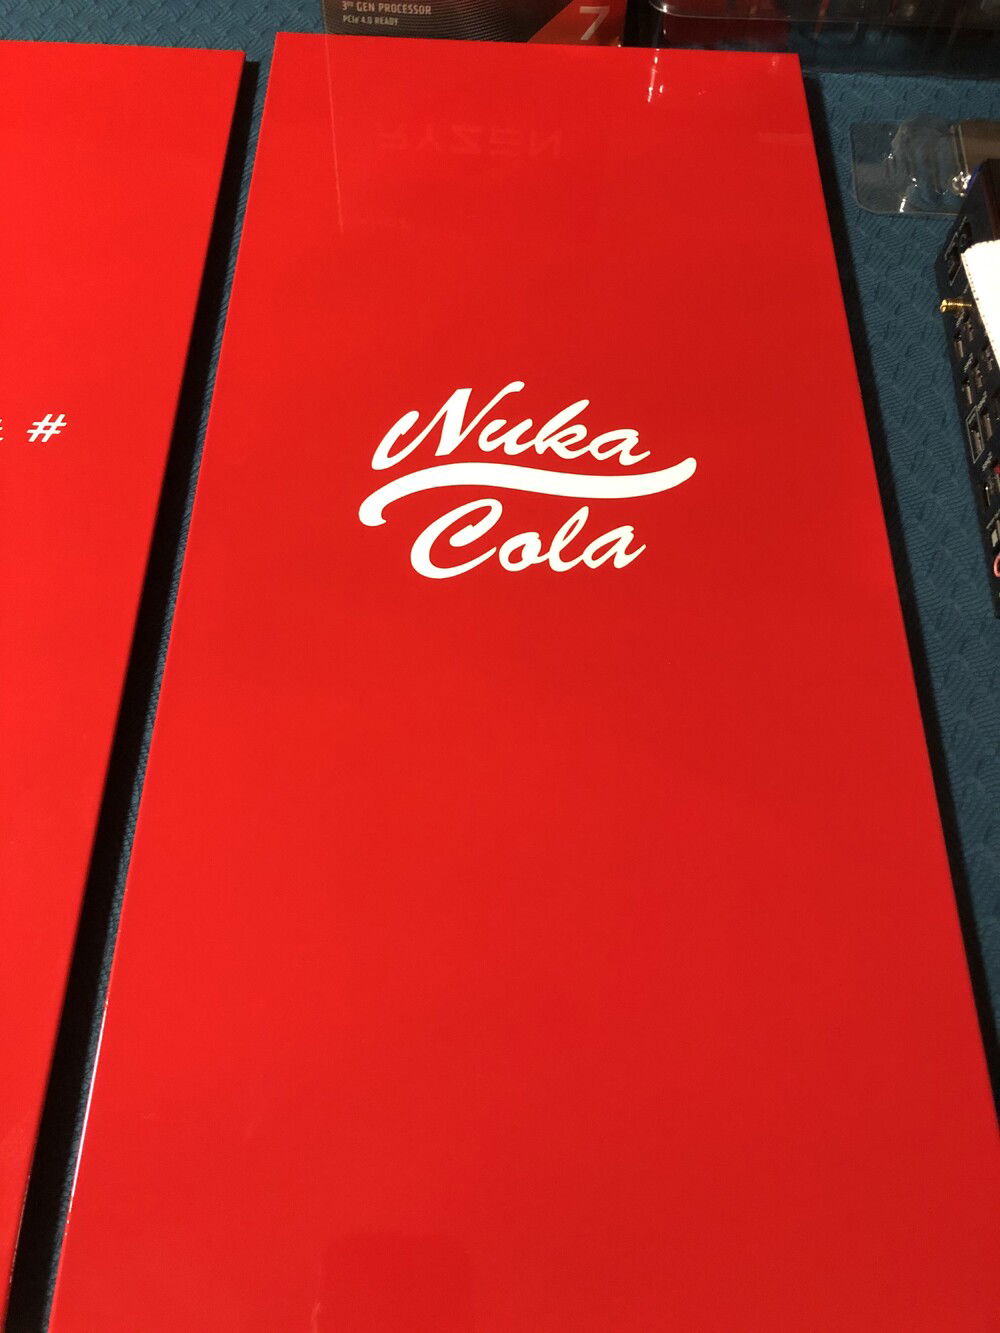
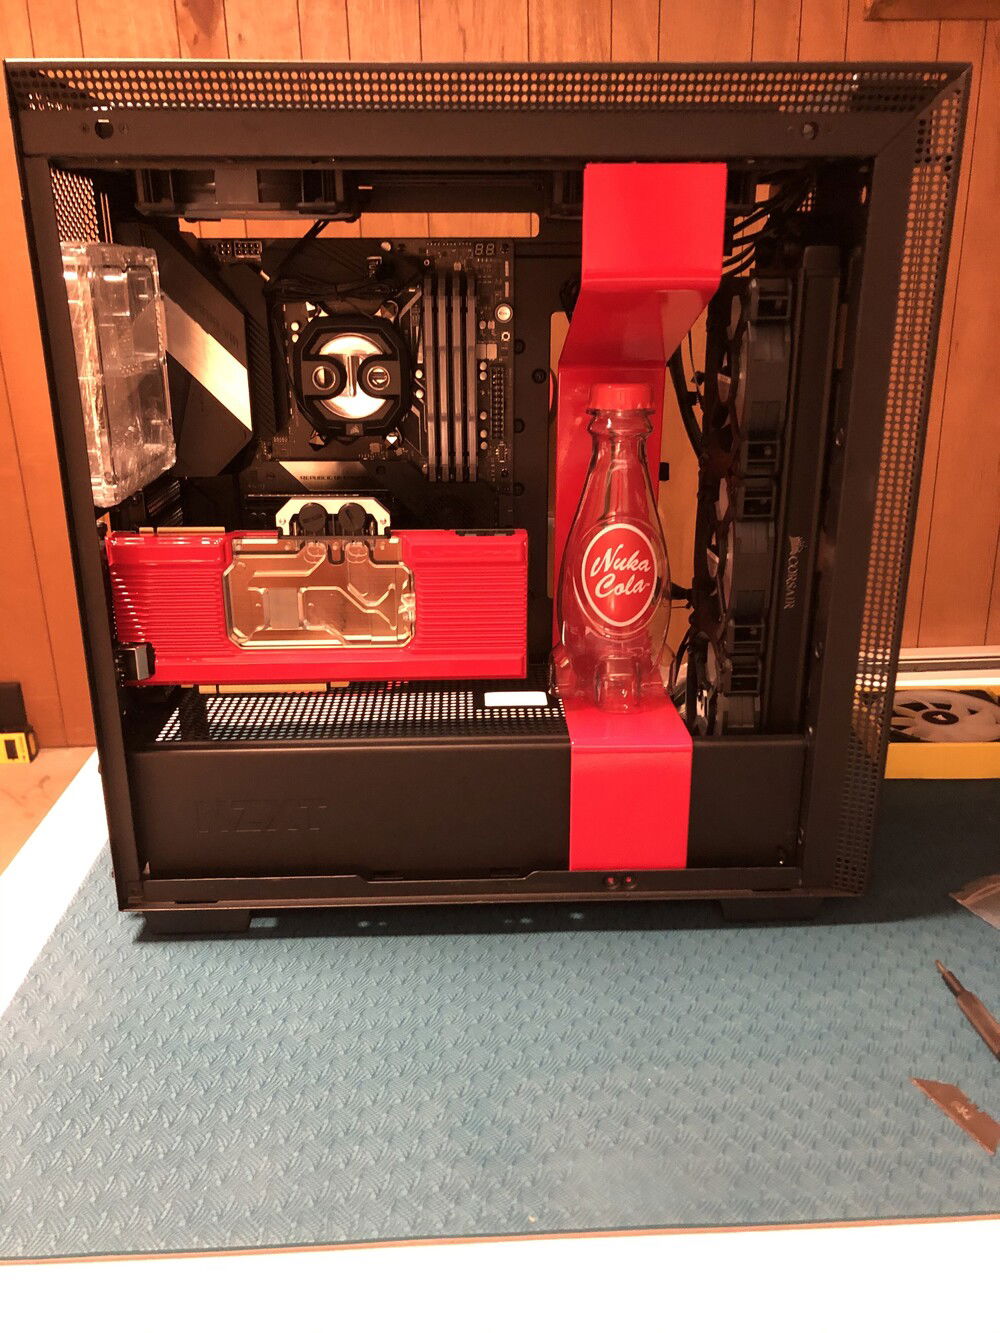
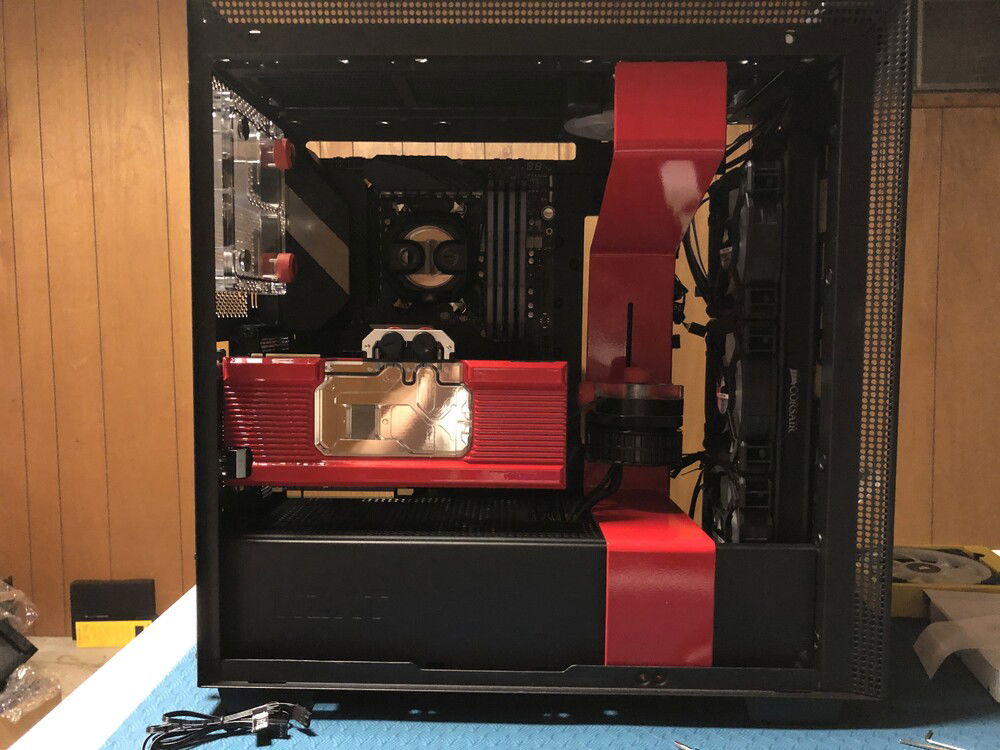
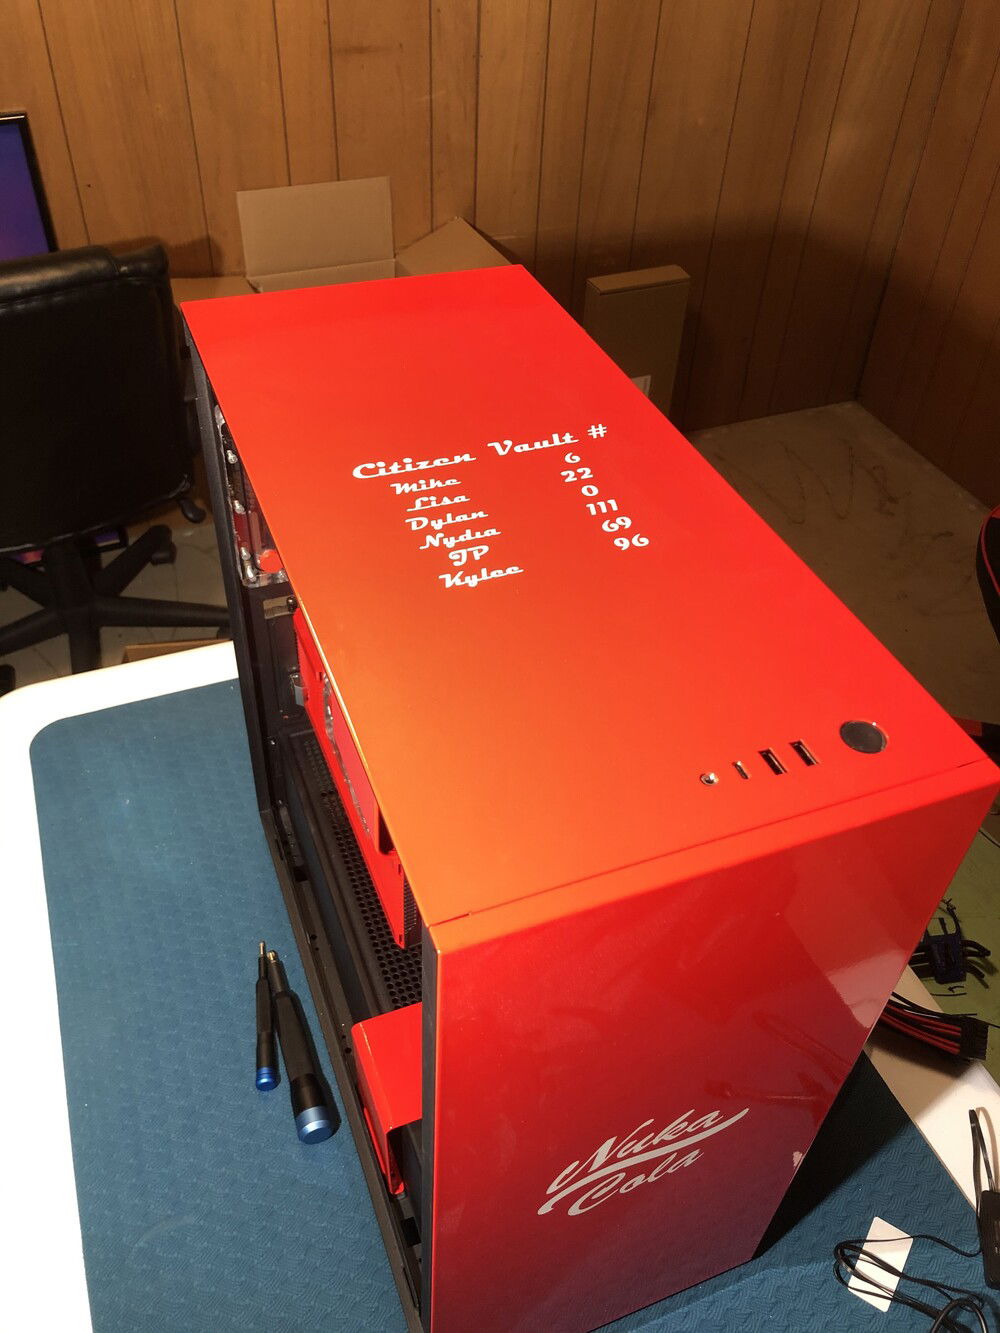
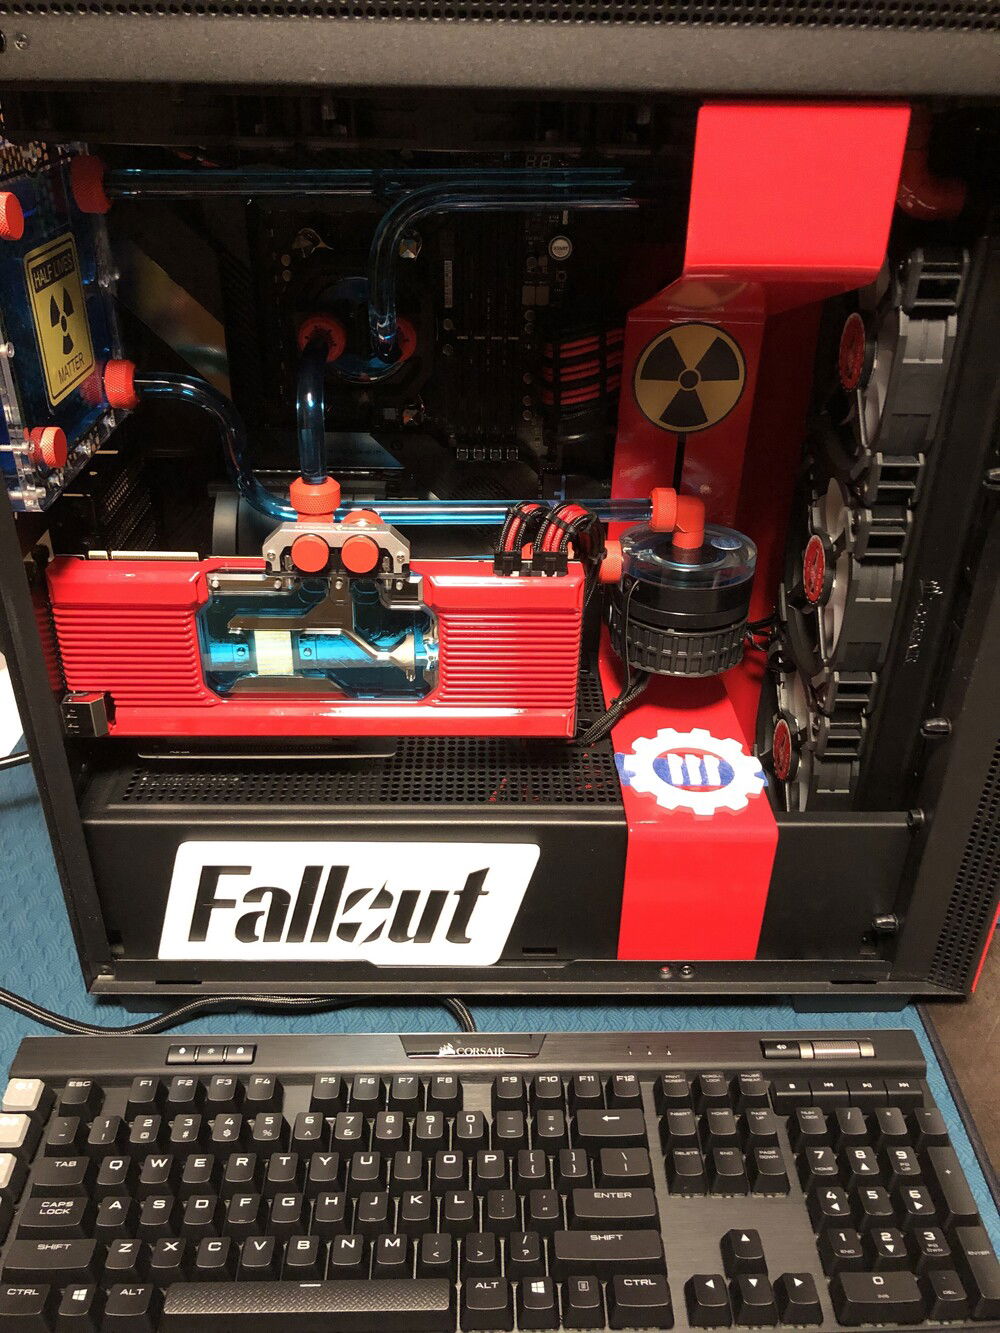
I ended up purchasing the same case from NZXT, the H710i because we liked the look and the vertical GPU mount option. I planned out the paint scheme and got started printing out the stensils, tore down the case and prepped it for paint. I laid out a base white then placed the stensils, sprayed gold and then sprayed red. After it was dry we de-masked it and placed the Nuka Girl decal and sprayed clear over all the paint.
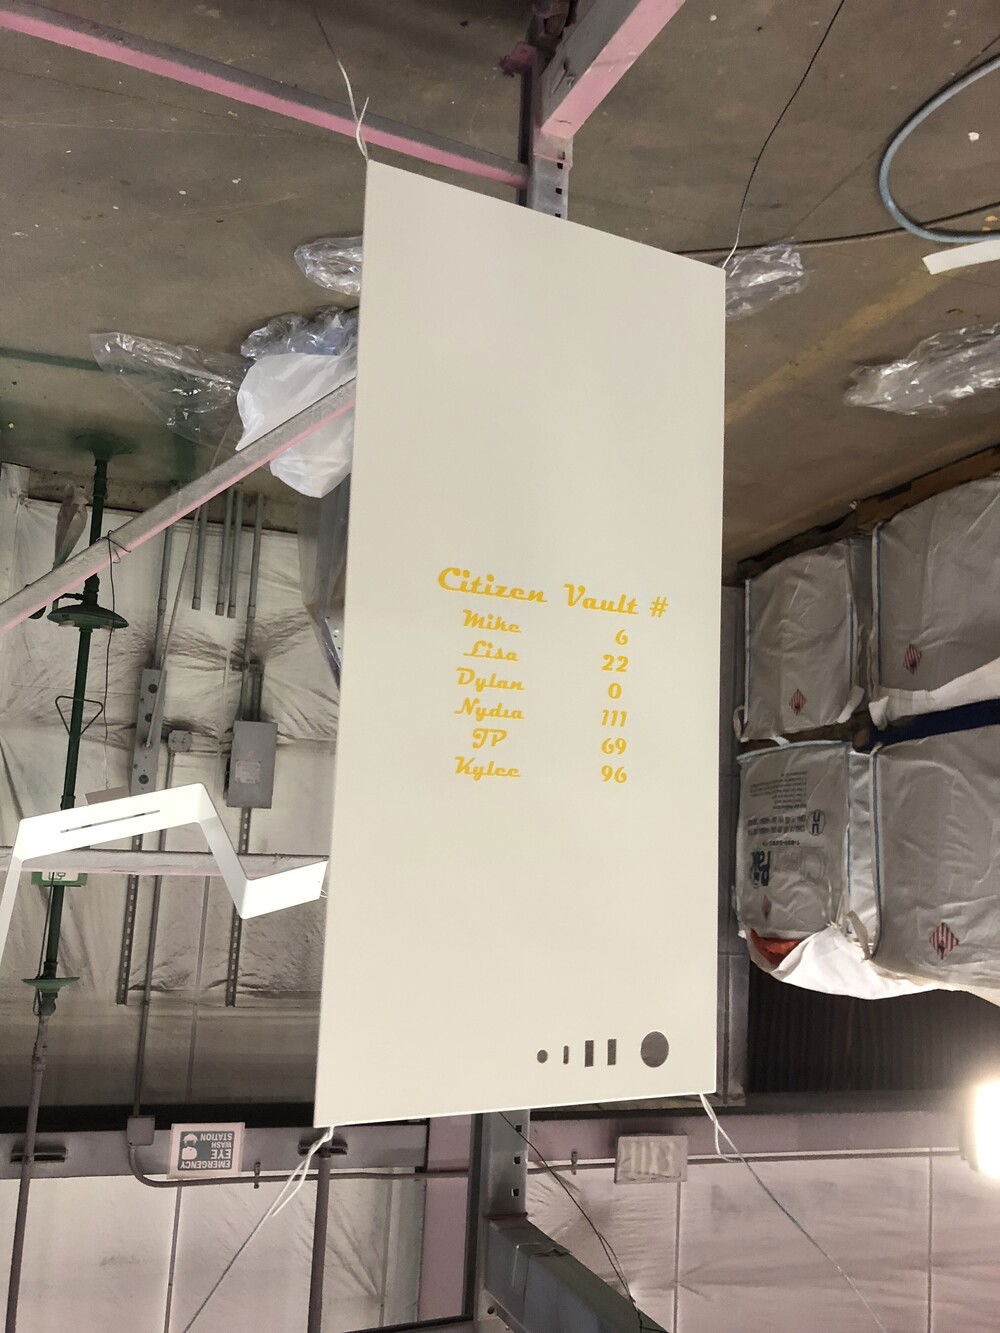
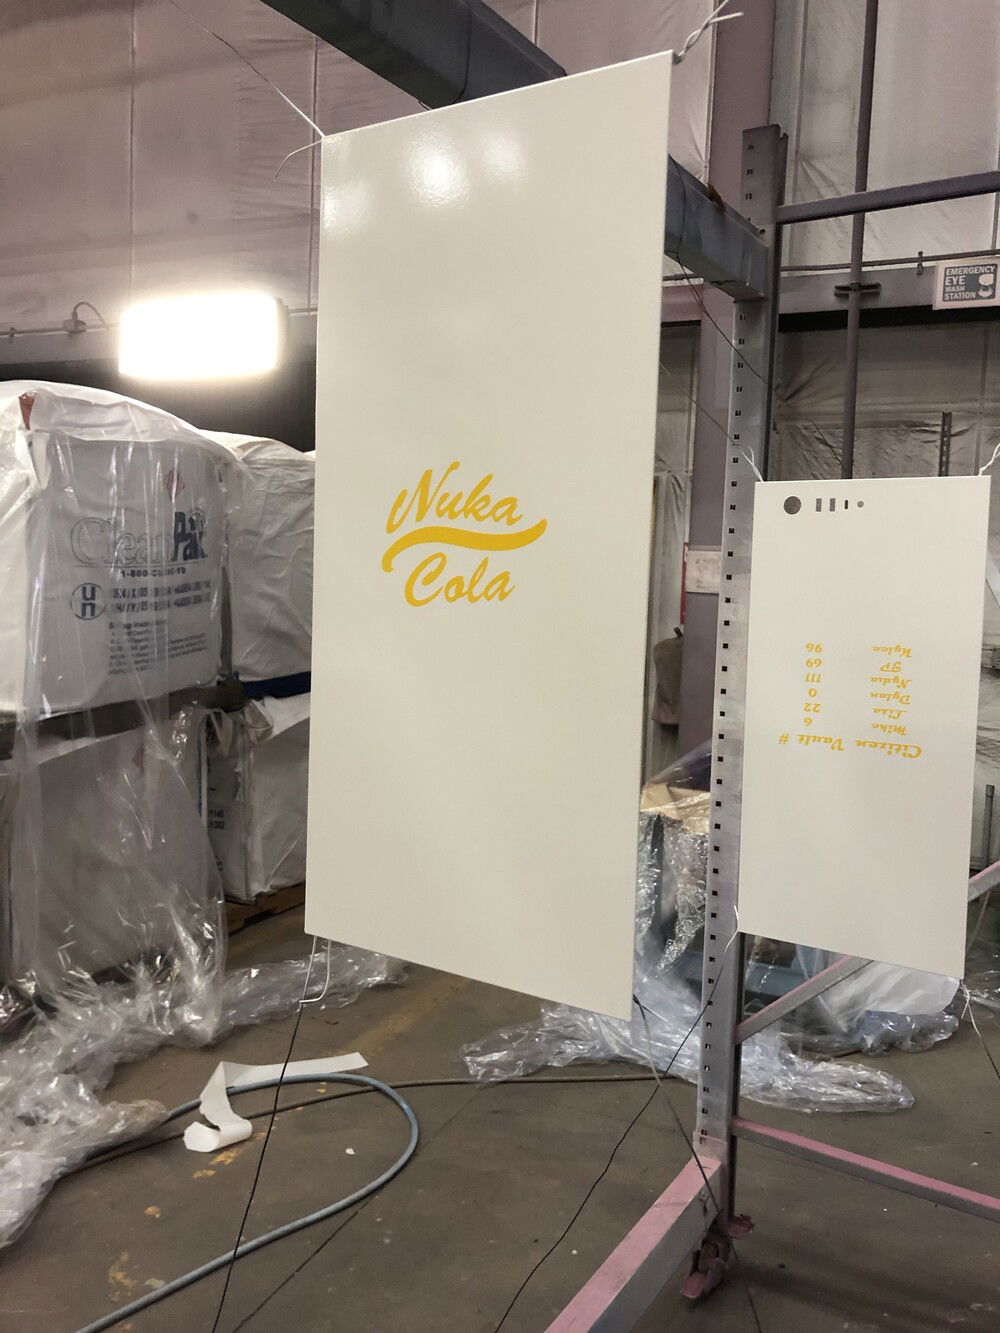
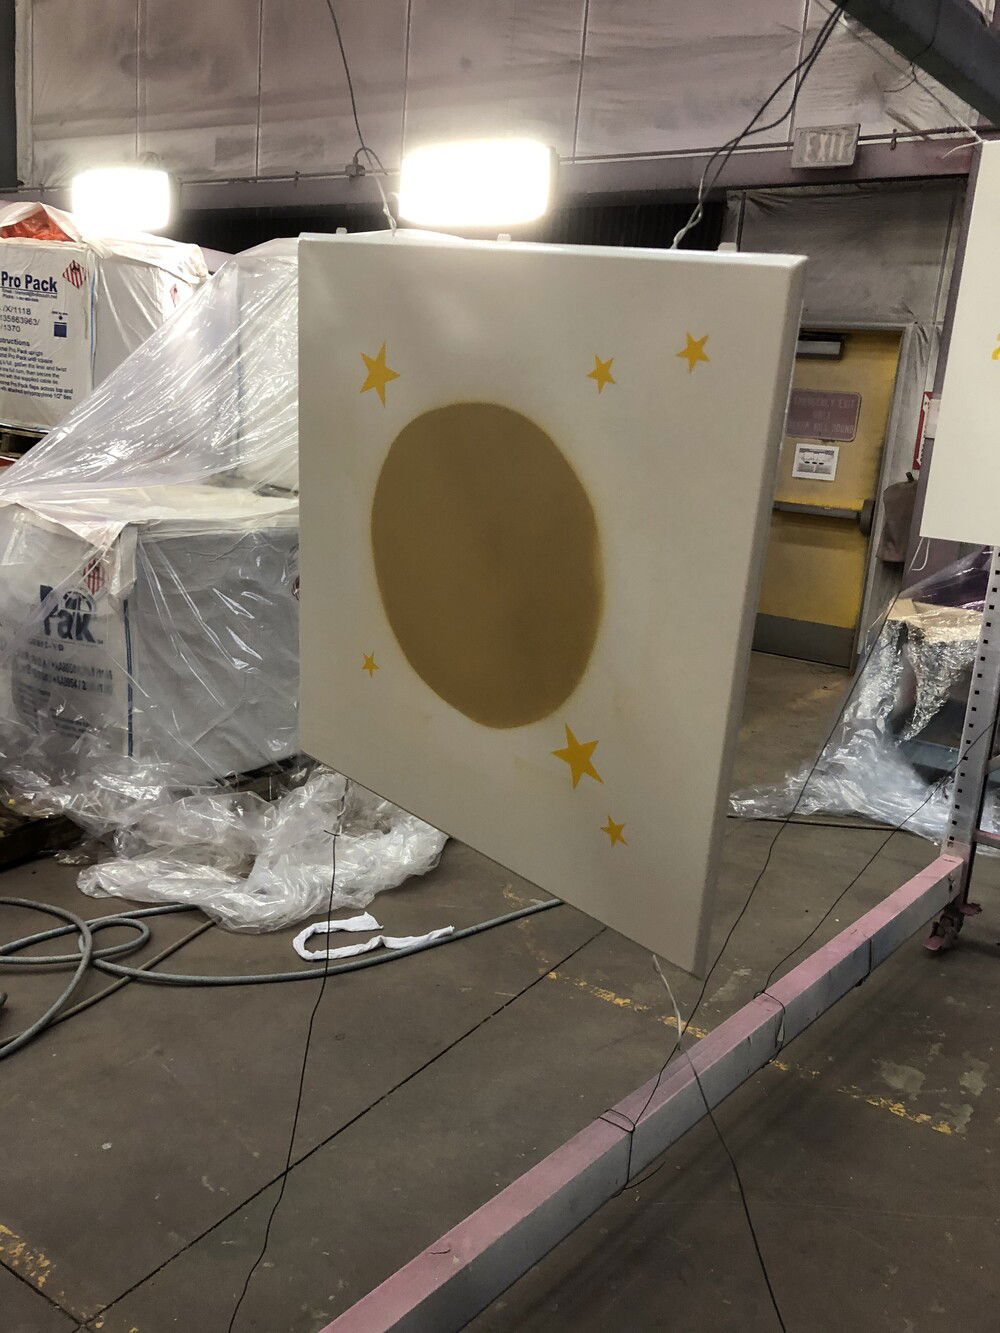
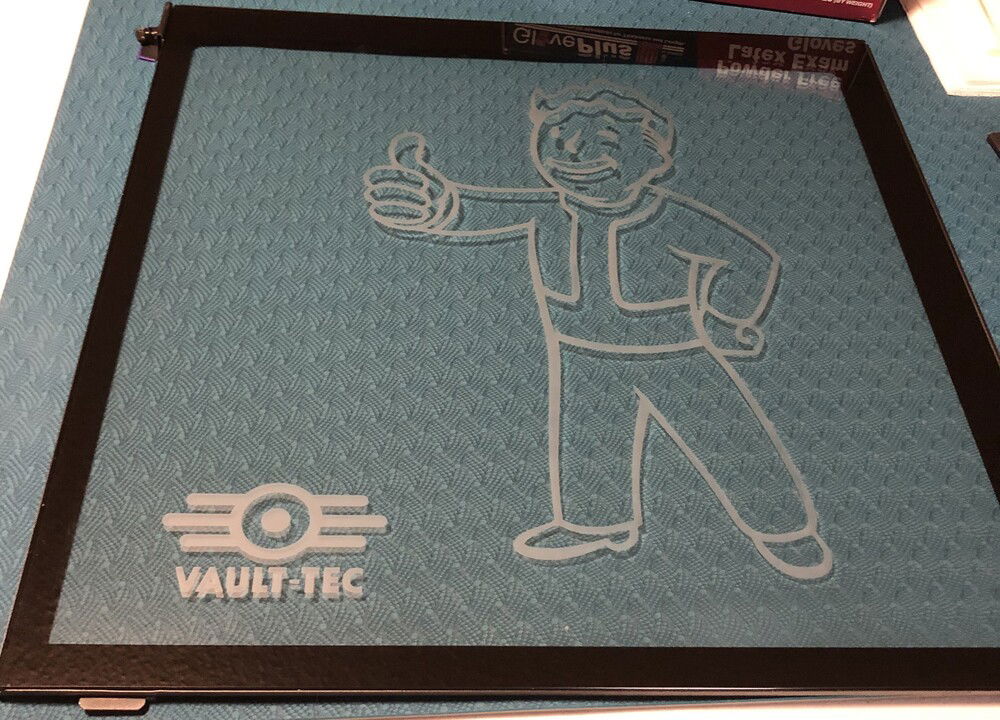
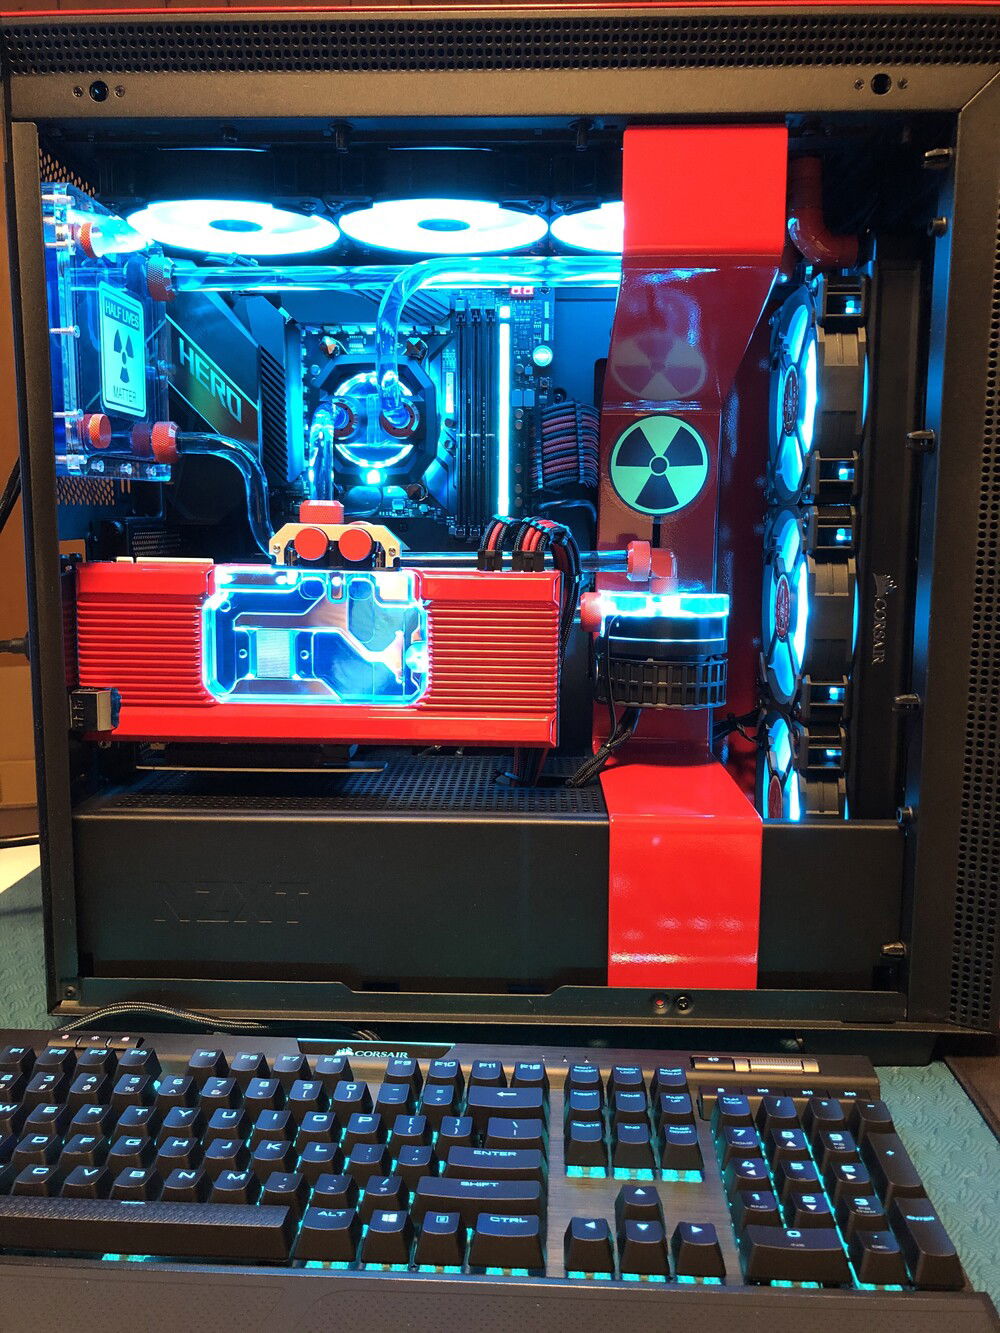
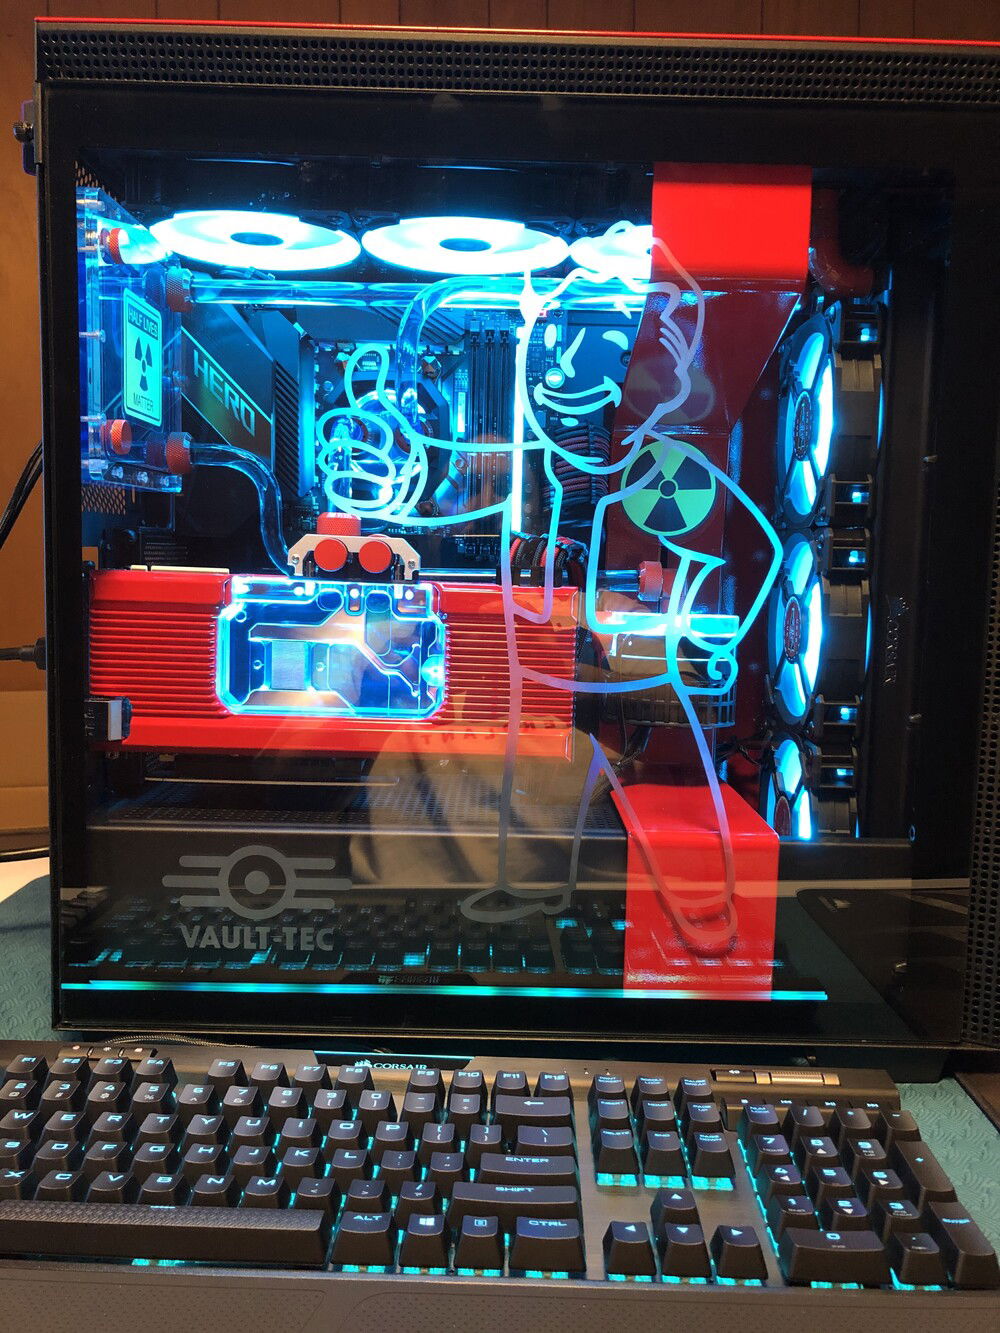
I laid out the stensils for the glass front cover and etched the Vault Boy and Vault-Tec logos. We then laser cut out some white acrylic with the Vault 111 and Fallout logos. I had Avery print us out some Nuka Cola stickers to cover the ones on the fans factory from Corsair. We also ordered a sticker from RedBubble for the reservoir that says "Half Lives Matter" I thought that fit the build style well. Lastly I purchased a Nuka Cola water bottle that we planned on using as the reservoir but the bottle plastic was too thin to risk drilling into and filling with any liquid without leaks and after painting the inside to mimic the blue color of the coolant (we thought we could just run the rigid tubing through it without any actual coolant inside the bottle and make it look like it was filled) it melted away from the paint so using it as a non-coolant holding part didn't work either. I ended up just purchasing a second bottle and using it as decoration.
We got all of the parts together and fired them up test bench style to make sure everything worked and sure enough we had some problems. The Corsair Vengeance Pro RGB DDR4 3600 DRAM would not allow the system to post so we ended up swapping it out for the Dominator Platinum RGB DDR4 3600 also from Corsair and it booted right up also after re-seating the CPU just in case.
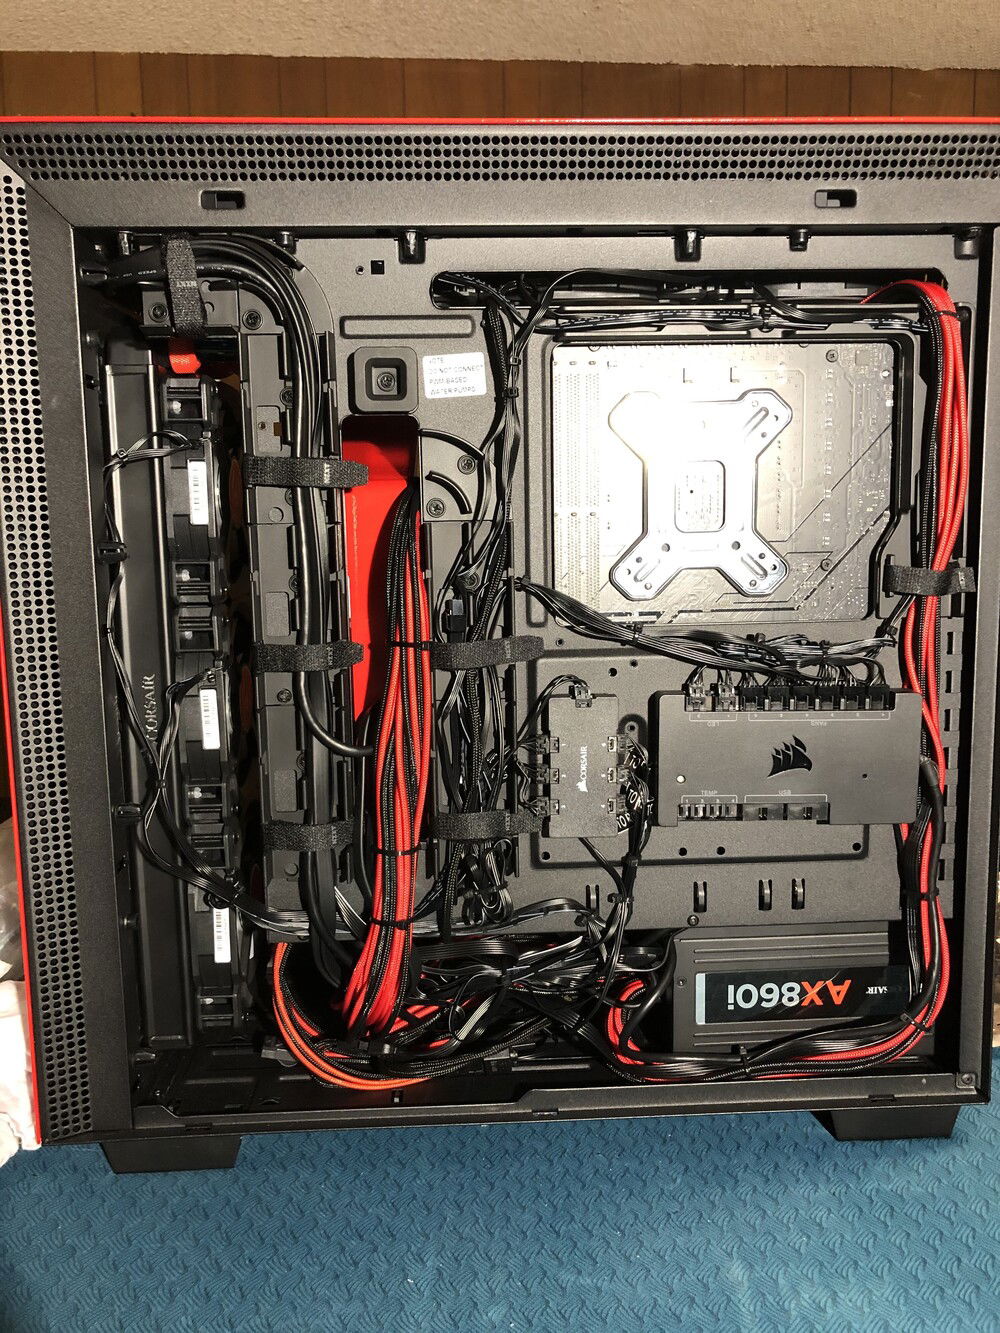
After that was good we started getting everything fitted and placed into the case. Got the water cooling loop done. Bending the tubing was a first for us since we never did that before but Primochill was awesome for that part of the build. We used Primochill for the tubing, fittings and coolant. Corsair Hydro X for the GPU and CPU waterblocks, the 6 LL120 fans, (2) 360mm x 30mm Radiators and all of the RGB control via Commander Pro, EKWB for the pump and RadiKult customs for the 140mm fan shaped reservoir.
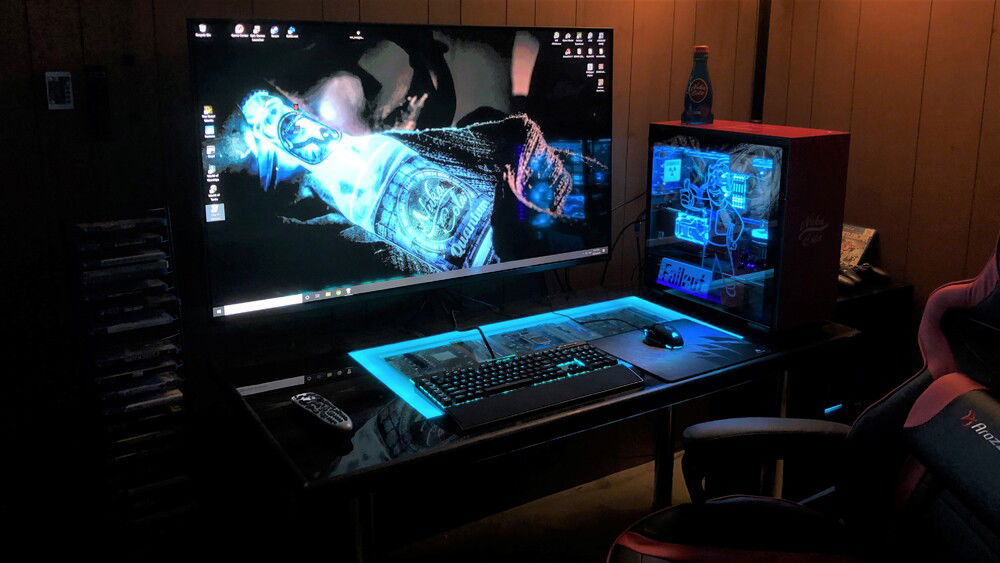
We were originally looking at a 32" MSI monitor but decided that since it would also be used for the PS4 that we wanted something bigger. We ended up choosing a Vizio M558-G1 4K UHD HDR TV that we then mounted on the wall giving just enough room underneath for the as yet purchased sound bar (thinking Sonos PlayBar) for those times where we don't need to use the Corsair Void Pro Elite headsets.
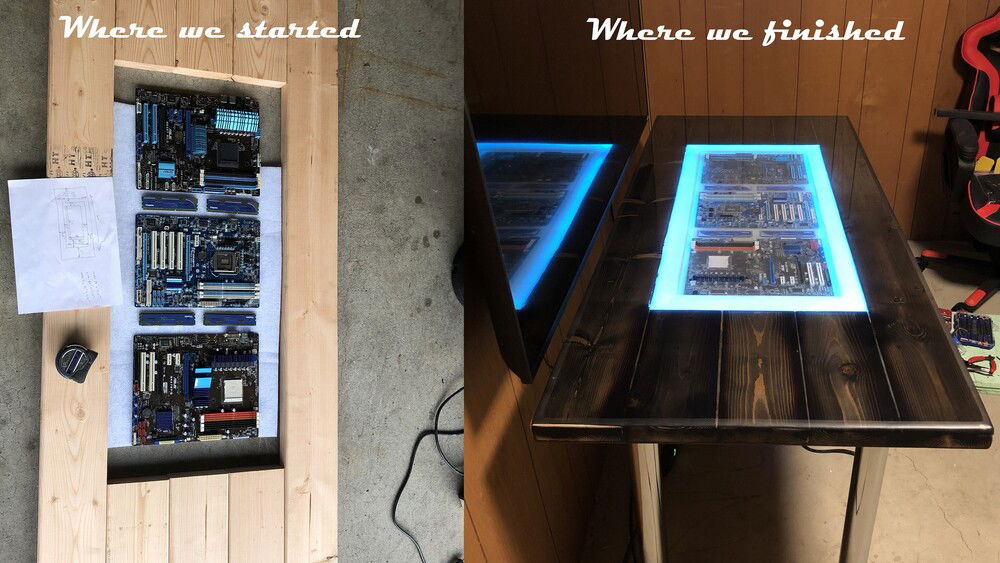
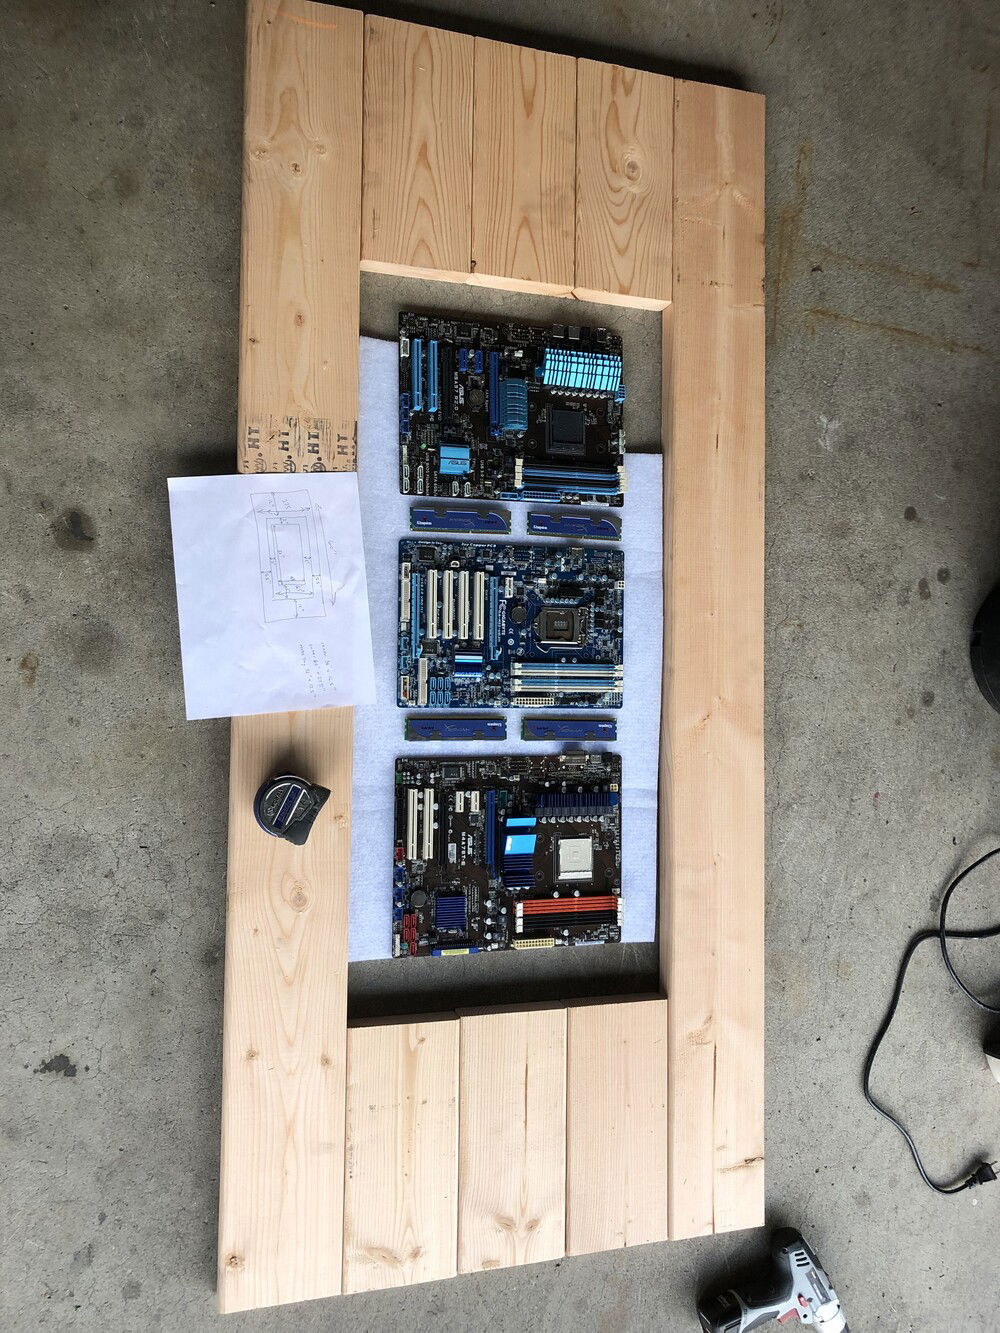
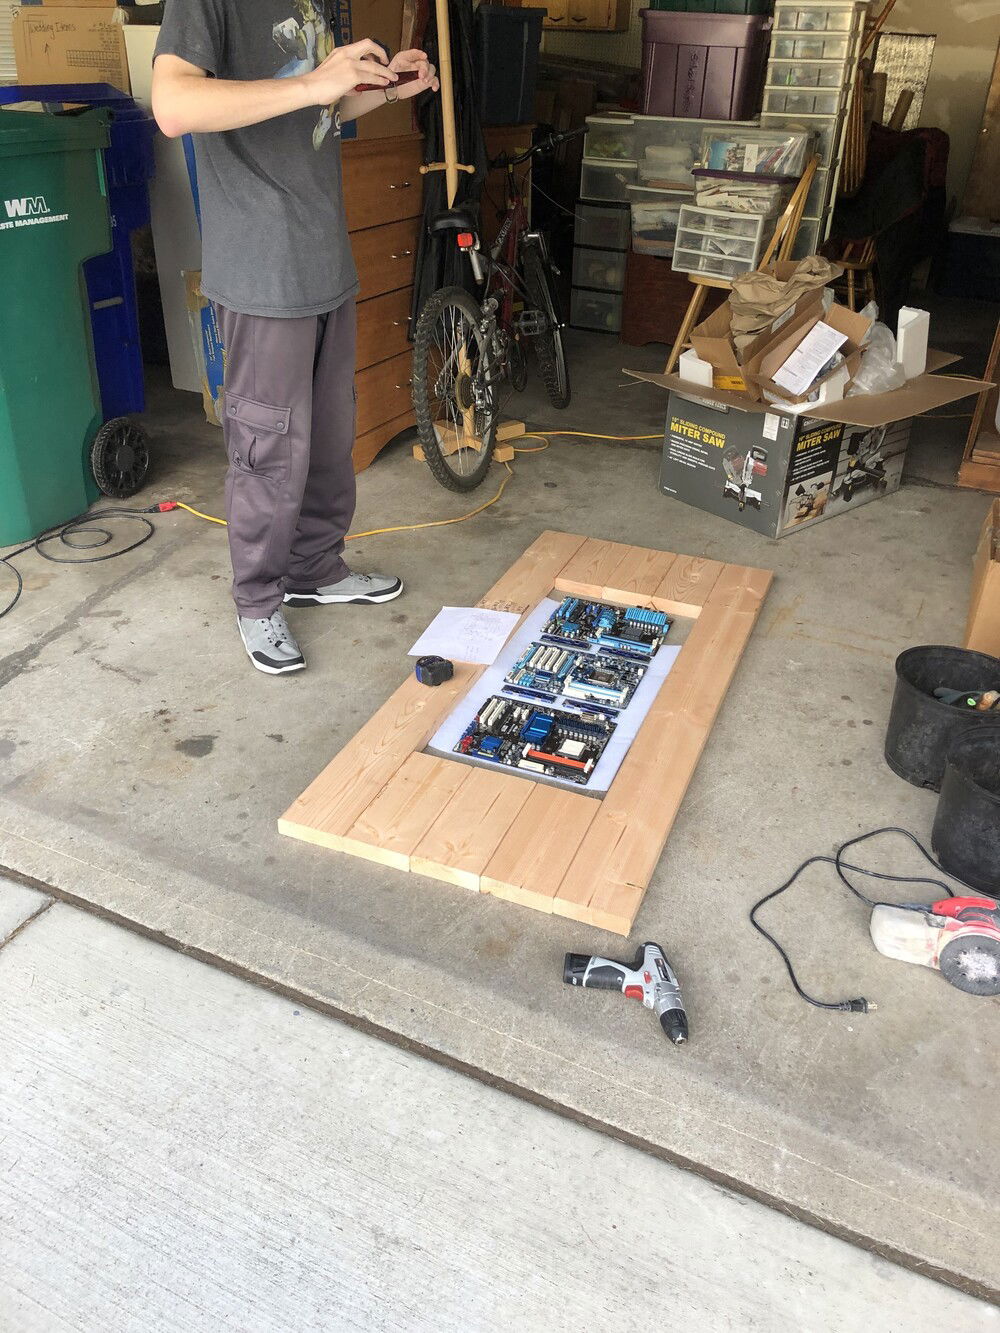
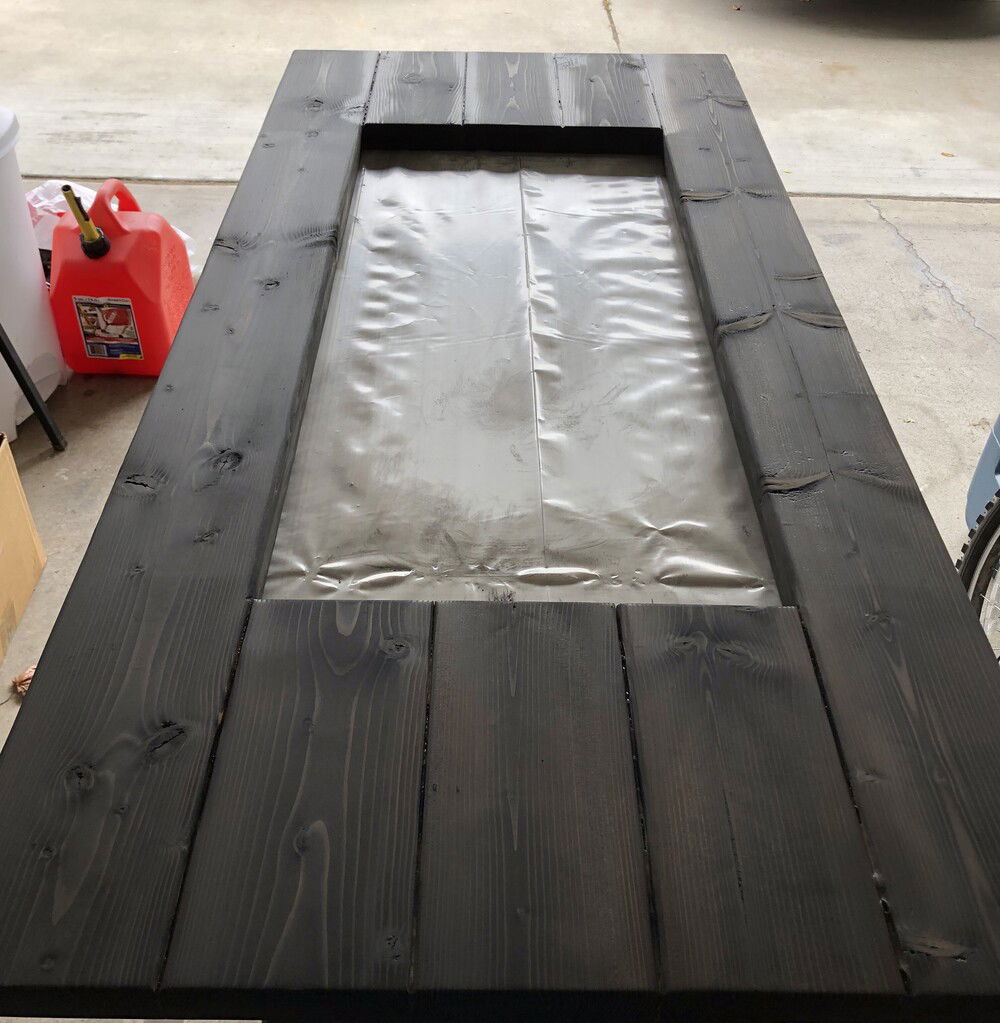
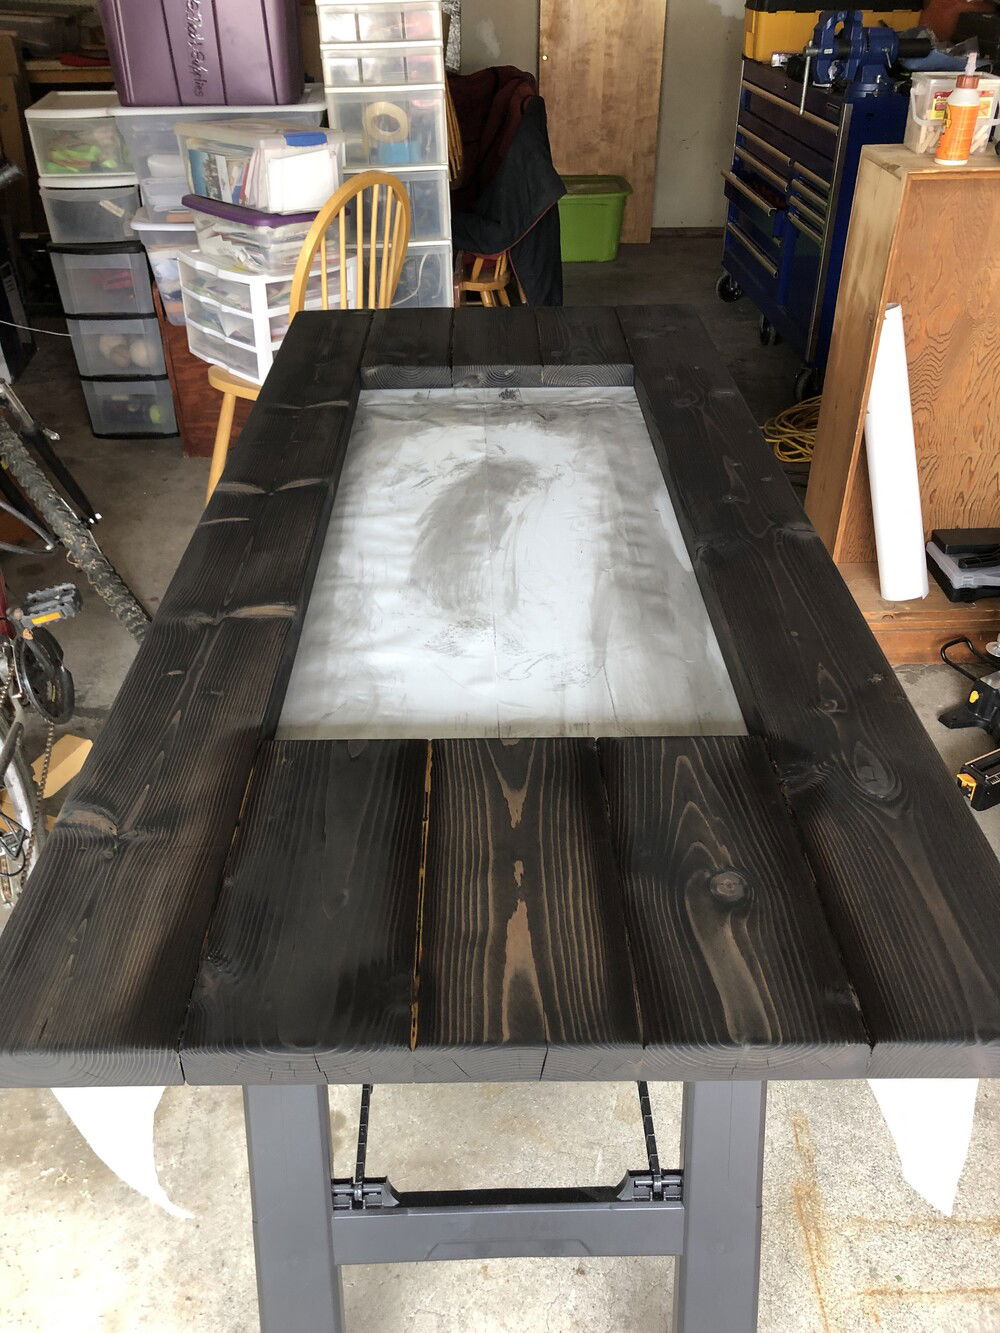
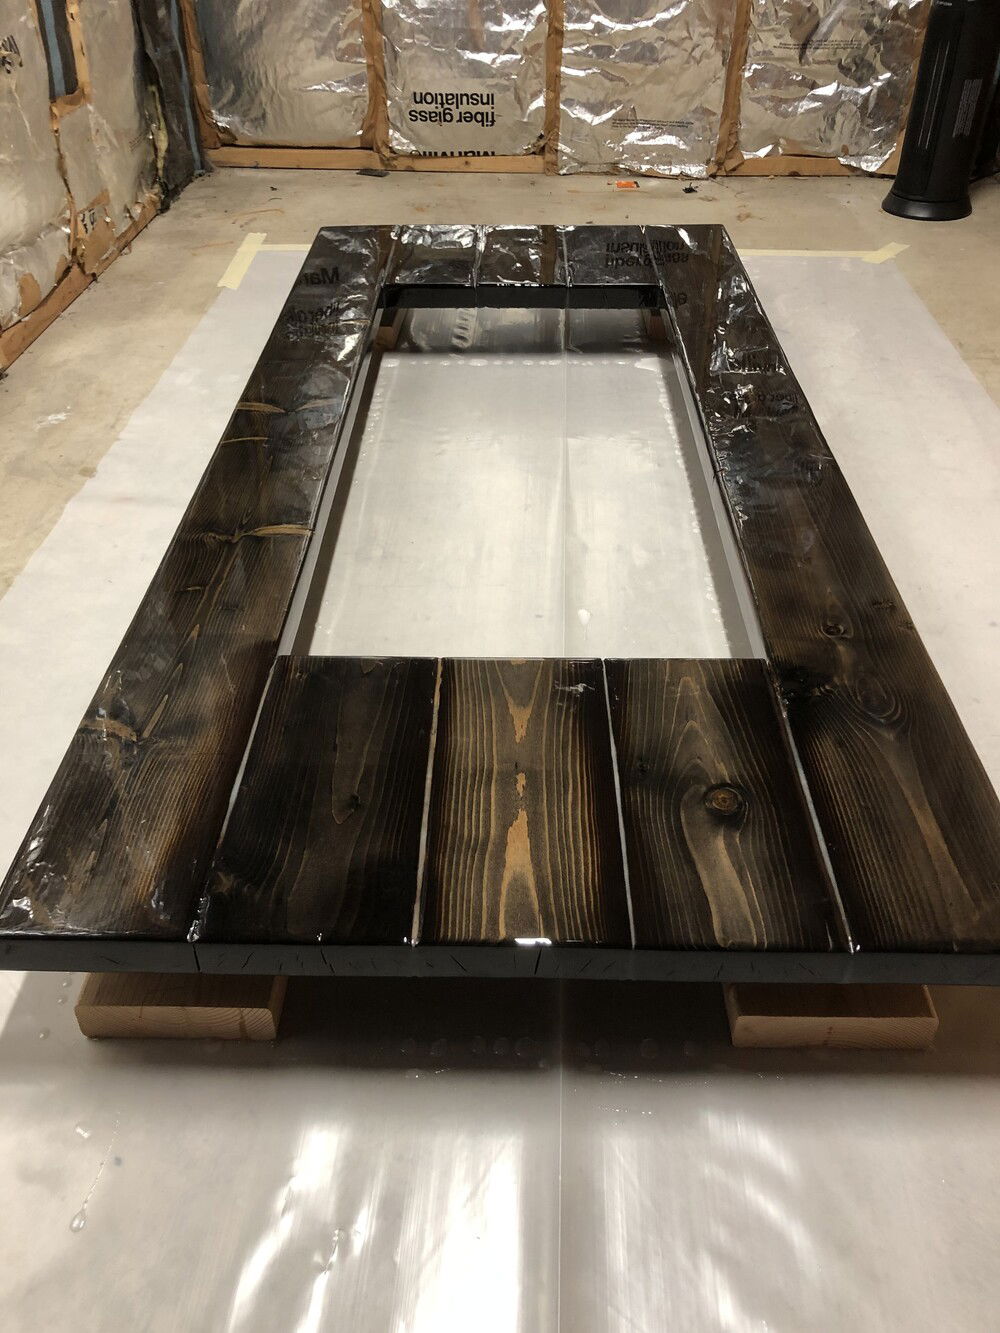
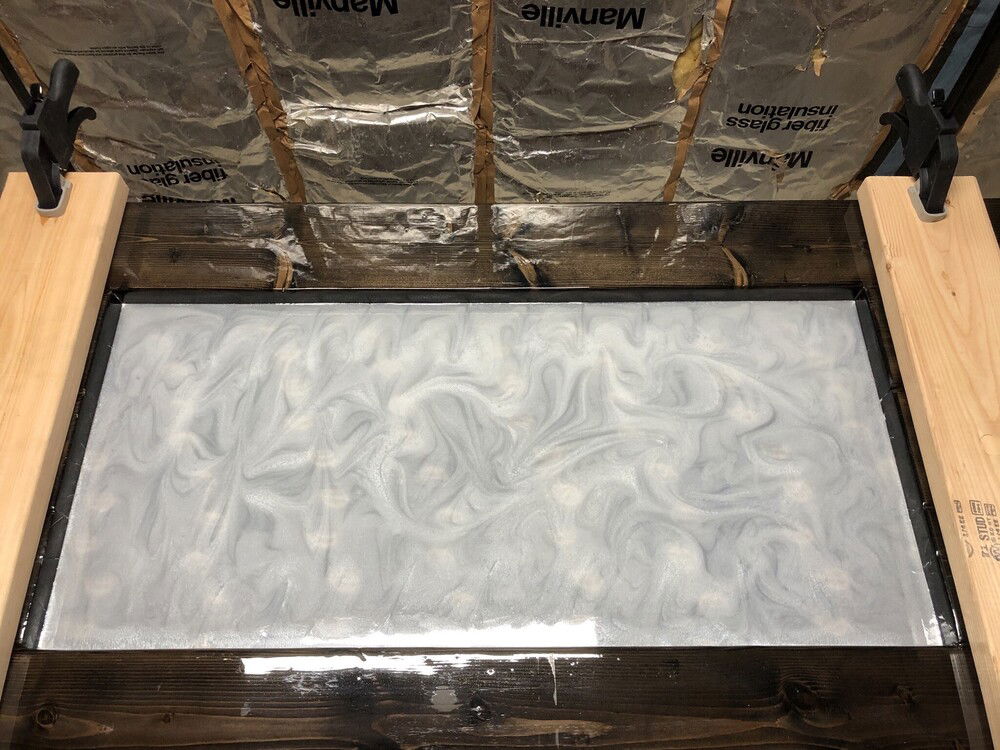
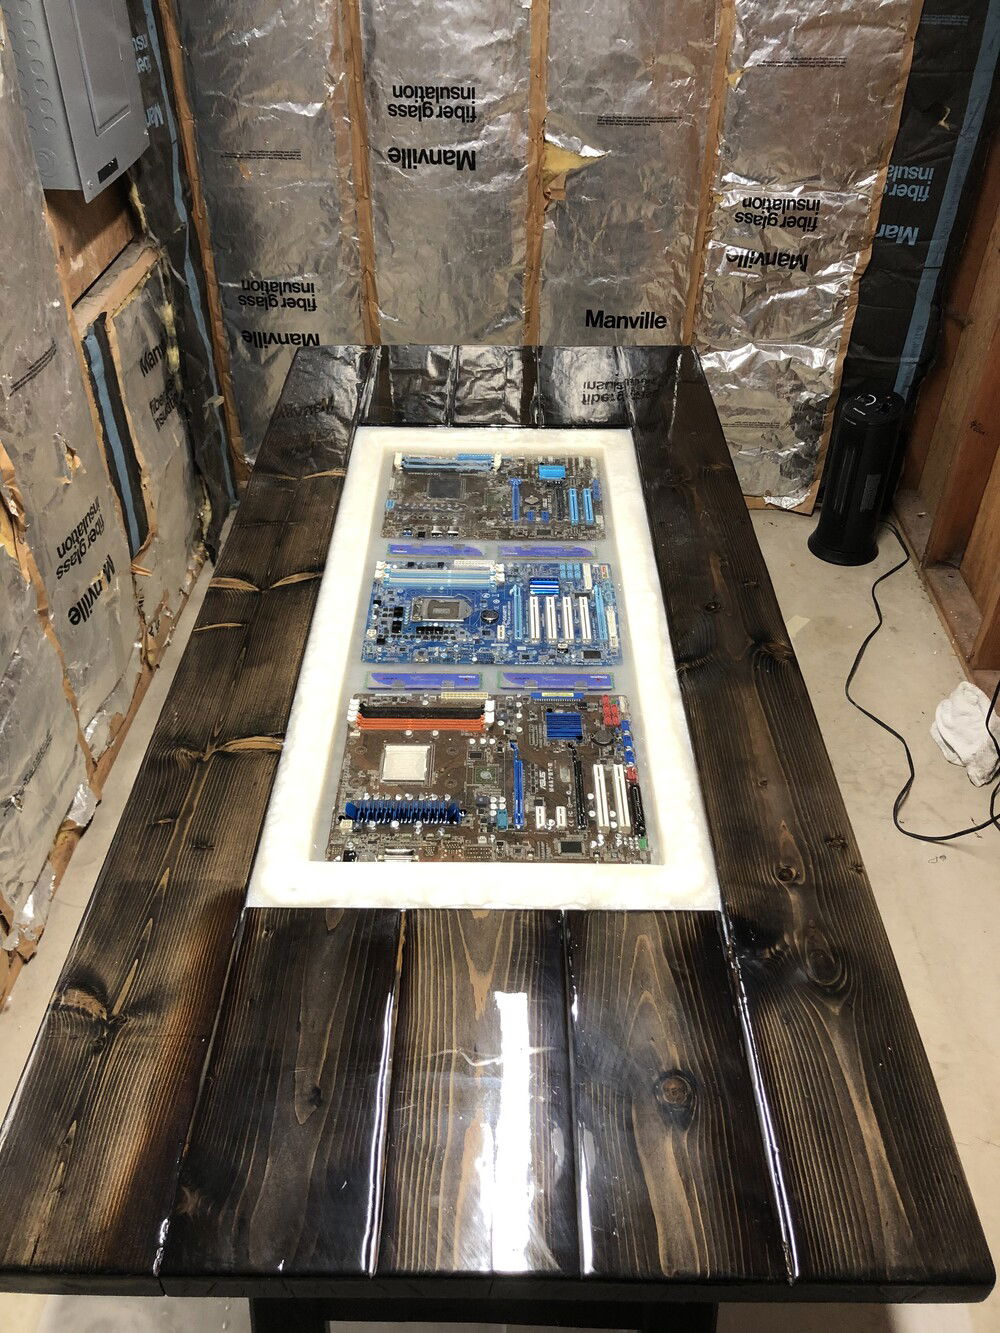
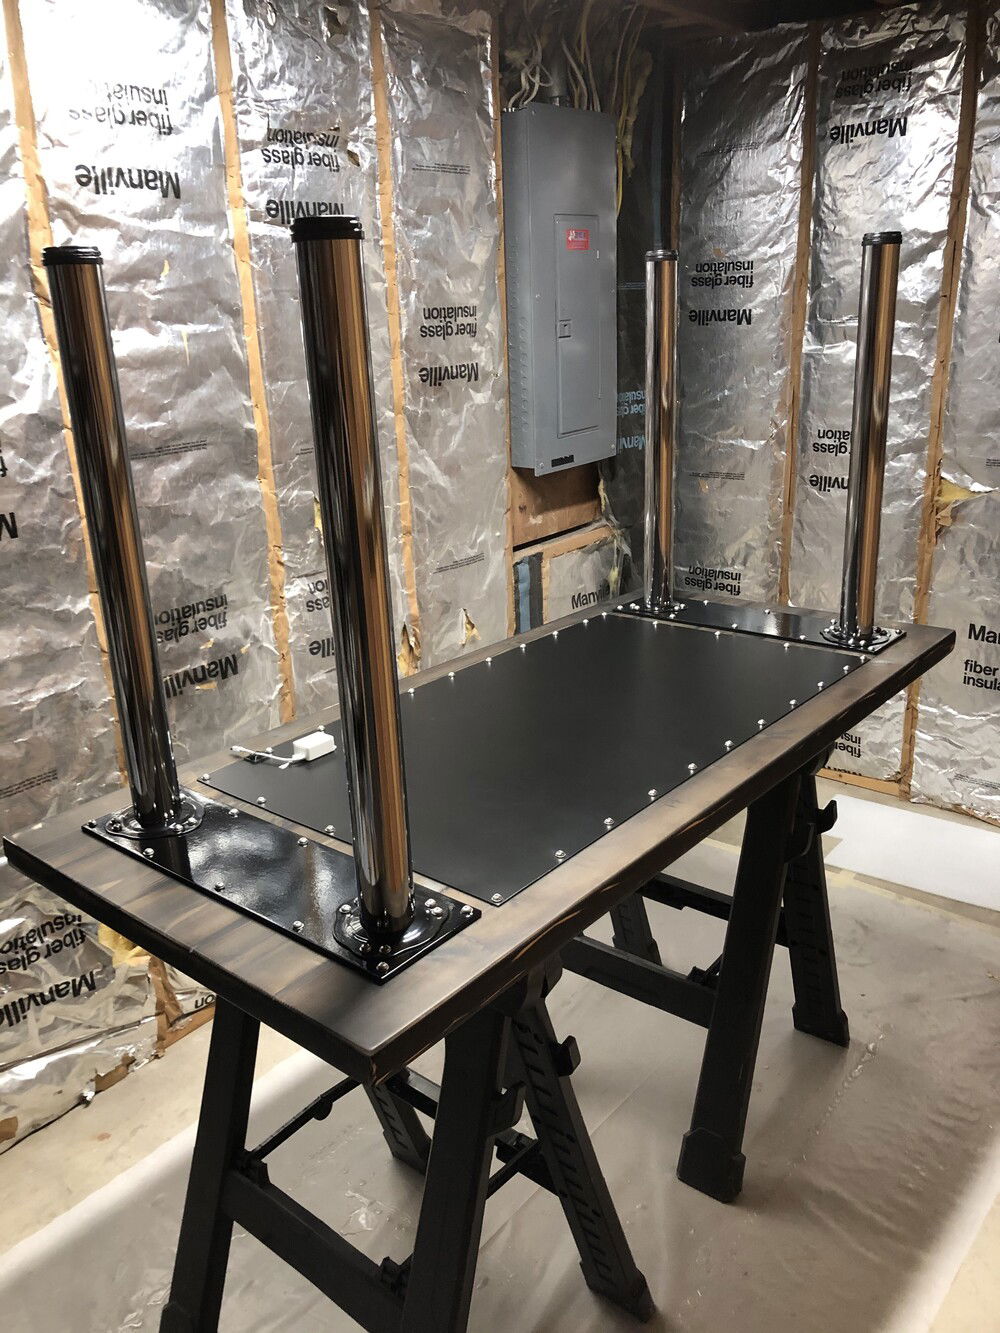
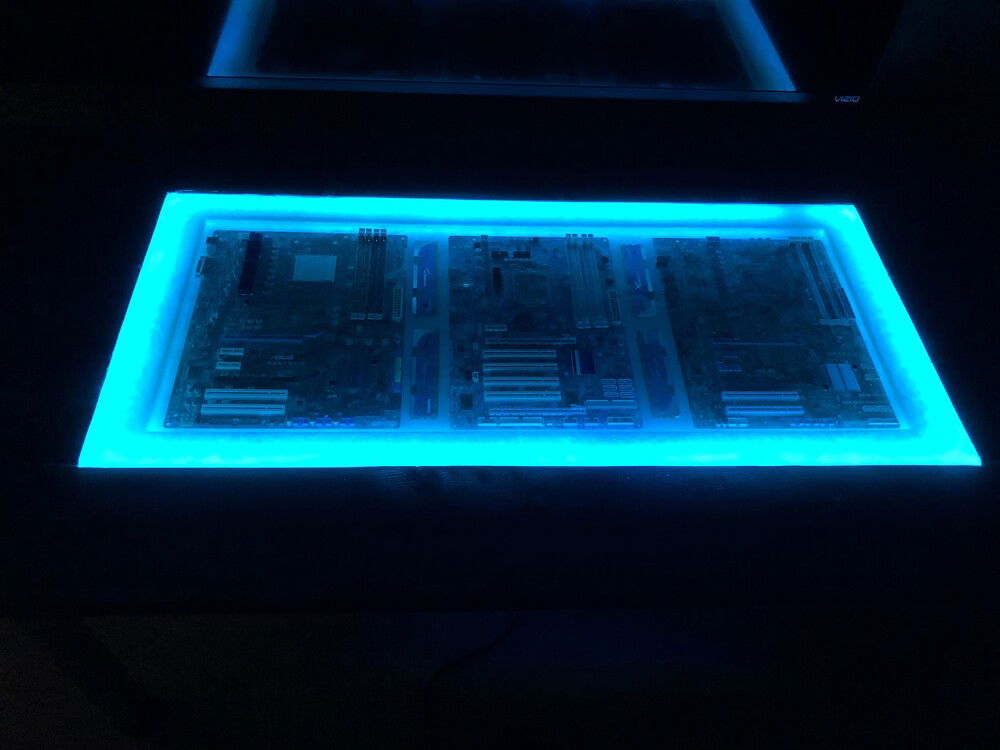
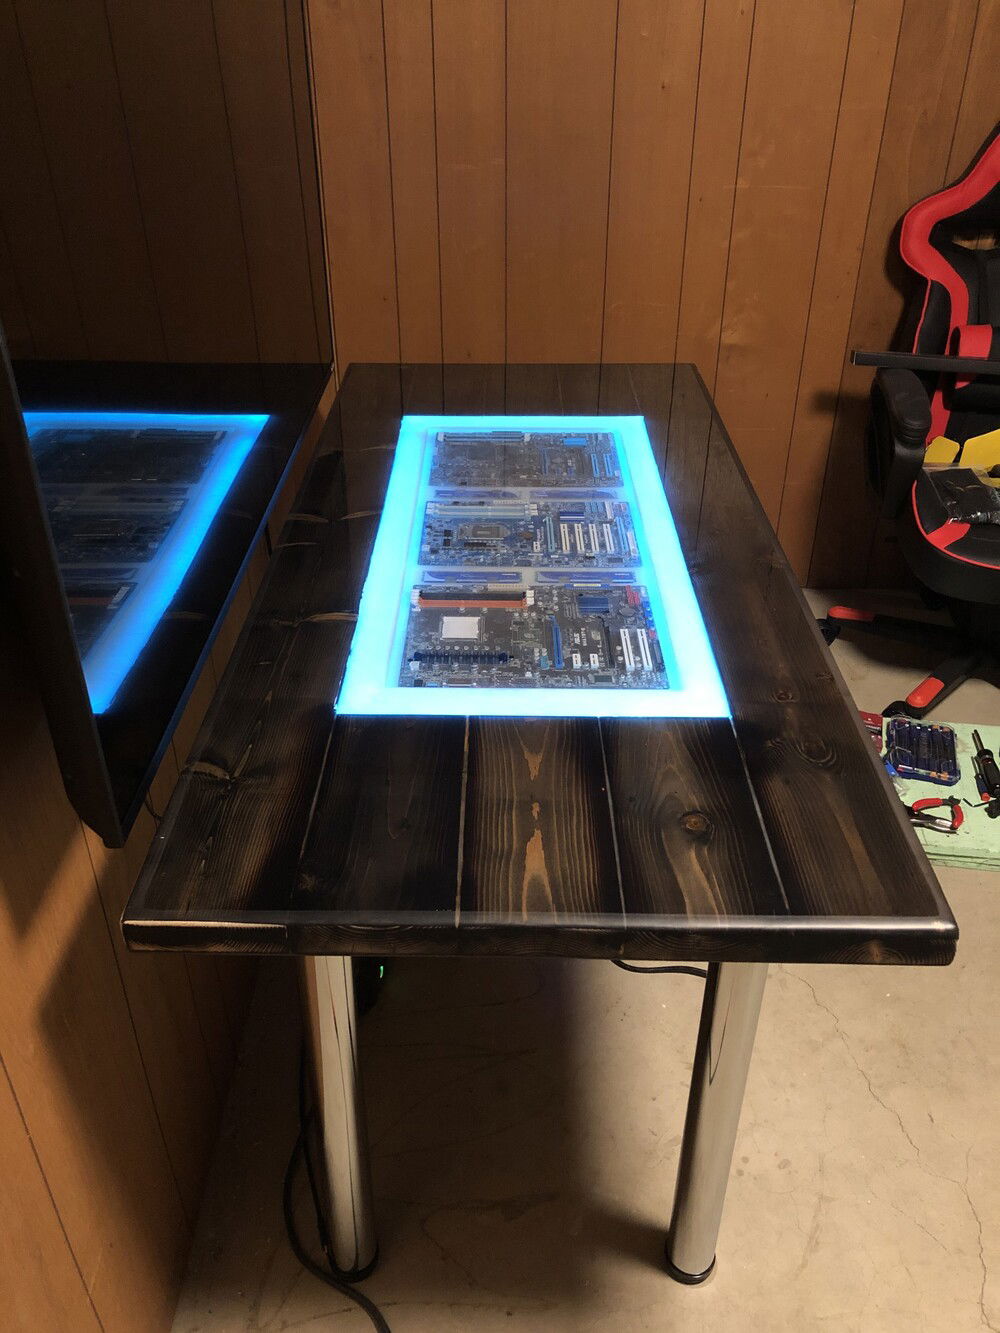
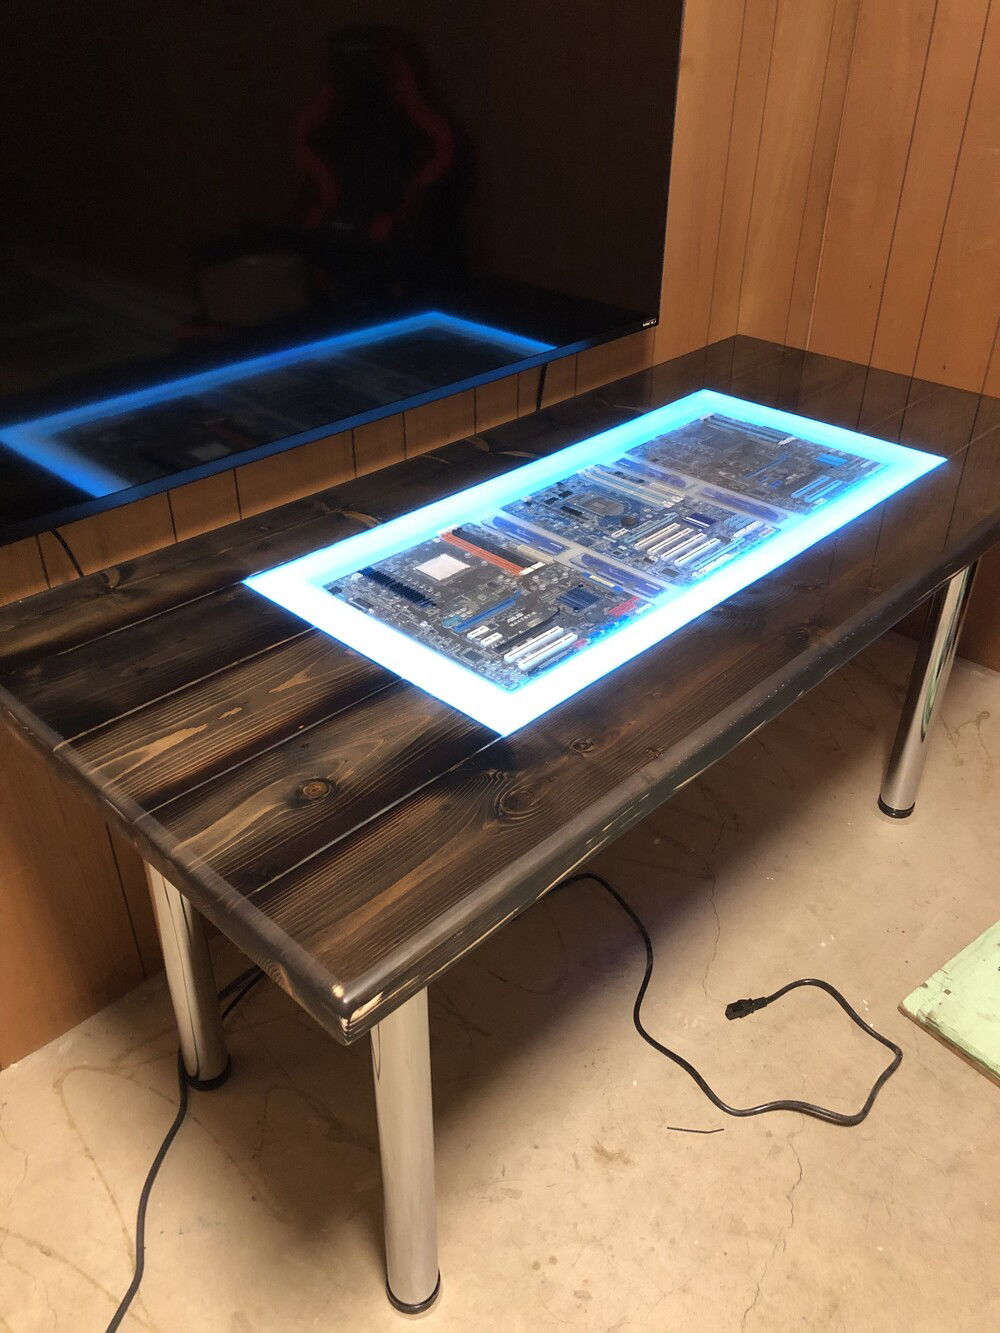
It was at this point I remembered we would need a desk to game at. Since I was doing a custom PC build why not do a custom desk build as well. I started there with Five 2x6 and cut them to 60" length, sanded them smooth and put them together with dowels and wood glue. We stained them black and laid out the seal coat of epoxy on them. We then placed the project on a flat surface that we sealed and covered with tuck tape to help it release once we poured the center epoxy. I mixed in some pearl white mica powder and poured a thin first layer in the center of the table. After that was cured we placed a mold in the center to block out for the surrounding edge of white pearl epoxy we would be pouring. Once cured we pulled out the mold and placed the non-working motherboards into the center along with 4 sticks of DDR3 DRAM then continued pouring clear epoxy till the entire surface was flat and covered. Last I routed the edges and gave them a scuffing to make them look frosted. I mounted the legs and routed out a channel on the underside for the RGB strips and placed an aluminum cover over to prevent light bleed.
Once that was done we placed it in our picked out spot and started putting everything together. I think it turned out pretty darn good considering I have never made a table like this or built a computer from scratch before. I work at a place that paints large aircraft so paint was easy to get ahold of and it also helped with stensils and laser cutting the acrylic. The table was made a bit easier through YouTube and Stone Coat Countertops videos. In fact... I watched alot of videos from @Jayz2cents, @bitwitkyle, Bit-Tech and many others to help me complete this undertaking! Of course my kids helped as well since this was a group effort and we all will now get to enjoy it!
Color(s): Black Light Blue Red White
RGB Lighting? No
Theme: Video Game
Cooling: Custom Liquid Cooling
Size: ATX
Type: General Build
Hardware
CPU
$ 134.89
Motherboard
$ 379.99
Memory
$ 189.99
Graphics
$ 859.99
Storage
$ 342.46
Case
$ 218.07
Case Fan
$ 237.66
Cooling
$ 159.98
CableMod
Approved by:
